- Title: World War Z: Aftermath
- Release Date:
- Developer:
- Publisher:
Information about World War Z: Aftermath is still incomplete. Please help us fill the details of the game using this contact form.
Just a simple guide on how to mod textures, which has been possible since the game was released, but I guess there’s not that much interest. Anyways, the process is quite straightforward: extract PCT textures from .pak files, convert PCT to TGA, edit, convert TGA to PCT and add it back to .pak files.
Requirements
- QCPCT v0.4
- WinRAR
- Photoshop/Gimp/Paint.NET etc.
Steps
- Go to your WWZ\en_us\client\preload\paks\ folder, open shared_textures.pak and shared_textures_base.pak with WinRAR and browse to [textures] folder. Extract what ever maps you want to edit, or extract everything if you’re not sure what you are looking for.
- The engine swaps textures between low(shared_textures_base.pak) and high(shared_textures.pak) quality versions depending on rendering distance, so editing both is necessary or you will get weird results.
- Open the extracted PCT textures with QCPCT and export them as TGA. Note that textures in shared_textures_base.pak have an extra “_base” suffix in their filename which QCPCT doesn’t understand, so you need to rename *.pct_base -> *.pct before you can open them.
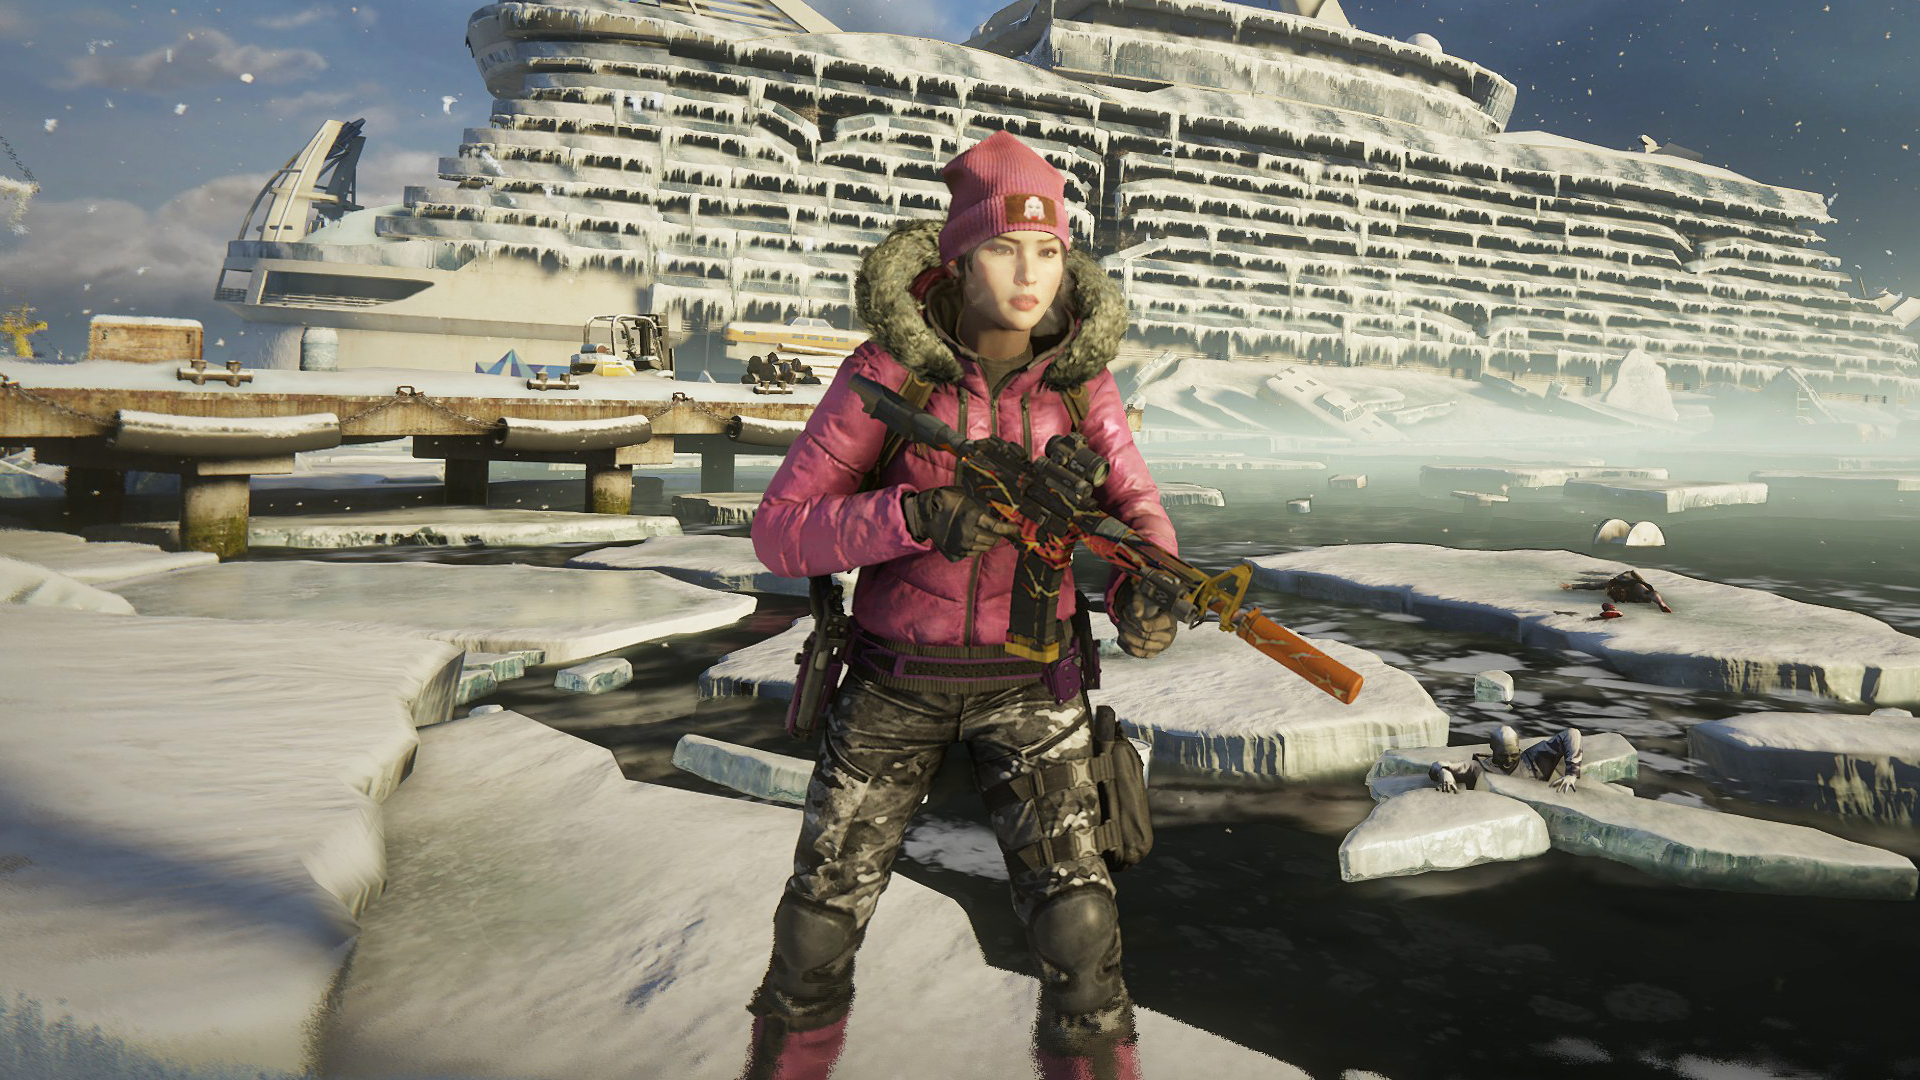
- Edit the TGA files. As you can see, i did just some simple recoloring to Kimiko’s winter jacket, hat and pants. Also there’s a bunch of unused/unfinished weapon skins included with the files, which you can use simply by renaming the files.
- Now we need to convert our edited textures back to PCT format and there’s two ways to do this. I’ll cover only the easier way, which is to use QCPCT’s replace content function. So open the original PCT file with QCPCT and in the menu “PCT Tool”, click “Replace content…”, pick your modified texture, wait it to finish which might take a while and then export it as PCT with same file name as the original one. Don’t forget to rename those low-res base textures back to *.pak_base.
- Backup shared_textures_base.pak and shared_textures.pak before the next step!
- Open both .pak files with WinRAR and add your modified textures to correct folders replacing the original ones. If you have problems adding files to .paks, update your WinRAR.
Your mod should now work in the game.
That's everything we are sharing today for this World War Z: Aftermath guide. This guide was originally created and written by Kuristaja / Urhox. In case we fail to update this guide, you can find the latest update by following this link.
Thank U