This guide will show you how to navigate and start your very own team in Ultimate Admiral: Dreadnoughts.
Getting Started
In 1890, choose a country. Create a fleet for your own use, but remember, you’ll be getting rid of all this when the game begins. Don’t waste time trying to use any of these ships; they’re not good. Starting with Japan is quite simple, and early in the game, China gives you lots of not-so-great ships to target. Let’s now move from the left and go through the steps to follow.
Politics
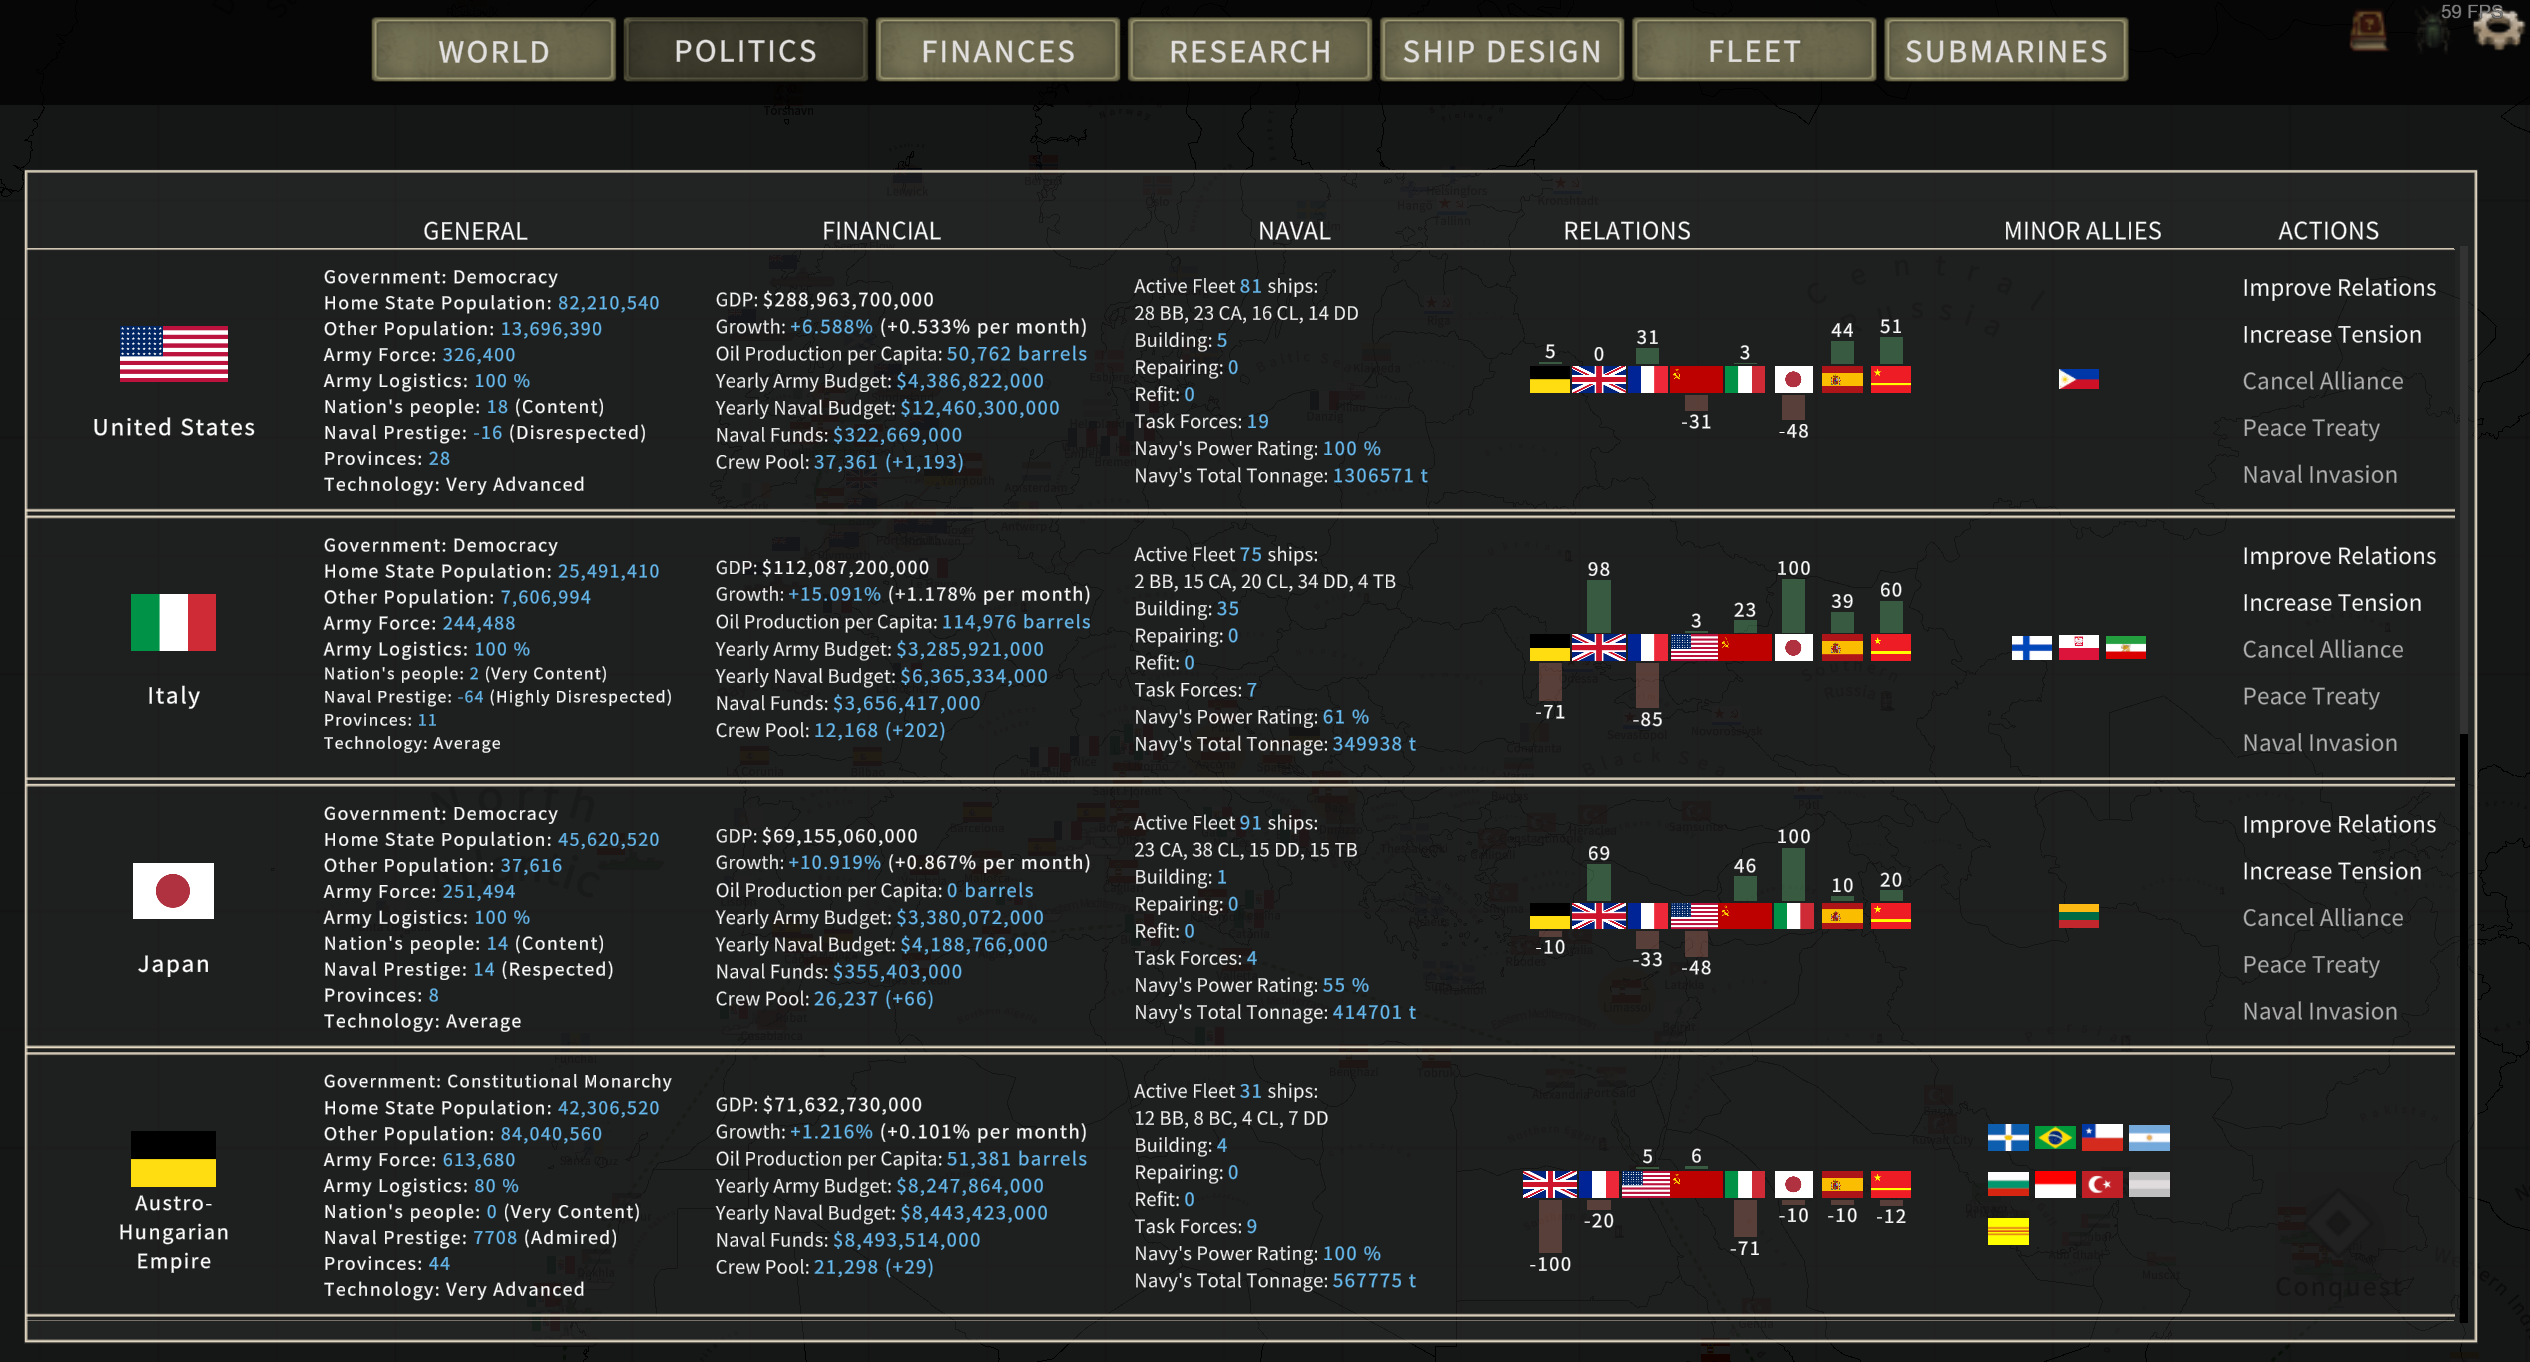
Politics doesn’t matter much early in the game. You can boost relations to form alliances, but I’ve found they don’t make a big difference. Raising tension is useful if you want to provoke a war. A peace treaty comes in handy when you need money from your enemy or want to quickly end a war, although starting anew might be better if you think you’ve messed up.
Now, let’s talk about naval invasion. Keep in mind that the game might not always let you do this, and I’m not sure why.
To take control of regions held by a nation you’re at war with:
- Send a decent-sized fleet to an enemy port; starting with 8 Battleships in 2 fleets is a good idea.
- Go to the politics section, select naval invasion for a country you’re at war with, and if the game allows it, pick a region to invade.
Oddly, you might have to attack colonies before going to mainland territories like Great Britain. If you have (usually more than double) the required tonnage (the boats you brought with you), you generally stand a good chance of capturing a port. These captured ports can serve as bases to refit or repair ships, making wars with more distant countries much simpler.
Finances
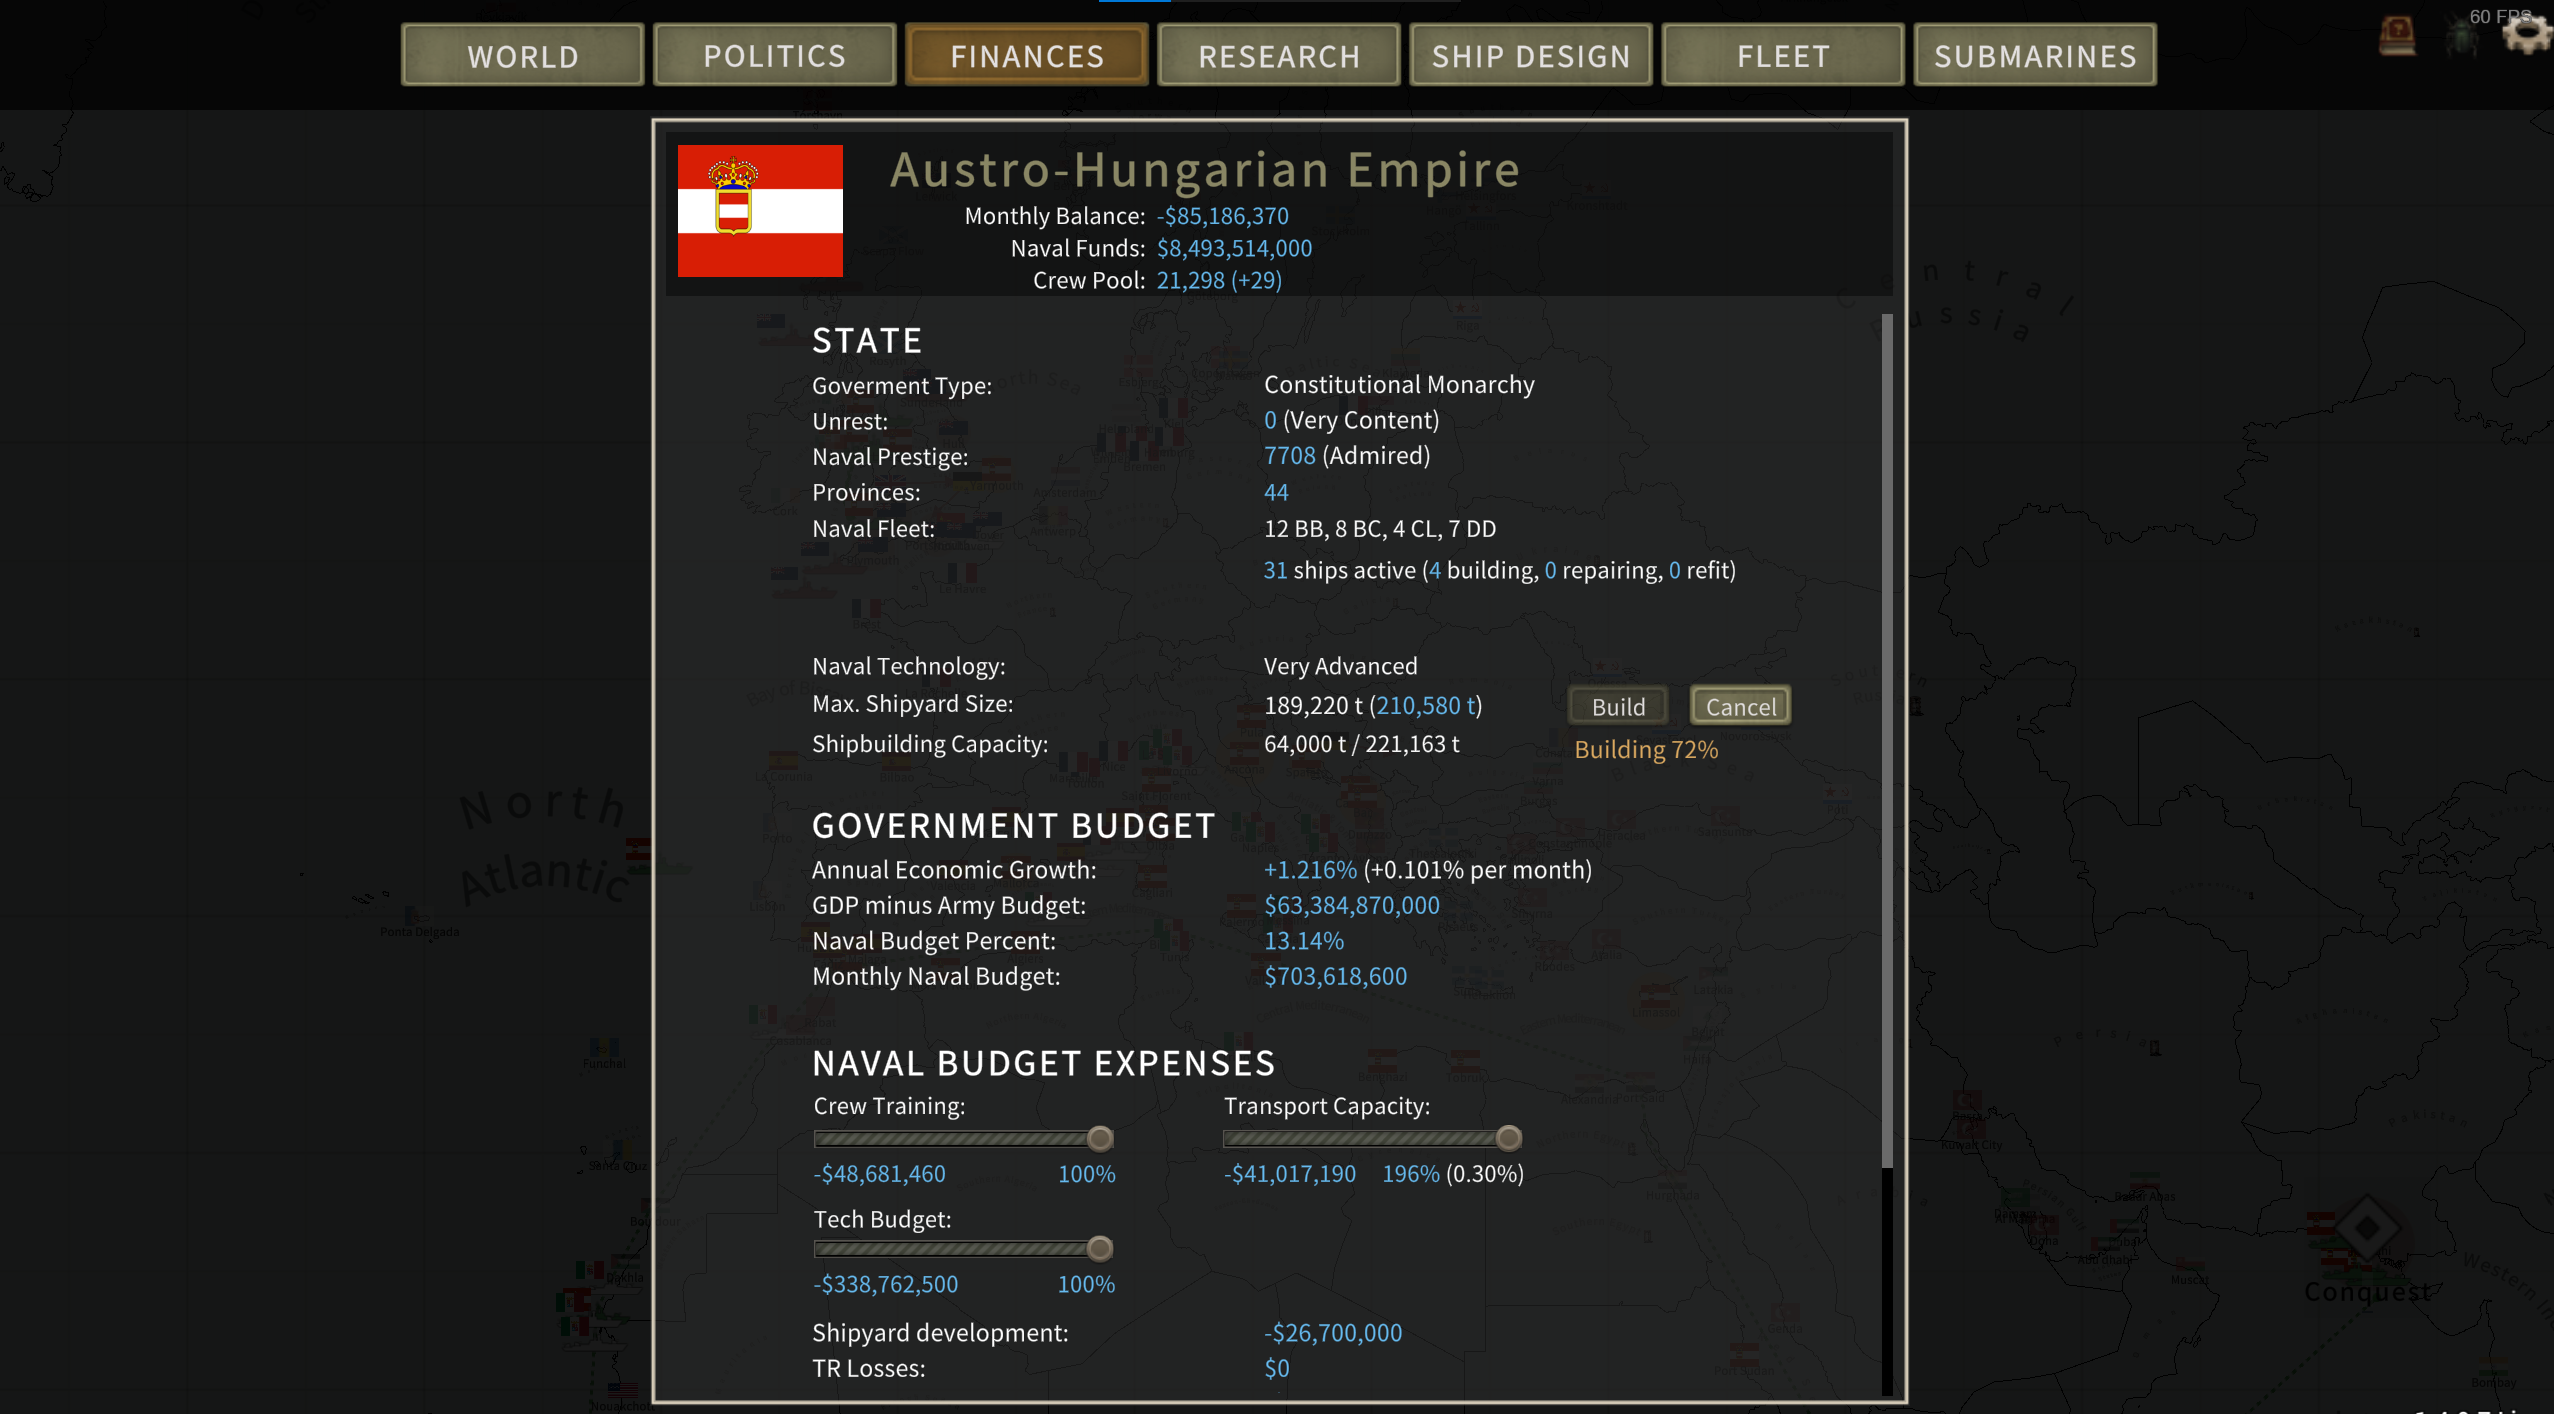
In the finance section, at the bottom, you’ll find 3 sliders. Push these to the right. Then, go to the build tab and slide that one to the right as well. Keep an eye on it to ensure you don’t forget to maintain this. It’s crucial for a strategy involving big battleships since a small shipyard won’t allow you to construct large boats. Don’t worry about money; when you’re close to “bankruptcy,” ensure you’re at war, then spam the next turn for about 6 months intentionally going broke (an autoclicker can be helpful). Boom: you’ll receive more money from the government.
Research
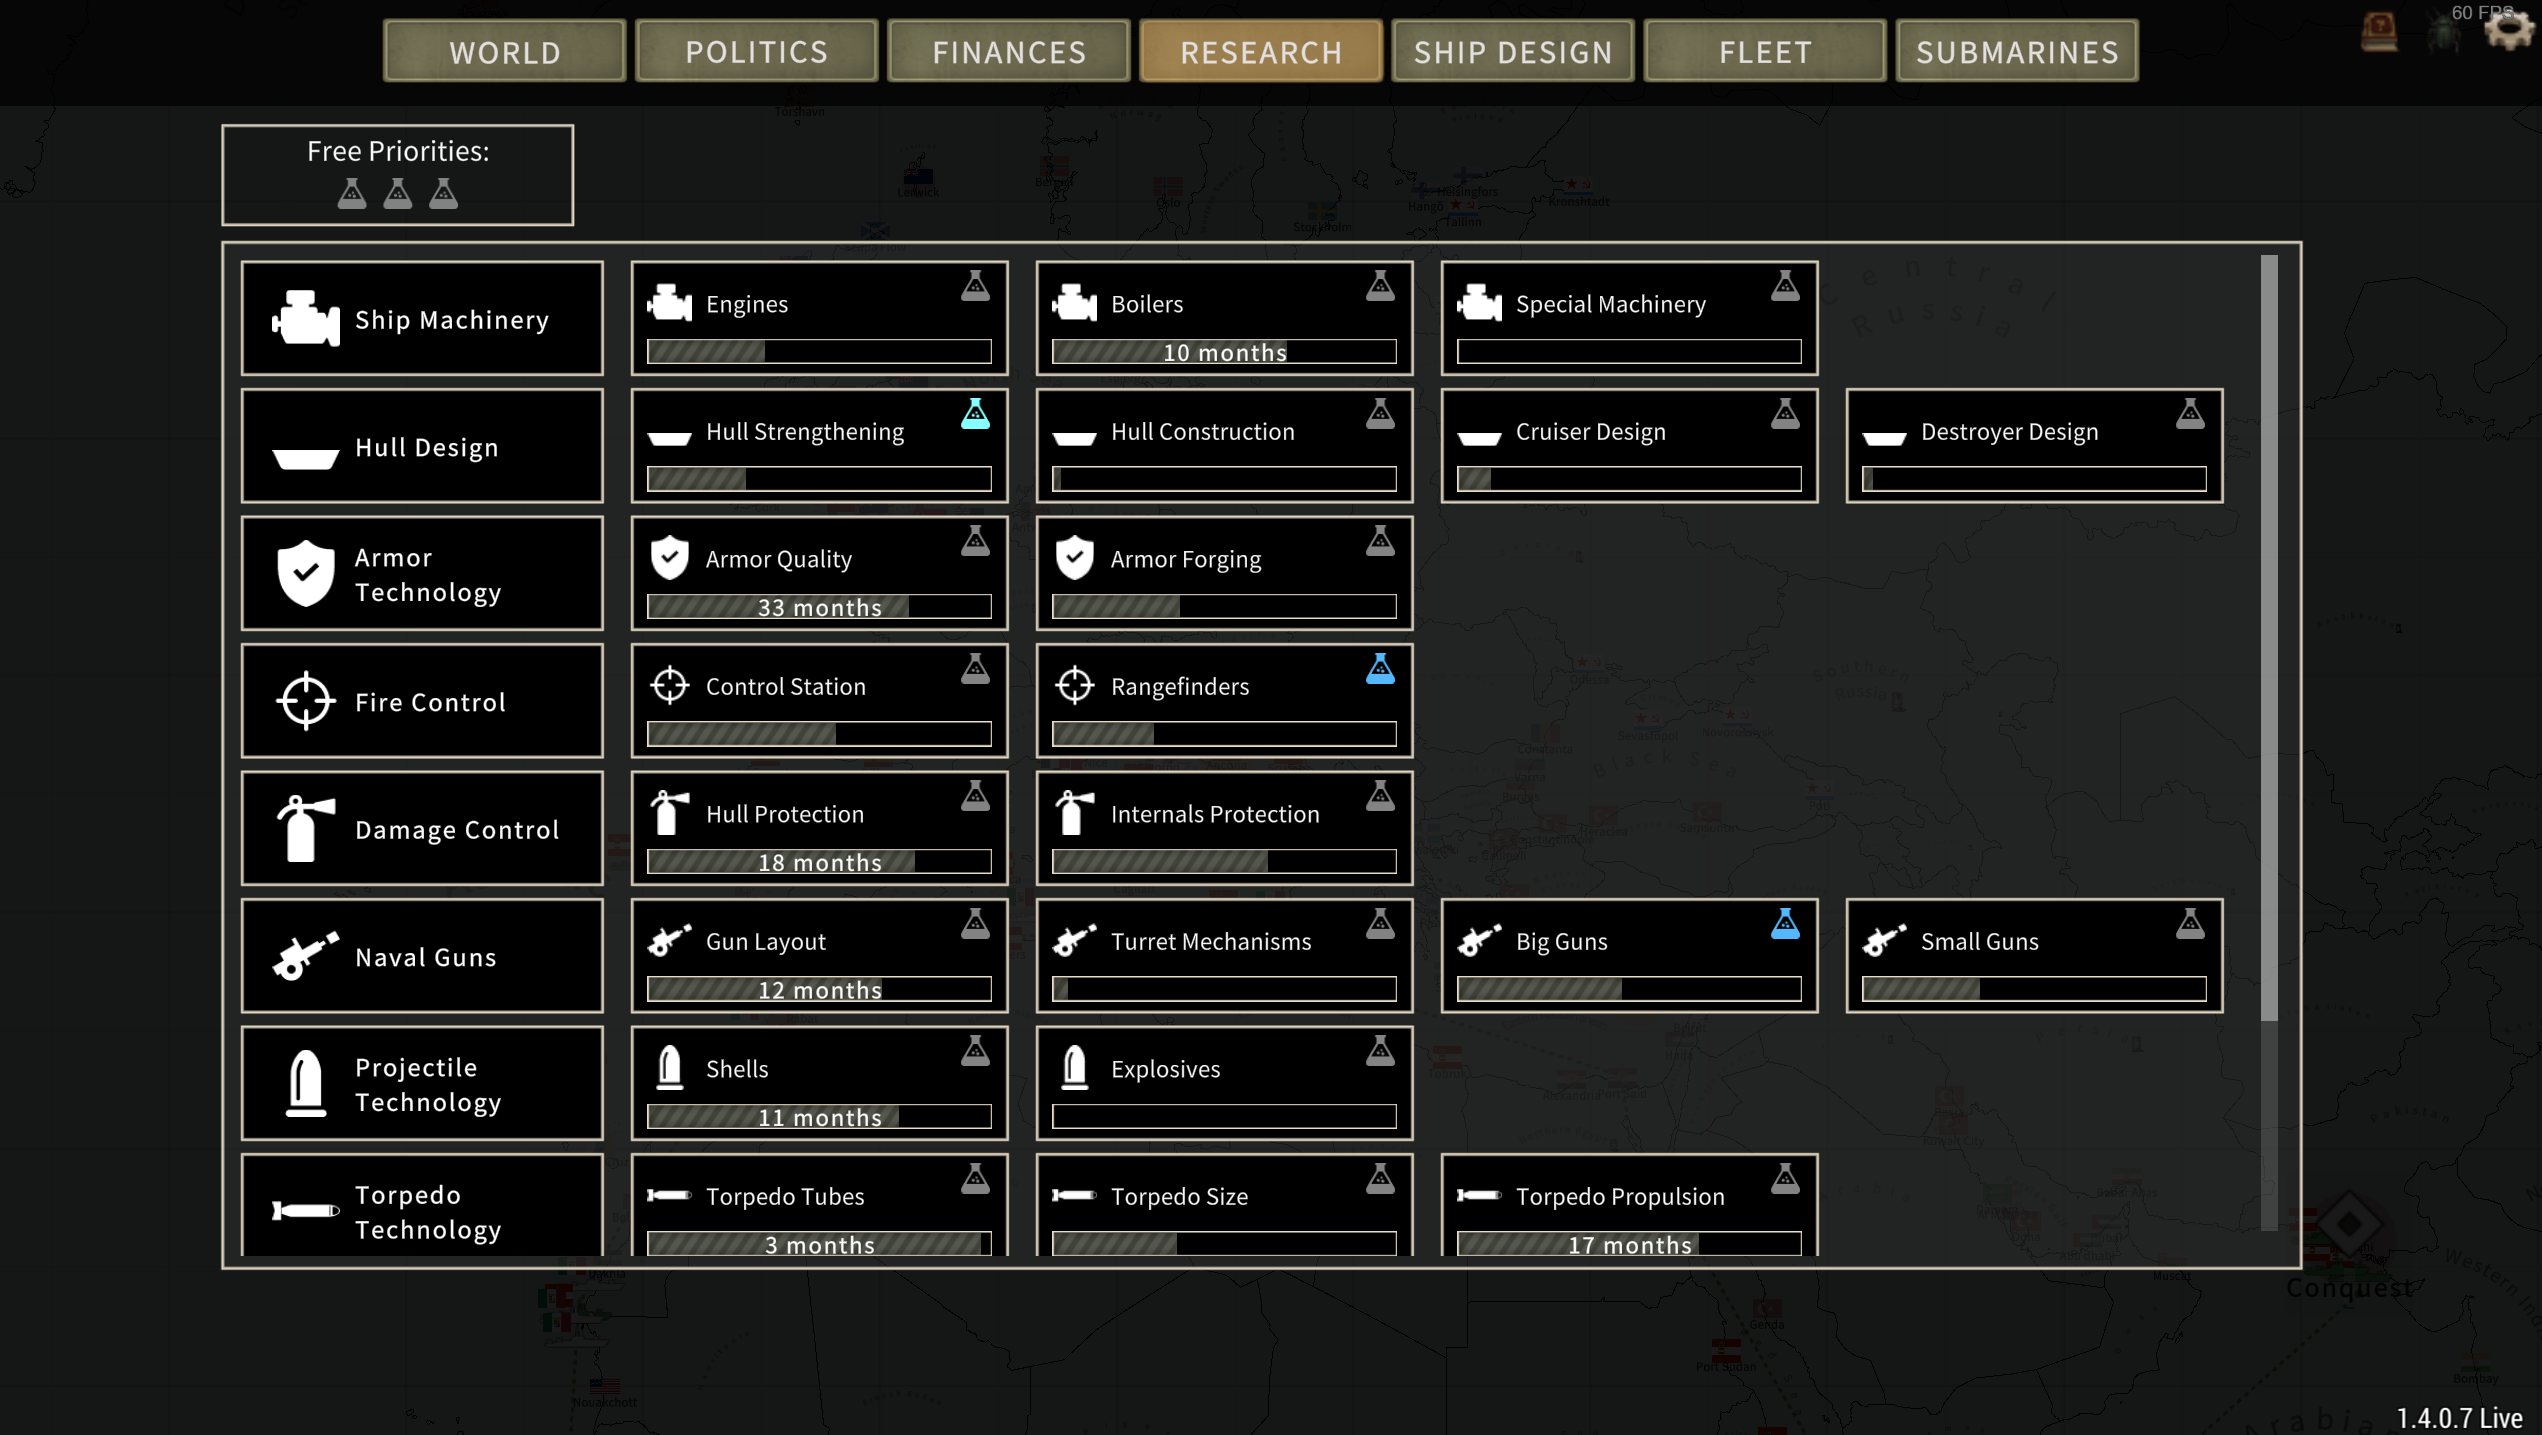
Begin with hull strengthening, big guns, and rangefinders. These upgrades will give you stronger ship hulls and larger guns than your competitors, making you stand out on the battlefield. Rangefinders are crucial for accuracy. Coincidence rangefinders work well for close-range combat, while stereoscopic ones are better suited for longer-range duels.
Ship Design Building
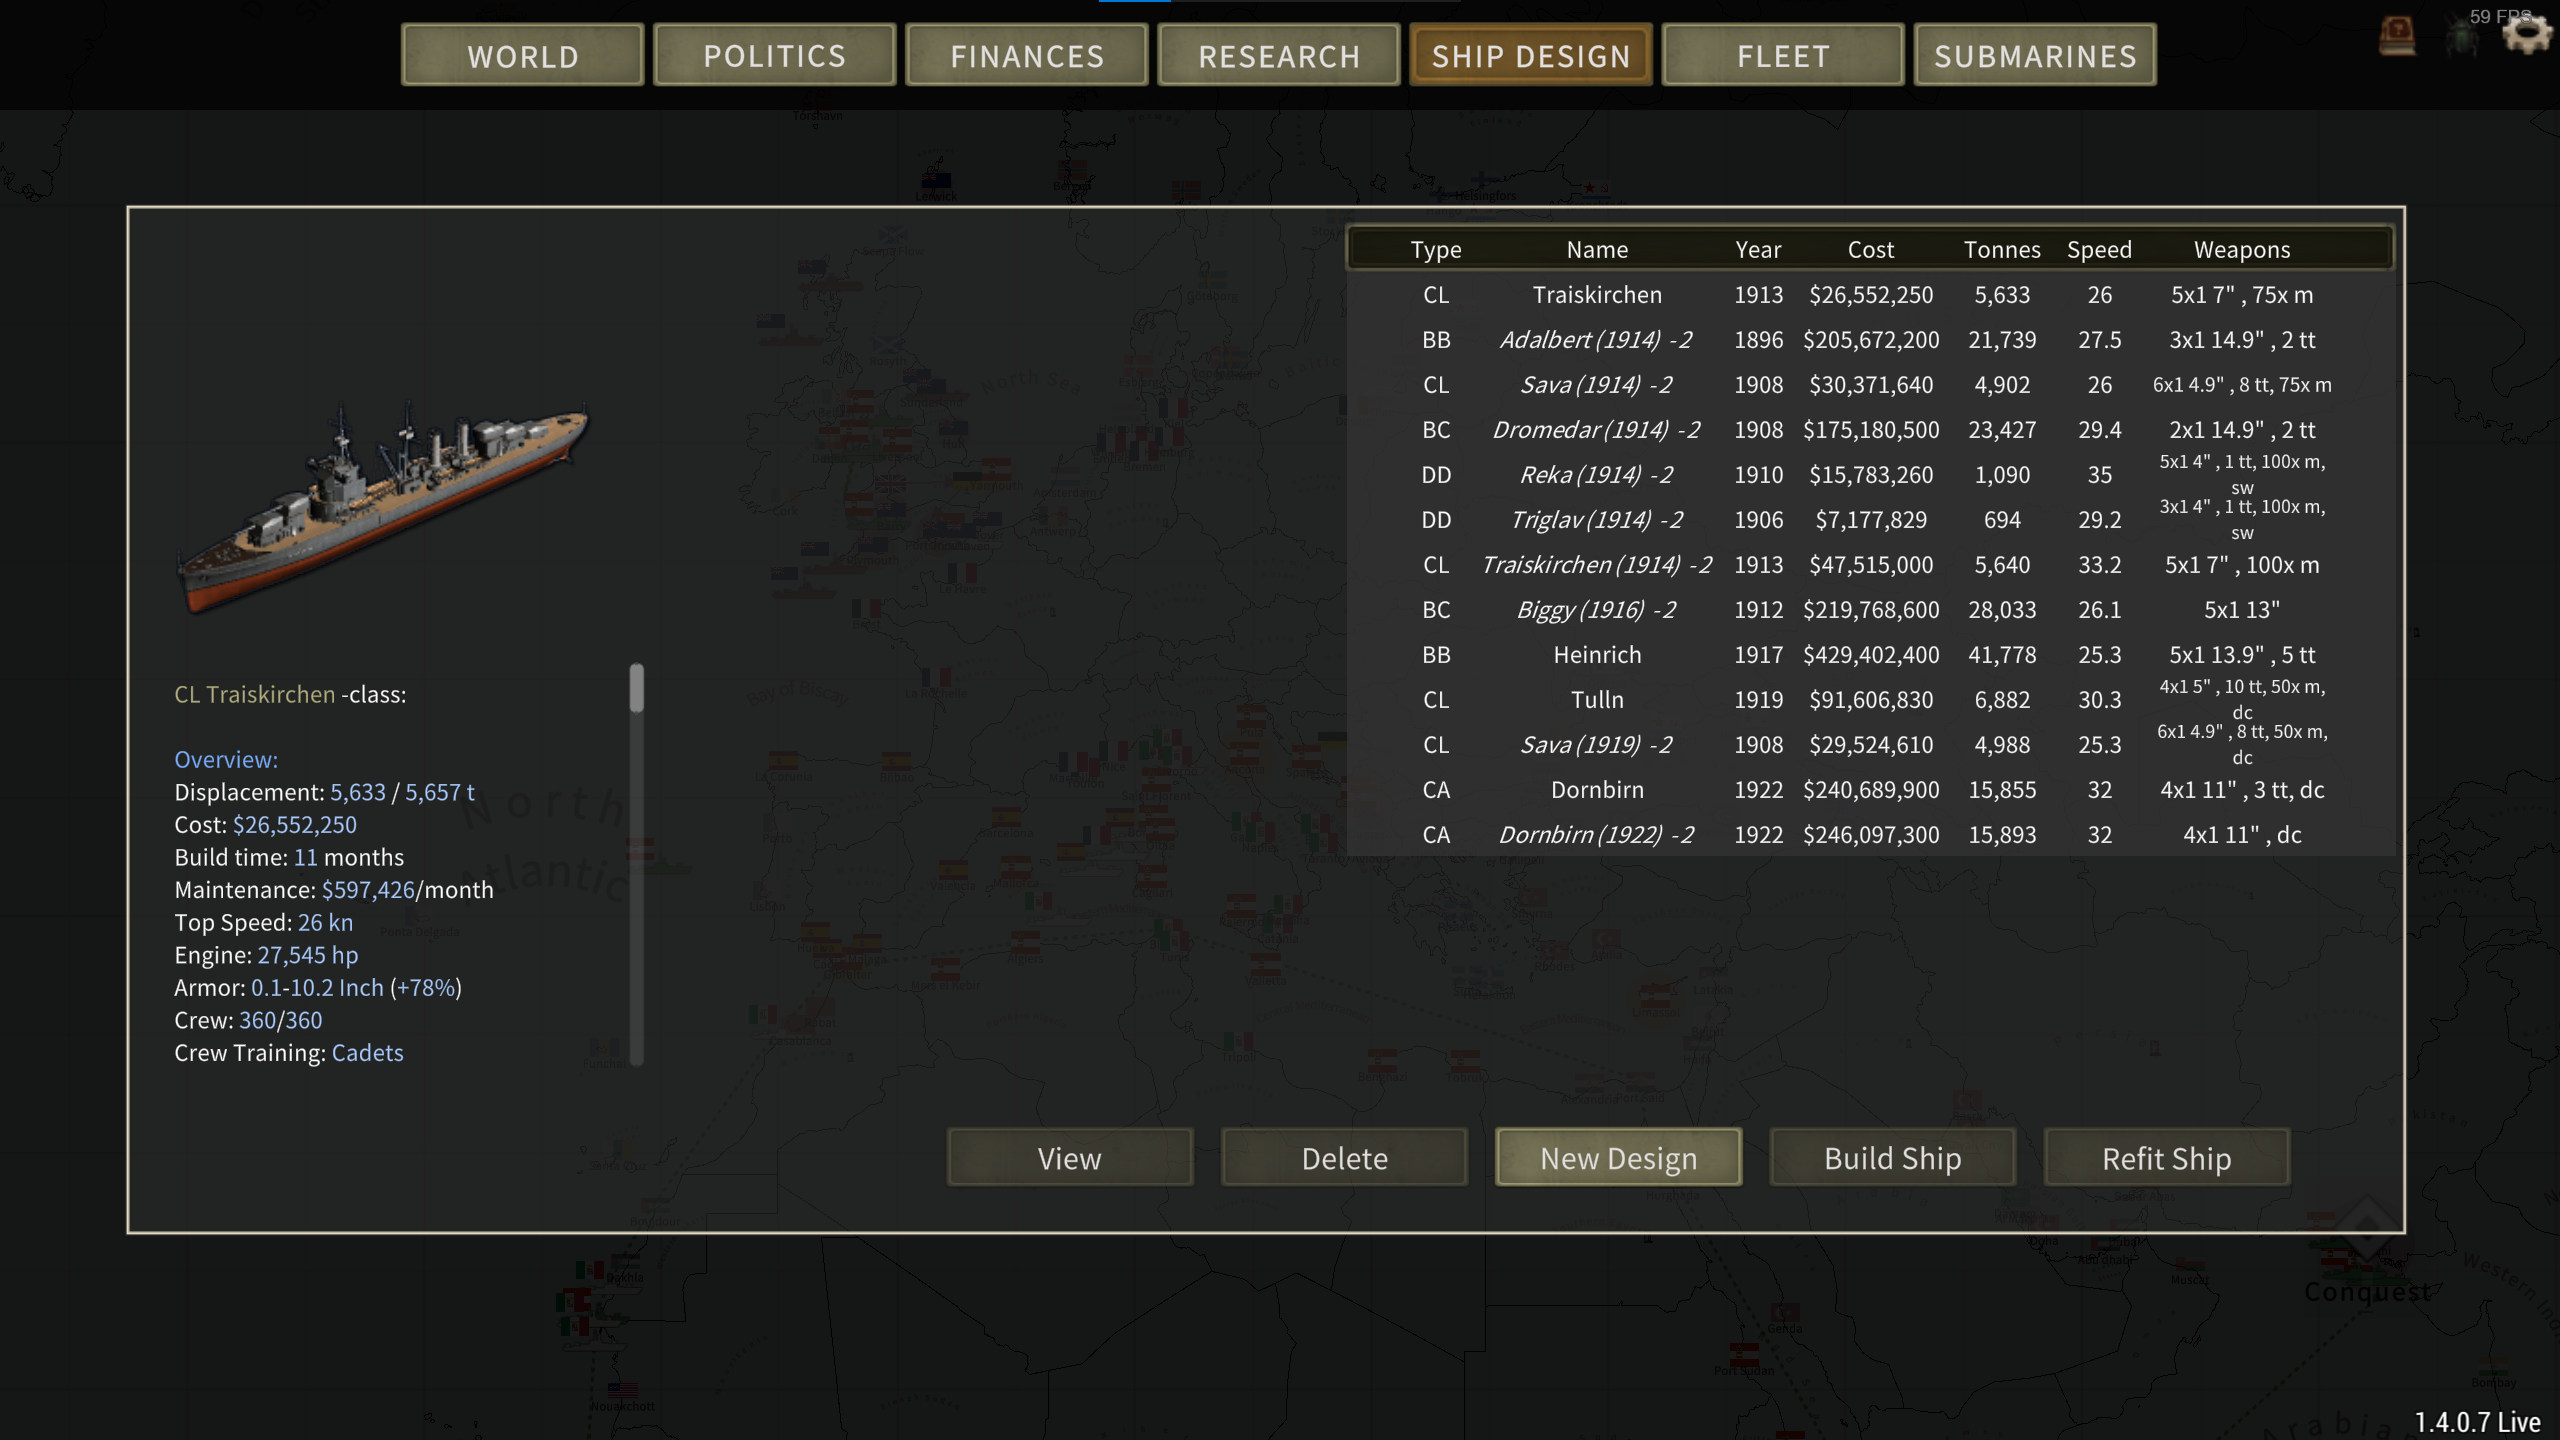
This is the place where you construct your ships. Over time, some designs become outdated, and you can’t build those hulls anymore. However, you can still update your ships through refitting, so make sure to do that regularly to keep them competitive. Please, I beg you, delete all the auto-generated designs here. Other countries might decide to purchase your ships, and if those countries are allied with you, you might end up stuck in missions where you have to fight with outdated ships that should be scrapped. What you’ll build later will be much better than anything available here.
Time in the Pre-Dreadnought Era
Note that is Autoclicker recommended.
In 1892, it’s likely that nothing significant happened, perhaps some prompts offering increased naval budget that you should pay attention to. Keep upgrading building capacity and proceed with all three upgrades into 1894.
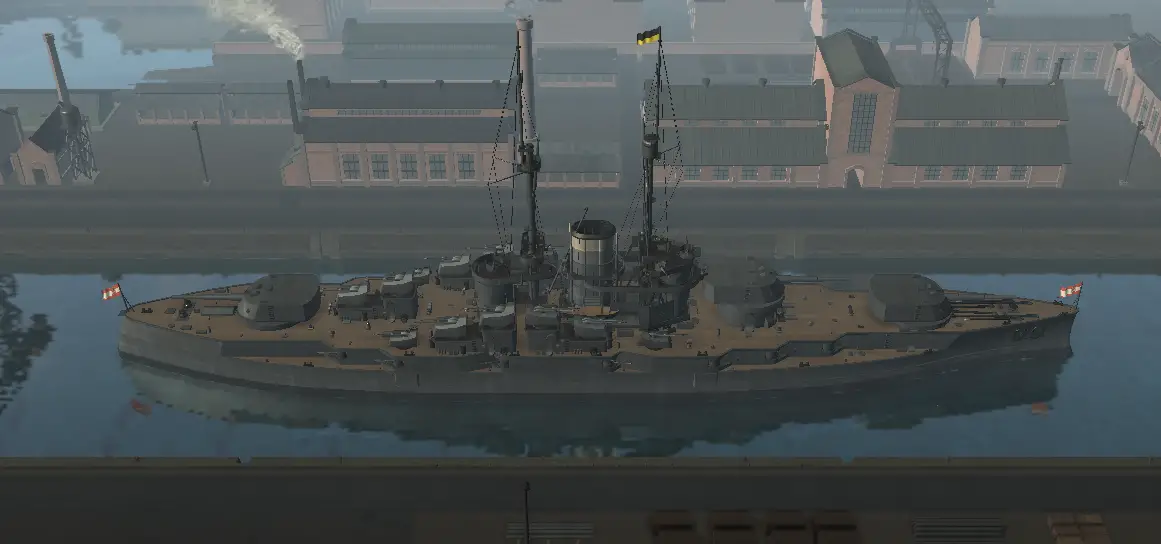
Now, in the period around 1895-1897, congratulations! You now have dreadnought 1, and with the right know-how, you can keep refitting these into the WW1 era before they start to become outdated. Construct four of these using single big gun turrets; avoid twin turrets—they’re not great. Be prepared; neighboring countries may become discontent, with a few potentially itching for war with you.
Ship Design
Let’s talk about the boat design. Twin turrets are not recommended. Begin by placing your towers roughly in the middle. Add boilers in the configuration of 1-3, no more. For effective mid-range sniping, consider using 13″ mk2 and mk3 guns, and for smaller ships, a 4″ gun strikes a good balance between firing rate and damage. Those opting for 2″ guns may regret not choosing 3″ guns. Some suggest a 12″ gun, but feel free to experiment as needed. Include a torpedo gun on the side of your ship; it’ll prove beneficial in battles, as I’ll explain later. Set your ship range to the left; you won’t need long range early in the game, and this weight can be used for speed increases. Adjust your speed after building the ship.
A hint: Starting with 18 knots is a good idea. If you can’t reach this, try slightly lowering the main belt armor. Aim for three 13″ turrets with some 4″ guns on the sides and casemates. This should give you a ship that can achieve the desired speed. Get her going as fast as you can!
The ship described can be designed, built, and on the water by 1897 if you know what you’re doing. (Note: 14.9″ mk3 and 4.9″ mk4 are not available until future refits.)
Armor
You can have your opinions, but in my experience, most ships can’t withstand more than one or two solid salvos before becoming ineffective or sinking, which can be quite frustrating. If you find yourself in a tough situation, hit the escape key, exit to the main menu, and reload the game. Take note of the distance your enemy was when you got hit, e.g., 5 km. In the next encounter, stay beyond this range. The randomness of hits in battles tends to occur more from being too close rather than a flawed design. Restarting a fight is often more beneficial than stressing over unfavorable outcomes.
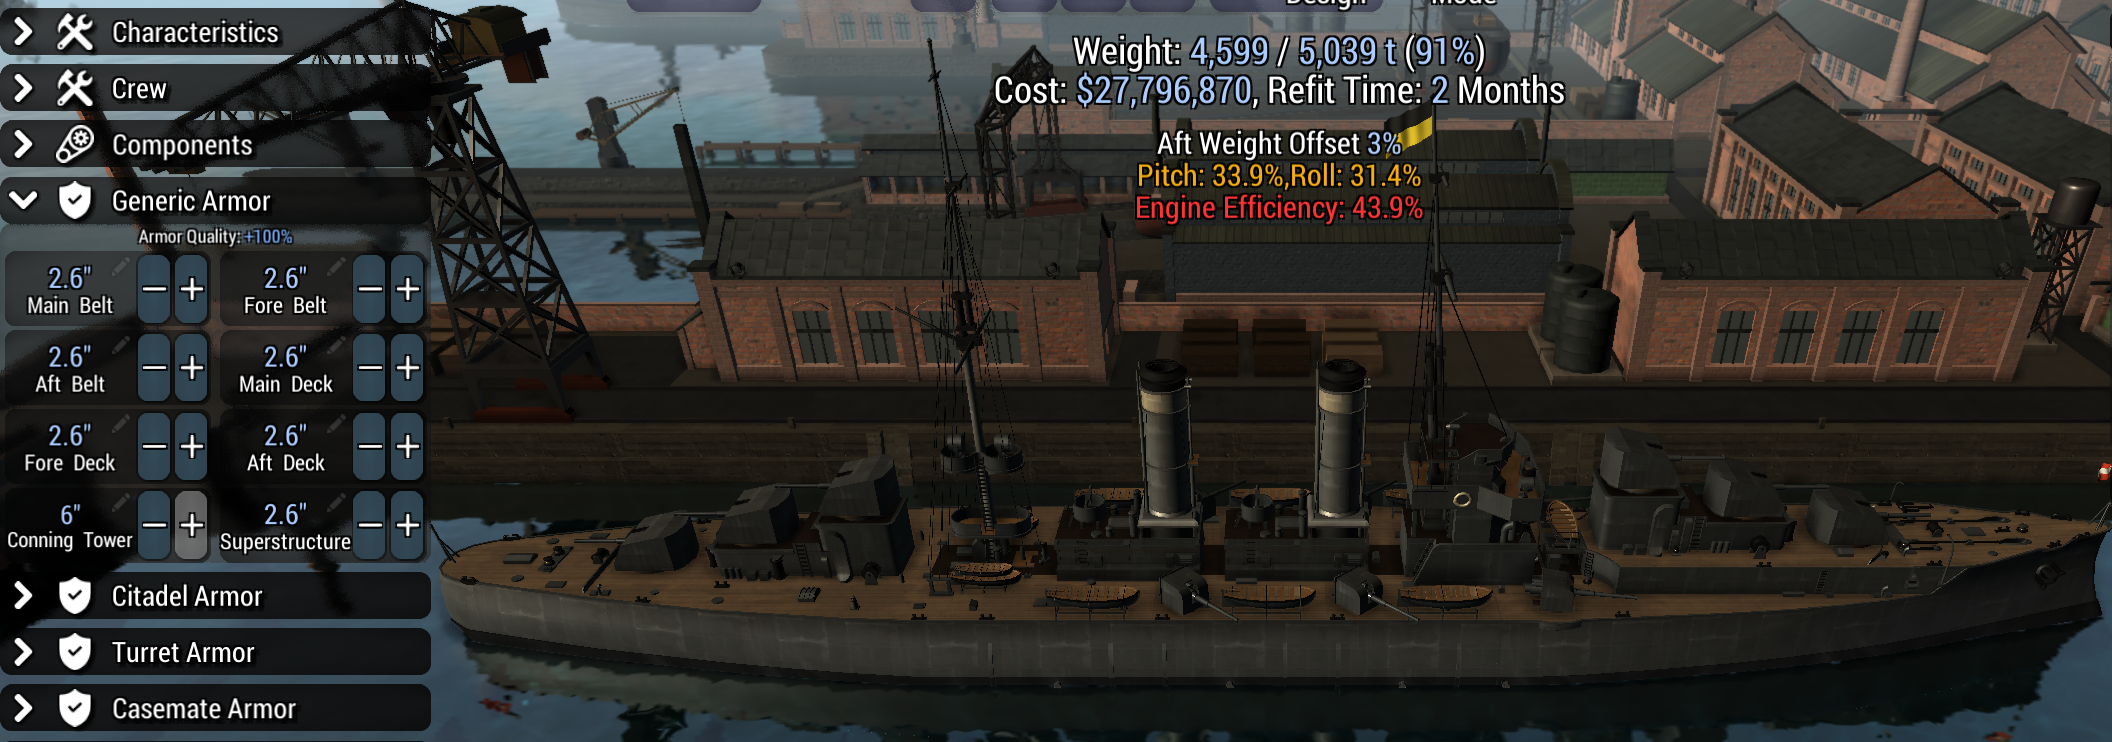
Pay attention to the Armor tab for ship balance and weight offsets, with maxing out the main belt armor being a good starting point. Experiment with different configurations as needed. A helpful hint: Boosting deck armor can significantly improve accuracy, so try increasing it as much as possible.
Refit
Invest in researching small guns from the rangefinder tree. Remember to refit your ships after commissioning.
You don’t need to continue researching dreadnoughts; you’re already 10 years ahead of everyone, and your main threat is torpedoes.
Here’s how to refit:
Go to ship design and click VIEW. This opens the design area after selecting a design. At the top, you’ll see a wrench for refit, allowing you to edit your ships. Don’t panic if your screen shows red and errors; it’s due to updated guns in awkward positions. Adjust things instead of deleting everything. If some turrets are too big, consider going down one gun size, especially for small guns.
Easy upgrades involve researching new armor, like transitioning from Harvey to Krupp for a weight loss. A simple refit path includes better armor, adding 1-2 knots for speed, and utilizing the newfound room for enhancements.
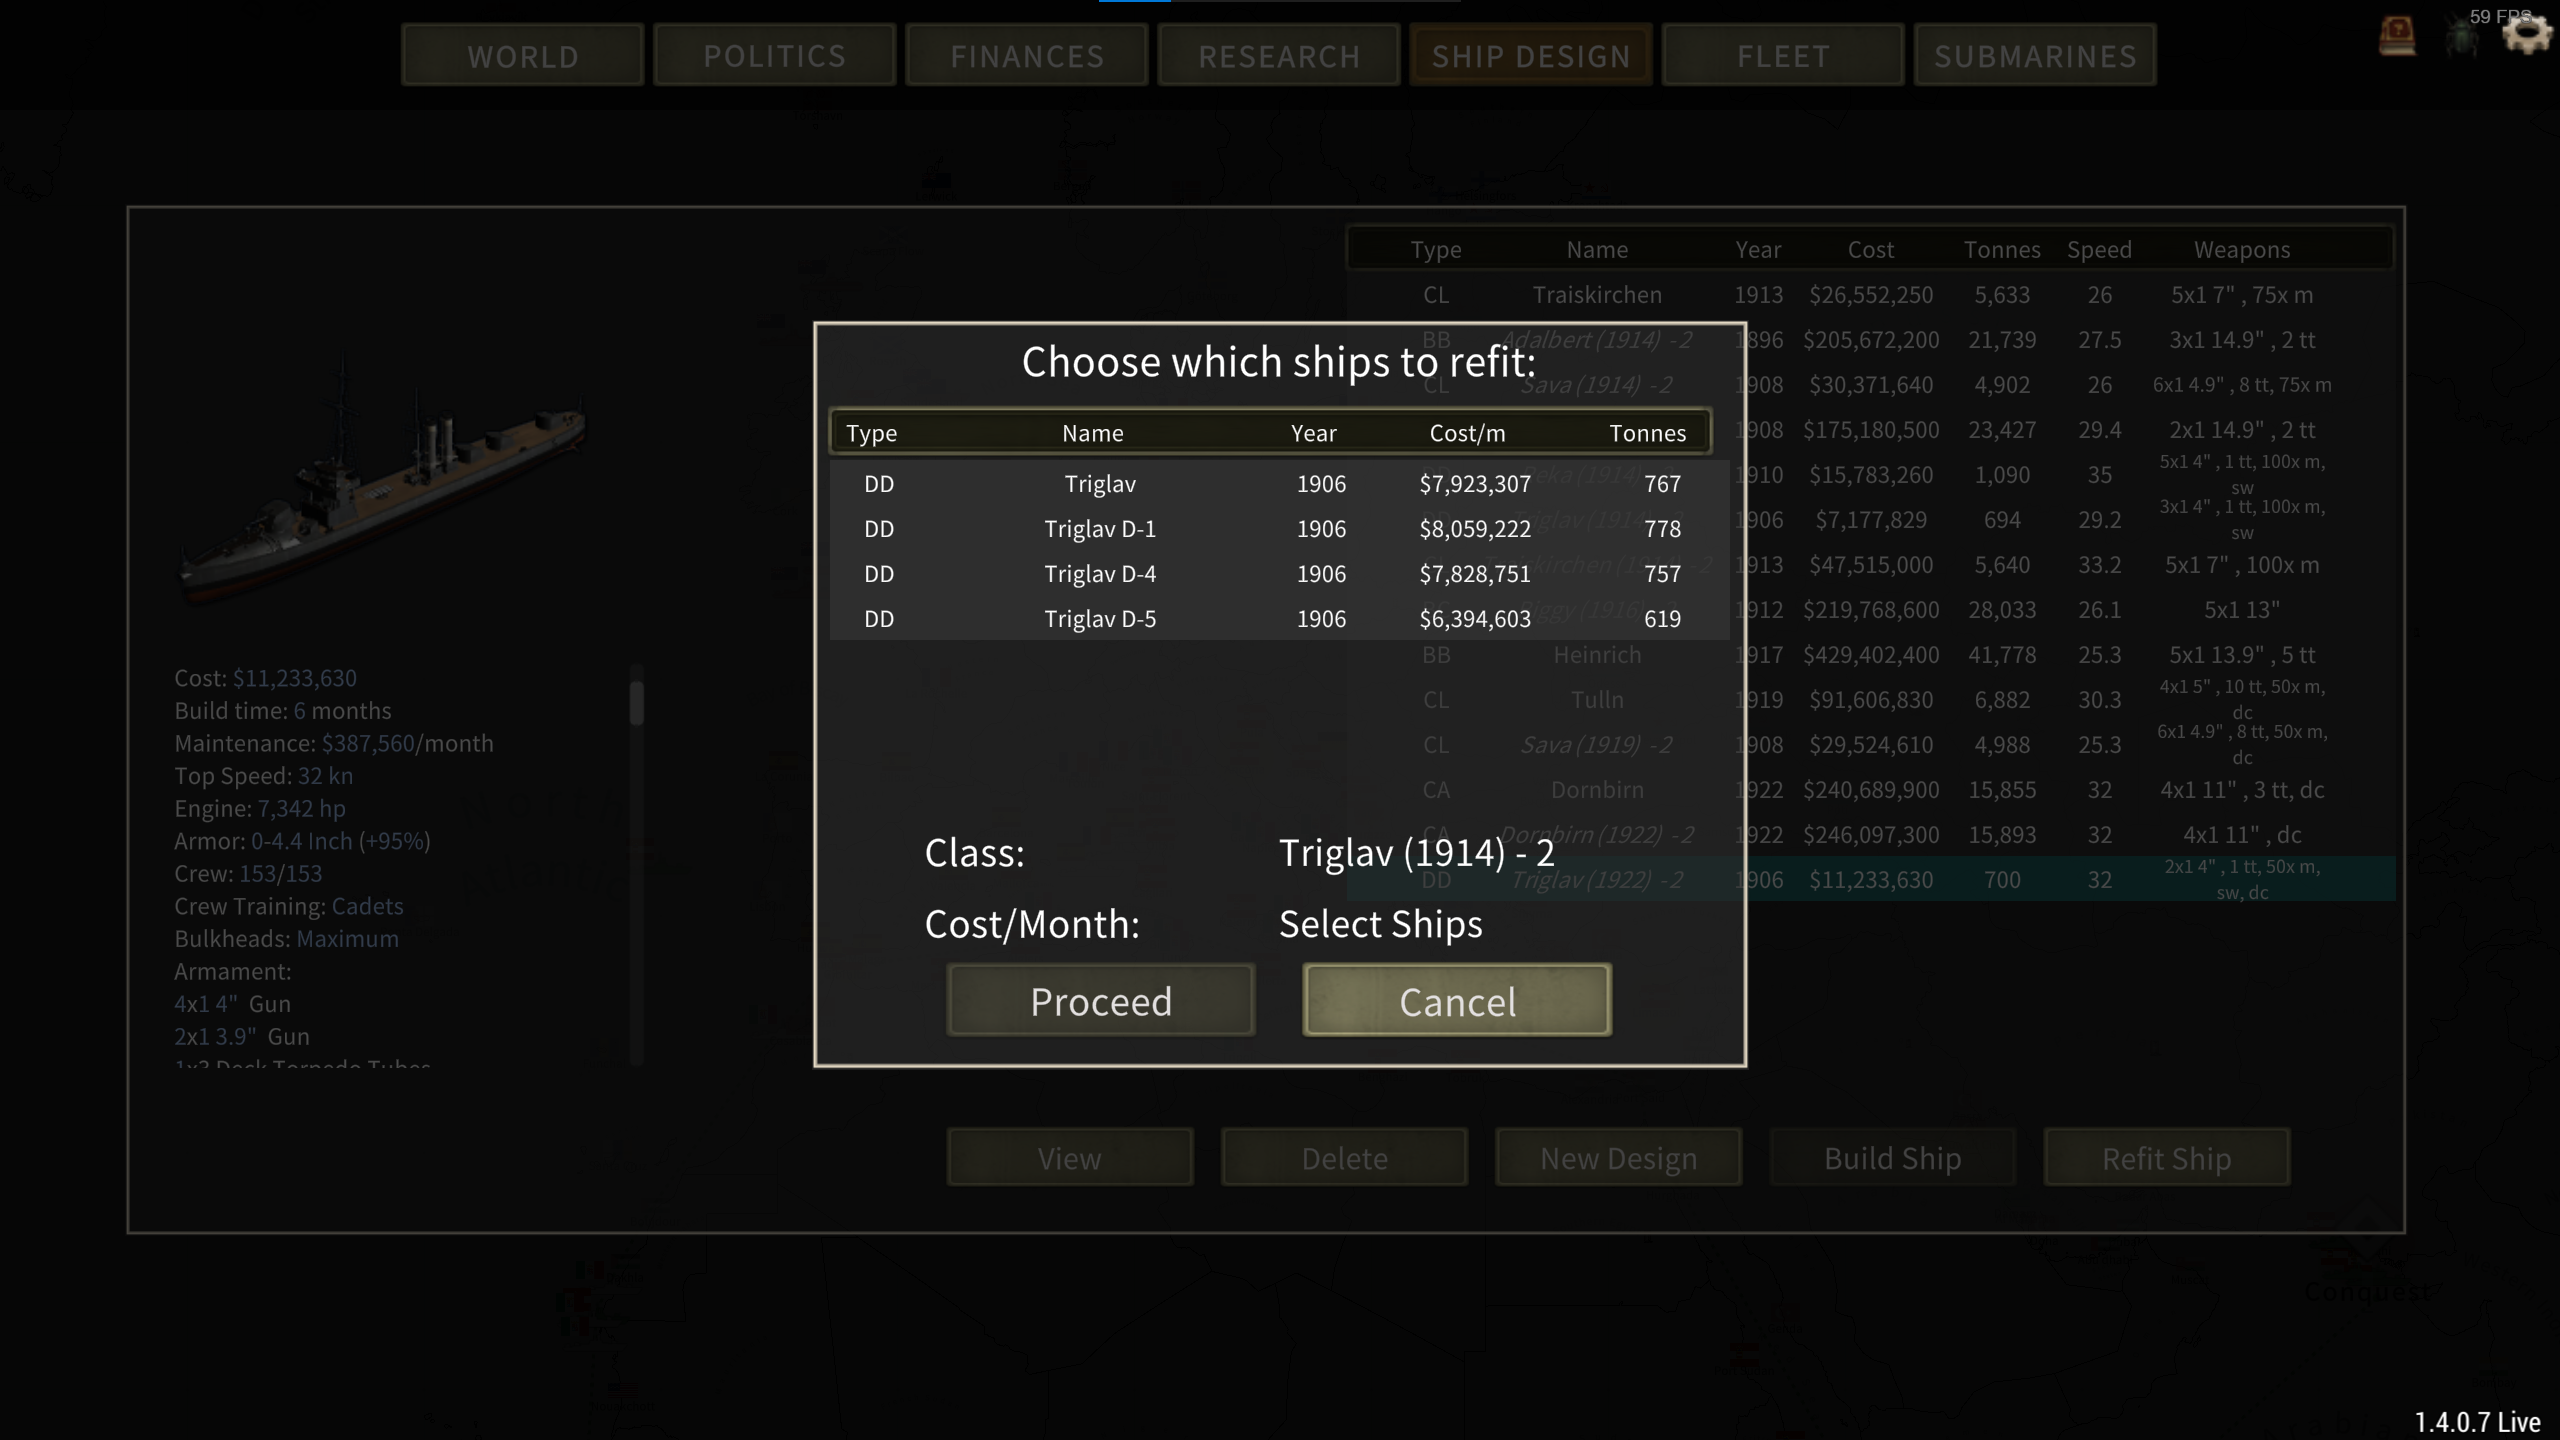
After finishing, click SAVE at the top to exit the design area. In your ship menu, under “design,” you’ll find “design1.” Bring your ships home to refit. When your ships are home, click on “design1” and then REFIT at the bottom. Note that ships cannot be refitted if they are being repaired.
Since you have decent big guns and stereoscopic 1, your four ships should perform reasonably well.
Winning Your First Battle
If you’ve built the recommended 4 dreadnoughts and found yourself in an unfortunate war with your enemy, you’re now prepared for battle! Send your 4 ships toward an enemy fleet, any fleet. RNG (Random Number Generator) should get you into a fight within a couple of turns. Because you have 4 battleships, the game will attempt to balance by providing you with what it thinks is an equivalent force, often giving you 37 ships to engage. Don’t worry; you’ve got this!
Begin by moving toward “smoke cited,” and when you spot the first enemy ship, make a left turn.
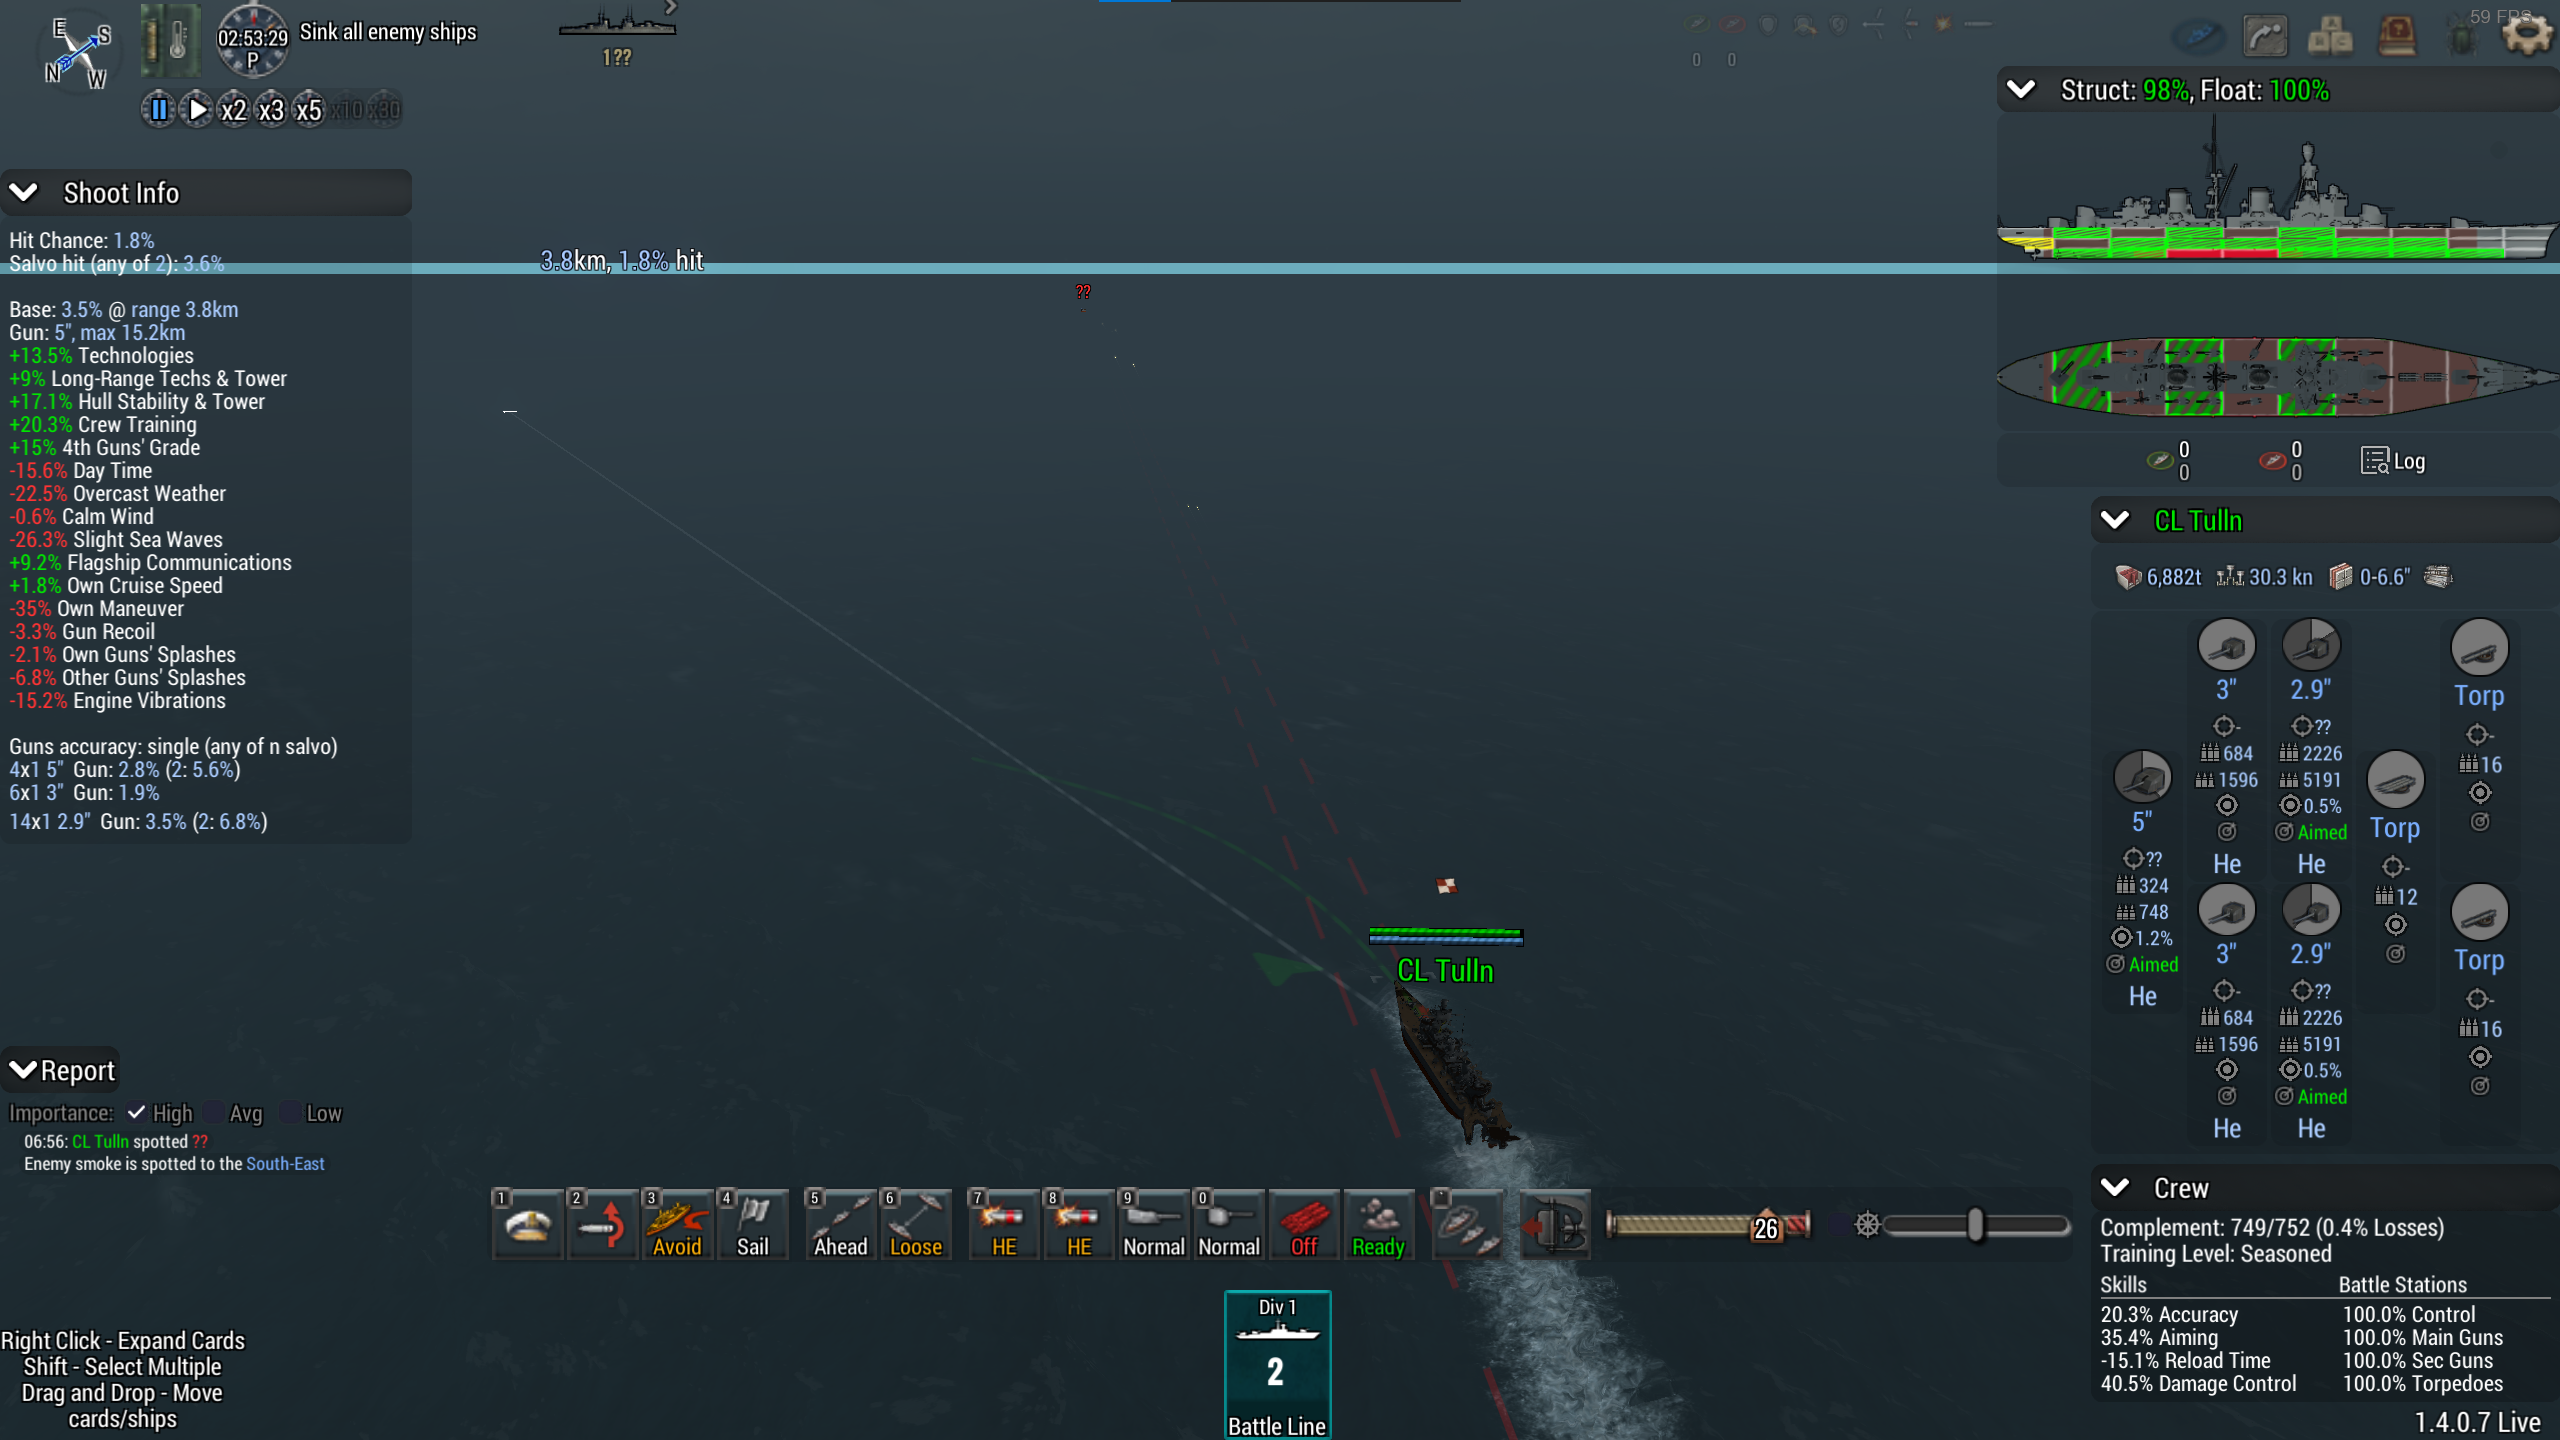
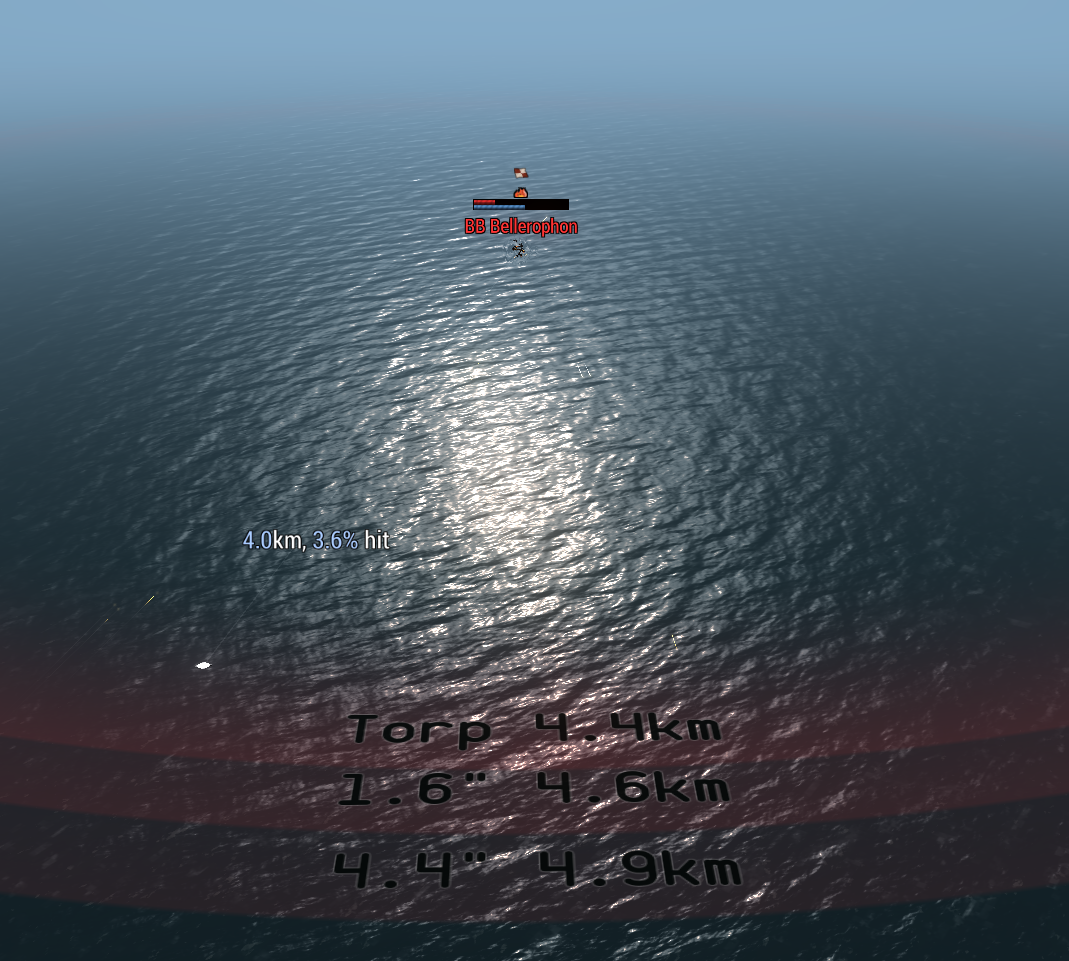
Let the enemy come to you. In the early game, the ideal range is about 2-4 km from your enemy, as accuracy is much better at point-blank range, especially against individual ships. A simple rule of thumb: click on your fleet, and you’ll see a ring around your first boat in line. The “Torp” range should be 0.9 km or 1.2 km in the early game and will increase with time and refits. Use this ring to maintain your distance from enemies. If ships get inside this ring, turn away. Pesky little boats may try to approach you; if they start rushing toward you, shoot them.
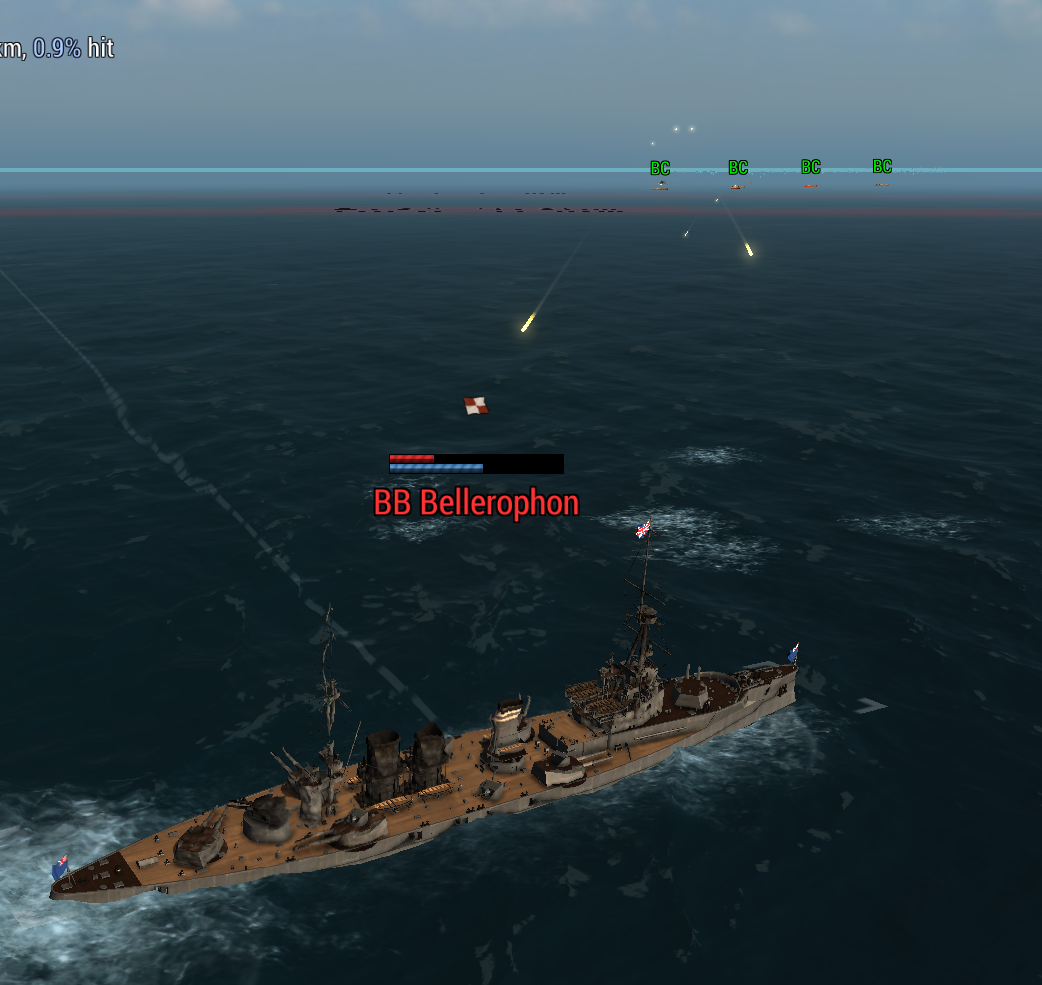
At this stage, you should have four formidable ships, facing a large batch of less impressive ones for you to target. Your task is straightforward: gently circle your enemy, and let your ships take care of the rest.
On the flip side, click on an enemy ship and locate their torpedo ring. With individual ships, try to get as close to this ring as possible, but move away if you are about to enter the ring. Dealing with random torpedo shenanigans can be frustrating, but now you know how to handle early-game torpedoes!
Congratulations, you now have a decent cheeseball start strategy. PS: This is particularly enjoyable for Austria Hungary.
That's everything we are sharing today for this Ultimate Admiral: Dreadnoughts guide. This guide was originally created and written by NOVA2733. In case we fail to update this guide, you can find the latest update by following this link.
