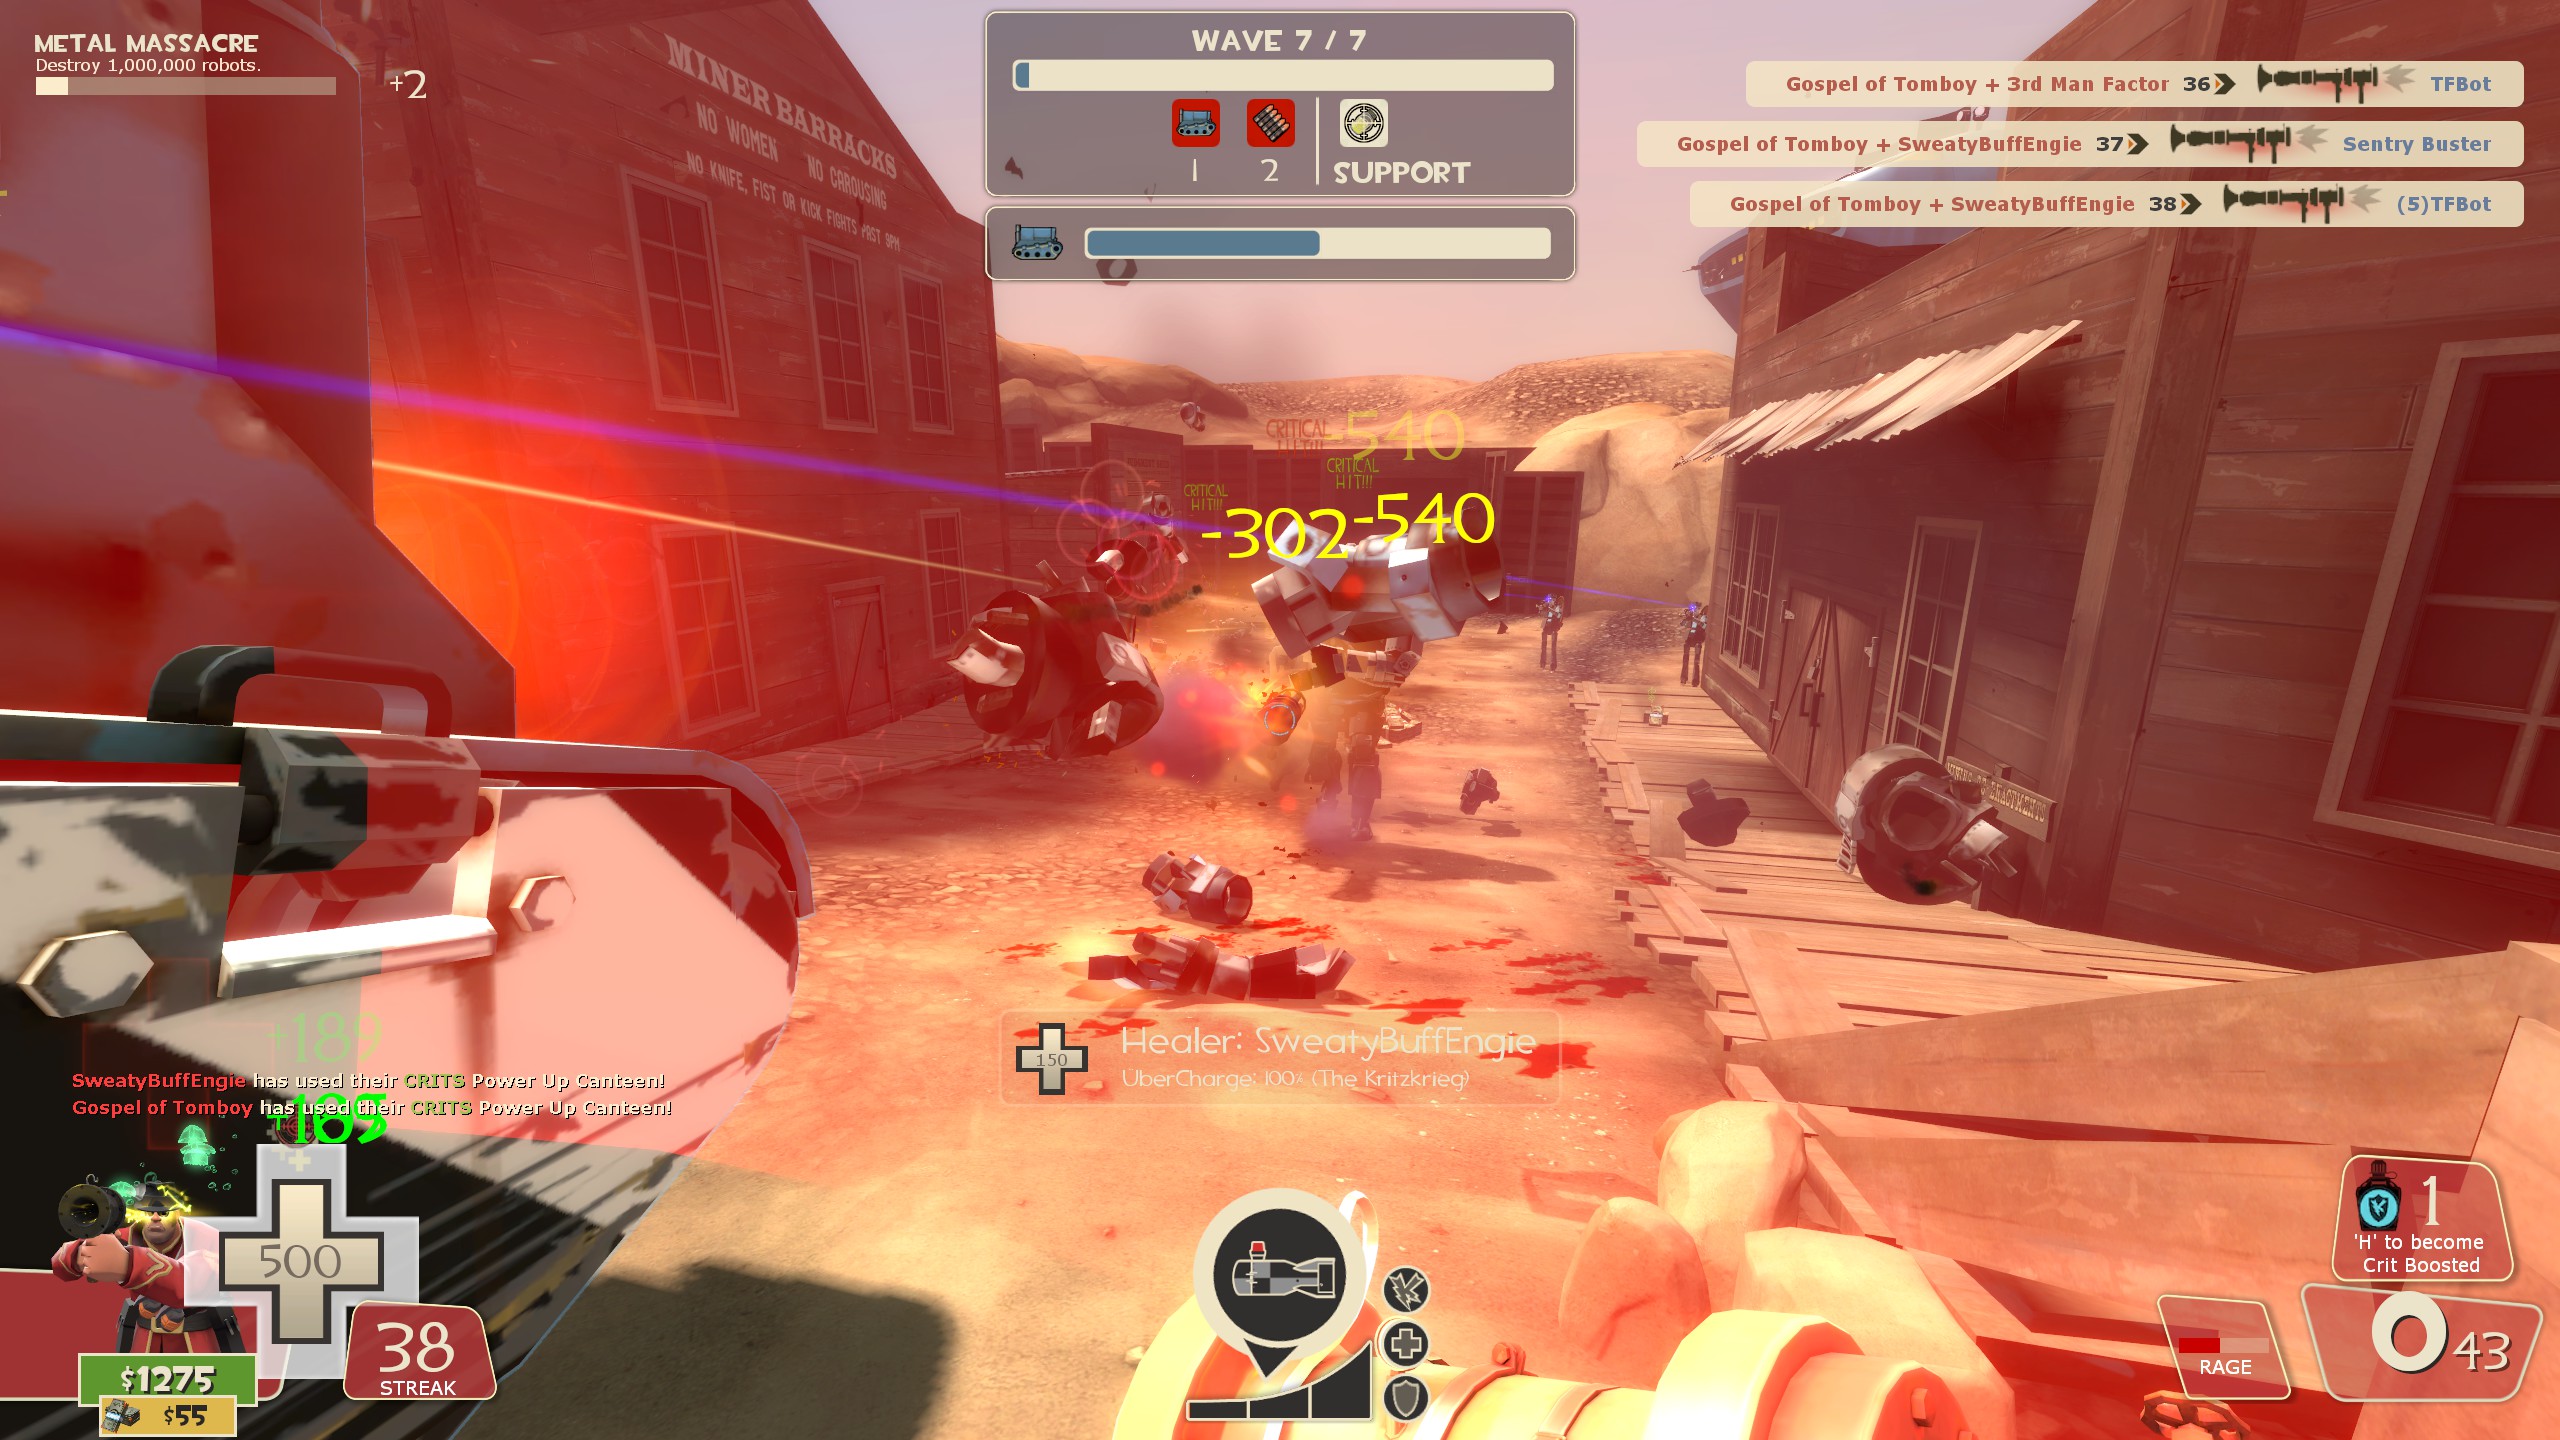
Here’s a guide to help you clear Gear Grinder’s Coal Town Cataclysm in Team Fortress 2. If you’re finding Expert Mann Up mode challenging, take a look at this guide.
Introduction
Cataclysm represents Gear Grinder’s Coal Town mission.
It’s often seen as the easiest among the three official Expert missions. This is mainly because it generously rewards players with credits and features less complex enemy waves. However, even though it’s considered easier, it can still pose challenges for players who are new to Mann vs. Machine (MVM) and its basics. A skilled team can breeze through all seven waves without any trouble, while an inexperienced group might struggle right from the beginning. The good news is that learning how to tackle this mission effectively doesn’t require much effort. Drawing from my personal experience of completing over 100 Expert tours, I’m confident that this guide will serve as a valuable starting point for any novice Expert player looking to master this mission.
This guide will primarily concentrate on strategies specific to each wave. There are already numerous guides available that can teach you how to play individual classes effectively. Therefore, I won’t spend time discussing class-specific tactics. If you’re venturing into Expert mode, you should already have a grasp of the fundamental roles in MVM, such as Crowd Control, Tank-Busting, Giant-Slaying, and Support, among others. You should also be familiar with each class’s strengths, weaknesses, and unique abilities. For example, the Scout excels at collecting cash, the Heavy is formidable against giants, and the Soldier and Pyro can effectively deal with tanks. If you are comfortable with your class choices and roles but struggle with the missions themselves, this guide aims to address any challenges you may encounter.
What to Expect
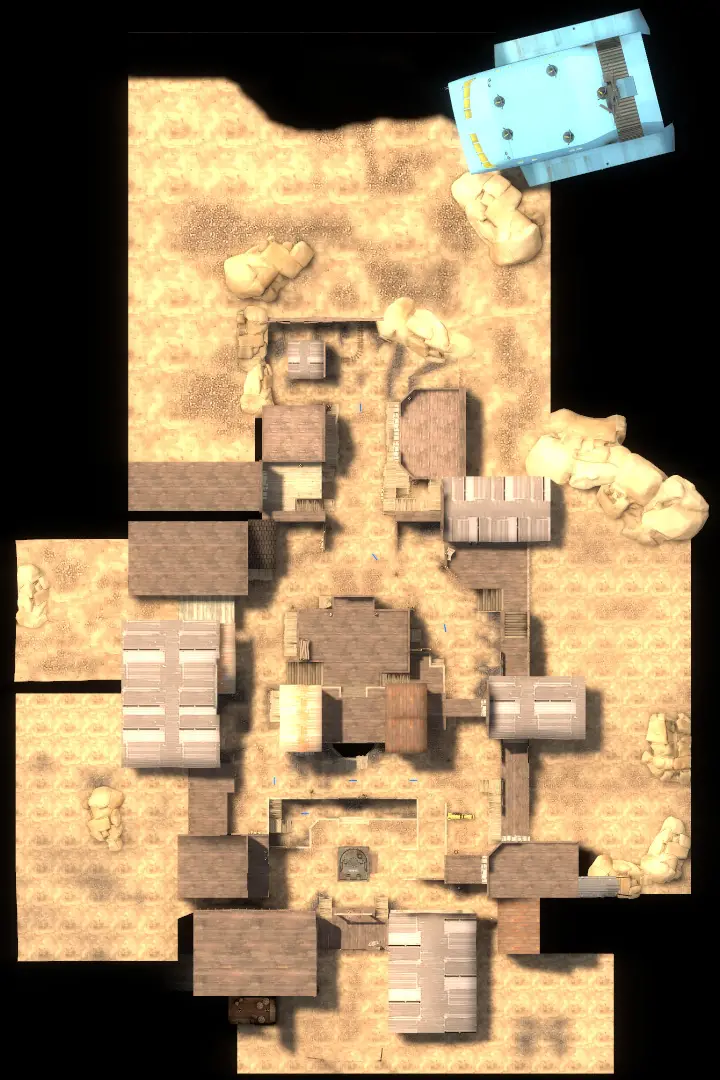
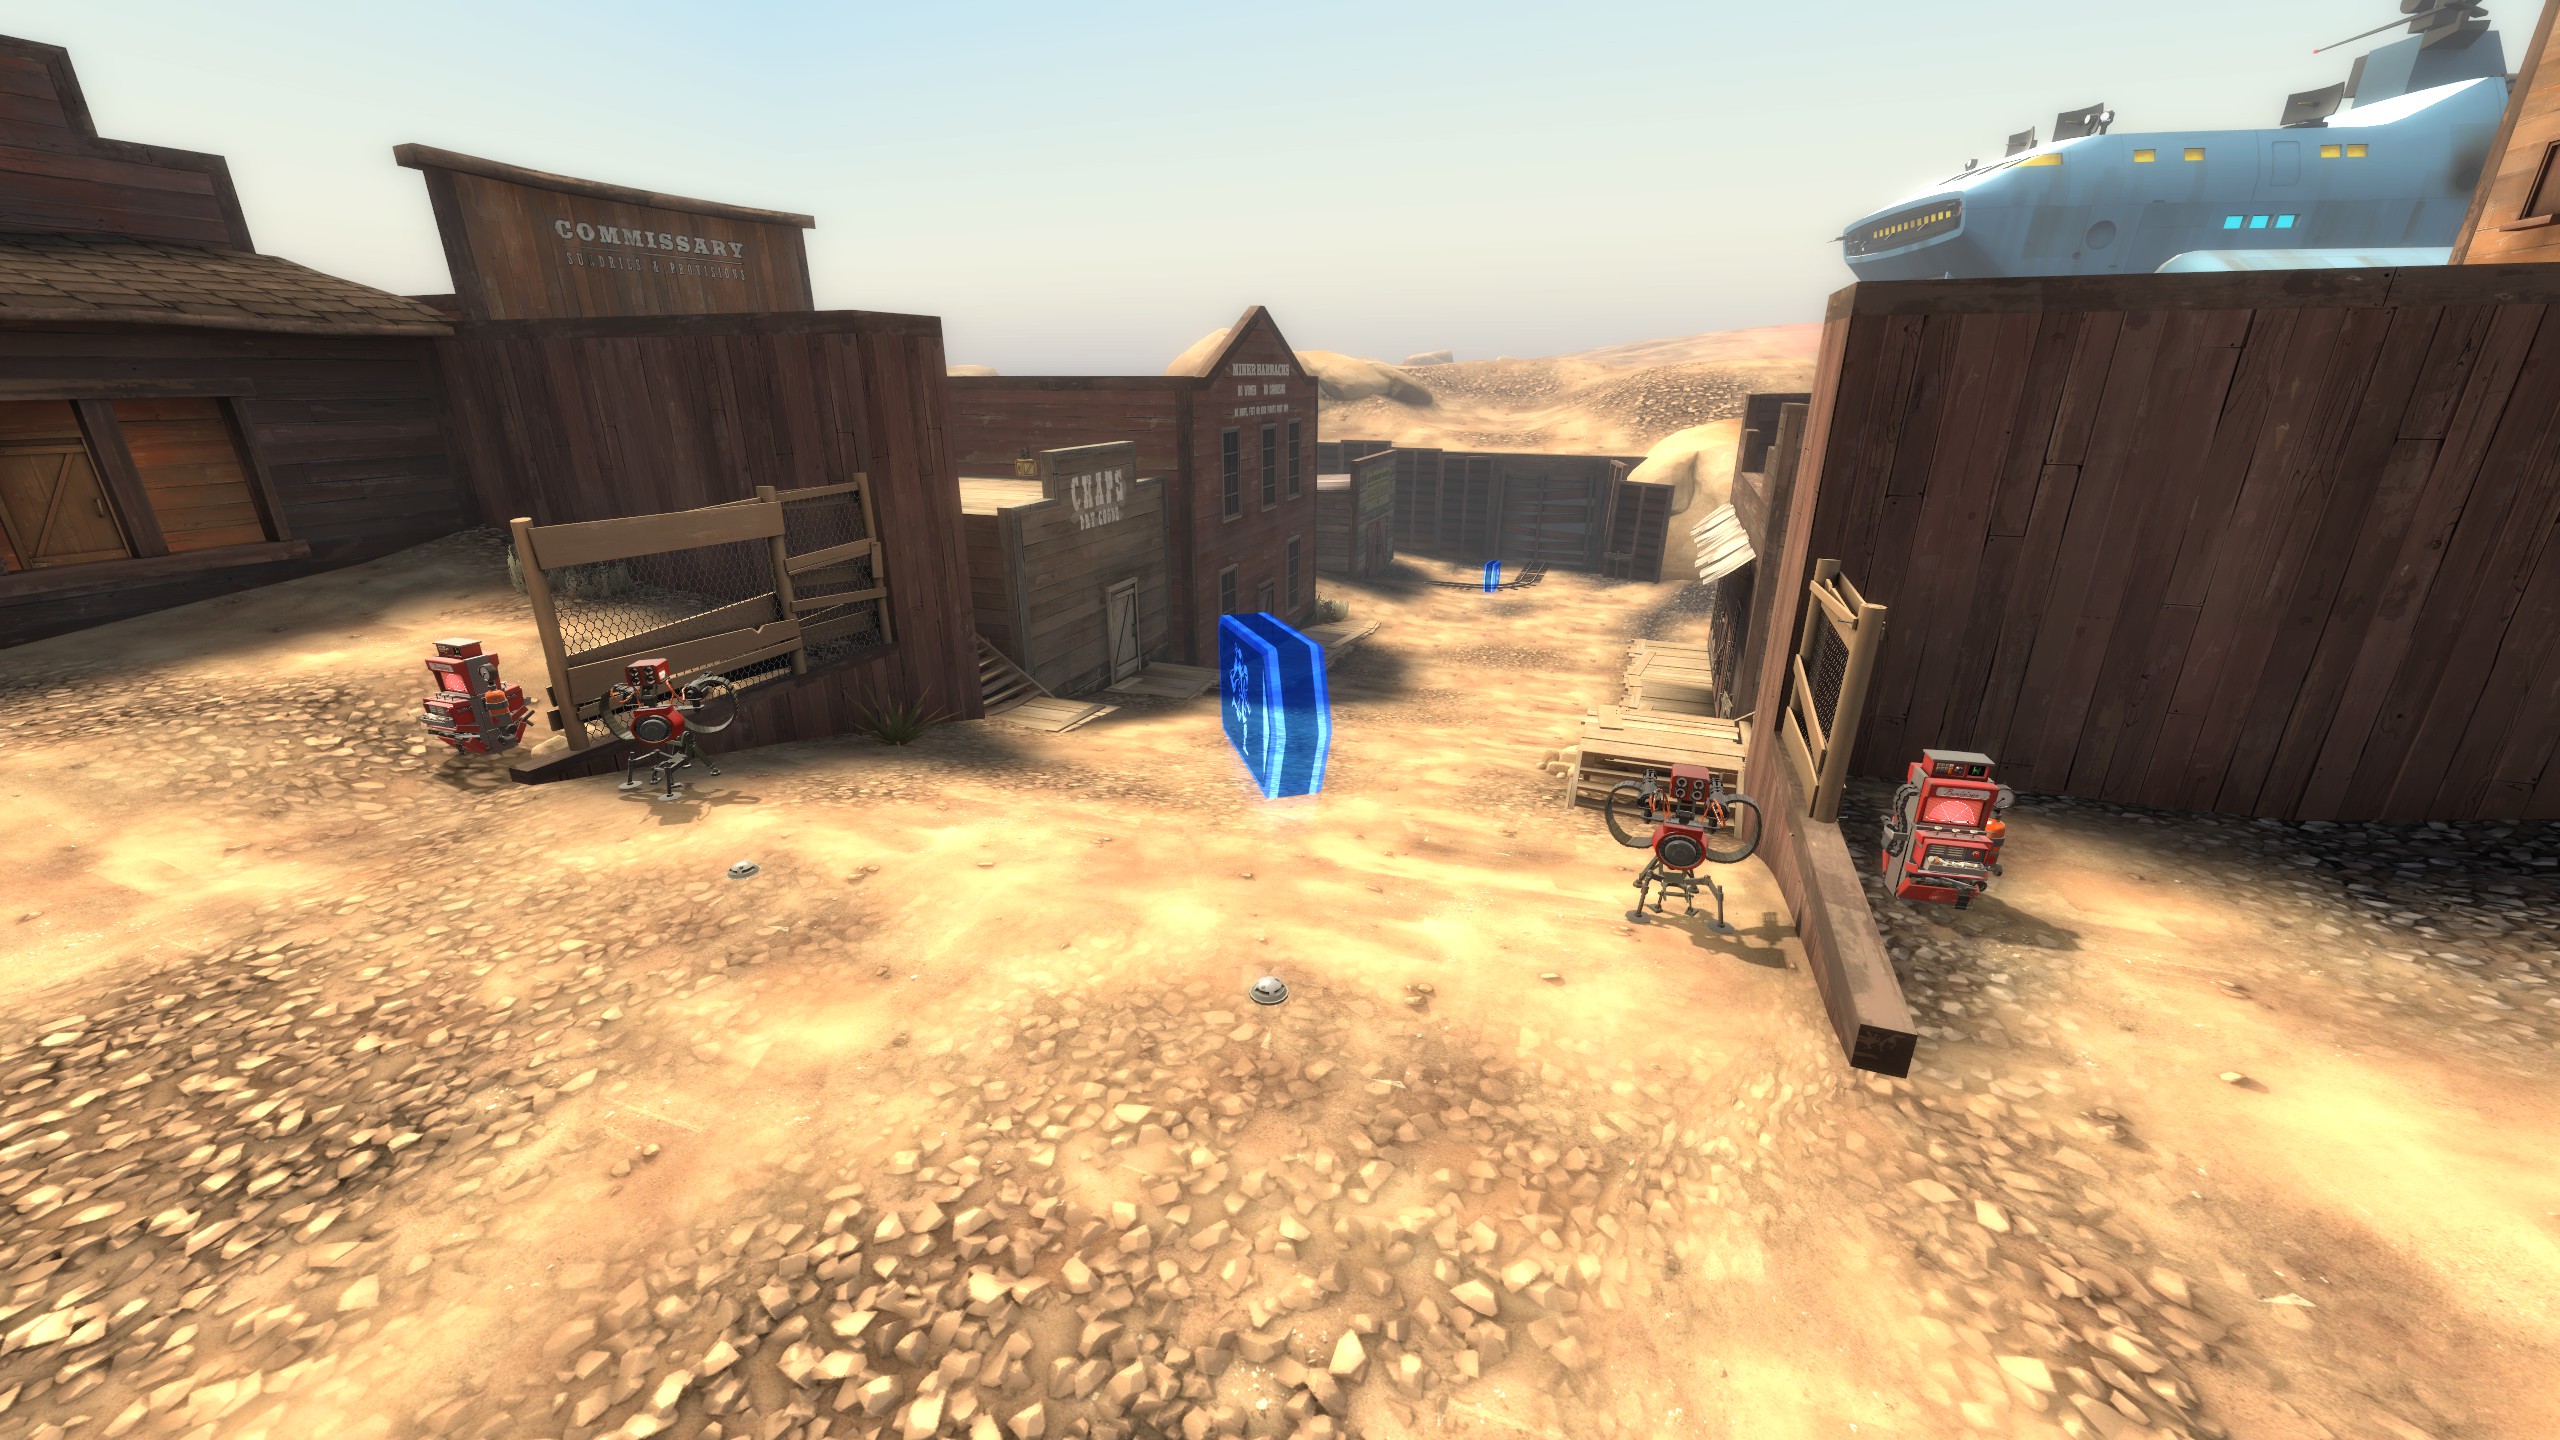
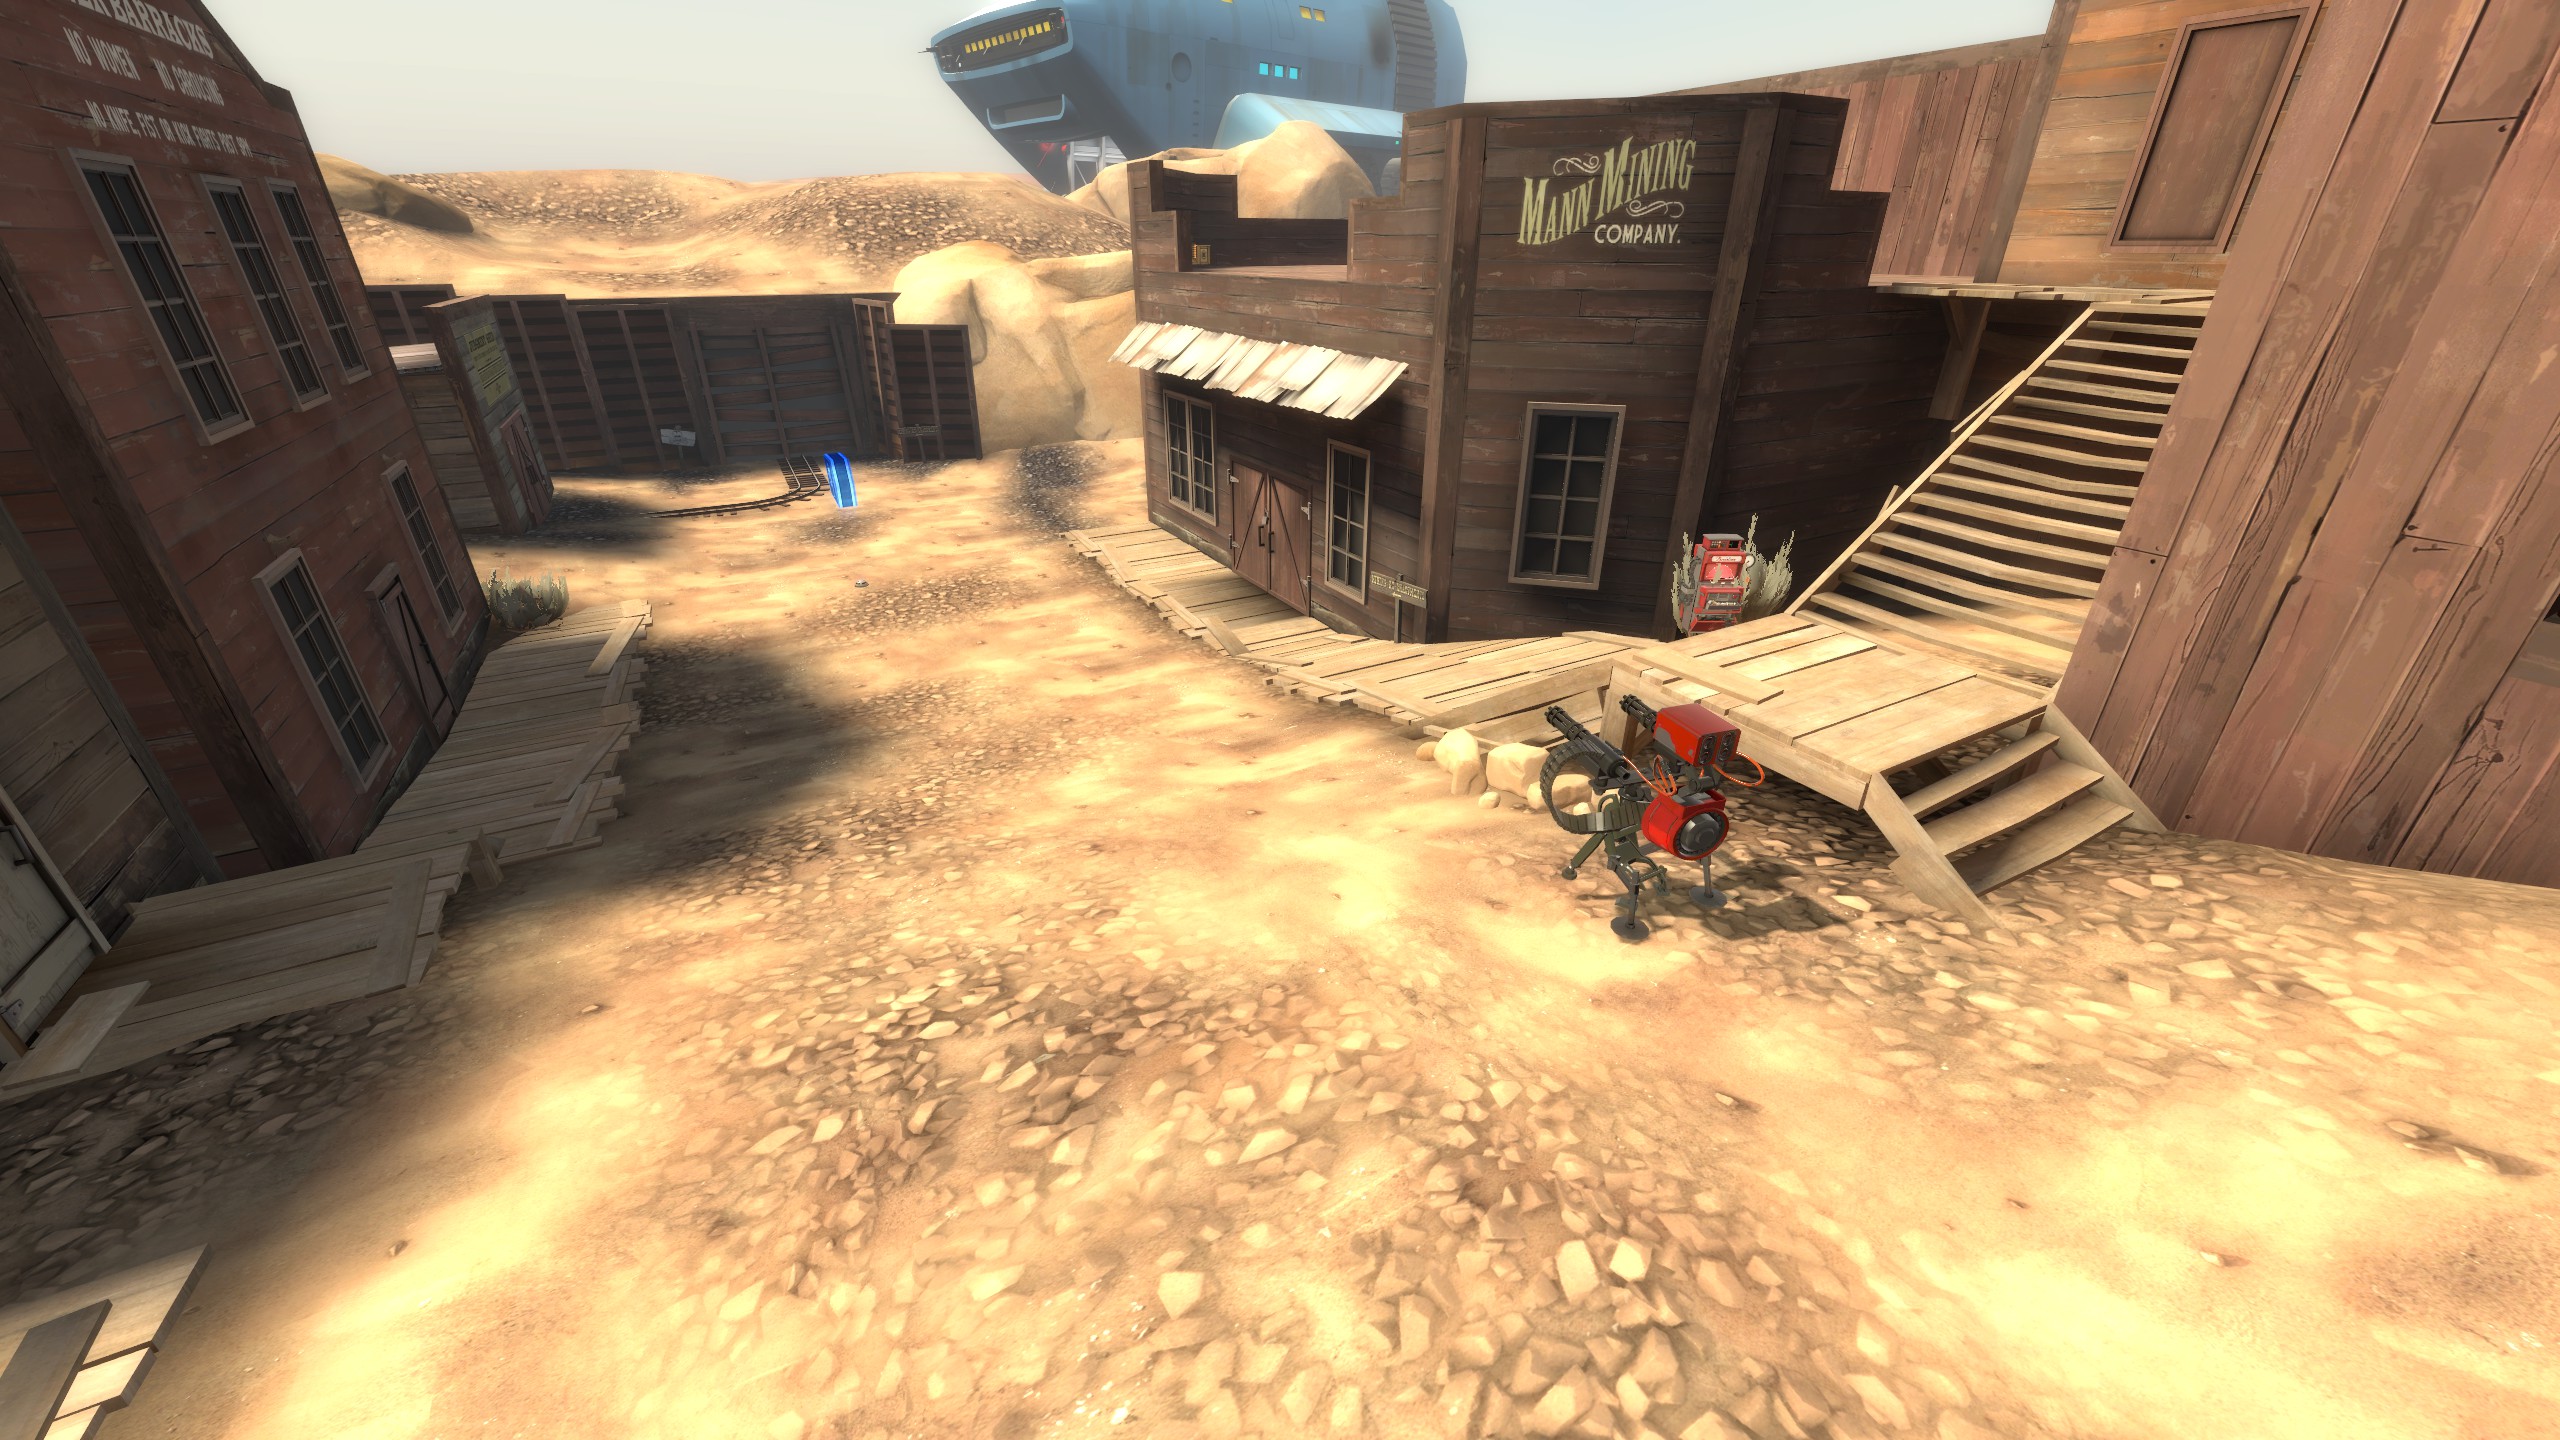
Coal Town is a medium-sized map, and despite its size, there aren’t too many spots to establish a defensive position. Like in most MVM missions, your starting point will be at the front of the map, near the robot spawn. From here, you have two choices: you can opt for a more aggressive stance by setting up your Engineer’s gear next to one of the two staircases, or you can choose a more defensive position at the top of the hill. Both options are workable, but the aggressive stance allows you to deal damage more rapidly. If your team feels confident, I highly recommend the forward position for most parts of each wave (with a few exceptions, which we’ll discuss in each wave’s section). Ultimately, it’s the Engineer on your team who will determine where you establish your defense based on the placement of their Dispenser. Refer to the images below for guidance on the optimal starting positions for this mission and map in general.
If, by any chance, you get pushed back beyond the hill, or the bomb manages to slip past your defenses, there’s a significant risk that the robots will force you to defend right at the hatch. If you can halt their advance and regroup before they progress too far along the path, you might be able to reposition yourselves at choke-points. This can be advantageous for dealing area-of-effect (A.O.E.) damage because of the narrowness of those paths. However, in most situations where you are pushed back, you’ll find yourselves compelled to defend at the hatch. When you’re in this situation, it’s crucial to keep a watchful eye on both the main routes and the robot flank routes directly above the left and right sides of the spawn. Robots can and will drop down on top of you before you have a chance to react.
For most waves, an optimal team composition typically includes an Engineer to provide ammo and help defend against the bomb, a Sniper for eliminating Medics and dealing A.O.E. damage, a Scout for cash collection and drawing aggro, and as many Heavies as you can accommodate with your remaining team slots. During waves with tanks, a Heavy may opt to switch to Pyro for more effective tank elimination. As the mission progresses, Soldier becomes quite powerful due to the accumulation of credits. Nevertheless, this composition is a solid approach for handling the mission. There are a few waves where other classes can excel, and I’ll highlight those in each section.
Wave 1
Wave 1 in Cataclysm consists of three distinct parts:
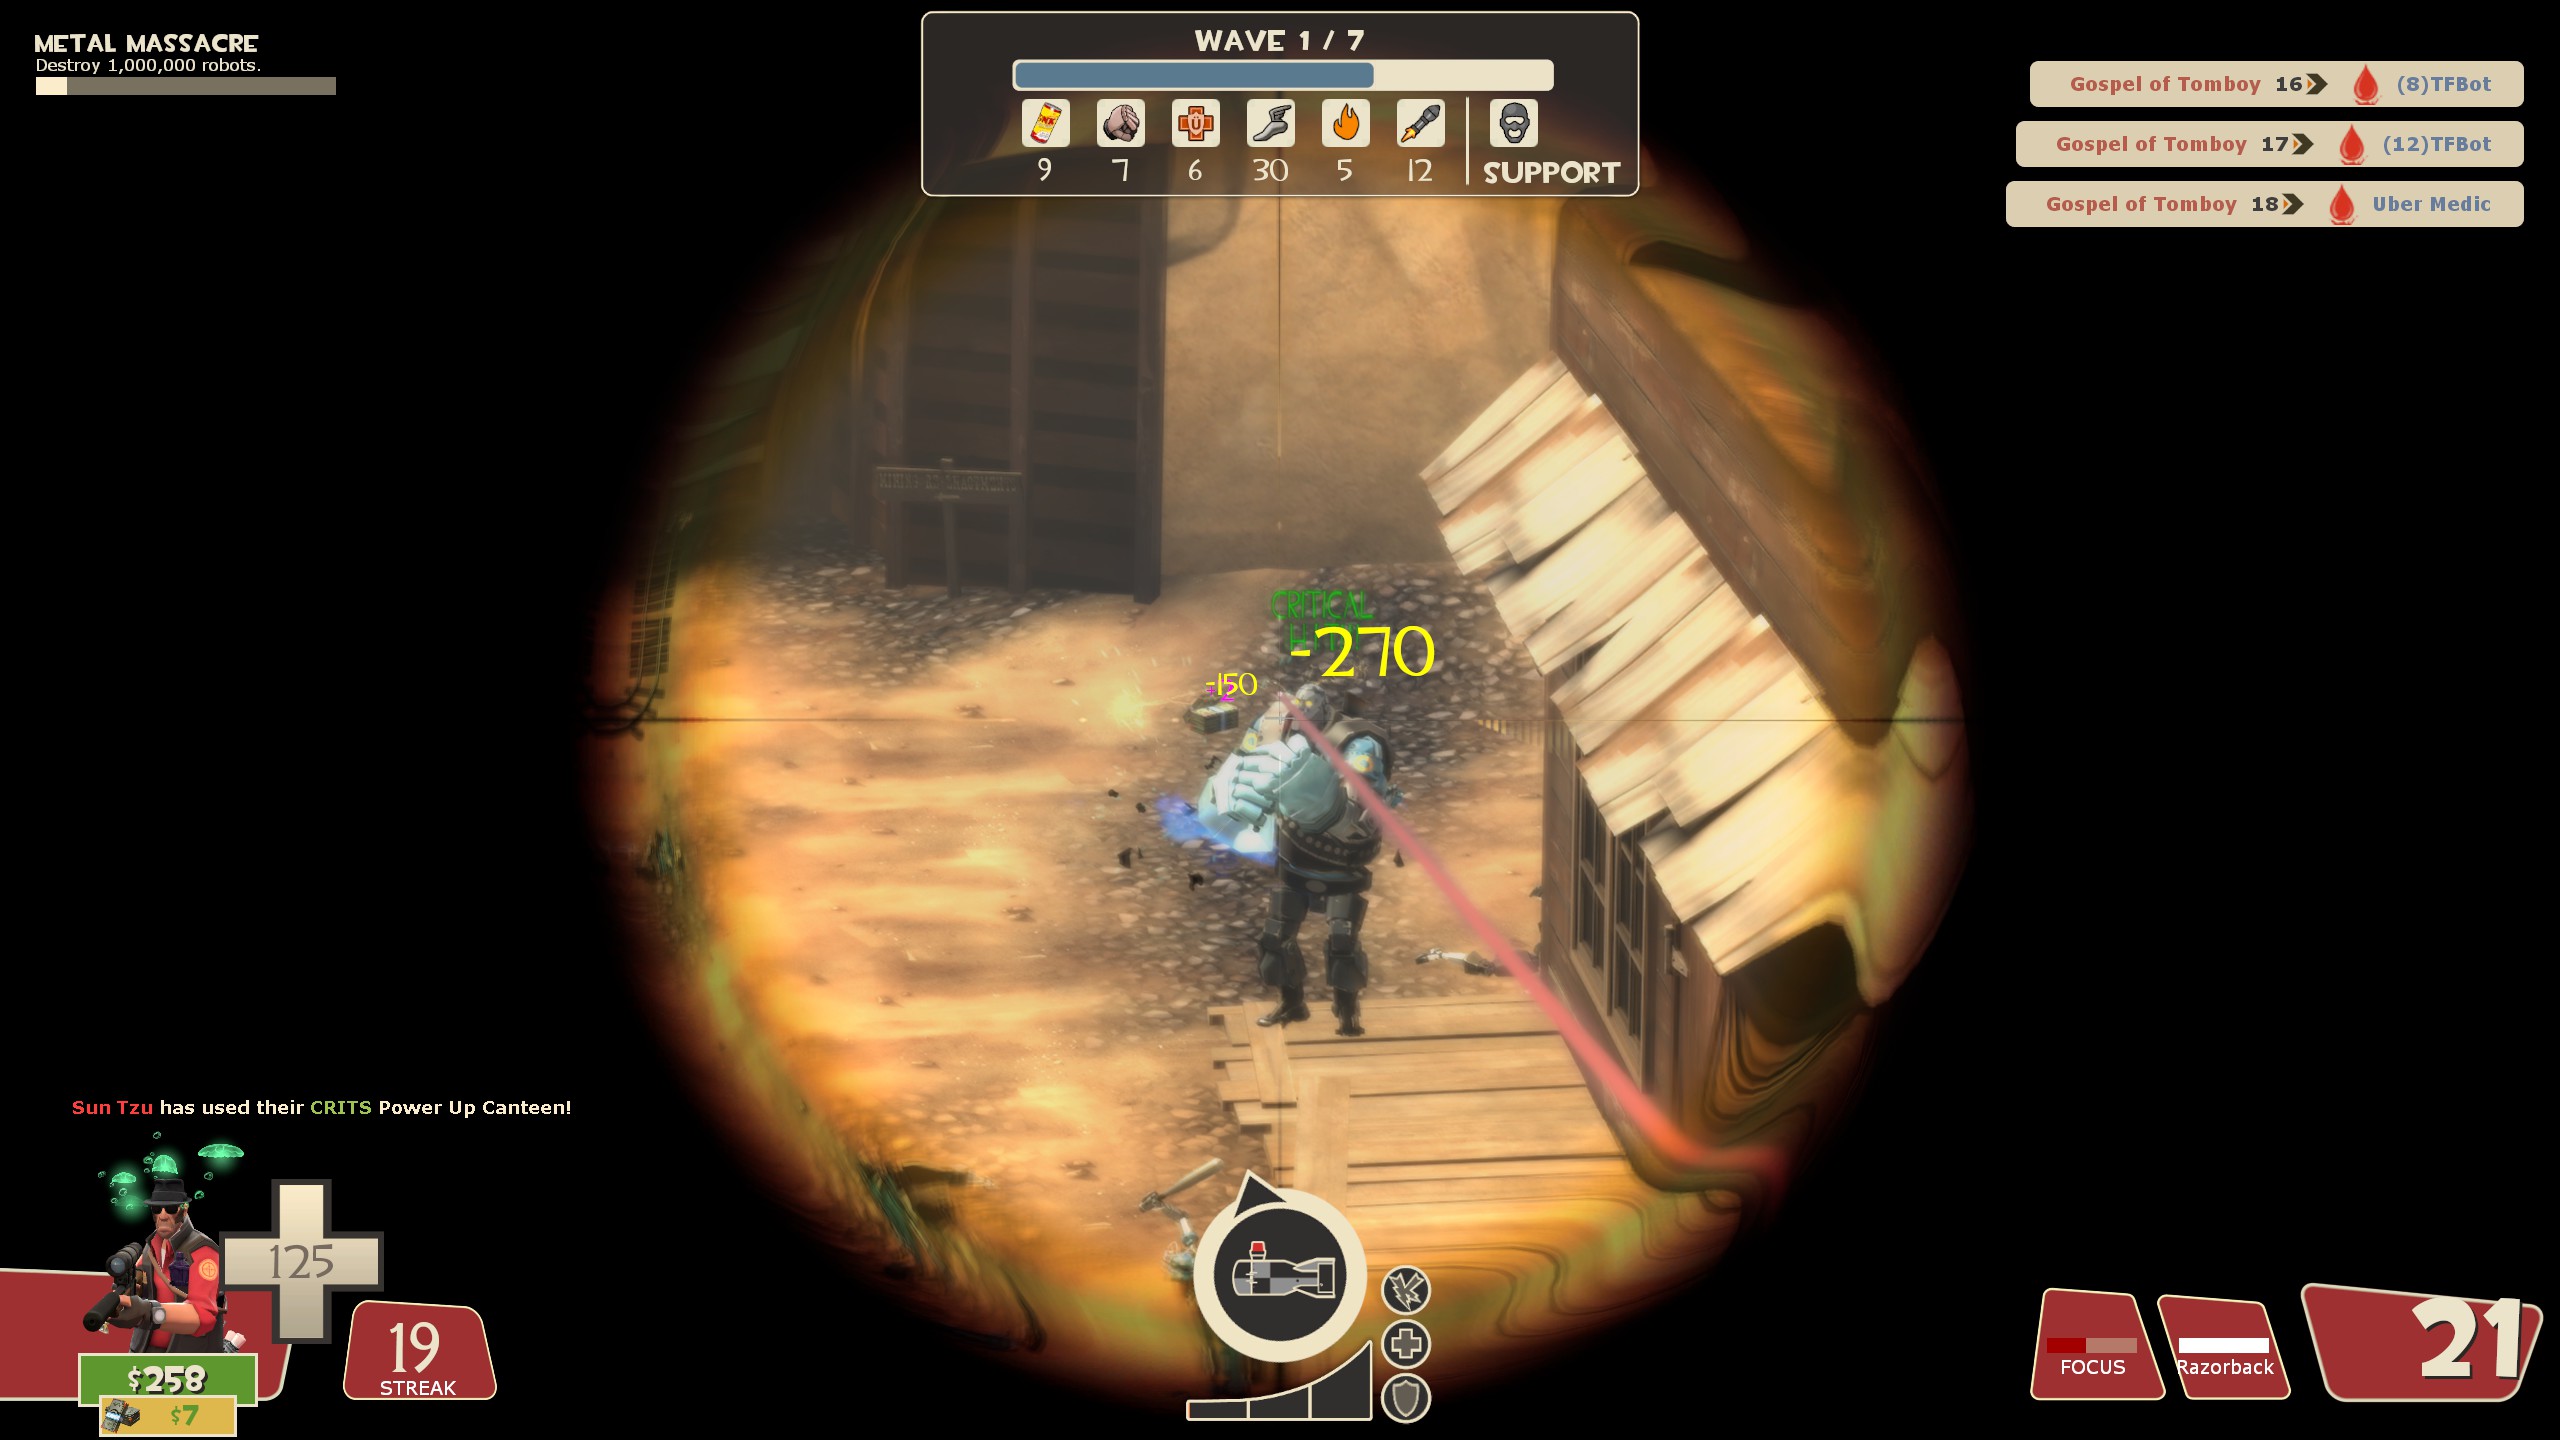
Part 1: The initial phase features groups of Bonk Scouts, which are melee-only robots. They drop down in groups of ten, accompanied by eight Steel Gauntlet-Uber Medic pairs. Occasionally, Support Spies will spawn to disrupt and distract. This phase is relatively easy because no ranged robots spawn here. Even though these are Bonk Scouts, their invincibility usually wears off by the time they reach the map. However, the key in this part is to gain as much ground as possible without allowing the Gauntlet-Uber pairs to advance too far. A common mistake is attacking the Gauntlets, letting the Uber pop, and waiting for it to wear off before finishing them off. This approach allows the Gauntlets to encroach on your position and forces your team to retreat, giving ground to the Scouts if they survive long enough to reactivate their Bonk.
Part 2: This is where the wave starts to get challenging. The Bonk Scouts are replaced by Scattergun Scouts, appearing in groups of five. The remaining five Uber-Gauntlet pairs are now joined by a Pyro. Additionally, you’ll have to contend with Support Snipers in addition to the Spies. At this point, you’ll need to endure significant bullet damage while dealing with Ubered Gauntlets. This part of the wave can lead to chaos, and an uncoordinated team might be pushed back to the hatch or even fail the wave entirely.
Part 3: In the final part, twelve Soldiers start spawning after the last of the Scouts have been dealt with. Support Snipers and Spies continue to be a threat. If you’ve held your ground until now and maintained a steady position, you’re unlikely to lose the wave to the Soldiers. However, the barrage of rockets they unleash can push a struggling team over the edge if the bomb is already at the hatch, and the Soldiers get within sight of your spawn without resistance.
Considering you only have 400 credits to spend at the start of this wave, it might feel like you lack the resources to handle the challenges of the second and third parts effectively. However, with 400 credits, you can unlock Sniper’s Explosive Headshot, which costs only 350 credits for the first upgrade. If you’re confident in your Sniper skills, you can eliminate each Uber Medic by headshotting the Gauntlet as long as you have at least one tick of Explosive Headshot. This allows your team to eliminate each Gauntlet, including any un-Bonked Scouts who happen to be near the Gauntlet. This strategy works for both the first and second parts of this wave. To avoid being targeted by the Scattergun Scouts or the Support Snipers, position your Sniper on top of the large sign on the front of the center building. This spot not only makes you invisible to the bots due to pathfinding and sight mechanics but also makes it difficult for Spies to backstab you, as you’re just high enough to avoid their knives. Dealing with the Soldiers in the final part is also manageable as a Sniper, but they are a bit trickier to headshot due to their smaller size, slightly faster speed than the Gauntlets, and erratic movements. Still, landing an Explosive Headshot on just one of them can cripple a large group, as they spawn together and tend to stay close to each other while on the hill.
Alternatively, if you’re not confident in hitting moving targets, the Spy is also capable of dealing with the Medics and Gauntlets. He can one-shot both members of each pair. One common mistake I see with Spies on this wave is upgrading Sapper Strength, which doesn’t help you kill them and escape alive. Instead, with your 400 credits, consider upgrading a combination of Movement Speed and Knife Attack Speed. This will allow you to dispatch both members of each pairing quickly and get away to prepare for the next set. While Spy isn’t the easiest class to use for this, he can handle the wave reasonably well, except for the Soldiers at the end, which can be a challenge. However, if you’re willing to refund upgrades, Spy is one of the more efficient ways to deal with this wave.
The rest of the team should focus on cleaning up the smaller robots that aren’t taken out by the Explosive Headshot. If you’re not playing as Sniper, avoid shooting the Gauntlets until the Sniper or Spy eliminates the Medic, and avoid attacking the Uber Medic altogether. If a Gauntlet-Uber pair reaches the top of the hill and the Sniper hasn’t taken it out yet or is focused on another pair, you can pop the Medic yourself to prevent it from advancing too far and still having an Ubercharge that can be deployed at a more dangerous point. Engineers may need to switch between a Wrangled and a non-Wrangled Sentry depending on the situation. A non-Wrangled Sentry is more effective against the Scouts, but if a Gauntlet-Uber pair gets close enough that your Sentry targets them, use the Wrangler to prevent it from dealing enough damage to trigger the Medic’s Uber. Instead, focus on more suitable targets like Snipers or Gauntlets without Medics.
Wave 2
Wave 2 in Cataclysm presents significant challenges, especially in its opening section. Here’s how to handle it:
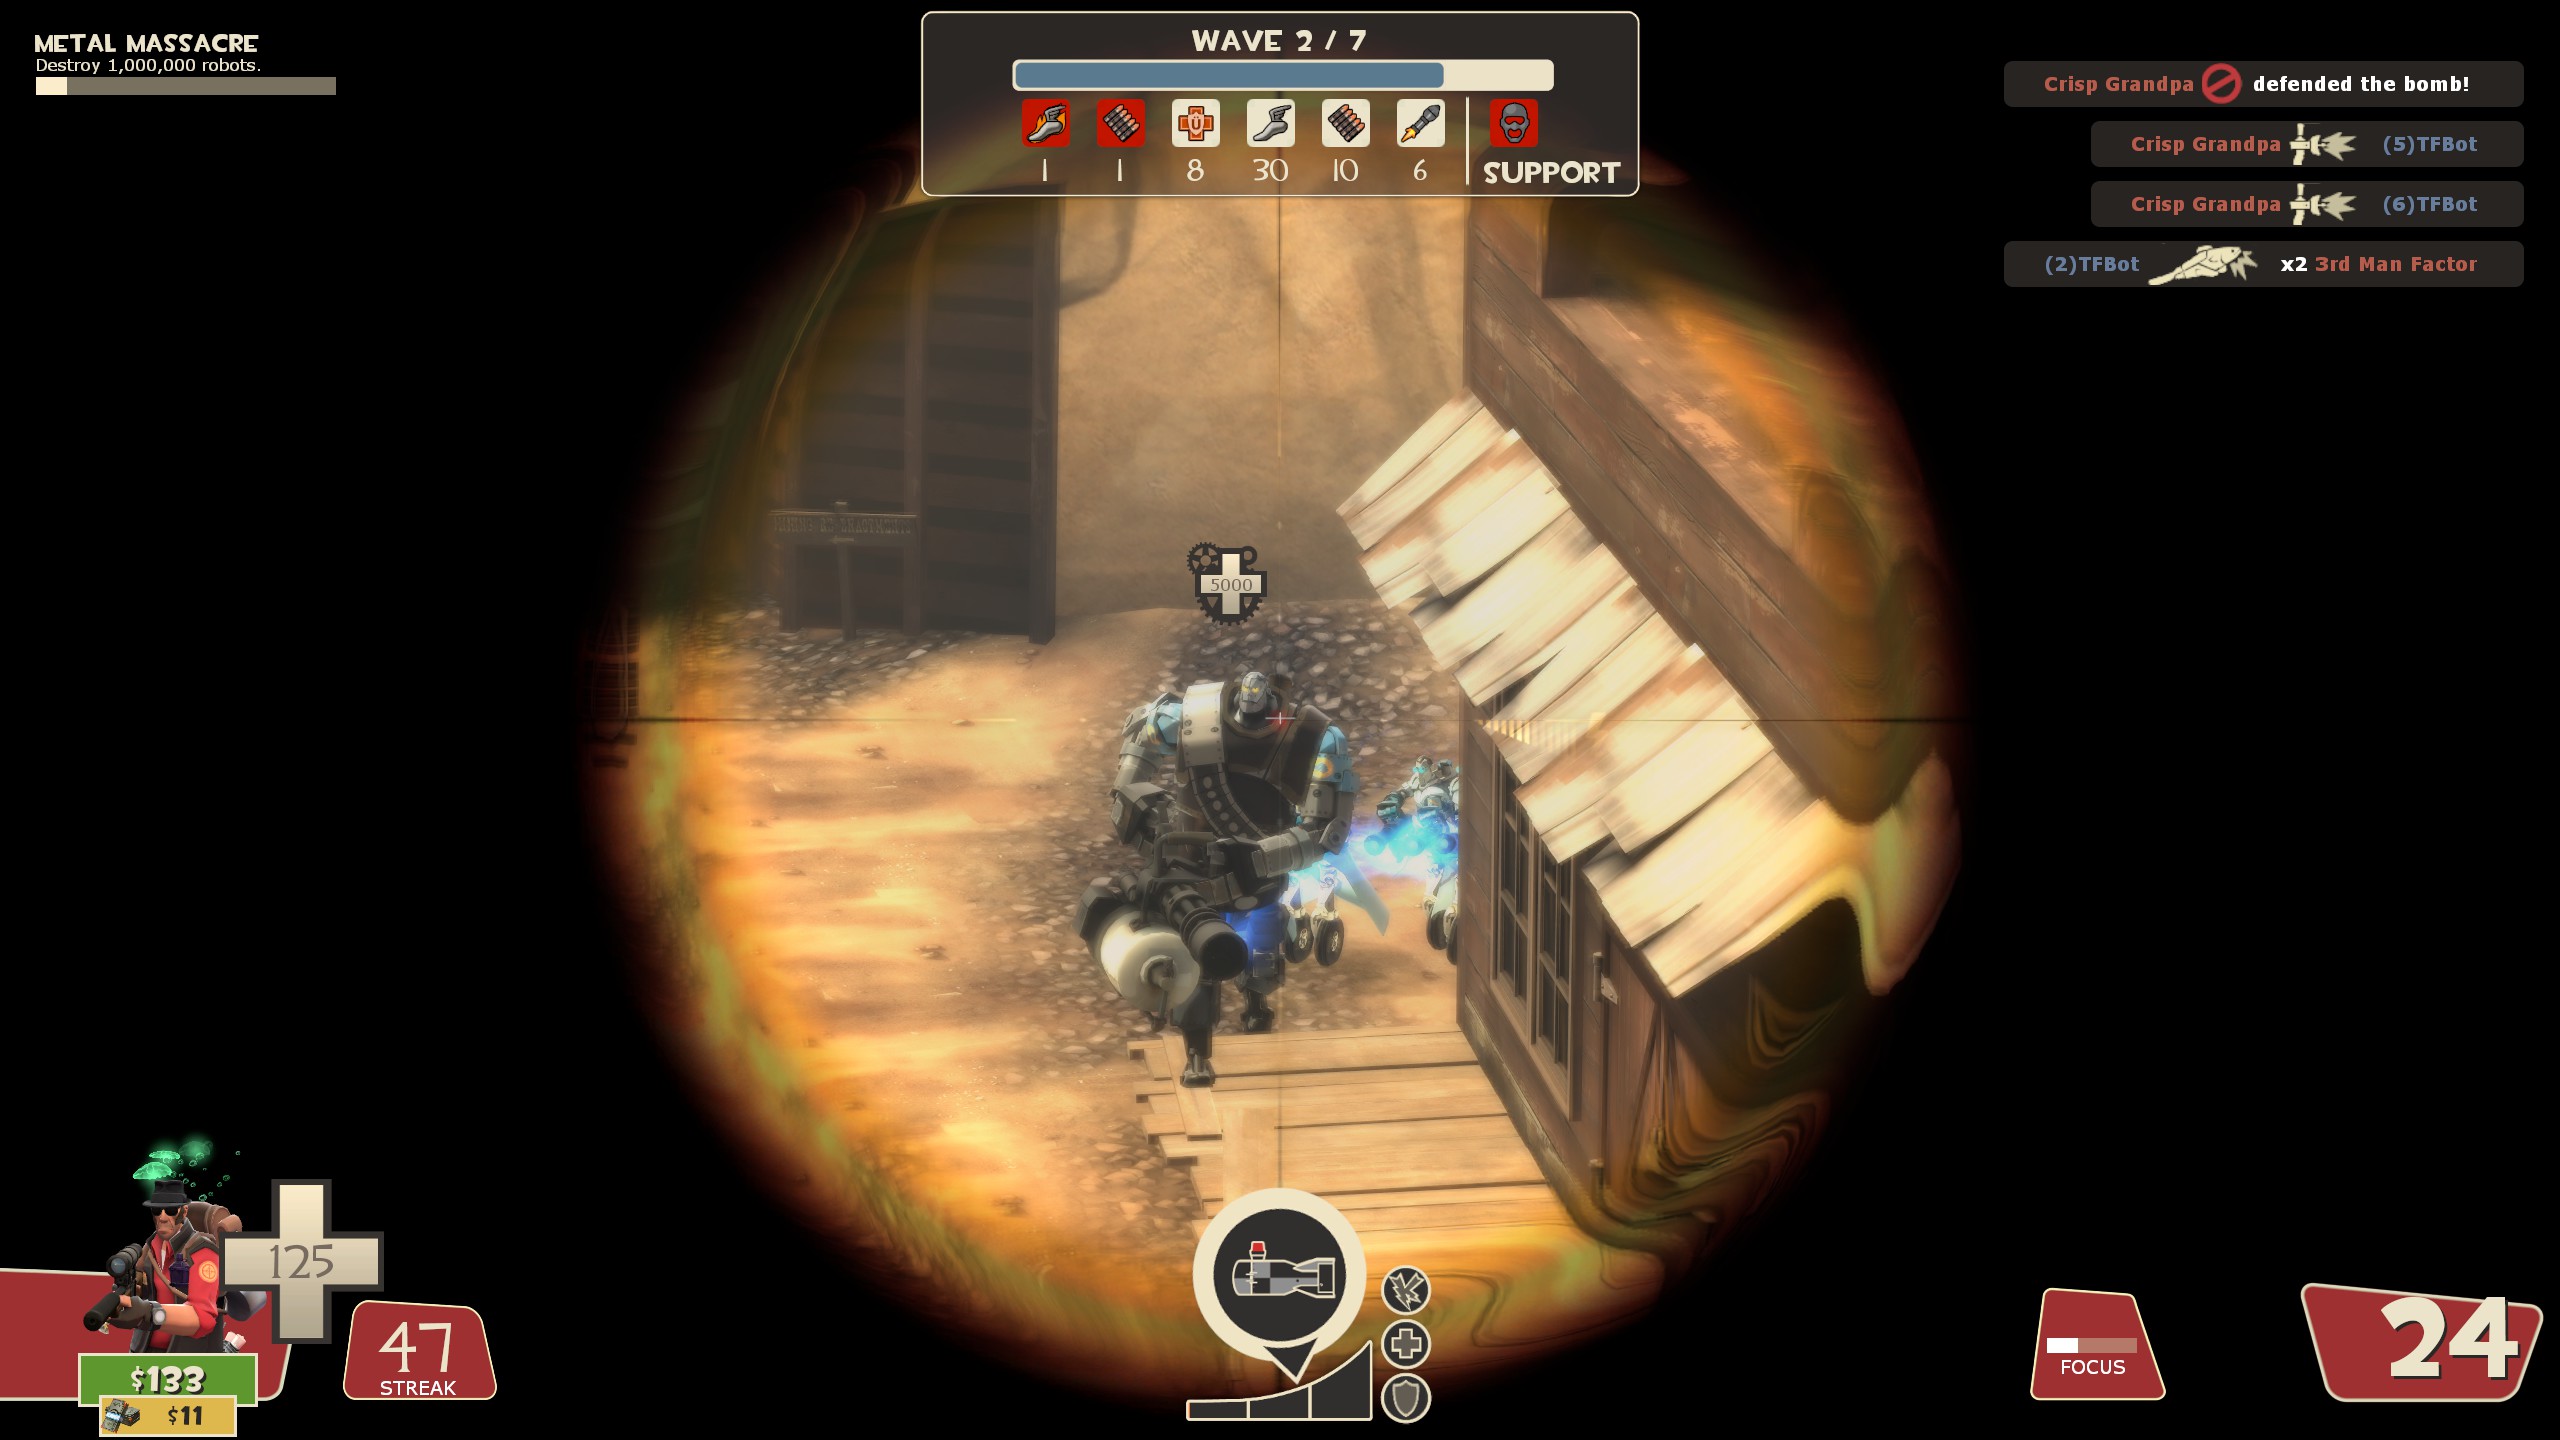
At the beginning of Wave 2, you’ll face six Super Scouts from the main route, along with two Giant Heavies, each supported by eight Uber Medics, entering from the side. Support Spies will also make appearances, but they are more of a nuisance than a true threat. This section is tough, as one Super Scout spawns approximately every eight seconds, regardless of whether you’ve eliminated the previous ones. Meanwhile, the Giant Heavy will be relentlessly firing its Minigun, gradually approaching your position. If even one of the Uber Medics activates their Ubercharge, it can be devastating for your team, potentially sending you back to the Resupply Room. If your team is wiped out, the Super Scouts can cap the bomb without you, resulting in a significant credit loss due to buybacks.
To tackle this portion, follow the strategy from Wave 1: have your Explosive Headshot Sniper deal with the Uber Medics. For this wave, it’s advisable to prioritize maxing out Explosive Headshot rather than Reload Speed. This ensures that you can handle situations where an Uber Medic may have accidentally healed another Medic, ensuring the elimination of each Medic. This prevents them from becoming invincible for five seconds, allowing your team to focus on finishing off the Heavy before it advances too far. If an Uber Medic survives and activates their Ubercharge, don’t panic; as long as you trigger it quickly, the Ubercharge will expire before it can advance too far, allowing your team to maintain their positions.
For the rest of the team, don’t forget about the Super Scouts. While they are fragile and deal minimal damage individually, if they manage to slip past with the bomb, the chances of failing this wave increase dramatically. The most effective way to stop them is to stand in the robot’s path and block them from passing. Before the wave begins, check the blue signs scattered across the map; they indicate the robots’ path. You can set up your gear there, and the robots won’t deviate from their programmed route. The best classes for body-blocking are the Heavy and Engineer, especially with his Sentry Gun. If the bomb lands in front of you, even better, because the Super Scouts will run straight into the fire of your Minigun and Sentry Gun, trying to retrieve it. Occasionally, a Super Scout may try to sidestep and get around you. In such cases, your Heavy may choose to equip Natascha this wave. While it sacrifices damage, it reduces the chance of Super Scouts slipping past if you can keep hitting them. Note that if you have multiple Heavies, which is common in Expert mode, only one Heavy should use Natascha; the others should use Brass Beast or Stock to maintain their damage output. If you find that Super Scouts are not the issue and you’re struggling with the Giant Heavies, it’s better to use Stock or Brass Beast to ensure you deal enough damage.
If you have a Scout on your team, the Mad Milk is invaluable for its health-on-hit and the slowing effect it provides. While I believe that Scout has many useful secondary lunchbox items and shouldn’t be limited to using just the Milk, for this wave, the Milk provides essential utility for your team. Surprisingly, prioritize throwing it at the Giant Heavies rather than the Super Scouts. Your teammates will appreciate the ability to heal off damage, allowing them to block the Super Scouts more effectively. If you can hit both a Super Scout and a Giant Heavy at the same time, that’s even better. Ensure your Milk is ready when the Giant Heavies appear. And whatever you do, refrain from throwing the Milk at the Heavy until all the Uber Medics are eliminated. Throwing it prematurely will significantly reduce the time the enemy is affected by the Milk and diminish its utility, as your teammates will want to avoid shooting the Giant Heavy until the Uber Medics are down anyway.
Once the Super Scouts and Giant Heavies are dealt with, the remainder of the wave becomes more manageable. You’ll face thirty Scattergun Scouts spawning in groups of ten and ten Heavies. Additionally, there will be three pairs of Direct Hit Soldiers, known for their elevated AI. The Scouts and Heavies should pose no significant threat, even if you were pushed back to the hatch. As long as your Sentry Gun is active and your Heavy is firing, they’ll be picked off as they approach. The Soldiers are a bit more challenging due to their exceptional accuracy with the Direct Hit, but a Wrangled Sentry can absorb their damage while you shoot them from a safe distance. Once you reach this point in the wave, there isn’t much to worry about – just keep an eye on the bomb and let the smaller robots come to you.
Wave 3
In Wave 3, things get intense right from the start. A Tank emerges as soon as the wave kicks off, leaving little room to catch your breath. Approximately 15 seconds after the Tank spawns, you’ll face four groups of ten Soldiers, with each new batch arriving roughly 7 seconds after the previous one. After about a minute, two formidable Giant Deflector Heavies make their entrance through the side entrances. And just to keep you on your toes, Melee-only Crit-Boosted Scouts periodically join the fray as support bots.
Executing this wave effectively requires speed and coordination. To begin, it’s crucial to assign at least one player as a tank-buster. This role can be filled by a Pyro, a Damage Scout, or an Engineer wielding the Widowmaker. The Tank is often the culprit if this wave results in failure because it’s frequently underestimated. As long as one player is consistently focused on the Tank and is equipped to handle it, you should be able to take it down swiftly.
Now, for the rest of the team, they must confront the Soldiers and the imposing Giant Deflector Heavies. When dealing with the Soldiers, having a Sniper on your team is advantageous. Two well-aimed Explosive Headshots can dispatch each squad of Soldiers efficiently. However, if you’ve opted not to include a Sniper for this wave, using Reflect Projectiles twice on each Heavy can help mitigate their impact.
The first Giant Deflector Heavy appears alongside the last group of Soldiers, which means you’ll have to tackle both threats simultaneously. Fortunately, this Heavy is less challenging to handle, primarily because it lacks Uber Medics backing it up. You can start shooting at it as soon as it emerges from the robot spawn.
Once the final non-support robots are dealt with, or if they haven’t already been dispatched, all classes should immediately converge on the Tank to finish it off. By this point, it’s likely passing near the death pit directly across from the hatch. If your designated tank-buster has been doing their job effectively, the Tank should be on the brink of destruction. The Engineer should keep their Sentry Gun on top of the bomb to prevent a Support Scout from capping while the rest of the team focuses on the Tank. Overall, this wave isn’t exceptionally challenging if executed correctly.
Wave 4
Similar to Wave 3, Wave 4 starts with the appearance of a Tank. However, in Wave 4, a new Tank materializes every 30 seconds, and this repeats until four Tanks have spawned. These Tanks are notably less robust and can be obliterated before they even leave the hill if everyone focuses on them. Beginning with the second Tank’s arrival, you’ll face alternating waves of challenges.
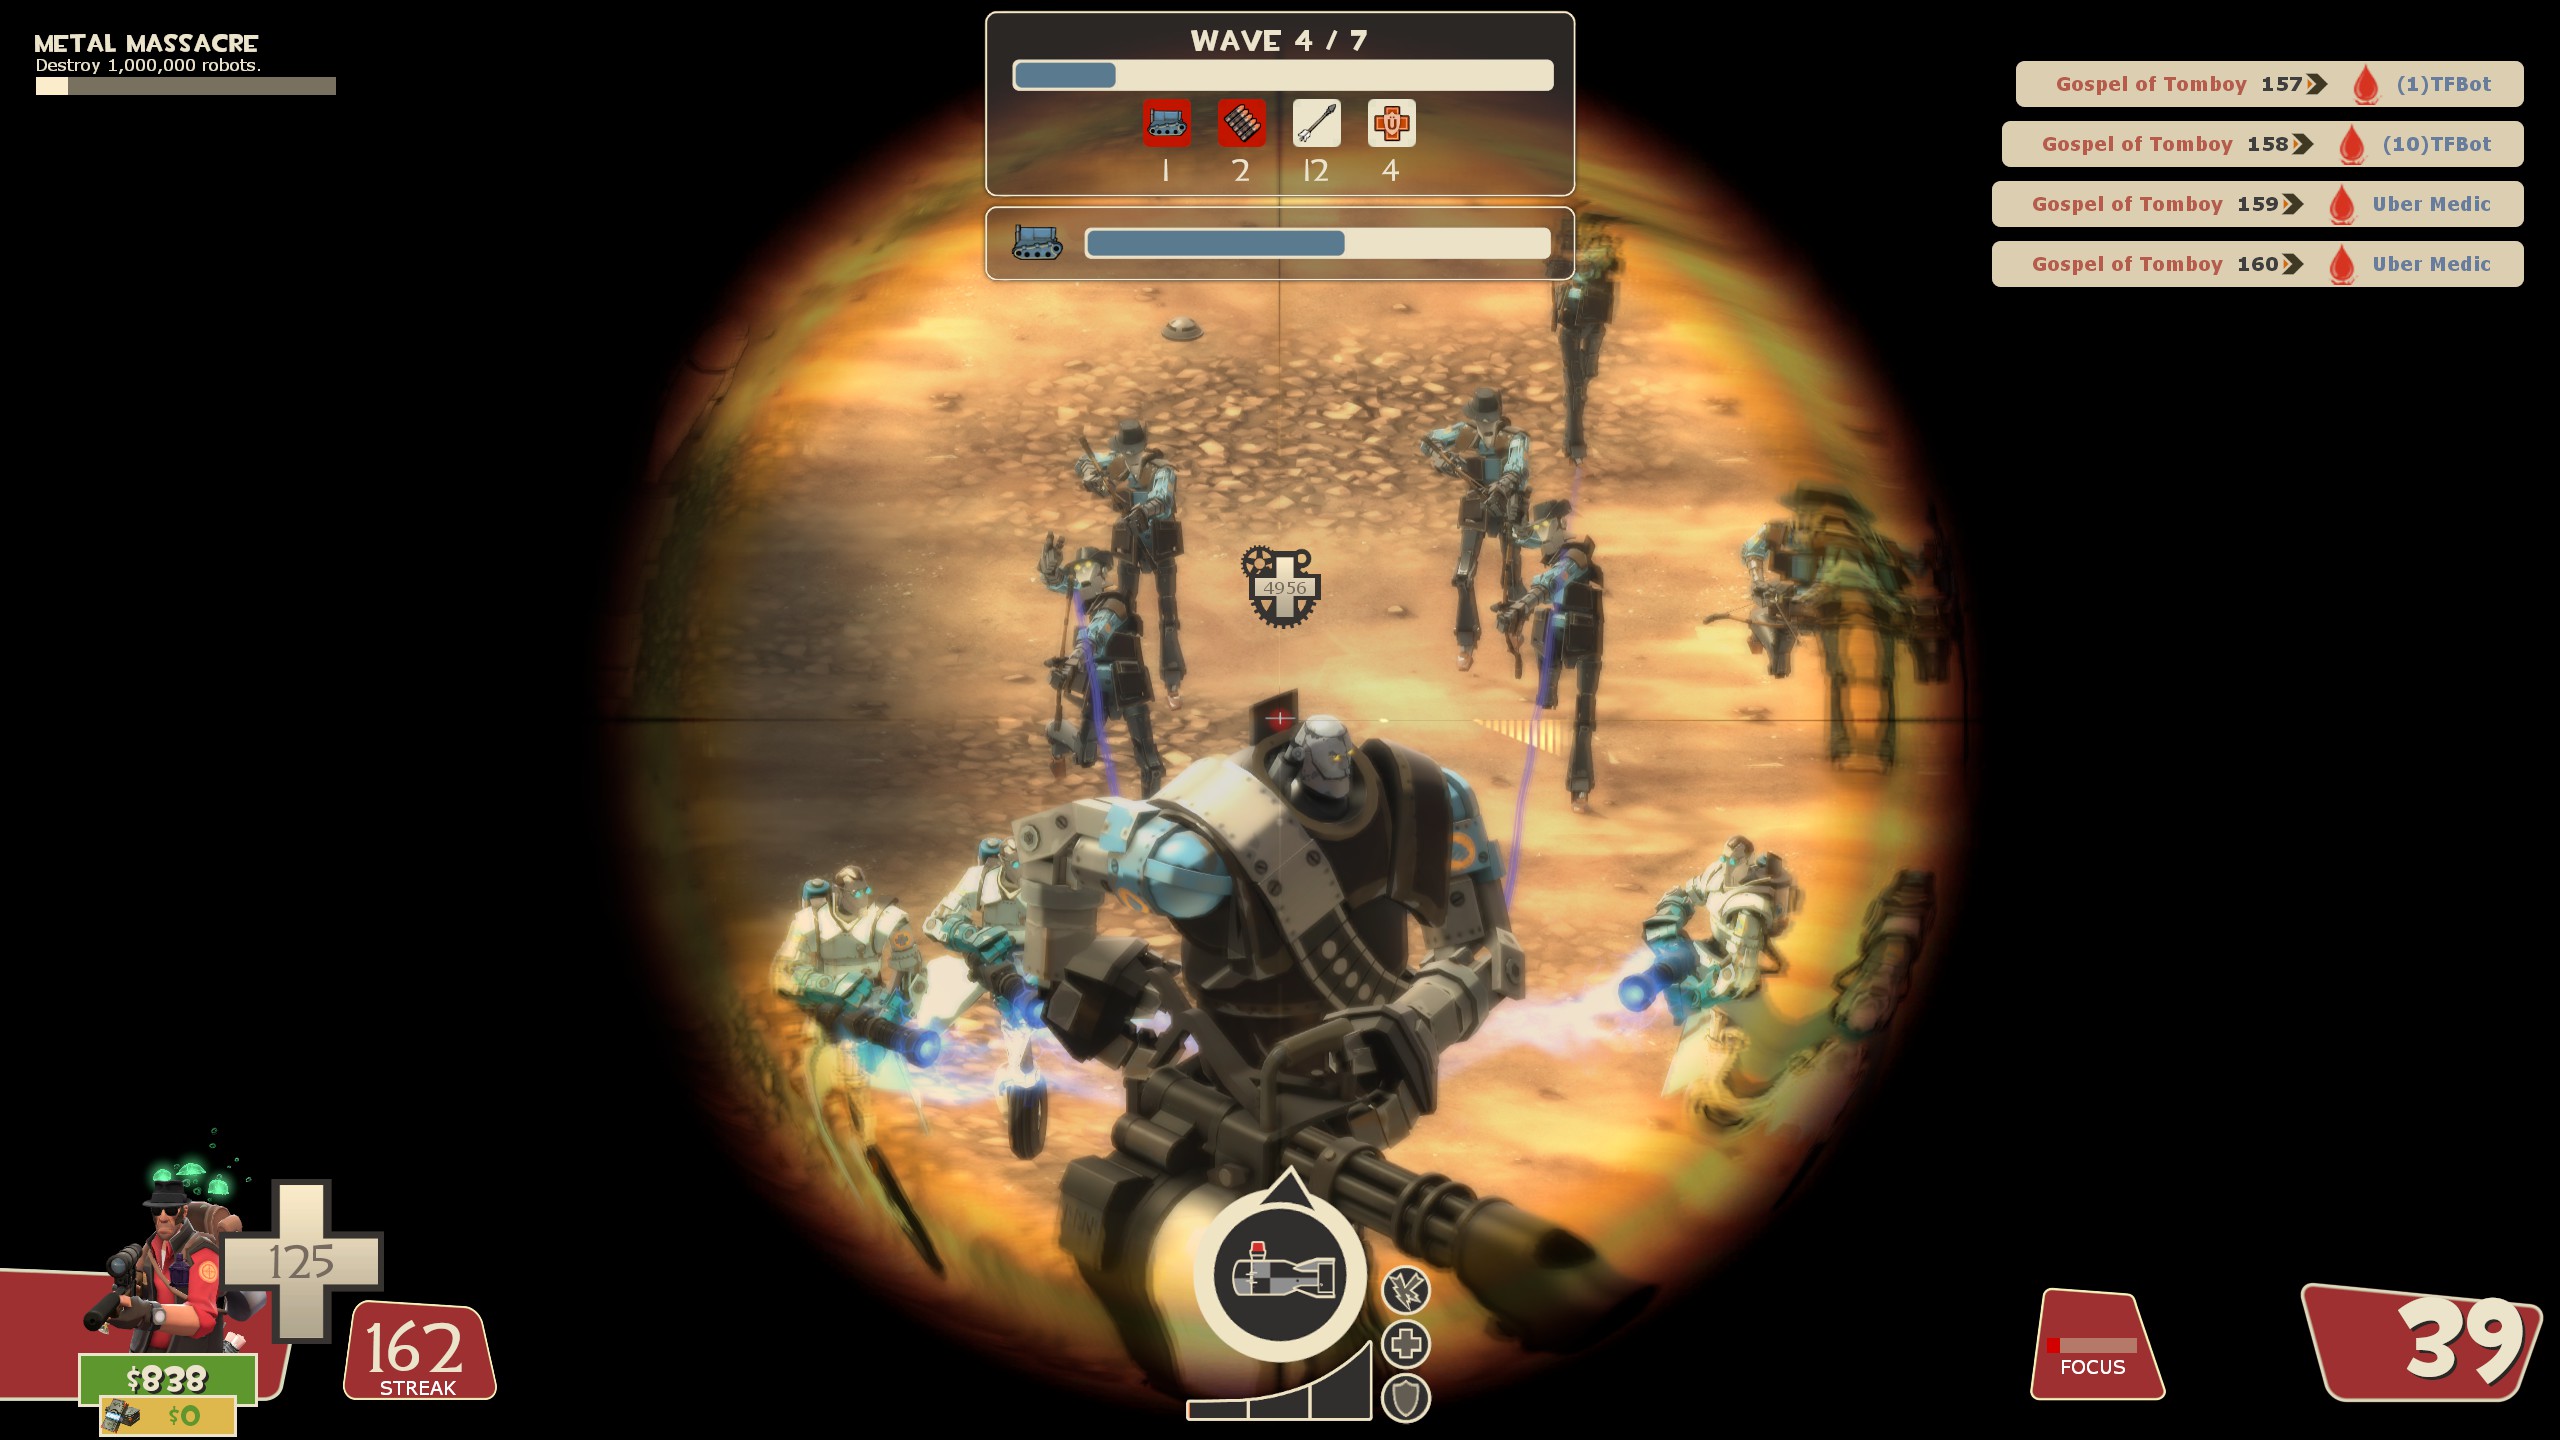
First, there are four groups of twelve Melee-only Crit-Boosted Scouts that start dropping and swarming anyone attacking the Tank at the front of the map. These Scout groups alternate with groups of Bowmen Snipers landing alongside Heavy-Uber Medic pairs. This demands finesse when dealing with the smaller bots at the front. After the last Heavy-Medic pair touches down, two sets of one Giant Heavy and four Uber Medics will appear, one from the left robot spawn and one from the right. Throughout all this, Support Spies will be attempting to take down anyone not paying attention.
To tackle this wave effectively, begin by focusing everyone’s firepower on the first Tank. This is because the other robots don’t spawn until the second Tank arrives. If everyone concentrates on the first Tank, it should be defeated before the second one appears.
When the second Tank descends, it’s crucial to keep your distance as it emerges from the hole. The Crit Scouts will swarm anyone near the Tank as it emerges, and if you lack Crit Resistance, you’ll be extremely vulnerable. Once the first group of Scouts lands, there’s a 20-second gap before the next group arrives. This is when your team should consider splitting up. Your designated tank-buster should focus all efforts on the Tank closest to the hatch, while the rest of the team dismantles the small bots as they spawn.
If you have a Sniper, they can efficiently deal with the Heavy-Medic pairs with a single Explosive Headshot against the slow-moving Heavy (and any nearby Bowmen). Without a Sniper, these groups are still manageable. By this point, you should have accumulated enough credits to invest in extra firepower and resistance, which should help withstand the barrage of arrows and bullets. However, the same can’t be said for the two Giant Heavies, which is why having a Sniper is beneficial once again. Five seconds of invincibility is more than enough time for the Giant Heavy to wreak havoc on your frontline defense. The ability to instantly eliminate Uber Medics with a Sniper makes this wave considerably easier.
Regardless of your approach, once you’ve cleared out the small bots and Tanks, the Giant Heavies likely won’t be able to capture the bomb, even if the Uber Medics were dropped.
Wave 5
Wave 5 presents a formidable challenge with a significant focus on dealing with a massive swarm of Crit Demoknights. However, alongside these Demoknights, you’ll have to contend with six Giant Rapid-Fire Soldier and Uber Medic pairs, mixed with four Super Scouts. Continuously respawning Sydney Sleeper Snipers will provide additional support, and to cap it off, six more Super Scouts will make a last-ditch effort to deliver the bomb.
To start, investing in three ticks of Crit Resistance for 450 credits is a wise move. This insurance will prevent you from being taken down in just one or two hits by a Demoknight that gets too close. Engineer’s Sentry should be able to handle most of the Demoknights by this point in the game. The real challenge arises when you have to deal with the Demoknights in addition to the giant spawns. Once again, having a Sniper on your team can be a tremendous asset. A single shot to the Giant Soldier’s head eliminates its only medic. However, this is the point in the mission where the Soldier class becomes crucial. A direct hit from any Rocket Launcher without a damage penalty, coupled with three ticks of Damage Up (although four is even better), and a tick in Rocket Specialist will instantly eliminate the Uber Medic, preventing it from popping. Afterward, you can focus your firepower on the Giant Soldier that was accompanying the medic.
When dealing with the Super Scouts, the same strategies used in Wave 2 become relevant again. Block their path and don’t let them physically get around you. Having a Rocket Specialist Soldier can make this easier, as a direct hit will momentarily halt the Super Scouts, allowing you to shoot another rocket and continually stun them until they’re defeated.
After you’ve handled the initial part of the wave, you’ll have about a minute or less before the final Super Scouts make their entrance. If you’re playing as Engineer and are frustrated by the Sentry Buster continually respawning to attack your Sentry during this time, consider setting your Sentry up front, letting it be destroyed, and then take the opportunity to rebuild it. You’ll have plenty of time to get it back in action before the Super Scouts arrive. Once the Super Scouts appear, gather your team around the bomb and let them come to you. They don’t have very high damage output, and as soon as they get close to you, they’ll be swiftly eliminated thanks to maximum damage ramp-up.
Lastly, the Sydney Sleeper Snipers are a persistent annoyance throughout this wave. Take a bit of extra time to clear them out as they spawn. Even with Crit Resistance, applying Jarate will still cause you to take base damage from any attack at minimum, which can be troublesome when the Rapid-Fire Soldiers are constantly shooting at you.
Wave 6
Wave 6 introduces a challenging mix of enemy forces. It begins with two sizable hordes of eighteen Scattergun Scouts, flanked by four Giant Deflector Heavy plus Giant Quick-Fix Medic pairs. After dealing with the Scattergun Scouts, twelve Soldiers will drop, followed by two pairs of Super Scouts and one extra Super Scout.
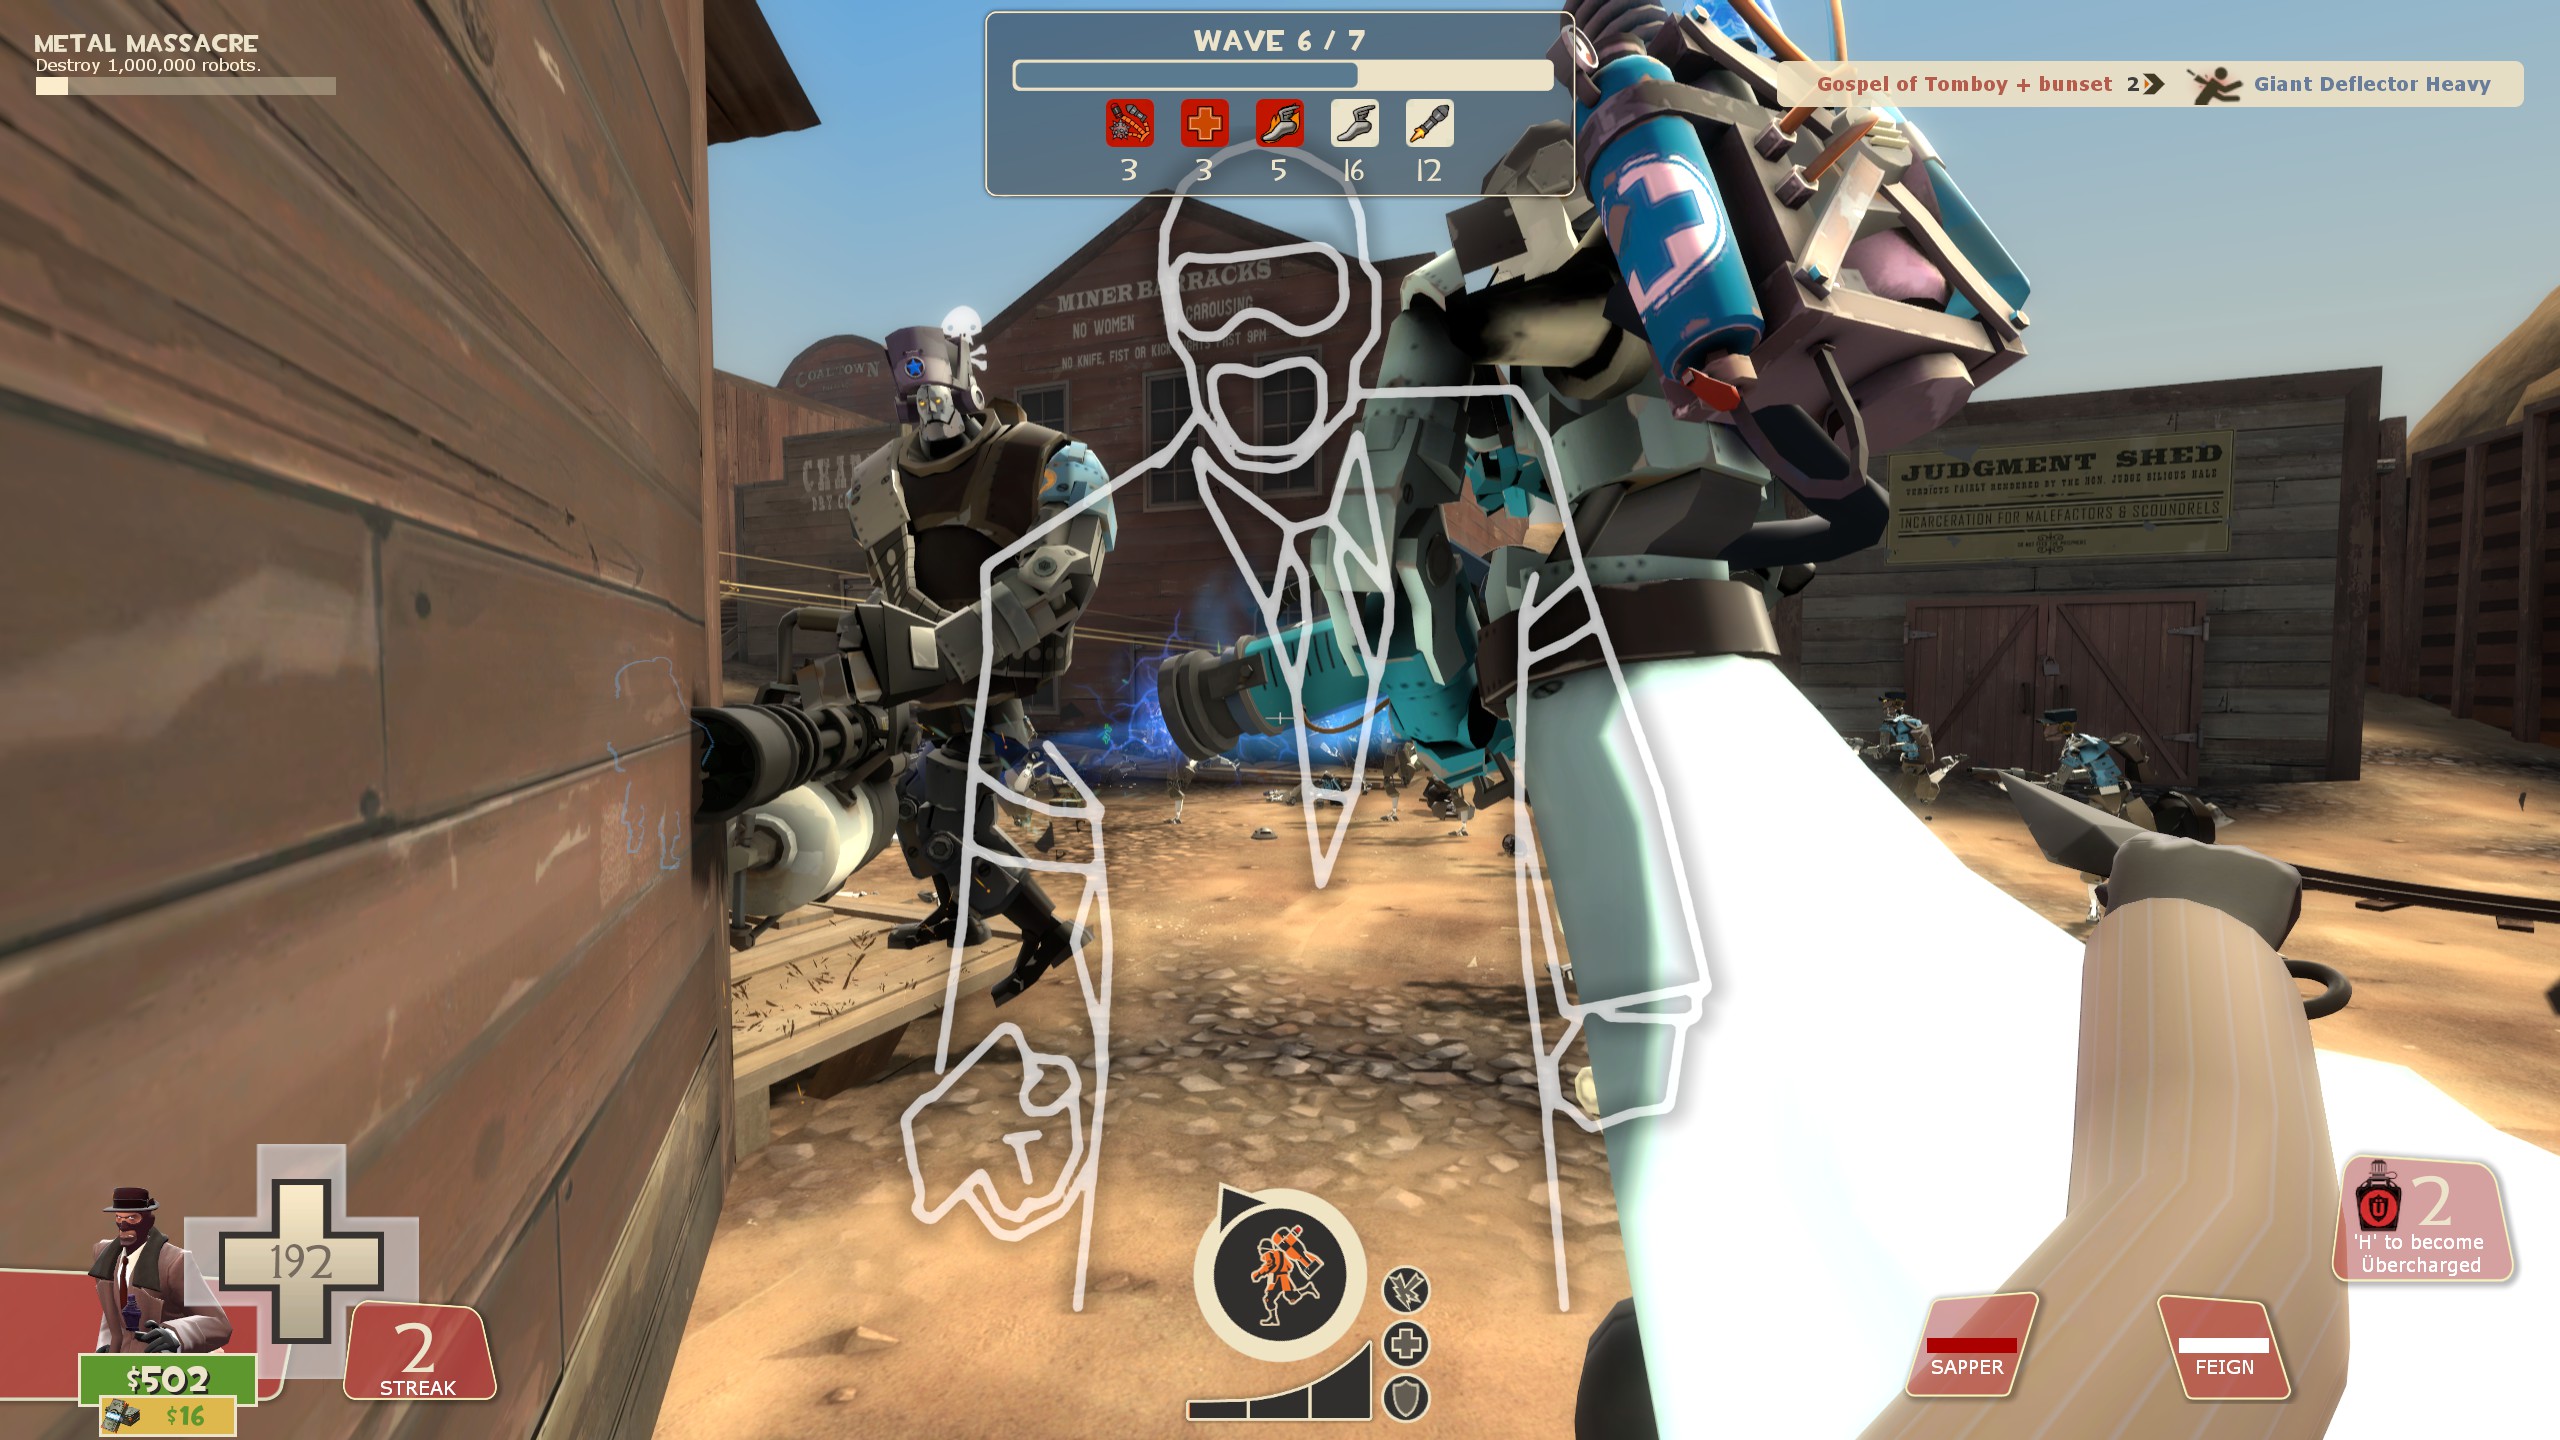
The primary challenge in this wave lies in handling the Giant Heavy-Giant Medic pairs. Incorrectly attacking the Giant Medic can lead to it popping its Quick-Fix Uber, restoring both itself and the Giant Heavy to full health and rendering them functionally invincible. To address this, there are two effective methods. The first option is to have a Spy on your team. Maximizing Armor Penetration and Knife Swing Speed will allow the Spy to defeat the Giant Medic with five backstabs before the Giant Heavy can react, allowing the rest of the team to focus on the surviving Heavy while the Spy prepares for the next pair. Another effective choice is a Scottish Resistance Demoman, although the random spawn locations of the Giant Pairs (50/50 from either side) make it challenging to set up an optimal sticky trap. Ideally, you’d want a full crit Scottish trap to ensure a one-shot kill, which is difficult to achieve if you can’t set up two separate half-traps on each side at the start of the wave.
For the smaller bots, the Scouts can be deceptively accurate and deal significant damage from a distance once they descend. Classes positioned on the hill can use Engineer’s Wrangled Sentry as cover to absorb most of the damage while returning fire. The Soldiers can be handled in a similar manner.
Finally, the Super Scouts pose less of a threat if the teammate responsible for killing the Giant Medics is doing their job correctly. By this point, your team should have invested enough credits to deal with a non-paired Giant Heavy and an approaching Super Scout. Problems arise when the Giant Medics aren’t eliminated or if a Super Scout manages to slip past. If you’re pushed back to the hatch, it becomes crucial to eliminate the Giant Medic before it reaches the ramp leading down to the hatch while still keeping an eye on the bomb. Failing to do so, especially if it has another Ubercharge ready, makes the wave nearly unwinnable, as both the Giant Heavy and Giant Medic become unkillable and cannot be pushed away as they approach the hatch.
If the Giant Medic does pop but you’re still on the hill, there’s still a chance to recover. Find a safe spot out of the Giant Heavy’s line of sight and wait for the Medic’s Uber to expire. Once it does, concentrate all firepower on the Medic until it’s defeated, then take down the Heavy. You may lose some ground, particularly since another Heavy-Medic pair will have spawned in the meantime, but you will have put the initial Giant Heavy in a more manageable position.
In conclusion, Wave 6 can be either one of the easiest or one of the most challenging waves, depending on how effectively you can eliminate the Giant Medics without triggering their Ubercharge.
Wave 7
Wave 7 presents a considerable challenge, but by this point in the mission, you should have accrued enough credits to handle it effectively. The wave starts with the arrival of five Tanks, one spawning immediately upon the wave’s start and a new one appearing every 30 seconds. These Tanks have reduced health compared to Wave 4, making them easier to deal with. However, you’ll also face twenty-six Scout-Uber Medic pairs during the Tank spawns. They will carry the bomb as far as they can, occasionally becoming invincible.
The primary issue in this wave is managing the Scout-Medic pairs. If mishandled, they can advance quite far with the bomb since they can still carry it while under the effects of the Medic’s Ubercharge. Allowing the Scouts to get too far and neglecting them can lead to the bomb traveling quite a distance back, potentially resulting in failure for less attentive groups. If the bomb makes it to the top of the hill, the Engineer should place their Sentry Gun directly on top of it, making it much more challenging for the Scouts to grab. The best way to deal with this problem, however, is at its source. An Explosive Headshot Sniper or a max-damage Soldier can eliminate the Uber Medics before they even have a chance to pop their Ubercharge.
The groups of Heavies and Bowmen Snipers that follow are not a significant threat, although they can be annoying if left unchecked. Your team’s Soldier or Heavy can handle them as they spawn while your primary Tank-buster focuses on dismantling each Tank as they appear. The Soldiers are more troublesome due to their firepower, but they are relatively few in number and should be taken down quickly. It’s advisable to invest 450 credits in all three ticks of Crit Resistance to enhance your survivability, especially with the Sydney Snipers in the mix.
Finally, you’ll face the last Tank along with four Giant Heavies. Prioritize eliminating the Giants as they drop, and once the final one falls, gather your team to focus on the Tank. Despite having the most HP of any Tank in this mission, it won’t withstand the onslaught of six players with max upgrades. By effectively coordinating your efforts, you should be able to destroy the Tank and successfully complete the wave.
That's everything we are sharing today for this Team Fortress 2 guide. This guide was originally created and written by Gospel of Tomboy. In case we fail to update this guide, you can find the latest update by following this link.
