If you’ve noticed that the shadows in Starfield resemble Minecraft with a glitchy and buggy appearance, it’s likely due to shader problems. In this tutorial, we will demonstrate how to address these shader issues in Starfield.
Shader Issue Sample
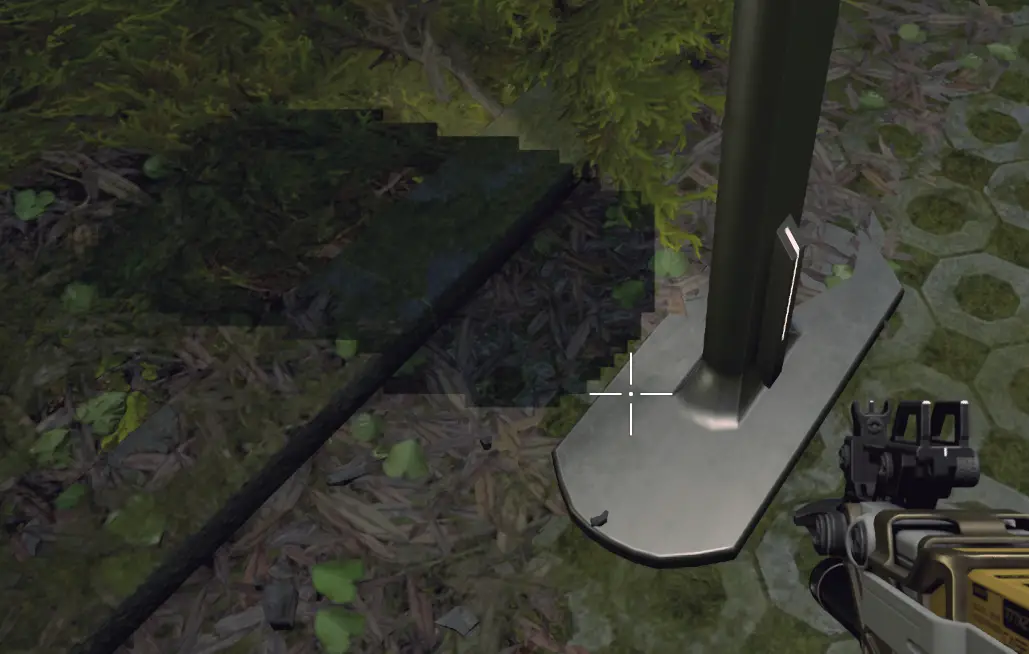
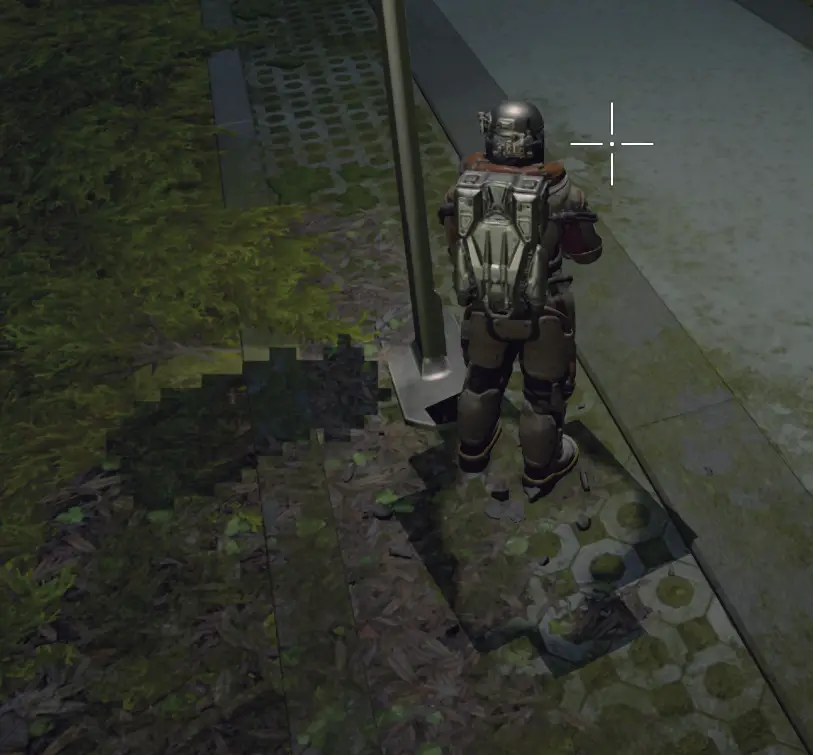
How to Fix Shader Issues
- Exit the Game: Make sure to close Starfield before proceeding.
- Open the Run Dialog: Press the Windows Key + R on your keyboard to open the Run dialog.
- Locate DxCache Depending on Your GPU:
- For NVIDIA GPU Users: Enter the following path in the Run dialog and press Enter: %LOCALAPPDATA%\NVIDIA\DXCache
- For AMD GPU Users: Enter the following path in the Run dialog and press Enter: %LOCALAPPDATA%\AMD\DxCache
- Delete the Pipeline.cache File: In the opened DxCache folder, locate and delete the “Pipeline.cache” file.
- Delete Shader Files in Starfield Directory: Navigate to the Starfield directory in your local app data. You can do this by entering the following path in the Run dialog and pressing Enter: %LOCALAPPDATA%\Starfield\
Inside the Starfield directory, you should see various shader files. You can skip deleting the other shader files and focus on removing the “Pipeline.cache” file. If you can delete this specific file, it should help resolve the shader issues in the game.
After completing these steps, you can relaunch Starfield, and the shader issues should be resolved.
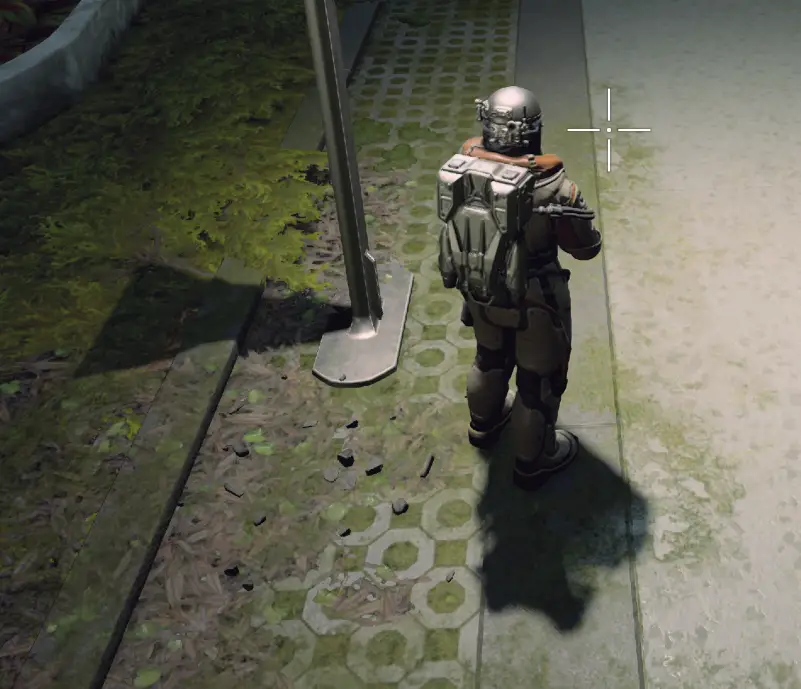
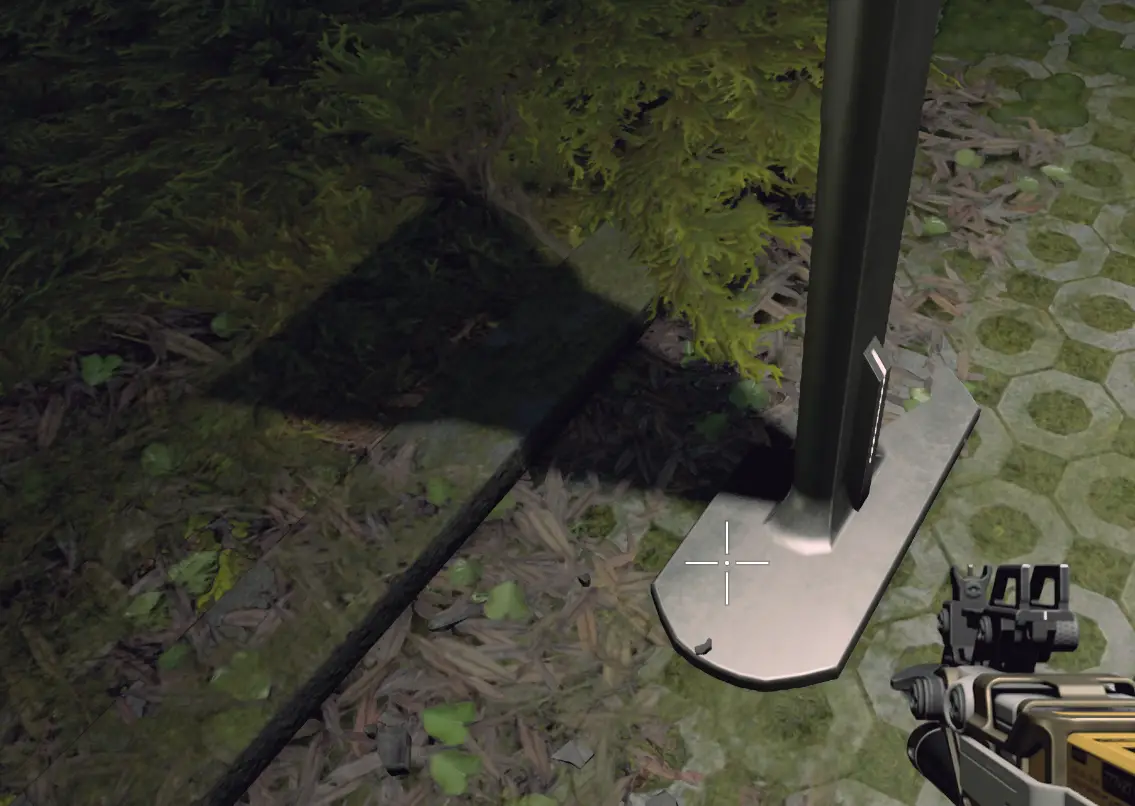
Now, go ahead and launch the game, and it should begin the process of rebuilding shaders, similar to when you initially started Starfield for the first time. This should help rectify the shader issues you were experiencing.
That's everything we are sharing today for this Starfield guide. This guide was originally created and written by User. In case we fail to update this guide, you can find the latest update by following this link.

Реально помогло ,огромное вам спасибо .правда этот файл был в директории самой игры .я 3 часа потратил на кучу всего разного и только ваш гайд помог.!!!рекомендую!
This guide works !thx a lot guys!