Here’s a simple walkthrough for the puzzles and stages in the game Shadow of Ether. This guide will assist you in progressing through the storyline, but it won’t give you direct solutions to the puzzles.
Level 1 outside the house
Difficulty 🔵 ⚫ ⚫
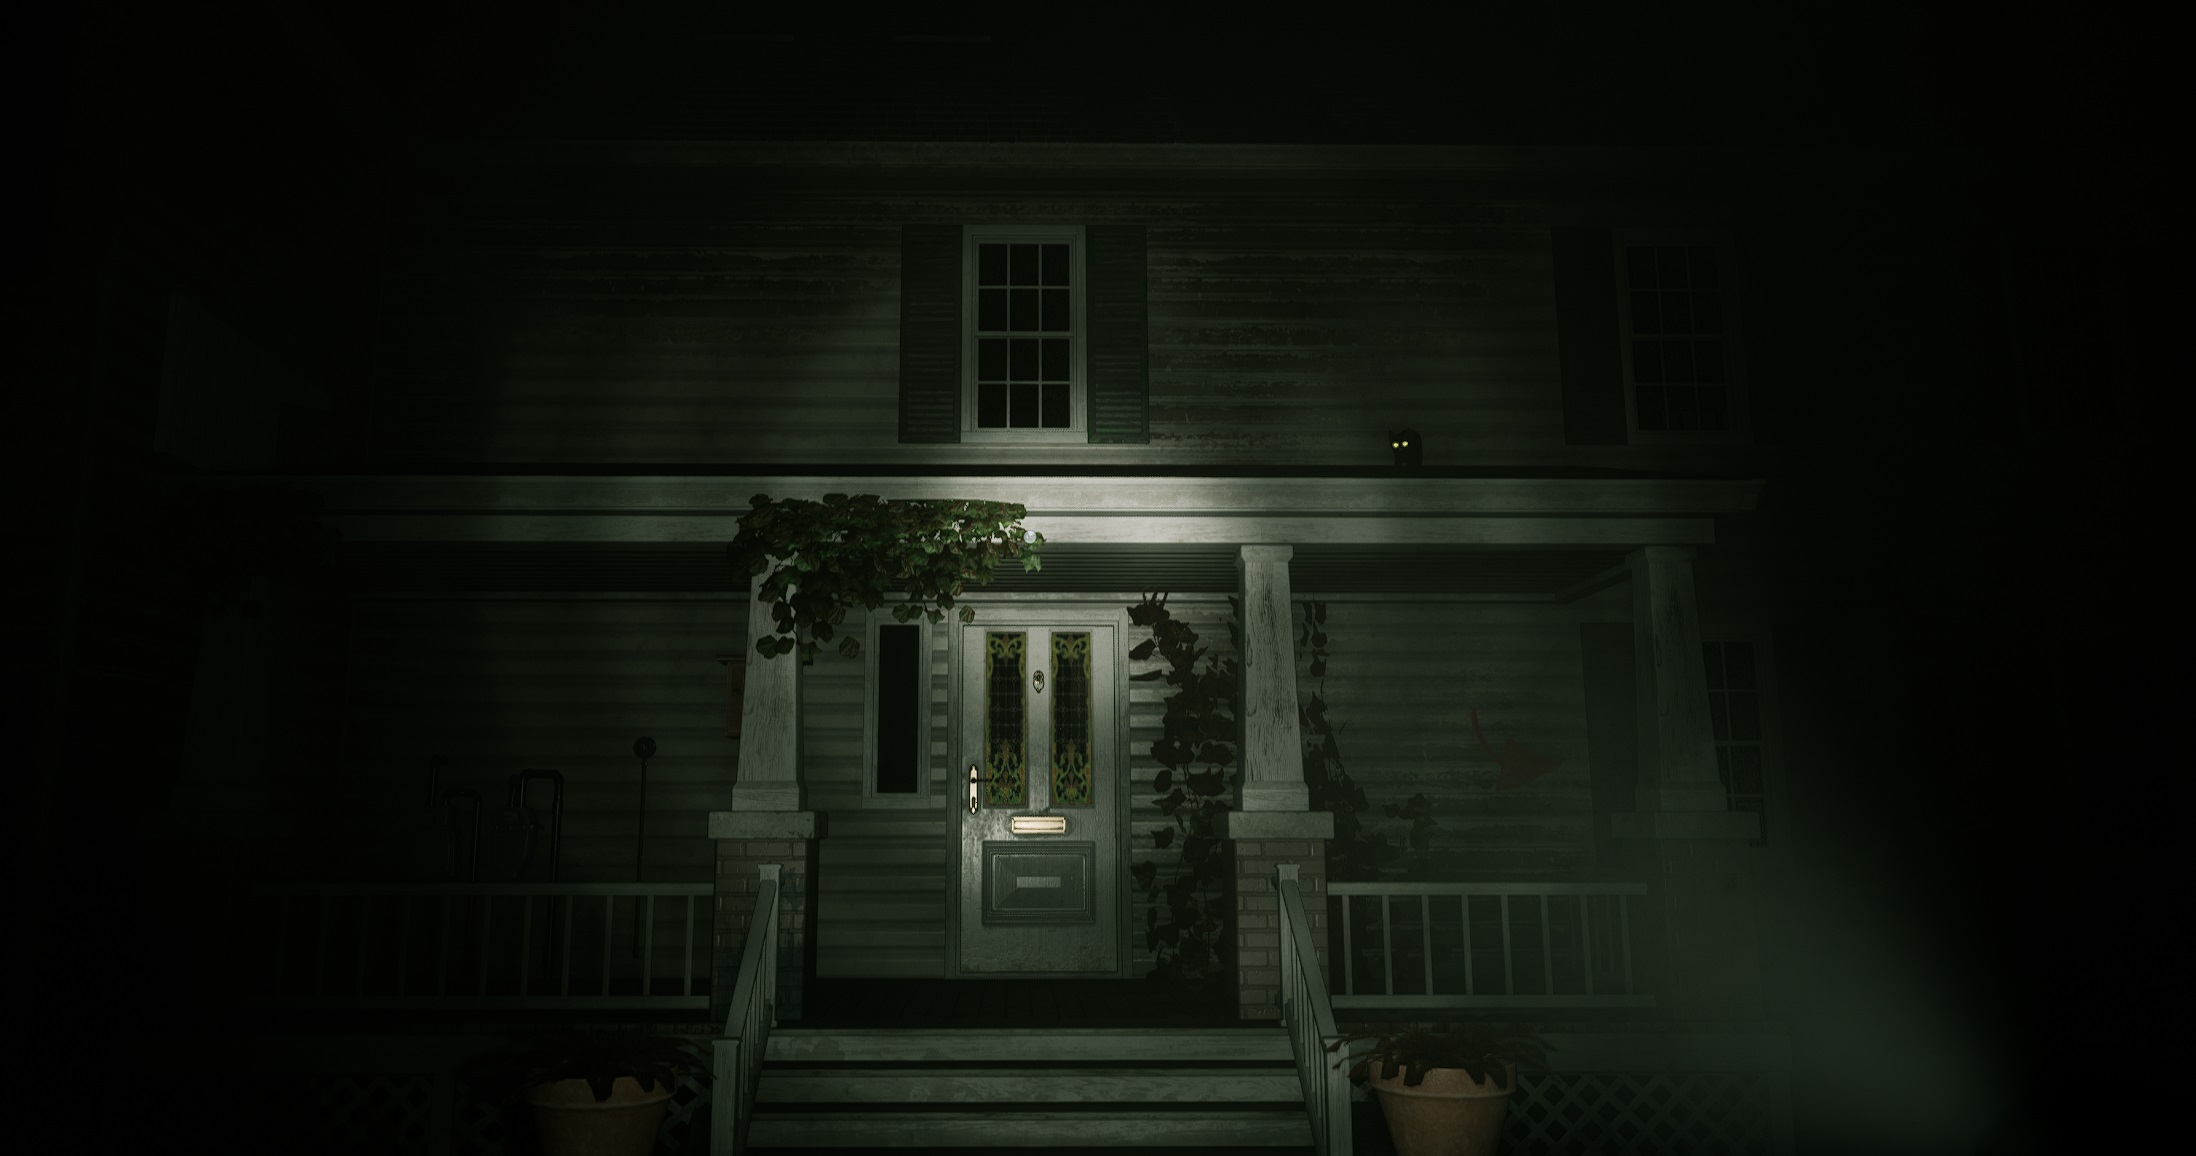
In this stage, as you begin, your objective is to locate the residence where the archon is situated. Once you’ve located the house, you’ll require a key to gain access. Take your time to search the surroundings diligently and explore to find the key. Afterward, make your way back to the house and use the key to enter.
Level 2 inside the house
Difficulty 🔵 ⚫ ⚫
To begin, gather all the items on the table to your right. Take some time to explore the surroundings and search for an exit leading to the interior patio.
Difficult 🔵 ⚫ ⚫
Upon reaching the patio, you’ll find a room directly ahead. Inside this room lies the first puzzle. The solution revolves around interpreting a smile.
Difficult 🔵 ⚫ ⚫
After successfully deciphering the smile-based puzzle and obtaining the key, proceed to the tool room. This path will guide you through a series of corridors that eventually lead to the cemetery. In this area, your task is to bring tranquility to a restless corpse. Carefully investigate and find a method to fulfill this objective.
Difficulty 🔵 ⚫ ⚫
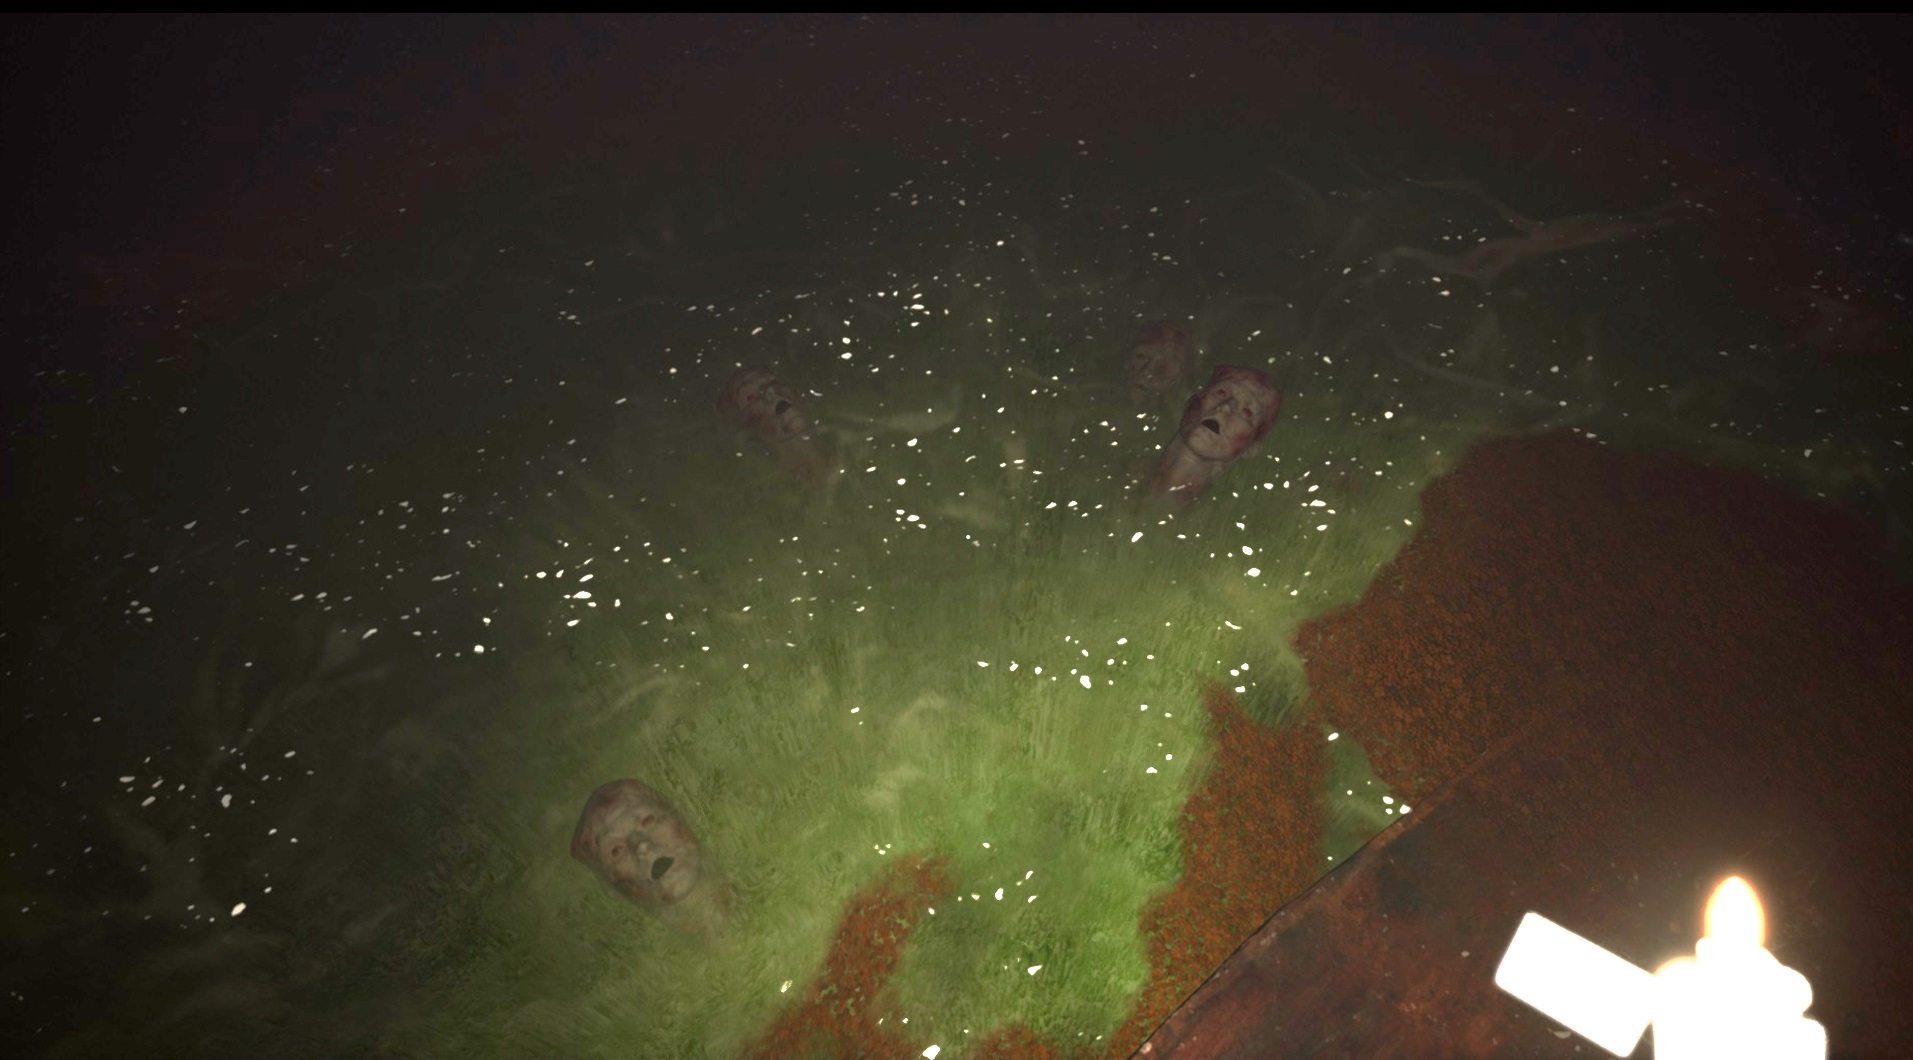
Within this section of the cemetery, a subtle easter egg awaits your discovery.
Difficulty 🔵 ⚫ ⚫
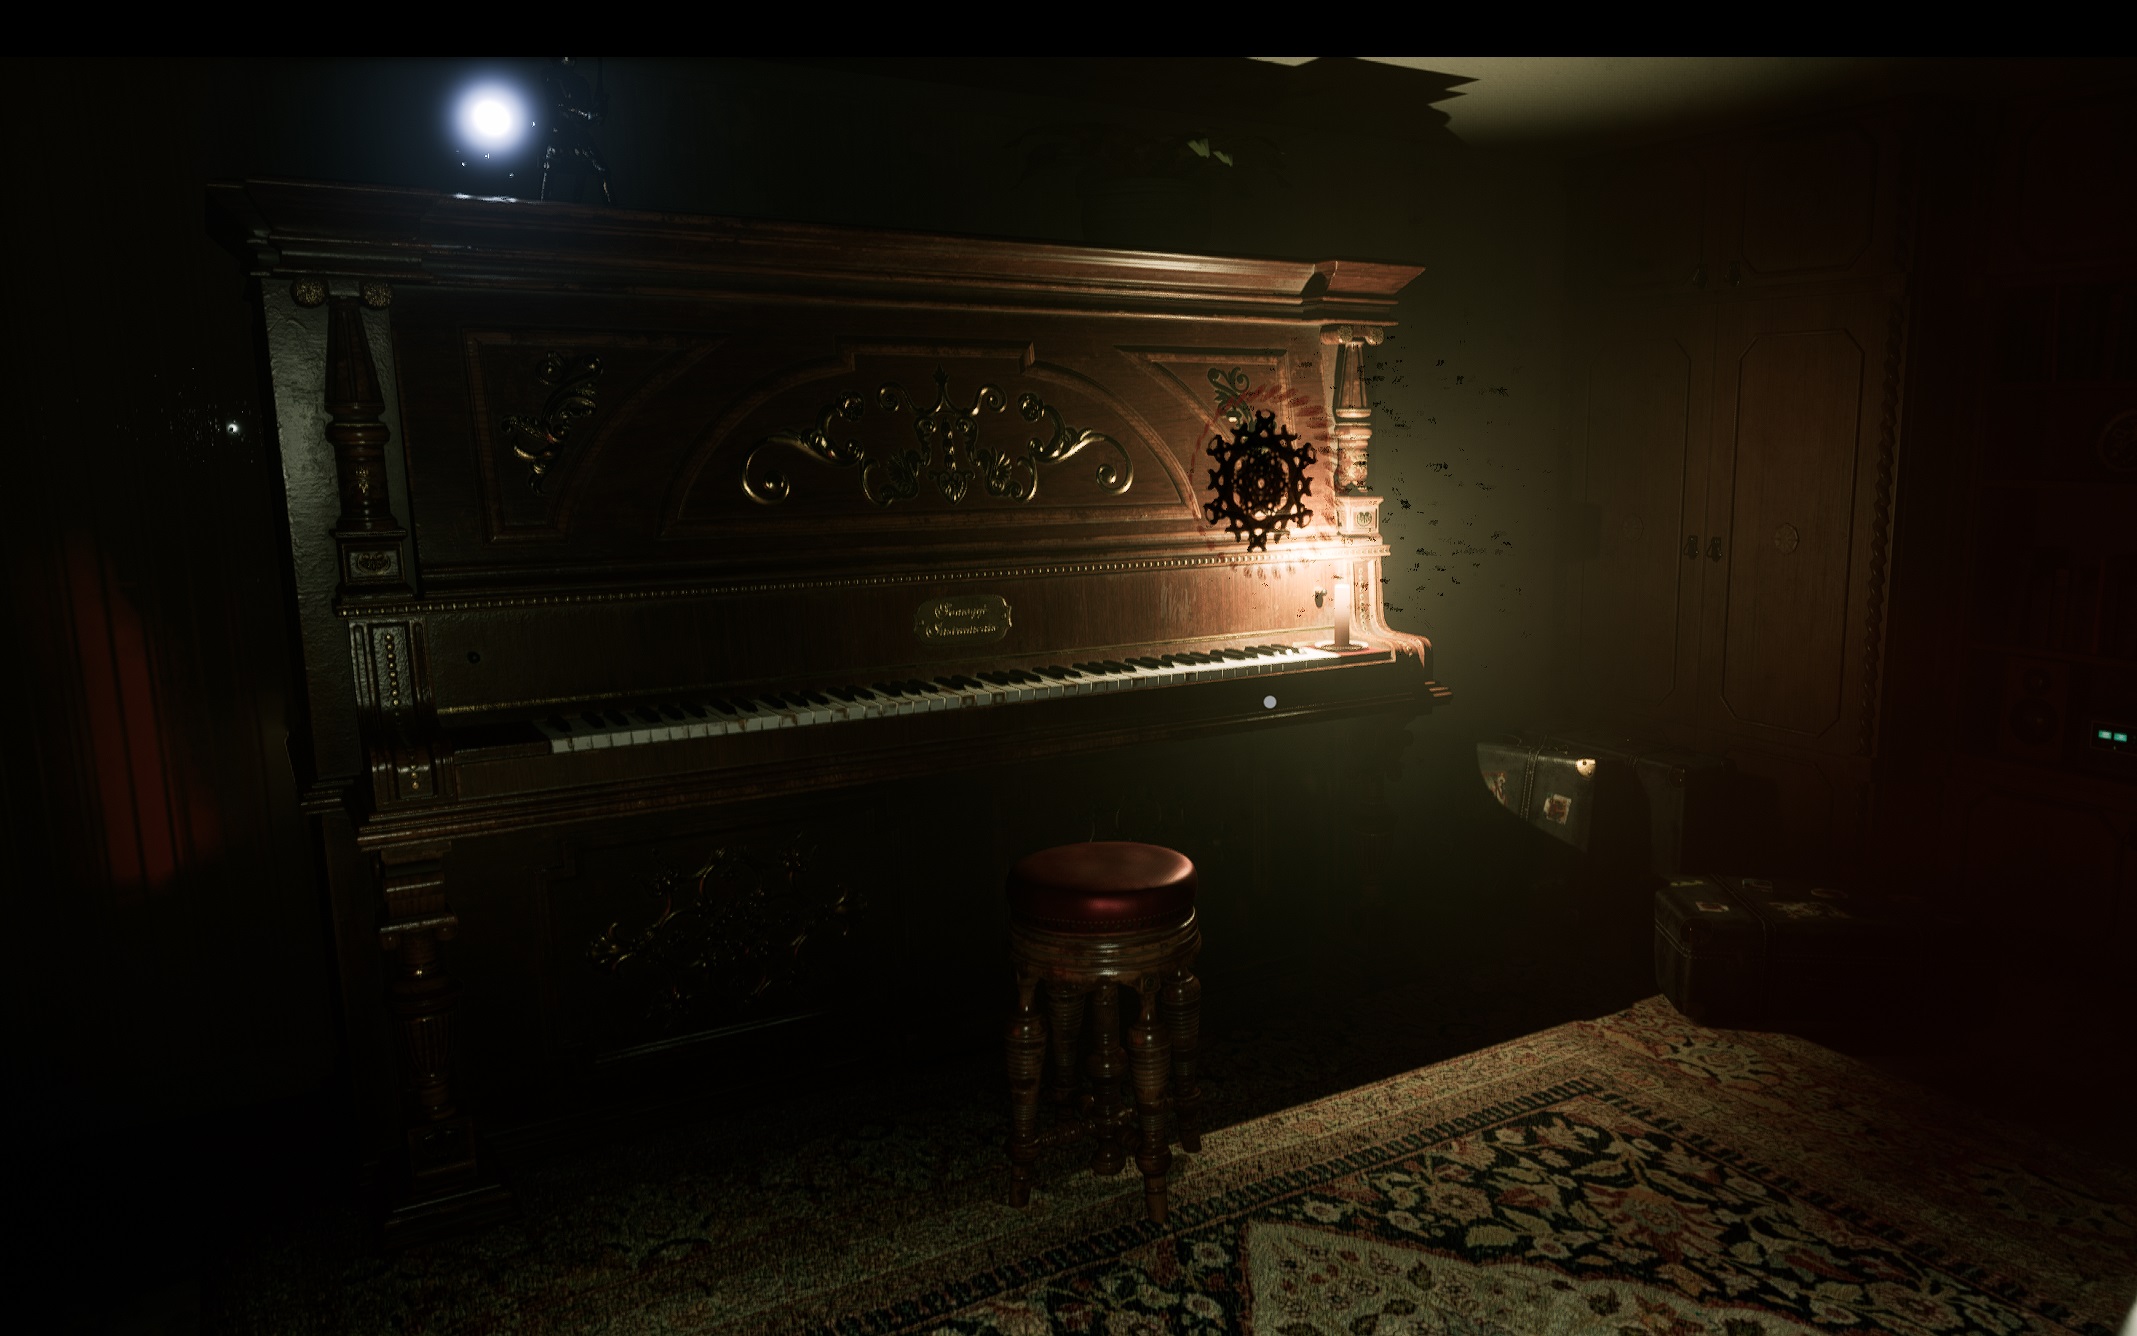
Upon departing from the cemetery, proceed to the box room. Here, locate the concealed key and transport it to the reading room. Within the reading room, you’ll find three pillars. Each pillar corresponds to an object linked to a different family member. Place these objects on the respective pillars. Afterward, take the key and advance to the photo room.
Difficulty 🔵🔵 ⚫
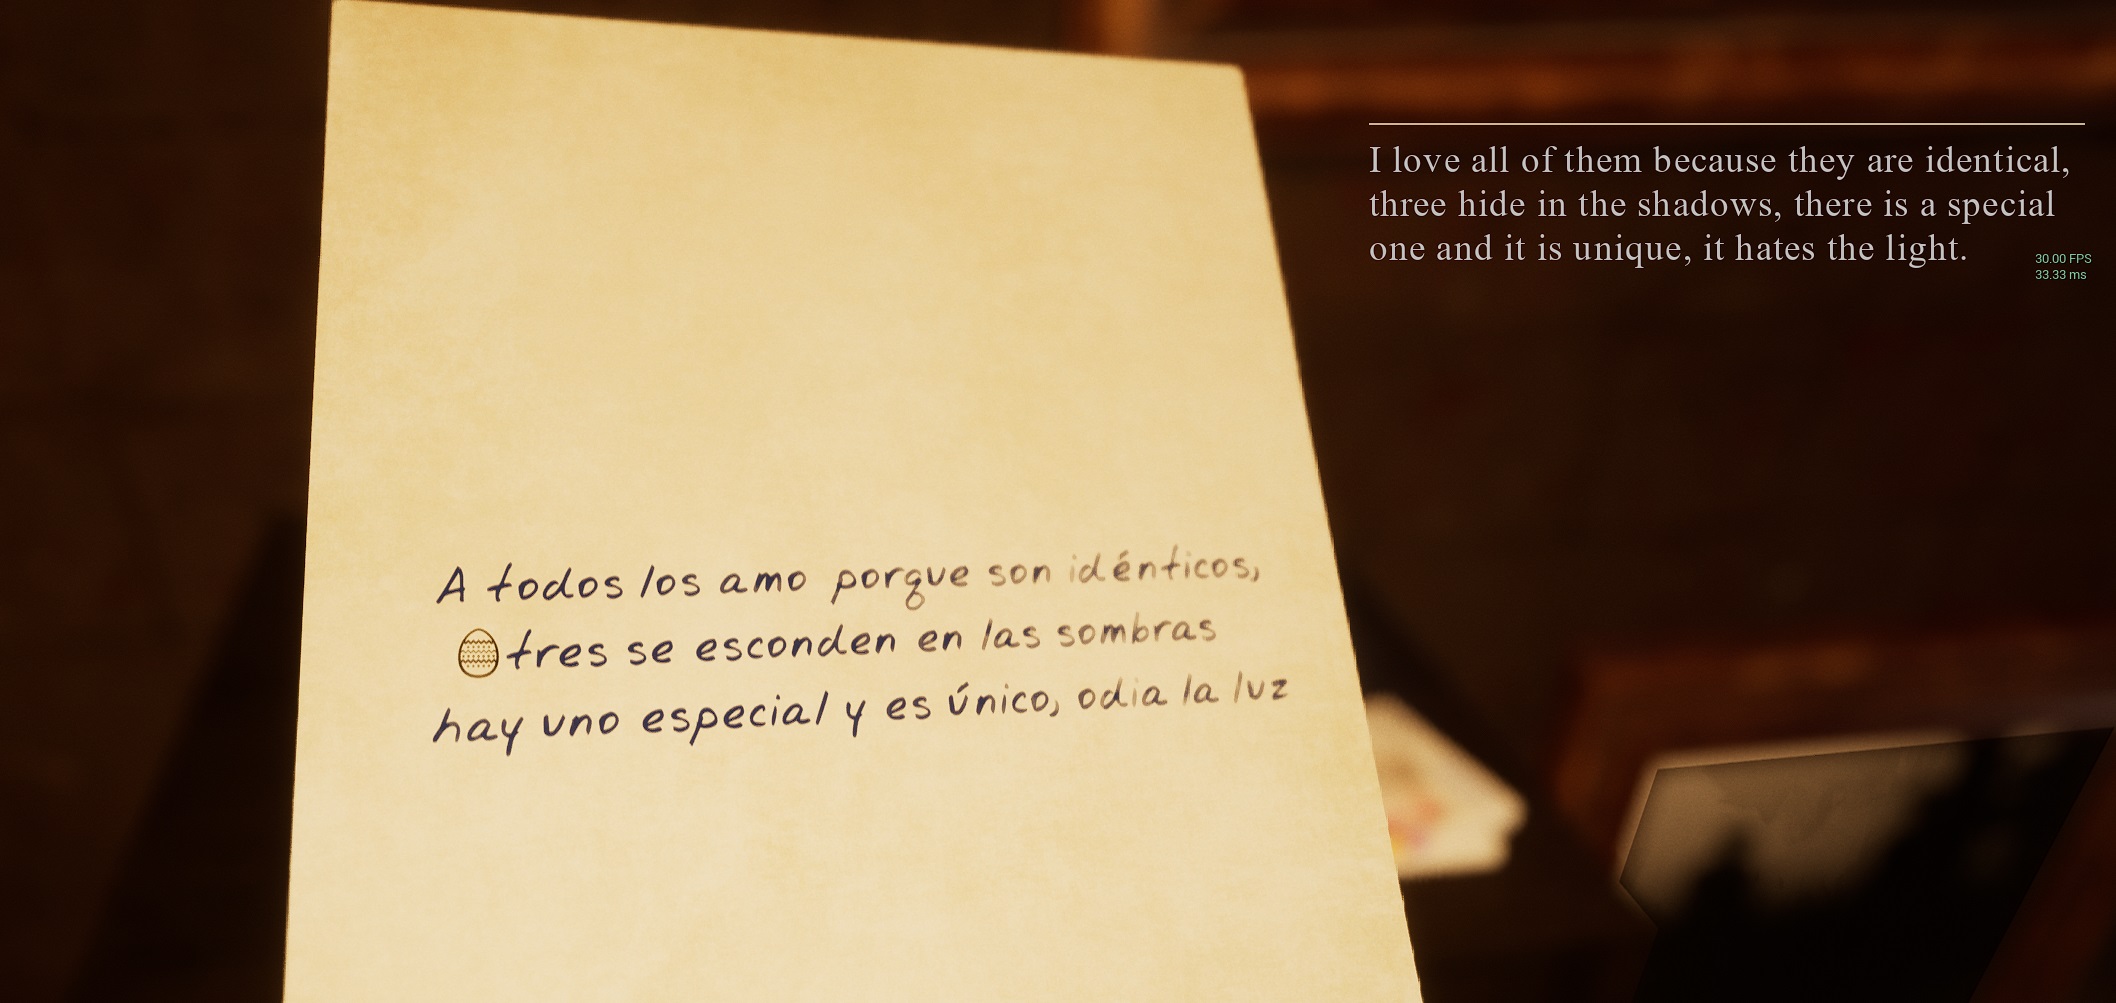
Within the photo room, two distinct puzzles are present. One puzzle propels the continuation of the narrative, while the other unveils an easter egg, symbolized on the sheet as a small egg.
To progress the storyline, capture an image of the appropriate box as indicated by the final statement on the sheet: “he is unique and hates light.”
For advancement within the easter egg pursuit, unravel the puzzle “three hide in the shadows.” In the event that you’re unable to locate all the enigma’s clues, you can proceed with the main narrative. There’s a chance that you might stumble upon something related to the easter egg later.
It’s important to recognize that engaging with the easter egg isn’t obligatory for progressing the story. You’re free to disregard it if you prefer.
Continuing with the primary narrative, you will receive a diary and a sheet serving as a clue to locate the second object. Position the diary on one of the three pillars situated in the reading room, following the correct sequence. The diary is linked to the mother.
Difficulty 🔵 ⚫ ⚫
Begin by searching for the second clue, which pertains to the father’s possession. You’ll find the clue sheet within the photo room. Afterward, once you’ve correctly positioned the objects on the three pillars, proceed to the final spot associated with the child’s object. This location should be where the child used to play.
Upon successfully placing all three objects on their respective pillars, a concealed door will swing open. Inside, you’ll discover the ultimate key for this level – the one granting access to the kitchen, positioned adjacent to the living room. Enter the kitchen, find an exit, and this will lead you to a room adorned with candles.
Difficulty 🔵 🔵 ⚫
Your task now is to extinguish the candles.
This concludes the challenges and events of this level.
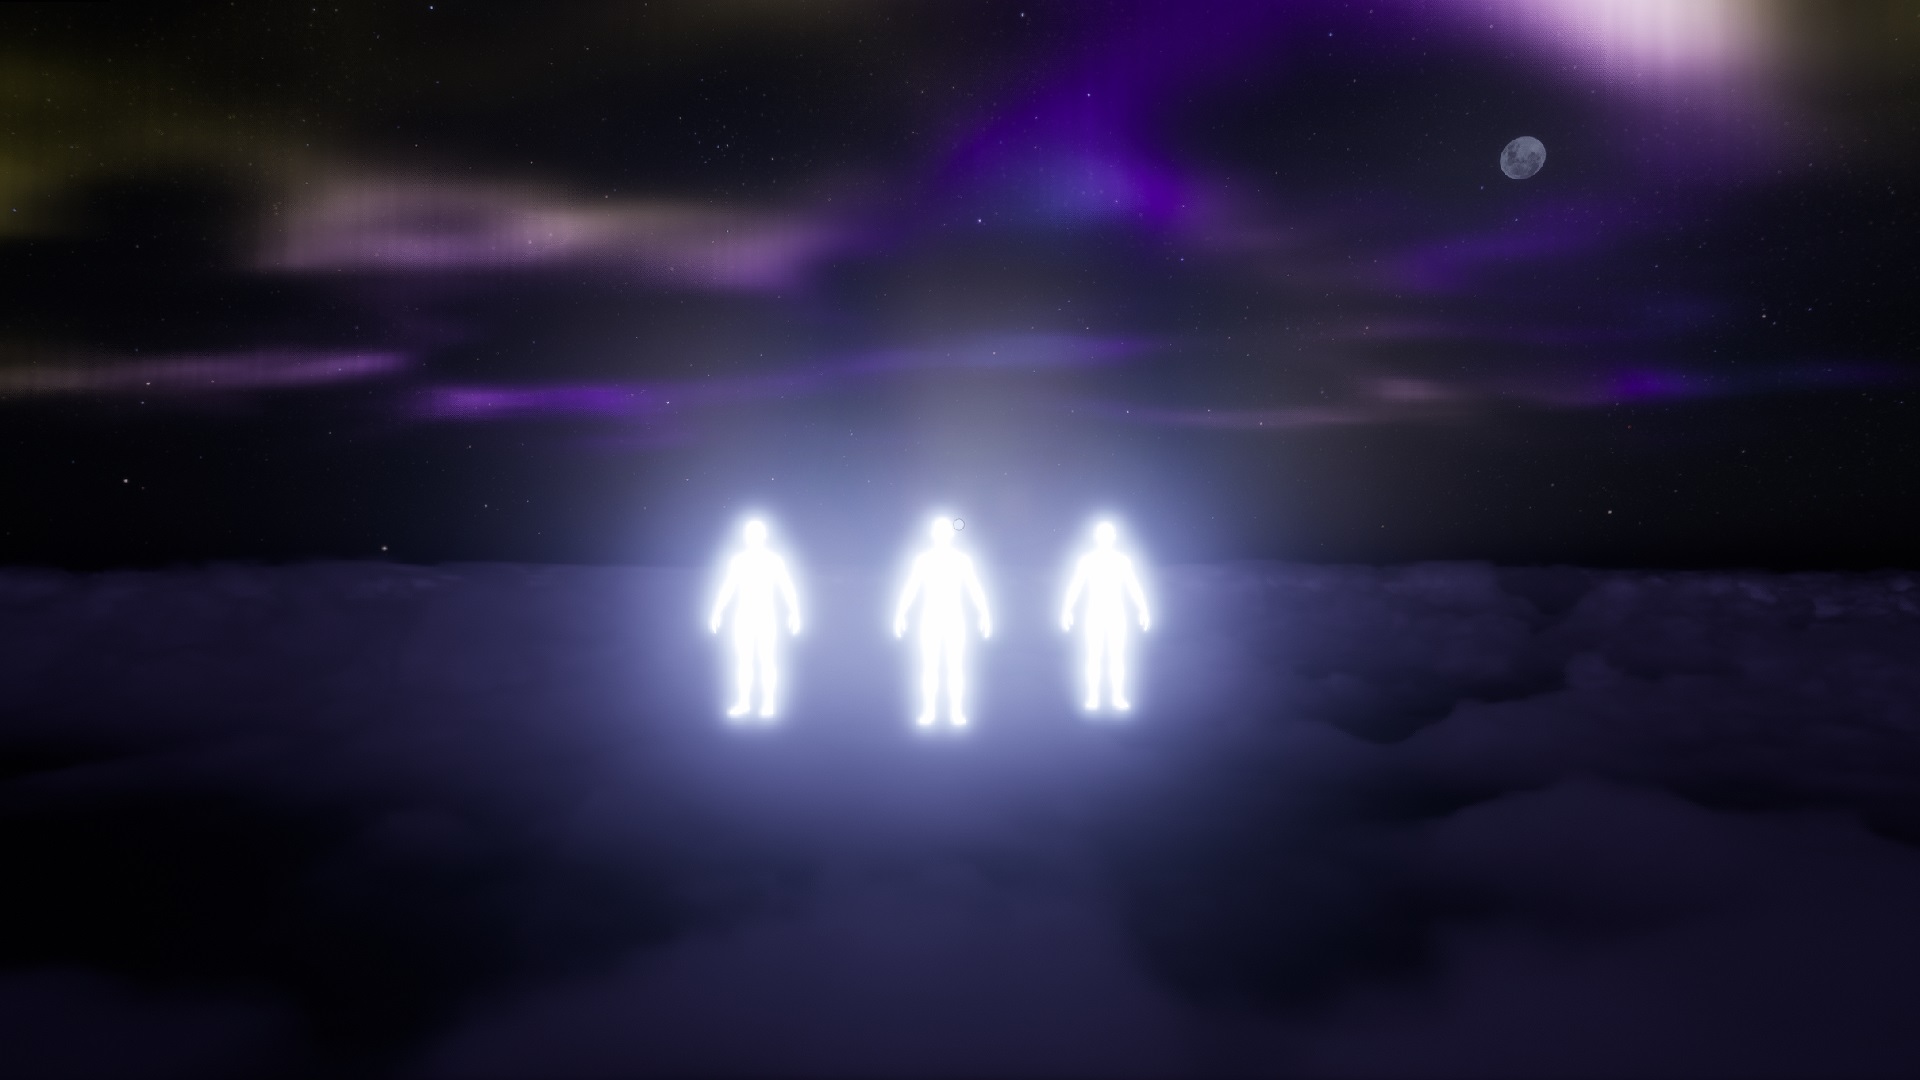
Level 3 The Low Astral
As you walk and explore, you’ll come across a corridor that forms a loop. However, keep an eye out for changes in certain aspects despite the repetition.
Difficulty 🔵 ⚫ ⚫
The initial puzzle presents itself as follows: Utilize the clue derived from the door in the photo to unravel the solution and progress further.
Difficulty 🔵 🔵 ⚫
Next, you’ll encounter the child’s energy room. Your objective here is to position three candles and ignite them, thereby cleansing the energy and advancing within the game. Locate the candles and place them within the miniature toy house.
Difficulty 🔵 🔵 ⚫
Following this, you’ll find yourself in a corridor adorned with floating objects. There, a four-digit code awaits your attention, along with a corresponding clue. Pay close attention to the clue’s details as you search for the relevant code numbers.
Difficulty 🔵 ⚫ ⚫
Subsequently, within the bedroom puzzle, the arrow serves as a valuable hint. Solve the puzzle using this guidance to escape. Upon exiting, you’ll find yourself in the doll room. Here, a camera for taking photos awaits. Use the camera to resolve the puzzle unique to this room.
Difficulty 🔵 🔵 🔵
Advance onward to arrive at the cursed corridors, where the auditory backdrop includes the ticking of a clock. Swift action is imperative here, as time is of the essence. Observe four photos, each associated with specific times. Employ your camera to unveil their significance. Find the code required for the small white box, open it, retrieve the key, and exit expeditiously.
Proceed to finish the level.
Level 4 the Dark and Deep Low Astral
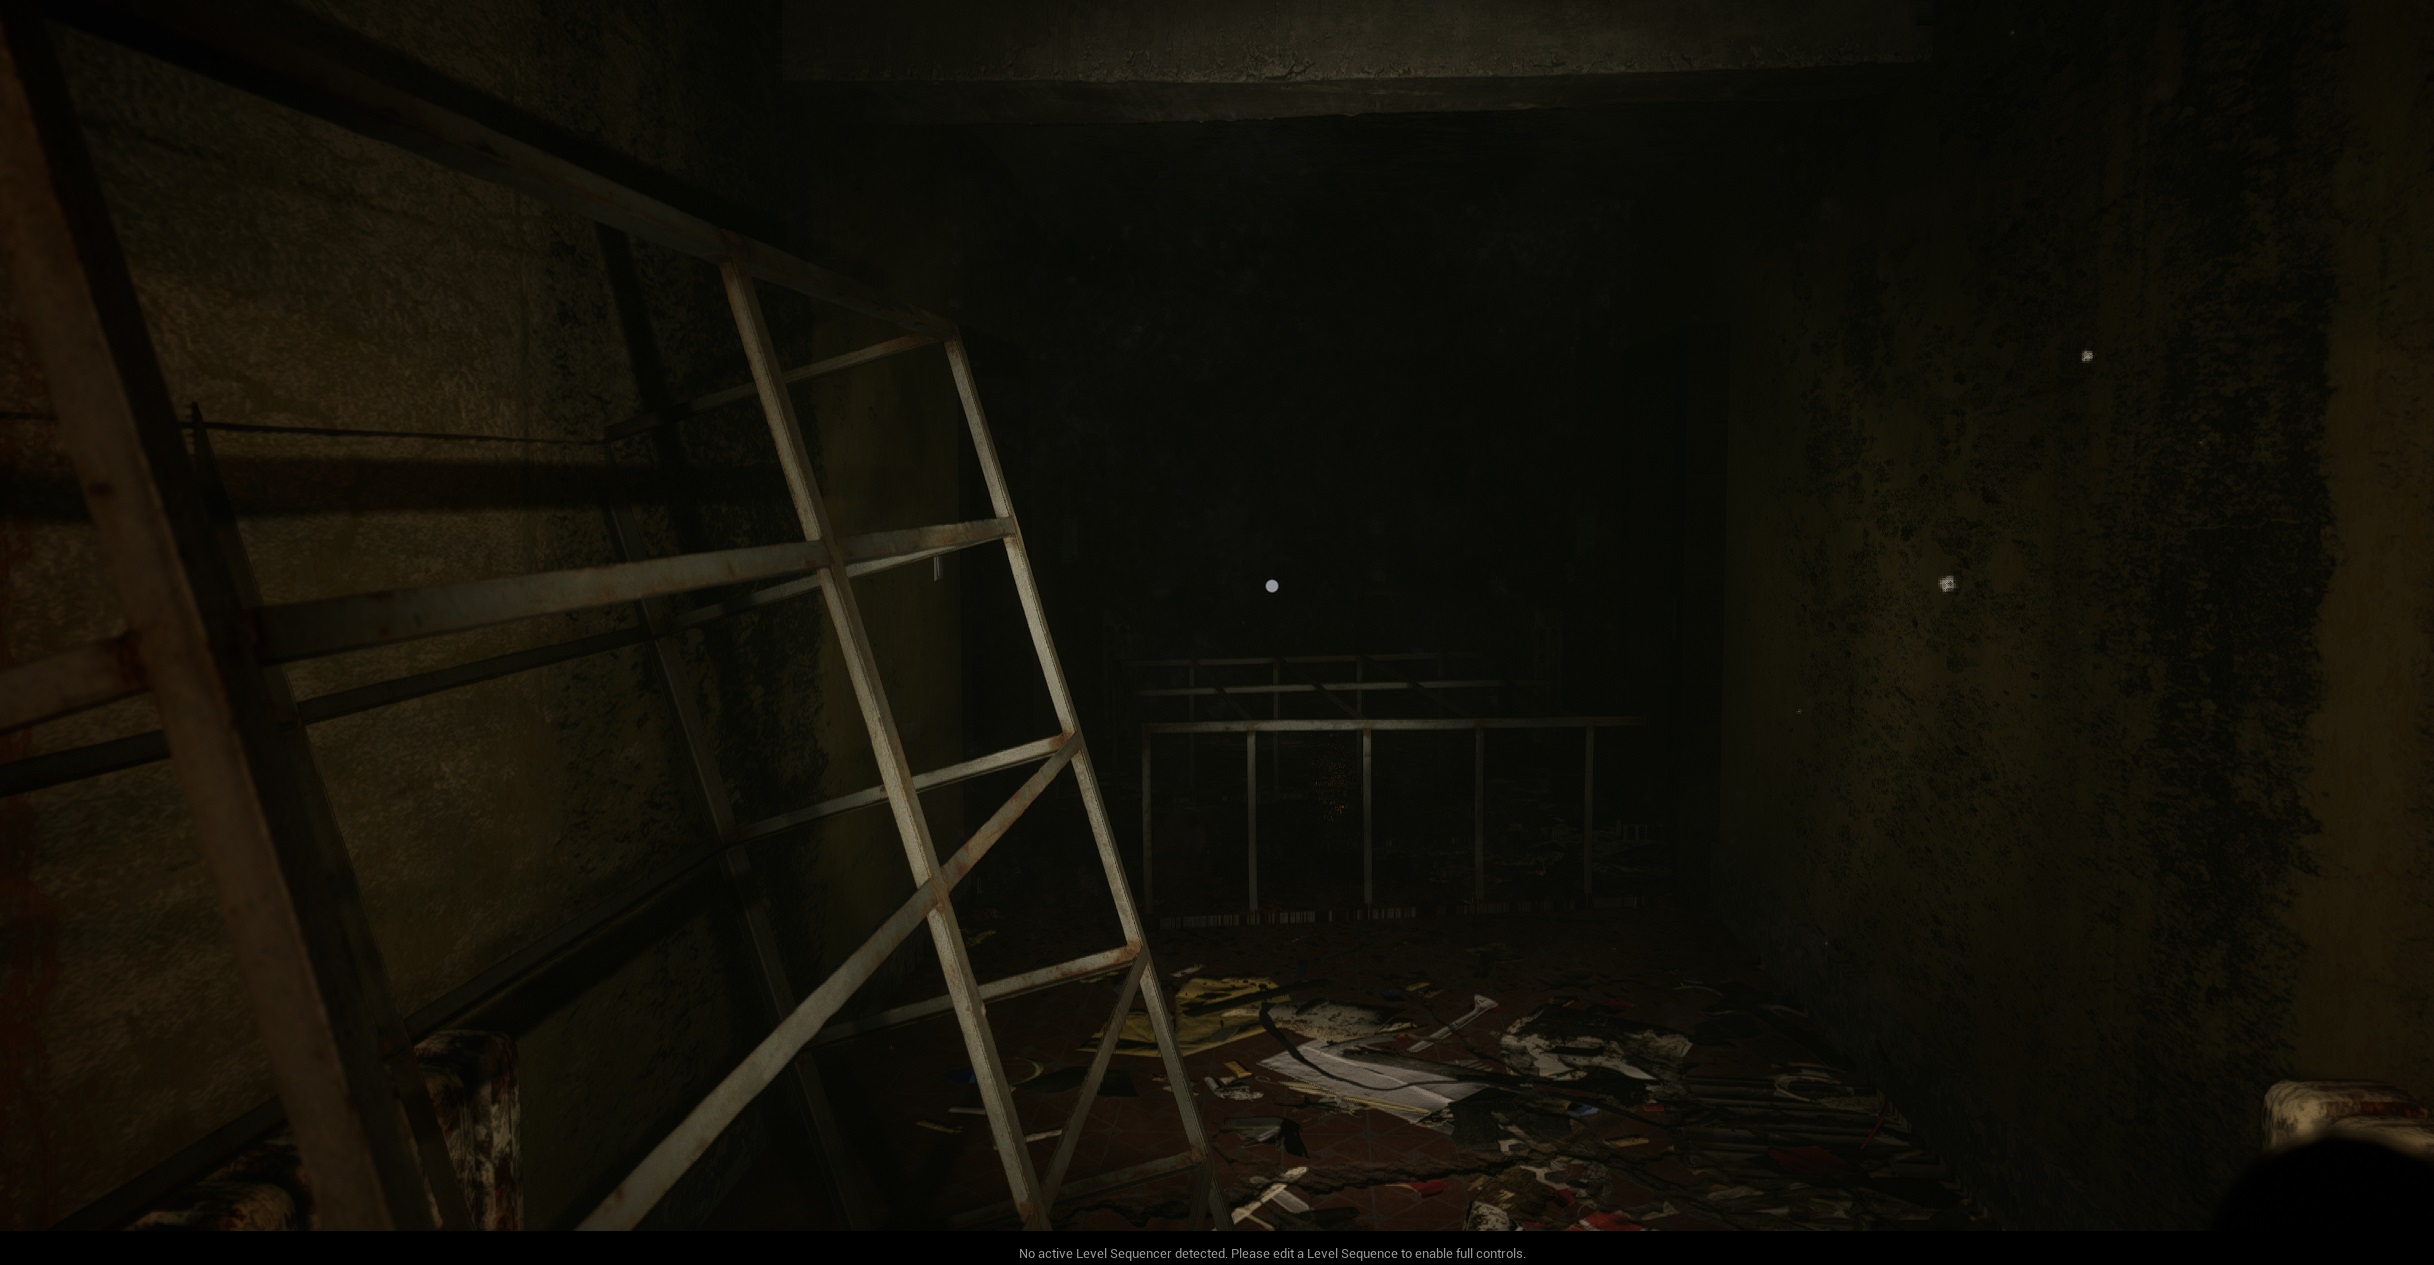
Your initial task involves navigating and solving a maze. Once accomplished, descend the ladder to proceed.
Difficulty 🔵 ⚫ ⚫
Upon reaching the enigma of the five rooms, the narrative of the murdered family will be unveiled. Within each room, you’ll discover a sheet that reveals their story.
Difficulty 🔵 🔵 ⚫
In the first room, you’ll encounter a mini enclosed forest. Your objective is to replicate the scene depicted in the tree photo. Gather the necessary elements to recreate the image and advance.
Difficulty 🔵 ⚫ ⚫
The second room is dedicated to games. Utilize the provided clues to decipher the code and progress.
Difficulty 🔵 ⚫ ⚫
In the third room, exercise caution as you interpret what you see.
Difficulty 🔵 ⚫ ⚫
Within the fourth room, your challenge is to locate the key that unlocks the exit.
Difficulty ⚫ ⚫ ⚫
As you enter the fifth room, your objective is to swiftly find an escape route.
Difficulty 🔵 🔵 🔵
Descend further into the astral realm, where you’ll encounter a complex maze with an exit door and five scattered candles. Your task is to first locate the exit door, then find and light the five candles. Do so quickly while being wary, as you’re not alone in this space.
Successfully completing these challenges will lead you through the depths of the astral realm, pushing you to think strategically and act decisively.
Level 5 The High Astral Plane and the Spiritual Guides
Just continue playing the game.
Level 6 Banishment of the Archon
Difficulty 🔵 🔵 ⚫
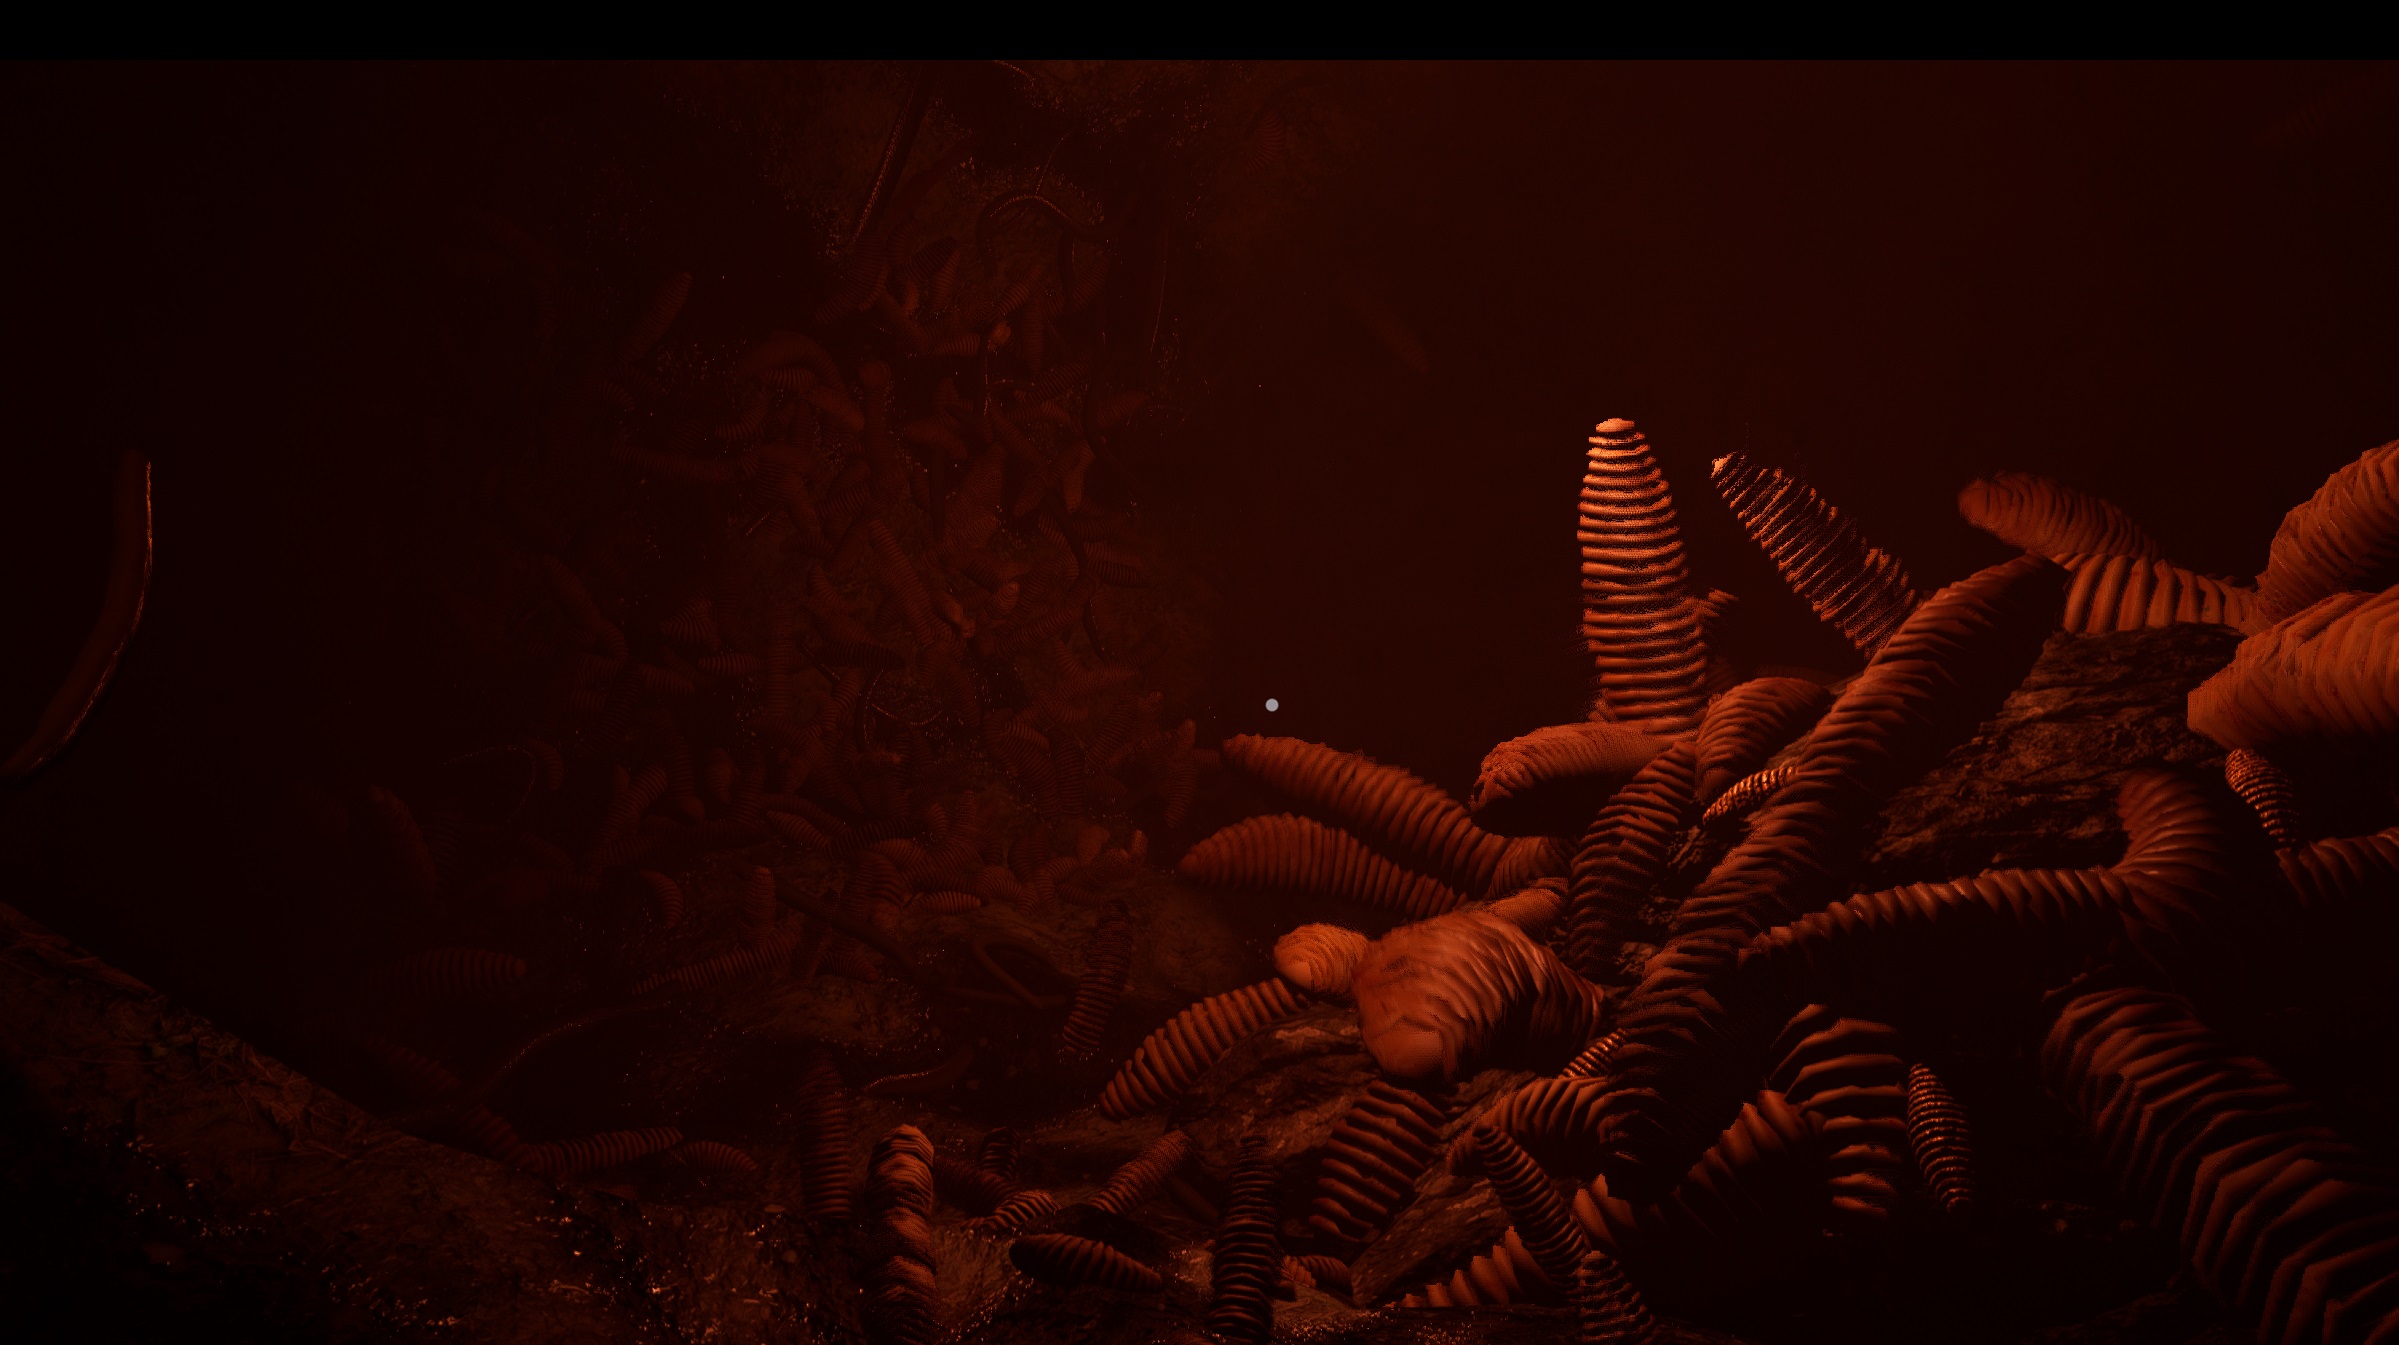
You’ll start in a maze with worms, but go ahead and find your way out of it.
After that, you’ll arrive at a house, which is the residence of the archon.
Difficulty 🔵 🔵 🔵
To cleanse the energy, you need to position candles on the elemental seals. There are a total of 7 candles, with some already in place and others requiring a search within the house. Make sure to explore the house thoroughly to locate them. Once you’ve gathered all the candles, proceed to the attic to confront the archon.
If an issue arises, search for the bathroom key and enter. Inside, you’ll find a final, stronger and more potent seal that was previously overlooked. Reignite all 8 candles and exercise caution regarding your surroundings. If you manage to succeed, the elemental entity will vanish. Go on a search for it and locate its whereabouts. This marks the conclusion of this level.
Level 7 The End
Having successfully defeated the archon, you awaken once more at the starting point within the house. Shortly thereafter, you receive a call from Ana. The entire environment has been restored to normal, allowing you to take a moment to explore and observe the alterations that have occurred.
Exit through the front door to conclude the game. As you depart, there remains a enigmatic cinematic sequence that unfolds.
Keep in mind that the game harbors both a subtle easter egg and a more substantial one. However, these will only be unveiled later, once someone has managed to decipher them.
That's everything we are sharing today for this Shadow of Ether guide. This guide was originally created and written by alex_eapo3. In case we fail to update this guide, you can find the latest update by following this link.


