If you happen to get stumped in any point of this game, then this is your go to guide of how to beat the game and where to find all the different keys and items.
Beginning of the game.
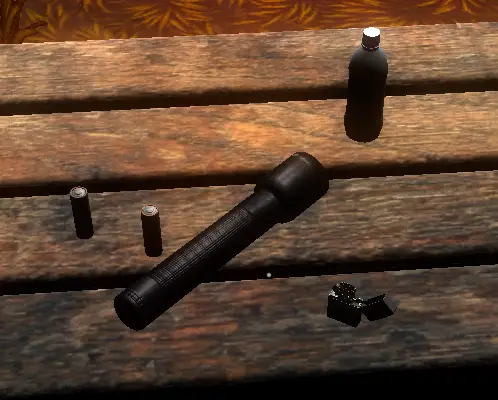
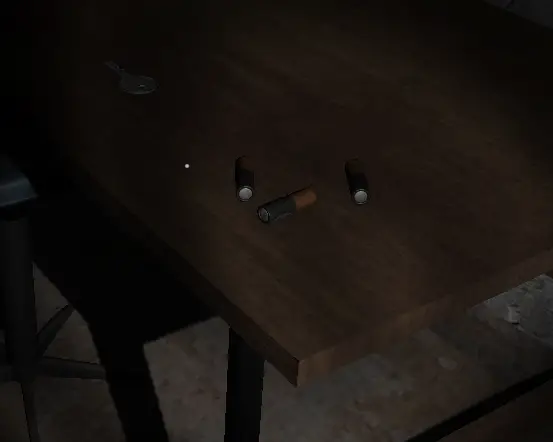
So the beginning is as simple as just pressing the button to start. Course once you select play, you should be brought to a screen where an officer is discussing about how there is a supposed break in at this abandoned place. As you listen to the fellow officer you will have your attention towards a few items. Those items being a flashlight, two batteries, a lucky lighter and a bottle of water. Collect all these items as you will be needing them, unless you plan on not getting hit and play with your monitor brightness at 100%.
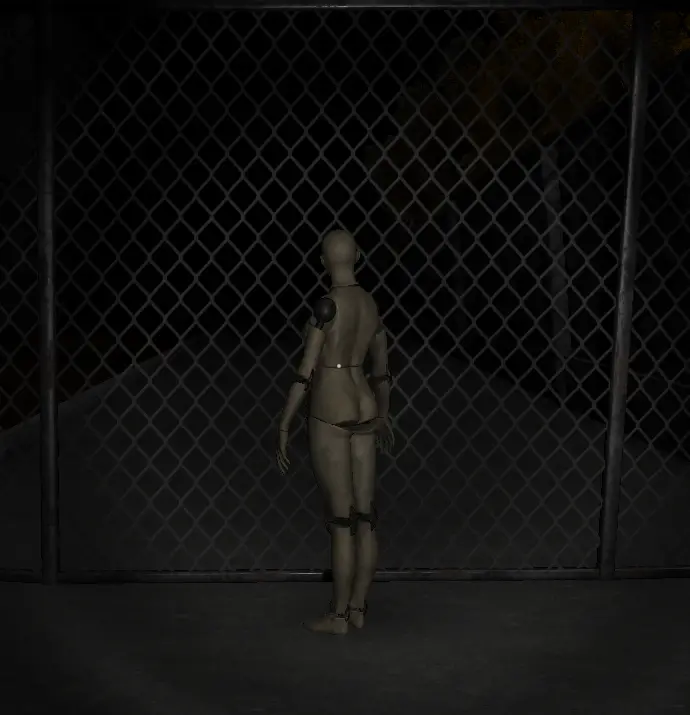
Once you collect all the items, you will be instructed to go towards the back of the building. The direction towards the back is just moving forward from the bench and gate. Once you collide with the wall and back yourself into a corner, turn left and keep making your way down. Making your way to the next corner till you turn left once more. Finding your way to a fenced off gate with a mannequin at the end of it.
Reaching this point, your fellow officer will call you on the walkie talkie, stating that you need to head over to the gym to switch the breaker on. So backtrack the way you came from till you are back at the gate. Then face the gate and make a 180 till you are facing forward at the building. The doors that were once locked should be wide open now.
Building 1 (Part 1)
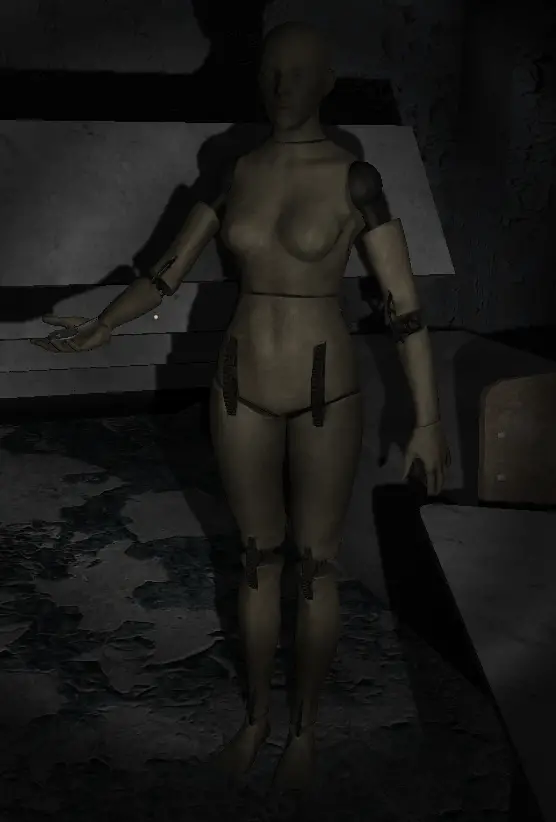
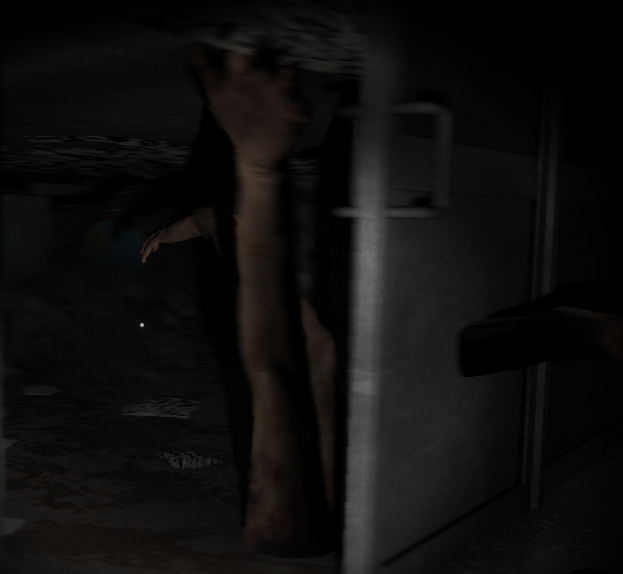
The beginning of building 1 starts off with a chase scene. A chase from what exactly? Well there is a mannequin propped in the middle of the hallway that seems harmless at first. Get close to it though and it will gain a spotlight as it sprouts arms from it’s torso. Ready to chase you down. And where would one exactly be chased to? Well if you guessed the gymnasium then you would be correct!
The gymnasium is located behind the mannequin. So you would run till the end of the hallway and make a right. Where there will be a double doors. Once you pass through there, make another right and climb up the ladder. The way you climb is just running into it and facing up or directly at the wall. Pointing your mouse and cursor down results in you climbing down the ladder. Soon you should be on an elevated platform that can somewhat oversee the whole gymnasium. First response would be to explore and head down, but there is nothing down there. Nothing except the other arm infested mannequins that will kill you. And trust me, you wouldn’t want to be killed as there are no save points. Instead I’ve record a small video of what to do as showing would be better than explaining with words.
Though if the video doesn’t work…just do parkour around. Hop on the two platforms, walk along one wall, hop on two more platforms, hop on the basketball hoop backing, and making a sprinting jump to reach the light box. And fair warning, there is fall damage in the game.
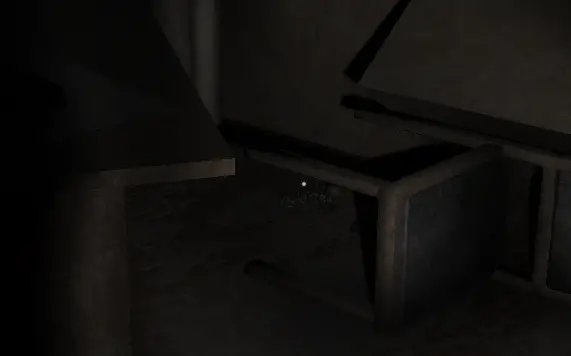
But, once the lights have been activated, make your way back into the hallway. Now instead of heading left and to the stairs, go into the first two rooms on the floor. As they have items that will be helpful later on. Those being 2 herbs and a battery. The room that you would directly face will have the herb, tucked away behind a pile of desks and chair.
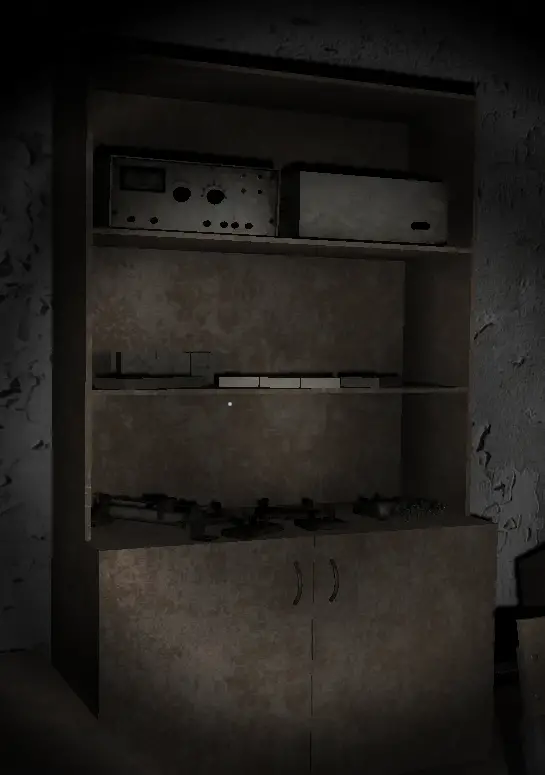
The next two items will be the next room that you come by. You will know you have entered it as what appears to be projector pieces and other technological device are laying around. Course we do not care much about the pieces, instead head your way to the back of the class. There should be a bookshelf of sorts. On one of the lower shelves, you should see an herb on it’s side.
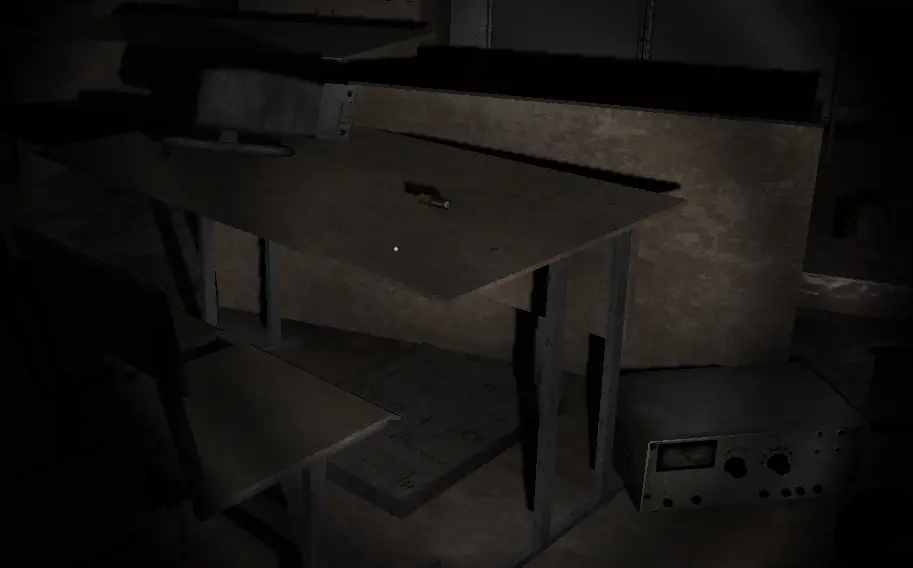
Within that same room, after picking up the herb turn around and look towards the table with the most white pieces on the ground. There on the desk should also have a piece on the table with a battery laying on top of it. Pick it up and save it for later. Trust me, there are barely any batteries so the more the merrier.
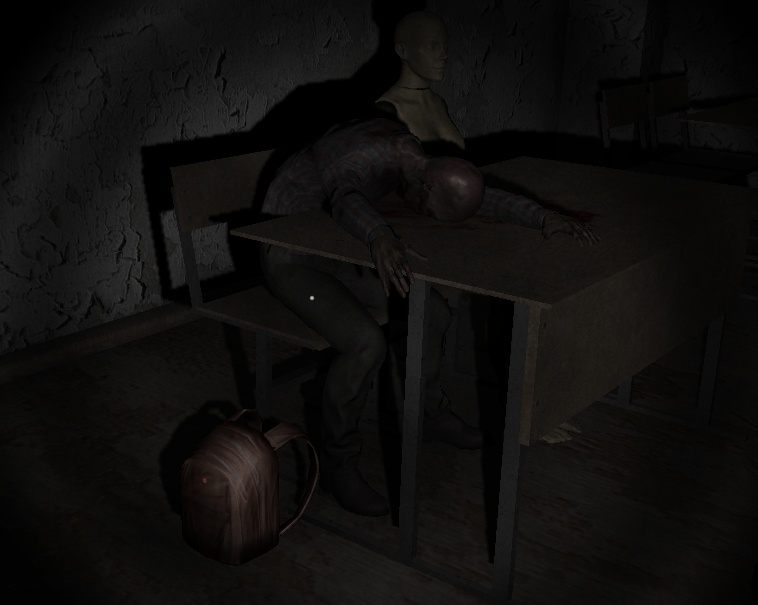
Now that all these items have been gained, make your way up to the second floor. And head to the end of the hall. Avoiding the mannequin that is patrolling that floor. Now what I recommend is heading into the room on the left, at the end of the hall. As that room has a backpack near the back of the classroom. You will know that you are in the right room when you see a barely bother classroom with a mannequin and dead body seated at the back of the room.
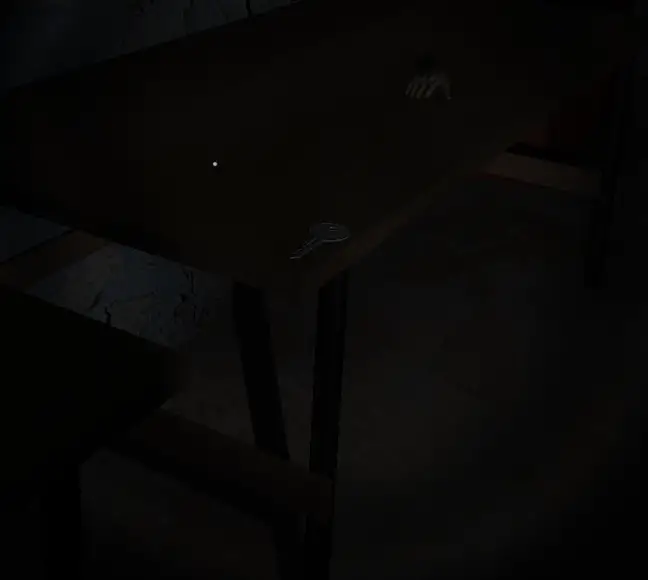
Afterward walk out the room and head straight. Go to the third room on the right and you shall receive another audio from your fellow cop. On the desk in the room should be two batteries, a severed hand and a key to the Executive Office. Take the key and batteries and head back into the hallway.
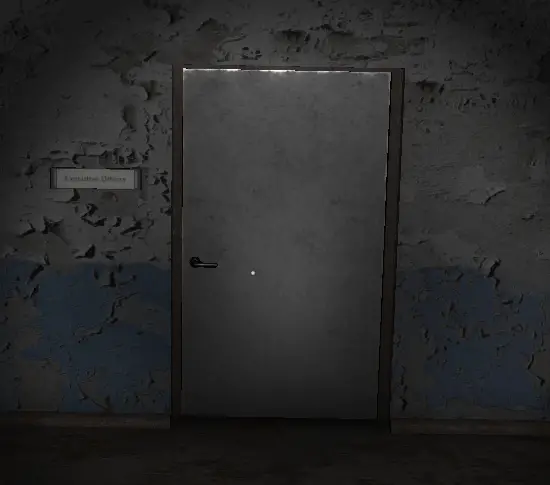
Head over to the door that is labeled Executive Office and head inside. There will be nothing inside to gain, but another audio will play informing you to check out the 2nd building. Head on out of the room and make your way over.
Building 2 (Part 1)
Now onto building 2, which will be a very short segment as there isn’t much to share or talk about. You should mainly focus on the first floor, or ground floor whichever makes sense. There will be 4 rooms on the floor, you will ignore maintenance for now as that door is locked. For now you should check out the restroom, break room and the unnamed room.
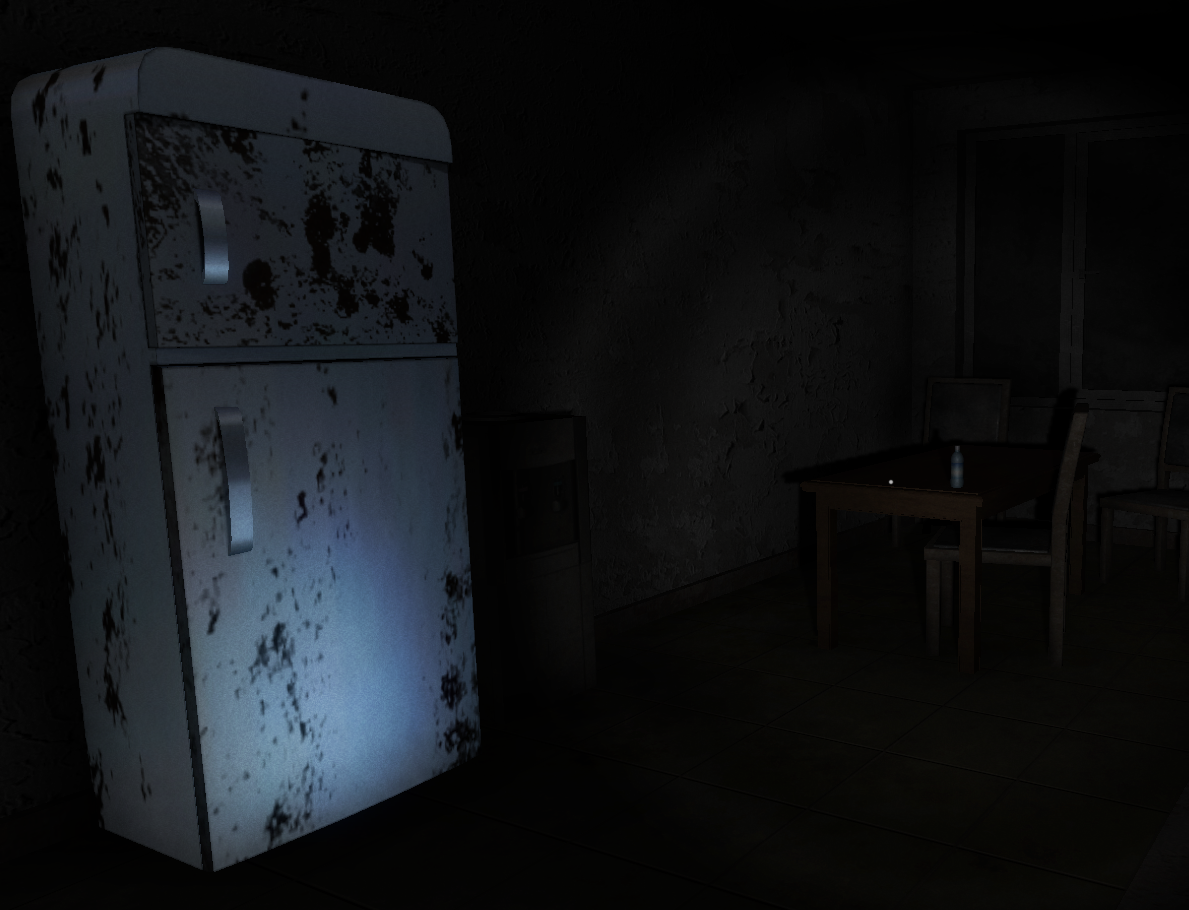
The restroom and break room do not really have much except for an herb and water bottle. The herb being in the second to last urinal in the room and the water bottle being on a table closest to the fridge.
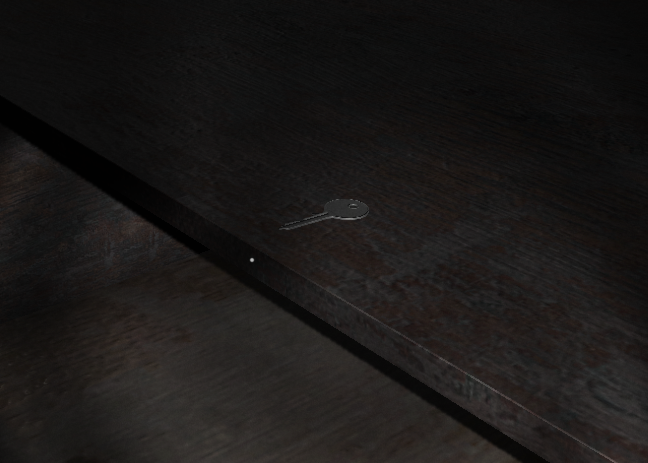
What you will need to focus on though is the last unnamed room. This room contains a key for the lab that is found within Building 1. And you will know you are in the right room for the key when you see a dead rabbit in the room, just lying on the floor. The key being located on the top drawer of the dresser, pushed into the corner.
Once you grab the key, head back over to Building 1.
Building 1 (Part 2)
Heading your way back to Building 1, you will make your way down the hallway. It should be the second door that you happen upon. Unlock that room and you should see a mannequin standing in the far back of the room. In it’s hands is the Office Key. Take it and head back upstairs to the second floor.
The second floor is home to the Office Room, where you will just unlock the door and see three semi circle shaped desks. There will be another audio queue where the officer speaks on talking back up. He leaves you with exploring the rest of the facility to ensure no one else is here. So you then take the key that is on the second desk, that leads to the Cafeteria, and head back down.
Which you will grab yourself a ton of health items. Those being 2 apples, one water bottle and 4-5 cans of fish.
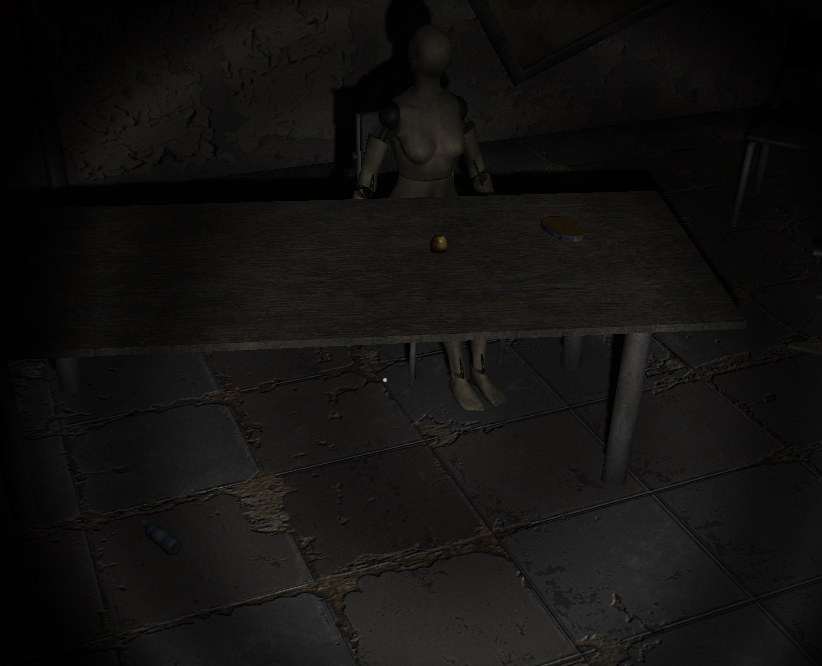
Once your done with the food haul, your next task is to get behind the lunch services. There you will see a stationary mannequin in front of the Staff Room. Course this mannequin isn’t too helpful as it seems it dropped the next key on the floor. That key leading towards the Maintenance room. That room being located in Building 2.
Though we are not swapping over to a Building 2 Part 2 just yet as all we are grabbing is 3 batteries and the next key. That key leading to the Electrical room. That being the other locked room on the first floor.
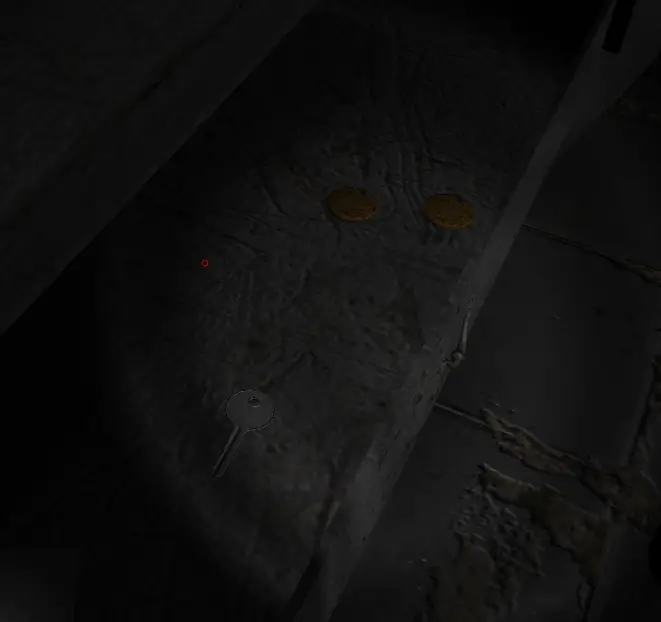
Making your way into the Electrical room, you will find the next key after going through the little maze it presents. You could go through it or if you plan on speeding running just leap over the desks. It should be present in the far right corner of the desk. This key then brings us back to the Cafeteria and into the lock room that the not very helpful mannequin watches over.
Tracking your way through, you will lay your eyes on a can of fish. Pick that up and turn right to another drawer. Open the top drawer and you will see two chocolate chip cookies and the Meeting Room key. Pick all them up and we will head over back to Building 2.
Building 2 (Part 2)
Now back onto our way to Building 2! This time we are heading upstairs and going through a crouch adventure. Course there is a monster that we have to avoid, which is sort of the horror version of Dugtrio. Or Wugtrio. Honestly any trio you’re a fan of.
These can’t really do anything to you though as long as you just move around and don’t get cornered. Though the doors you will want to be aiming for are the doors that you see directly when crouching. A nice double door.
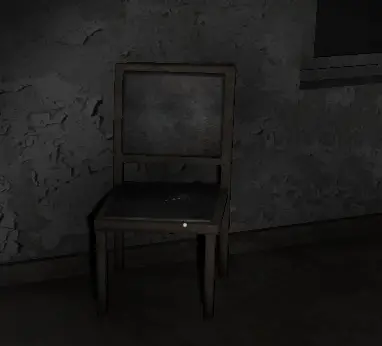
Course there are two other rooms, one that is a classroom with nothing in it and another that has a dead bunny and an old tome in it. But, neither of them are important so moving on! Heading into the double doors you will be in a huge room. The key being found in a lonely chair separate from everything else. In that room too you will unlock another audio queue telling you to come to the second floor of Building 1. Lucky for you that is where we need to head off to.
Building 1 (The Finale)
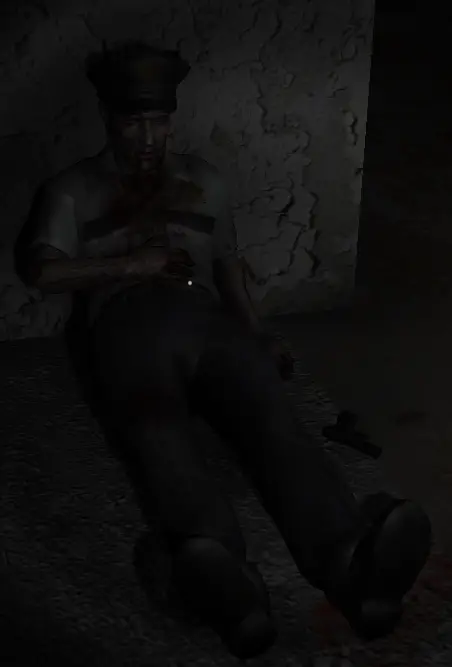
Now heading back you will hear some sort of gun shots. This will correlate with what you discover upstairs. That being a dead officer, with a gun to his side. A gun to his side you say? Well it isn’t too important so moving on! Though….serious talk, you can’t do anything with it. The game hints that you can reload a gun and fire a gun, yet when given the opportunity of the gun, you can’t grab it. Silly, but whatever.
So just head back to the Executive Office and unlock the Reception room. There you will find your last and final key on the desk of what might be the head official’s office? Honestly not sure as there seems to be a story in the game, but the pages aren’t all readable? Anyhow, key on desk that leads to the theater.
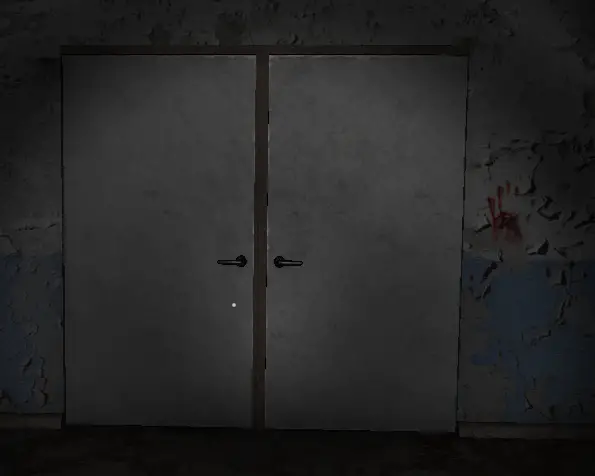
And now the Theater, the last room that you have to unlock. Lucky for you it is on the same floor you are currently at. At the end of the hall closest to the stairs, there is double doors that has a bloody hand print on the right side. Unlock the left door as the right one is jammed.
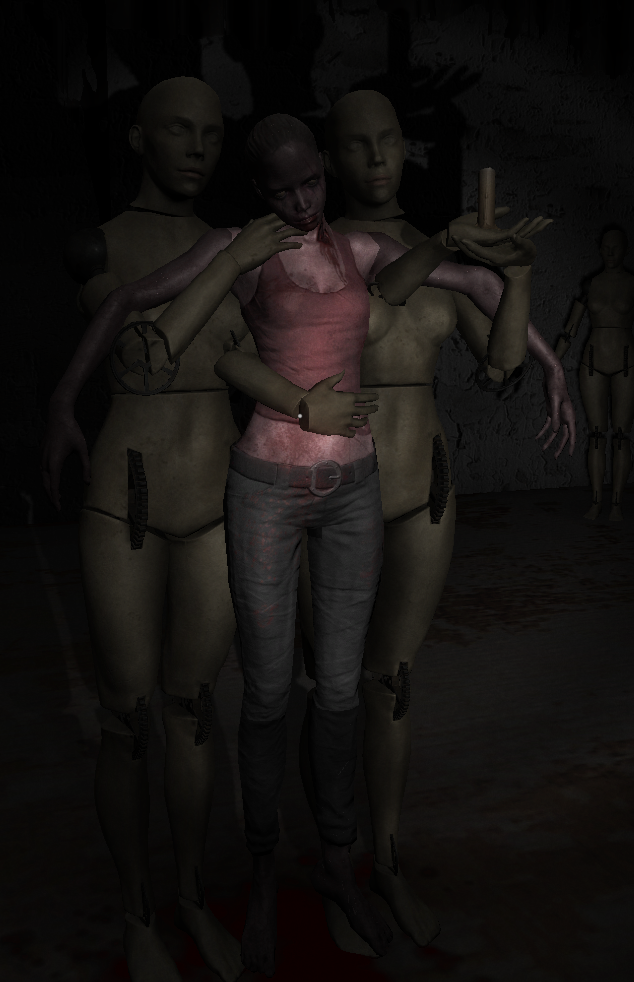
Once in, you will be presented with a maze of chairs and mannequins. As well as being chased by a huge demon. So here is some advice, first of all, all the health items. Eat them. Eat till you are at max health, max health being 200. Next will be to sprint and jump as this helped me get through this part. I am not sure why, but it worked. And once you get through the mini maze you shall be at the podium with two mannequins holding up a deceased woman. Where, one mannequin seems to be helpful once again and holding out a candle.
What do you do now? Well you take the candle from the mannequin’s hand. Then you take your lucky lighter and light the candle. Afterward walk off the podium and you defeat the demon with your cinnamon scented Bath & Body Works candle. Like…literally you defeat the demon by lighting a candle and walking towards it. Something tells me that doesn’t work with reality, but I’ve never tested it so who knows. But, after that “epic” chase and defeat you head back outside to the gate with the police cars. Once there the credits will roll and you will not know what the hell the story to this game even was! It’s refreshing, game without much lore.
Yet, there is lore in this game! Lore that I myself do not know as like I stated before, there are papers that you can interact with. Some that you can read and some that I feel like you should be able to, yet are not able to. And even if you could read them, I was only able to find 4 of the pages and there are 8 so….yeah….Maybe I will try and find all the pages? But, for now I think this wraps up this guide! Hopefully this helps anyone out that is playing this game and have fun! And if you have found all the pages then either reach out or maybe make a guide yourself! So everyone can understand the lore better!
That's everything we are sharing today for this School Grounds guide. This guide was originally created and written by SilverSeamSS.TTV. In case we fail to update this guide, you can find the latest update by following this link.
