
- Title: Quickie: A Love Hotel Story
- Release Date:
- Developer:
- Publisher:
Information about Quickie: A Love Hotel Story is still incomplete. Please help us fill the details of the game using this contact form.
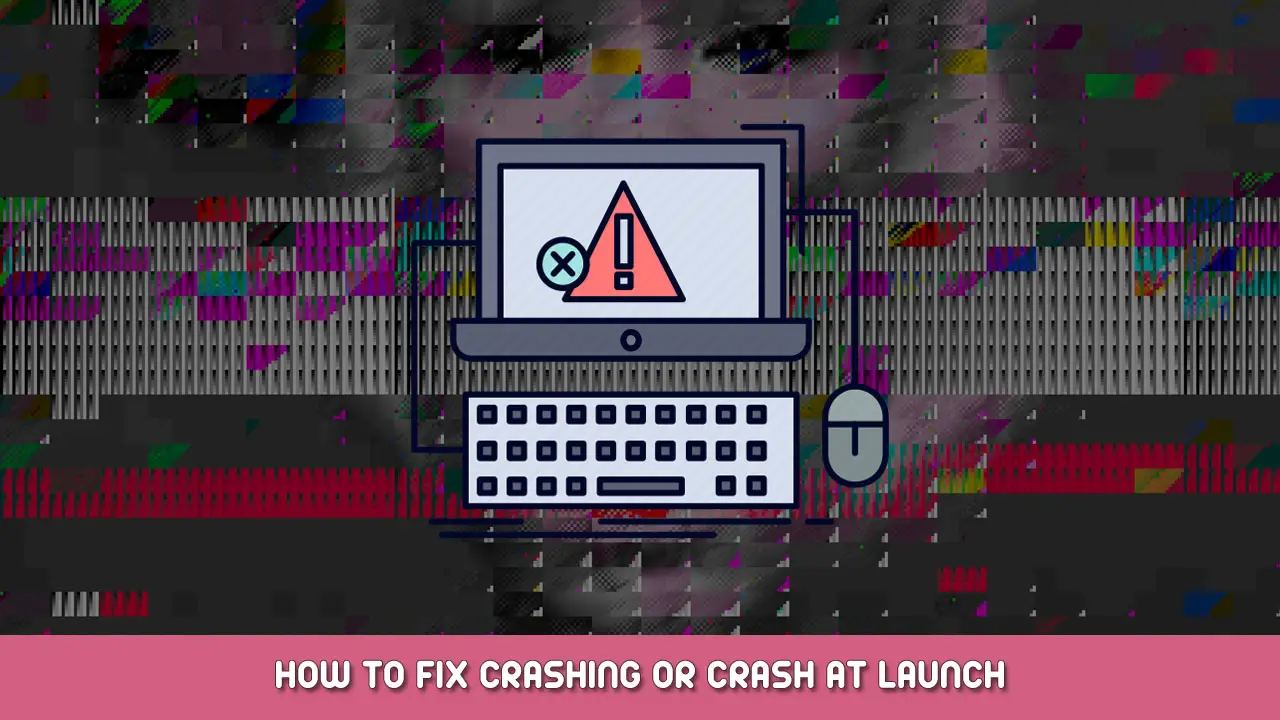
Since the release of the Quickie: A Love Hotel Story, players have been reporting several issues. Some of these issues are the Quickie: A Love Hotel Story crashing, and worse, the game crashes during startup. This makes Quickie: A Love Hotel Story totally unplayable. Fortunately, there’s still a way to fix these crashing issues in Quickie: A Love Hotel Story. Below, you will find the most effective ways to fix these problems.
Check Quickie: A Love Hotel Story System Requirements
Before we start with the actual troubleshooting, make sure that your PC meets the minimum requirements of Quickie: A Love Hotel Story. If you did not meet at least the Quickie: A Love Hotel Story minimum system requirements, it’s not a surprise why Quickie: A Love Hotel Story is crashing on your PC. Upgrading your hardware is the best option to make Quickie: A Love Hotel Story playable.
Update Your Drivers
Assuming that your PC was able to handle the system requirements of Quickie: A Love Hotel Story, another reason why the game is crashing is due to the outdated drivers.
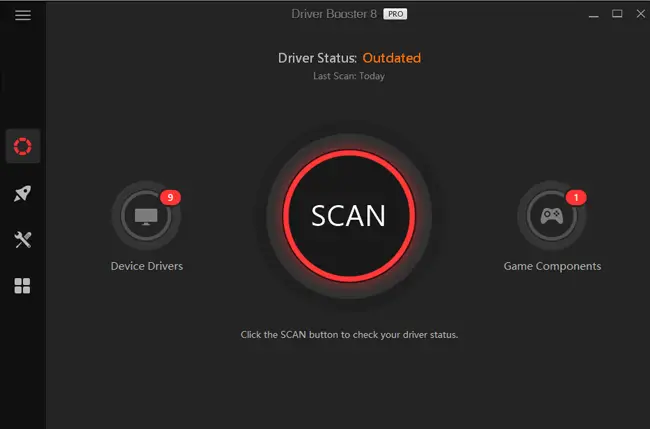
An outdated graphics driver, DirectX, and some unmonitored drivers are the reasons why Quickie: A Love Hotel Story is crashing. It is highly recommended that you download the latest driver updates for your PC. If you don’t have enough time, patience, or skills to do a manual driver update, you can do it automatically with Driver Booster.
Driver Booster will automatically recognize your computer’s system and find the correct drivers for it. You don’t need to know exactly what your system is running as Driver Booster will handle all the technical stuff. Check the steps below on how to use this driver update tool.
Step 1: Download and install Driver Booster
Step 2: Run Driver Booster and click the “Scan” button. Driver Booster will then scan and detect any driver-related problems.
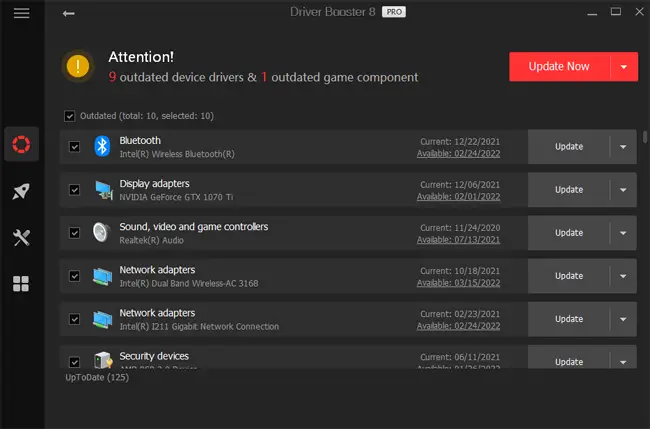
Step 3: Click the “Update Now” button to automatically download and install the correct drivers for your computer.
Step 4: Restart your PC for the update changes to take effect.
Step 5: Launch Quickie: A Love Hotel Story and check if these crashing issues have been solved.
If the Quickie: A Love Hotel Story crashing issue persists, you can try the next step.
Verify Game Integrity on Steam
Steam has a built-in feature that will allow you to verify the integrity of the game. Once performed, Steam will check if the files on your local machine are the same as the files on Steam servers. In case something is unsynchronized, Steam will download and repair any file-related concerns.
Here’s how you can perform this method:
- Open Steam and go to Library
- Right-click Quickie: A Love Hotel Story and select Properties
- Go to the Local Files option then click Verify integrity of game files…
- Wait for Steam to validate Quickie: A Love Hotel Story’s files
- Re-launch Quickie: A Love Hotel Story to see if you can play it properly.
Perform Clean Boot
There’s a chance that another program, such as your antivirus, is causing these crashing issues. You can try performing a clean boot to make sure that no other programs are running in the background. To perform a clean boot, you can follow the steps below.
- Open the Run tool by pressing the Windows Key + R
- Type msconfig and hit Enter
- Go to the Services tab section
- Check Hide all Microsoft services
- Click the Disable all button
- Click apply and restart your computer
Run the game after the restart and check if there’s still a crashing issue.
Download and Install the Latest Patch
Quickie: A Love Hotel Story crash is likely to be a bug that comes along with the previously released patch. Installing the latest patch could fix these problems. You can download the newest Quickie: A Love Hotel Story update by simply launching the game on Steam.
Reinstall Quickie: A Love Hotel Story and Steam
If you already tried all the recommended fixes above but the issue still sticks around, it’s likely that the current version of Quickie: A Love Hotel Story or Steam installed on your PC is the main culprit. The uninstall-reinstall method may work for you.