- Title: Minecraft
- Release Date:
- Developer:
- Publisher:
Information about Minecraft is still incomplete. Please help us fill the details of the game using this contact form.
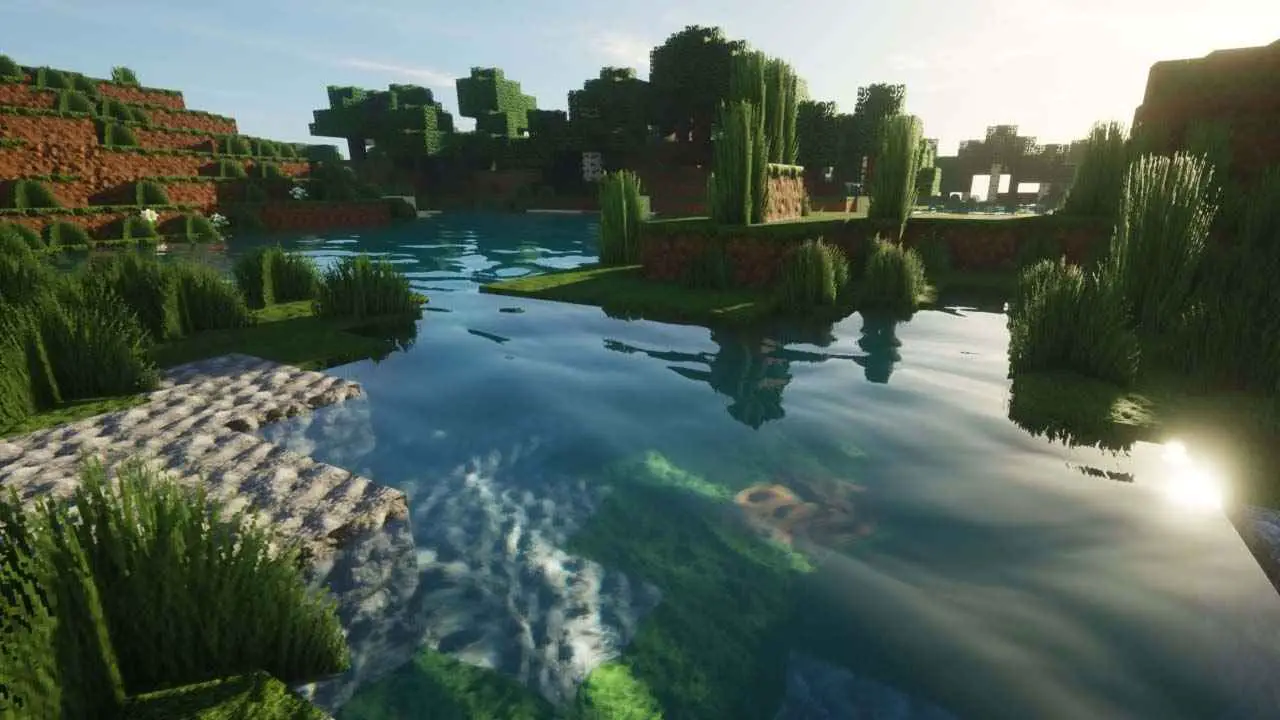
Mojang Studios has been constantly releasing new updates for Minecraft. One of these features in the ray tracing, which is available on Windows PC. If you’re one of the players playing Minecraft on PC and want to experience the overwhelming feature of ray tracing, this guide is for you. Below, you will be learning how you can enable the ray tracing feature in Minecraft on Windows 10 OS.
How to Enable Ray Tracing in Minecraft
The only and easiest way to turn on ray tracing in Minecraft is you to download the latest version of the game for Windows 10. Minecraft is available on Windows store. After getting the latest version of Minecraft, you need to download an RTX showcase world from the in-game marketplace of Minecraft.
To get the latest version of Ray Tracing world, you have to open the Minecraft marketplace and search for RTX. There will a lot of search result but you have to get them are good. Simply pick one depending on your liking.
Right after the download is complete, all you need to do is load the game and enjoy the ray tracing feature in Minecraft. But before you start downloading any ray tracing downloadables in Minecraft marketplace, make sure that your PC is well equipped. Below are the system requirements that you need to get the ray tracing in Minecraft:
- OS: Windows 10 64-bit
- CPU: Intel Core i5 or any equivalent processor, or better.
- RAM: 8 GB
- GPU: Nvidia GeForce GTX 2060 or higher
And that’s all for today’s Minecraft guide.
That's everything we are sharing today for this Minecraft guide. This guide was originally created and written by RB Staff. In case we fail to update this guide, you can find the latest update by following this link.