This guide focuses on the easiest method to achieve the “No Hit Universe” achievement in Everhood. It can be an incredibly challenging task if you’re unfamiliar with the necessary steps. However, with the right approach, obtaining this achievement becomes considerably easier. At the time of creating this guide, the achievement has a completion rate of only 0.7% on Steam. Let’s strive to increase that percentage.
The main objective of this guide is to provide a detailed breakdown of the Universe fight and outline the exact strategy to employ. I find this particular battle to be absolutely remarkable and personally enjoy playing it repeatedly. Additionally, I understand that some individuals appreciate acquiring heart icon achievements.
Now that the introduction is complete, let’s delve into the guide.
Preparation
The key aspect of this guide revolves around the following information: The Universe fight consists of two separate encounters.
This is akin to the encounter against Flan and Muck on a genocide route. For those who need a refresher, once Muck is defeated, Flan becomes extremely upset and initiates a new encounter where he transforms into a blob monster, intensifying his efforts to eliminate you. Consequently, the monster section of the fight has its own distinct “no hit” achievement, separate from the standard “No Hit Flan and Muck” achievement. The Universe fight follows a similar pattern, but the “first encounter” lacks any associated achievements.
Now, let’s move on to the preparation phase. There are two settings that require adjustment.
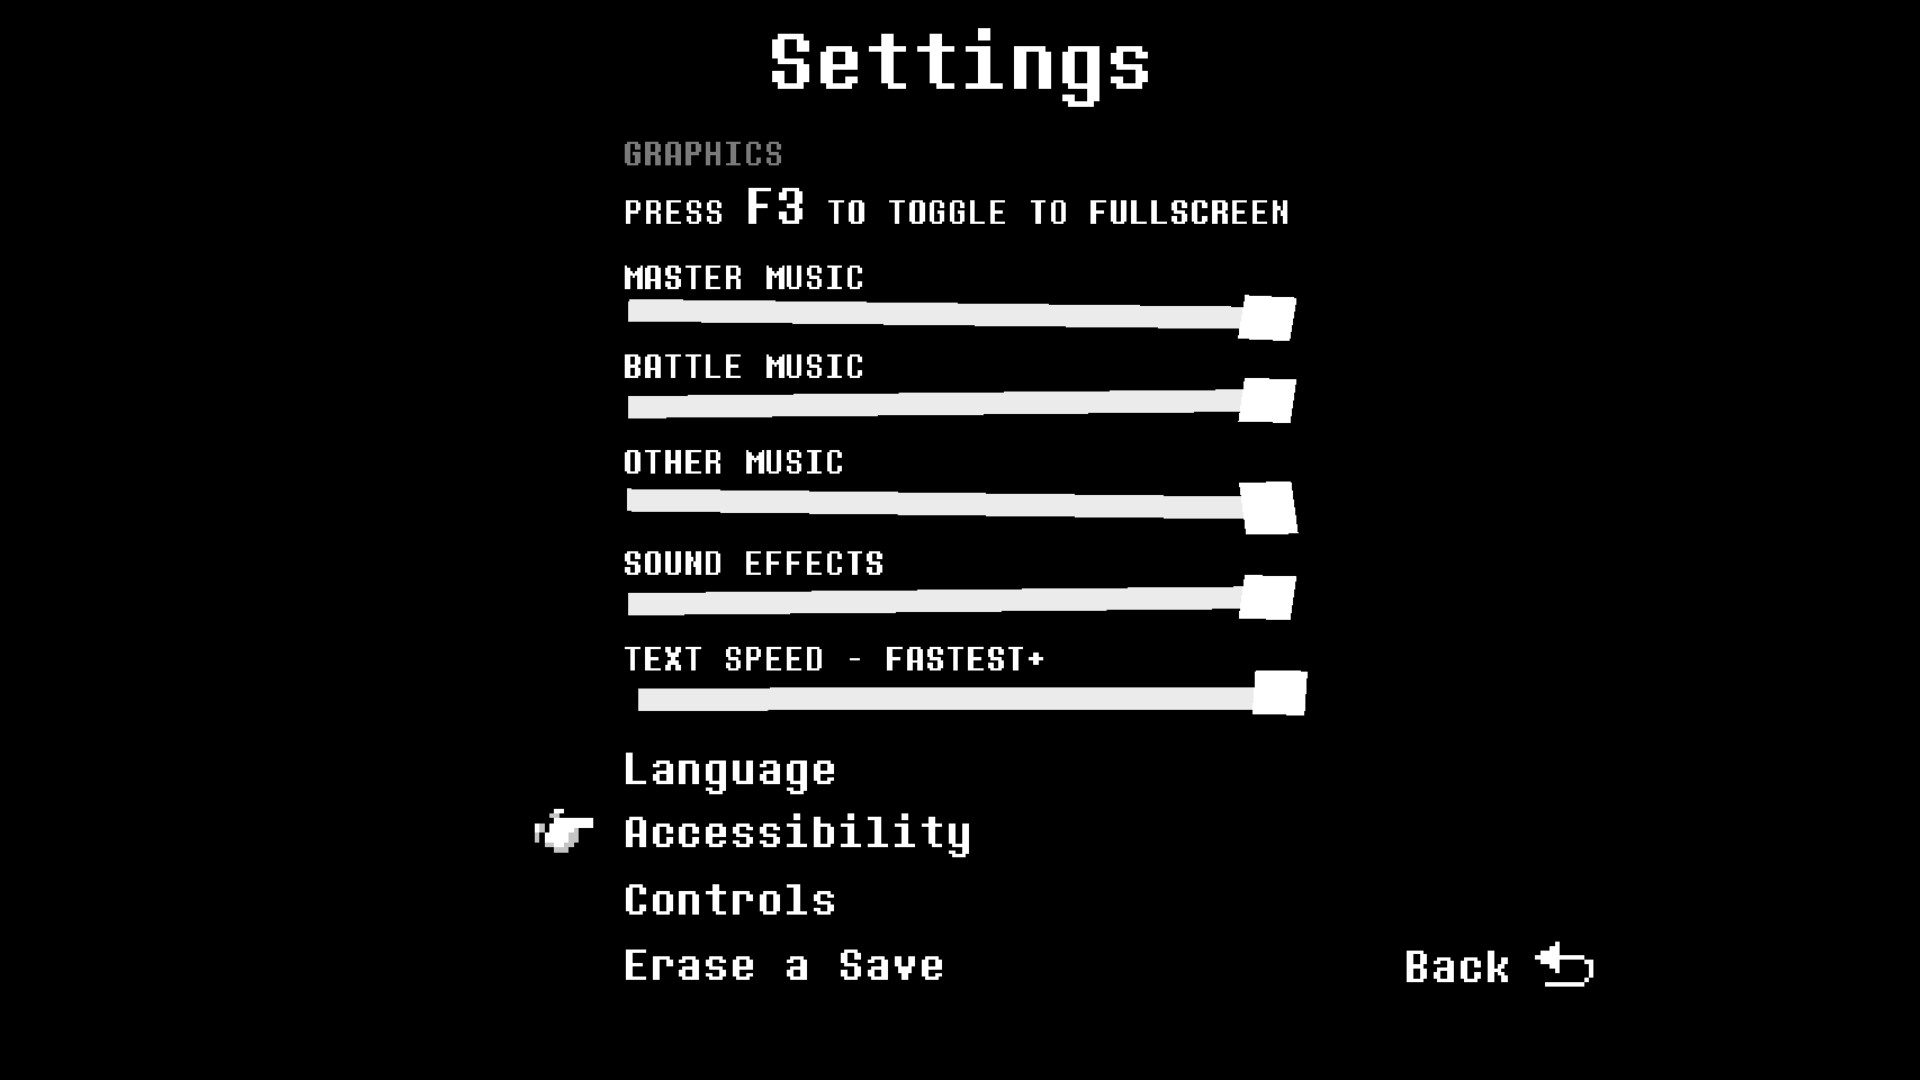
Firstly, ensure that the difficulty level is set to easy. This is crucial because, for fights that involve HP, the difficulty level affects the enemy’s HP. Lower difficulty means less HP, resulting in an easier time. Unfortunately, achieving a no-hit on Story Mode doesn’t count towards achievements, so we need to select the next highest difficulty.
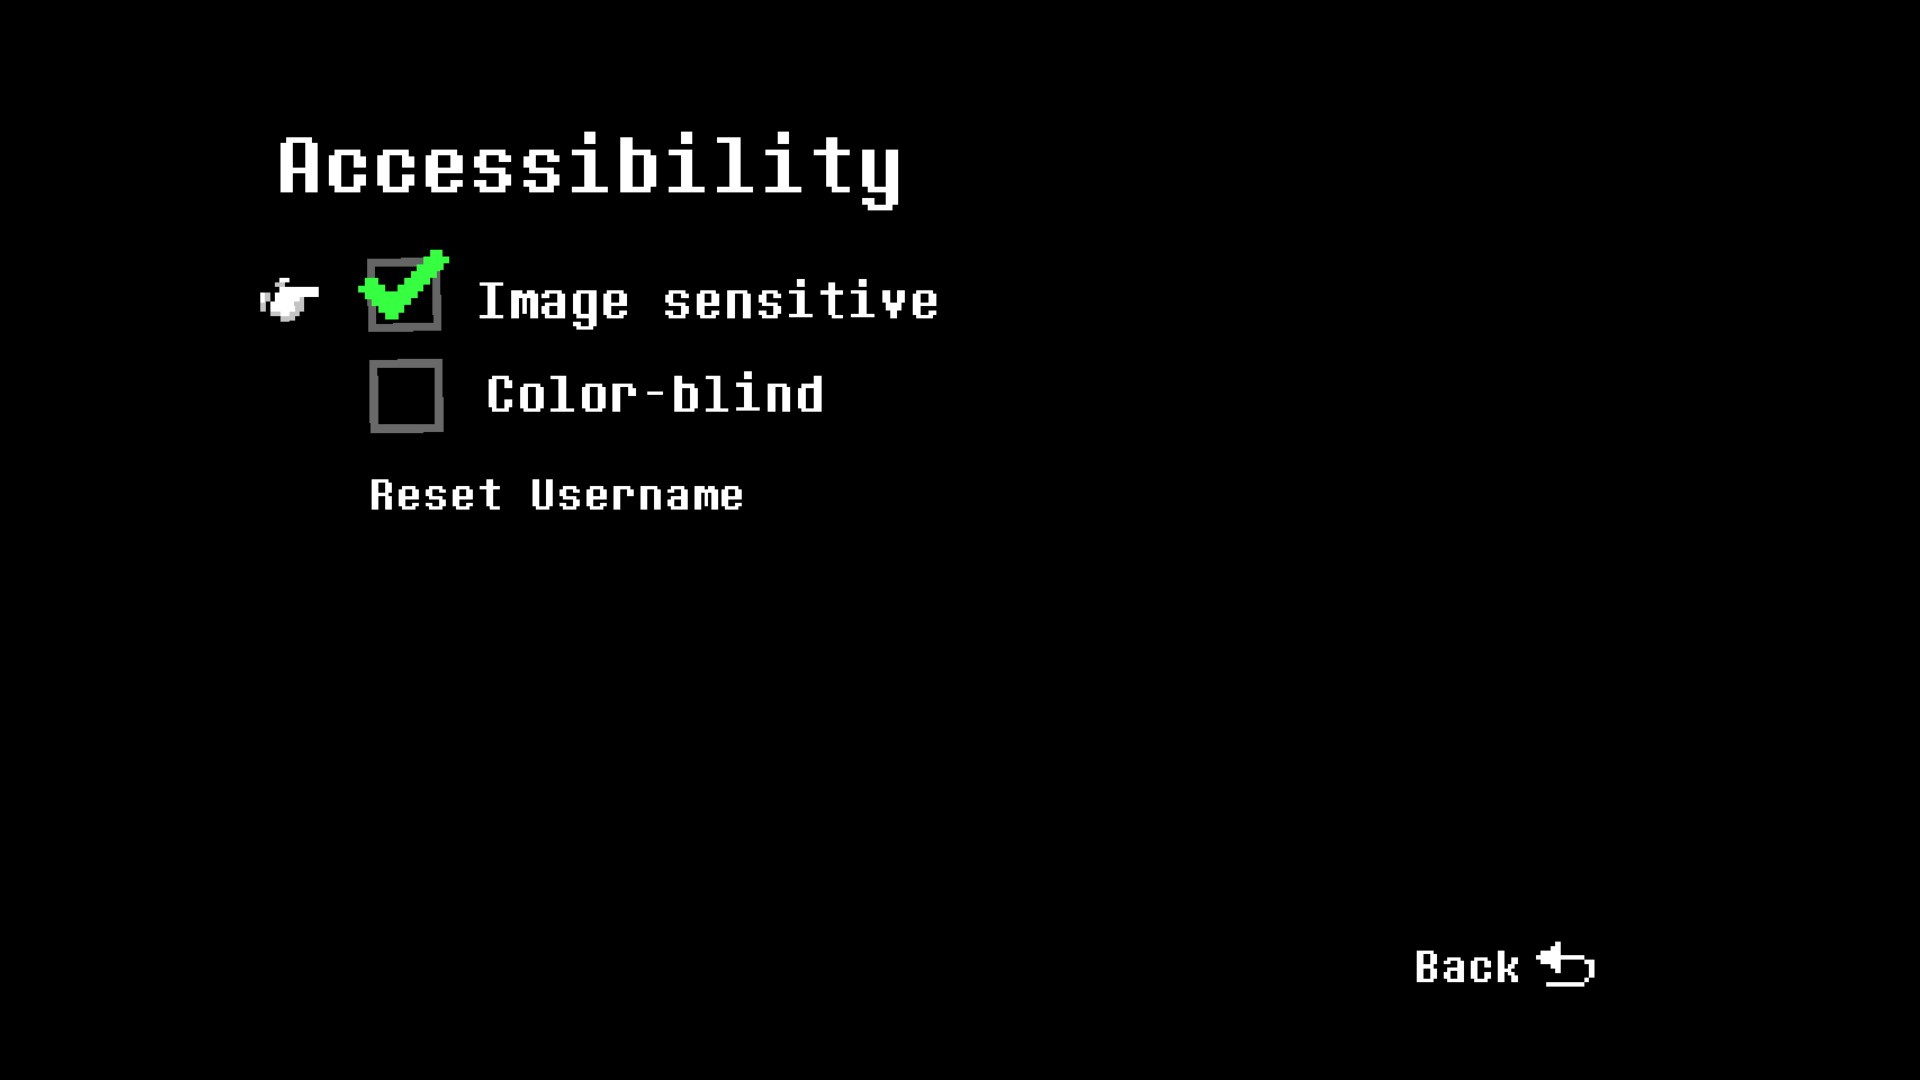
Secondly, activate image sensitive mode. The Universe fight incorporates psychedelic elements, creating a visually overwhelming experience. Enabling image sensitive mode helps reduce eyestrain by minimizing the visual effects displayed on the screen simultaneously. This, in turn, facilitates a smoother execution of the no-hit run. All screenshots provided in this guide were taken with this setting enabled. Here’s how you can change this setting:
- Access the options menu.
- Click on the Accessibility option
- Toggle the setting so it’s on:
First Encounter
Now that the necessary preparations have been made, navigate to the “Replay Battles” menu and initiate the fight. It’s worth mentioning that there is a misconception in the comment section of another guide, where someone claimed that utilizing this menu prevents taking advantage of the encounter split. However, this is untrue. This misconception likely stems from the fact that the previously mentioned Flan and Muck battle has split encounters.
In terms of stats, the Universe has 1,422,208 HP on easy difficulty. This implies that it will take 16 hits to defeat it, as Pink deals 88,888 damage per hit.
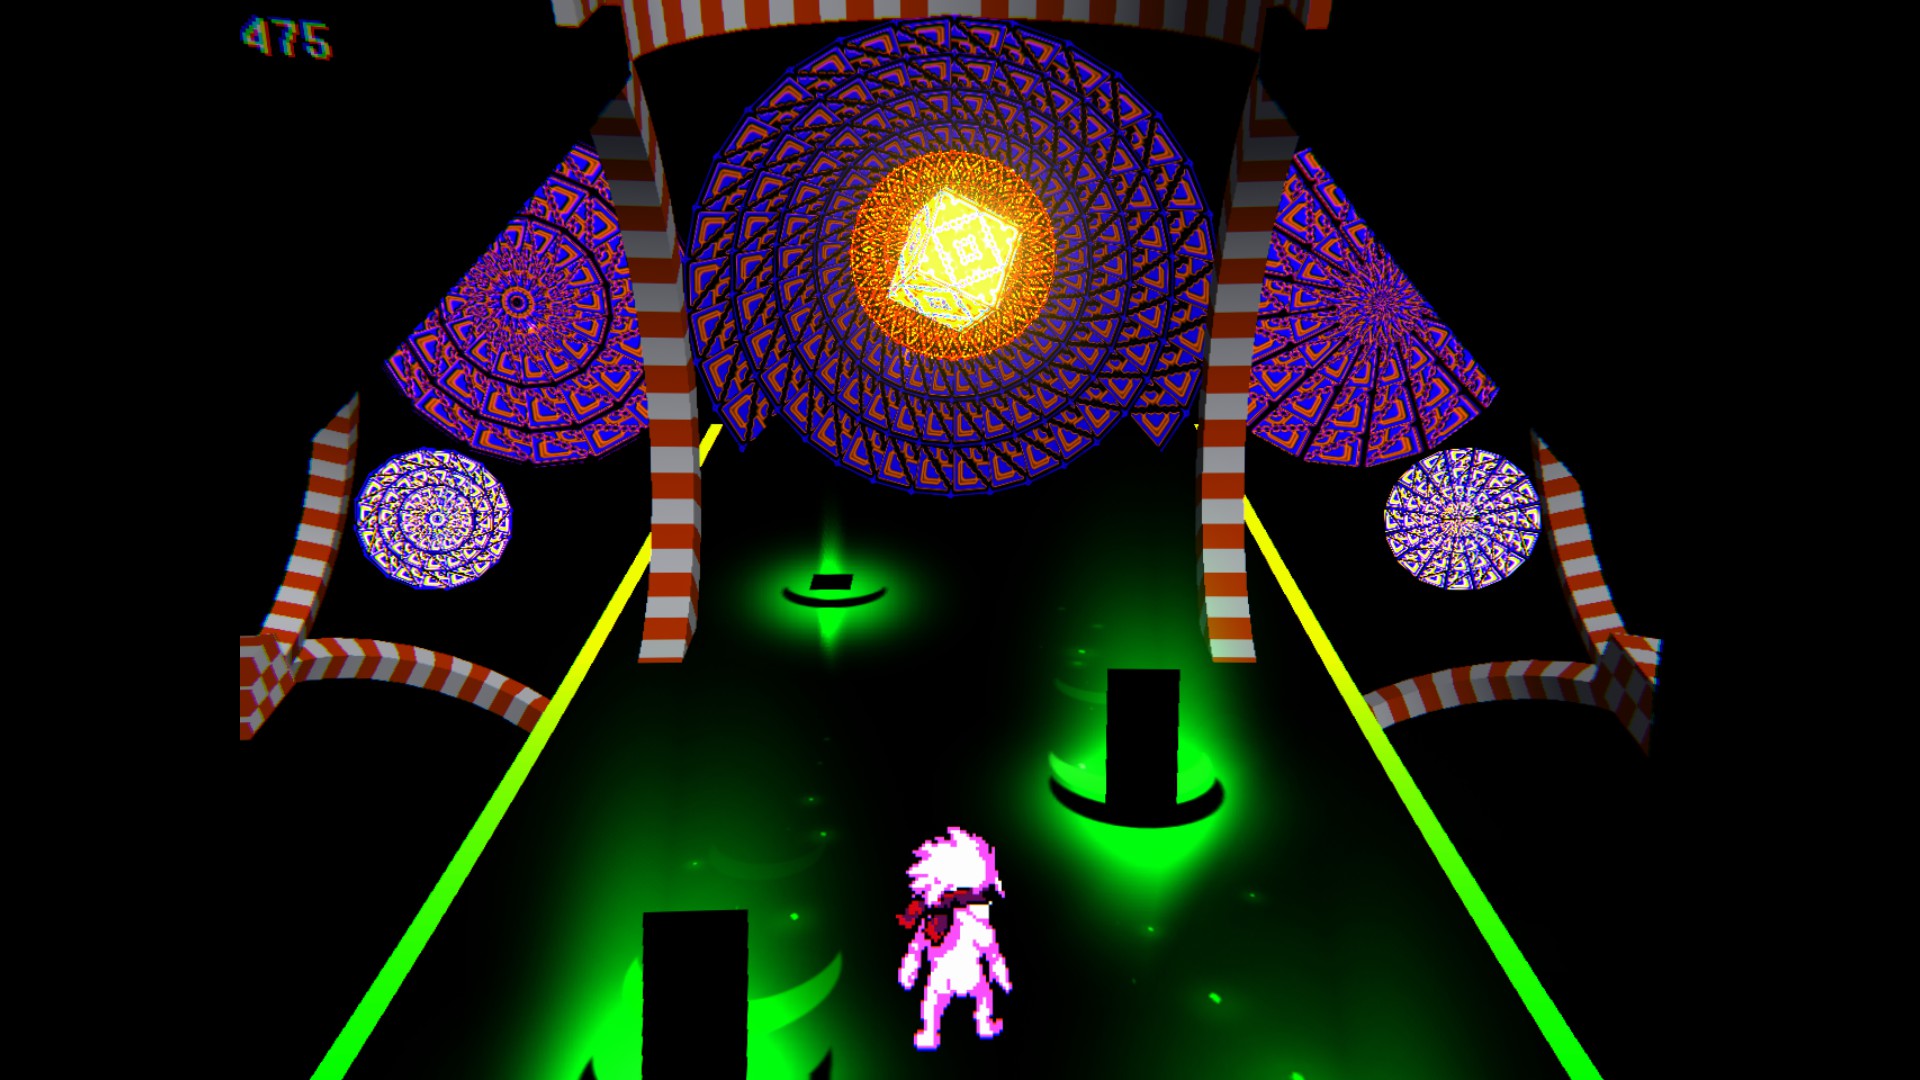
The fight consists of three major parts, with the actual action occurring in the third part.
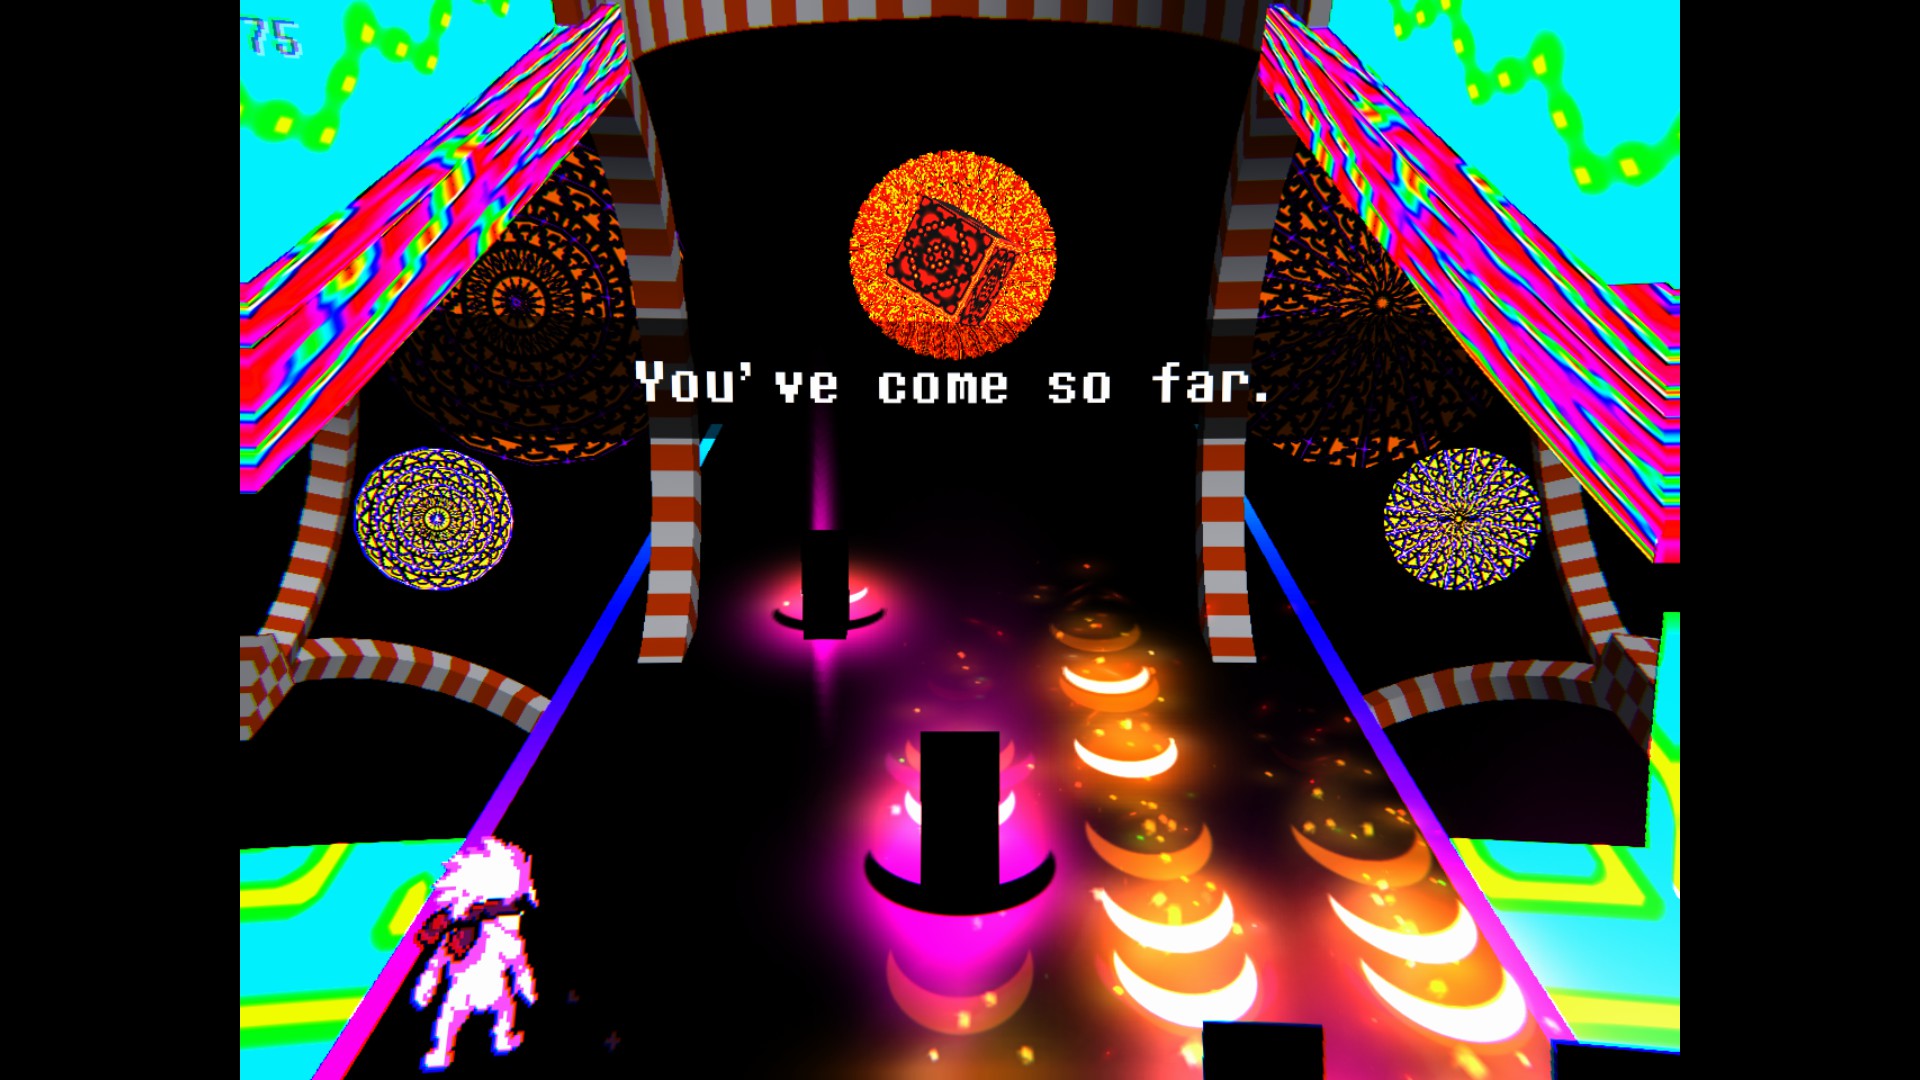
During the first section, the Universe will solely employ dark attacks that cannot be deflected.
There isn’t much to elaborate on in this section except for the advice to avoid getting defeated. Yes, I mean it—try not to die. While it may seem contradictory, getting hit during this part doesn’t have any consequences. You will understand why later on.
Once you progress through this sequence, the fight will transition to part 2.
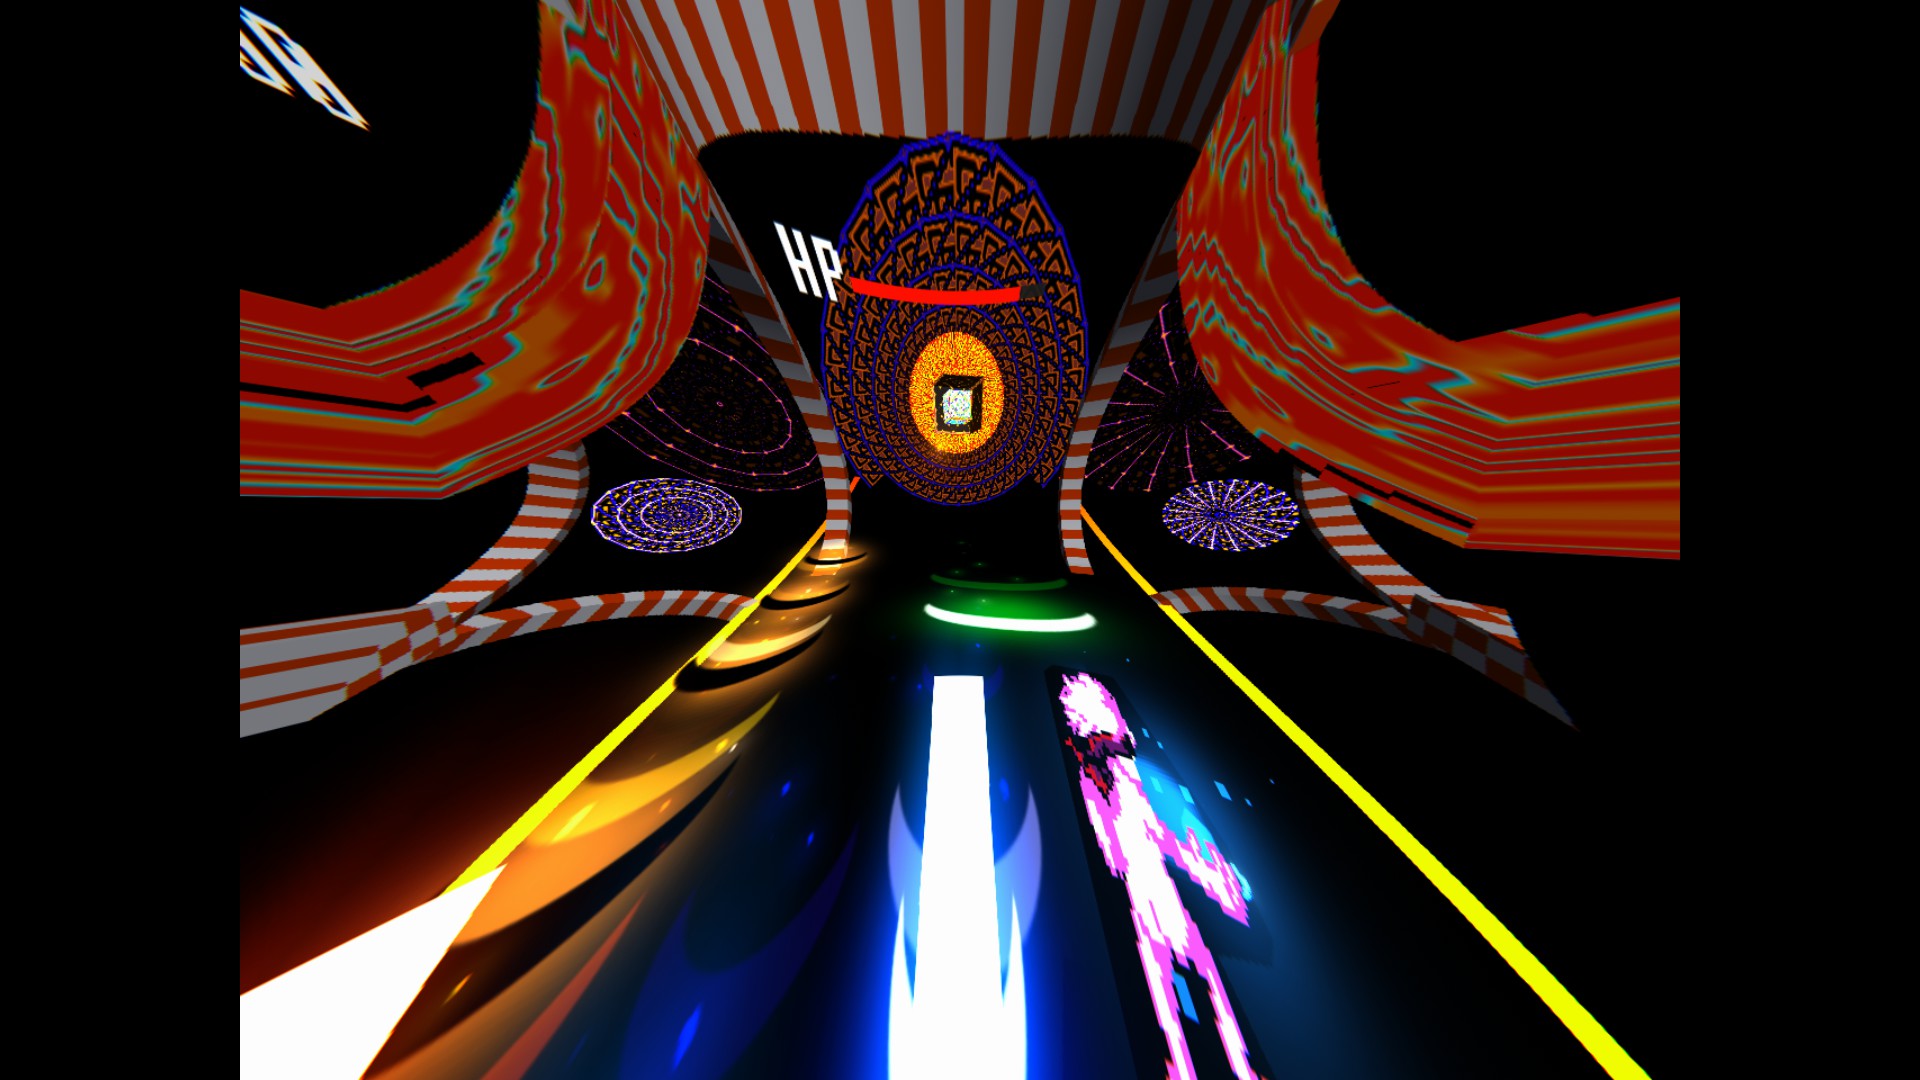
In part 2 of the fight, you will encounter a combination of light and dark attacks, with various patterns like the one illustrated below:
There are two important notes to consider at this point. Firstly, it is crucial to avoid being defeated, as mentioned before. However, getting hit during this phase still doesn’t have any significant consequences.
Secondly, you have the opportunity to attack the Universe during this phase due to the presence of light attacks. Nevertheless, attacking the boss won’t be beneficial. It’s important to note that the Universe’s HP will become locked if you inflict too much damage, preventing you from defeating it in this phase. While deflecting attacks may assist in surviving, there is no need to actively attack the boss.
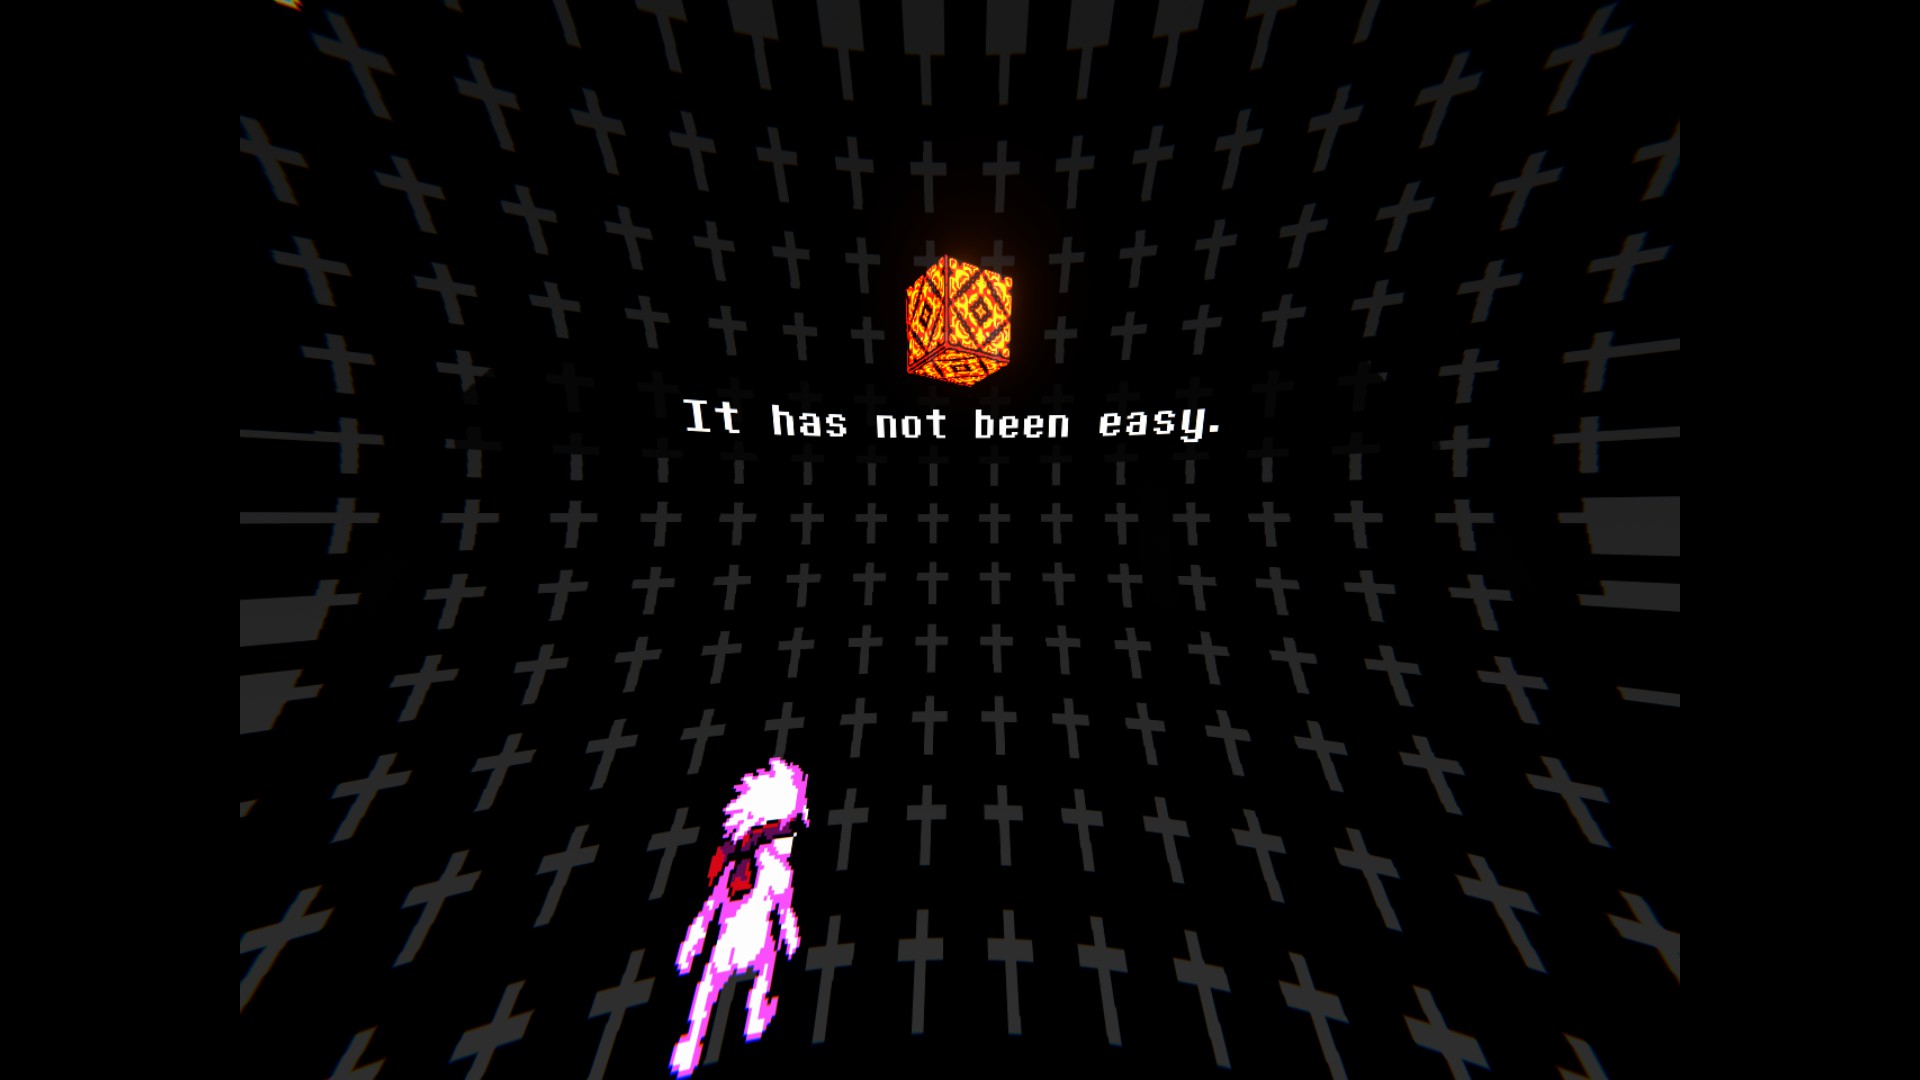
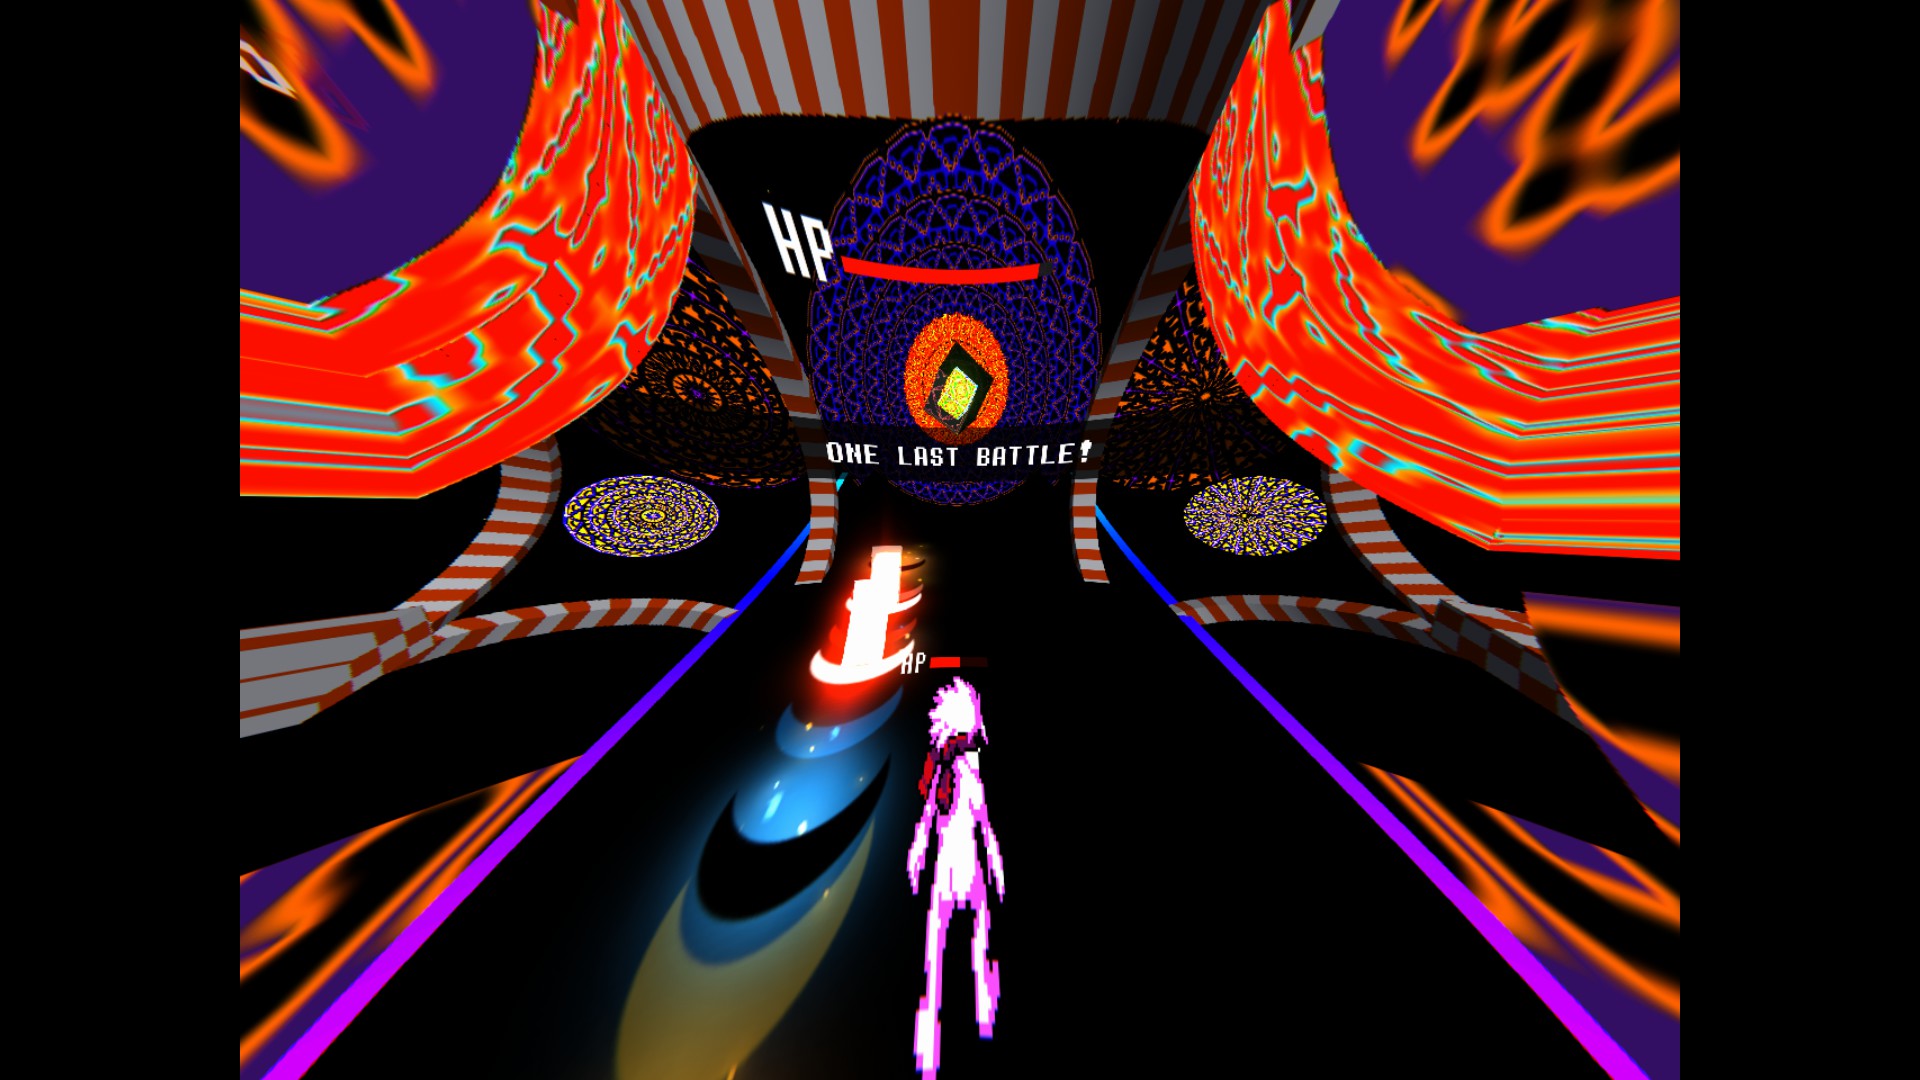
Upon reaching this sequence, the third and final part of the fight commences.
Second Encounter
And now, we arrive at the final section of the fight. Recall what was mentioned earlier about this fight being divided into two separate encounters? It’s time to take advantage of that.
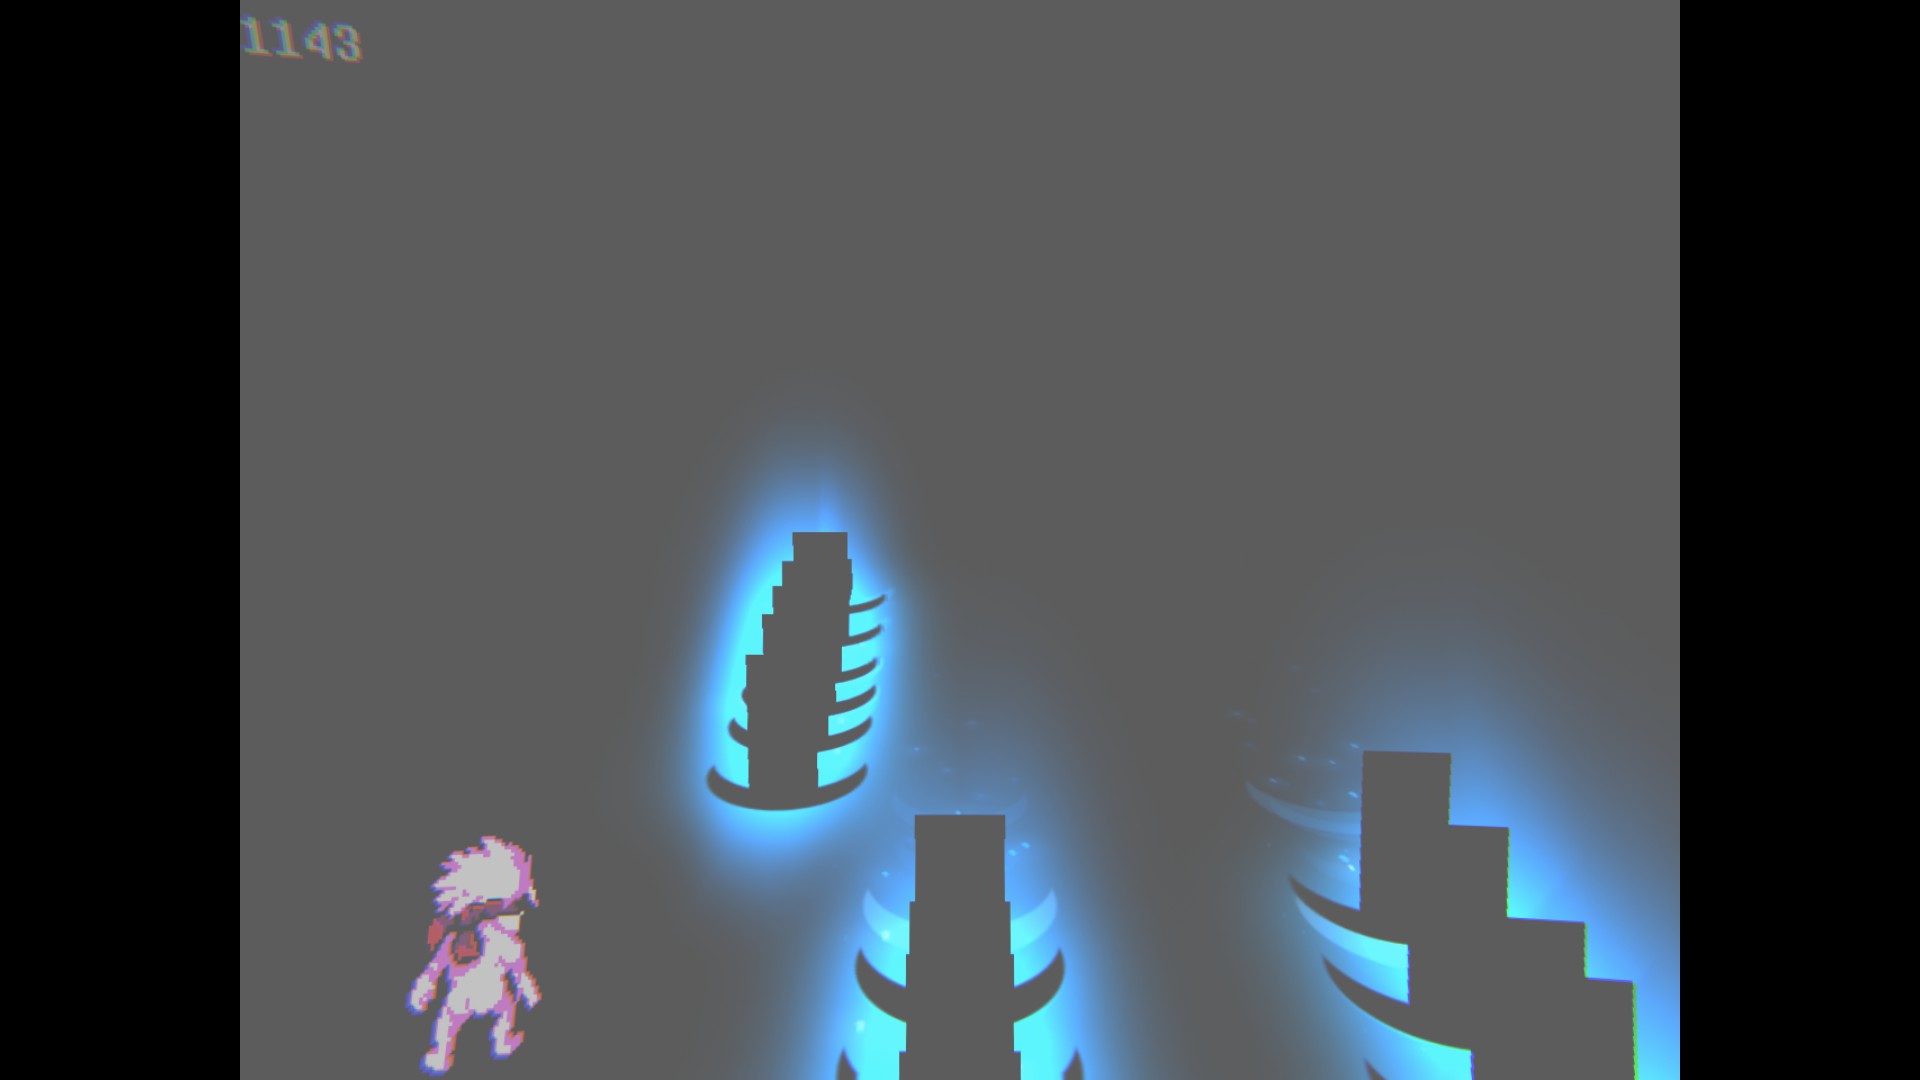
Once this sequence begins, immediately allow yourself to be defeated. The game retains the memory of the previous encounter, so dying will reset that and allow you to start anew.
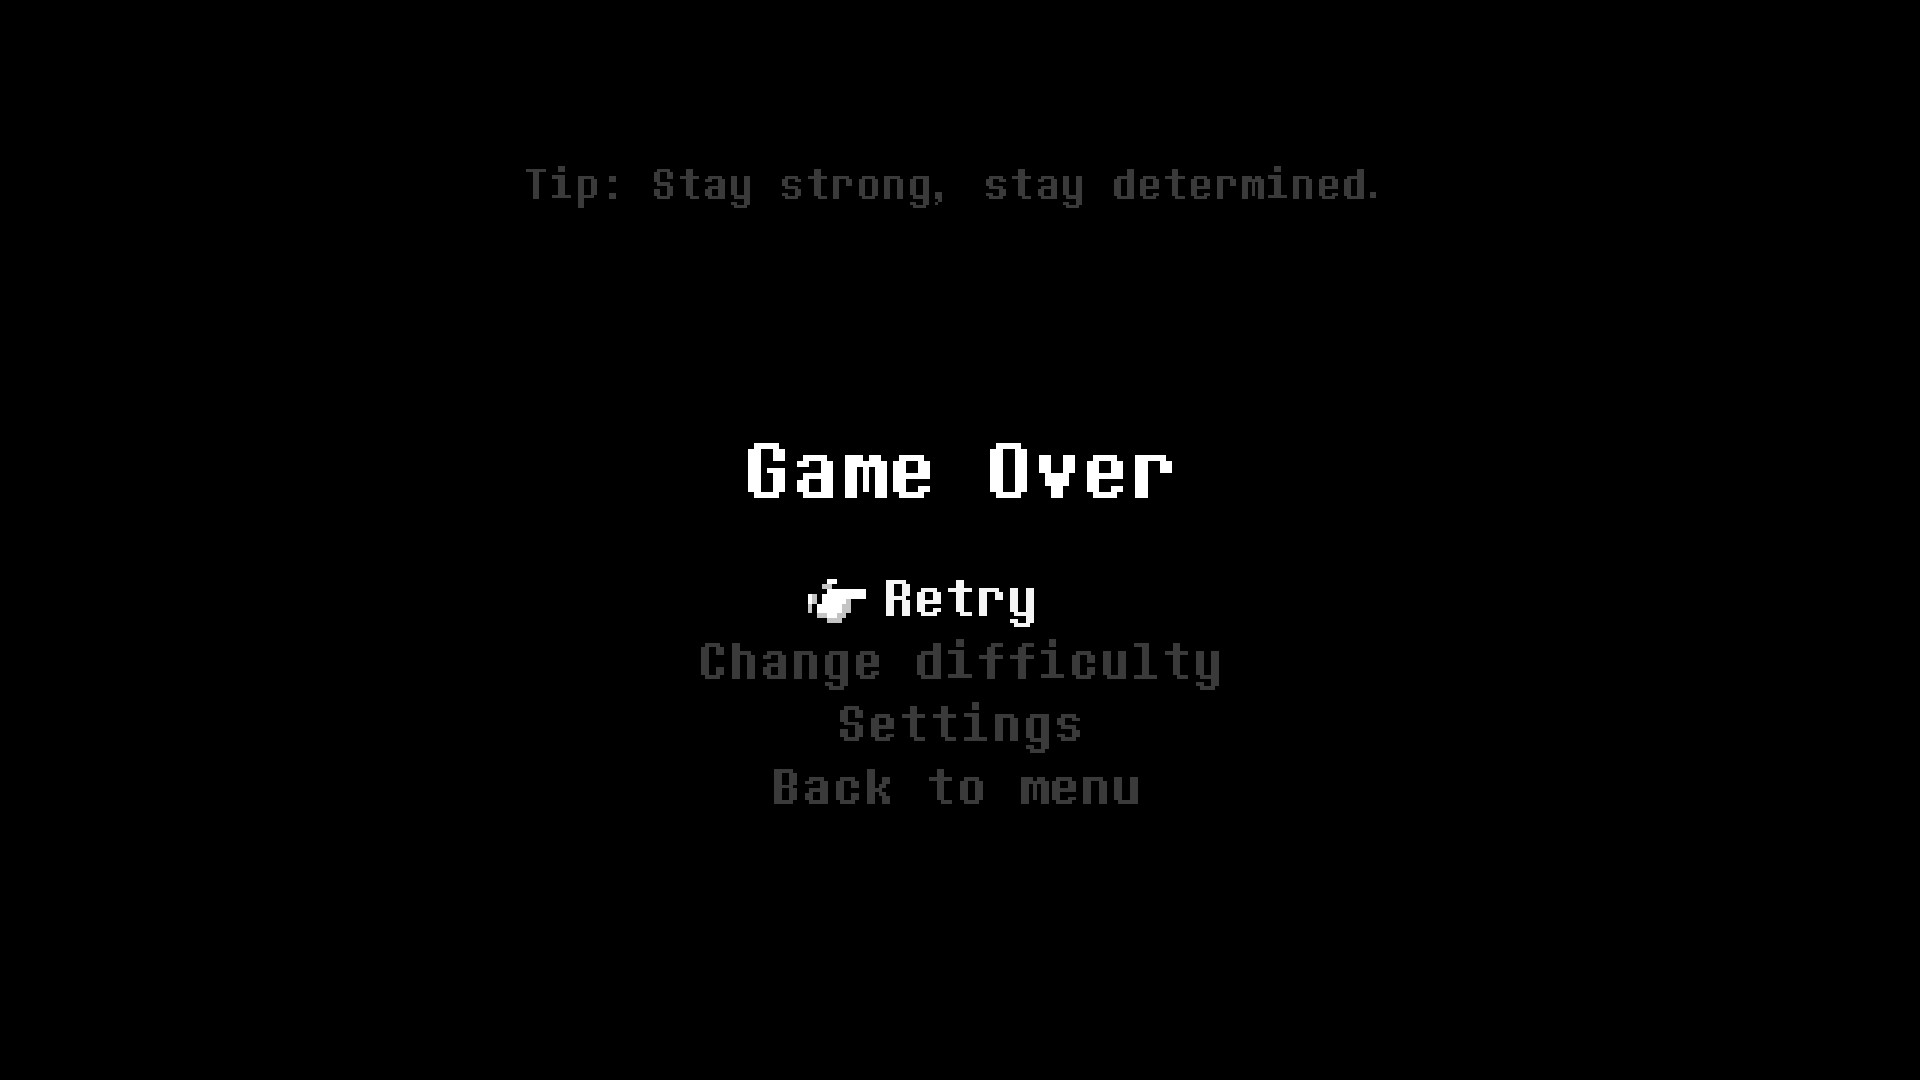
Upon meeting your demise, you will be presented with the following screen. If you encounter this screen, it indicates that you have successfully executed the encounter transition.
This particular aspect should stand out if you have been attentive. We passed a checkpoint earlier, immediately after part 1 concluded, but it is not visible now. This absence suggests that everything that occurred in encounter 1 holds no significance. Press the “Retry” option.
By doing so, you will be promptly returned to the part where you intentionally met defeat. The dialogue will differ, but you can disregard it. It simply reflects the number of times you have perished.
From this point onward, your goal is to complete the remainder of the fight without sustaining any hits. If you get hit, you must retry from the beginning. However, this may not be as intimidating as it initially appears. You only need to strike the Universe 16 times, and the fight itself lasts for approximately a minute. This is considerably shorter than some other battles that can exceed 6 minutes in length.
The Universe presents several patterns, each progressively easier than the previous one. Once you encounter the pink attacks, the fight is essentially nearing its conclusion. Pattern changes occur as the Universe’s HP decreases. The initial pattern consists of red, blue, and green attacks. I recommend attempting to deflect the green and blue attacks. The green attacks manifest as broad waves, resembling the following pattern, and are relatively straightforward to counter.
The blue attacks have a tendency to obstruct your deflects, so it is advisable to eliminate them if possible. Based on experience, the middle three lanes offer the easiest routes for launching your attacks. It is recommended to avoid the outer lanes whenever feasible.
The second pattern is essentially a slightly more challenging variation of the first pattern. Employ a similar strategy as before. Overall, this pattern is easier than the first one, primarily because, on easy difficulty, it does not last long before transitioning to the third and significantly easier pattern.
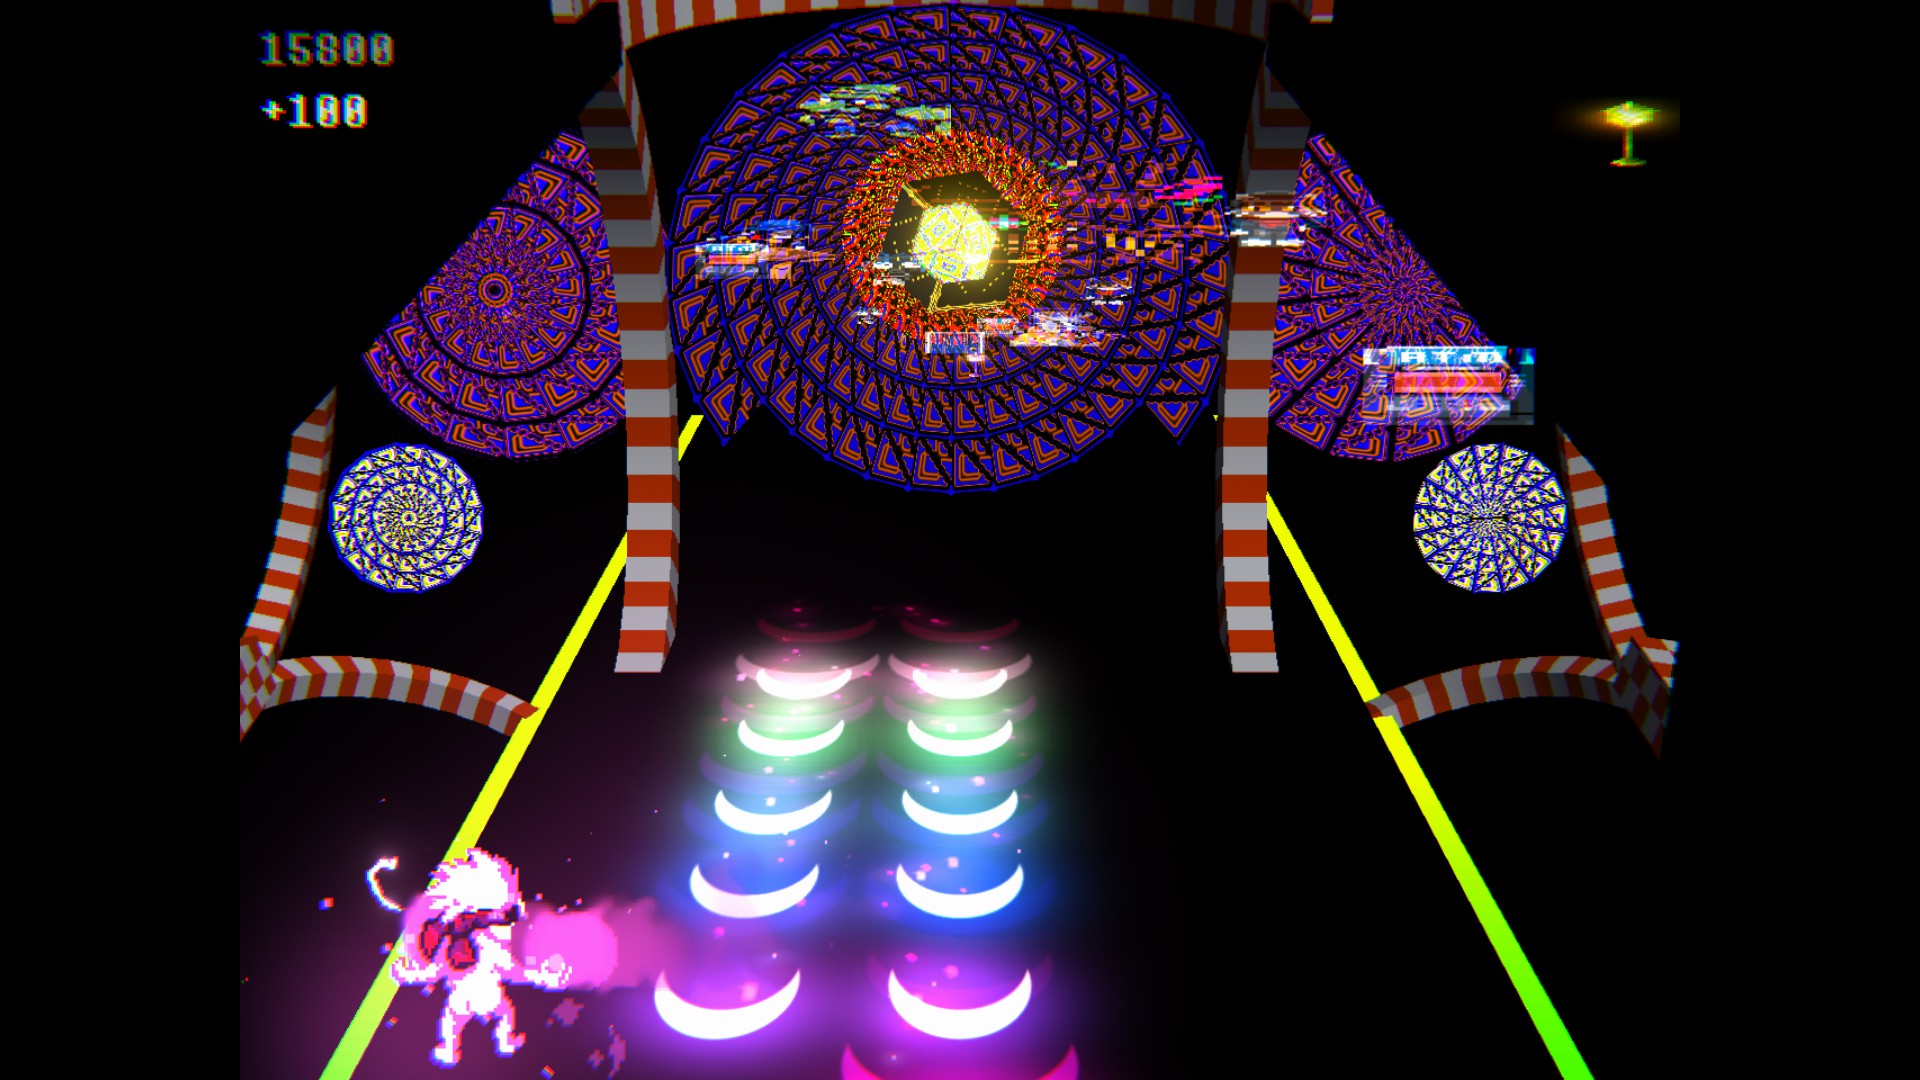
The third pattern features slow clusters of pink attacks. These attacks have a distinct appearance resembling the following pattern:
While there may be additional patterns that emerge in this section, it is highly likely that you will defeat the boss before encountering those attacks. Essentially, once you reach this stage, victory is within reach. Simply collect the notes from any non-outer lane and send them back.
At this point, no further actions or strategies are necessary. You have emerged victorious.
Conclusion
If you have executed all of the steps correctly, the achievement should unlock at the conclusion of the third section. There is no need to proceed through the final segment where the Universe explodes towards you. I hope this guide has assisted you in obtaining the achievement.
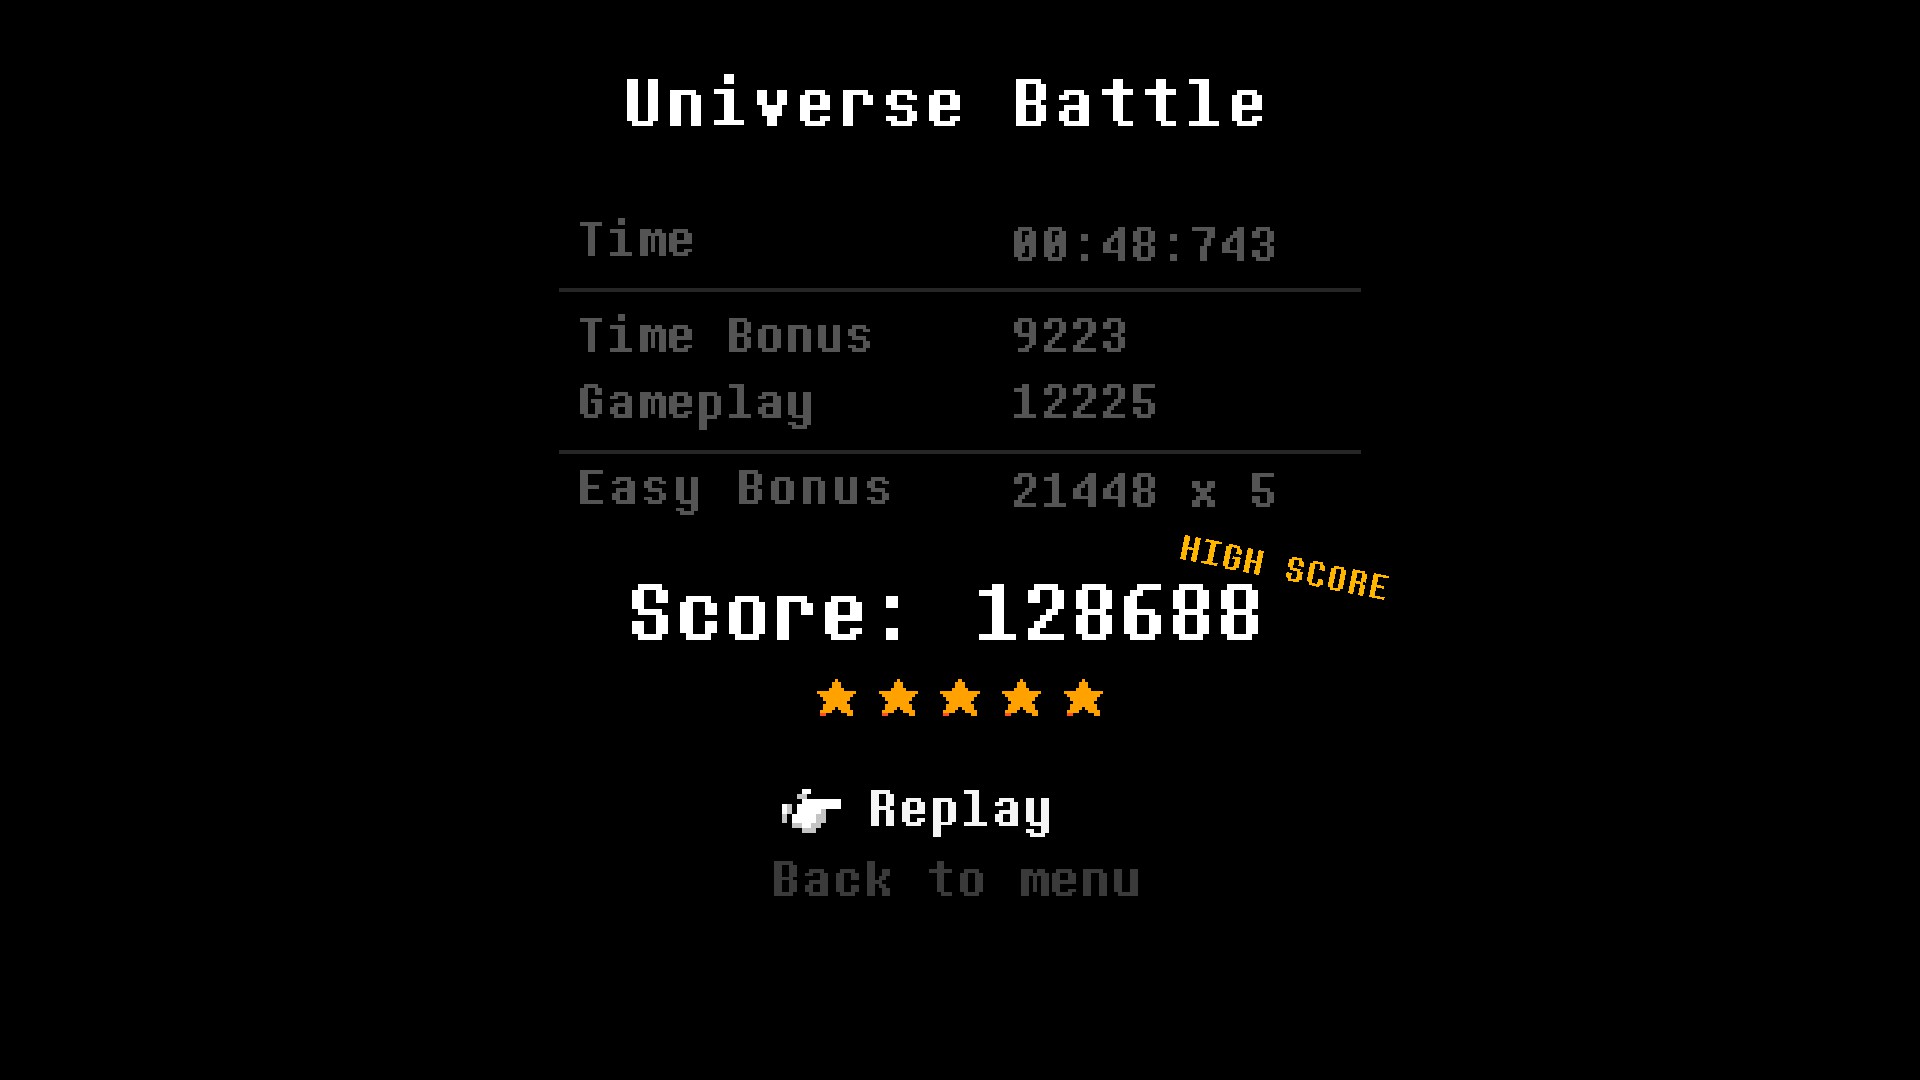
As a closing remark, here is an image of a successful clear I obtained, demonstrating the brief duration of the section that requires a no-hit approach.
Rest assured, this task is not challenging.
That's everything we are sharing today for this Everhood guide. This guide was originally created and written by Spockus. In case we fail to update this guide, you can find the latest update by following this link.
