

- Title: Dysterra
- Release Date:
- Developer:
- Publisher:
Information about Dysterra is still incomplete. Please help us fill the details of the game using this contact form.
This guide describes how to create custom servers for Dysterra. Please follow the guide step by step.
Dysterra Custom Server Creation Guide
Setting up Port Forwarding for Client
Configure port forwarding on your personal Inter router or switch so that external clients can connect to the server PC.
- TCP Local Port 27015(Default): SRCDS Rcon Port
- UDP Local Port 27015(Default): GamePlay Traffic
Search Dysterra Dedicated Server on Steam Library
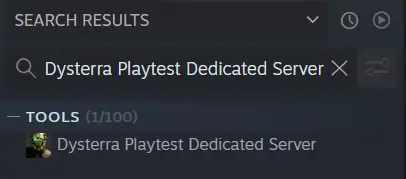
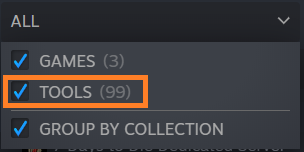
Activate the “Tools” filter in the list box above the search bar, if it does not appear in the list:
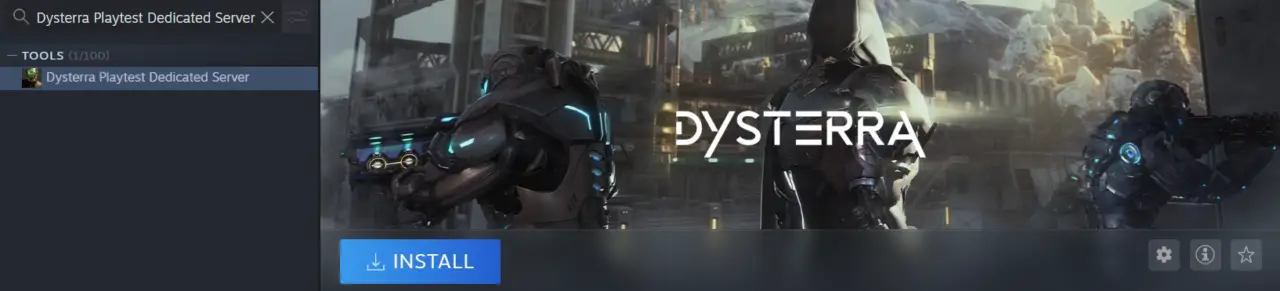
Install Dysterra Playtest Dedicated Server
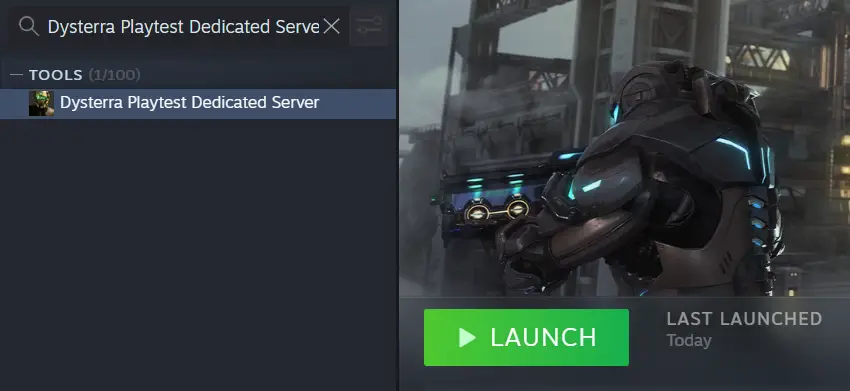
Run Dysterra Playtest Dedicated Server
Check if Steam is shut down
Dysterra Dedicated Server does not work while Steam is running. Press Yes (Y) in order to proceed. *As you press Yes (Y), the Steam Launcher process will shut down.

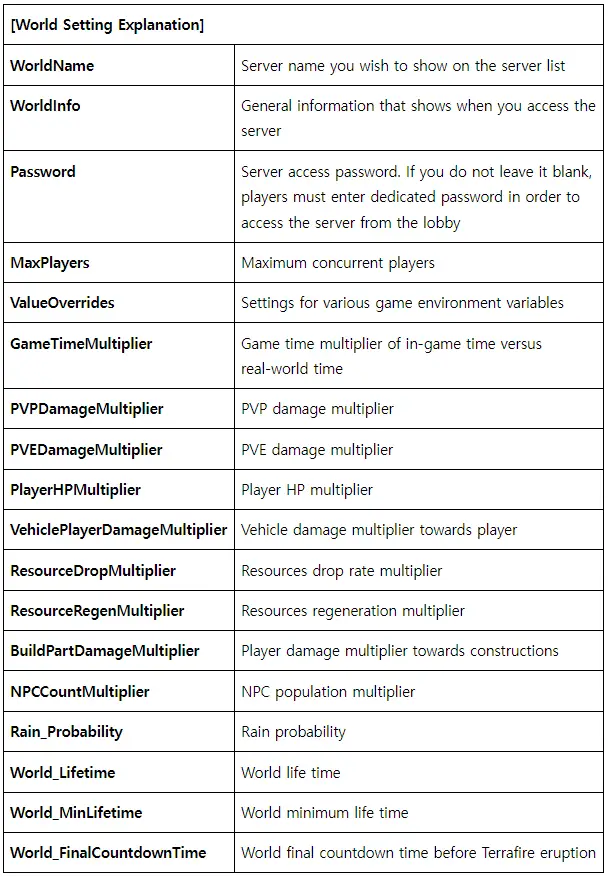
After running the program, Notepad for the world setting will show up. Save the world setting file and exit Notepad in order to start the game server.
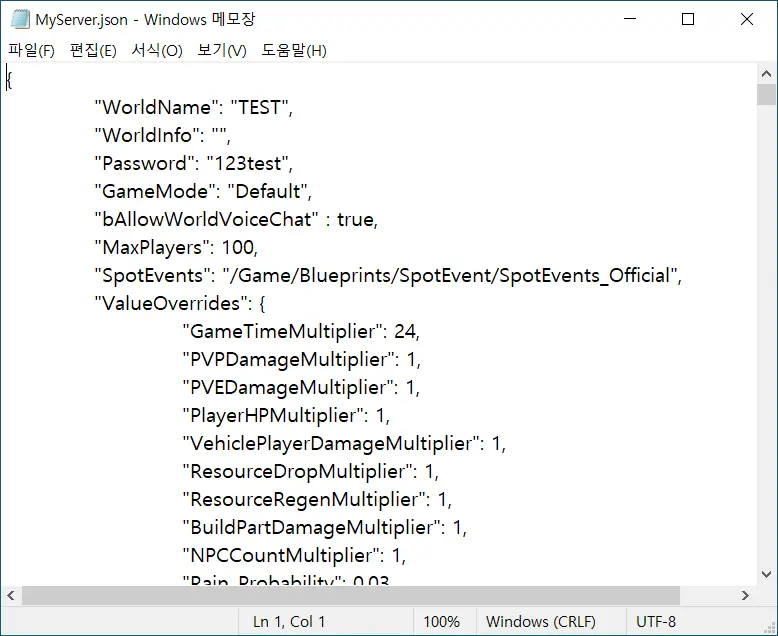
When the server starts to run successfully, the server status will display in the console window as shown below. It usually takes about 3 to 5 minutes to load the server.

Accessing to player’s Custom Server:
- Log in to your Steam account
- Run Dysterra Playtest
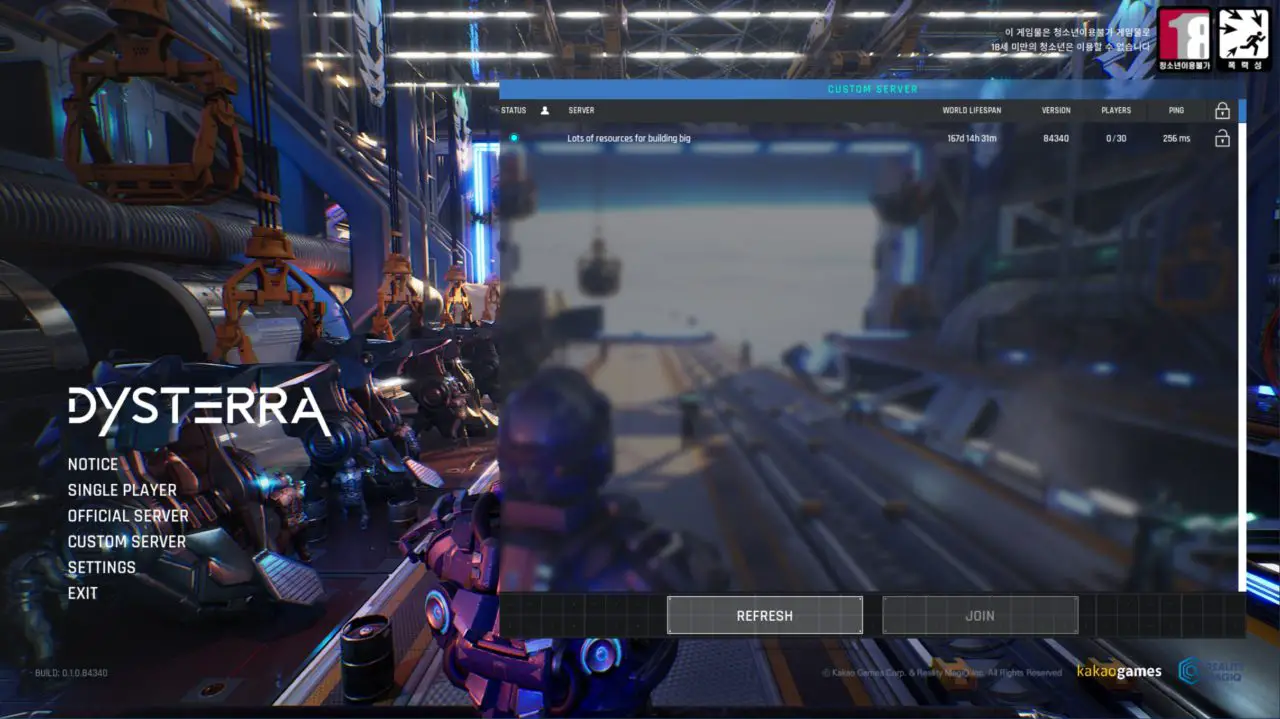
- Click “Custom Server” from the lobby
- Check the Custom Server list shown on the right side of the screen and press “Join” or double click the server you wish to join.
References:
If the other computer is using 27015 Port, you must change it to a different Port. Available Ports: 27015~27030
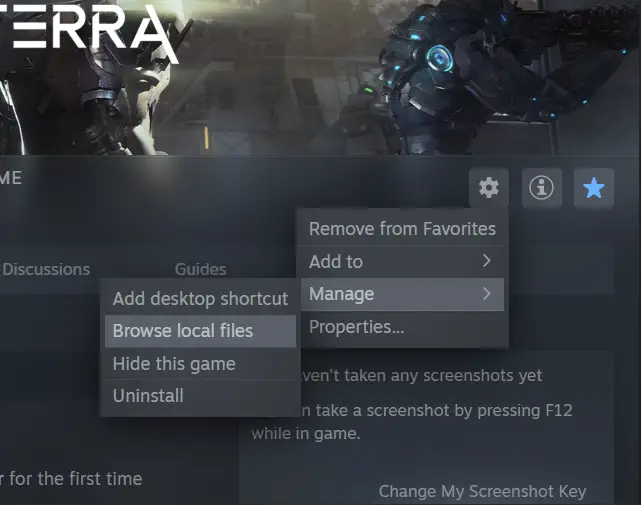
Go to Dysterra Dedicated Server folder downloaded from Steam
After setting up the port forwarding on the Internet router or switch, right-click the ConfigAndRunServer.bat file and click Edit.

Enter the changed port forwarding value into QueryPort

If the custom server is not showing up in the game even with the above method, turn off the firewall and run the program
How to Run Multiple Servers
When running multiple servers, open both TCP and UDP ports from 27015~27030
- You can open a server per port.
Create a folder by copying the Dysterra Dedicated Server folder downloaded from Steam
Right-click on ConfigAndRunServer.bat file in the copied folder and click edit

Enter added port forwarding value in QueryPort

If the custom server is not showing up in the game even with the above method, turn off the firewall and run the program.
That's everything we are sharing today for this Dysterra guide. This guide was originally created and written by GM_Arphaxad. In case we fail to update this guide, you can find the latest update by following this link.