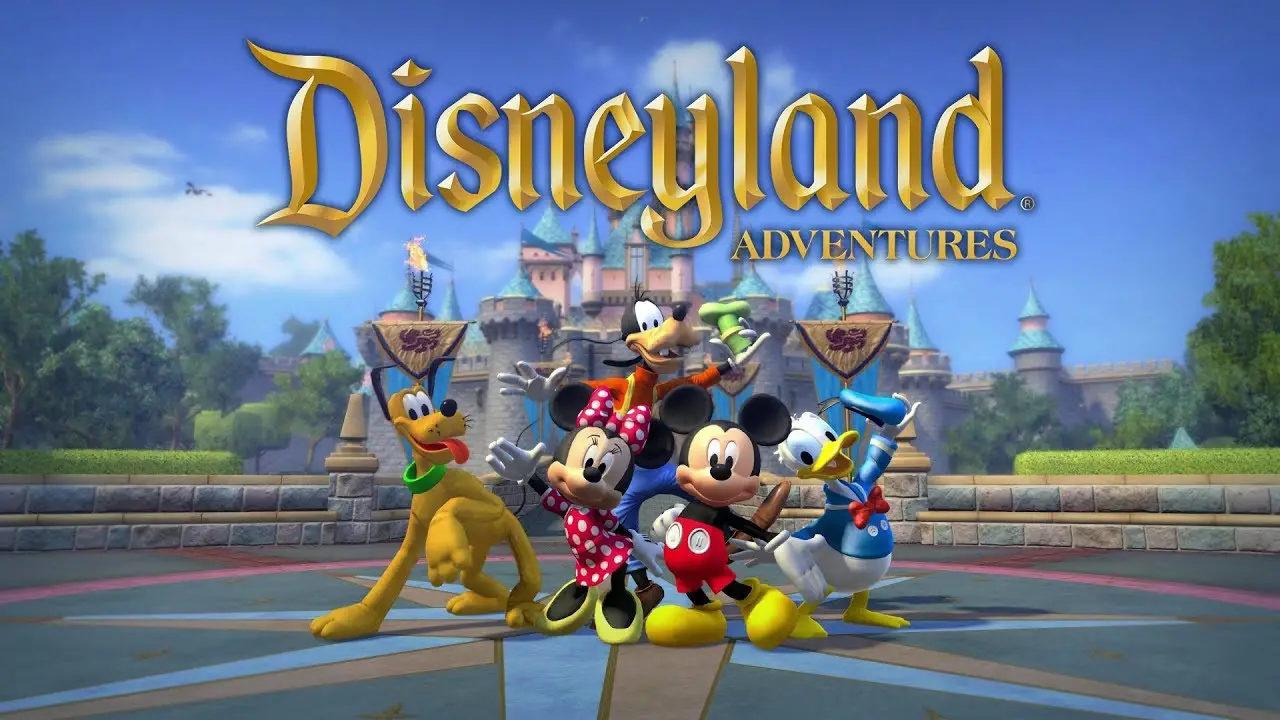
- Title: Disneyland Adventures
- Release Date:
- Developer:
- Publisher:
Information about Disneyland Adventures is still incomplete. Please help us fill the details of the game using this contact form.
Guide on how to edit graphics configuration settings hidden away in the install directory and not accessible in-game to improve the looks and visuals of your time with Disneyland Adventures.
Disneyland Adventures Visual Tweaks
Step 1: Go to the installation folder of the game. By default, it can be found here: Steam\steamapps\common\Disneyland Adventures
Step 2: Find the file named GraphicsSettings.xml.
Step 3: Open the file then copy and paste the following codes:
<?xml version="1.0" encoding="UTF-8" ?>
<GraphicsSettings.xml version="1">
<Effects>
<AA>1</AA>
<SSAO>1</SSAO>
<VolumetricLighting>1</VolumetricLighting>
<DoF>0</DoF>
<MotionBlur>0</MotionBlur>
<Glare>1</Glare>
<LightRay>1</LightRay>
<ColorGrading>1</ColorGrading>
<SoftRender>1</SoftRender>
<DepthLight>1</DepthLight>
<Reflections>1</Reflections>
<SuperSampleDepth>1</SuperSampleDepth>
<LightShafts>1</LightShafts>
</Effects>
<Shadows>
<Enabled>0</Enabled>
<Resolution>1024</Resolution>
</Shadows>
</GraphicsSettings.xml>
Notes
- Remember to make a backup first!
- Change 0’s (zeroes) to 1’s to turn that setting ON; conversely, change 1’s to 0’s to turn that setting OFF.
- Shadow distance draw radius is quite low, so it’s recommended to leave them off unless you don’t mind shadow pop-ins. If you don’t mind, up the shadow resolution setting from 256 to 1024.
That's everything we are sharing today for this Disneyland Adventures guide. This guide was originally created and written by Blewberry. In case we fail to update this guide, you can find the latest update by following this link.