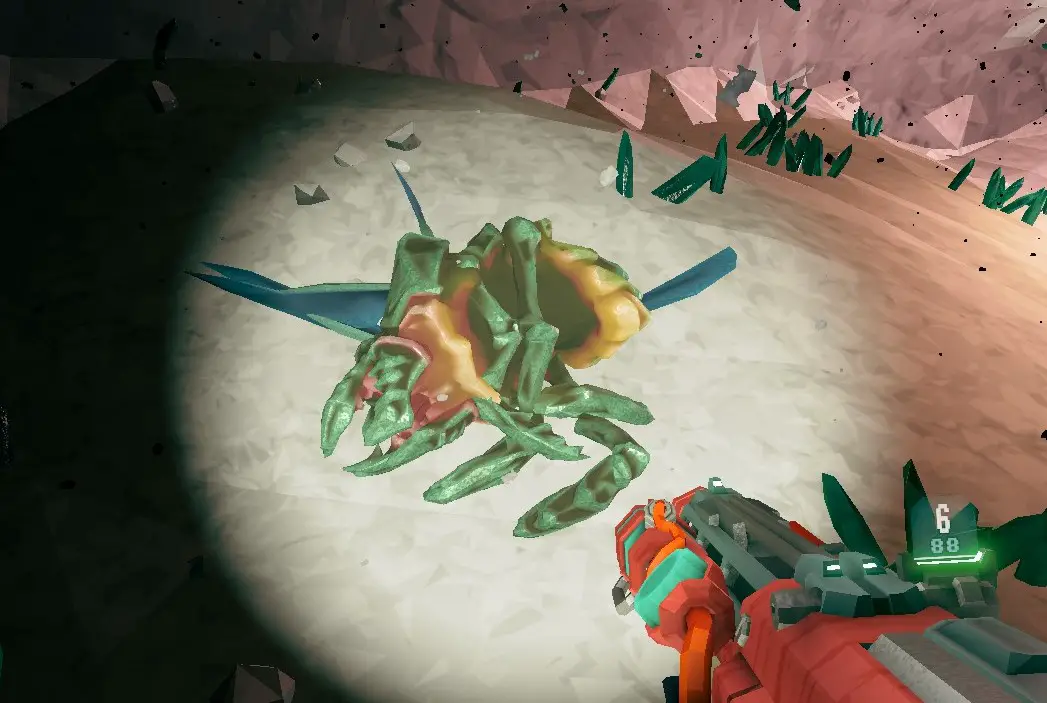
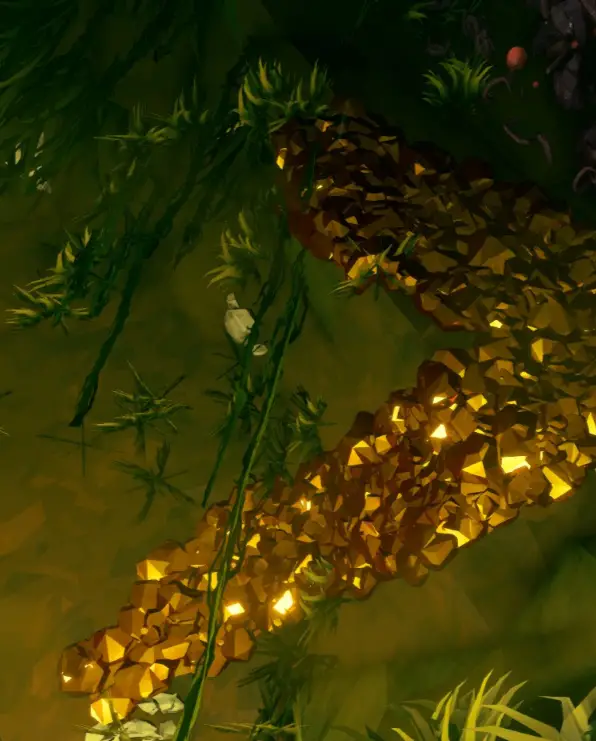
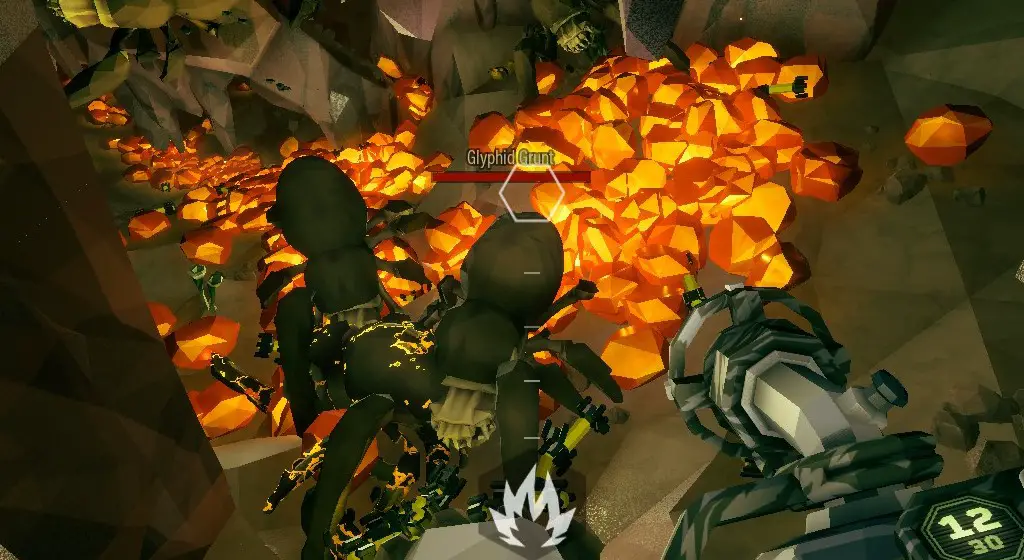
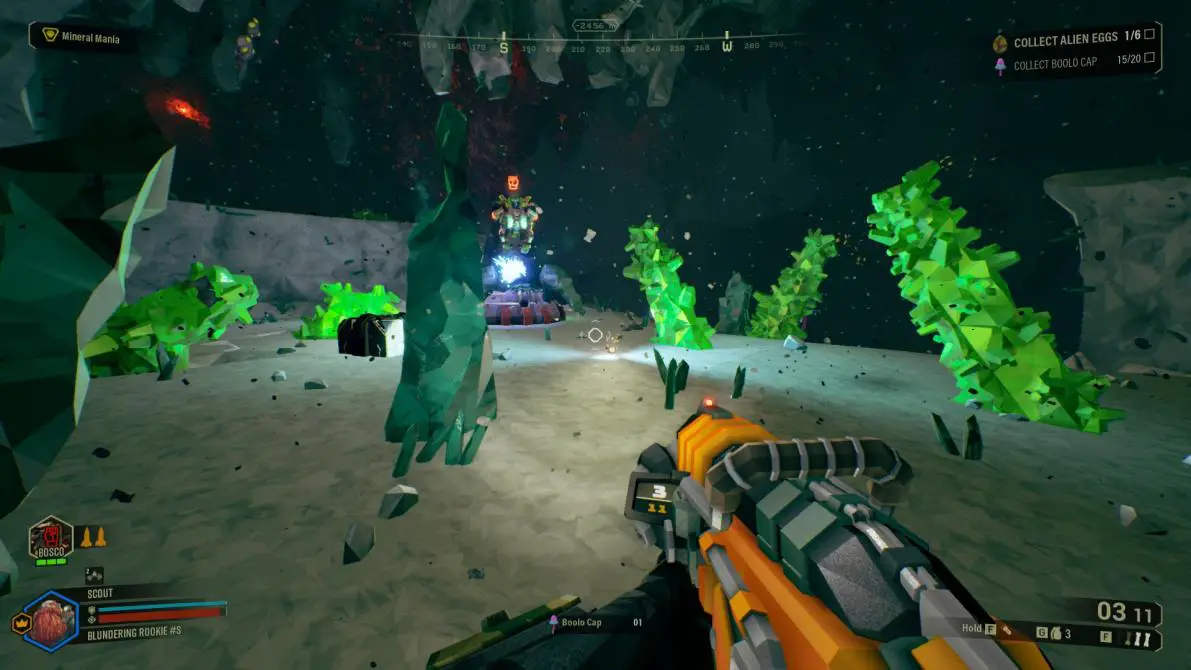
Have you ever observed an unusually high number of Cave Leeches? Encountered a seemingly invincible Praetorian? Found yourself wondering why you abruptly succumbed to choking?
What are Mission Modifiers?
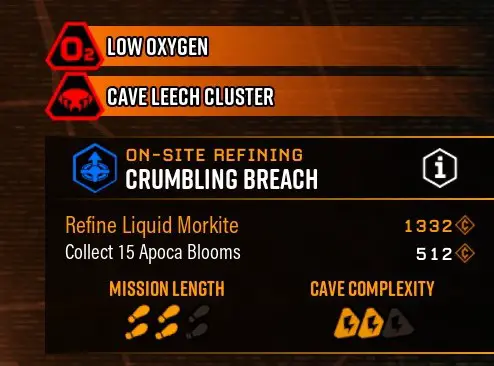
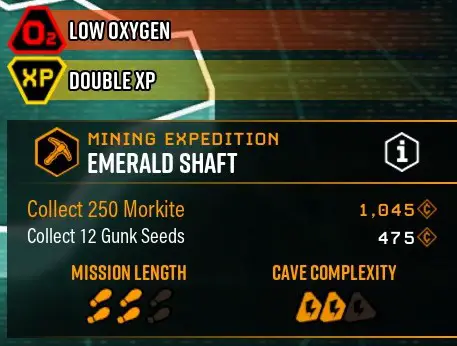
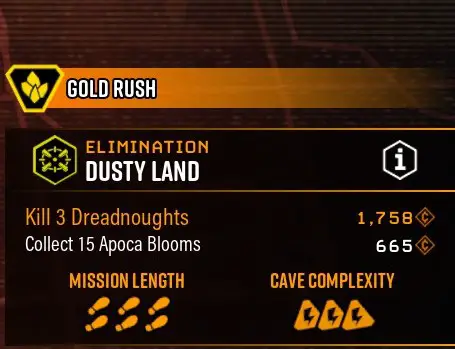
You can easily identify mission modifiers by the red or yellow warning symbols next to a mission title or icon on the map. The name of the modifier often provides a clue about its effects. These modifiers can introduce additional challenges or provide small bonuses related to the bugs, dwarves, or environments. If you require a brief description, you can refer to the miner’s manual.
In this guide, I will provide a detailed description of each modifier, suggest go-to strategies and preparations, and outline the DOs and DON’Ts. Without further ado, let’s begin with the warnings.
A mission with two harmful modifiers, also called warnings. These will be discussed first.
Cave Leech Cluster
True to its name, this modifier significantly increases the spawn rate of Cave Leeches. Moreover, they tend to cluster closely together, posing a grave threat to an entire team, as all members can become ensnared simultaneously. It is crucial to constantly watch your surroundings, particularly above you. The actual quantity of leeches can vary greatly, with some missions having just a few, while others may see dozens of them lurking about. Exercise extreme caution when navigating large open rooms, as they can become hotspots for these formidable creatures.
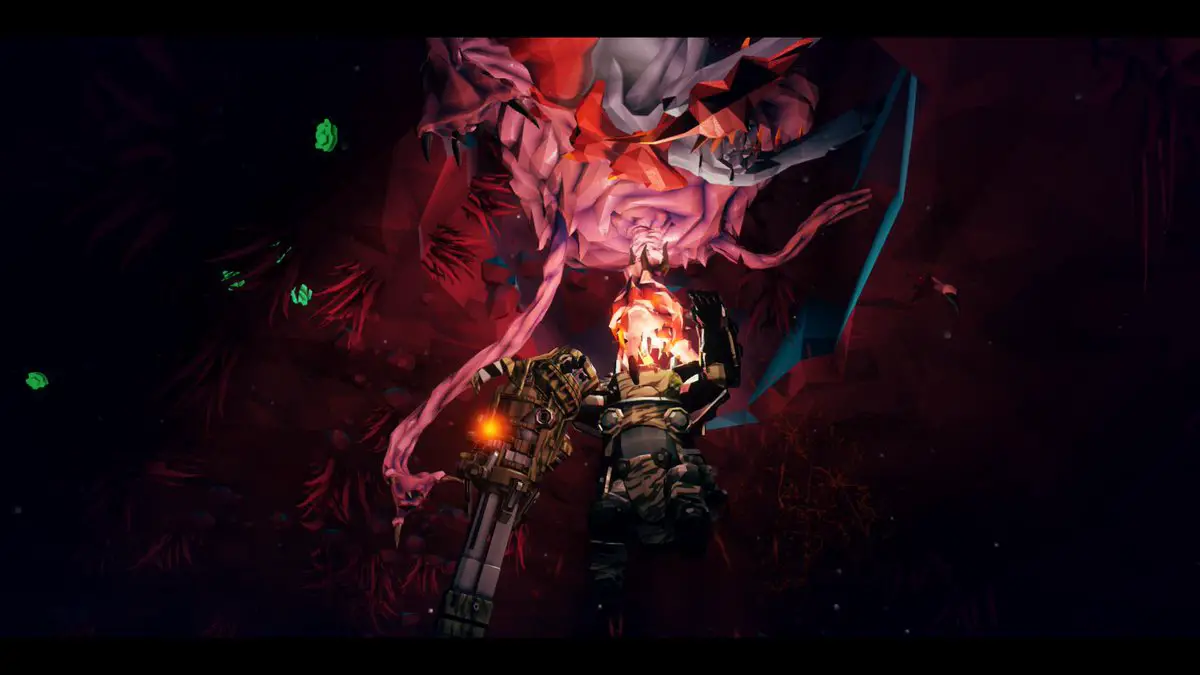
An unfortunate victim.
Keep in mind that when you get grabbed by a Cave Leech, you can call for assistance by pressing the SHOUT key. This will trigger a distress call from your dwarf to either your fellow teammates or Bosco, urging them to come to your aid. If Bosco is present, he will interrupt his current tasks and swiftly come to rescue you. However, it’s important to note that this doesn’t grant you complete immunity. Depending on Bosco’s proximity to your location, he may not be able to save you in time. Additionally, Bosco occasionally takes breaks between firing. Therefore, it is essential to take certain precautions.
DO:
- Include a Scout in your team to illuminate the caves with their flares. Properly lit ceilings make it much easier to snipe Cave Leeches from a distance.
- Take a slow and cautious approach when entering new rooms. Avoid rushing in and instead move gradually. Cave Leeches have a slow and deliberate movement, and they emit a glowing light and hissing sounds while doing so. These cues can help you detect their presence.
- Equip the Heightened Senses perk. This perk not only allows you to escape from a Cave Leech’s grasp three times without consuming any resources but also provides an early warning indicator when a Leech is approaching.
- Stay vigilant and pay attention to your teammates. A teammate who has been grabbed by a Cave Leech will have a green glowing icon on your HUD and will gradually lose health. They are also marked with a red outline. If you’re unable to rescue them in time and they are dropped to the cave floor, make sure to eliminate the Leech before reviving them to prevent becoming the Leech’s next target.
DONT:
- Avoid rushing too far ahead of your team. By doing so, you increase your vulnerability to being incapacitated, as it will take your teammates longer to reach and rescue you.
- Refrain from entering new caves while under heavy enemy pressure. If you are already being swarmed by other creatures, the likelihood of getting grabbed by a Cave Leech significantly increases, turning a potential defeat at the hands of a Glyphid into an almost certain one by a Leech.
- Do not mistake a Cave Vine for a Cave Leech. These friendly pink vines can be found in the Radioactive Exclusion zone and pose no harm. Although they may approach you, there is no cause for alarm or fear.
Elite Threat
With this modifier, certain enemies have a chance to spawn as ‘elite’ version of themselves. They move fast, hit hard and are very tanky. Some even gain new behaviours!
The full list of enemies that can be affected (taken from the DRG wiki) are:
- Glyphid Guard
- Glyphid Slasher
- Glyphid Praetorian
- Glyphid Acid Spitter
- Glyphid Menace
- Mactera Spawn
- Mactera Brundle
- Mactera Tri-jaw
- Mactera Grabber
- Bulk Detonator
Quite a list of strong and versatile threats. Glyphid Guards will knock you back with their melee, Mactera Grabbers are lightning fast and Bulk Detonators have an even bigger explosion radius! Extreme caution is advised.
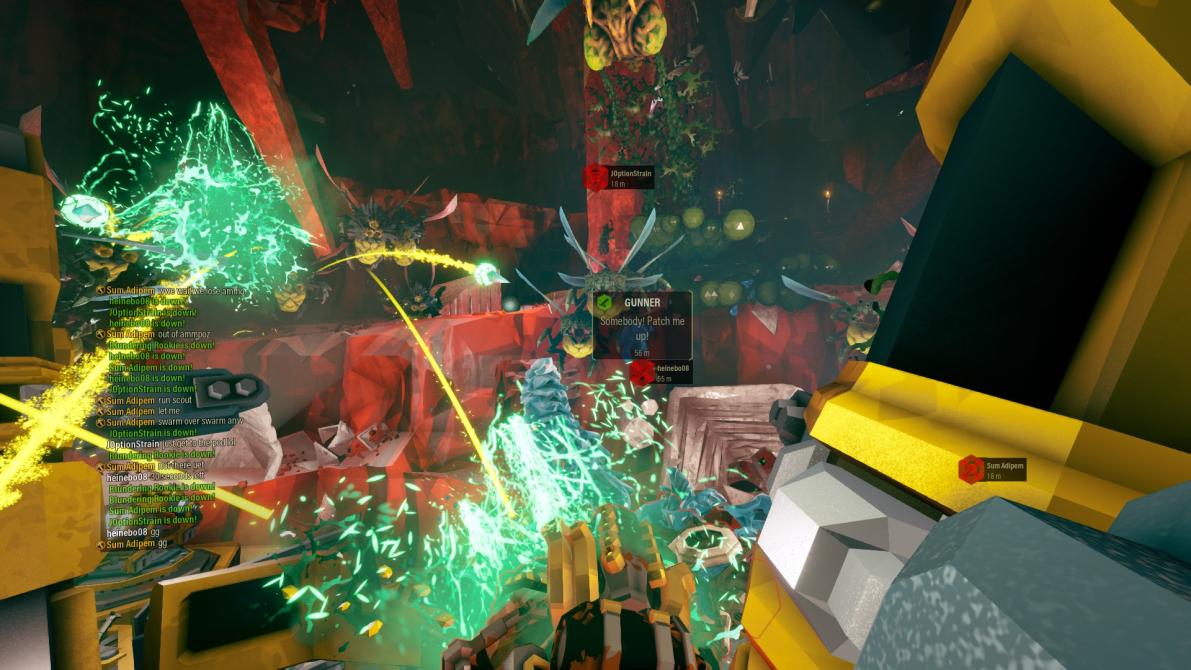
Not a fun sight.
DO:
- Exploit weaknesses. Despite being better versions of themselves, these enemies still have all the same faults. Mactera can be frozen (albeit with more effort), Praetorians still cannot move while spraying acid and Glyphids in general can still have their armor broken off. Use this to your advantage to whittle them down!
- Take cover. Trijaws and Acid Spitters are incredibly dangerous enemies, even more so when elite. But their projectiles aren’t magic, just pure horrors of nature. Make sure to avoid the damage. This is pretty obvious, but do not fight them in the open, and prioritize these enemies above all others!
DONT:
- Let them approach. More damage, more speed, more dwarven suffering. This is an obvious tip for any enemy, but elites are really just all about applying what you already know. Just. Harder.
- Leave your team. Elites are best taken on together to minimize the time they have to deal damage. Is your Engineer struggling with a Brundle harassing him? Give him a hand! It could spare him the health he needs to get YOU back up later.
Exploder Infestation
In this particular cave, you will encounter an abundance of Glyphid Exploders. Waves of these creatures will periodically spawn, separate from the normal spawning mechanics. It is crucial to detect them early, as they move silently and can pose a severe threat if not dealt with promptly. However, the notion that their larger counterparts spawn more frequently is merely a management-created myth to keep you alert. Nonetheless, it is essential to maintain your focus throughout the mission.
Keep in mind that Glyphid Exploders can be “defused” by shooting them in the mouth or freezing them before they detonate. This knowledge can be particularly useful when an exploder is about to sneak up on a teammate who hasn’t noticed it yet. By acting swiftly and using these techniques, you can help prevent potential disasters and ensure the safety of your team.
DO:
- Take cryo weapons. This isn’t necessary and it might not fit the mission you are on, but if it is convenient, these weapons can shut down an entire pack of exploders without doing any harm
- Listen. When Glyphids spawn, sounds of shuffling dirt can be heard, often followed by roars and other bug sounds. If you hear shuffling, but no other noises, this is a telltale sign that exploders have just appeared. Tread lightly.
- Use them to your advantage! Exploders can deal massive damage to other bugs, so if a wave hits you in the middle of a big swarm, try to line them up with other bugs to save your ammo!
DONT:
- Get trapped in small caverns, such as when digging an egg from the walls. If an exploder wave catches you here, it’s game over. Not even the sturdiest dwarf can survive 8 exploders all detonating while desperately trying to climb away.
- Shoot exploders near teammates. Exploders sometimes pause for a bit which can allow your friends to jump away or shoot them in the mouth to retaliate. However, if you cannot get a clear shot at the mouth and the Glyphid is already in range, just pray your fellow miner has good reaction speeds.
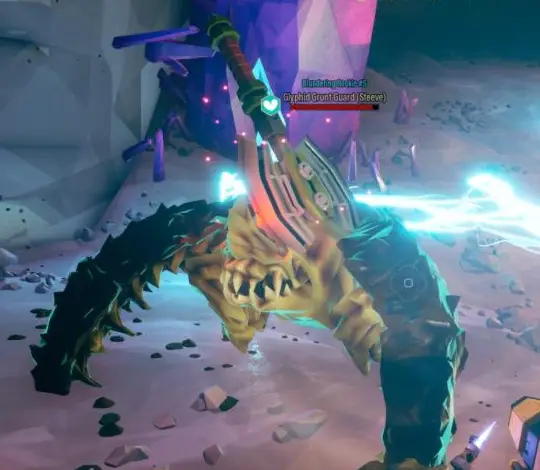
- Bring Beastmaster. Steeve will fearlessly charge the exploder horde, and while we are all very proud of him, he won’t survive long. It is best to take a different perk for now.
Haunted Cave
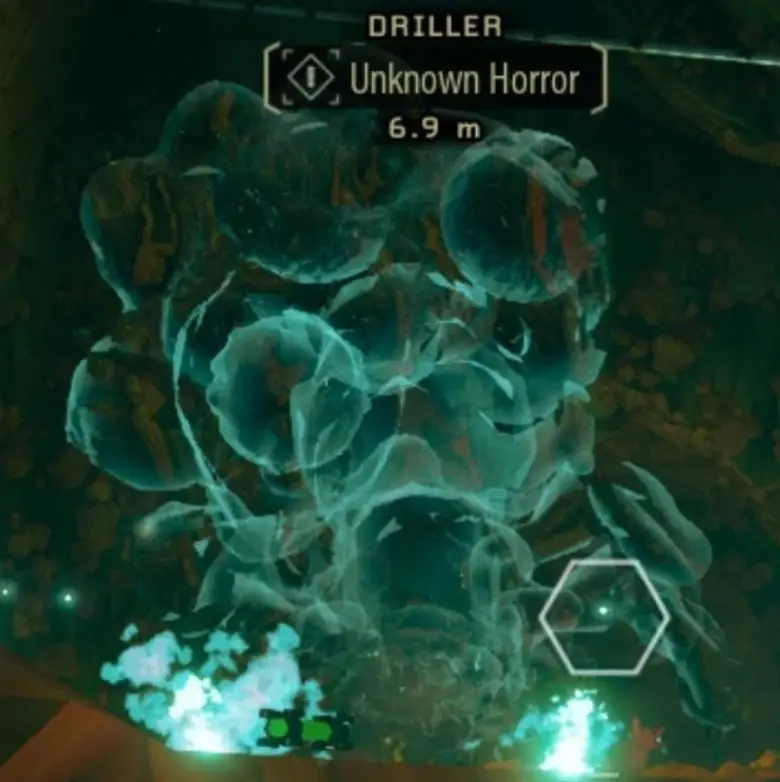
Does the title alone make you shiver? Do you think that the spirits of fallen miners will torment you down here? Will you finally be able to reconnect with your childhood dog? Nope, one of the big bastard bugs just managed to turn undead. A transparent and blue-ish Bulk Detonator will follow you from the moment you drop into the cave. It does slightly less damage than a normal Detonator, allowing you to take one or two more hits than normal, but it is invincible and constantly on the prowl. If it cannot fit through a hole, it will use a digging attack, just like any other big bug.
Because of the nature of these mission types, Escort Duties and (ironically) Salvage Operations cannot be haunted. Thank you, Ghost Ship Games.
The AOE attack of the ‘Unknown Horror’ will also set you on fire, so Driller (who has a fire resistance upgrade) has a teeny tiny advantage over the other miners.
Too close!
DO:
- Use electric attacks. The Horror is invincible, but it is still affected by slows. This will give you more time to escape.
- Be quick. Get what you need from a cave, and keep moving. The Horror is slow, so it will take a while to catch up. The faster you are, the more leverage you have.
- Keep track of it. This is especially important during fights, as you don’t want to accidentally back into it. Pinging it will let your team know where it is. Additionally, it is represented as a BLACK SPHERE on your terrain scanner.
DONT:
- Slow down for no reason. Seems obvious, but going afk or pinging something for fun will allow it to creep closer. Only take what you need, and get out of dodge.
- Revive a teammate with the Horror on top of them. This seems obvious, but I have experienced many dwarves who think they can tank the damage. Most of the time, you can’t.
- Ignore kiting. If you notice the Horror is coming for you, lead it away from the team, and don’t get close to them. This is especially useful as Scout, who can zip past the Horror relatively unscathed.
Lethal Enemies
A relatively simple but deadly modifier, this makes all melee attacks from bugs do DOUBLE the damage. Projectiles and AOE attacks (like Detonators and Oppressor stomps) are unaffected. Anything that involves the bug directly hitting the dwarf counts. Simple as that.
Does this sound scary? Yes. Is it? Depends. It is entirely possible to avoid this modifier by not being hit and kiting the bugs. But if you are properly swarmed, it can bring you down even faster than normal. This modifier is made worse by other modifiers, such as Swarmaggedon and Shield Disruption (see below). It’s worth noting that your bug buddy Steeve also benefits from this! But he will also take more damage.
Enemies affected by this modifier. Source: DRG Update 23 Banner
DO:
- Keep distance. Funnily, enough Glyphid Guards can help you with this.
- Prioritize targets. Taking out Glyphid Slashers, Naedocyte Shockers and other melee-based threats. Anything that can allow the horde to catch you has got to go!
- Take attack patterns into mind. Praetorians are much more likely to use their acid spray attack, which does NOT benefit from the Lethal Enemies modifier. However, if it has just used this, it’s more likely to slash or bite you instead. This goes for all enemies who have more than one attack/move. Glyphid Guards will eventually come out of their ‘shield’ mode to gnaw on you if close enough.
DONT:
- Forget about spacing. This is especially true on missions where your movement is restricted, such as Salvage Operations. Ask your Driller or Engineer to give you more space to move in while defending the Uplink so you can avoid damage. Management does not find joy in the irony of losing another crew to a Salvage mission.
- Use your movement tools frequently. Any chip damage will be much more punishing. The Scout has it the easiest here, with his grappling hook allowing for quick escapes. Engineer can jump over gaps with his platform gun, forcing the bugs to climb around. Gunner can hold on to his zipline to avoid most melee combat, but this makes him much more vulnerable to projectiles. Unfortunately, Driller’s drills are not very useful here.
Low Oxygen
How Hoxxes is filled with breathable air is still a mystery to R&D. But don’t take it for granted, because in this cave your supply is limited. Your oxygen meter will slowly deplete and you have to restore it in time, otherwise your health will drop quickly. Shields do not block any suffociation damage either.
Fortunately, management was kind enough to provide your equipment with an infinite supply of oxygen tanks. Standing next to these will allow you to refill your tanks. Be warned! When reviving a dwarf, they will only have 42% of their oxygen remaining. Oxygen depletes at a rate of 1.5% per second, and you will receive a warning call from your HUD when it is about to run out. Pay attention to it!
Objects that give off oxygen are:
- The drop pod
- Molly
- A resupply
- Black Box (found in Deep Dives)
- Doretta
- Refineries & Mine Heads
- Uplinks and Fuel Pods
- Rock Crackers
All of these will replenish your oxygen at a rate of 10% per second when standing close. Take this time to reload or check the map.
An oxygen tank attached to a Minehead.
DO:
- Stick together. On most missions, the M.U.L.E. will be your primary source of oxygen. Staying by eachother’s sides makes it easier to keep yourself from asphyxiating, so Molly doesn’t have to be juggled.
- Call in Resupplies in tactical spots. Think you’re going to be revisiting a cave? About to fight a Dreadnought? Place a Resupply in a convenient location so your team can use it to rejuvenate themselves.
- Pay attention to your teams voicelines. If a dwarf starts to choke, they are likely to comment on it, with a raspy voice. If possible, keep an eye on them so that they make it to a source of oxygen in time!
DONT:
- Hog the M.U.L.E. If you are mining a lot of minerals, it is often an instinct to call Molly to you. But if you’re by yourself in another corner of the cave, it may be best to instead walk back to her and come back later, rather than leave your team to choke.
- Overestimate your supply. If you want to leave the minehead to search for Aquarqs for example, make sure your tanks are filled and keep in mind how much oxygen you need for the return trip.
- Leave Molly during extraction. Unless you’ve placed resupplies tactically, leaving Molly behind (or letting her run ahead) can be incredibly dangerous since she won’t return to you when you call her, leaving you without an oxygen source. Stick as close to her as you can, and make sure no Dwarf falls behind. Saving some Nitra for an emergency helps with this.
Mactera Plague
If you’re an experienced dwarf, you might remember how most swarms consist of a large group of Glyphids with some Mactera for air support. Unfortunately for you, in this cave system, these roles are reversed: Mactera are numerous here. This means you will primarily be attacked by Mactera Spawn, Tri-jaws, Brundles, Grabbers and Goo Bombers. Considering how hard-hitting and disruptive some of these enemies are, this modifier can spell doom for the unprepared miner. Let’s make sure you are, in fact, prepared.
This is not what prepared looks like.
Mactera have no melee resistance, so if you manage to power-attack them, this will often do significant damage. Most Mactera have a very exploitable weakspot in their bellies: destroying this often guarantees a kill. Precision will be your friend: Some of these creatures are rather hardy.
Of note is that any flying enemy will fall to the ground and shatter instantly when frozen: use this to your advantage! A well-placed cryo grenade can eliminate an entire swarm.
DO:
- Take cryo weapons. As mentioned before, using cryo grenades or the cryo cannon for the Driller (modified for freezing power) can eliminate some bulky threats with little effort (Brundles and Goo Bombers).
- Make a priority list. FIVE Mactera exist in the caves of Hoxxes, but they are not all equally dangerous. While this may be personal preference, my recommended priorities are (from first to last):
Tri-jaws > Spawn > Brundle > Goo Bomber > Grabber.
This order helps with eliminating the hardest hitting threats first. The Goo Bomber, while annoying, is easy to avoid. Mactera Grabbers can be scary, but once they receive damage they are very likely to flee, so you should point your attention towards killing the rest of the swarm once you’ve driven it off. - Try to funnel the Mactera. If Mission Control announces a swarm, try to retreat into a smaller cave so that the Mactera will bundle up together, which makes them a lot easier to kill with grenades or splash damage.
DONT:
- Run in the open. Always try to make sure you have some sort of cover, as all these enemies are projectile based. A Gunner Shield can help you protect the team.
- Run out of ammo. Mactera are a lot harder to kill with melee than Glyphids, making you a sitting duck.
Parasites
It’s movie night over at Hoxxes, and the current movie is ALIEN (1979). All the bugs are infected with icky parasites that will burst from them once they are killed. These parasites will then search for a new host to eat from the inside, and most likely, they’re going after you. Lucky for you though, these parasites are easier to kill than a Glyphid Swarmer. Low damage, low health and their only attack is a suicidal leap (thank R&D for making your armor impenetrable!). This doesn’t mean they can be dismissed however: with their speed they can easily keep your shield from regenerating during a tough swarm, and their damage will stack up if you are killing a lot of bugs at once. Still, this modifier should be a cakewalk for any experienced dwarf.
Some additional info: any bug smaller than a Grunt (e.g. Shockers and Swarmers) will not spawn parasites. Any bug bigger than a Praetorian will spawn three. Funnily enough, Exploders and Bulk Detonators can also be infested, however the parasites are rarely successful in escaping the explosions that follows after their death.
DO:
- Take splash damage weapons. These will most likely kill the parasites as soon as they spawn, making the modifier almost redundant.
DONT:
- Ignore them completely. While yes, they kill themselves with their one attack, this requires them to hit you first, so you will take damage. Pickaxe them to death to save ammo.
Regenerative Bugs
Through means still unknown to us, the bugs in this cave have strange regenerative abilities. If not damaged for a few seconds, their health will rapidly go up. This goes for almost any bug, including Menaces, Oppressors and Naedocyte Breeders. Hit and run tactics will not be as viable here.
Health is restored at 5% per second, making this modifier benefit tankier enemies a lot more than regular Glyphids. Even Rival robots seem to benefit from this. But not us? I call shenanigans.
Any damage-over-time effect will also reset this effect, so keep that in mind.
Steeve likes this modifier.
DO:
- Eliminate small targets first. This will give you more leverage to deal with big threats such as Oppressors. Otherwise, you risk having them regenerate.
- Bring Beastmaster. Steeve also benefits from this modifier, making him essentially immortal with how tanky he already is normally. Now is the prime time to tame a Slasher!
- Bring DoT effects. Driller is the best candidate for this, but applying a damaging effect will halt regeneration as mentioned before.
DONT:
- Waste ammo. If you think you can’t kill a Menace before it burrows, alert your team and try to burst it down together next time it shows up.
- Destroy weakpoints. Some enemies such as Goo Bombers can have their weakpoints destroyed without dying, and these will never regenerate. If you cannot destroy enemies like this before they regenerate, killing them next time will be much harder.
Shield Disruption
Throughout this region, an electric field is interfering with your equipment, and your shields are permanently disabled! This makes chip damage from smaller bugs much more punishing, as you will need red sugar or a resupply to get your health back. Luckily for you, this electrical field also makes attacking bugs a bit weaker to compensate. You’ll take
30%less damage from environmental hazards and any alien attack. Keep in mind that friendly fire and self damage do not count, so keep that C4 tucked away for now!
You can identify the field by small electrical sparks appearing in the air. Don’t try to leave it; it accompasses the entire cave. A Gunner shield is not affected by this field; lord knows R&D doesn’t want your protective bubble to be popped because they can’t afford to waterproof it.
DO:
- Take out swarmers and other small threats from a distance. Normally, your shield can tank most of their damage while you pickaxe them to death. Without a shield, this damage will stack up over time, especially with other modifiers like Lethal Enemies! Don’t let them nibble on you!
- Take note of Red Sugar spots to come back to when you need it. This’ll make sure you don’t need to call a resupply just for health.
- Take the Sweet Tooth perk. An underrated perk to be sure, this will give you more bang for your buck when eating (consuming? drinking?) Red Sugar, potentially leaving some for the rest of your team.
DONT:
- Take the Shield Link perk. This perk is solely dependent on your shield, and without it, it effectively becomes useless.
- Attempt to revive your team in the middle of a swarm. Oftentimes and especially on higher hazard levels will they be depending on their shield to keep them safe after a revive while they resupply or go for other HP sources. Without it, they could go down seconds after getting back up. And if the swarm is close, the bugs will eat your health away very quickly too!
- Be a loose cannon. Friendly fire damage is NOT blocked by 30%, and will be permanent. Watch the stray bullets!
Swarmaggedon
Digging into any alien territory is bound to land you in a nest. This area is populated with skittish Glyphid Swarmers who will arrive in large packs to nibble you to death. Just like the Exploder Infestation modifier, these waves are independent from any other spawning mechanics. Make sure you wear an old pair of boots; wouldn’t want them to be splashed with a new color of green now.
This modifier is all about weapon choice. The Scout’s M1000 Classic is engineered for precision, but with so many little targets speeding towards you, it might not be the best choice. Similarly, the Engineers LOK-1 rifle will be much more useful than his Warthog Shotgun. Tinker a bit at the workshop to find out what you think will be most effective. Pickaxing them to death is also a viable tactic if wanting to save ammo, but make sure you aren’t at low health in case the swarmers break through your shield!
DO:
- Bring splash damage weapons. Gunner’s Thunderhead Autocannon or Driller’s HE grenade can do wonders for clearing an entire swarmer horde in seconds. Swarmers die instantly if frozen, so Scout’s cryo grenade can save him in a pinch.
- Stay aware of potential places the Swarmers can hide in. Glyphids like to attack you from all sides, and this could be from the side of a cliff or from the ceiling. Make sure that when you’re stationary, you have enough space so that the Swarmer has to reveal itself to attack.
- Cover your teammates! Scout struggling with hitting the bugs? Help him with your flamethrower. Engineer’s turrets out of ammo? Fire some Hurricane rockets at the horde. The effort is minimal and your fellow miners will be thankful.
DONT:
- Waste too much ammo. It isn’t worth using a PGL round on 3 bugs you can just smash to death. Although, if you do want to, I won’t stop you. It is very fun.
Rival Presence
Ever since the Rival Incursion event from Season 1, a Rival company has been setting foot on Hoxxes. We’re not sure who are responsible (Leaf Lovers), but their robotic defense systems (made by Leaf Lovers) have been sent down into the caves by their mysterious management (it’s Leaf Lovers). It’s up to you (not a Leaf Lover) to clear the dig site of any rival robots. The Rivals have an expansive catalogue of bots that will attempt to hack, beam and explode any dwarven trespassers, but we are sending dwarves anyway, because we don’t care what the Rivals think is deadly for dwarves.
Among their ranks are Sniper Turrets, Burst Turrets, Repulsion Turrets, Shredders and Patrol Bots. All of these robots have different behaviours, which is why we won’t discuss them now (potentially in the future?). All you need to know is that they are vulnerable to Fire, and will instantly be disabled if set alight. Typically their weakpoints consist of exposed orange wire. Aim for the glowy bits!
In the caves you can stumble upon a (usually heavily guarded) Turret Controller. R&D have equipped you with a hacking tablet, and if you can manage to hack the controller, the cave will be permanently secured. Make sure that you have cover to do so!
DO:
- Aim for orange bits. Turrets are very tanky, but a well placed shot to the wires can do significant damage. The only bots with no weakpoints are shredders, who are comparable to Glyphid Swarmers in terms of survivability anyway.
- Tread slowly. When entering a new cave, the probablity of Snipers and Burst Turrets hiding around corners and in edges is very high. Make sure to not get spotted by all of them at the same time.
- Take Fire weapons, specifically built for overheating the bots. This makes dealing with tankier targets like Patrol Bots and Burst Turrets much easier.
DONT:
- Stand still. The turrets are highly accurate and deal significant damage. When shooting, duck in and out of cover or jump around to make sure you aren’t hit.
- Ignore Patrol Bots that seemingly drift down after losing all their health. These are hackable and can be turned into allies. Hacking isn’t hard, it just takes some muscle memory!
- Listen to the voices. Stay away from the voices at any cost. Keep your distance from the voices at all times. Don’t let them grab you.
Lithophage Outbreak
A Plagueheart filled with RockPox CXH-4 has descended into this cave and taken root, developing fully. Your team has to cleanse this outbreak and purge the cave of any RockPox before it spreads. Upon finding an infected site, Mission Control will send down a cleansing pod with 4 tools. The process is simple.
1. Use the blue-colored foam guns to spray the infection.
2. Use the green-colored vacuum to suck up the foam and neutralize the infection in that spot.
The RockPox isn’t exclusively targeting rock, though. Glyphid Grunts and Glyphid Praetorians have been found to be particularly vulnerable to the strain. These infected bugs are incredibly hardy and in constant pain due to their senses being overloaded. R&D usually isn’t concerned with the health of the bugs, but putting them down seems to be the morally right choice in this situation.
If you notice any yellow worm-like creatures attacking you, these are called Plague Worms. They spawn from the infected area, so they can point you in the right direction if you spot where they’re coming from. Try to keep contact with the infection to a minimum: this includes avoiding lithophage-infected attackers! Your suits may keep you safe, but the infection will try to get a hold of you regardless.
A contagion spike, glowing a bright yellow which makes it easy to spot. Source: Official DRG Website.
DO:
- Prioritize cleansing over resource gathering when in a cave with a Contagion Spike. If not cleansed, the Spike will constantly spawn infected Plagueworms and Glyphids. It often does not take long and it eliminates one more danger in the cave.
- Guard the cleansing team members. Very often the Spike will spawn a few Glyphids to defend itself, so it is best to have at least 1 team member defending and taking down any infected baddie trying to stop the cleansing.
- Break your friends out of RockPox. If they get fully infected, the ‘Pox will grab them and they will have to struggle out of it. Break it instantly with a power attack!
DONT:
- Mine the infected terrain. This is especially true for Driller, who can drill through it with his Powerdrills. This is because any time you mine rockpox-terrain, you will gain a bit of RockPox infection, which quickly adds up.
- Attempt to bruteforce an infected bug kill. Infected Praetorians and Glyphids have various boils on their bodies which deal massive damage to them when destroyed. If they are hiding these weakspots in walls, it is better to make them turn than waste more than ten times the ammo attempting to drain their health bar manually.
- Attempt to tank the infected enemies while cleansing. It will often result in you becoming fully infected, losing a lot of health or going down entirely. If nobody is with you, drop your tool for a second and kill the bugs to get them off your back.
What are Anomalies?
Anomalies also modify the mission and cave generations like warnings, but often to the benefit of the dwarves. This is why instead of a DO and DONT section for each anomaly, instead there will be some small tips so that you can get the maximum benefit from these modifiers!
It’s worth noting that there can be only
oneanomaly per mission, and two maximum warnings.
A mission with one anomaly and a mission with one anomaly and one warning.
Critical Weakness
When this modifier is active, all bugs are much more vulnerable. Normally, hitting a weakpoint does between two and three times as much damage as normal, but with this modifier, that number is bumped up to FIVE. Is it because of something in their diet? R&D are still trying to figure it out (and how to exploit it, of course.)
If a bug doesn’t have a weak spot (such as a Swarmer) they will be unaffected by this anomaly. It is also worth noting that Dreadnoughts are also unaffected! If you see an Elimination mission with this modifier active, don’t go in expecting a free win. Due to the nature of weakpoints, Driller primaries can also not benefit from this modifier since they don’t deal weakpoint damage.
An unfortunate victim with its weakpoint obliterated.
TIPS:
- Picking weakspot damage upgrades on your weapons will make killing bigger enemies like Praetorians even faster.
- This modifier is exceedingly powerful in almost every situation. If you are struggling with a certain assignment or seasonal objective, hunt for this modifier.
Double XP
As a part of managements new incentive program, some missions will have their xp rewards doubled! Looking to unlock weapon contracts? Reach a new promotion? Look for this modifier.
Remember that your XP at the end of a mission is influenced by a number of factors: this includes:
- the hazard level
- cave length and complexity
- warnings
- minerals mined
- enemies killed
- side objectives and matrix core challenges completed
- misc things like tyrant shards.
Only after these are all tallied will your score be doubled, which can make for some insane numbers!
TIPS:
- Think you’re up for the challenge? Set a mission with this modifier to hazard 5 to get the maximum reward!
Gold Rush
We’re rich!
Due to the soil conditions, any gold veins generated in this cave are much bigger. If you need fat stacks of cash, this anomaly is for you. Keep in mind that some experienced miners do not stop for gold even with this modifier, so remember to ask them to help you if you feel like you’re falling behind. The employees of Deep Rock Galactic are rarely ever going to berate you for this. (If they do, please report this behaviour to management. Rumors of Leaf Lover spies are spreading.)
TIPS:
- If you see Pots’ O Gold as the current beer, drinking it can amount to thousands of gold in a single mission! A great combo when in need of credits.
- Remember that stopping to mine every gold vein will significantly add to the time spent in a mission. This isn’t a negative, but it is good to keep in mind.
- Mining gold can take some time. If the terrain around the vein is able to be destroyed in one hit (in Sandblasted Corridors or with Rocky Mountain Beers) you can mine AROUND the vein to dig it out faster! The amount of gold received will be the same.
Heard you like gold.
Golden Bugs
R&D isn’t sure what’s causing it, but any bug you kill will drop some gold for you to pick up…! (My theory? Lootbugs are a common ancestors of every… right. Getting off track.) Any bug of any size will always drop a chunk worth exactly 1 gold, making fights with smaller but more numerous threats like Swarmers very lucrative. The best part is that there’s little effort required on your part: just shooting bugs like any other mission, and then picking up what they drop.
TIPS:
- Picking up a Swarmaggedon- or Parasites-affected mission combined with this anomaly can yield great amounts of gold, often in the quadruple digits.
- Remember that you have to pick up the gold manually. It will often roll into the deepest part of the cave, so you might come upon a ton of gold laying in a hole close to a swarm you fought recently.
You might stumble upon something like this.
Low Gravity
Due to strange gravitational anomalies, you can jump much higher and fall much slower! This helps reduce the risk of fall damage by a ton (as it is based on your falling speed). It also makes reaching high up minerals way easier as you can continuously jump up and down. Grenades are also thrown much further, so you will have to adjust your aim accordingly when going for long distance throws. Apart from this, nothing else really changes!
TIPS:
- Use your grappling hook as Scout to detach midair and fling yourself insane distances!
- You can continuously jump up and down to avoid melee attacks.
Mineral Mania
Looking for crafting materials? This cave will have an abundance of them! Only minerals that can normally appear in that biome will multiply. If you’re looking for Magnite, go to the Glacial Strata or Magma Core. If you want Umanite, go to the Radioactive Exclusion Zone.
TIPS:
- The actual amount of crafting minerals spawned can vary wildly. You might be positively surprised or very disappointed with the actual amount. Still, it’s normally an increase.
- If you find a mineral that grows in an outcrop (such as Umanite) instead of in a vein (such as Croppa), you can power attack the base of the outcrop and then hit it again twice to fully mine the outcrop! It will be destroyed because it is no longer attached to any ground, but it will still drop its full value.
Umanite here!
Rich Atmosphere
The air in this cave is comprised of strange compounds. Fortunately, it doesn’t harm you this time! Instead it just makes your voice pitched up like you just inhaled helium, making everyone sound like Scout (sorry, Scout.). It also puts a spring into your step, making you move a lot faster! Bugs are not affected by this, so you can practically run circles around them.
TIPS:
- Faster movespeed = faster missions = faster escape! You can expect everything that doesn’t involve holding a position or depleting healthbars to go by faster. Remember to ‘detox’ in the space rig!
- Don’t overshoot your jumps! It can be easy to underestimate the distance you can make and you might end up in a hole you didn’t intend to land in.
Volatile Guts
Arguably the most ‘neutral’ of all the anomalies, when this one is present, bugs in this area have access to unstable food sources, causing them to rupture and explode upon death. This does not occur in smaller enemies like Swarmers. These explosions can lead to spectacular chain reactions of bug guts flying through the air as they all combust one by one.
The damage and blast radius of these explosions is based on the size of the bug. Generally, the bigger the bug, the more powerful the explosion. Here’s the catch: these explosions can also hit you. The damage they can deal on their own is negligible, although if you get caught in a lot of aliens about to combust, you might feel it.
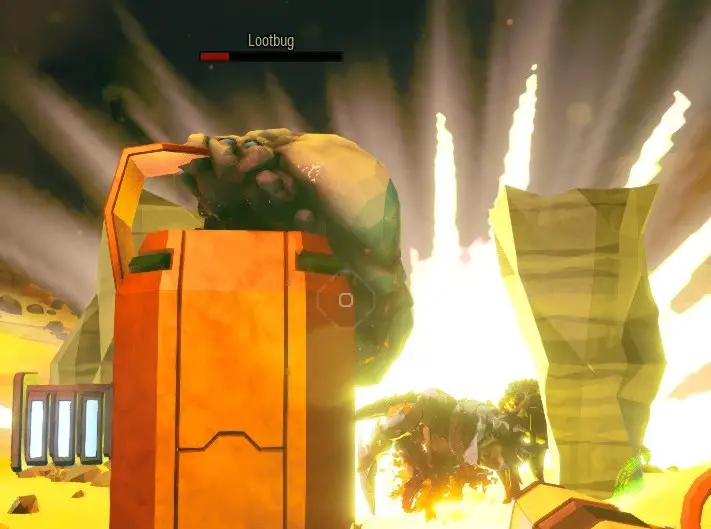
A lootbug flawlessly avoiding a volatile guts explosion.
TIPS:
- Softening up a group of Grunts and then setting them off all at once can deal massive damage to anything caught in the blasts.
- Keeping your distance from the explosions can give your shield time to regenerate.
- Although not as severe as with an Exploder Infestation, Steeve has a decreased lifespan here too! Keep an eye on your buggy friend.
- Some miners have reported that Exploders and Bulk Detonators do not actually trigger their deadly explosion when killed here. Use this to your advantage, but practice caution nonetheless.
Conclusion
And that’s it! Those are all the Mission Modifiers we have encountered so far. New threats are always appearing, so if new ones are added to the database, this guide will be updated as well. Have any advice, tips or other things you’d like to see added or removed? Please feel free to post them in the comments, and help out your fellow miners! Thank you for reading!
Rock and Stone!
That's everything we are sharing today for this Deep Rock Galactic guide. This guide was originally created and written by Blundering Rookie. In case we fail to update this guide, you can find the latest update by following this link.
