How to get that Boss Attack S Rank achievement (complete Boss Attack in under 8 minutes), even if you aren’t an expert. Tips and full walkthrough.
Introduction
Boss Attack S Rank has the lowest completion percentage out of all the Cave Story+ achievements. Despite that, I believe it’s doable even if you aren’t an expert or a speedrunner. If you’ve beaten the main game on Hard Mode or done the Untouchable achievement (beat the main game without picking up any health upgrades), you can certainly do Boss Attack S Rank. If you haven’t done any of the difficult achievements, this may not be the best place to start, but it should still be doable with practice.
If you’re reading this guide, I assume you already know your way around the weapons and bosses, are comfortable with how weapon exp works, etc. The guide mostly focuses on picking an efficient path and getting consistent quick or low-cycle kills on the bosses.
Disclaimer: I use a turbo button because I ain’t about that RSI life. If you want to do this challenge while mashing, I respect that–just be aware that there’s a lot of mashing, and some of these strategies may not work as well unless you’re a super fast masher.
Basics
Firing Rate
Like the old Mega Man games, your firing rate in Cave Story is based on projectiles on-screen–if you’ve maxed out, you can’t fire again until one disappears. This is most obvious with the Fireball weapon, but applies to everything. This is extremely important for Boss Attack, because it means the best strategy for almost every boss is to get directly in their face and fire as fast as physically possible to max DPS.
Pausing
Going to the weapons menu pauses the timer. If you’re switching weapons and lose track of where you are, or want to check weapon levels, or if you just need a short breather, take advantage of this. I did most weapon switching via the menu just to be sure.
Upgrades/Refills
Some upgrades or refills are a bit out of the way. I get all upgrades, but if you’re more confident in your dodging you can probably get away with leaving some of the out of the way ones. You can also skip health/missile refills if you’re comfortable. There are several places where you almost certainly won’t need to refill, which will be noted in the guide.
Exp Cans
There’s no reason besides time to not open these if needed. Exp cans will reappear every time you return to the Between.
Replay
The game will record a replay of your most recent attempt (and best full run, once you start winning). It’s useful to occasionally watch after a decent run to check on how you did and see what you need to work on for the next one.
Practice
I recommend trying to go full-speed from the start–treat every attempt like a proper run–even when you don’t have the hang of speedrunning the bosses yet. Develop good habits for the early bosses until they become trivial. But if you need a lot more practice for late bosses and would rather go slow to make sure you get there, that’s up to you. Do what works for you!
Spur Charge Glitch
You’re going to get the Spur for this run. Normally you lose the Spur’s charge if you change weapons or go through a door, but there’s a handy little glitch–if you go to the weapons menu while charged, and swap to another weapon from there, you can hold the charge. Swap back via the weapons menu later, and the charge will still be there. We’ll use this in a few spots in the run.
Weapons
Polar Star
- Auto pick-up. Not useful after the first few bosses. You might use it briefly against the Core.
Missile Launcher
- Required. Keep at max level as much as possible, get the Super Missile upgrade when available.
Fireball
- Required, auto pick-up. You want this at level 3 for Curly, Omega, and Rabid Toroko, then you won’t need it ever again.
Bubbler
- Optional. I only use it for one boss, the Core, and there are alternate strategies, but it’s not far out of the way.
Machine Gun
- Ignore.
Sword
- Required, auto pick-up. Keep at mid to high level 2.
Snake
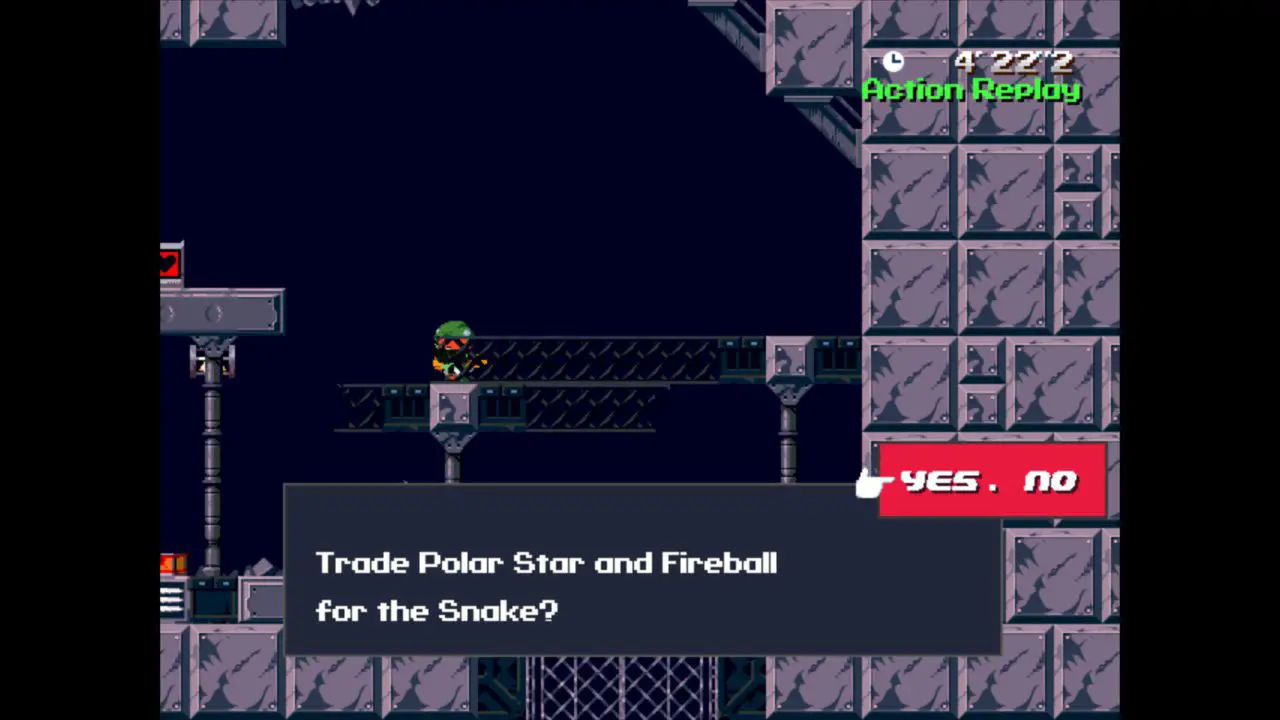
- Ignore. If you accidentally say yes to the trade, cry and restart the run.
Spur
- Required.
Nemesis
- Ignore.
Benchmarks
For reference, suggested benchmarks for a run of under 8 minutes.
- 1:00 – on the way to Curly
- 2:00 – entered the door for Monster X and on the way right
- 3:00 – just killed Balrog 3
- 4:00 – on the way to Iron Head
- 5:00 – just killed Ma Pignon
- 6:00 – entered Undead Core, fighting or just killed possessed Misery
- 7:00 – fighting or just killed Ballos first form
- 8:00 – just killed Ballos one second ago!
Remember, these times are where you want to get to after a lot of practice, if you’re just starting out and you’re killing Ma Pignon at the ten-minute mark, don’t panic.
Part 1: Balrog 1 through Puu Black
First ~ two-minute segment of the run.
Between
Grab the health upgrade on the left, shoot the two exp cans, grab exp as you travel to the second health upgrade, then head straight for the door. Polar Star should be level 3.
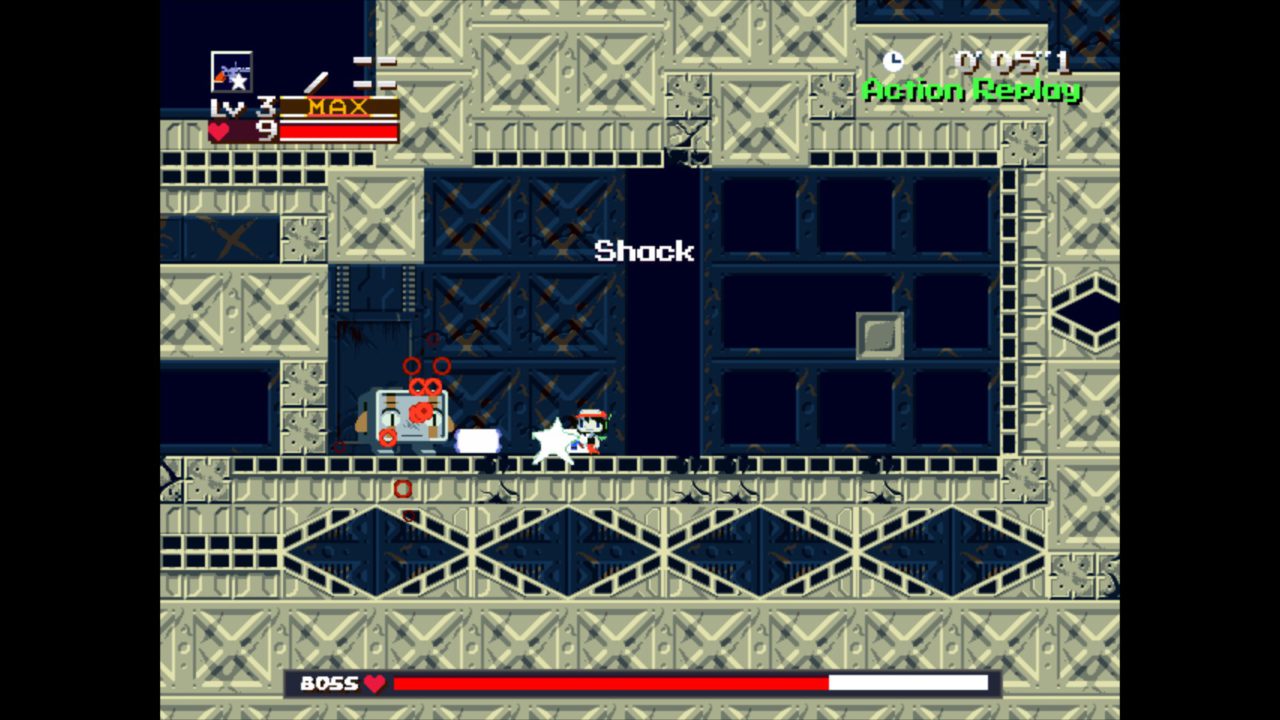
Balrog 1
Spam the Polar Star in his face. Jump over him and fire down when he gets close, then turn around to shoot right. No randomness here, with a little practice this will become automatic.
Between
If the Polar Star isn’t at max, hit the exp can directly to your right as you run. Grab all the upgrades, then break open the exp cans with your Polar Star and swap to the Missile Launcher to grab the exp. Missile Launcher should be maxed out before you jump up to Igor.
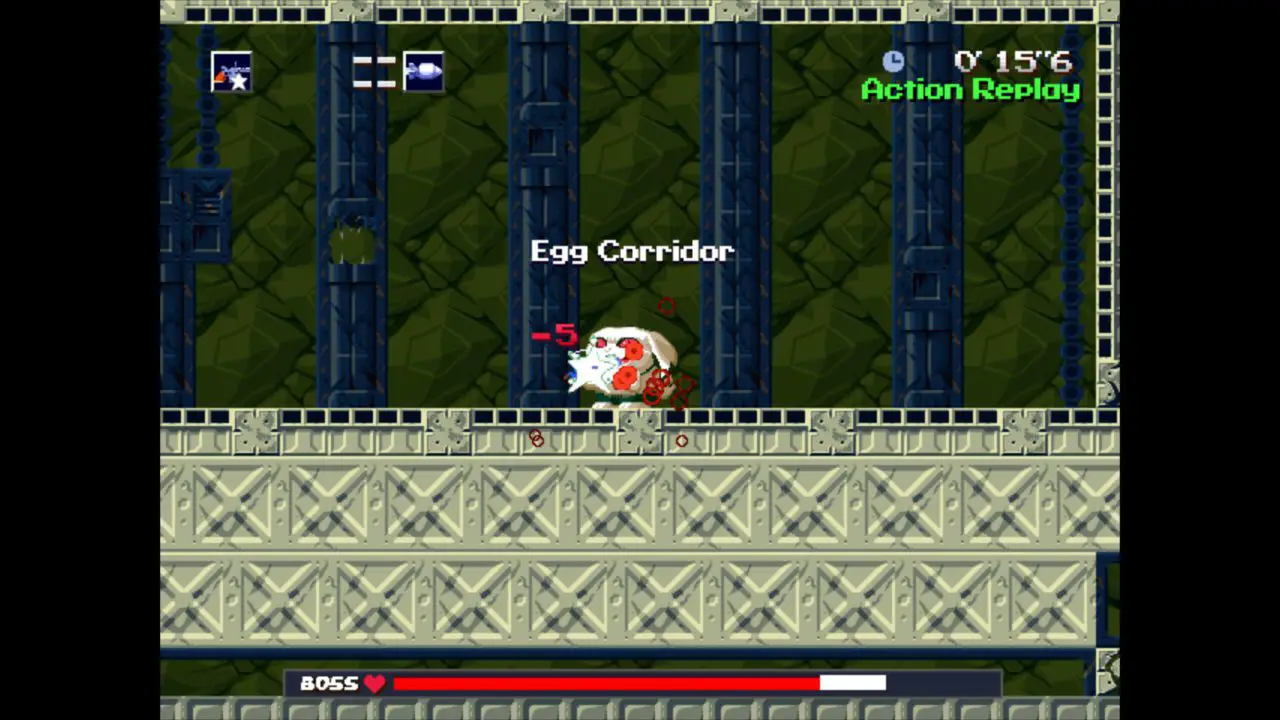
Igor
Get right in his face and spam the Polar Star. When he punches you, swap to Missile Launcher and spam, then swap back when it runs dry.
Between
Little bit of precision jumping here to get everything. Jump up to the second health upgrade, then left to the first, then grab the missile upgrades and (optional) the Bubbler. Head up, grab the refill, and swap to the Missile Launcher before entering the door.
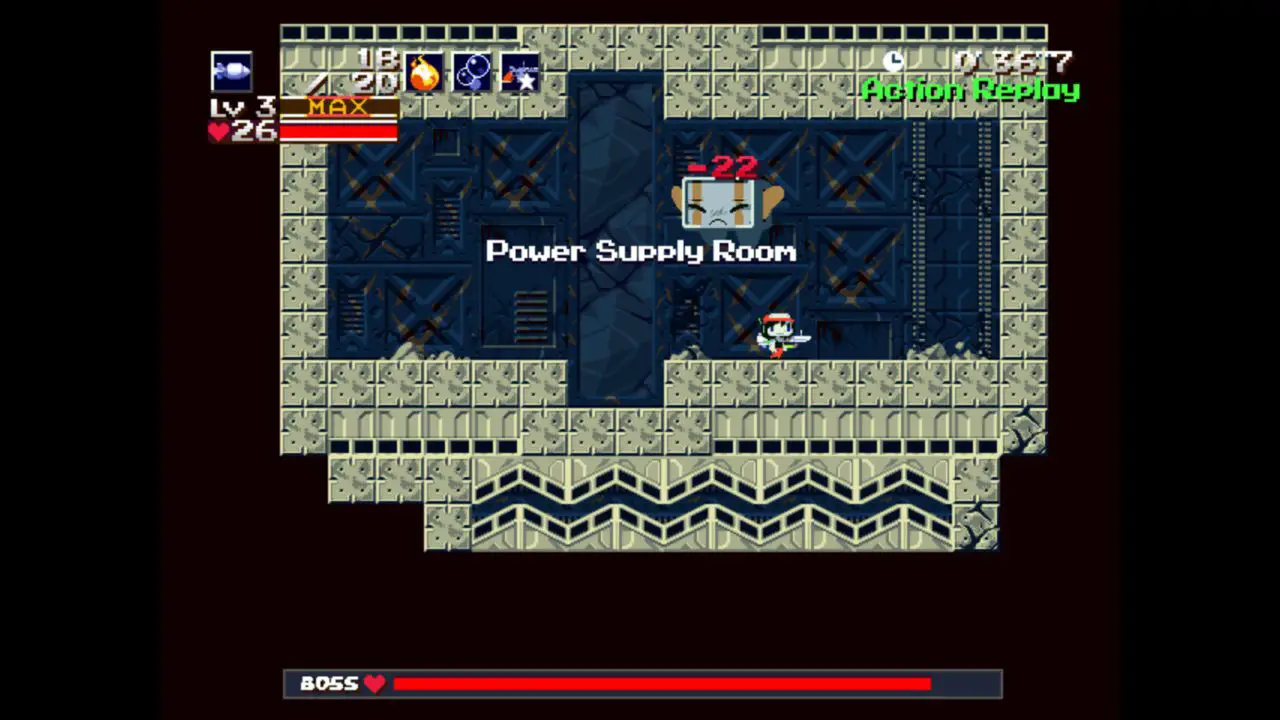
Balrog 2
Immediately head right and fire a missile. Jump over the gap. Start firing missiles upward to hit Balrog, then move right when he starts coming down and max-fire left. He should land just to the right of the gap and die before jumping again. If he lands in the gap you may have fired too early. But just wait for him to jump again and spam missiles up to finish him off.
Between
As you’re moving toward Balfrog, open all the exp cans. If you’ve taken any hits, max out Missile Launcher, then max the Bubbler, then if there’s more exp left might as well fill up the Polar Star. Grab the refill and go in the door.
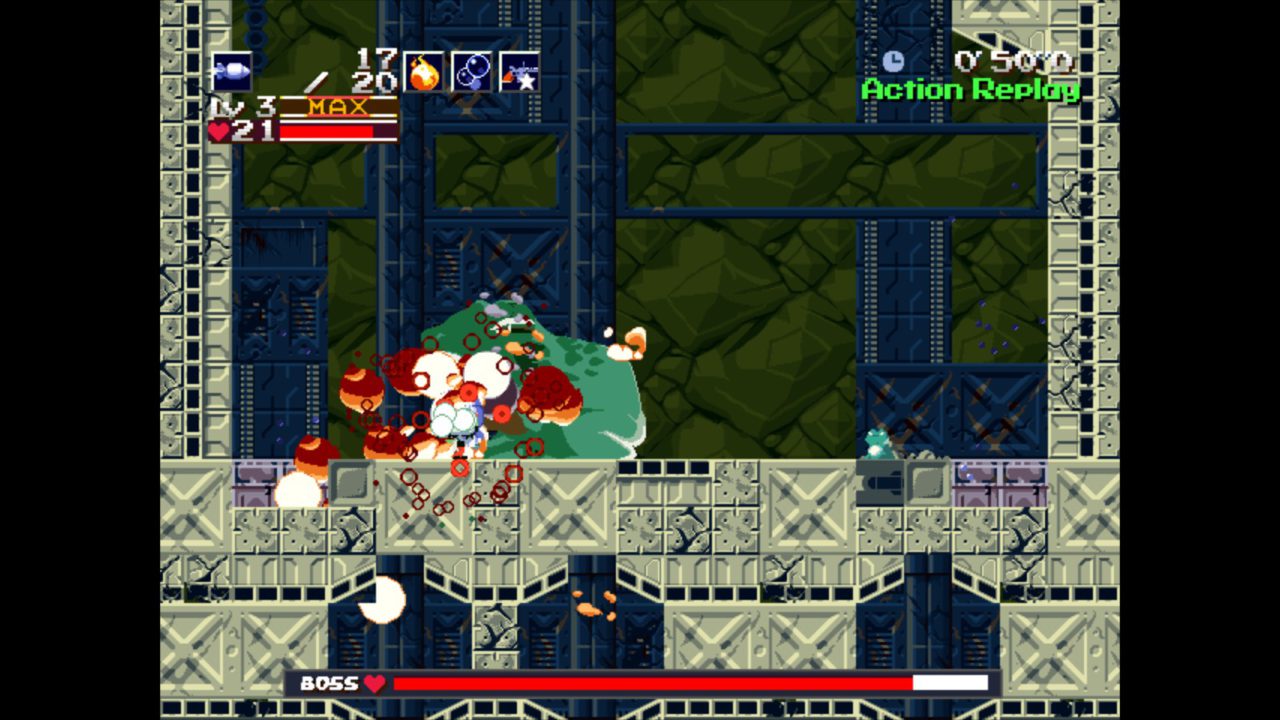
Balfrog
Swap to Fireball, and as soon as you can move, jump across Balfrog, taking a hit. Position yourself right beneath his mouth and swap to Missile Launcher, fire six or seven missiles straight up when he opens his mouth, then swap back to Fireball. Jump across him again and repeat. If you run dry of missiles and he’s not dead, you should still be able to finish the three-cycle kill with Fireballs (even at level 1).
Between
Before you go anywhere, swap to Fireballs, jump slightly up, and break the exp can. Fireballs should be close to maxed out. Grab the refill, grab the health upgrade, and go in the door.
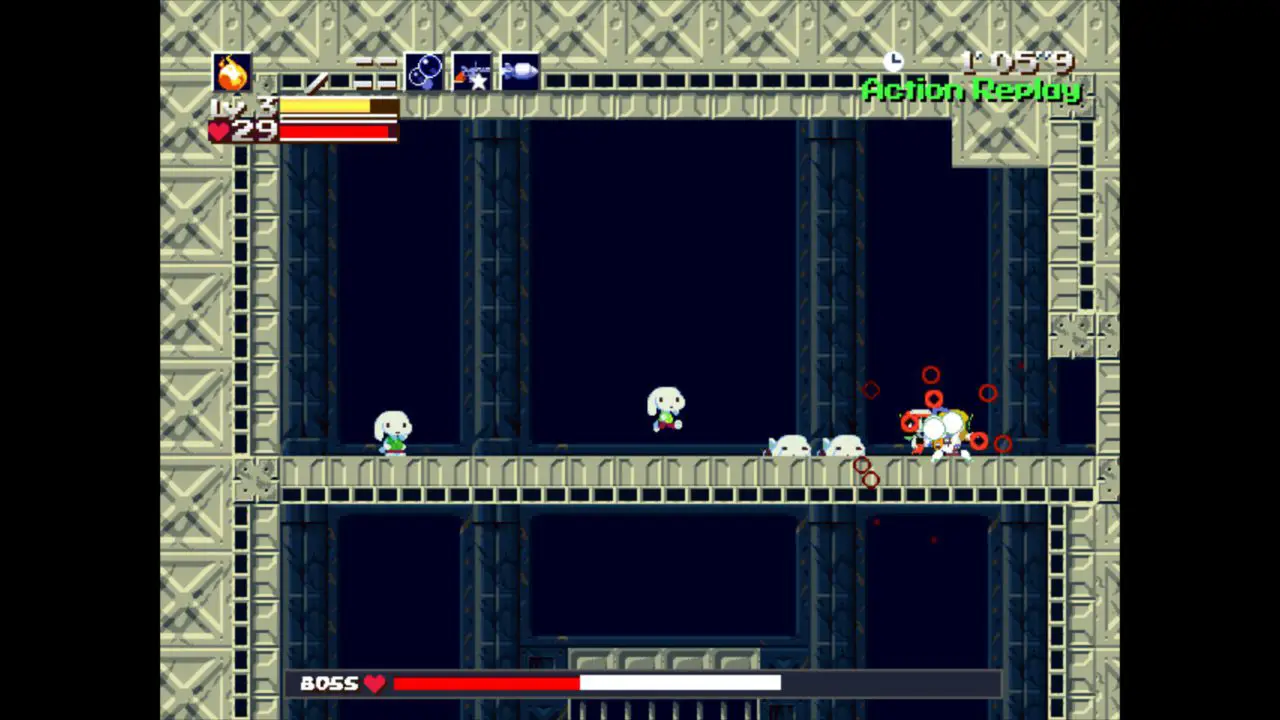
Curly
Spam Fireball left. When Curly runs through you (she doesn’t have a hitbox), turn right and continue spamming. Don’t worry about her machine gun fire, you should take her down without being hit more than once.
Between
Fireball should still be level 3. If not crack one of the exp cans to the left, then fall down and to the left. You shouldn’t need the health refill, so go straight to the door.
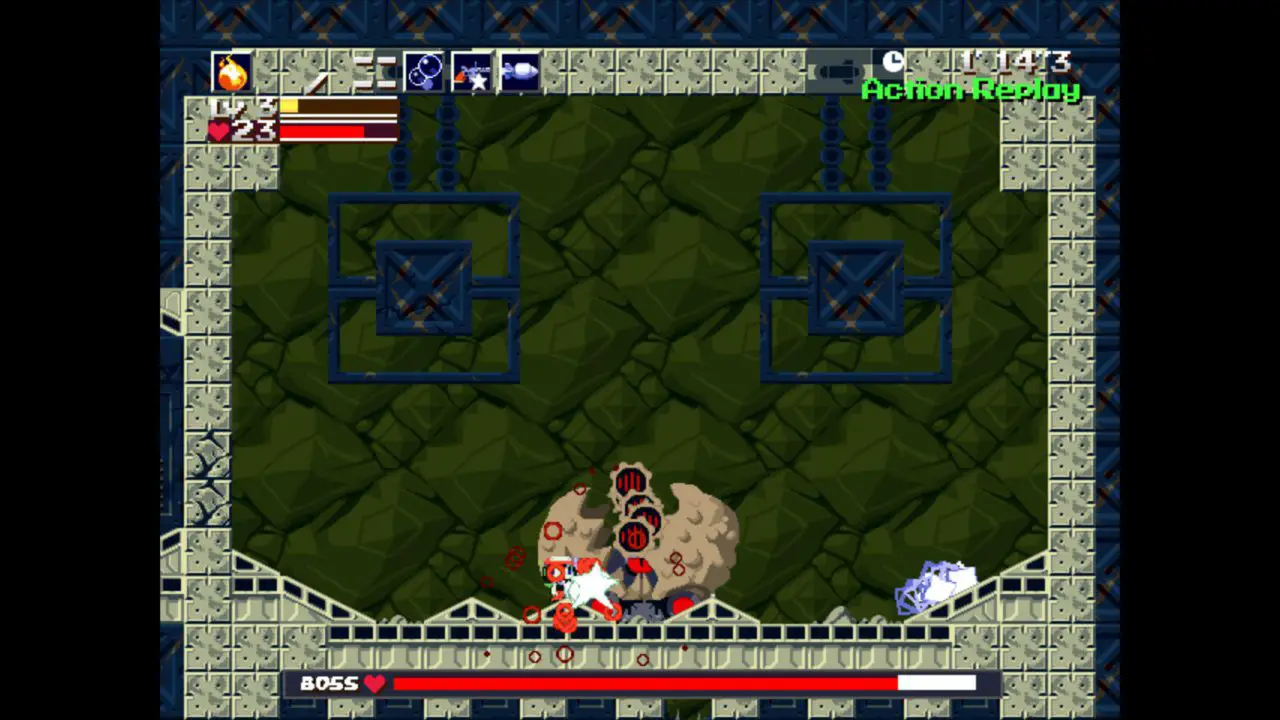
Omega
He always appears in the same place at first. Move left, face him and shoot three Fireballs up so they bounce slowly through his hitbox, and start spamming. You should be able to get him to below half health before he burrows again. Repeat when he starts coming up again. Swap to Missile Launcher when he jumps, and spam upward, which should kill him. (If your Missiles get leveled down, don’t worry about it, they aren’t required for the next few bosses.)
Between
Jump up to grab the health upgrade (I usually pass the block and then jump up and right, to avoid bonking). Go past the door for the refill, then break the exp can if your Fireball isn’t maxed.
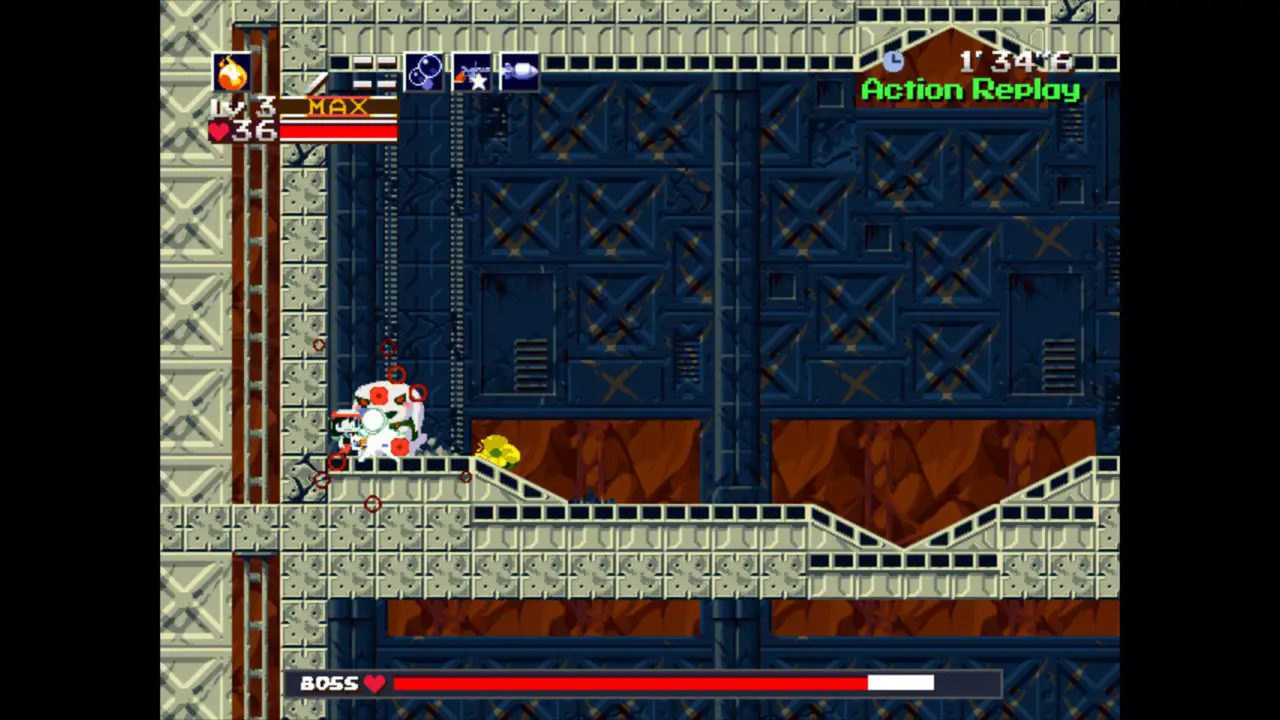
Rabid Toroko
This fight can be a bit tricky because there’s randomness and it’s hard to stay in Toroko’s face to spam when she’s bouncing around everywhere. Luckily there’s a trick to it! At the start, stand next to Toroko and shoot three Fireballs up just like on Omega. As soon as she gets a hitbox she’ll jump leftward, you need to get there first. Get into that left corner and spam Fireballs as soon as she lands.
At this point it’s a bit random. She might jump (in which case you can optionally swap to Missile Launcher, fire two missiles up, then swap back to Fireball and spam again when she lands on you), or she might sit there and throw blocks (in which case just keep spamming Fireballs). Either way you can easily outpace her damage here.
Between
Don’t bother going back for the refill (unless you’re on the verge of death) or getting any of the exp cans. You’ll use level 1 Sword for the next boss. Jump up, grab the health upgrade, then into the door

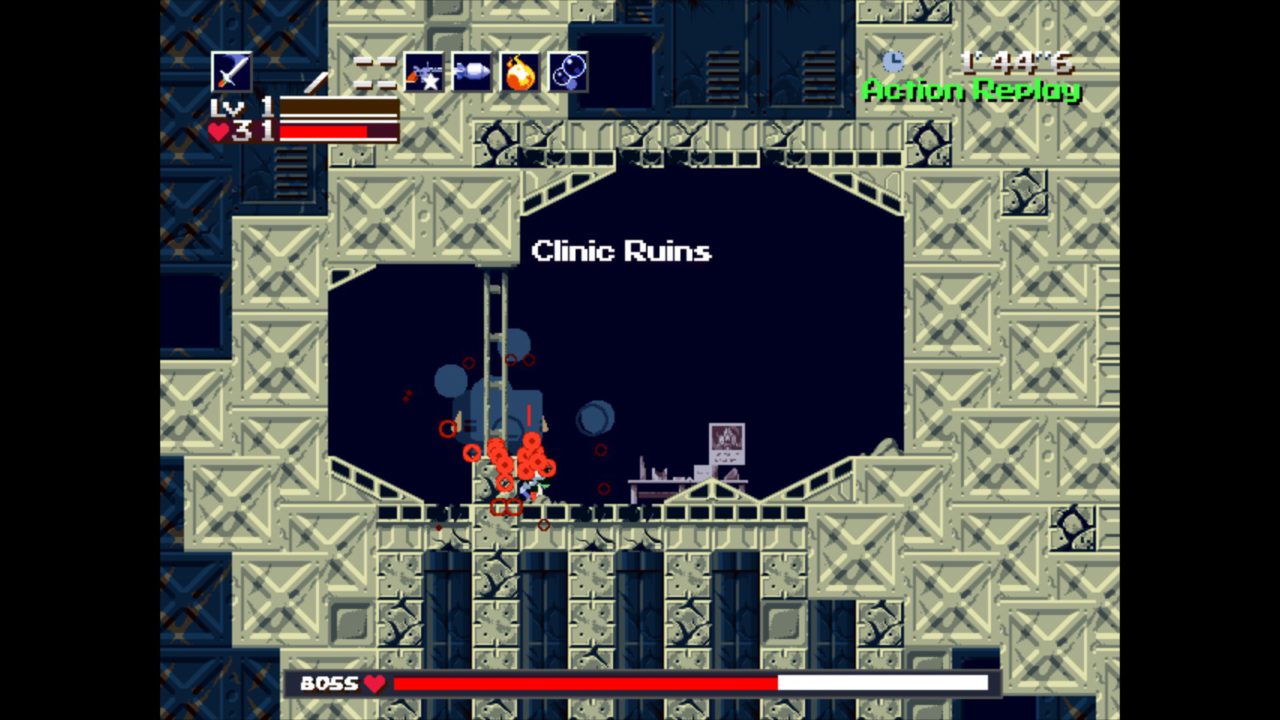
Puu Black
Move left next to the little block and spam the Sword upward. This is a guaranteed two-cycle kill. I think it’s possible to one-cycle this with maxed Missiles but I like the consistency and ease of this kill.
Part 2: Monster X through the Core
Second ~ two-minute segment of the run.
Between
Jump up, break the exp cans with the Sword, grab the refill, then go in the door.
Monster X
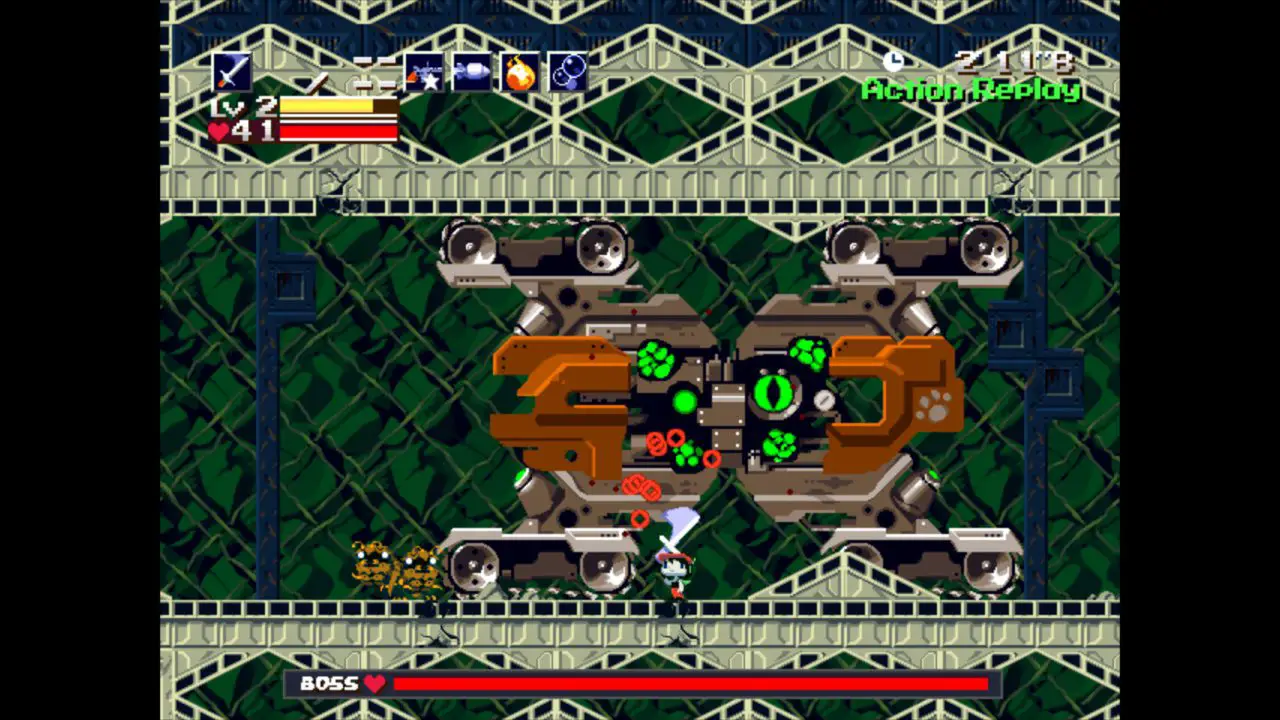
You’re probably level 3 with the Sword right now, but don’t worry, you’ll certainly take a hit as you go rightward to activate the boss. Take out as many Gaudis as you can on the way, they’re a bit of a nuisance. Once you pass the vertical line that activates Monster X, go left to get through the cycle quickly. As you’ll recall, once you make Monster X change directions three times, it opens up.
On the first phase, Monster X will reveal four turrets in the middle. Make sure you’re aware of the direction changes such that you can get into the middle of Monster X as it opens. Get under the left turrets, then spam the level 2 Sword straight up while jumping to take them both out. Immediately move right and repeat. You must one-cycle this phase.
On the second phase, Monster X will open fully and be vulnerable all through the middle. Get in the middle, jump and spam the level 2 Sword straight up. Should be simple to three-cycle this phase as long as you keep Monster X in the middle of the area. Do try to take out fish torpedoes and Gaudis if you can while making Monster X change directions, but it’s not required. And don’t get hit by the treads, they do a lot of damage and you don’t want the Sword to level down.
Between
Grab the refill. If the Sword leveled down, shoot the exp can above the next door and get back to level 2. Otherwise, just go in.
Balrog 3
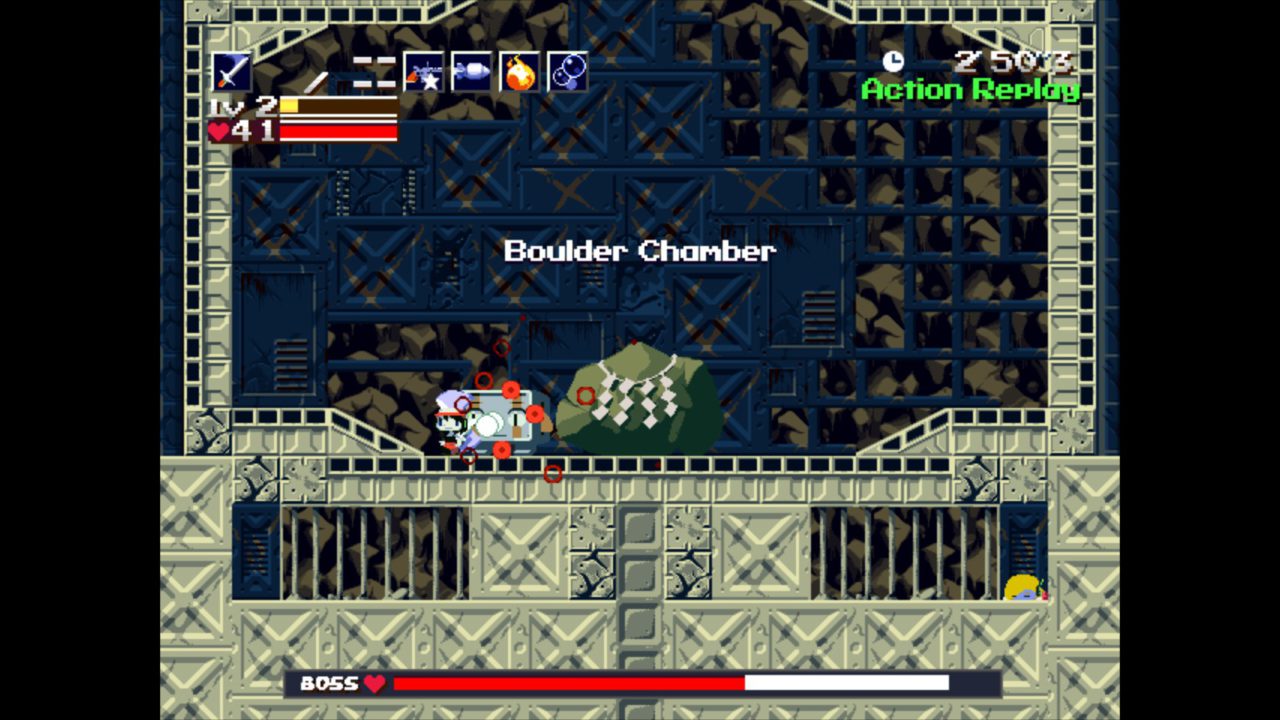
This fight is tricky until you get the hang of the timing. Any time Balrog touches you he’ll body-slam you, doing decent damage and losing three or four seconds. We want to avoid that time loss, so we can’t just hang out right in Balrog’s face like some other bosses. Luckily, thanks to the level 2 Sword’s backswing, we can still hit him a lot if we time things right.
As soon as the fight starts, hit Balrog about four times with the Sword, then run left while still spamming the Sword. If you time it right, he’ll run right behind you at the same speed, letting you hit him on the backswing of the Sword. If you nail the timing you can spam him down to under half health before he jumps and shoots missiles. Hit him while he’s in the air if you can, then move to the right of where he’ll land, hit him a few times when he does, and move right while spamming, again trying to hit him on the backswing. Remember that it’s more important to not get body-slammed than to land the backswing attacks, so if you’ve mistimed it don’t stop running left to try to save it. (If this explanation is confusing, please see the youtube video I’ll link at the end of this guide.)
Between
Leave the exp cans. Go right and grab the Super Missile upgrade. This drops the Missile Launcher back down to level 1. Go back left, break the two exp cans with a missile apiece, which should max out the Missile Launcher. If your Sword is level 1, use it to break the last exp can to the upper right and get to level 2, then grab the refill and go in the door.
The Core
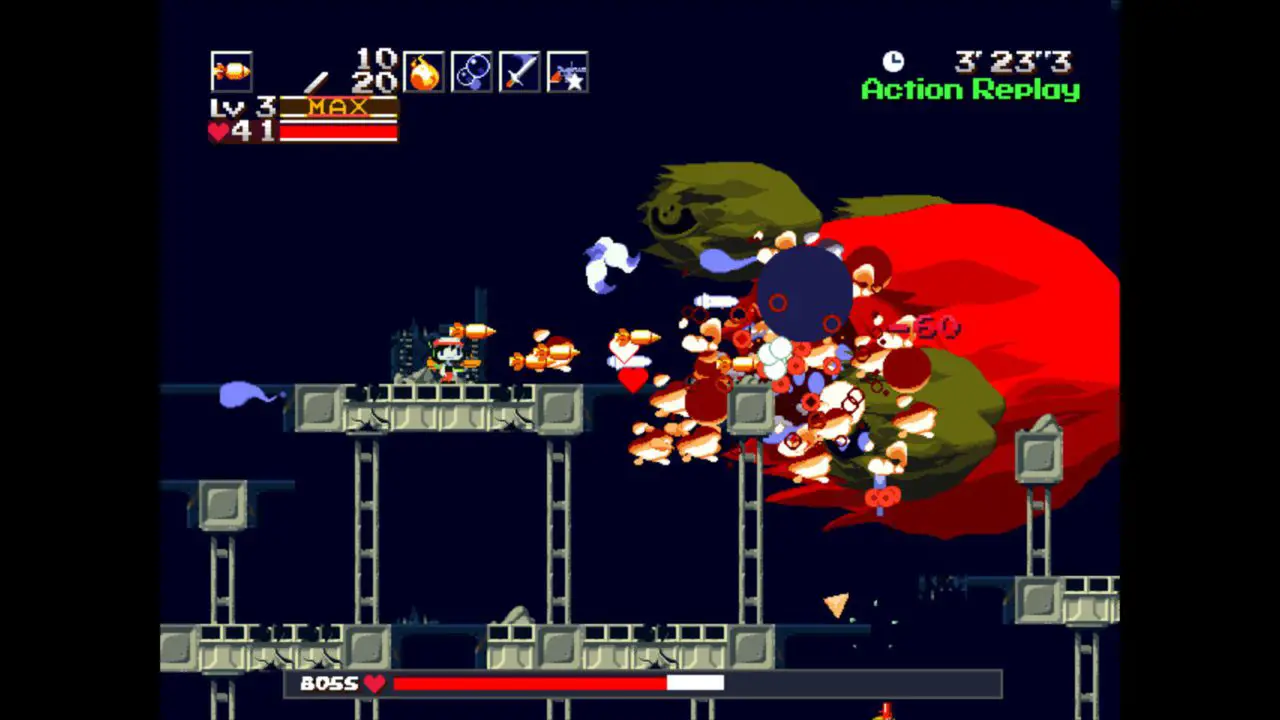
At last, it’s time to use the Bubbler! Since we haven’t used it yet, it should be sitting pretty at max level. We’re going to use those bubbles to clear out the Core’s projectiles before spamming missiles at it.
The basic Core cycle is to send a batch of projectiles from the smaller segments while the main Core is invulnerable, then make itself vulnerable while sending more projectiles, then repeat. All the while it tries to stay a certain distance from you, which makes it hard to get in its face–if you do that, it might end up moving behind the wall and you can’t hit it at all. What we want to do is use bubbles to clear out a path for our missiles, then hit it with six to seven missiles while vulnerable. After enough damage is makes itself invulnerable again. It takes three cycles plus a tiny bit of a fourth one to kill.
We start the battle on a wider platform at the top left, and we’ll stay there as long as we can. This positioning helps a lot for consistency. Wait for projectiles to get near, then start building up a bubble shield. As soon as the Core makes itself vulnerable (it won’t be visible, but there’s a distinctive sound effect), we’ll fire off all the built up bubbles and rapid-fire until we can see a clear path. (The Bubbler works well for this because of its extremely long range.) Fire six to seven missiles until the Core closes back up. It’ll start over with the projectiles, but now it’ll be much closer. Grab missile drops if possible, and repeat the first phase twice as the Core gets nearer.
At this point the Core should be almost dead, you’re probably out of missiles, and it’s hanging out a bit to the right of you. The next phase involves you being pushed leftwards off the platforms, so as soon as the third cycle is done, hop down to the platform below, and then to the right, to the rightmost middle platform. If you still have missiles, great, if not swap to the Sword. The Core should follow you down and be basically right in front of you when it opens, so you can spam Sword and hopefully kill it. (If it’s close to death but too far away for Sword level 2, you might try spamming the Polar Star at level 3.)
If you don’t manage the kill, don’t panic, just get yourself back up on the platforms once you’re no longer being pushed left, avoid the big shots since they can easily kill you, and get back in its face to Sword down. You can still hit your target time.
(Alternate non-Bubbler strategy: drop to the platform below where you start. Once the projectiles have all been fired, jump over to the right, stand right on top of the main Core and spam missiles until it closes, then jump back. If you don’t jump back it’s going to keep moving to the right to escape you. I couldn’t consistently make this strategy work, since I often had it hide behind the wall, but YMMV.)
Part 3: Iron Head through the Doctor
Third ~ two-minute segment of the run.
Between
Don’t worry about anything but Missile Launcher. If that’s maxed out, then drop straight down to the refill, then down and to the left. Jump so you can boost out of the water as soon as possible, and enter the door.
Iron Head
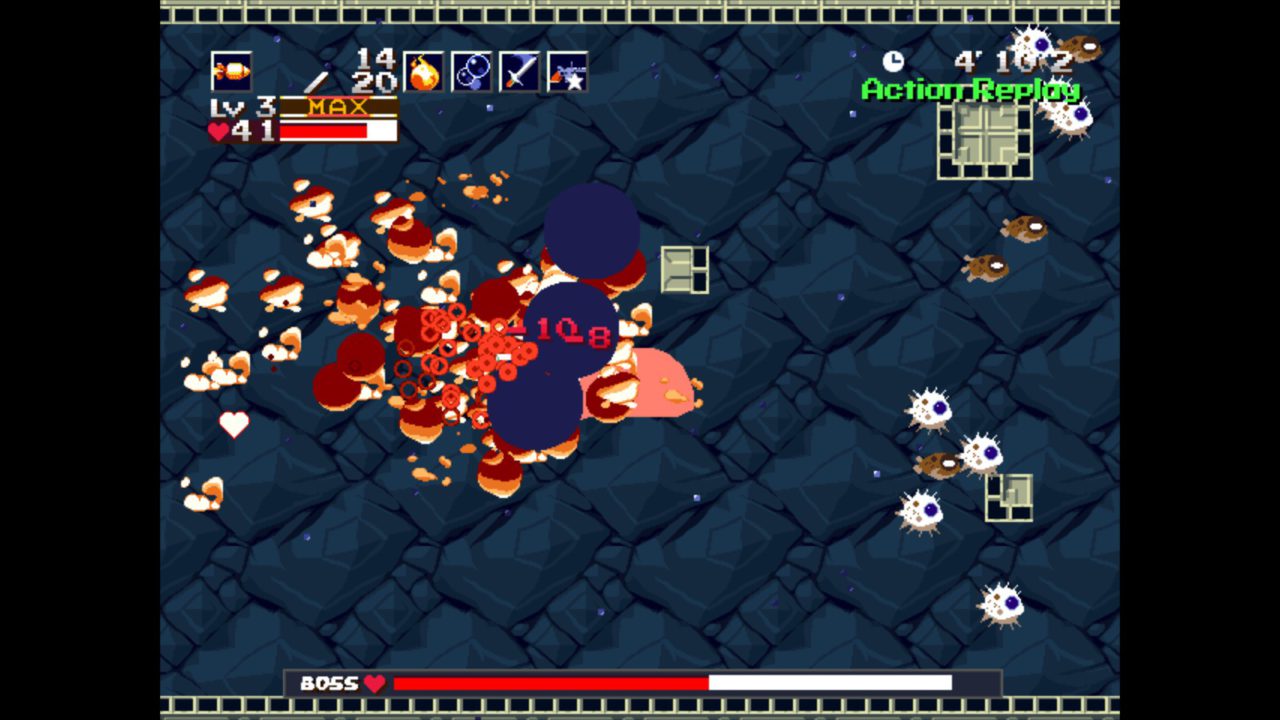
It’s possible to half-cycle this fight, but it’s not a massive time save and it’s fairly easy to consistently one-cycle, so that’s my focus. At the start of the fight, swap to Polar Star and move to the far left middle. Iron Head should come out and hit you. Swap to Missile Launcher, then follow immediately behind him spamming missiles. He’ll probably get away from you, which is no problem. Once he reappears from the right, get directly behind him and start moving left while spamming missiles.
Between
Boost right (and now that you have the Booster 2.0, boost as much and as often as you can in the Between), and grab all the upgrades. If the Missile Launcher isn’t maxed, fire upwards a couple times while you’re getting the upgrades and you should break enough exp cans. Hop up to the guy standing on the platform, talk to him. And now take a moment. You don’t have to speed through this part, the clock is paused. Instead of speeding through, be very careful to say No to the first question. If you make the trade your run is basically over.
We good? Ok good. Say Yes to the second question and get the Spur. Hell yeah. Hop up to the left and grab the refill, then go into the door.
Sisters
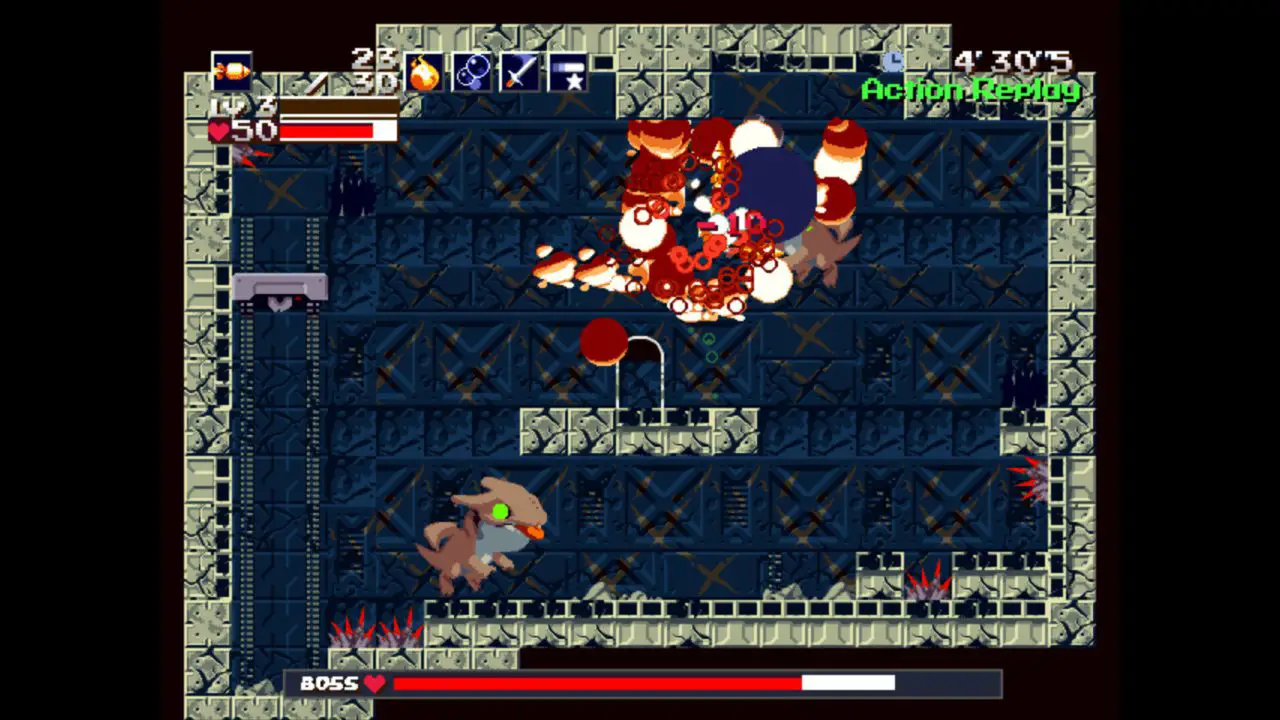
The Sisters share a life bar, so it doesn’t matter which one you hit. You want to start charging the Spur as soon as the fight starts. The one circling clockwise above you should open its mouth at about the 1:30-2:00 clock position. Hit it with a fully charged Spur, then a few missiles. At this point the other one has also opened its mouth, so hit it with a bunch of missiles. Remember that they’re still vulnerable as long as they have that goofy expression! You mostly want to stay on the top platform, but if you have a shot and they’re vulnerable you should always be hitting them with missiles.
If you’ve spammed enough and on target, they might be close to death after the opening salvo. If not don’t worry. Either way charge the Spur again. As soon as one above the platform opens its mouth, hit with whatever Spur charge you have and then spam missiles, same as before. They’ll change speed and rotation sometimes, but just stick to what you’re doing.
Between
Grab the refill, then start charging the Spur. Jump up and to the right, and boost up to the next area. Pause before the door and swap weapons to hold the Spur charge.
Ma Pignon
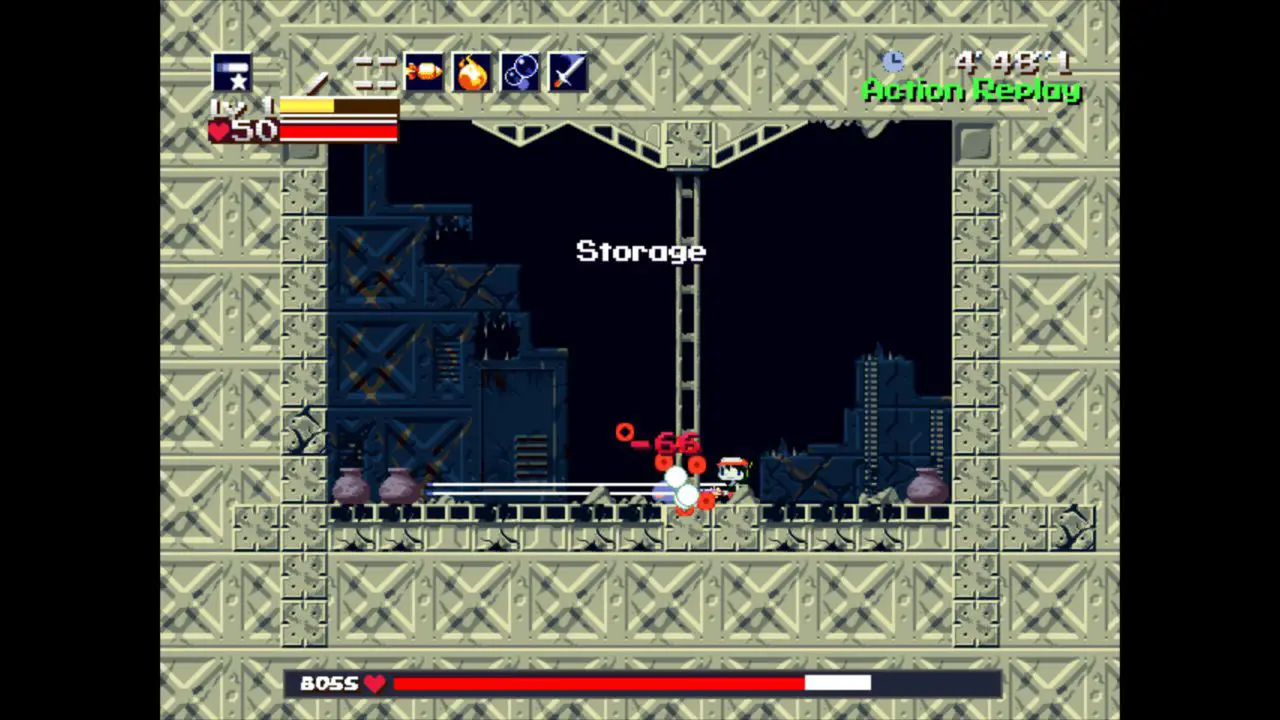
Immediately fire off the Spur charge, then start charging again. Ma Pignon does a lot of jumping around, but try to hit with level 2 charges (the double lines) as often as possible. If it flies sideways to crash into the wall, hit it quickly with whatever charge you have, as rocks are about to fall and will block your shots. If it jumps up offscreen, go to the side and then fire off your charge once the impostors appear, to clear the field. Ma Pignon isn’t hard to beat, but is so erratic that it can be frustrating to beat quickly.
Between
No need to charge the Spur. Switch to the Missile Launcher, and crack some exp cans if you’re below max. Grab the refill right before the door.
Red Ogre
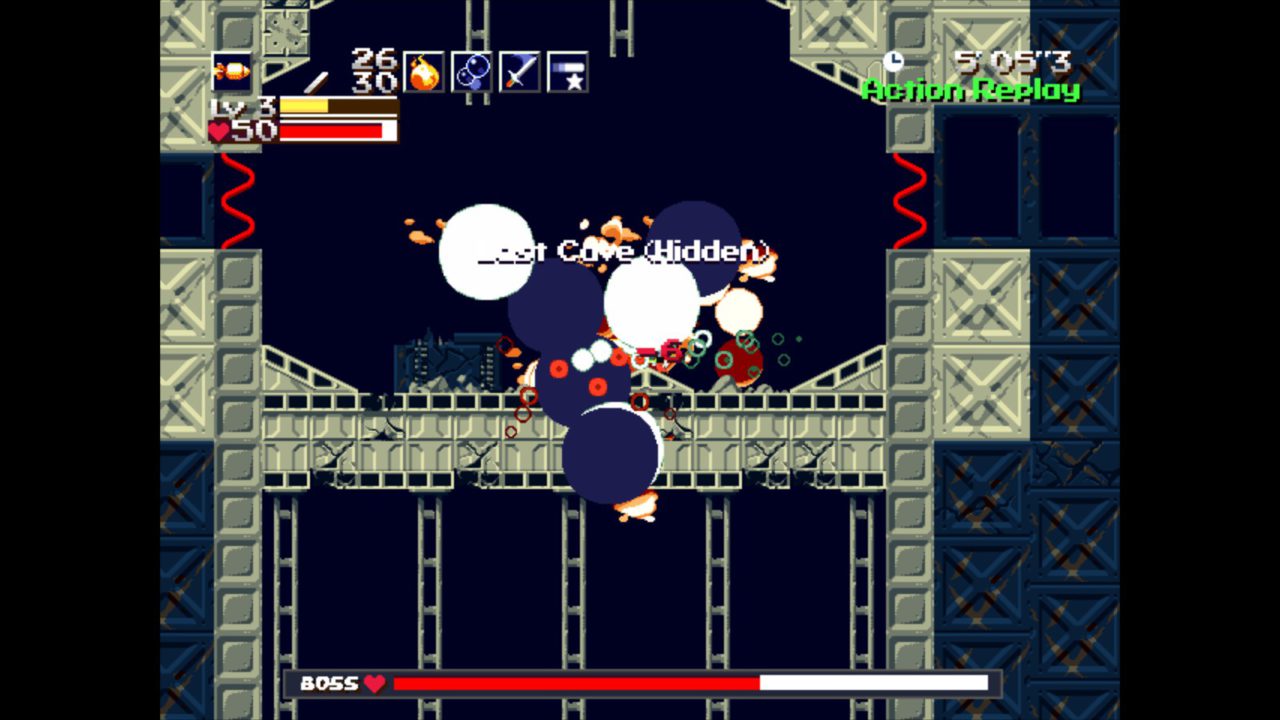
Walk left and spam missiles as fast as you can. You should take him out before he even jumps, but if not spam missiles up. Done.
Between
Get the Missile Launcher back to max, grab the refill, then start charging the Spur while you head down. Pause before the door and swap weapons to hold the Spur charge.
Misery
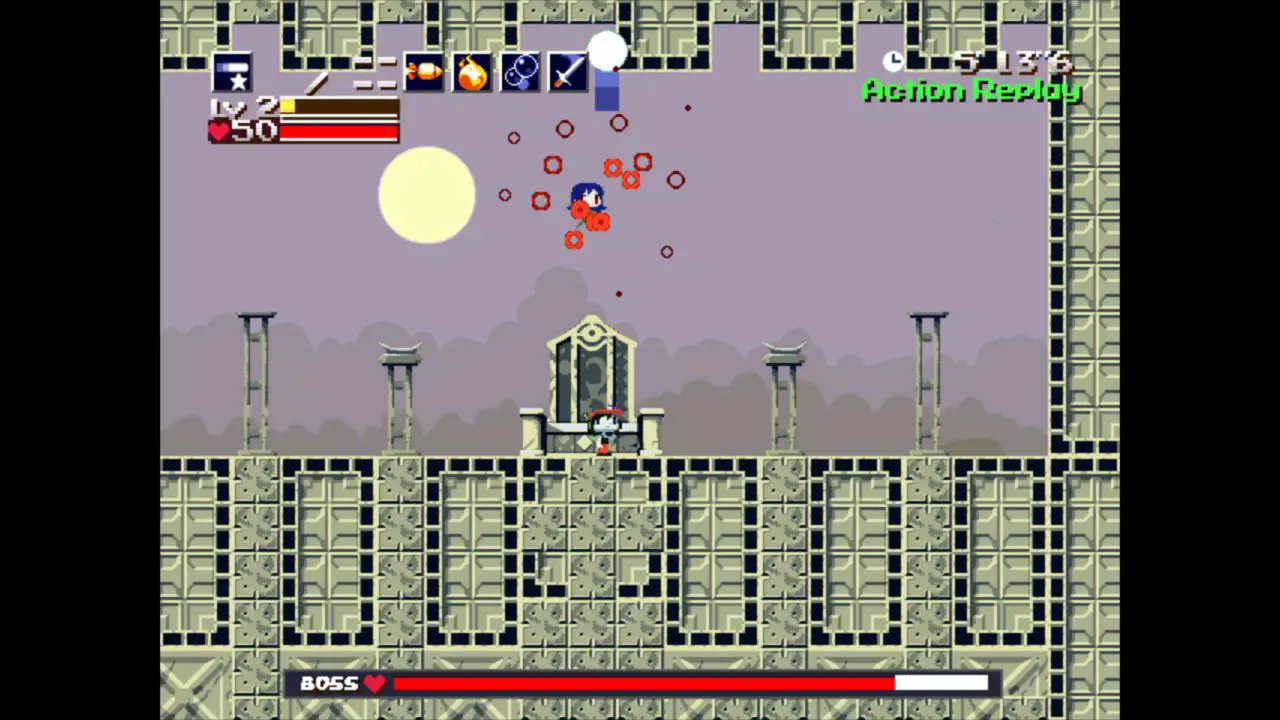
Simple enough, just hit her with maxed Spur charges. Hit her with the charge, start charging again, boost over to her new location. It’s ok if you need to wait a moment to get to full charge before firing, or to avoid hitting one of her black shields, which will block your whole shot and waste a cycle. If your full charge doesn’t hurt her enough to move to the next cycle, don’t worry about it, it’ll only be another couple seconds. If your full charge misses or is blocked, swap to the level 2 Sword and spam up to salvage some damage, then swap right back to charge the Spur again. Remember that her pattern is two times throwing black fireballs, one time dropping a block, repeat. It’s more important to dodge the block than the fireballs, and if you must get hit by something and have a choice, let it be the bats.
Between
No need to charge the Spur, and there are no refills, so just boost over as fast as you can.
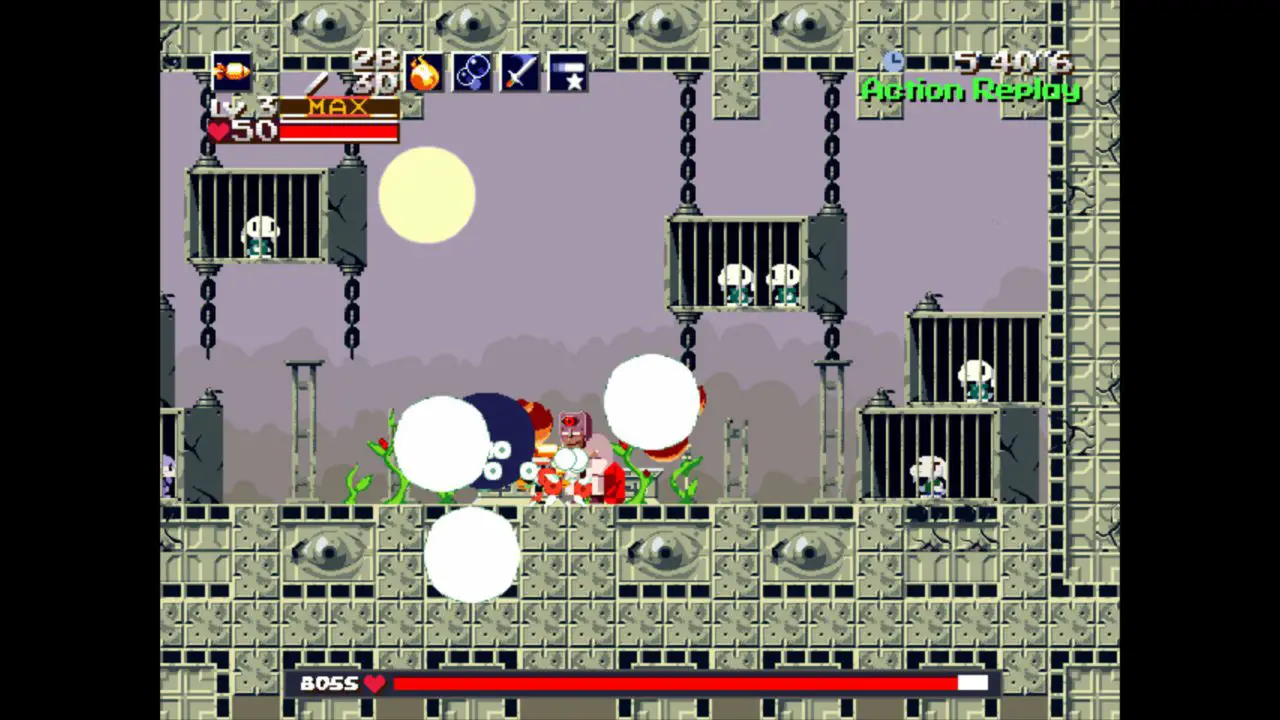
The Doctor
This can be a bit tricky before you know what you’re doing, but all you have to do is immediately get right in his face and keep spamming missiles until both forms die. If you walk over immediately and spam missiles as soon as you get there, the timing should work out.
If the Muscle Doctor form throws you back and moves, follow him quickly and keep spamming. You shouldn’t run out of missiles, but if that does happen swap to the level 2 Sword, you can still salvage a reasonably fast kill.
Part 4: Undead Core through Ballos
Fourth and final ~ two-minute segment of the run.
Between
Start charging the Spur as you boost upward. The easiest boost pattern is to stay to the left, landing on each available platform until you reach the top. At the top, save the Spur charge and then enter the door.
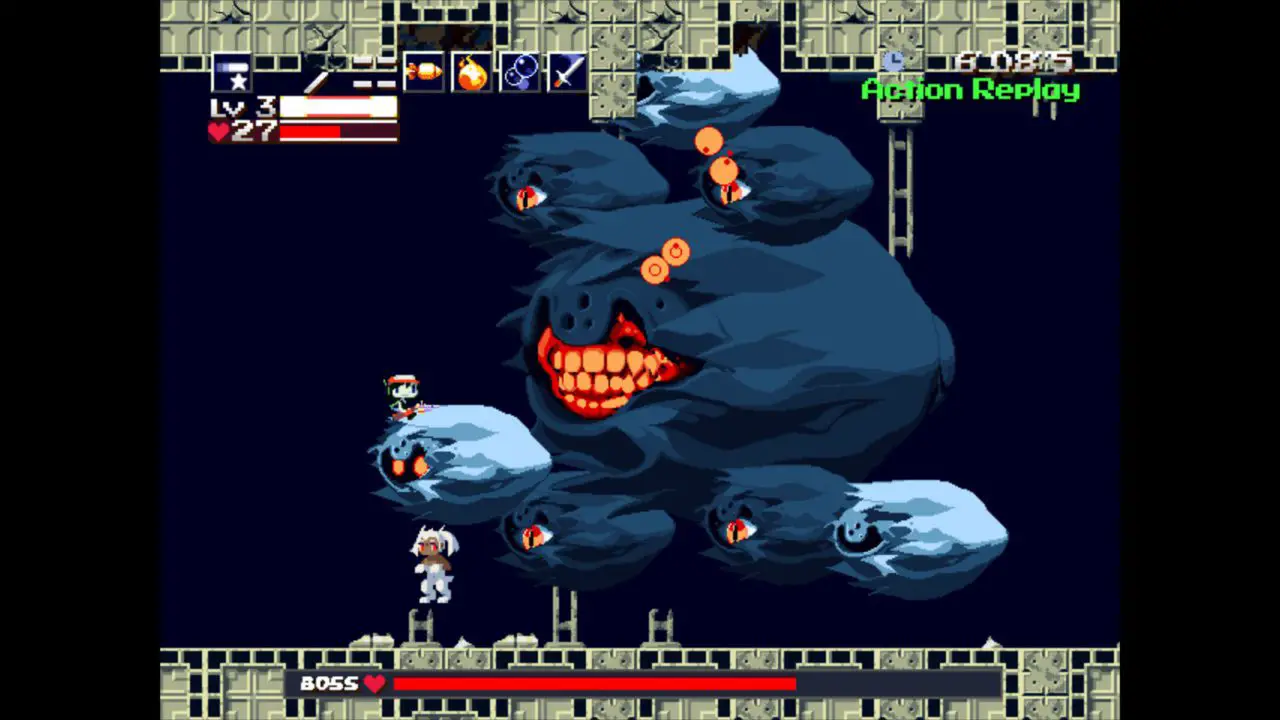
Undead Core
Use your saved Spur charge immediately on the Undead Core’s face. Then swap to the level 2 Sword to take out possessed Misery. She doesn’t have a hitbox, so just stand on top of her and spam the Sword upward. With her dead, it’s time to fight the Core directly. (You can mostly ignore Sue, just try to stay out of her way when she does the spinning tackle move.) Start out by boosting up to spam the Sword into the face that should now be visible, then swap to the Spur.
The main strategy here is to use fully charged Spur shots to the face, whenever it reveals itself. You’ll ride the core segments as they move left, and continually hop to the next one, so that hopefully when the face appears you’ll be right there and can just jump up to hit it with a full charge. If it’s the grinning face (every third time), the full charge won’t be enough and you’ll also need to spam a few Sword hits. Watch out for the projectiles this form uses, as they block shots.
Once the Undead Core’s health gets low enough (below 1/3), it will switch to the open mouth form. When this is going to be the next face, try to stay a bit further right. The first thing the open mouth does is throw three projectiles right in front of it that block shots. You want the Core segment you’re riding on to carry you left of the face right after those three projectiles come out. Hit it with the full charge shot, then start spamming Sword hits. Watch out for the three giant orbs this face will shoot out, and keep hitting it with Swords until it dies.
Between
You’ll want the refill for sure at this point. There’s an optional health upgrade if you boost over to the right, get it if you want. While you’re falling, break some of the exp cans and make sure the Missile Launcher is maxed. There’s an optional missile expansion at the lower left, but you probably don’t need it. Feel free to save a couple seconds and go straight to the door if you’re low on time.

Heavy Press
Just spam missiles straight up. You can try to dodge the initlal lightning strike or the Butes but it’s not necessary, and if your missiles level down to 2 it’s no big deal. Just make sure to move left or right once you kill it–don’t get instakilled this late in the run!
Between
No need for Spur charging, just boost right as fast as you can.
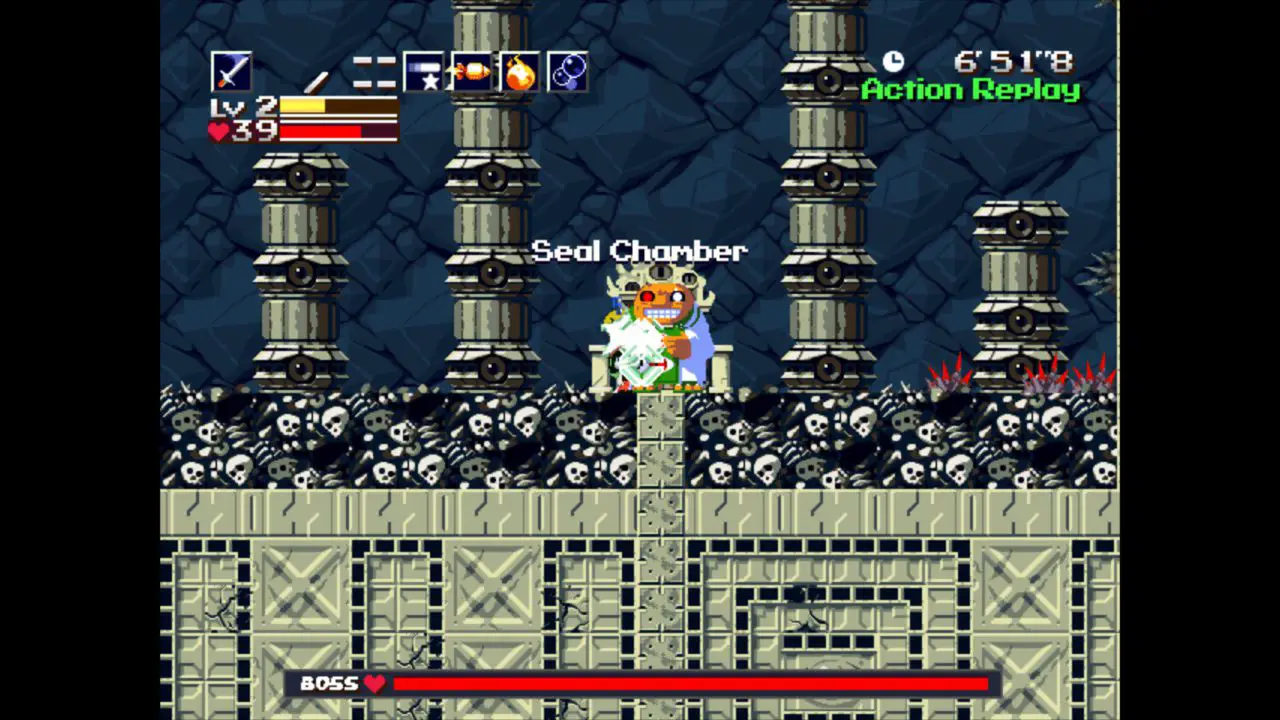
Ballos Phase 1
Get into his sprite and start spamming the level 2 Sword straight up. Between you and Curly you’ll kill him very quickly. You’ll probably take two hits of 10 damage each.
Swap to the Spur and start charging, and note that you can’t pause during Ballos’s phase changes! This can be frustrating if you’re used to using that.
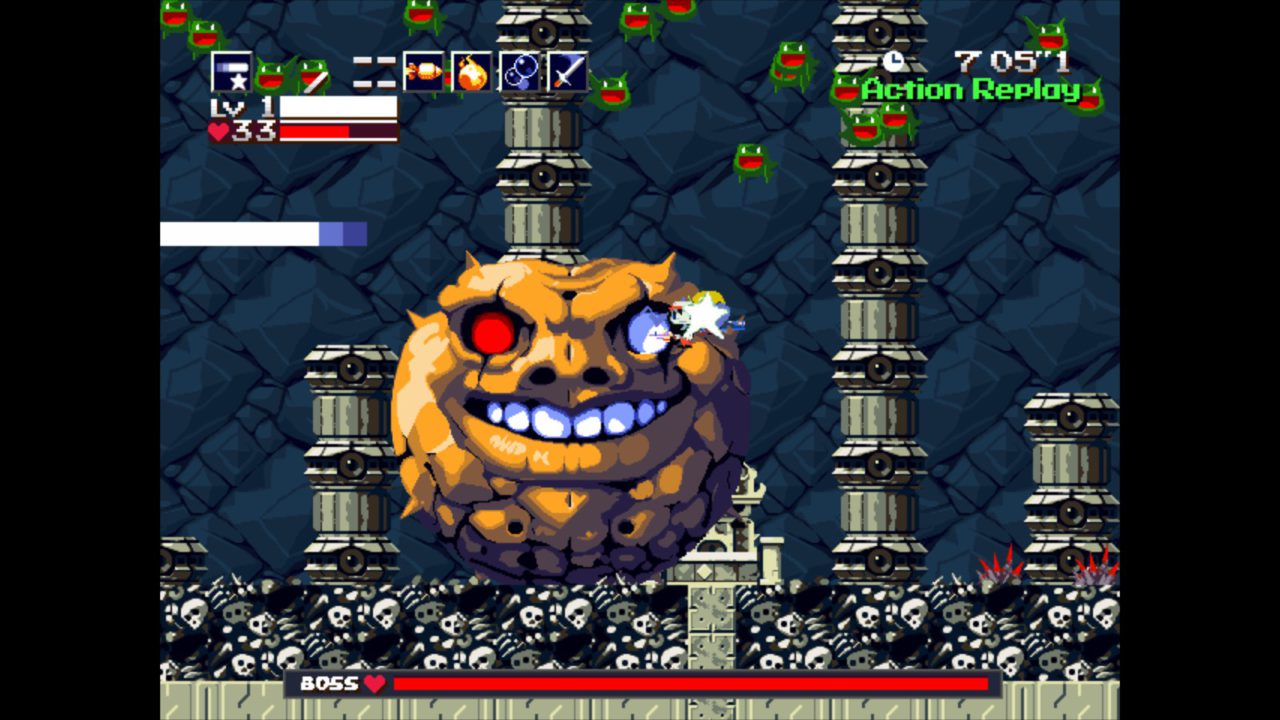
Ballos Phase 2
You can try to get pickups from the bats if you want, but I didn’t bother. When a target reticule appears, move right–that’s where Ballos will land. Boost up and land on his right eye. Unleash a full Spur charge as soon as his health bar appears, then swap to the Sword (you can pause again now), and start spamming. Every time he jumps up, you’ll fall off him, so boost a little bit up to hold position, then left to get back on his right eye, then spam Sword again. (Ideally you’d face right and spam level 2 Sword, letting both you and Curly hit him, but this is super fiddly when you keep getting knocked off and having to boost back on.)
If you fall all the way to the ground, no big deal, just boost back up when he’s on the ground. It shouldn’t take too long to finish this form. Just try to keep him to the right side of the screen, which will help you on the next phase.
As soon as his health bar is done, jump on top of his head and position yourself right in the middle.

Ballos Phase 3
Face right, with the Sword equipped, and start spamming even before he starts doing anything. You’ll spam the Sword, Curly will spam her Nemesis, and between the two of you you’ll take out most of the spikey eyeball things. By the time he reaches the left side of the screen and moves up, knocking you off him, you will hopefully have taken out all but two or three of the eyeballs.
(Keep an eye on your health through this phase. If you’re under 15 health, use the life refill ASAP.)
At this point, swap to the Spur and start charging. The remaining eyeballs should hopefully come into range as he heads back around to the bottom right. If you have a shot at one, take it. The level 2 charge is fine. When there’s only one left, if it’s closely approaching just spam Swords to take it out instead of trying to charge another Spur shot. And don’t let the eyeballs touch you even if they’re already closed, they do a lot of damage.
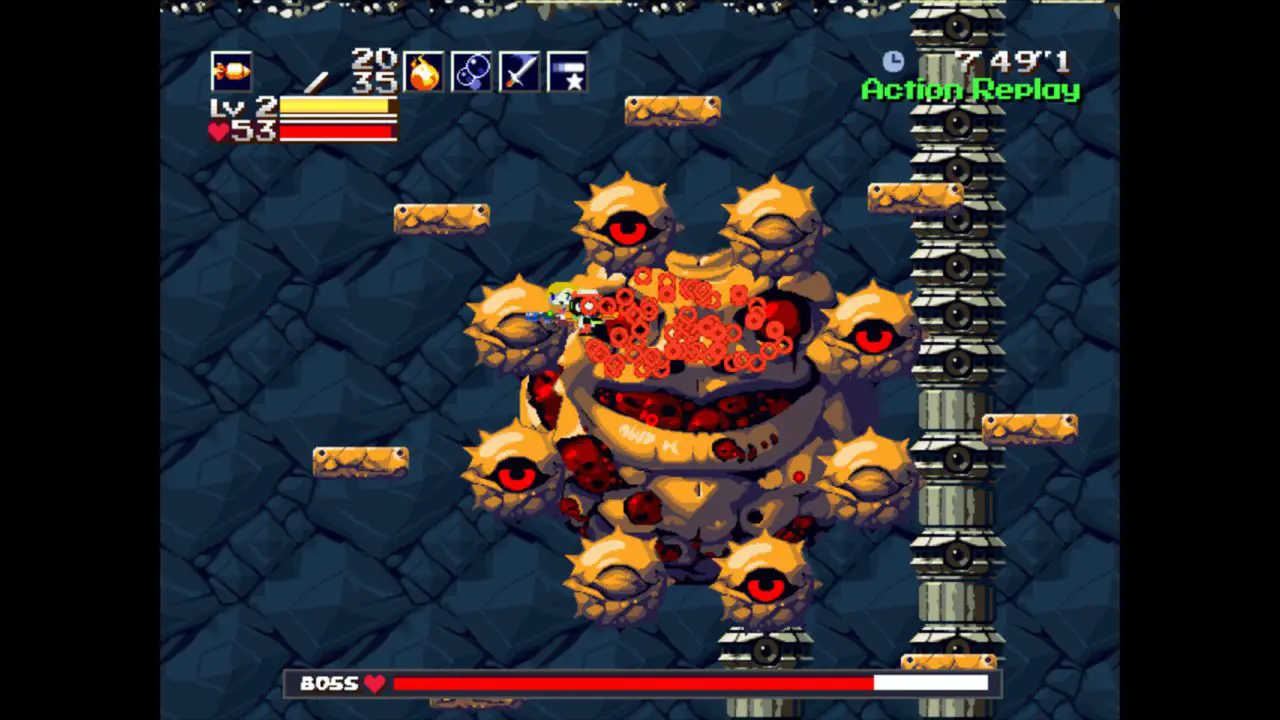
Ballos Phase 4
Almost there! Stay on the ground and start charging the Spur. Don’t worry about the spikes coming out of the ground, they do piddly damage. Wait until the spikes actually hurt you, then boost up and right to land on Ballos’s left eye. As soon as his eyes open, unleash your charged shot, then immediately swap to the Missile Launcher and unload everything you’ve got. This should kill him in three to four seconds. You should have more than enough missiles, but if you run out swap to Sword.
And… you’re done!
Bad End
First tragedy:
Then farce:
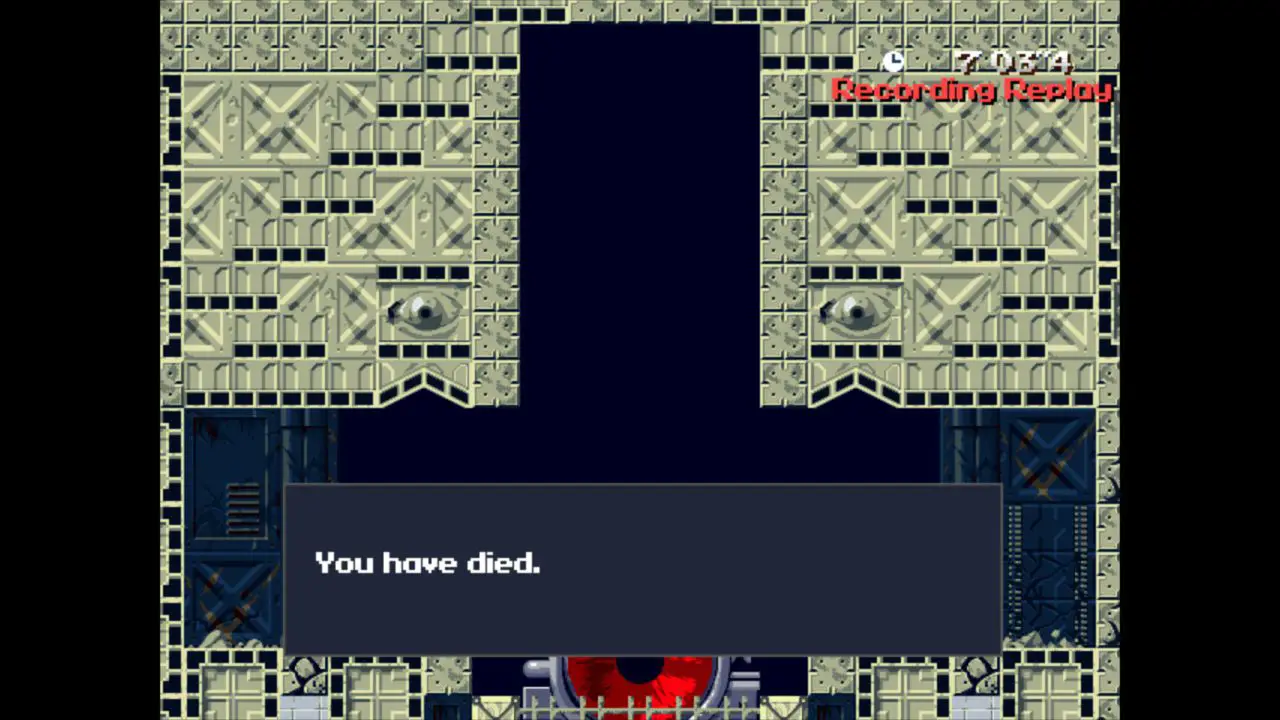
Please keep in mind that there are two points that can instakill your run. Go slow for the Spur trade, and don’t forget to move out of the way of Heavy Press!
Don’t learn this the hard way.
That's everything we are sharing today for this Cave Story+ guide. This guide was originally created and written by Cyan. In case we fail to update this guide, you can find the latest update by following this link.
