This guide provides a comprehensive walkthrough for Blazing Aries, offering valuable tips and tricks for players. Please be aware that this guide contains spoilers, so proceed with caution.
General Recommendations
- In-game, there’s an achievement for completing the game as a virgin. However, there’s no discernible difference between a virgin and a non-virgin playthrough.
- Continuously equip new skills and experiment with different combos. Late-game skills tend to be more potent.
- When defeating bosses, keep in mind that there’s a chance they’ll drop items if luck is on your side.
- After clearing the game, you can unlock all CGs by selecting “Unlock all memories” in new game+.
- In the Royal Capital, you can revisit older maps once you’ve completed the side quest to find the Crystal Orb. This allows you to engage in activities you may have missed, such as massages or visiting the brothel.
Yurit Village
Once you’ve completed the prologue, follow these steps:
- Head to Aldo’s house, located on the right side of the top exit.
- Visit the workshop, which is situated on the bottom-right side of the area.
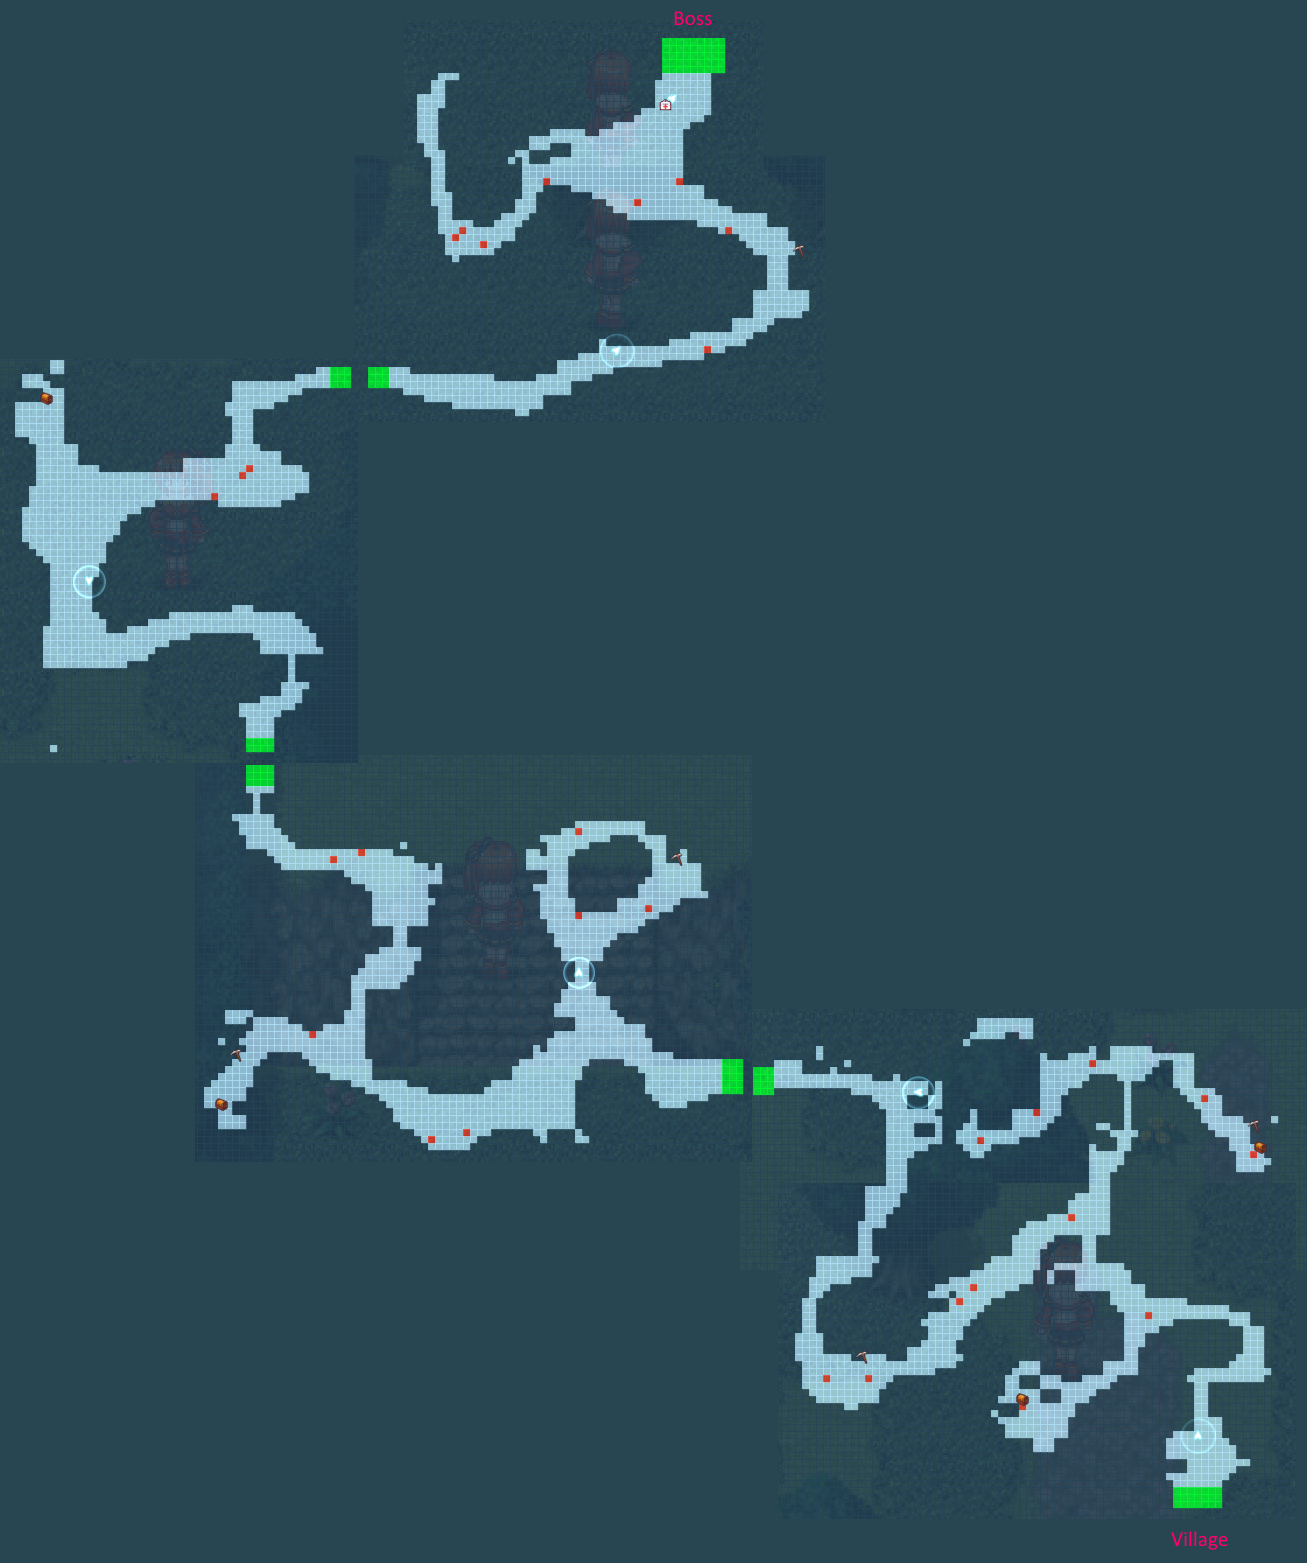
- Proceed to the Back Mountain by taking the top exit from the village. Your objective here is to defeat the boss.
- After defeating the boss in the Back Mountain, make your way to the mayor’s house.
[Side Quest] Quest for Aldo:
Inside Rick’s treehouse, accompany him to the Boss Map of Back Mountain. Afterward, return to the general store.
Reward: Obtain a Jade Ring for your efforts.
- Engage in conversations with the Mayor and his wife, speaking to them twice each. They will provide you with the Guard Stern and Apple Pie Recipe.
- Prior to embarking on your journey, it is advisable to purchase the Paralyze Check accessory and stock up on a substantial quantity of rice.
- Depart from the village by heading south.
- Traverse several maps until you reach the designated rest area.
- Engage in a tutorial on fishing.
- Prepare for a boss battle against a group of bandits. Following your initial victory, be prepared for a second encounter where they employ a paralyzing attack.
- After vanquishing the bandits, continue your journey until you arrive at Kagura Village.
Kaguya Village
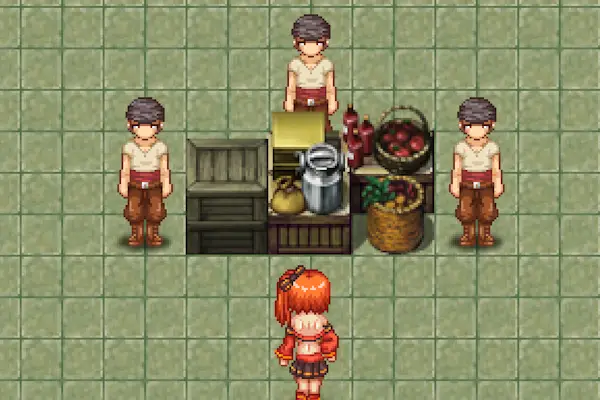
- You are given a single opportunity to purchase the Flare Amulet for 500G from a merchant situated in the town’s central area.
- Engage in conversations with all the inhabitants of the town as well as interact with the monument located within.
- Experience a somewhat heated exchange with Aurica, who resides in the leftmost house of the town.
- Proceed to the ranch and undertake the task of milking the livestock.
- Return to Aurica’s residence, paying a visit to Carm who can be found in the top right room on the second floor.
- Once again, make your way back to the ranch.
- Ascertain valuable information from a fellow adventurer positioned at the highest point of the town map.
- If you haven’t already done so, consider purchasing a Paralysis Check.
- Finally, set forth on your journey towards the Zalal Ruin.
Zalal Ruin
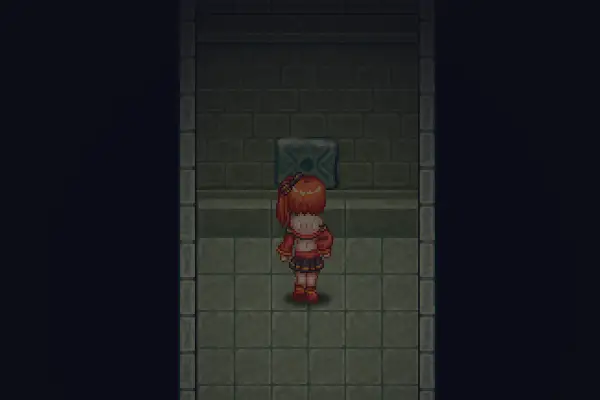
- In order to activate the lever, it is imperative to locate and press four specific switches.
- The formidable adversary awaiting your confrontation is the 3 Bandits Rematch boss.
Tips to consider:
- During the battle with the boss, position yourself strategically on either side of the crate. This will minimize the number of arrows that can target you, ensuring you only endure damage from a single source.
- Return to Aurica’s residence and the ranch.
- Investigate and determine a means of gaining access to the house.
- The next formidable adversary to confront resembles a dragon-like creature.
- Pursue their trail leading to the lake.
- Prepare for the encounter with the Dark Carm boss and employ the [D] button to switch your target as necessary. Focus your efforts on the destruction of four distinct pillars during this battle.
[Side Quest] Embarking on a Treasure Hunt
- Initiate a conversation with the individual situated in front of the inn.
- Return to the boss room within the ruins.
Reward: You will receive a [Accessory] Ruby Ring along with a CG.
- After completing this side quest, make your way towards the port town to continue your journey.
Portoria
- Head towards the pier located in the top-left corner of the town.
- Acquire the Spaghetti Recipe, which can be found in the kitchen of the hotel.
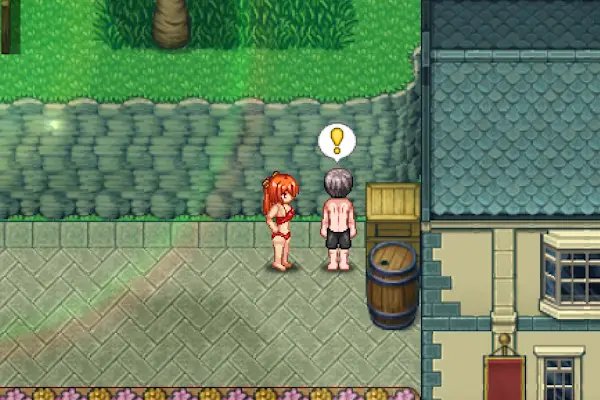
- Take some time to gather information from the locals at the beach.
Engage with Everyone at the Beach:
- Strike up conversations with all the individuals present at the beach to gather valuable information.
Obtain an Oil Massage:
- Partake in an oil massage experience and subsequently visit the hotel to procure a sample of the massage oil.
[Side Quest] Enforcing Justice in the Badger Game:
- Seek out the individual on the left side of the Adventure Guild who can provide details about the Badger Game.
- Proceed to the top-right section of the pier to address this matter.
Reward: Upon successful completion of this task, you will receive an [Accessory] Sharp Ring.
After completing the aforementioned steps, return to the beach:
- Choose to acquire information either by making a payment of 10,000G or by using the BJ option to unlock a CG.
- Finally, journey to the Coastal Cave to continue your adventure.
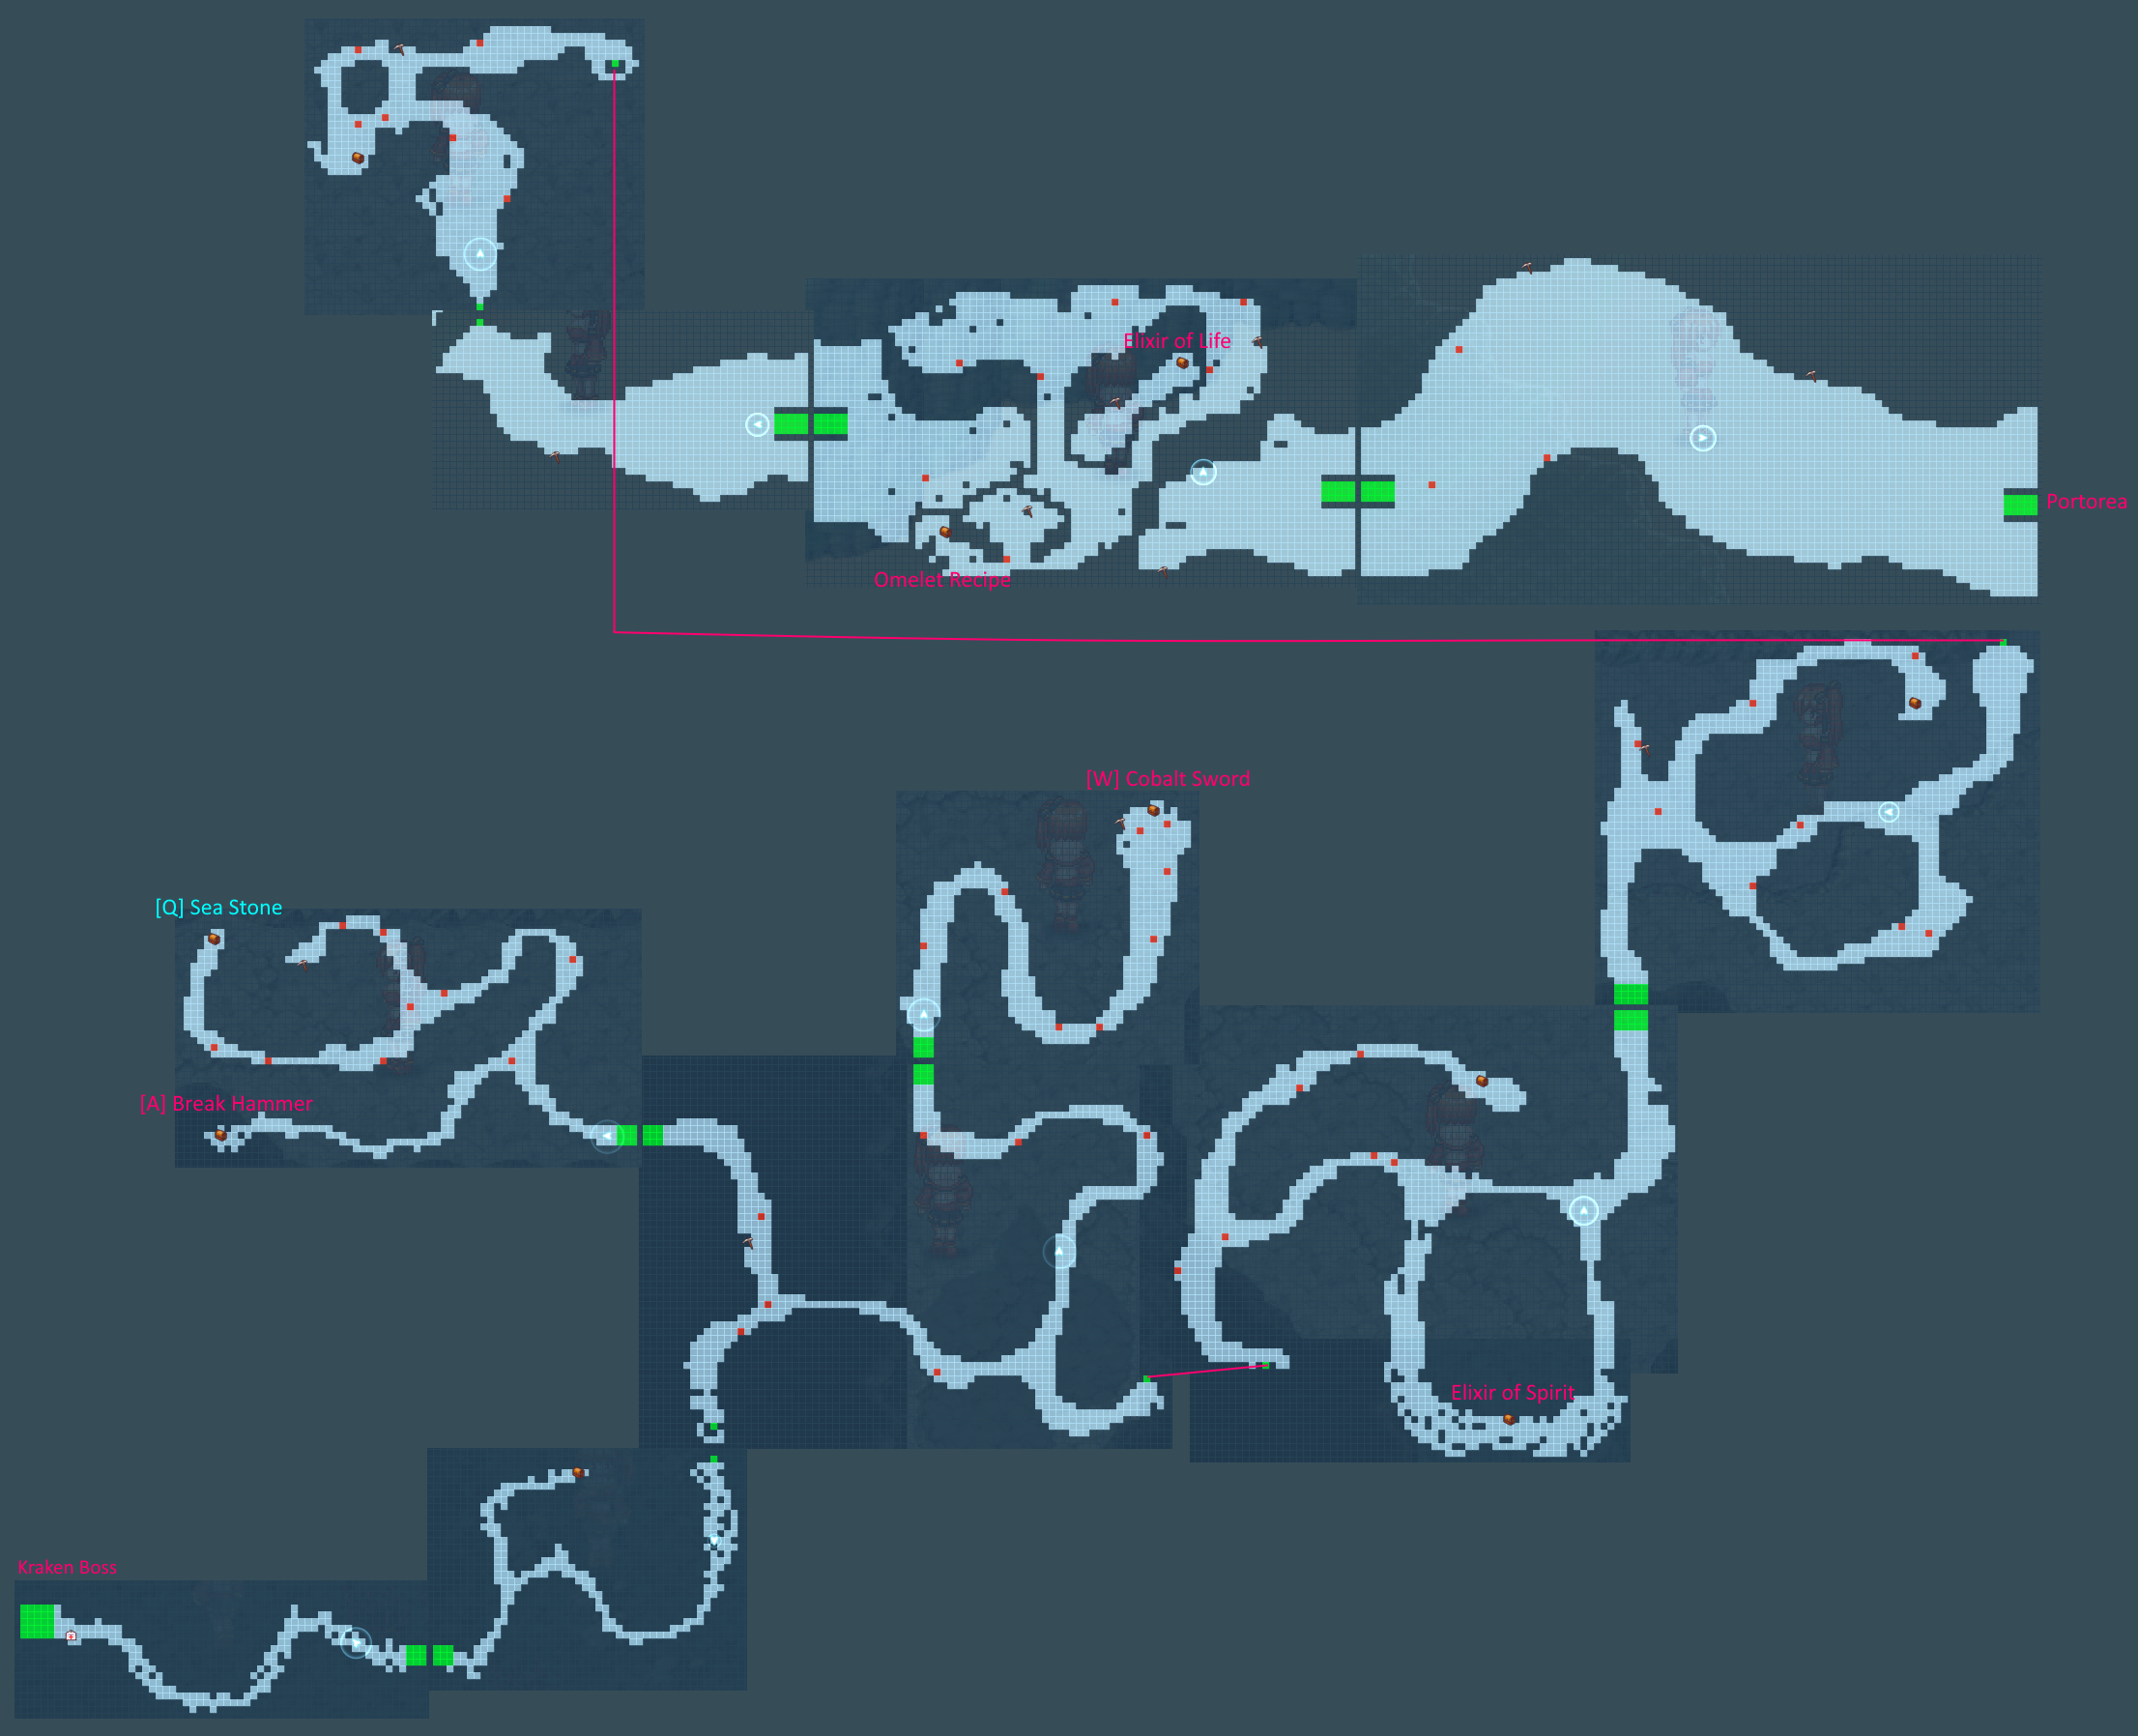
In a coastal cavern, you can expect to encounter submerged regions. To survive underwater in these areas, you’ll require the use of Sea Stones.
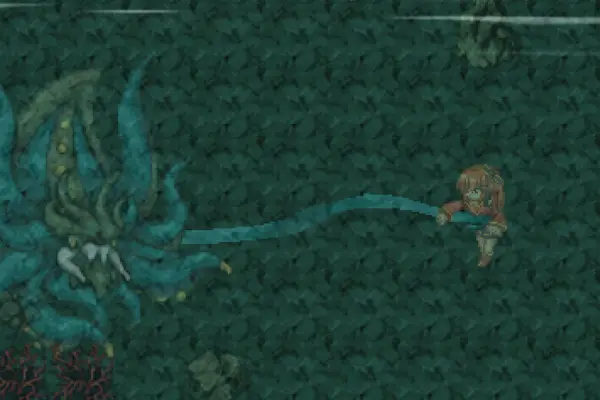
Additionally, within this cave, you’ll face off against the formidable boss known as the King Kraken.
- Once you’ve successfully defeated your adversaries in the game, your character will transition to Yuria, and your next destination is the beach.
- Prepare for Rex’s redemption storyline.
[Antagonist] Face off against the formidable Queen Kraken.
- Following the defeat of both Krakens, have a conversation with the vendor offering swimsuit rentals.
- Alter your outfit to a bikini by navigating to [Menu -> Status].
Engage in a conversation with the hotdog vendor along the shoreline to acquire a Hamburger recipe.
- Purchase a ticket and board the awaiting ship.
Corum
- To obtain the Ramen recipe, visit the residence on the right side of the central square.
- Proceed to the Commercial district (located on the left side of the map) for the next event.
- Engage in a battle against Belk in the arena; winning grants you [W]Durandal, but it’s acceptable to lose as well.
- Unlock the Inherit and Enchant weapon system.
- There are various activities at your disposal:
- In the Observation Area, partake in the fishing club to receive rewards based on the different kinds of fish you catch.
- In the Arena, you can earn unique rewards and money for clearing it for the first time. It’s also an excellent place for leveling up your weapons and character.
- In the Guild Area, head to the cafe and settle a 300,000G rent payment.
- Proceed to the guild.
- Return to the Commercial district and make your way to the main gate.
- Finally, venture to Mt. Hector.
- The suspect is located in the most remote and inaccessible section of the mountain.
[Boss] Prepare to confront Dom.
- Return to the bar.
- Conduct an investigation at the church.
- Following your report, return to the cafe, and then accept a quest at the guild.
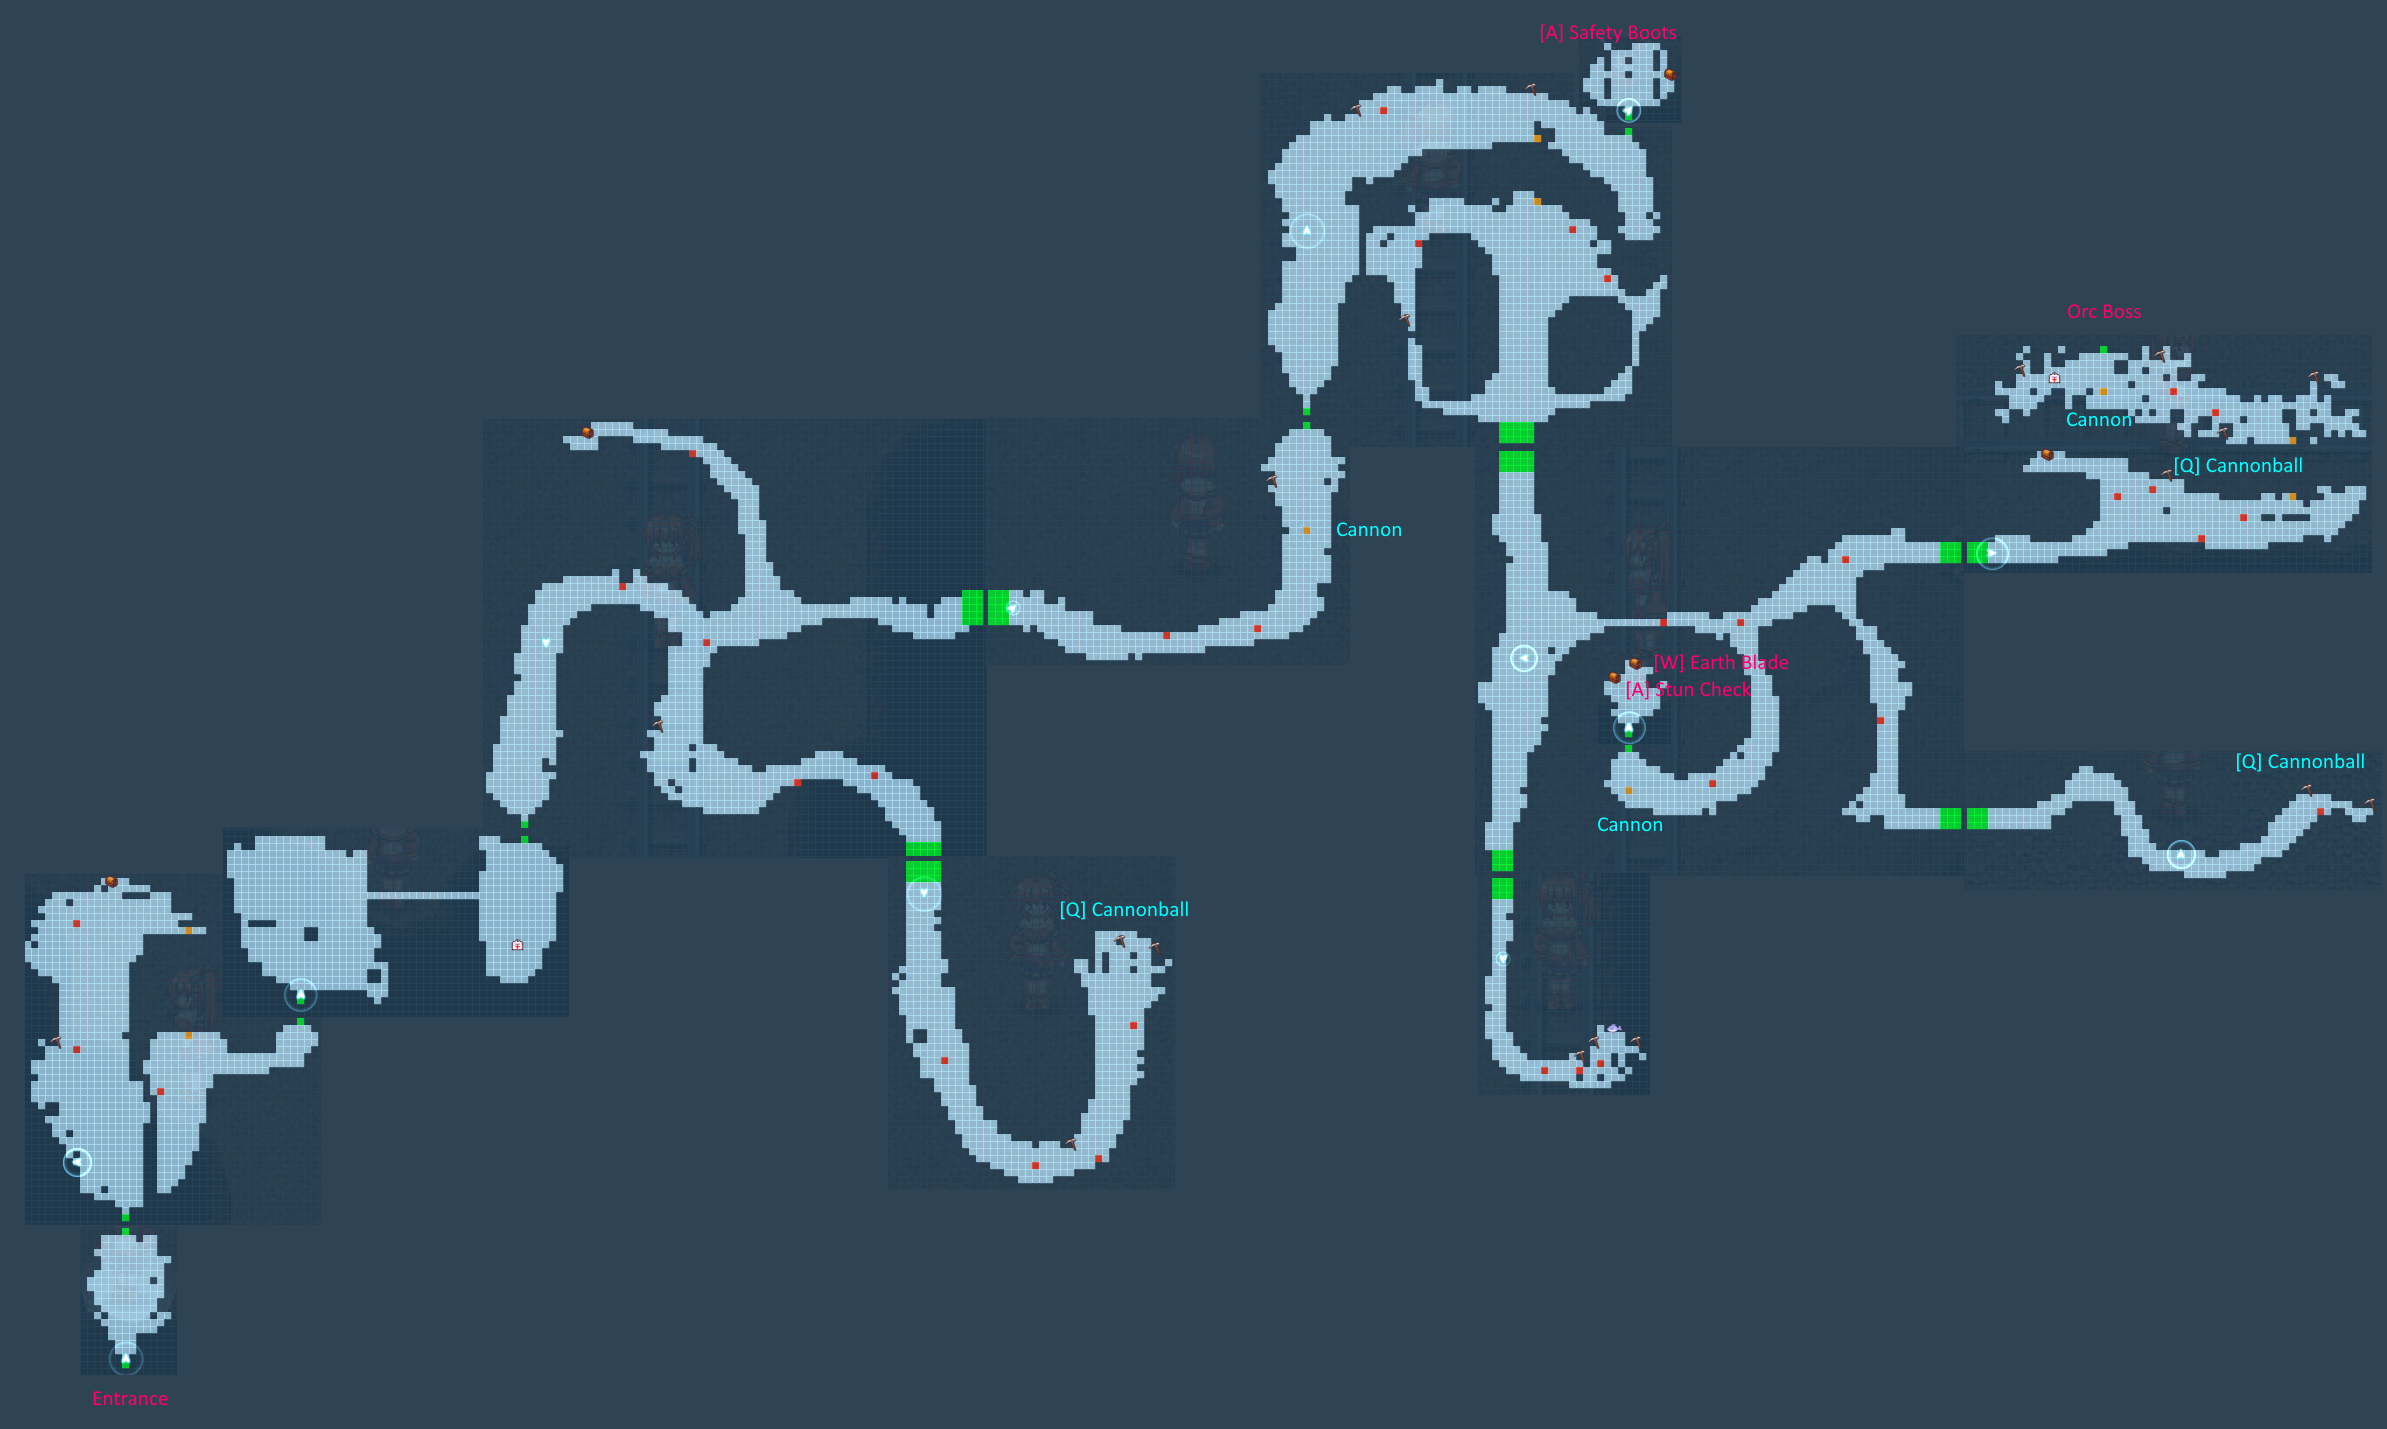
- Locate the fugitive within the abandoned mine.
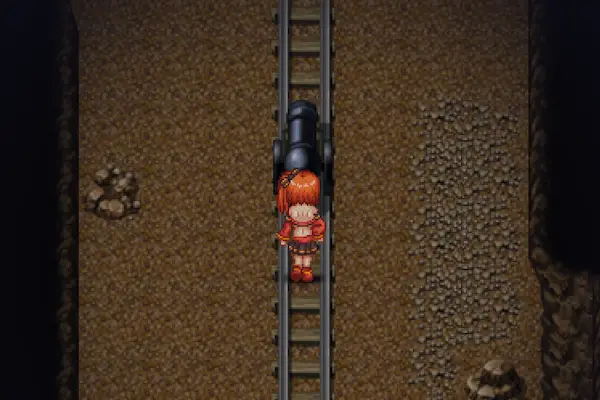
- Some maps require cannonballs to advance, which can be obtained at harvest points.
- Inside the mine, there are Stun Checks that can be triggered by using cannonballs. Alternatively, you can purchase them at the weapon shop.
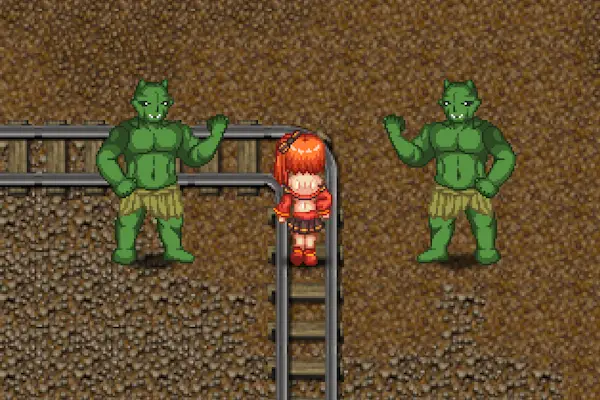
[Boss] Prepare to face off against 2 Orcs (be cautious, as losing in this encounter results in a less favorable outcome).
- If you prefer a “virgin run,” it is advisable to use Stun Checks. There is no safe minigame if you happen to get H-attacked while stunned.
- Interestingly, in my playthrough, Aries remained a virgin even after being H-attacked by an orc, despite the text suggesting otherwise (possibly a bug?).
- After the cutscene, proceed to investigate the church and locate the special confession room.
- Accompany Iris to the orphanage.
- While at the orphanage, you can discover the chicken bowl recipe.
- To unlock a CG, discreetly observe from the right side of the orphanage.
- Return to the cafe and take a well-deserved rest.
[Quest] There’s a new quest titled “Kaio’s exam” – Kaito, the blacksmith, has initiated this quest.
- Accept the new quest offered at the guild.
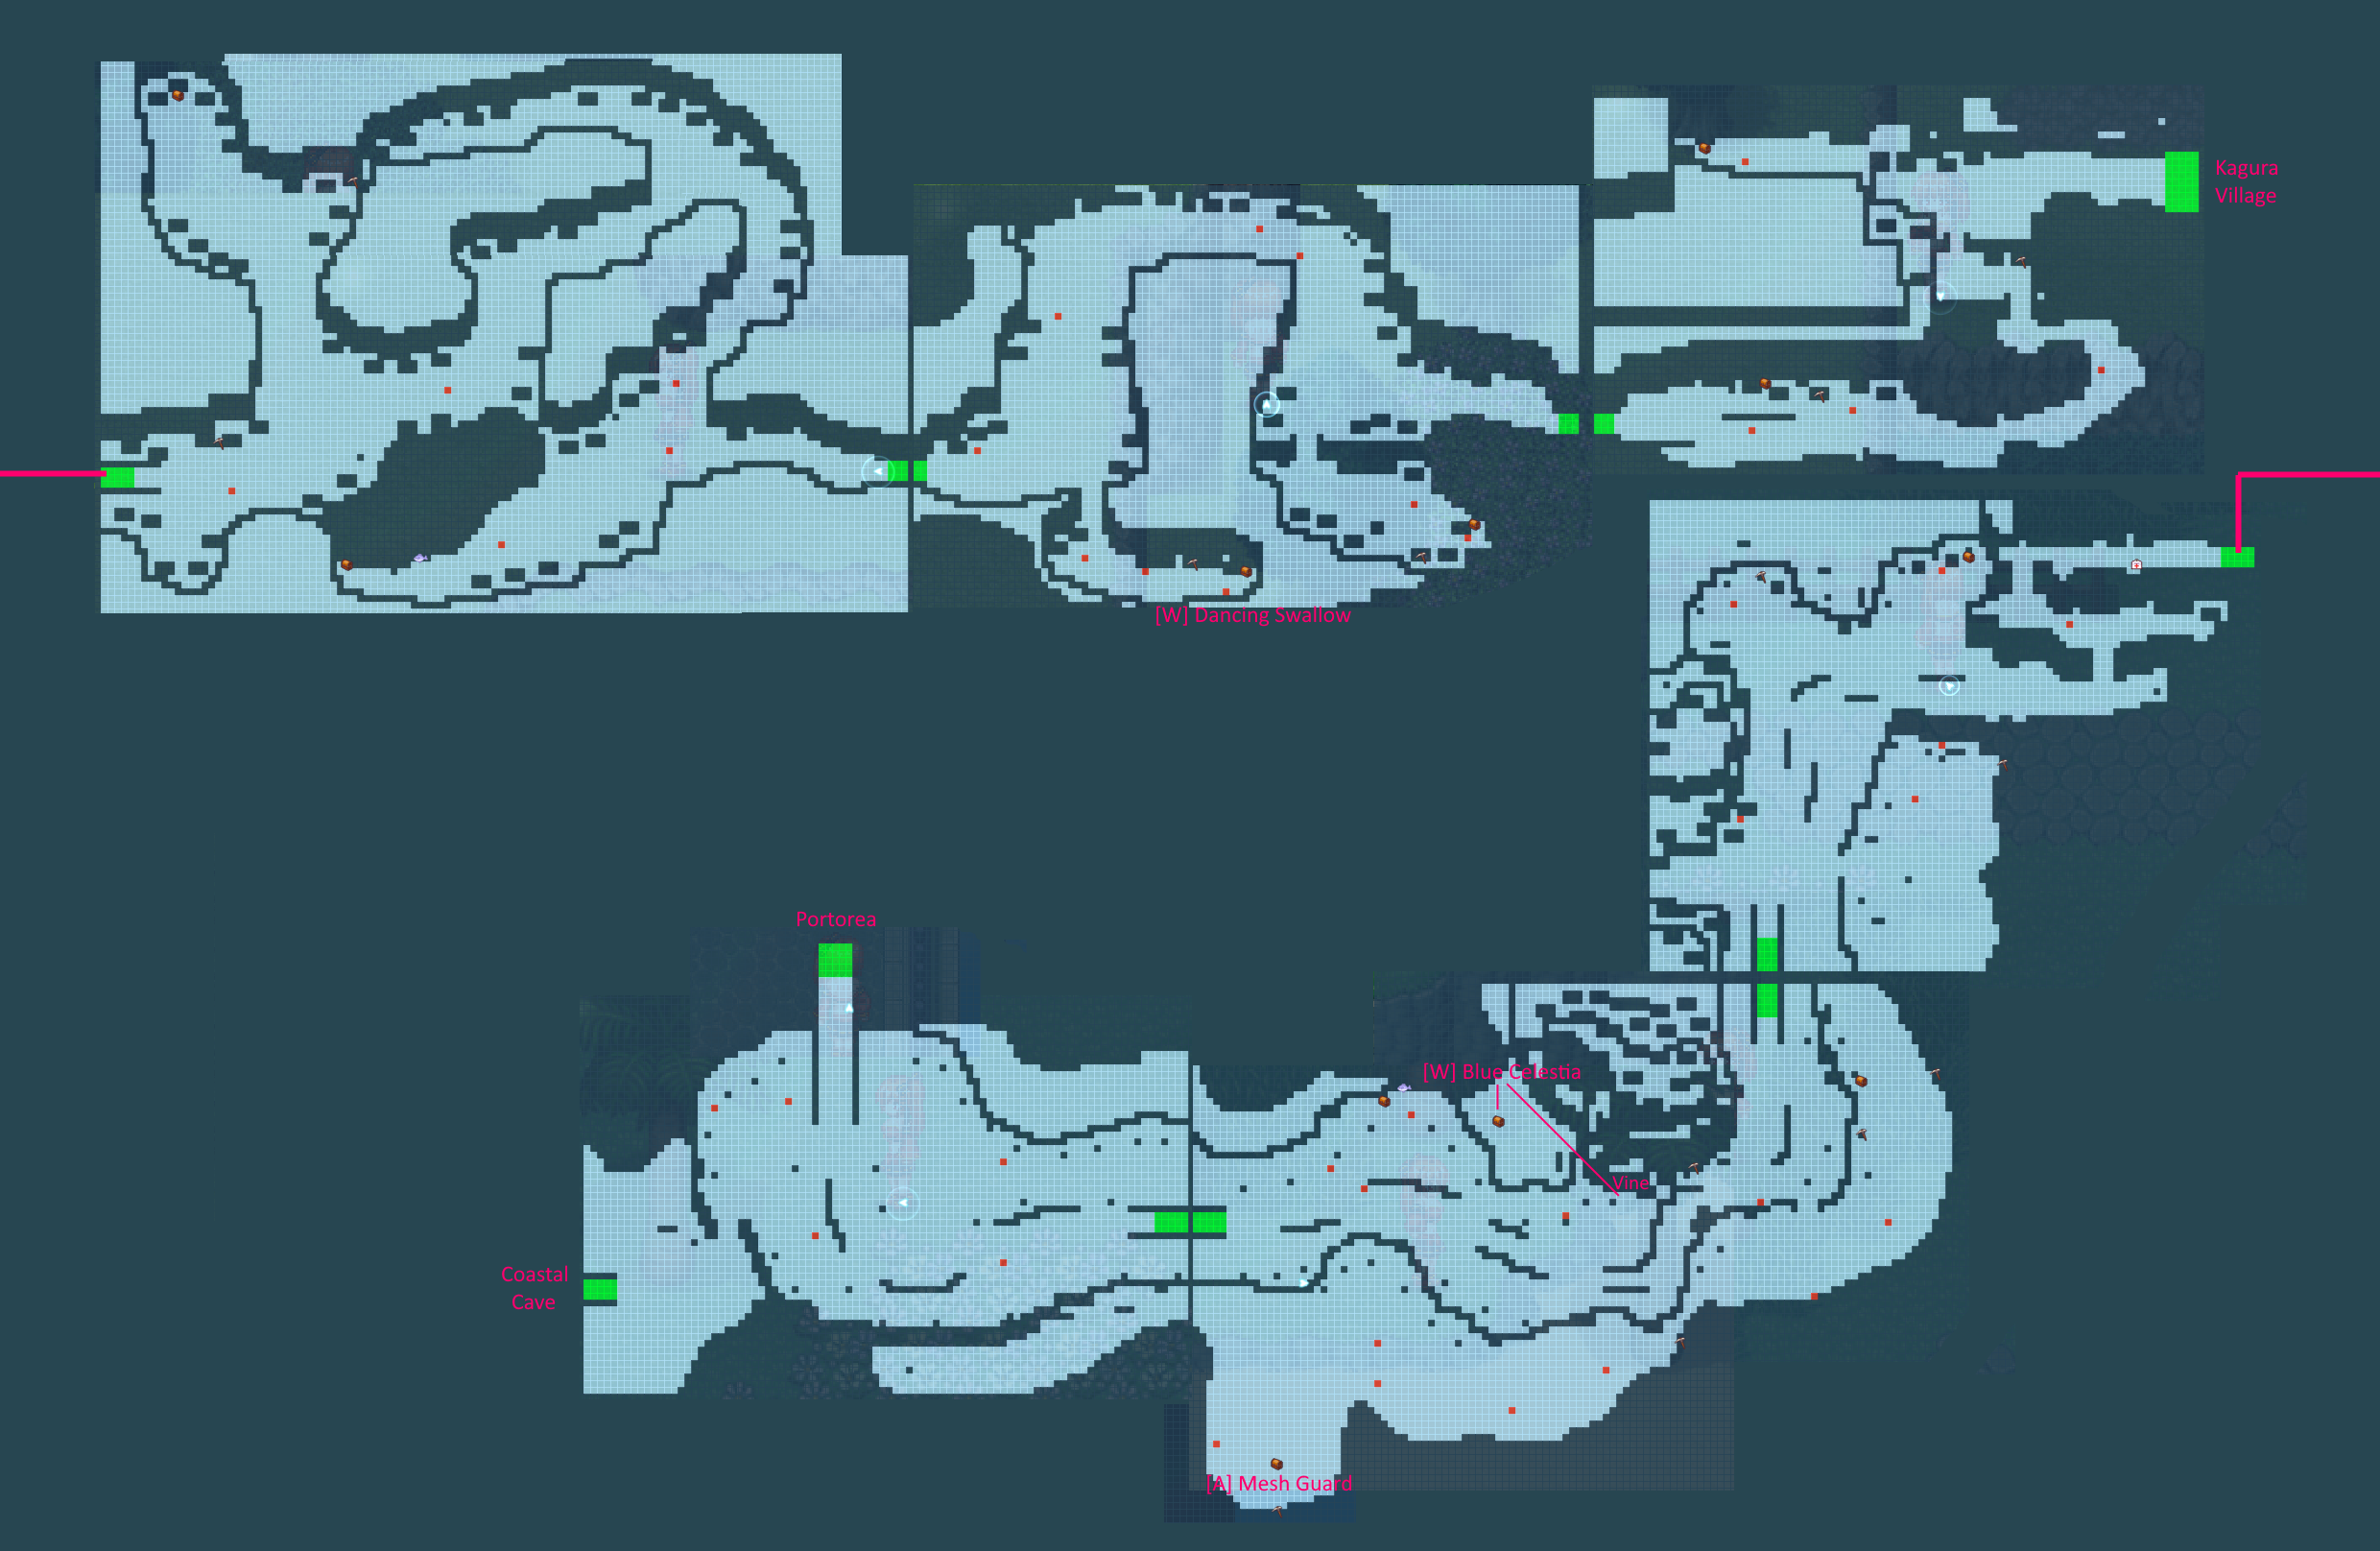
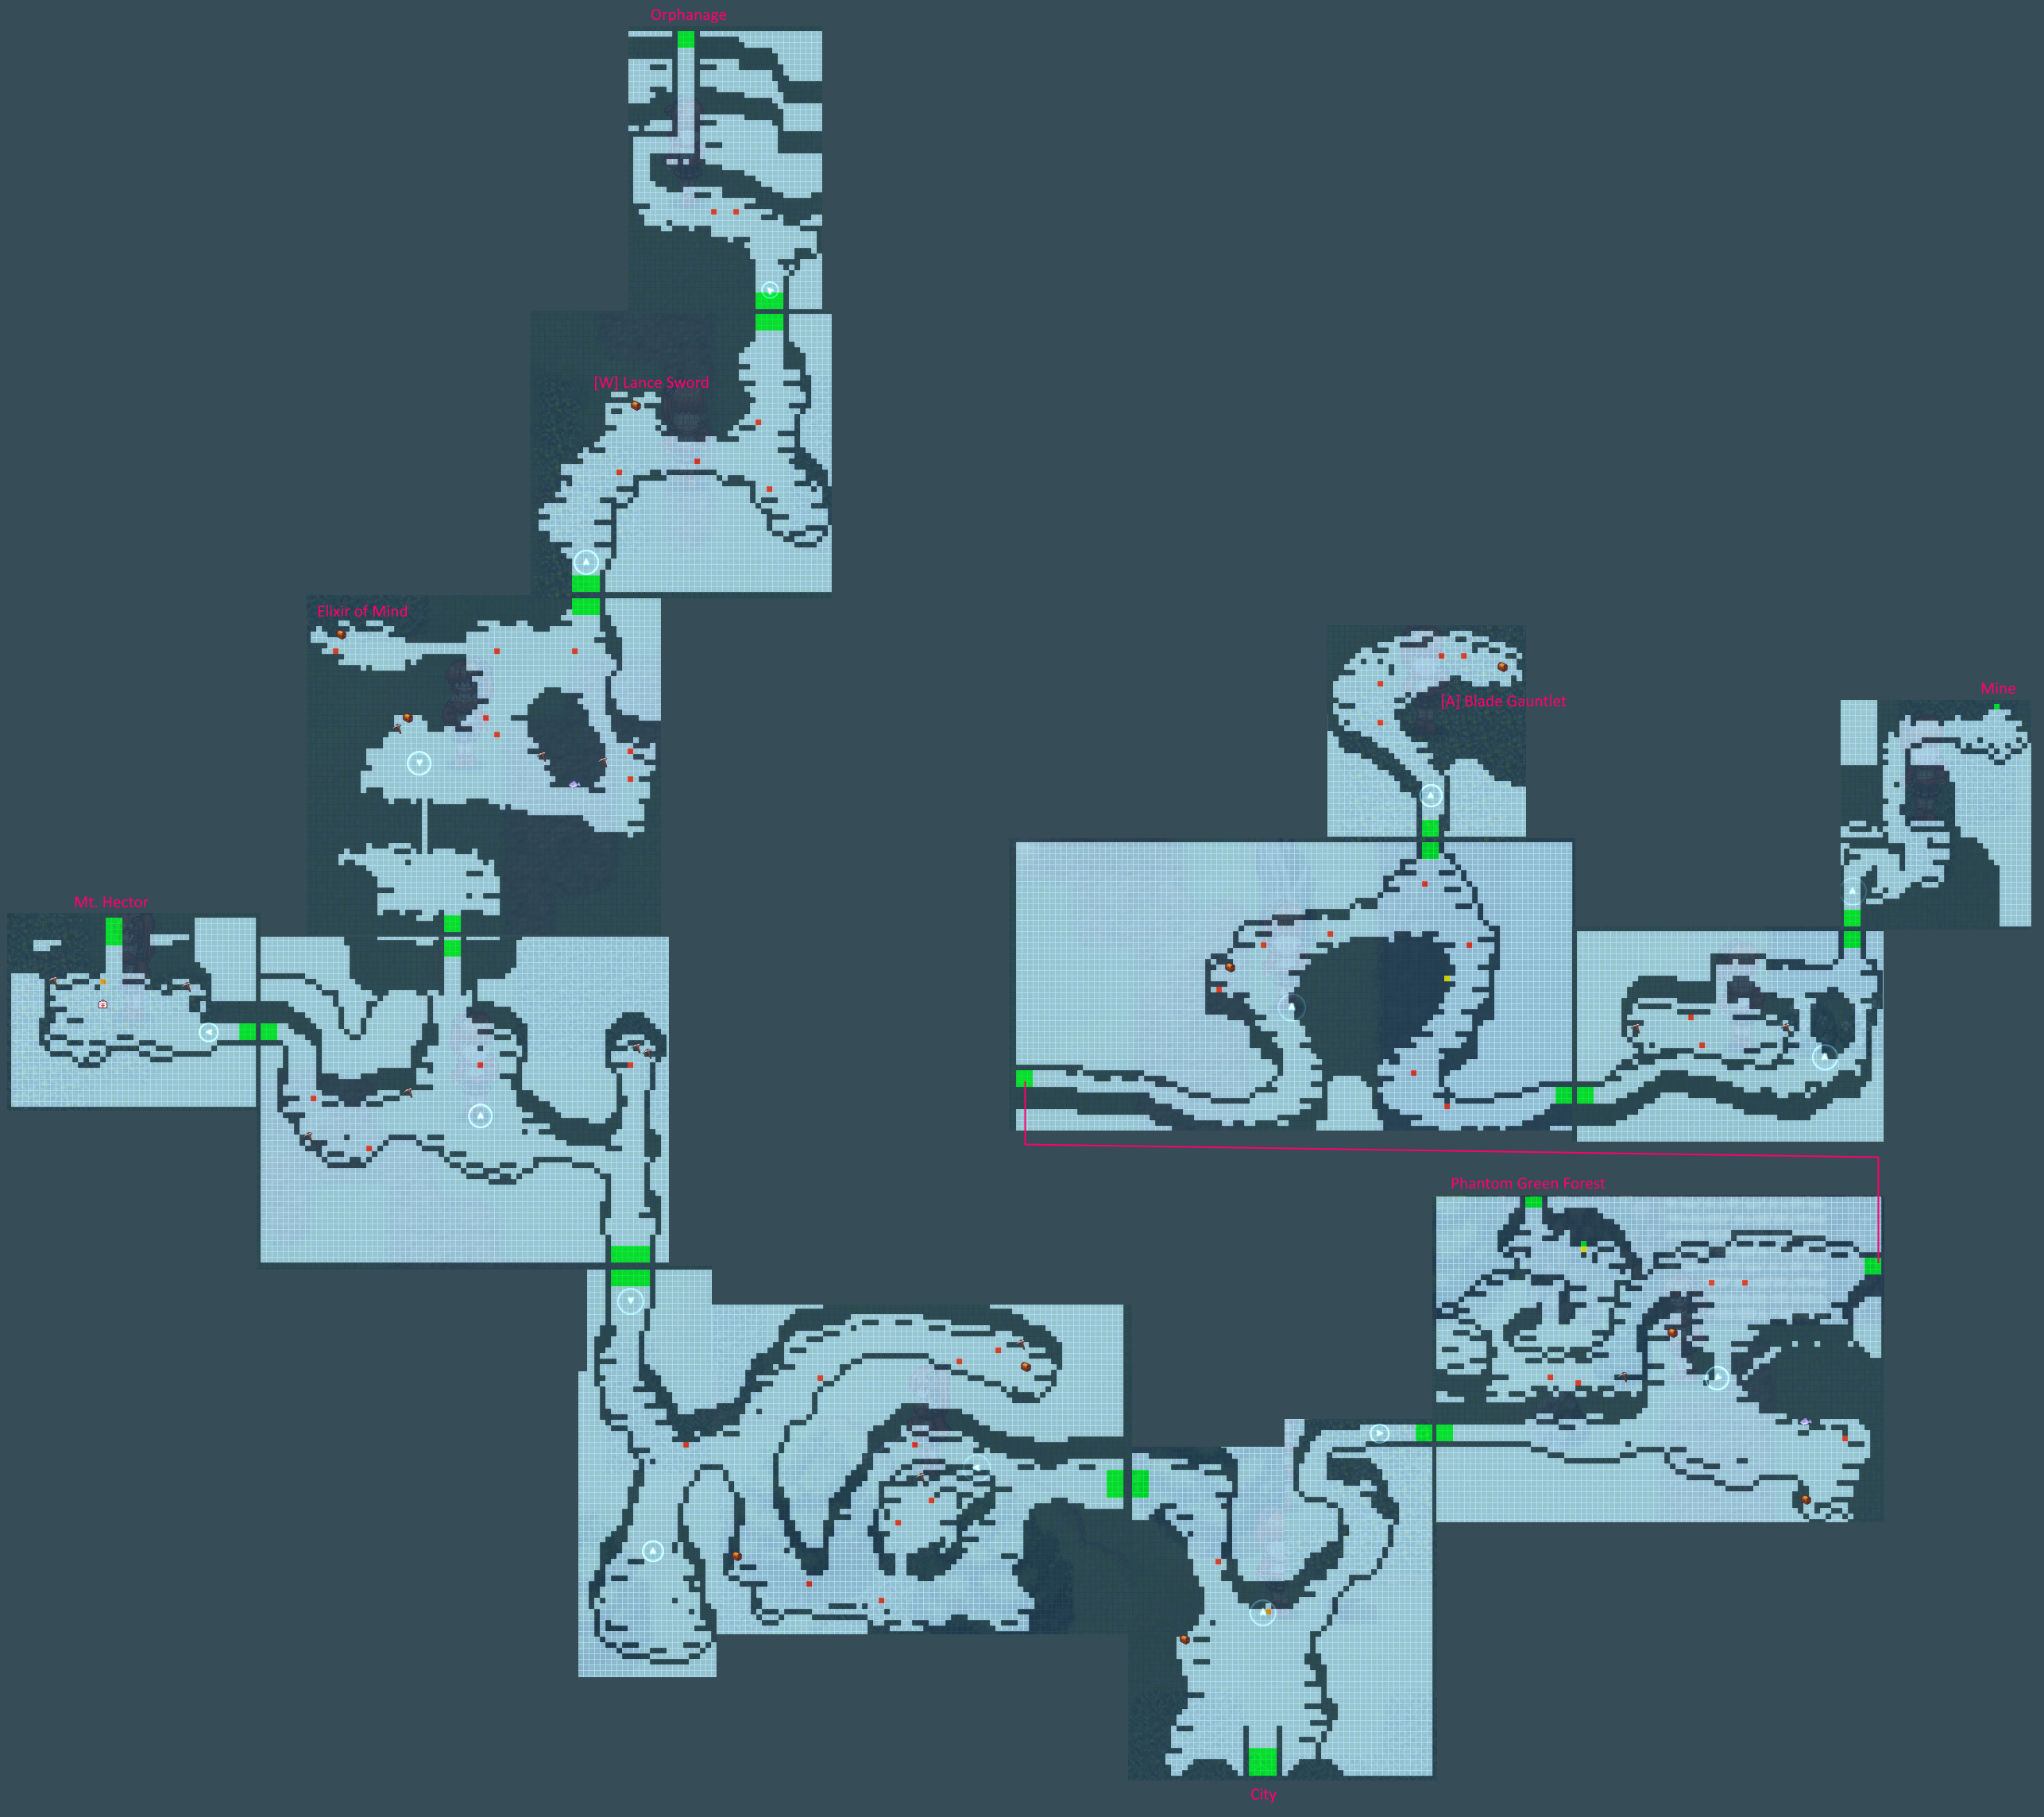
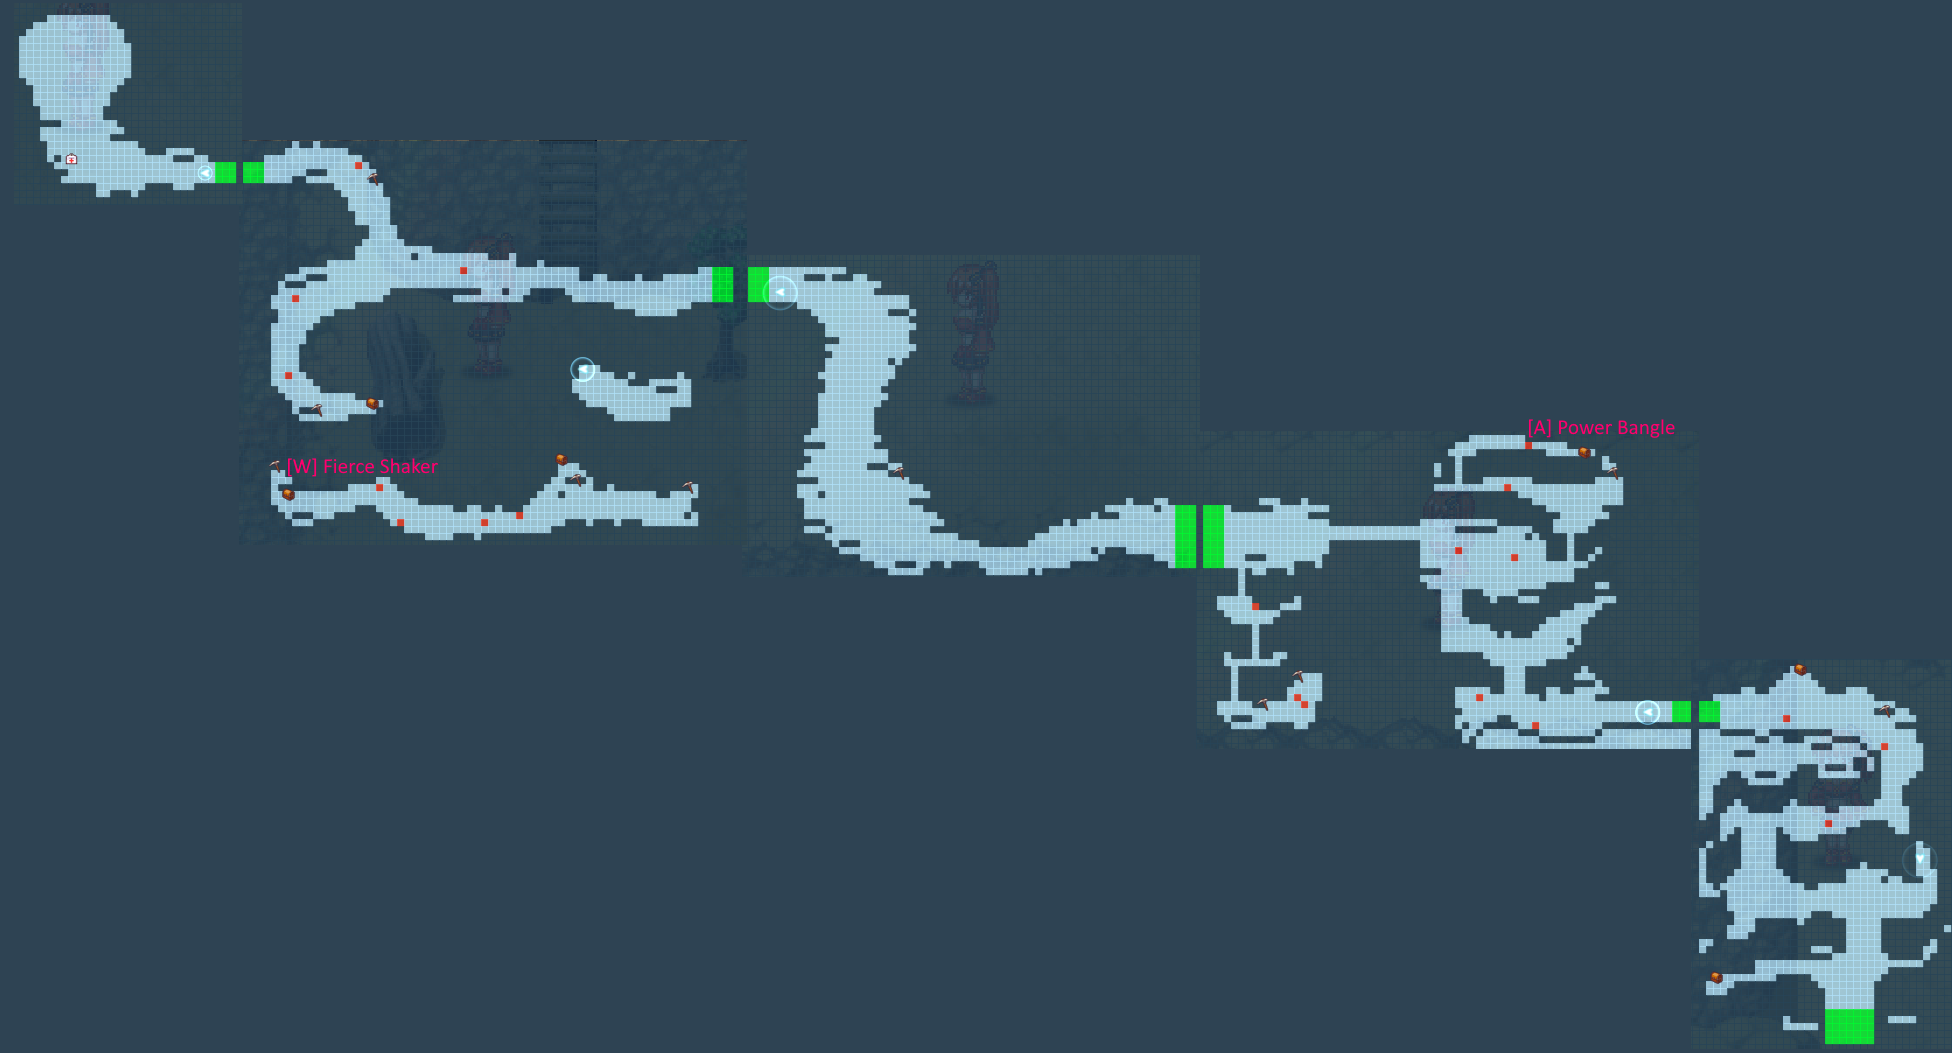
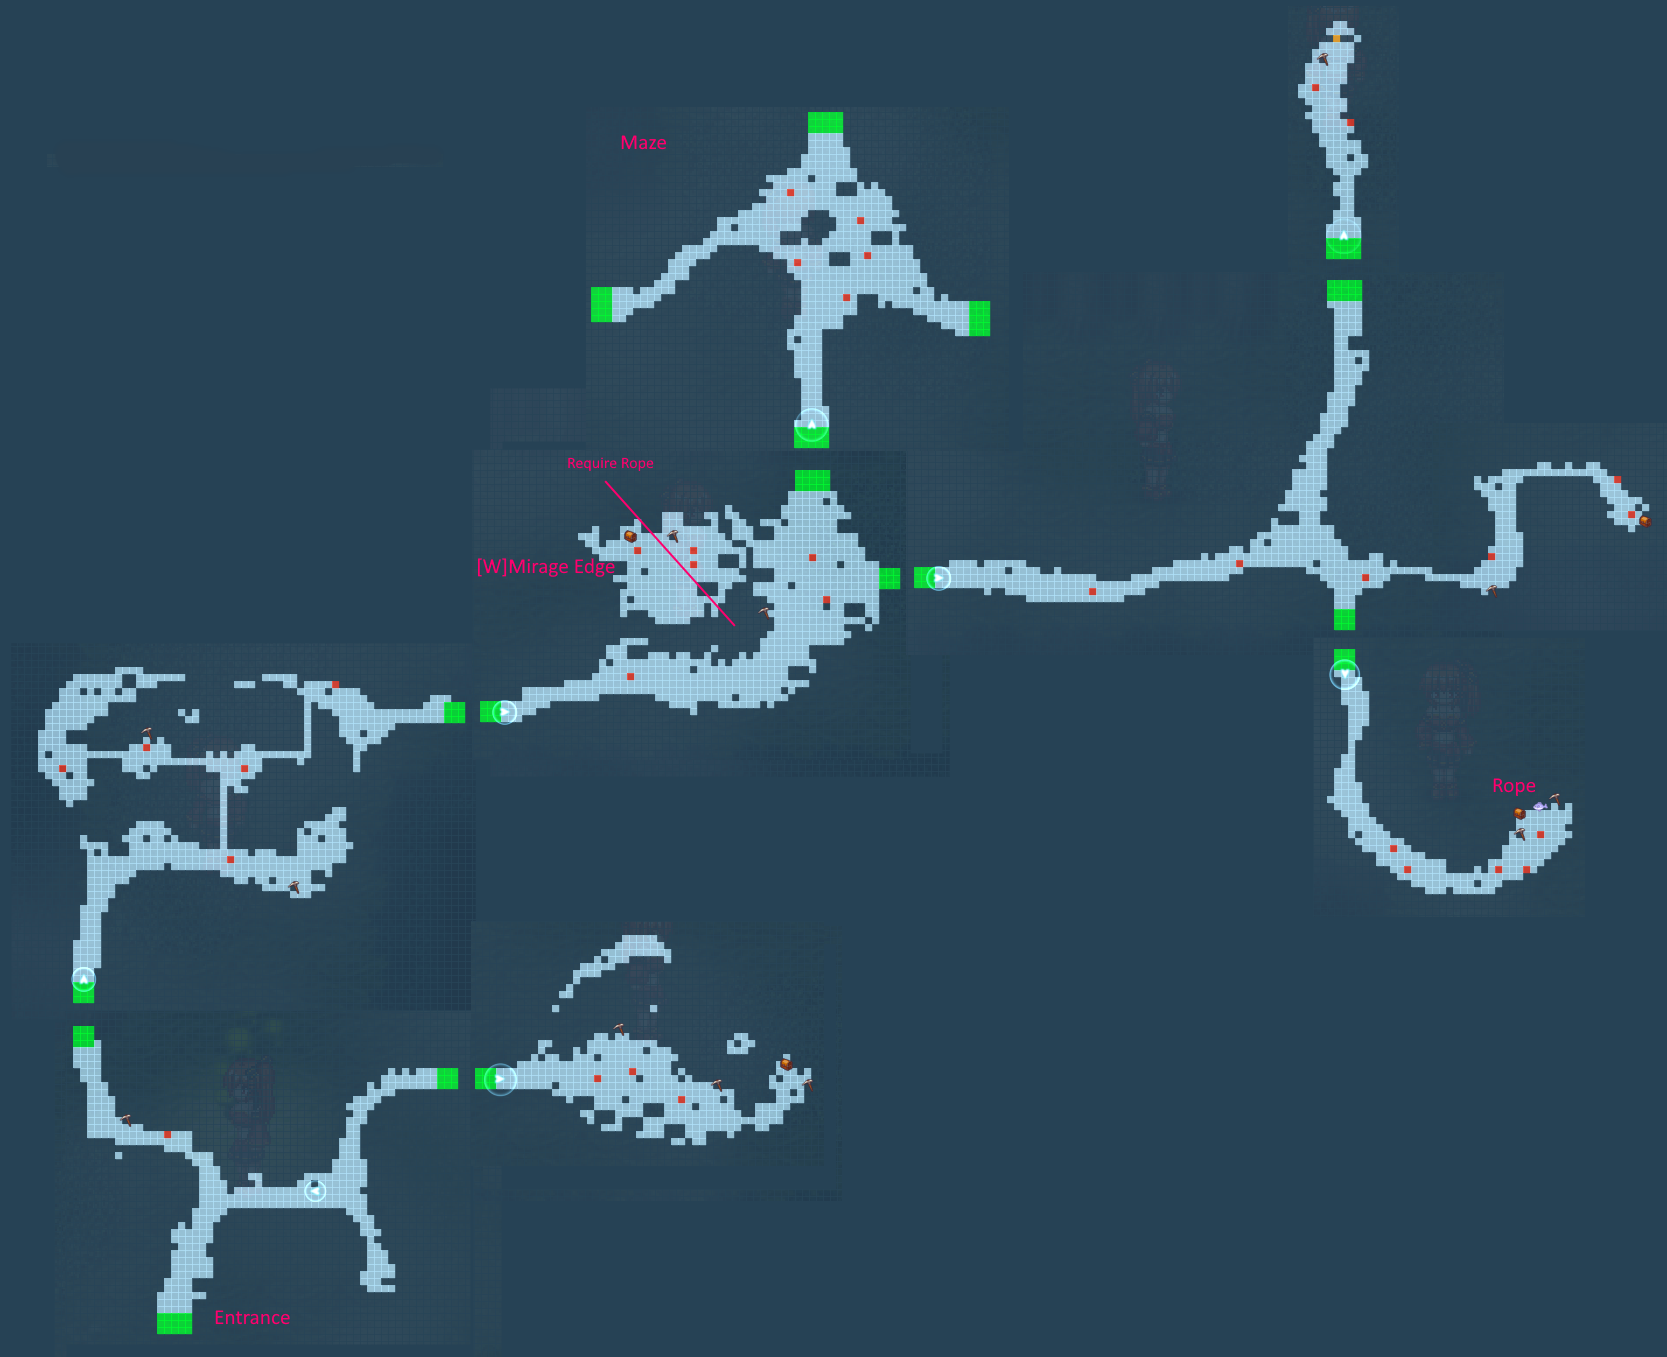
- Head to the phantom green forest (if you need a reminder, refer to the first map in this section to find your way).
- While navigating the maze area, make sure to follow the path marked by mushrooms that do not emit light. Repeat this process six times, and you will eventually arrive at the final area.
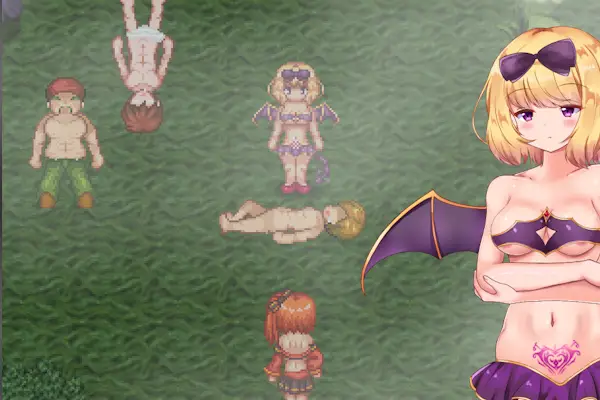
- Prepare to confront the “boss,” which is the Succubus. Be cautious, as a defeat may result in an undesirable outcome, including a CG if you happen to get fully H-Attacked two times.
- Following your rest, visit the guild, and then proceed to the church.
- Purchase information from the Cafe.
[Option] You have the choice to work in the brothel, and you can either: Use your body or use alcohol.
-
- If you choose not to use or use cheap alcohol (20,000), Zatch will become upset and may force himself on Aries.
- Opting for medium-priced alcohol (40,000) allows Aries to satisfy Zatch without engaging in sex.
- Using expensive alcohol (80,000) will also reward Aries with the [Diamond Ring] accessory, which can be sold for 20,000G or equipped.
- Unlock the option to work in the brothel.
- Approach the tent guy located at the entrance of the forest.
- Return to town.
- Proceed to the arena to face off against the boss, Craith.
- After escaping from prison, you can find a pizza recipe in the planning room.
- Enter the cave to rescue Iris.
- Ascend to the second floor of the church.
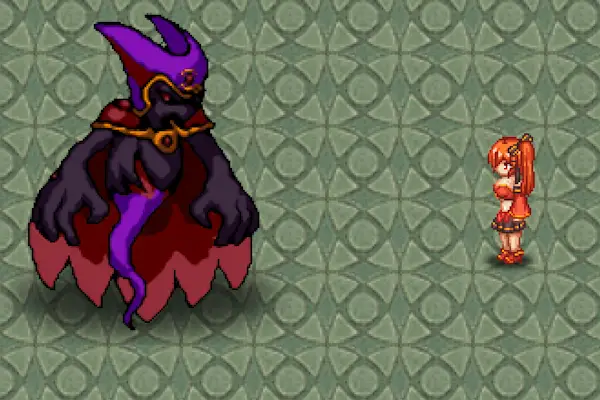
[Bosses] Prepare to confront the Dimensional Monster and subsequently, the Bishop.
After defeating the boss, it’s essential to watch the lengthy cutscene and then proceed with your journey. Before you set off, you have the opportunity to interact with some of your friends in different locations:
- Central Plaza – Succubus
- Observation Area – Craith
- Church – Bishop: You can obtain the accessory [Unicorn Necklace] if you have maintained your character’s virginity.
- Arena 2F – Kaito: Here, you can acquire the weapon [Weaving Heart].
- Orphanage – Iris: While there isn’t a quest marker, you can engage in some dialogues with Iris.
Additionally, there are rewards available in the Arena based on your performance:
- Beginner: Valkyrie Helm, 3000 Gold
- Intermediate: Secret Tome Healing Point, 10000 Gold
- Advanced: Sylphy Cape, 20000 Gold
- Champion: Hot Pot recipe, Megaton Fist, Champion Belt, 100000 Gold
There’s also a reward for paying rent, although the details of that reward are not provided in the text you’ve shared.
Capital Eruncia
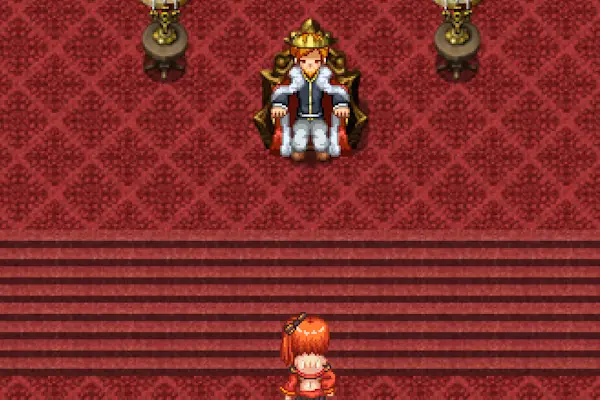
- Following the cutscene and your conversation with the king, proceed to the adventure guild.
- Obtain the cheesecake recipe from the maid located in the castle kitchen.
- Look for the Hamburg Steak recipe in the residence to the northwest of the item shop.
[Side Quest] Londrina Memory: Retrieve the jewel.
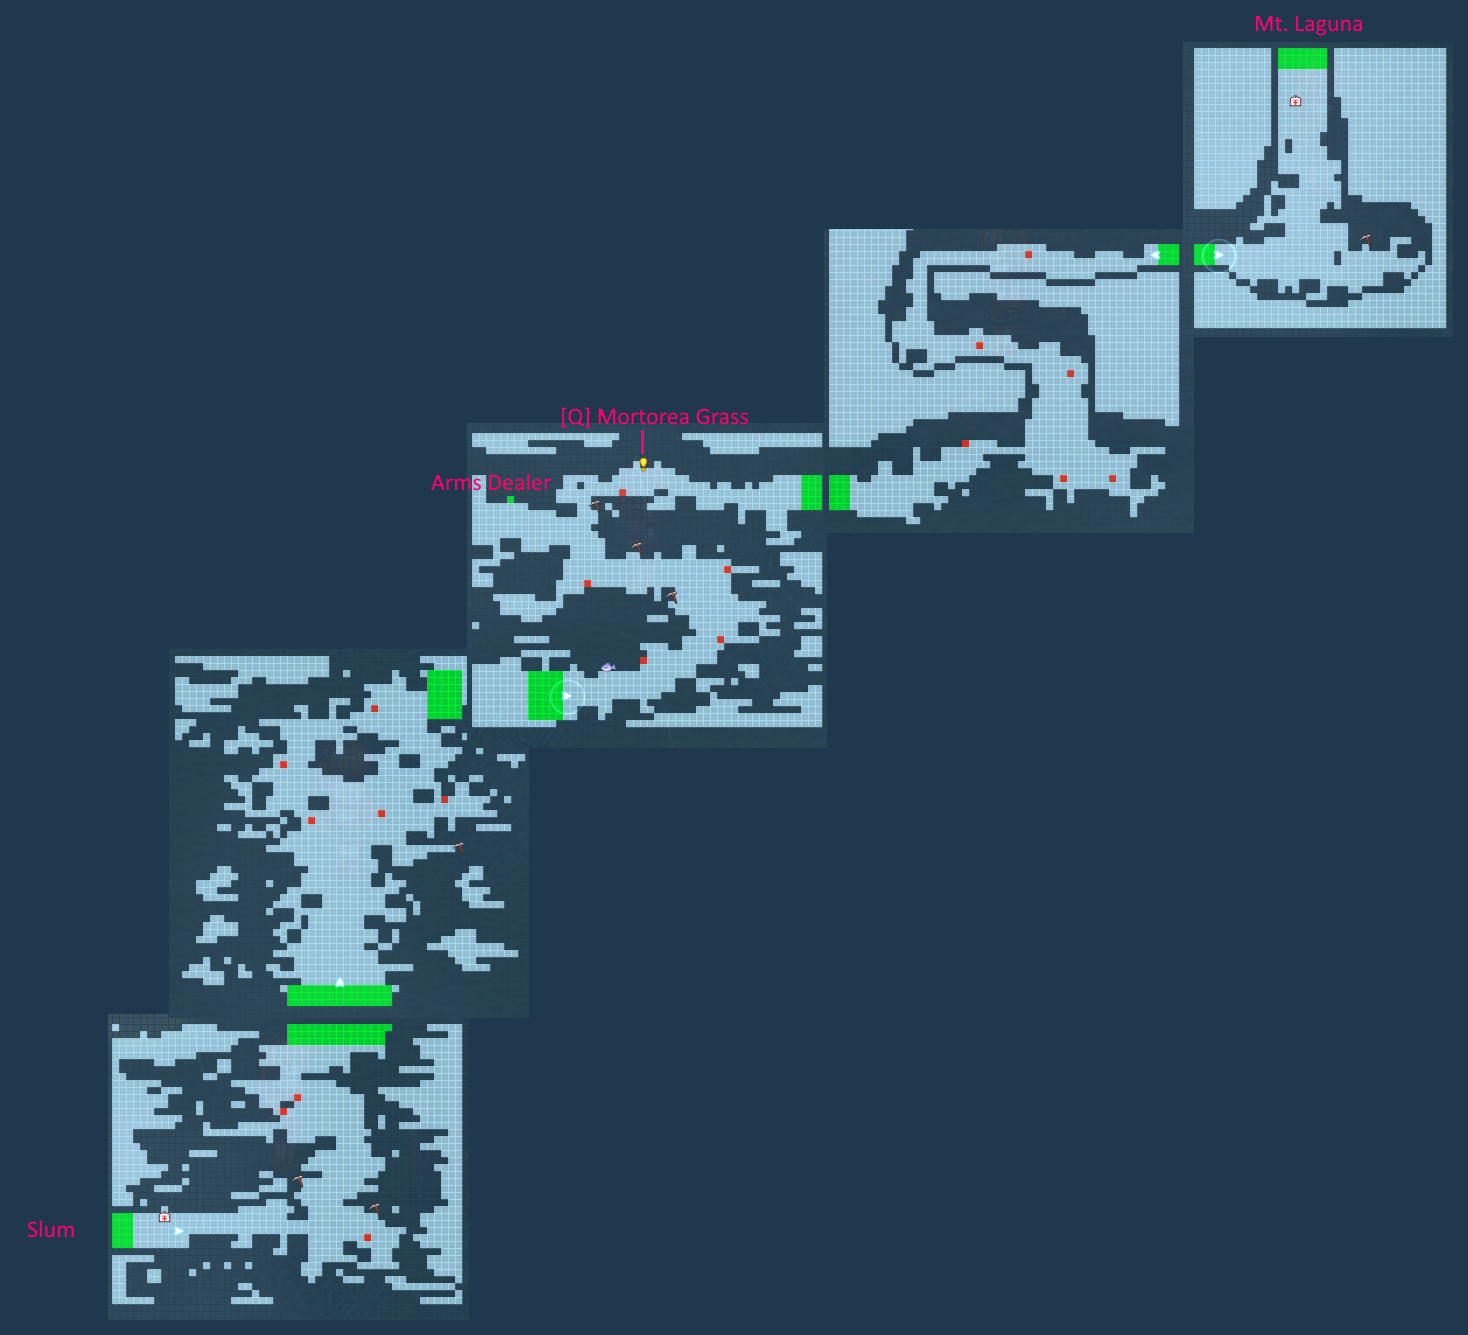
The jewel can be found at the summit of Mt. Laguna. It is advisable to tackle this quest simultaneously with the slum quest.
Reward: Upon completion, you’ll unlock the ability to “simulated” travel to the old map.
- Head over to the theater in the slum area.
- Unlock the option to work at the theater.
- Discover the Gretin recipe, which is located on the right side of the theater stage.
- While in the slum, gather information. You can choose to confront the enemies directly or undertake some quests to weaken them beforehand.
[Quest] Theater District Mischief – Boy on the right side of the theater (requires high lewdness).
- Follow the boy through two maps. He can be found in the northwest corner of the second map.
[Quest] Arms Dealer’s Secret – Bottom side:
- Follow the arms dealer to the wetland area. It’s advisable to return to the king and accept the “Gather Herb” quest before venturing further.
- Have a conversation with the king.
- Journey to the summit of the mountain and confront the Rubrum Dragon. Please note that the dragon only appears after speaking with the king.
- Return to the arms dealer’s hut. Then, head back to the armory to undertake the “[Clear the Armory]” quest.
[Quest] Clear the Armory:
- Visit the armory and defeat the guard within 15 seconds or utilize a sleeping pill (requires high lewdness + purchase the sleeping pill from the pharmacy in the slum).
- Enter the armory to disable the gunpowder (eliminate enemy gun variants).
[Quest] Grandma’s Pharmacy: Gather Herb
- Obtain Ellis Grass from the maid in the castle kitchen (the same maid who provided you with the recipe).
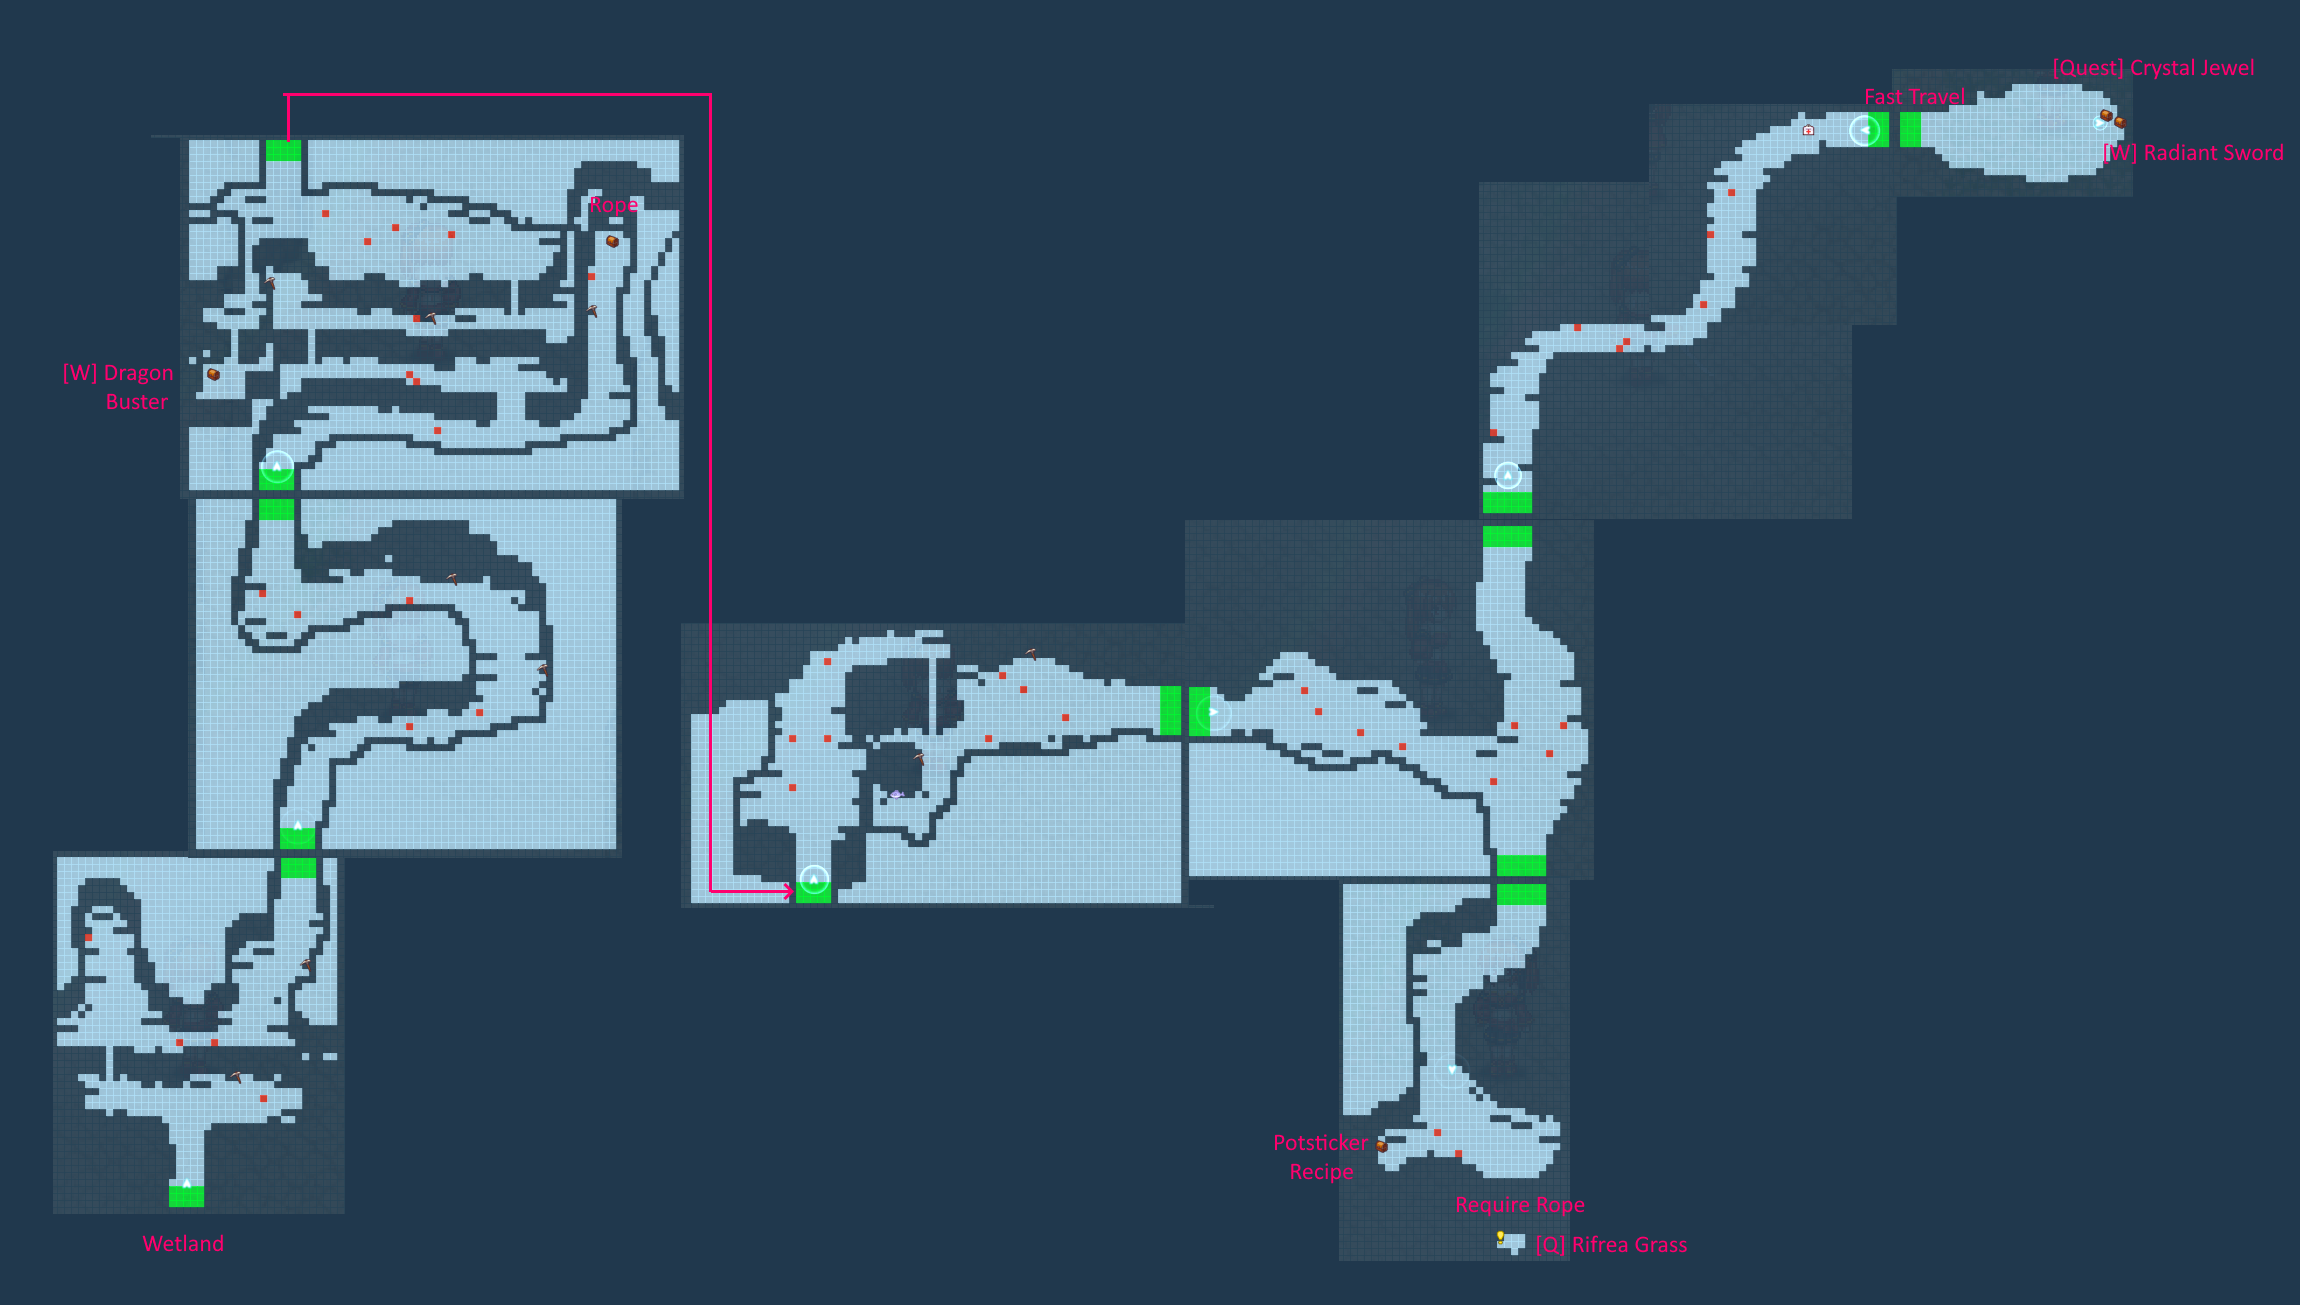
- Collect Mortoria Grass from the wetland, on the right side of the slum.
- Acquire Rifrea Grass from the mountain, which can be accessed from the wetland.
- Initiate communication with Belk to commence the operation. It’s important to note that this operation will entail a prolonged engagement with no opportunities for resupply until the area is completely secured. Prepare accordingly for this challenging task.
- Restart the power supply to the elevator.
- Utilize the password “2587” to gain access.
Regarding your boss’s directive:
Boss: Bardos – It’s permissible to proceed even in the event of defeat. Obtain the accessory known as “Training Weights” upon victory.
Additionally, if you require a lore lesson or assistance in locating the king, kindly provide further details or questions for specific guidance.
Boss Dark Bardos:
- Following a battle, make your way to the royal memory vault.
If you seek more lore or require further information, please specify your inquiries.
Additionally, in the realm of Boss Kagura:
- There is Mithril armor available for purchase at the shop.
- A rematch with Dark Bardos can be arranged as well.
Sultrism Base
Last Dungeon
Navigating the platform scenario with 8 floating islands:
- Take note that each colored platform has two stages. When you activate one of them, all platforms of the same color will move accordingly.
- If your goal is to obtain the [W] Twin variant, you’ll need to engage in a circular path until the yellow and blue platforms are in the correct position.
As for the platform with 3 floating islands:
- Utilize the designated switch to swap tracks and ride the platform to acquire the item.
- Afterward, return the switch to its original position and repeat the process for the next switch.
Boss: Crost
- In the second phase of the battle against Crost, it’s crucial to utilize Blaze Art to eliminate his protective barrier; otherwise, your attacks won’t harm him. Be aware that he will reestablish his barrier after a period of time. To secure victory, make sure to finish him off using Blaze Art.
Final Boss: Disaster Kagura
- To progress in the fight against the final boss, Disaster Kagura, you must destroy four dark pillars.
- Avoid standing within the vicinity of the black flame and magic circle, as these are hazardous zones. Instead, move away from the crystal and tempt her to warp to a different location, then return to attack.
- In the second phase of the battle, the boss will conceal its health bar, but there won’t be any new gimmicks introduced.
- Your ultimate objective is to defeat Disaster Kagura to successfully complete the game.
Upon completion, you should have now unlocked and access the NG+ and time attack mode.
That's everything we are sharing today for this Blazing Aries guide. This guide was originally created and written by FreeFurret. In case we fail to update this guide, you can find the latest update by following this link.
