Are you curious about how to make your own custom challenges in Pogo3D? Well, this guide covers the step-by-step process on how to create one and share those challenge codes to the community.
Loading Challenge Codes
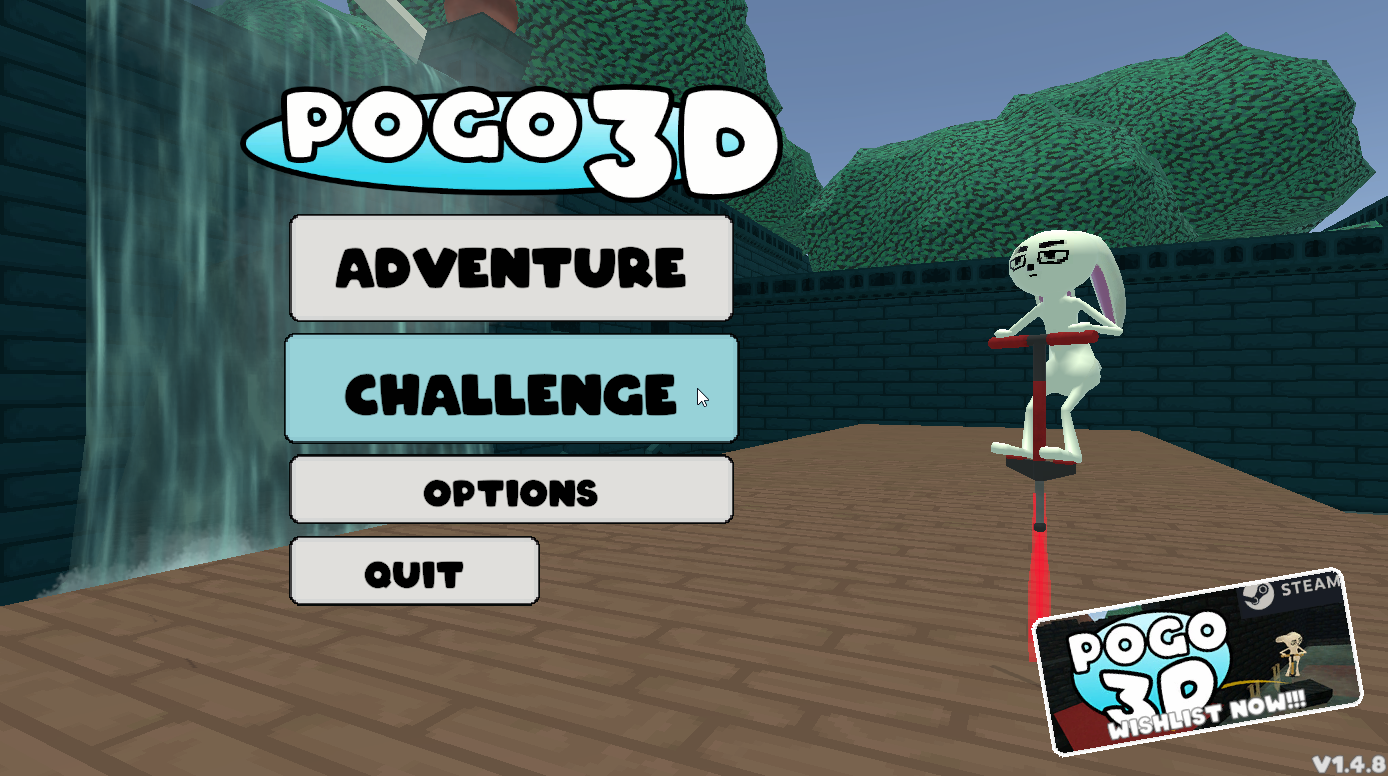
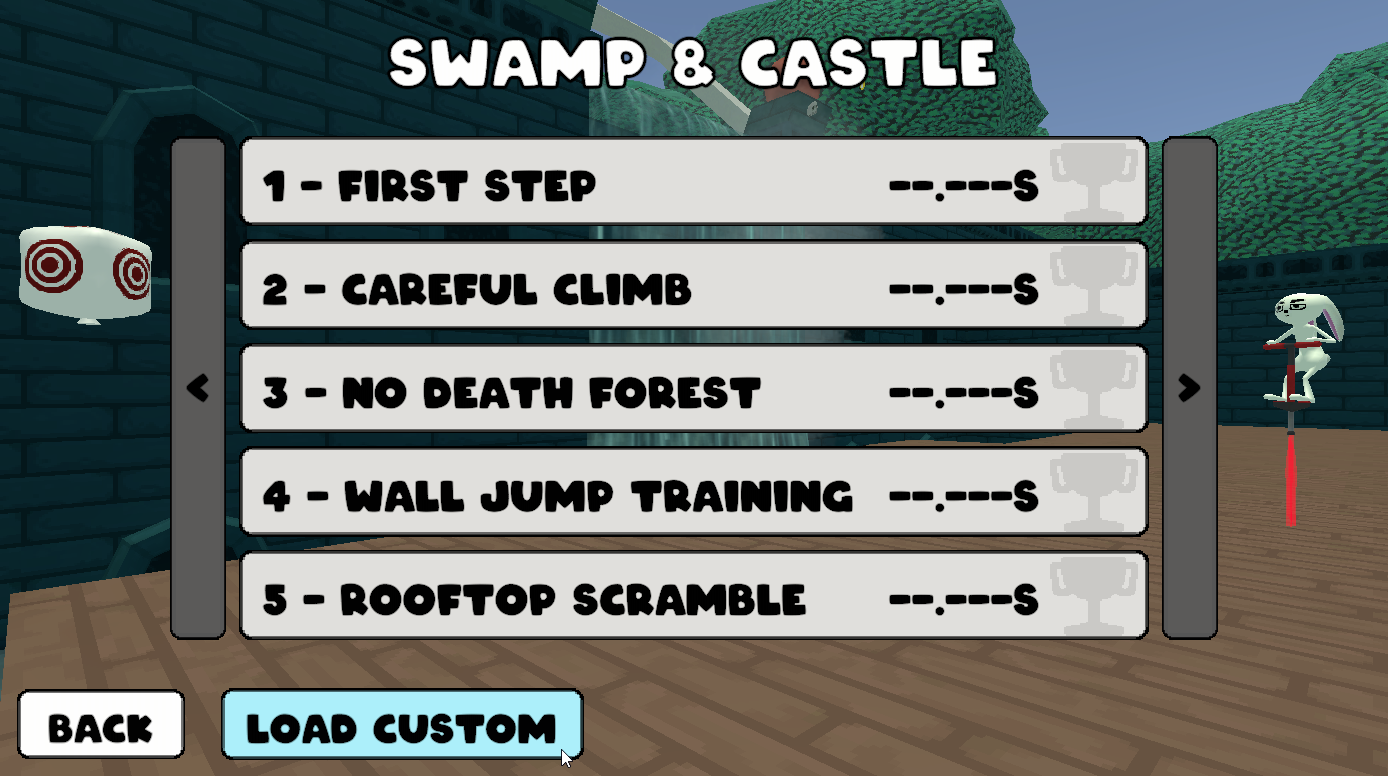
You can find challenges by clicking on the “Challenge” button in the main menu. The codes for these challenges are a series of special characters and letters like this: ŧşƀŅźĨŬ5ƀľƀĞN4KŨm (give that code a try!)
Create an Assist Mode Save


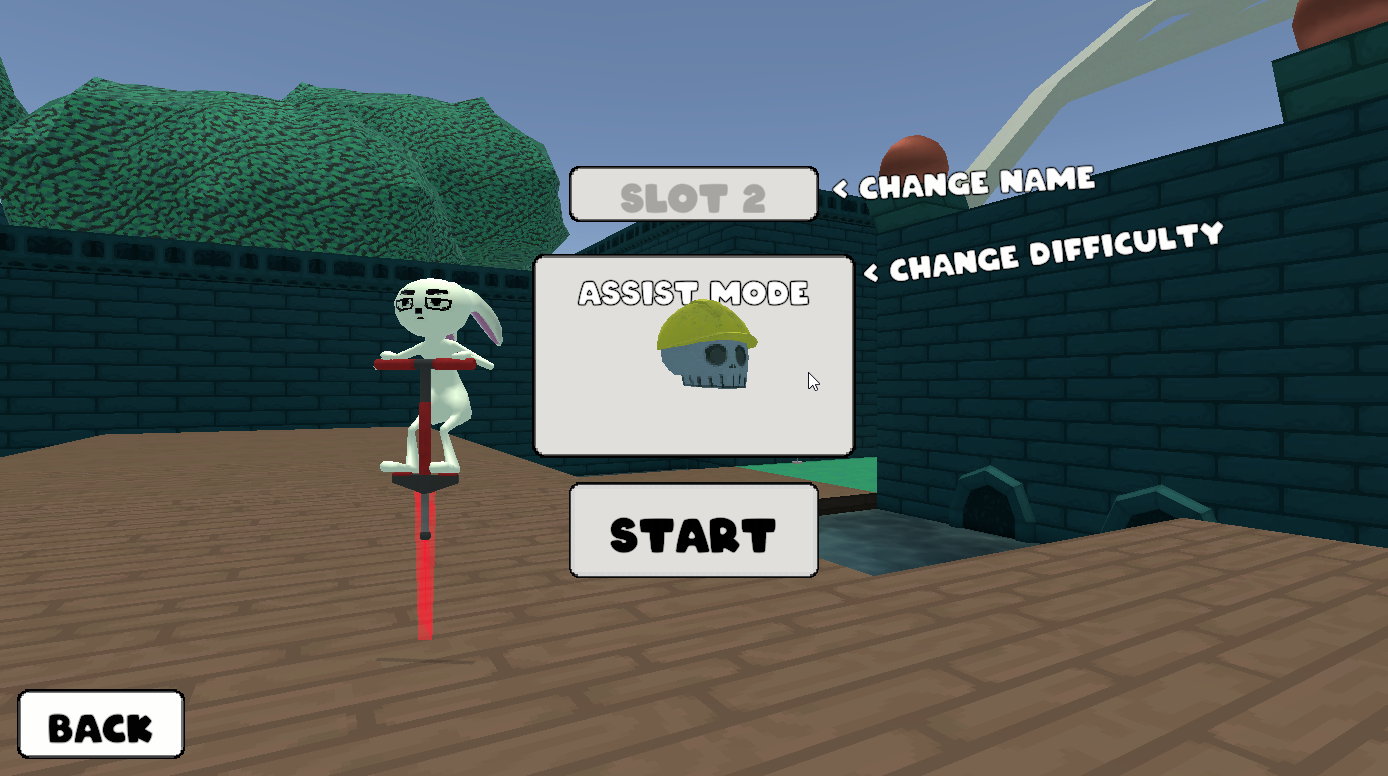
To make challenges, you must first have a save file set to Assist Mode. This allows you to use the Flag tool by pressing the C key (for checkpoint).
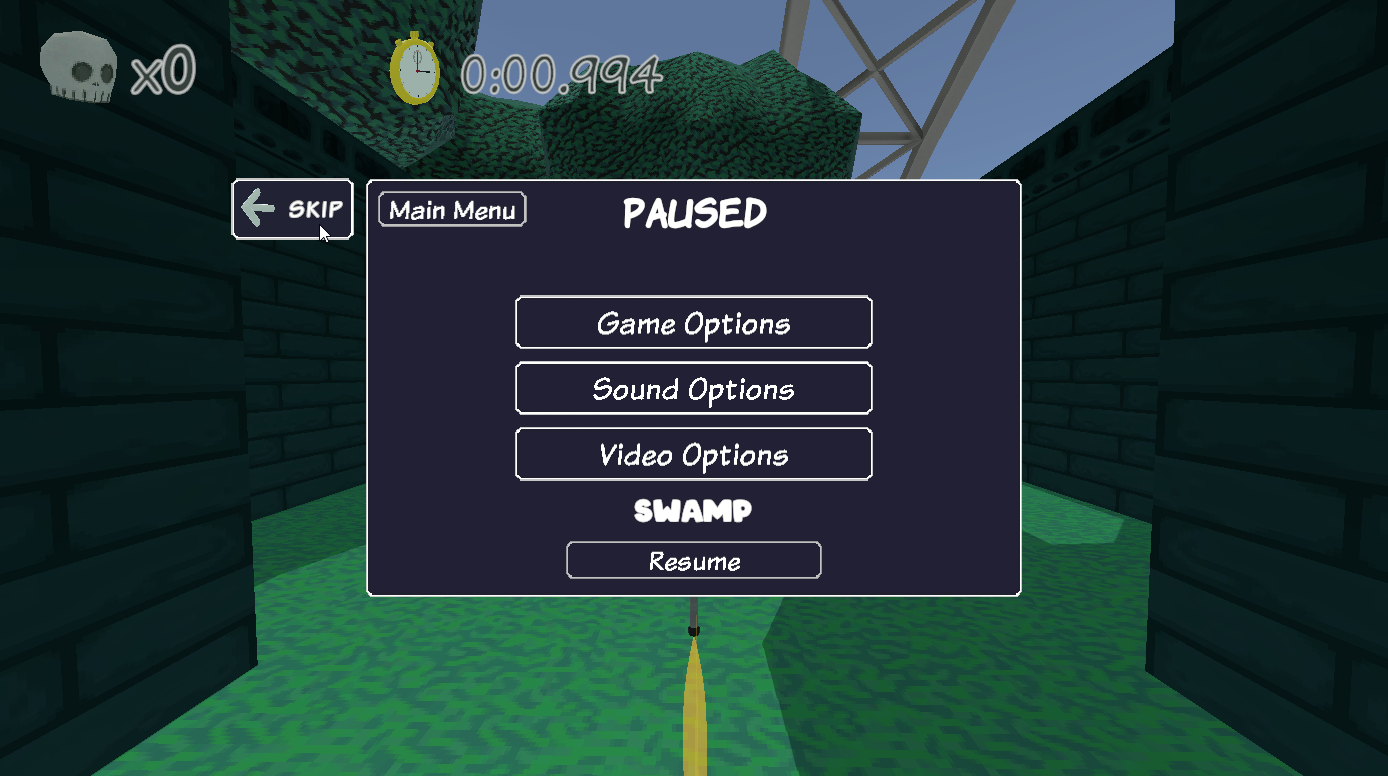
Initially, this save won’t have any chapters unlocked, but there’s a solution. You can simply use the SKIP button on the pause screen to reach the part you desire.
Placing the Flag
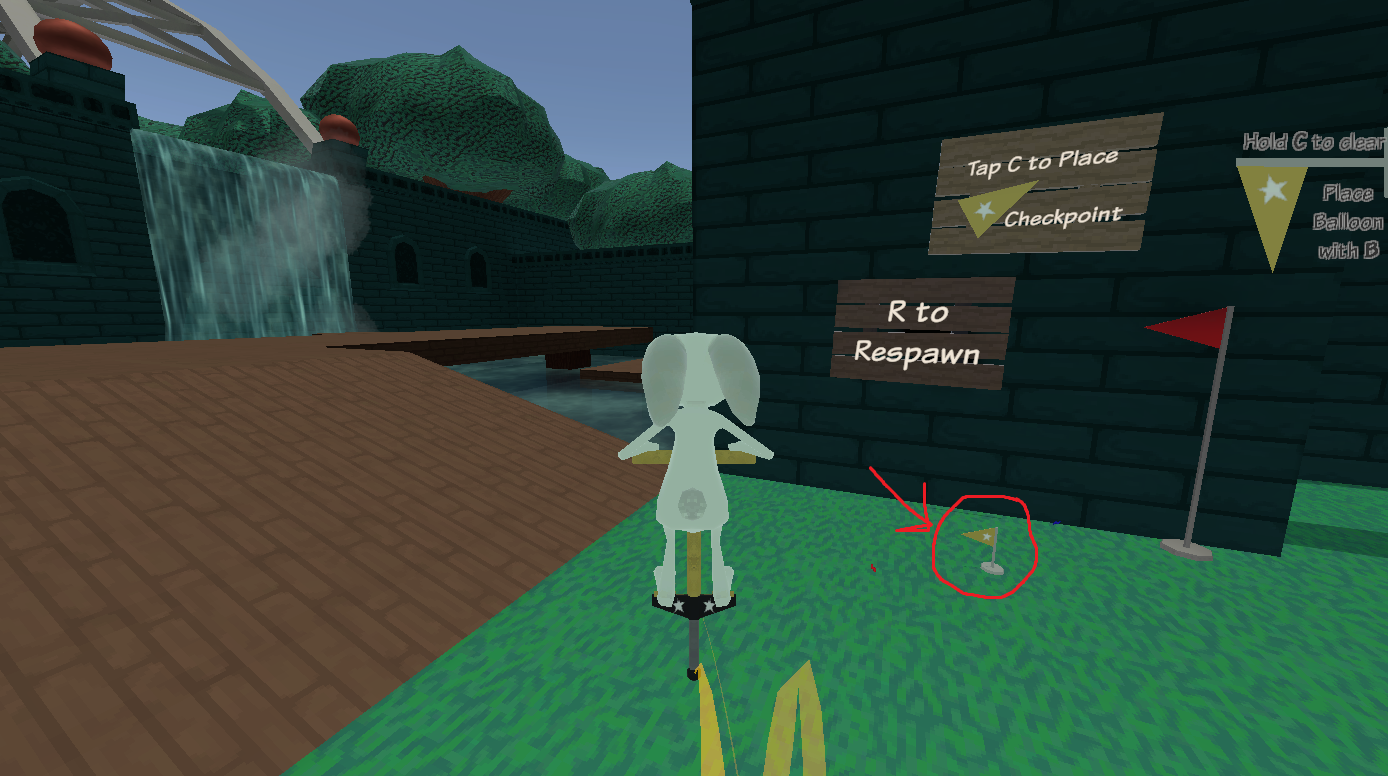
When you’re on an adventure in Assist Mode, you have the power to put down a checkpoint at any time by pressing ‘C’. This checkpoint will be your respawn point until you decide to move it or remove it by holding ‘C’ for 2 seconds.
Placing the Balloon

With your flag set in place, you can press ‘B’ to put down your balloon. After that, simply click on the “Place” option in the window.
It’s important to be precise with your positioning, as you’ll need to restart everything if you decide to move it later on.
Confirming The Balloon
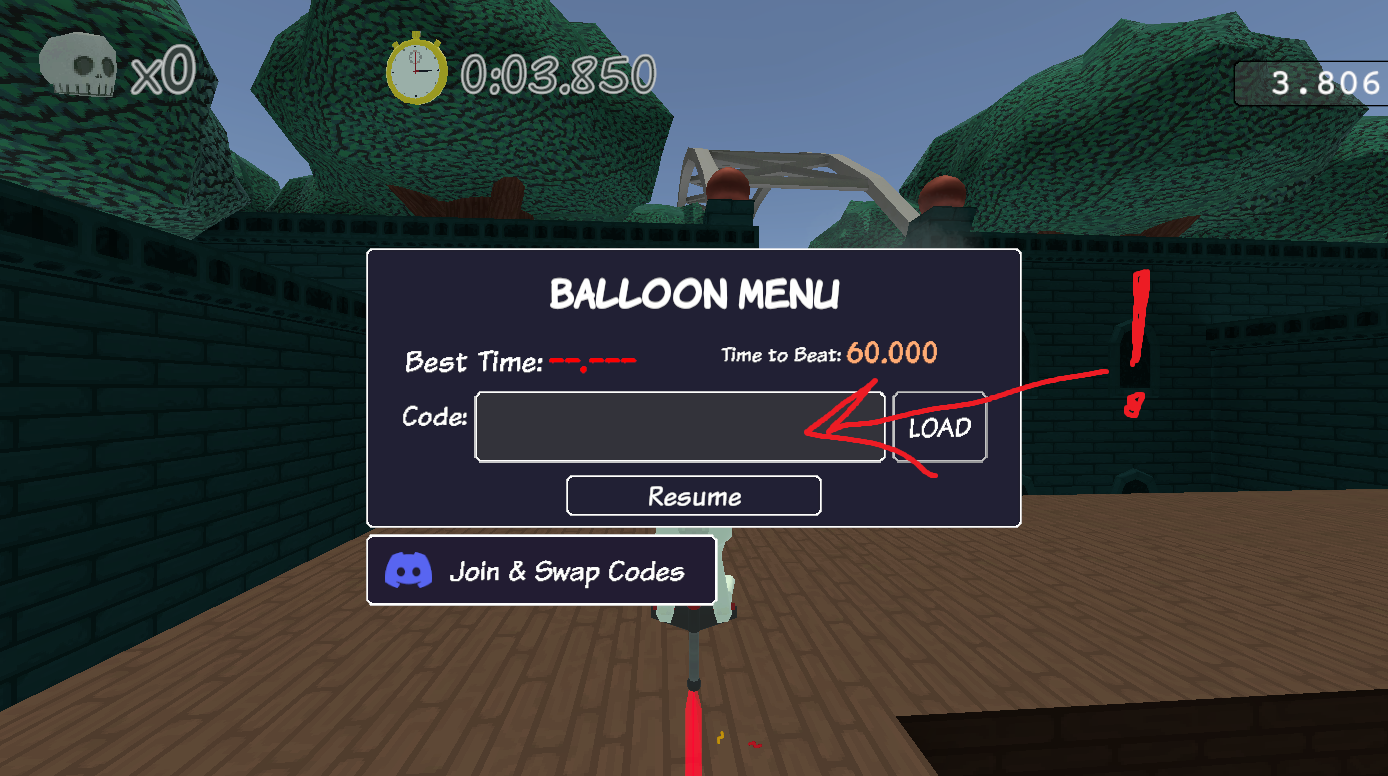
Before you can share your code, you’ll need to demonstrate that you can successfully complete your own challenge in under 60 seconds. Your task is to pop your balloon in less than 60 seconds!
Copying The Code
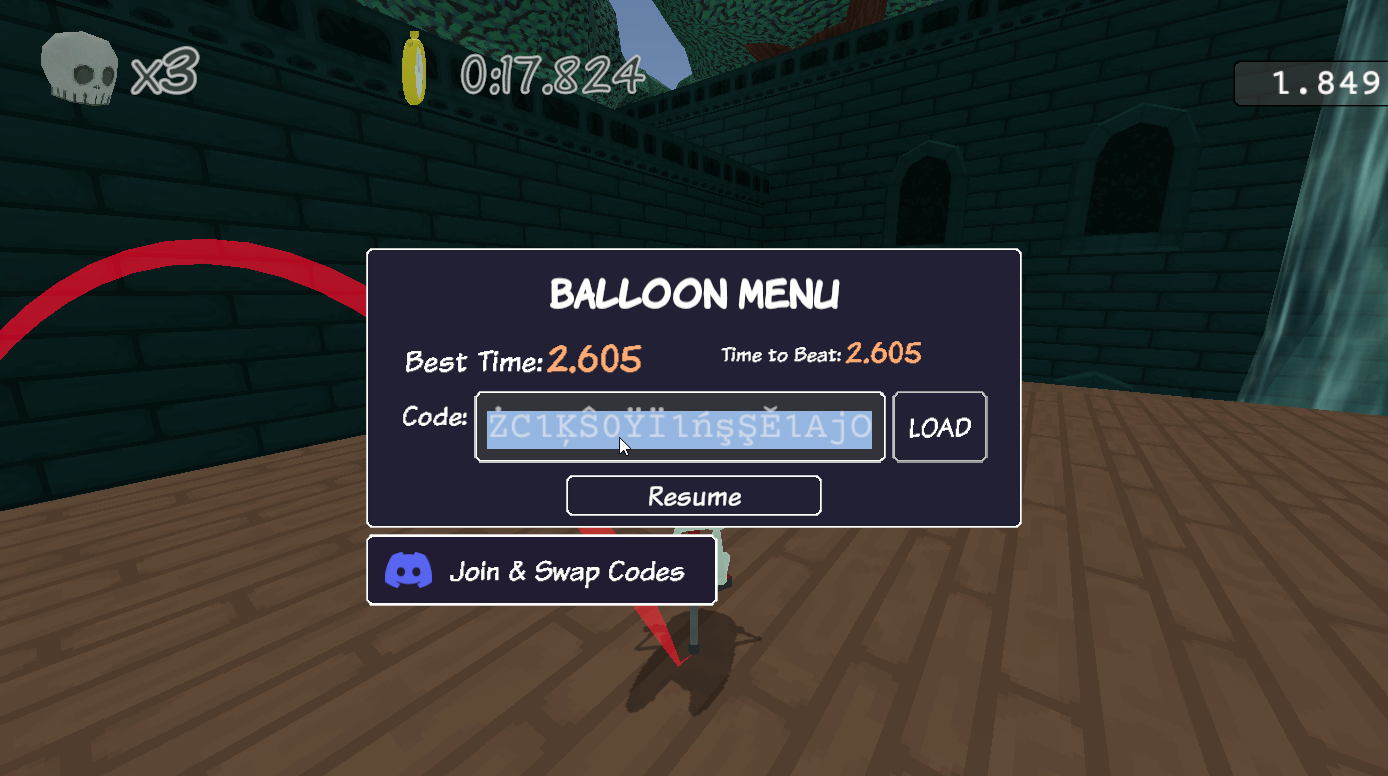
Once you’ve successfully popped your balloon in under 60 seconds, press the ‘B’ button to open the balloon menu. Then, simply use your mouse to select and copy the code using CTRL-C. You can paste this code into any text box by using CTRL-V.
That's everything we are sharing today for this Pogo3D guide. This guide was originally created and written by hedgewizardsdev. In case we fail to update this guide, you can find the latest update by following this link.
