- Title: Night Security | 夜間警備
- Release Date:
- Developer:
- Publisher:
Information about Night Security | 夜間警備 is still incomplete. Please help us fill the details of the game using this contact form.
This is a comprehensive guide and walkthrough designed to help you achieve 100% completion in the game Night Security | 夜間警備 developed by Chilla’s Art.
Introduction
Night Security | 夜間警備 features a total of 4 achievements. One achievement is for dying, another is for collecting all Patreon items, and the remaining two are based on different endings. This guide will provide separate sections for Gameplay and Collectibles, and will also cover the achievements related to death and both endings in Gameplay Part II.
Gameplay sections will include maps to facilitate navigation. Each room will be labeled based on the floor it is located on. Collectibles will be marked with red dots to indicate their specific locations. In case you encounter any difficulties, there is a more detailed walkthrough provided below to assist you.
Walkthrough and Achievement Guide
Prologue
- Remove the calendar page by tearing it off. Take a moment to observe your surroundings and consider having dinner if desired.
- Proceed to your bedroom, which is the last room on the right.
- Interact with the closet to retrieve your clothes and get dressed.
- Bid your wife goodnight before leaving the room.
- Walk across the hall to your daughter’s room and say goodnight to her.
Floor 1
- Move around to the front of the building.
- Enter your workplace.
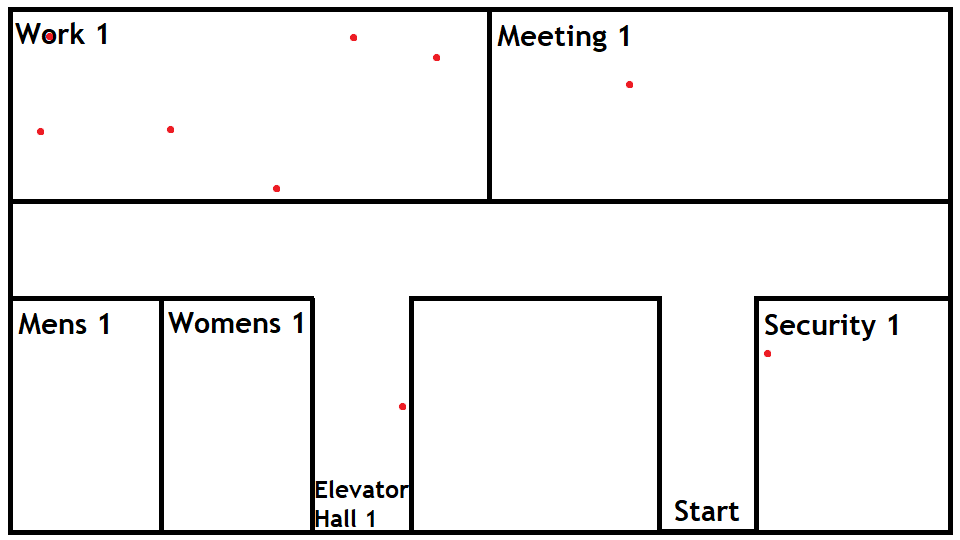
- Proceed to Security 1, which is located to the right.
- Check the clock, notes, and surveillance cameras in Security 1.
- Collect any items present in Security 1 and Elevator 1.
- Enter Meeting 1.
- Collect any items available in Meeting 1.
- Examine the fire alarm located at the back.
- Proceed to the connecting room, Work 1.
- Instruct the person present in Work 1 to go home.
- Gather any available items.
- Verify the status of the fire alarm located at the back.
- Turn off the lights in the bathrooms.
- Proceed to the hallway and lock the doors.
- Head towards the elevator. Press the “Up” button to enter, and then use the keypad to select “Floor 2.”
Floor 2

- Step out of Elevator 2 and gather any available items.
- Proceed to Cubicle 2.
- Use your rizz on the business hunny.
- Collect any items present in Cubicle 2.
- Verify the status of the fire alarm located at the back.
- Move to the connecting room, Cubicle 2a.
- Collect any items available in Cubicle 2a.
- Check the fire alarm located at the back.
- If desired, take a moment to watch TV. Note that it does not affect the endings.
- Turn off the lights in the bathrooms and engage in conversation with someone in Womens 2.
- Return to the hallway and lock the doors.
- It’s elevator time! Proceed to the elevator and press the button to go up to Floor 3.
Floor 3

- Step out of Elevator 3 and gather any available items.
- Proceed to the right end and enter Lecture 3.
- Collect any items present in Lecture 3.
- Verify the status of the fire alarm located at the back.
- Move to the connecting room, Meeting 3.
- Collect any items available in Meeting 3.
- Check the fire alarm located at the back.
- If desired, take a moment to watch TV. It is optional and does not impact the outcome.
- Turn off the lights in the bathrooms.
- Collect any items that are accessible.
- Go to the hallway and lock the doors.
- It’s elevator time again! Proceed to the elevator and press the button to go up to Floor 4.
Floor 4

- Take a look at the copier in Elevator 4, although it cannot be interacted with.
- Collect any available items.
- Proceed to the right end and enter File 4.
- Verify the status of the fire alarm located at the back.
- Move to the connecting room, Work 4.
- Engage in a wholesome interaction with a man, and then ask him to leave.
- Collect any items present in Work 4.
- Check the fire alarm located at the back.
- Express annoyance at the situation.
- Go to Storage 4.
- Pick up the light and install it at the designated prompt point.
- Turn off the lights in the bathrooms.
- Collect any items that are accessible.
- Return to the hallway and lock the doors.
- It’s time to use the elevator again. Press the button to go up to Floor 5.
Floor 5
- Express dissatisfaction with the quality of the lights as well.
- Collect any available items.
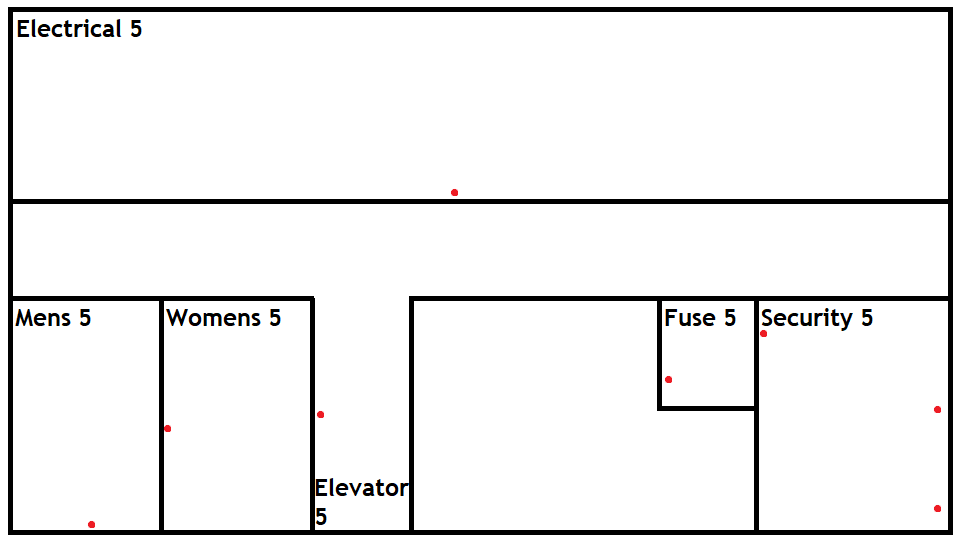
- Head to Fuse 5 and examine the fuse box.
- Gather any items present in Fuse 5.
- Proceed down the hall to the peculiar door.
- Make the following choices at the points where direction selection is available:
- Right
- Left
- Forward
- Forward
- Forward
- Right
- Left
- Retrieve the fuse located on the table.
- Exit the blood maze.
- Install the new fuse into Fuse 5.
- Ask the person present to leave.
- Go to Electrical 5 and flip the four switches. They will be glowing and relatively easy to locate.
- Verify the status of the fire alarm located at the back.
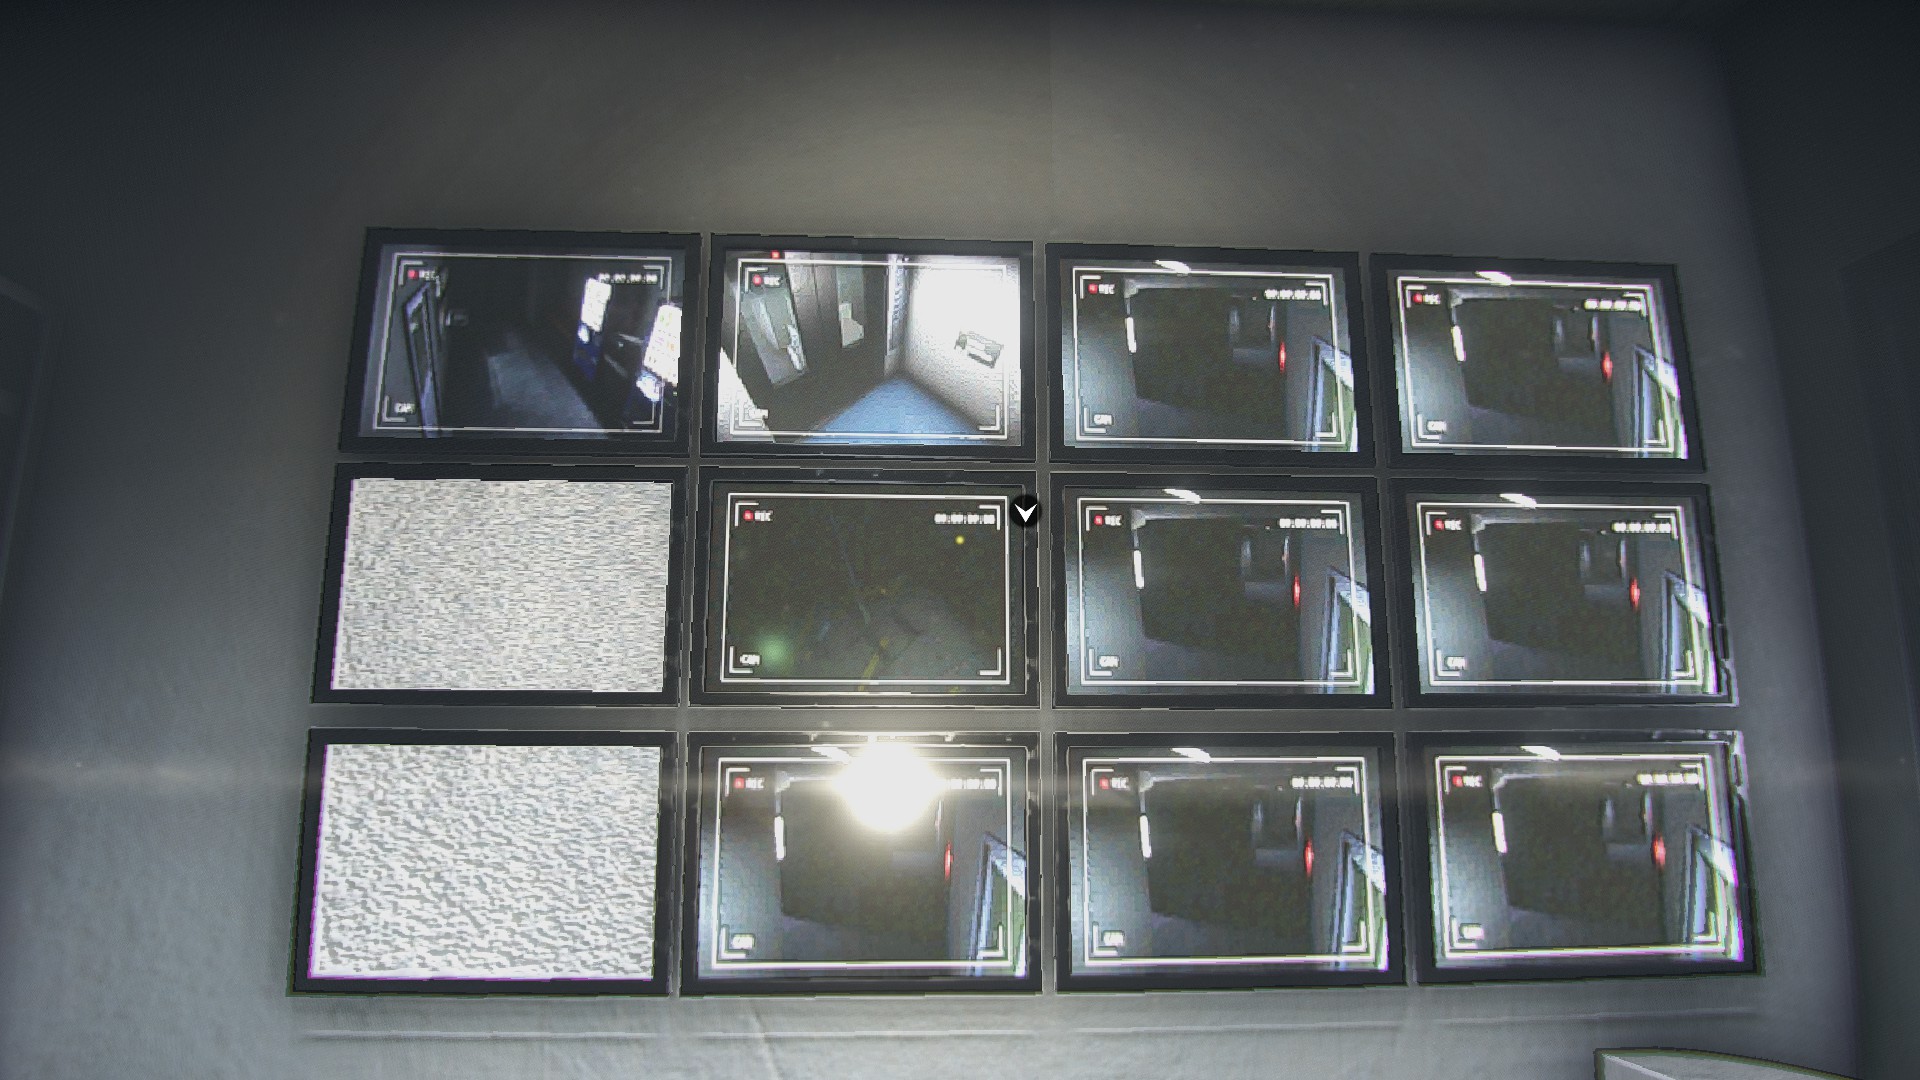
- Proceed to Security 5.
- Collect any available items.
- Read the note.
- Check the CCTV surveillance.
- Optionally, watch TV if desired.
- Turn off the lights in the bathrooms.
- Collect any items that are accessible.
- Return to the hallway and lock the doors.
- It’s time for the elevator again. Press the button to go up to Floor 6.
Floor 6

- Enter the rightmost door of Cafeteria 6.
- Collect any available items.
- Verify the status of the fire alarm located at the back.
- Proceed to the hallway and lock the doors.
- It’s time to use the elevator once again. Press the button to go up to Floor 7.
Floor 7
- Proceed to the right end and enter Ladder 7.
- Climb up the nearest ladder.
- Retrieve the switch.
- Look down and select the ladder to descend.
- Ascend the other ladder.
- Obtain the second switch.
- Look down and select the ladder to descend.
- Collect any available items.
- Move to the connected room, Ladder 7a.
- Ascend ladder #3 to acquire the third switch.
- Look down and select the ladder to descend.
- Collect any items that are accessible.
- Climb the ladder in Womens 7 to find the fourth switch.
- Return to Elevator 7 and reattach the switches.
- It’s time for the elevator again. Press the button to go up to Floor 8.
Floor 8
- Exit Elevator 8 and collect any available items.
- Proceed to the right end and enter Meeting 8.
- Verify the status of the fire alarm located at the back.
- Move to the connected room, Work 8.
- Collect any items that are accessible.
- Turn off the lights in the bathrooms.
- Go to the hallway and lock the doors.
- It’s time for the elevator once again. Press the button to go up to Floor 9.
Floor 9

- Proceed to Chair 9.
- Verify the status of the fire alarm located at the back.
- Move to Work 9.
- Collect any available items.
- Interact with the person positioned in the middle of the room.
- Check the fire alarm located at the back.
- Turn off the lights in the bathrooms.
- Collect any items that are accessible.
- Go to the hallway and lock the doors.
- Instead of taking the elevator this time, head to the stairs.
- Look for the Emergency Key hall across from Chair 9.
- Retrieve the key located at the end of the hall, following the only available path.
- To return, take a left whenever possible, or go straight if no left turn is available.
- Proceed to the stairway door and use the key to unlock it.
- Enter the stairway and go upstairs. Note that there is no autosave at this point.
- There are no further collectibles to be found in this section.
Floor 10

- Proceed to floor 10.
- Enter the door on the right, which leads to Lecture 10.
- Verify the status of the fire alarm located at the back.
- Move to the connected room, Lecture 10a.
- Check the fire alarm located at the back.
- Turn off the lights in the bathrooms.
- Go to the hallway and lock the doors.
- Time to use the elevator again. Proceed to the elevator and go up to Floor 11.
Floor 11

- Exit the elevator and proceed towards the TV in front of you. Interact with it.
- Move forward and continue down the hallway.
- Enter the right door, leading to Clock 11.
- Look at the dirty clock on the right wall and interact with it.
- Exit Clock 11 and head to one of the bathrooms. Interact with a sink.
- Return to Clock 11 and interact with the clock on the wall.
- Proceed to the connected room, Computers 11.
- Locate the safe and enter the combination 90 for the inner circle and 60 for the outer circle.
- Obtain the tape from the safe.
- Check the lockers on your right, and find cables in the middle one.
- Apply both cables to the TV in the middle of the room and watch the content.
It is possible to obtain all three unattainable accomplishments by experiencing a single demise and subsequently reloading. After reaching Ending 1, reload the current level and replicate the actions thus far, then proceed towards Ending 2.
- Realize your situation and understanding.
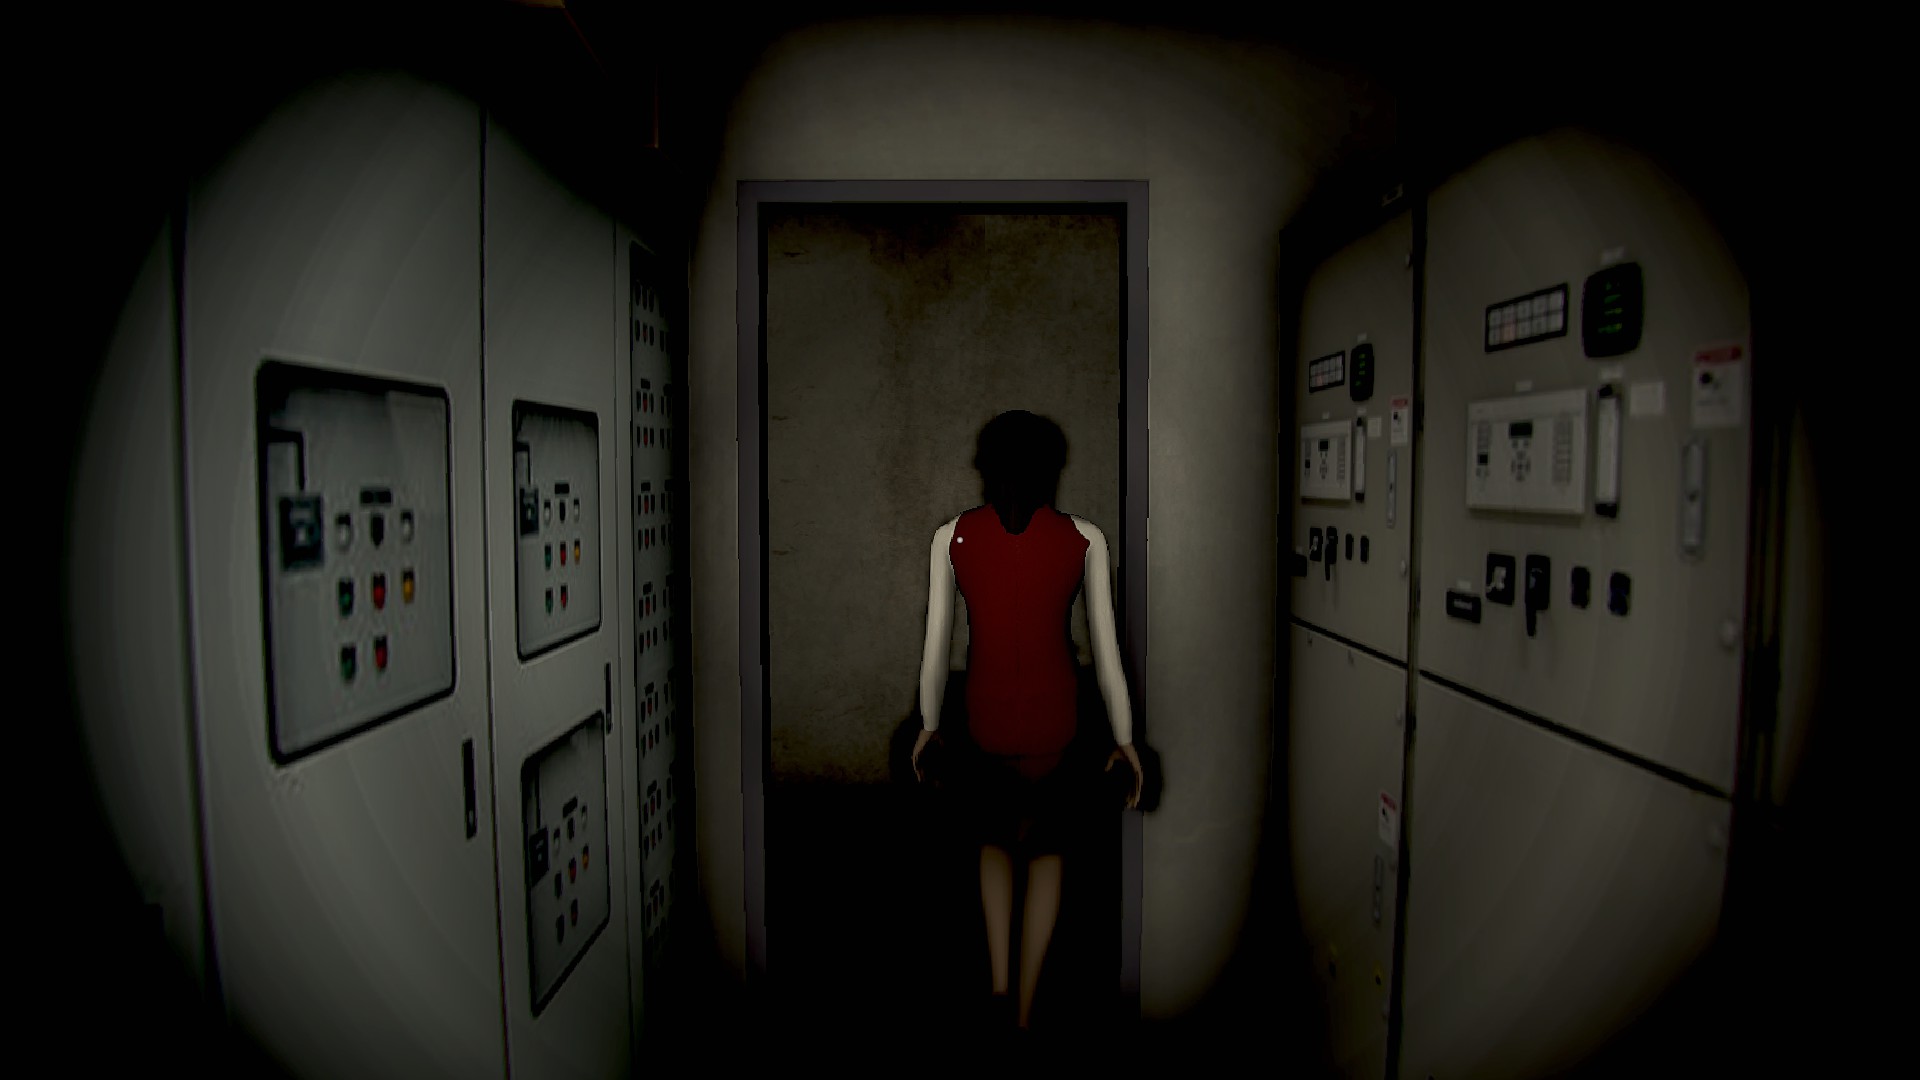
- Open the door, run out, and deliberately allow yourself to die.

Achievement: Ending 1
- Access the door and swiftly retreat.
- Proceed to the door located in the distant corner, beyond the television.
- Take a left turn, swiftly return to the stairwell.

Achievement: Ending 2
- Unlock the door and quickly retreat.
- Head towards the door situated in the far corner beyond the television.
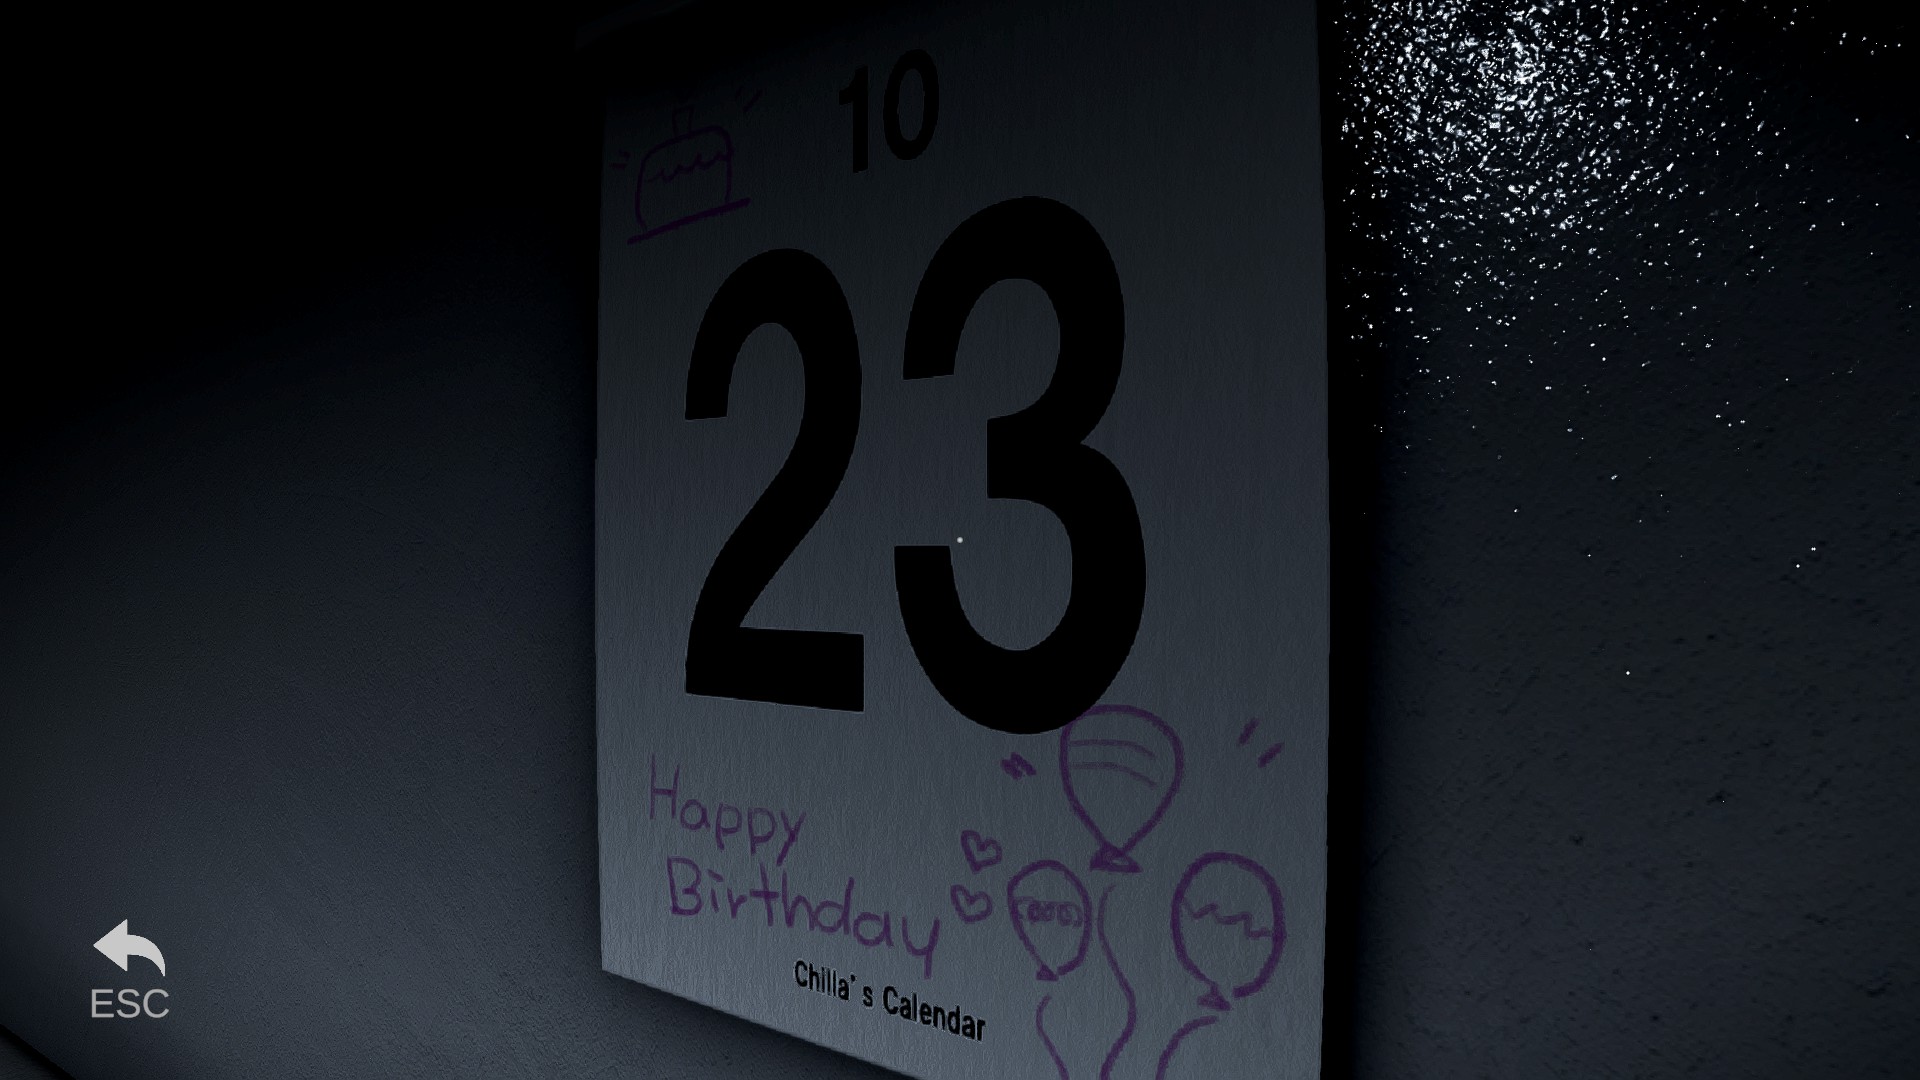
- Direct your gaze towards the end of the hallway, where you’ll find a wall adorned with a keypad and a drawing.
- Input the combination “1023” into the keypad.
- Hasten towards Elevator 11.

All Collectibles
Business Card Locations
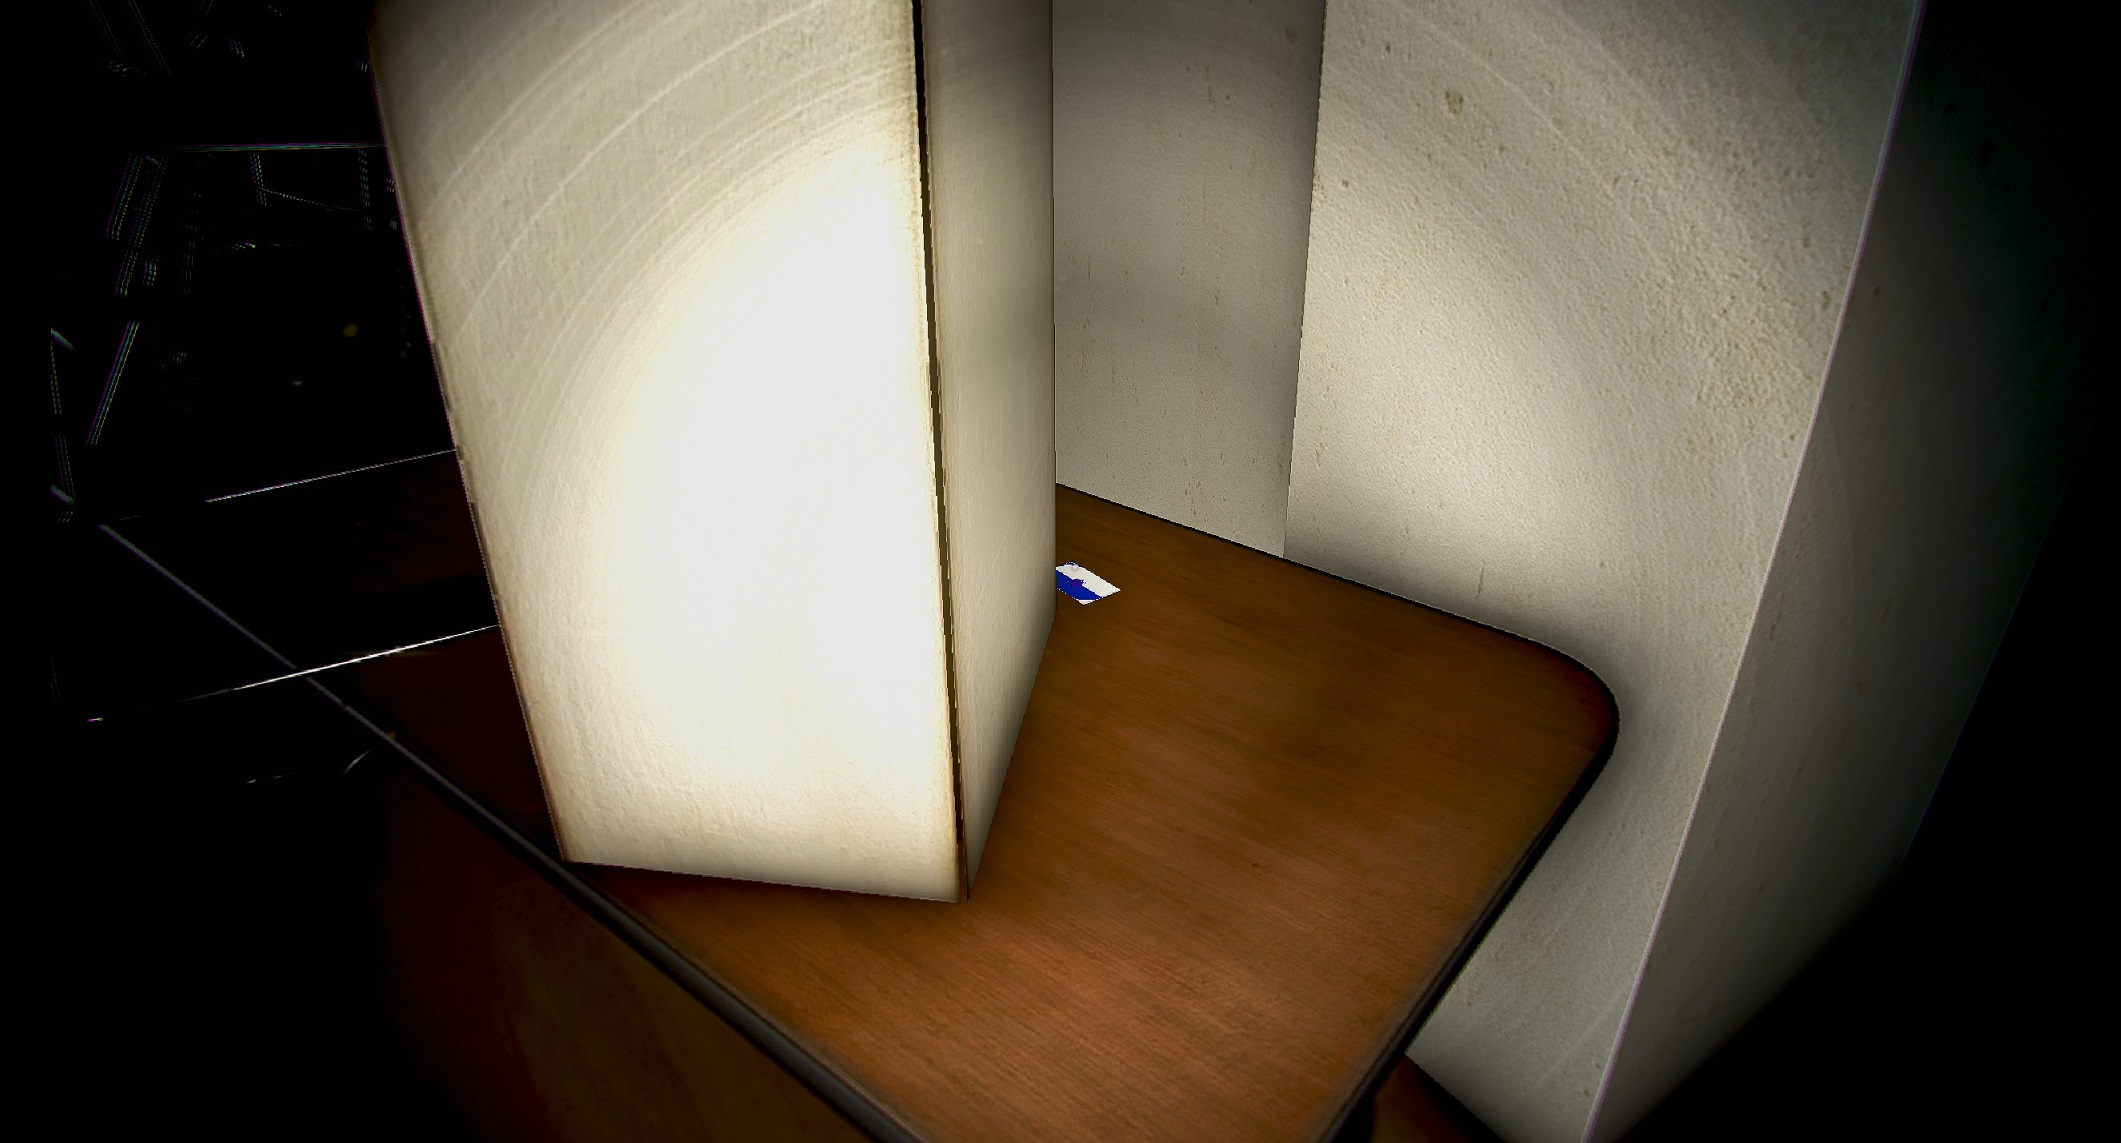
The Night Shift Patreon collectibles consist of business cards that have been strategically placed throughout the building. There is a total of XX cards available for collection. These collectibles are indicated on the maps provided with red dots. Here is a detailed guide on where to find them.
Please keep in mind that the term “front facing” desk refers to a desk where the person sitting is facing the front of the room, while “back facing” desk means the person sitting there would be facing the back.
1st Floor | 9 Cards
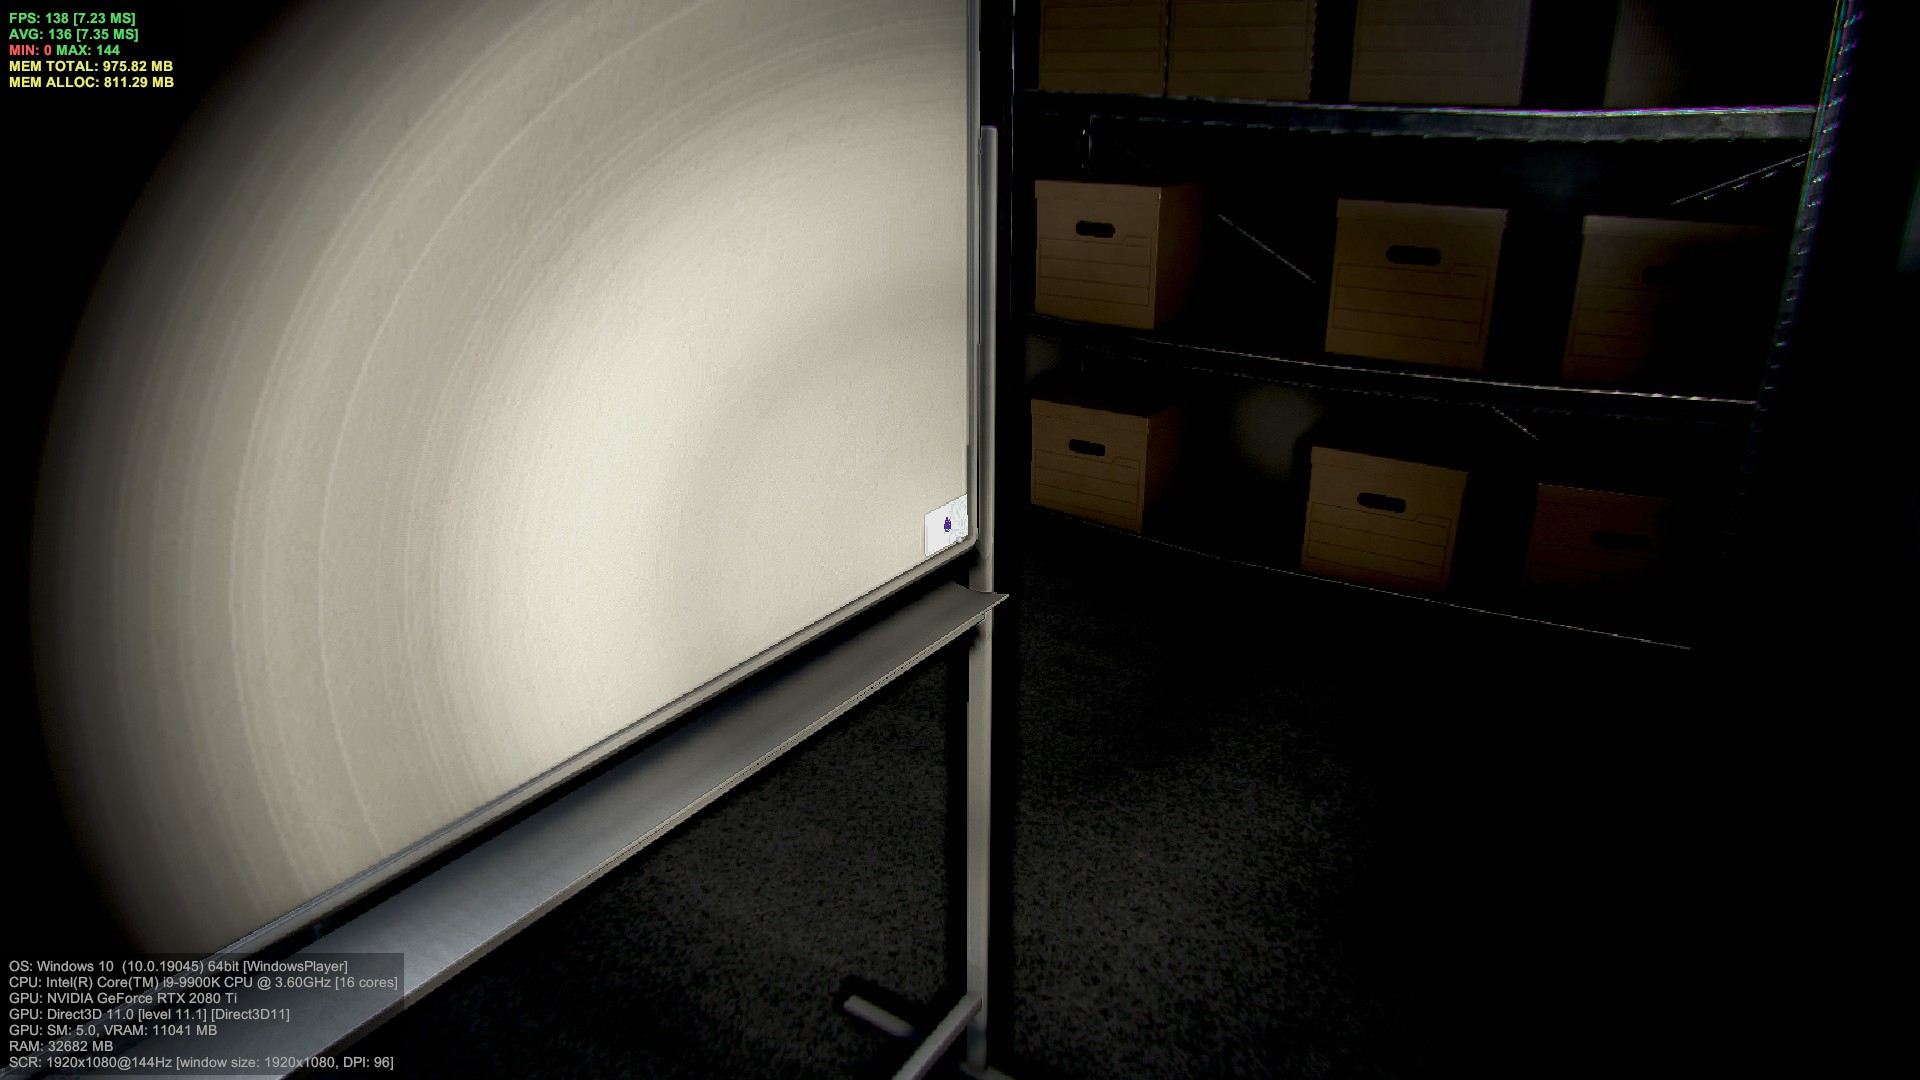
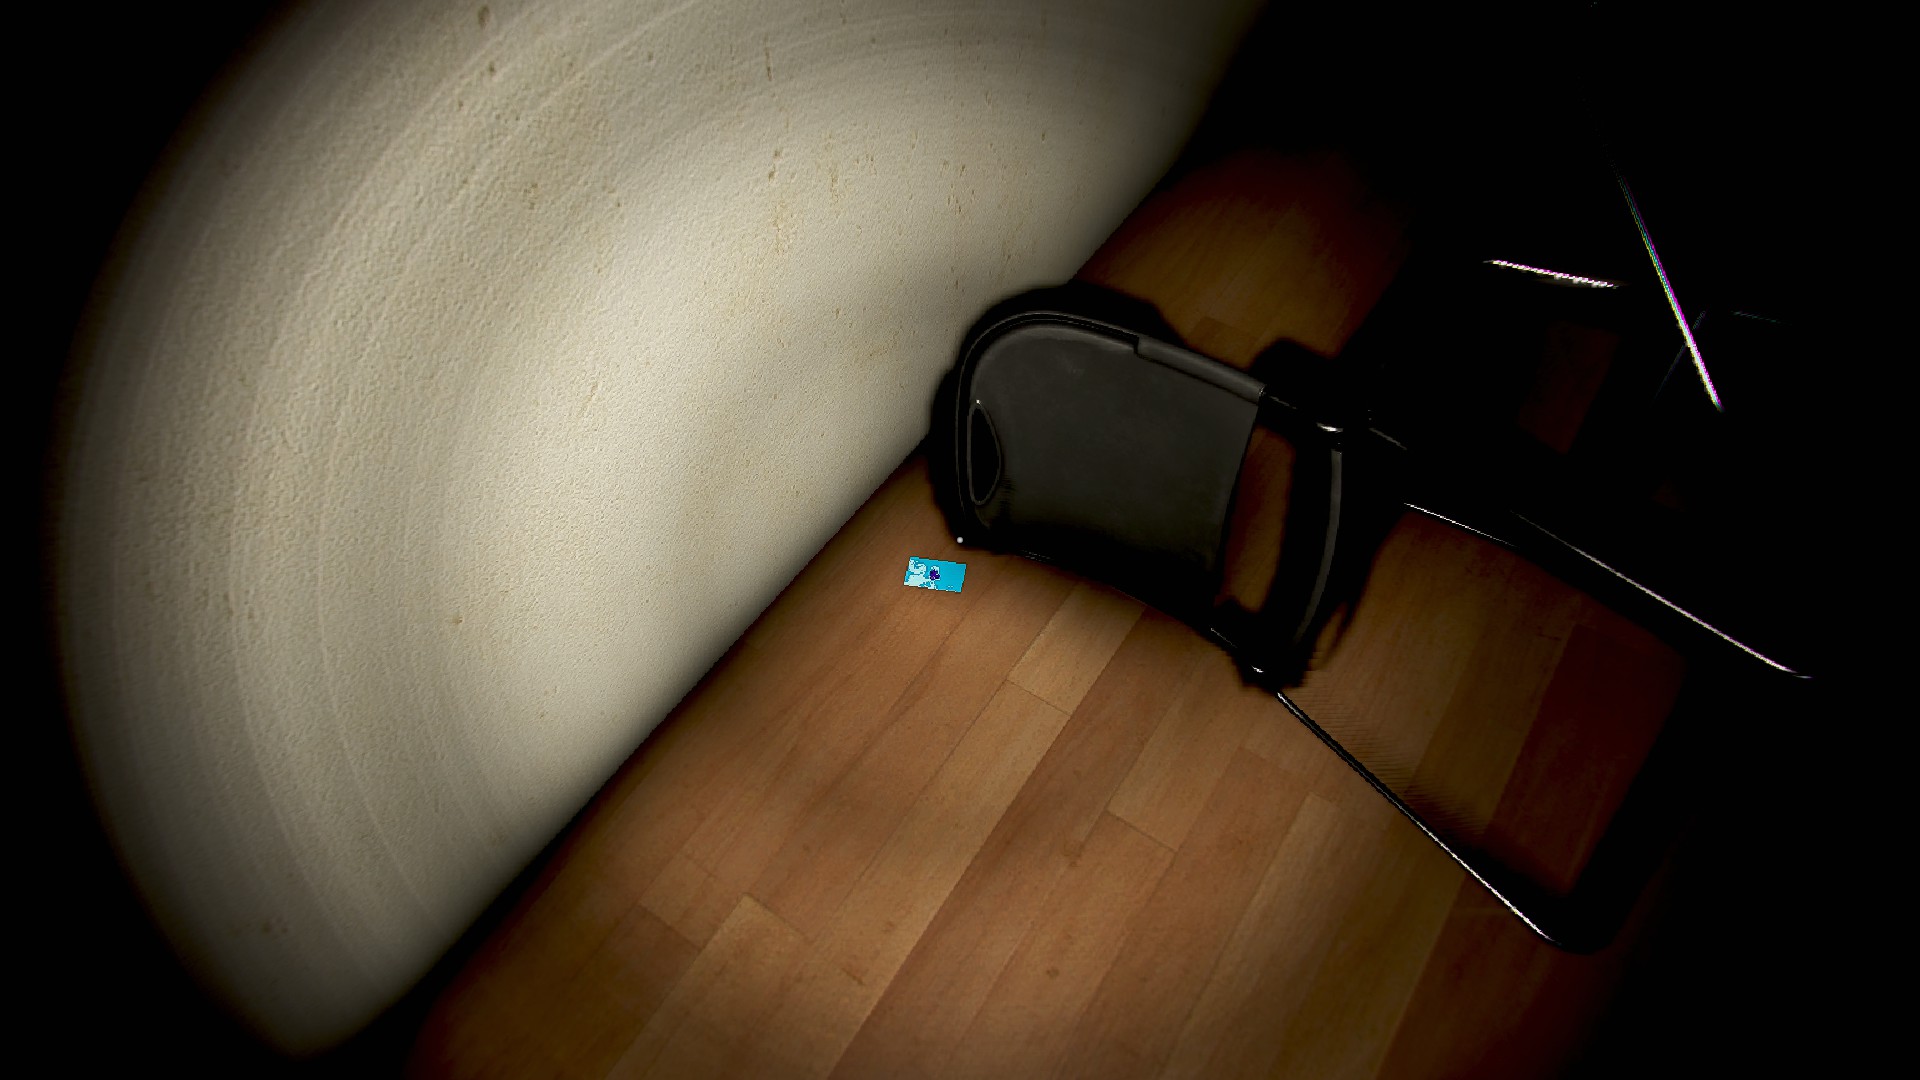
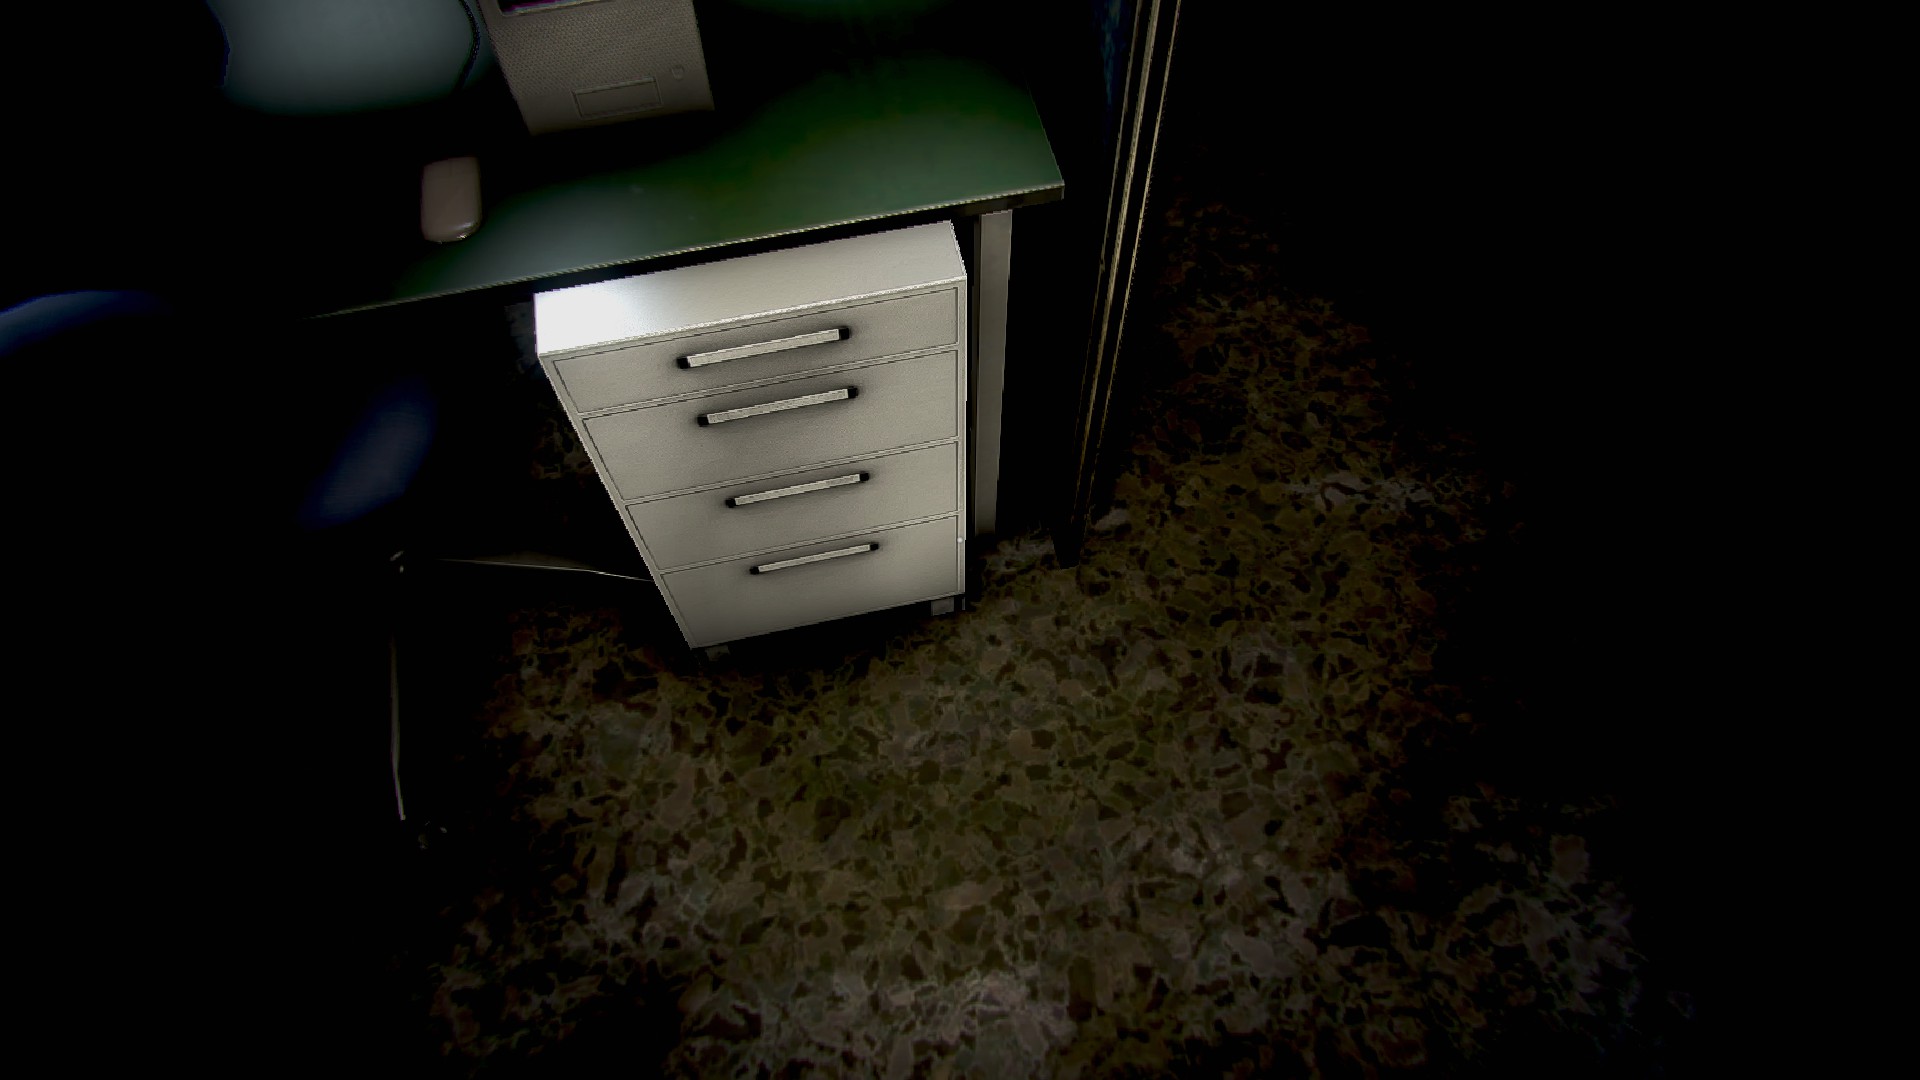
Security 1, behind your desk on the ground
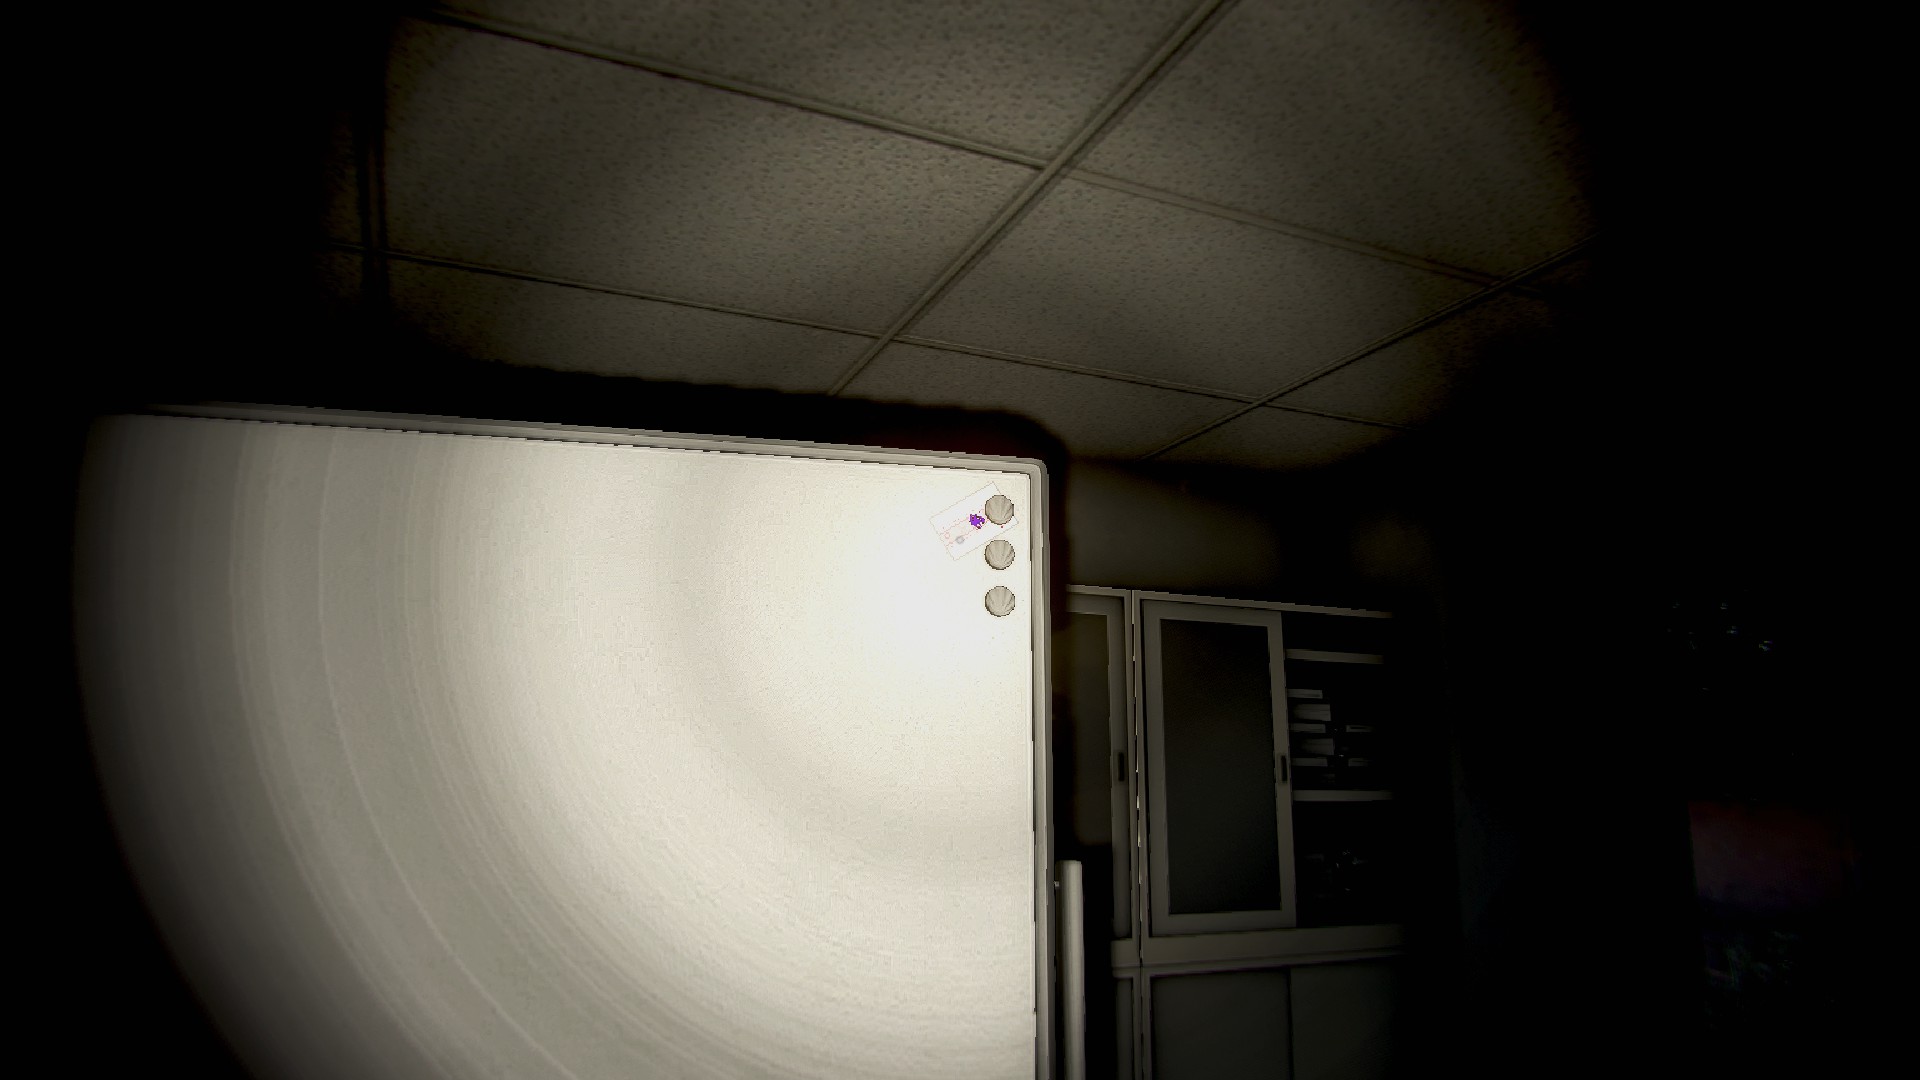
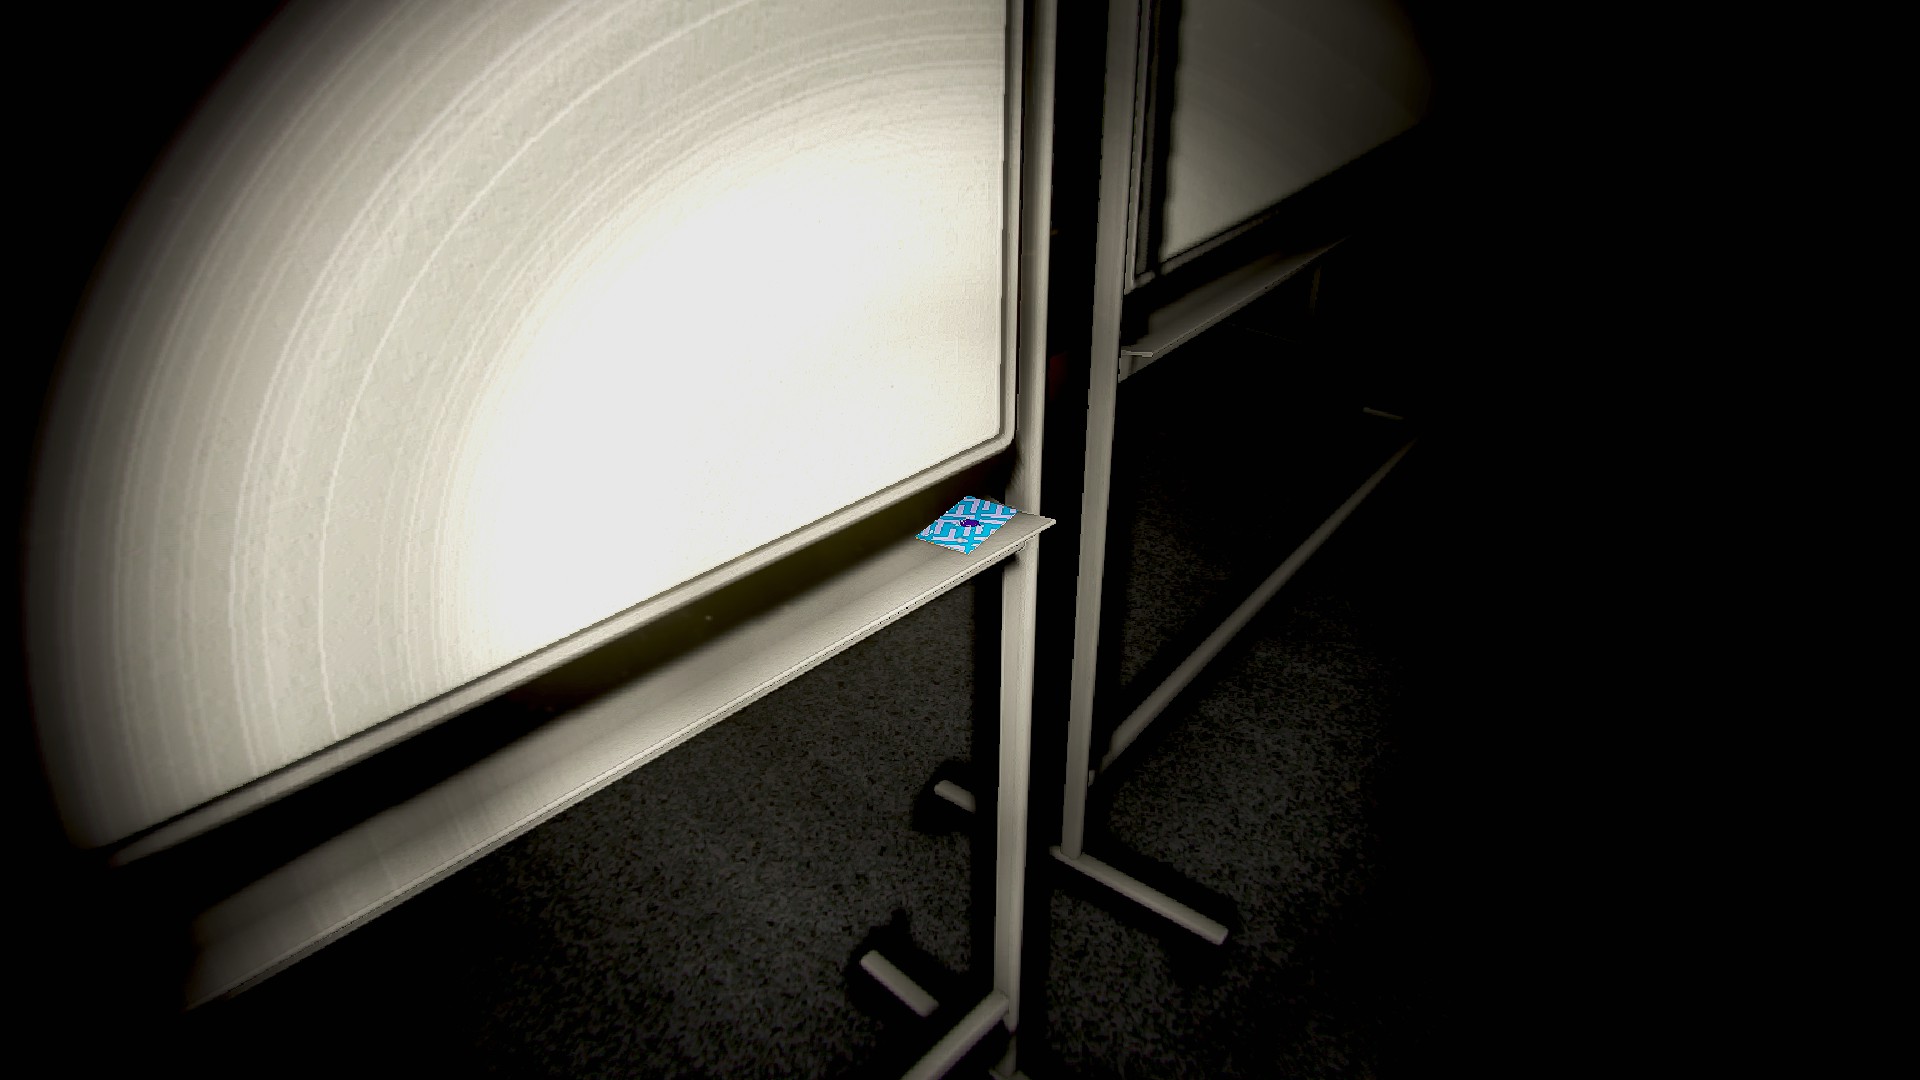
Meeting 1, upper right side of the whiteboard
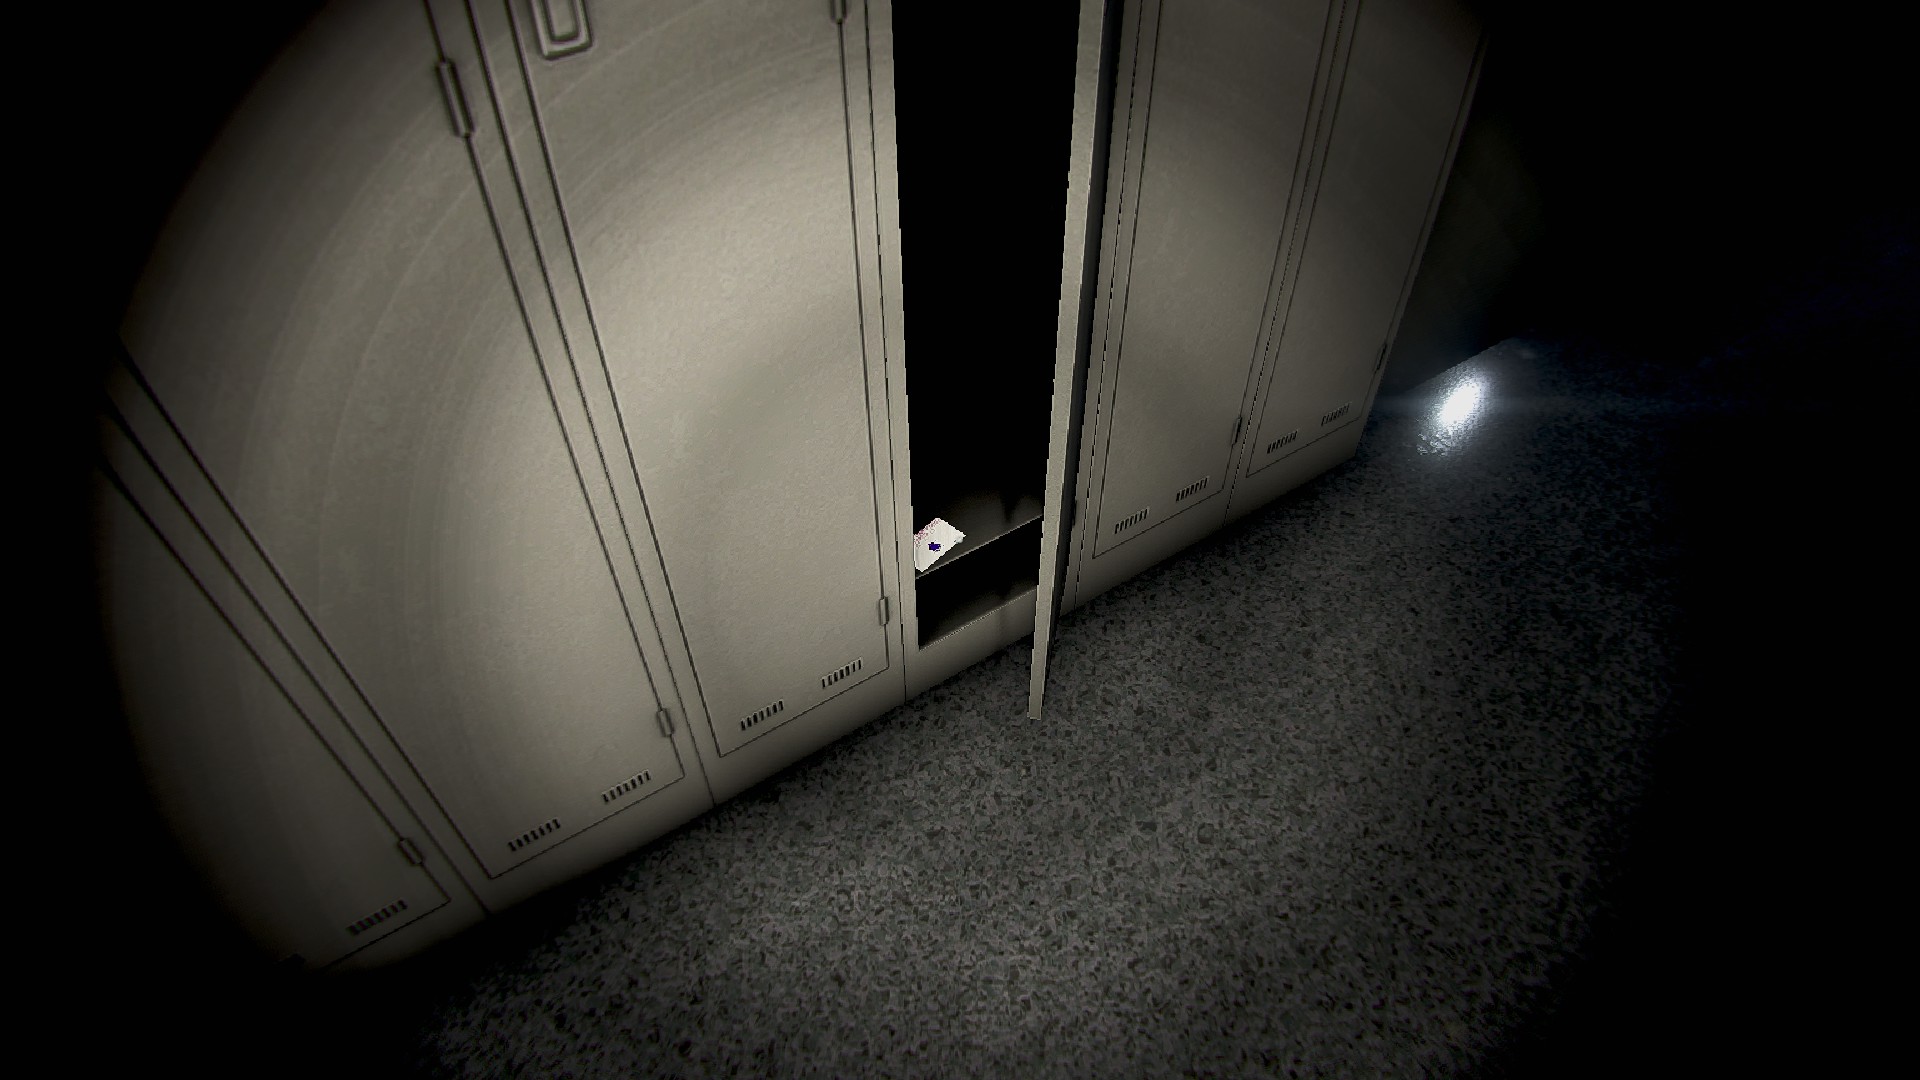
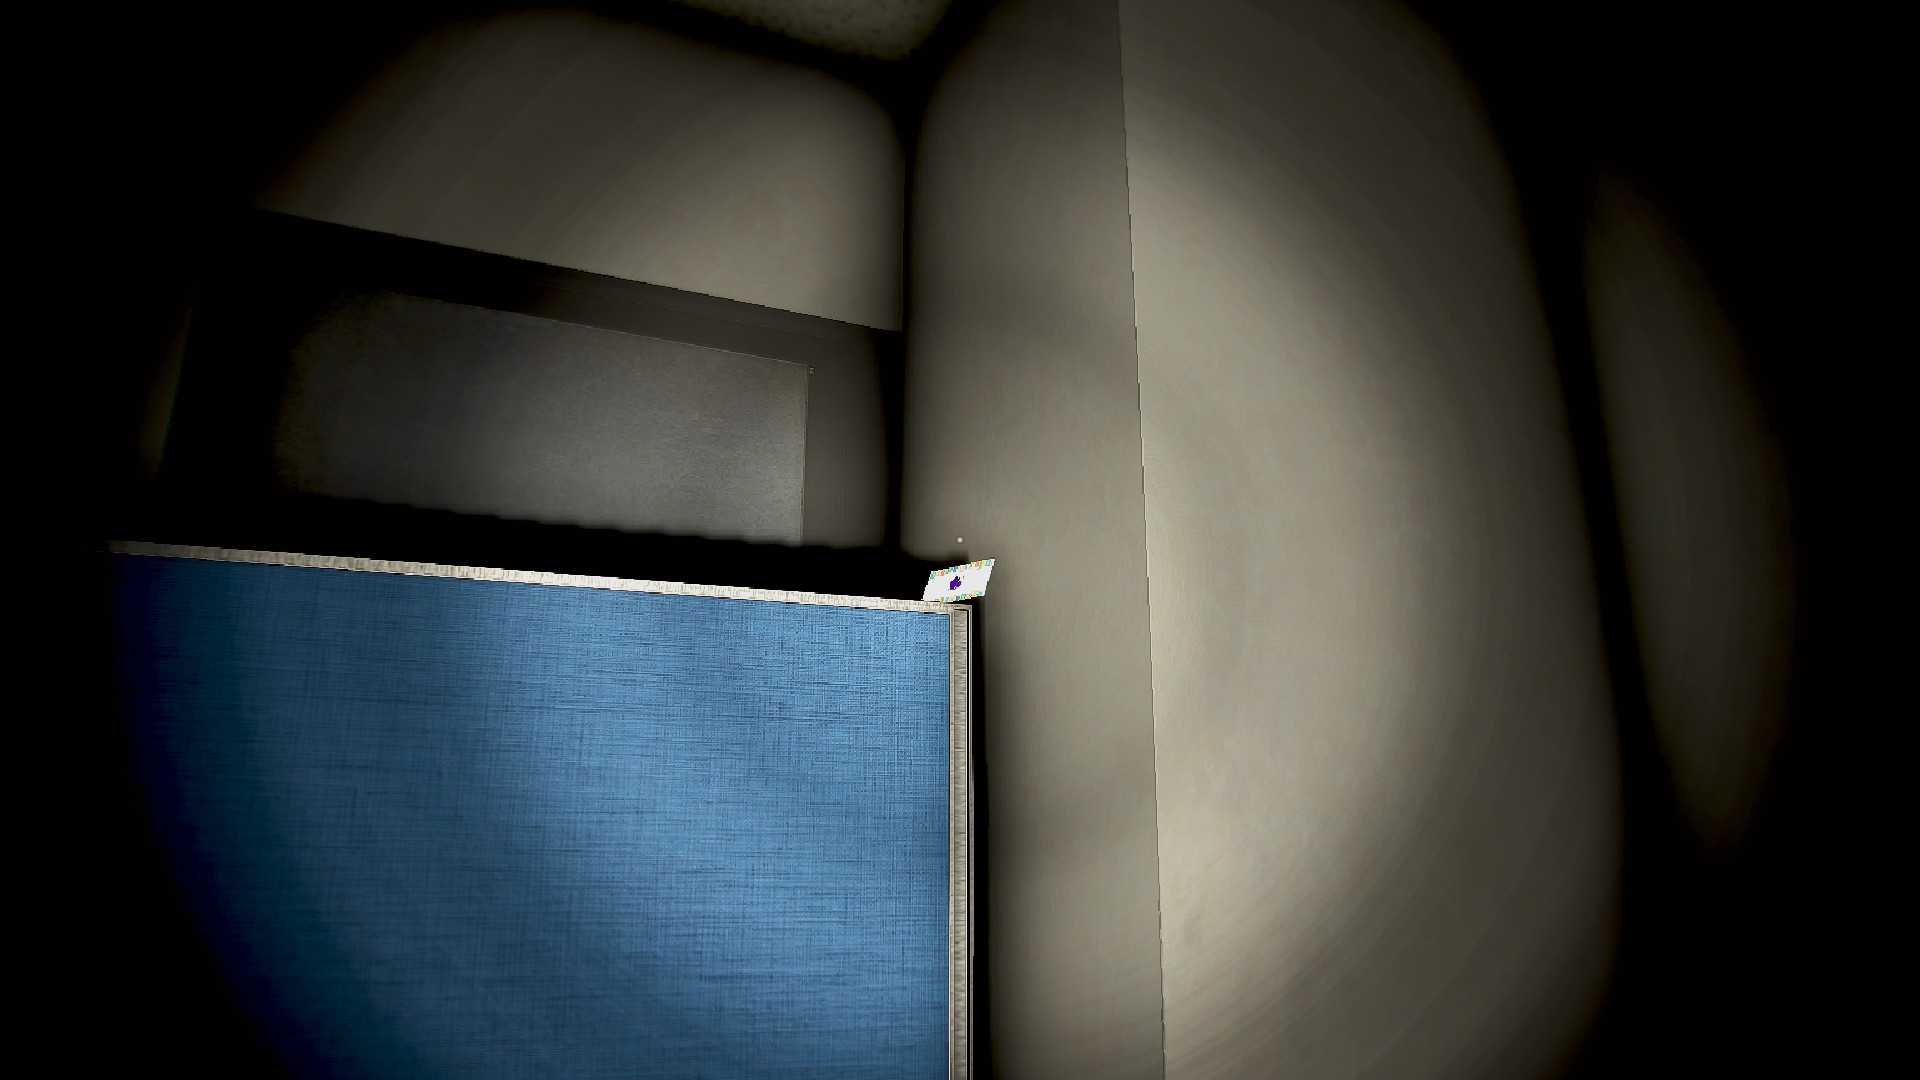
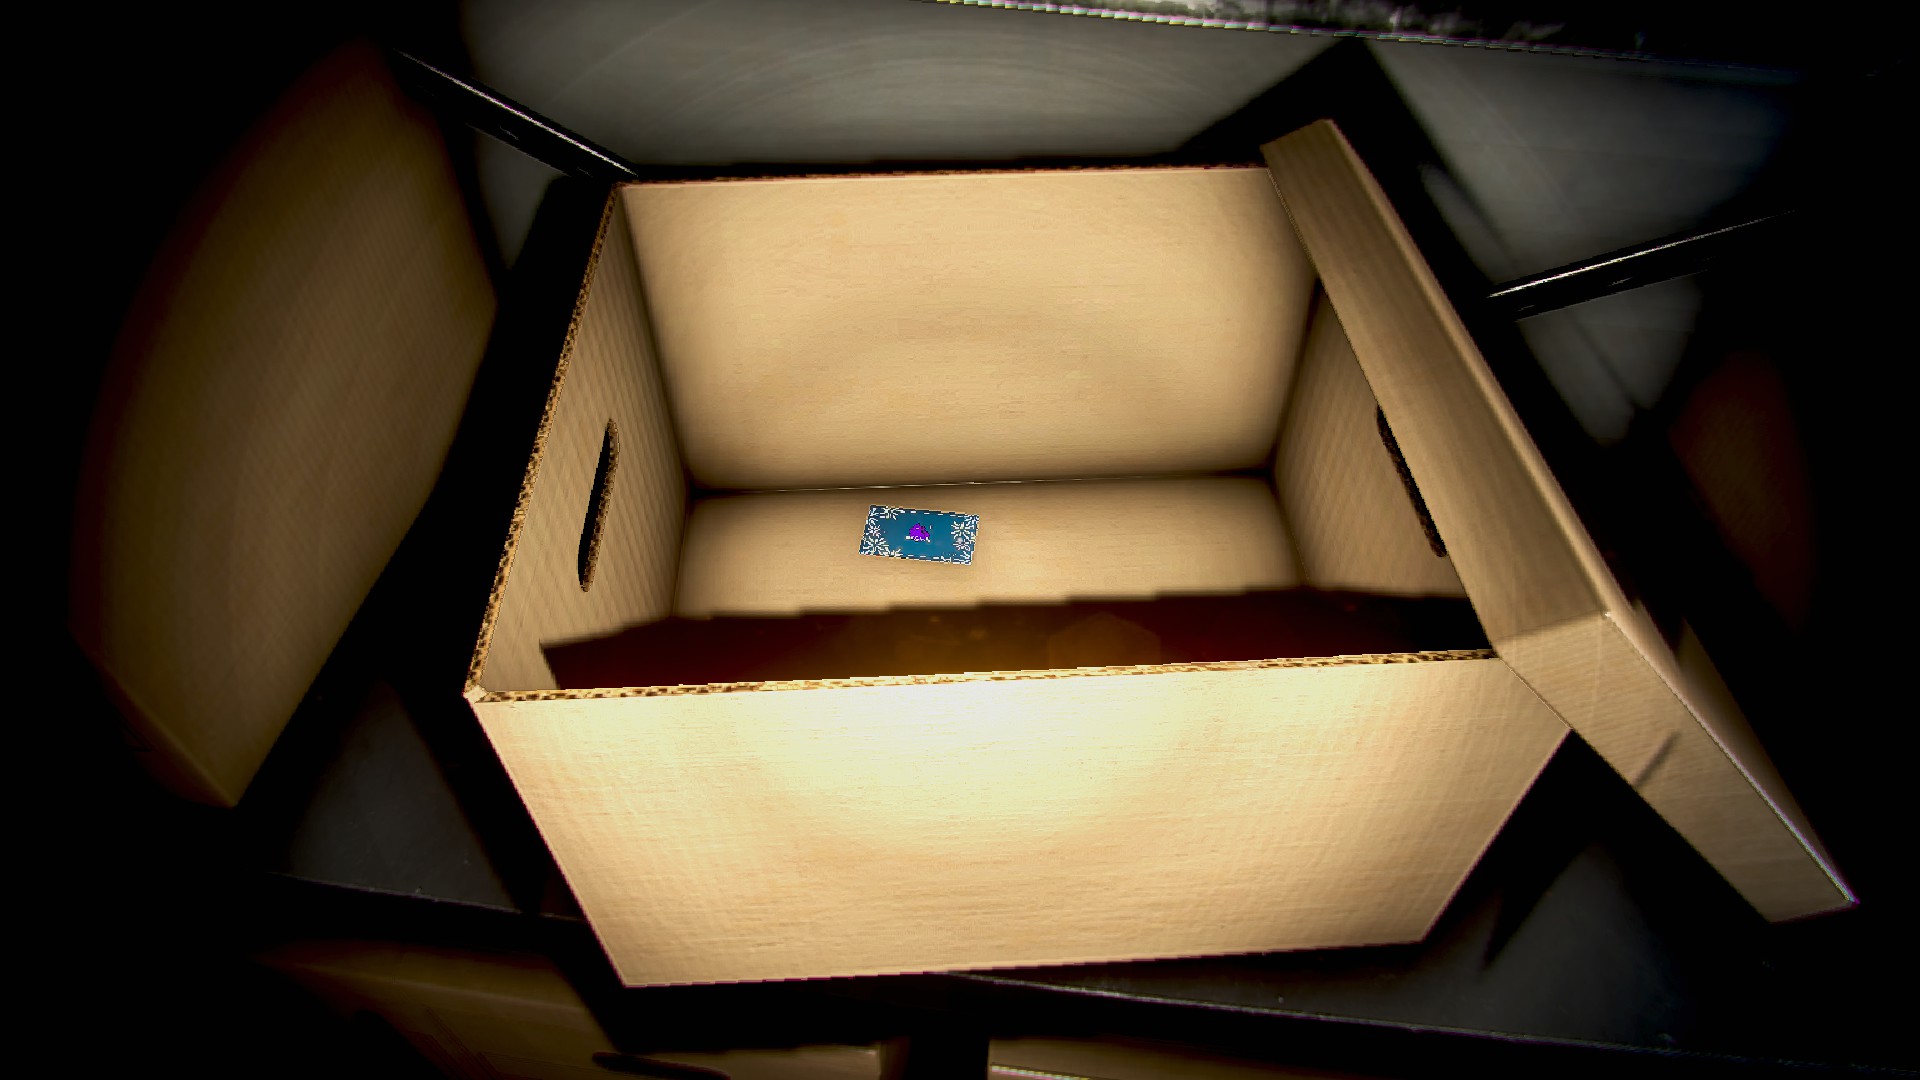
Work 1, check the bottom of the lockers as you enter
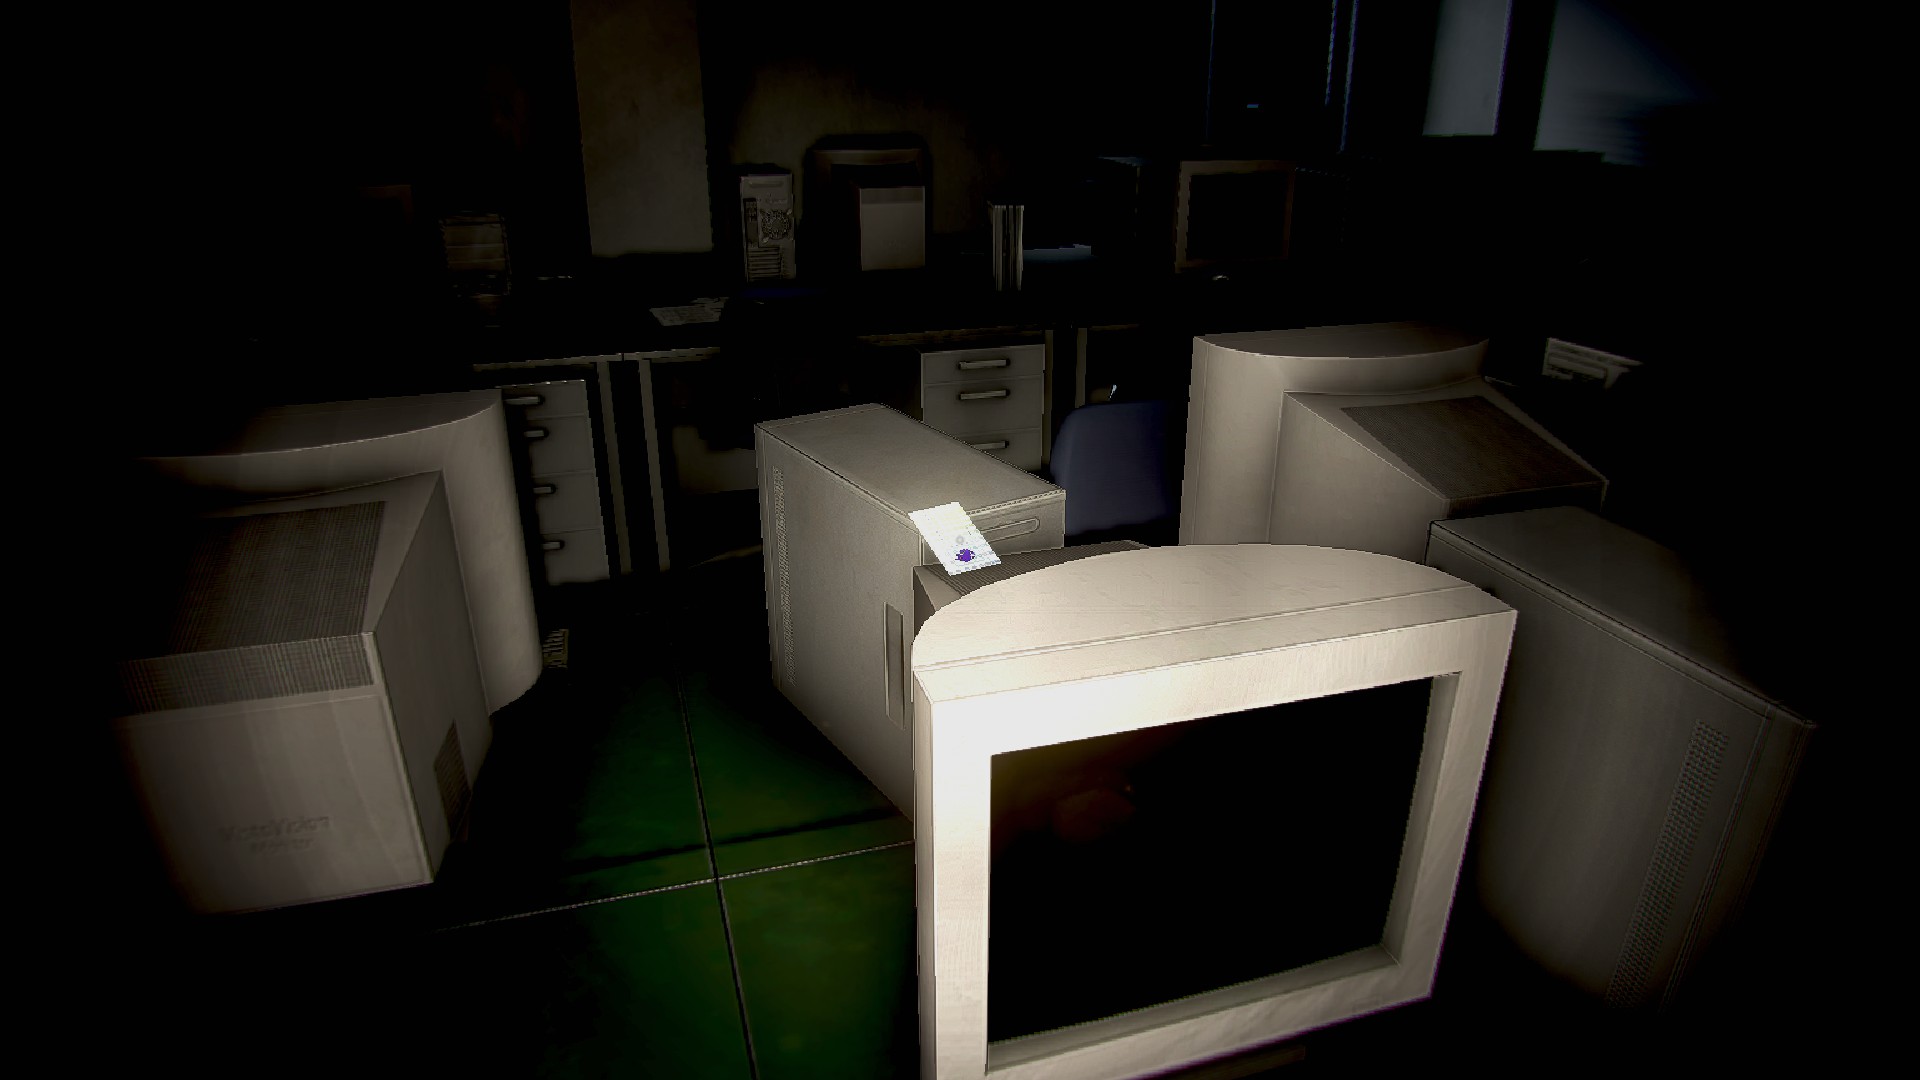
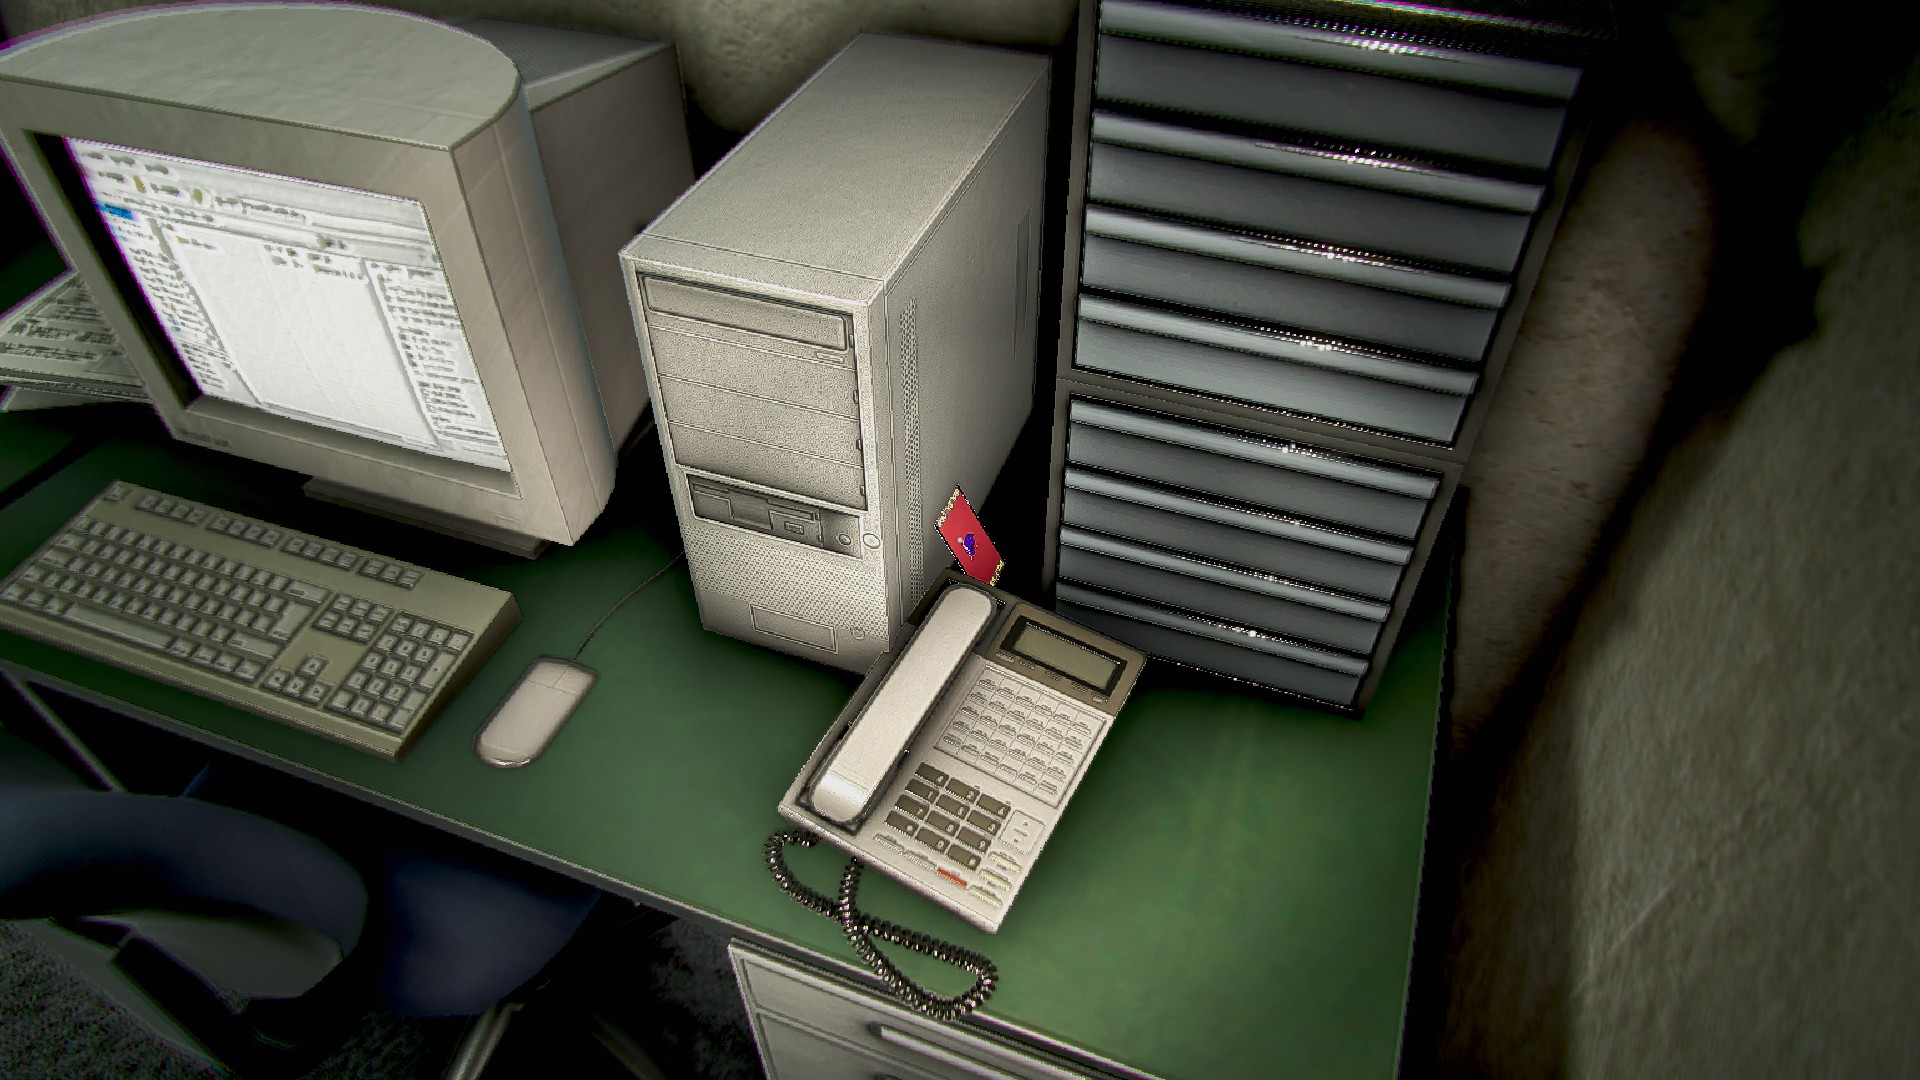
Work 1, behind the person, between the files and PC tower

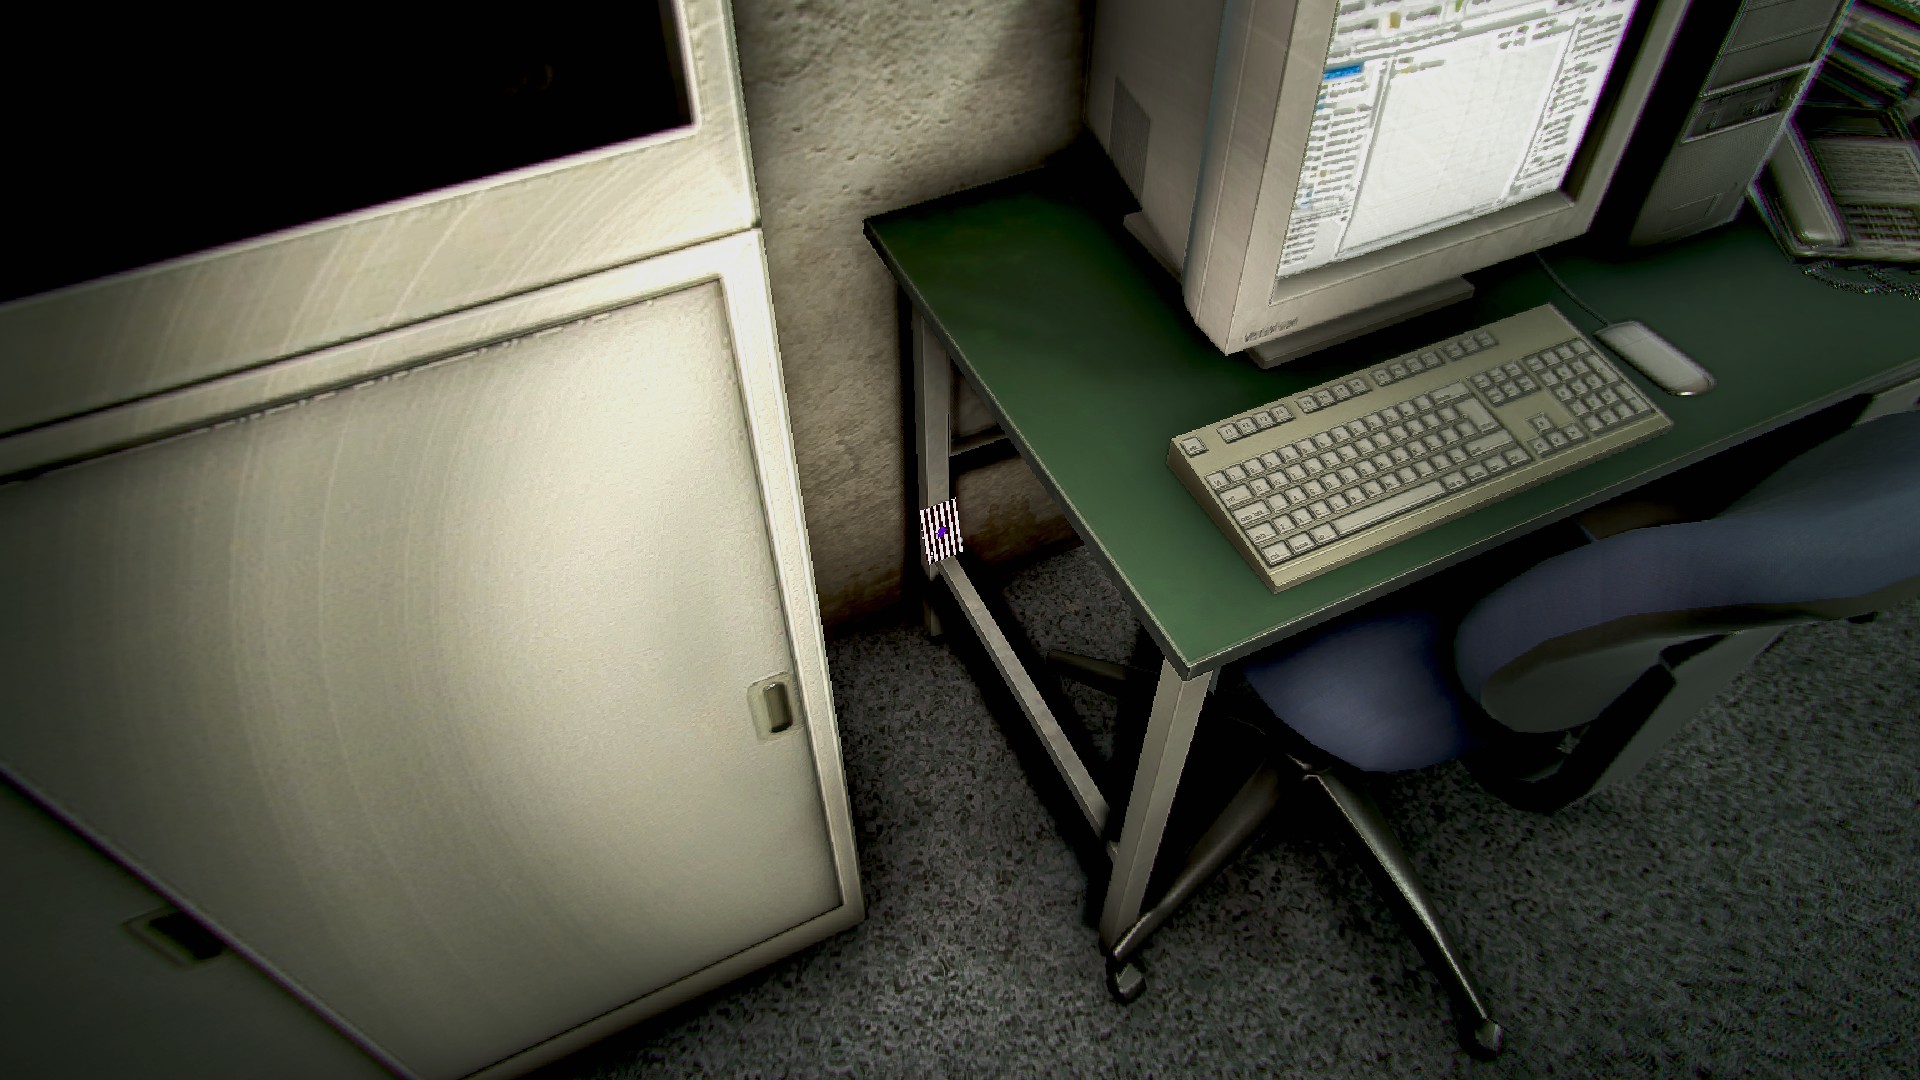
Work 1, behind the person, next to the cabinet at the end of the last row, right side

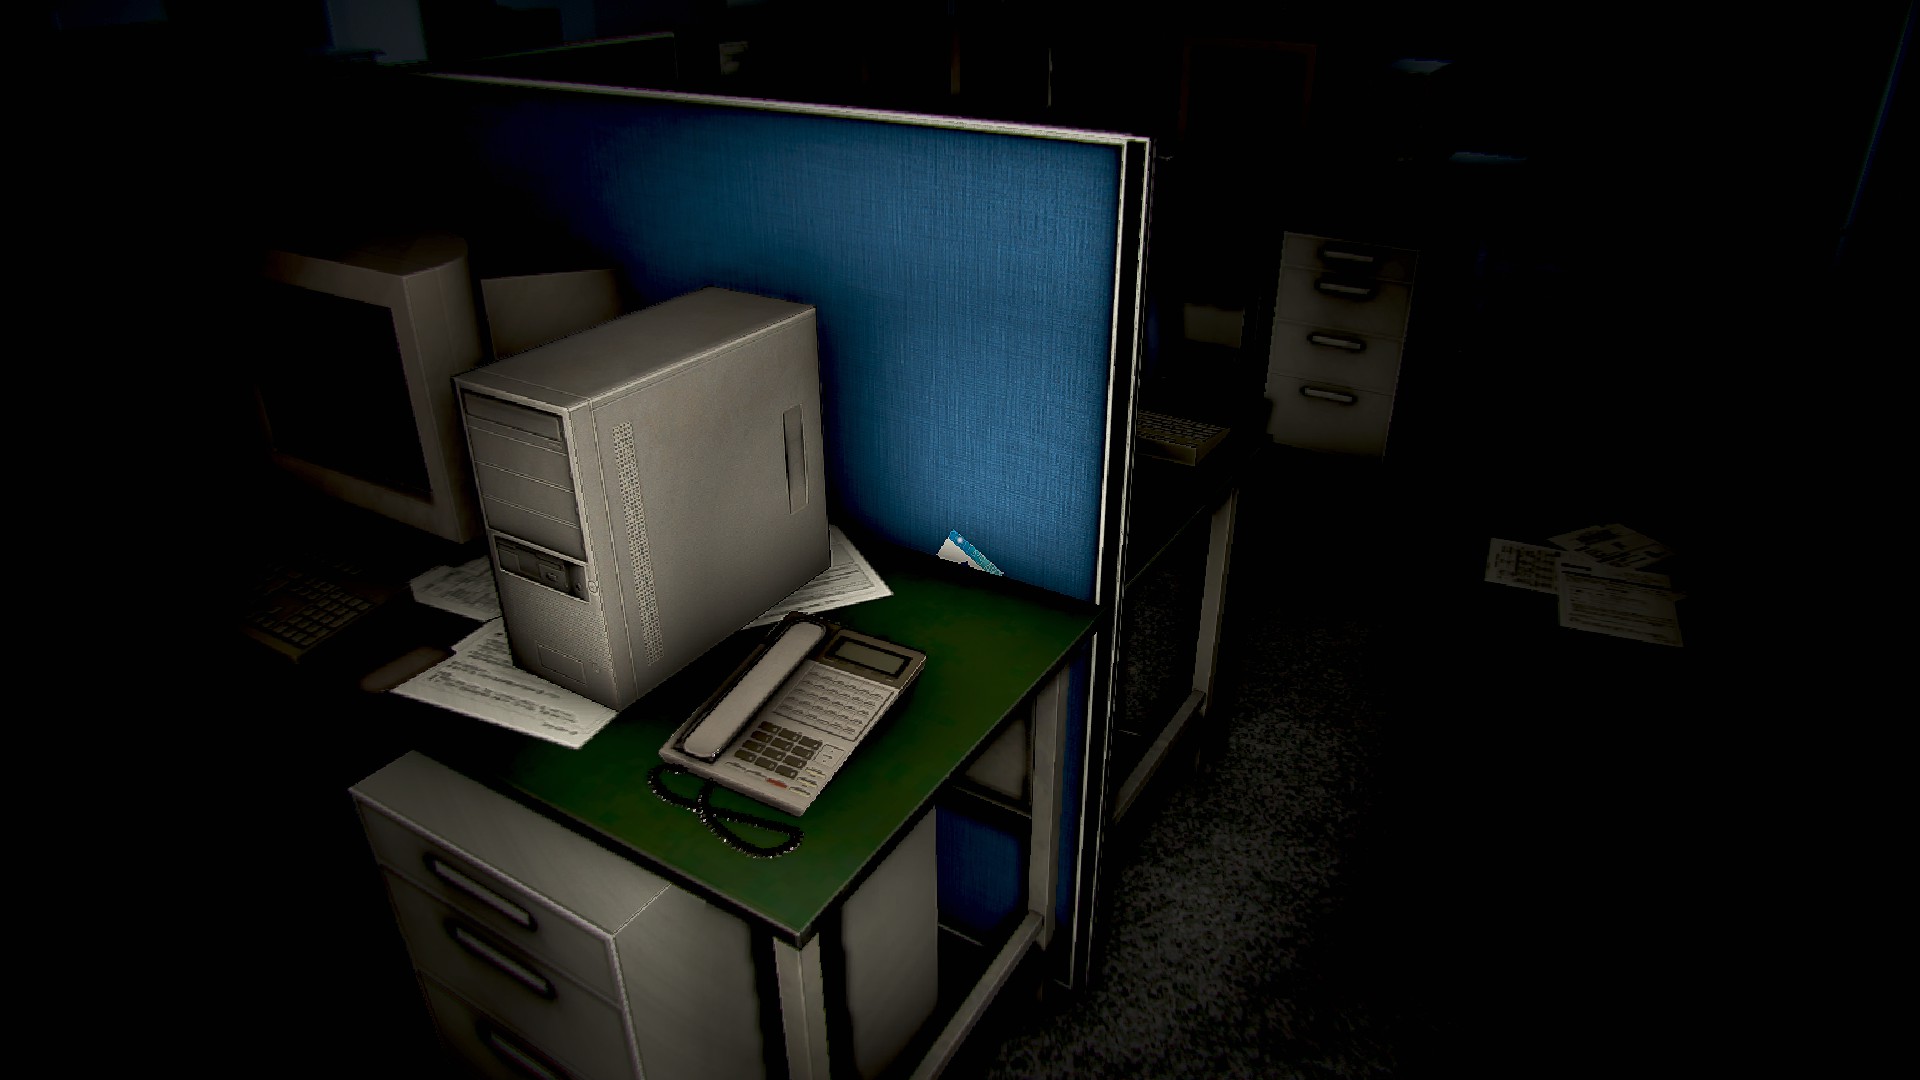
Work 1, Desk in the center area, tucked under a keyboard

Work 1, on the floor against a desk

Work 1 back of the room, back wall of the end desk
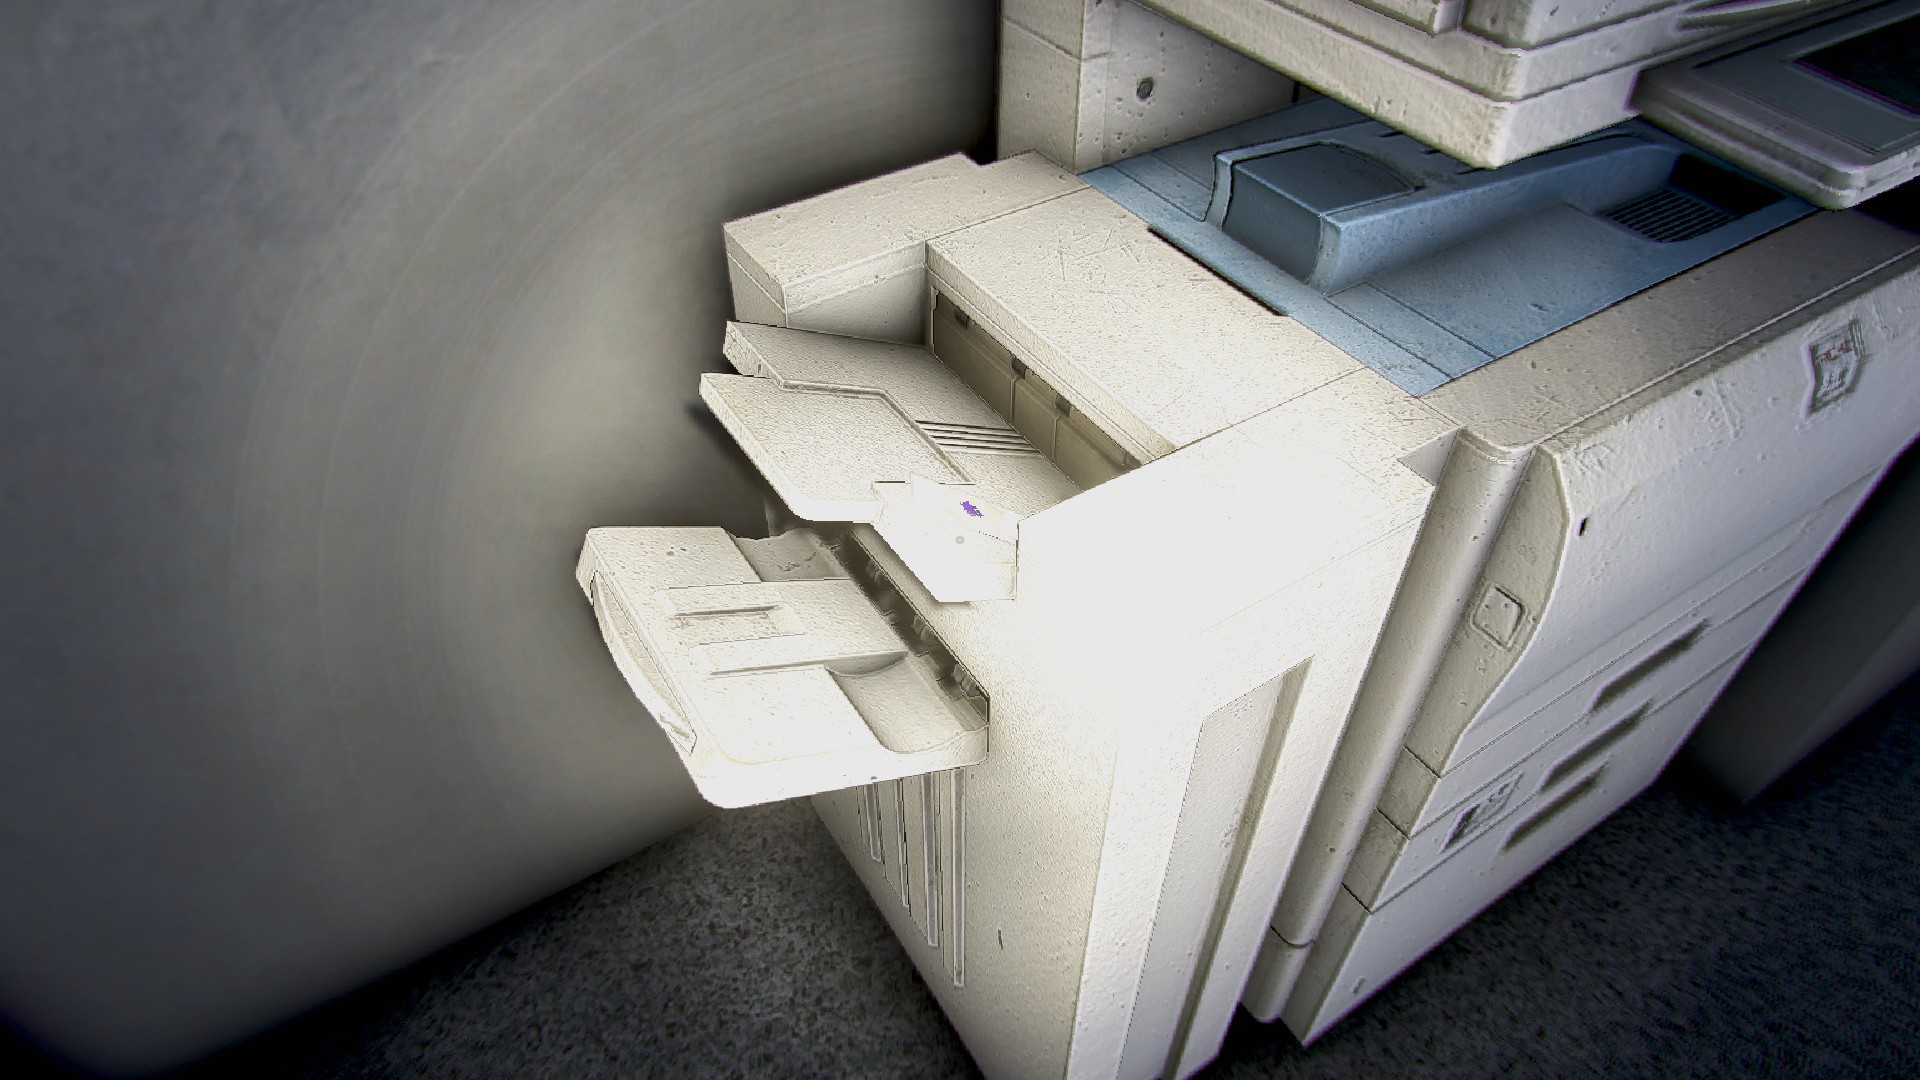
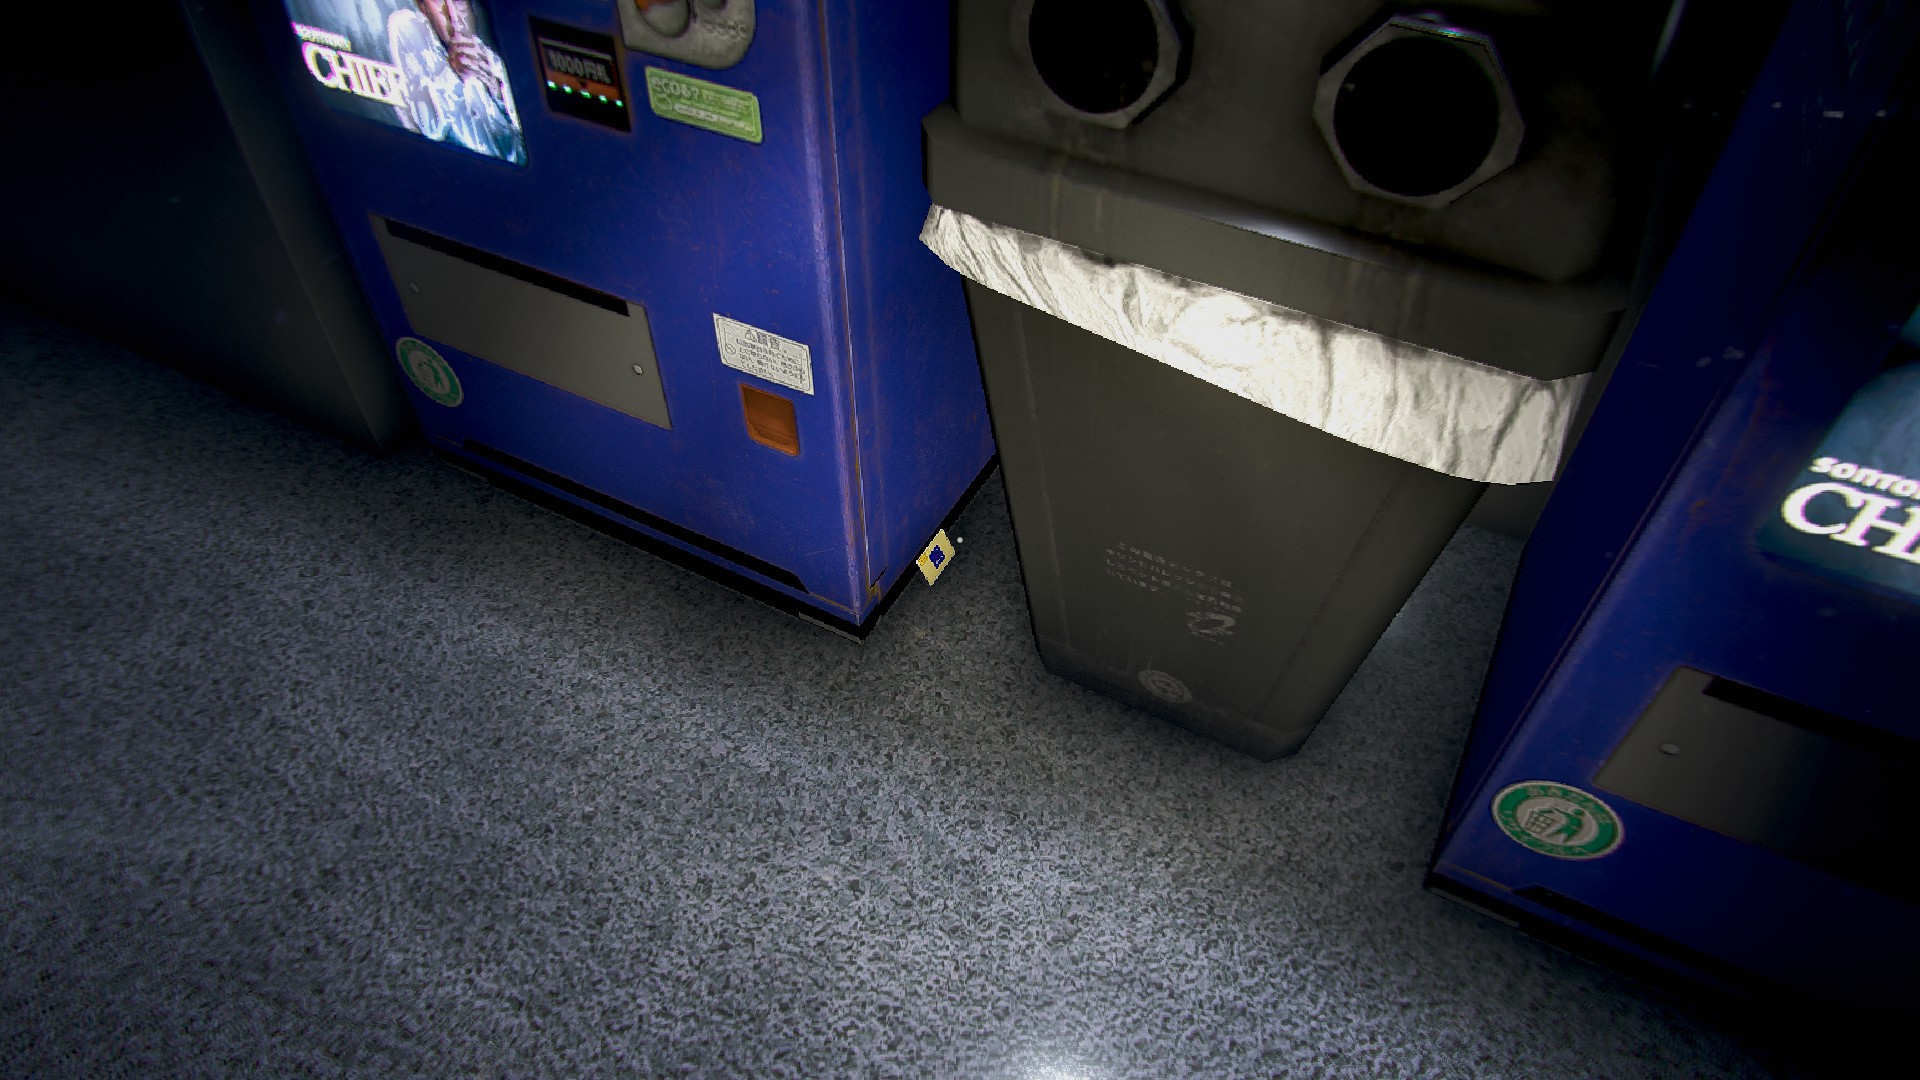
Elevator Hall 1, in the copier tray
2nd Floor | 9 Cards
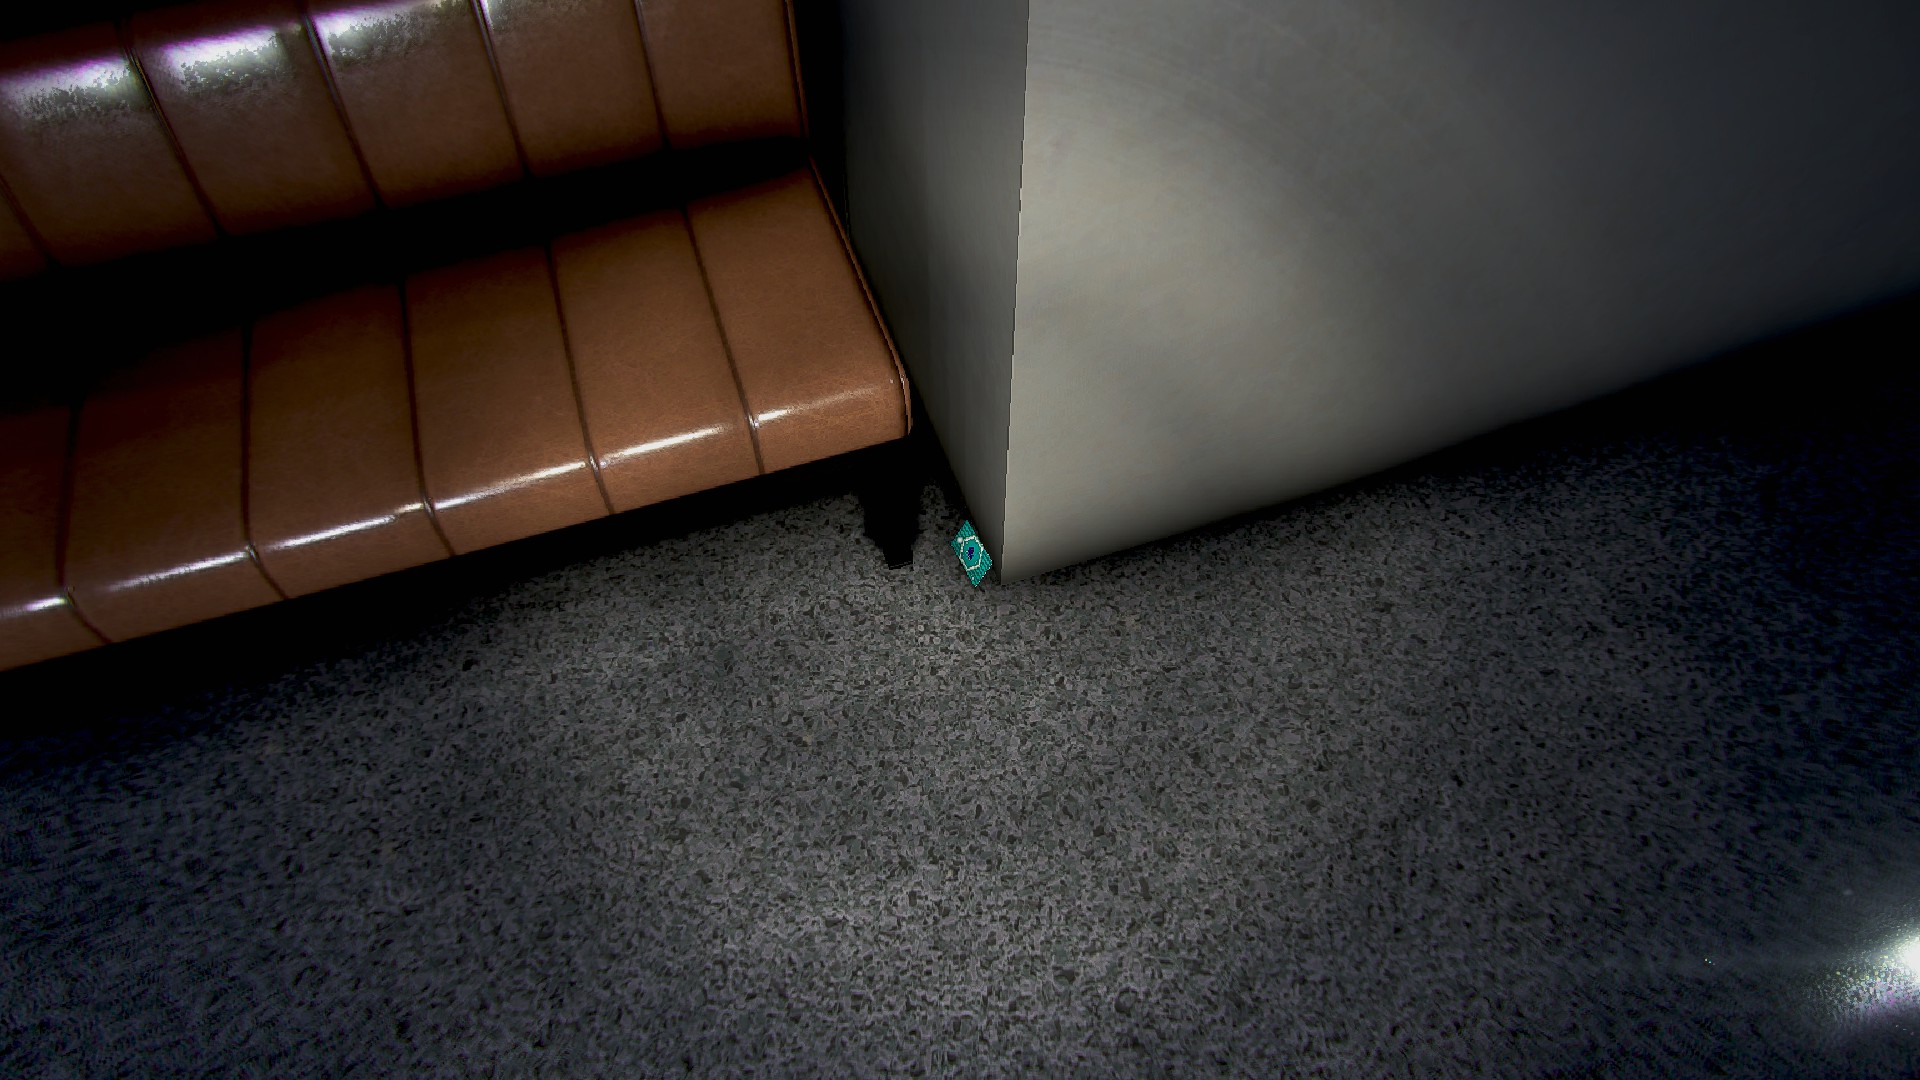
Elevator 2, to your right, on the floor next to the couch
Cubicle 2, front cubicle in the middle row under the monitor

Cubicle 2, cubicle behind the middle one, among its papers

Cubicle 2, cubicle in front of the middle one, on the file cabinet under the desk
Cubicle 2, in the gap between cubicles, behind the middle row
Cubicle 2a, on top of the divide of the first cubicles

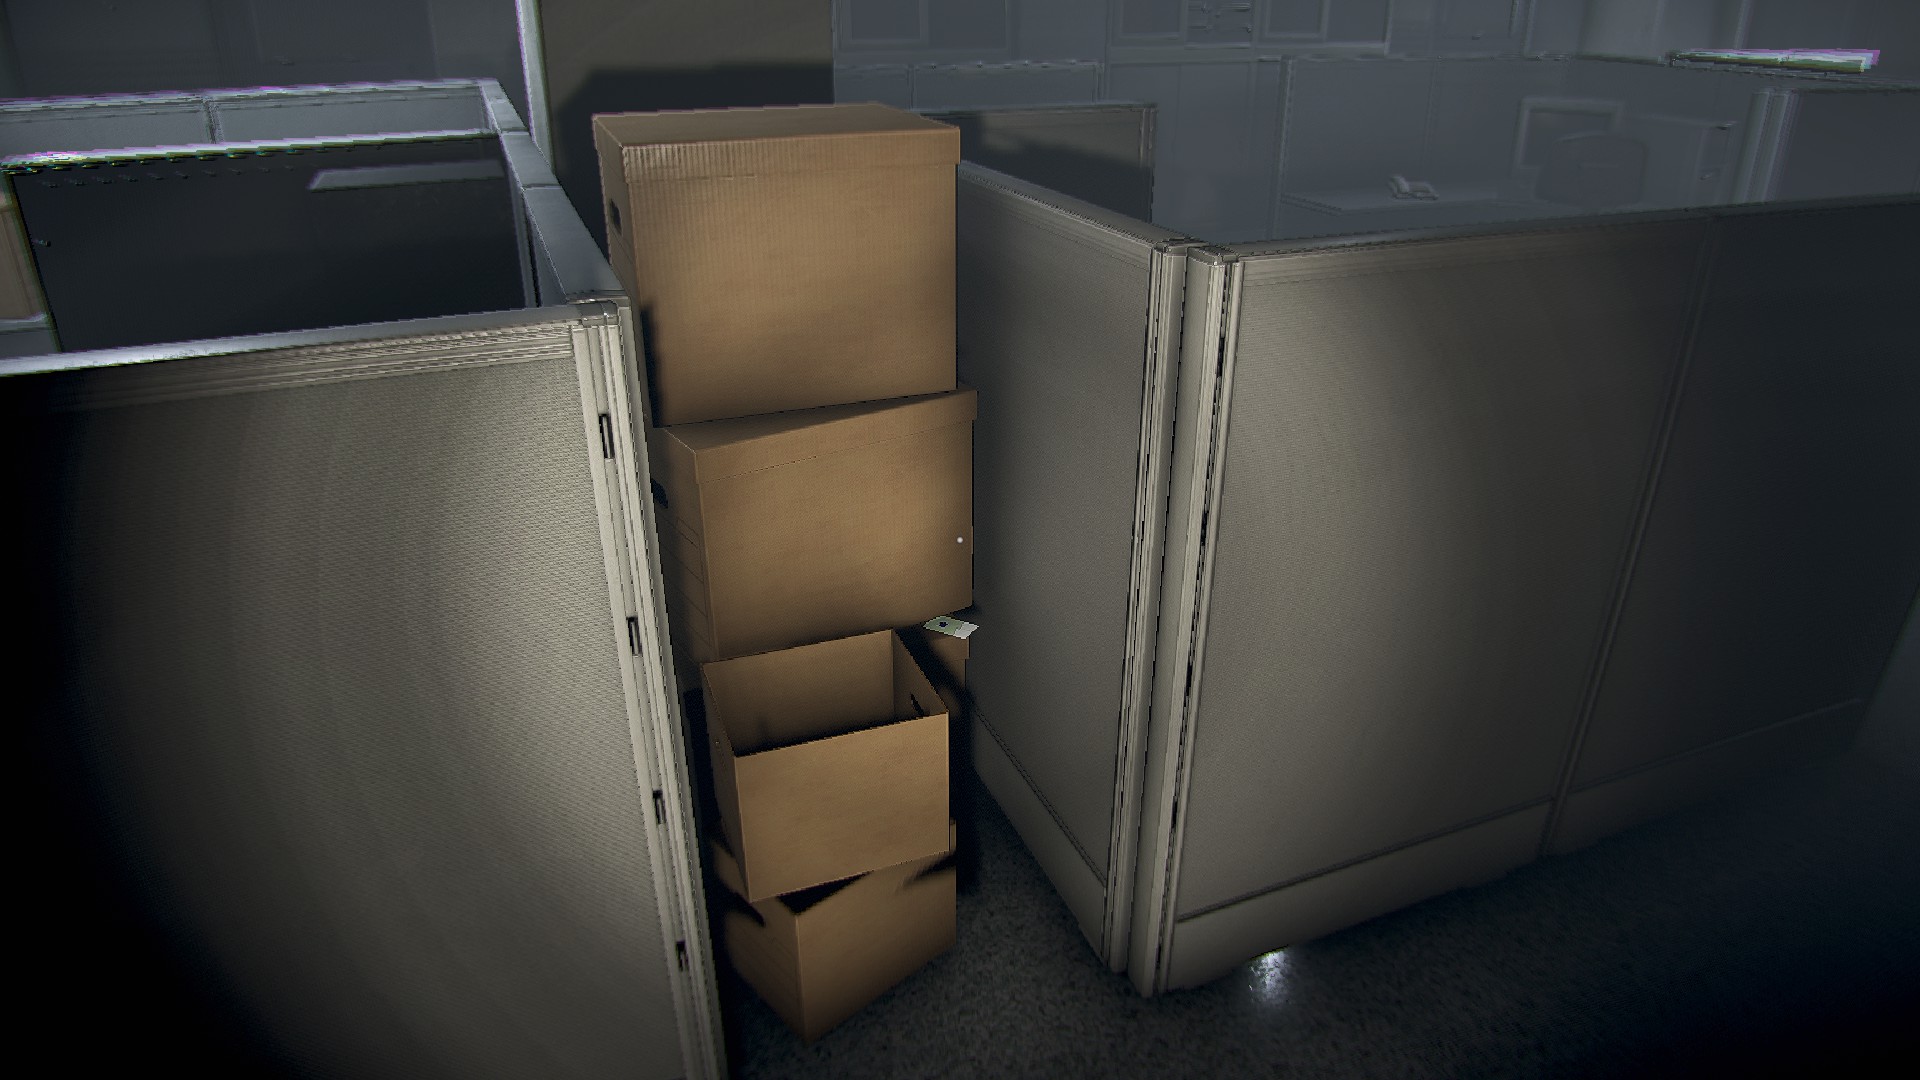
Cubicle 2a, in the gap behind the first cubicles on a cardboard box
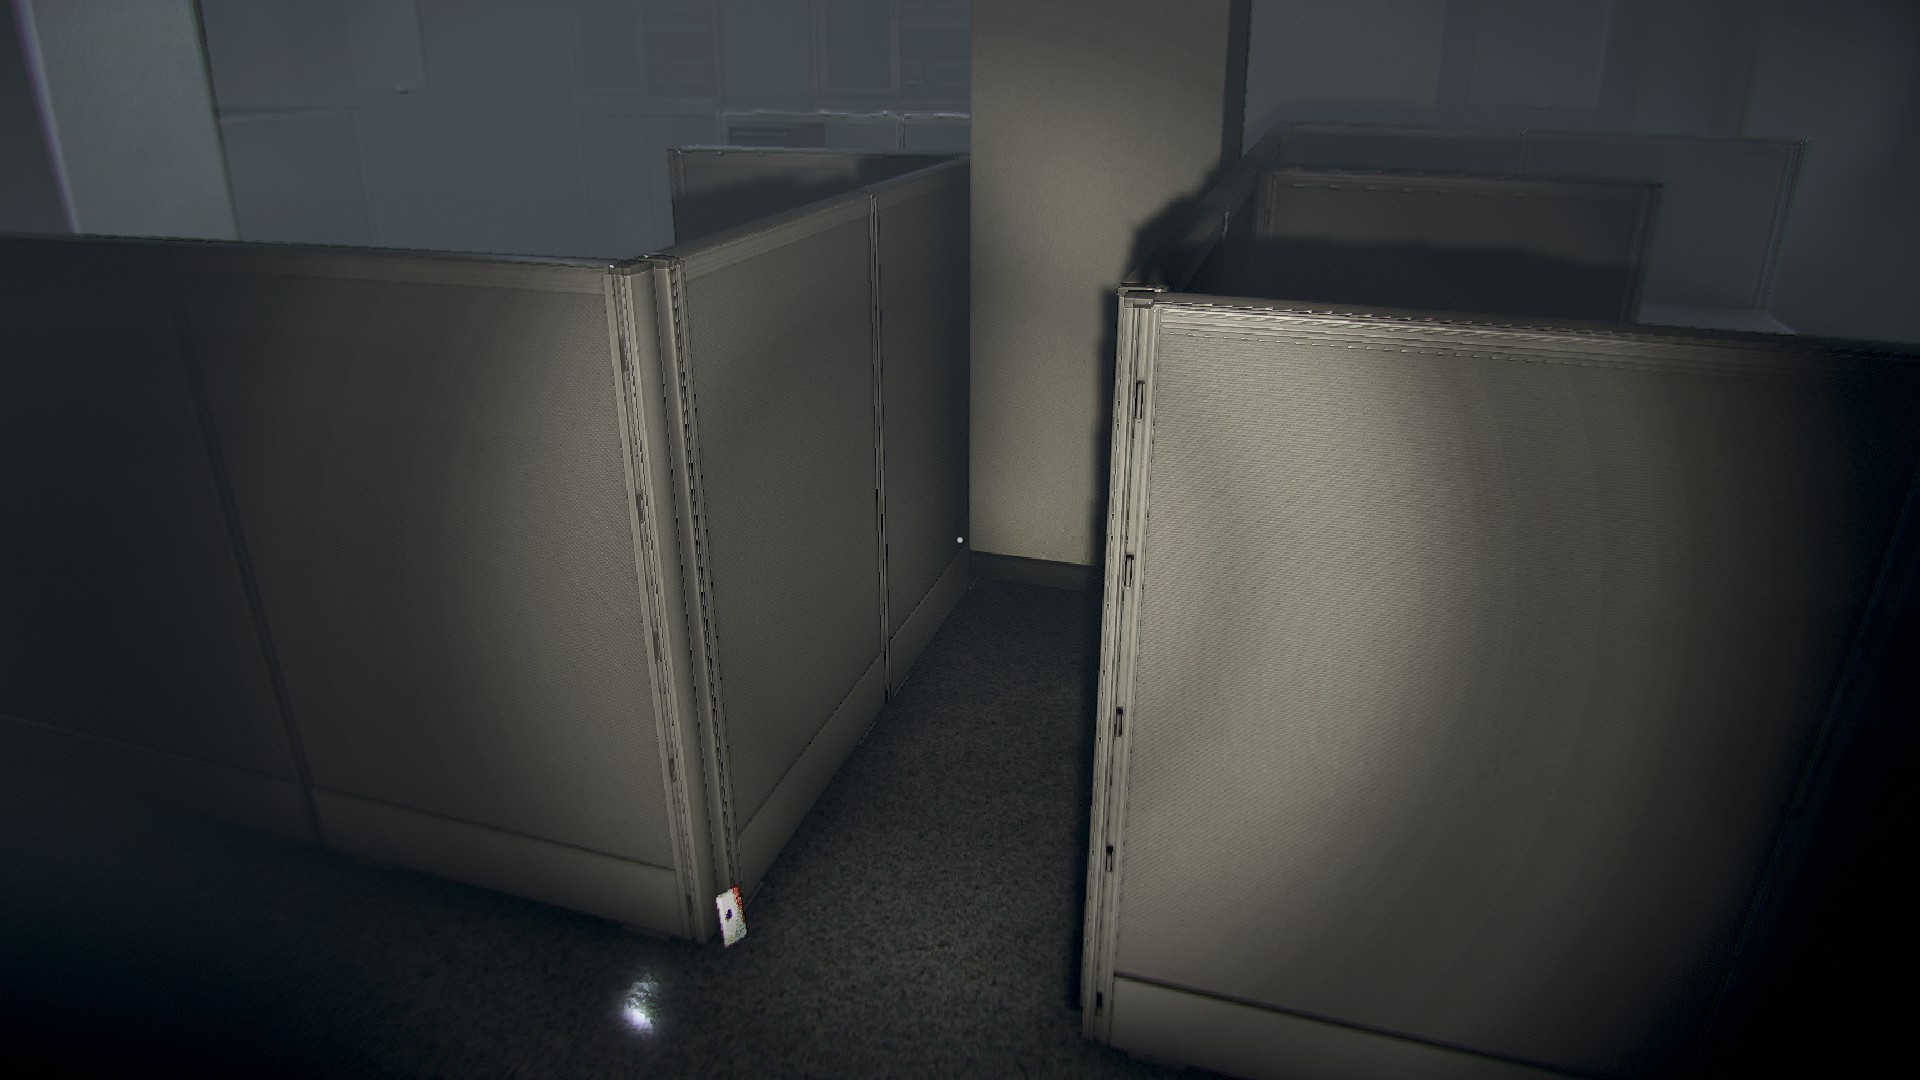
Cubicle 2a, middle row front cubicle, under the phone (missed picture)

Cubicle 2a, last row, under the divider of the front desk

3rd Floor | 9 Cards
Elevator 3, on the ground, leaning against the left drink machine
Lecture 3, Marker tray of the front whiteboard
Lecture 3, on top of the blue room divider, near the whiteboards
Lecture 3, rear row of seats, last chair, leaning against the arm rest
Meeting 3, back of the whiteboard, bottom right
Meeting 3, inside the open box directly behind the whiteboard
Meeting 3, arm rest of second chair from the ladder, back of the room
Meeting 3, ladder support shelf
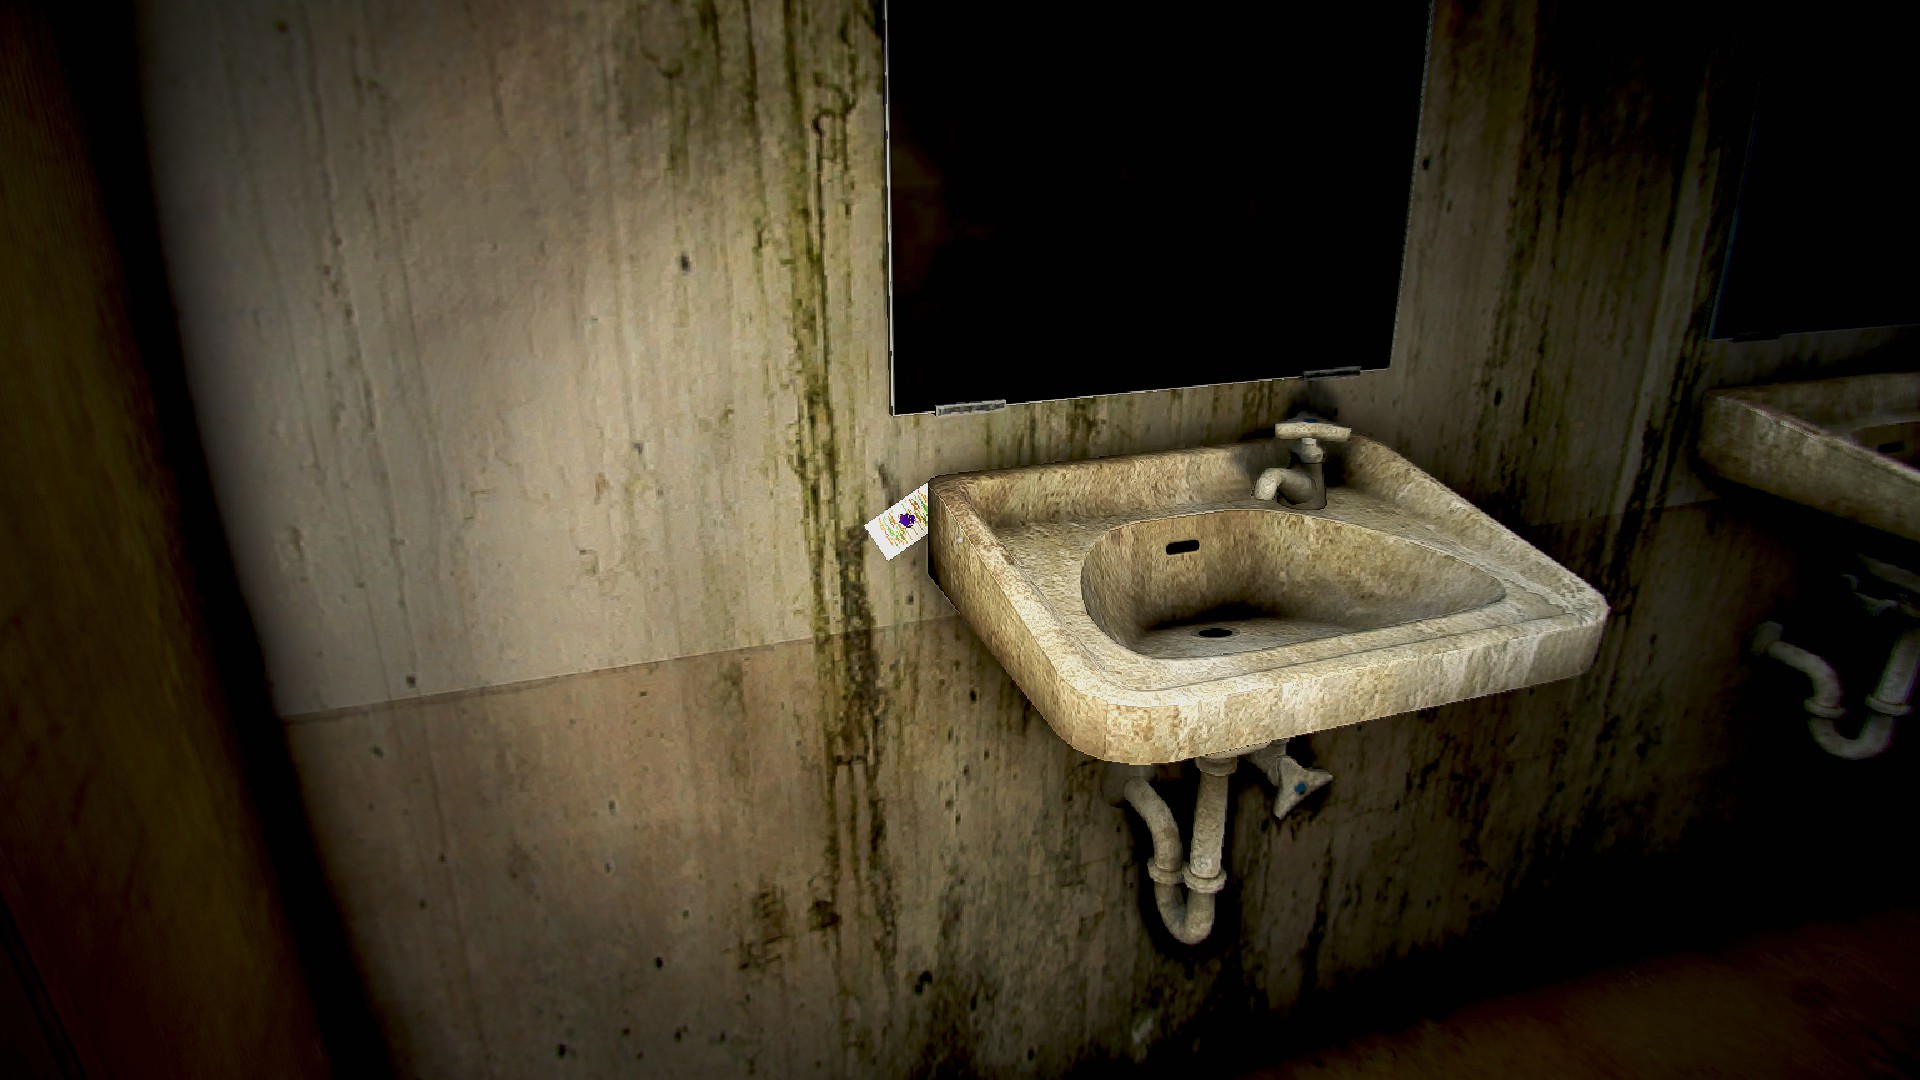
Men’s 3, behind the faucet on the first sink

4th Floor | 9 Cards
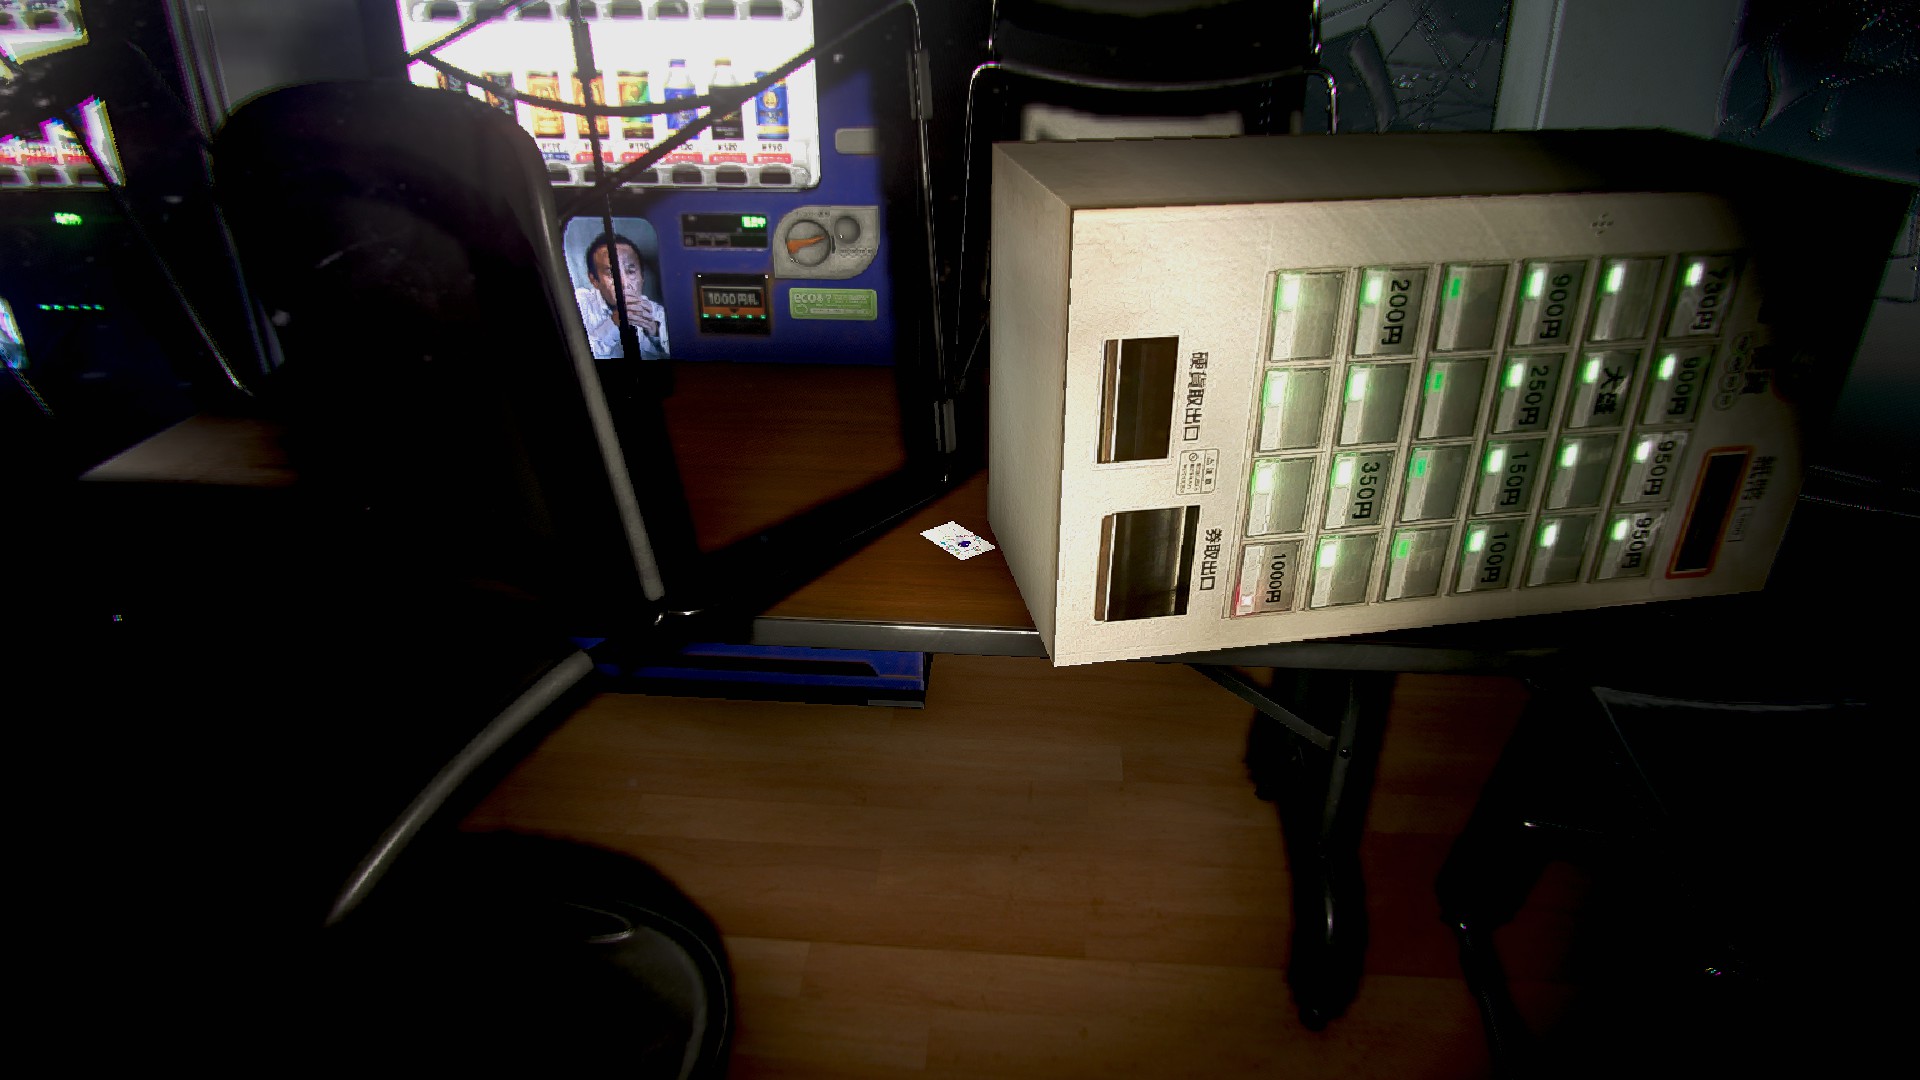
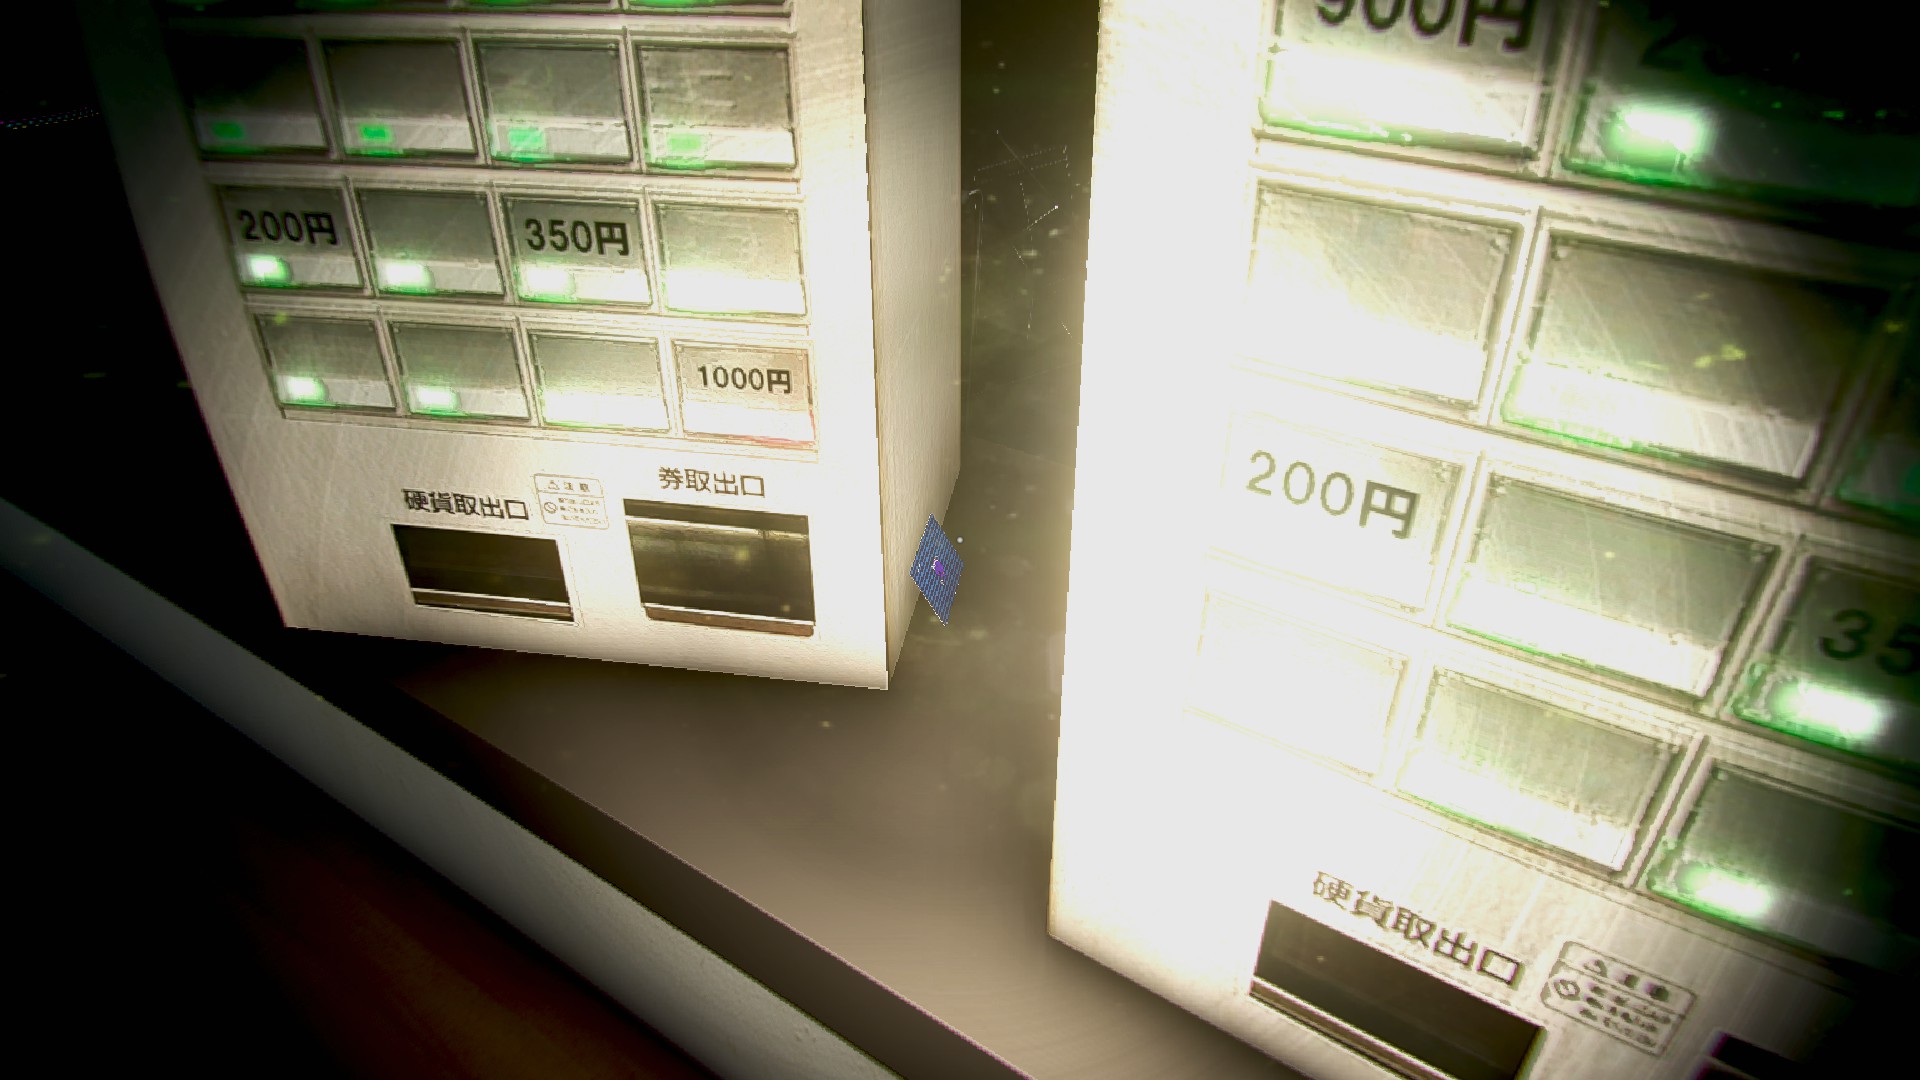
Elevator 4, First vending machine, over the bottom left drink choice

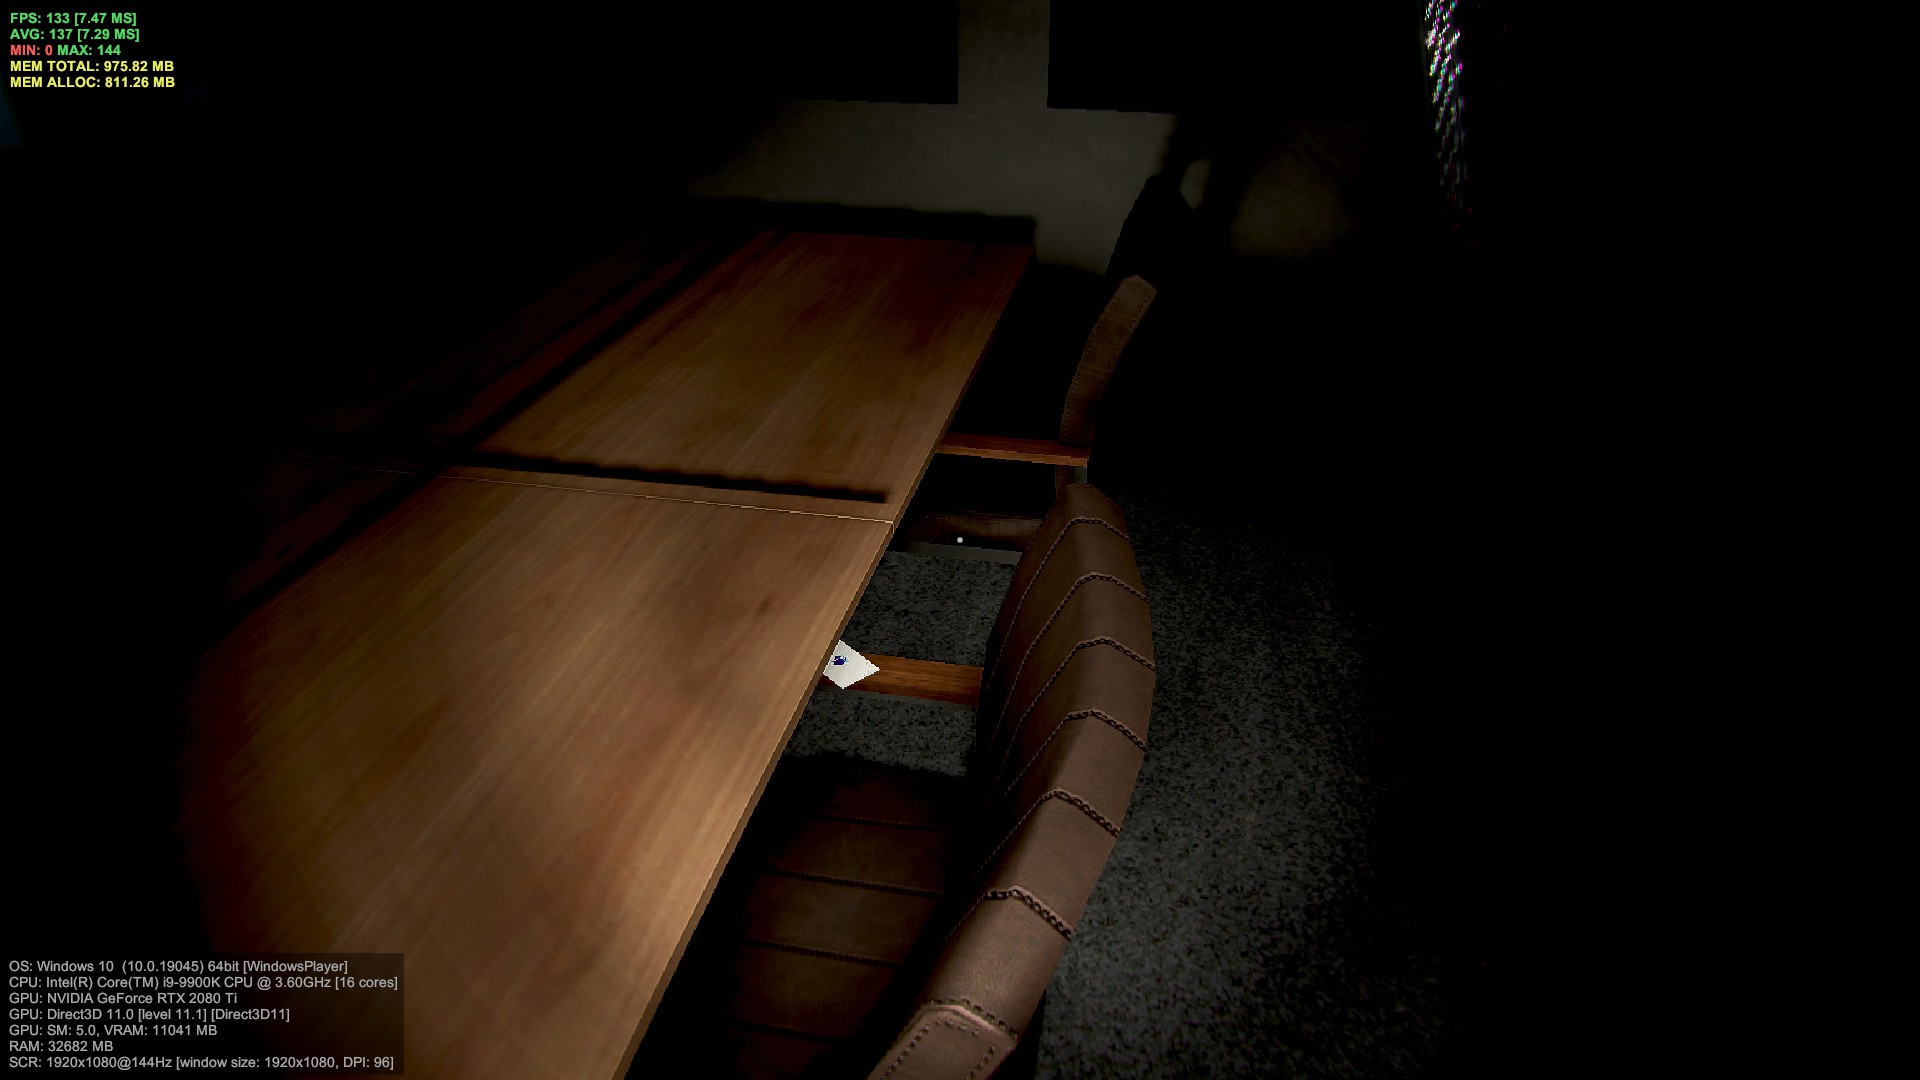
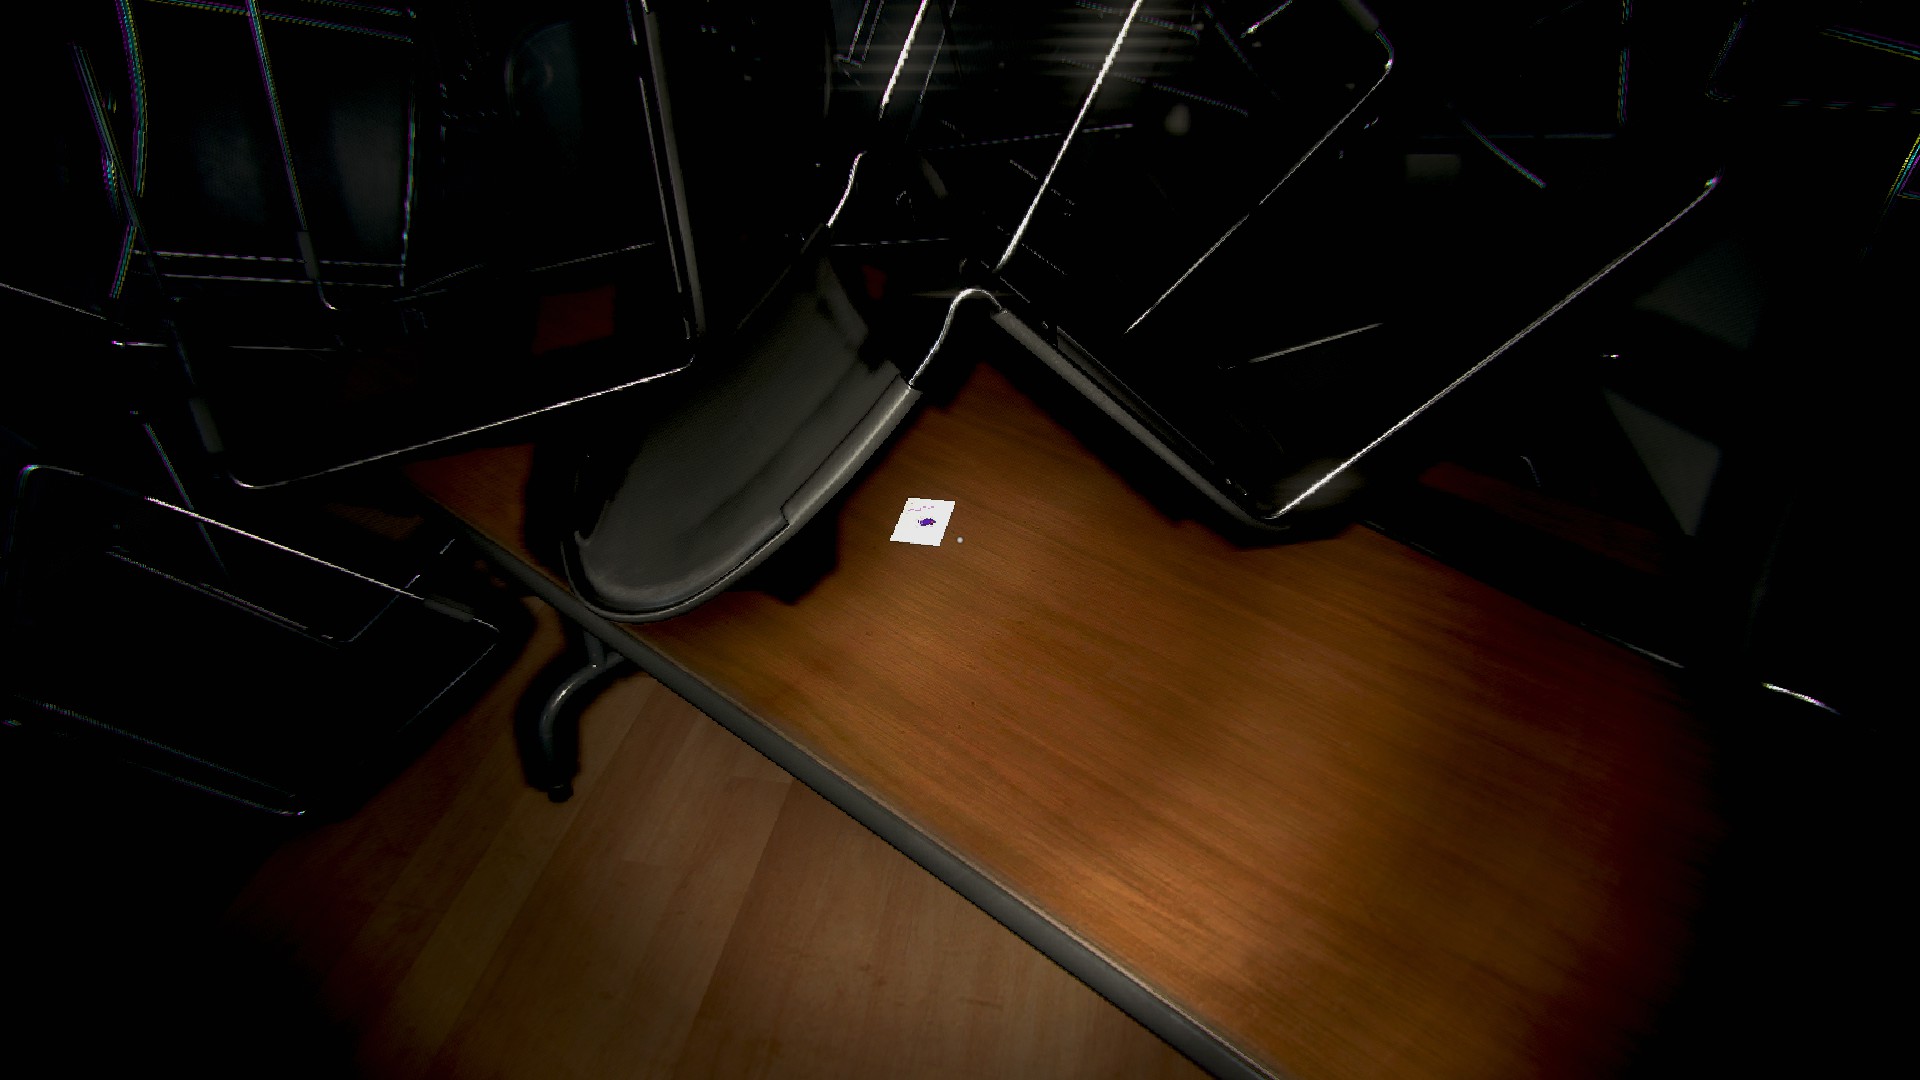
Work 4, first pair of desks, front facing desk under the monitor

Work 4, back row of desks, first one in the next island, left of the monitor in some papers

Work 4, one desk to the right, on top of the monitor
Work 4, last desk in the row, to the right of the tower

Work 4, against the wall, tucked in the bottom of the blinds, between two whiteboards

Work 4, middle row, in between the desk with no computer and the desk to its right

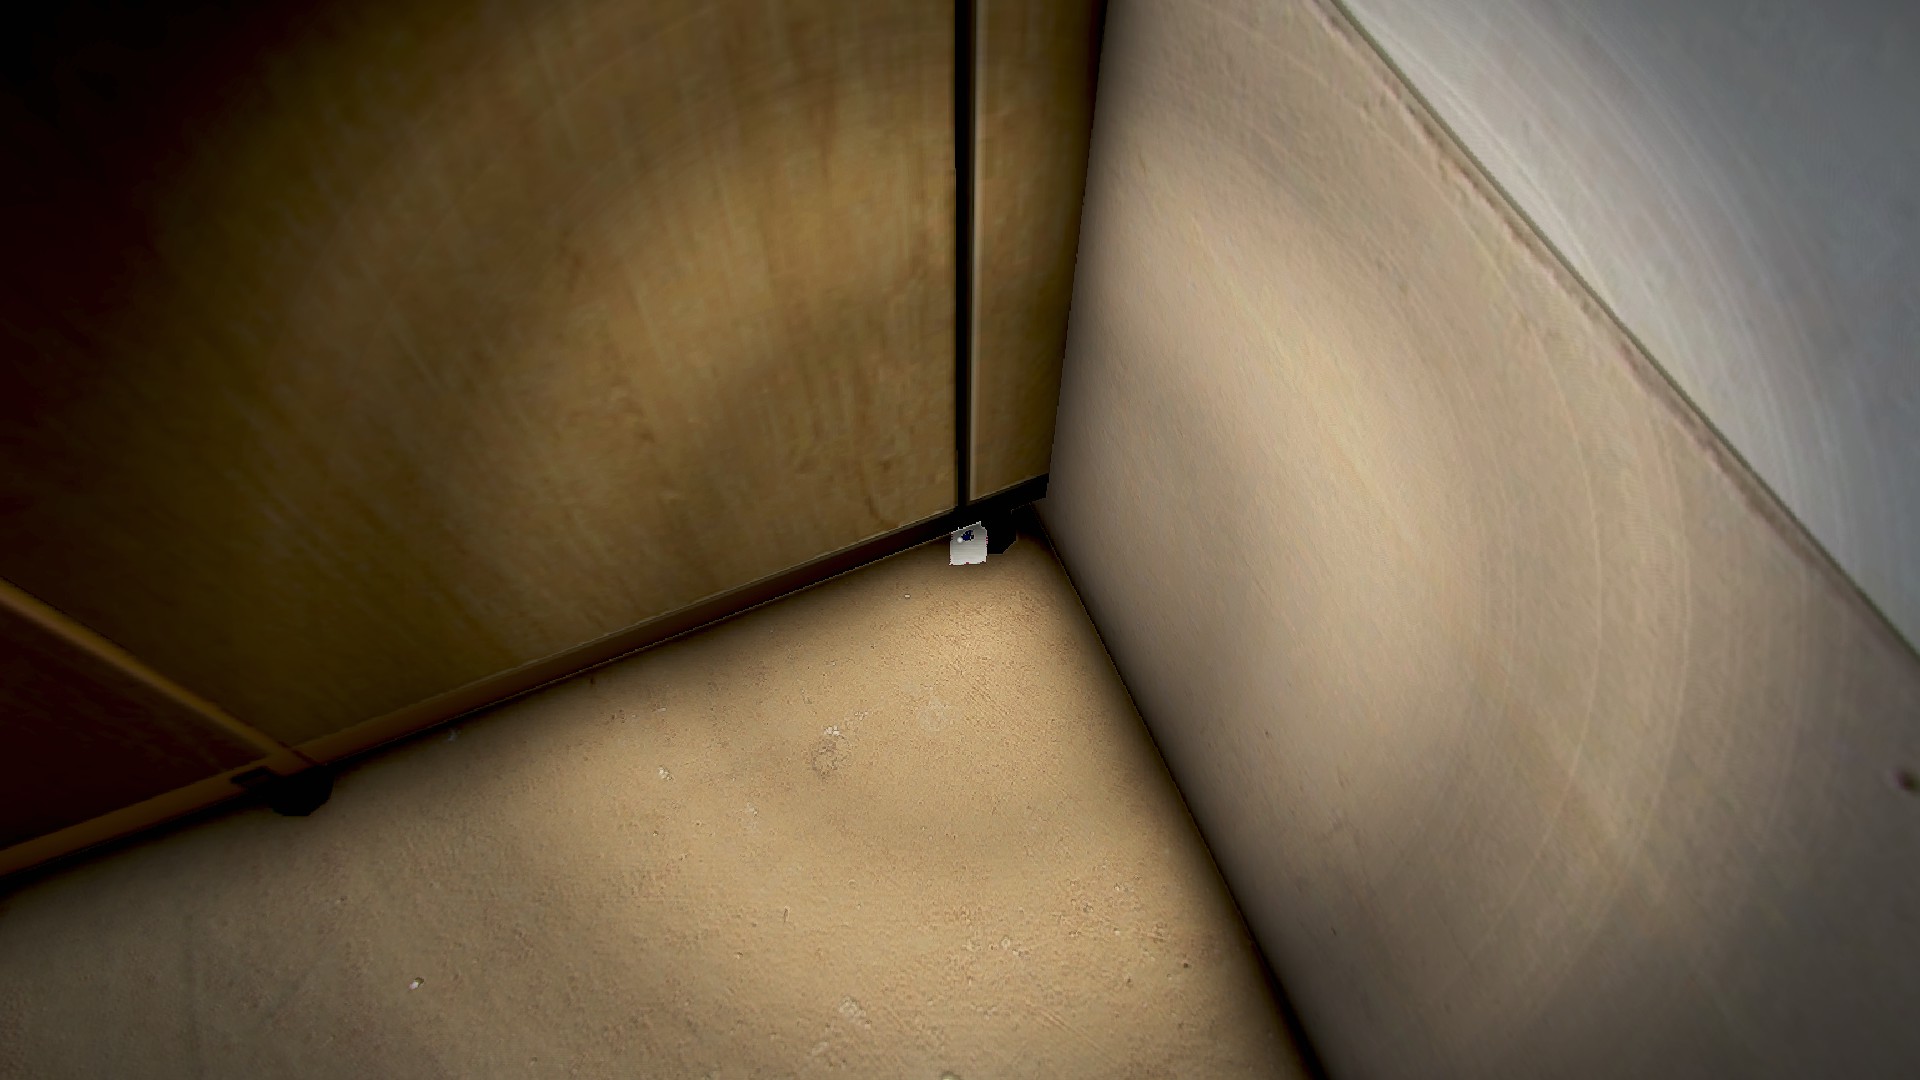
Men’s 4, left as you enter on the ground, against the stall
Women’s 4, on top of the right mirror

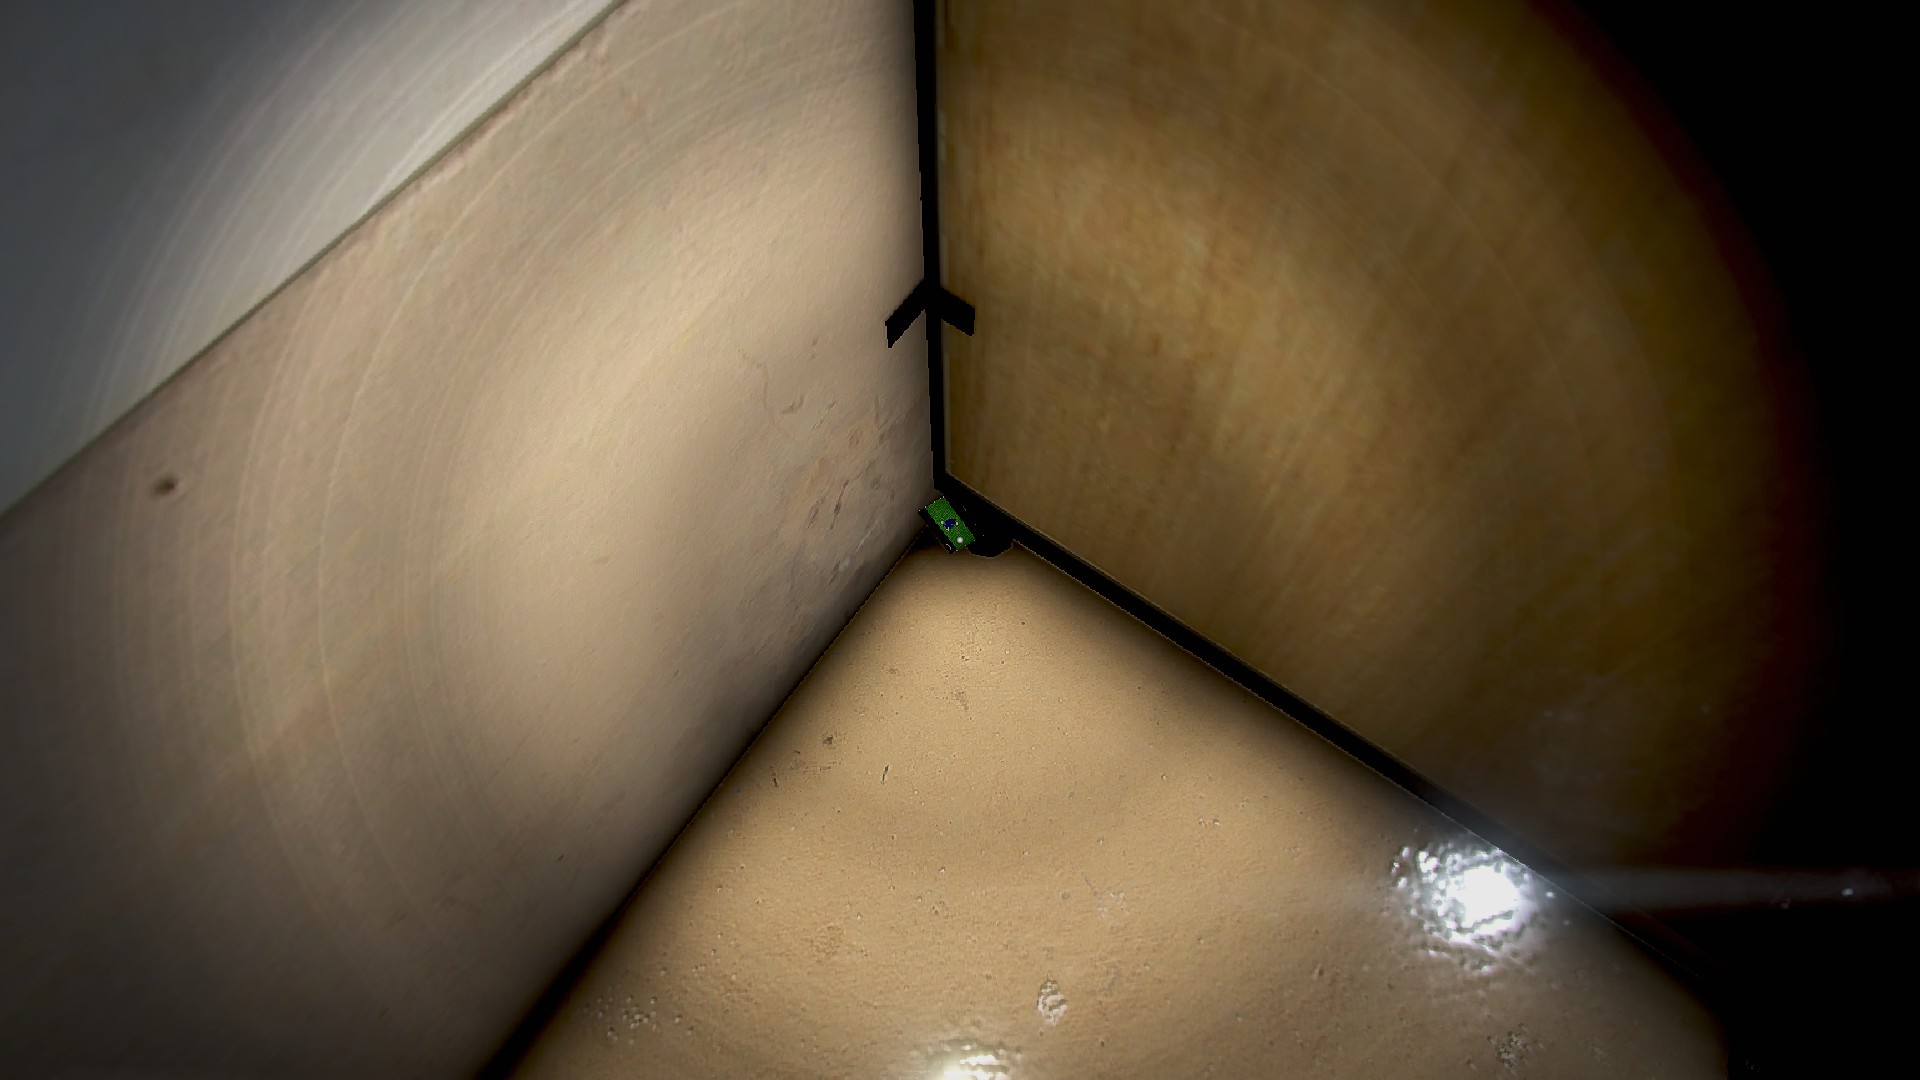
5th Floor | 8 Cards
Elevator 5, right side of the trashcan’s lid
Fuse 5, right wall, tucked behind the upper part of the left cabinet

Breaker 5, front of the room, right of the center pillar, on the floor

Security 5, behind the door, against the cabinet, on the floor
Security 5, under the desk, left side, on the support rails
Security 5, right computer, between the file cabinet and tower
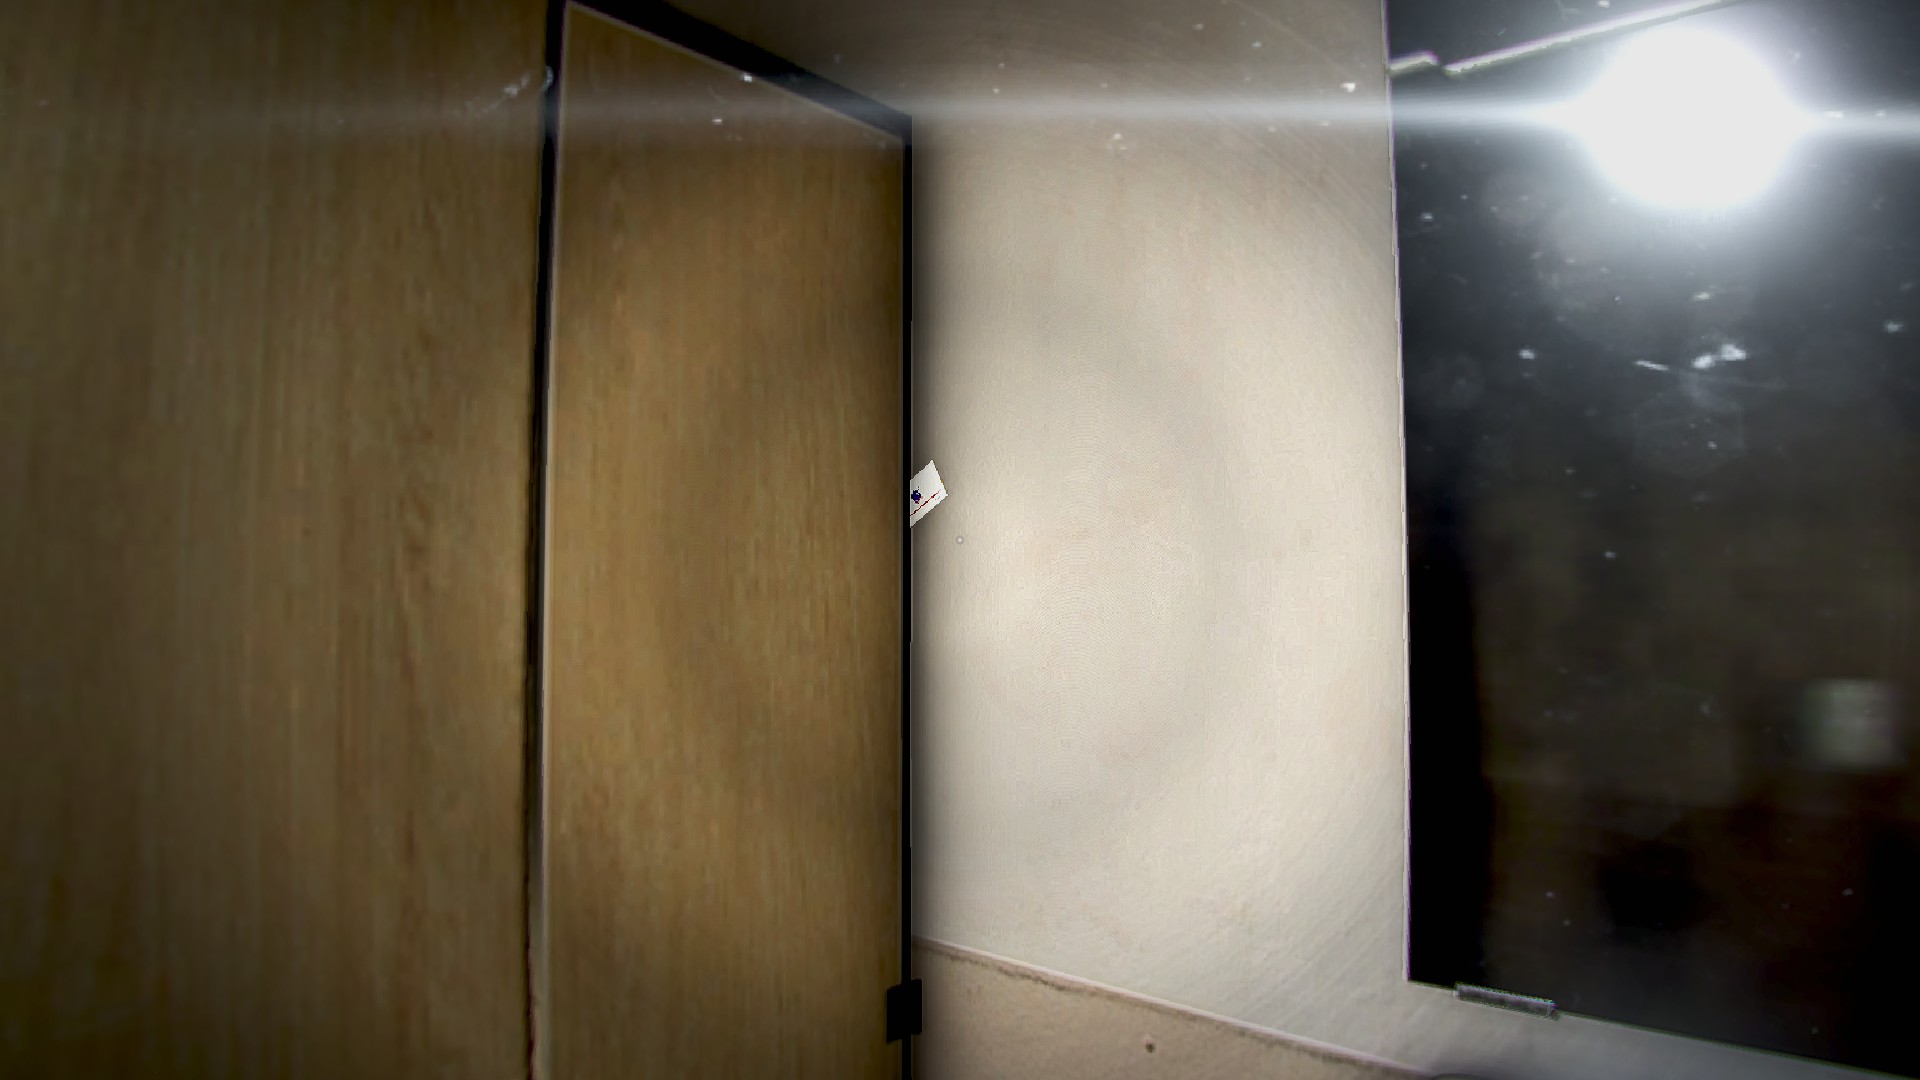
Men’s 5, far stall, under the door
Women’s 5, right stall, tucked into the wall
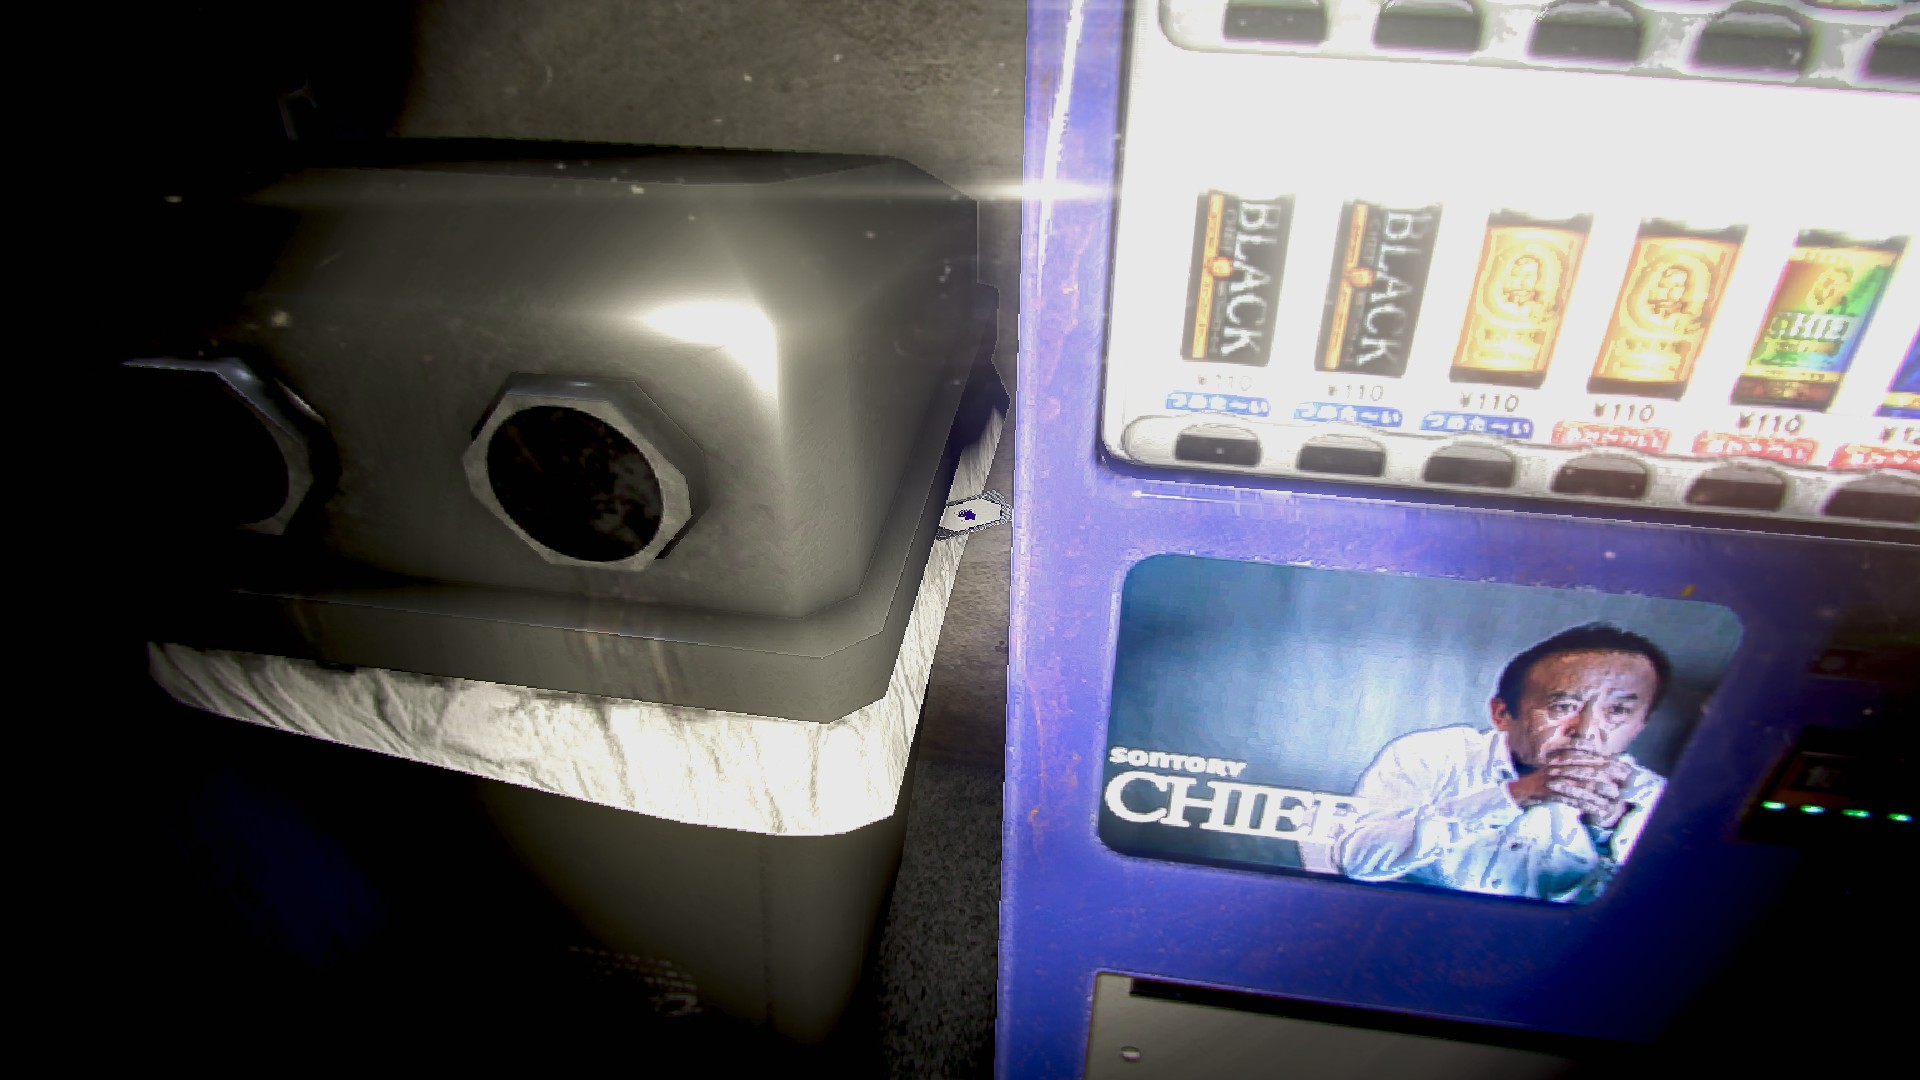
6th Floor | 8 Cards
Cafeteria 6, against the pillar before the drink machines

Cafeteria 6, other side of the pillar on the table, left of the change machine(?)
Cafeteria 6, outside the divider walls to the left side, behind the other change machine (?)
Cafeteria 6, go to the backside of the room, to the other side of the drink machines, corner pillar

Cafeteria 6, cafeteria counter between the two standing change machines.
Cafeteria 6, on top the table close to the cafeteria counter, under an overturned chair
Cafeteria 6a, middle of the left wall, on the floor by a pile of chairs
Cafeteria 6a, back wall, on the backrest of a chair on top of a table
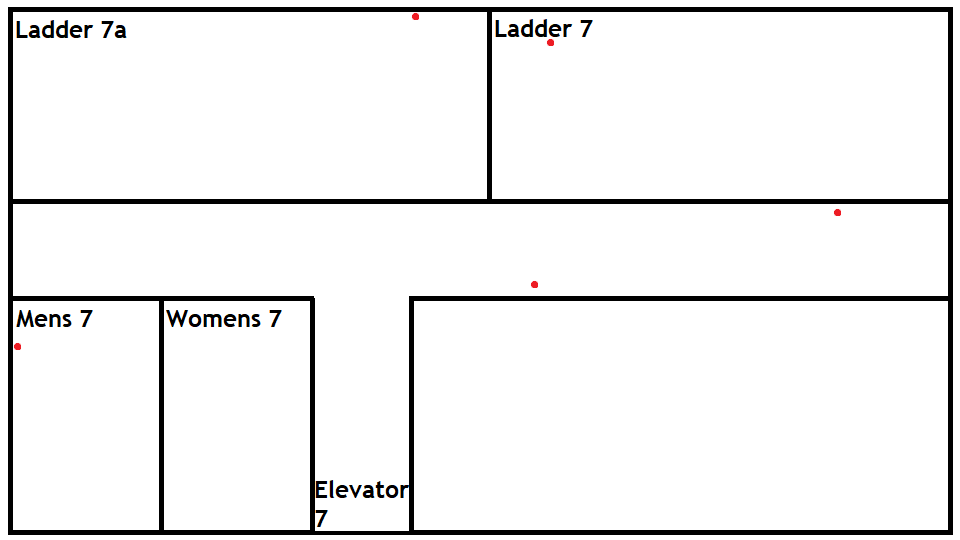
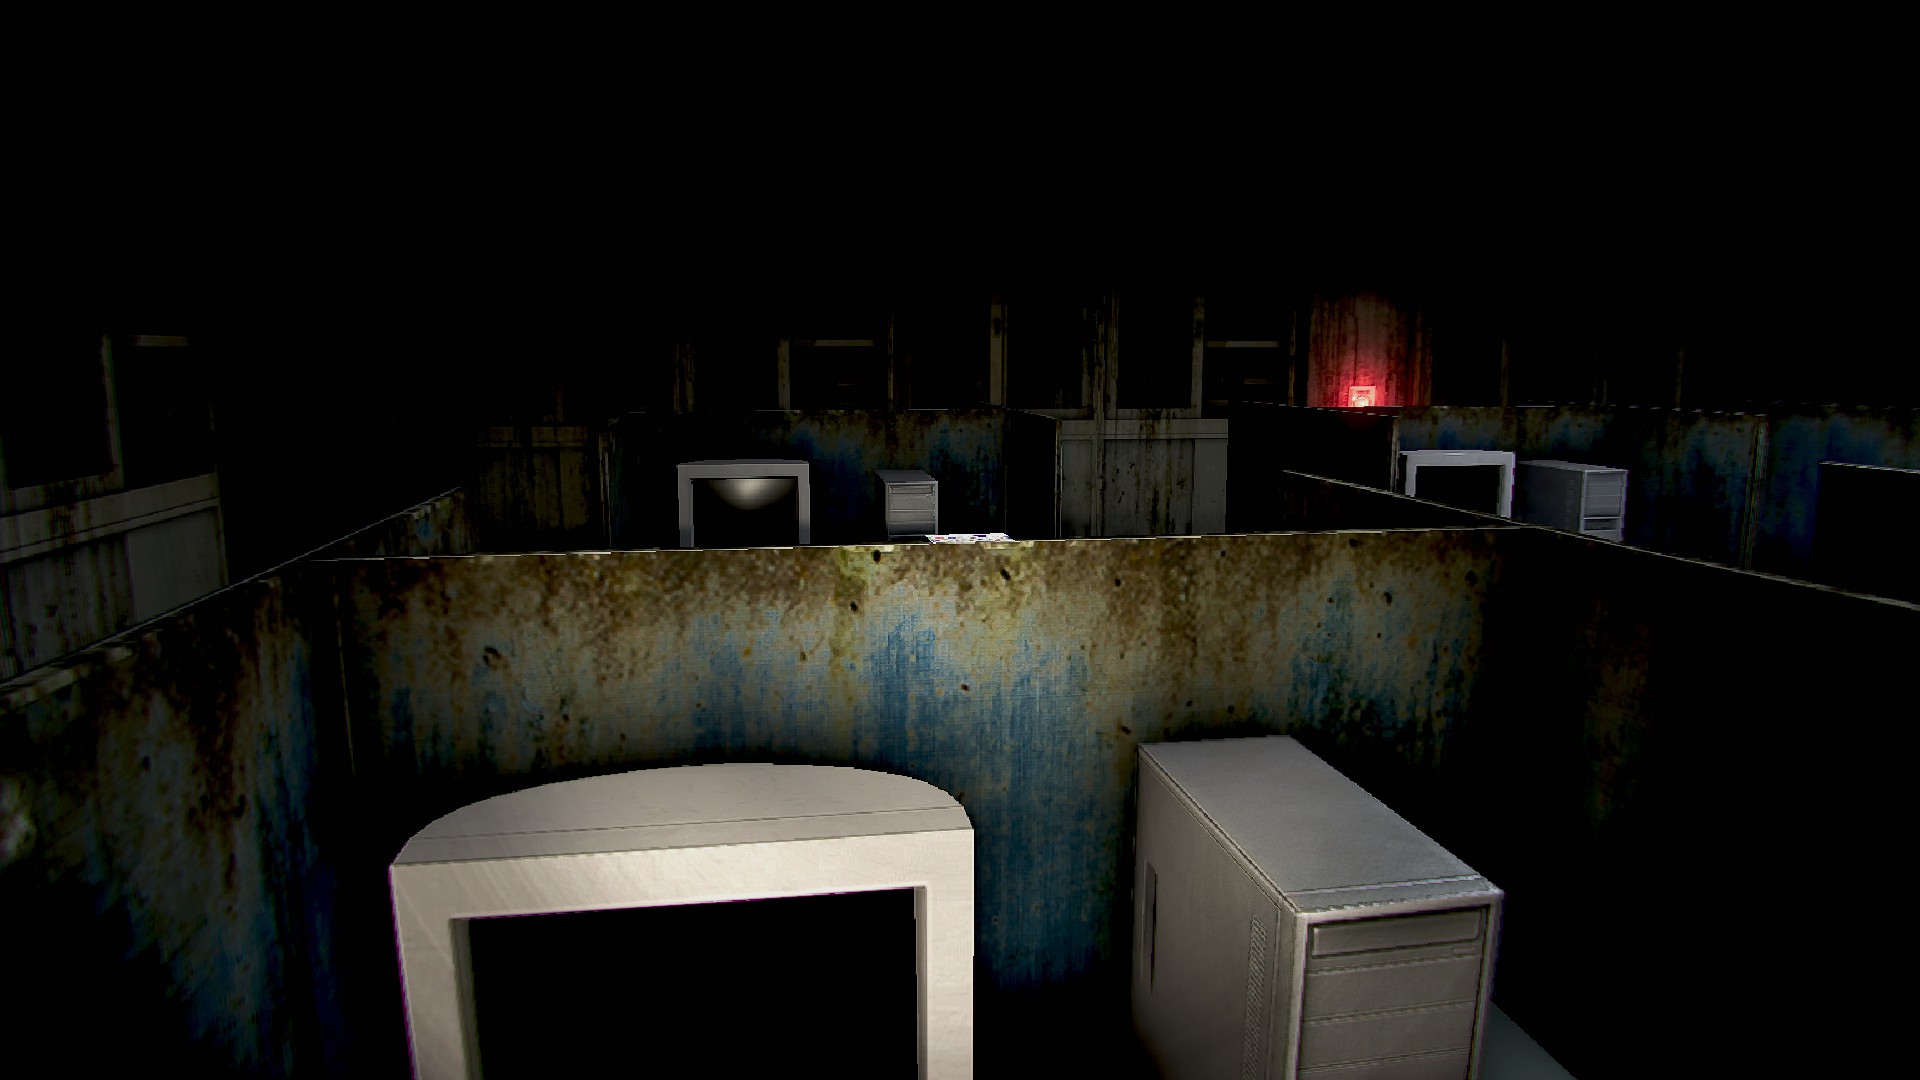
7th Floor | 5 Cards
Elevator 7, right at the split, under some scaffolding

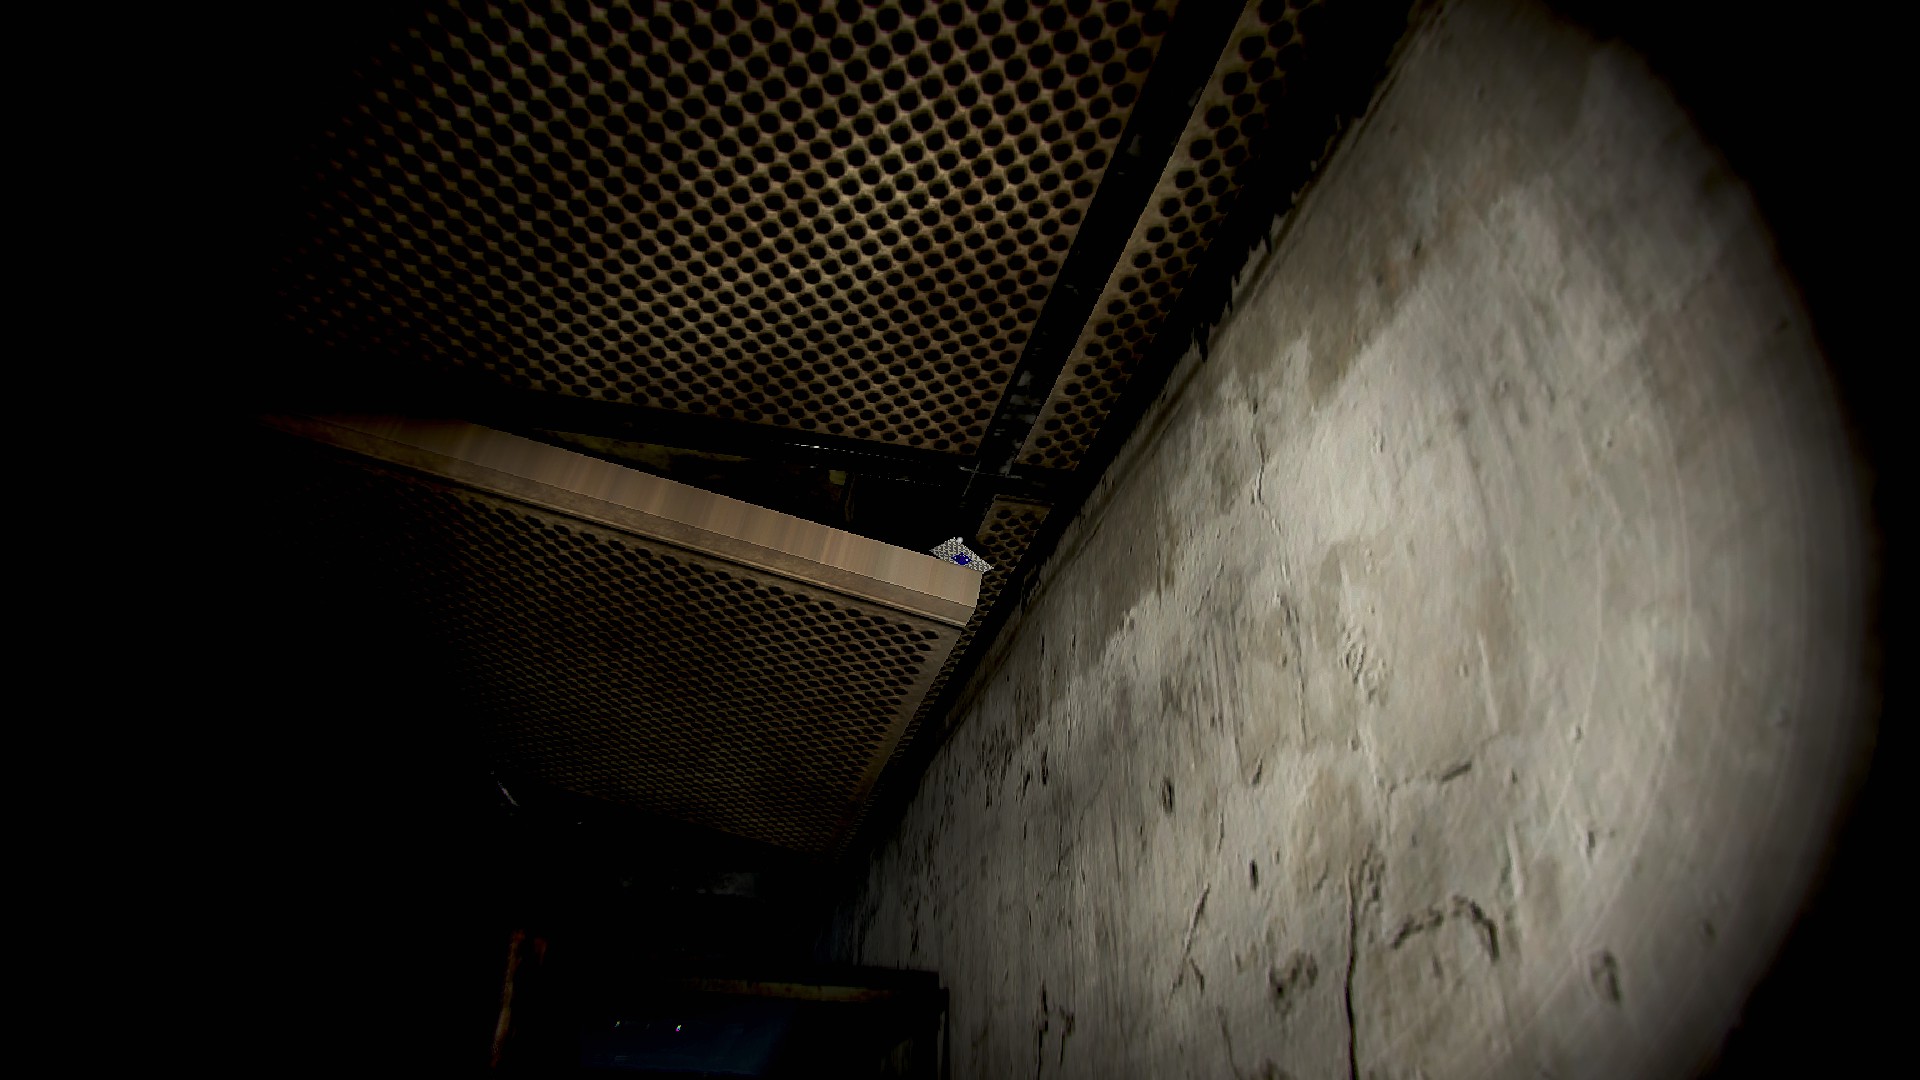
Elevator 7, before entering Ladder 7, look up at the ceiling to the left, tucked in a loose panel
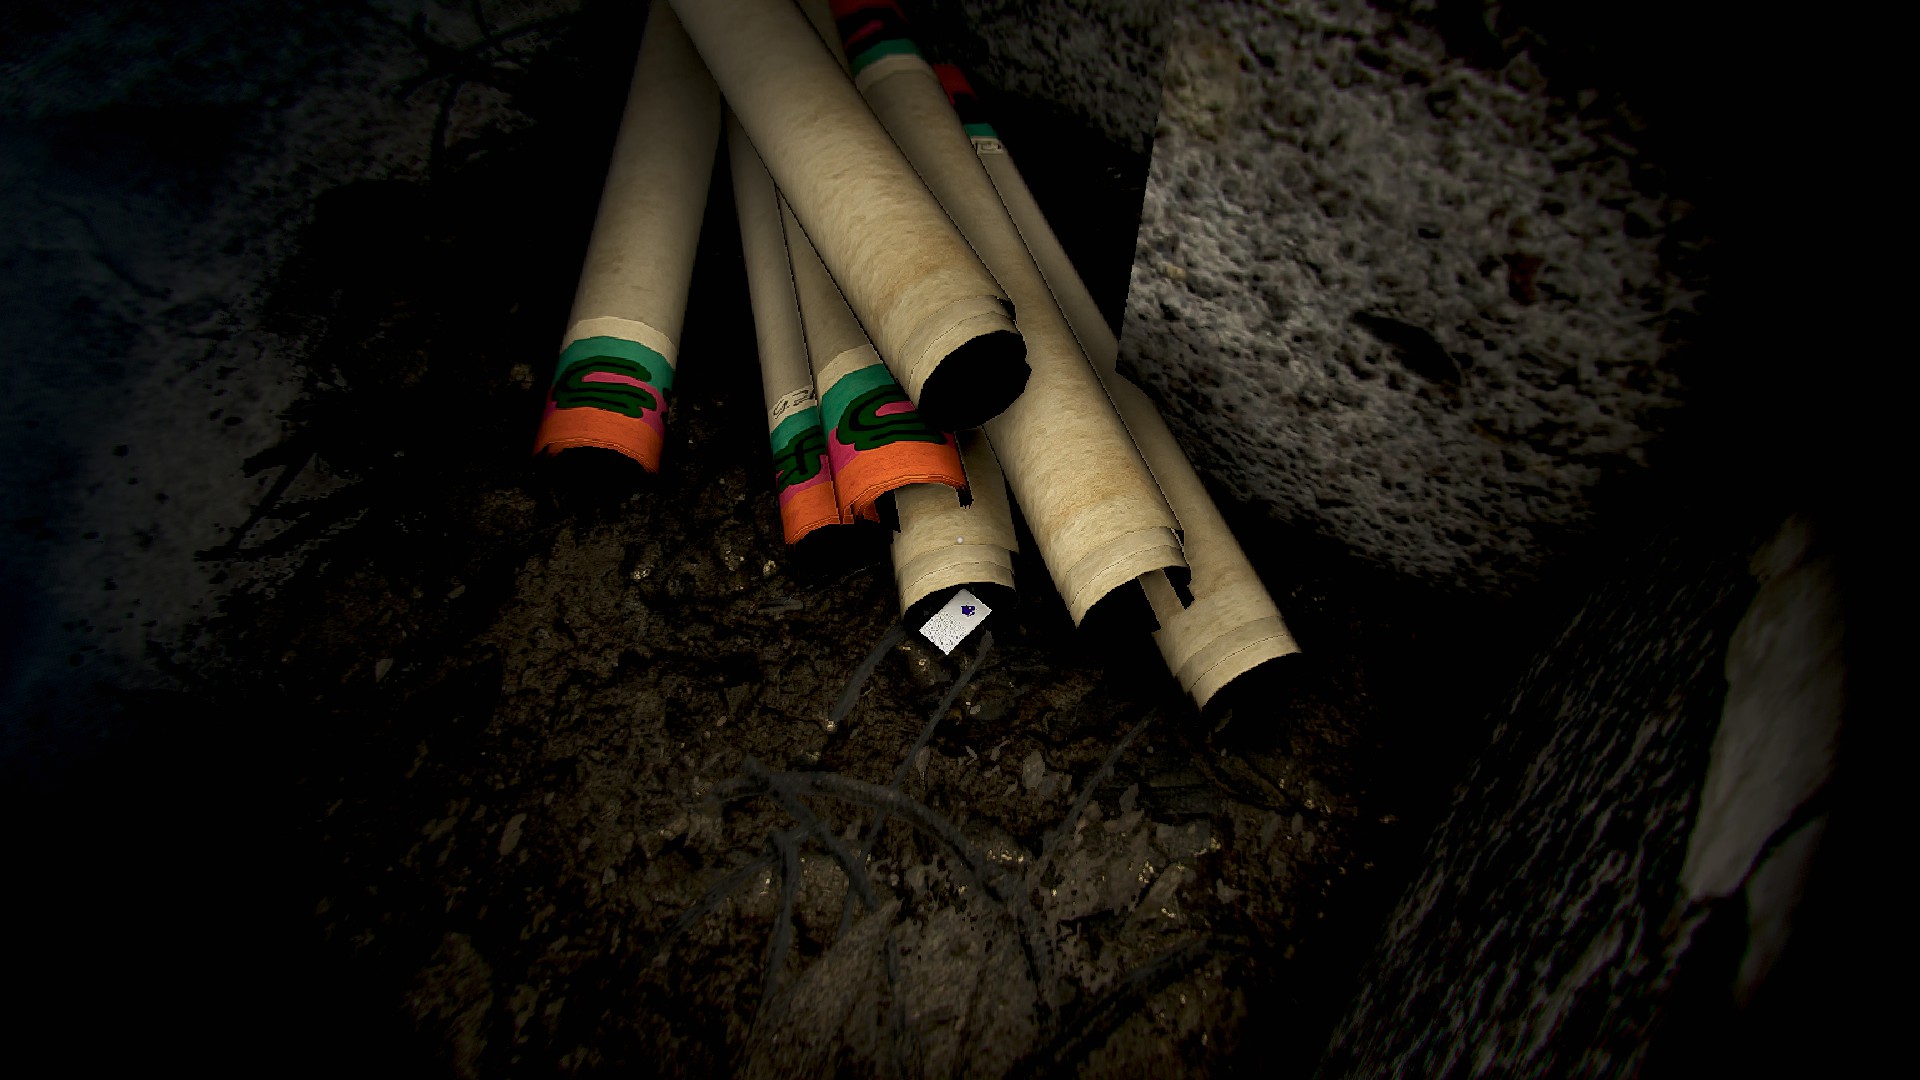
Ladder room 7, by the banners in the corner, on the floor
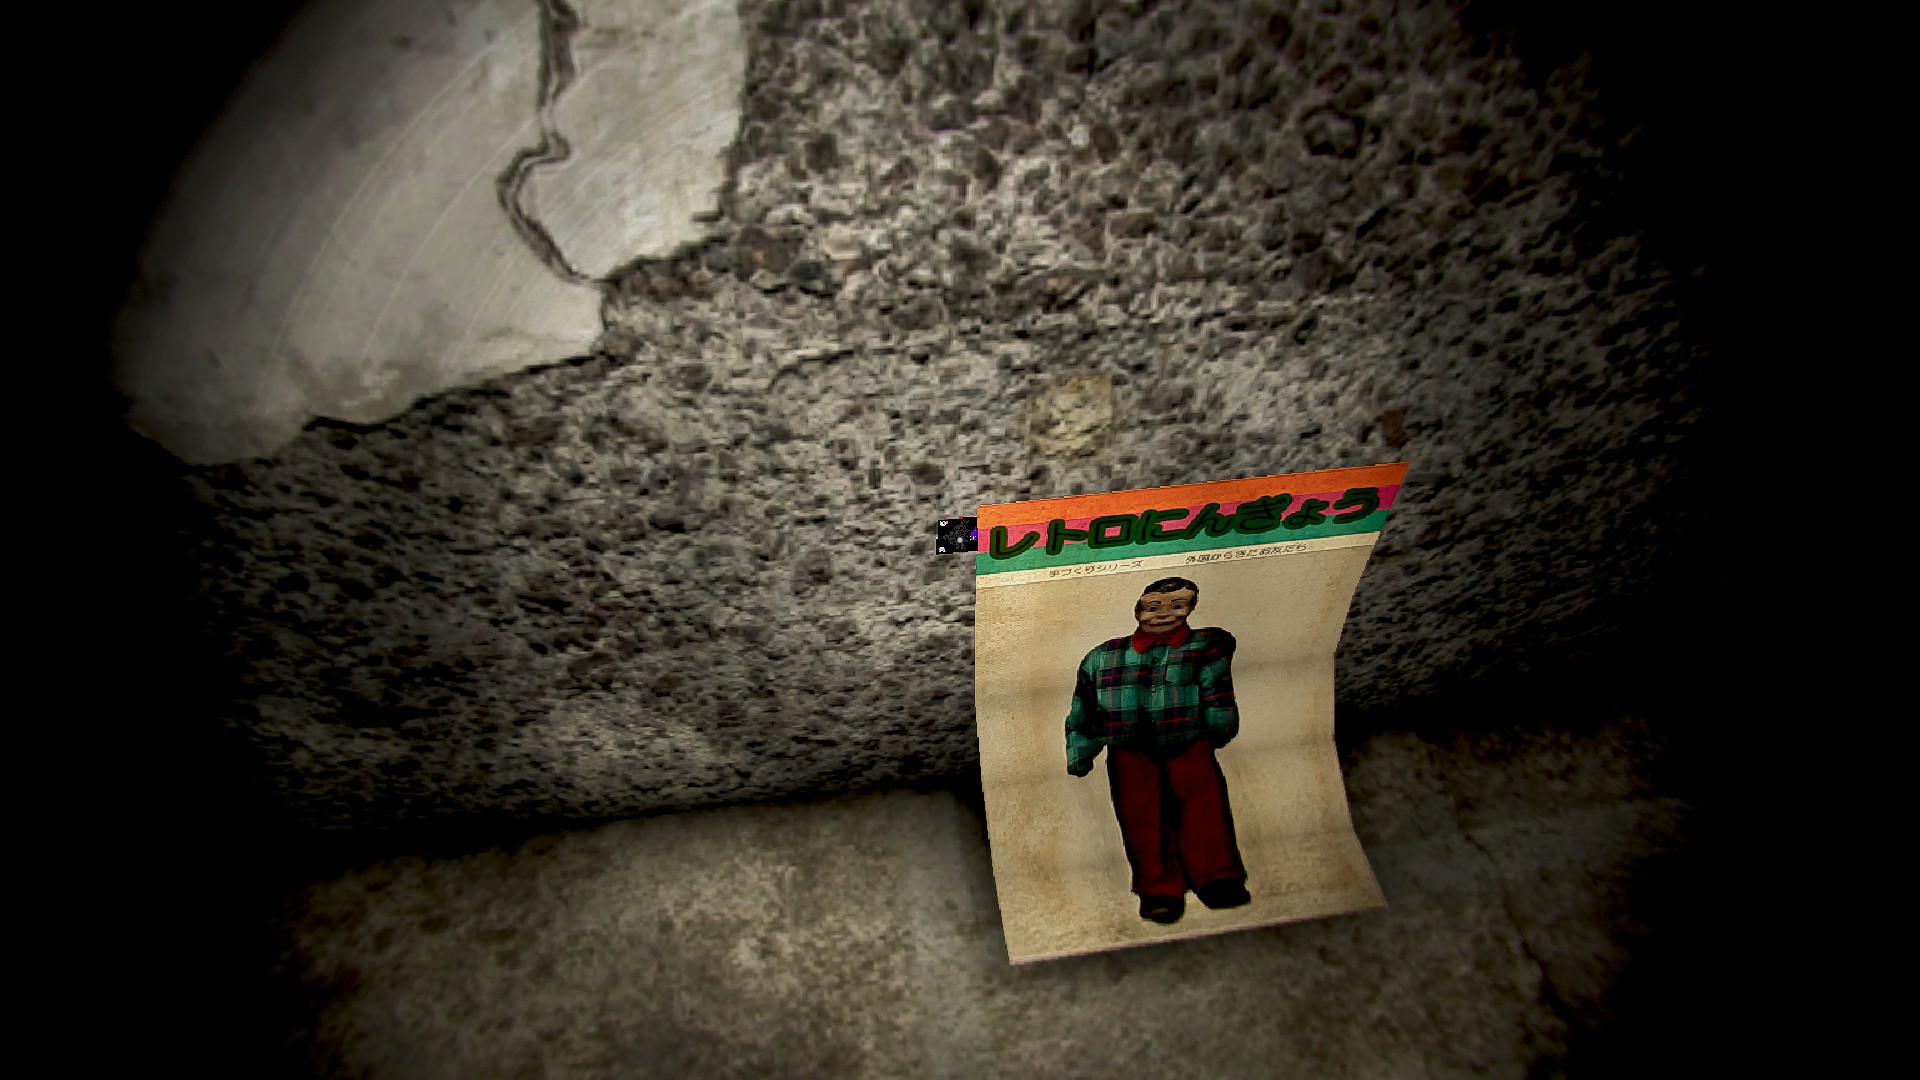
Ladder room 7a. Behind the dummy poster on the back wall
Men’s 7, on the pipe under the sink

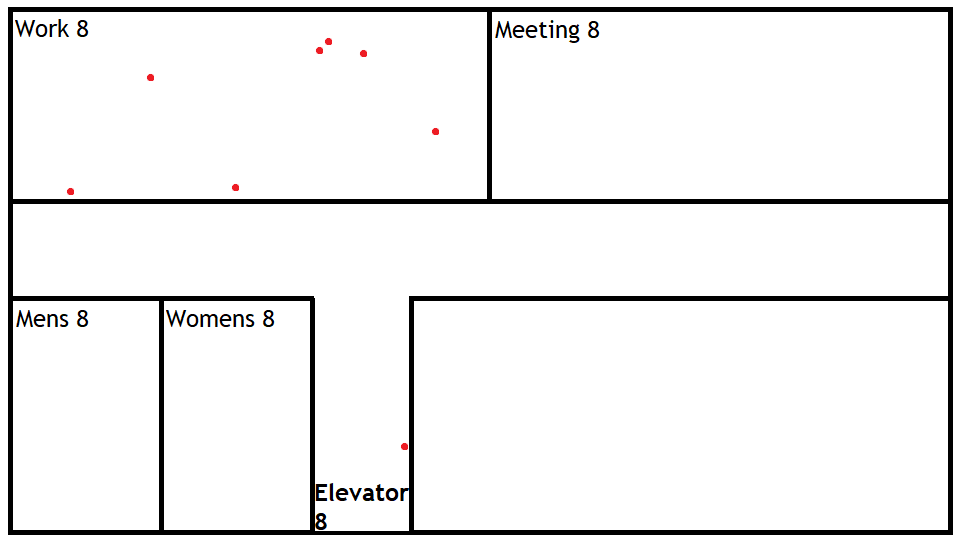
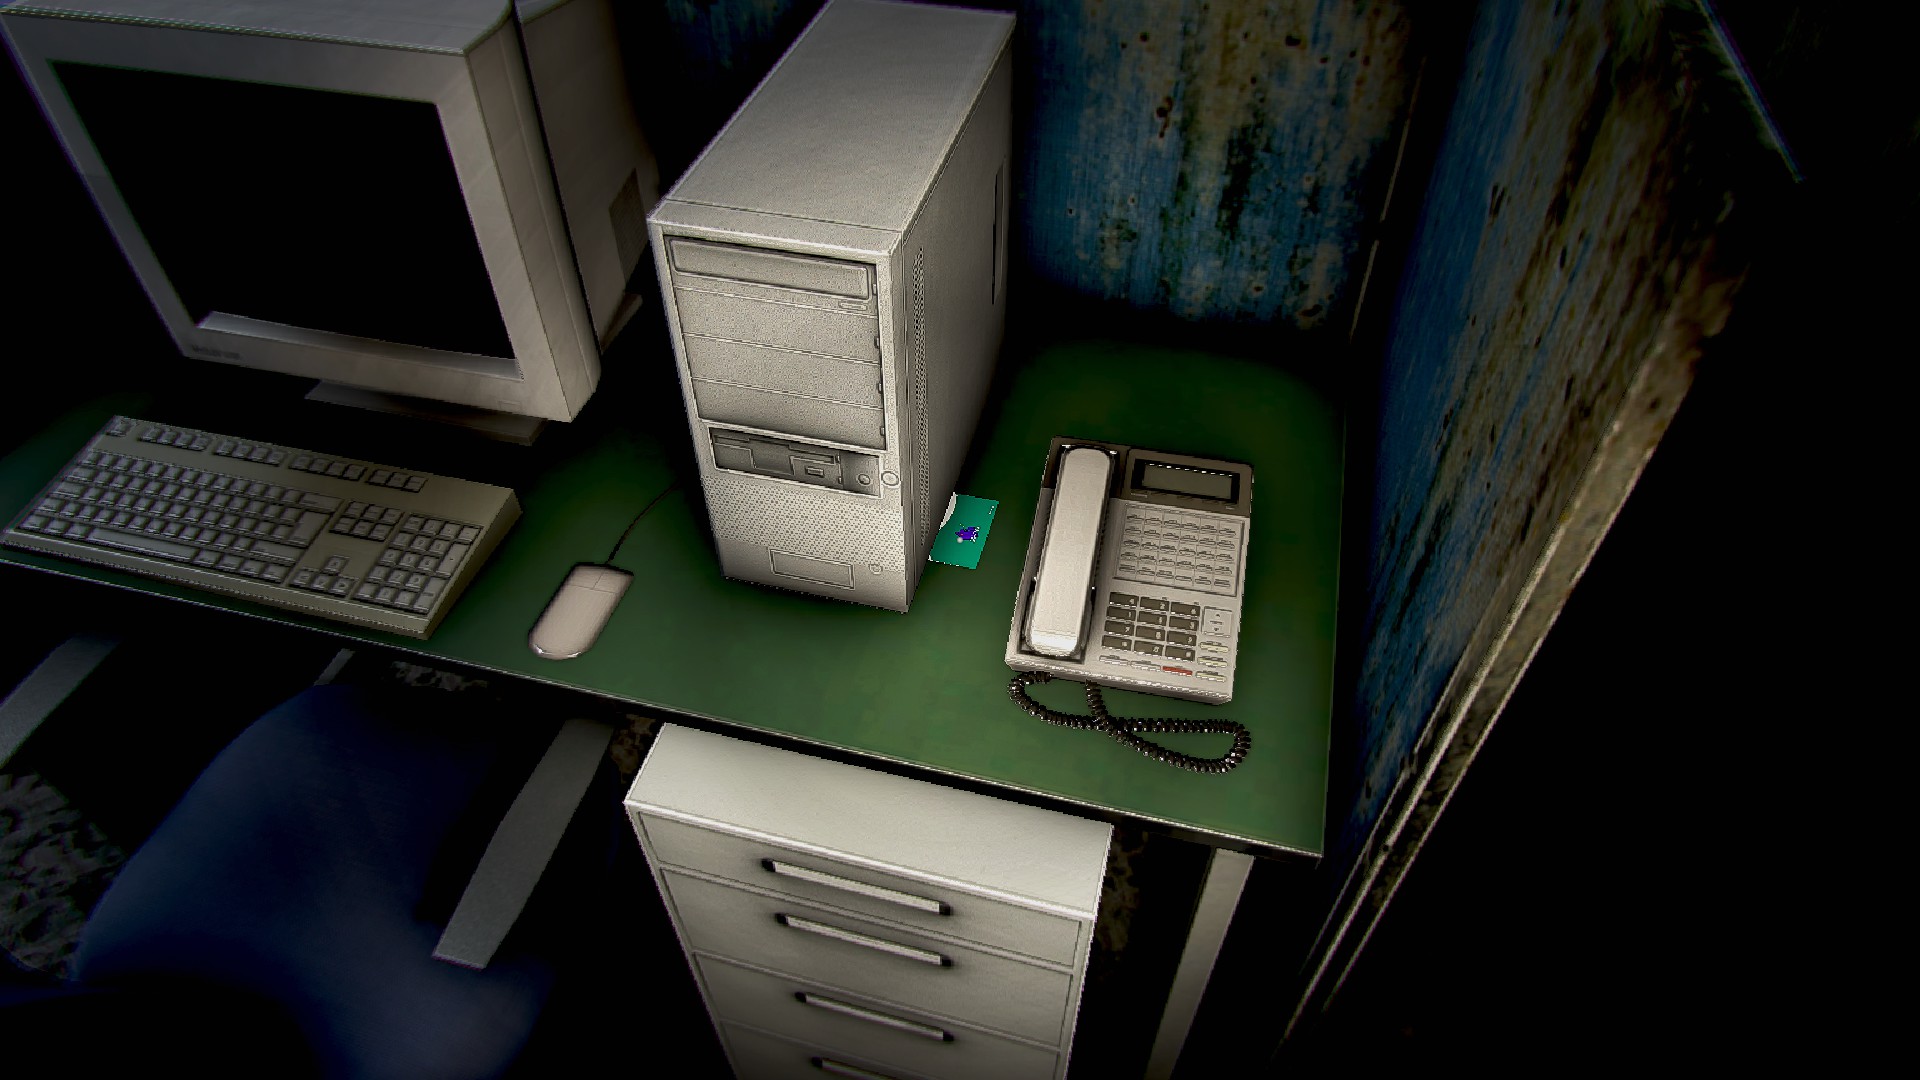
8th Floor | 8 Cards
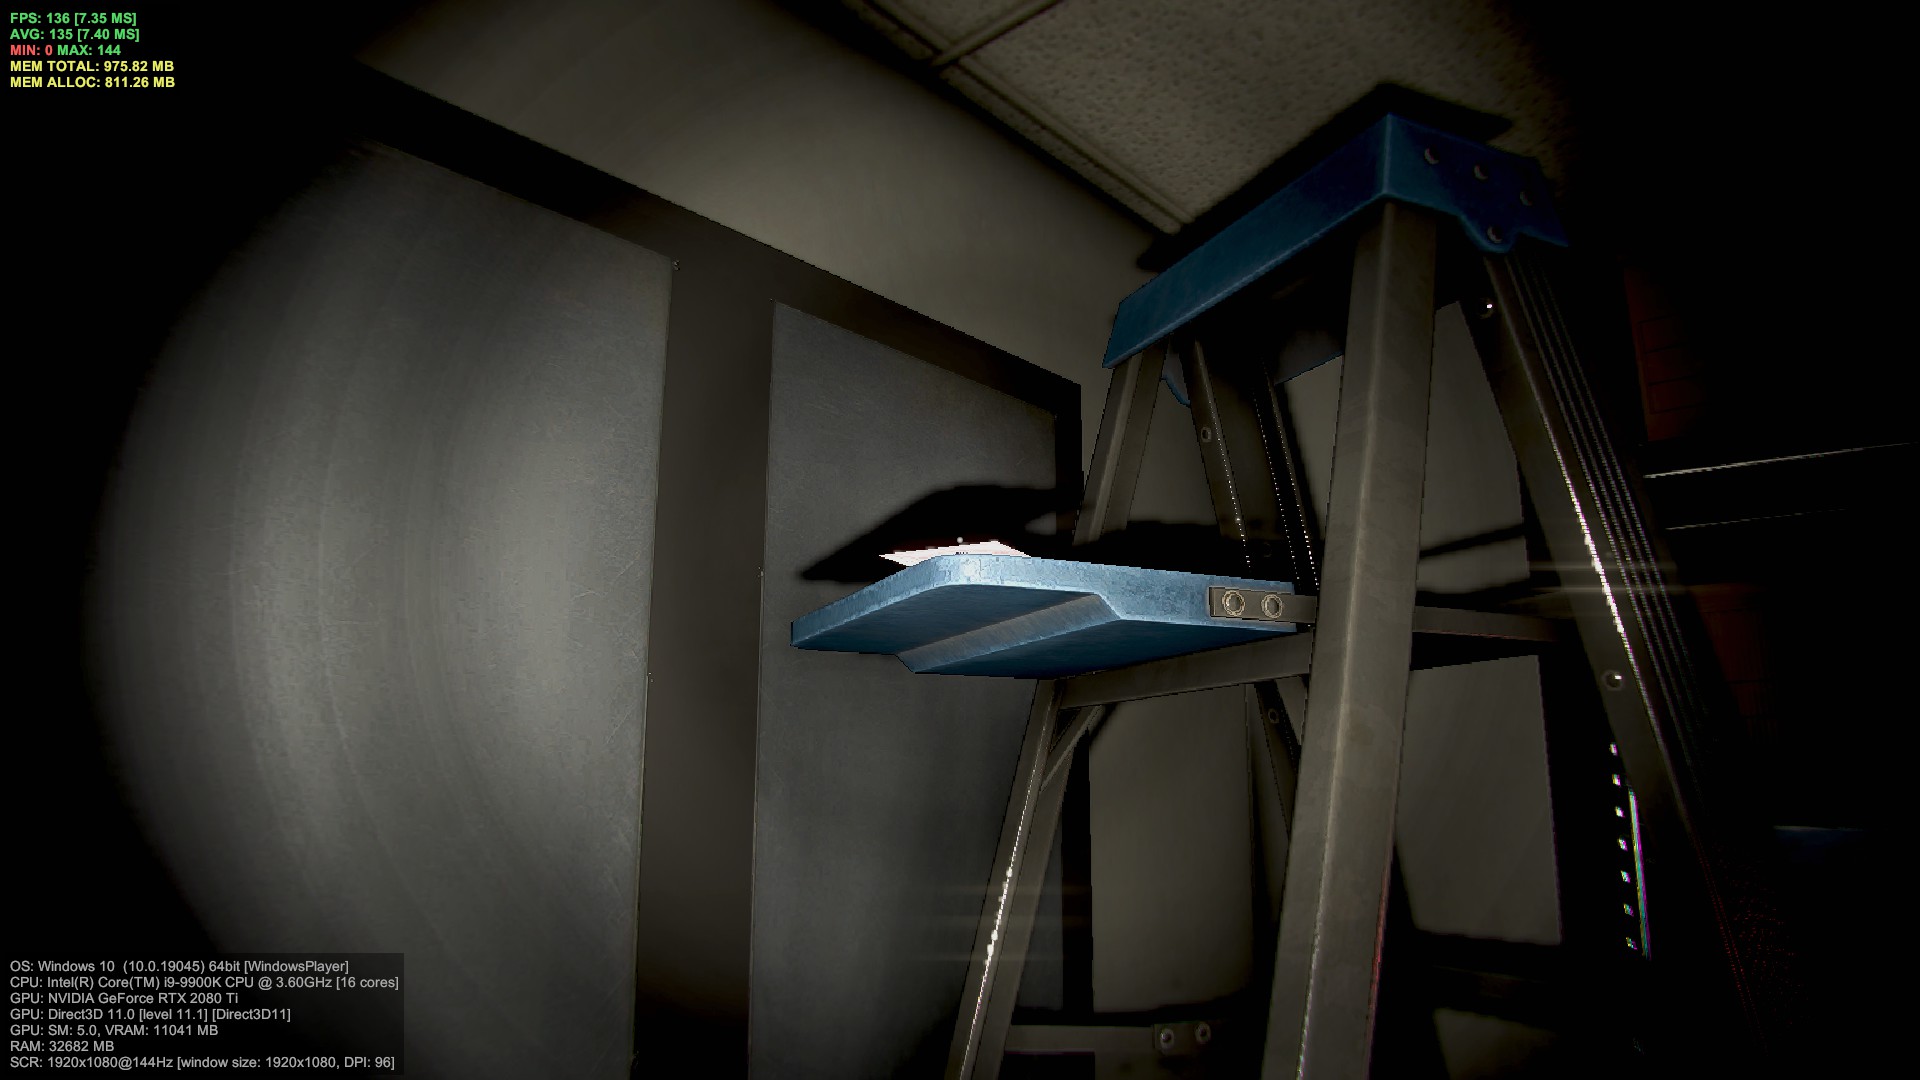
Elevator 8, on the copier against the right wall

Work 8, phone to the right of the first computer, card tucked under the phone
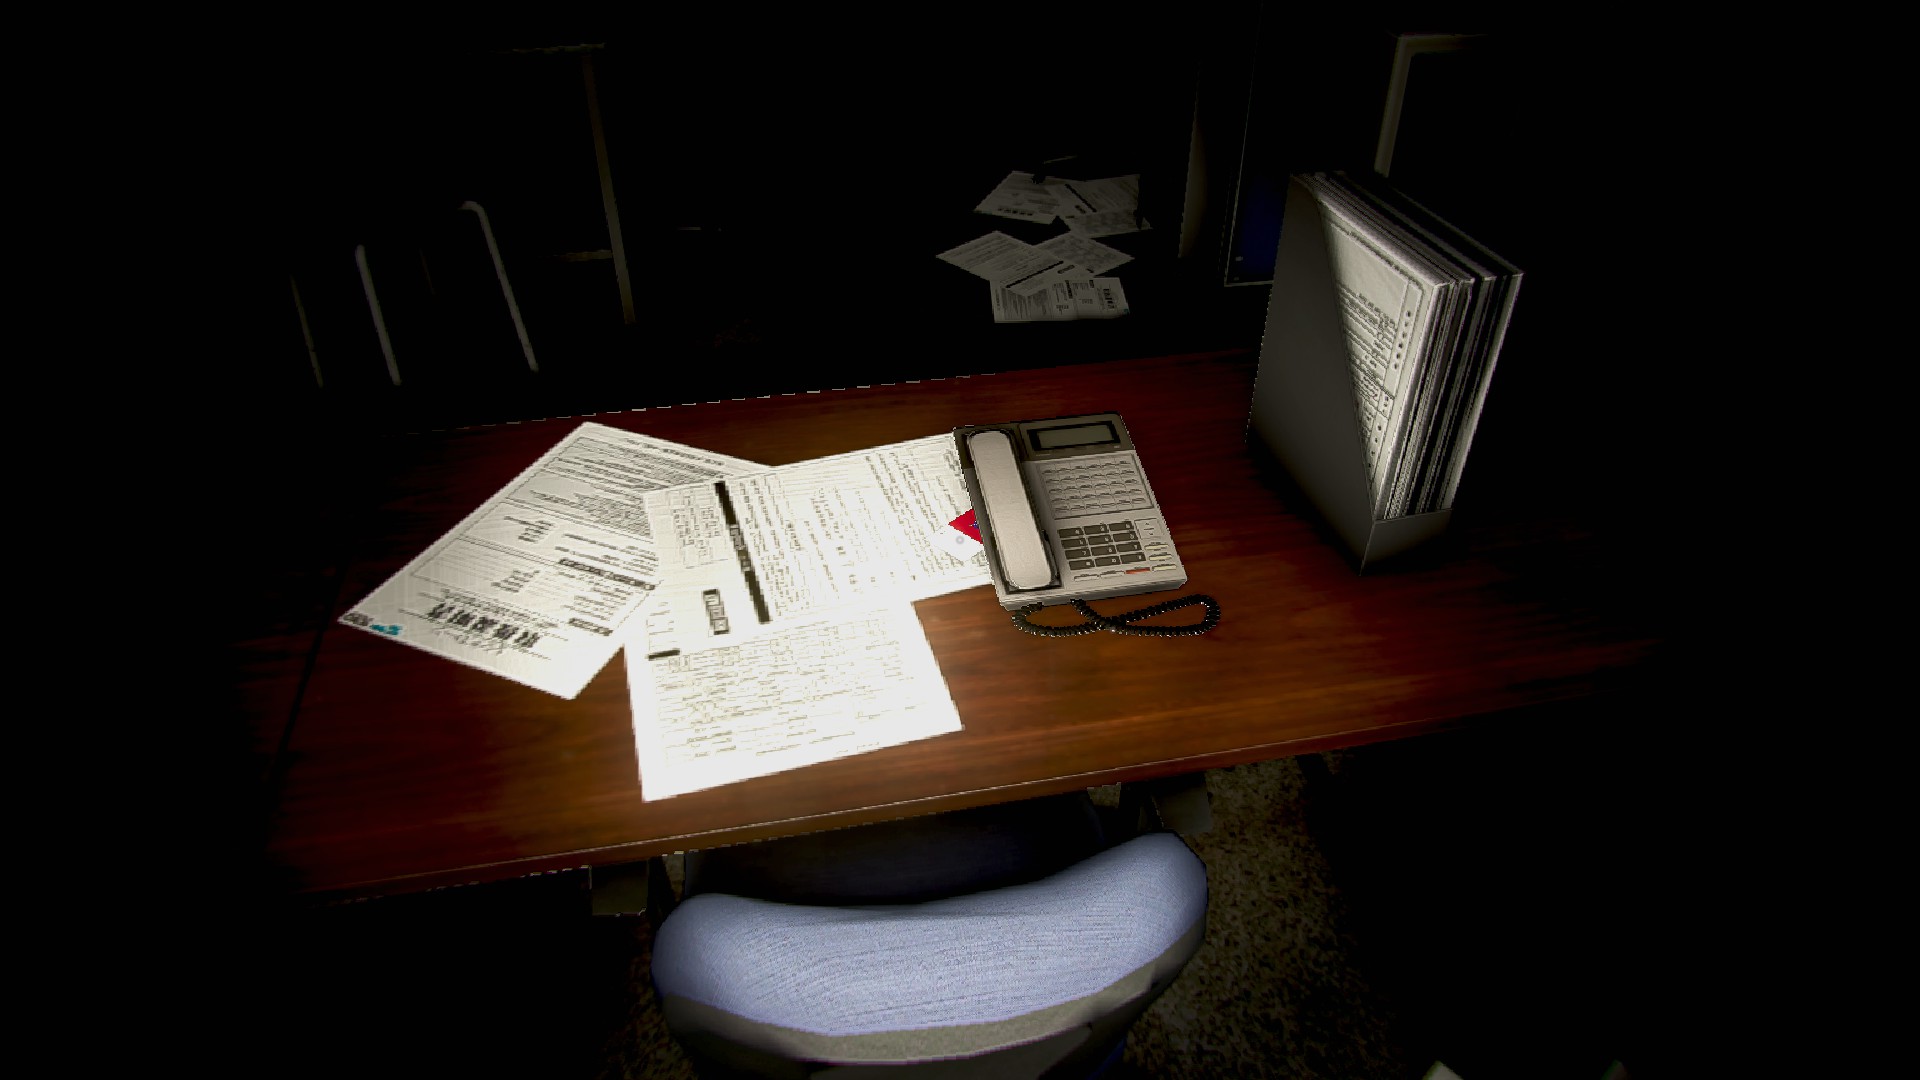
Work 8, first front facing desk in the back row, on the ground to the left, near a cabinet
Work 8, same desk has one in the papers to the right

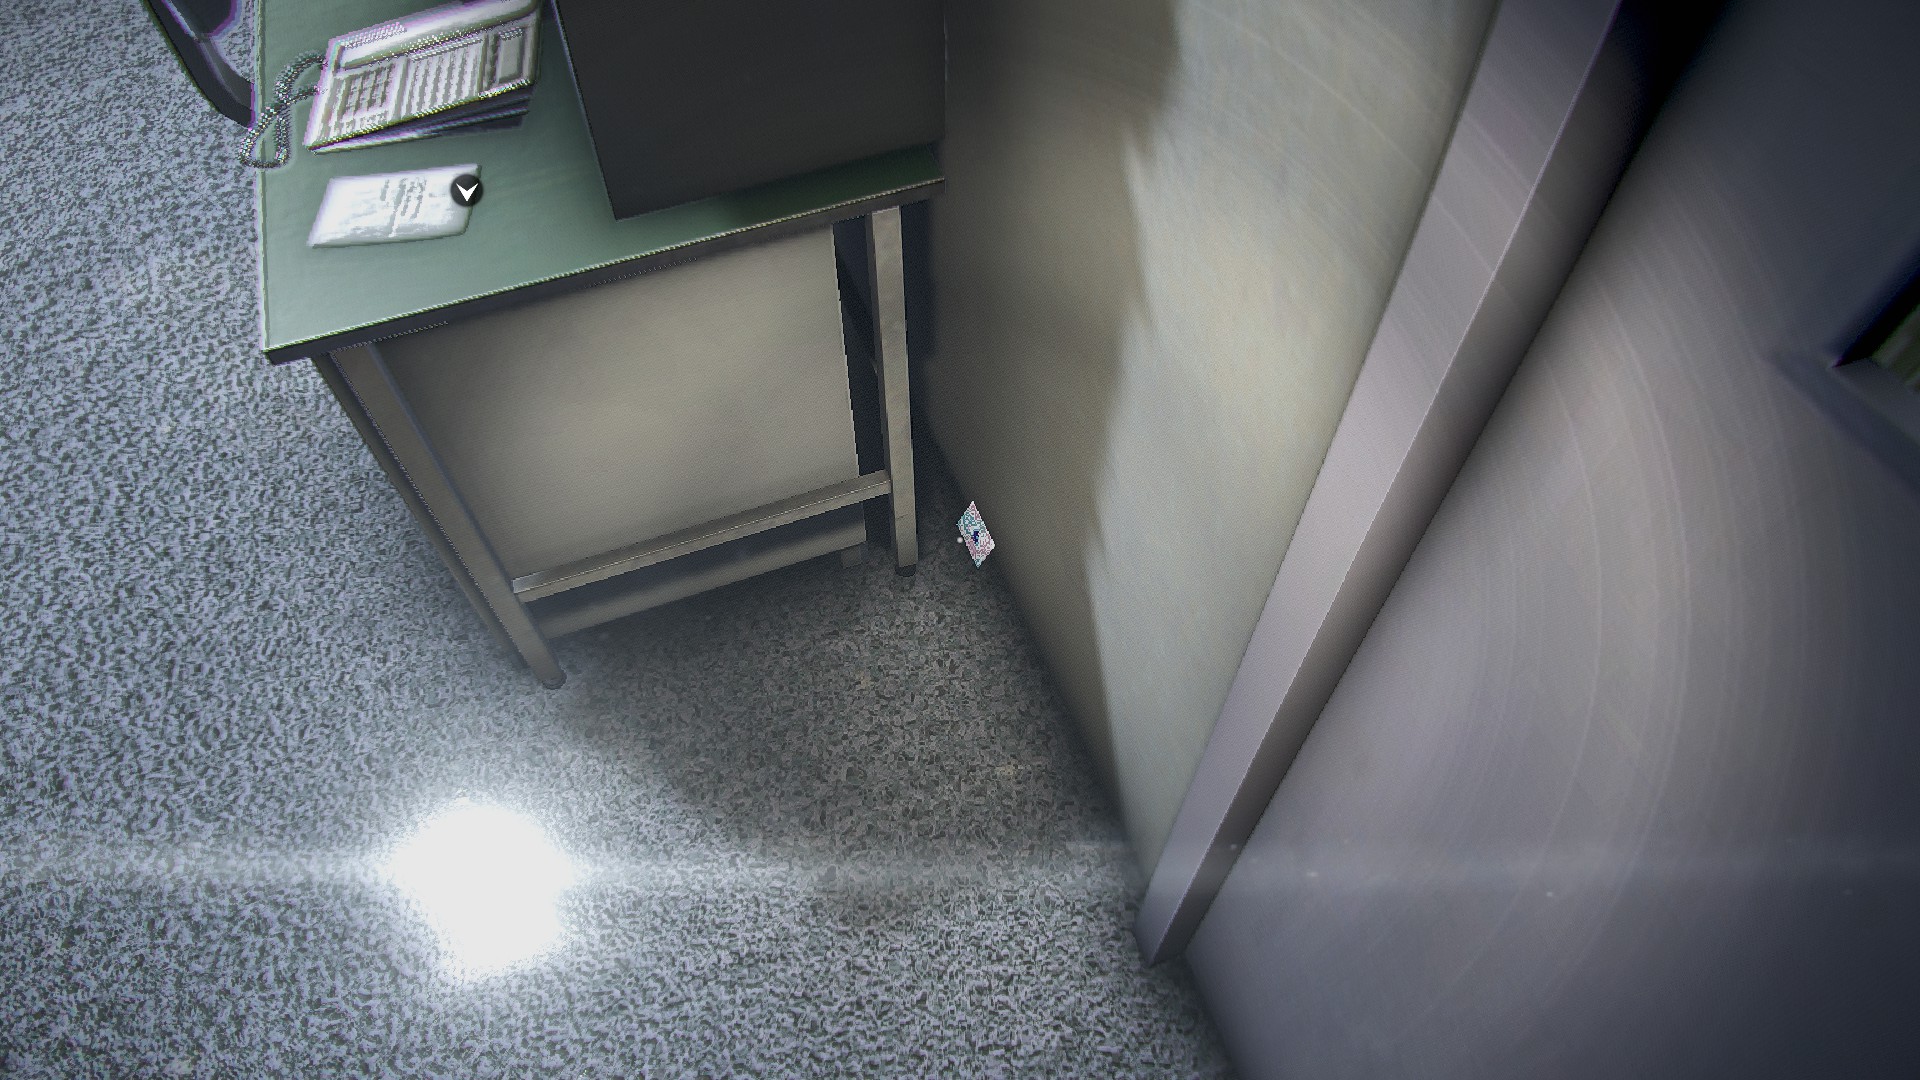
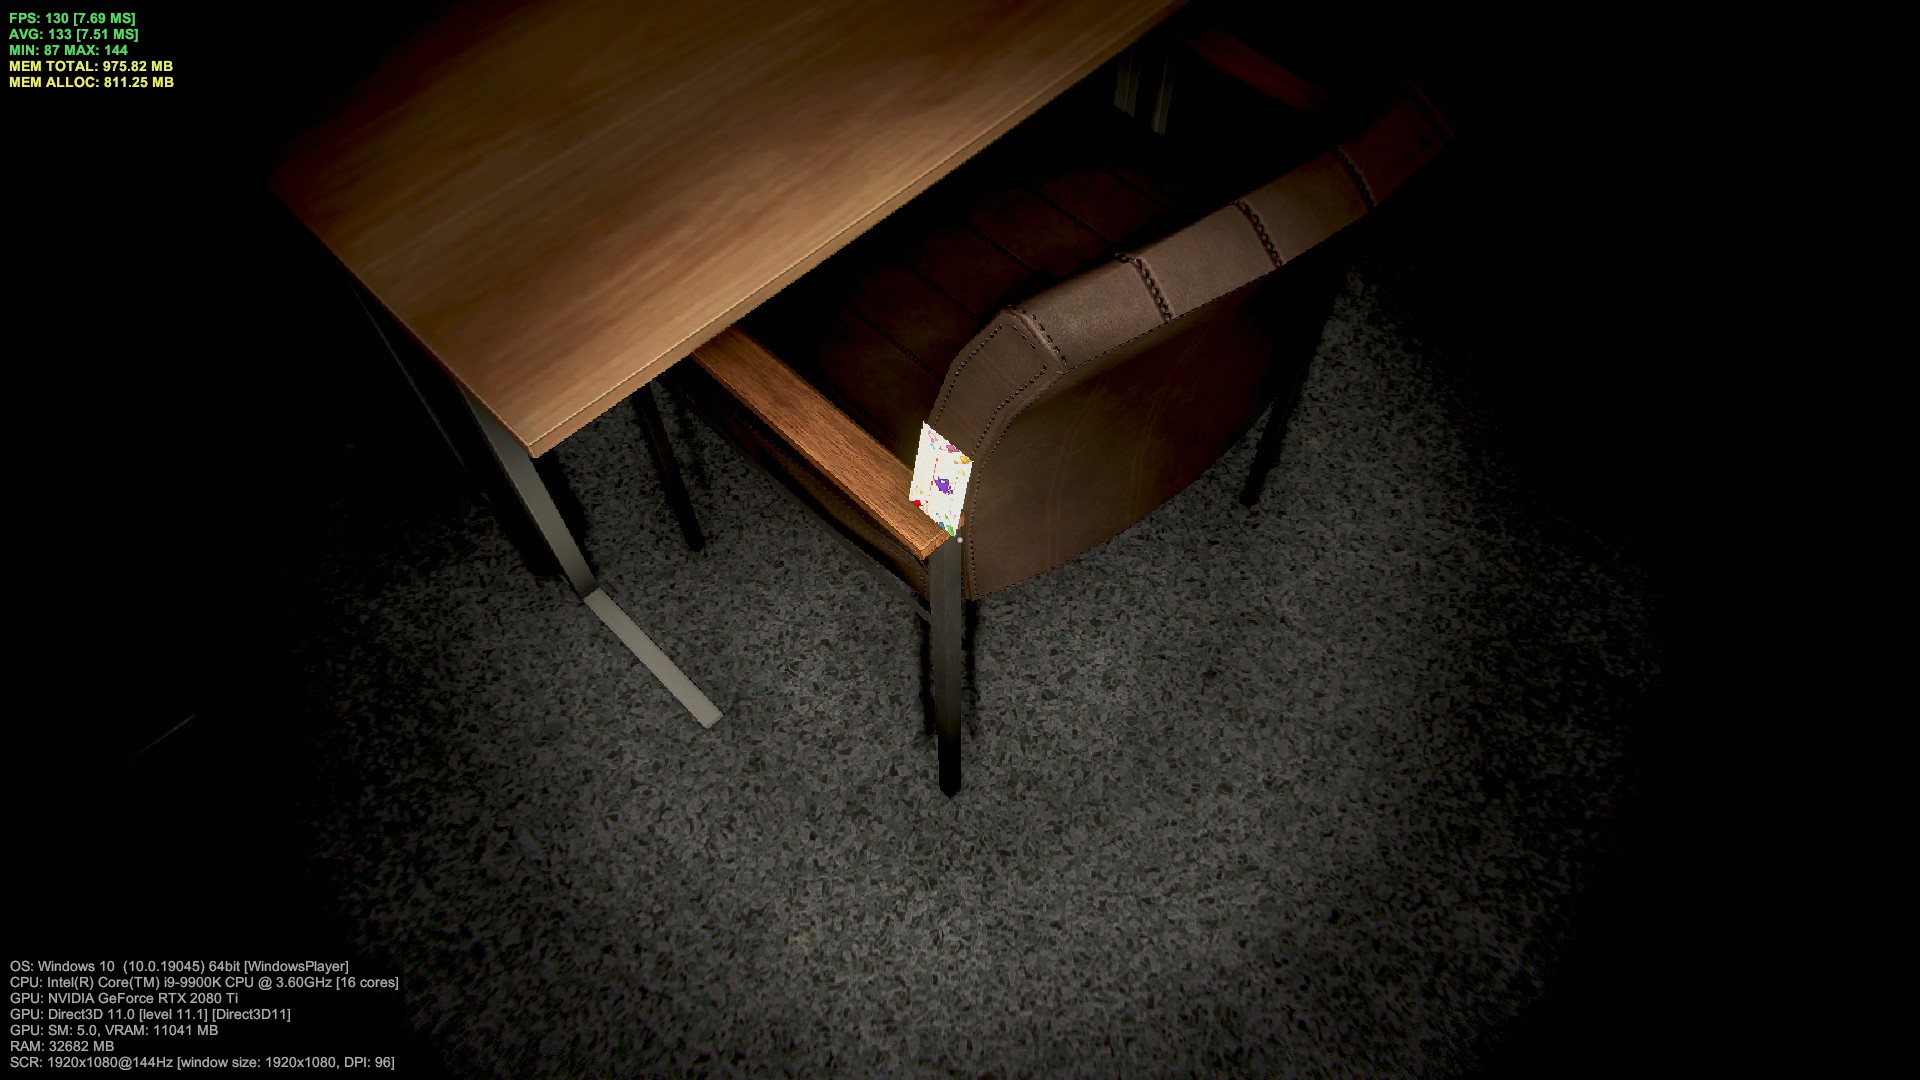
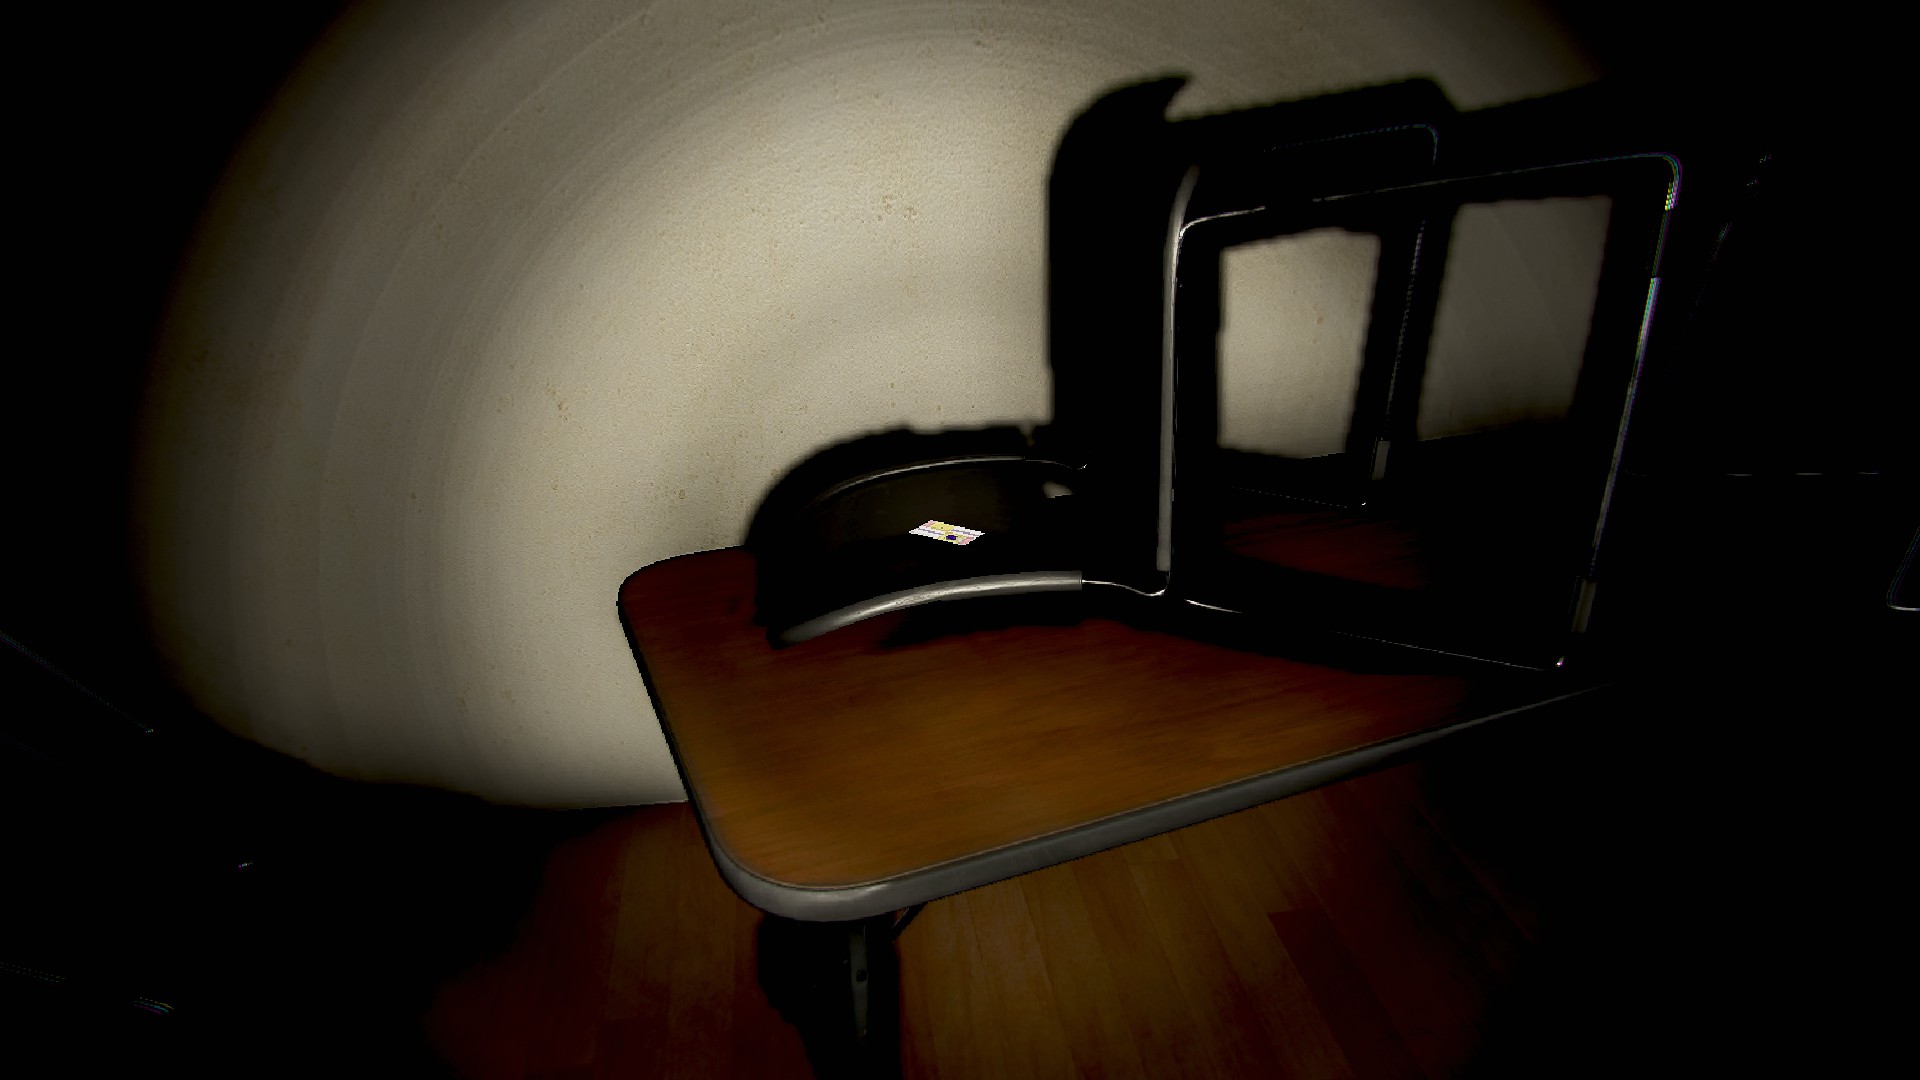
Work 8, same desk on the arm rest.
See the above picture, the same frame.
Work 8, last back facing row, second desk from the left, to the right of the monitor

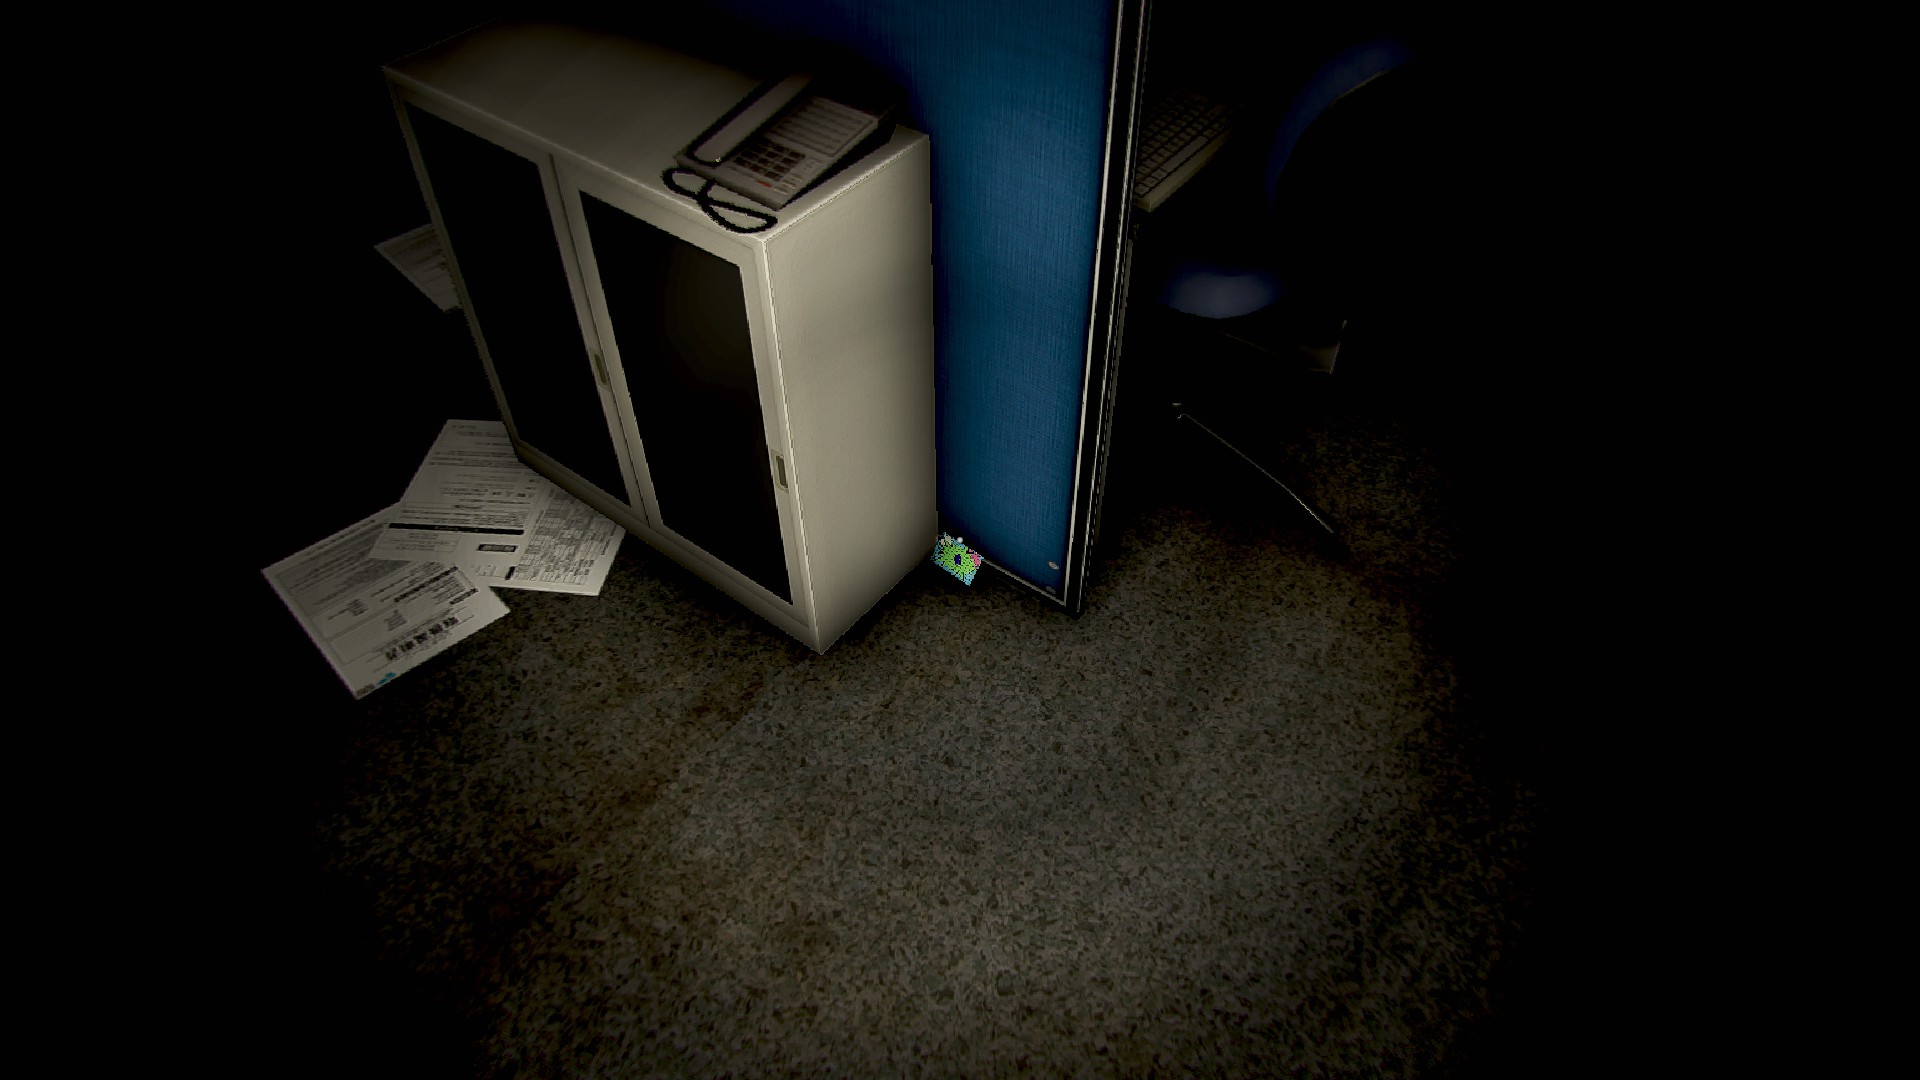
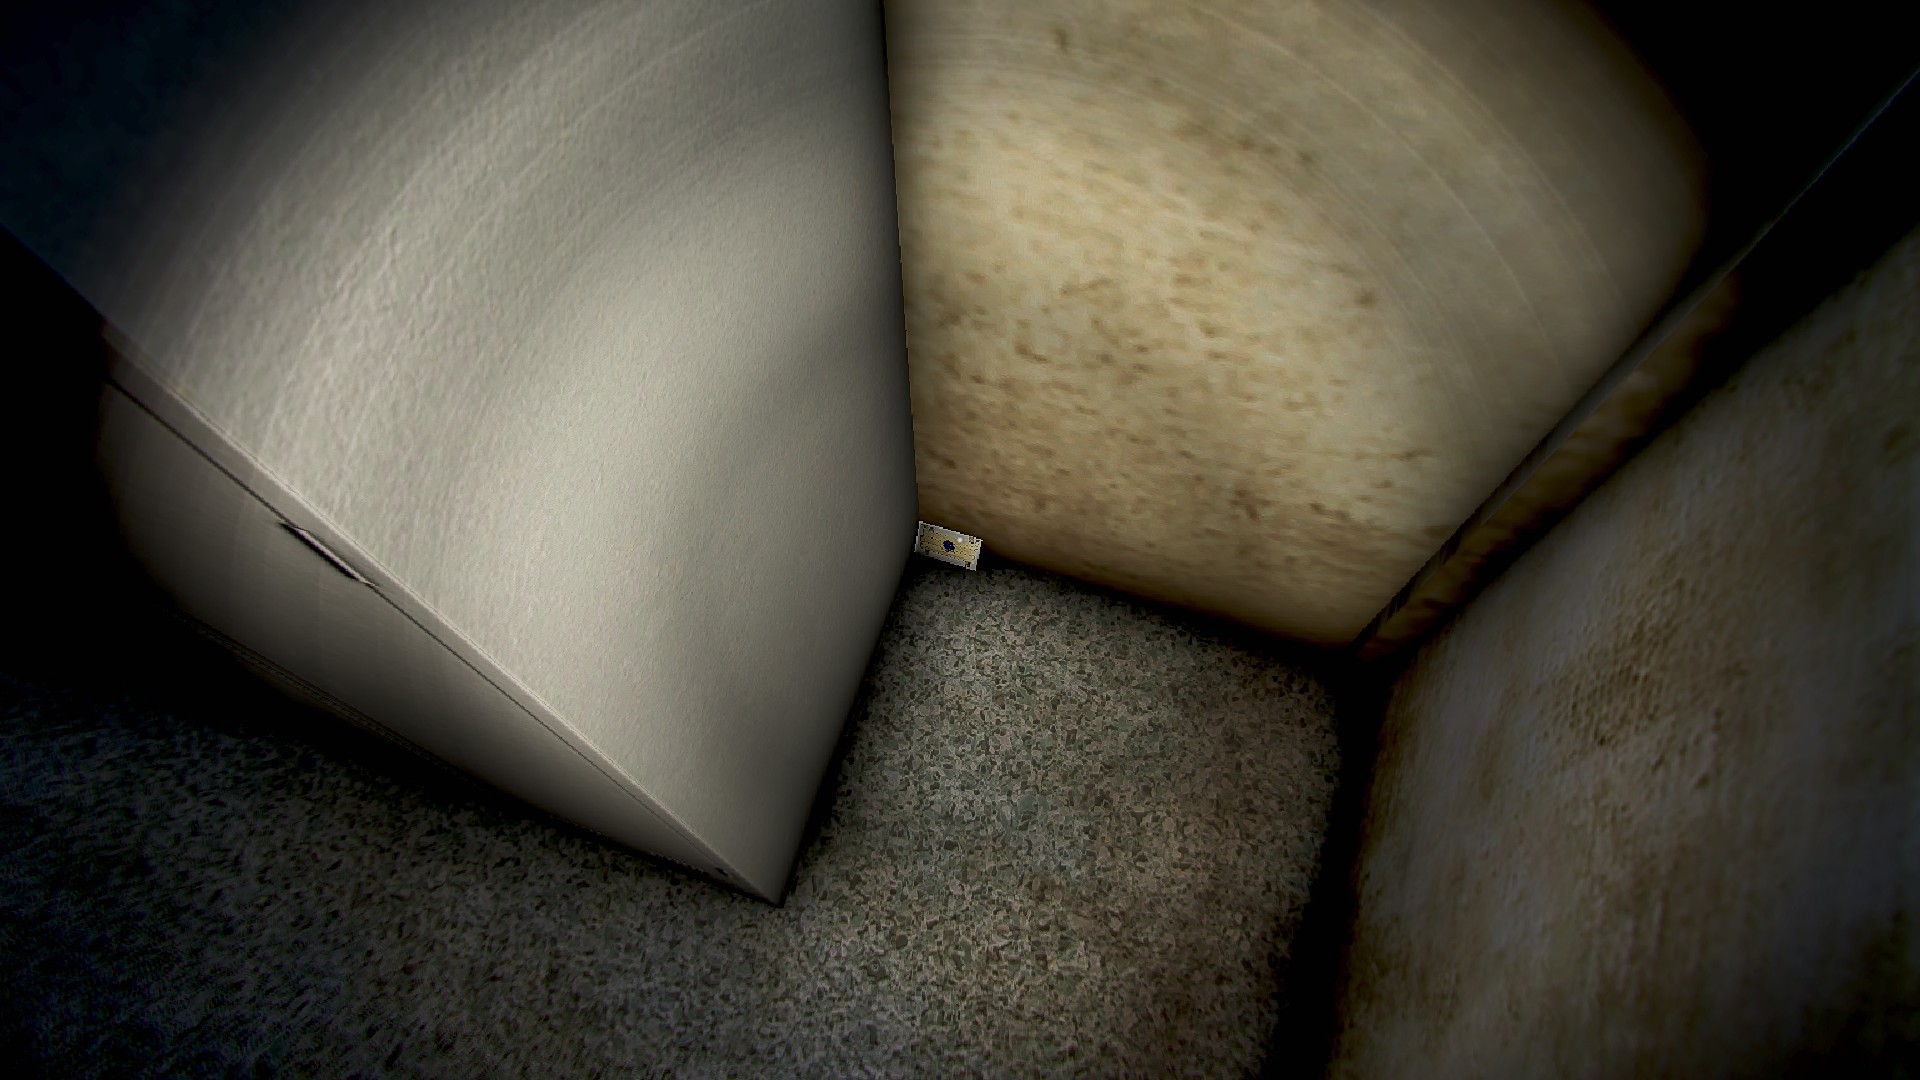
Work 8, pillar front center of the room, right side

Work 8, behind the door near the end of the hall
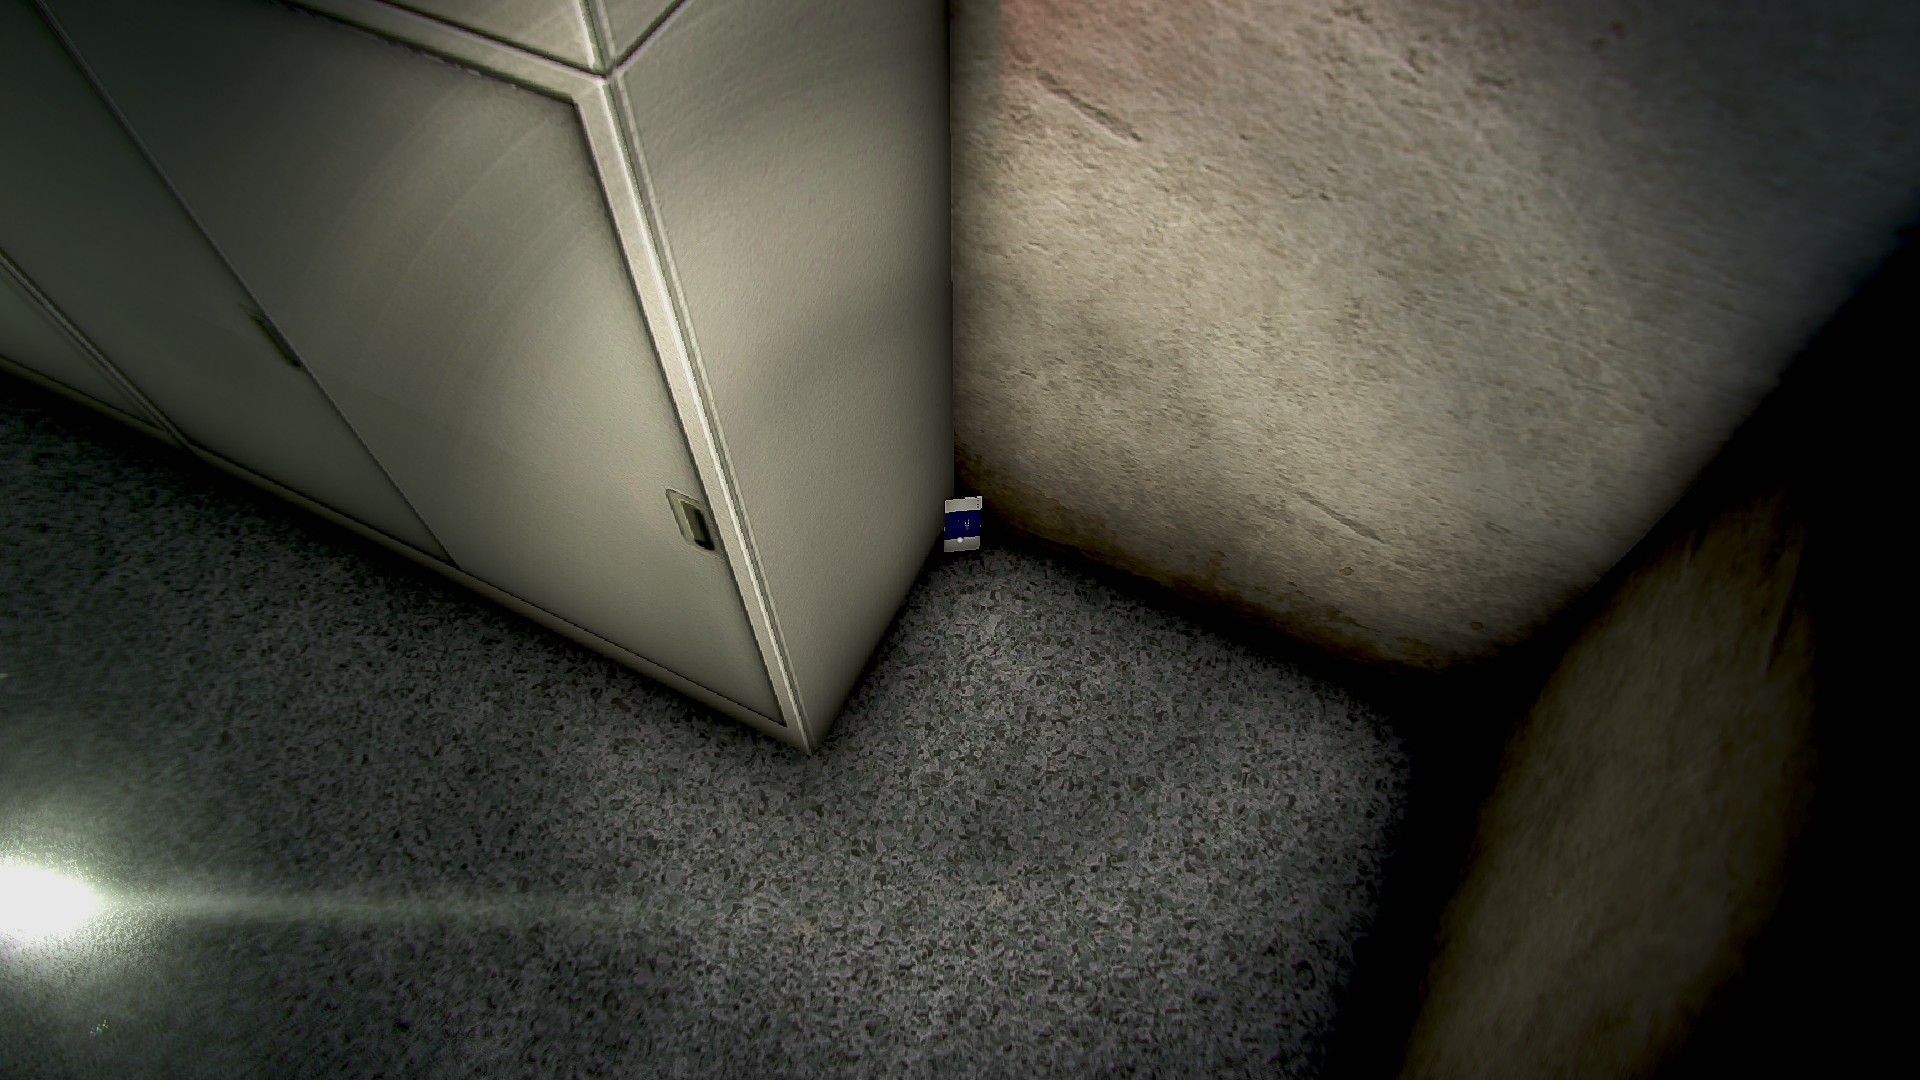
9th Floor | 8 Cards
Work 9, go along the first row, 2nd desk from the right, on the floor near the filing cabinet
Work 9, against the center pillar behind that desk

Work 9, last desk to the left, front row, on top of the center divider
Work 9, far wall to the left, near the door, on the ground between the wall and a cabinet

Work 9, middle row, first front facing desk on the left, between the phone and PC tower
Work 9, go to the last row along the back wall. Middle desk, to the left of the monitor

Work 9, last desk to the right along the back wall, between the PC tower and the phone

Women’s 9, tucked behind the left sink
The final achievement will be unlocked upon finding all collections listed above.

That's everything we are sharing today for this Night Security | 夜間警備 guide. This guide was originally created and written by Hirraed. In case we fail to update this guide, you can find the latest update by following this link.