This guide will show you some of the best tips and tricks in Monastery. Once you’re done with the tutorial, make sure to check out this guide. It’ll help you understand how things work and how to do well in battles, win runs, and beat bosses.
Character Generation
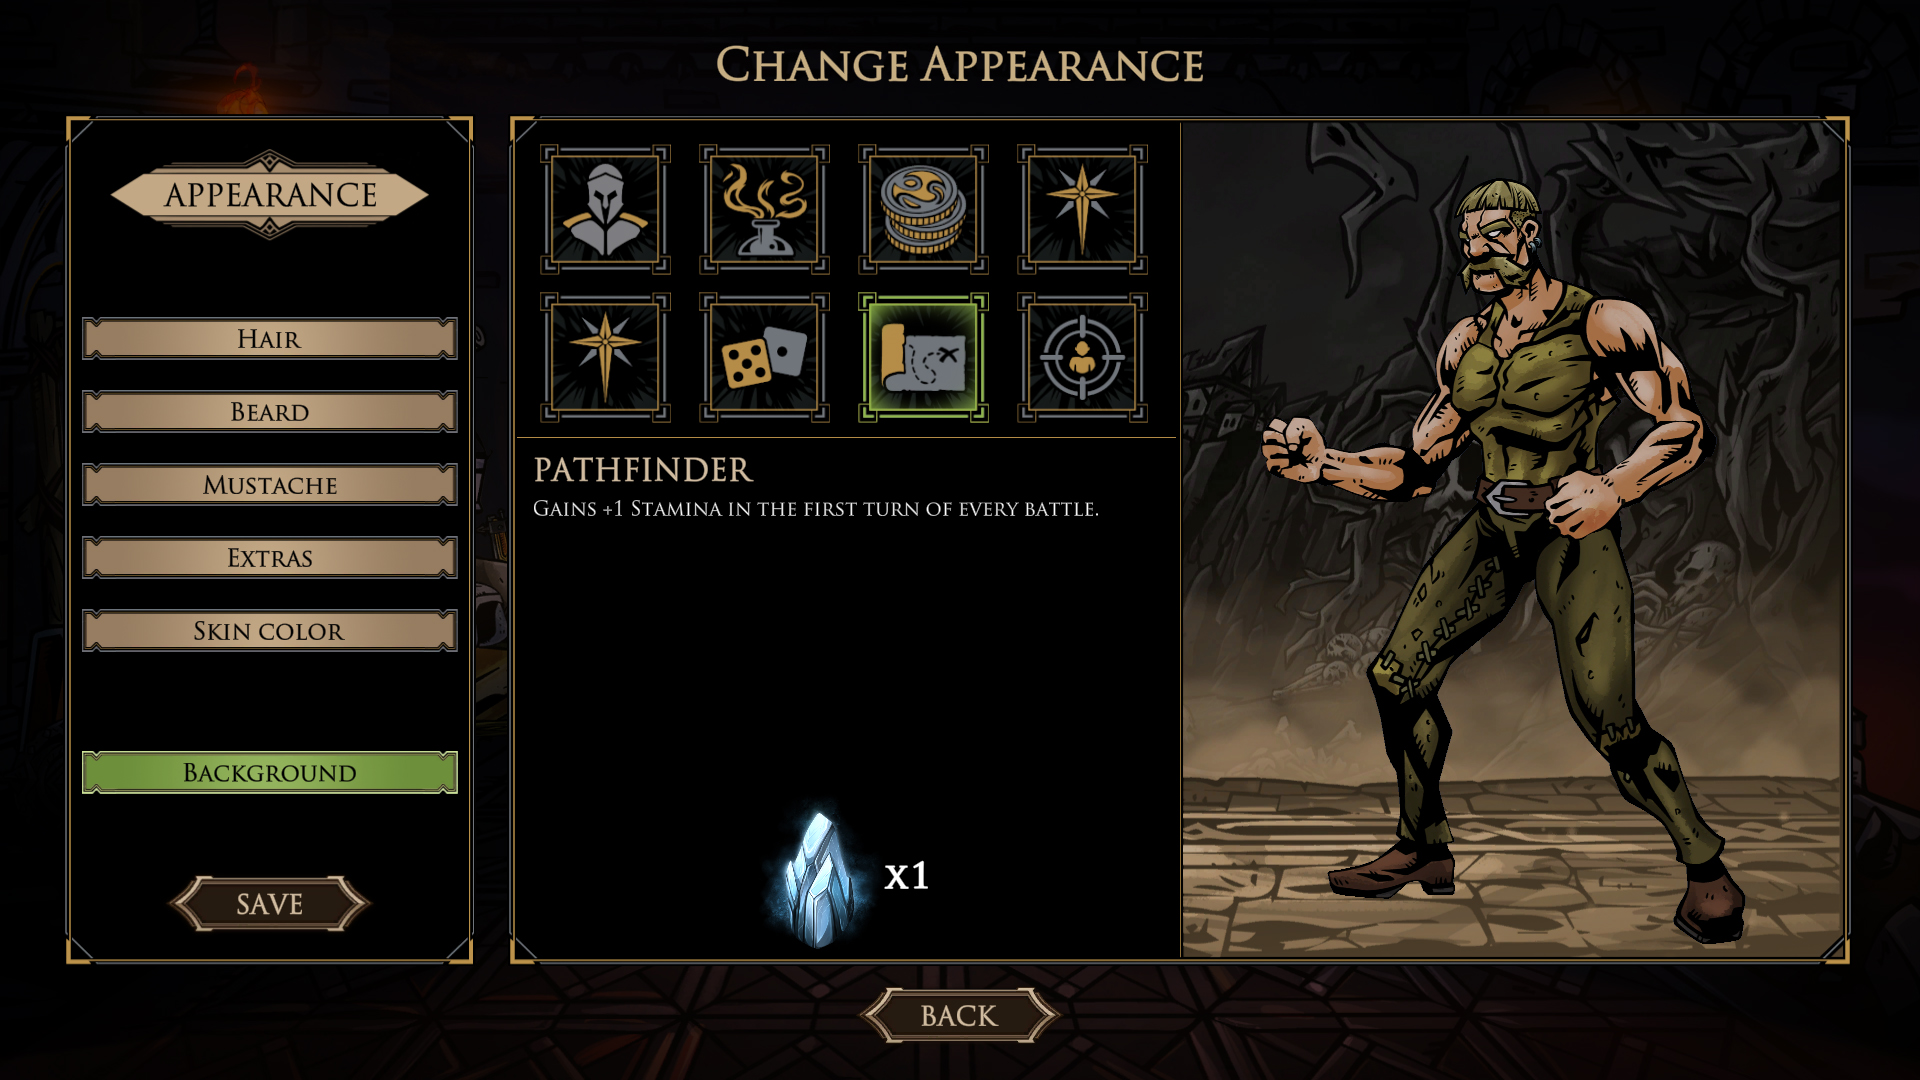
You can change how your character looks anytime you want, but you can only switch their background after defeating all 3 bosses in an area. Make sure to think about the way you want to play the game carefully.
Shop
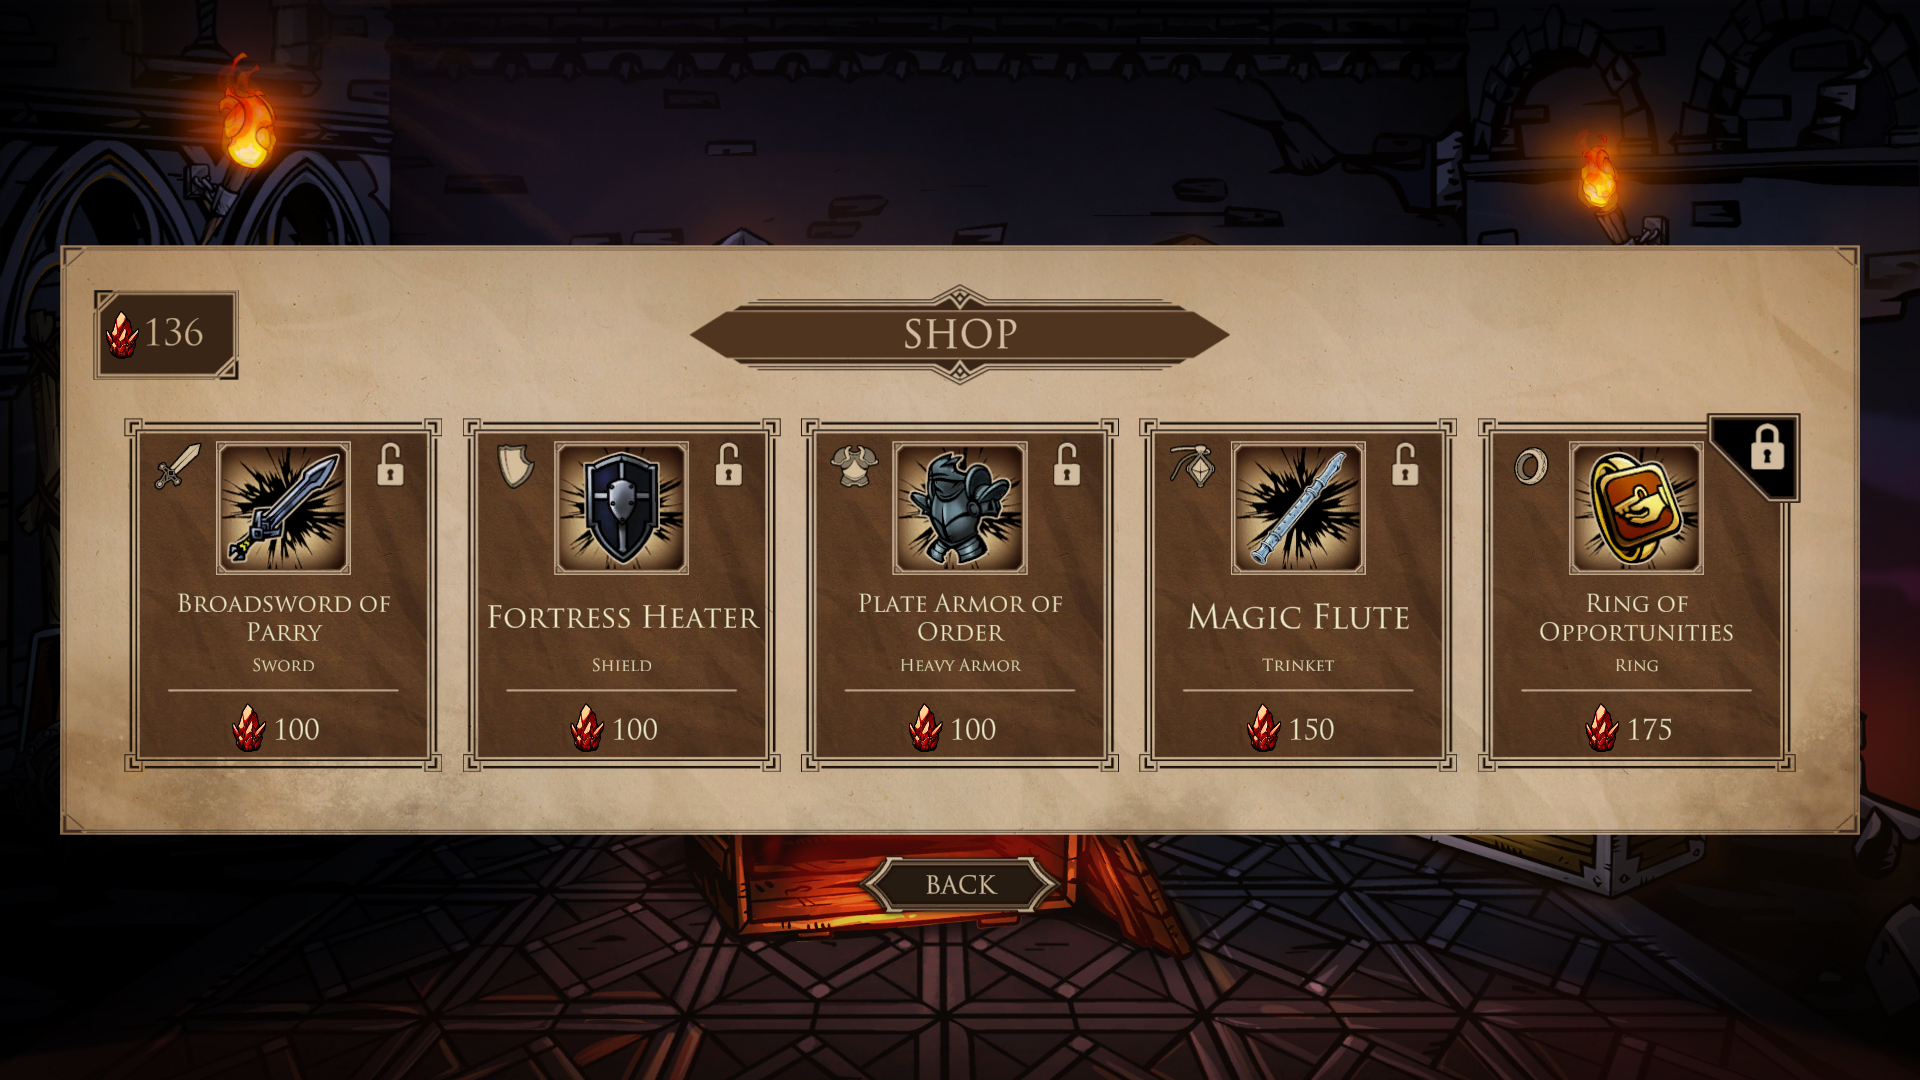
After completing runs, you’ll earn Bloodshards. The better you do, the more you’ll get. At the beginning, it’s smart to collect these and decide what new gear to buy once you get the hang of the game.
Inventory
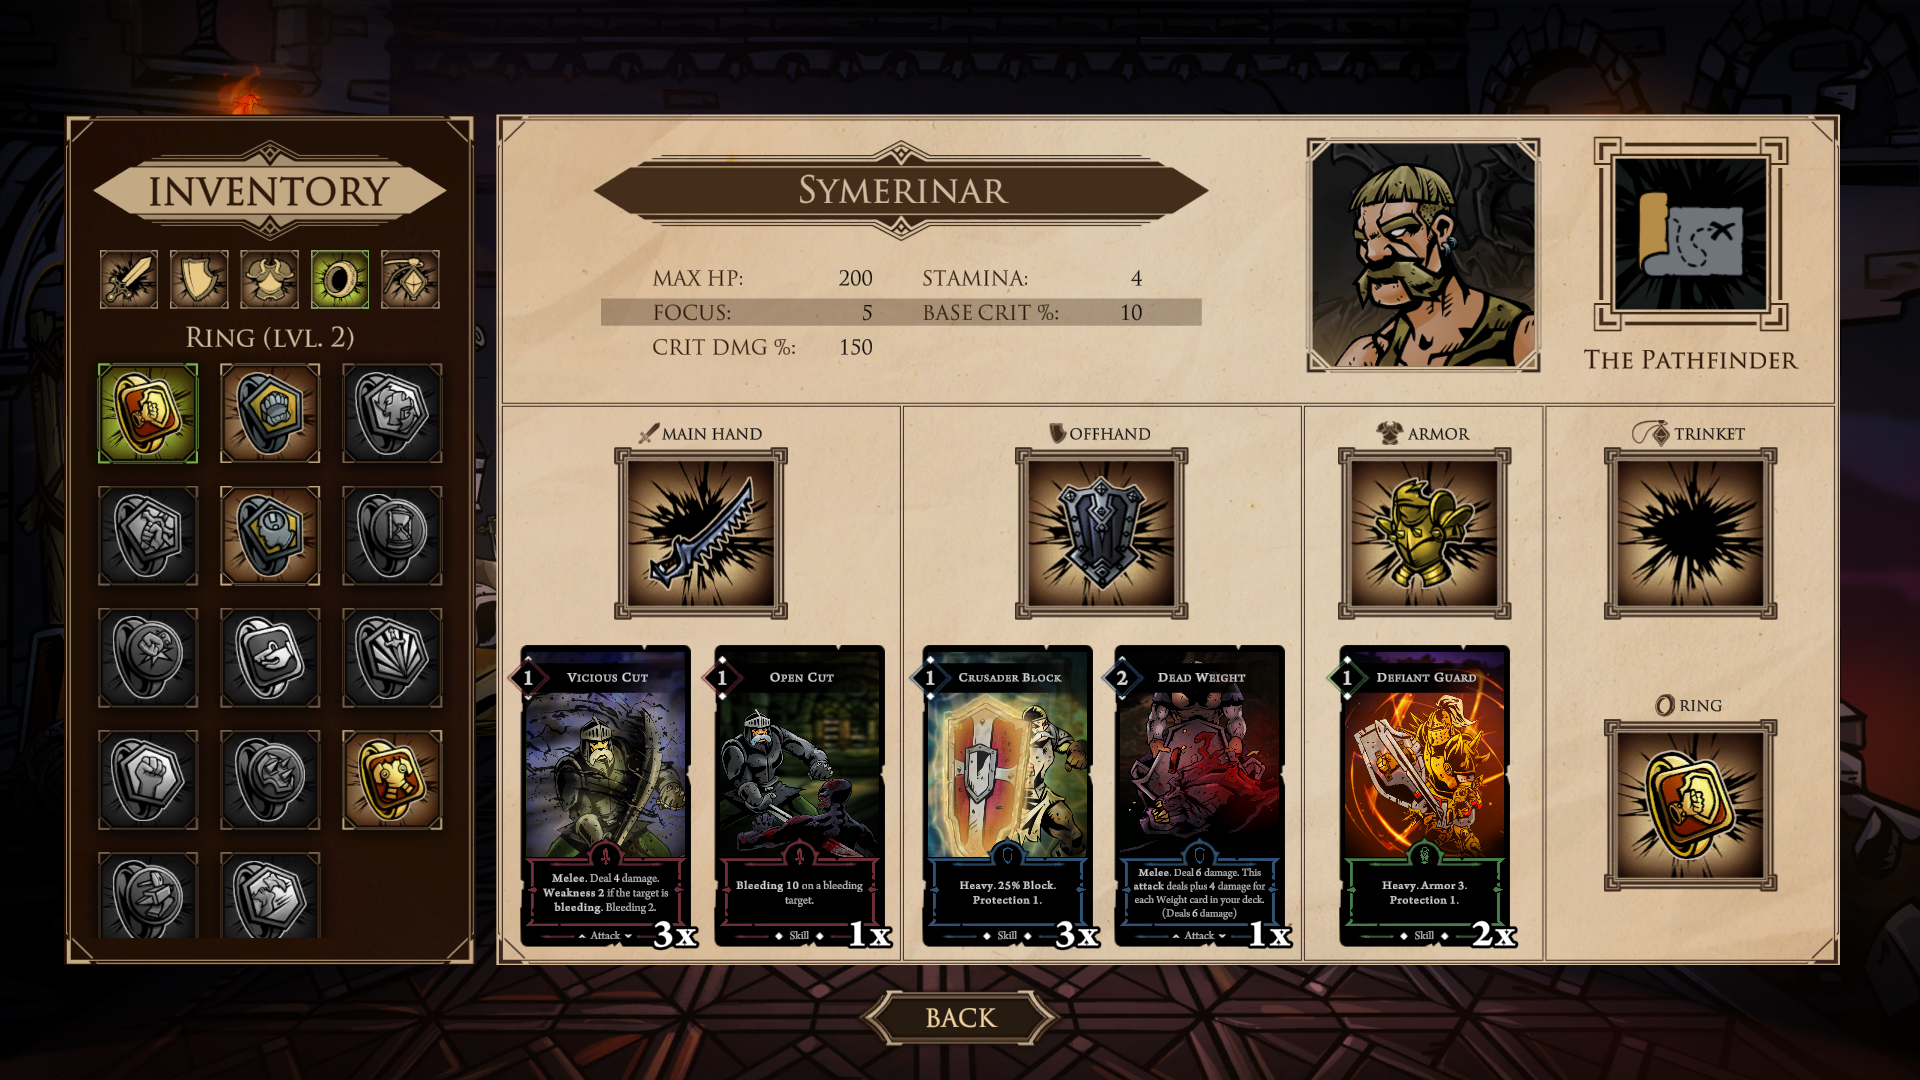
This is where you can swap out items you’ve bought or earned after defeating bosses, before your runs. Each sword, shield, and armor has its own cards, called starter cards. Rings give you a little bonus in battles, and having more rings makes that bonus bigger. Trinkets help you choose card rewards but need to be charged. They charge up after each successful run, not just the ones you took with you but all your trinkets.
Mastery
Whether you win or lose in runs, your skill with your gear gets better. You earn points based on which gear cards you had more of. But you only earn points in a specific subtype (like swords or cutlasses) if you win. These points are important because they let you unlock new cards that you can pick as rewards during runs, making your deck stronger.
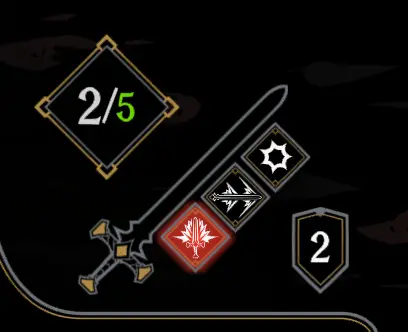
Boons come in different types. General ones are round-shaped, those for swords are diamond-shaped, for shields they’re square, and for armor they’re pentagon-shaped. Each has a constant effect, although some might depend on things like your health being below 50%. You’ll see these on the top menu bar during battles.
Starting a Run
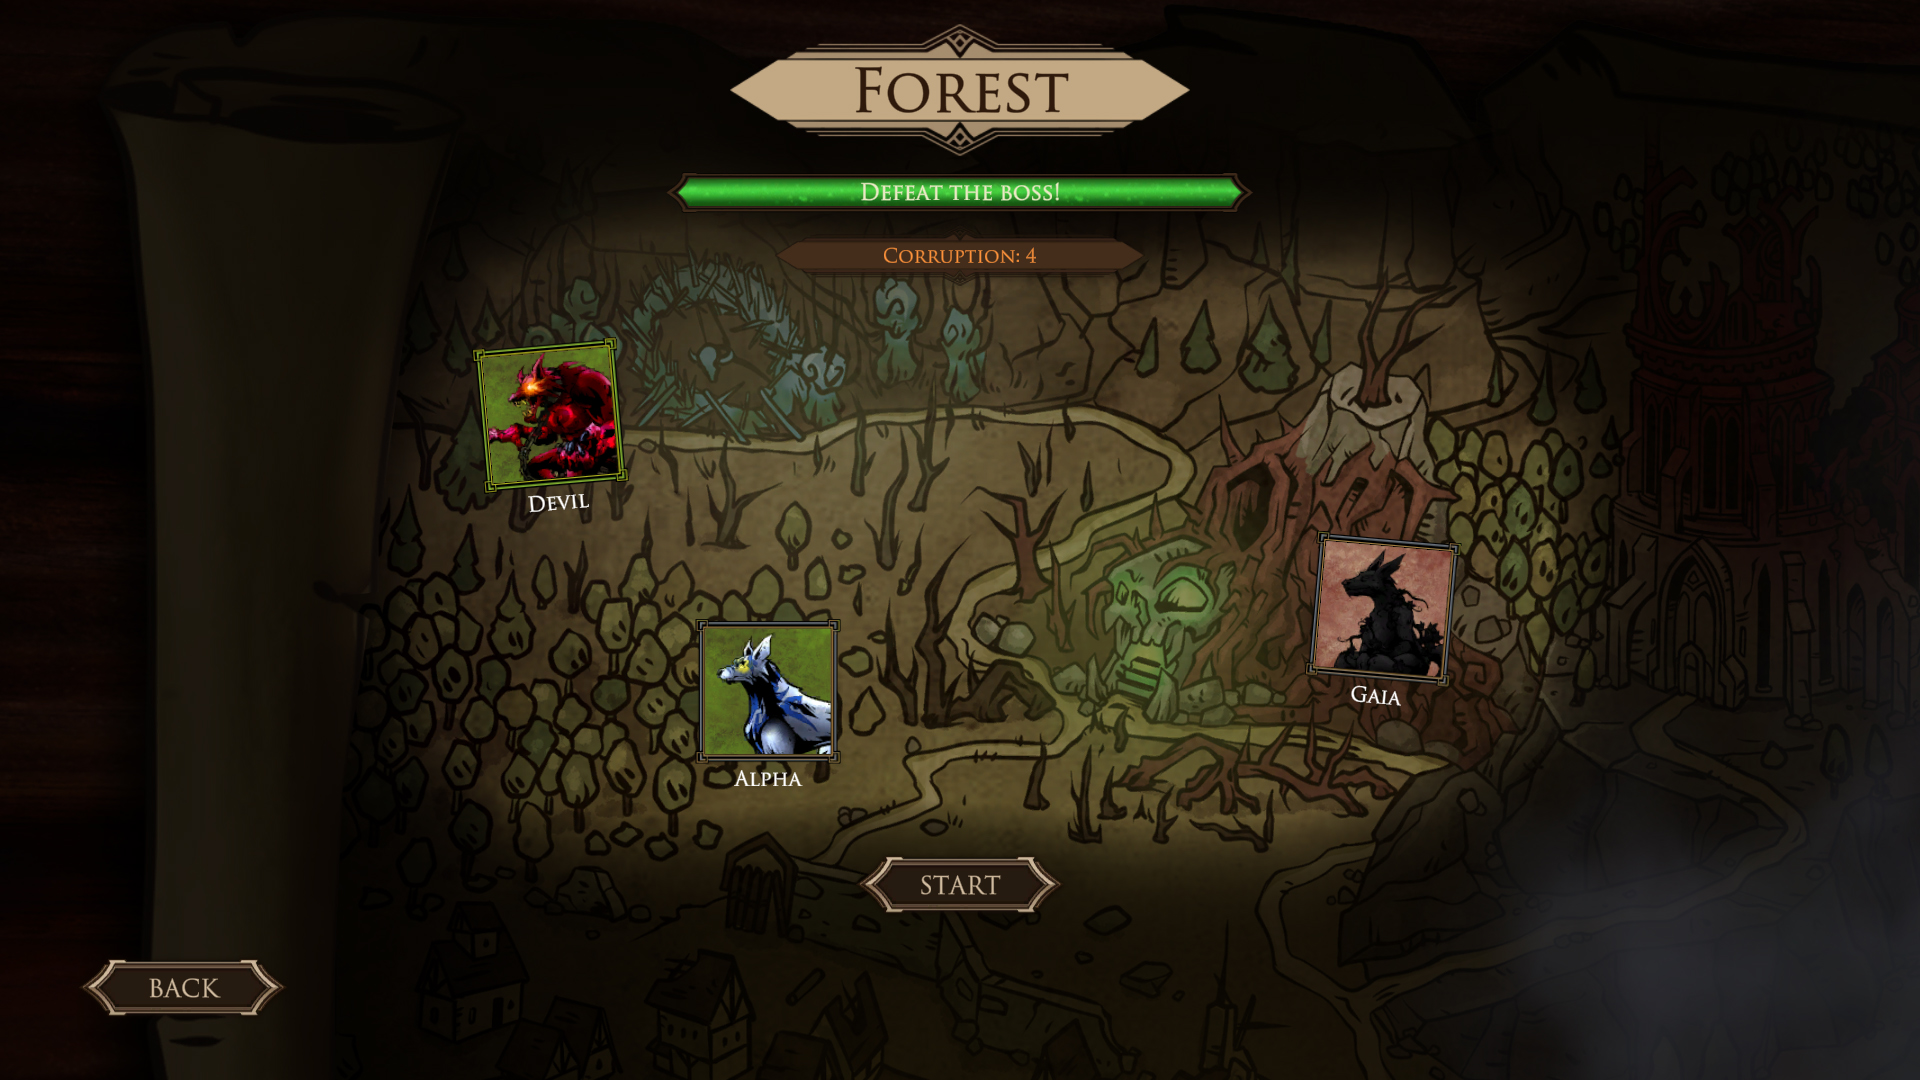
You can pick between two places to start your adventure: The Ruins with ghouls or the Forest with werewolves. I suggest starting with the Ruins because the enemies there are weaker, making it easier to level up.
After you pick a place, you’ll see a boss progress bar at the top. It fills up after three successful runs, and then you can face the boss. There are three bosses in each area.
At the beginning of battles, you get some help like cards, torches, or boon tokens based on how well you did in the last run.
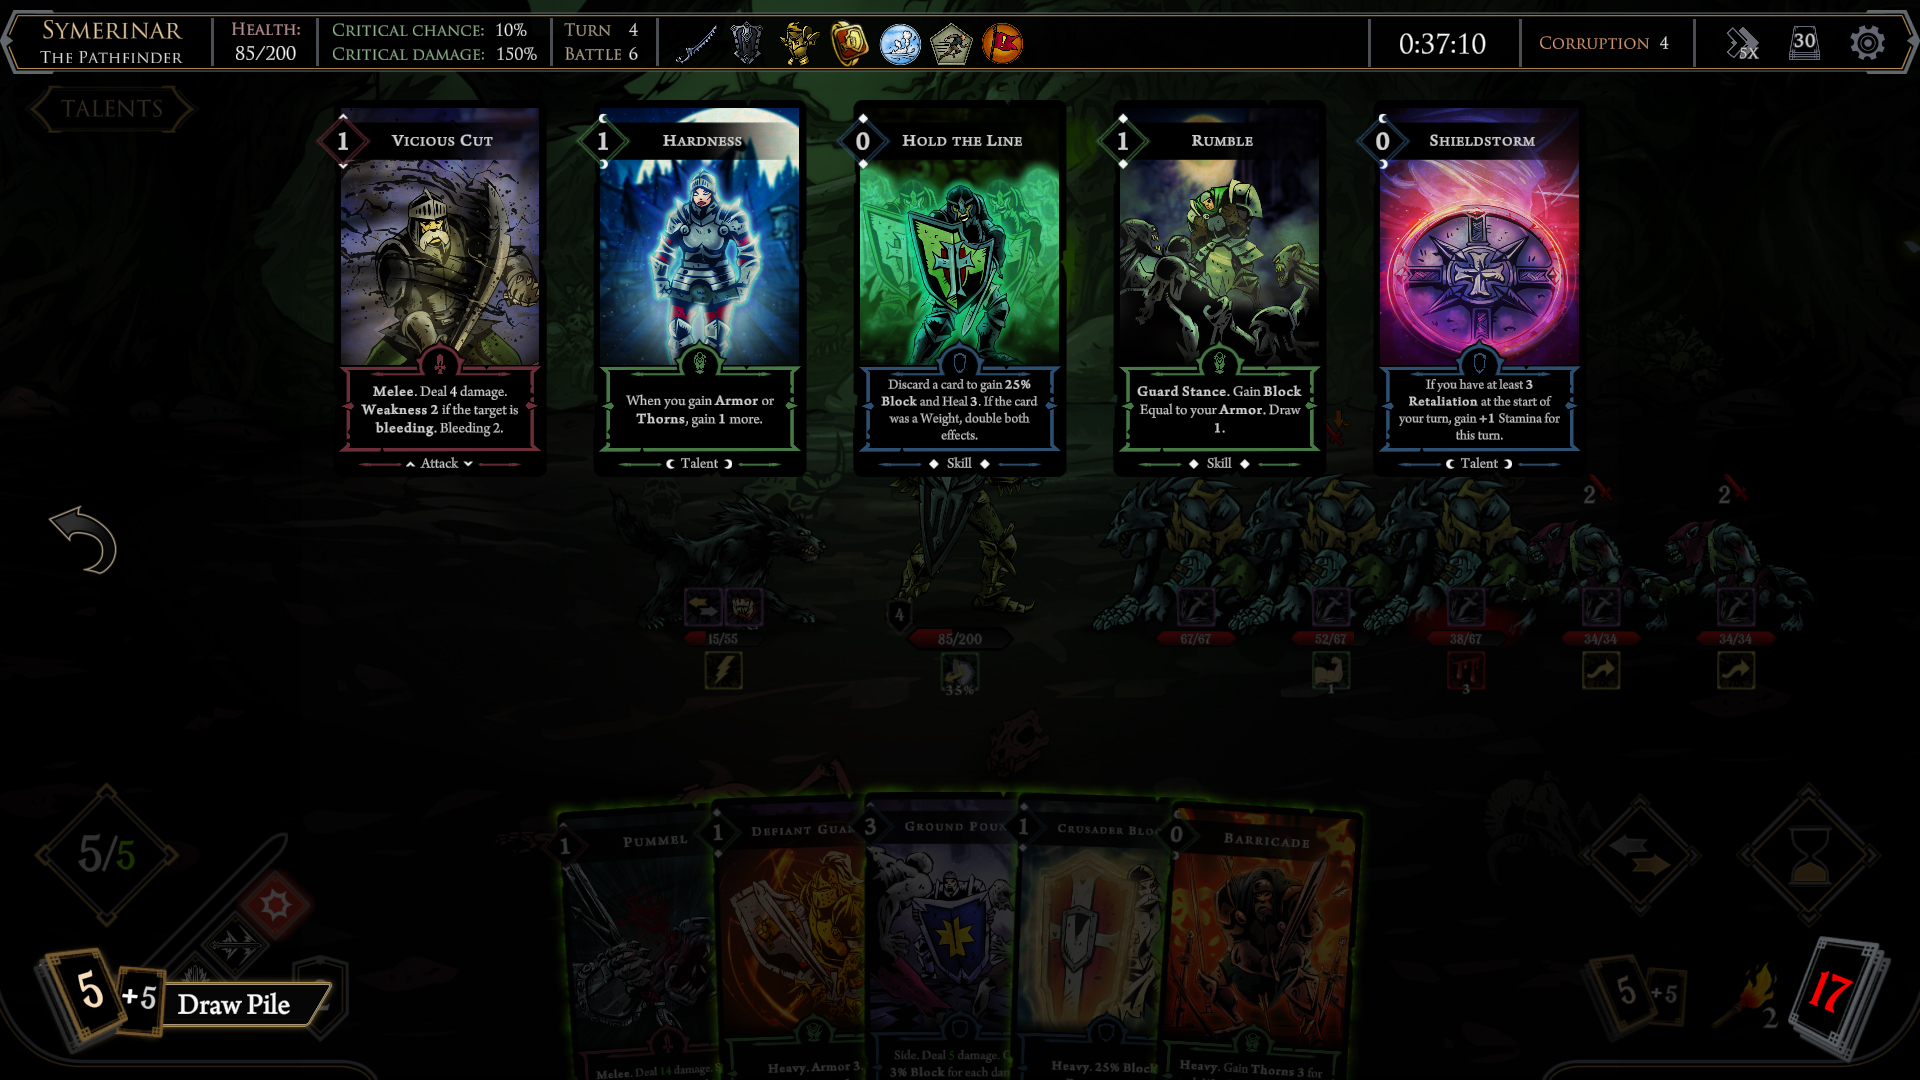
Cards: Let’s talk about building your deck. At first, your deck has 10 starter cards. During the run, you can add more cards from rewards and even get more copies of certain cards or remove them. This is important because if your deck runs out during a battle, it gets shuffled, and you might draw the same card many times. Having cards that work well together helps you make powerful combos. At the start of your turn, you draw 5 cards (Focus), and if a card glows green, you can play it by spending stamina points. Any unused stamina points go away at the end of the turn, unless you have special boons. Unused cards are always discarded.
Boon Tokens: A full boon has two parts.
Torches: Torches are handy. You can use them in three ways:
- During in-battle path selection, you can use a torch to check both paths and see what rewards are there.
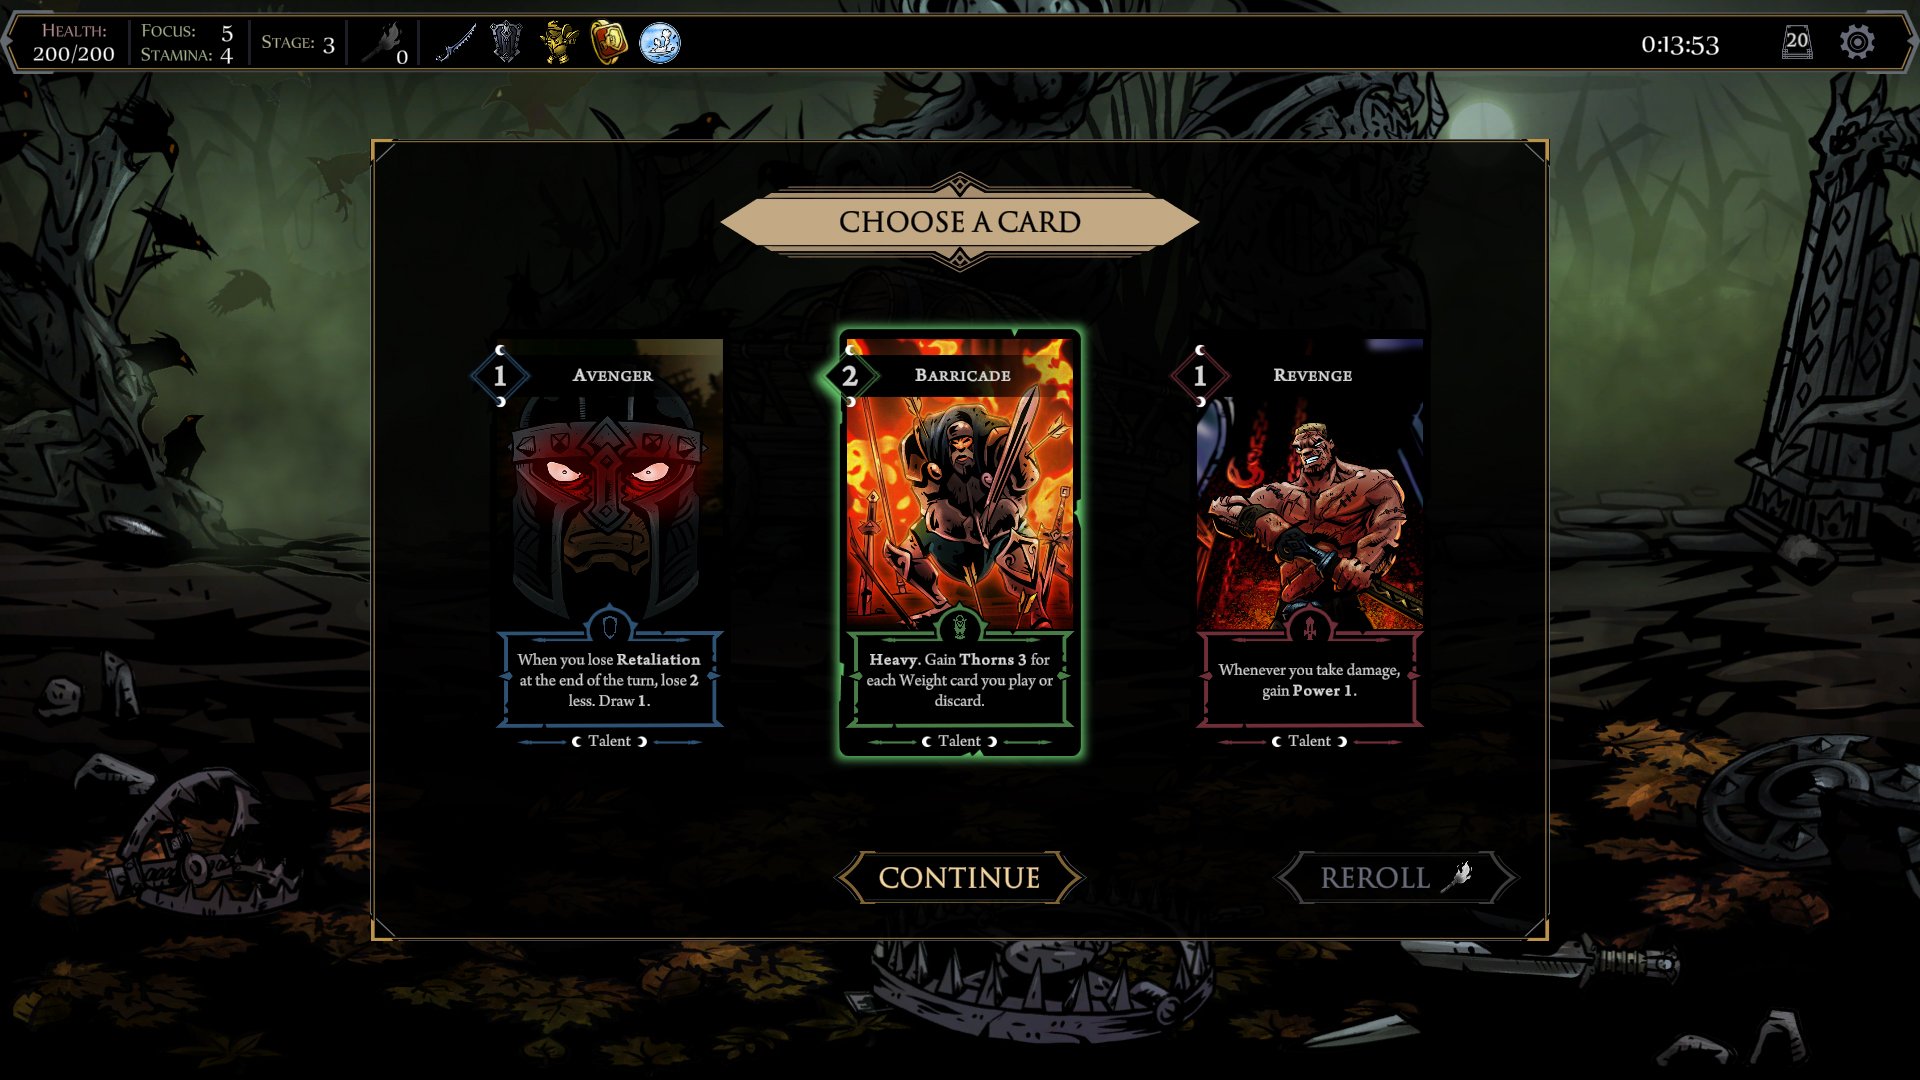
- After battles when you get a reward, like a card or boon selection, you can use a torch once to get new options.
- In battles, you can use a torch to look at the top 3 cards in your deck and pick one to put in your hand. It’s a good idea to check your deck first to see which cards you haven’t drawn yet.
About Cards
Types of Cards by Equipment:
- Shields have blue cards.
- Armors have green cards.
- Weapons have red cards.
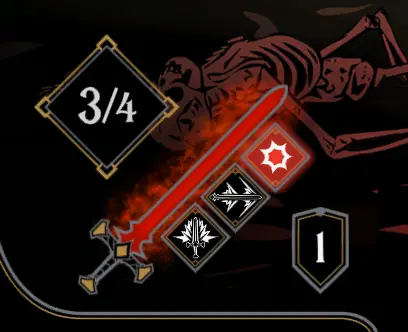
Attack Cards: These have bold keywords that you can see when you hover your cursor over them. Focus on using them against strong enemies and don’t spread your attacks too thin. Most attacks reach two spaces, but ranged cards can hit anyone. If an enemy has an exclamation mark under it, you have to target it first if it’s in the front row, unless you have a stun ability on certain cards or the Heroic Strike ability at the bottom left of the screen. Every fourth attack gets a special bonus from here!
Skill Cards: These cards often give you block or armor, which is important because healing is rare. Blocking is crucial because each successful block gives you a retaliation (a small shield icon at the bottom left), which boosts your damage and is used by certain cards.
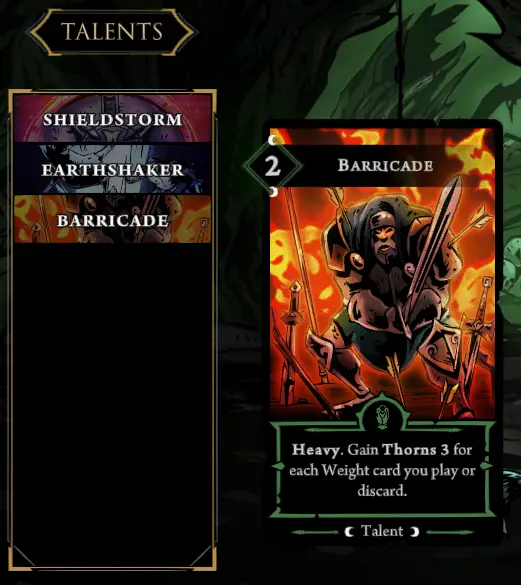
Talent Cards: You only play these cards once, and they won’t come back to your deck in that battle. You can see them by clicking the Talent button at the top left. Their effects last throughout the battle and are like the engine of your deck. It’s a good idea to start your turn by playing these cards.
Enemies
Creature Waves:
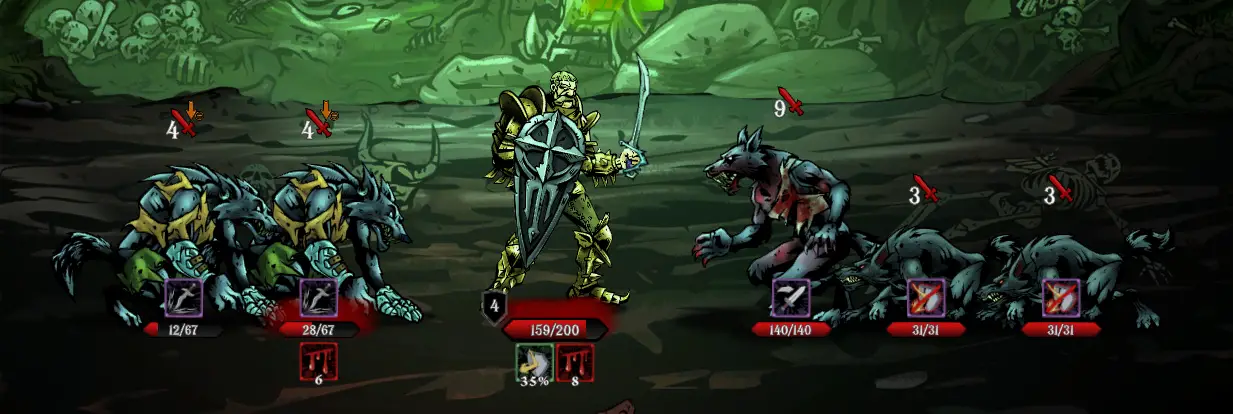
- Creatures come in different groups, or waves. When you hover your cursor over them, you can see what they can do and how strong they are. This is important because elite enemies can’t be stunned, and they have ways to hurt you, shown by colored icons below them.
Enemy Actions:
- There’s a symbol above an enemy’s head that tells you what they’ll do on their turn. It could be attacking (red icon), getting stronger or healing (green icon), or summoning or moving (blue icon). This is super important for planning your turn. You can decide where to stun enemies and where to face at the end of your turn to take the least damage.
Summary
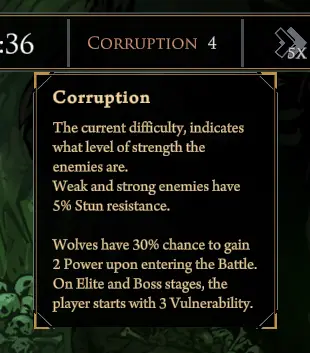
Starting out might be tough, and you’ll fail a bunch of times. But don’t worry, each try makes your gear better. If you’ve gathered enough Bloodshards, you can buy new items, which unlocks more cards and boons to make your deck stronger. As you get better, tackling challenges will become easier. The game adapts to your skill, so you won’t become unbeatable. Keep an eye on the corruption level at the top right during battles. If you hover over it, you’ll see how the enemies have gotten stronger.
Even if you defeat all the bosses, there are more challenges waiting for you in the Monastery. Mixing different equipment gives you tons of ways to create cool decks. You’ll find lots of items you haven’t used or bought yet, and there are still many challenges in the Steam achievements! So, keep going and have fun hunting ghouls!
That's everything we are sharing today for this Monastery guide. This guide was originally created and written by Anatil Symerinar. In case we fail to update this guide, you can find the latest update by following this link.
