Are you wondering if you can choose and create your own custom character in GearBlocks? If you want to know how, this guide will give you the step-by-step process.
Choosing a Player Character
To pick your player character, go to the main menu and go into the CHARACTER screen. Next, choose one of the character builds and press the “Toggle Selected Construction” button:
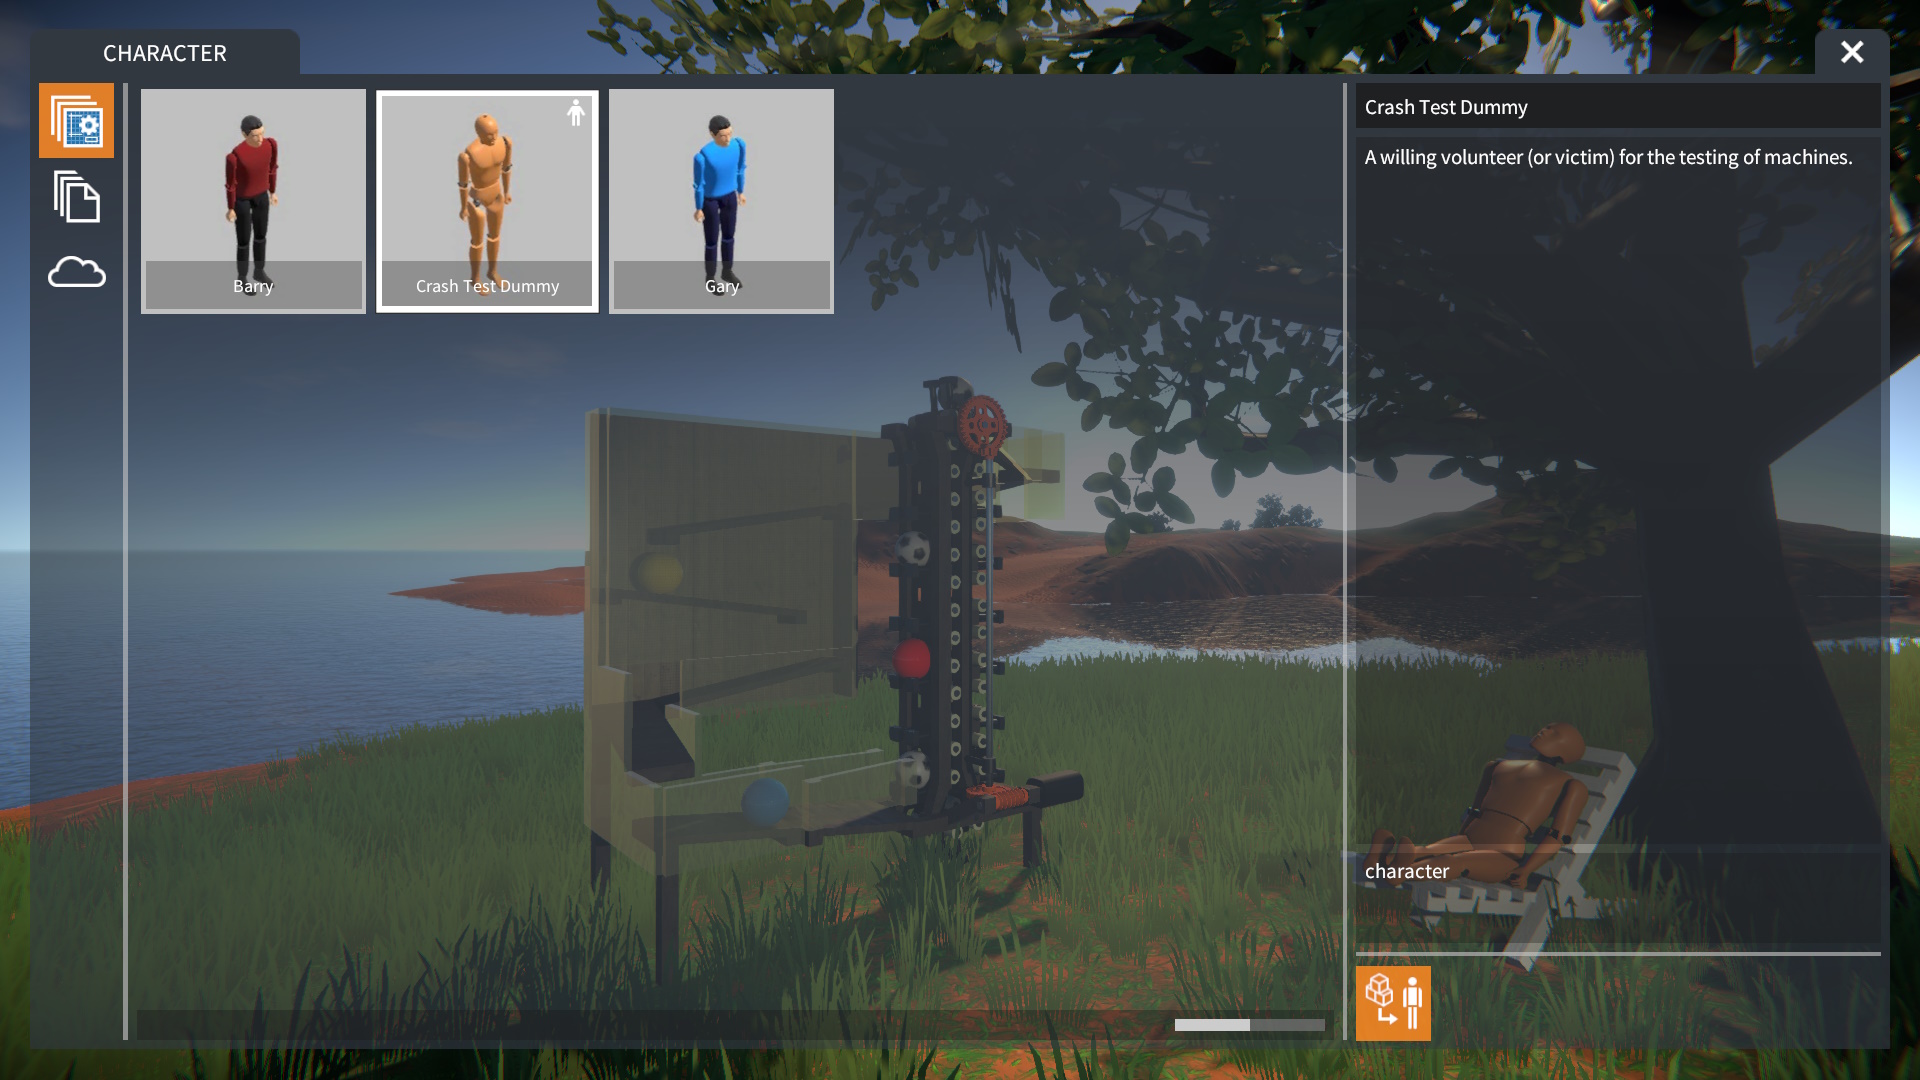
NOTE: Look for a small icon that shows up next to the chosen character.
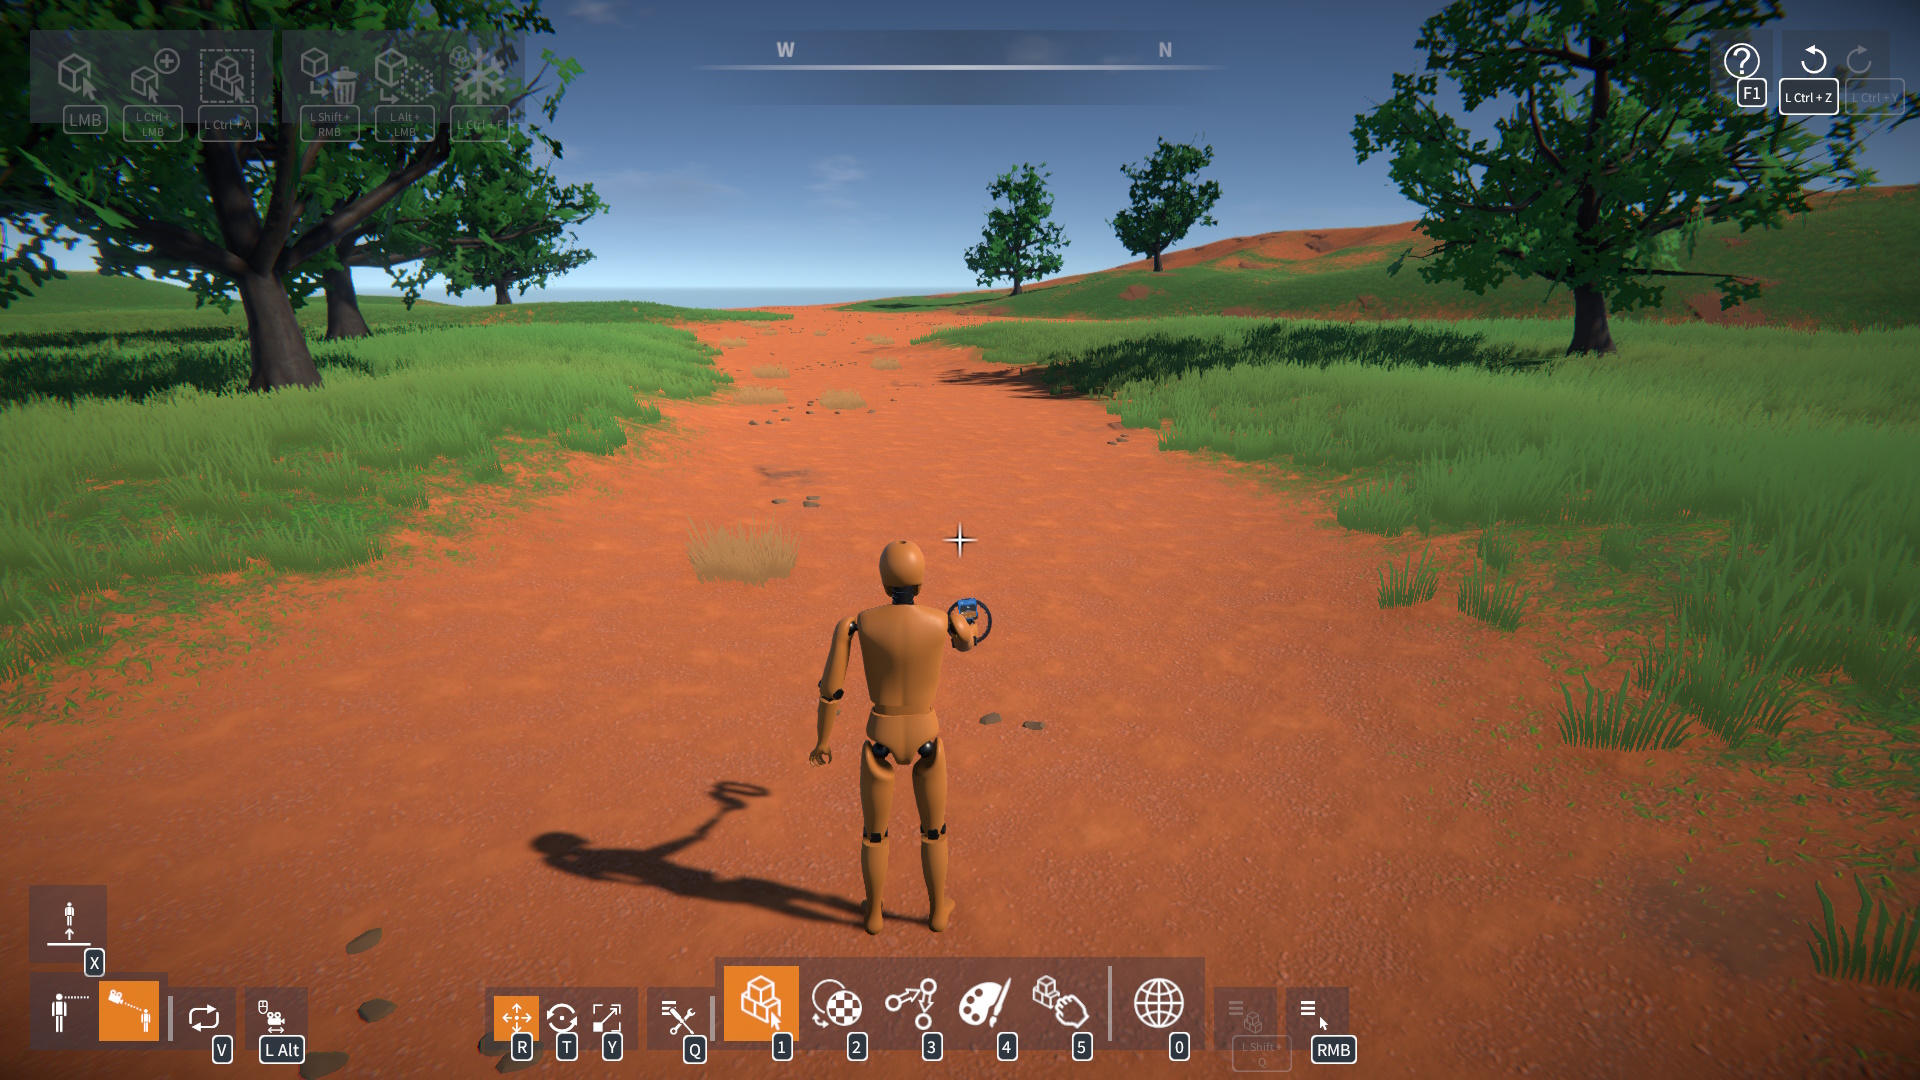
Once you start a game, your chosen character will be there:
Creating a Custom Character
To make your custom character, build and color it using body parts (or other parts if you want):
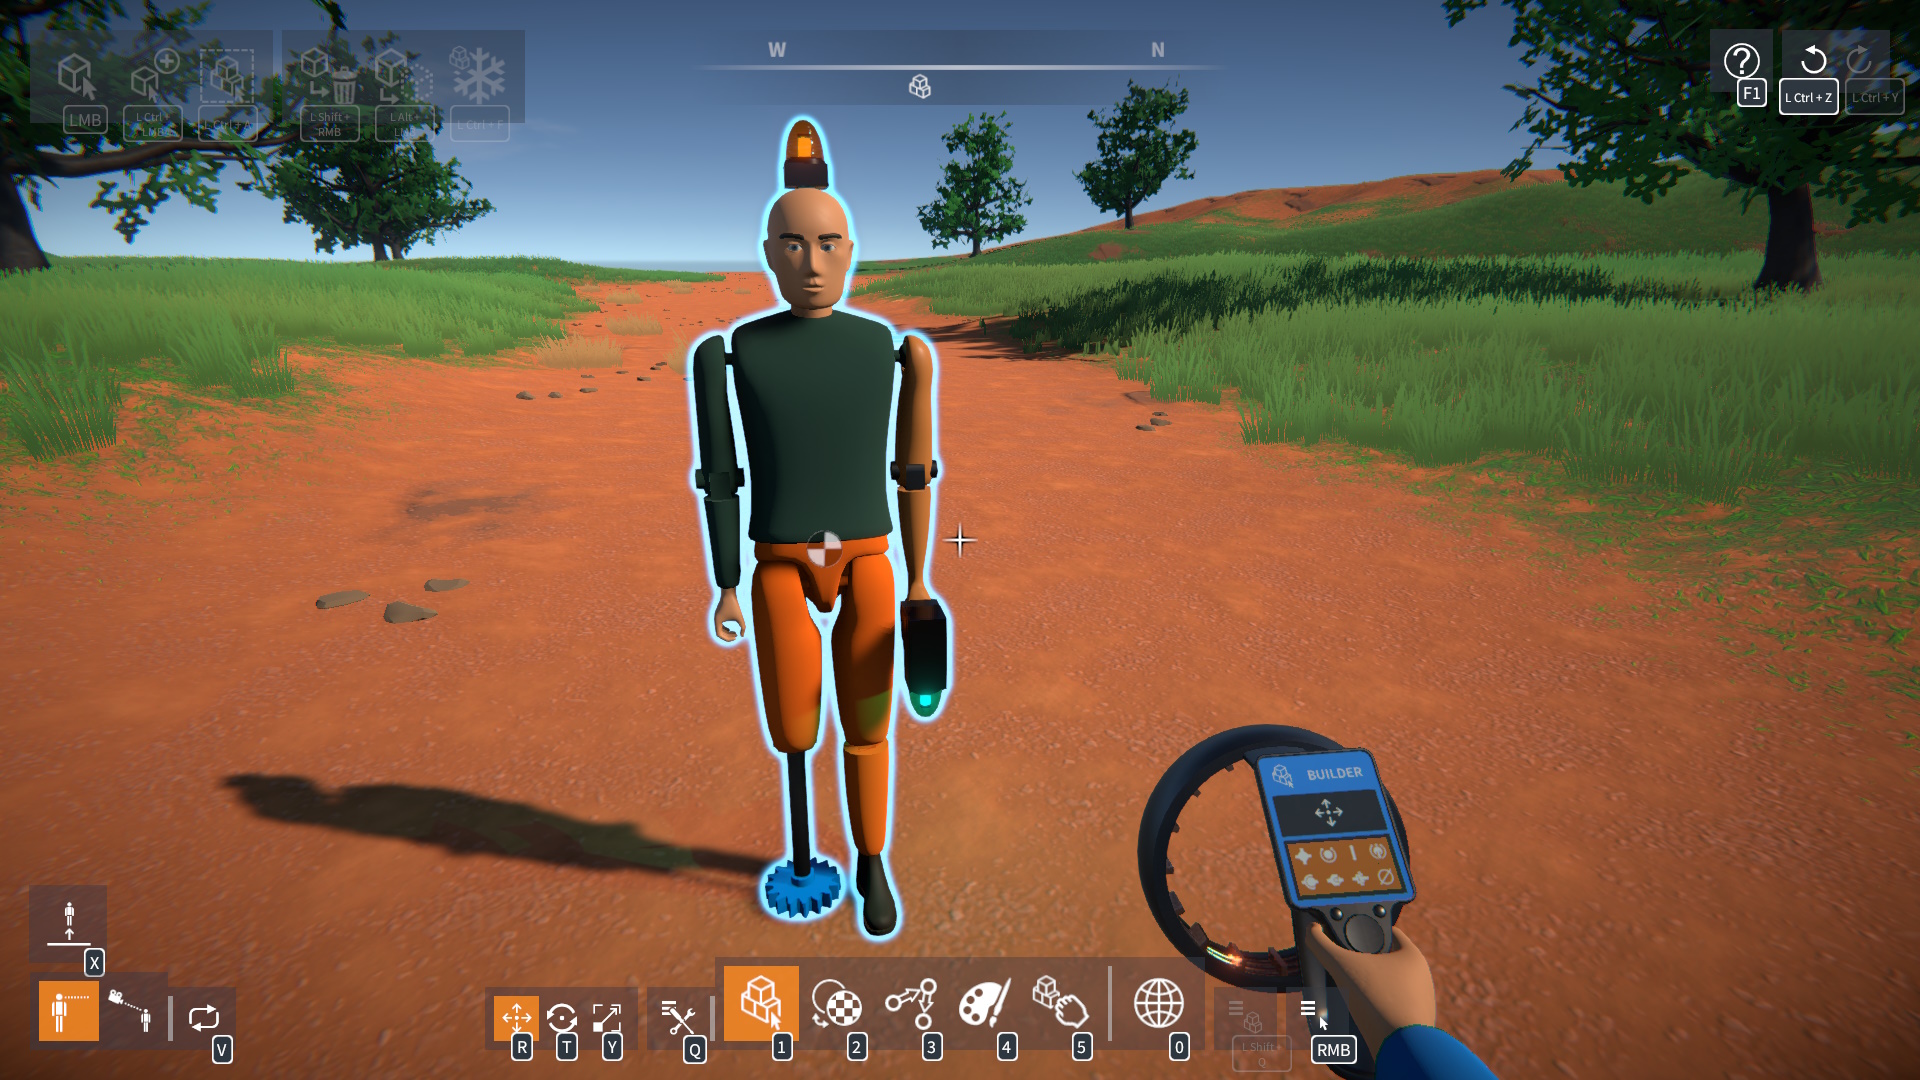
NOTE: Only body parts will move, while non-body parts can be attached but will just follow the body parts they’re connected to (like with physics joints).
Afterwards, save it using the construction menu (point at it, press Left Shift + Q, and click “Save Construction”). Give it a name (and description if you want), and tag it with “character,” then press the Save button:
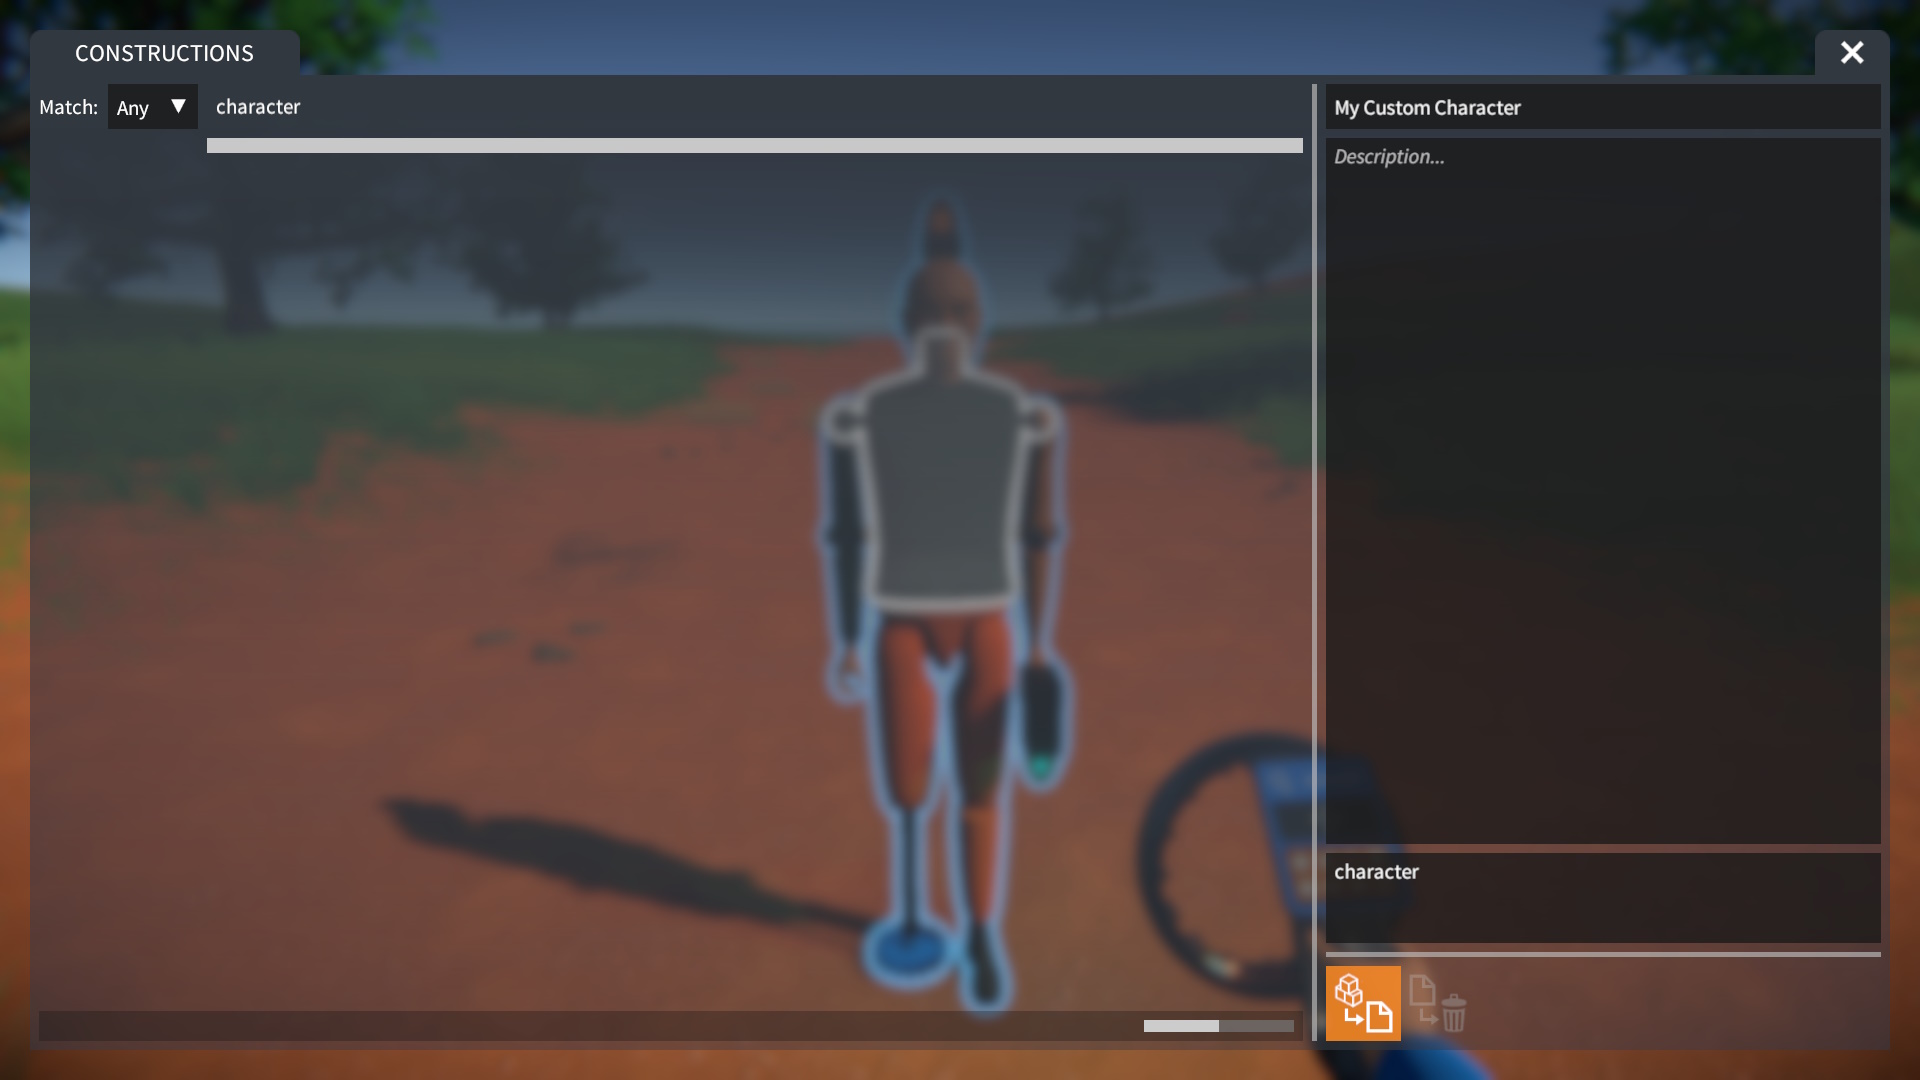
NOTE: Remember to tag the save with “character” so you can choose it as your player.
Choosing a Custom Character
To pick your custom character, head to the CHARACTER screen, and pick the “locally saved” tab. After that, choose your saved character build and press the “Toggle Selected Construction” button:
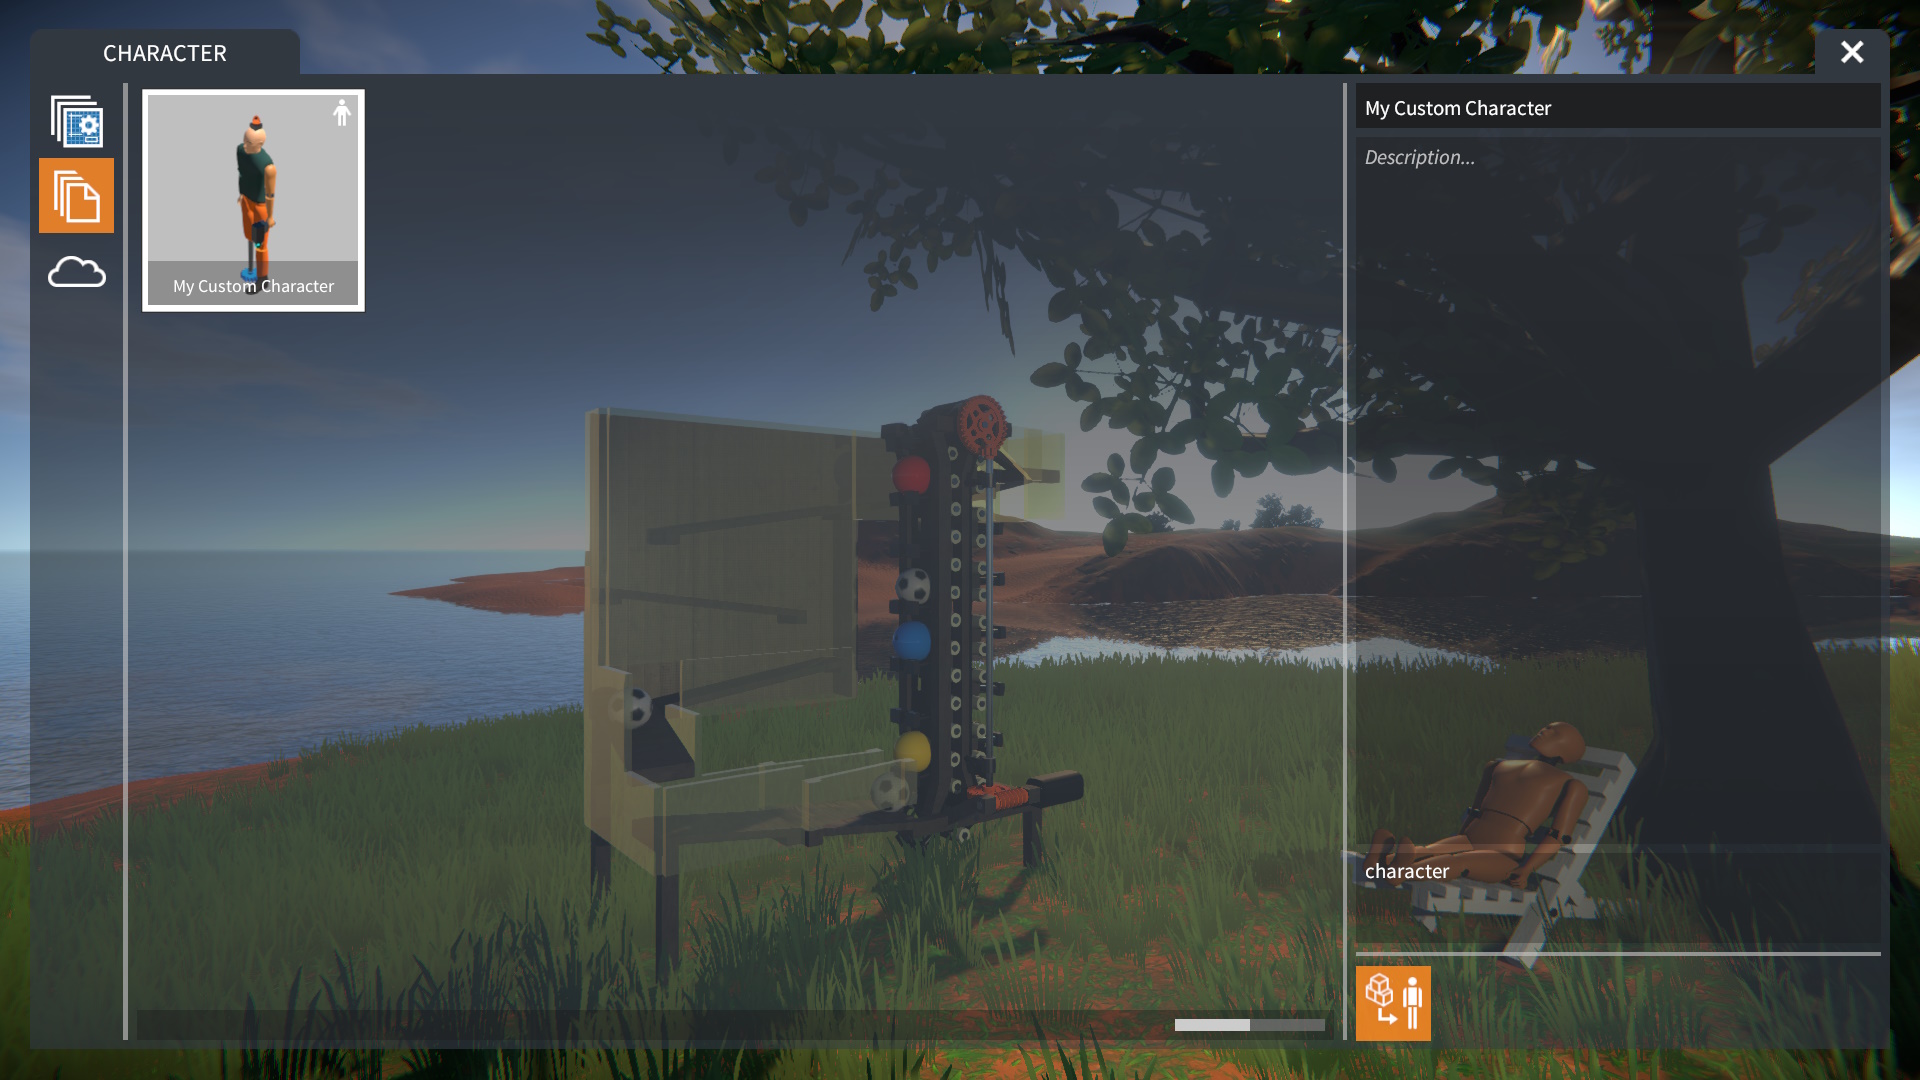
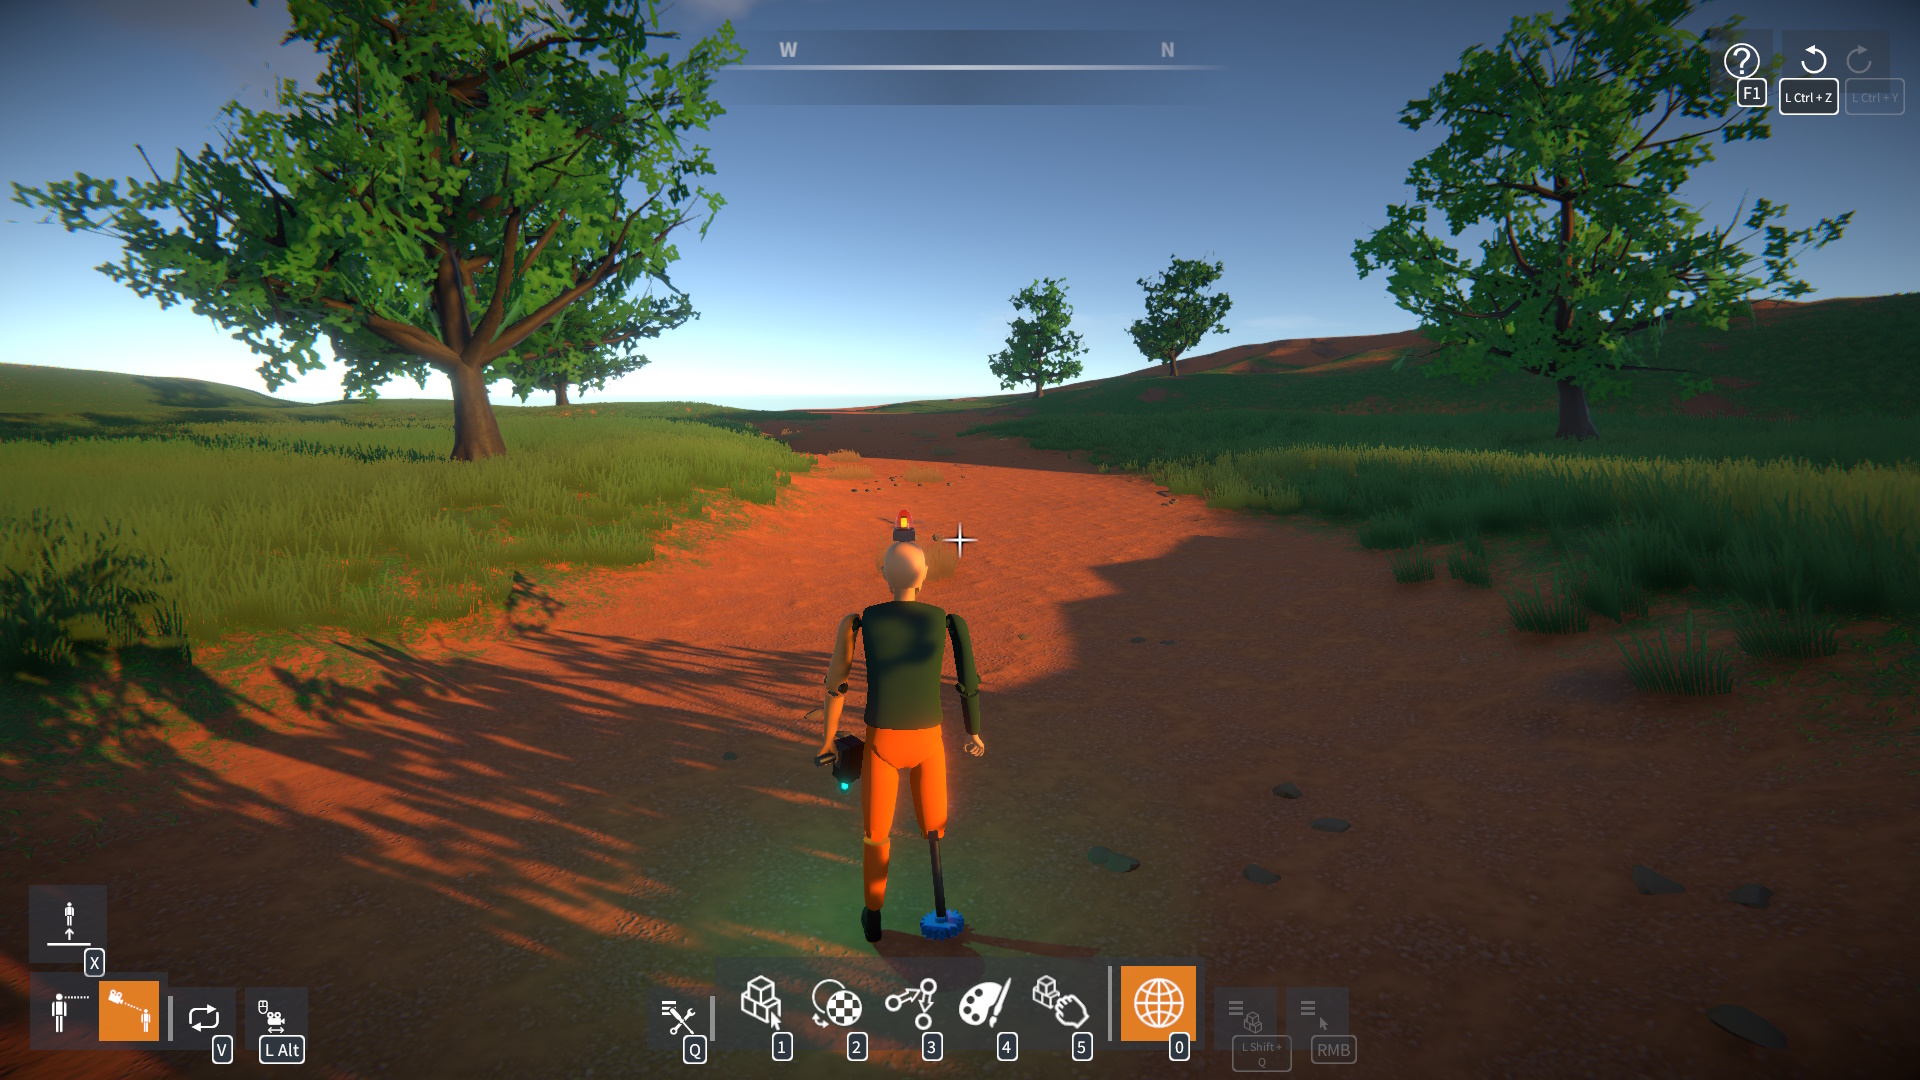
Now, when you start a game, your unique character will be there:
That's everything we are sharing today for this GearBlocks guide. This guide was originally created and written by danger726. In case we fail to update this guide, you can find the latest update by following this link.
