- Título: Levantamiento de engranajes de metal: venganza
- Fecha de lanzamiento:
- Revelador:
- Editor:
Información sobre Metal Gear Rising: La venganza aún está incompleta. Por favor ayúdanos a completar los detalles del juego usando esto formulario de contacto.
Tengo 100+ hours in mgrr and the stormbringer achievement. The Politics of silencing foes seems impossible at first, but can be really easy if you know what you’re doing.
Preparación
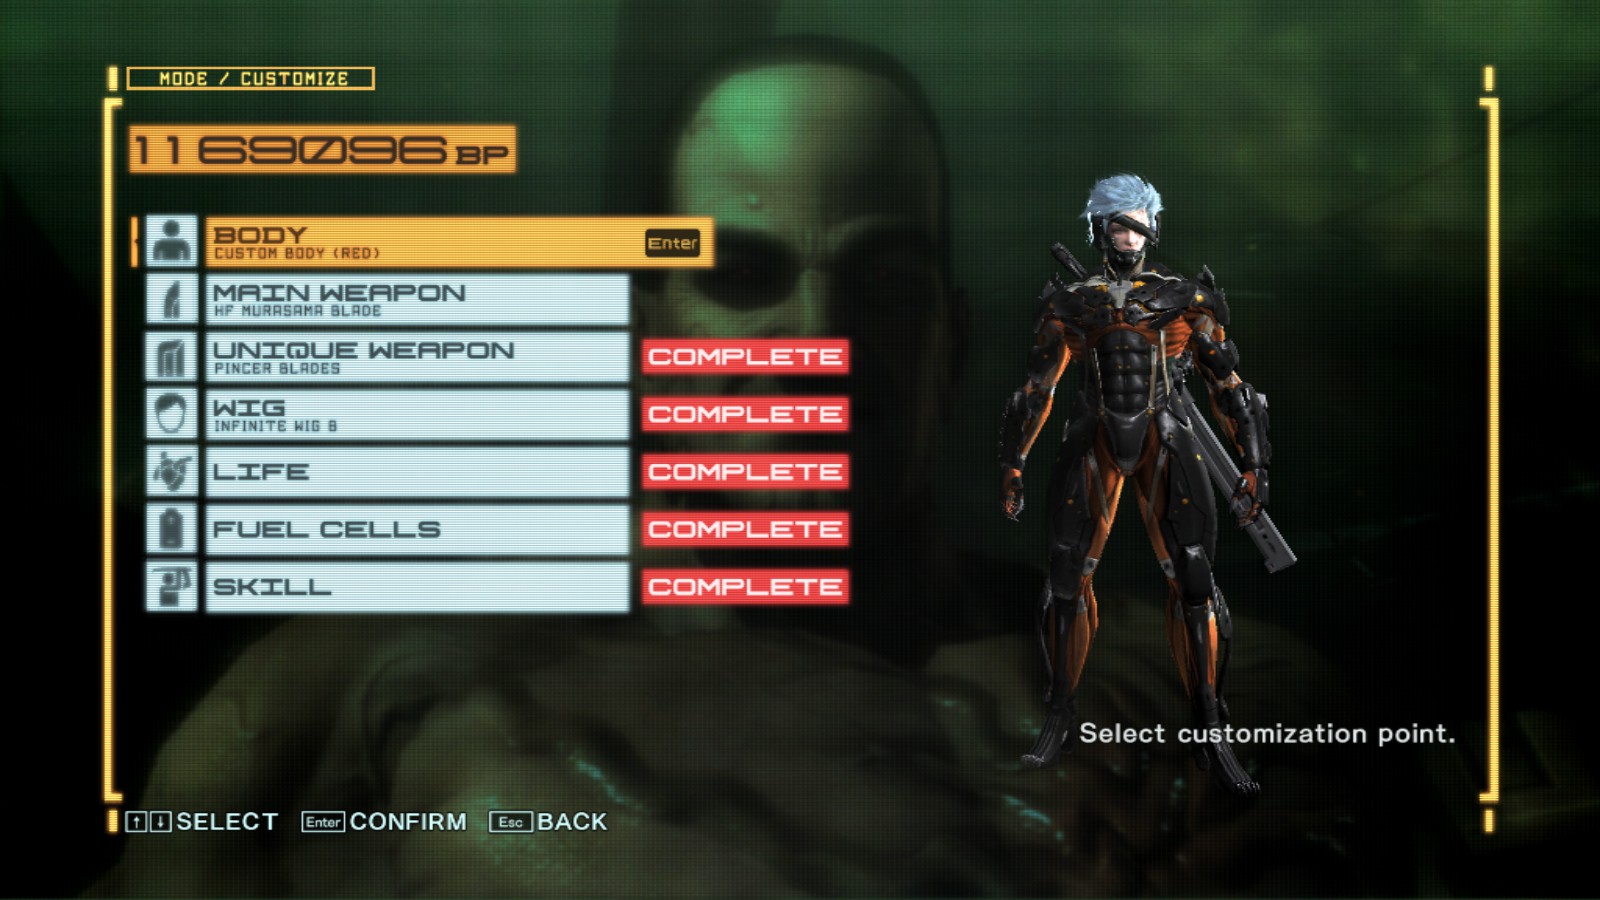
There are a few things you can do before attempting this achievement to make it a lot easier. You need to have unlocked revengeance mode (beating very hard) to be able to skip Metal Gear Excelsus and skip straight to Armstrong. If you don’t do this first and just attempt to beat him in hard mode from file-07, you might end up having to fight Metal Gear Excelsus several times. As for gear, you will be forced to use Sam’s blade. you should fully max it out or the fight could take a long time, increasing the chance of you taking damage. There is only one piece of armor that will help you during the fight: custom body (rojo). This armor gives you a 25% damage boost at the cost of making Raiden take extra damage, but it does not matter for this achievement. You unlock the red armor by completing 6 VR missions. The easiest VR missions are 2,3,4,6,9, y 15. You can do any six, but some can be difficult. The tutorial missions and the DL-VR missions don’t count. You may also want to equip infinite wig B, because it will make the fight go a lot faster by giving you infinite ripper mode. You unlock infinite wig B by collecting 20 del 30 left arms. For your unique weapon, I would equip the pincer blades. You can only use it in his first phase so it isn’t that important. Once you are satisfied with your setup, You can proceed to the fight.
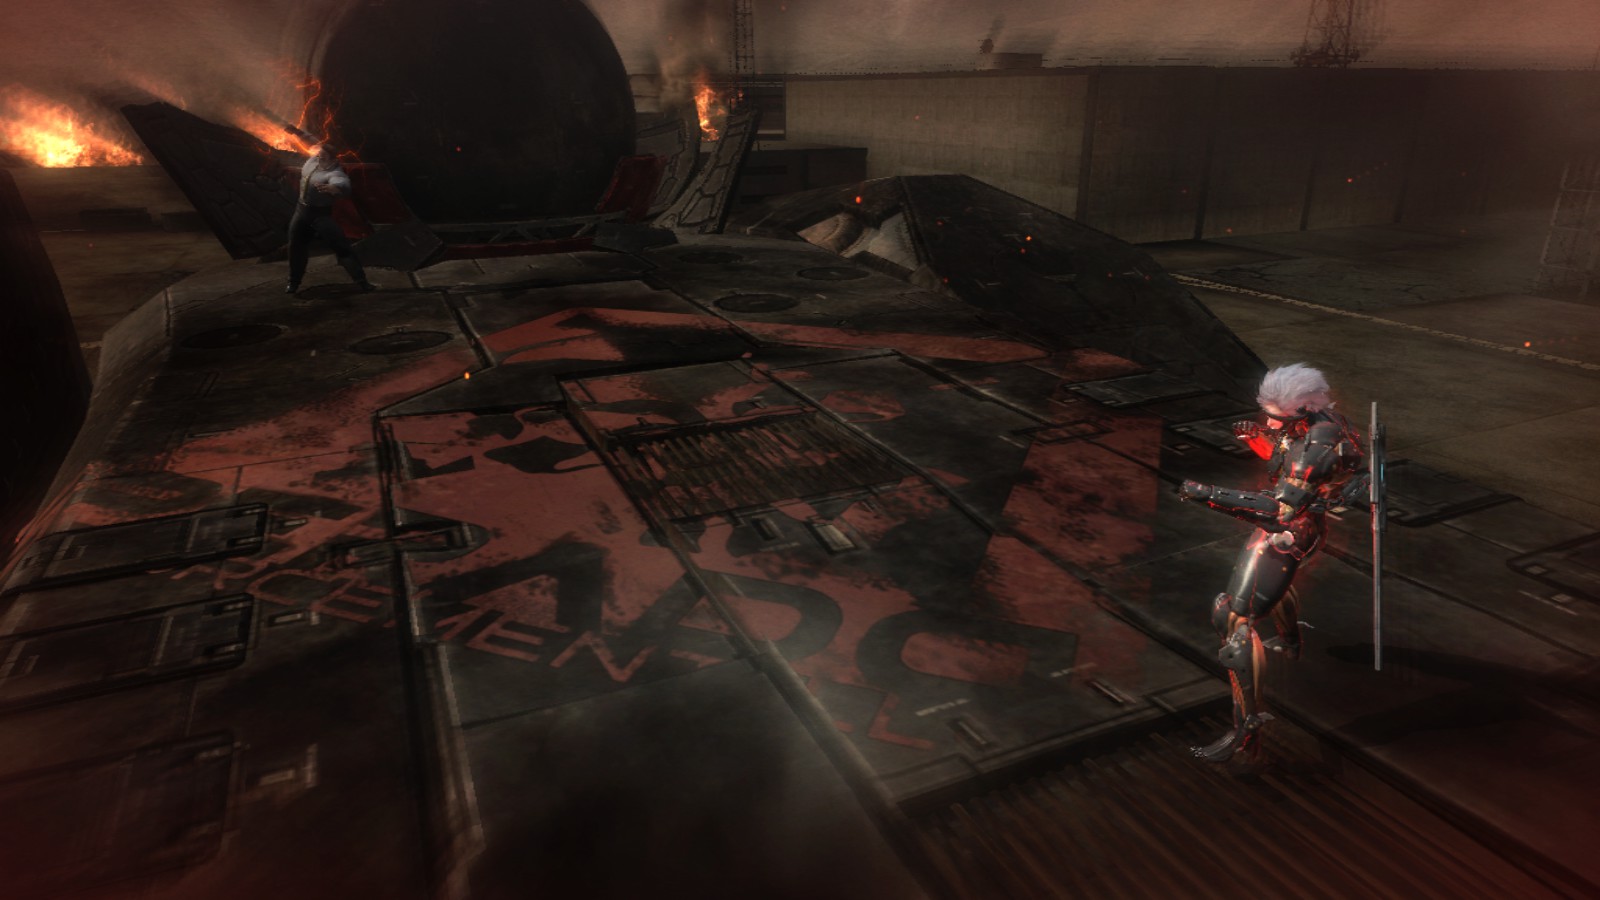
Fase 1 y 2
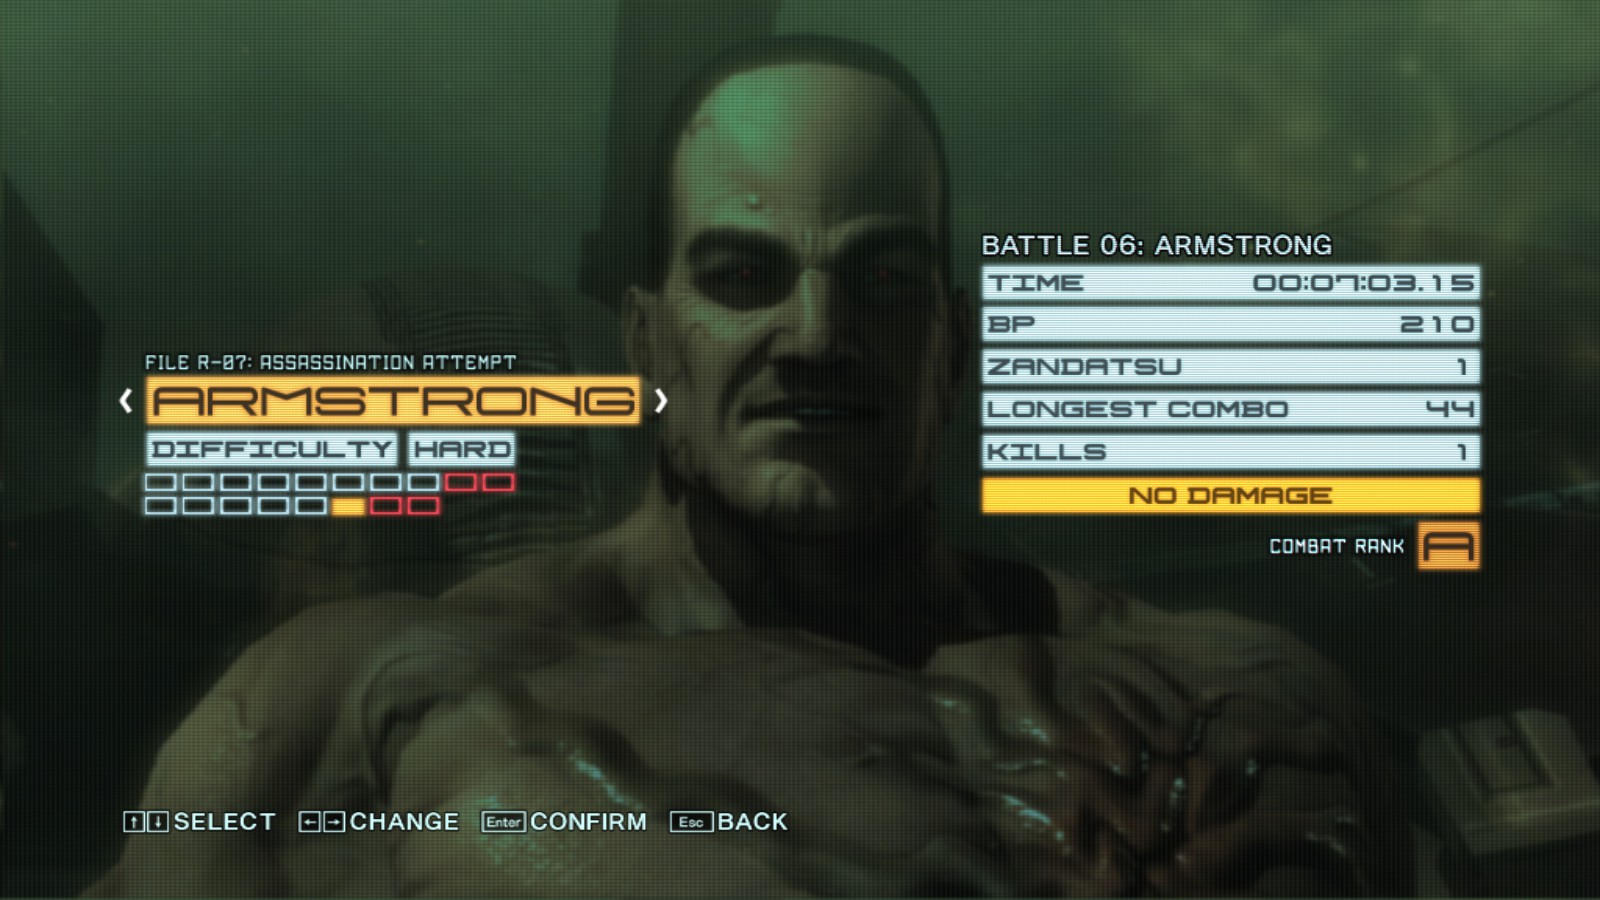
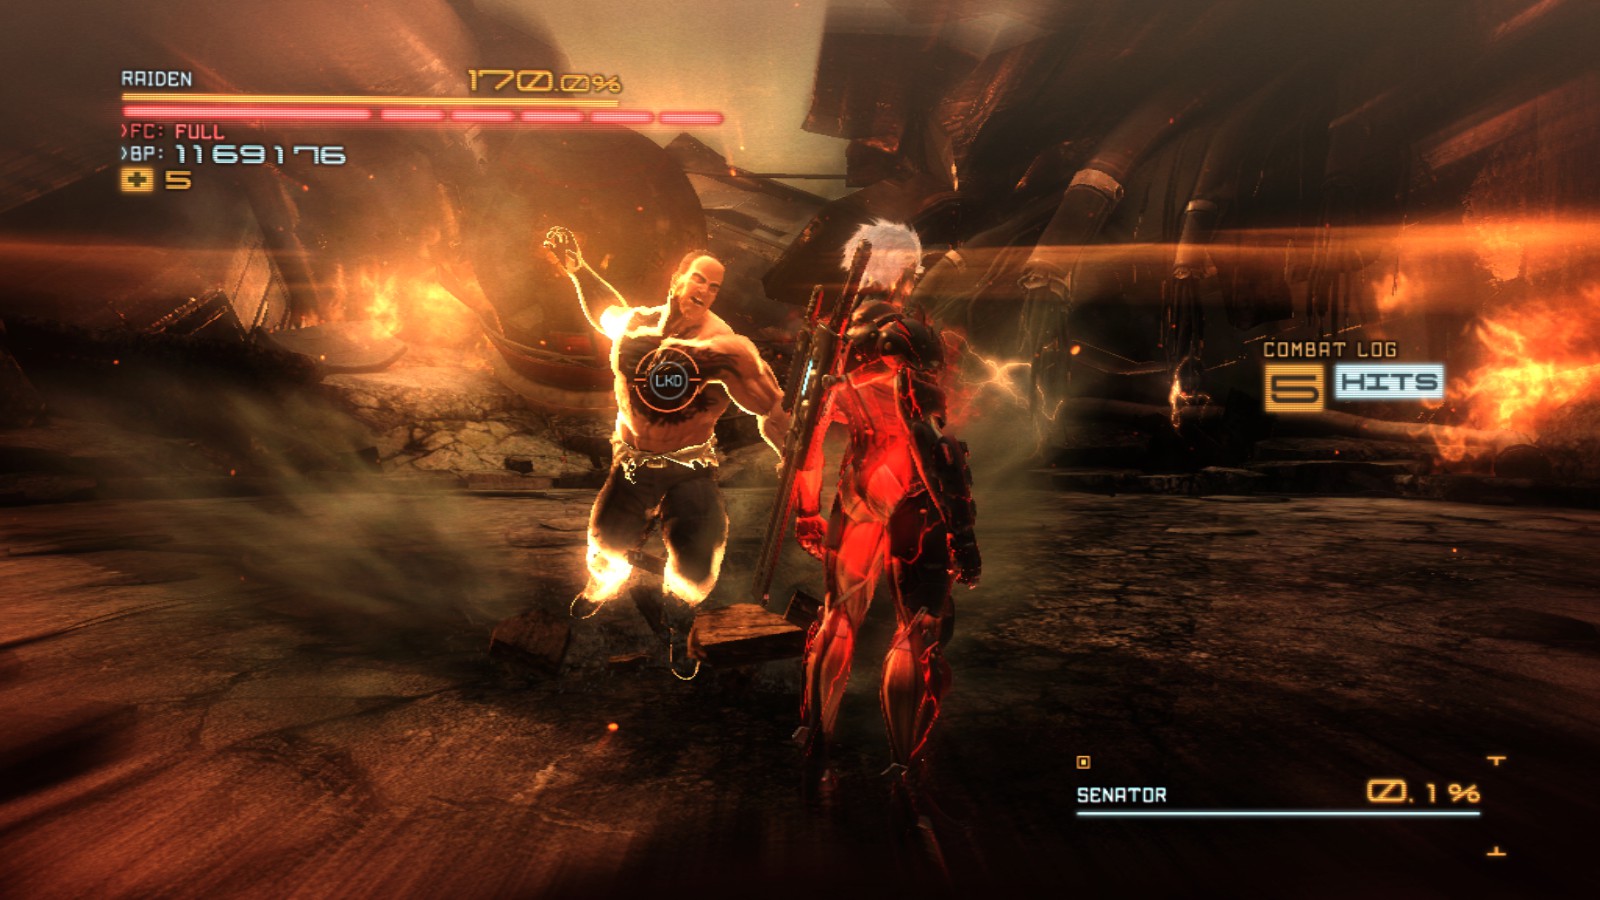
As soon as you get into phase 1, you want to be hyper aggressive because the phase will end once you do 5% to Armstrong. a couple hits with the pincer blades can take him out the quickest, but you can also just use your sword. You can block most of his attacks, but he has 2 yellow attacks that are hard to dodge if you aren’t ready for them. This is the shortest phase and shouldn’t be much of an issue unless you are fighting Armstrong from file-07. Don’t do this or you will have to fight Metal Gear Excelsus several times. After you do 5% to Armstrong (10% on Revengeance) The screen will fade and the cut scene where he breaks your sword will play. Blade Wolf will toss you the HF murasama blade and phase 2 will begin. If you are playing on revengeance mode, Armstrong will immediately charge at you from the start. On hard mode (recomendado) he will only really attack you when you get near him. You should stay away from him as much as possible and he will slowly walk towards you. Blocking any of his attacks here will make you take damage. You don’t need to damage him at all in this stage. The phase will end after 2 minutes or if you get hit by a charging kick. you can just stay away from him and dodge out of the way by using defensive offence every time he charges at you. Fase 2 is probably the hardest stage, but you just need to be patient. Cerca del 1 minuto 30 segunda marca, Armstrong will start to charge at you with kicks. If you get hit by a charged kick, you will take damage and gain a checkpoint. If this happens you will need to reset the fight. Después 2 minutes he will start doing an animation where he slams his fist into the ground and the screen will fade to black. This will knock Raiden back, but you will not take damage. You will then have to punch Armstrong, but this doesn’t matter. It is better to just not mash because he will be at 200% health in the third phase no matter how much damage you do to him here. You will then gain a checkpoint and phase 3 will start. The screenshot is of the animation he does when you have completed the phase.
Fase 3
At the start of phase 3, Armstrong will charge up an attack. This can be the small fire cracks in the ground, the cracks in the ground that spew fire after a few seconds, or the wall of fire that lasts about 10 artículos de segunda clase. You can attack him while hes charging this attack, and ripper mode will help with damage. you can block his attacks in this phase safely. once you deal about 35% of his health he will charge at you with a punch attack. This will not do damage but will make you lose your sword and start a quick time event. This can do big damage to Armstrong, but you will have to restart phase 3 if you fail it. You can then go pick up your sword and continue fighting. After Armstrong gets to about 100% salud, he will jump away and throw parts of Metal Gear Excelsus at you. If you miss any of the precise cuts, you will take damage and have to restart phase 3. If you want to play it safe and sacrifice about 20% damage on Armstrong, you can hold down the ninja run button and slide under the debris. This is the recommended strategy for mouse and keyboard players. He will throw debris at you 2-3 times before he stops. shortly after he will become invincible and start healing. Position yourself behind him and cut his red square. He will then let you hit him for several seconds. If you want the S rank, necesitas un 100 combinación. Instead of cutting his square and then exiting blade mode, stay in blade mode and get a 100 combinación. Tienes 2 chances to do this. If you get Armstrong down to about 40% salud, (easily done while he lets you attack after you cut his zendatsu square) he will start healing again. Just do the same thing and get him down to 0.1% salud. When he gets up, he will throw 1-2 more pieces of debris at you. After he jumps down, he will throw the quick time punch at you to end the fight. Just complete the quick time events and zendatsu him to get the achievement. (Quick time punch below)
Eso es todo lo que estamos compartiendo hoy para este Levantamiento de engranajes de metal: venganza guía. Esta guía fue originalmente creada y escrita por Raging Catfish. En caso de que no actualicemos esta guía, puede encontrar la última actualización siguiendo este enlace.