
- Título: Manos de nigromancia
- Fecha de lanzamiento:
- Revelador:
- Editor:
La información sobre Hands of Necromancy aún está incompleta. Por favor ayúdanos a completar los detalles del juego usando esto formulario de contacto.
Cada episodio de Hands of Necromancy consta de siete mapas.. El primero de ellos sirve como centro del episodio., donde se encuentran cinco portales a los siguientes cinco mapas. Cuatro de estos mapas están conectados entre sí en términos de progresión., es decir. Las seis claves diferentes se comparten entre ellos y el Nigromante necesita visitar la mayoría de ellas más de una vez., llevando las llaves necesarias el uno del otro. También obtiene acceso a cuatro transformaciones diferentes a lo largo de su aventura.. Estas transformaciones vienen con sus propias habilidades de combate y exploración y también son necesarias para progresar dentro del episodio..
Completar completamente los requisitos de los primeros cuatro mapas dentro de un episodio le permite al Nigromante acceder al sexto mapa del episodio en cuestión desde el centro relacionado.. Los sextos mapas son autónomos.. Marcan puntos de no retorno y sirven como nivel intermediario entre el centro y el mapa final del episodio.. la final (o el séptimo) El mapa de cada episodio también es un asunto autónomo., culminando en una batalla de jefe con uno de los Reyes No Muertos.. La única excepción a este sistema es el mapa final del tercer episodio., lo que deja de lado la acumulación de niveles normal y coloca al Nigromante directamente en una arena donde lucha contra el último Rey No Muerto..
No hay mapas secretos en el juego.. Aunque a partir del segundo o tercer episodio le otorga al Nigromante las transformaciones que debería haber obtenido en ese momento., Se recomienda comenzar desde el primer episodio si es tu primera partida..
Esta guía enumera los secretos en orden de números de mapa.. Aún, considerando la progresión basada en el centro, el orden real de abordar los niveles puede diferir mucho. Si se requiere una transformación para alcanzar cierto secreto, la guía lo dice entre paréntesis.
Todas las capturas de pantalla tienen un ligero ajuste gamma fuera del juego para mayor claridad..
Episodio 3: Facing Death
El juego recopila y ofrece pistas al presionar una tecla.. En caso de que las cosas se pongan confusas, Aquí está el orden óptimo de progresión a través del episodio.:
- Clear out the Ancient Ruins, get the lay of the land and find the sole secret.
- Get the Iron Key from the Swamp Village and find the first three secrets.
- Get the Skull Key from the Volcano.
- Get the Fire Key and the Dragon Key from the Temple of Iron.
- Get the Wyvern transformation from the Abandoned Castle.
- Return to Swamp Village, get the Wind Key and find the last secret.
- Return to the Volcano and get the Snake Key.
- Return to the Ancient Ruins, fly over the abyss and enter Mountains of Evil.
- Fight your way through Mountains of Evil to reach the Final Encounter.
- Confront the last Undead King in the Final Encounter.
Facing Death contains a total of 13 misterios.
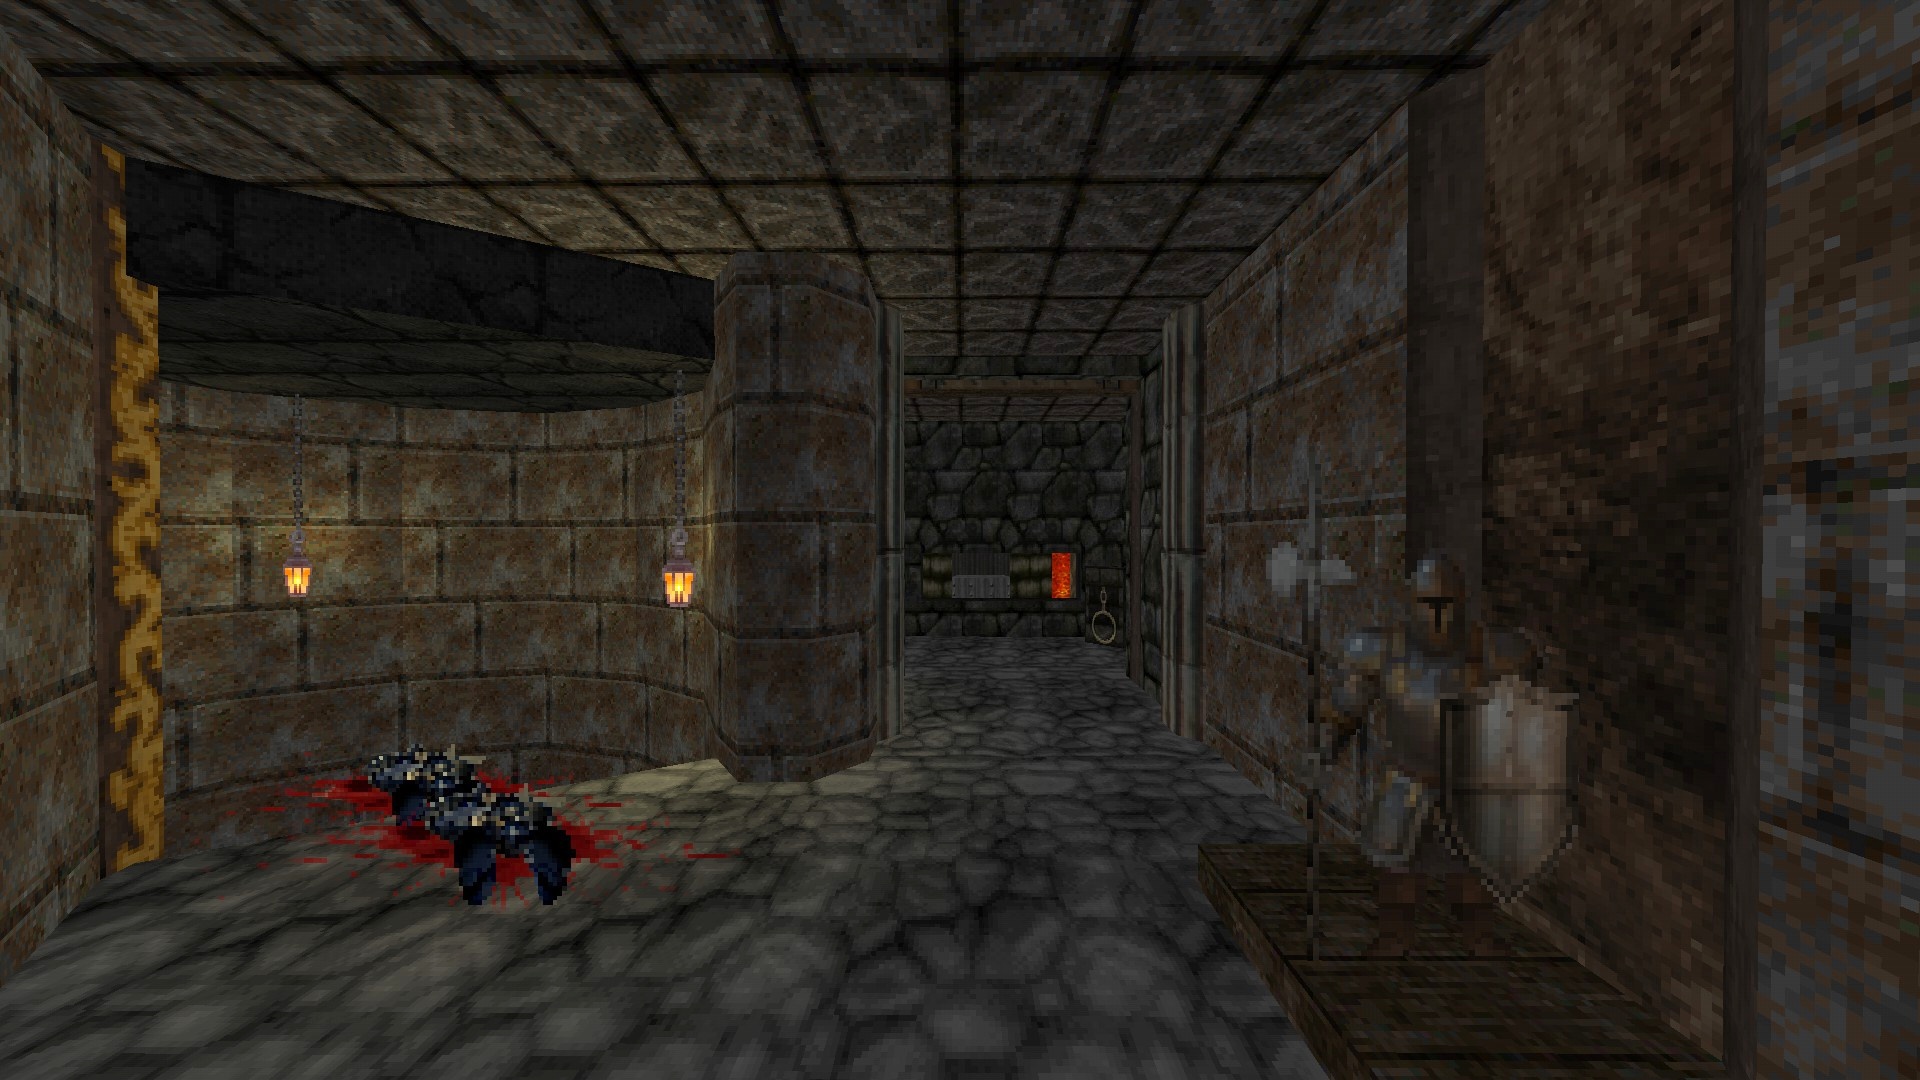
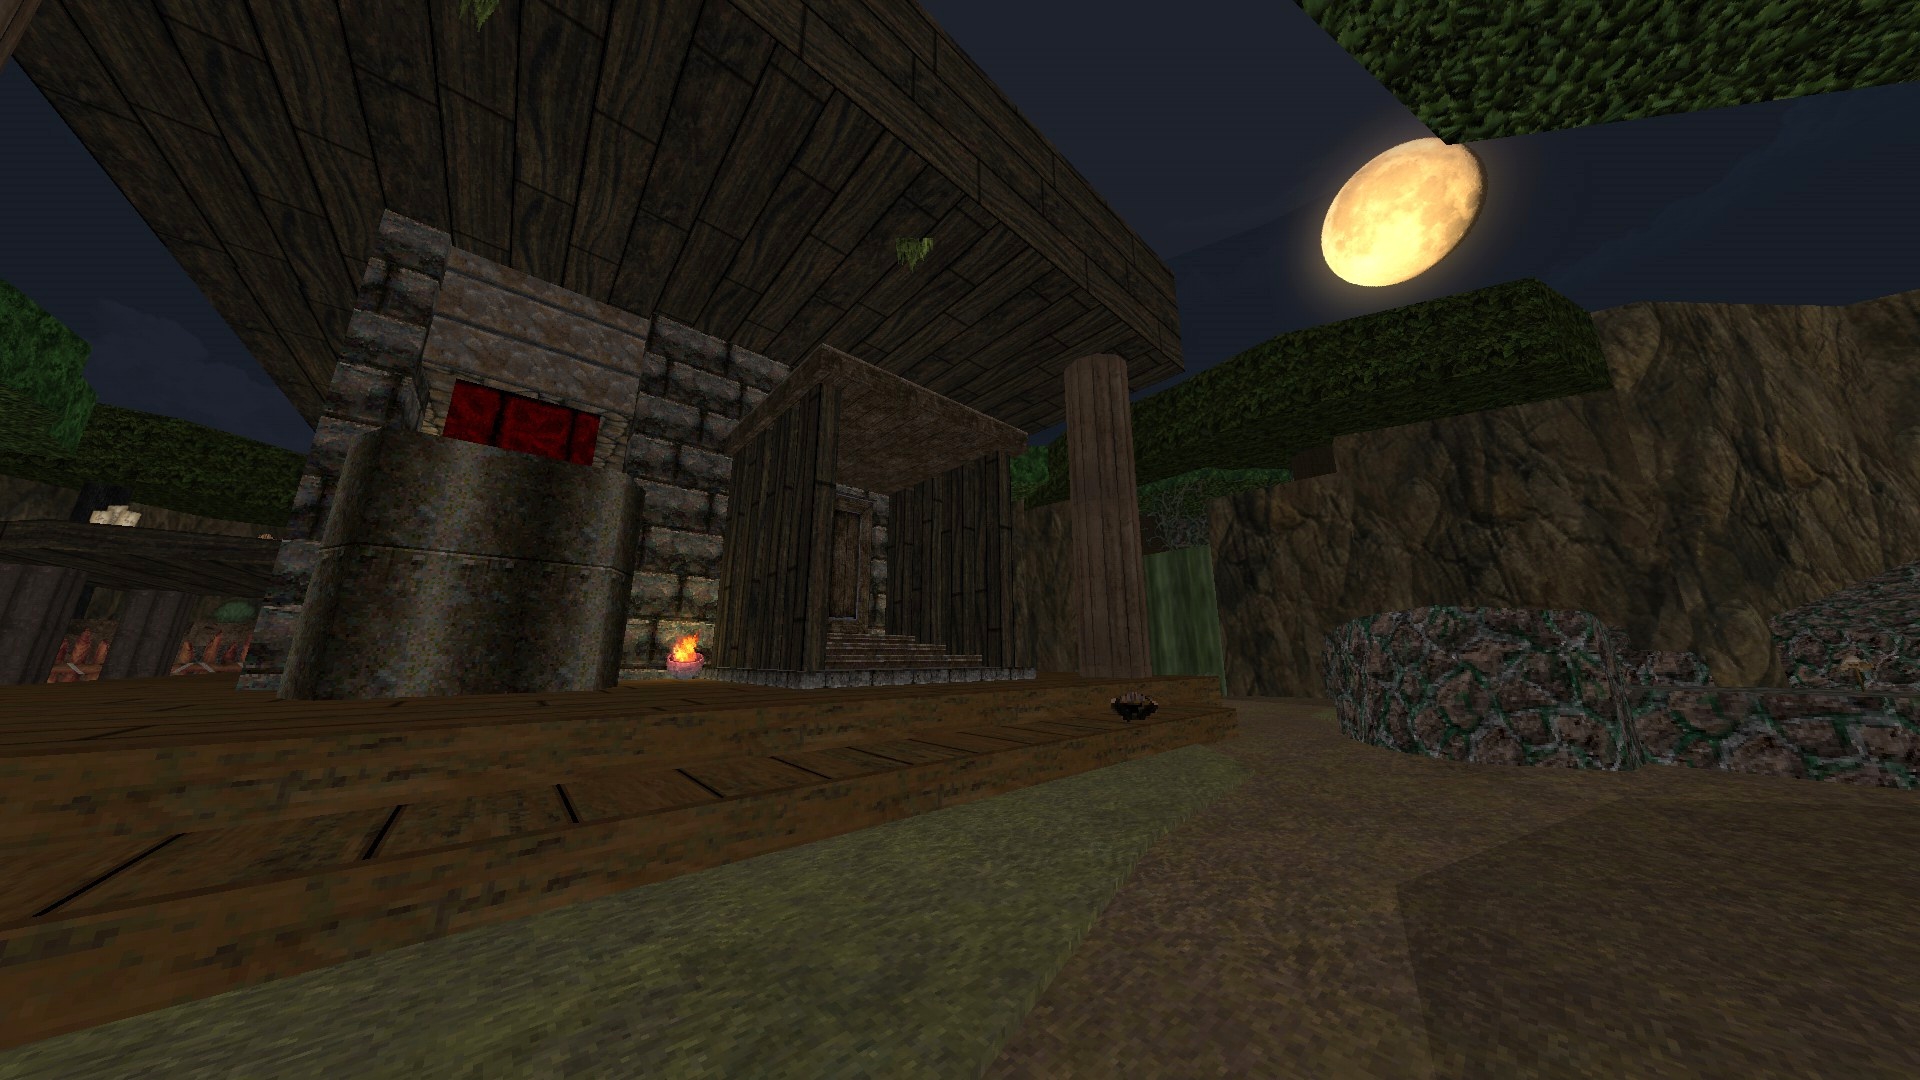
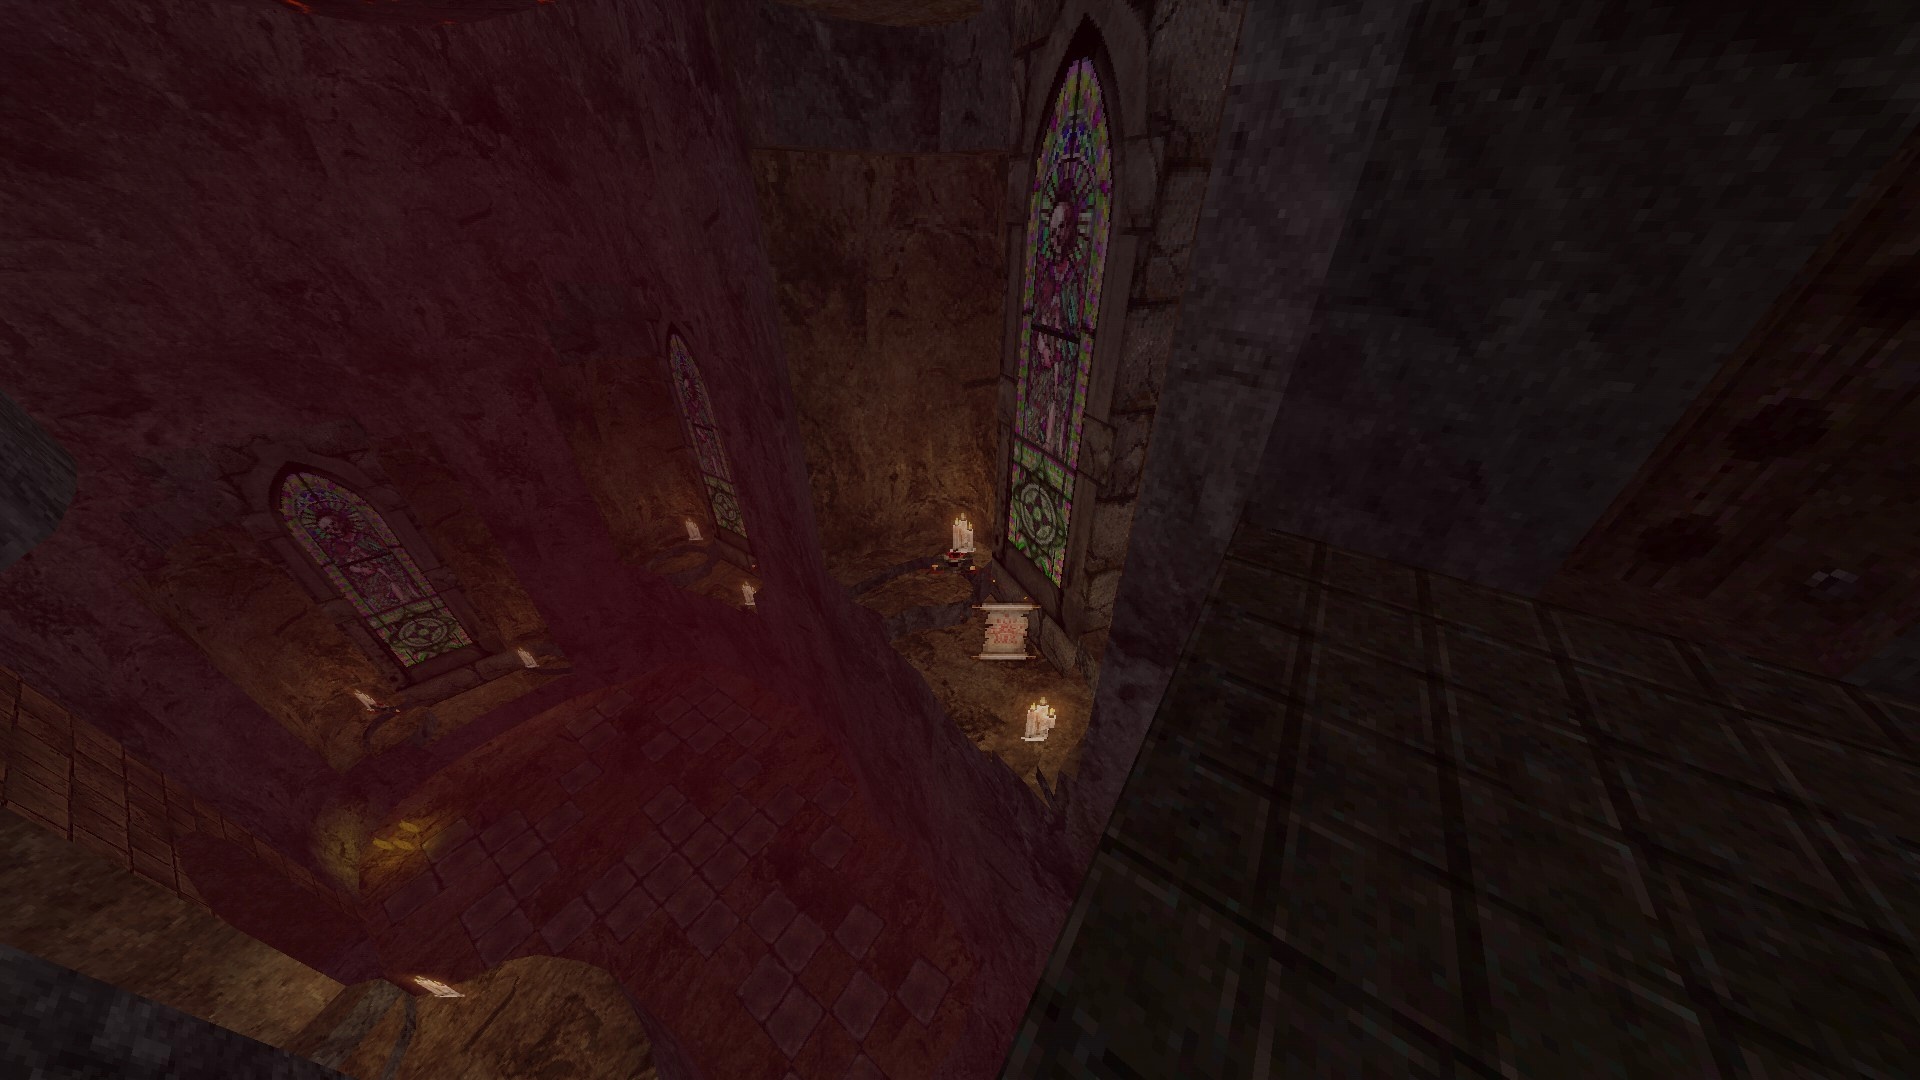
M15: The Ancient Ruins (Centro)
Este mapa contiene solo un secreto..
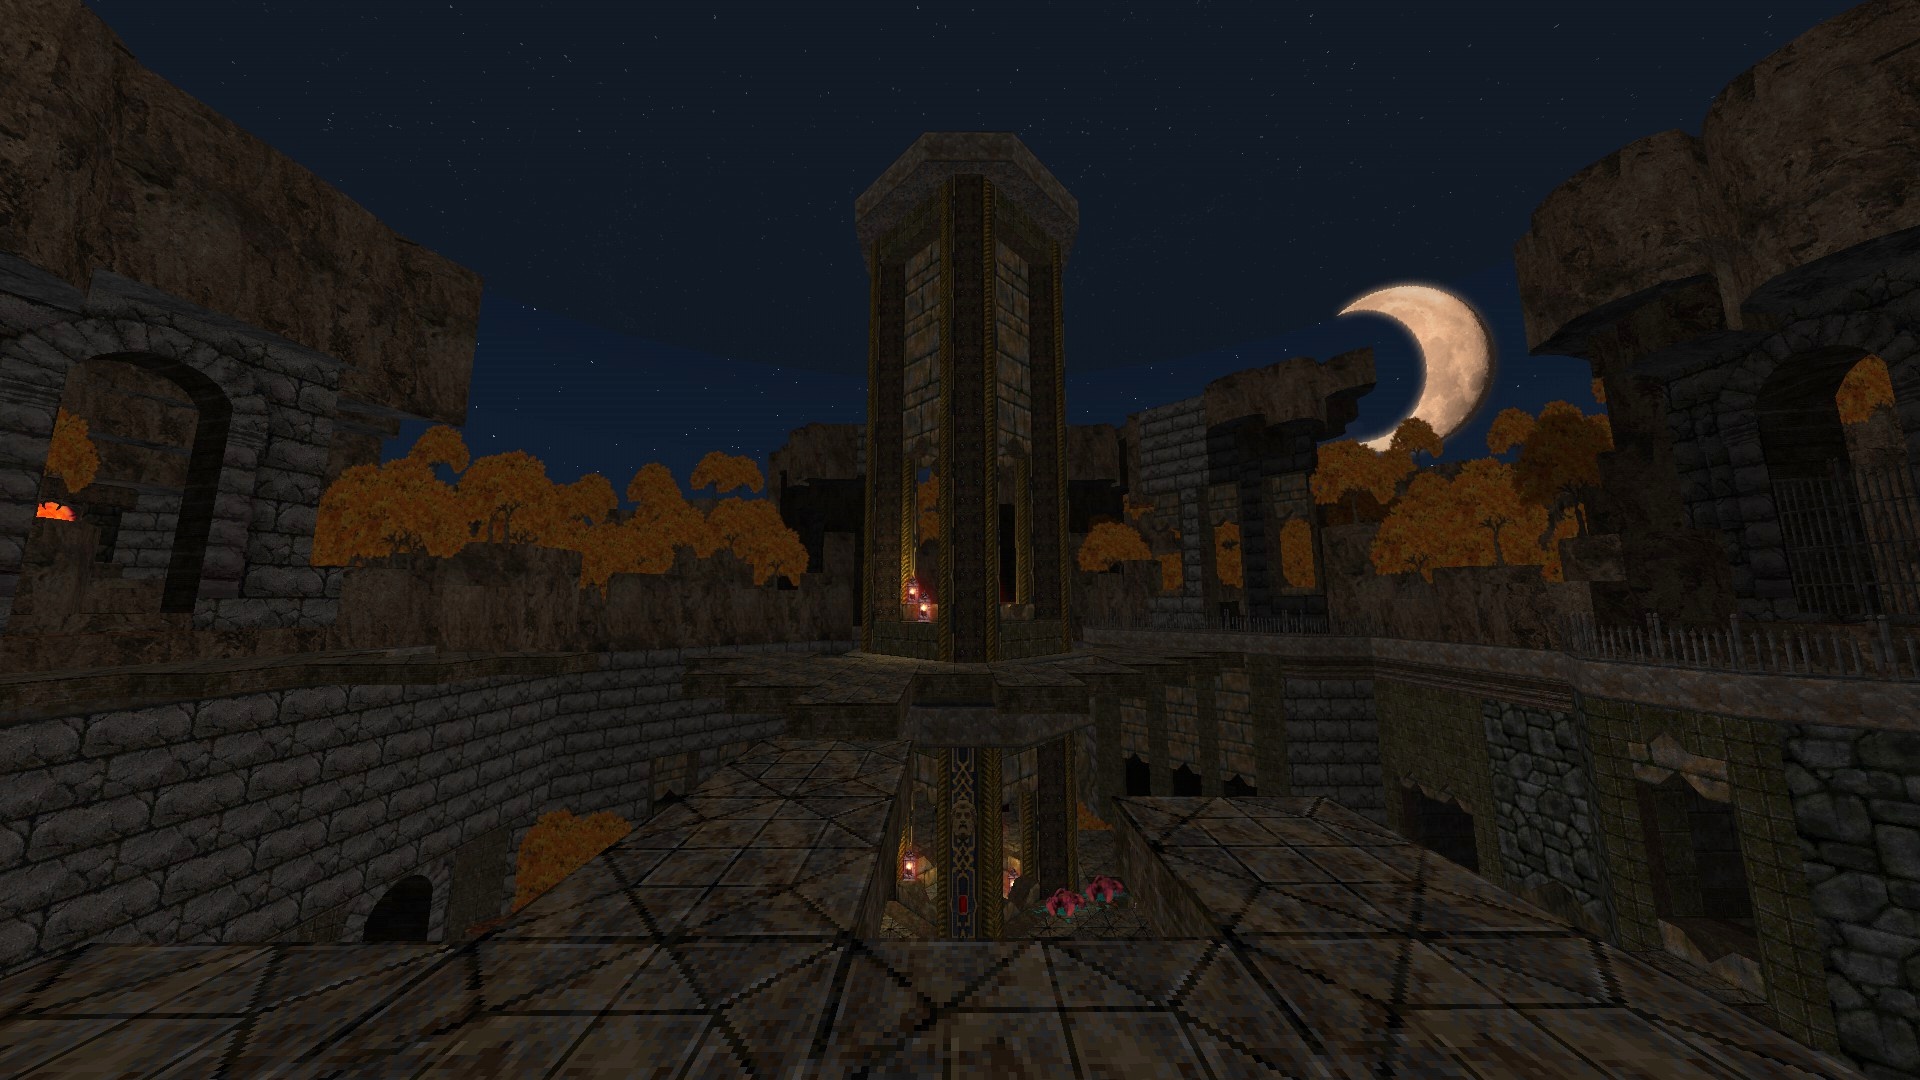
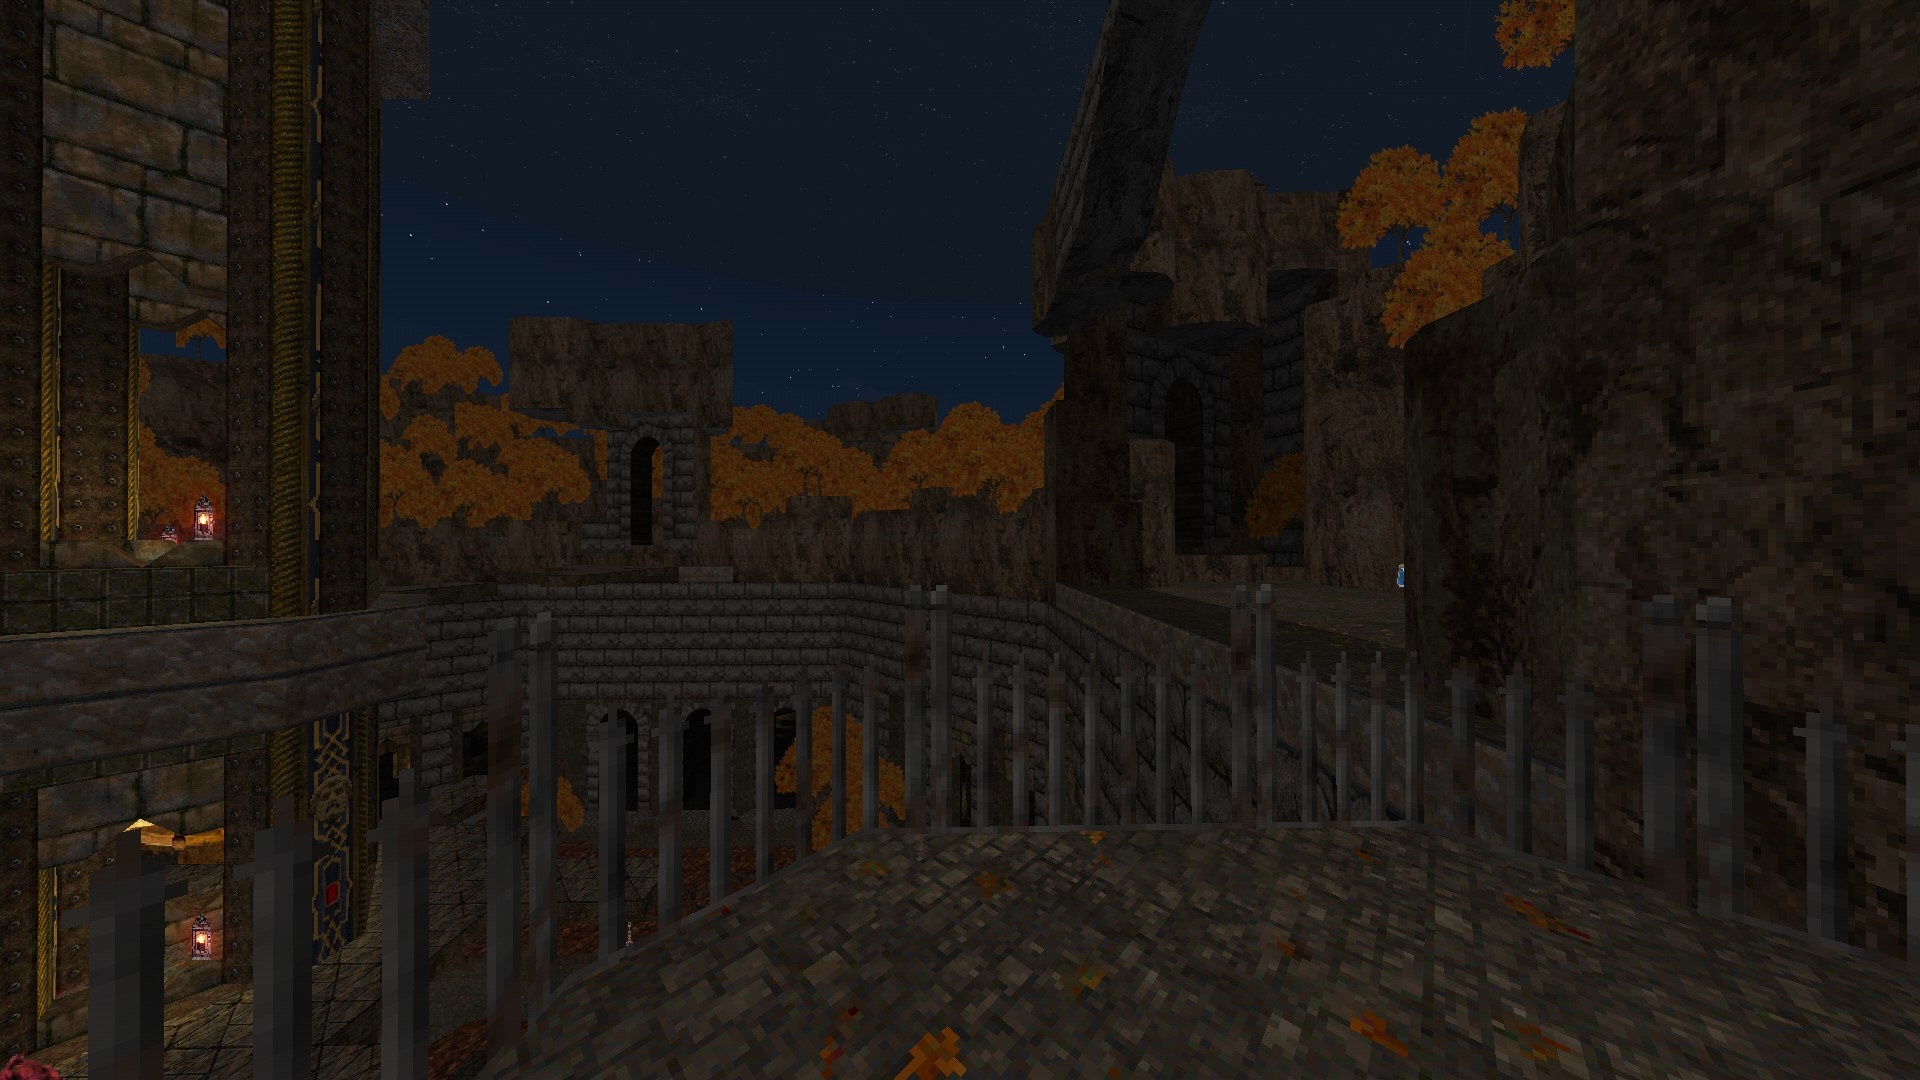
1/1 – Make your way to the top level where the portals to Temple of Iron and The Abandoned Castle are found and jump over the balcony railing to reach the otherwise barred area where a bunch of items are lying out in the open.
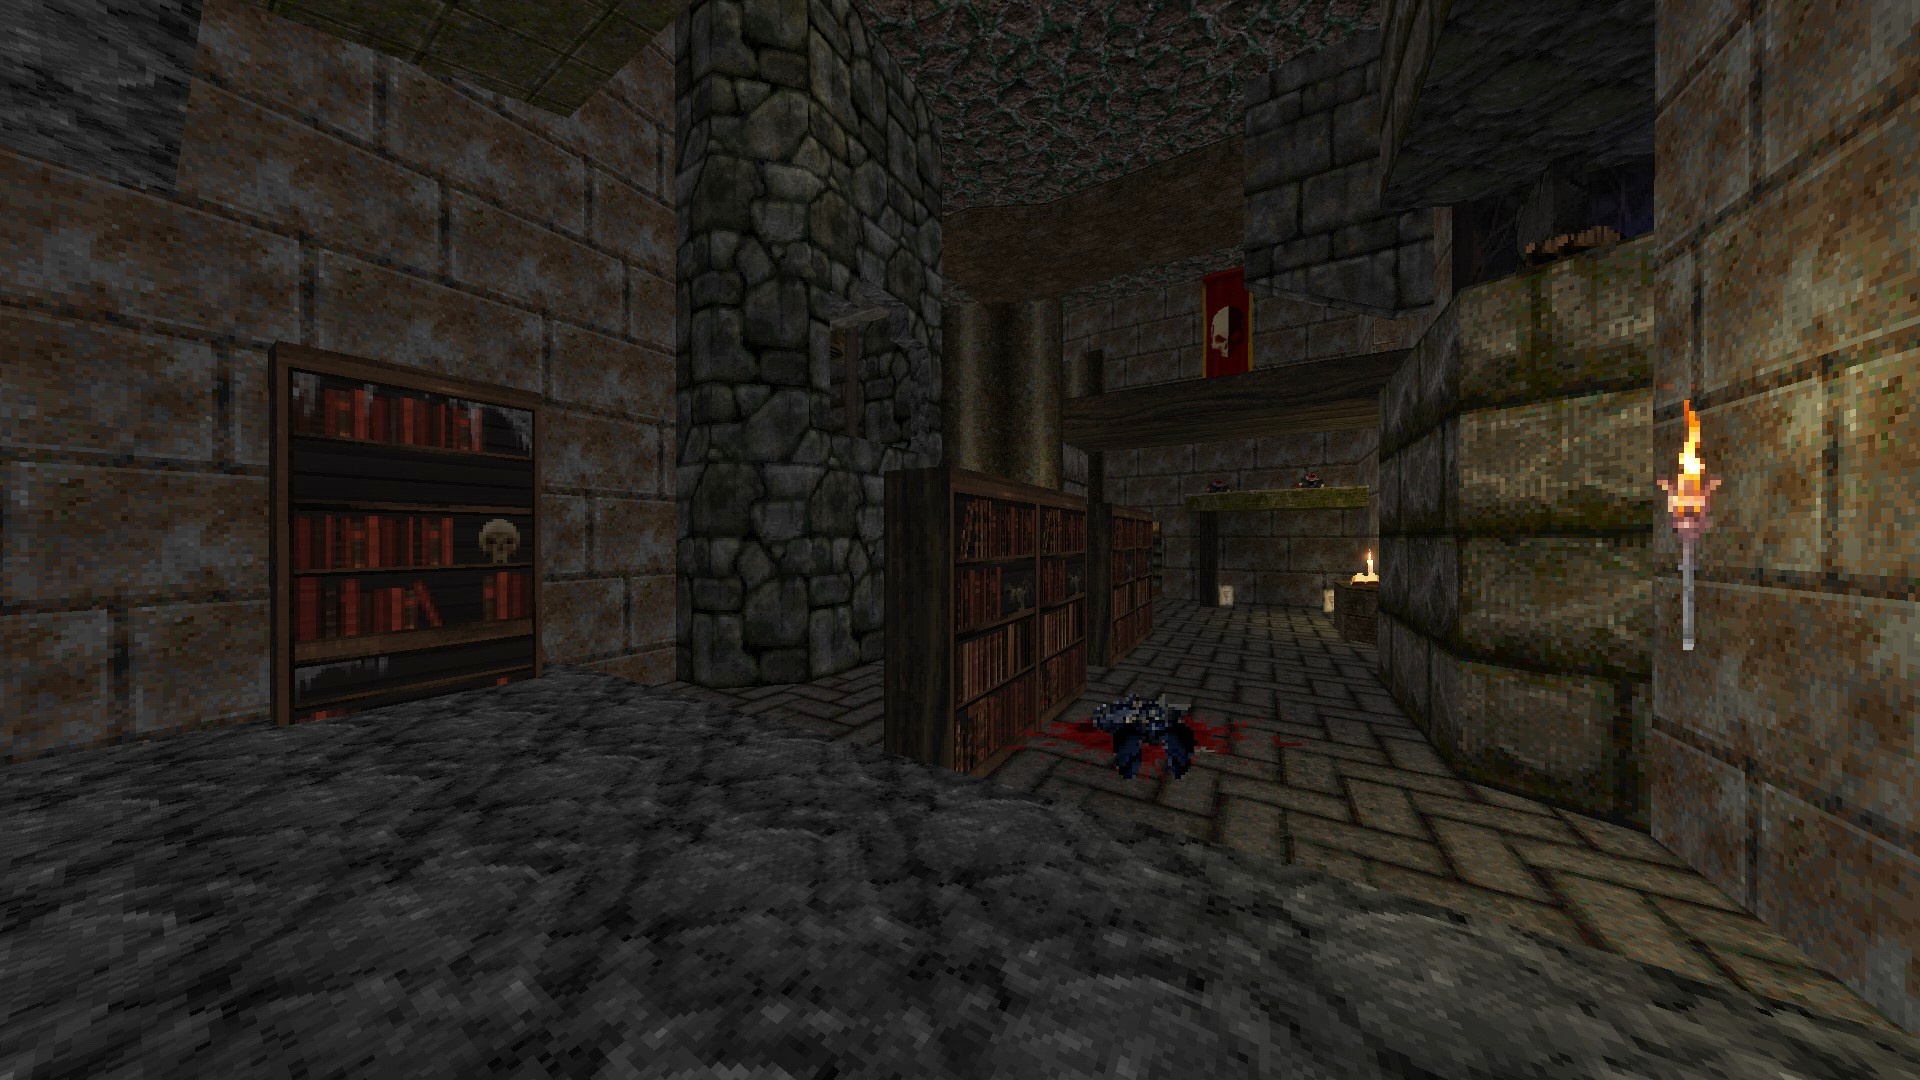
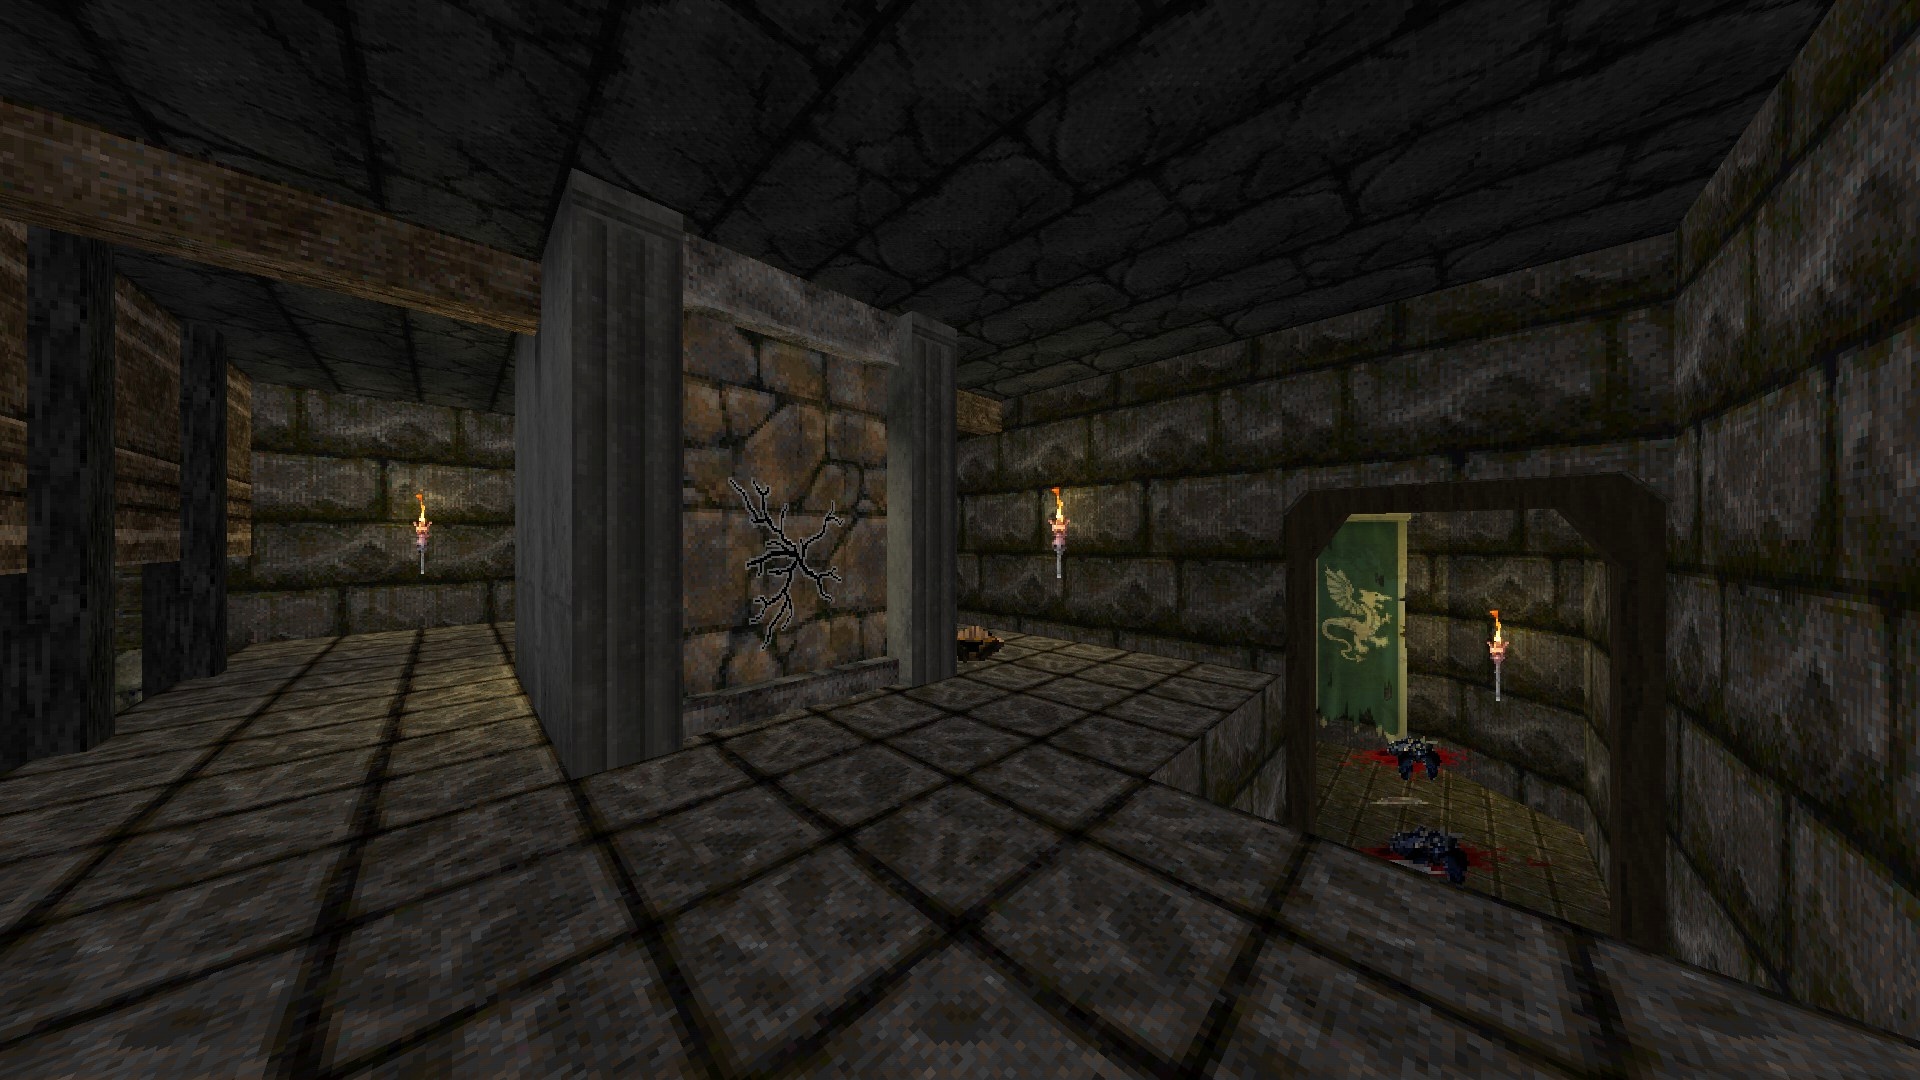
M16: Temple of Iron
Este mapa contiene 5 misterios.
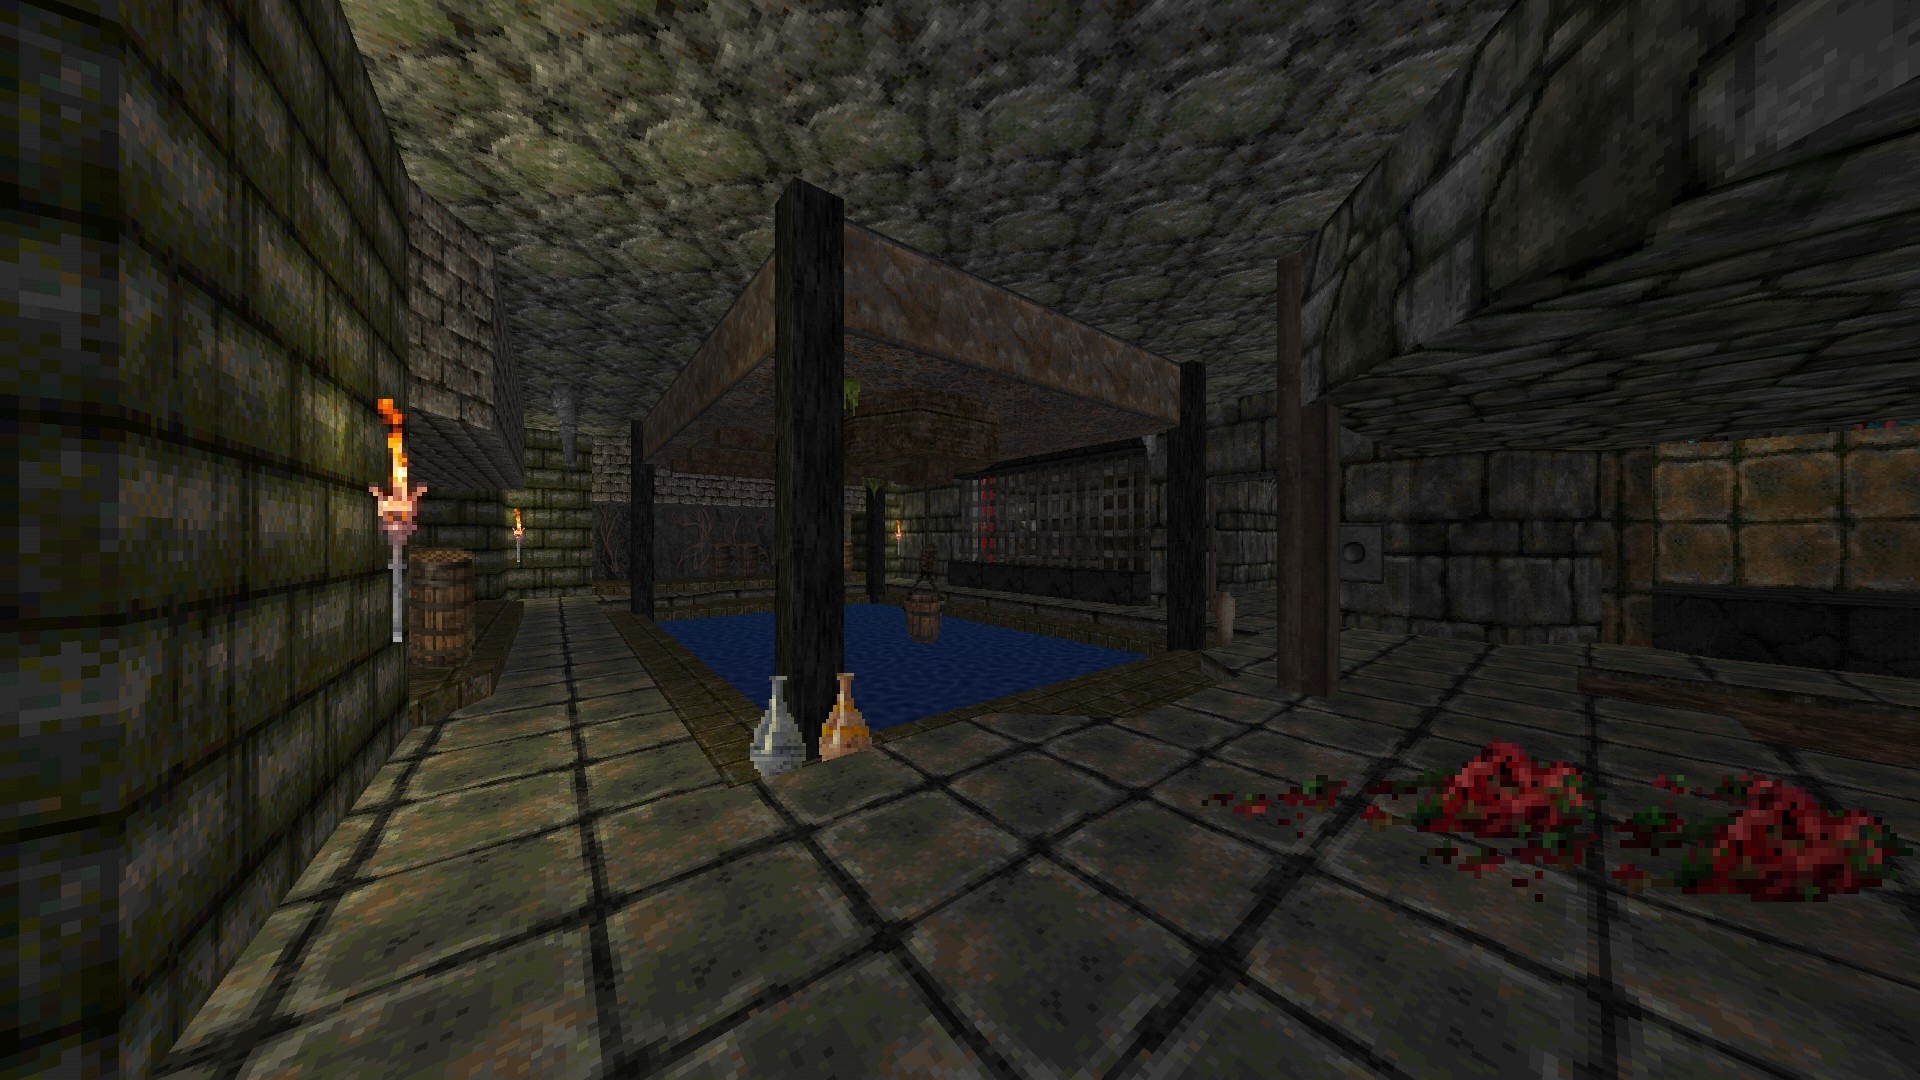
1/5 – (Serpiente del pantano) Right at the start, fit through the opening found nearby the switch that opens up the way into the temple to reach a bunch of barred items.

2/5 – Siguiendo con el secreto anterior., take the stairs to the lower level and use the wall panel between the two candelabras to reveal a hidden item.
3/5 – Use the wall panel marked with a candle between the two crushers before the second Skull door to access a hidden compartment.
4/5 – The switch found on the second floor of the library that activates the nearby lift doubles as a way of accessing the hidden compartment on the lower floor. Tira de él, quickly drop down and turn around to get into the newly-revealed area.
5/5 – Right after pulling the switch that activates the lift to the top floor, drop down to your left, turn around and follow the narrow ledge. Approach the vase on the other side to reveal a hidden compartment.
M17: The Swamp Village
Este mapa contiene 4 misterios.
1/4 – (Serpiente del pantano) Once you reach the pool in the building right across the portal, dive in and look for an opening you can fit through through reach a lengthy side area that ends with an otherwise barred item.

2/4 – Siguiendo con el secreto anterior., leave the building via the back door and look for a slightly discolored part on the enormous trunk next to the hut. Walk through it to find a hidden item.
3/4 – In the building behind the central one, find the cracked side of the pillar at the center of the very first room and destroy it to reveal a hidden alcove.
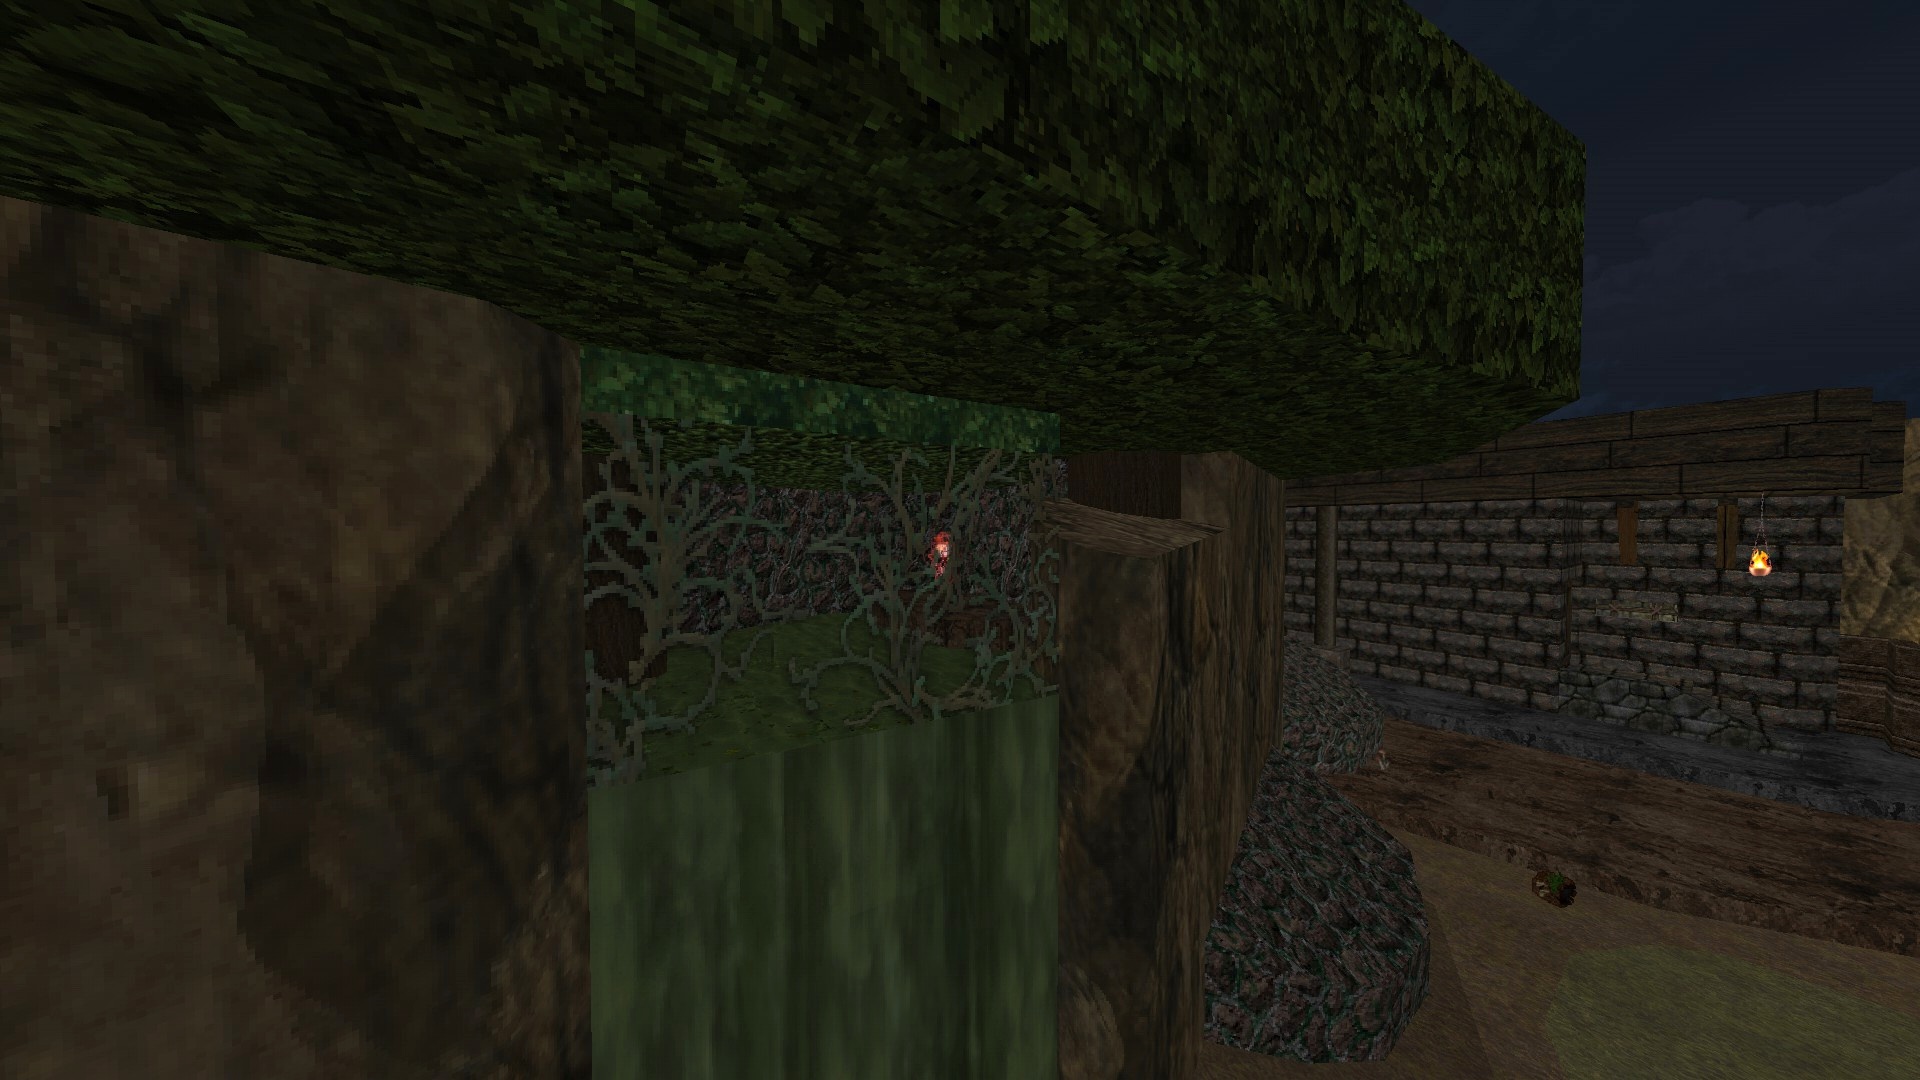
4/4 – (wyvern) Fly into the opening covered by plants above the waterfall next to the central building to find a hidden item.
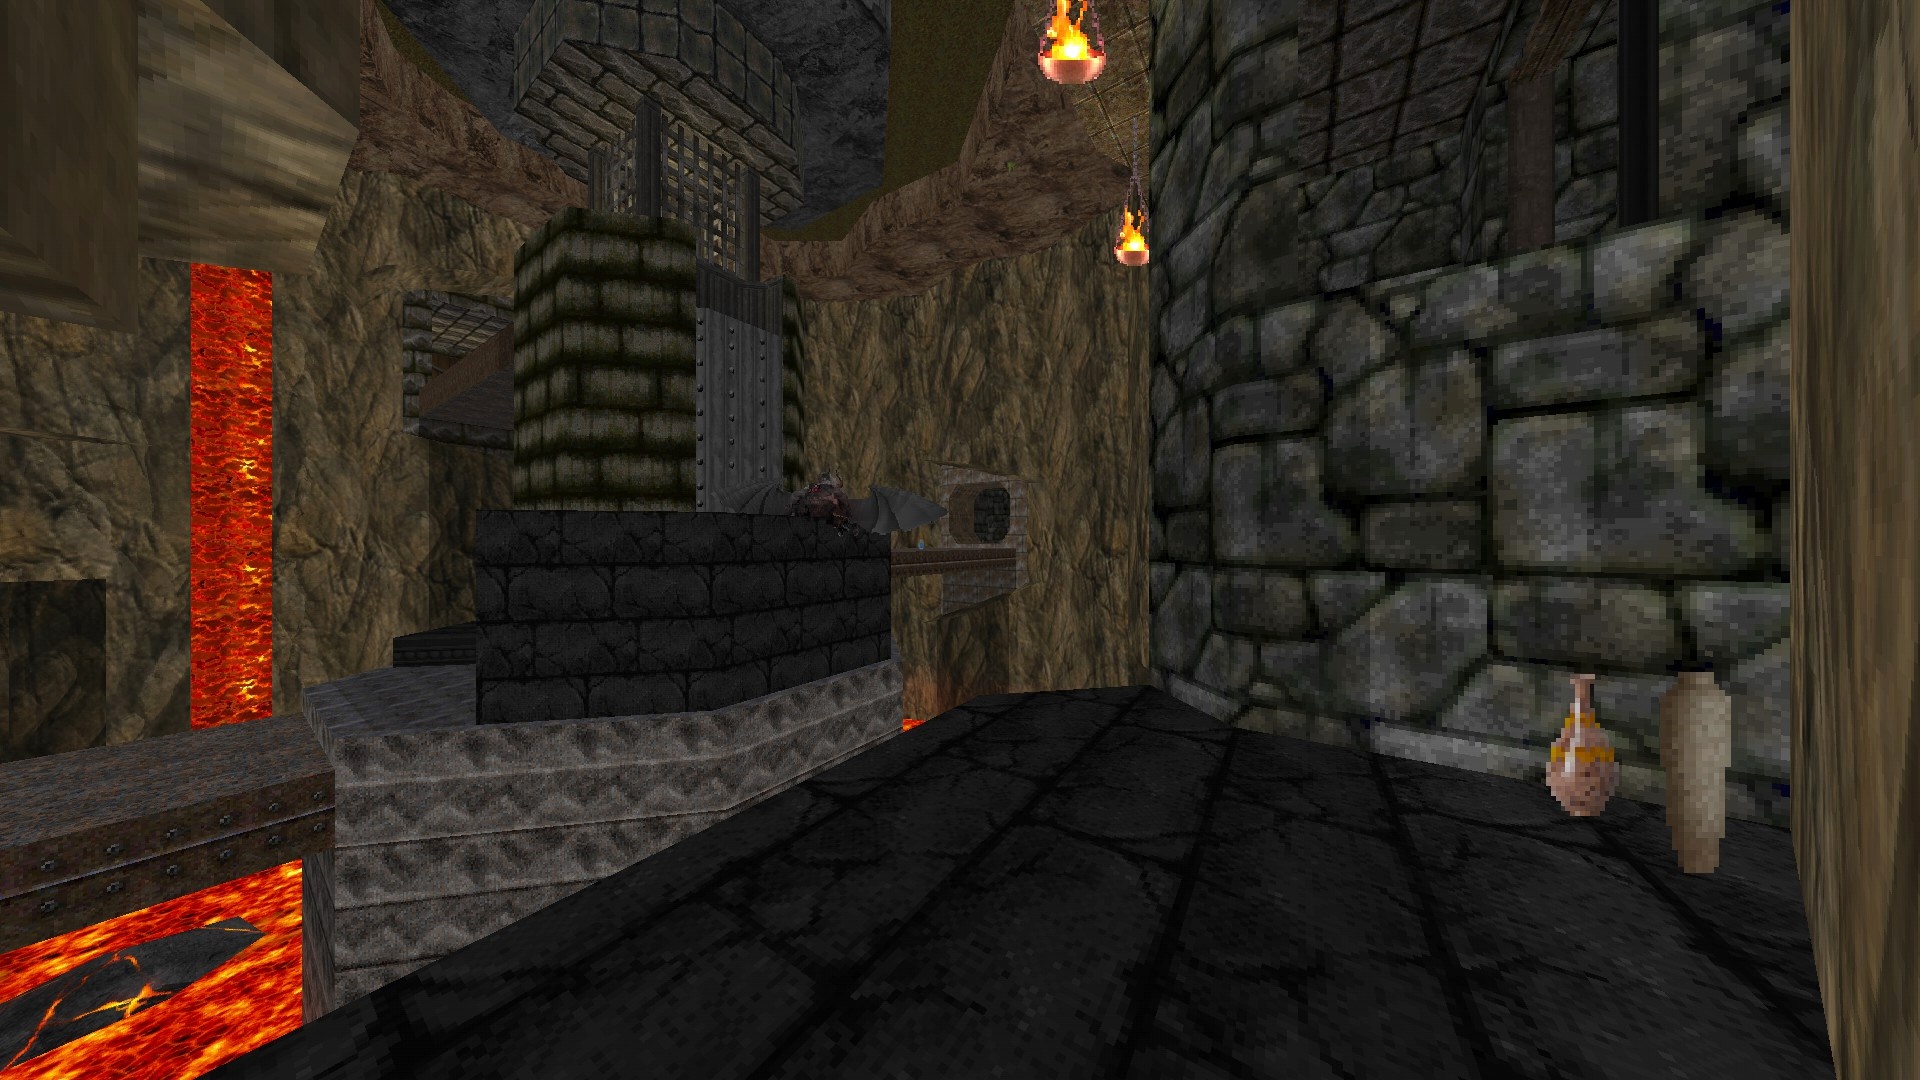
M18: The Volcano
Este mapa contiene solo un secreto..
1/1 – Shortly after picking up the Iron Key, you need to take a stone lift to progress. Después de tomarlo, simply turn around and drop down to the nearby ledge to pick up the map scroll lying out in the open.
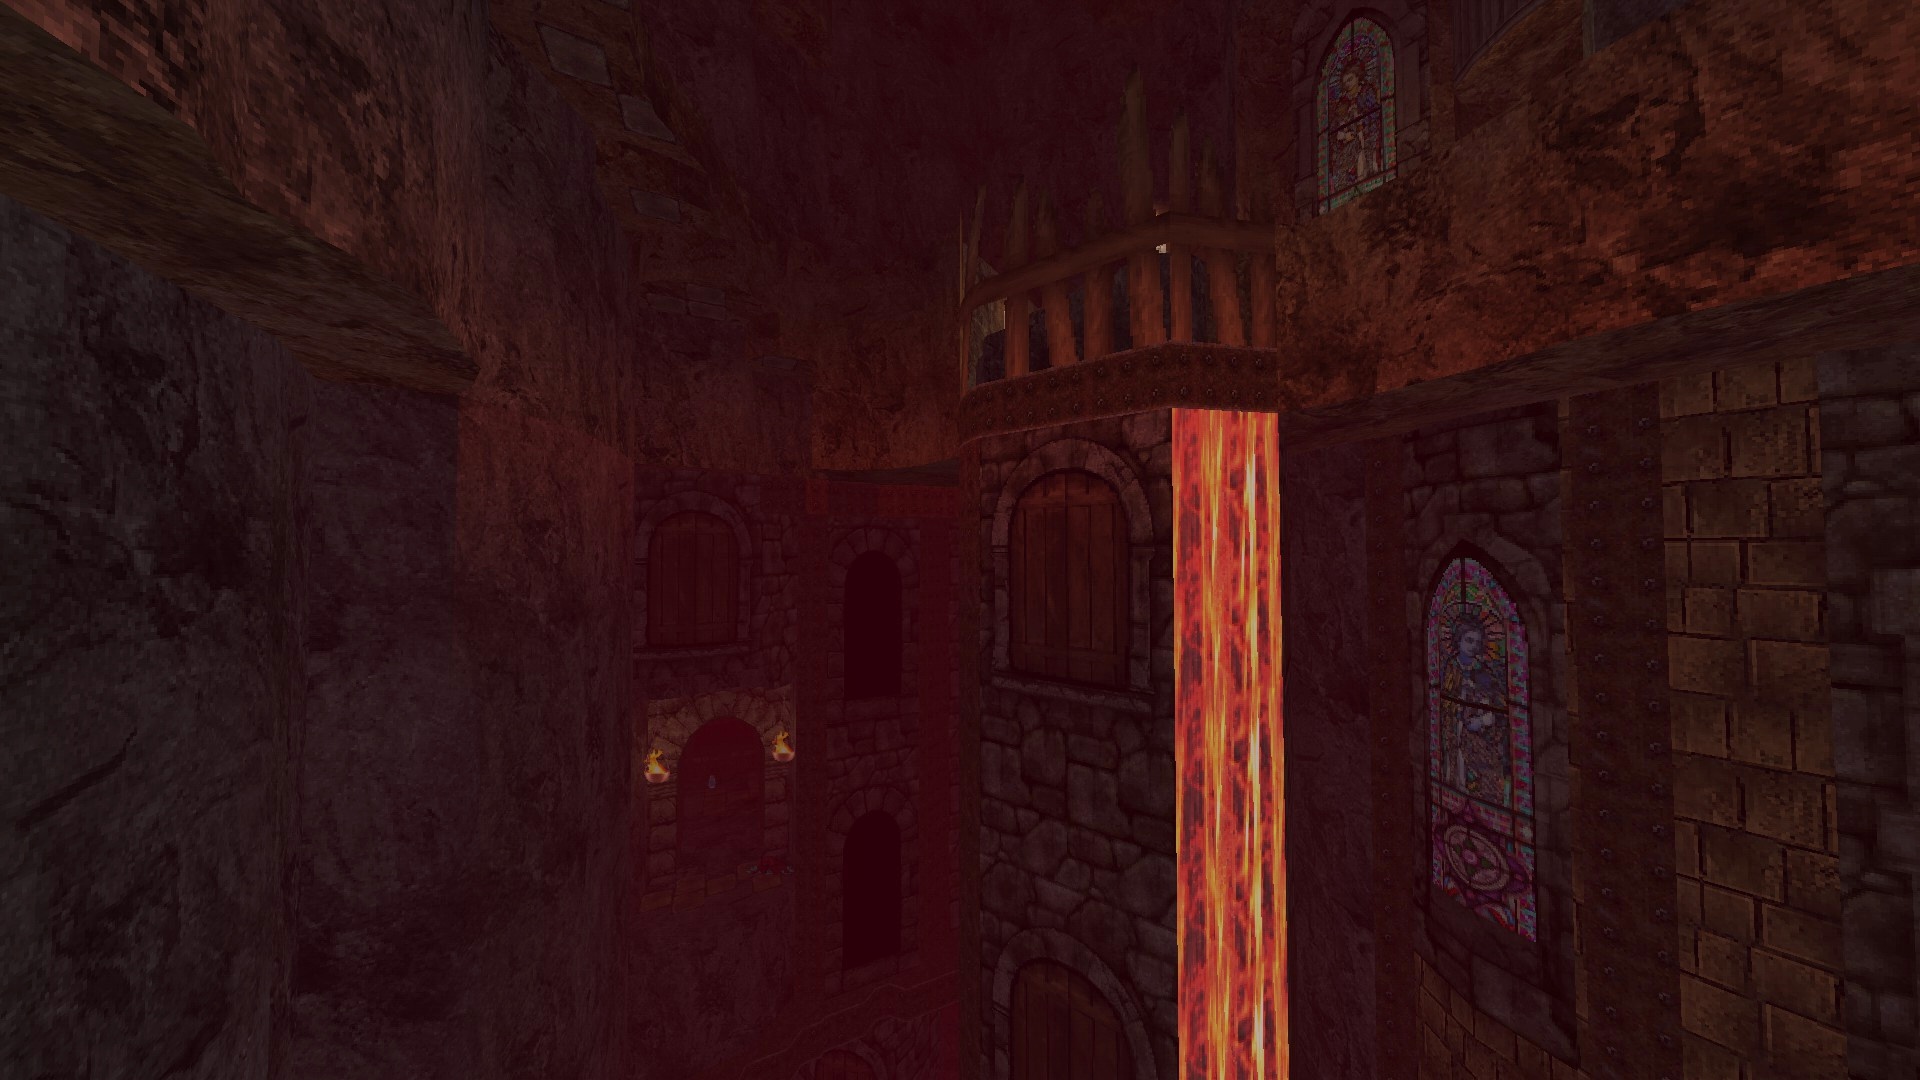
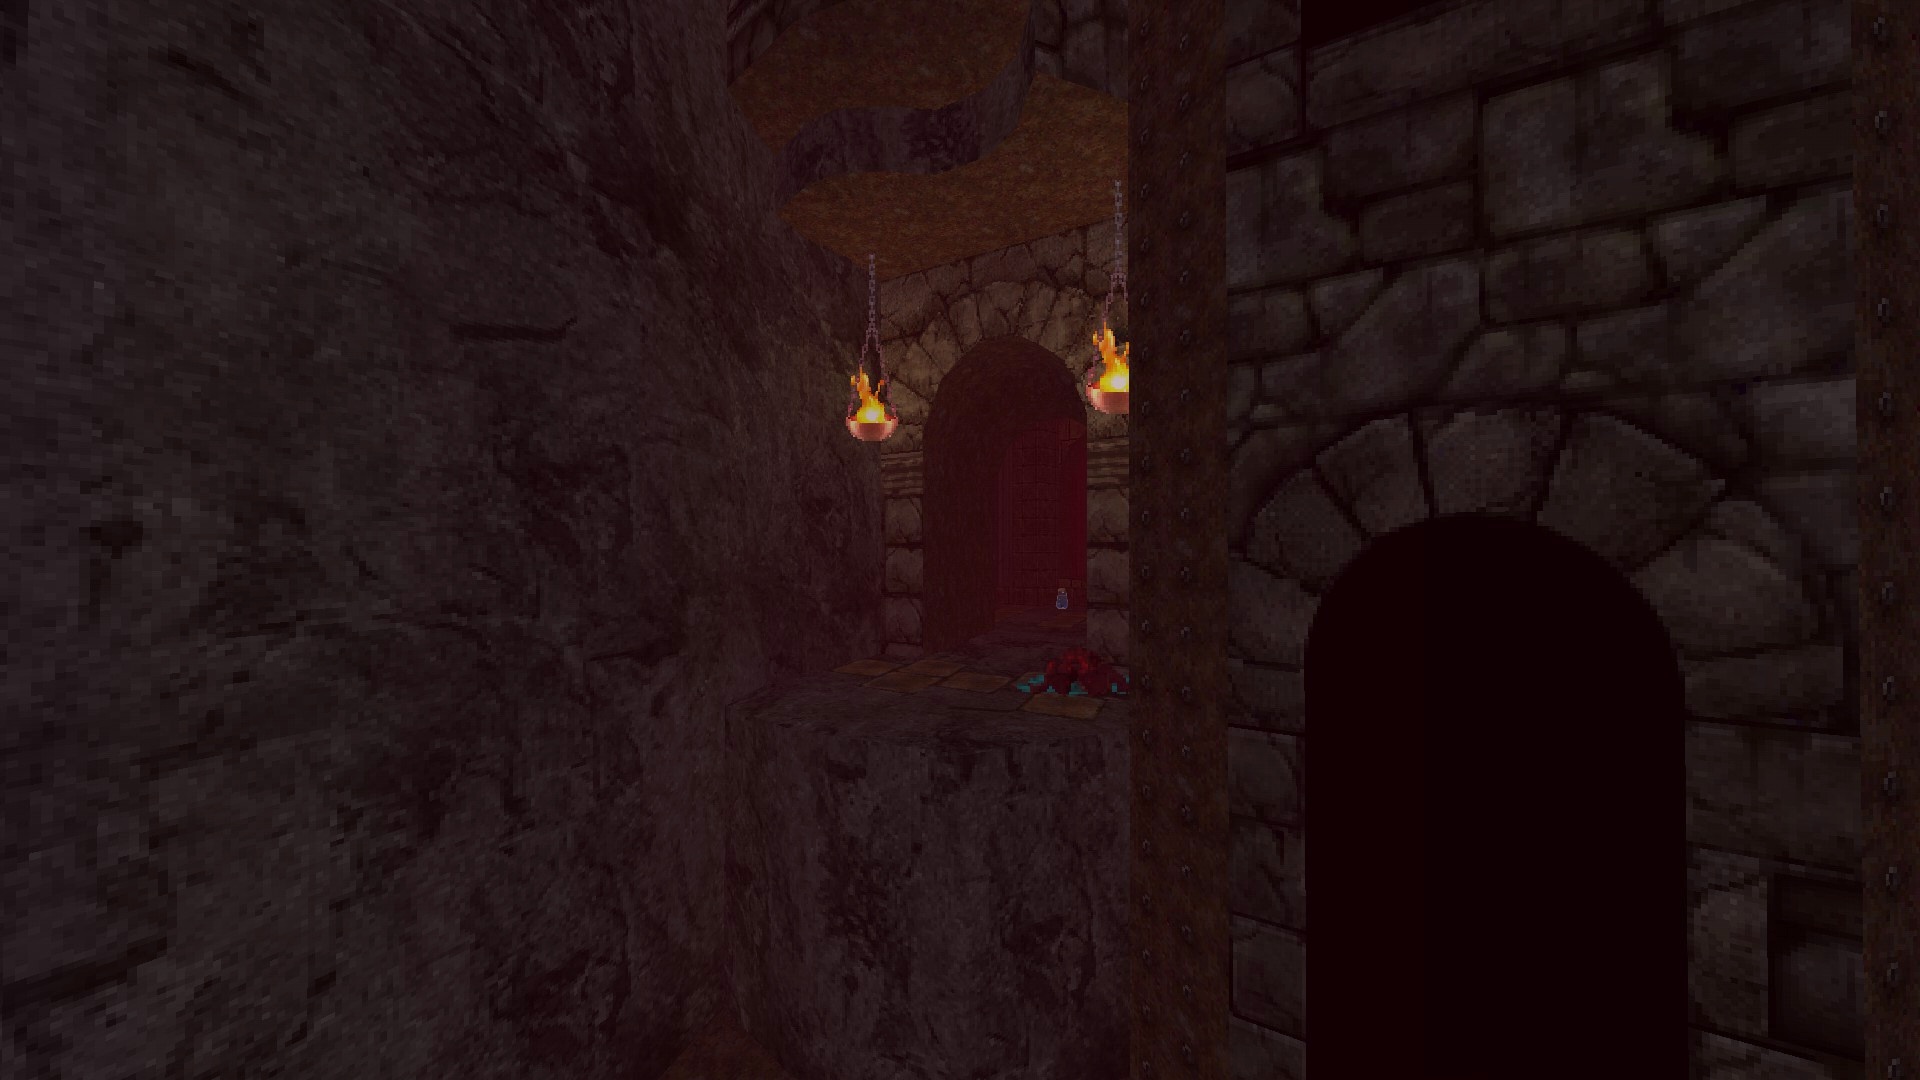
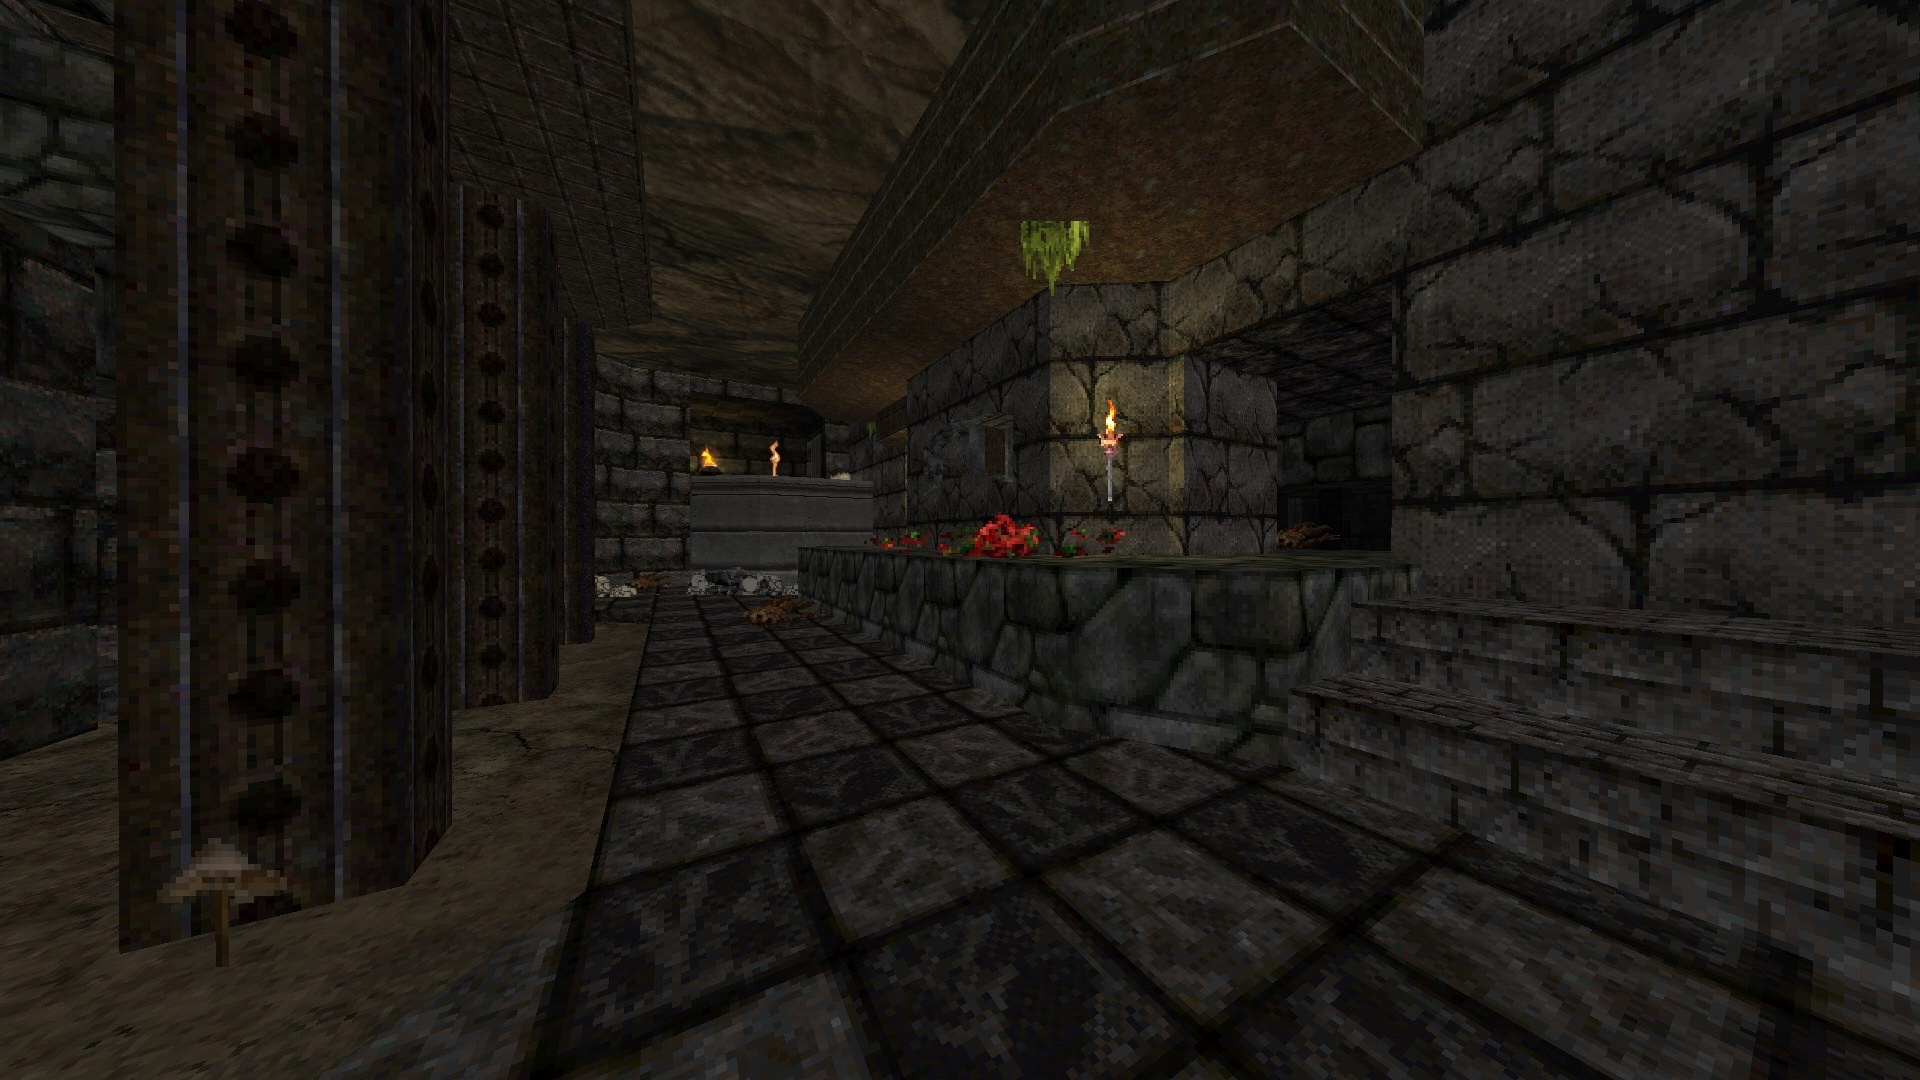
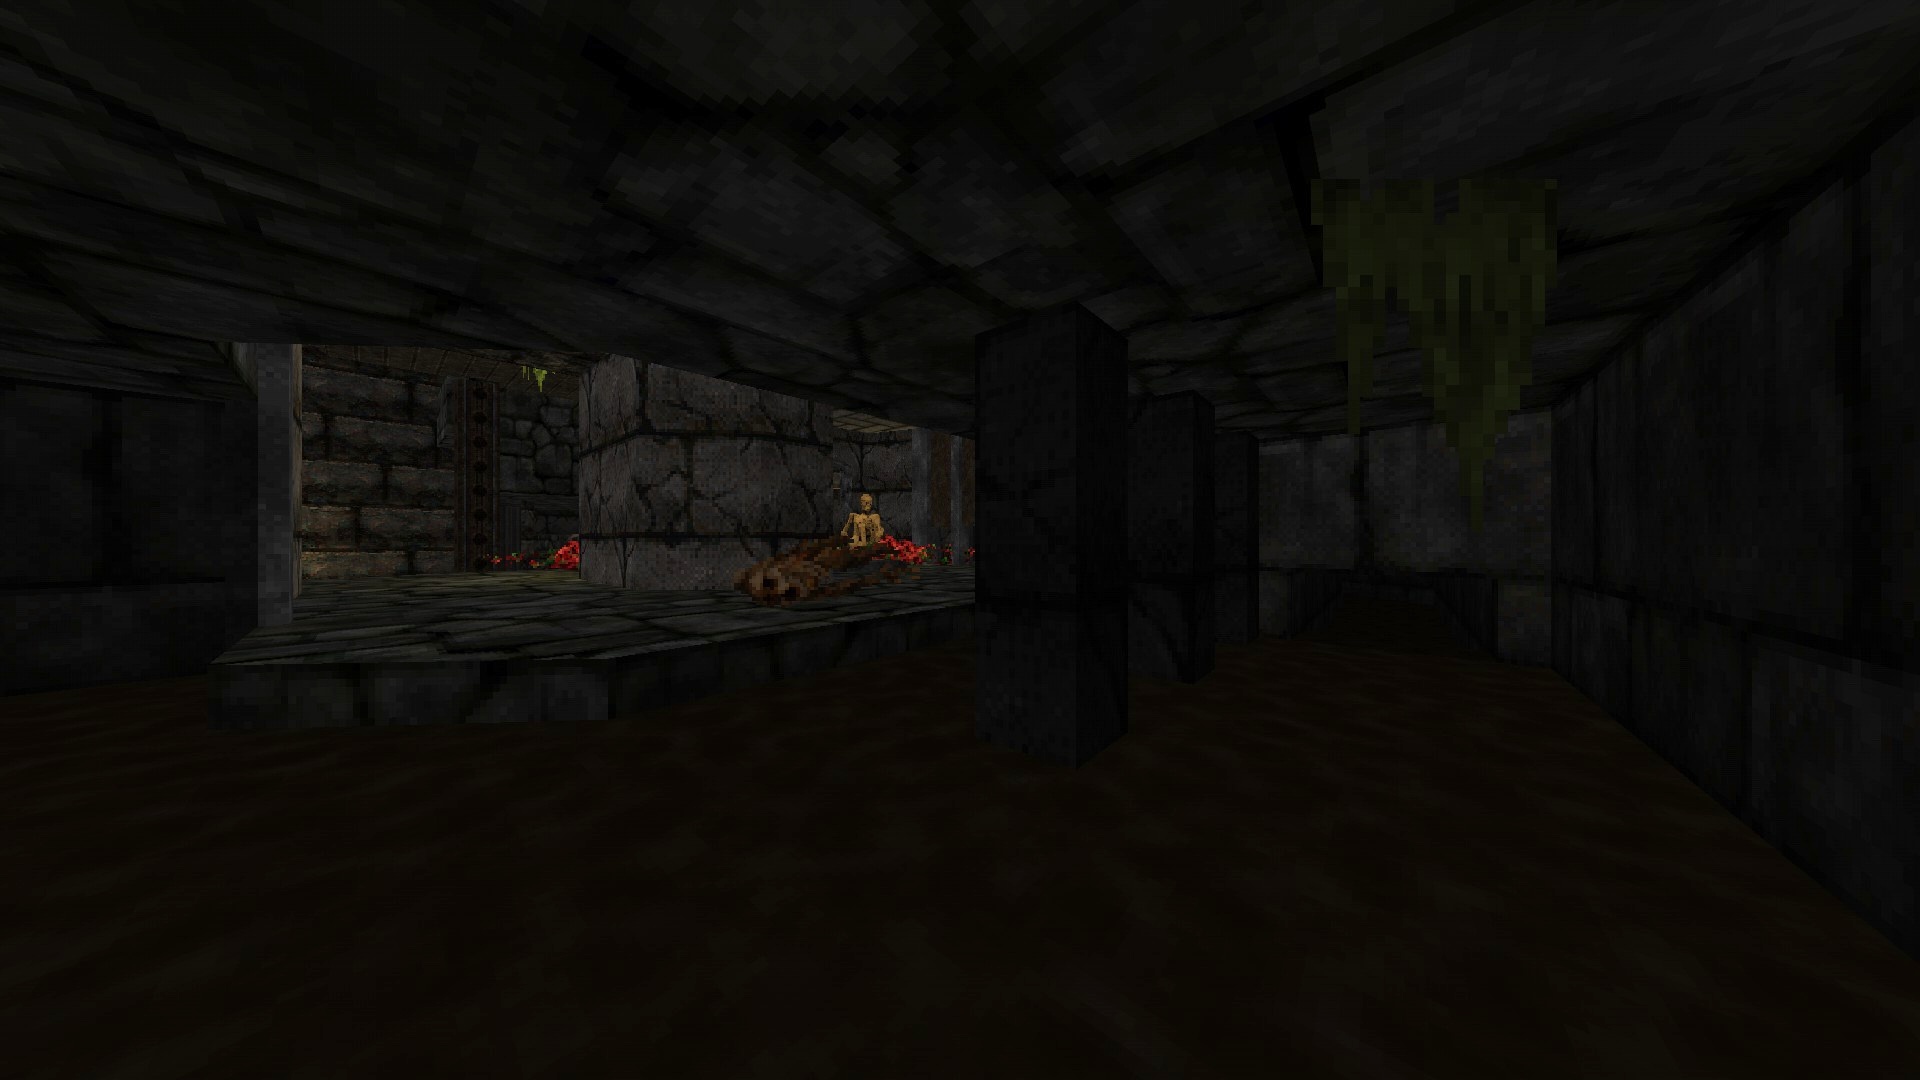
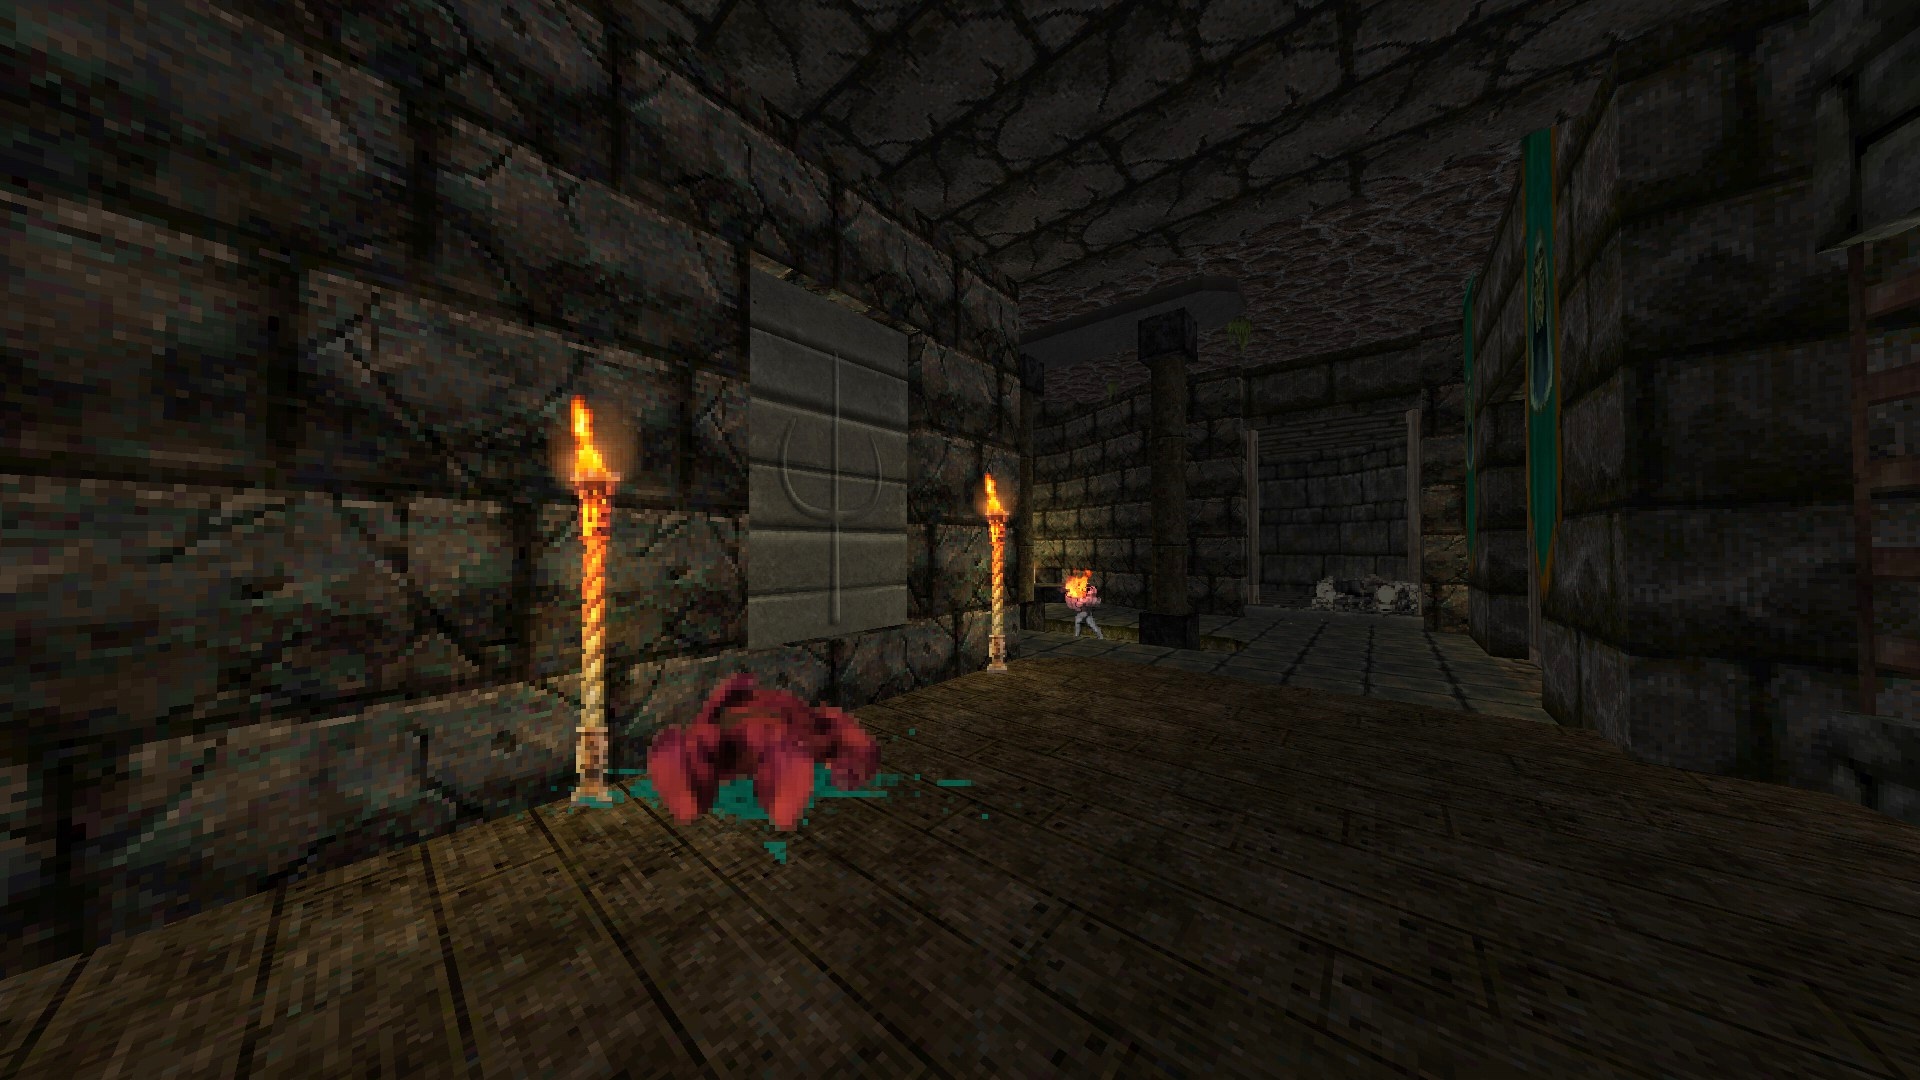
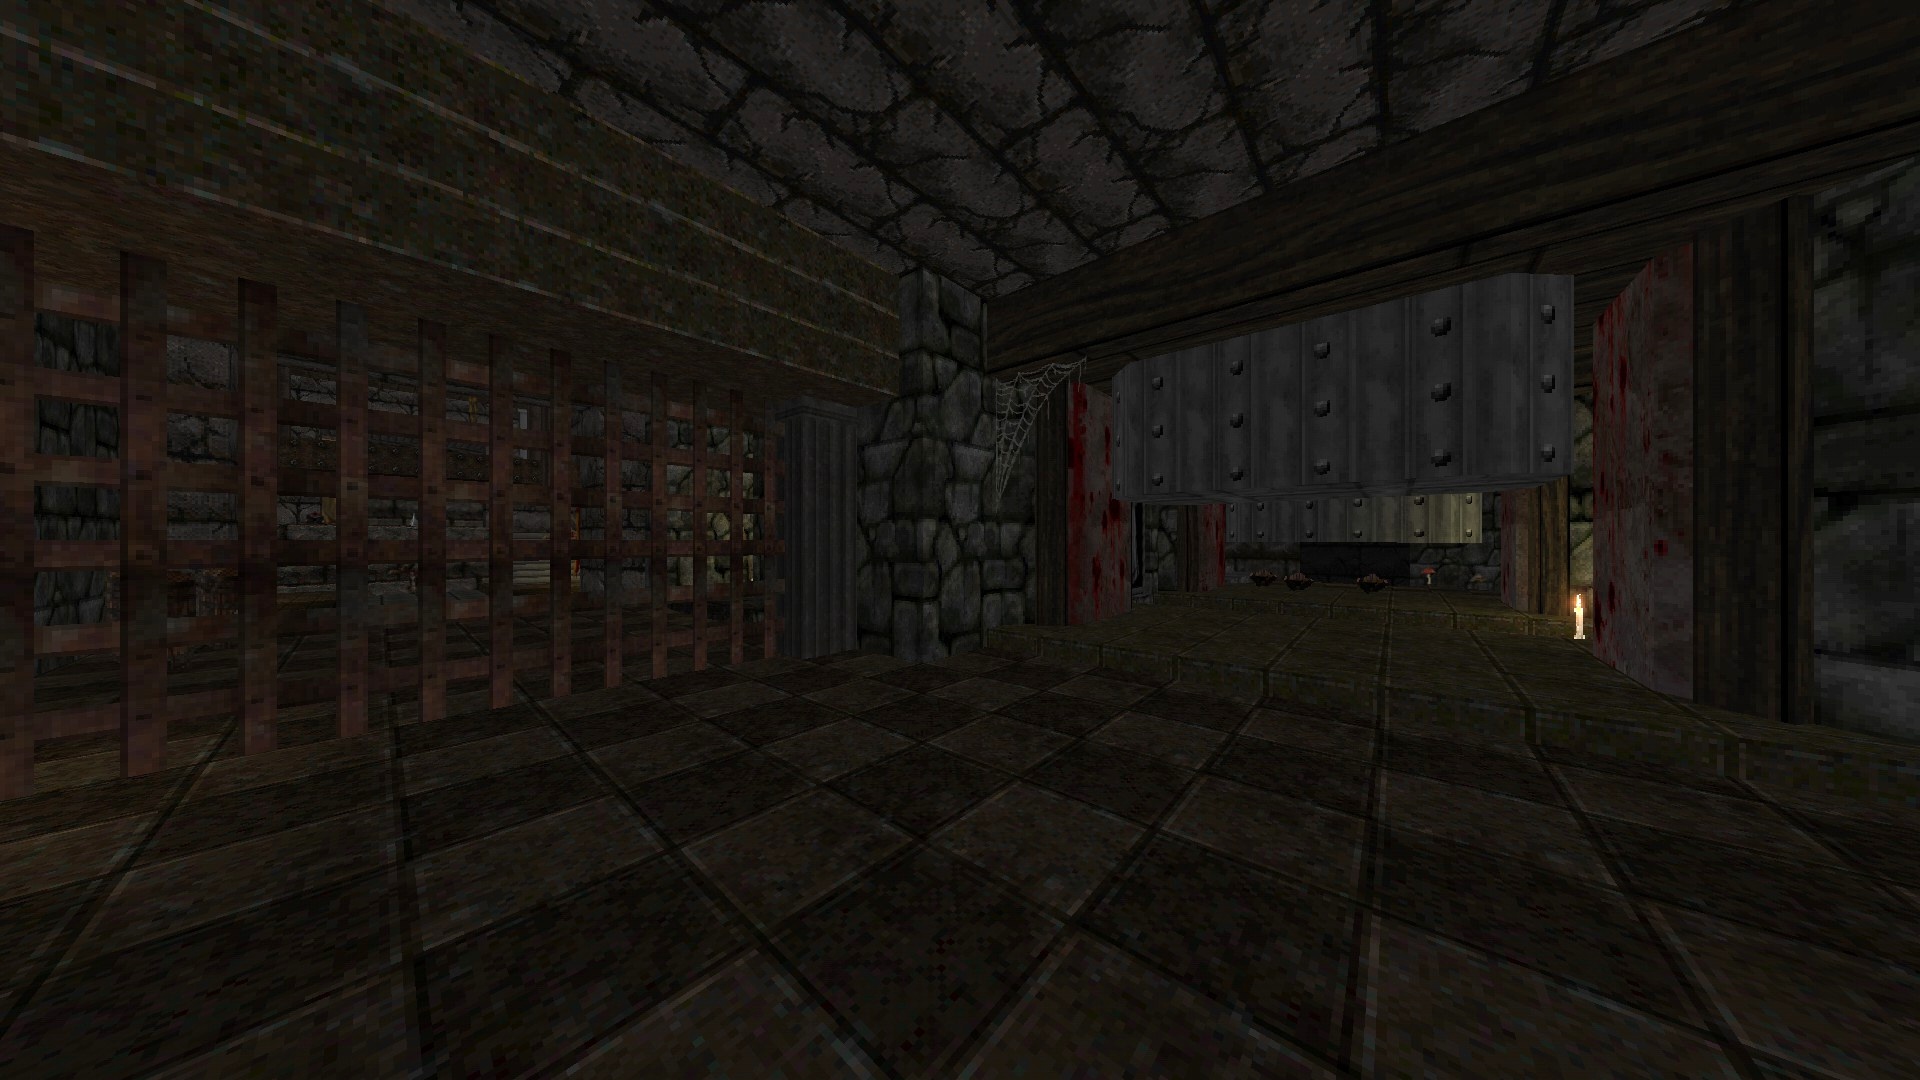
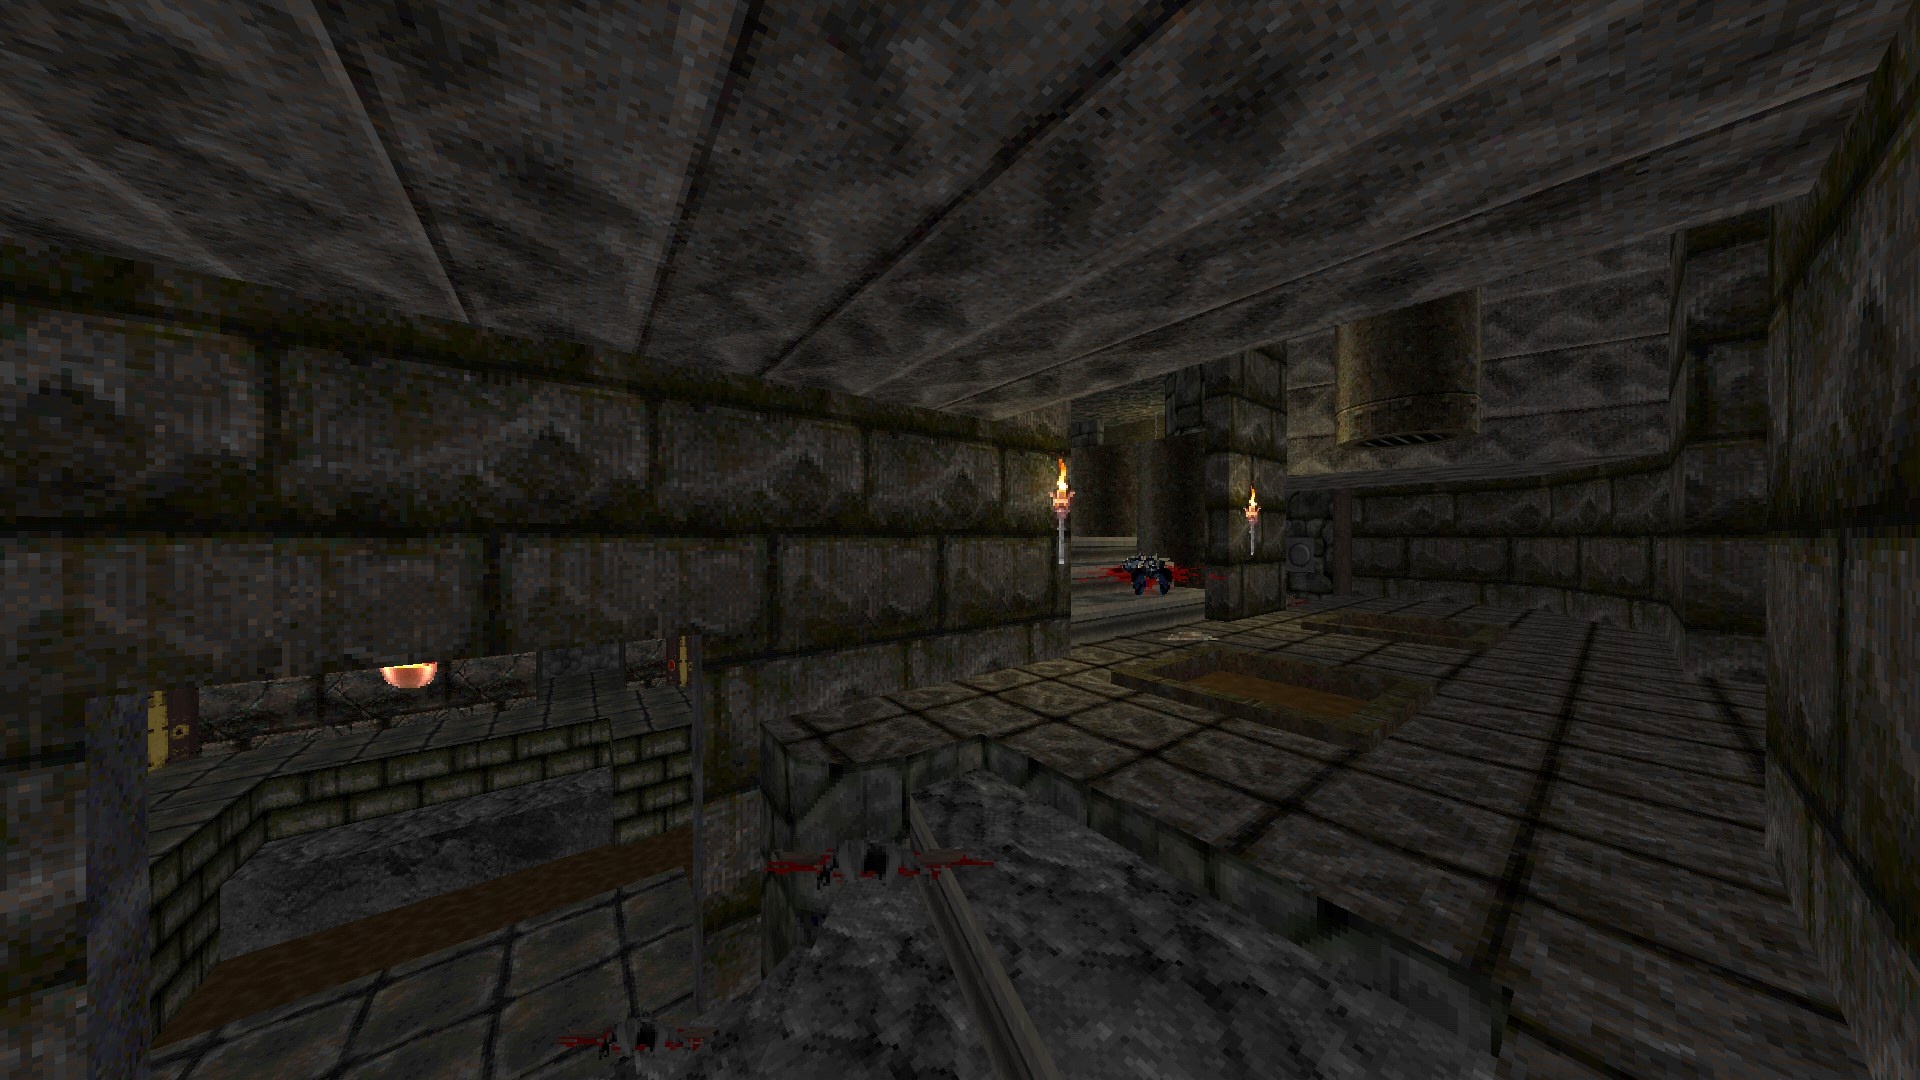
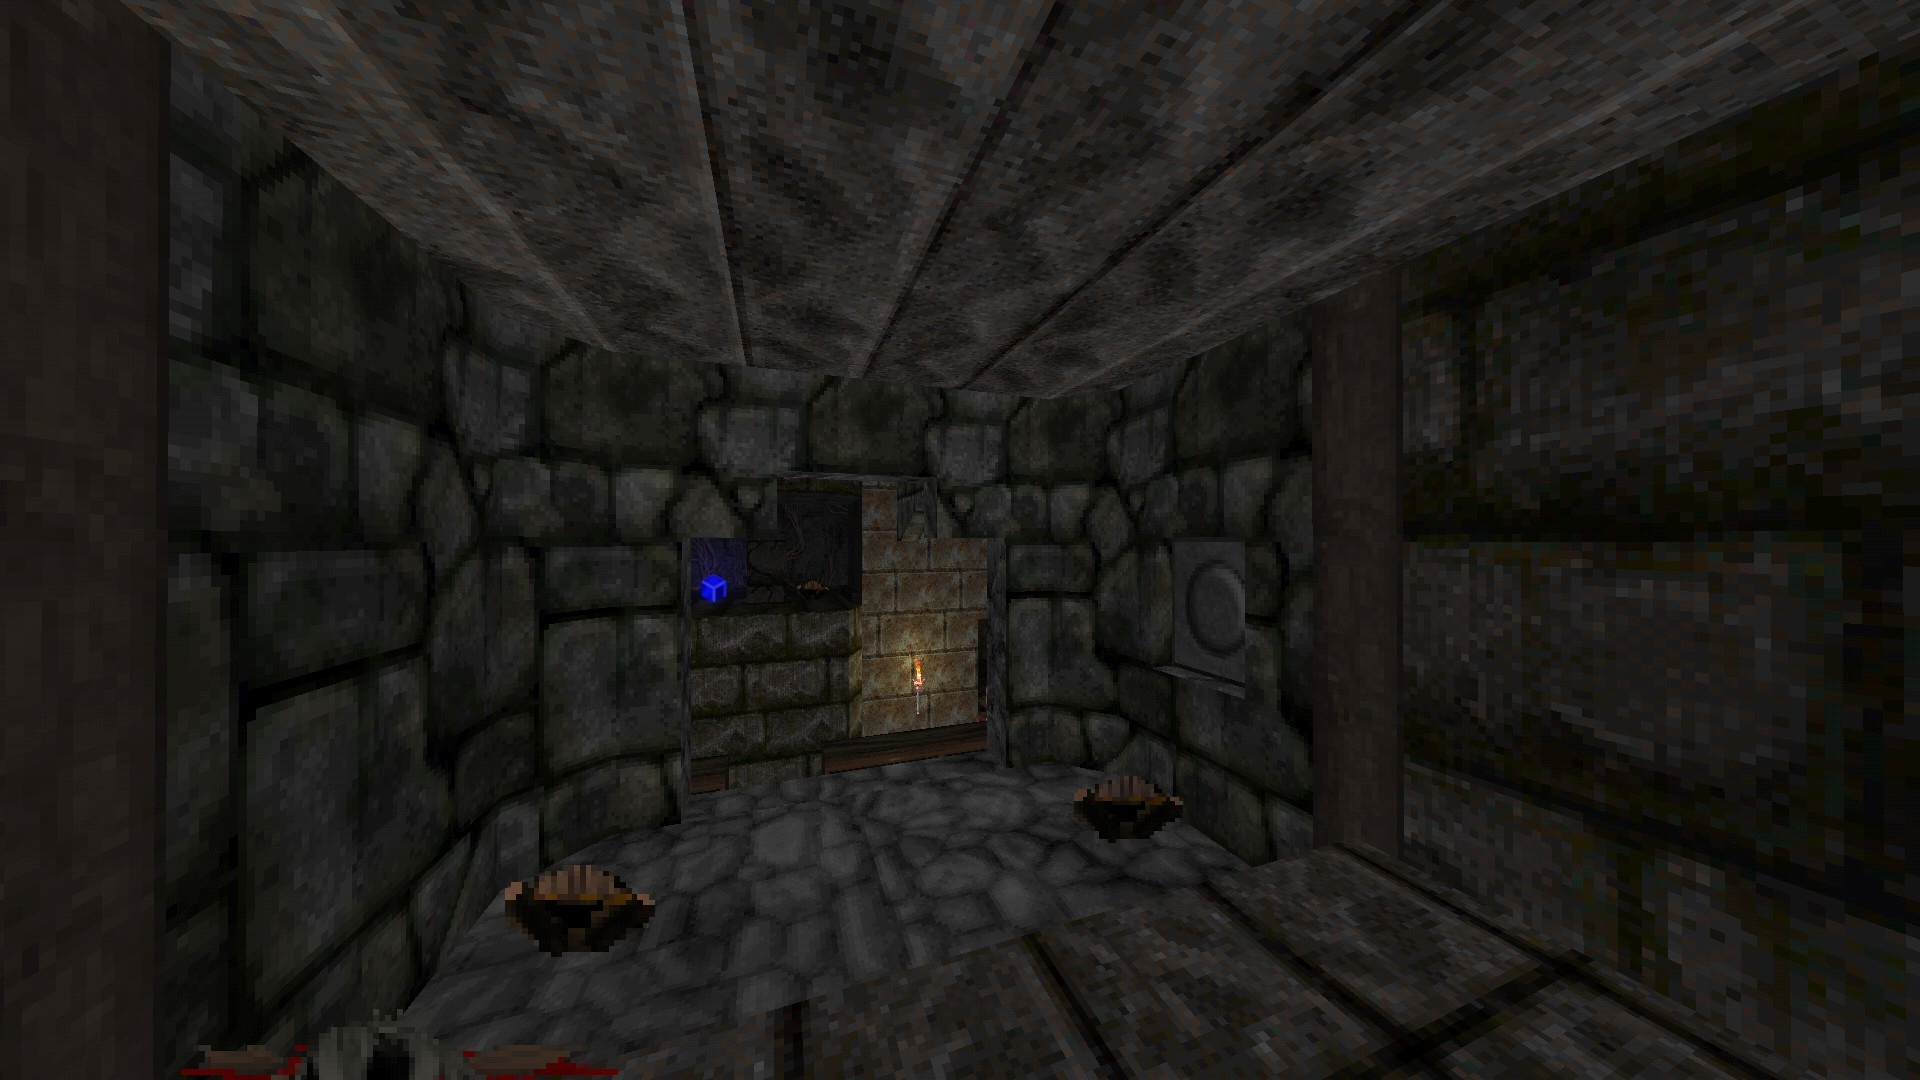
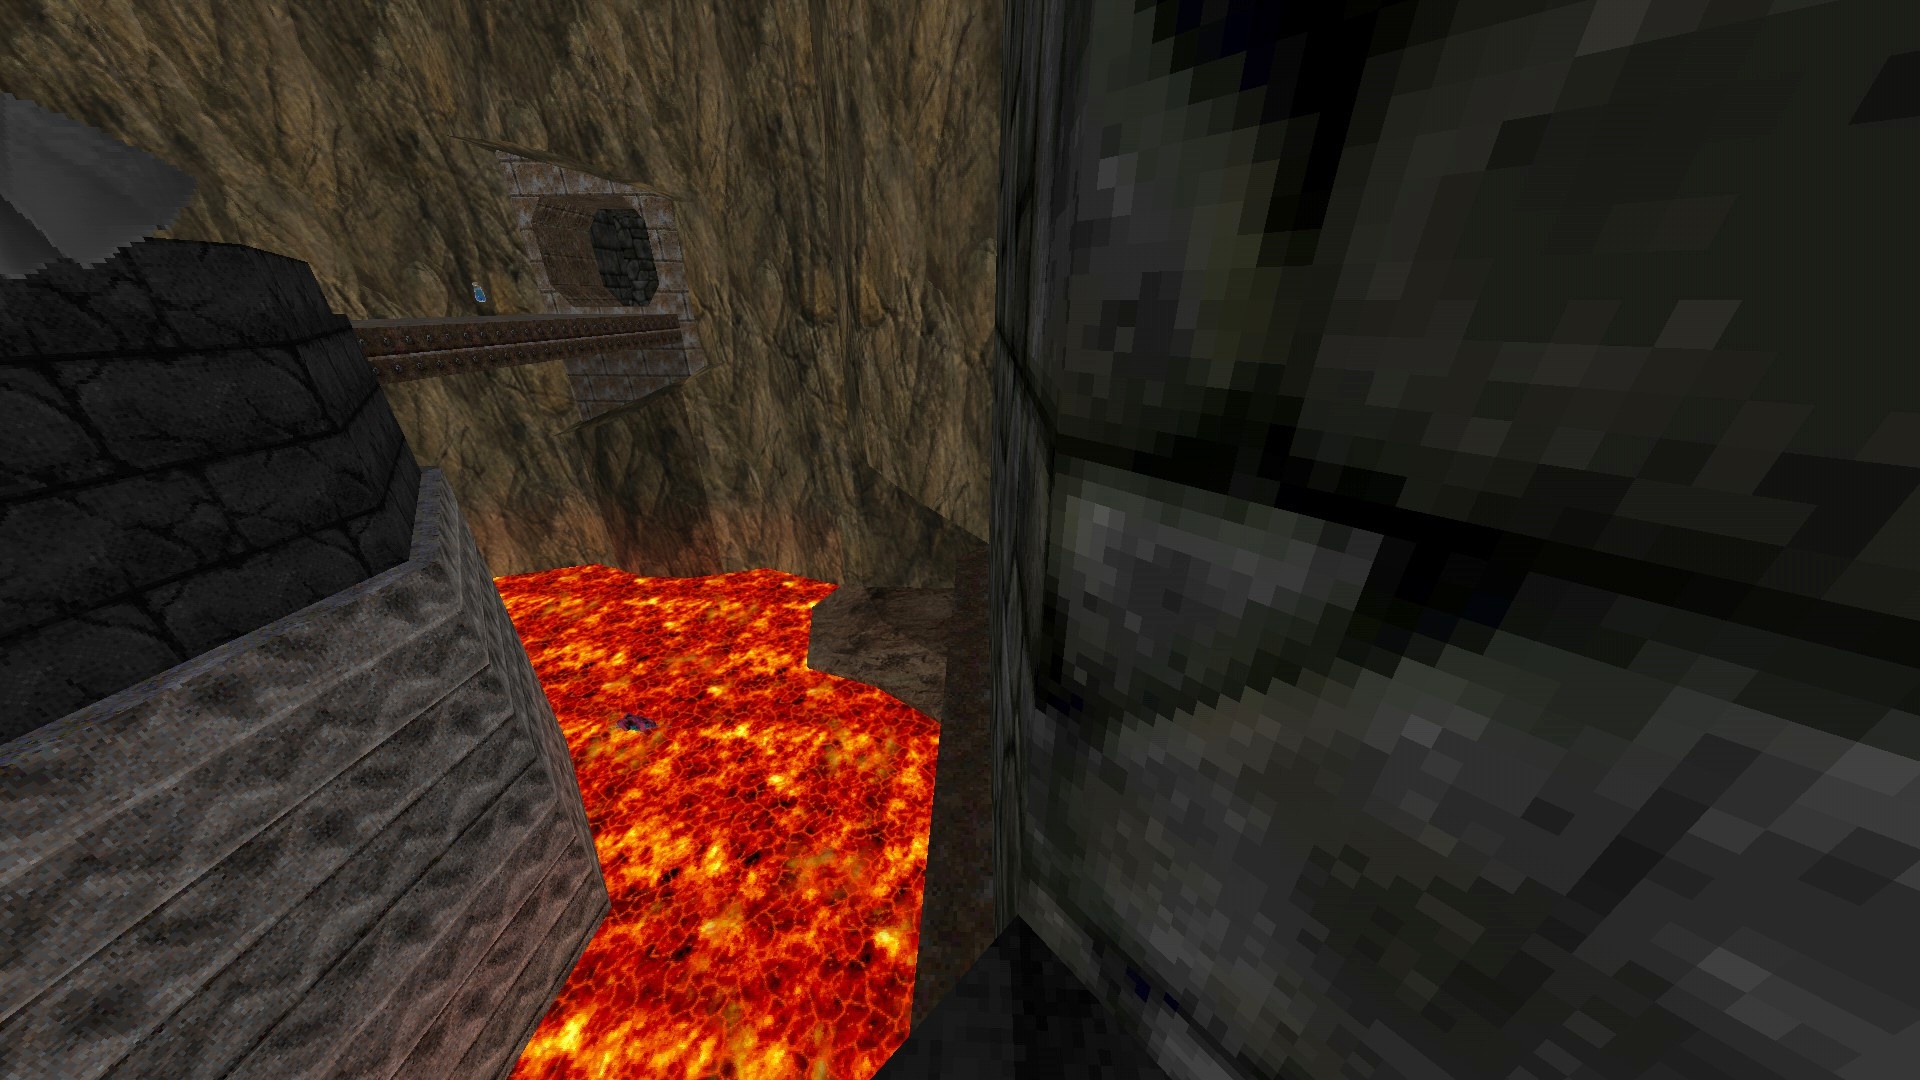
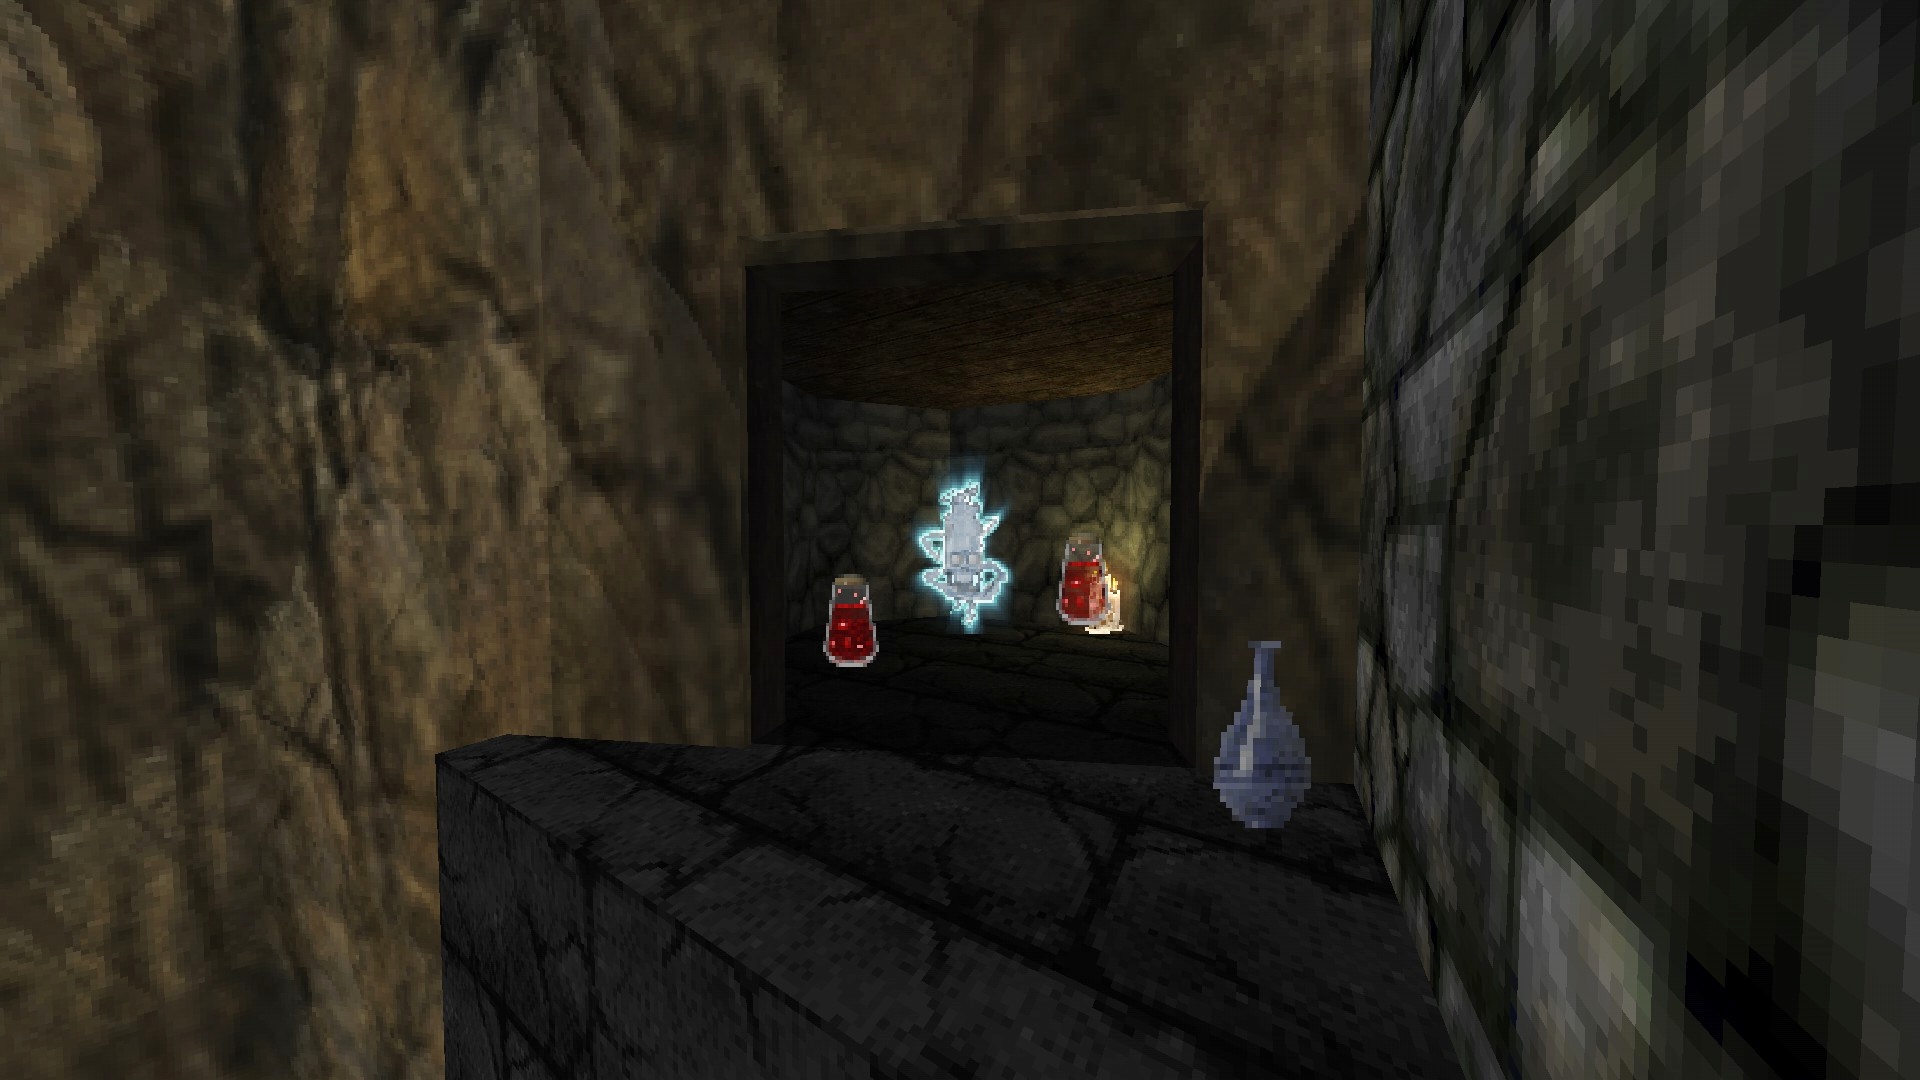
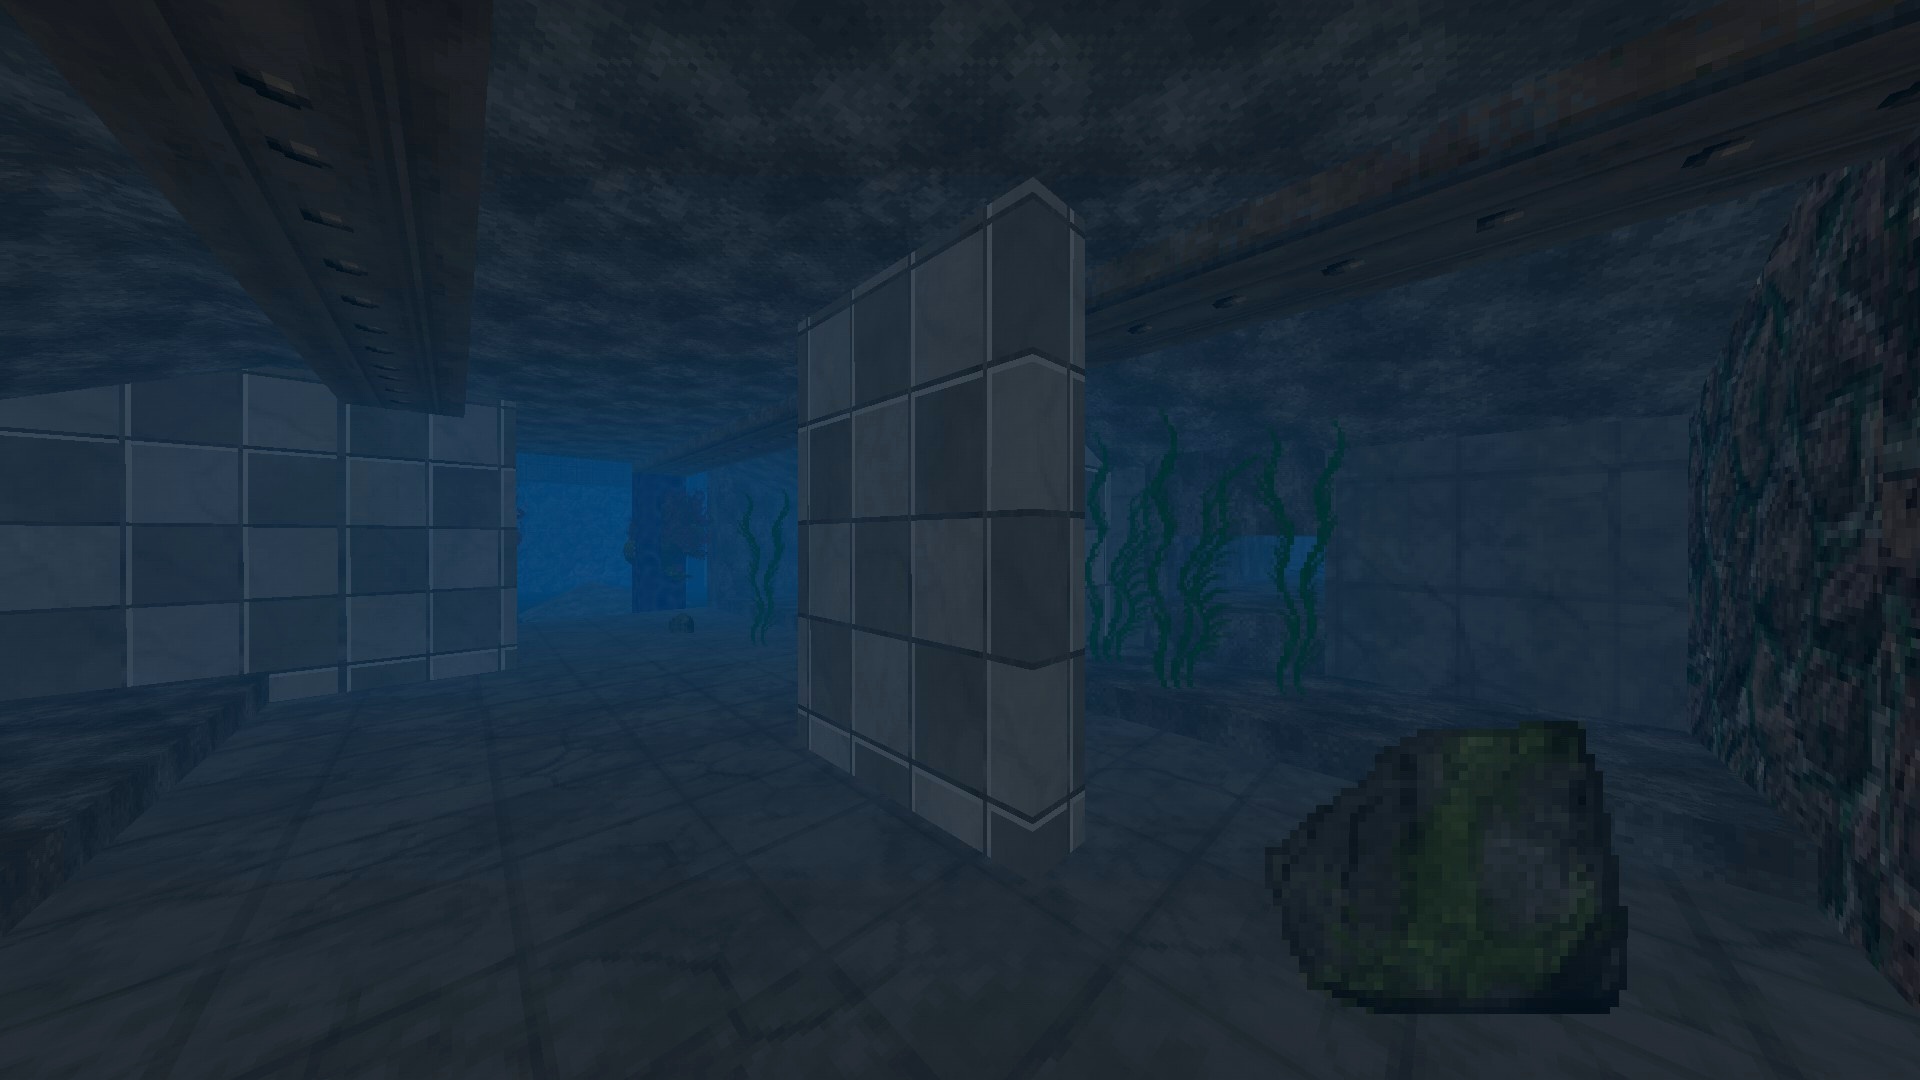
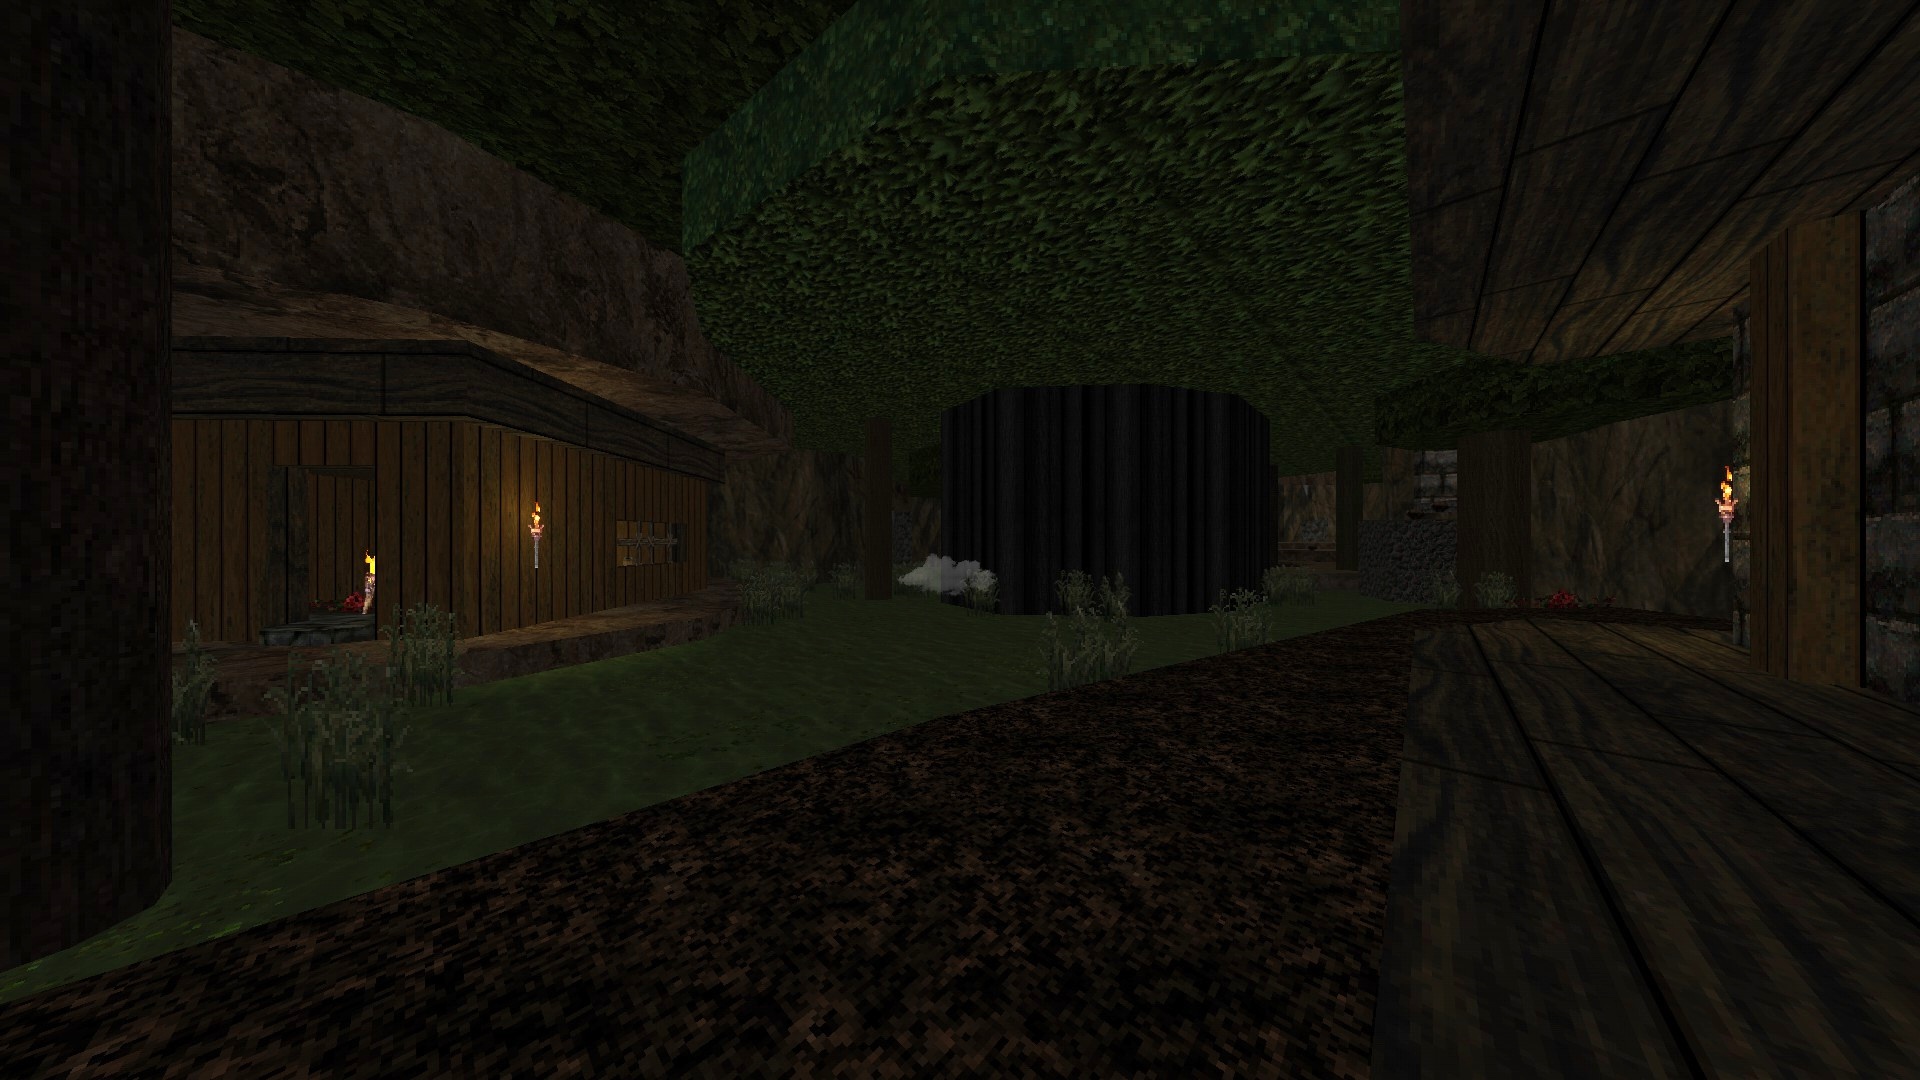
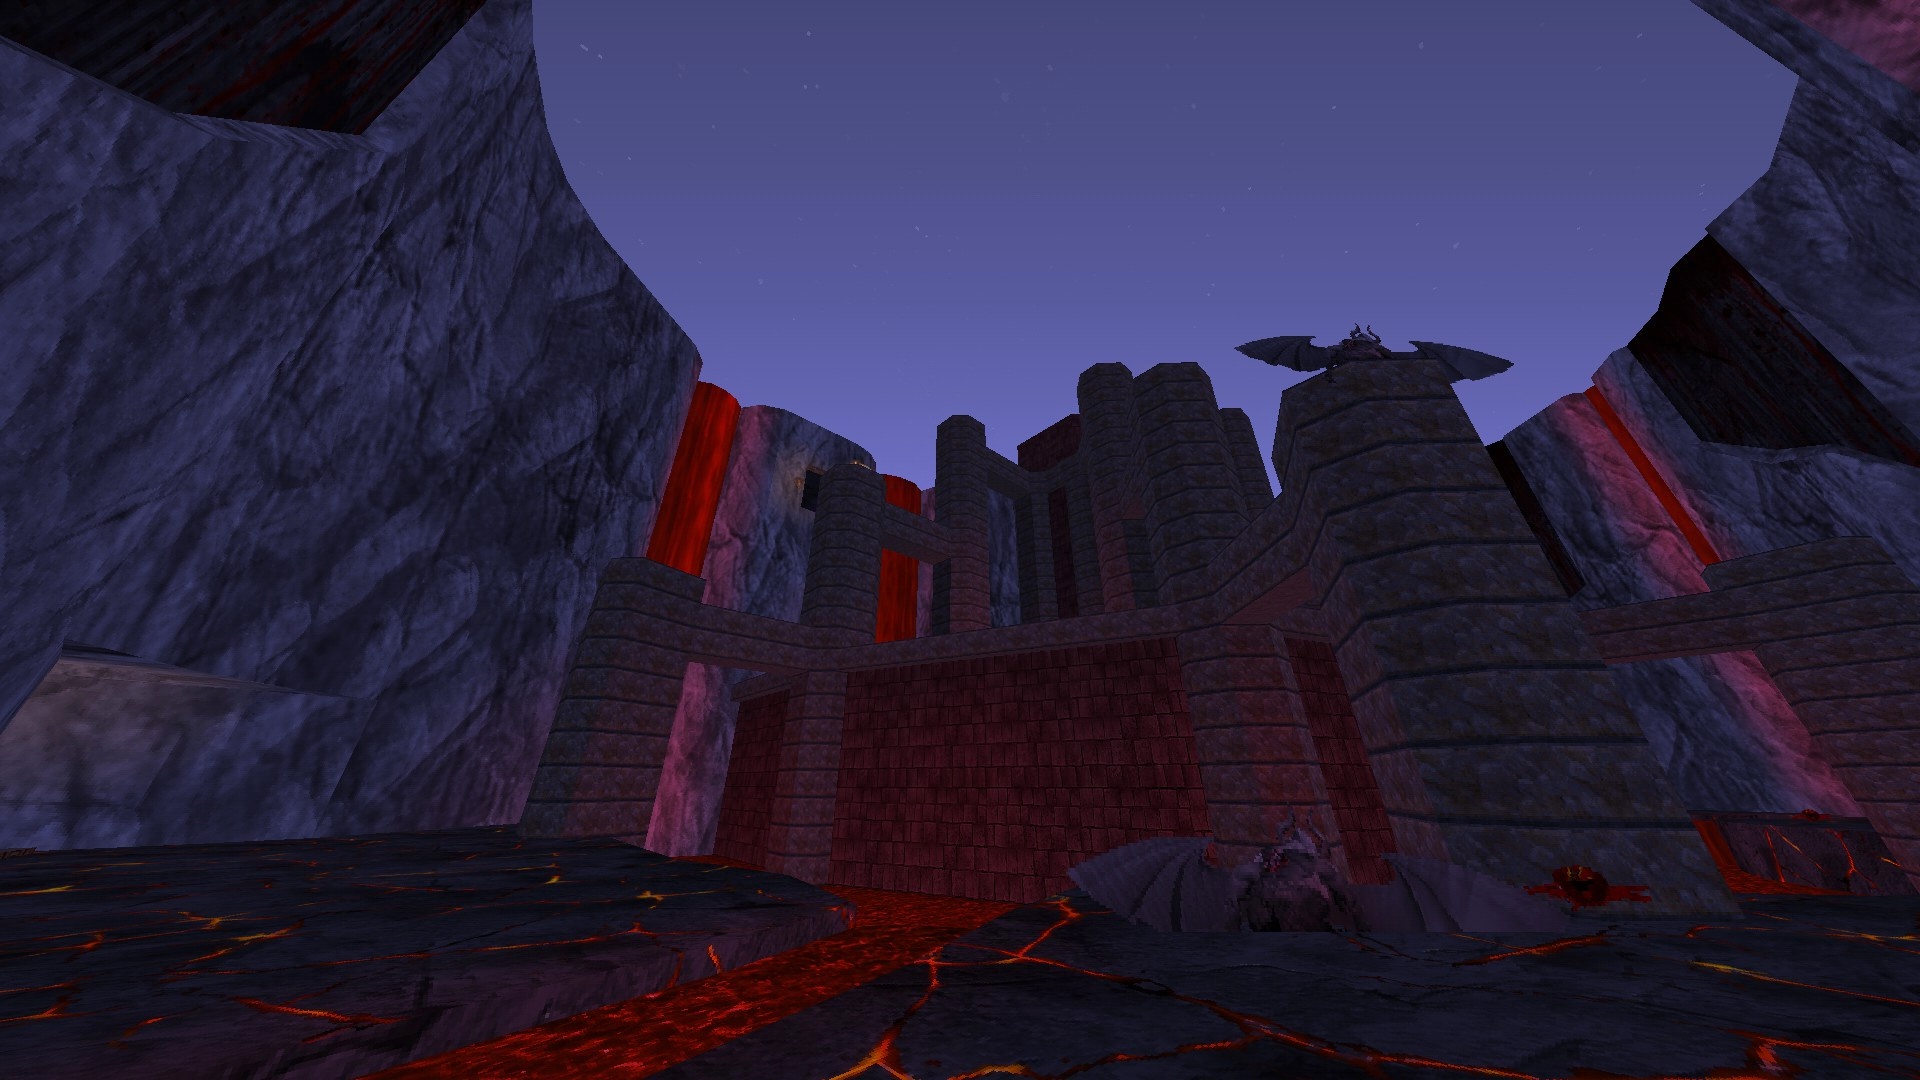
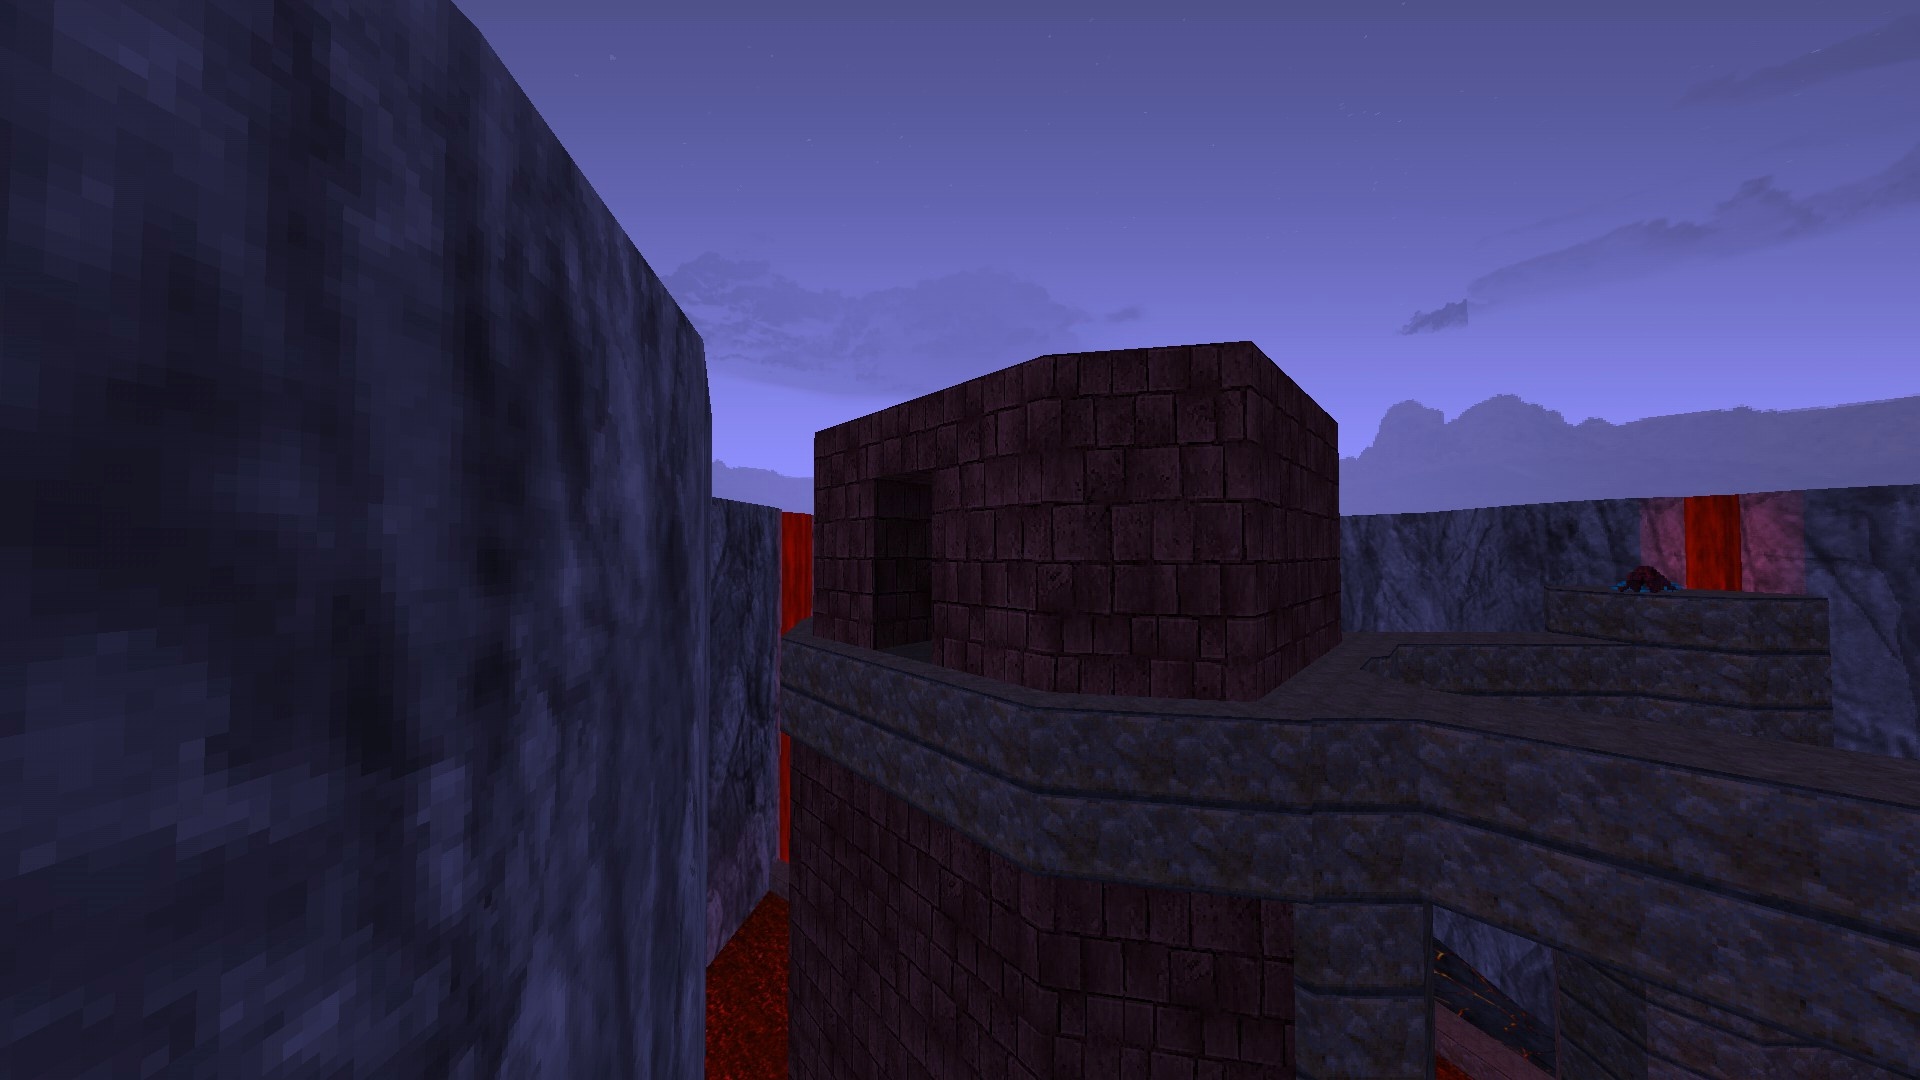
Pista – Once you get the Wyvern transformation you need to return to the Volcano and find the Snake key. Since the entrance to the room it is in is rather hard to spot, the above shots are provided as hints. The opening is near the upper reaches of the secondary cavern.
M19: The Abandoned Castle
Este mapa contiene solo un secreto..
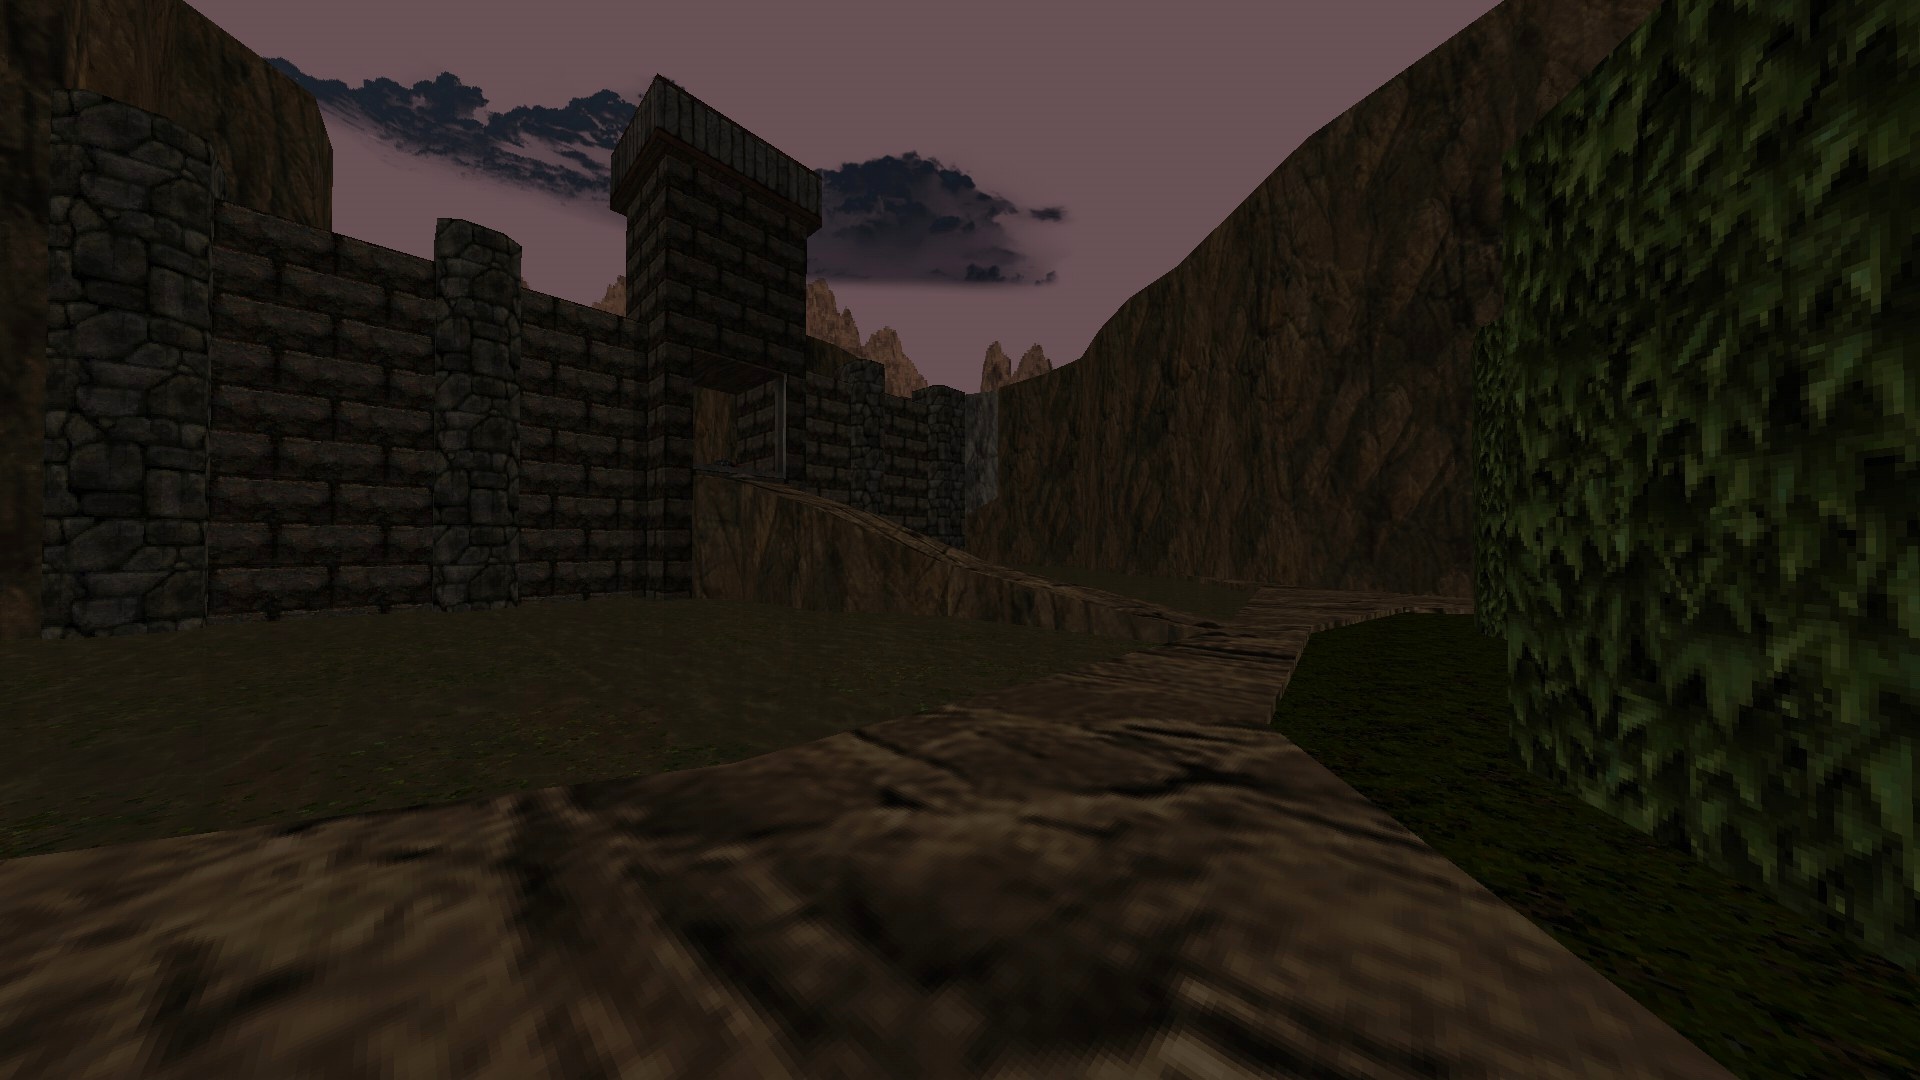

1/1 – After dealing with the initial attack, look for a slightly indented part on the rocks surrounding the area and use it to reveal a side area with lots of ammo.
M20: Mountains of Evil
Este mapa contiene solo un secreto..
1/1 – After dealing with the foes in the blood arena and opening the door out of it with the Fire Key, turn around and fly to the back of the tower to find a newly-revealed compartment.
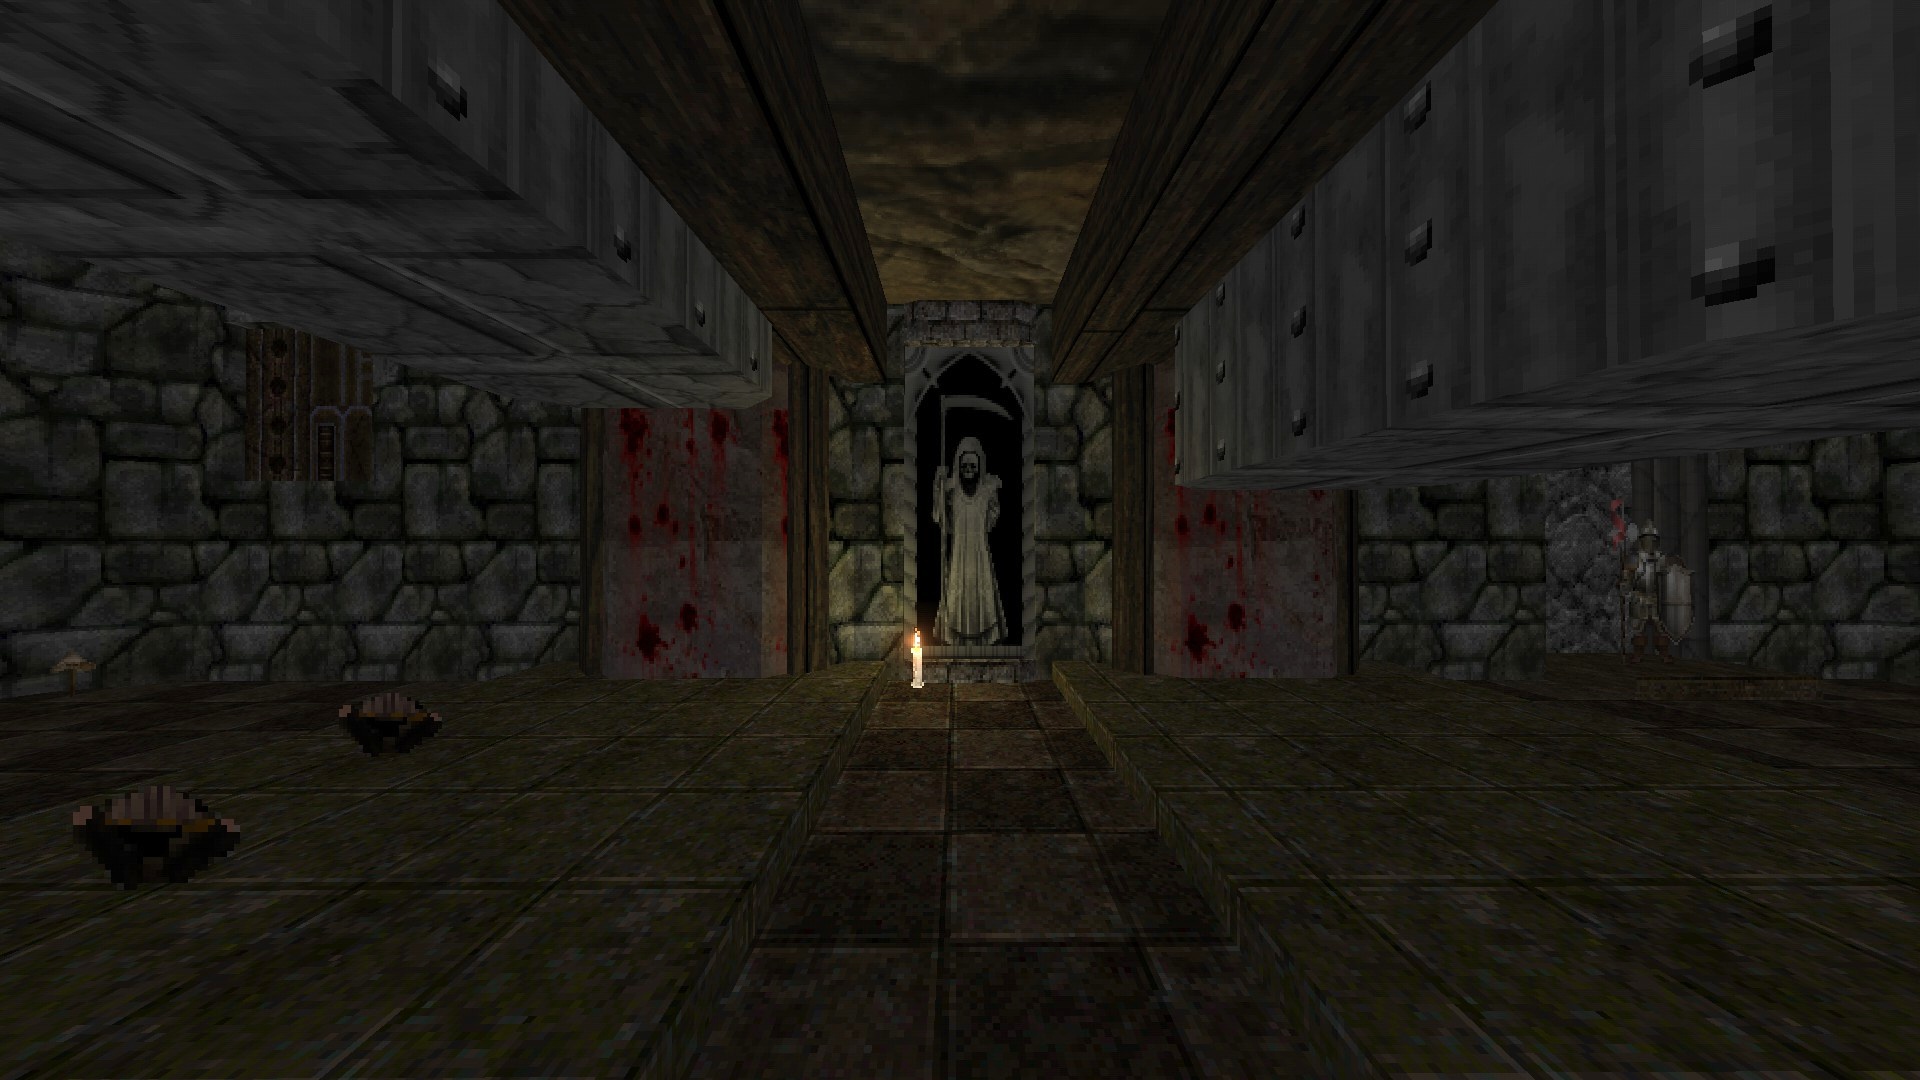
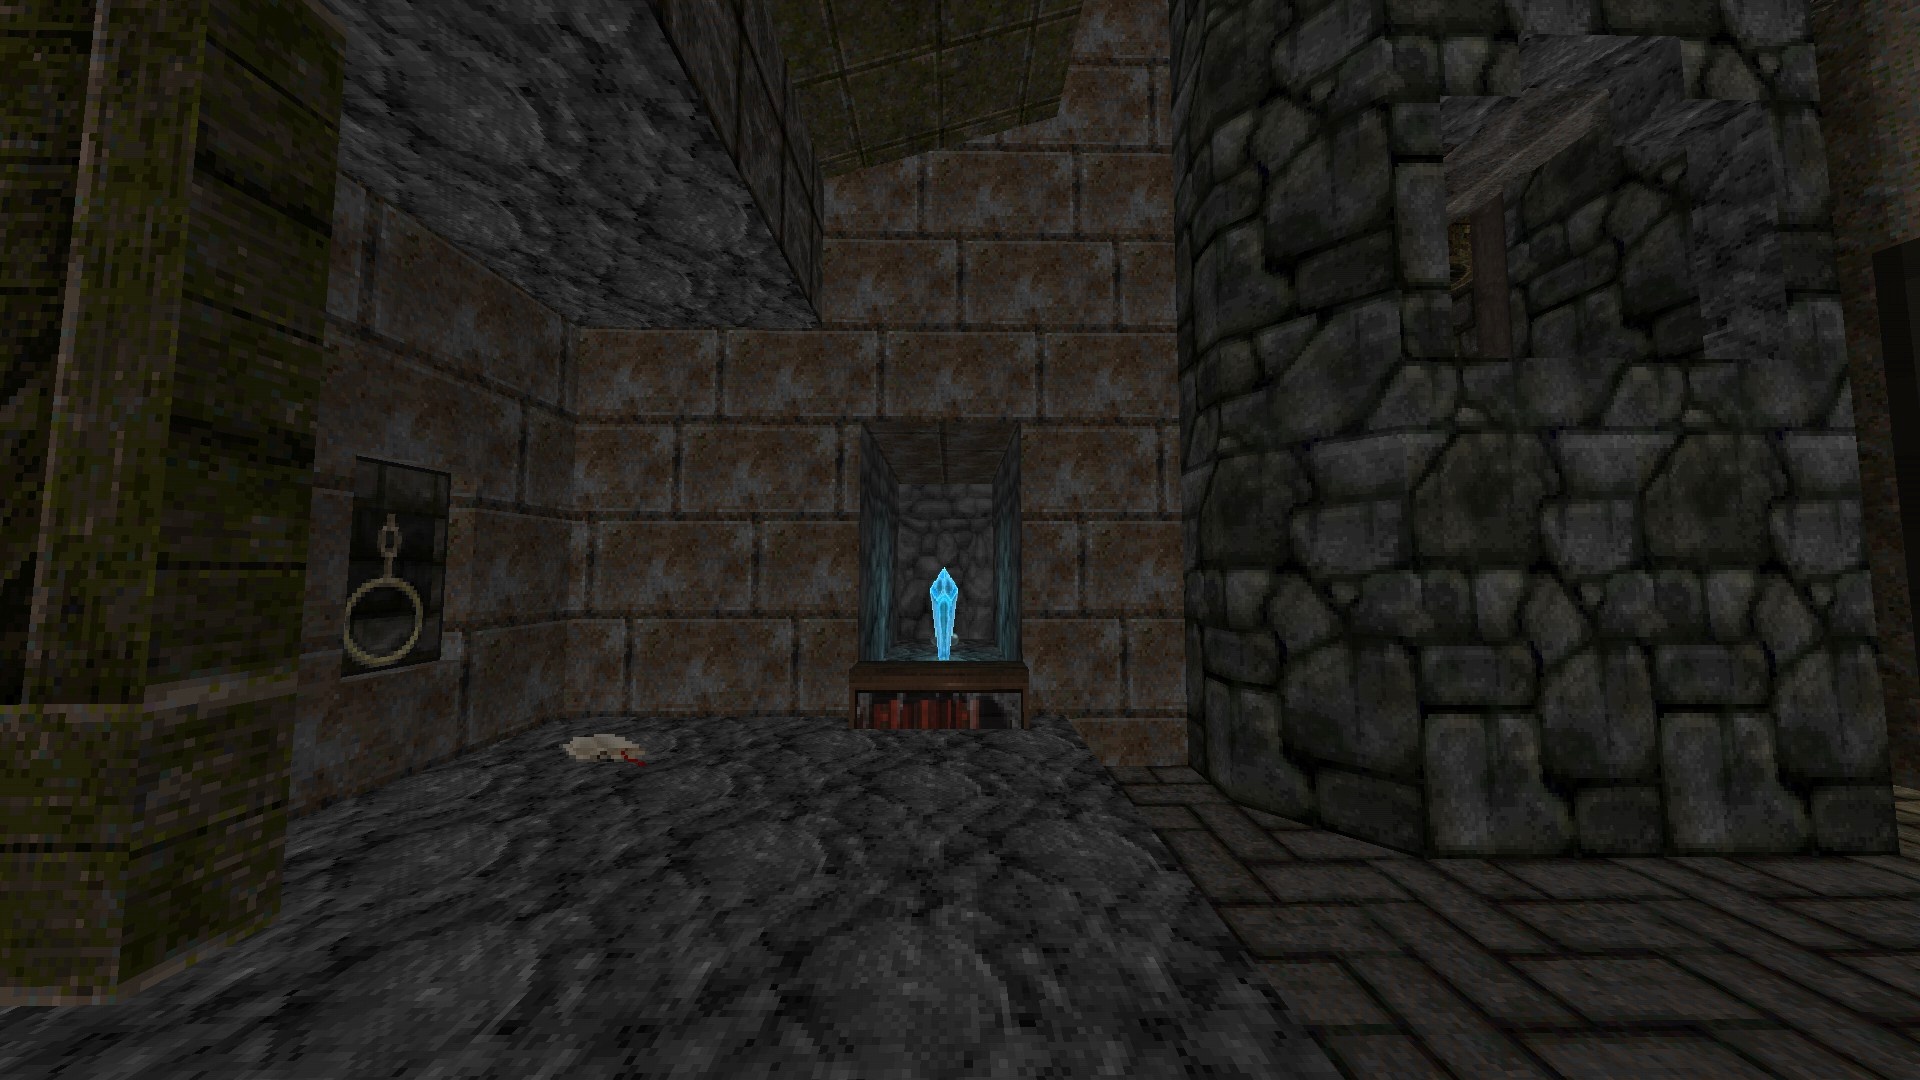
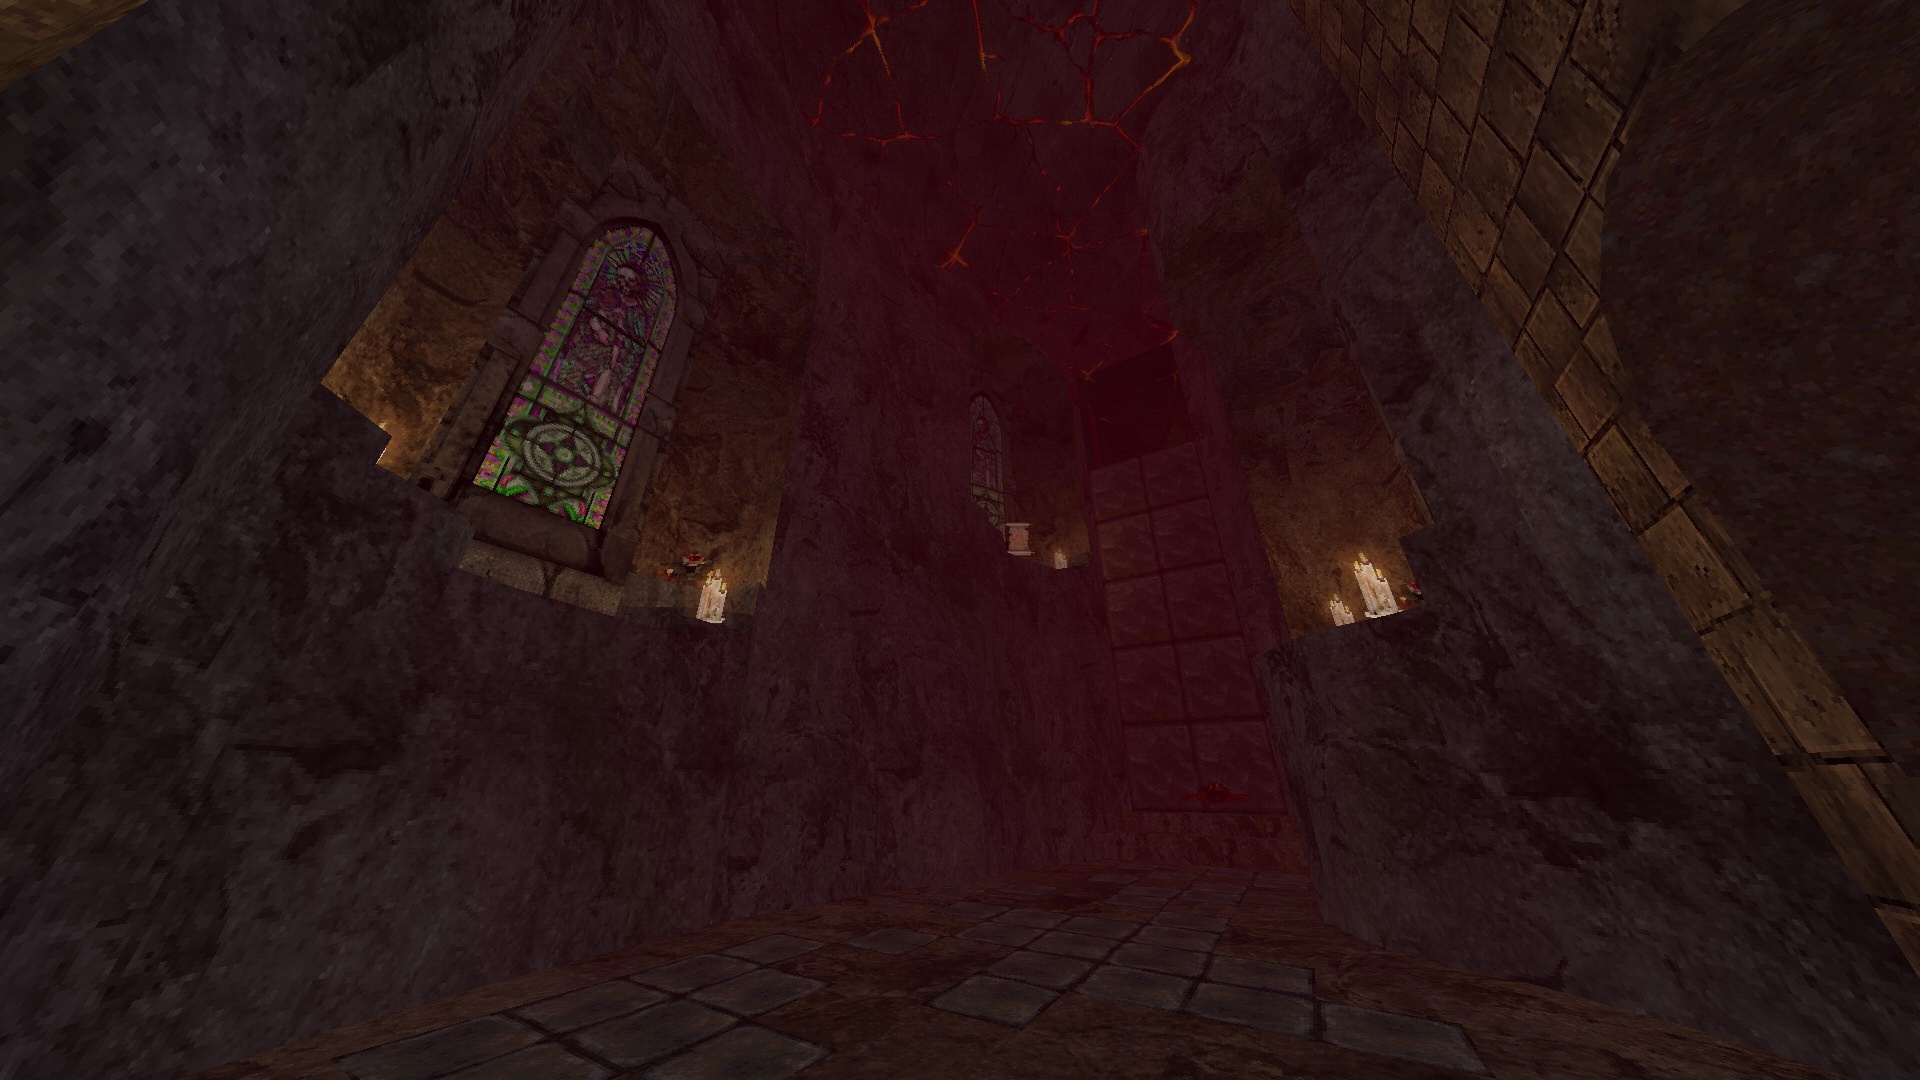
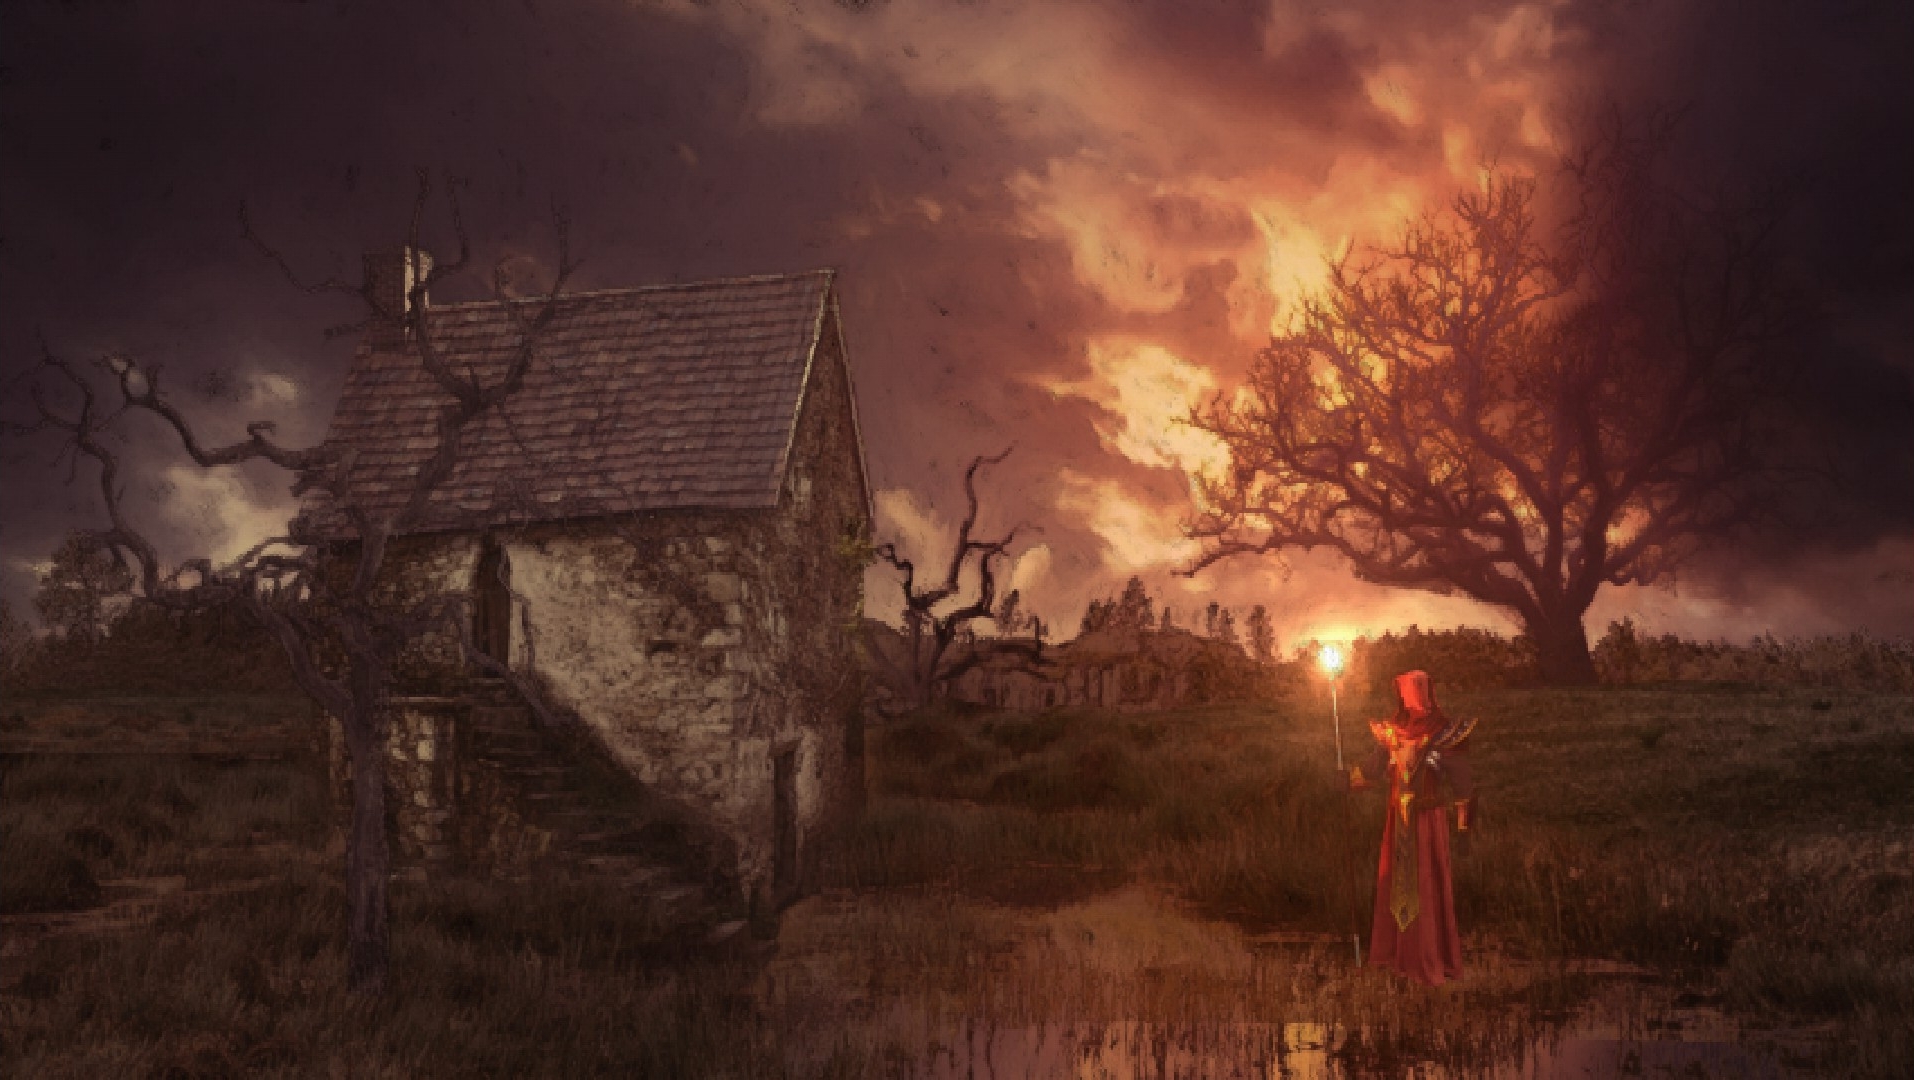
M21: The Final Encounter
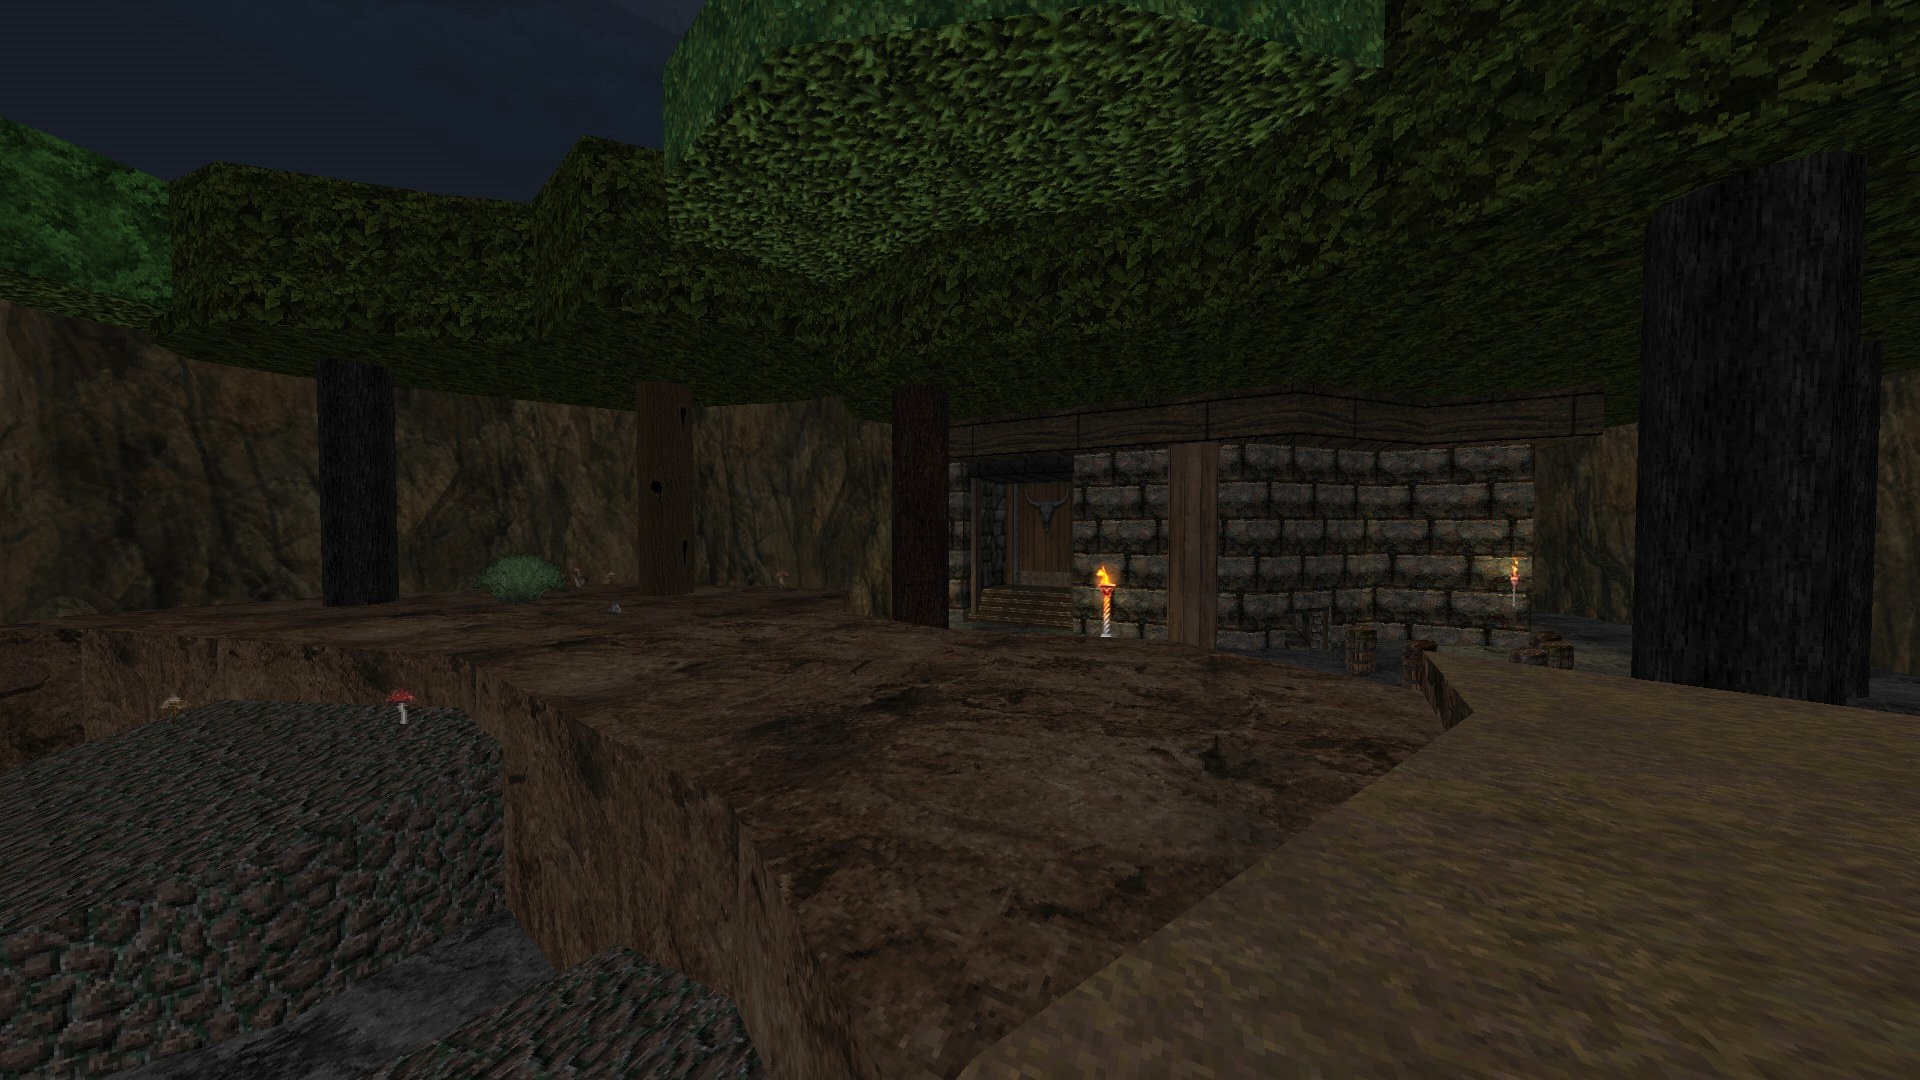
This level has no secrets. Here is a piece of artwork instead!
Eso es todo lo que estamos compartiendo hoy para este Manos de nigromancia guía. Esta guía fue originalmente creada y escrita por erc. En caso de que no actualicemos esta guía, puede encontrar la última actualización siguiendo este enlace.