- Title: DR MILOS REVENGE
- Release Date:
- Developer:
- Publisher:
Information about DR MILOS REVENGE is still incomplete. Please help us fill the details of the game using this contact form.
This guide will be showing you how to unlock and get all achievements in DR MILOS REVENGER. There’s a total of 12 achievements in the game and you can find the detailed walkthrough on how to unlock every DR MILOS REVENGER achievements below.
Story-Related Achievements
The following are the achievements that can be unlocked in a normal playthrough. Continue playing the game and you will soon get these achievements.

Powering Up
Activate the first of four generators.

Ice Cold Heart Of Fear
Take your first step into the snow blizzard.

Lockdown
Find the keys and activate the generator in the prison.

Rustic Sphinx
Discover the secrets in the barn and activate the generator.

Super Plumber
Solve the valve puzzle and activate the generator in the bunkers.

Power Restored
Activate all the generators and restore the power.

Revenge
Escape into an unforeseen fate…
Misc.

Lizard Hunter
Find a secret lizard.
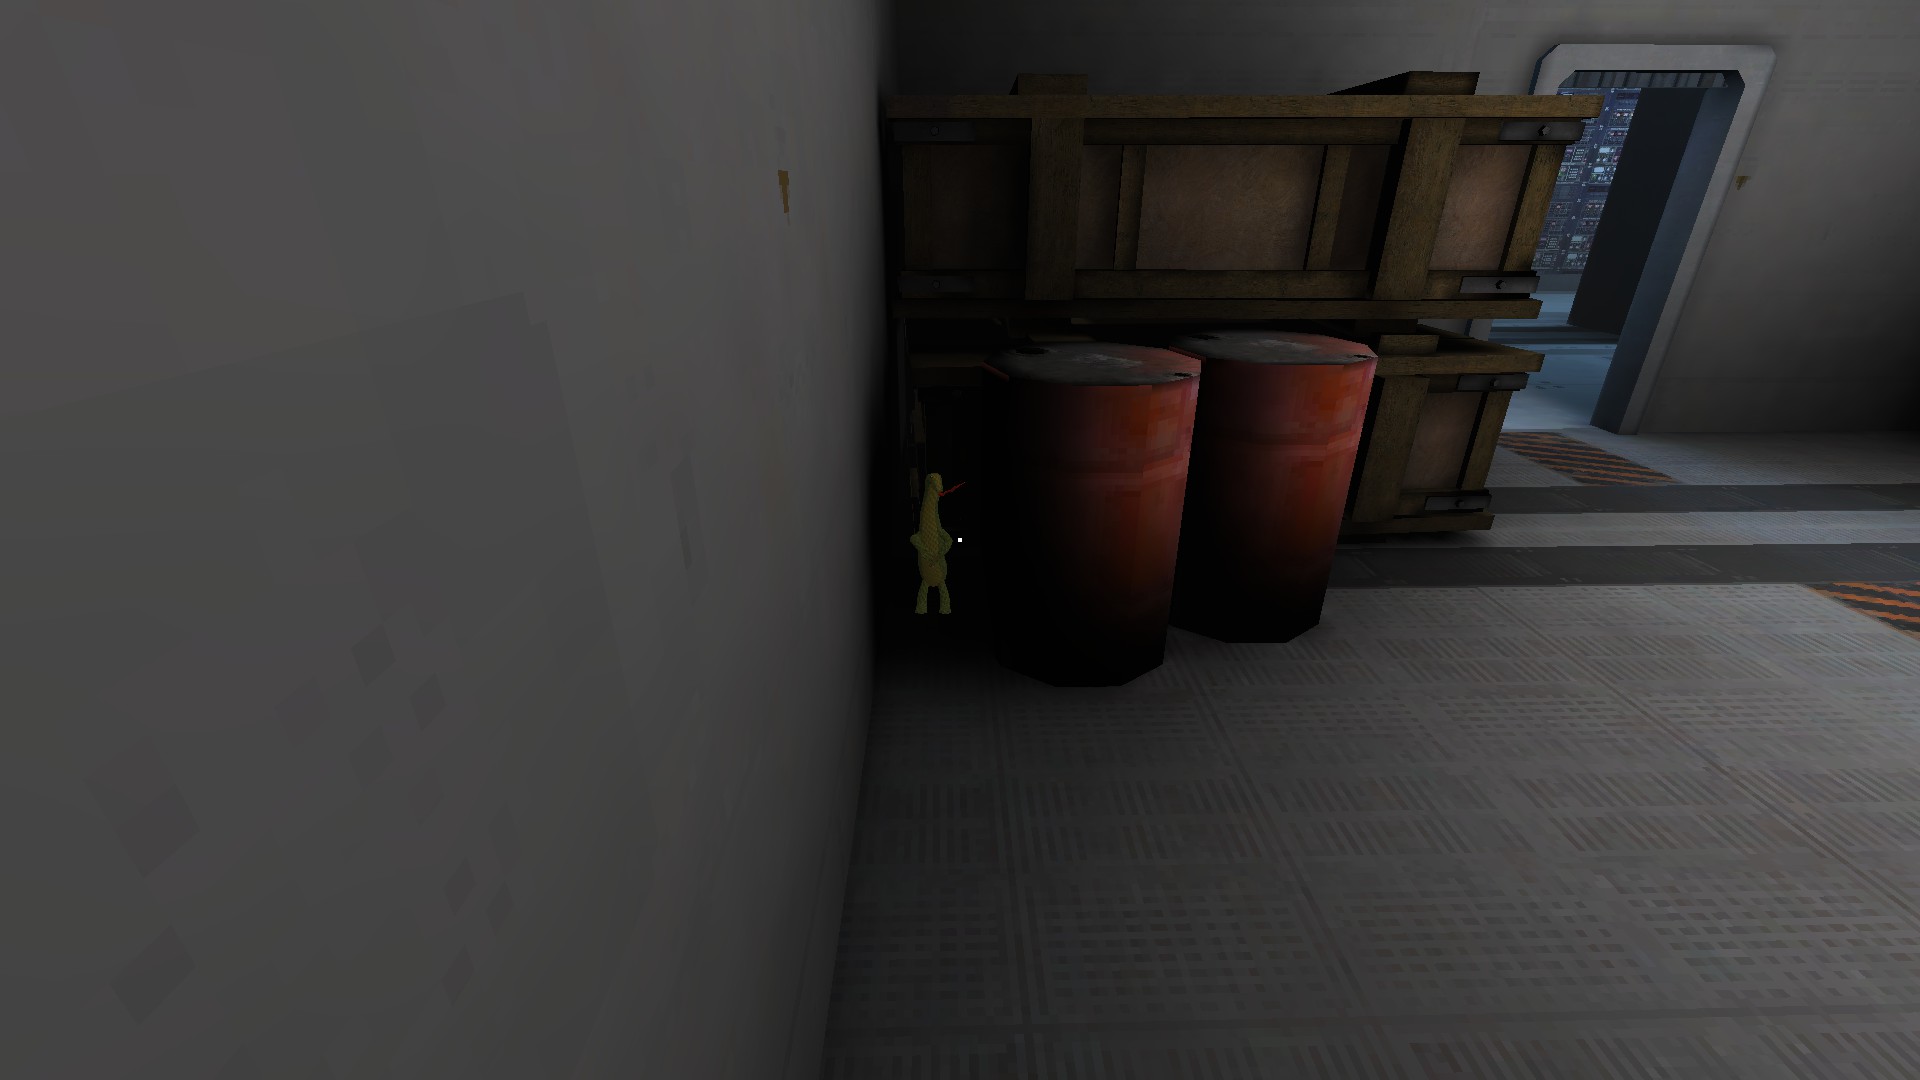
Approximately 30 seconds into the game, you can locate a lizard. Once you’ve acquired the keycard, proceed to unlock the generator room door. Within the same room, investigate the area behind a cluster of red barrels and initiate an interaction with it.

Slow As Joe
Obtain an A Rank by finishing the game in under 21 minutes.

Dogs Speed
Obtain an S Rank by finishing the game in under 16 minutes.

As Fast As A Cat
Obtain an S+ Rank by finishing the game in under 11 minutes.
Achieving an S+ rank can be quite challenging if Milo’s pathing doesn’t go your way. Unfavorable circumstances in one section can leave you with only a few seconds remaining. It’s crucial to undertake this endeavor only after you’ve successfully finished the game and are well-versed in each area’s optimal course of action. Avoid spending time hiding from Milo; instead, either lead him while fulfilling your objectives or willingly absorb a hit to maintain your progress.

The Nightmares Over
Escape the nightmare.
Regrettably, earning this achievement proves impossible due to a bug in Milo’s pathing. The issue arises when he becomes trapped in various locations, likely due to his heightened movement speed, and remains stuck for the entirety of the run. This poses a significant problem in specific areas.
In A1, he is guaranteed to become ensnared near the door leading to the keycard room. When this occurs, the door remains open until you approach it. Subsequently, even though the door appears to “shut” when you get close, it still registers as open due to Milo’s proximity. This results in the door becoming permanently locked, either trapping you inside or outside of the keycard room, rendering the run impossible to complete.
Milo can potentially become stuck in two specific areas within the Prison, coincidentally located directly on top of key spawn points. One of these spots is across from the forklift, and the other is upstairs, directly adjacent to a cell door. Fortunately, these two locations are not as troublesome, as instances of Milo getting stuck here are relatively rare. Additionally, there’s a good chance that the keys you need might be found elsewhere, minimizing the impact of his occasional pathing issues in these areas.
There are five distinct locations in the barn where he can become stuck, and there are variations to some of these situations, but it’s guaranteed that he will get stuck. I attempted a run where I initially went to one of these spots, and he was already immobilized.
The initial spot is located right at the top of the barn stairs. If he happens to be stuck here, you can easily sneak past him and continue your run. The second spot is directly at the bottom of the second staircase. In this location, there are two possible scenarios. In one, he is facing the stairs, making it impossible to proceed as he will spot you descending. In the other scenario, he is facing the wall.
The third location is situated just beneath the staircase landing. Similar to the second spot, there are two variations here. In one, he will spot you as soon as you reach the top of the stairs and eliminate you immediately. In the second scenario, he will still be facing the stairs but won’t detect you for some reason.
The fourth spot is right in front of the generator gate. If he happens to be positioned here, you can stealthily slip past him and complete all your objectives in this area. The final spot is located outside, leading to the statue. By hugging the crates on the left, you can successfully bypass him in this location.

Lastly, he can become trapped just outside the generator room in the bunker, positioned directly in front of the pipe depicted in the image below. If he gets stuck at this location before you complete this area, it will become impossible to reach the generator without facing certain death. Interestingly, he is bound to get stuck here, although the timing can vary, sometimes happening immediately, and at other times, after a few minutes into the run.

Aside from the occasional issue of him getting stuck, Nightmare mode doesn’t pose too much of a challenge. It’s crucial to pay close attention to his movement patterns, as this allows you to learn his routes and strategize accordingly. Utilize peeking around corners to maintain visual contact with him and adjust your position when you spot him approaching your direction. Furthermore, playing with a headset proves to be advantageous. You can listen for his heavy breathing, which serves as an auditory cue to track his whereabouts, even when he’s out of your line of sight.
In the unlikely event that the game undergoes any future updates or fixes, I intend to create a video detailing my strategy for conquering this mode.
DR MILOS REVENGE Walkthrough
Upon gaining control of your character, it’s crucial to act swiftly. Immediately execute a 180-degree turn and exit through the door behind you. Please exercise caution if you’re playing on Nightmare Mode, as Milo will already be active in this area.
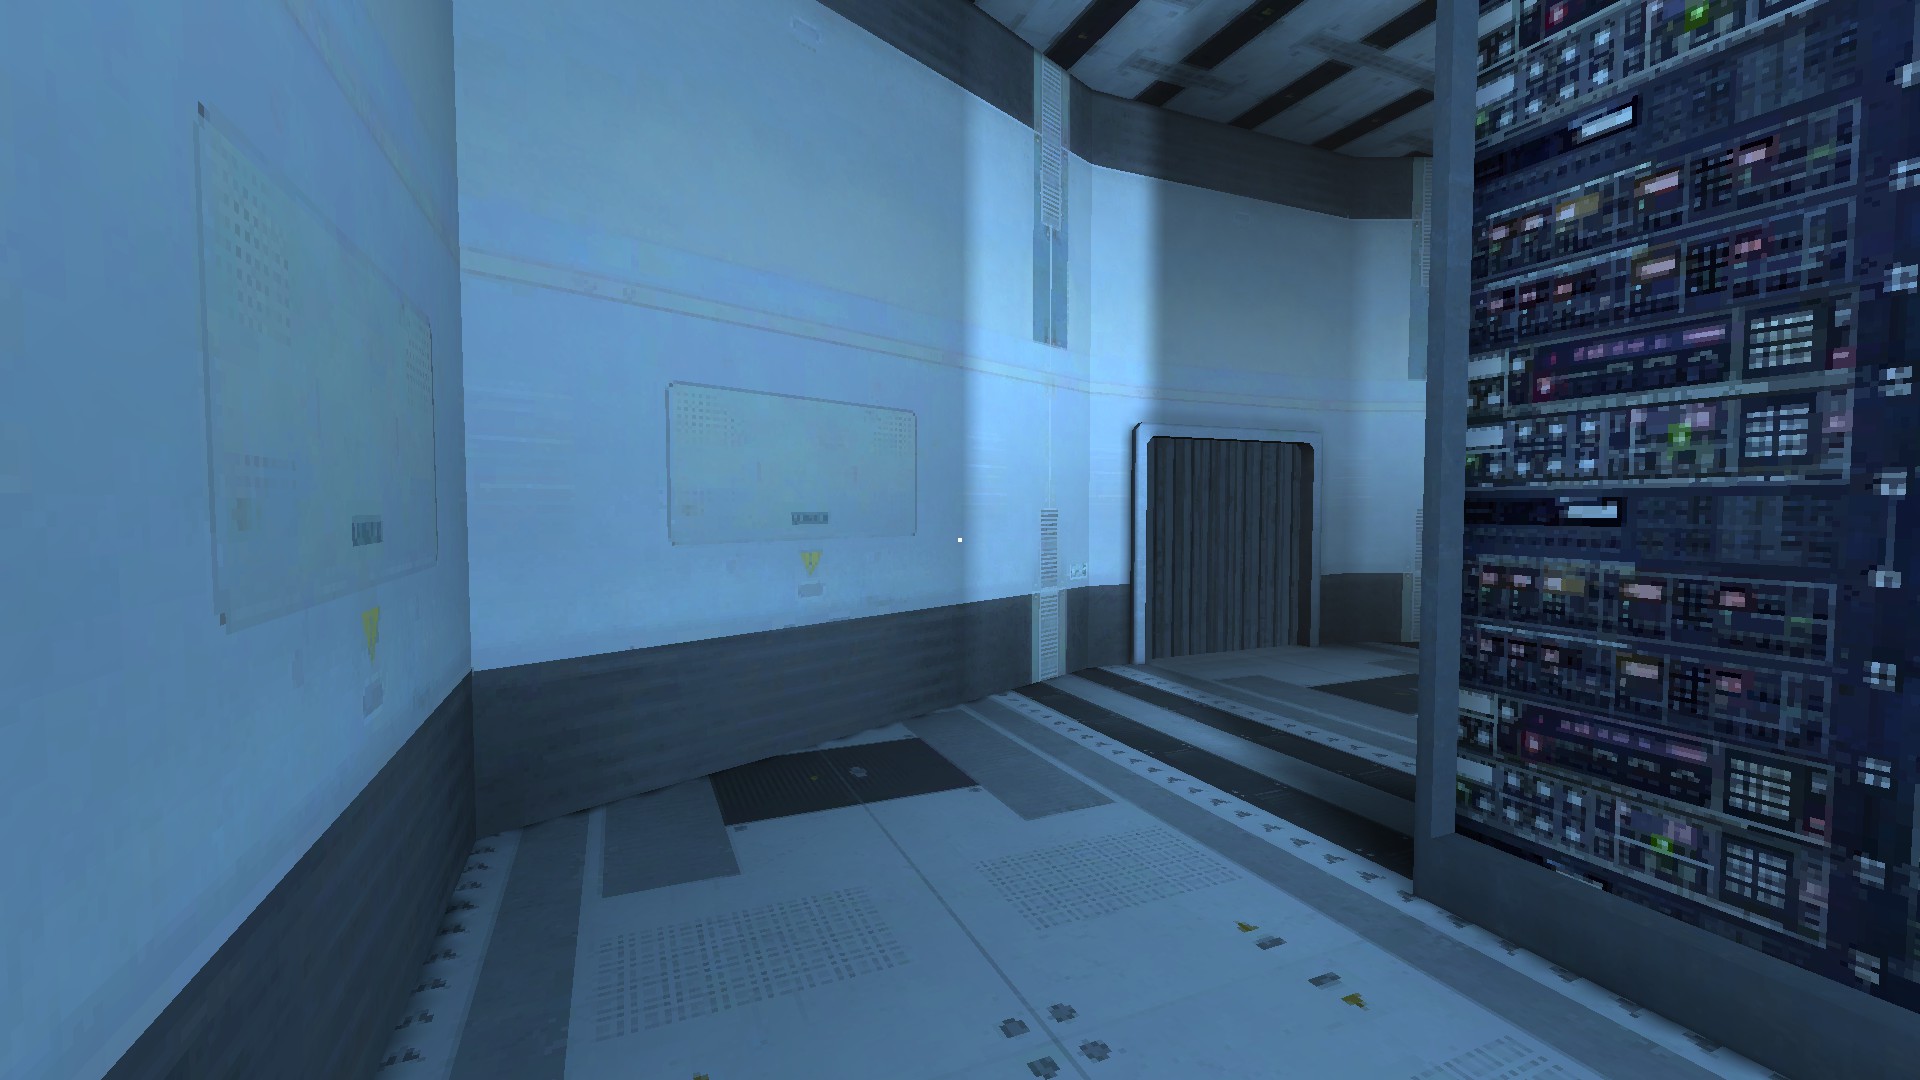
Once you’re in the large server room, make a left and proceed through a door leading to a hallway. At the end of this hallway, you’ll find another door that opens into a room with a [Keycard] situated on a table to the left. Secure the keycard.
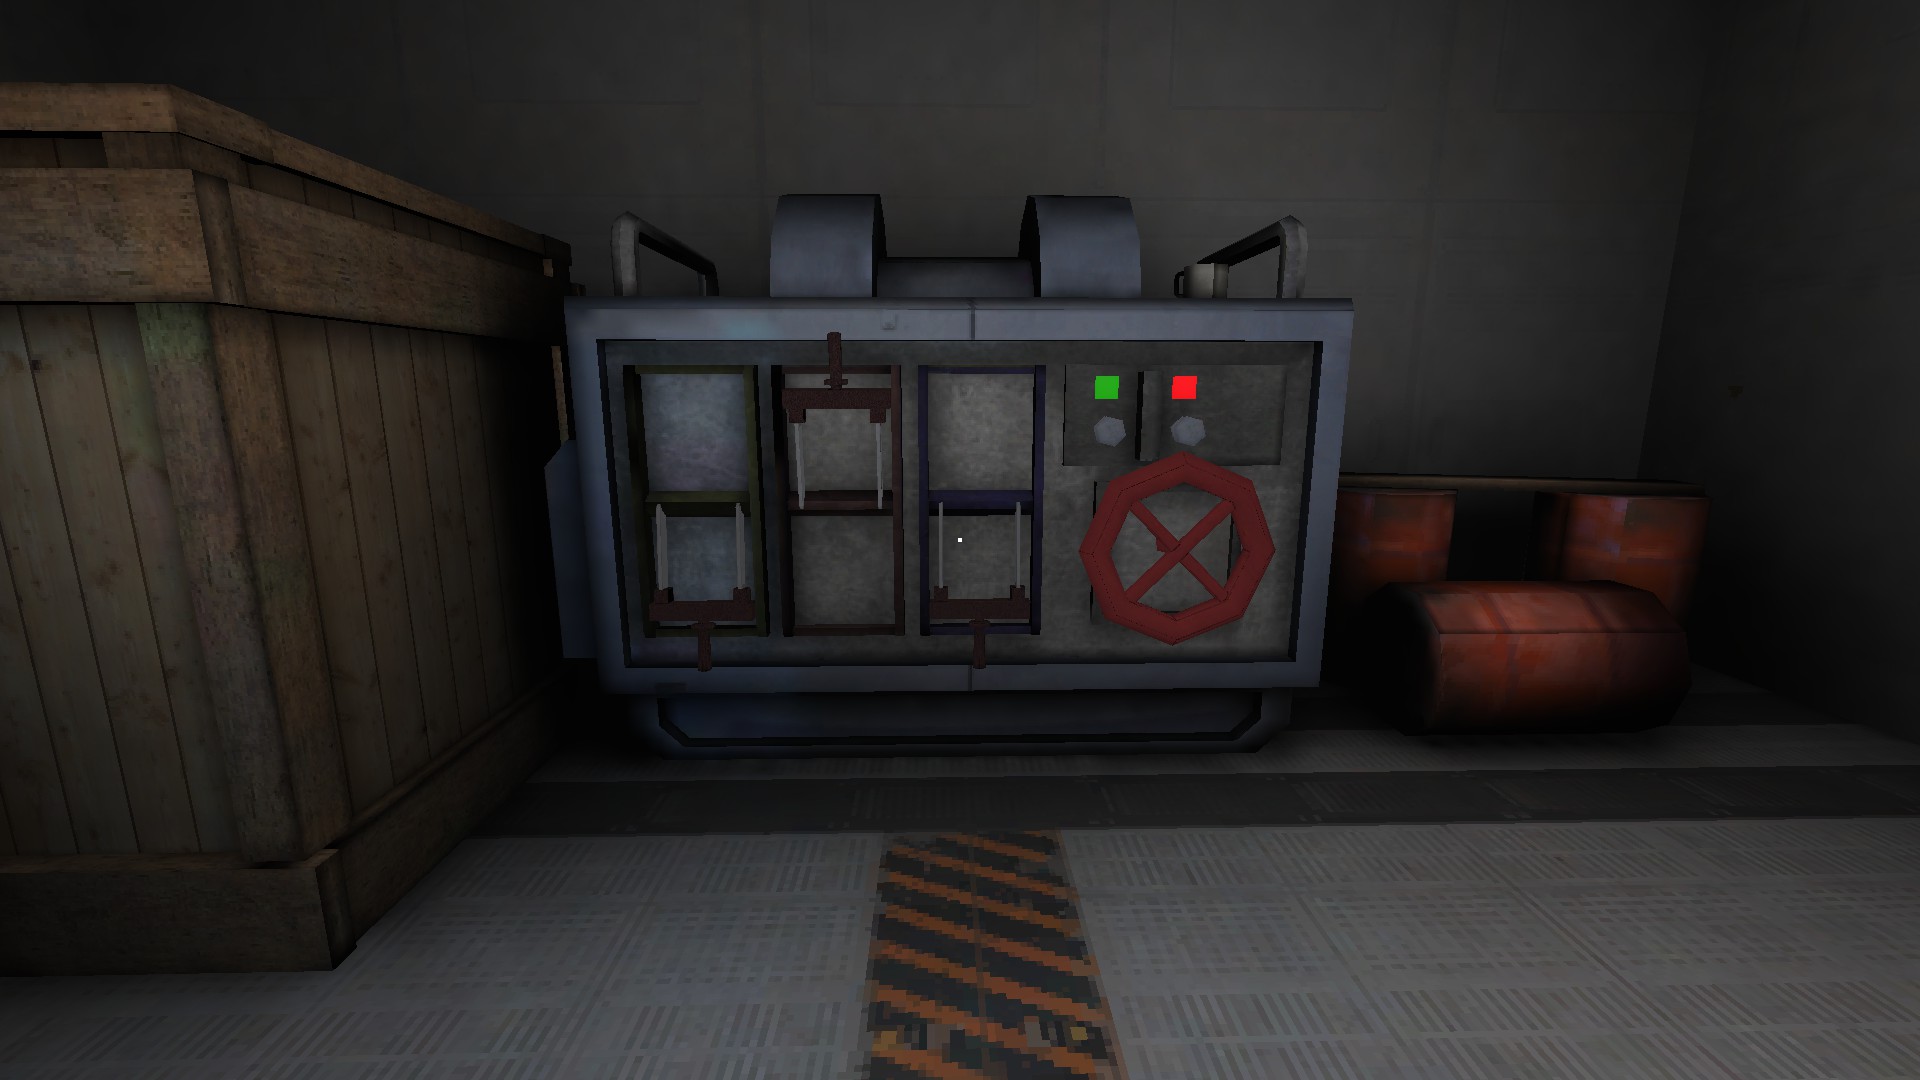
Return to the server room and head left once more. Utilize the keycard to unlock the door. Inside, you’ll come across a generator. To activate it, perform the following steps: flip the yellow and blue levers downward, press the left button to turn it green, and then rotate the valve.
Powering Up
Activate the first of four generators.
- Before leaving the generator room, it’s important to pause and take note. Stand facing the generator, execute a 180-degree turn, and then direct your attention to the area behind the red barrels to your left. There, you’ll spot a lizard waiting to be discovered!
Lizard Hunter
Find a secret lizard.
- Now that the power is restored, return to the room where you initially spawned. Open the door located beside your colleague. You’ll find a [Flashlight] on the floor; be sure to pick it up. Afterward, make your way outside.
Ice Cold Heart Of Fear
Take your first step into the snow blizzard.
- Upon stepping outside, you’ll notice a series of electrical poles extending in various directions. Follow the one leading left, maintaining your orientation with your back to the door of the building you just exited.
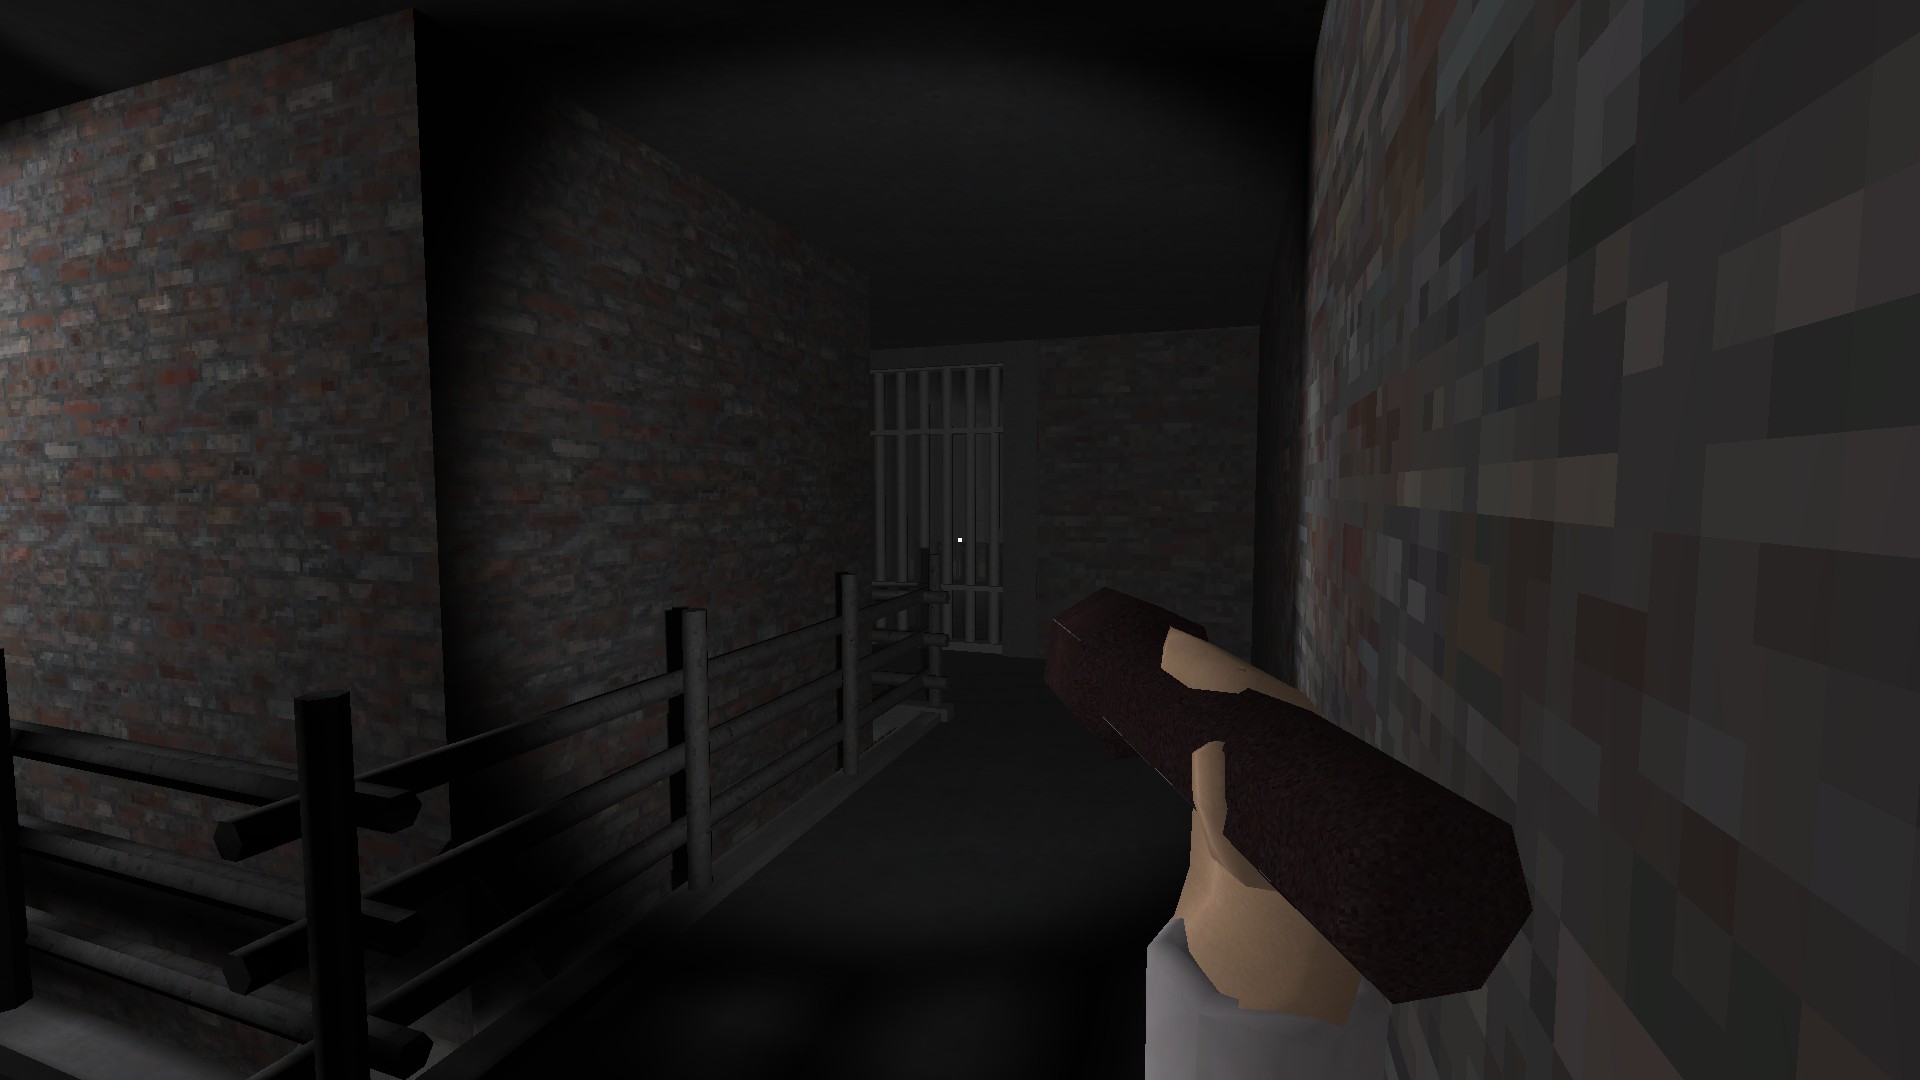
- Once you’ve reached the next building, go inside and flip the lever on the left to open the cell area. Proceed to the back and up the ramp. At the top, walk across the plank and turn right to locate another lever that you’ll need to flip. Be cautious, as doing so will trigger the appearance of Dr. Milo. You’ll have to use the ramp or the bookcase downstairs to create a loop and evade him while you search for the keys to the forklift.
- Regrettably, the keys can randomly appear in either the upstairs or downstairs cells. On Normal mode, they will always be found in the cells. However, on Nightmare mode, they can also spawn next to the first lever, on either side of the bookcase, or in the small cubby directly across from the forklift.
- Once you’ve secured both keys, insert them into the forklift and ascend the stairs to repair the generator. The setup is identical to the first generator, but the path to reach it may vary (yellow/red levers down, press the left button to turn it green, and then turn the valve).
Lockdown
Find the keys and activate the generator in the prison.
- Before descending the stairs, make sure to reset the upstairs lever to its original position. Head down to the entryway and do the same with the lever there.
- Now that you have the means to leave the prison, commence by retracing your steps along the wires in the direction from which you came. As soon as you spot wires veering off to the left, start following those to reach the barn.
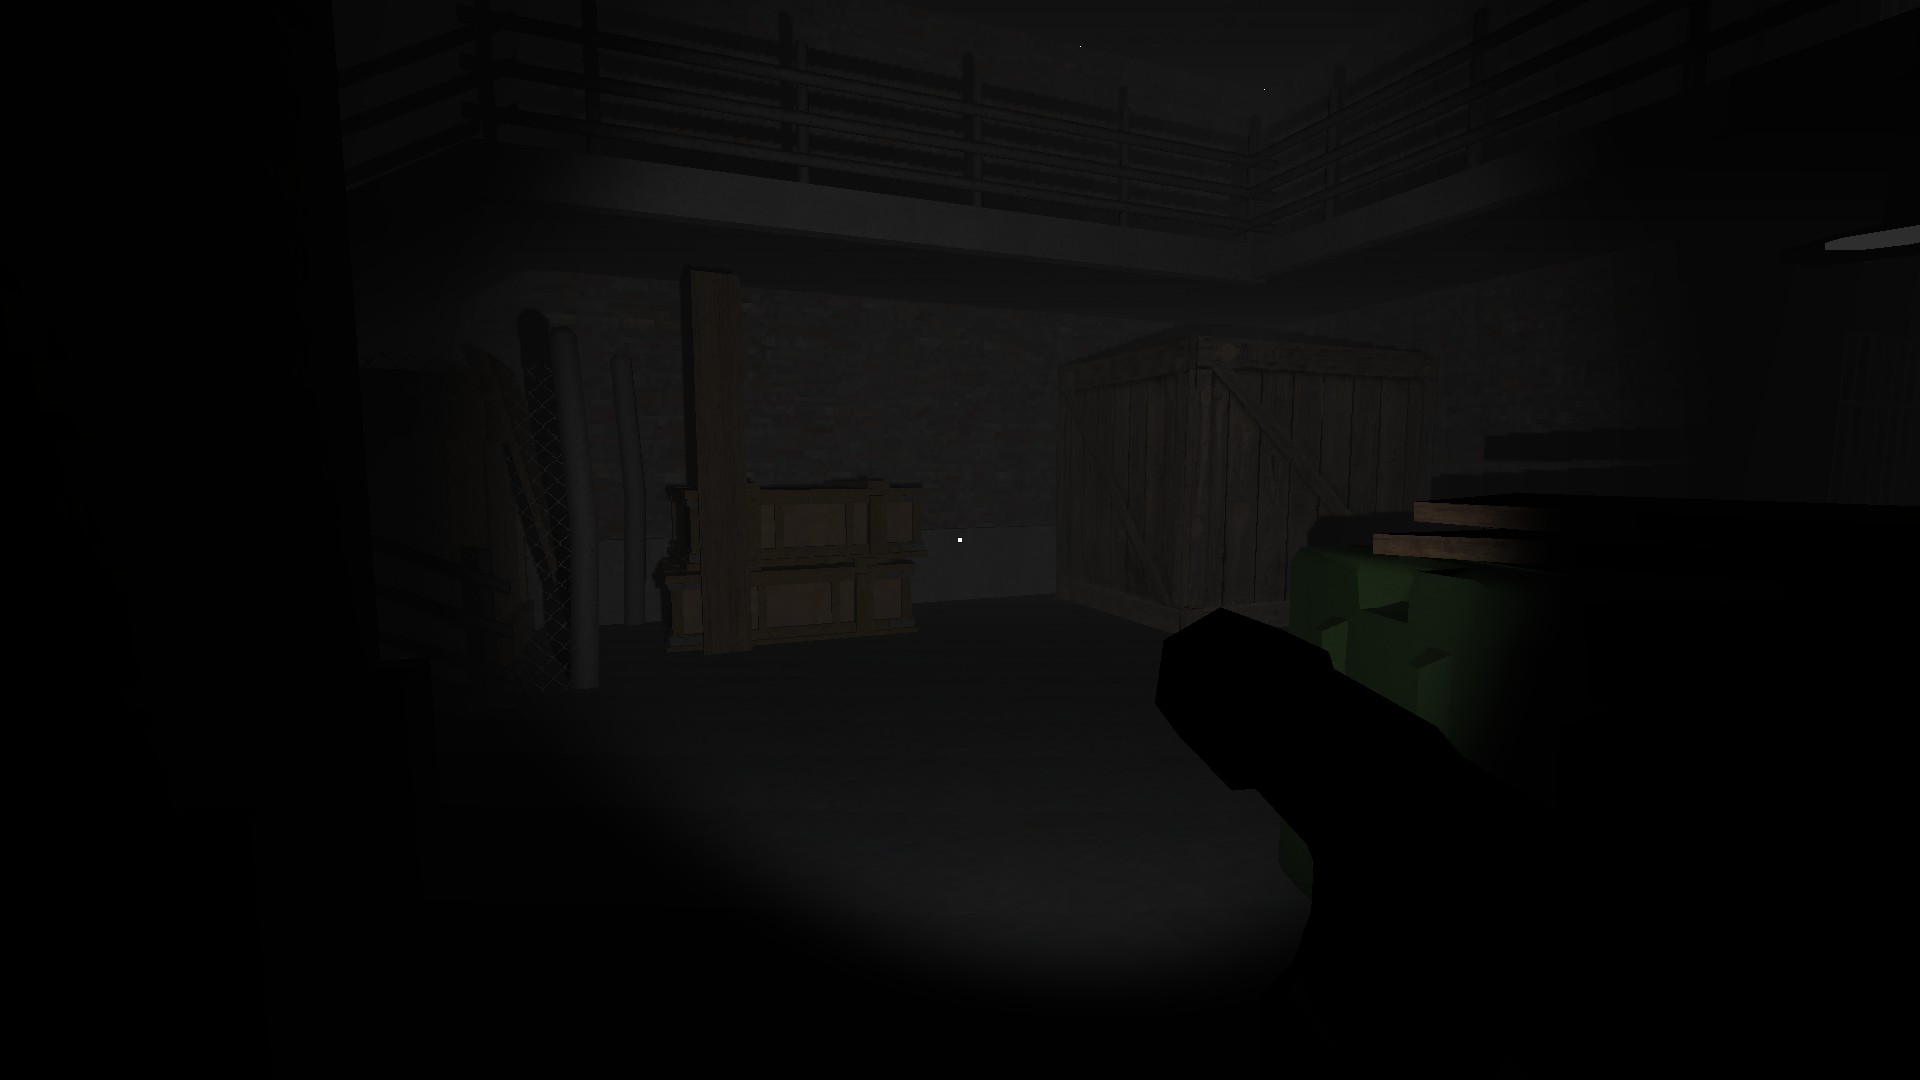
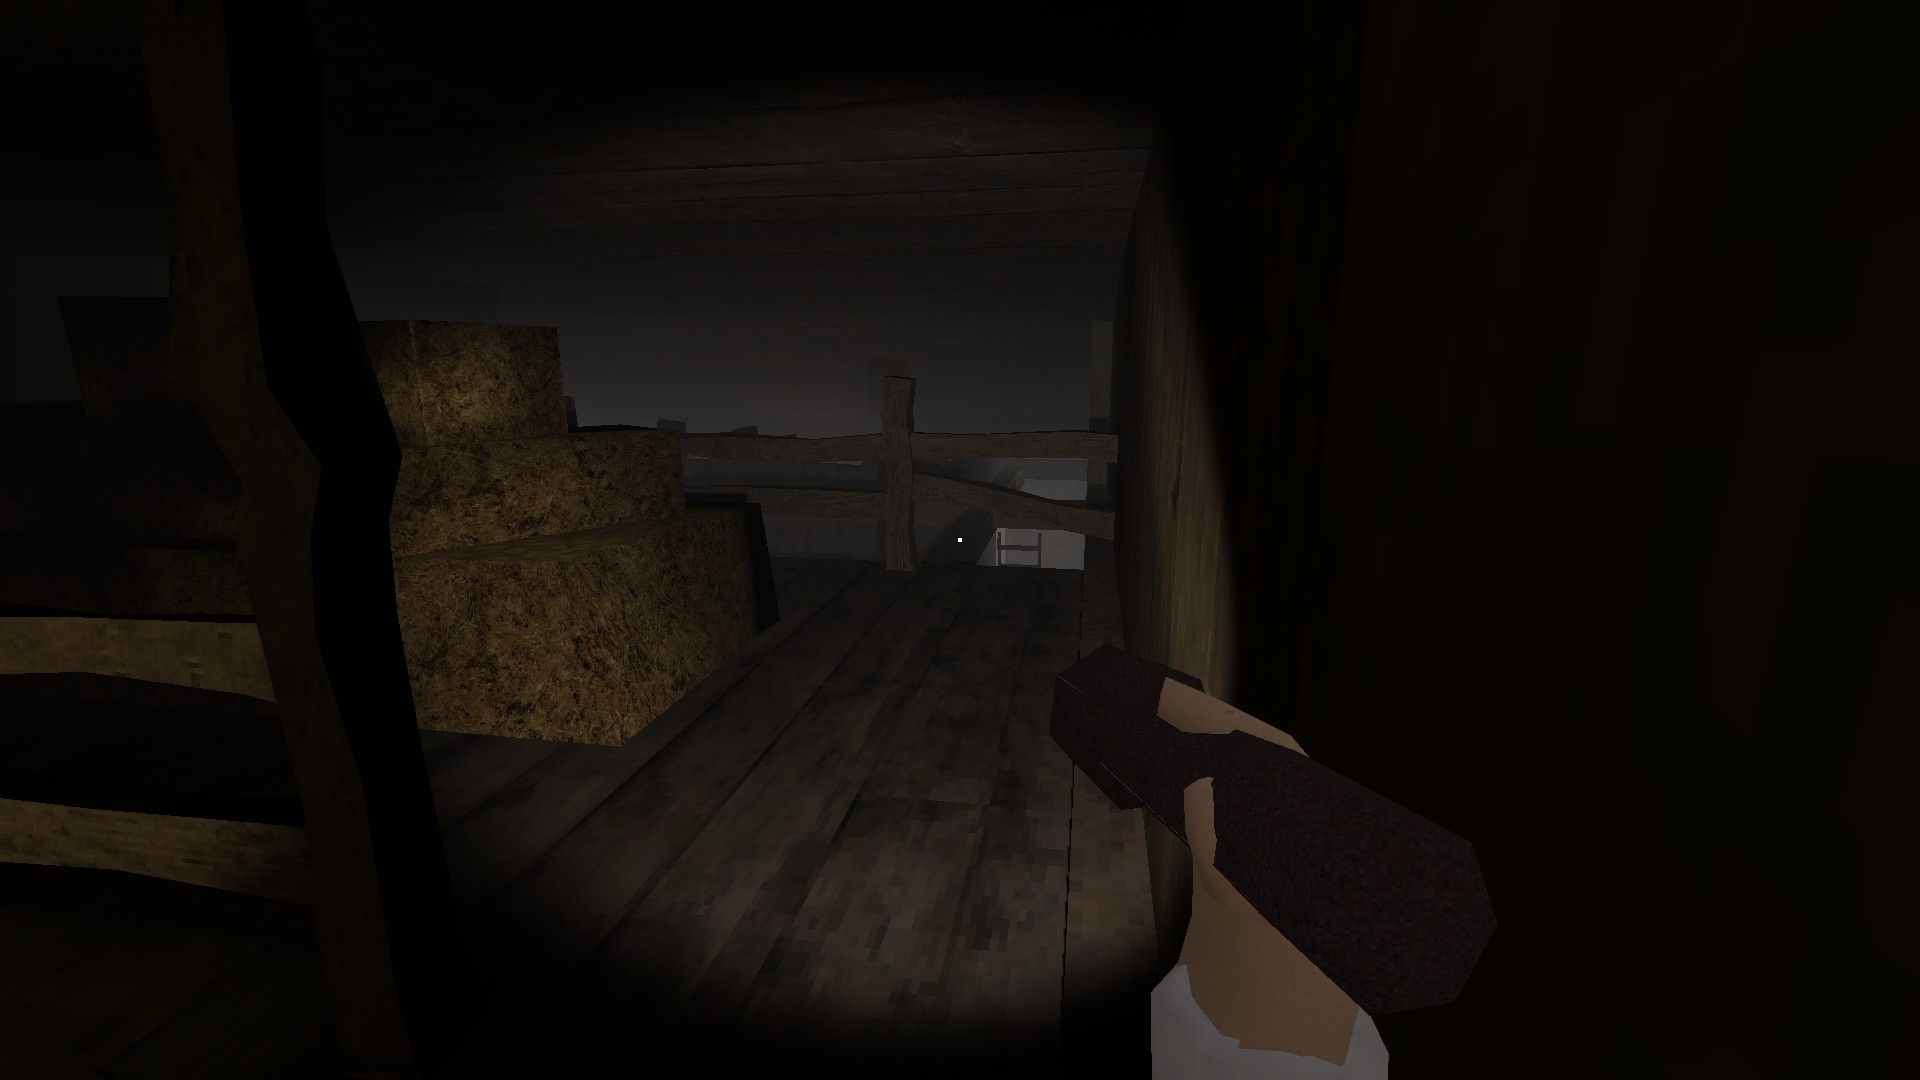
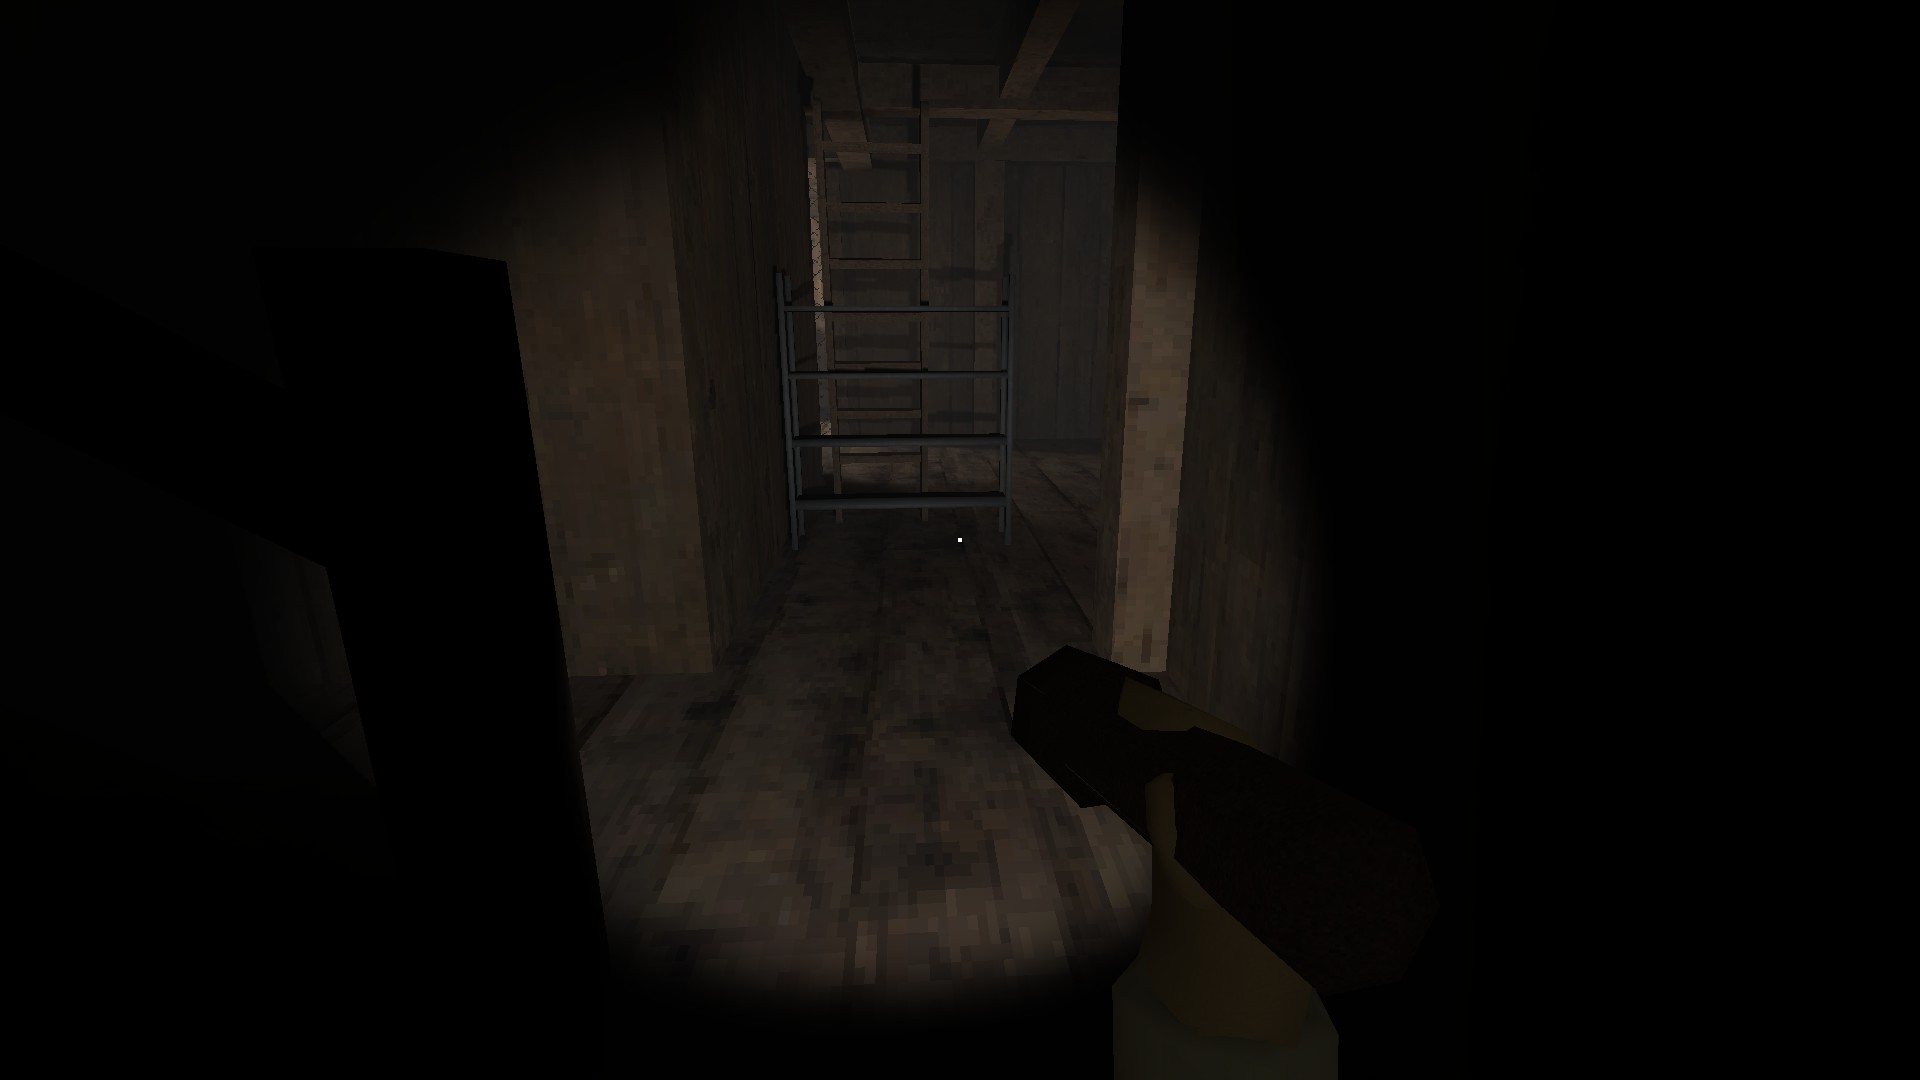
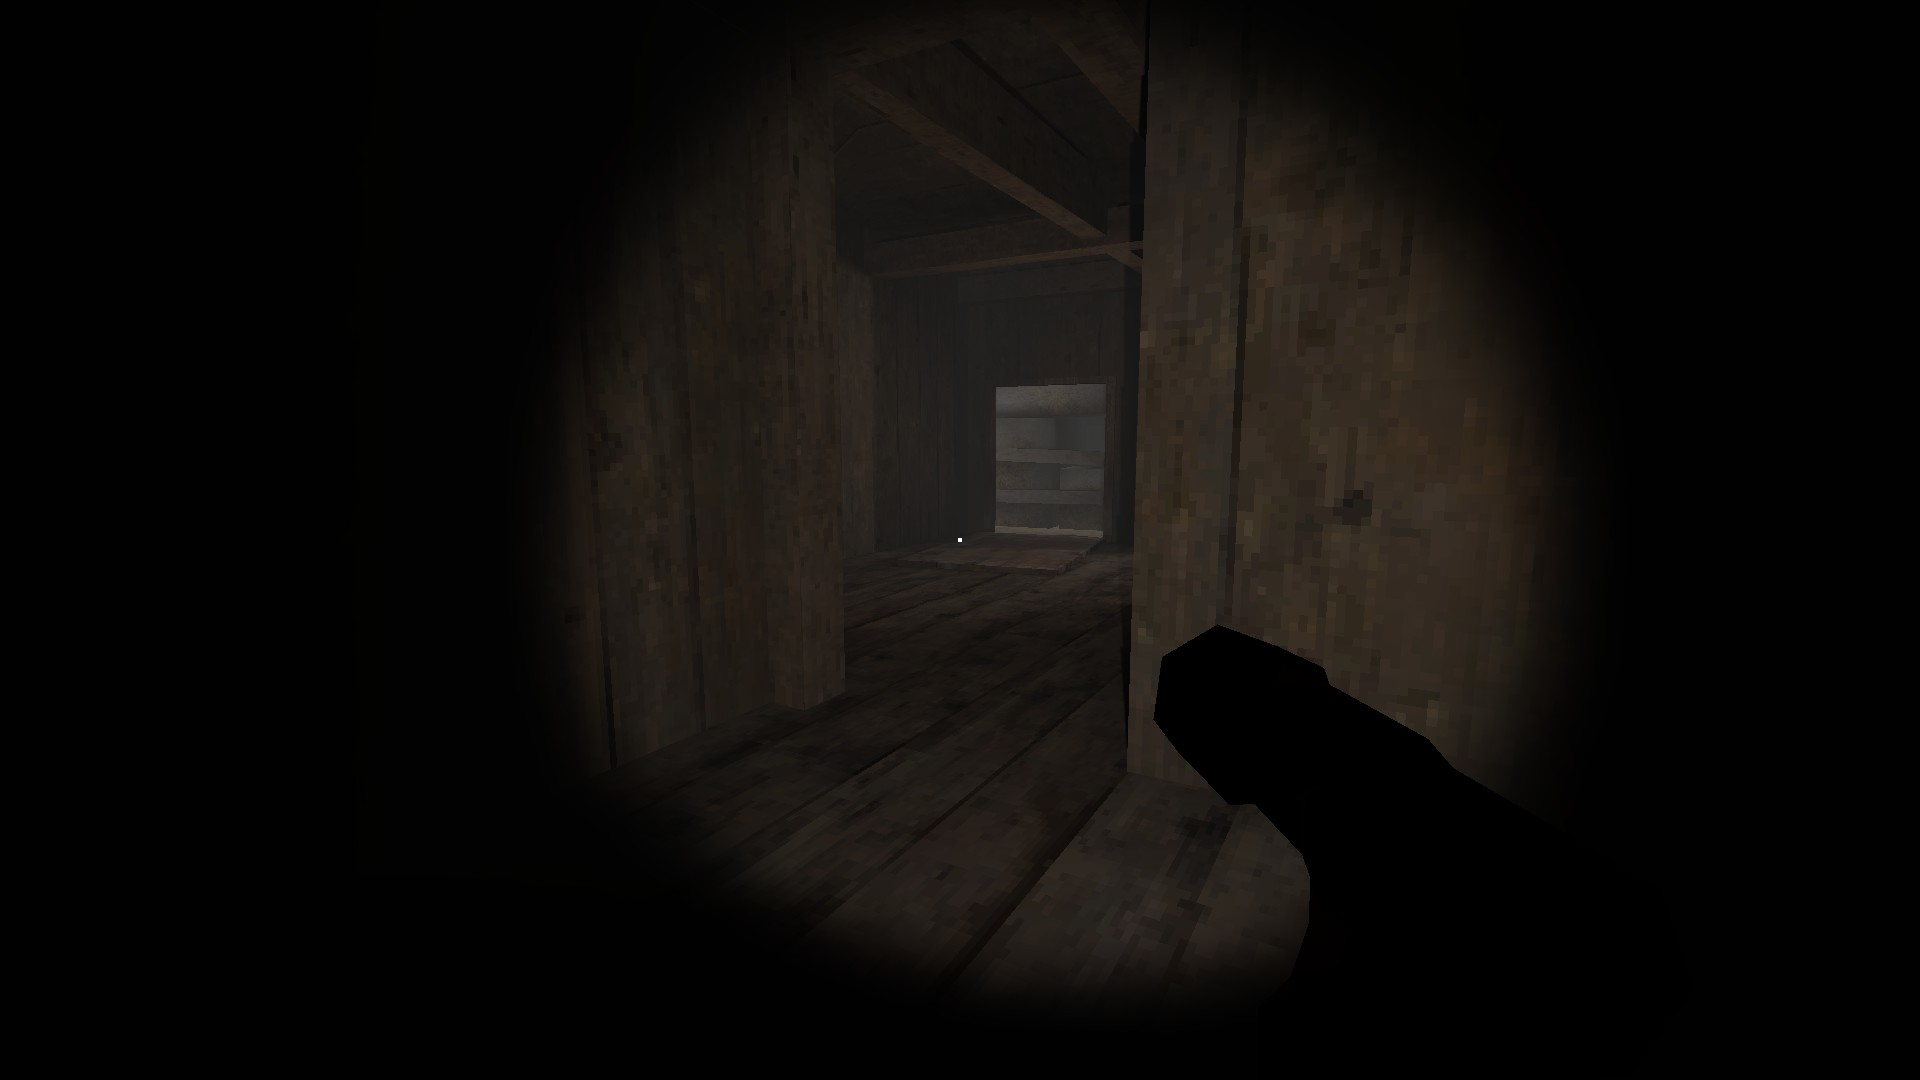
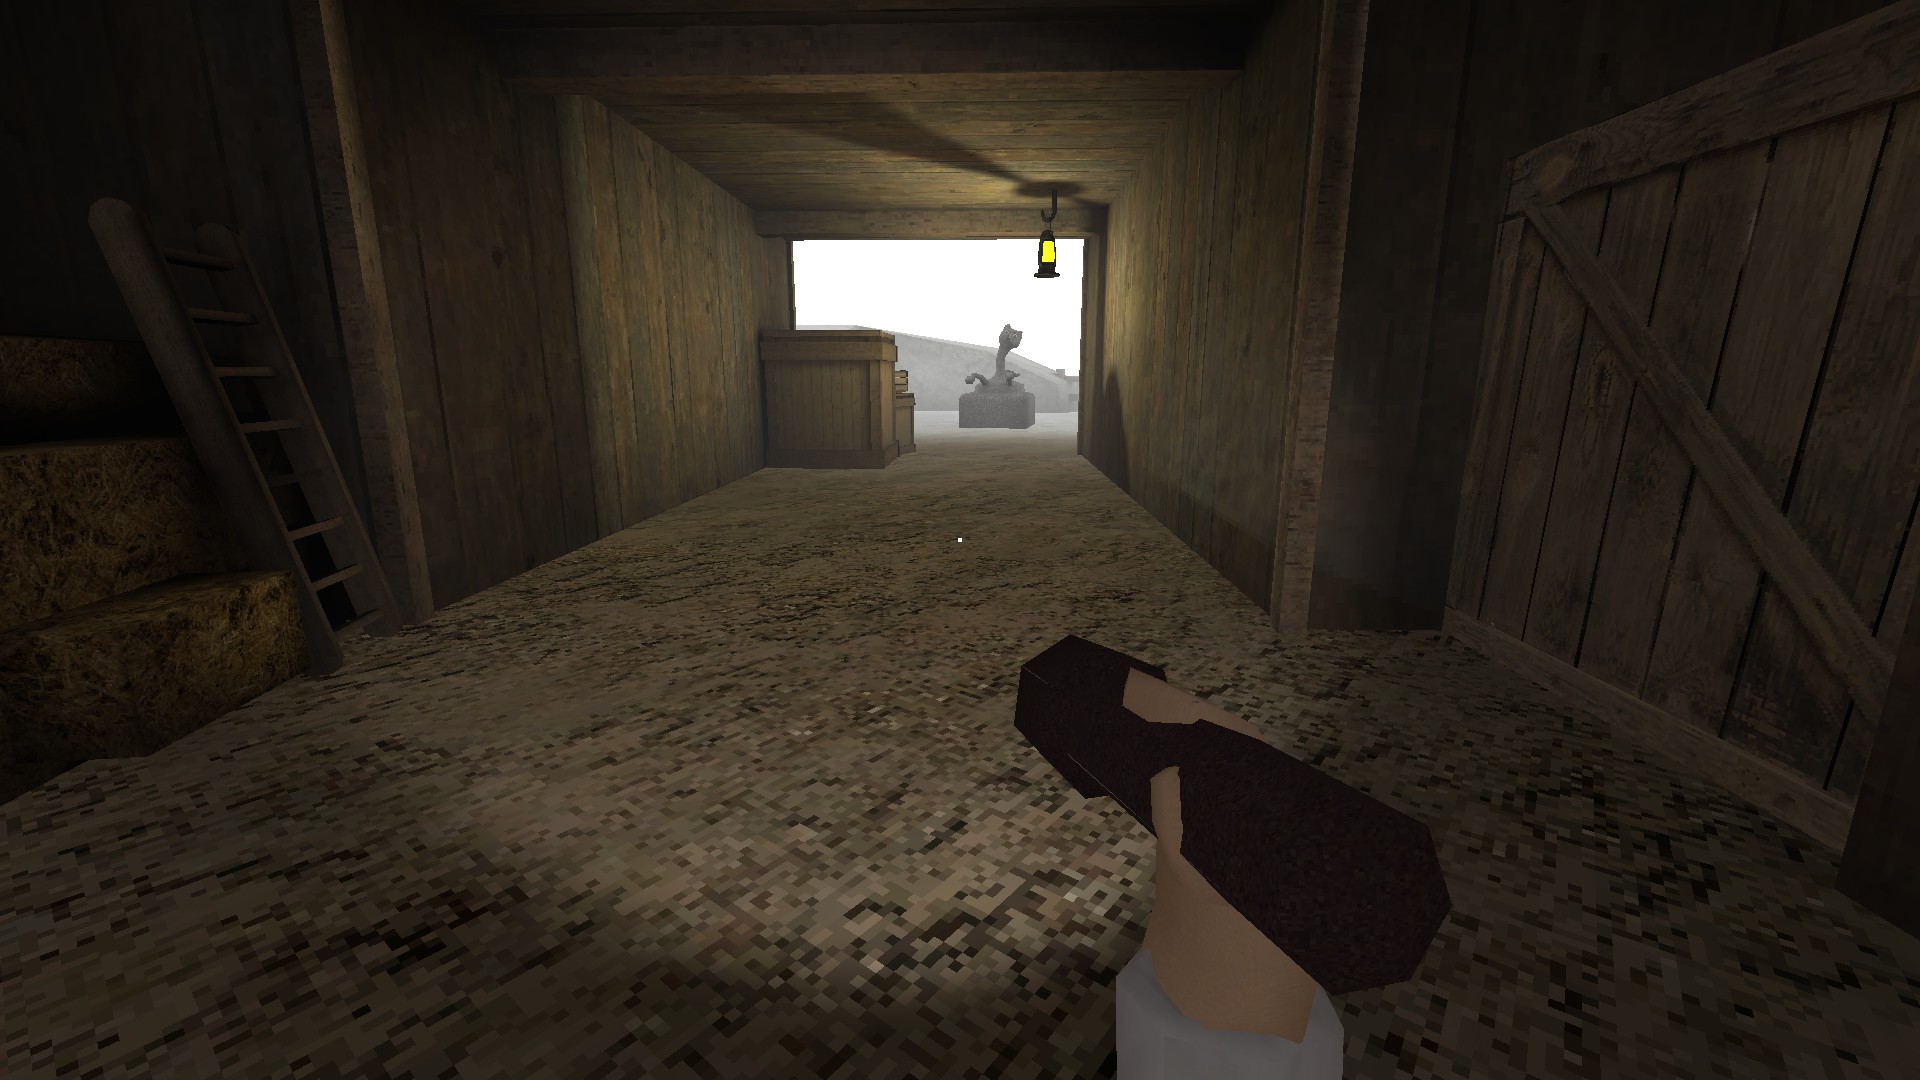
- Upon entering the large double doors of the barn, make your way upstairs. Proceed to the back and descend. Exit through the side door and circle around to encounter a peculiar cat statue (or something similar). Pull its tail to reveal a key.
- Return inside, but exercise caution, as Milo will initiate his patrol as soon as you enter. Secure the [Shed Key] and head back to the front of the barn.
- Upon exiting through the double doors, take an immediate right and follow the perimeter of the barn to locate the shed. Don’t fret if Milo is in the vicinity; he won’t be able to see you over the fence for some reason.
- Unlock the shed and retrieve the [Bolt Cutters]. Then, head back to where you obtained the key. Use the bolt cutters to open the chained door and proceed to repair the generator. At this point, you should be familiar with the procedure.
- With some swiftness, you can accomplish all of these tasks before Milo even begins his return to the barn.
Rustic Sphinx
Discover the secrets in the barn and activate the generator.
- Please exit the barn and follow the wires in the opposite direction. Once you encounter a set of wires branching off to the left, proceed in that direction. Your next destination is Building A2, which is arguably the most challenging area to navigate and explain.
- Upon descending the initial ramp inside Building A2, you should immediately notice a red valve labeled as (1). Rotate this valve. Our task now involves manipulating a series of valves in a specific sequence while Dr. Milo patrols this intricate maze.
- Starting from the first valve, direct your attention to the right, where you’ll encounter two pathways: one straight ahead and one to the left. Opt for the left path. Continue along this route until you reach a ramp leading back outside. Remember this route in case you need an escape. For now, persist in following this path until you locate the generator. You can set up every component of the generator except for the yellow lever, which is currently absent. Also, operate the valve marked as (2) within the same room.
- After exiting the generator room, turn left, and take another left when you come across a stack of tires. Adjust the valve labeled as (3) in this room.
- Now, return to the first valve within this area and explore the opposite path this time. While doing so, be vigilant for a hallway on your left. We won’t enter it just yet, but it’s the location of the generator handle once we can access it. Continue straight instead and manipulate the valve marked as (4).
- Upon exiting that room, turn right, and then make another right turn. Rotate the valve labeled as (5).
- Now, revisit the room I mentioned earlier with the handle inside. Turn the valve (6) situated on the wall to your right as you enter, and the bridge will ascend.
- Retrieve the lever and then return to the generator. Proceed to complete the full repair process.
- If you’re playing on Nightmare Mode, the order in which you should manipulate the valves differs. Follow this sequence: 6, 2, 5, 1, 4, 3.
Super Plumber
Solve the valve puzzle and activate the generator in the bunkers.
Power Restored
Activate all the generators and restore the power.
- To conclude this mission, return to Building A1, where we initially began the game. Within this building, revisit the room from which we acquired the keycard. However, exercise caution as Dr. Milo is exceptionally swift in this area, and evading him in the server room can be quite challenging.
- After ensuring your safety, interact with the radio to request assistance. I opted for the “I need a pick-up” option, but I’m uncertain if the choice holds any significance.
- Following this communication, exit the building and make your way back to the bunker by following the wires in the rightward direction. Recall the door that led to the exterior of the bunker on your route to the generator? Head in that direction, and once you’re outside, continue walking straight until you come across a helipad.
- Approach the helipad and engage with the helicopter. Once on board, direct your attention toward the pilot’s seat to witness one of the definitive endings of all time.
Revenge
Escape into an unforeseen fate…
That's everything we are sharing today for this DR MILOS REVENGE guide. This guide was originally created and written by Stef. In case we fail to update this guide, you can find the latest update by following this link.