
Here’s a simple way to make quay walls with zoning on one side of the road without using terrain tools. This technique is speedy and dependable for creating level quay walls. Additionally, I’ve posted a video tutorial showcasing the process.
Building the Quay Wall
To create smooth terrain contours, start by building a guide road. This road can either be a highway without zoning or a single node road like a gravel road or alley. Set the elevation of the guide road at 3.75m and draw a line. This action will raise the terrain up to meet the road.

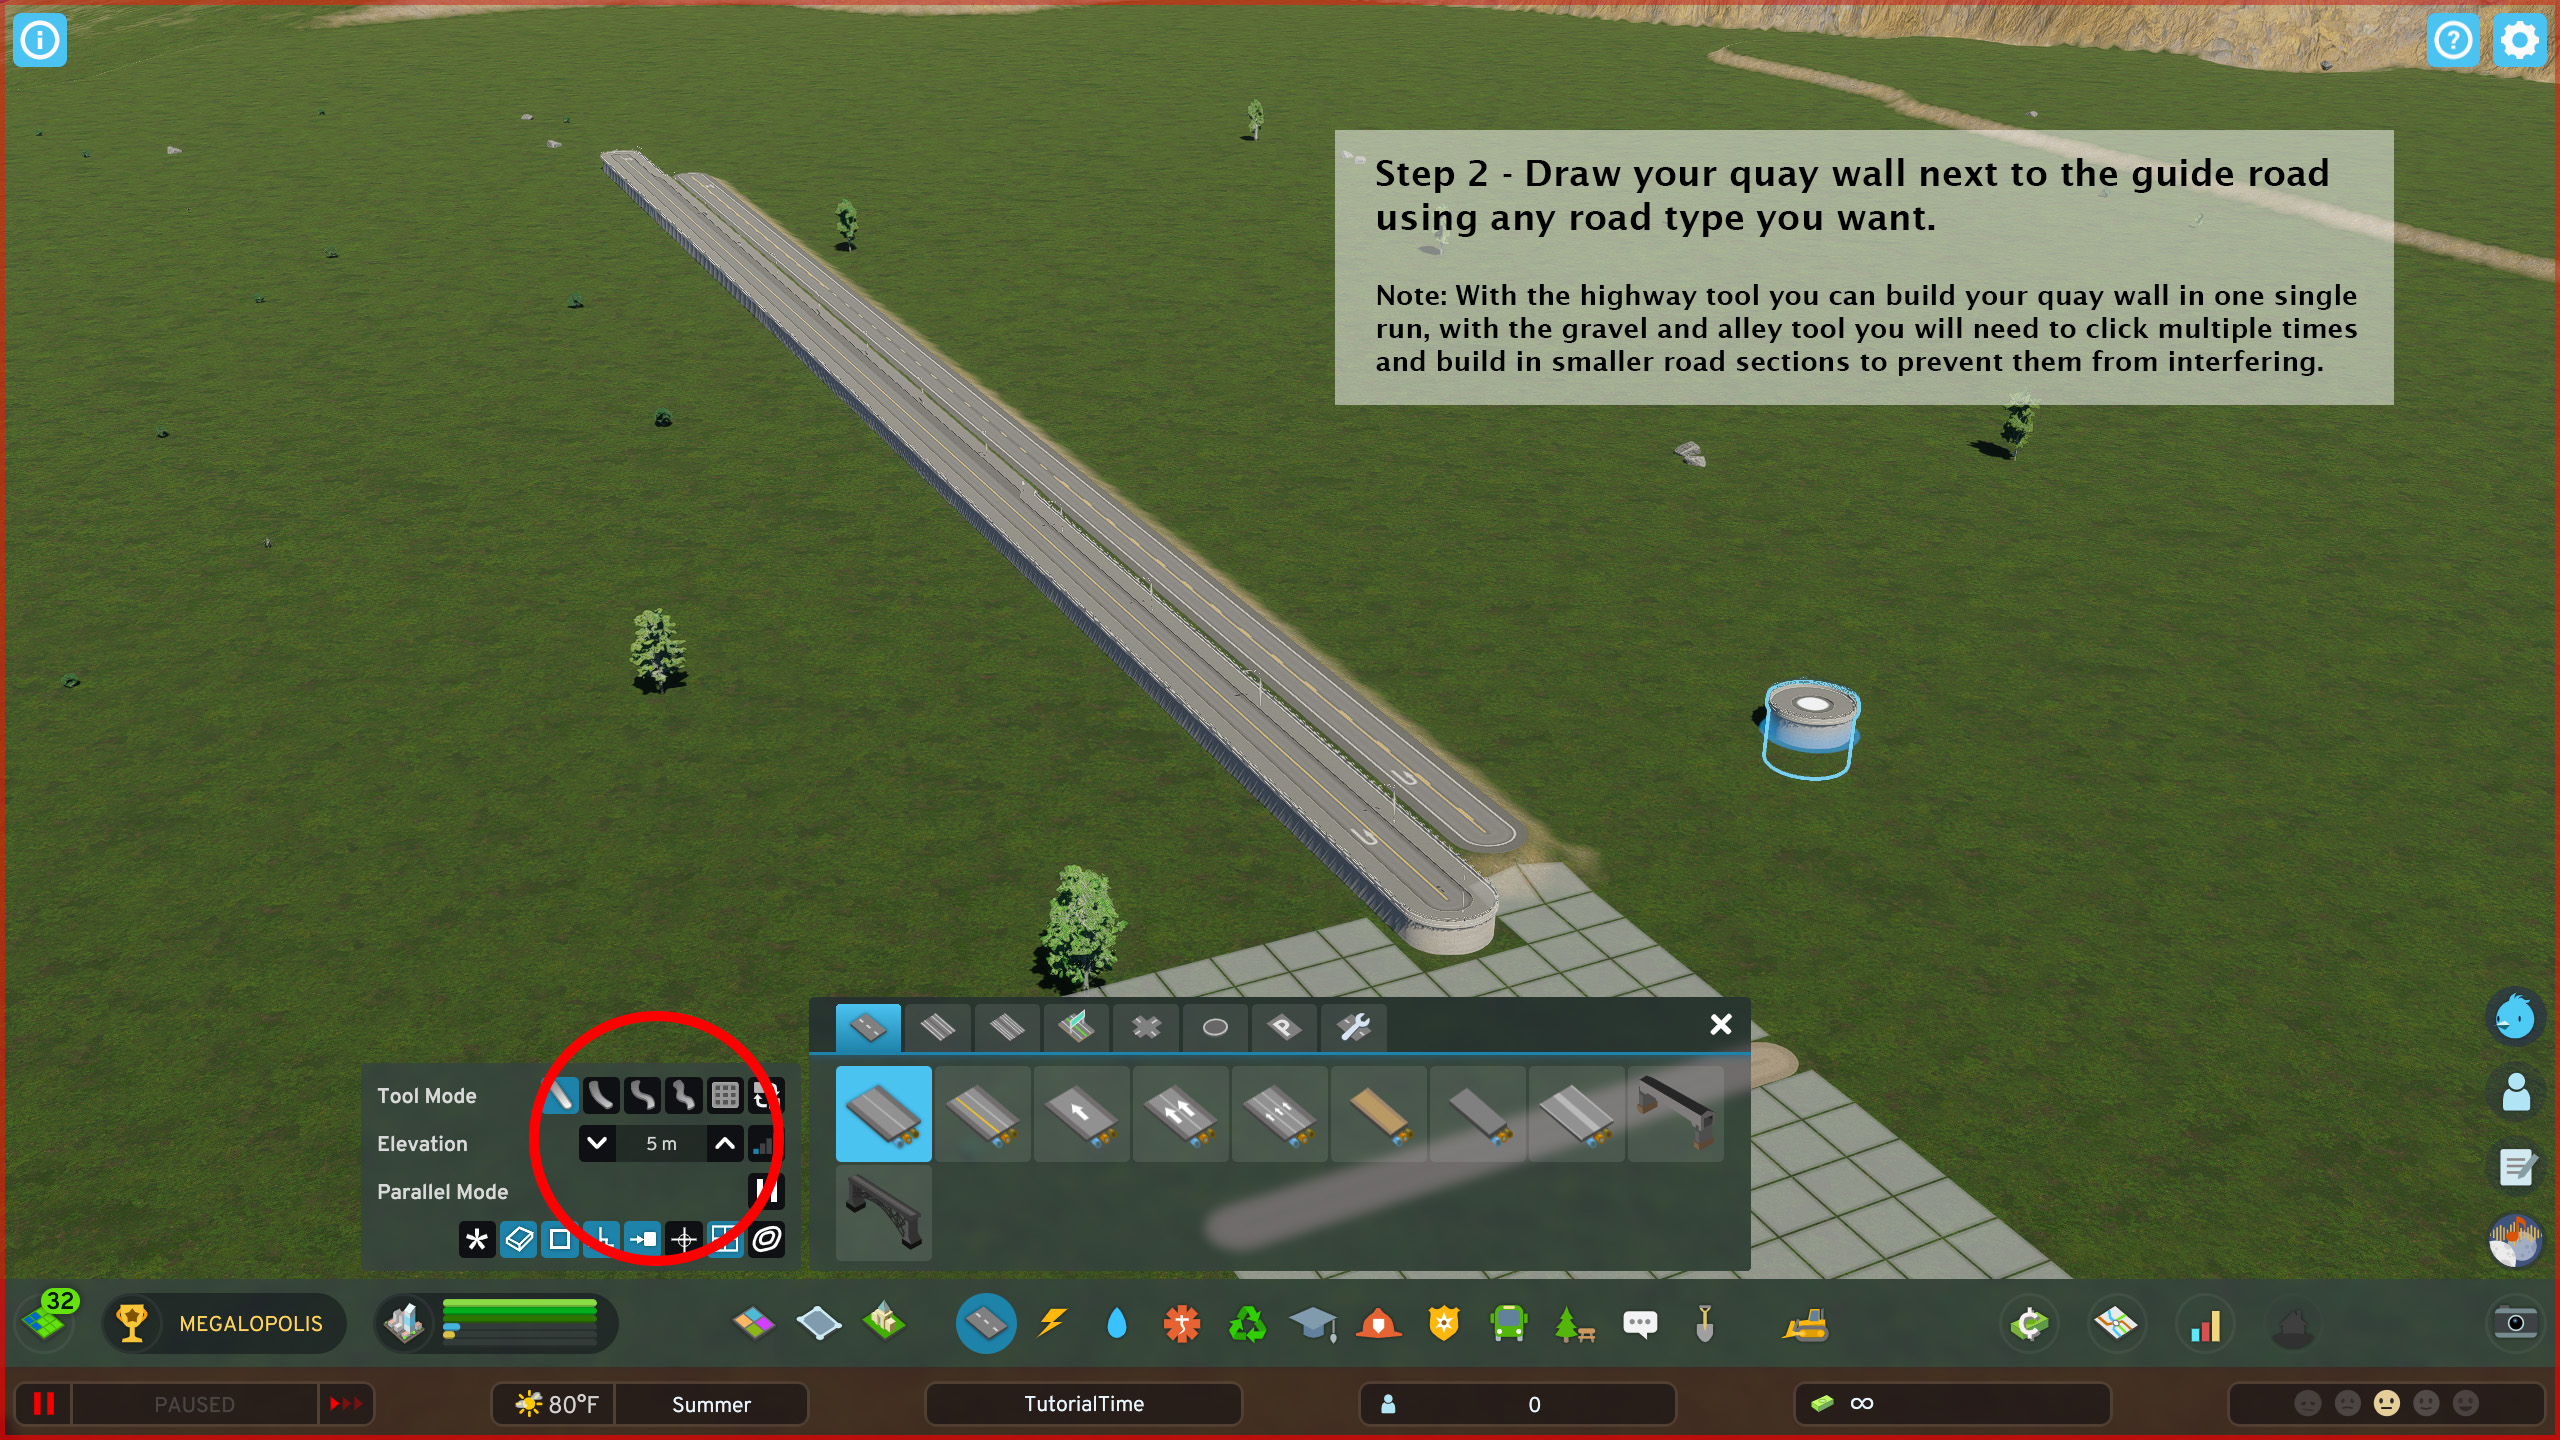
Build the quay wall road of your preference next to the guide road. Set the elevation of this road to 5m. Because you are only 1.25m away from the guide road, the game will automatically raise the terrain to meet the level of the 5m road.
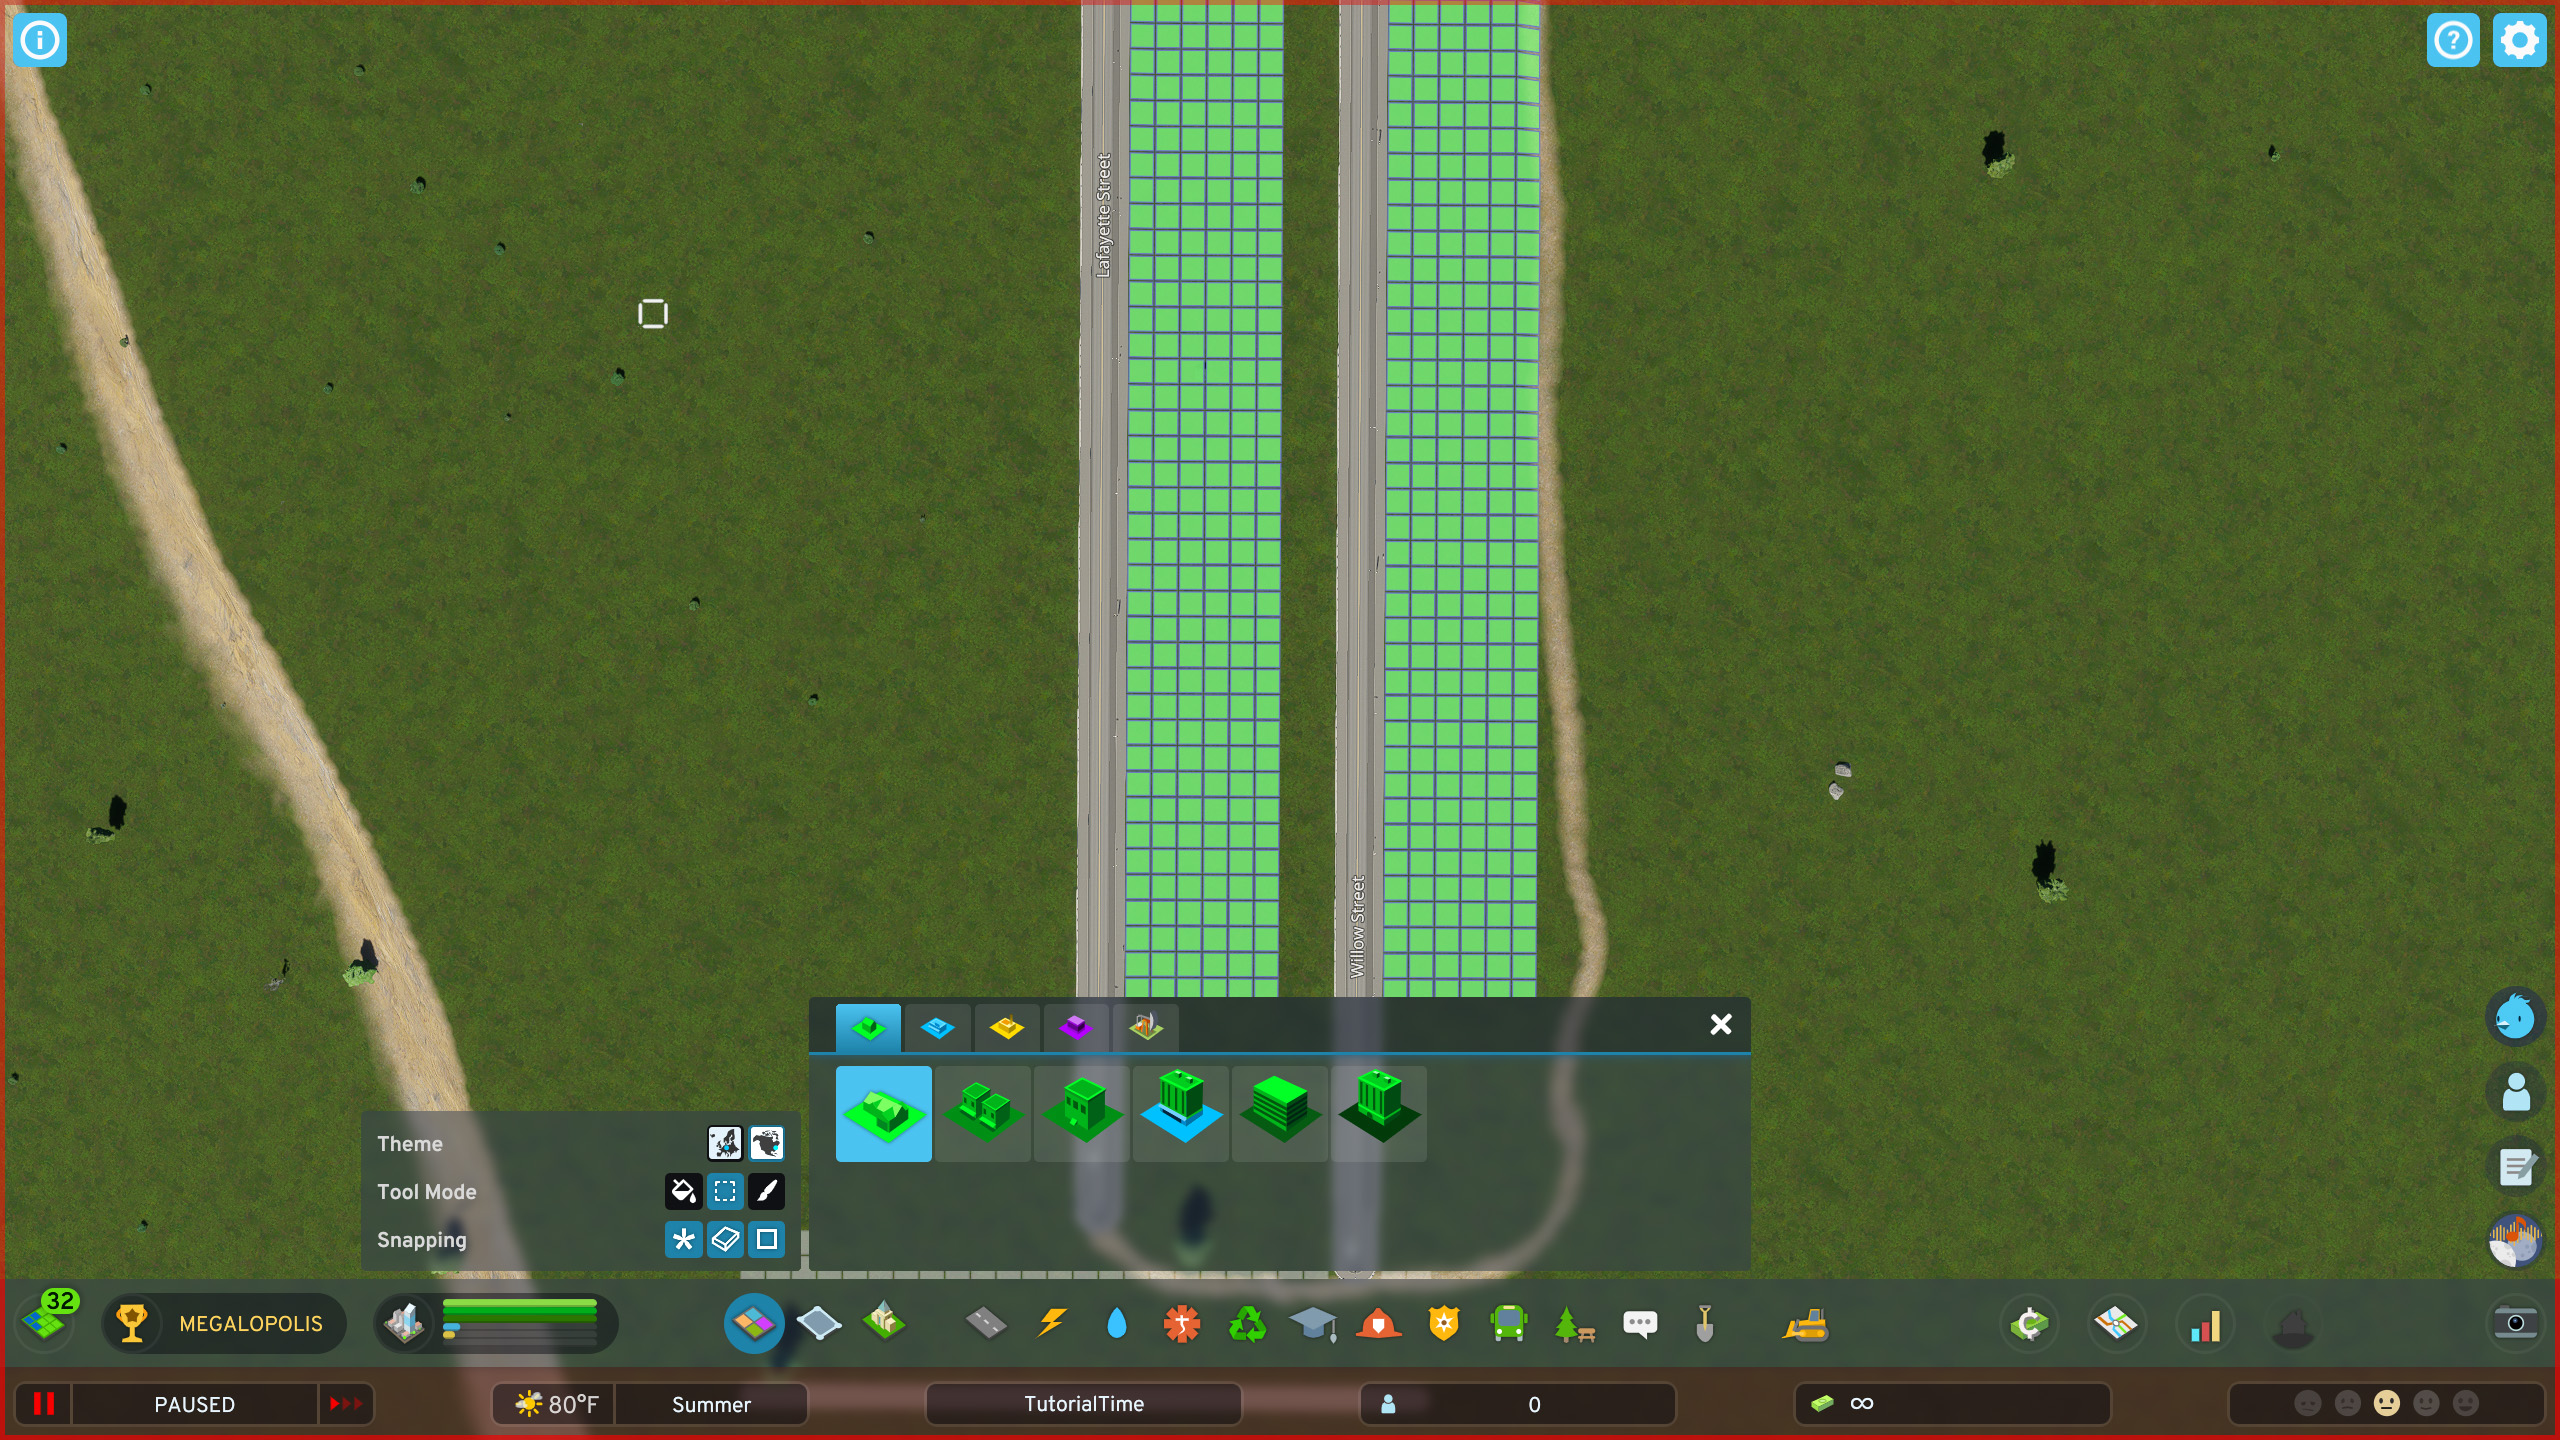
Remove the guide road and even out the terrain on the back side. This results in a quay wall on one side, while the back side has zoning.

Note: Use the highway tool to prevent interference with the quay wall when drawing. It’s helpful to have a perpendicular guide road on one end or the other for precise snapping. If you choose the alley or gravel tools, snapping and node layout maintenance are possible, but building the quay wall may take more time as the roads tend to snap together.
For a visual demonstration, refer to the video uploaded on YouTube.
That's everything we are sharing today for this Cities: Skylines II guide. This guide was originally created and written by doctordingo. In case we fail to update this guide, you can find the latest update by following this link.