- Title: Bullet Quest
- Release Date:
- Developer:
- Publisher:
Information about Bullet Quest is still incomplete. Please help us fill the details of the game using this contact form.
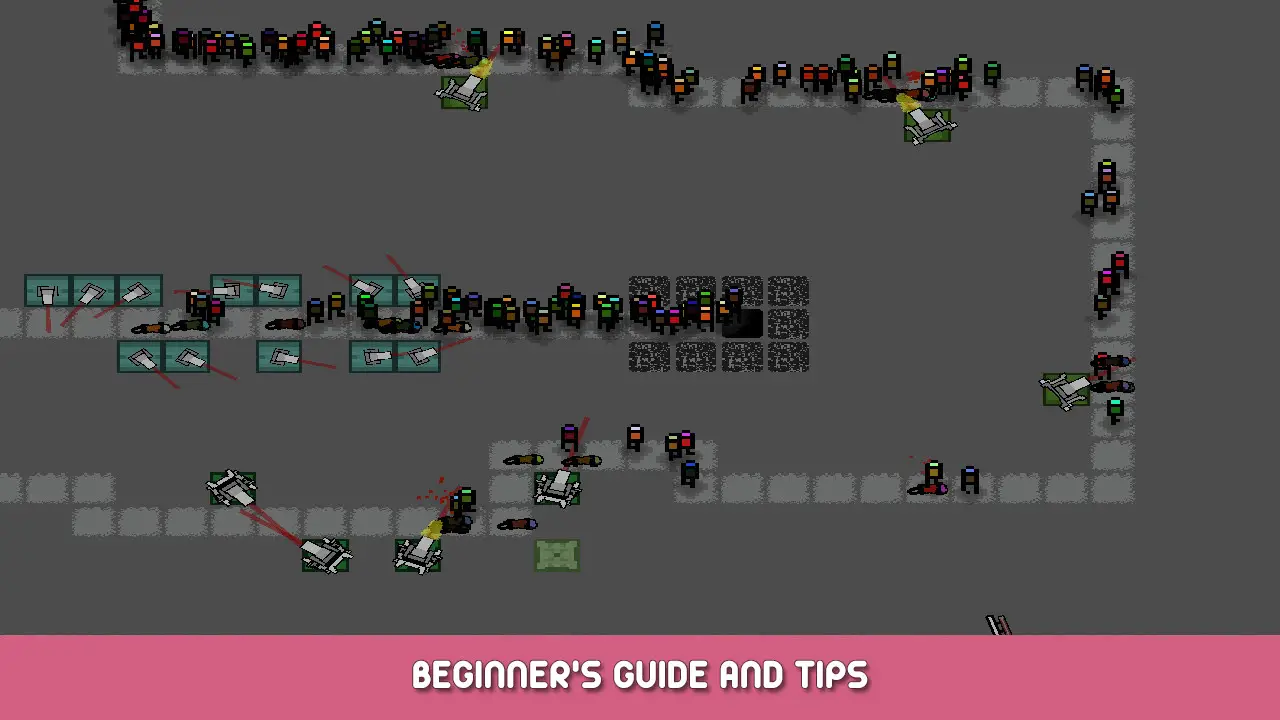
A general breakdown of game mechanics and useful information from the in game Text Guide.
General Overview
Select a Threat Level or if accessible a Reclaim location and press Deploy to start a mission.
Your objective in a mission is to prevent your core (white tile at the end of the path) from reaching 0 HP. HP is reduced every time an enemy reaches a core.
Once in a mission look for mineral nodes (Purple Grid-Pattern Tiles) so you can start placing production structures to produce spendable resources. These resources can be spent on increasing your output and creating defensive/offensive Towers.
There is a short delay before enemies begin spawning, but after enemies start spawning they do not stop. Enemies start weak but continue to grow stronger every wave.
You will have to continue to build and defend simultaneously; deciding what needs your attention in the moment.
If you fail a mission you will receive Learning Points (LP) which can be spent in the RLA tab to increase your stats.
If you successfully eliminate/survive the waves of enemies in a mission you will increases your ANN Progress level and receive ANN Resources, as well as increased LP.
The ANN resources can be spent in the ANN tab to unlock new towers and abilities.
Generating Spendable Resources (M)(G)
Place a miner on a mineral node (Purple Grid-Pattern Tiles). Unrefined ore (Purple) will produce in front of the miner. You can use transport belts (SBELT or MBELT) to move the Unrefined Ore.
Everything can be rotated using “Q” and “E”. The white arrow in the cursor’s highlight area (Green/Red Opaque Square) indicates the facing direction.
Miners Produced Unrefined Ore in the Facing Direction. Miners do not cost resources to build.
Unrefined ore can be processed into refined ore (Gold) with a smelter.
Smelter’s take unrefined ore in from the opposite end of the facing direction and then produce refined ore in the facing direction.
Refined ore can be harvested with workers to produce spendable minerals (M). When a piece of refined ore is near a worker it will begin harvesting the ore automatically.
Workers have a max capacity. This capacity can be increased by building Core Extenders (C-Extender). Core Extenders must be built near a Core (white tile at the end of the path).
Refined Ore can yield more minerals by passing them through a refiner. Refiners work the same way as smelters, but take in refined ore instead of unrefined ore. Refiners Make Ore approximately 10x more efficient. Refiners cost minerals to build.
Gas (G) is the secondary spendable resource. Gas is used to build advance structures. Place an extractor on a mineral node to begin generating gas automatically and passively. Gas produces slowly, but each extractor will increase the amount generated. Extractors do not cost resources, but do take up an entire mineral node.
M-Corroder and M-Cryogen combat towers will use additional gas every time they damage or slow enemies.
Placing Structures
Select a Structure from the UI (Buttons on the top or bottom of your screen) then Left-Click to place a structure.
The cursor’s highlight area (Green/Red Opaque Square) indicates if the tile is valid for the structure. If cursor’s highlight area is green that tile is valid. If the cursor’s highlight area is red that tile is invalid.
If you do not have the resources to purchase a structure or you are at capacity for a specific type of structure invalid symbols will appear over the cursor.
Some structures must be near a specific tile to be placed. In this case a line will be drawn from the cursor to the tile that the structure needs to be near. When this line is green it is within distance. When this line is red it is out of distance.
Some structures need to face specific directions. The facing direction is indicated by a white arrow in the cursor’s highlight area. Rotate left with “Q” and right with “E”.
Hold CTRL to continuously place structures.
Hold Space to lock the cursors movement axis. This will also Enable continuous placing/removing.
Press F to Change to the tile underneath the Cursor.
Removing Structures
Right-Click a structure to remove it.
Some (not all) structures that cost minerals will refund you a significantly reduced portion of the original mineral cost. With the exception of Tier 1 Combat Towers which refund for 80% cost.
Hold CTRL to continuously remove structures.
Hold Space to lock the cursors movement axis. This will also Enable continuous placing/removing.
Progressing and Upgrading
The ANN (Adversarial NeuralNet) is the Tower and Ability Unlock Tab. The ANN has a level of progress. The progress level acts as a pre-requisite before you can buy specific towers.
Example: A tower might cost 2 resources, but require a progress level of 5.
ANN resources are gained from successfully completing a mission. Successfully completing a mission will also increase your progress level. ANN resources can also be bought from the RLA tab.
The RLA (Reinforcement Learning Allocation) is the Stat increases Tab. It is where you spend LP (Learning Points). Learning points are gained from doing missions whether failed or successful. Successful missions will give more LP.
Learning Points, ANN Resources and ANN progress levels are also possible rewards from an M-Box.
As you successfully complete threat missions, threats will continue to reduce. Perhaps you will even eliminate all the threats . . .
Combat Tower Tips
The first 10 Combat Towers placed do not need to be near a Loader.
To place more than 10 Combat Towers a loader must be built. Additional Combat Towers also must be placed near a loader. This can be any loader. With the exception of the railgun which does not have to be placed near a loader.
Tier 1 Combat Towers only take half a loader slot and refund for 80% cost.
Tier 2 Combat Towers need to be rotated before being placed. They only fire in the facing direction indicated by the white arrow in the cursors highlight area.
Railguns are slow firing, but do massive amounts of damage. They also do not have to be placed near a loader.
The M-Corroder and M-Cryogen use gas every time they damage or slow enemies.
The base damage of Tier 1, 2 and 3 Combat Towers can be increased using LP in the RLA.
M-ADM (Area Denial Missile) is an Ability that can aid in combat. It is a onetime use missile that will cause massive damage in its highlighted area. Select a location with your cursor the same way you would place a tower and it will detonate at that location.
Abilities and Unique Structures
Overclock is a toggled ability denoted by the “>>” button that increases gameplay speed by 3x while active (when selected). To return to normal 1x gameplay speed toggle the button off (select again).
M-ADM is an Ability that can aid in combat. It is a onetime use missile that will cause massive damage in its highlighted area. Select a location with your cursor the same way you would place a tower and it will detonate at that location.
M-Boxes do nothing during a mission, but give LP and a chance at bonus rewards at the end of a mission. Each M-Box you built and still have at the end of a mission will increase (linear) your chance to receive a bonus reward. M-Boxes still work on failed missions but the chance to receive a bonus reward is reduced. On successful or failed missions each M-Box will give LP (Learning Points).
Each H-Boost increases your max HP for a mission. This does not give HP. Example: Your starting HP is 200/200 and you build an H-Boost; your HP is now 200/210. H-Boost must be built near a Core (white tile at the end of the path).
Repair Nanites restore lost hp over time up to your max HP. Repair Nanites repair slowly, but each Repair Nanite built increases the amount repaired. Repair Nanites must be built near a Core (white tile at the end of the path).
The Multiway (MBELT) is an advance transport belt that requires gas to build. Ore will move along multiways just like they would on an SBELT, however they will be dynamically sent in one of 3 directions depending on if there is room available to move the ore. Multiways are essentially a transport belt that also does load balancing/splitting.
General Tips
Some tabs have yellow “?” icons. Hover these icons for additional information.
Hold Shift to Speed up the Camera. Hold CTRL to continuously place/remove structures.
Hold Space to lock the cursors movement axis. This will also Enable continuous placing/removing.
Press F to Change to the tile underneath the Cursor.
Calculated stat modifications can be viewed from the config tab.
You can place the UI at the bottom of the screen via the UI placement option in the config tab.
You still receive LP (Learning Points) from failed missions.
Make sure to look around, mineral nodes can be on any portion of the map.
ANN/RLA Upgrades and Unlocks can be purchased in any order or even skipped.
That's everything we are sharing today for this Bullet Quest guide. This guide was originally created and written by wasitworthitdev. In case we fail to update this guide, you can find the latest update by following this link.