If you’re having a tough time with Angel at Dusk, I’m here to lend a hand by sharing the top-notch weapons and strategy to tackle the challenge. But hey, before we dive in, a friendly heads-up: this advice is strictly for those moments when you’re feeling a bit stuck. I’m all about preserving the joy of experimenting with the plethora of options at your disposal, so consider this a lifeline rather than a spoiler.
Overview
If you’re a bit puzzled about the game modes, let me break it down for you. In Arcade mode, you get to choose from a handful of levels and difficulties. This is where you’ll unlock and pilot different ships, each with its own special features and preset weapon setups.
Now, for Original mode, the real deal is in the Chronicle section. Here, you’ll find 32 levels, each with varying stages. There are two types of stages: red skull ones are standard and move you forward on your journey, while orange skull stages mark the end of a path and reward you with an illustration upon completion. To face the final boss in level 32, you’ve got to clear all the stages.
Weapons, and how to use them
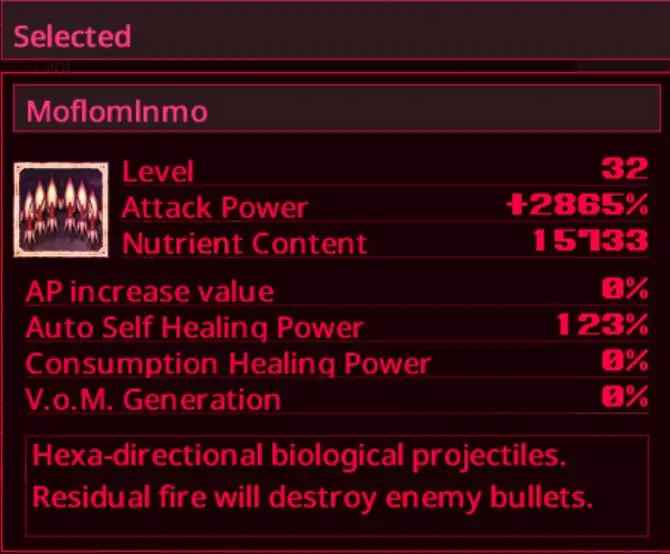
Let’s start with your heavy weapon, which you’ll be using most of the time. You’ll go for the “Moflomlnmo,” also known as the missiles.

These missiles don’t directly erase bullets upon impact like most heavies do. Instead, it’s the explosions they create that clear out bullets, offering you solid defense. They’re particularly effective at dealing with one-shot trash mobs because of their lingering explosion damage. Remember, you should prefire them before enemies even enter the screen for maximum effectiveness.
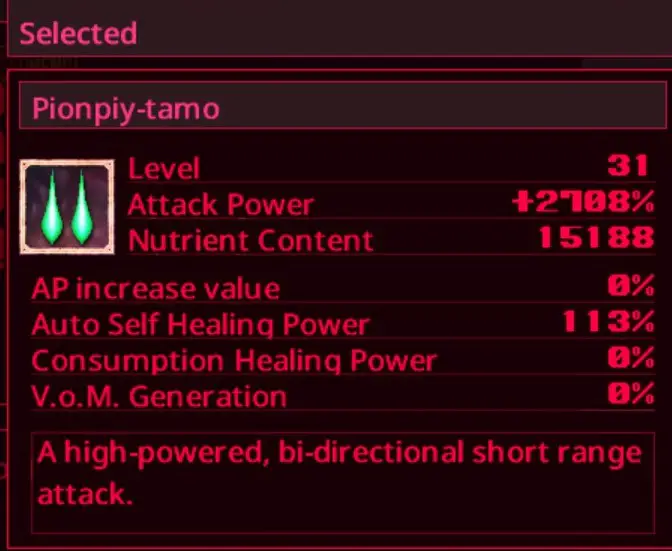
Next, let’s talk about your basic autofire shot. Opt for the “Pionpiy” or “Pionpiy-tamo” weapon.

This is your go-to for bosses and tougher elite enemies. Look for a safe opening to get up close and personal, firing at point-blank range. Stick to the single or double version of this weapon; having more streams can make it trickier to focus damage where you want it, especially since the missiles are already handling area damage for you.
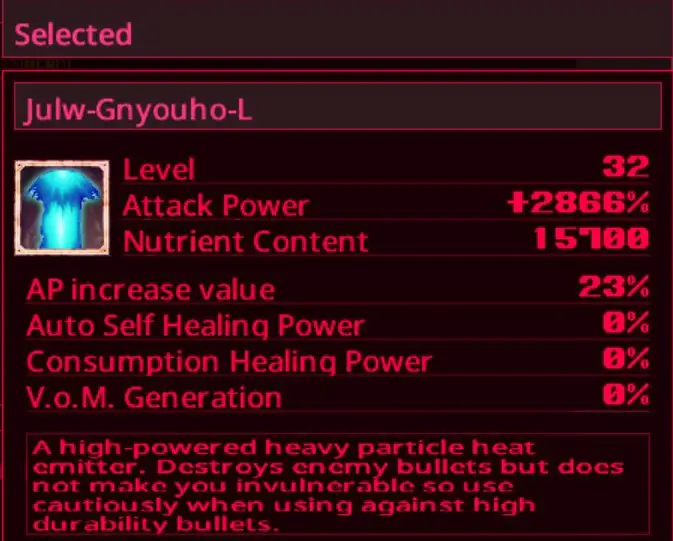
Lastly, let’s cover the V.O.M weapon. Choose the “Julw-Gnyouho-L” variant.

Although its description claims it doesn’t grant invulnerability, that’s not entirely accurate. The beam it emits is wide enough to surround your hitbox, effectively deleting any bullets that come near. On top of that, it deals decent damage, and you can continue firing your basic weapon while the V.O.M is active. It’s particularly useful against bosses, especially during tough attack patterns. So, fire it up, get close, and keep that basic attack firing while you’re at it.
Final Tips
Here are some additional tips:
- Position your basic shot and heavy shot buttons where they’re comfortable for extended play. For instance, L1 and R1 on a controller work well for me.
- Don’t rush into the orange skull levels until you’re prepared. They’re often tougher than nearby red skull levels. Focus on progressing to higher levels first, so you can return to them with better weapons. This applies to any challenging stage you encounter.
- Keep your finger on the missile button unless you’re certain you can eliminate enemies before they attack. Continuous missile fire helps block incoming attacks effectively.
- During boss fights, make the most of the initial moments to deal maximum damage. However, be sure to back off in time to start firing missiles before the boss’s attack fully charges.
P.S. If you’re done with the gameplay but still interested in the lore, you can find the text in the game directory under steamapps\common\Angel at Dusk\lang\eng\text_dusk_story.
That's everything we are sharing today for this Angel at Dusk guide. This guide was originally created and written by Goust. In case we fail to update this guide, you can find the latest update by following this link.
