- Title: The Swapper
- Release Date:
- Developer:
- Publisher:
Information about The Swapper is still incomplete. Please help us fill the details of the game using this contact form.
While numerous excellent guides are available that explain how to obtain all the achievements, specifically those related to uncovering all the Messages from Home, this particular guide is tailored for individuals aiming to comprehensively fill out the game’s Memory Log. This entails encompassing all Watcher Entries and Logs. We trust that this reference guide will be of valuable assistance to all the dedicated completionists in the gaming community!
Introduction
Allow me to commence by providing a brief overview of the objective behind this guide. As you make your way through The Swapper, you will come across stones and terminals that offer players supplementary insights into the game’s narrative. This interaction serves to unlock Watcher Entries, Logs, and Messages from Home within your Memory Log.
Regrettably, certain entries in this category are susceptible to being missed. To address this issue, I have incorporated several segments in this guide that pre-emptively cover these potentially missed content before you encounter them. In total, there are seven instances denoted in the format MISSABLE WARNING #N (where N ranges from 1 to 7), conveniently accessible via the Guide Index.
Watcher Entries (54 Total)
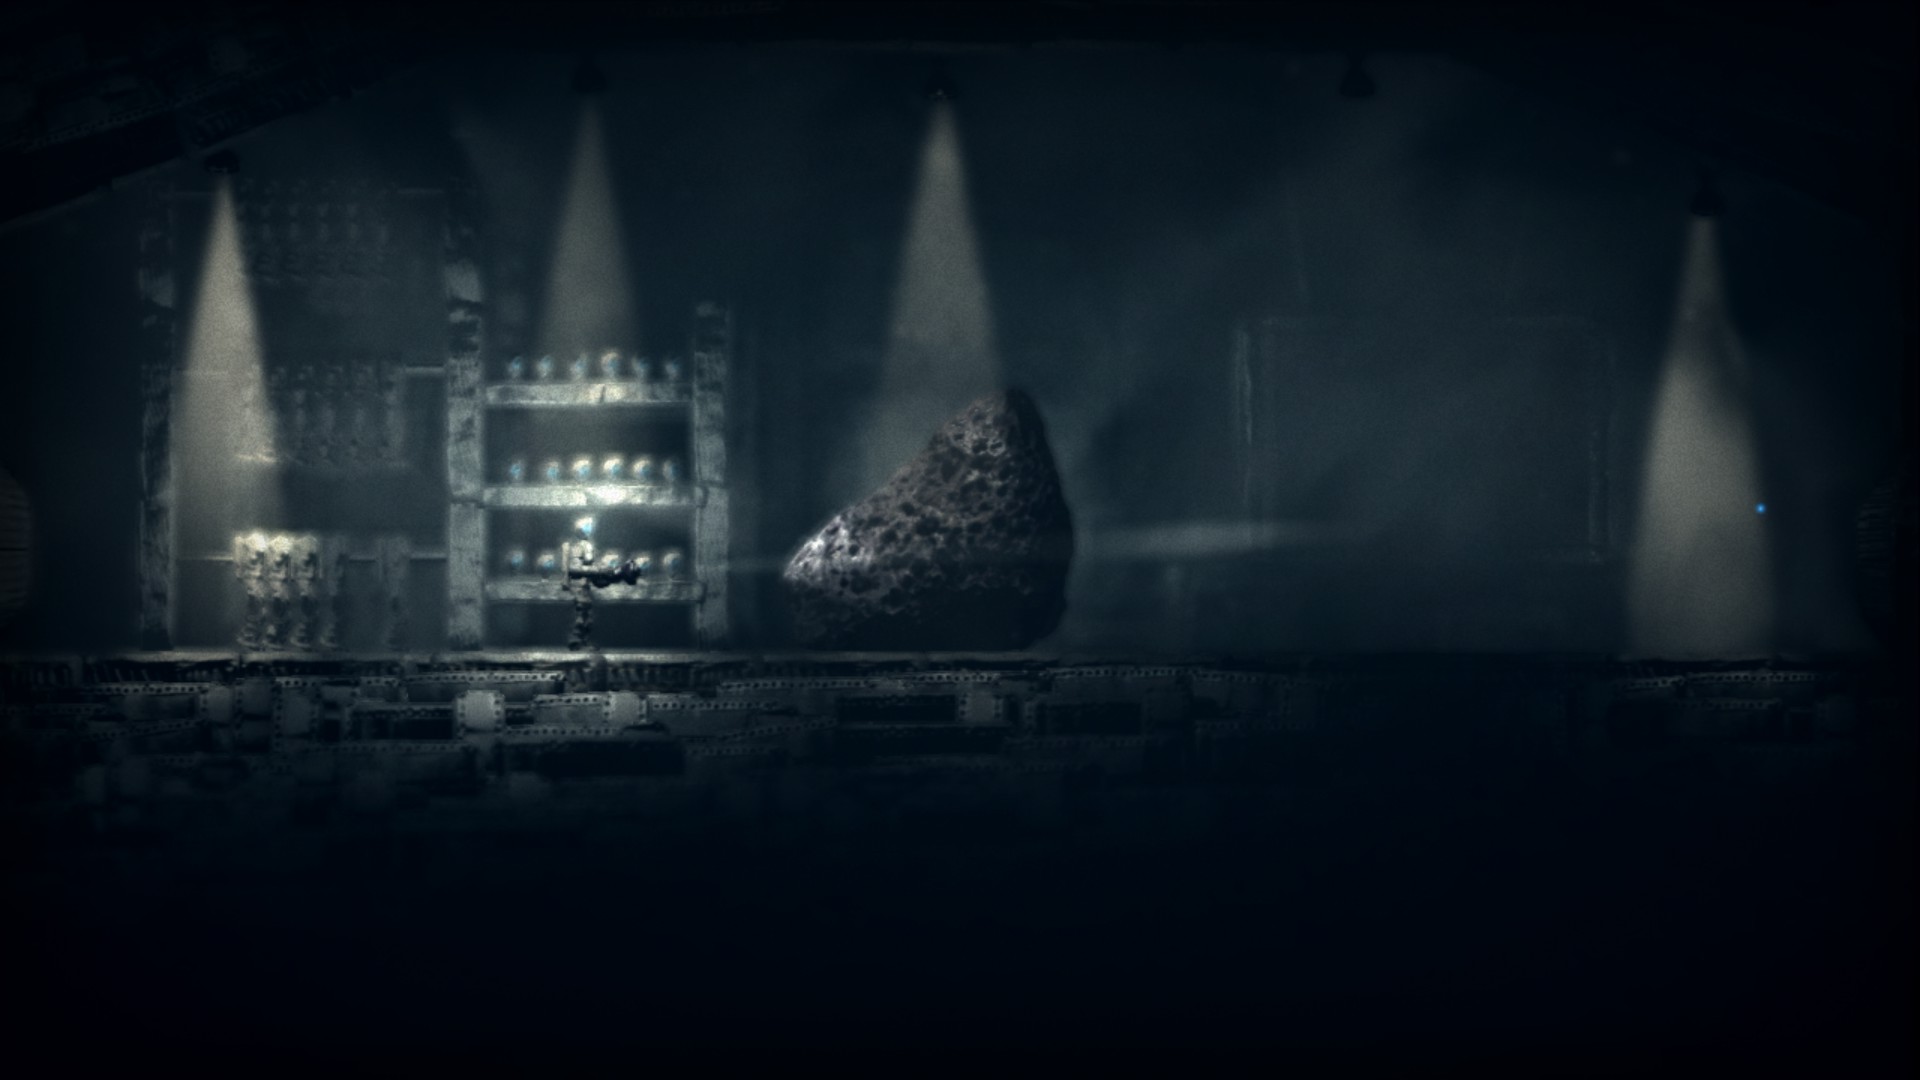
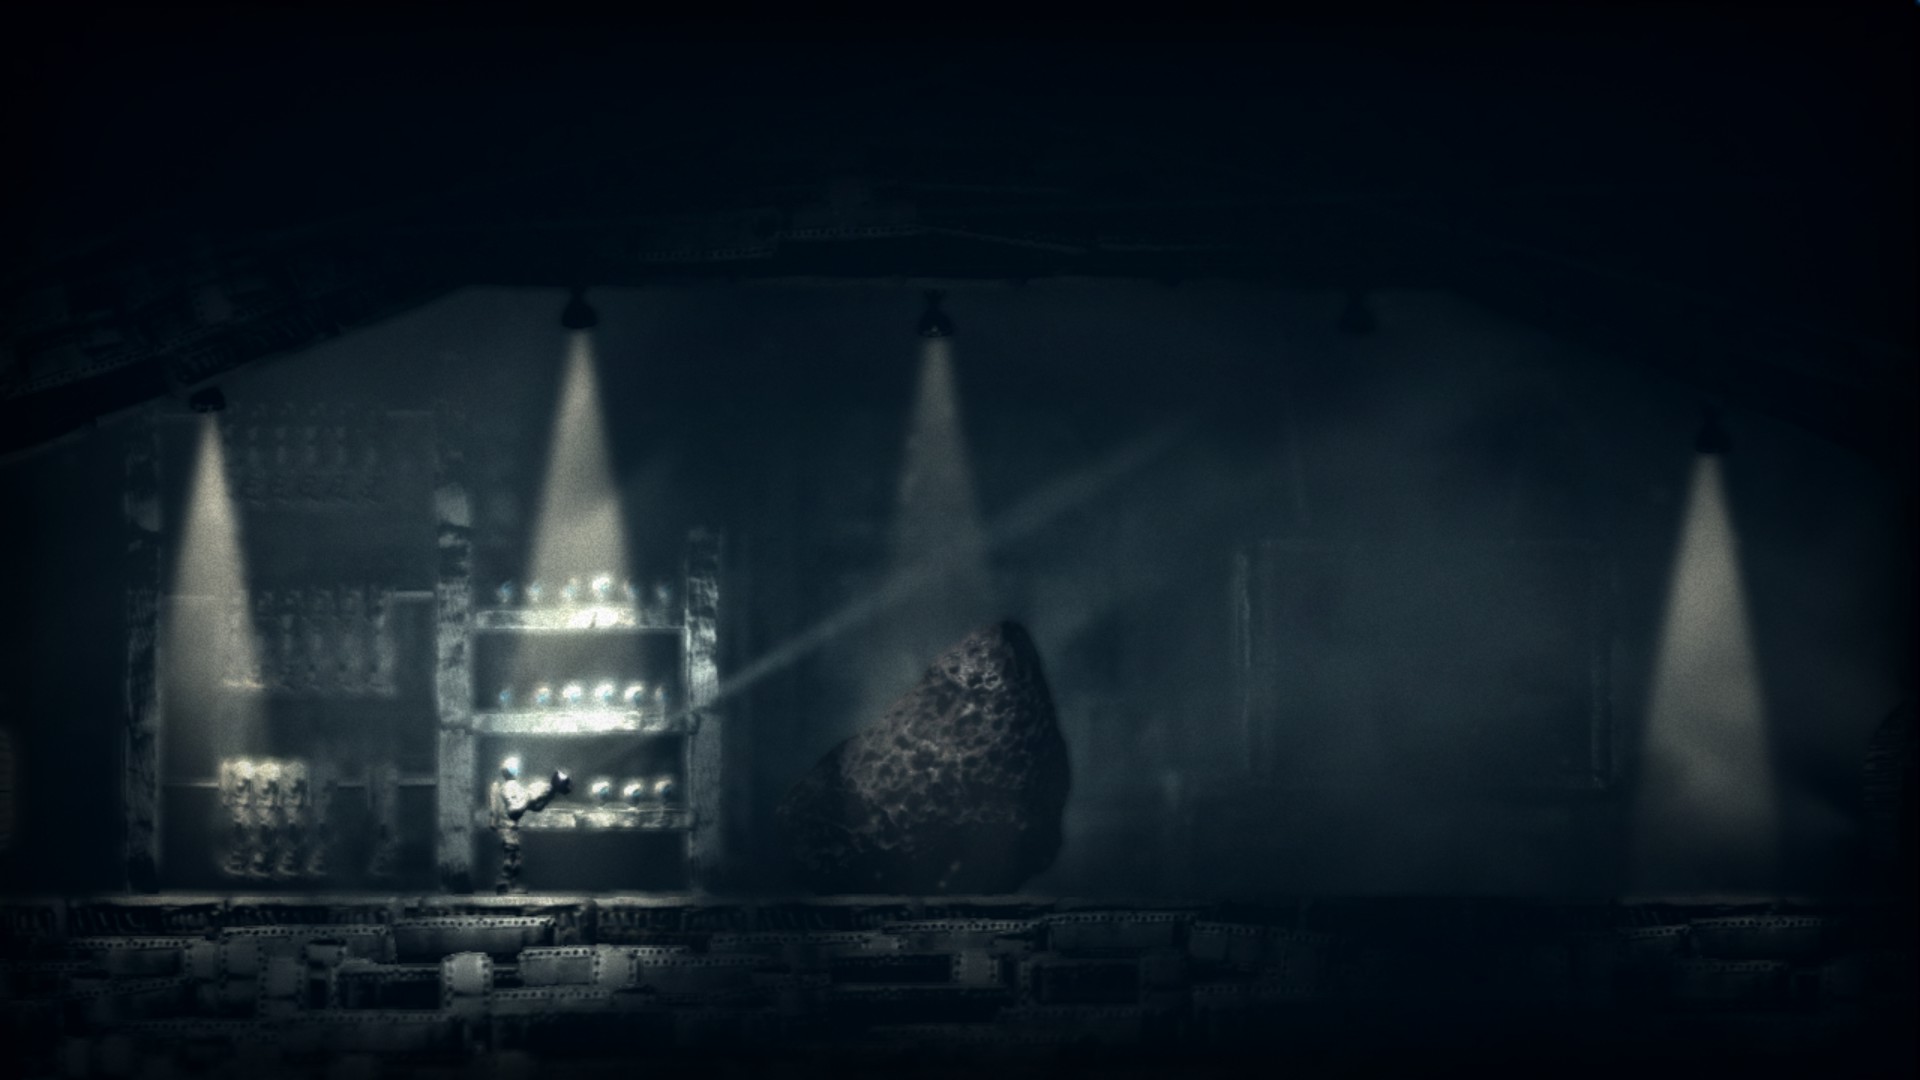
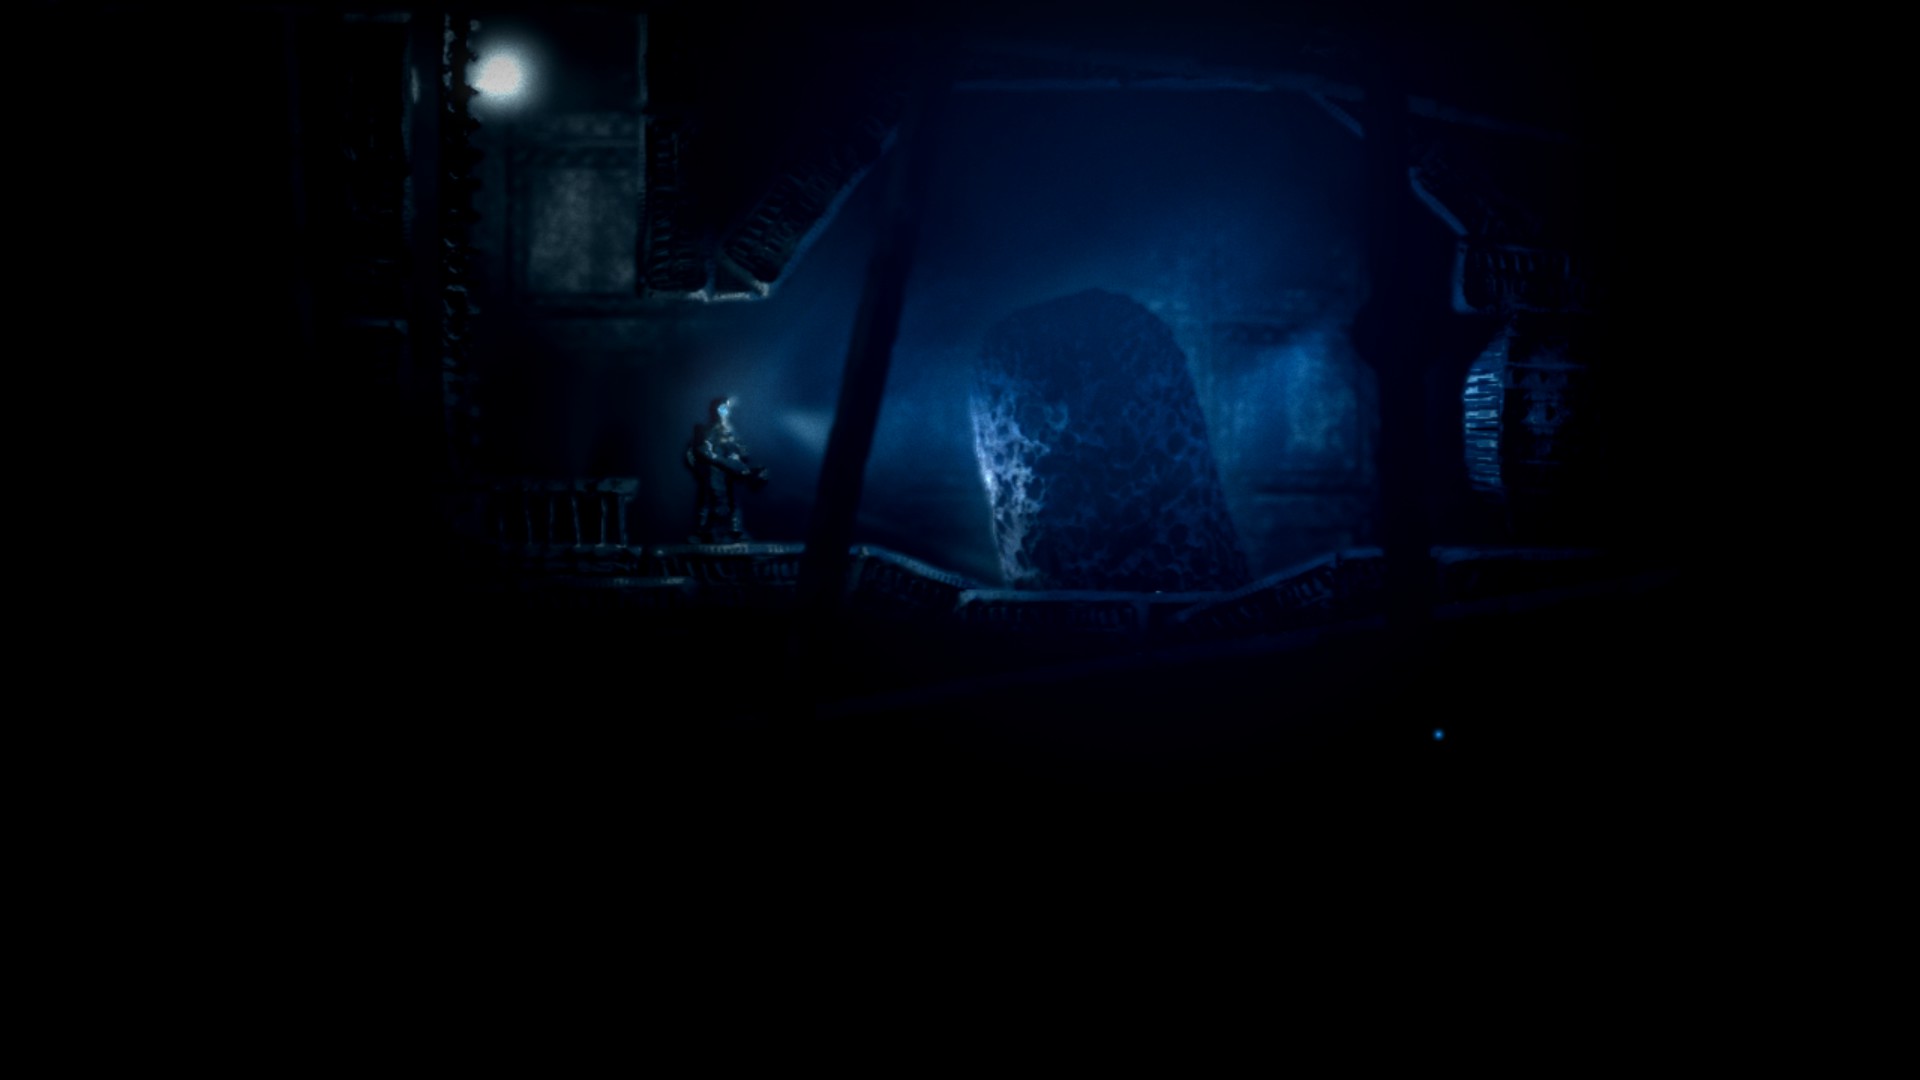
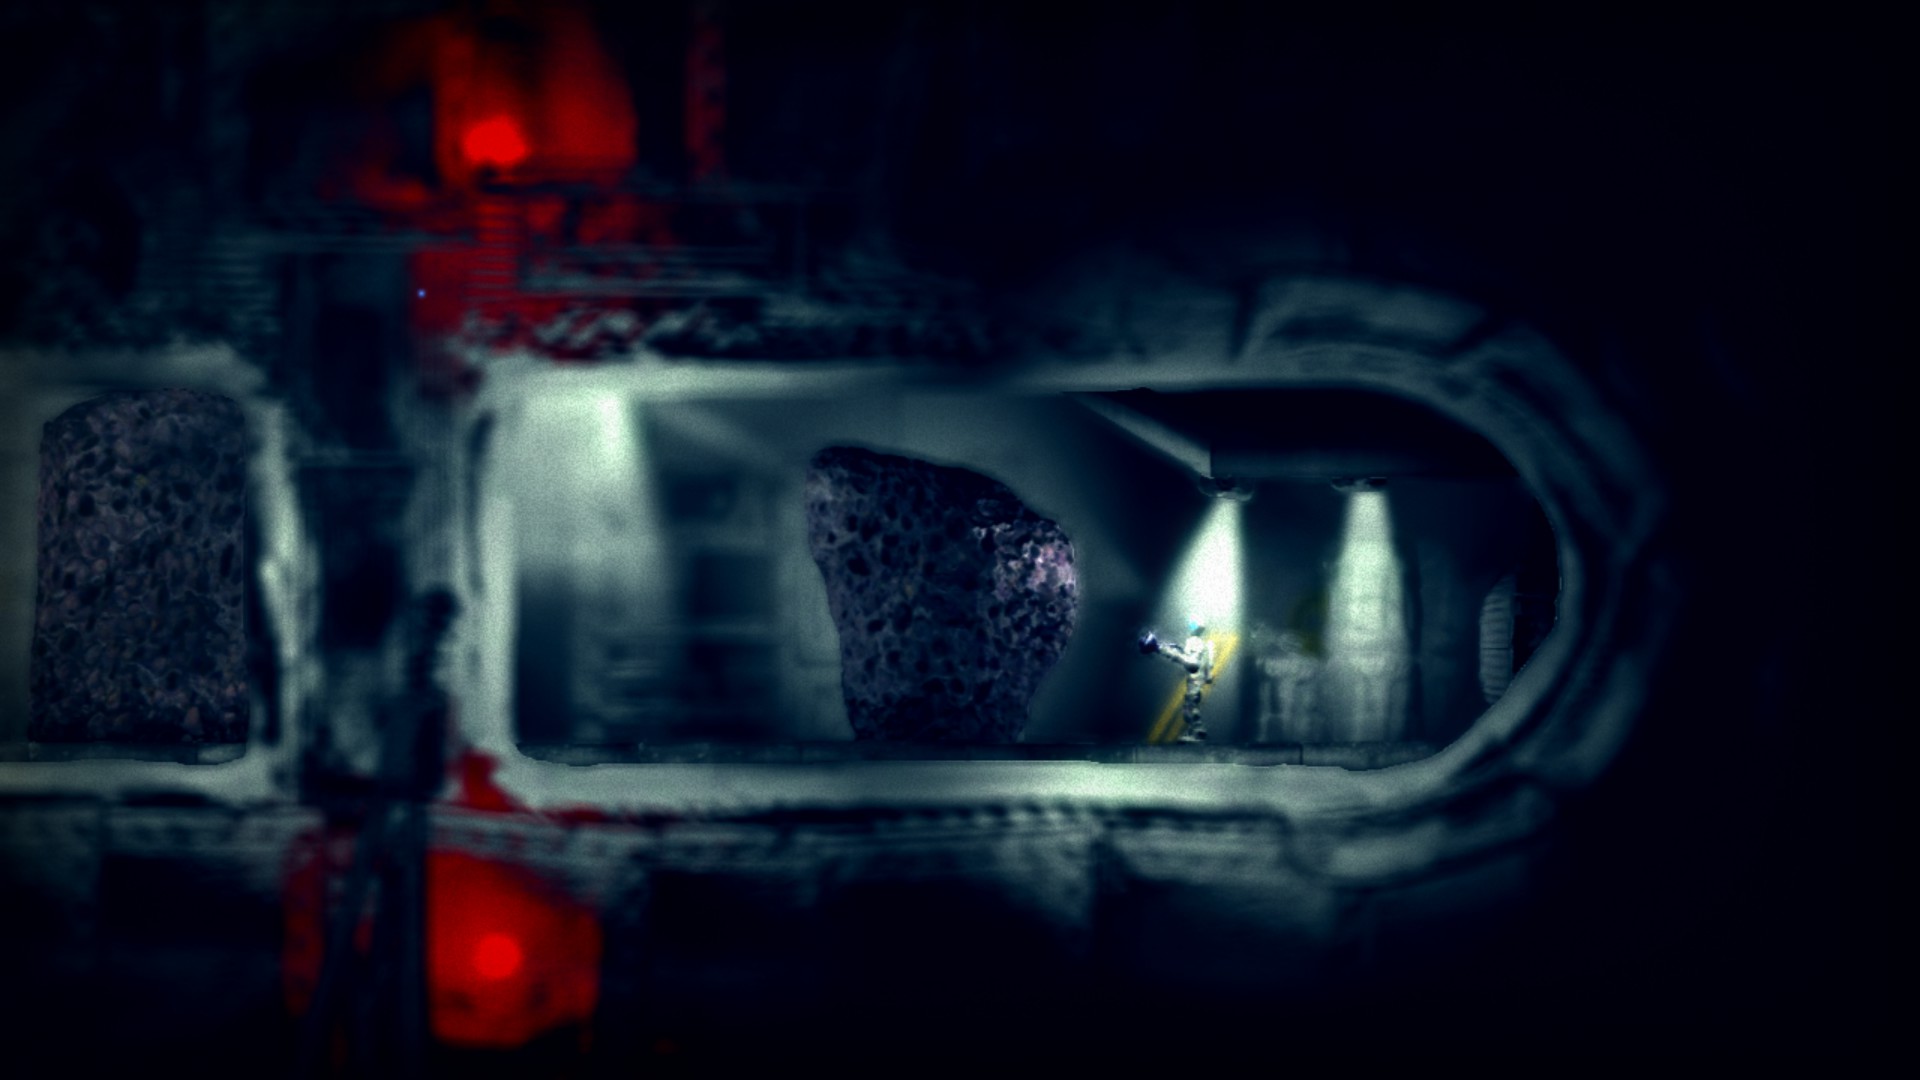
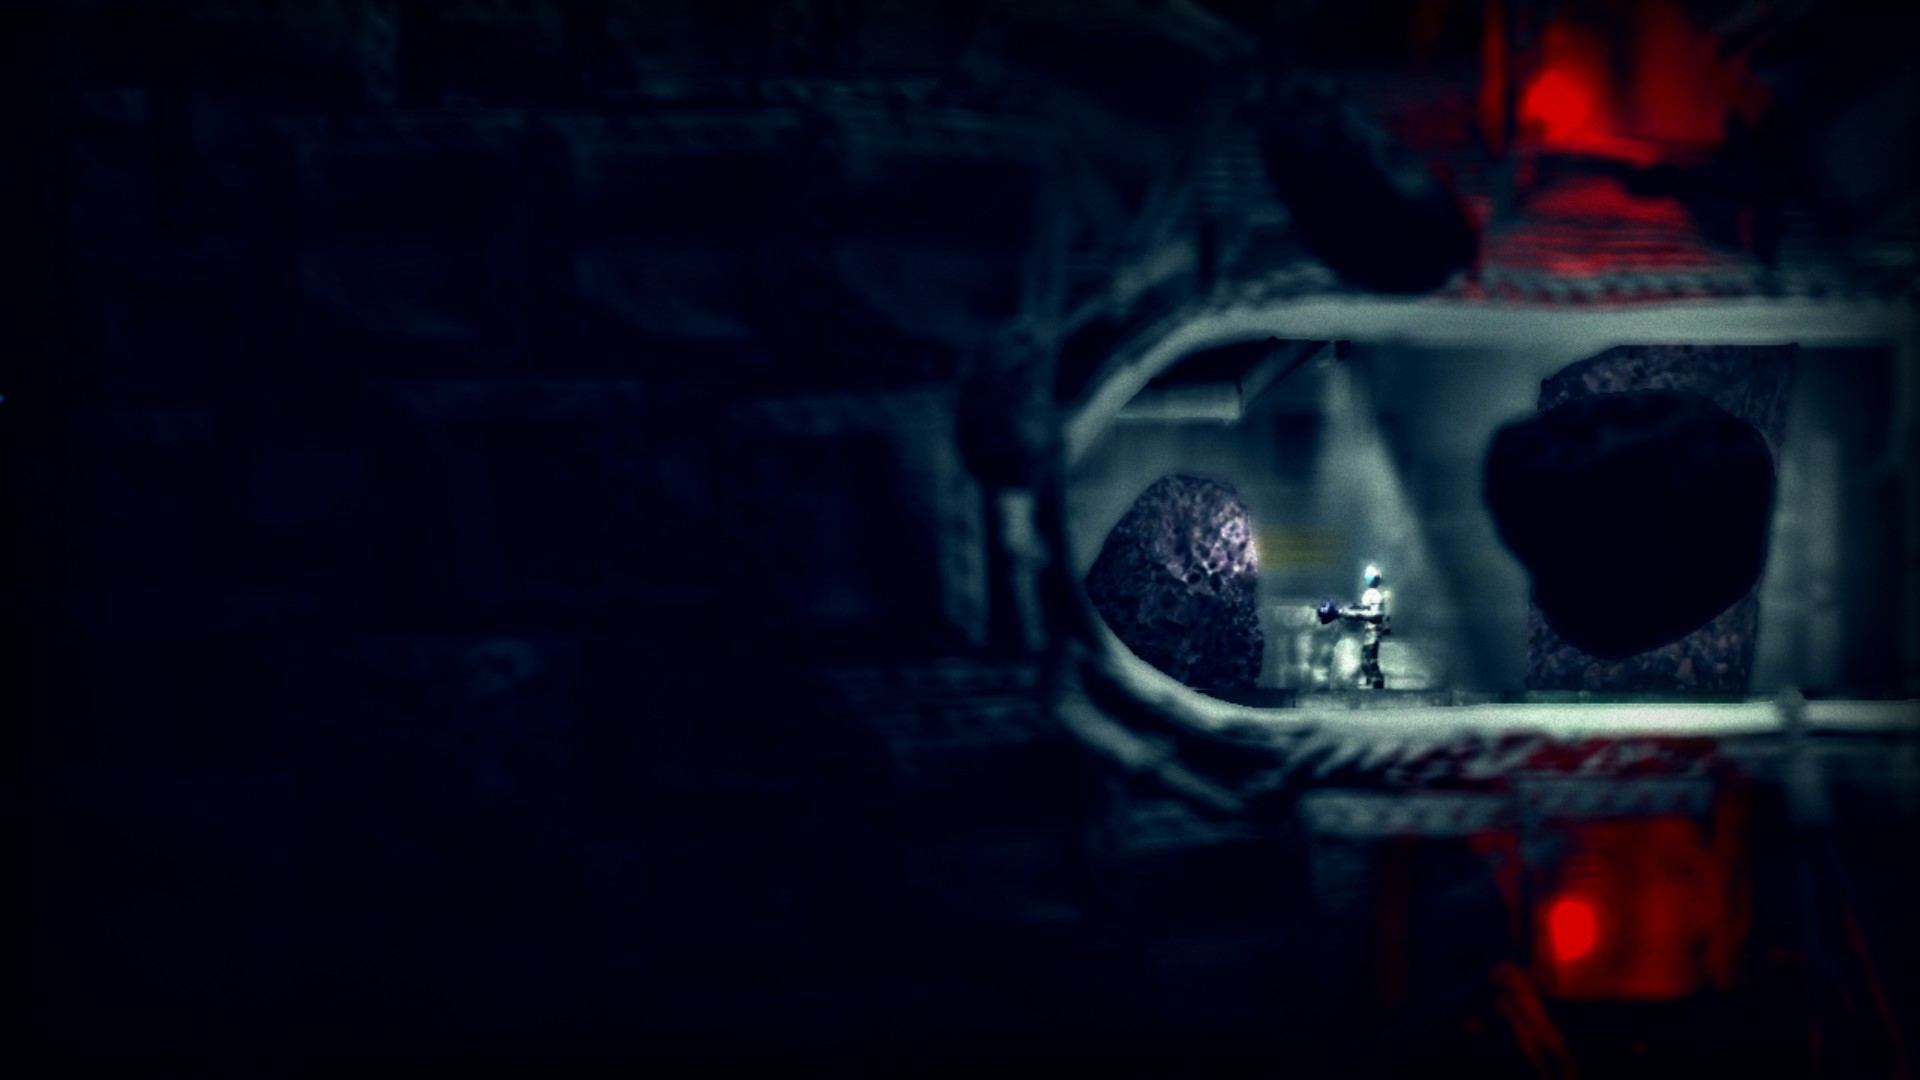
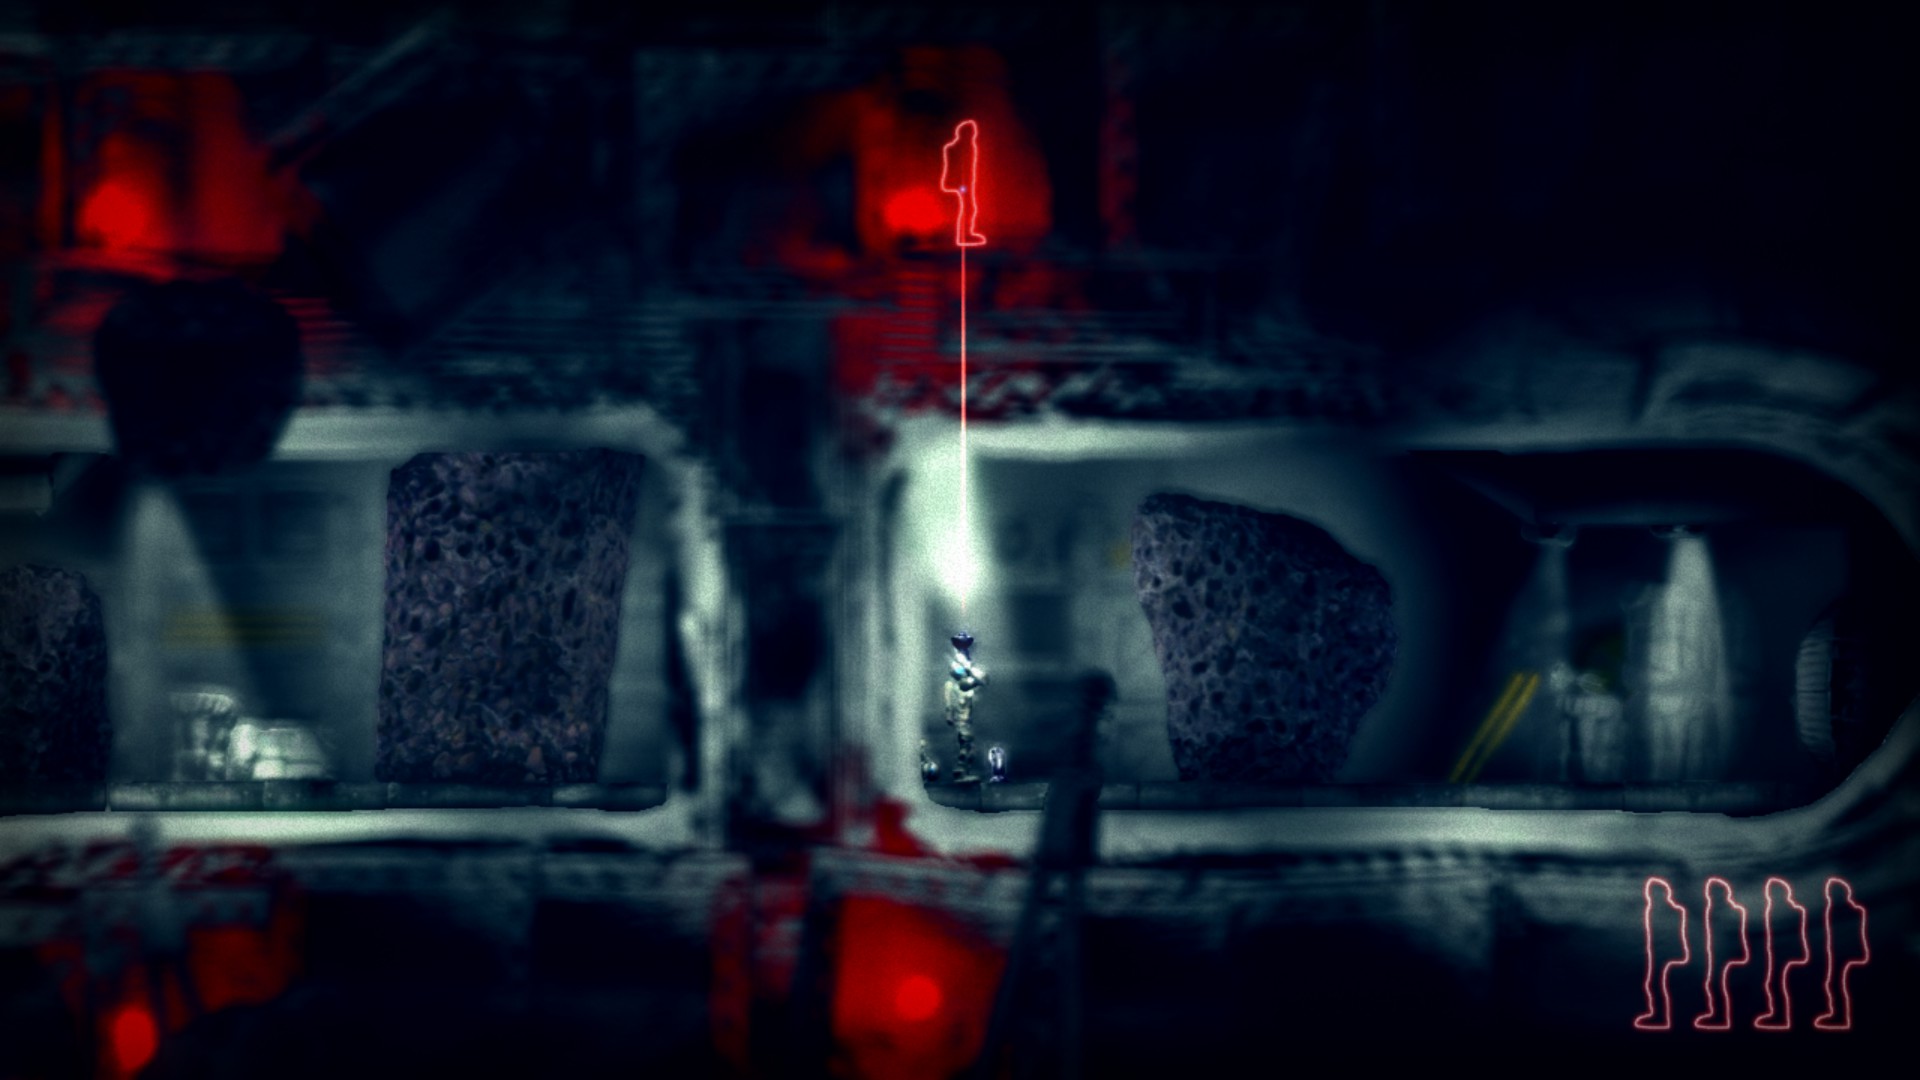
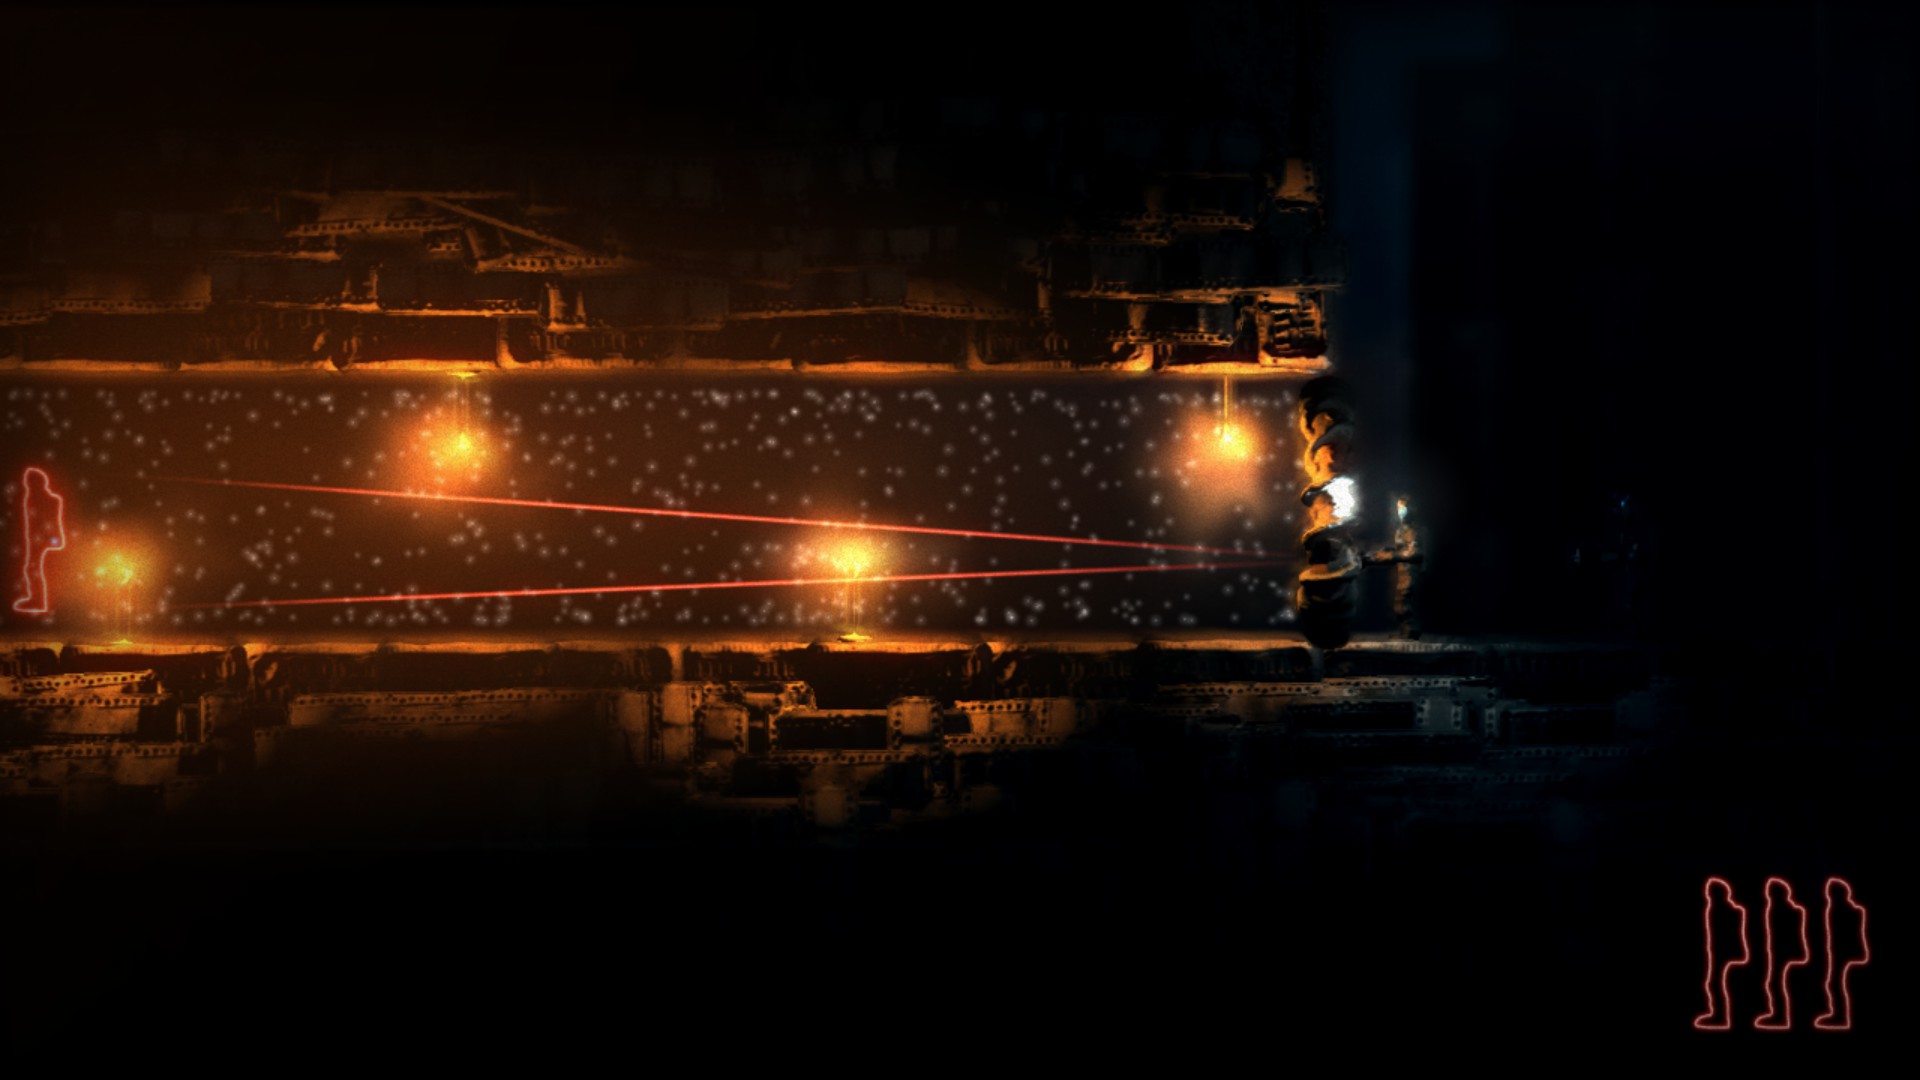
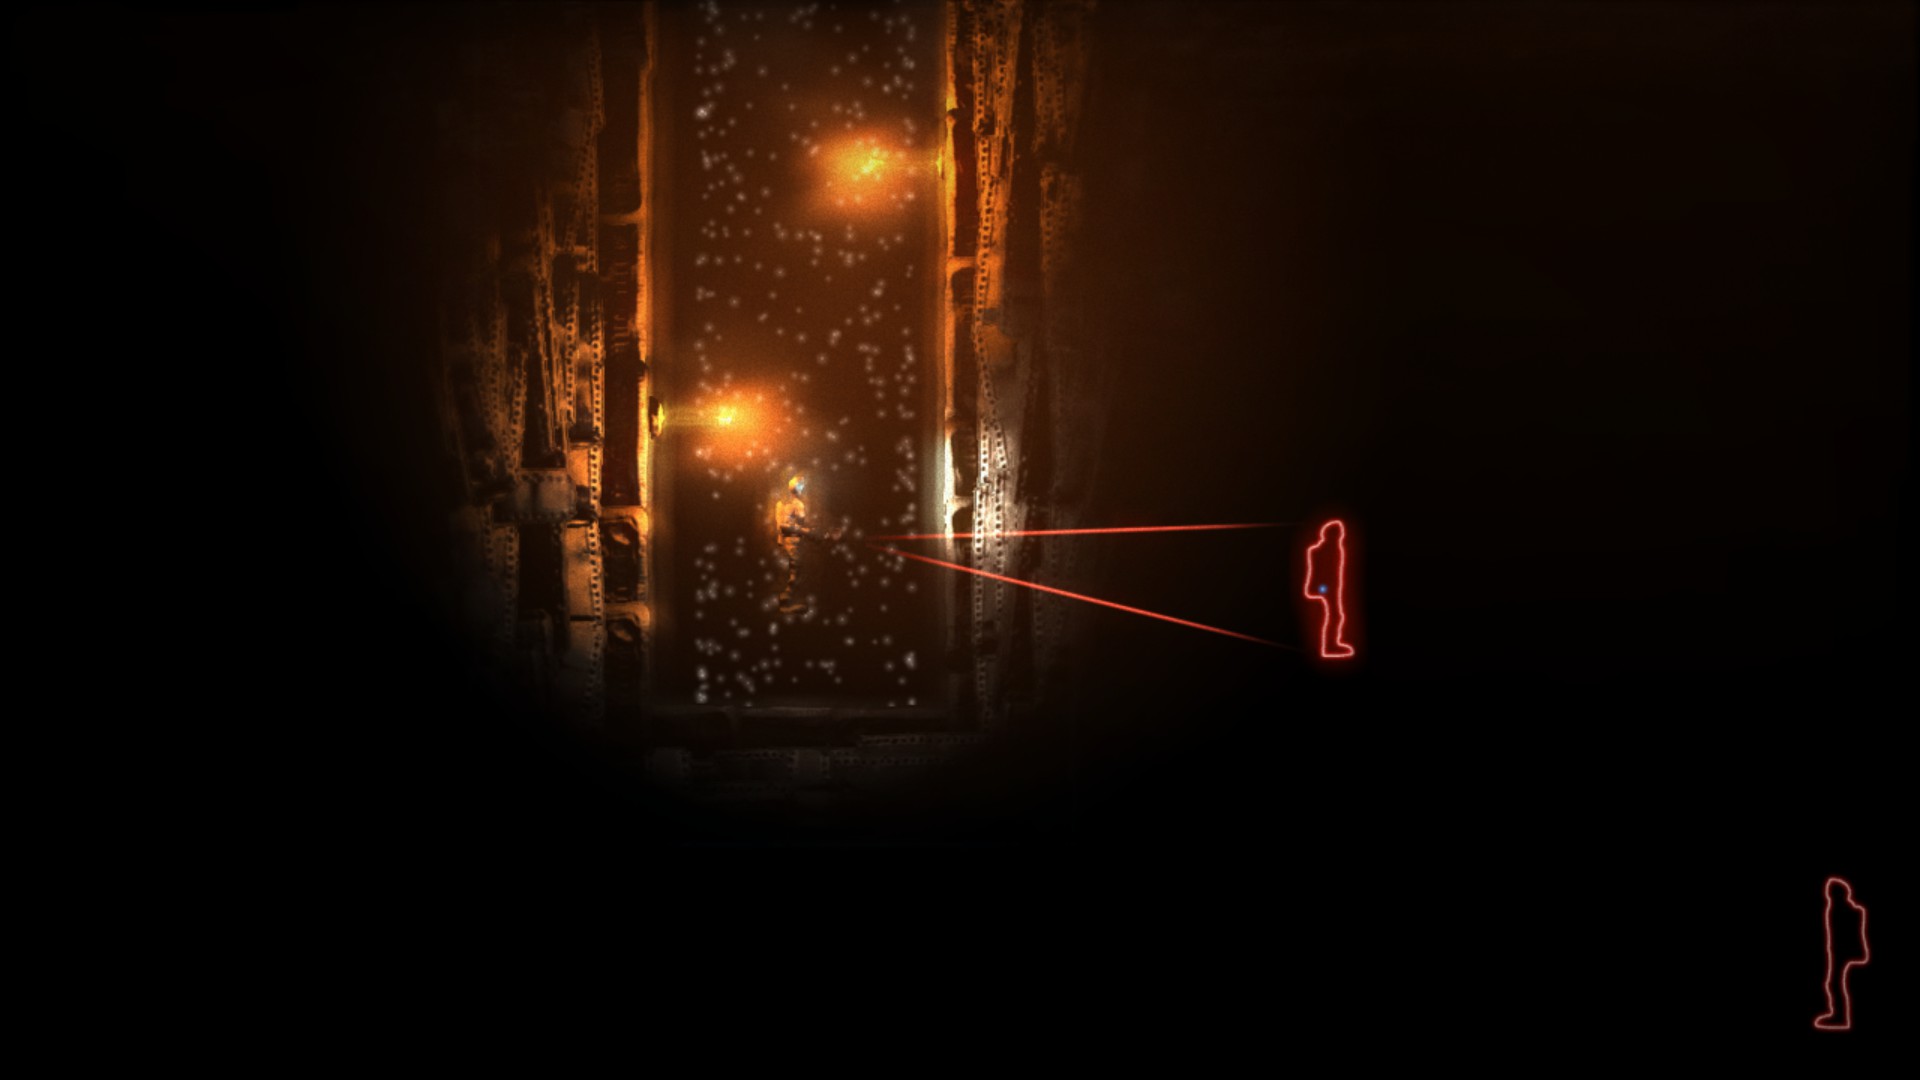
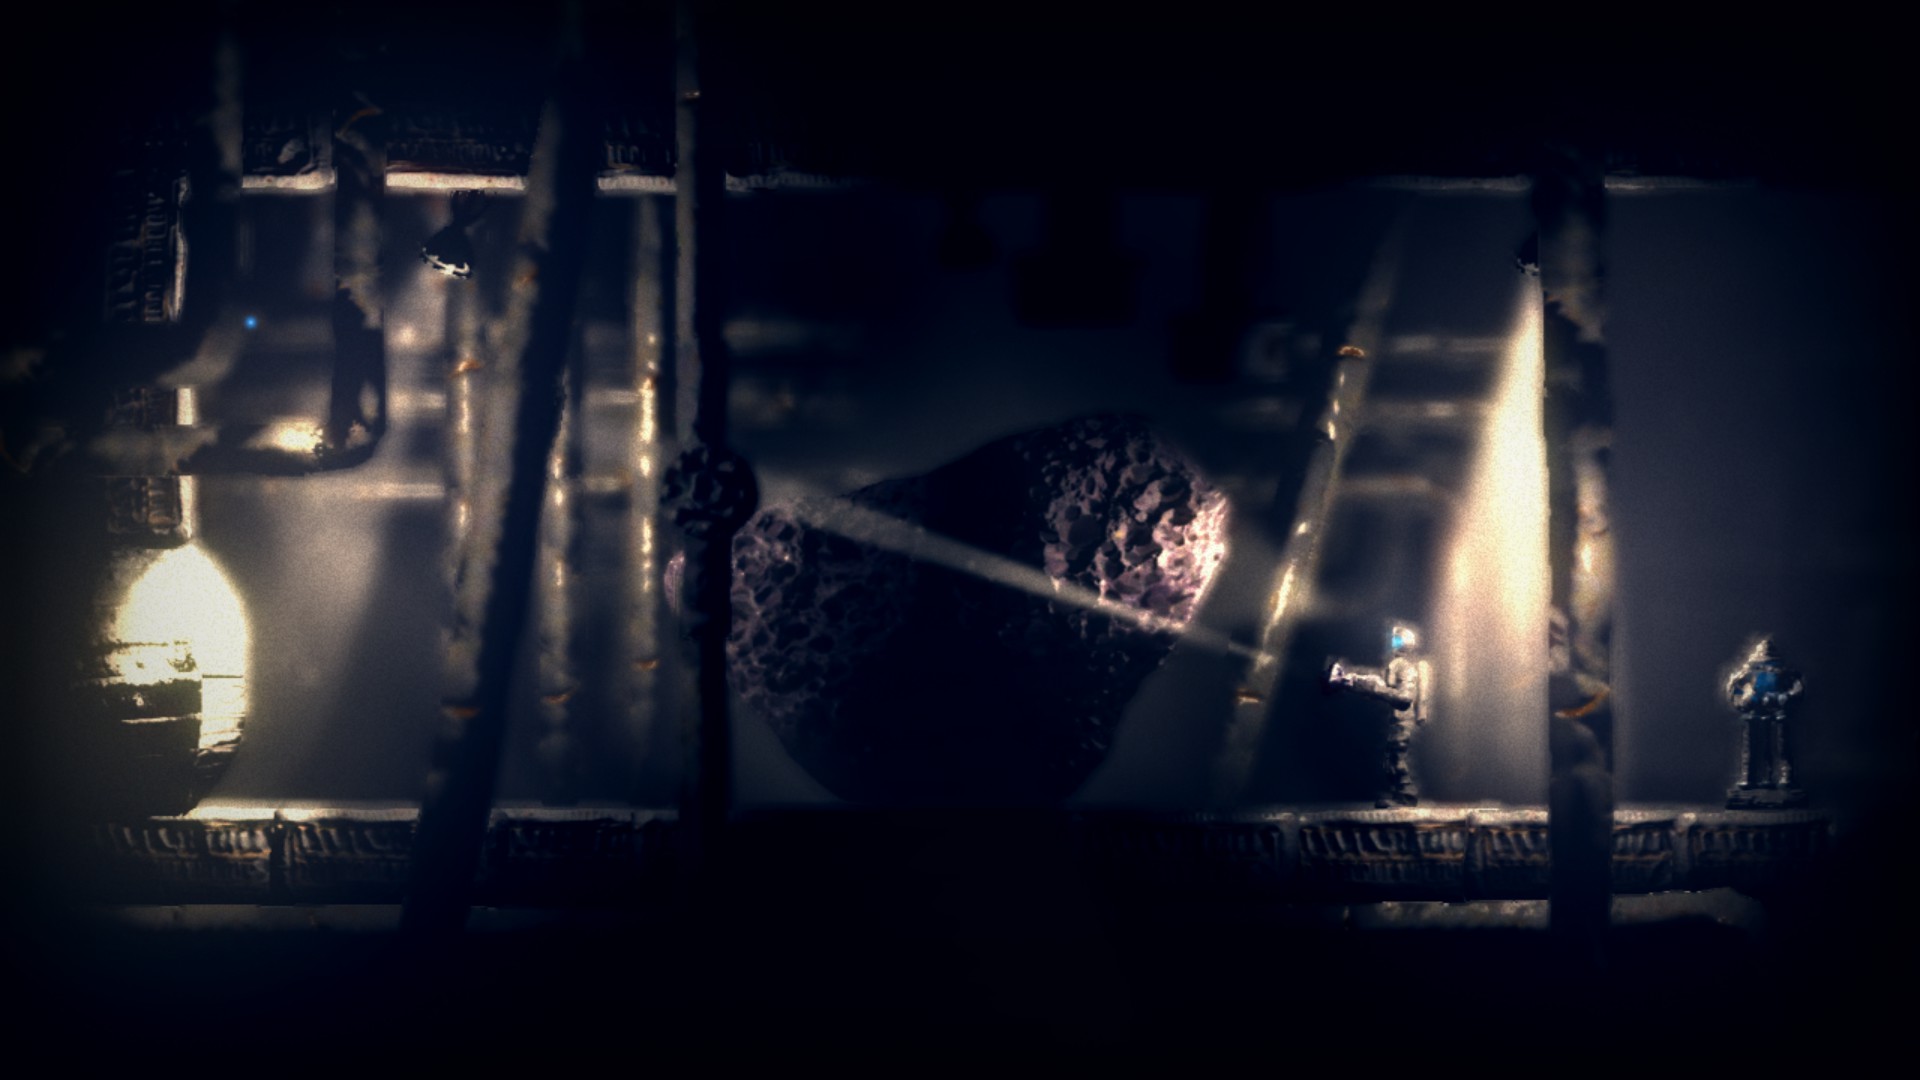
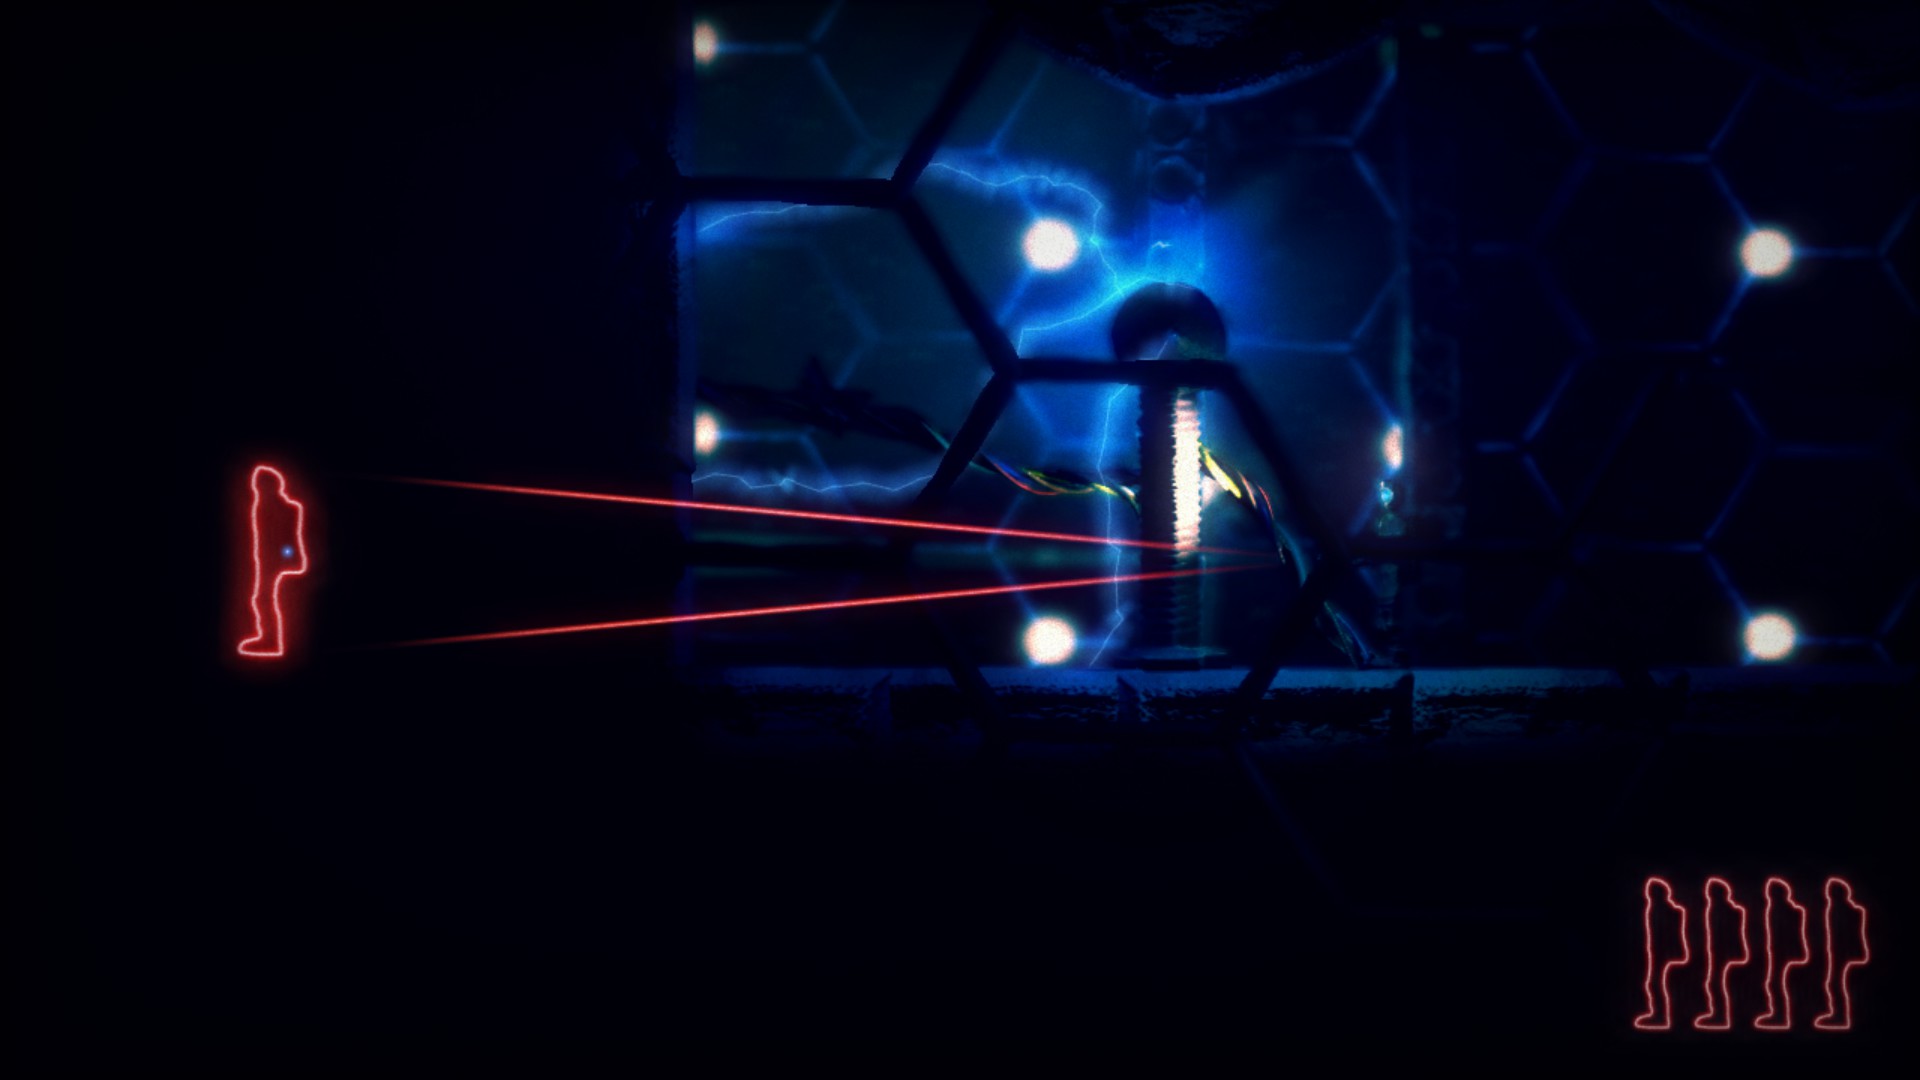
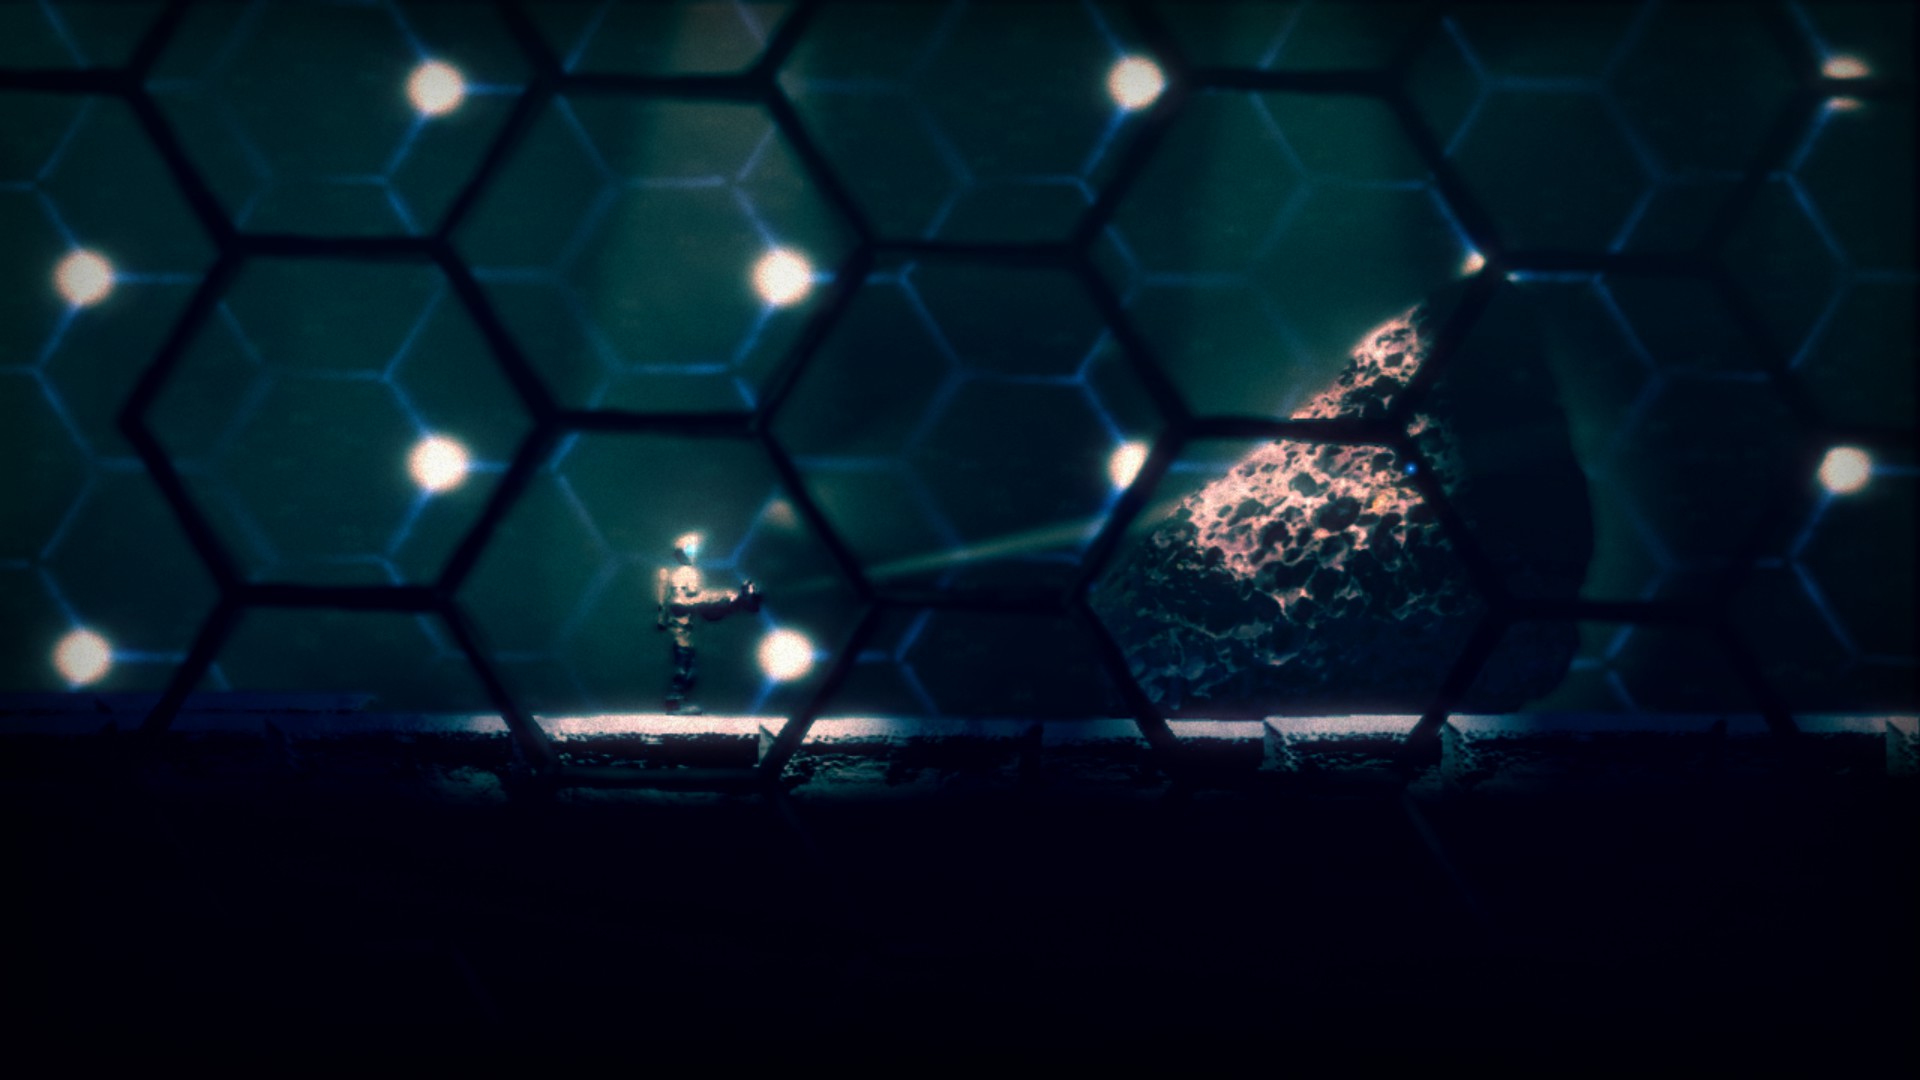
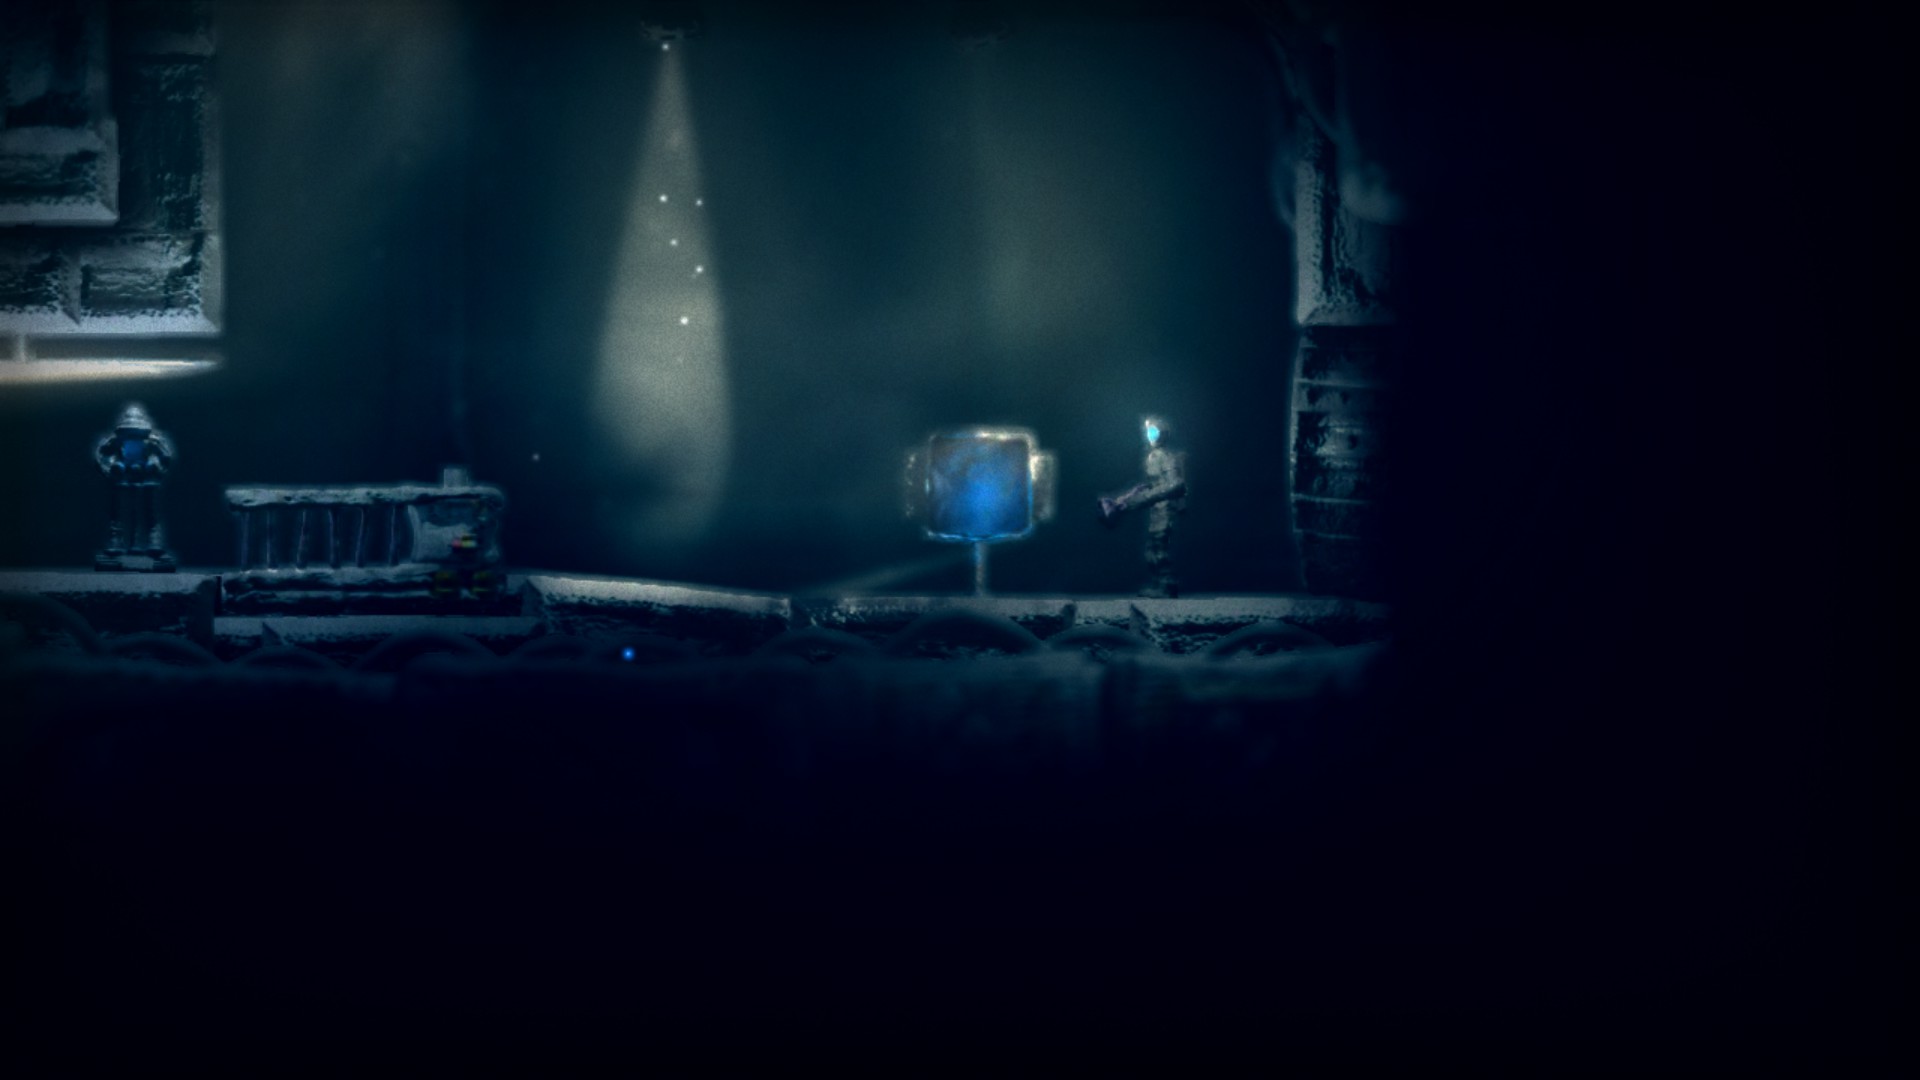
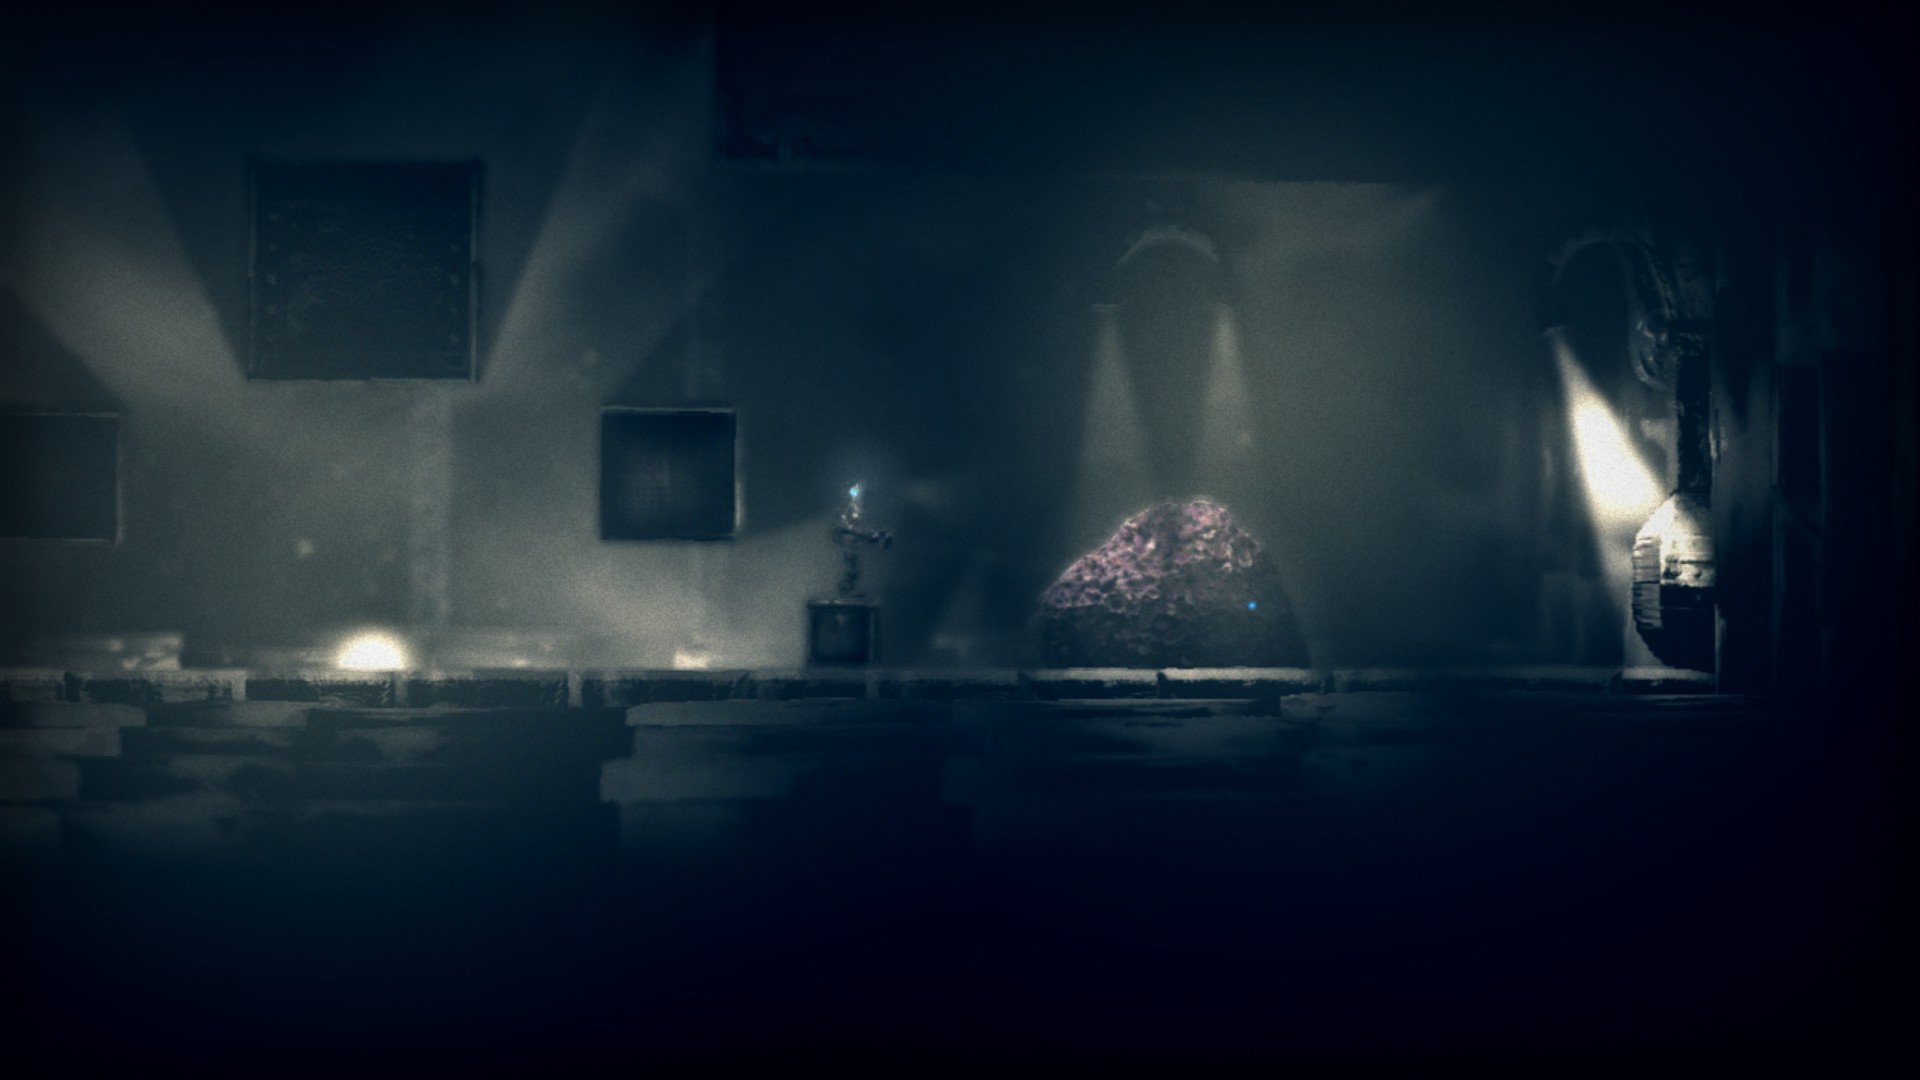
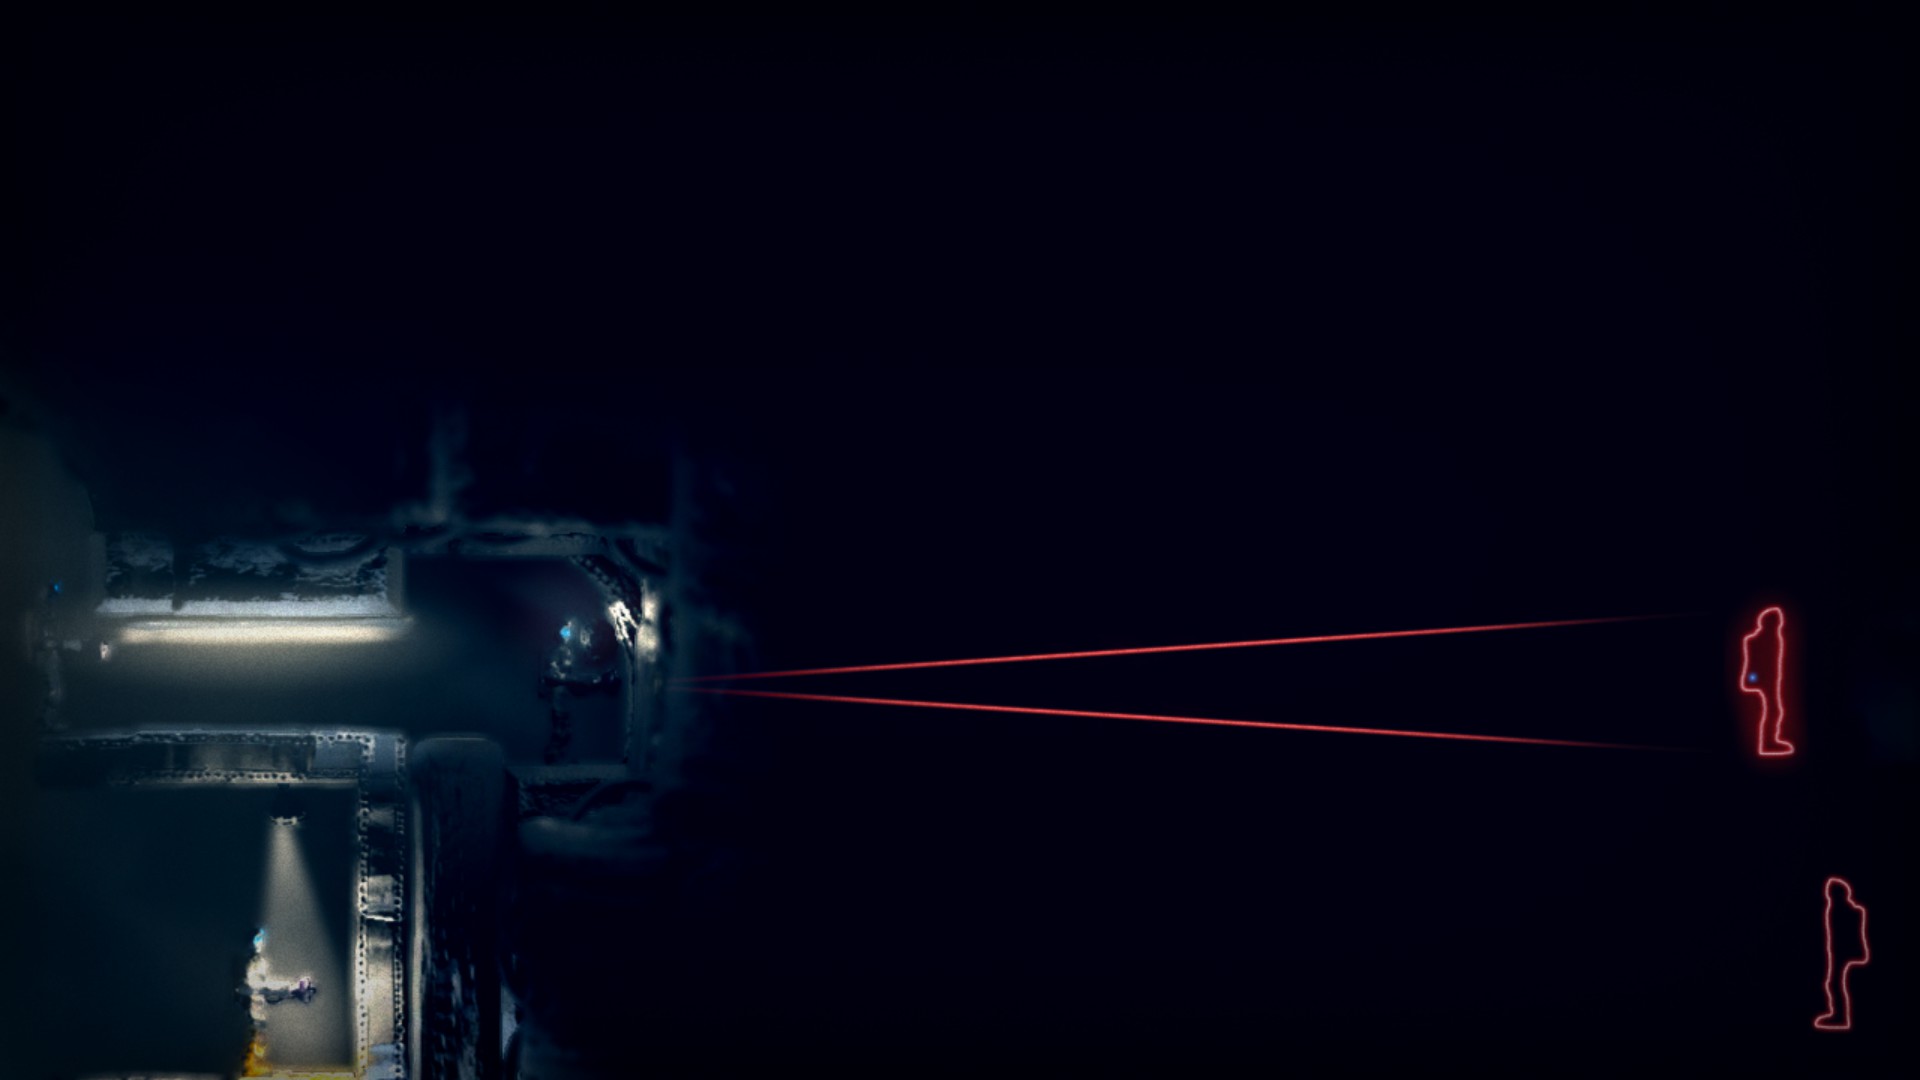
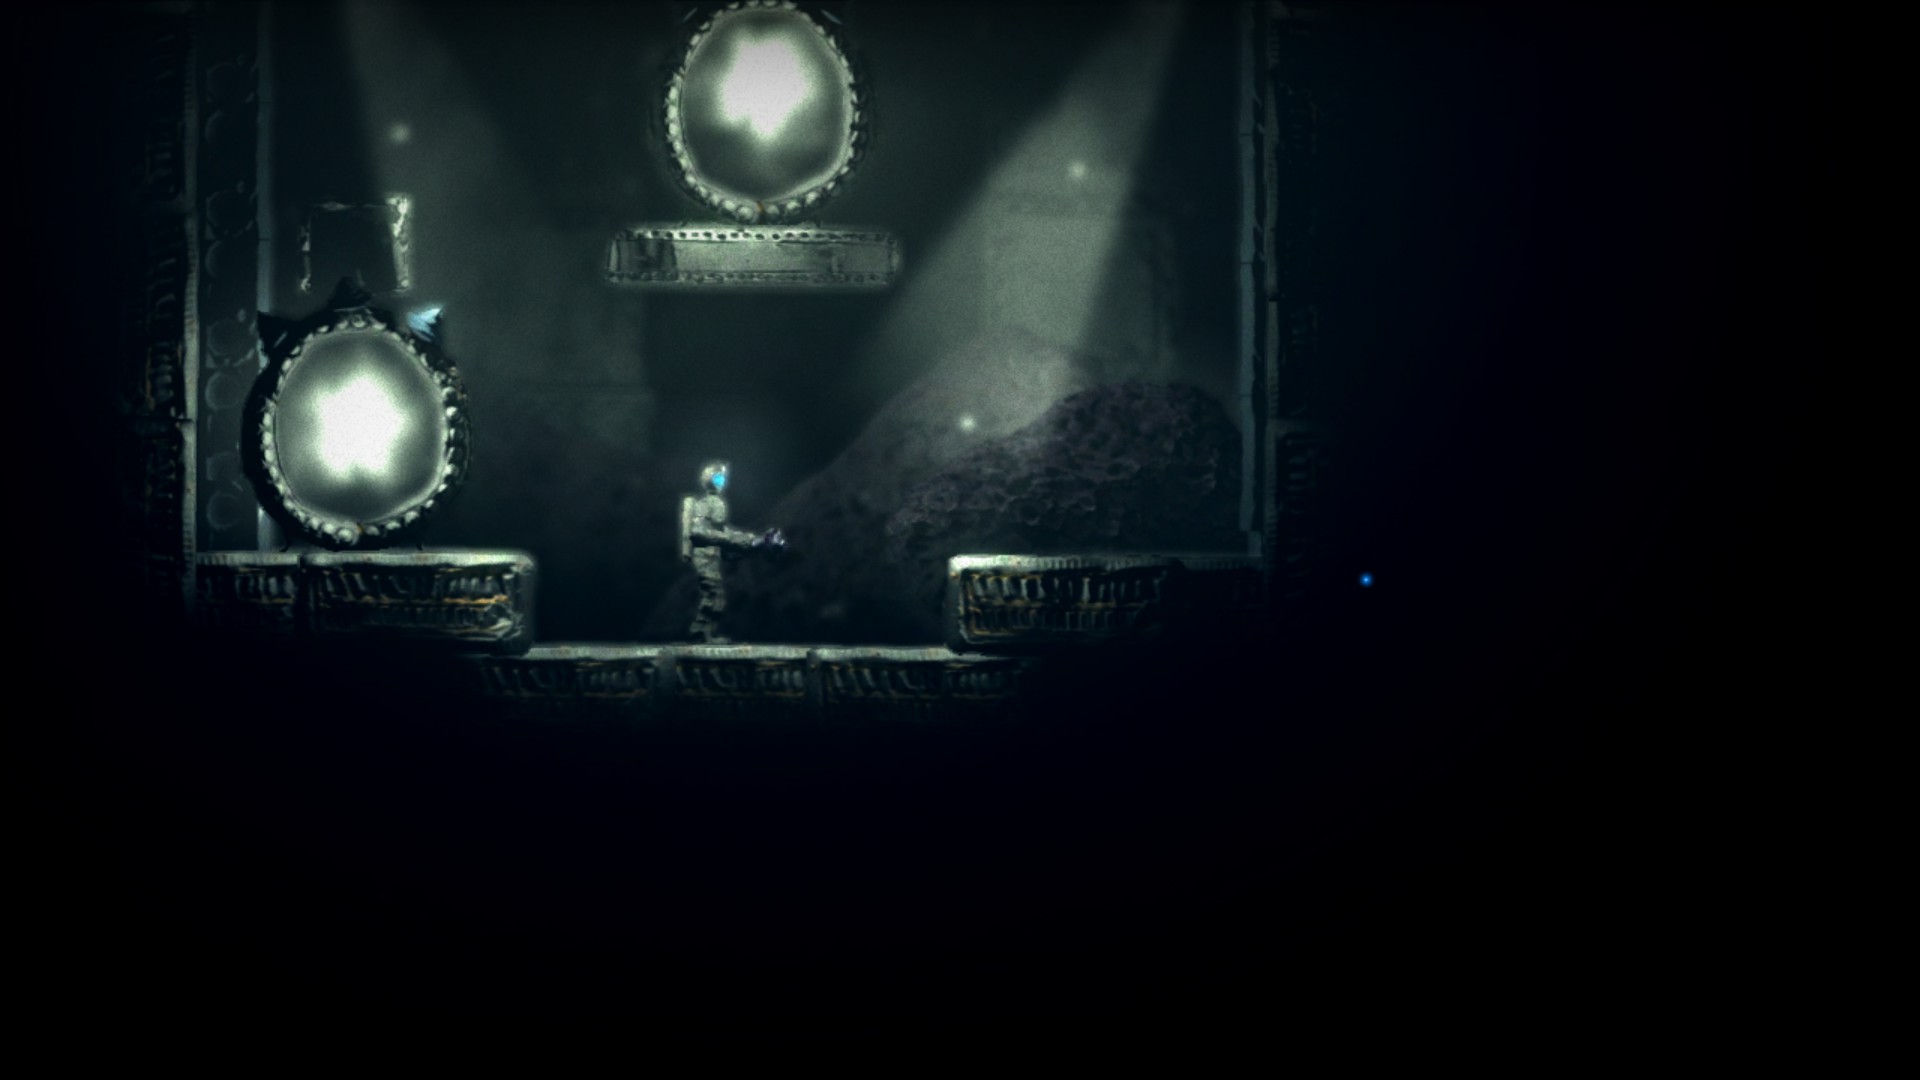
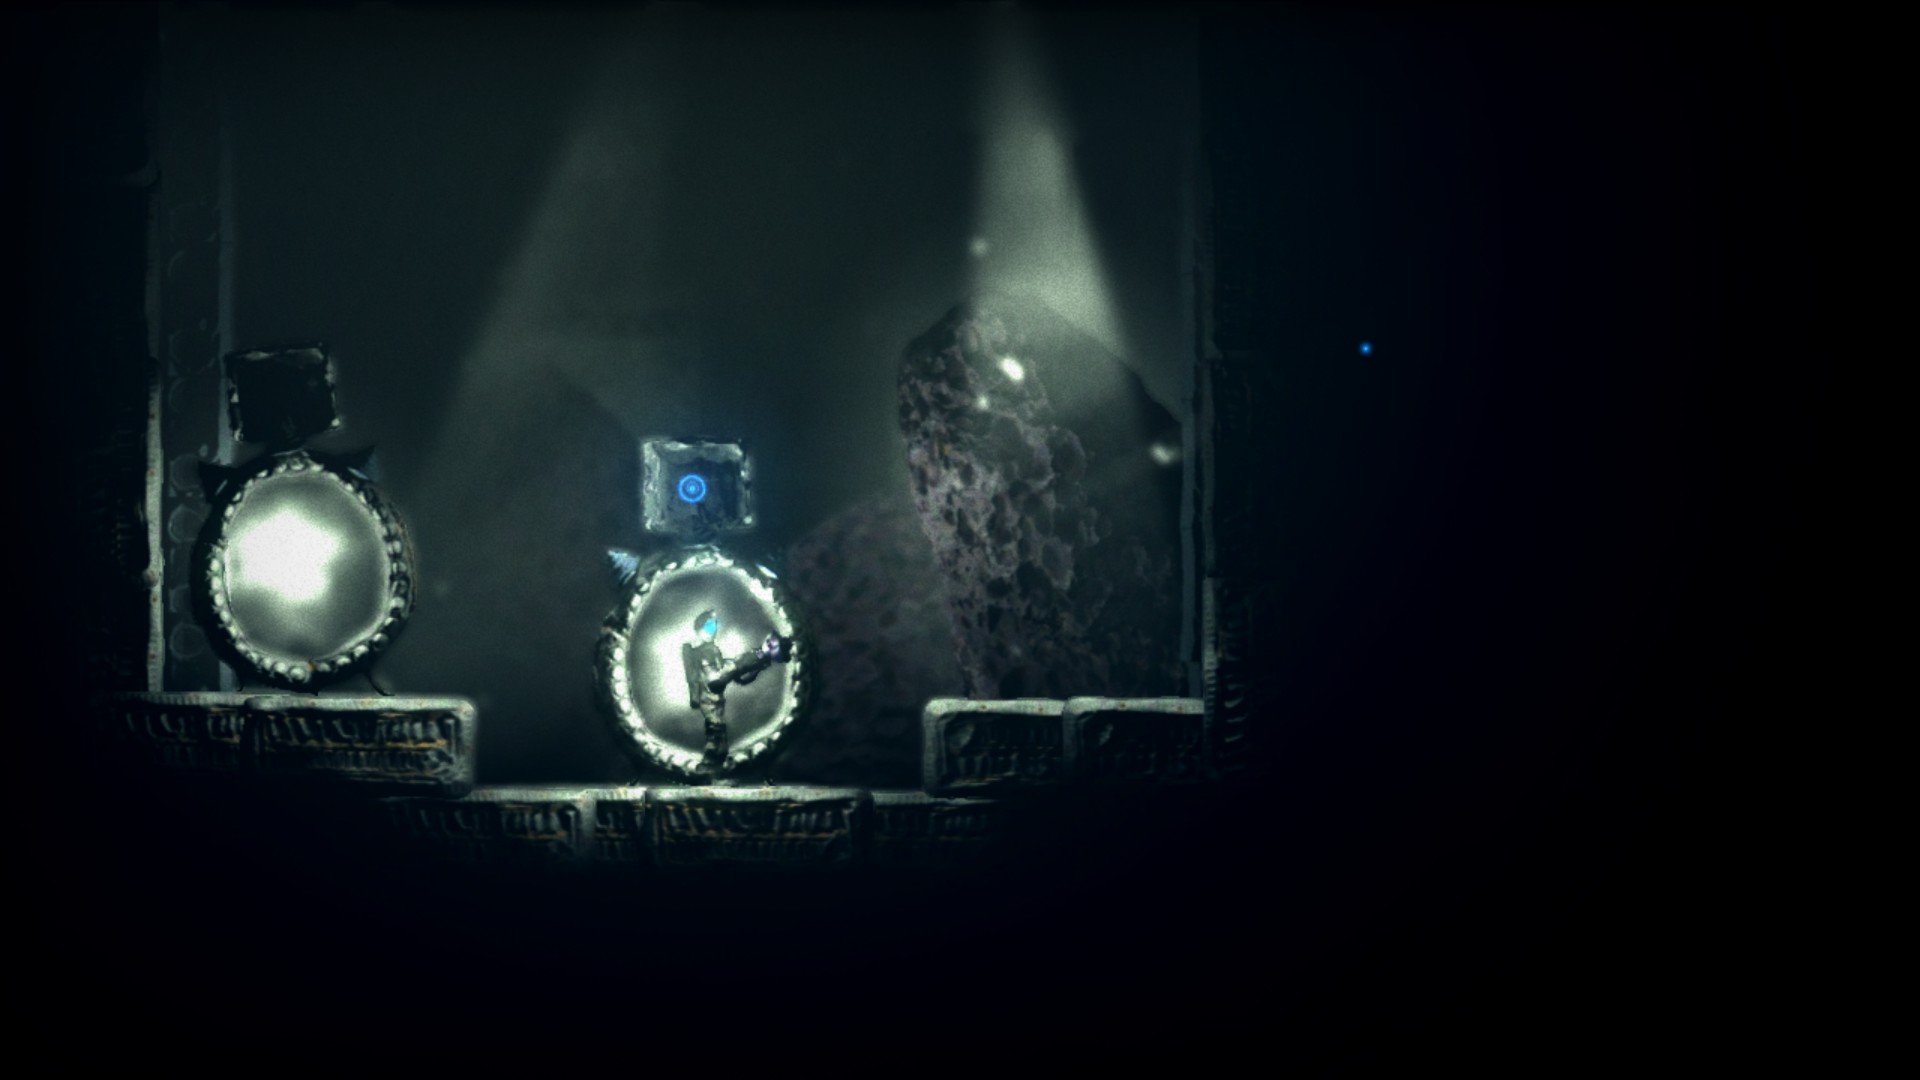
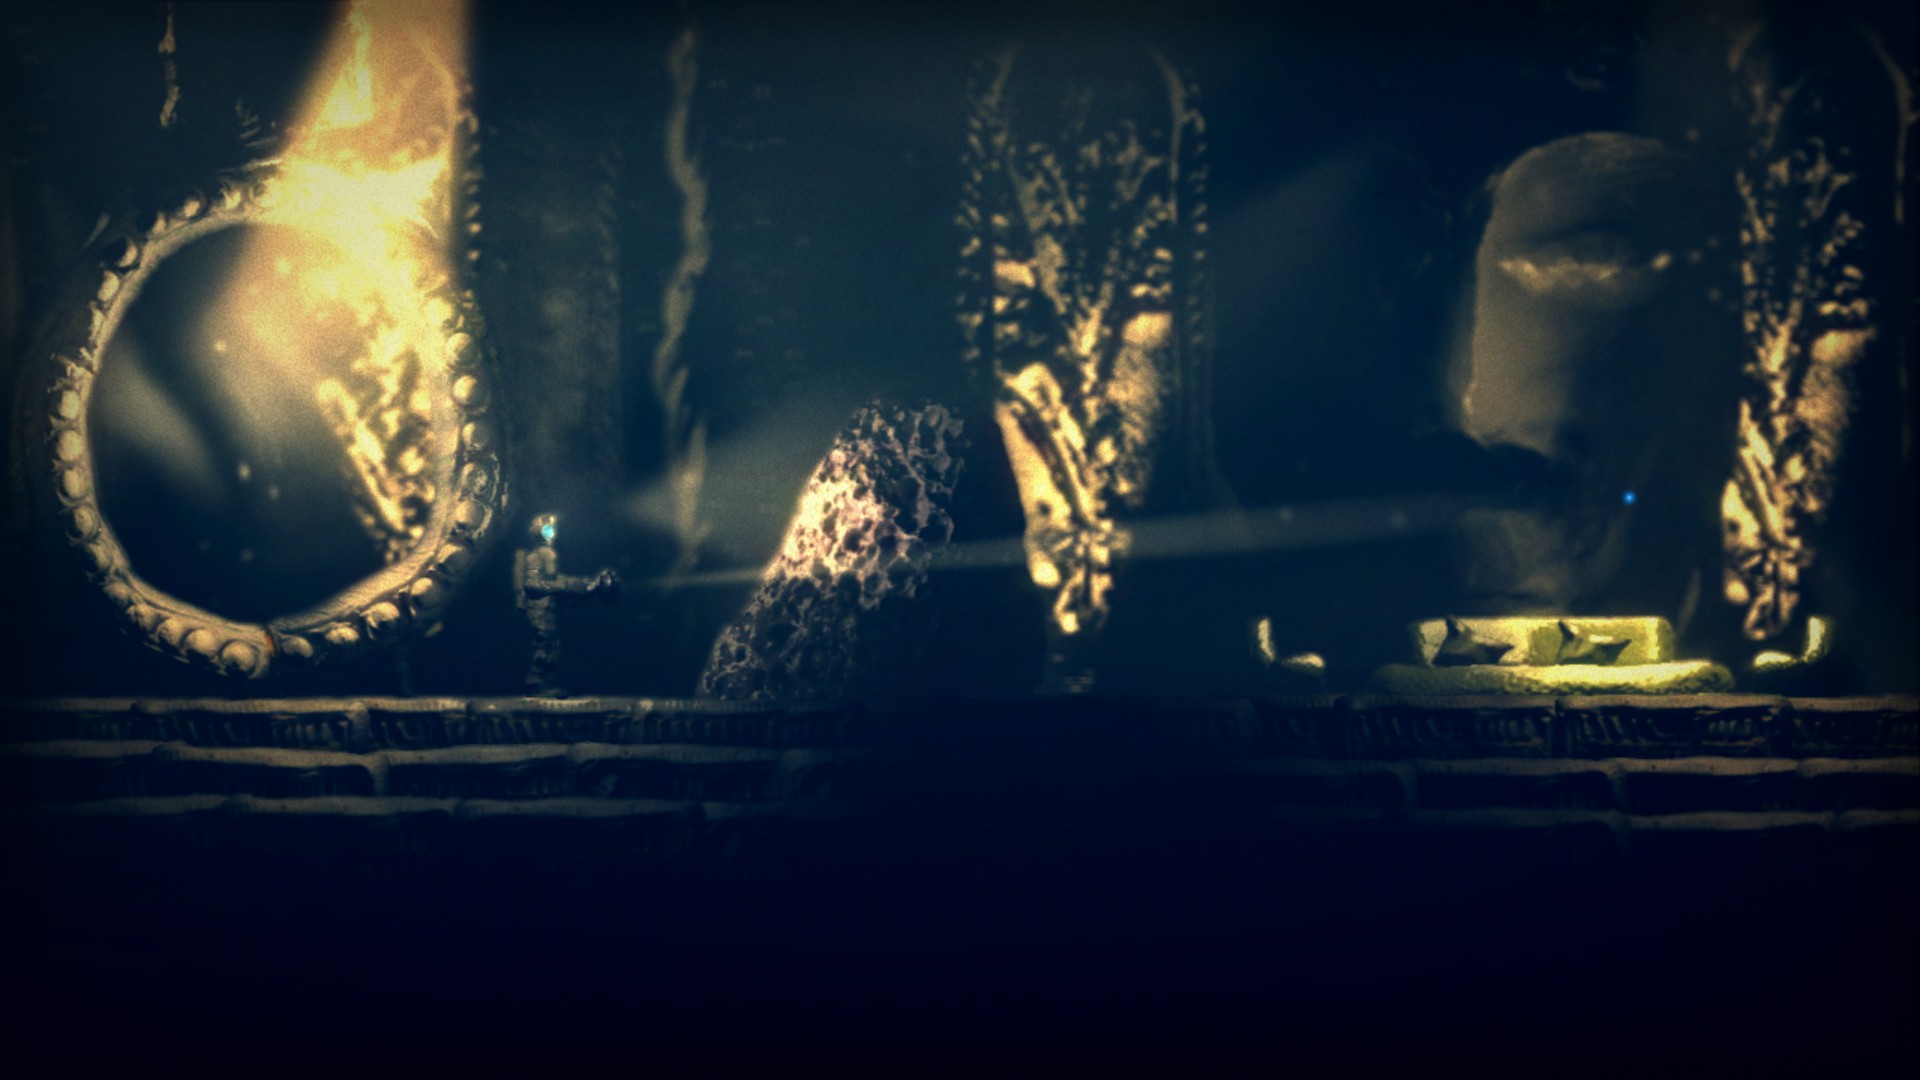
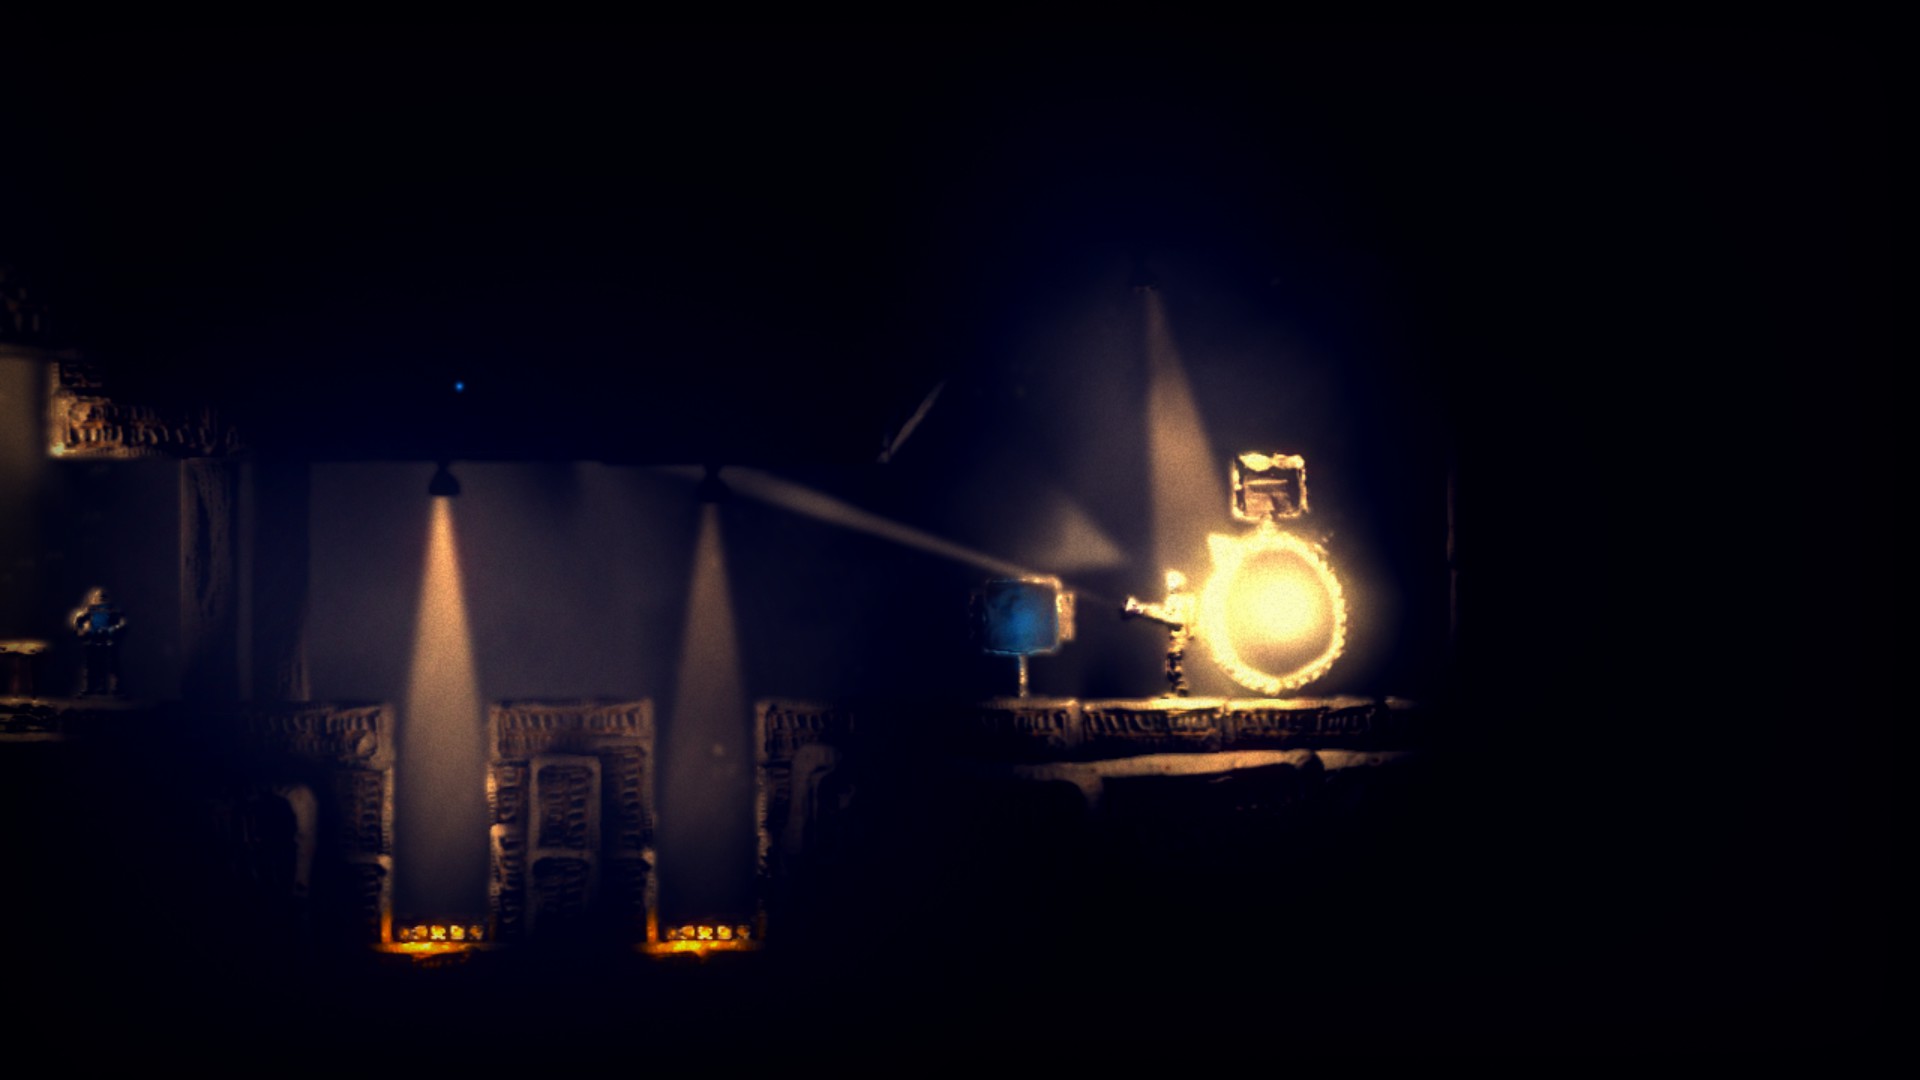
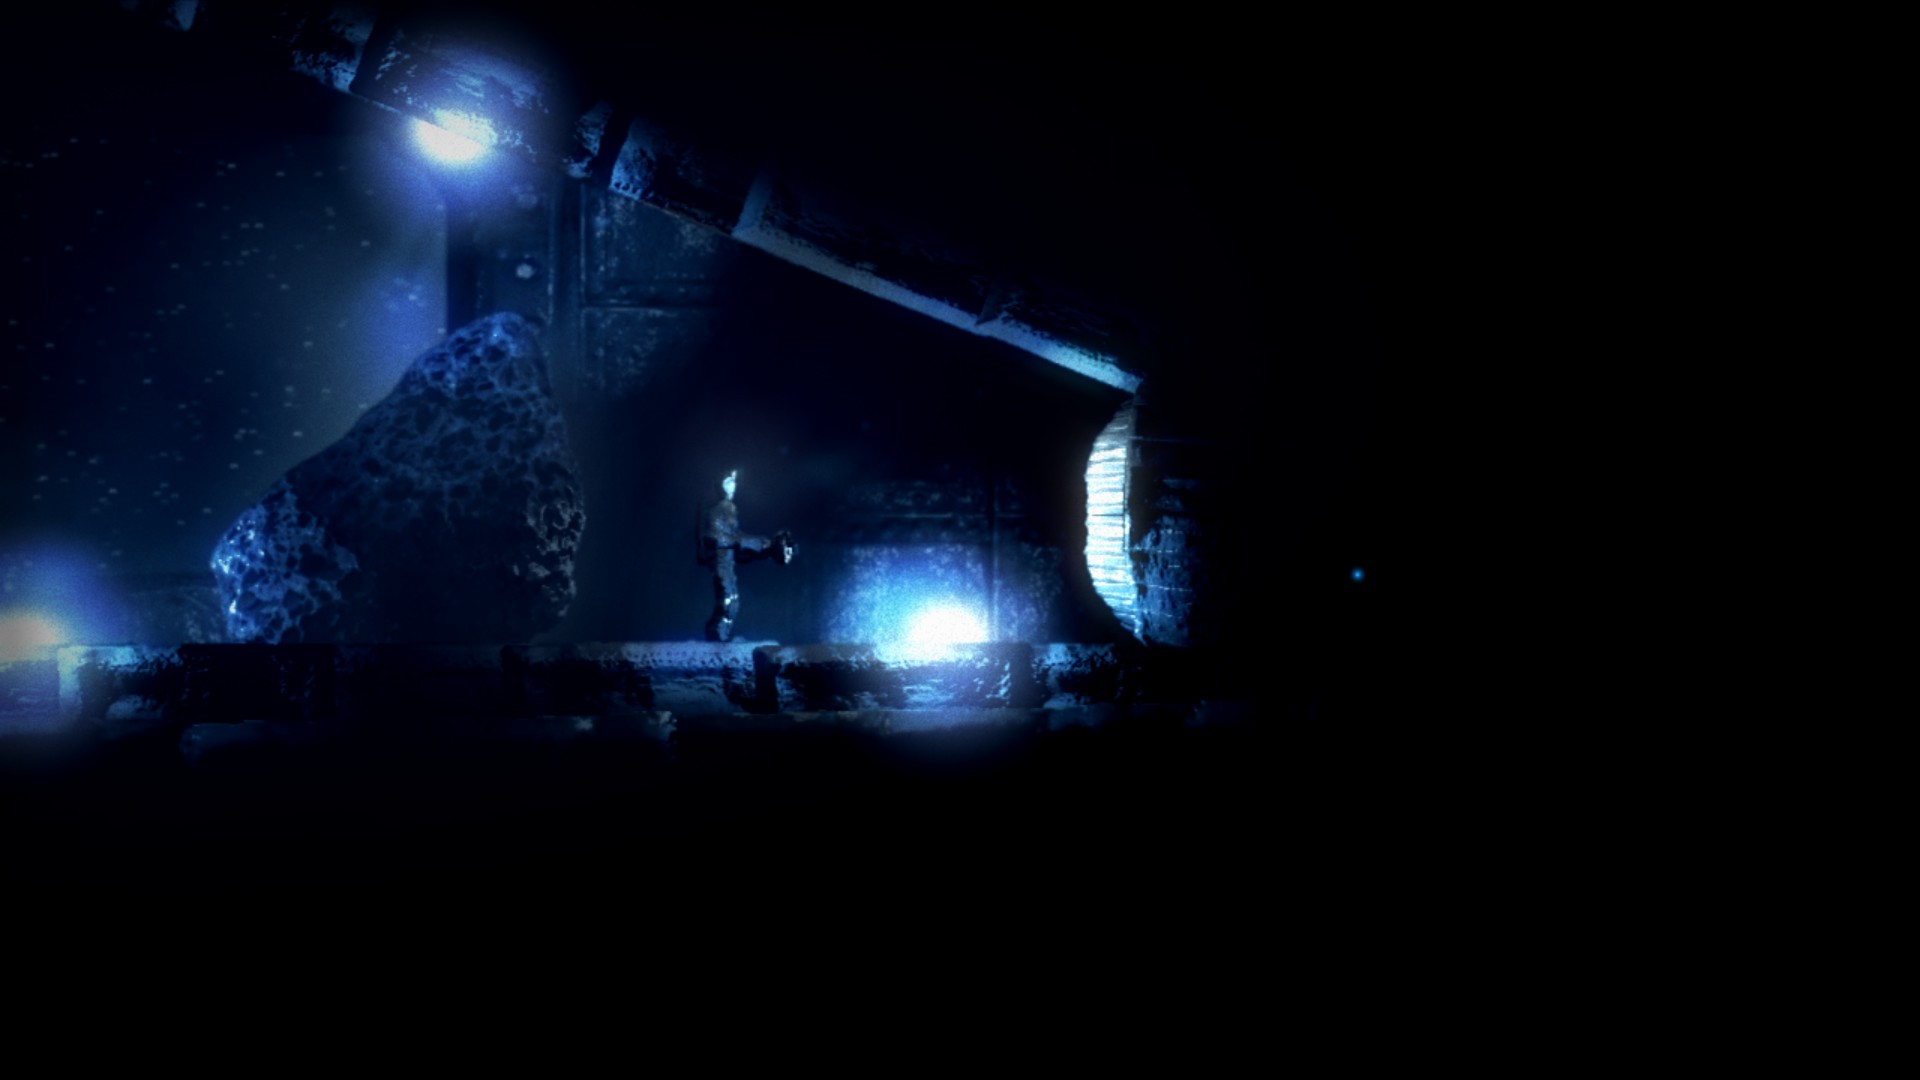
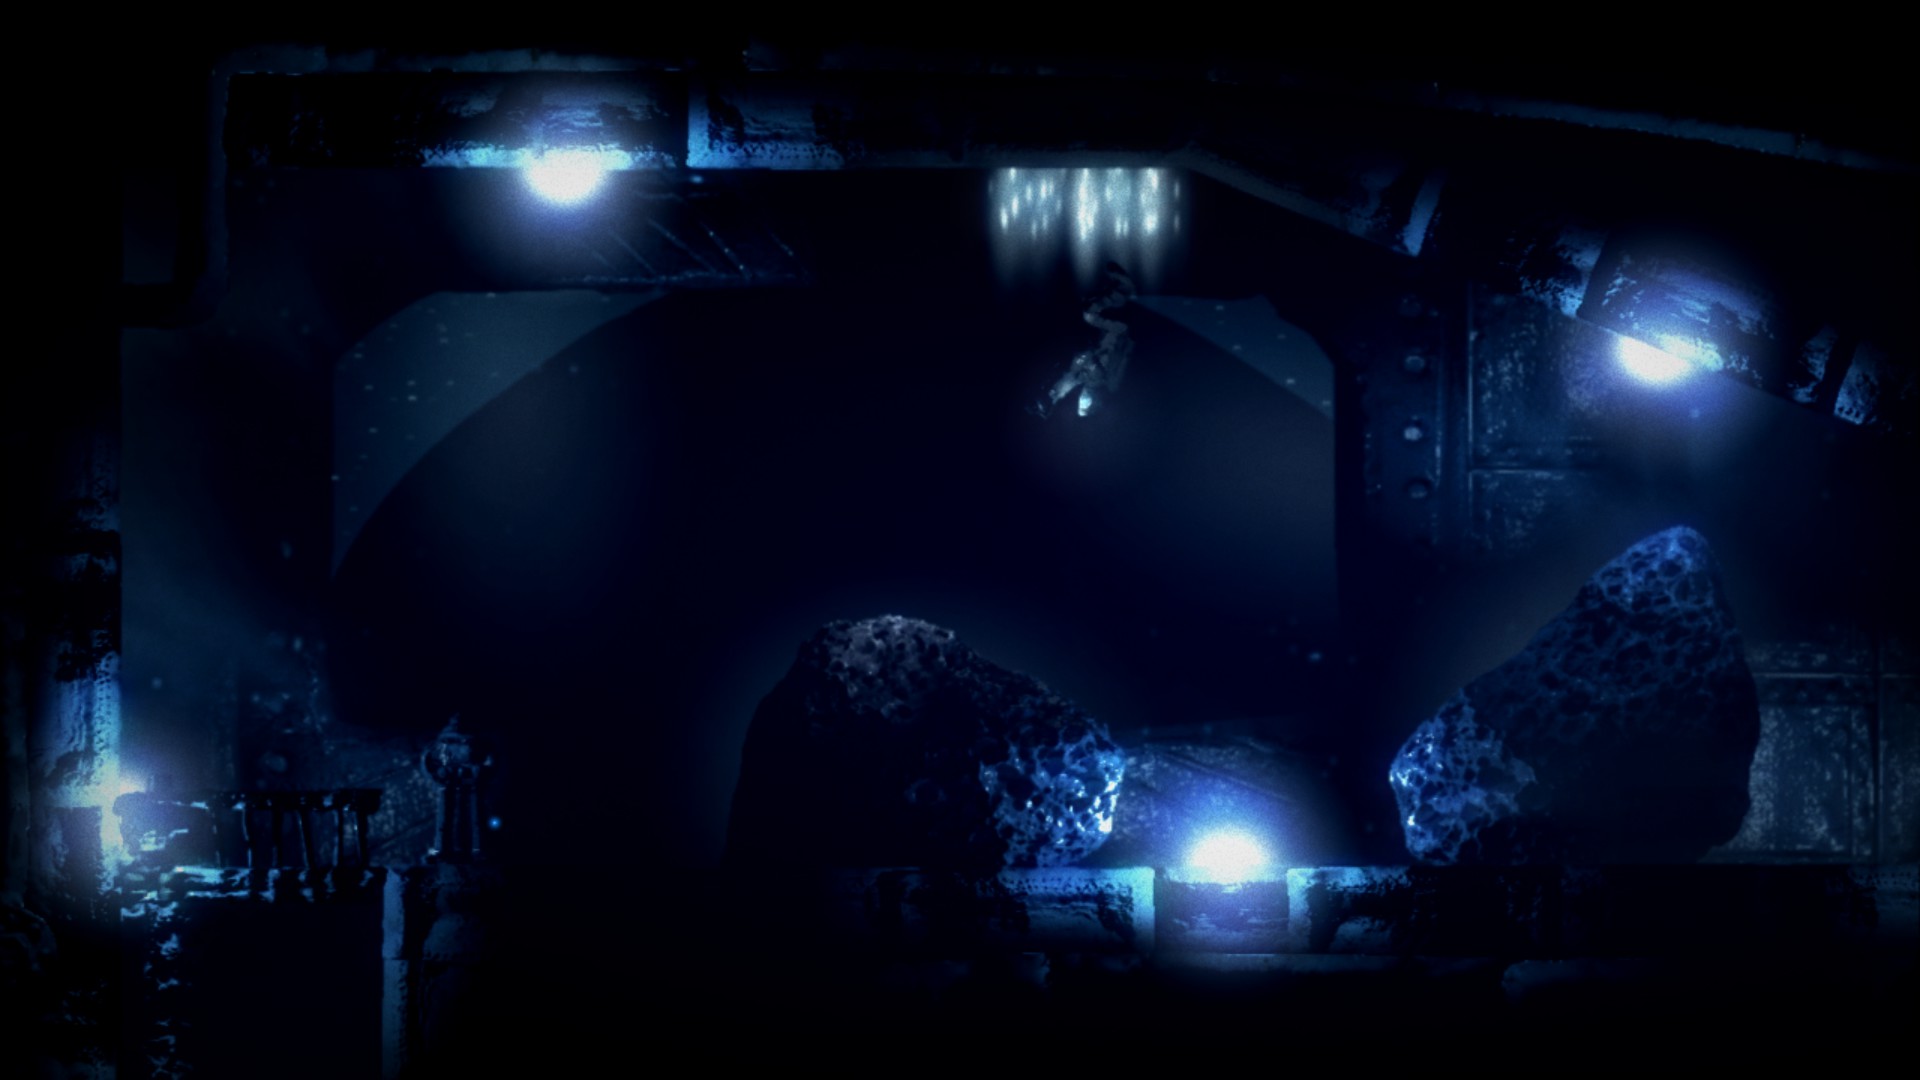
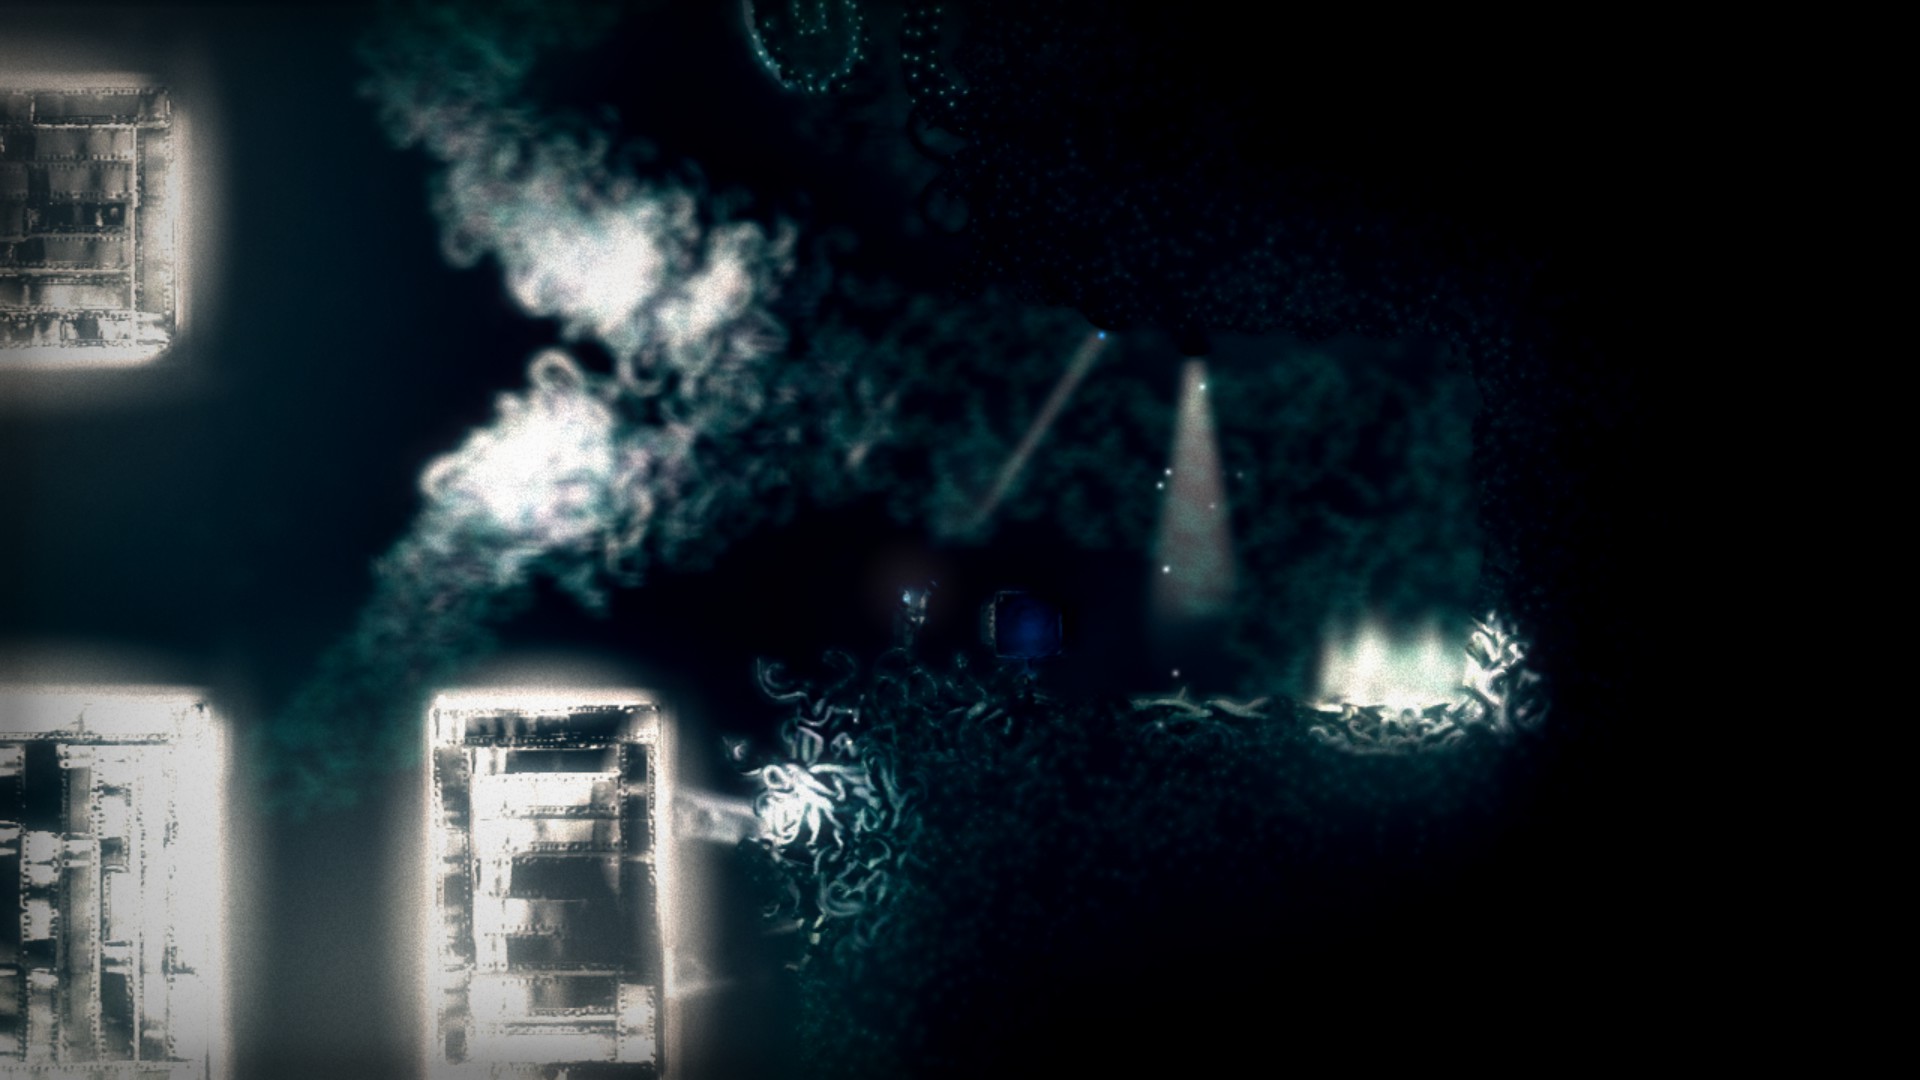
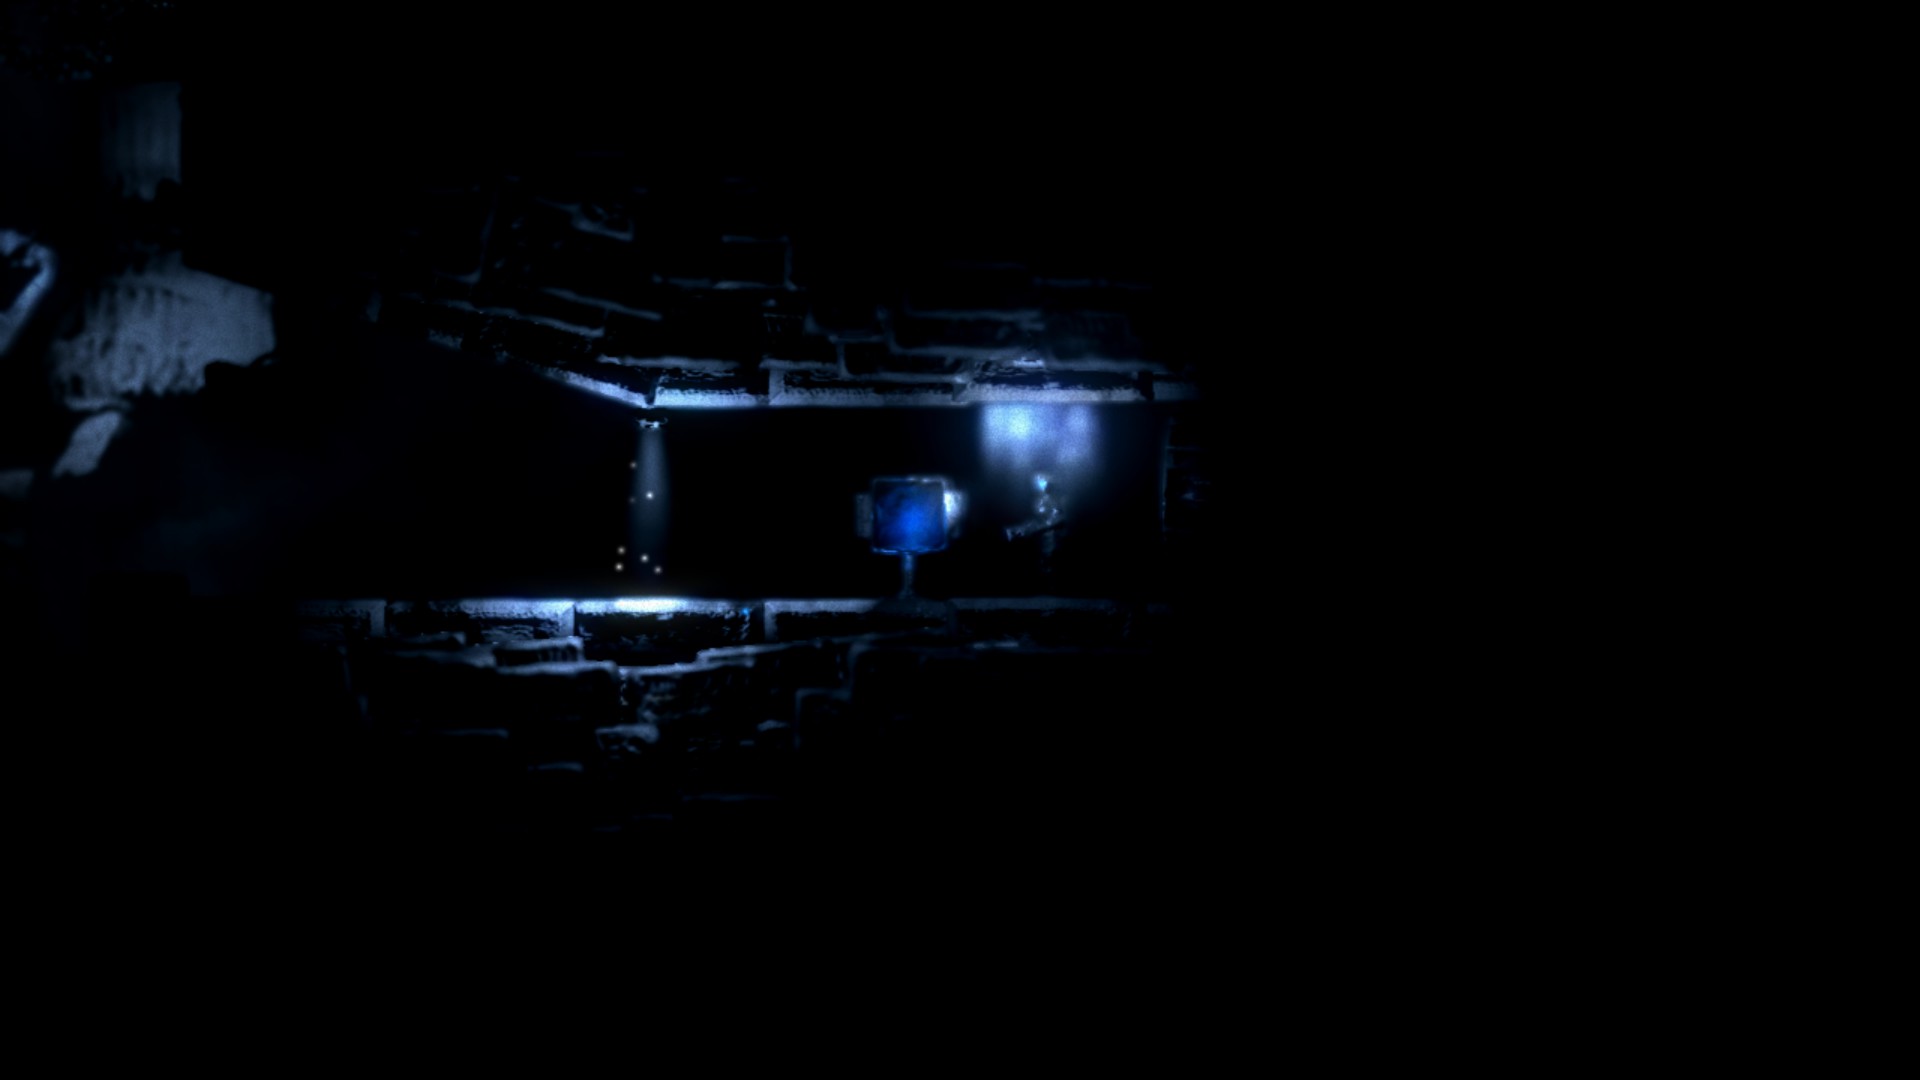
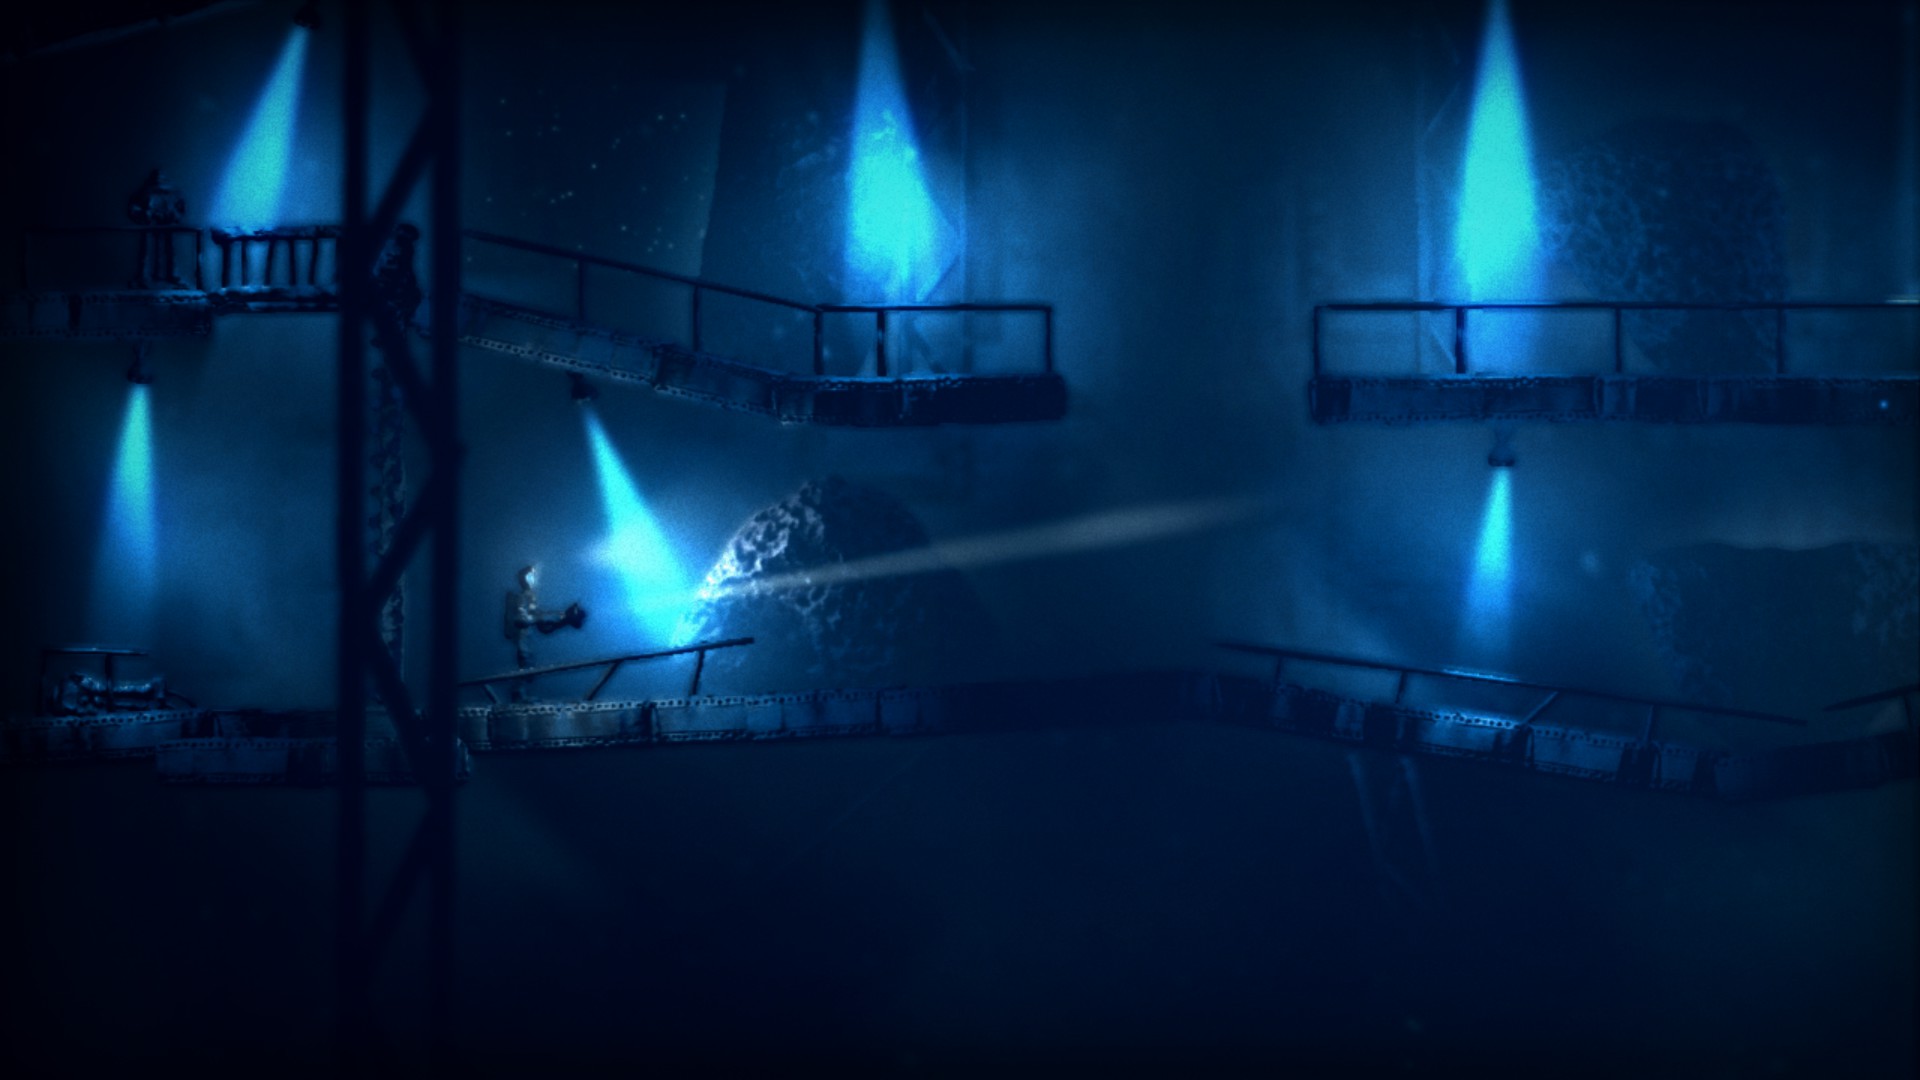
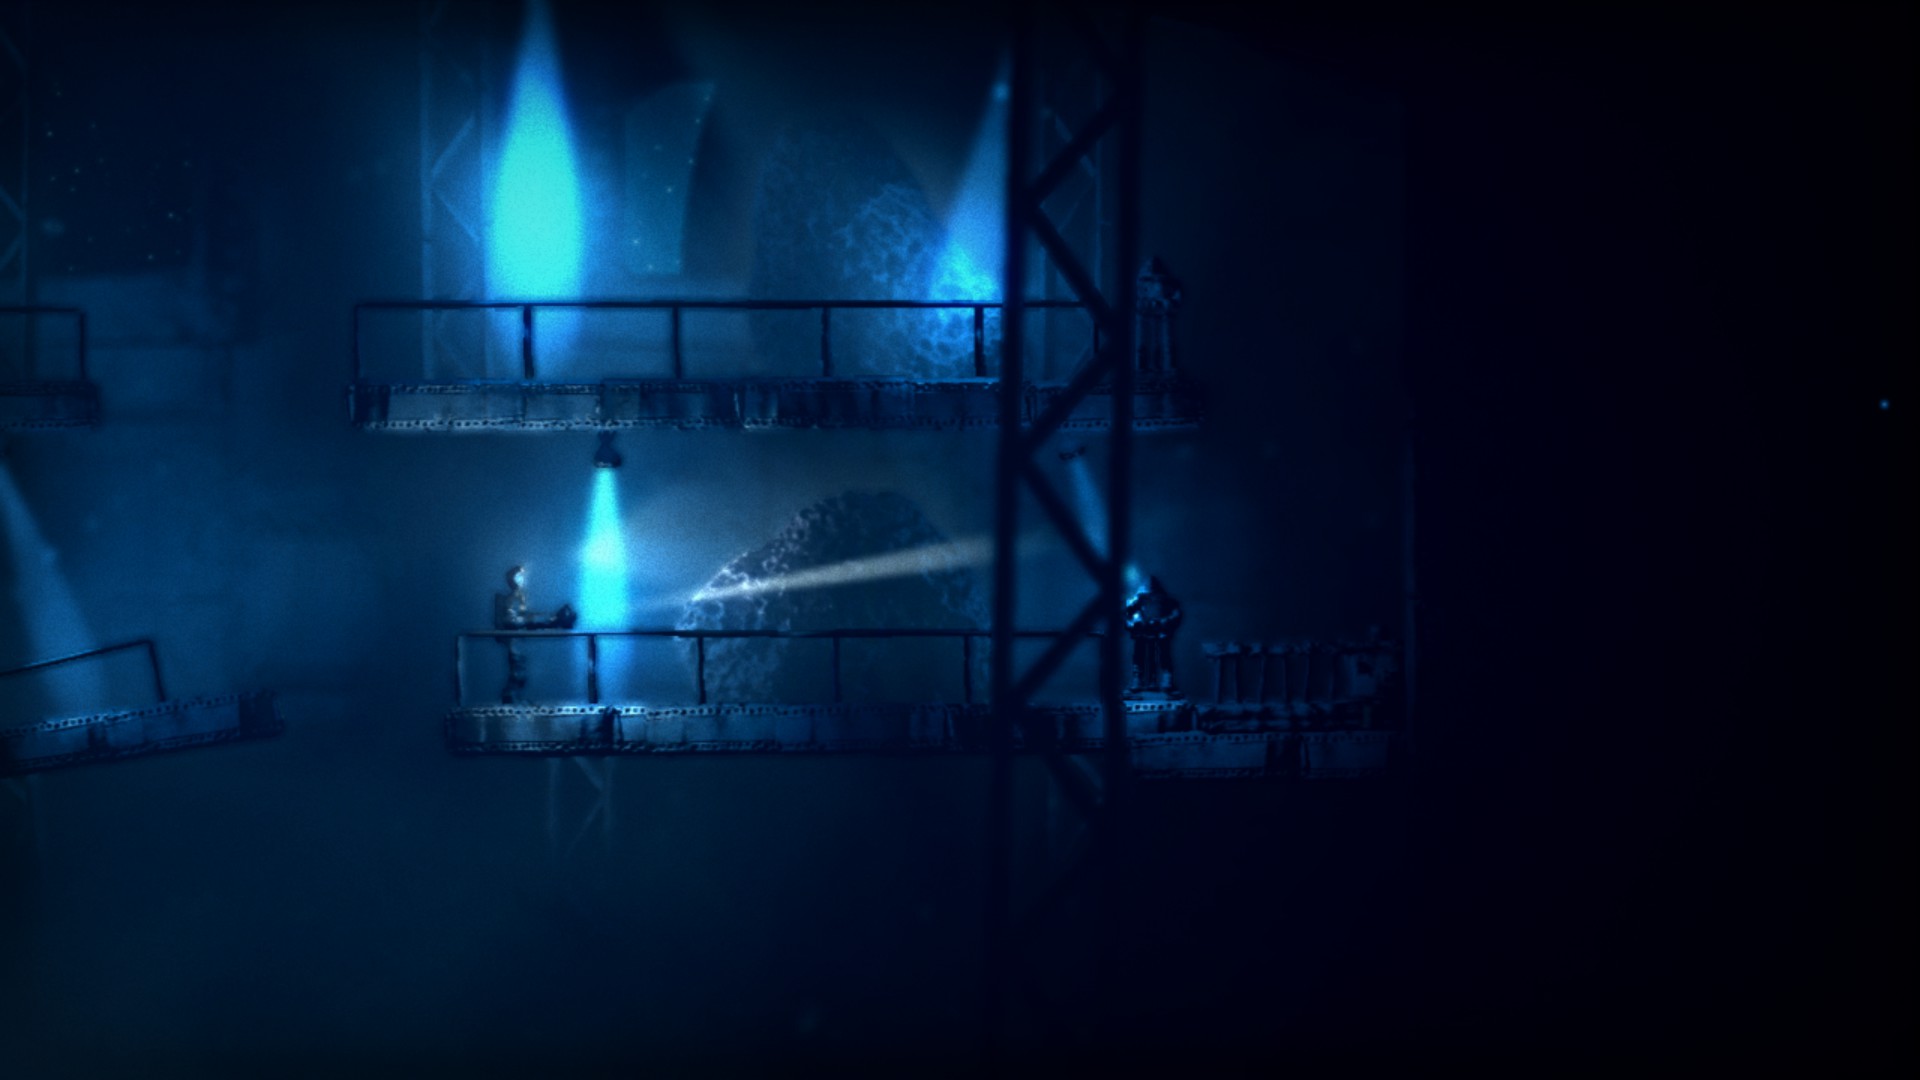
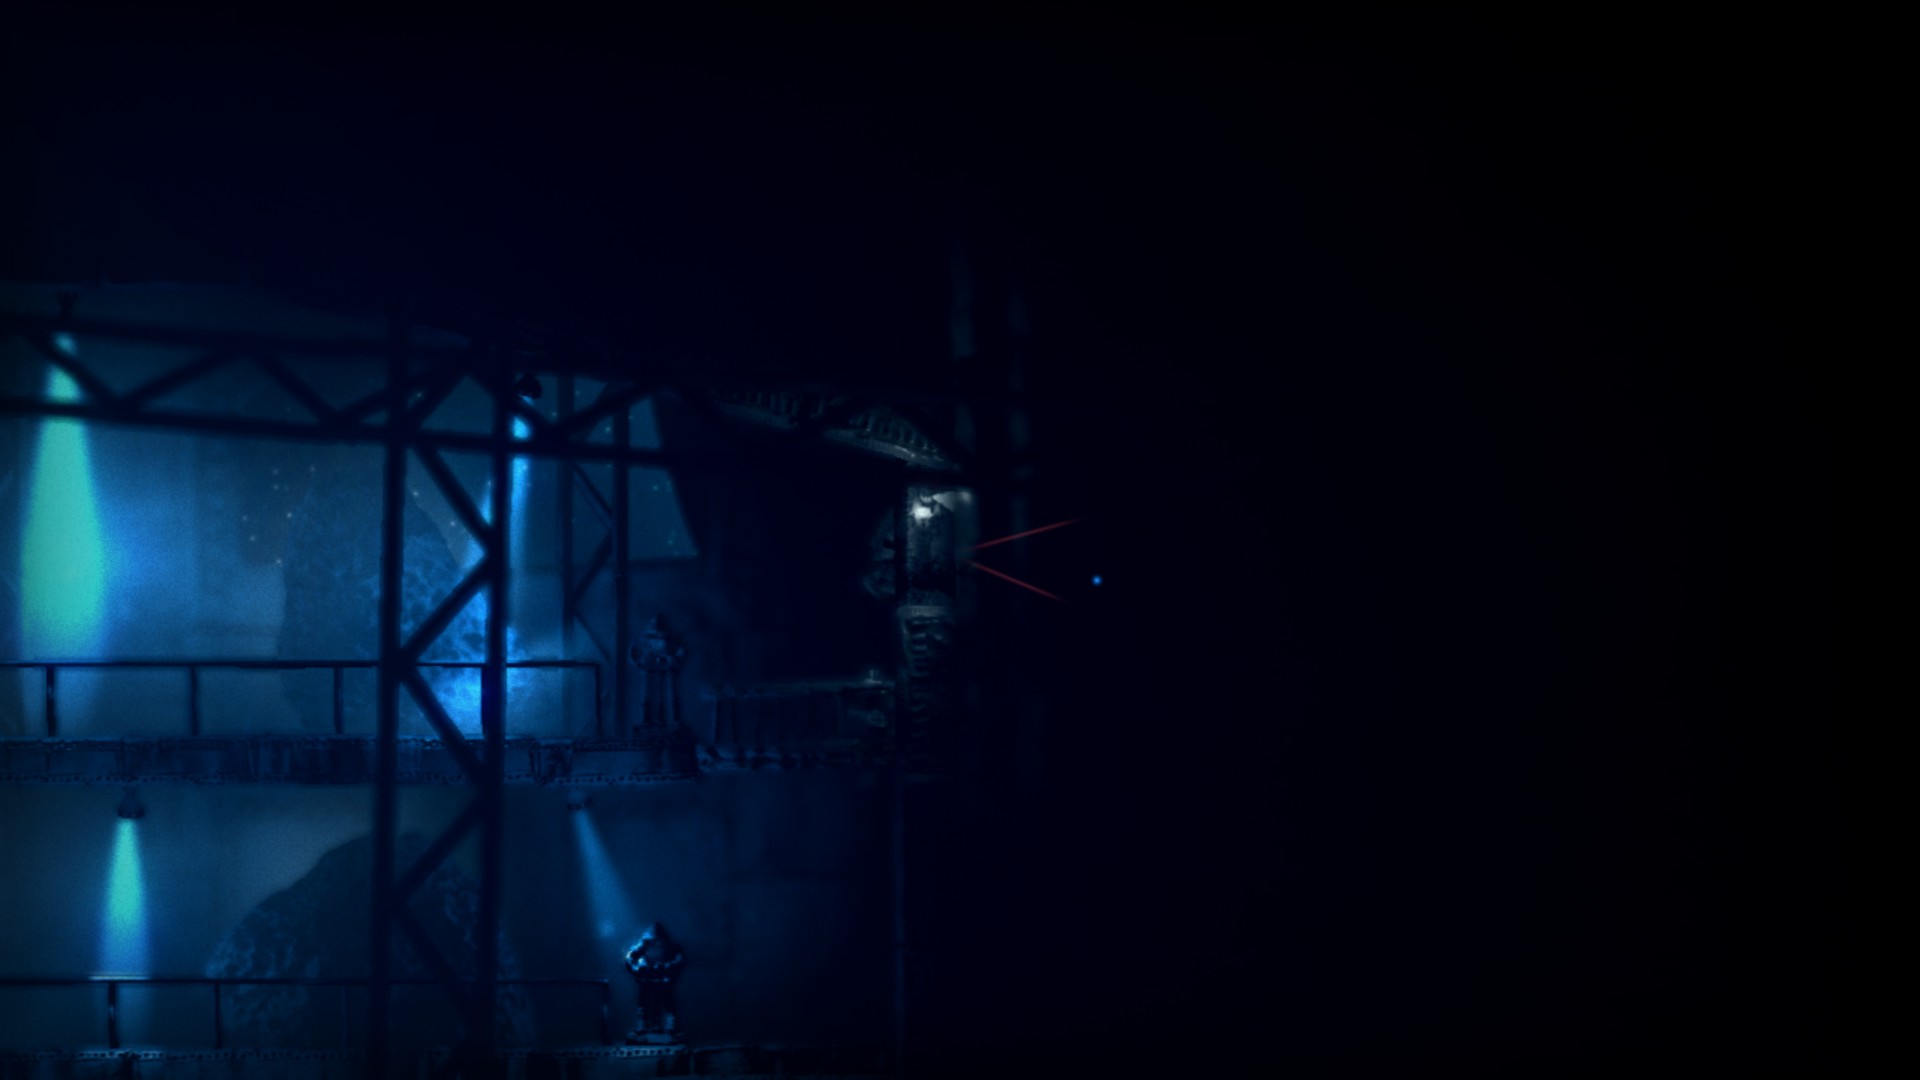
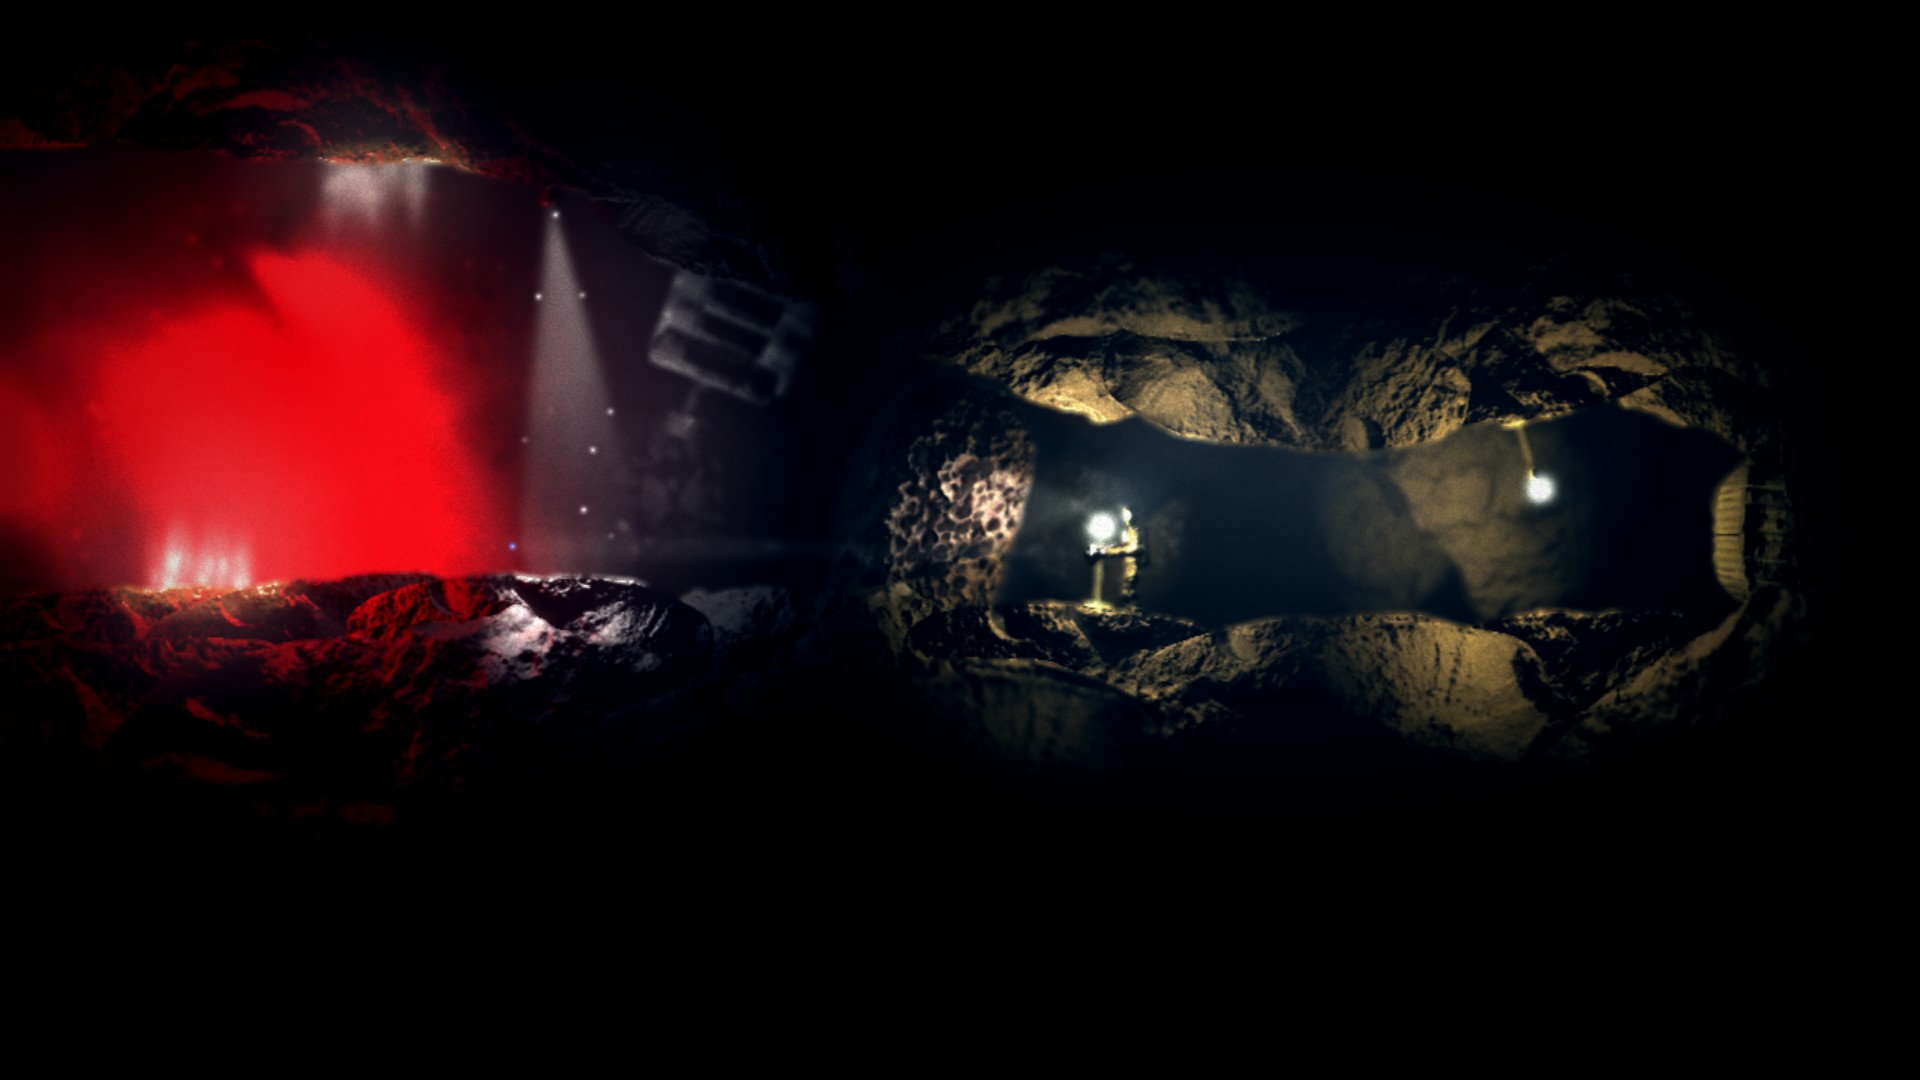
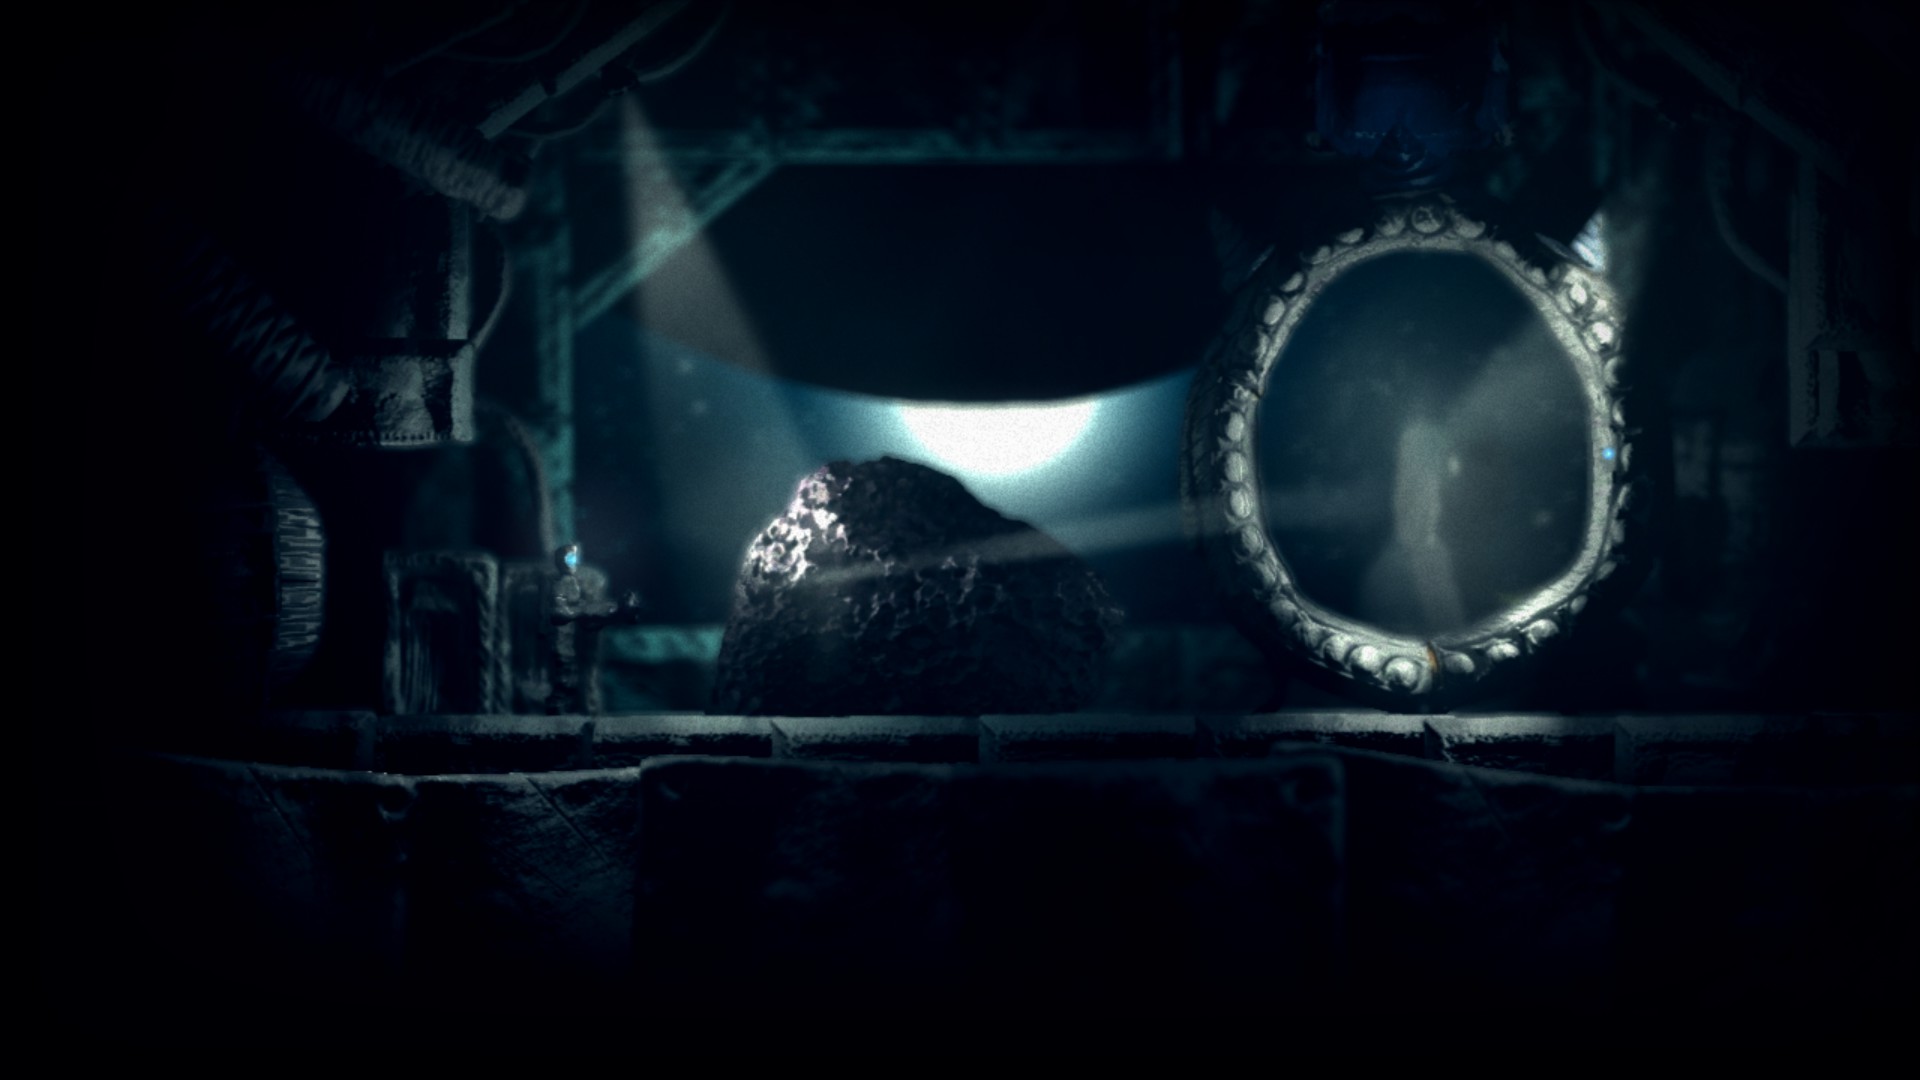
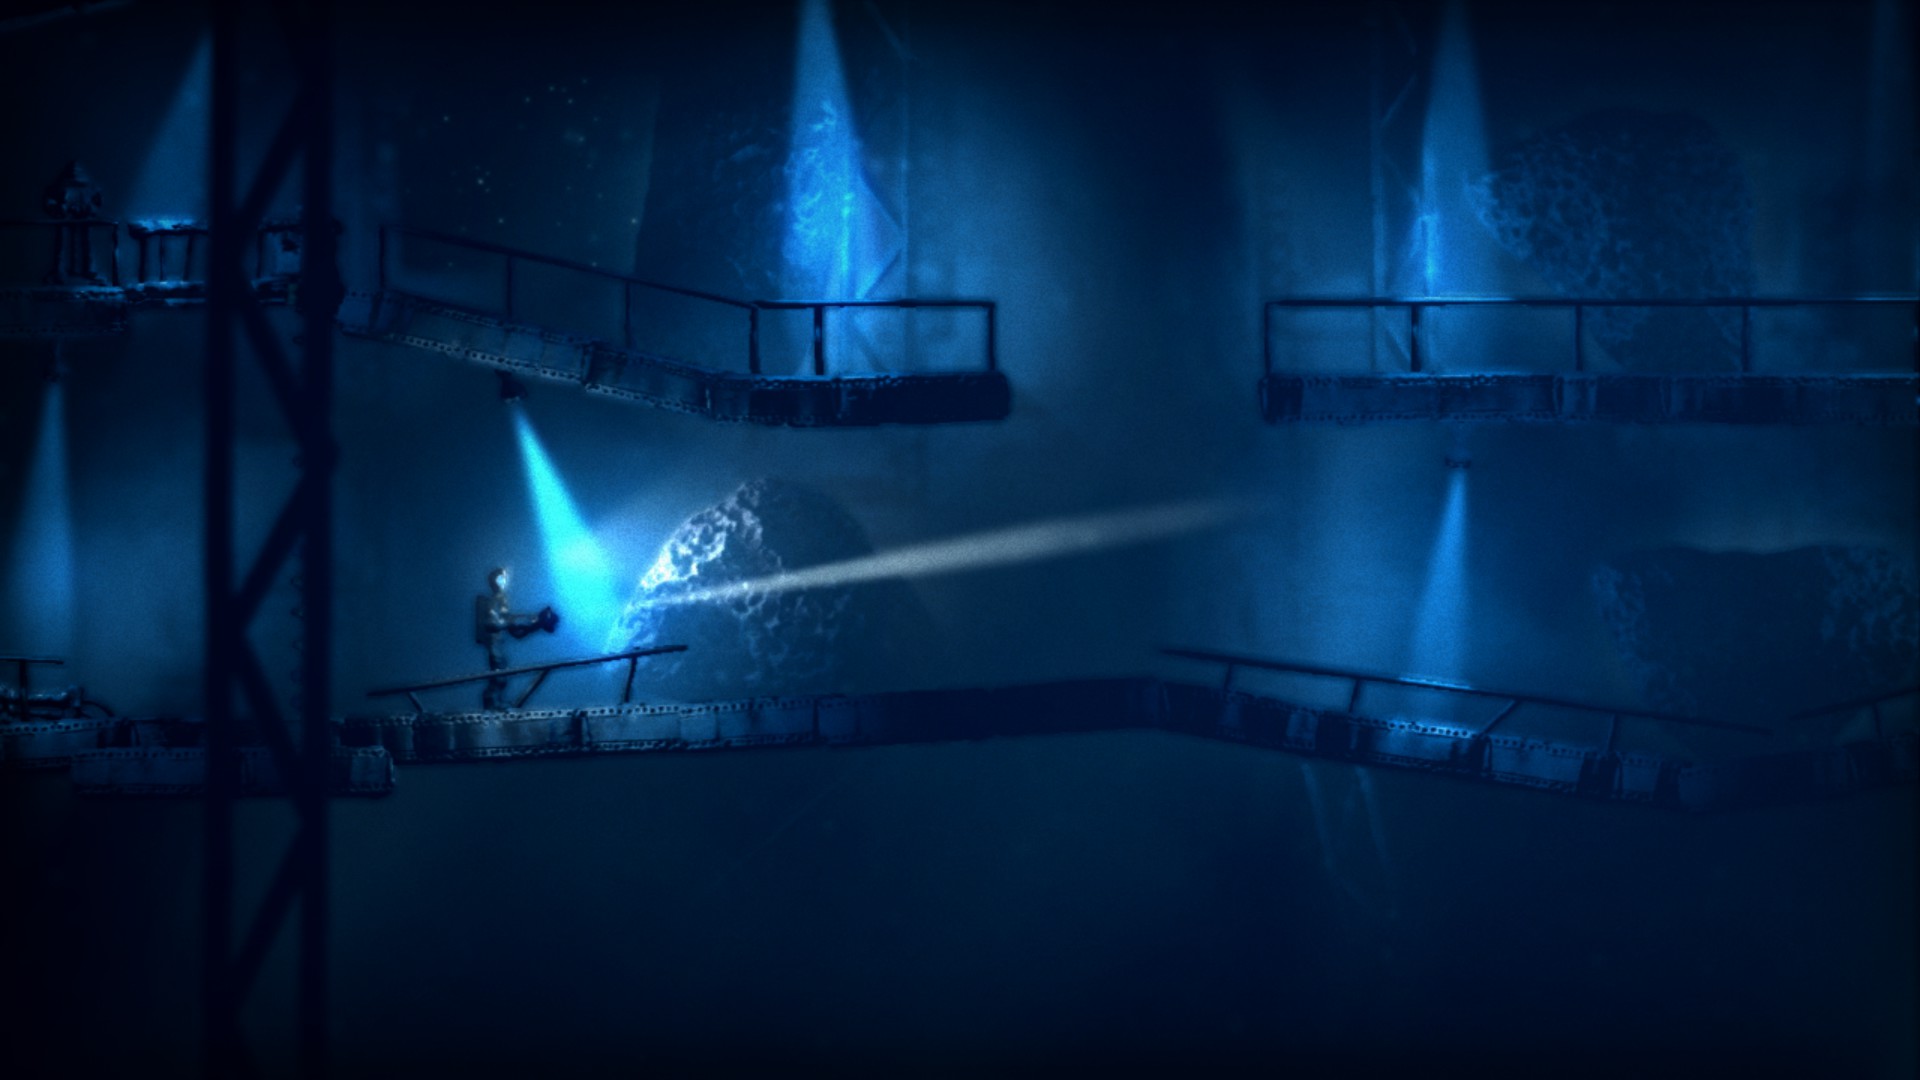
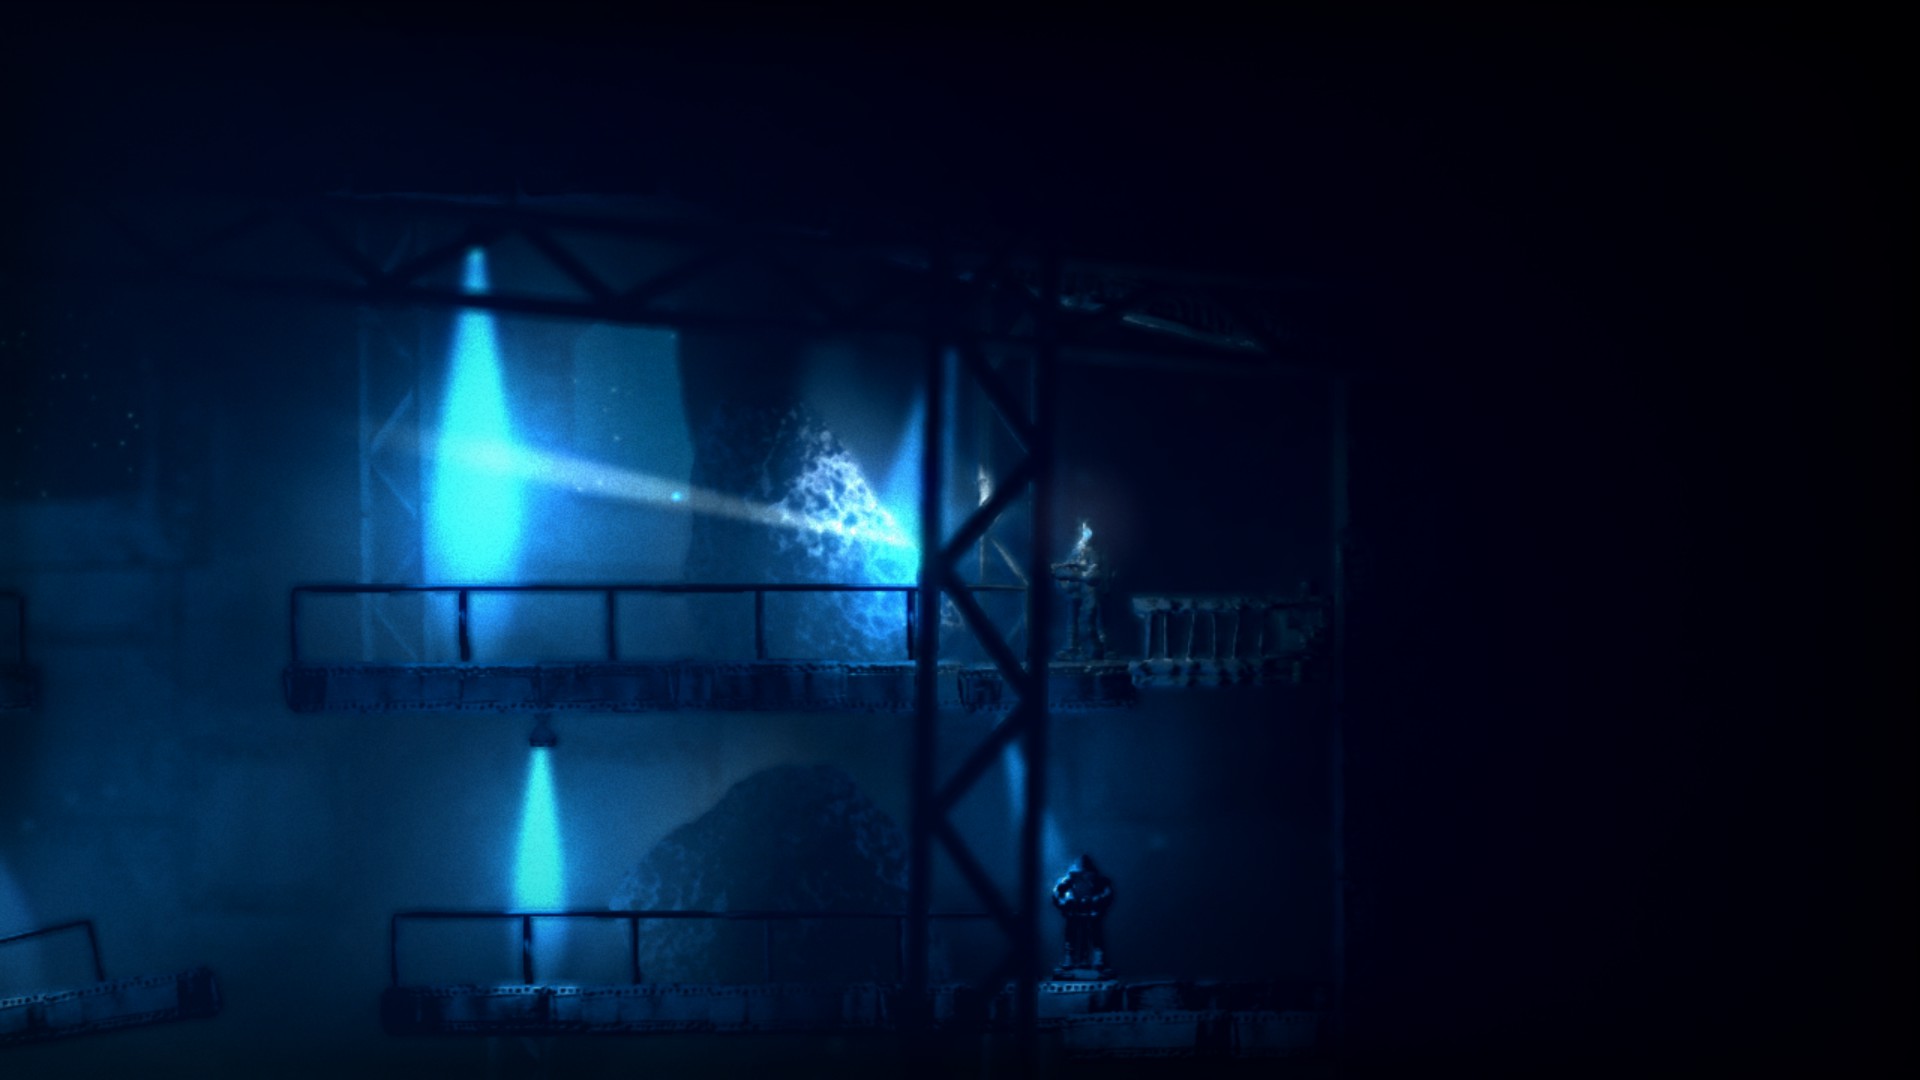
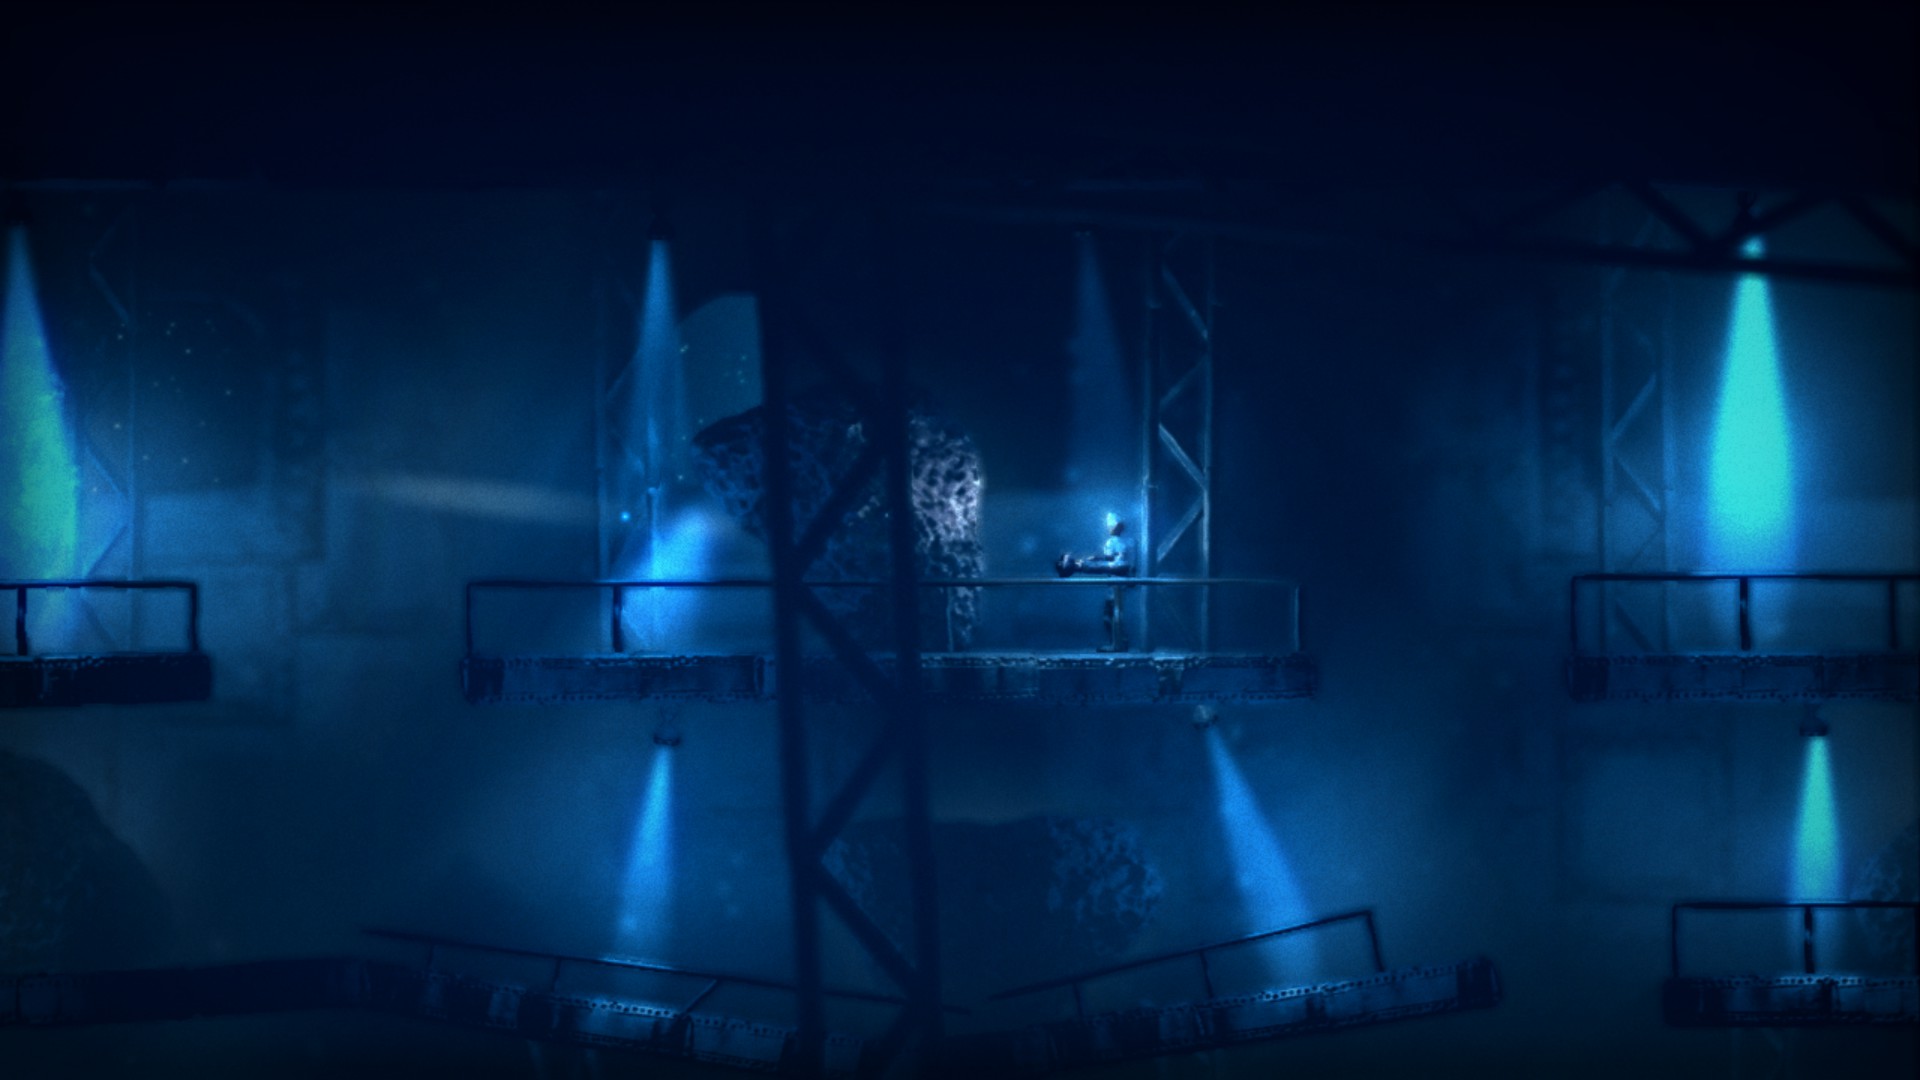
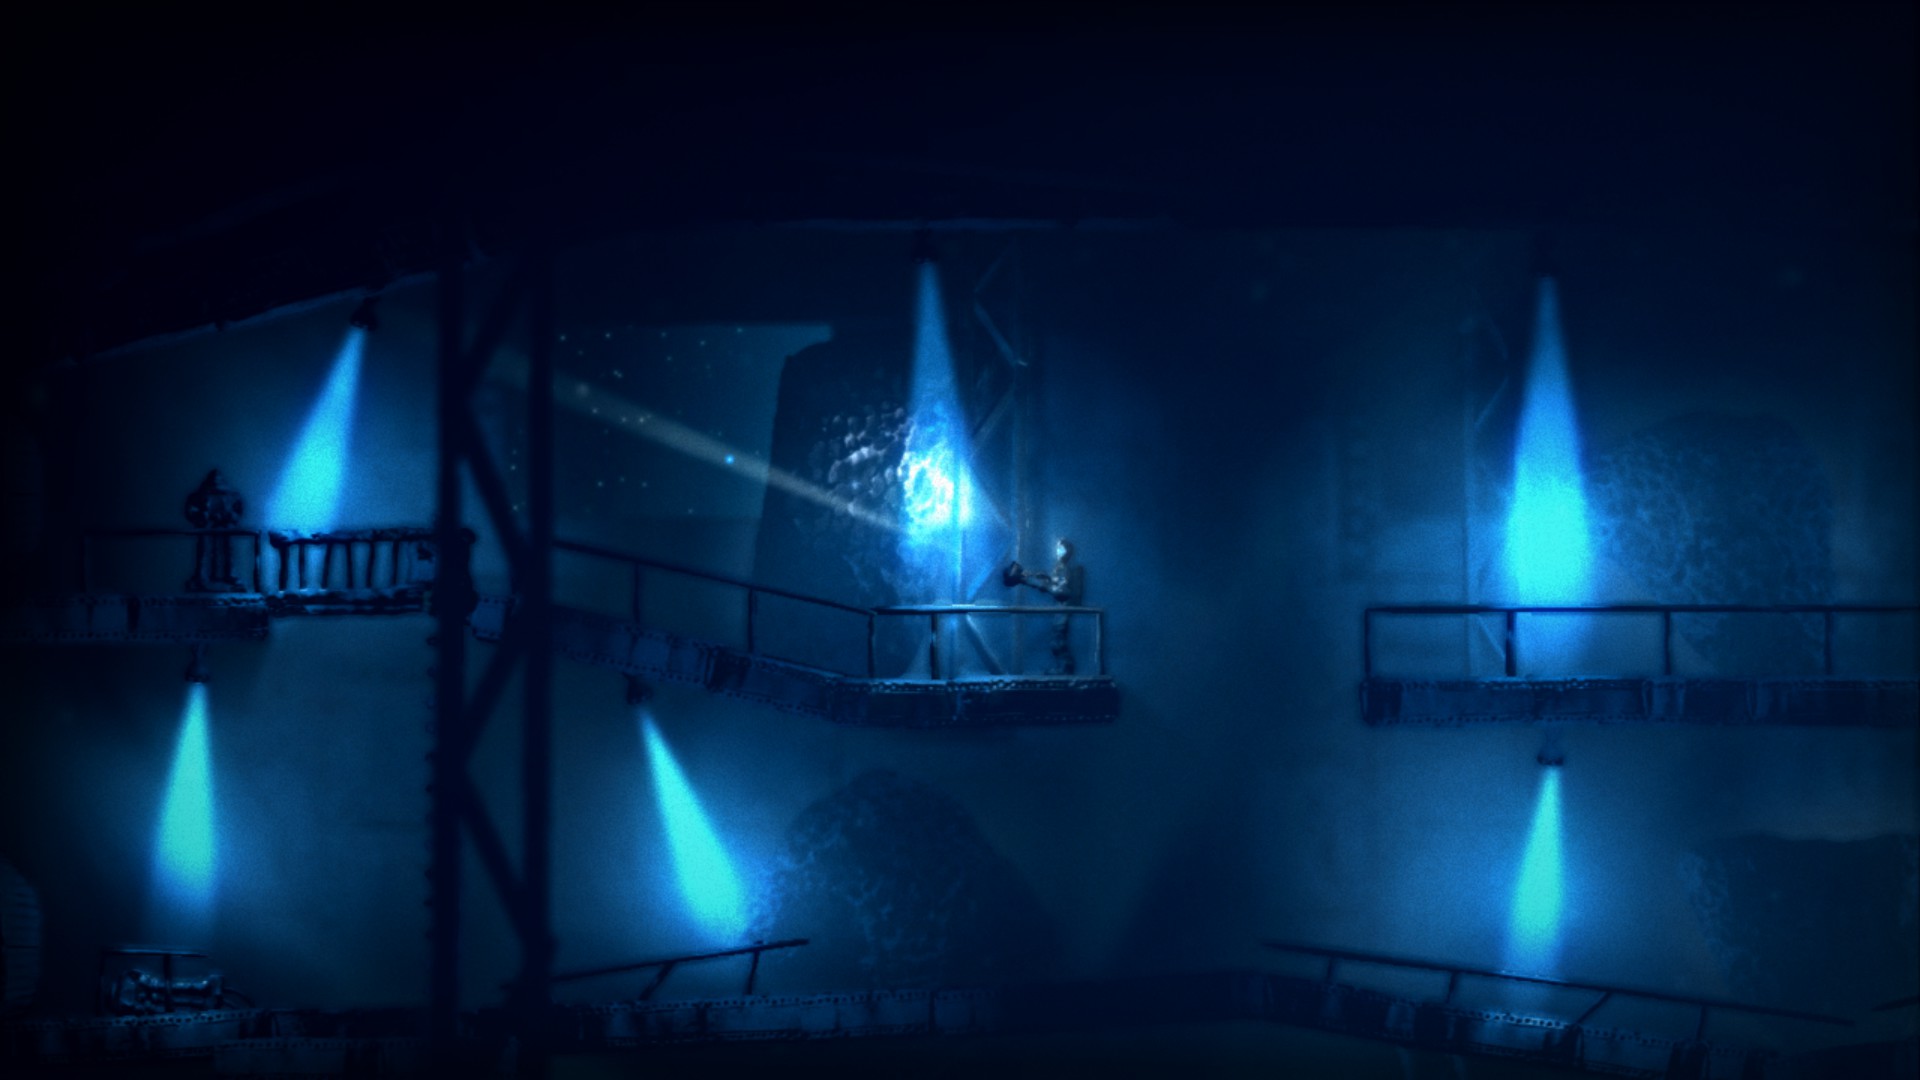
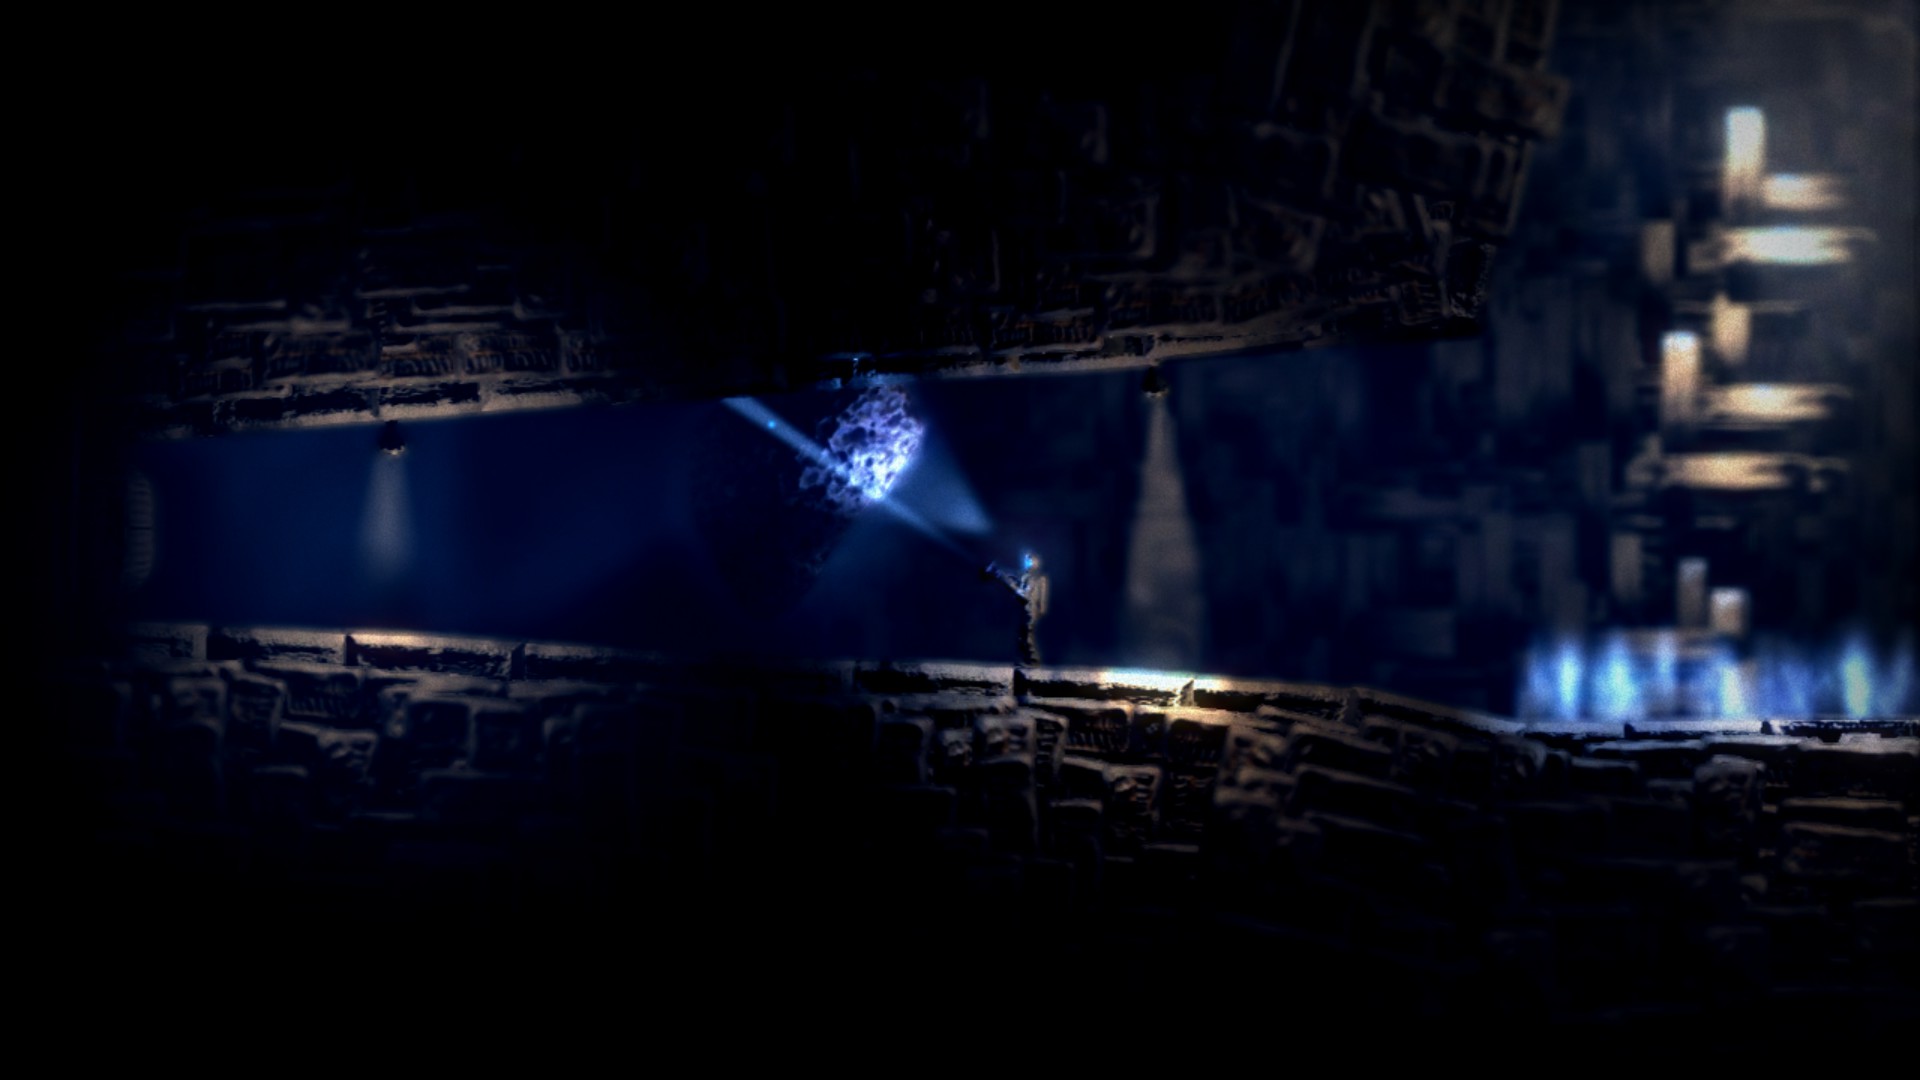
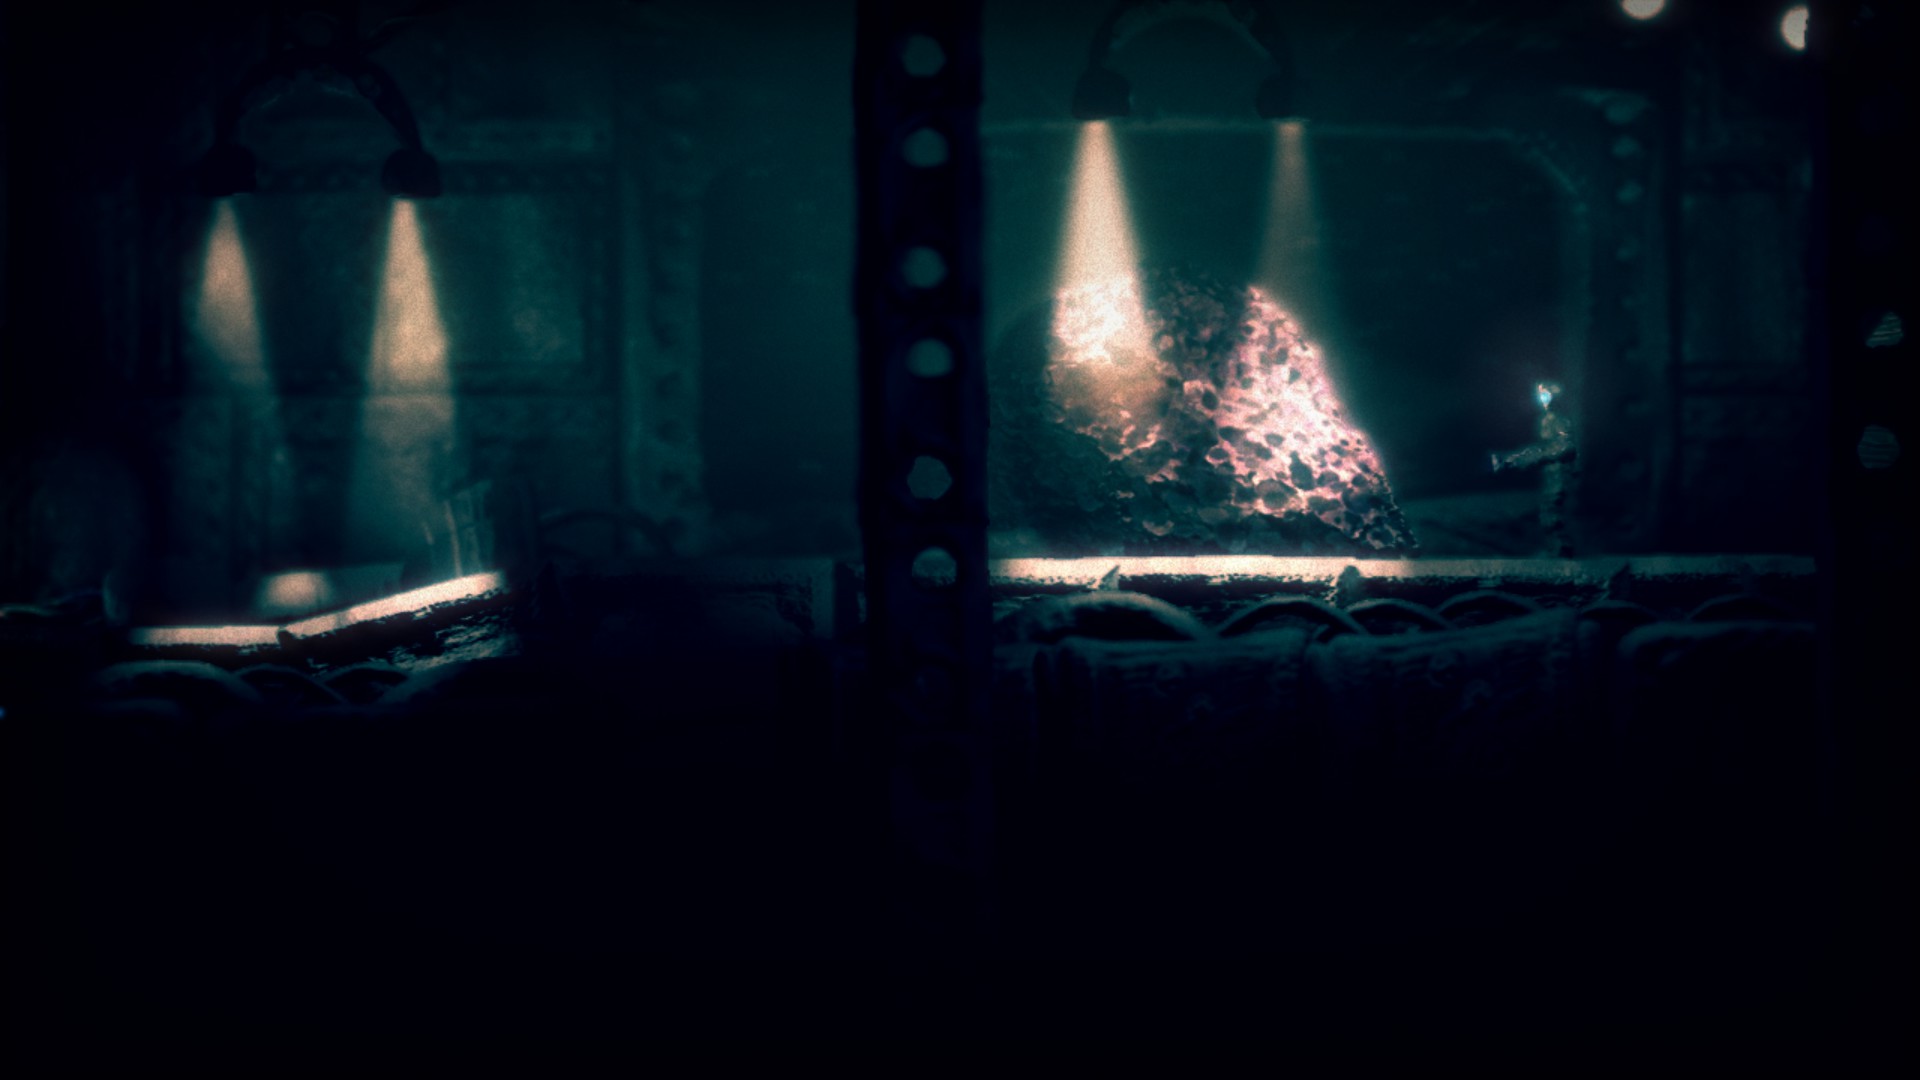
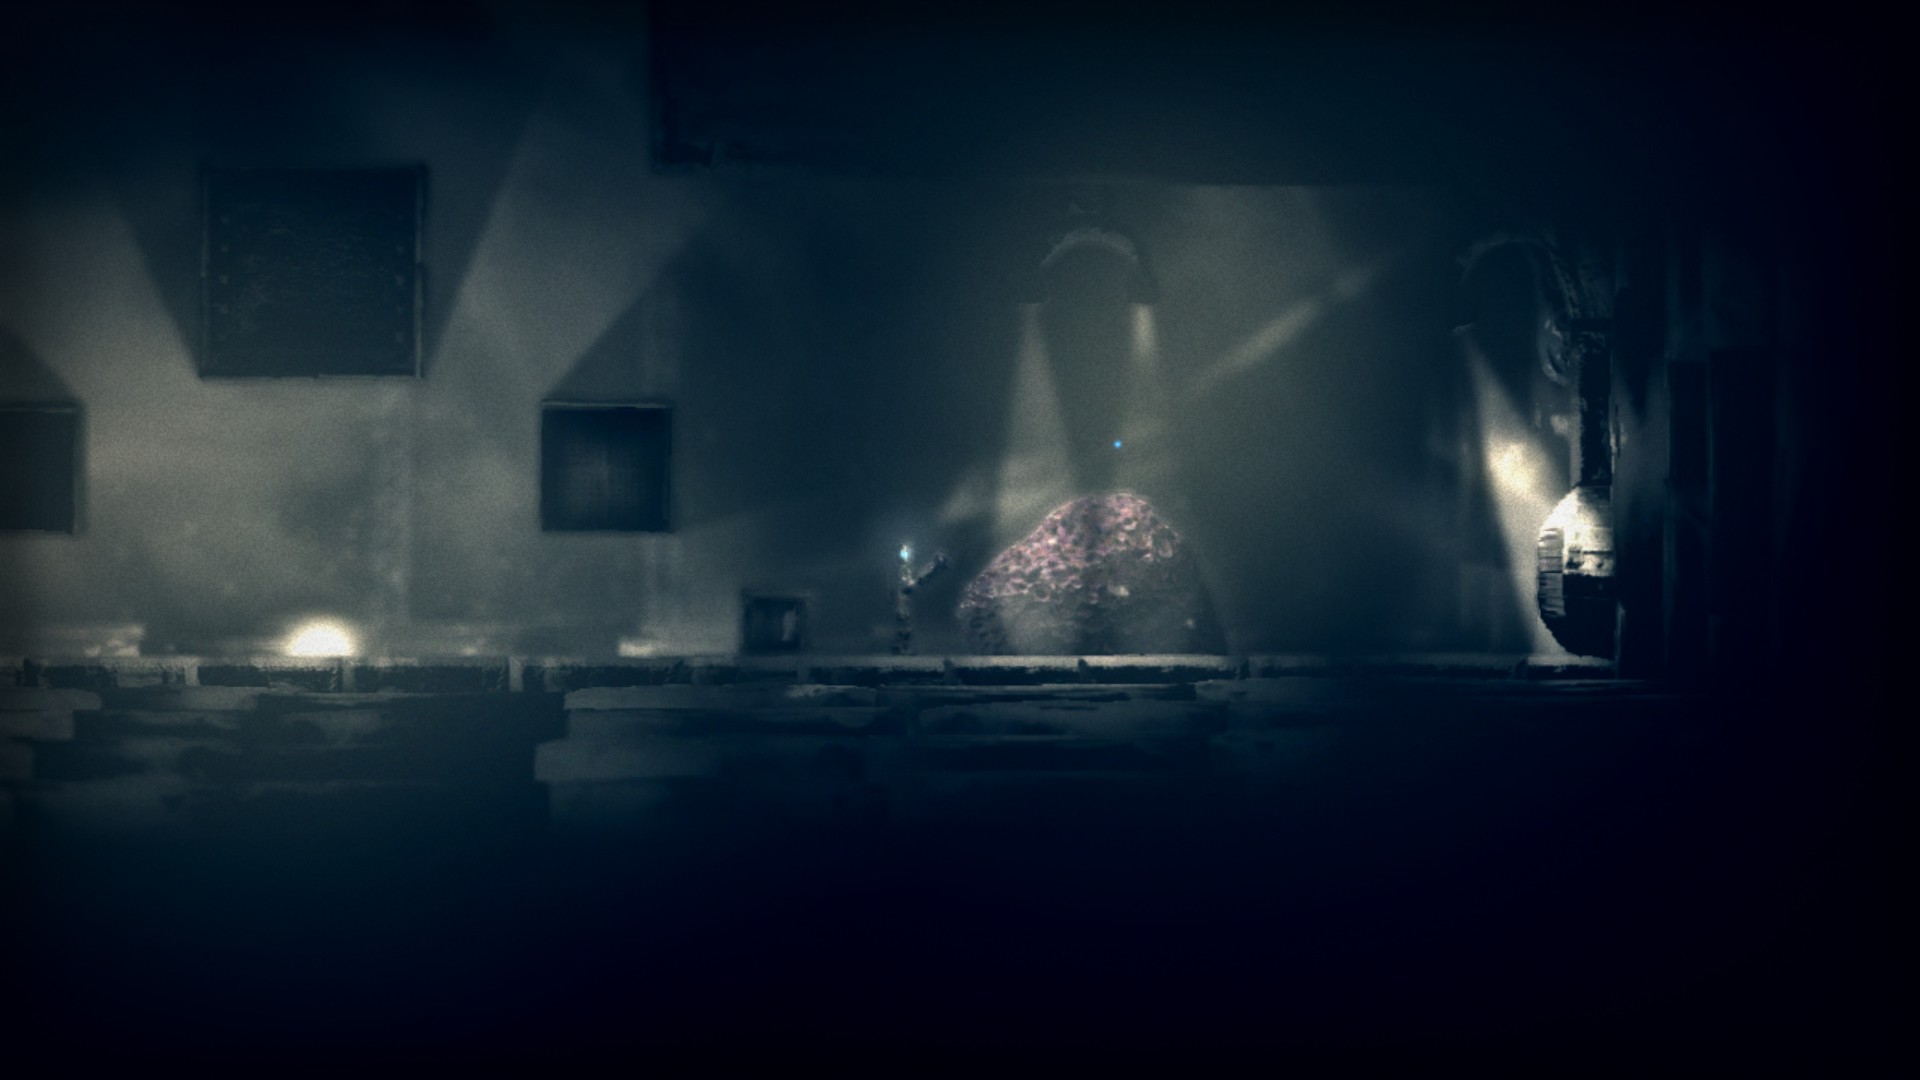
As the Scavenger, you will find various stones while navigating your way through the game:
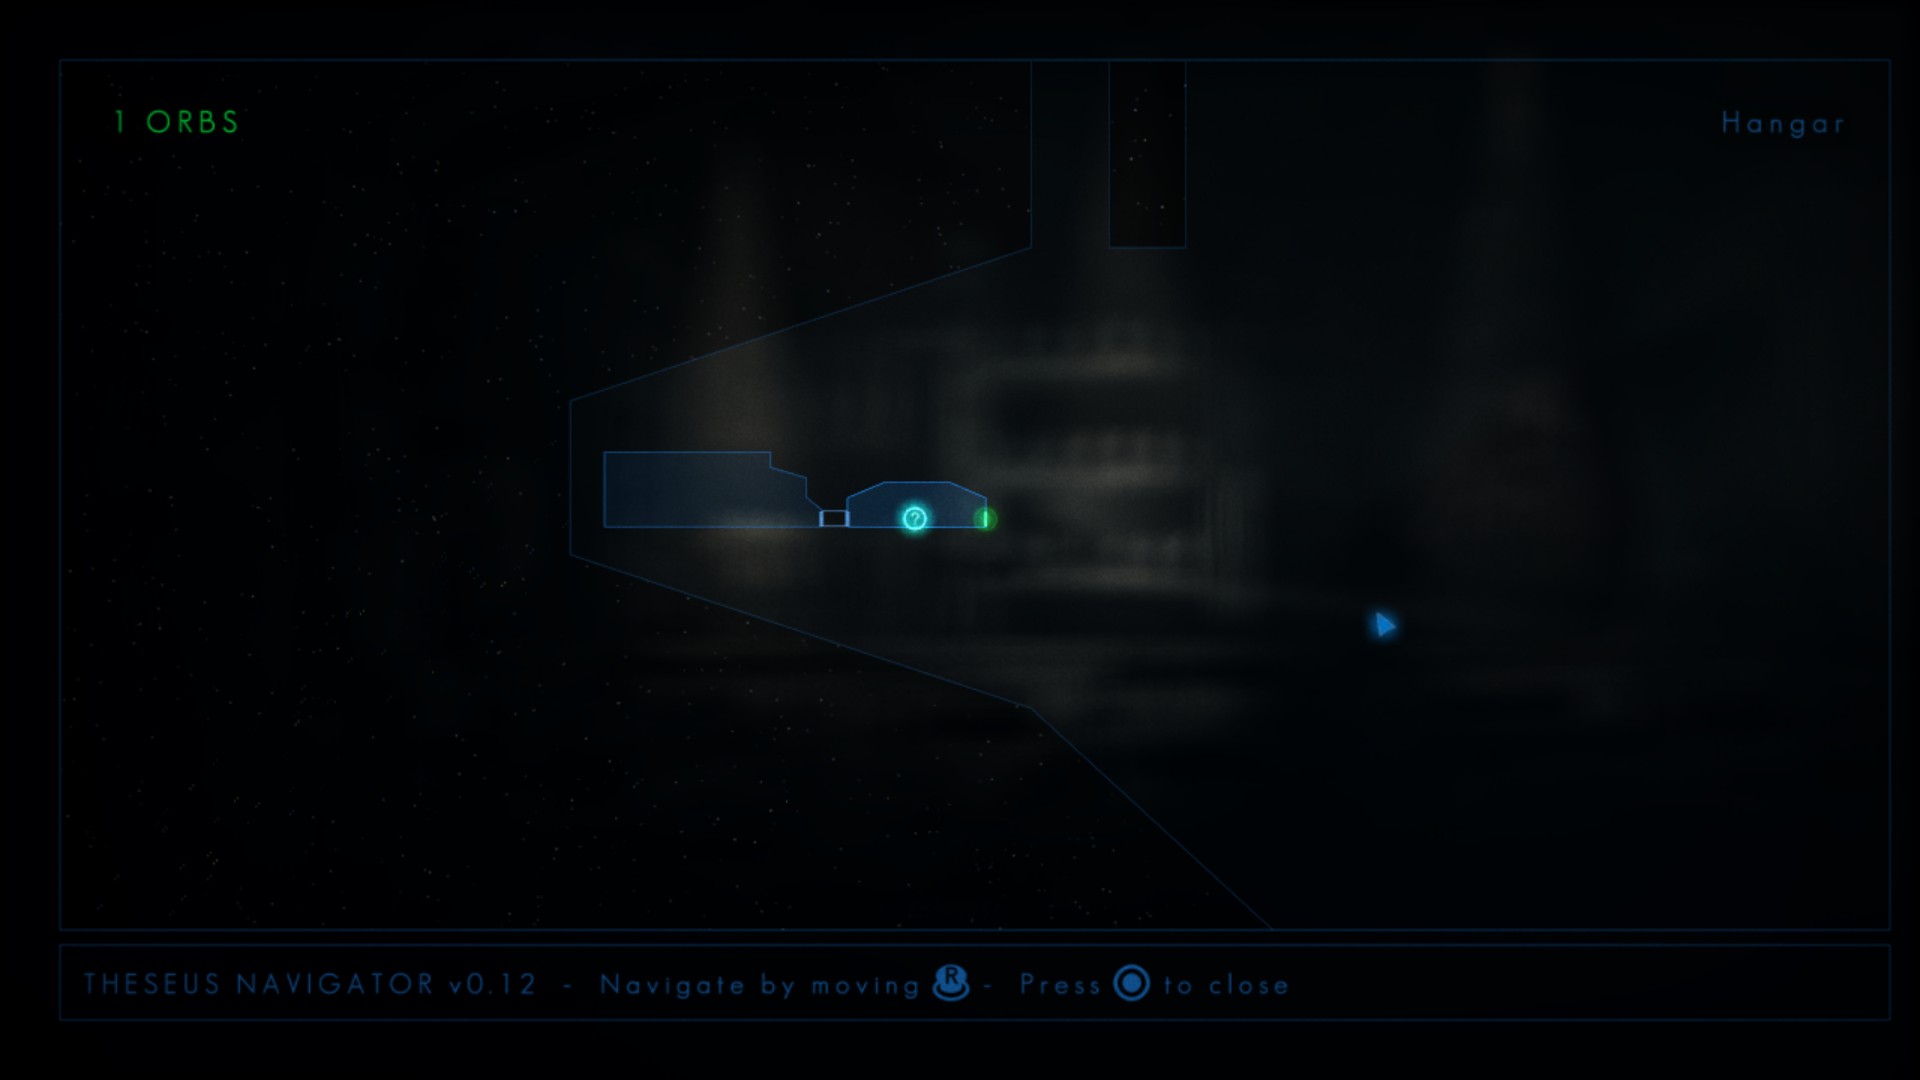
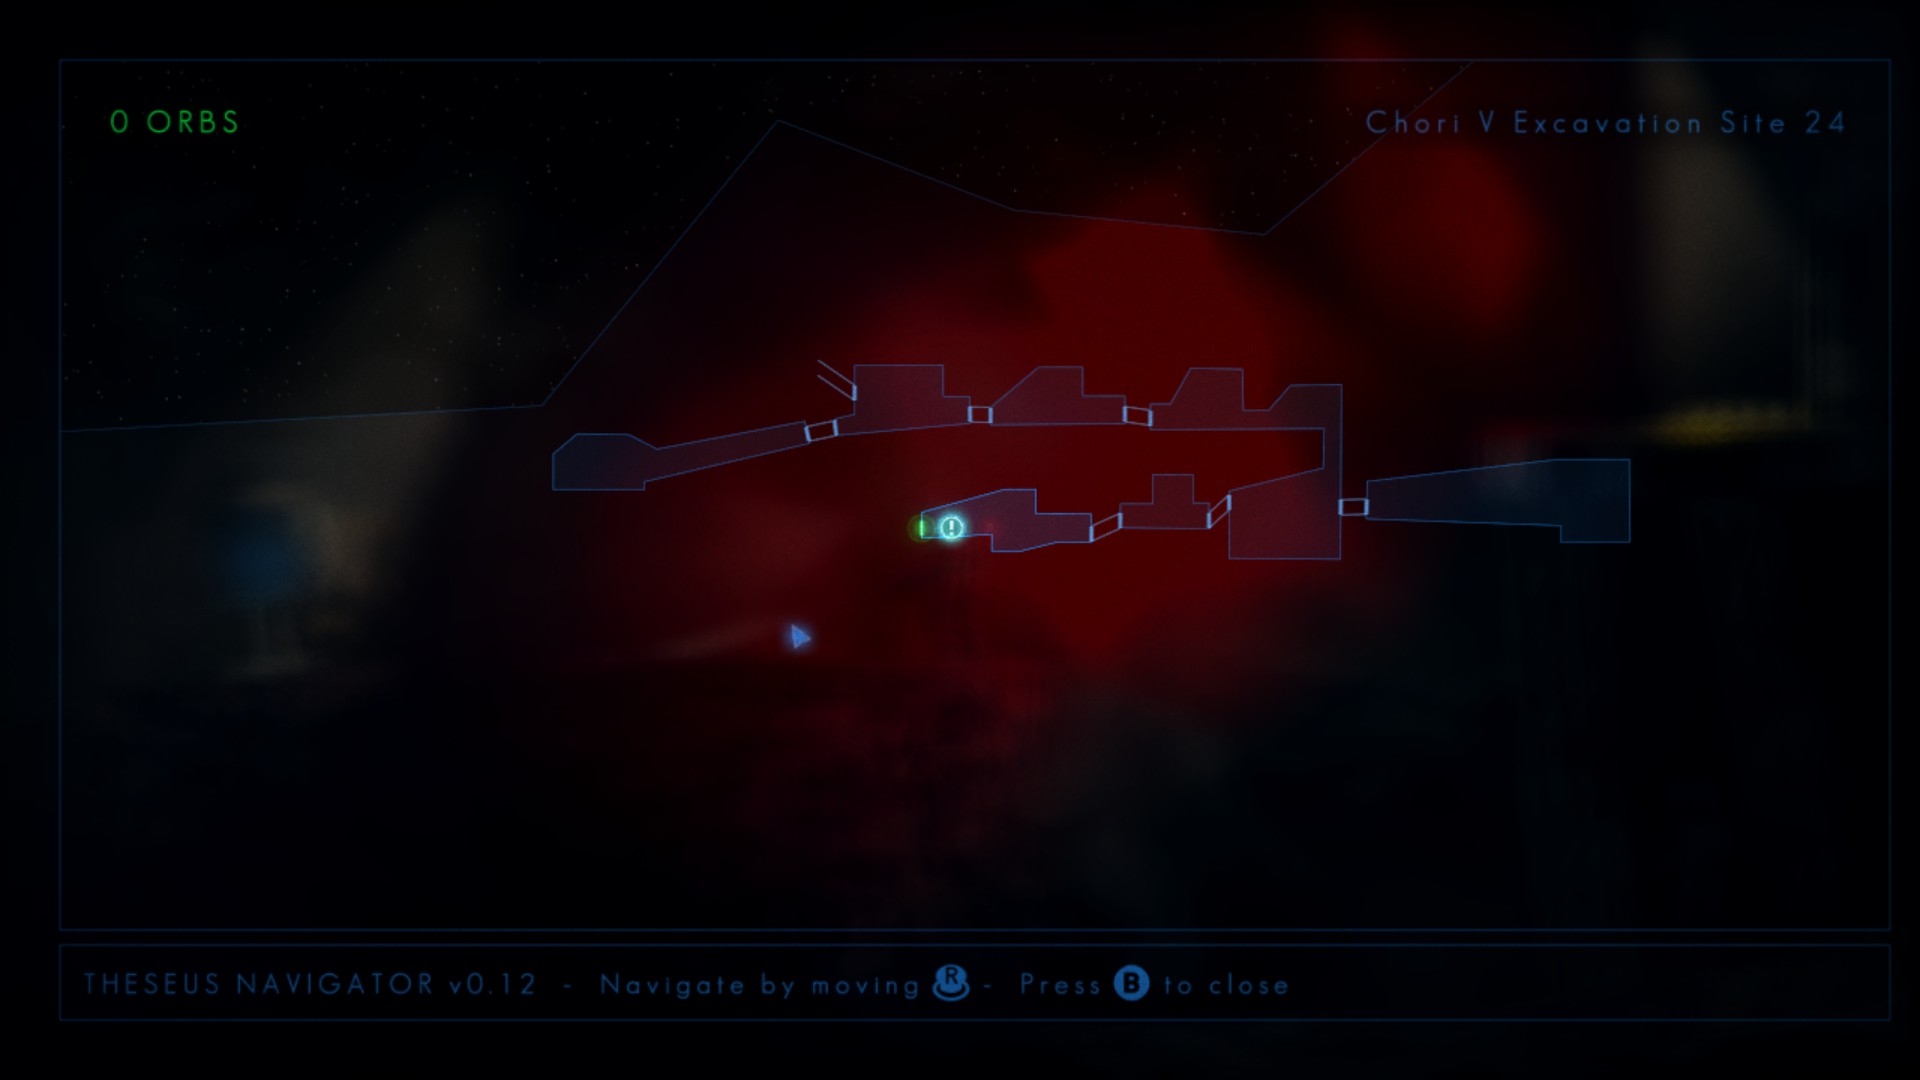
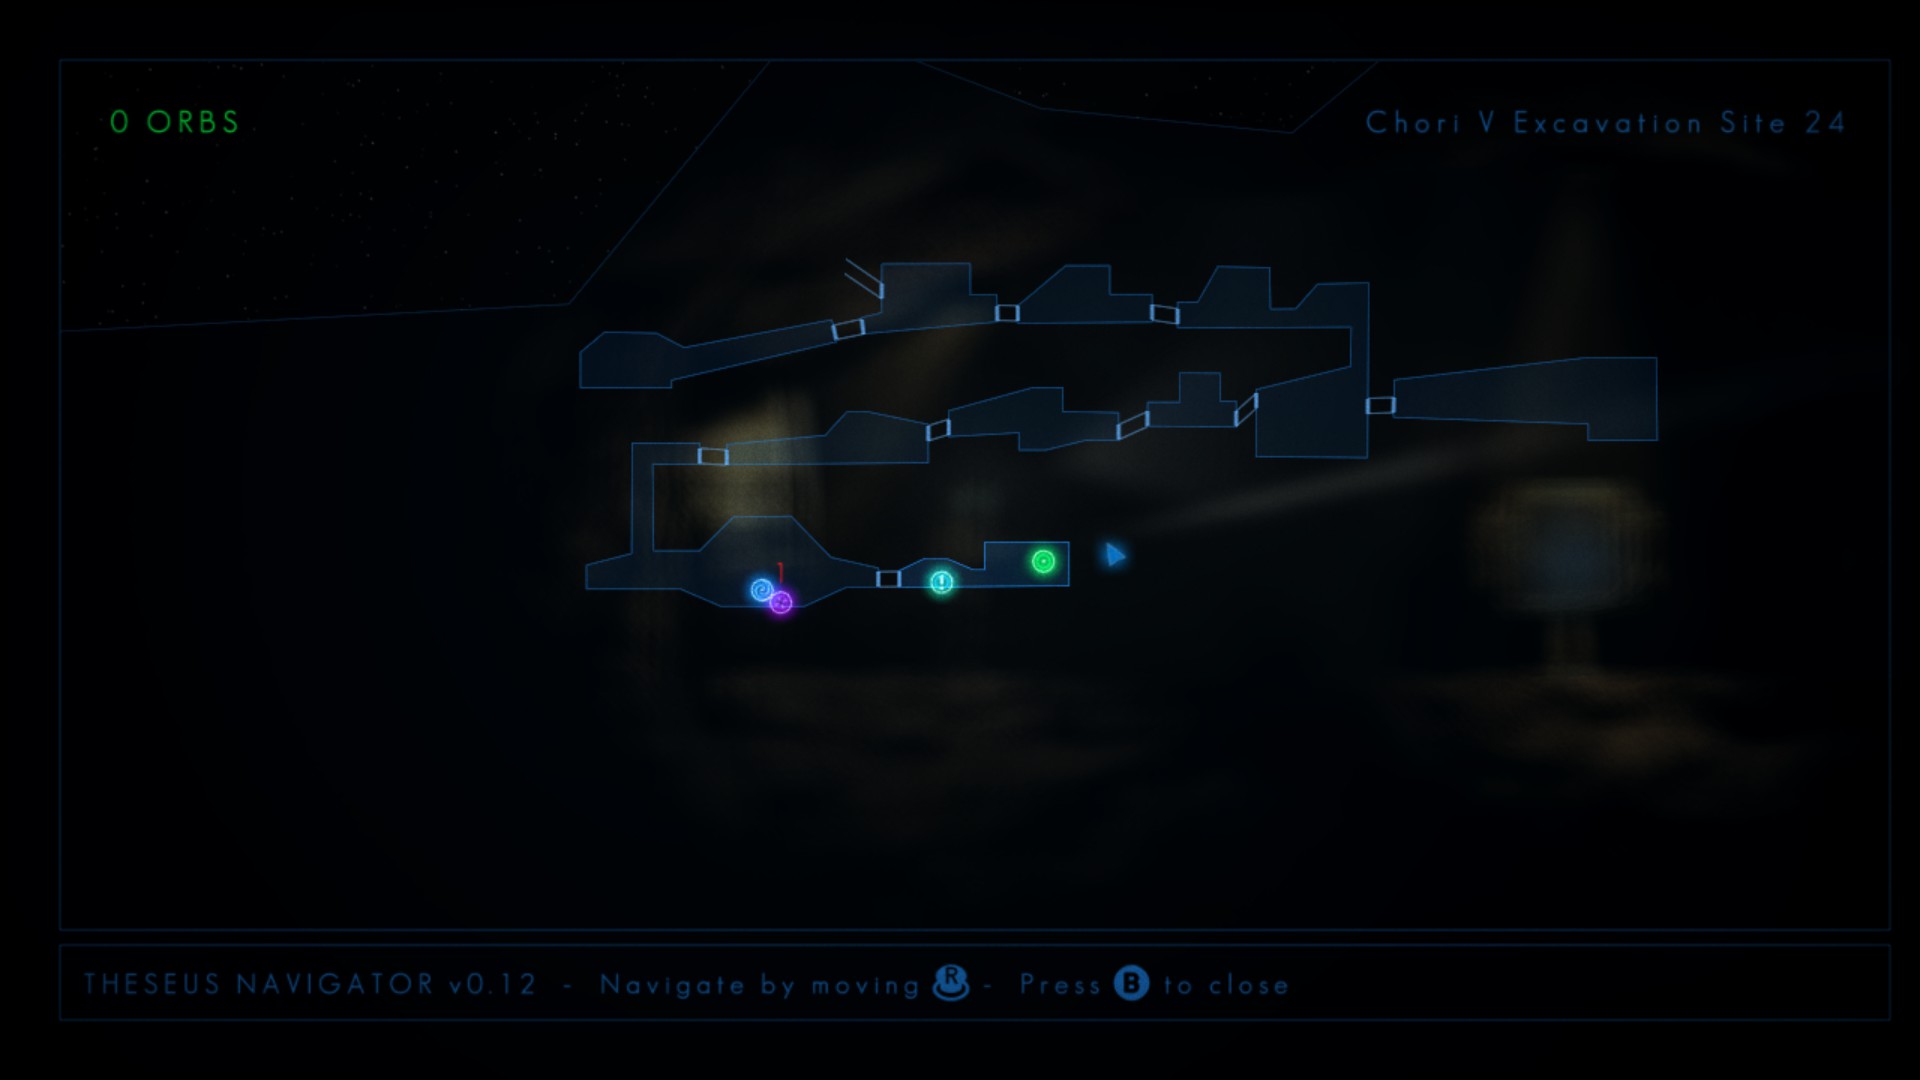
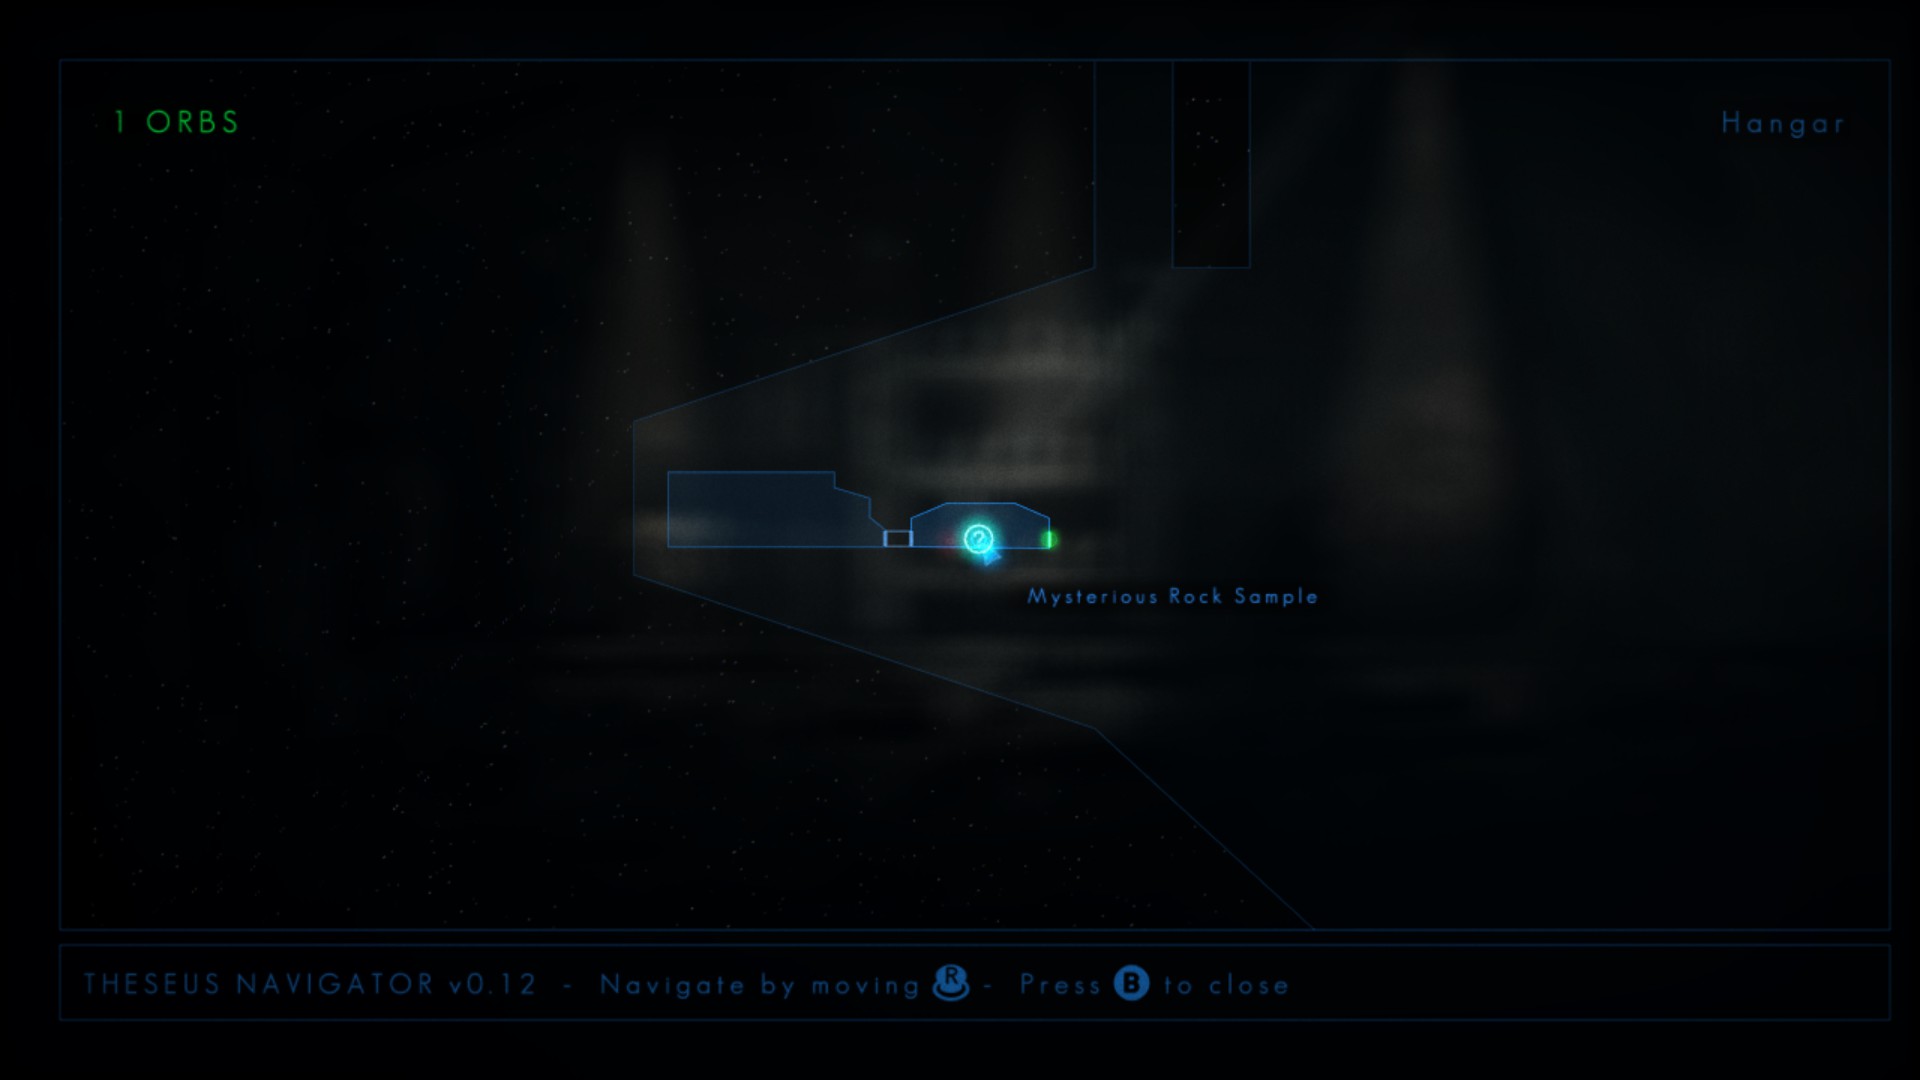
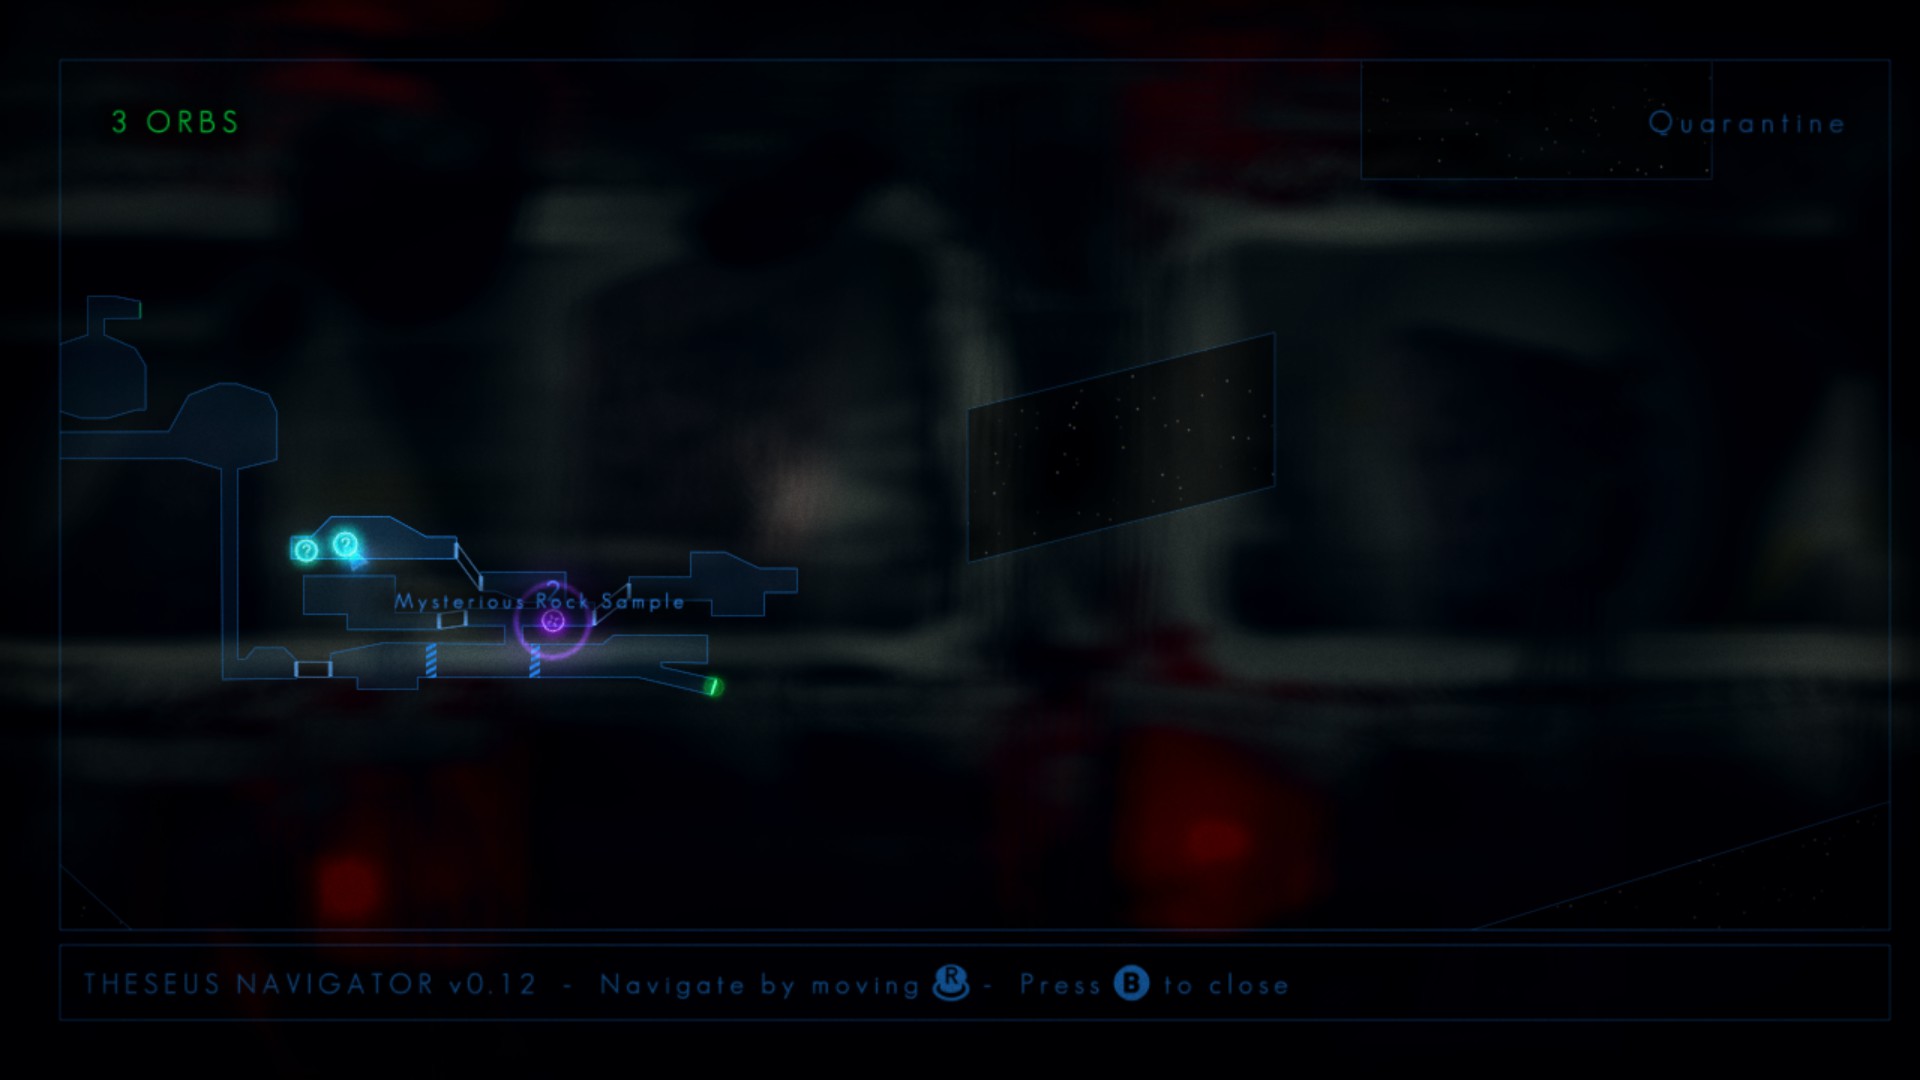
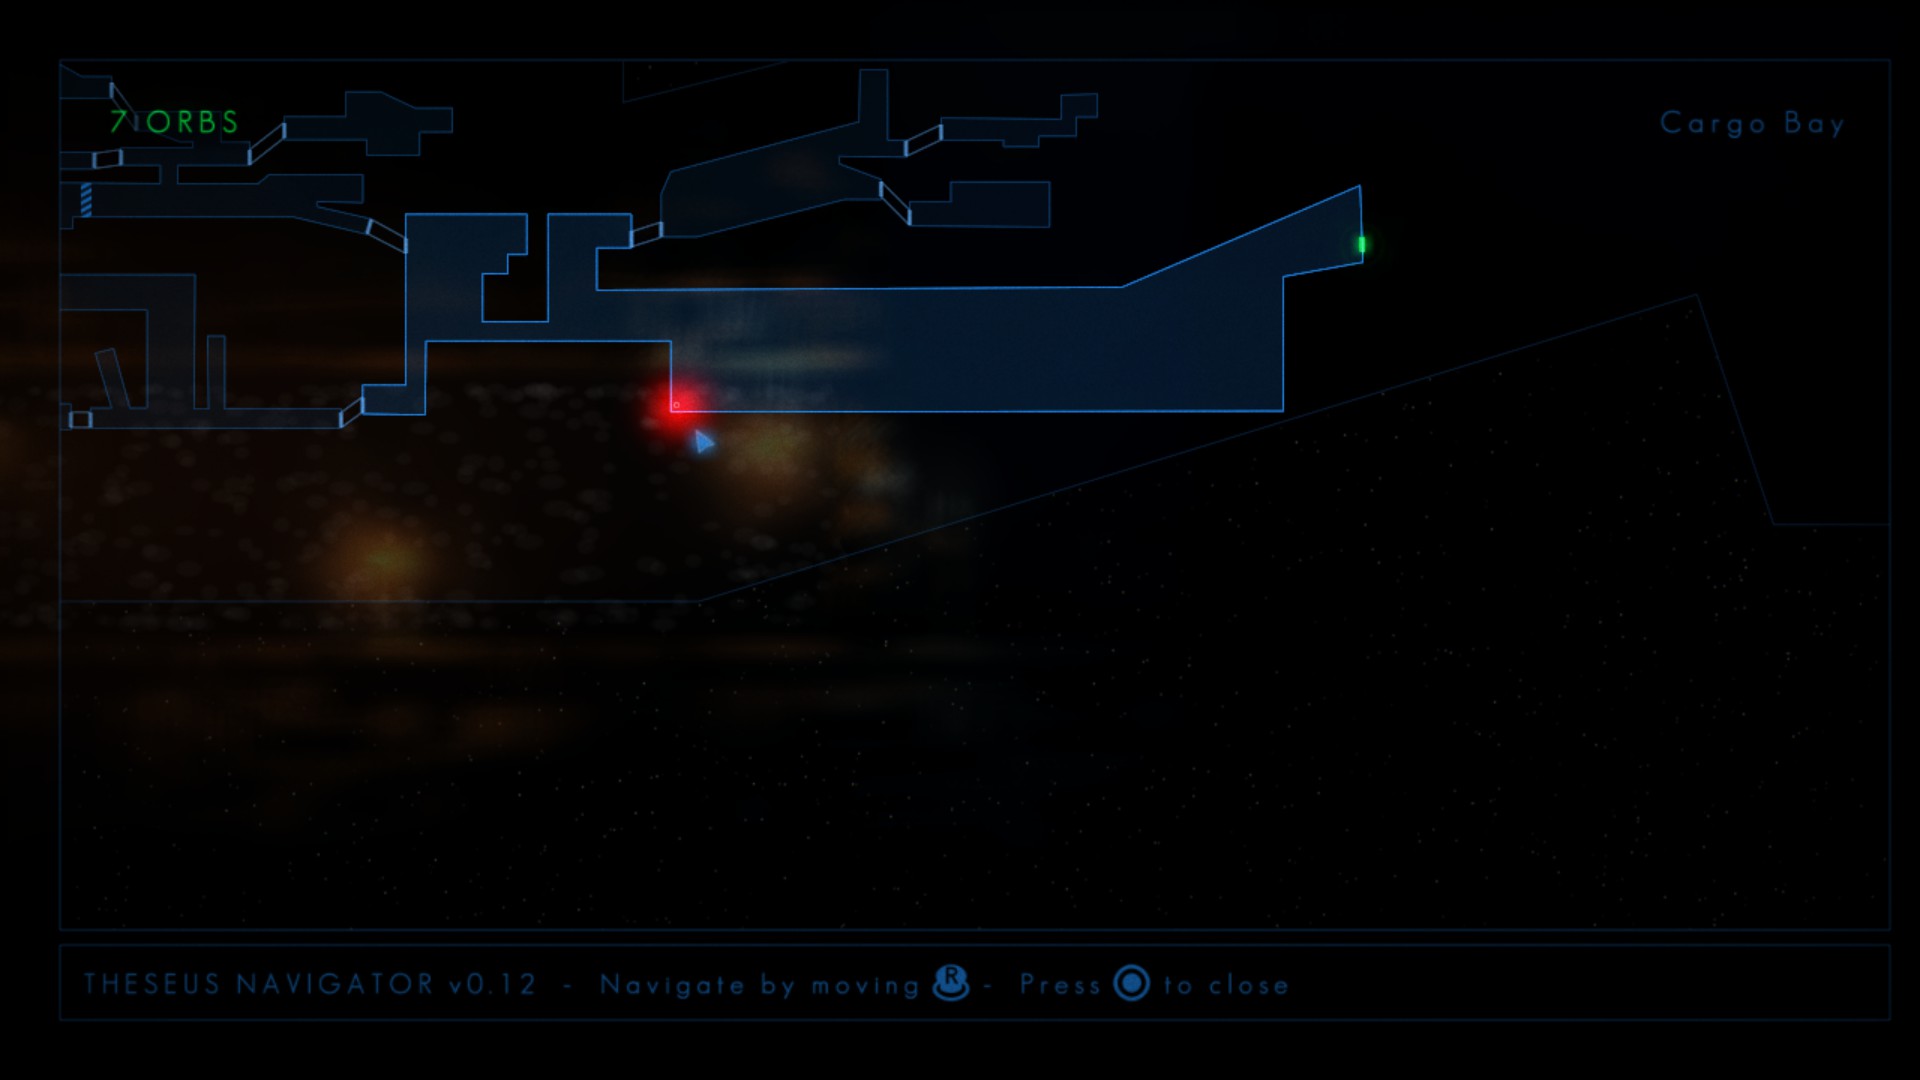
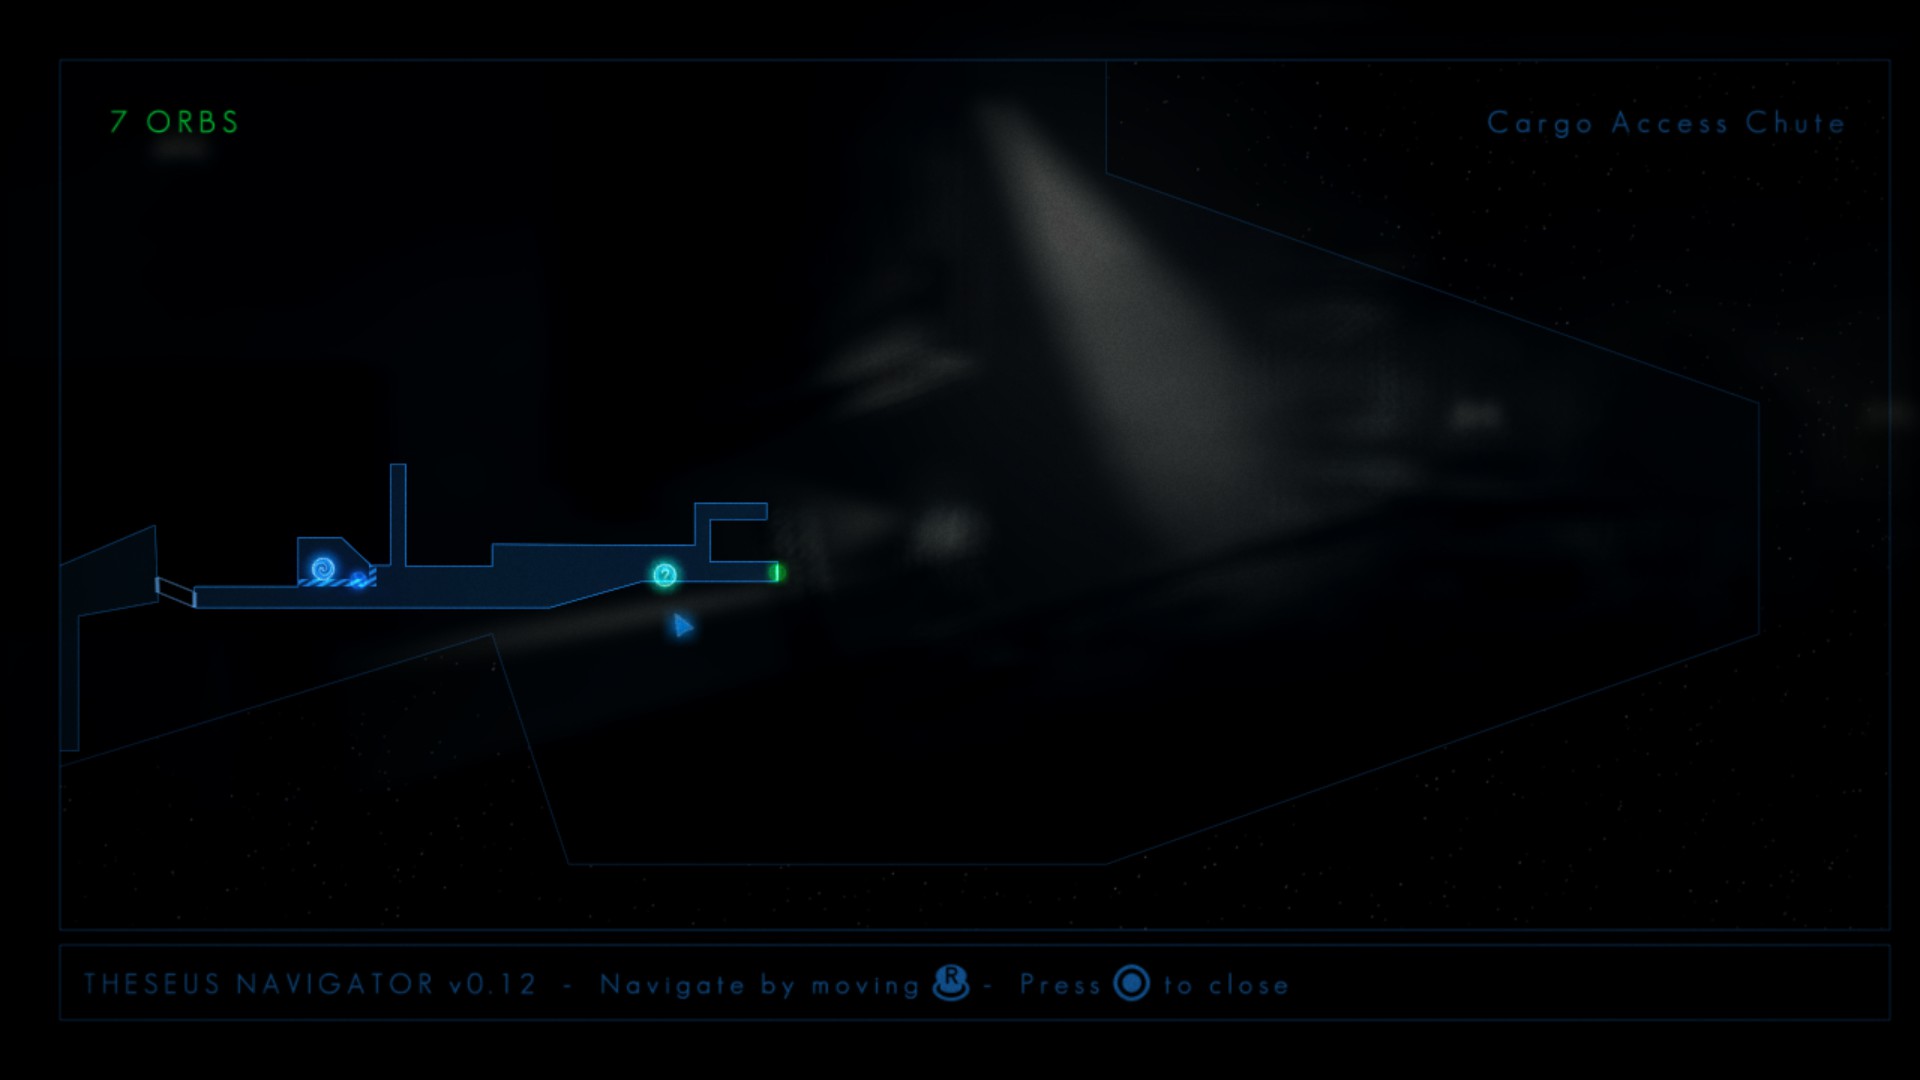
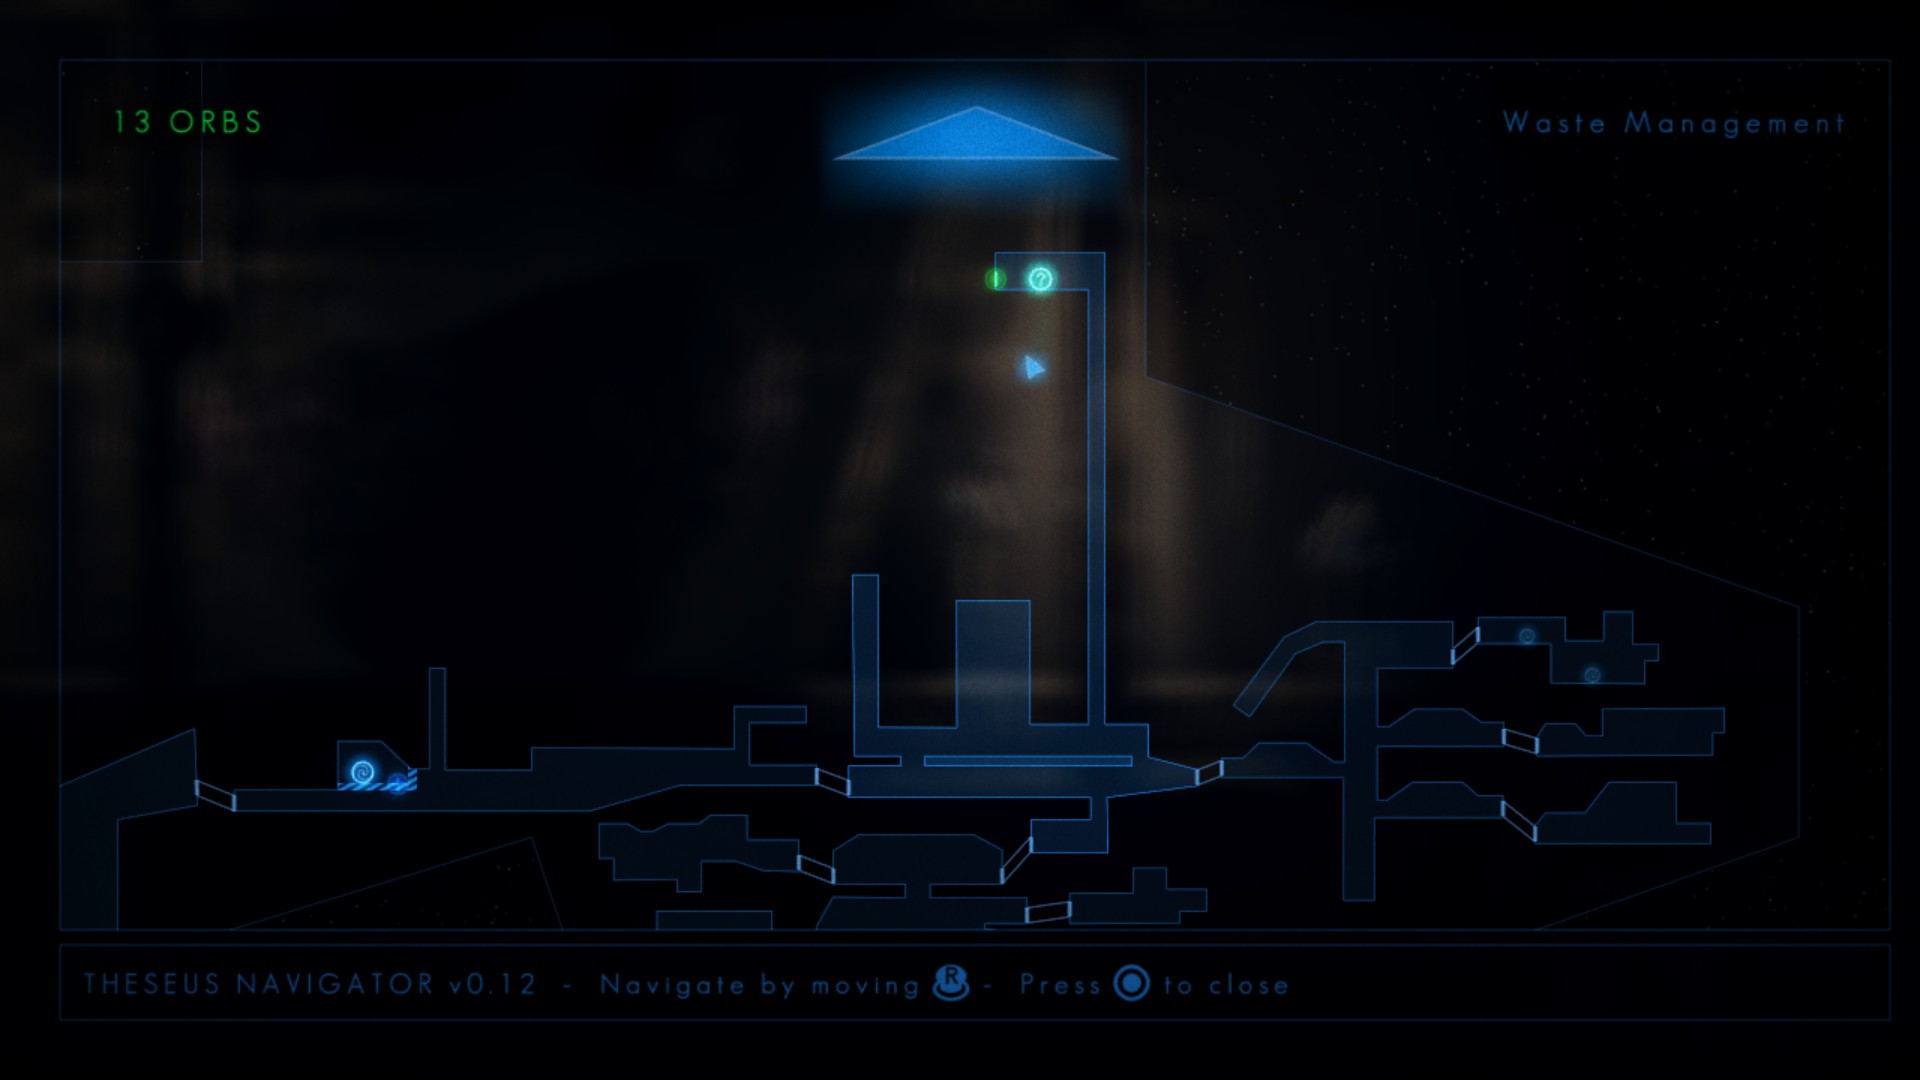
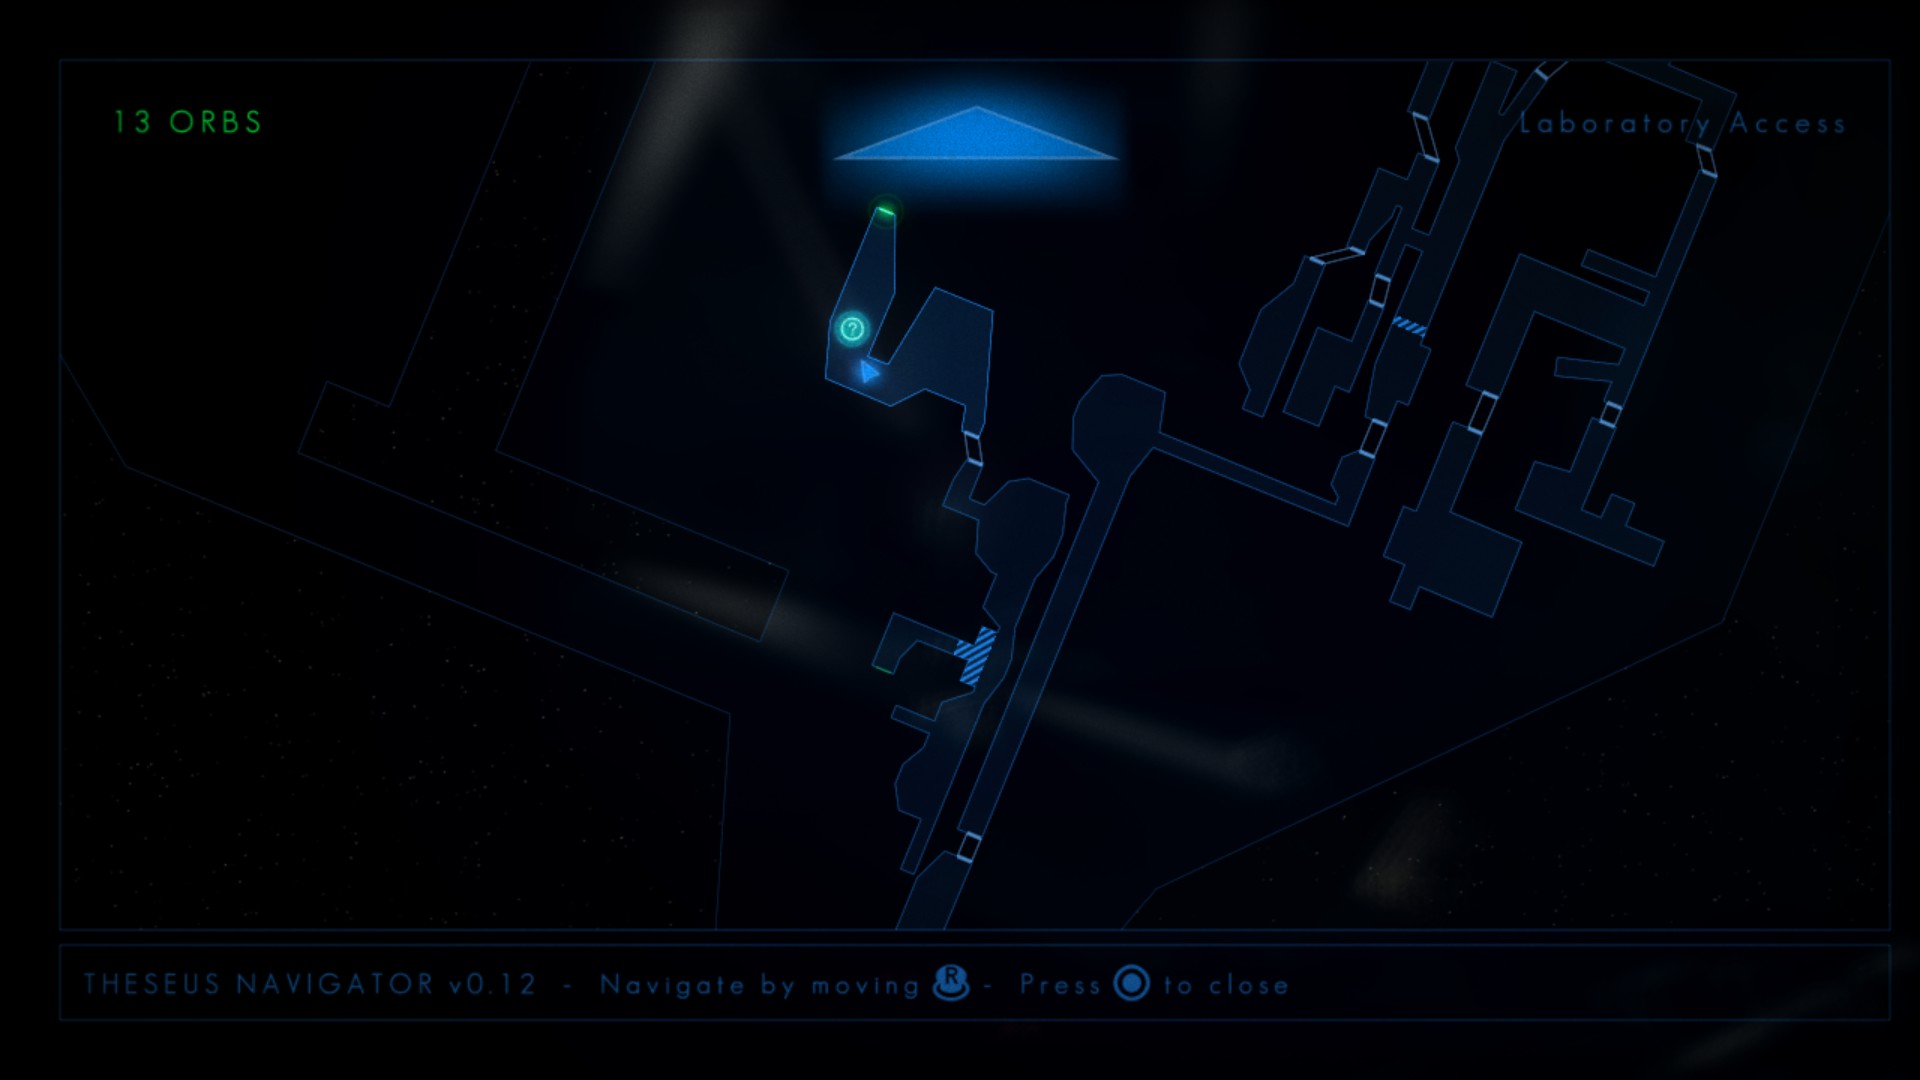
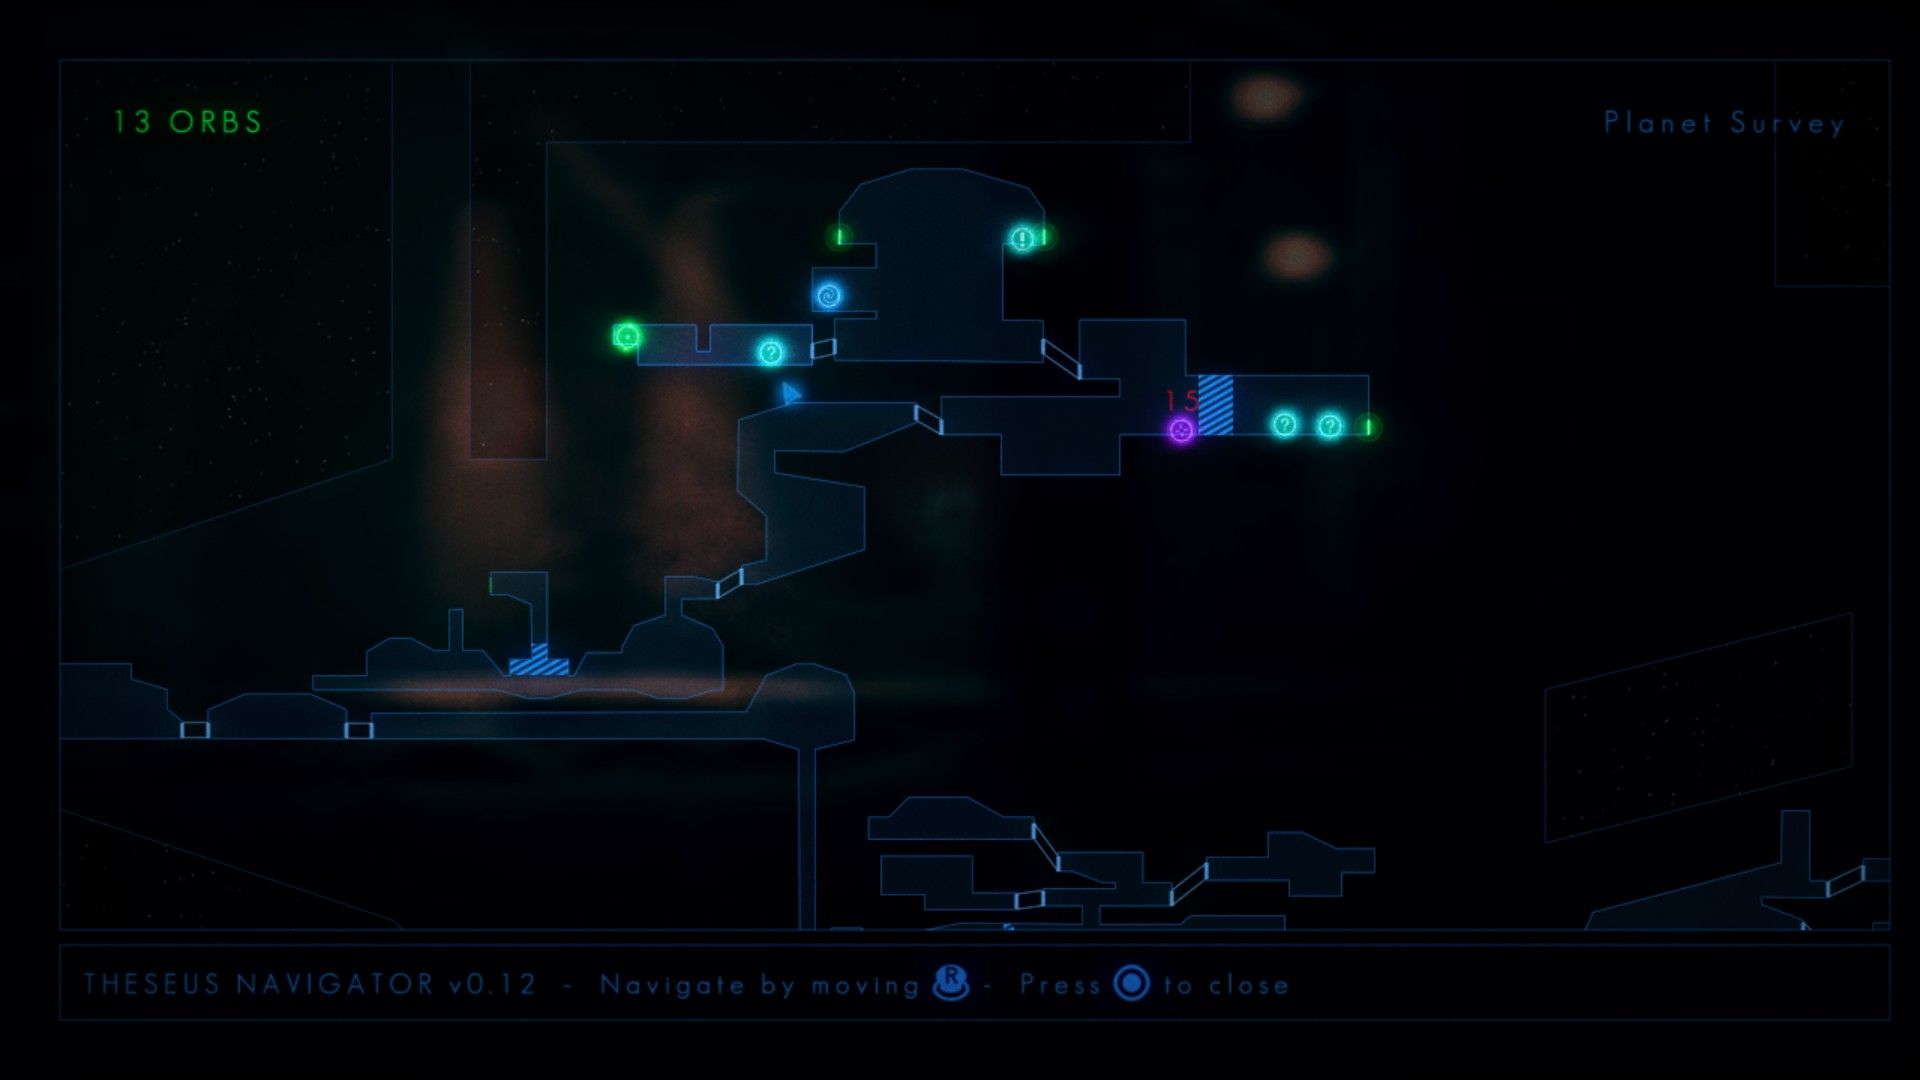
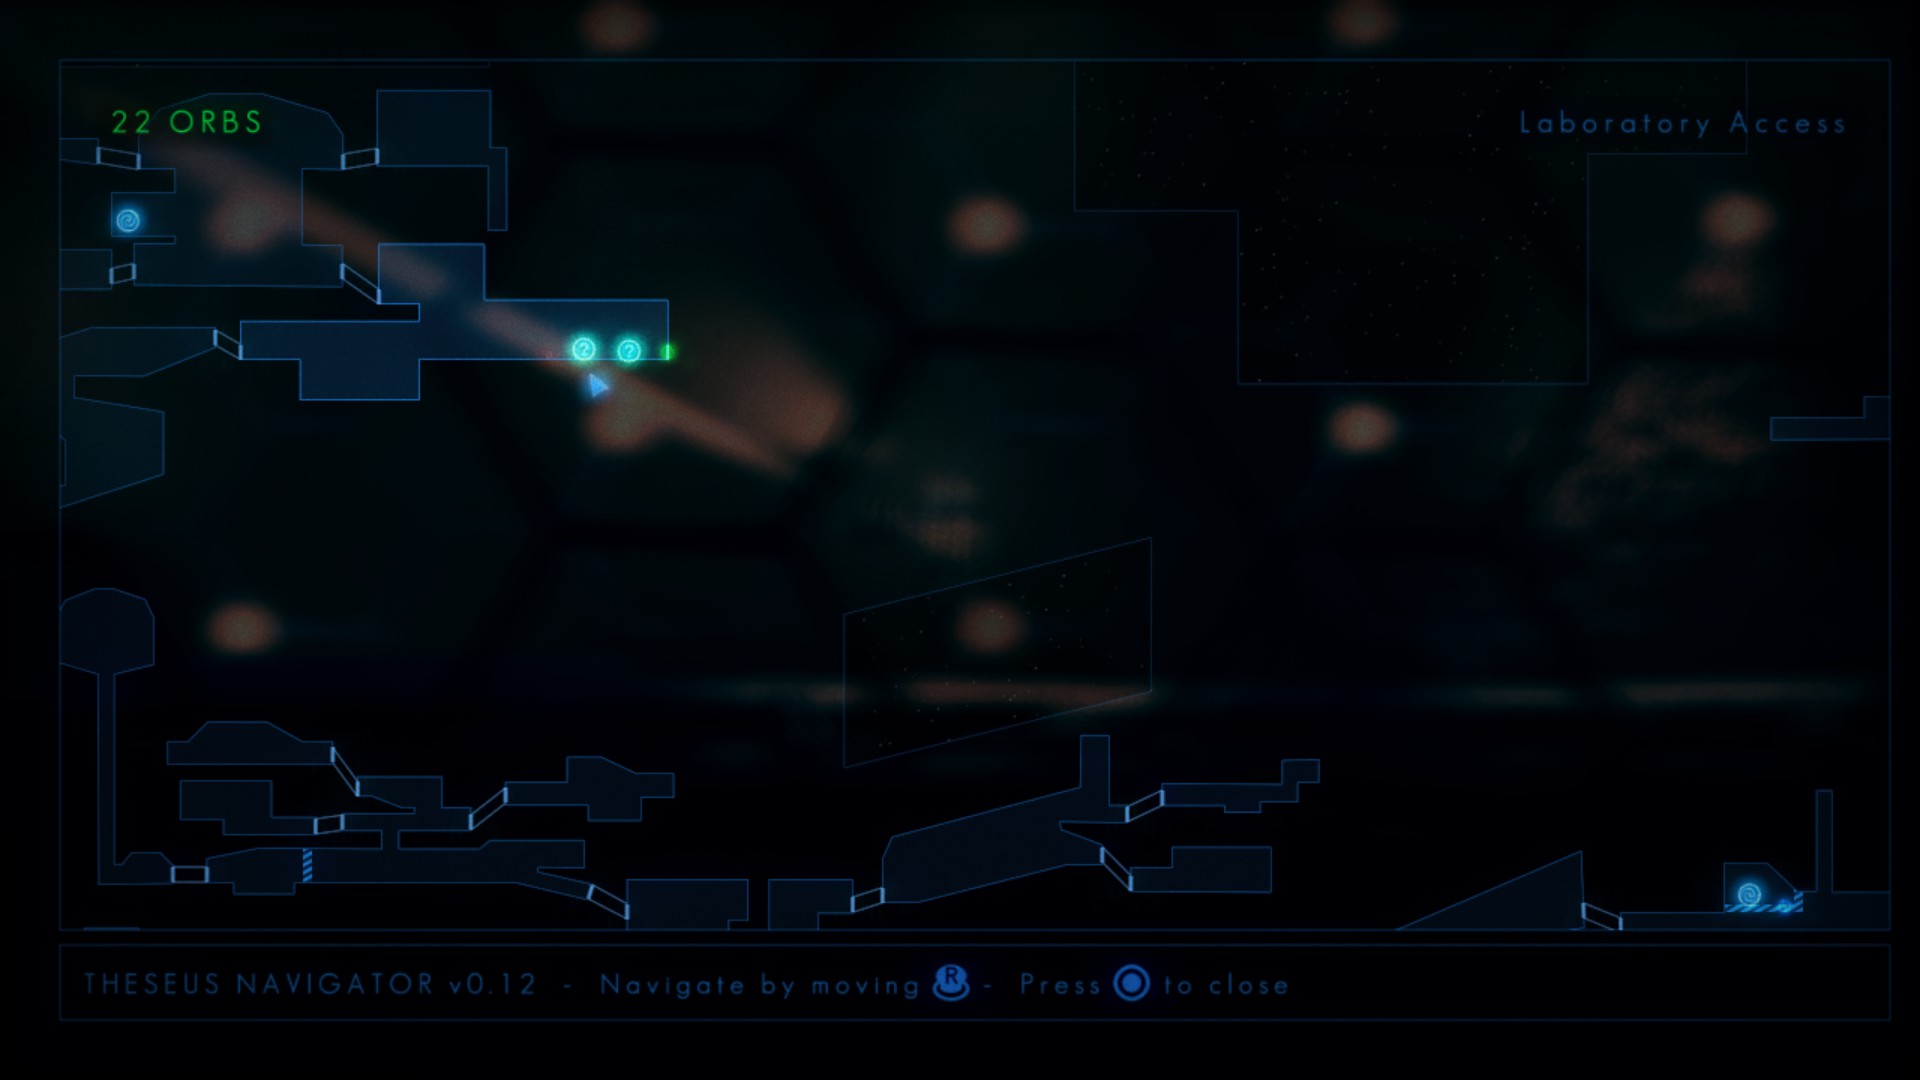
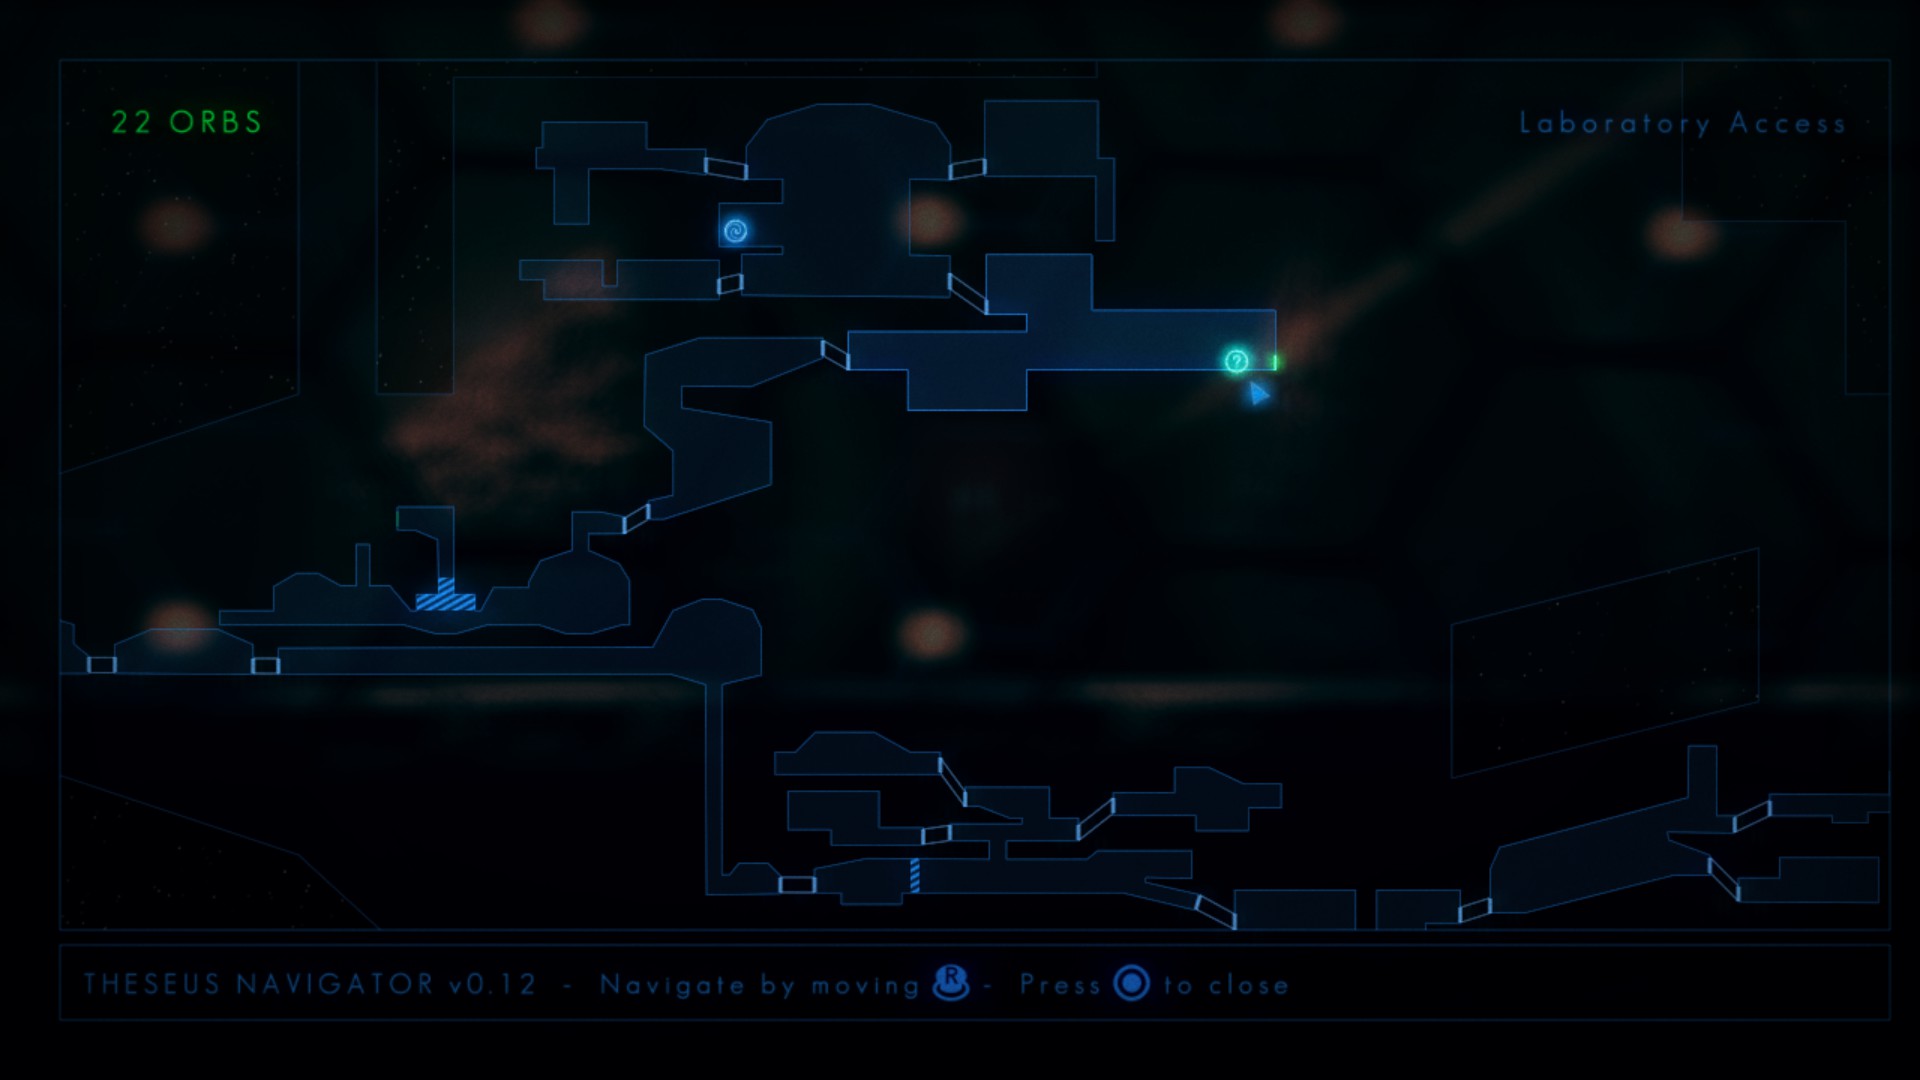
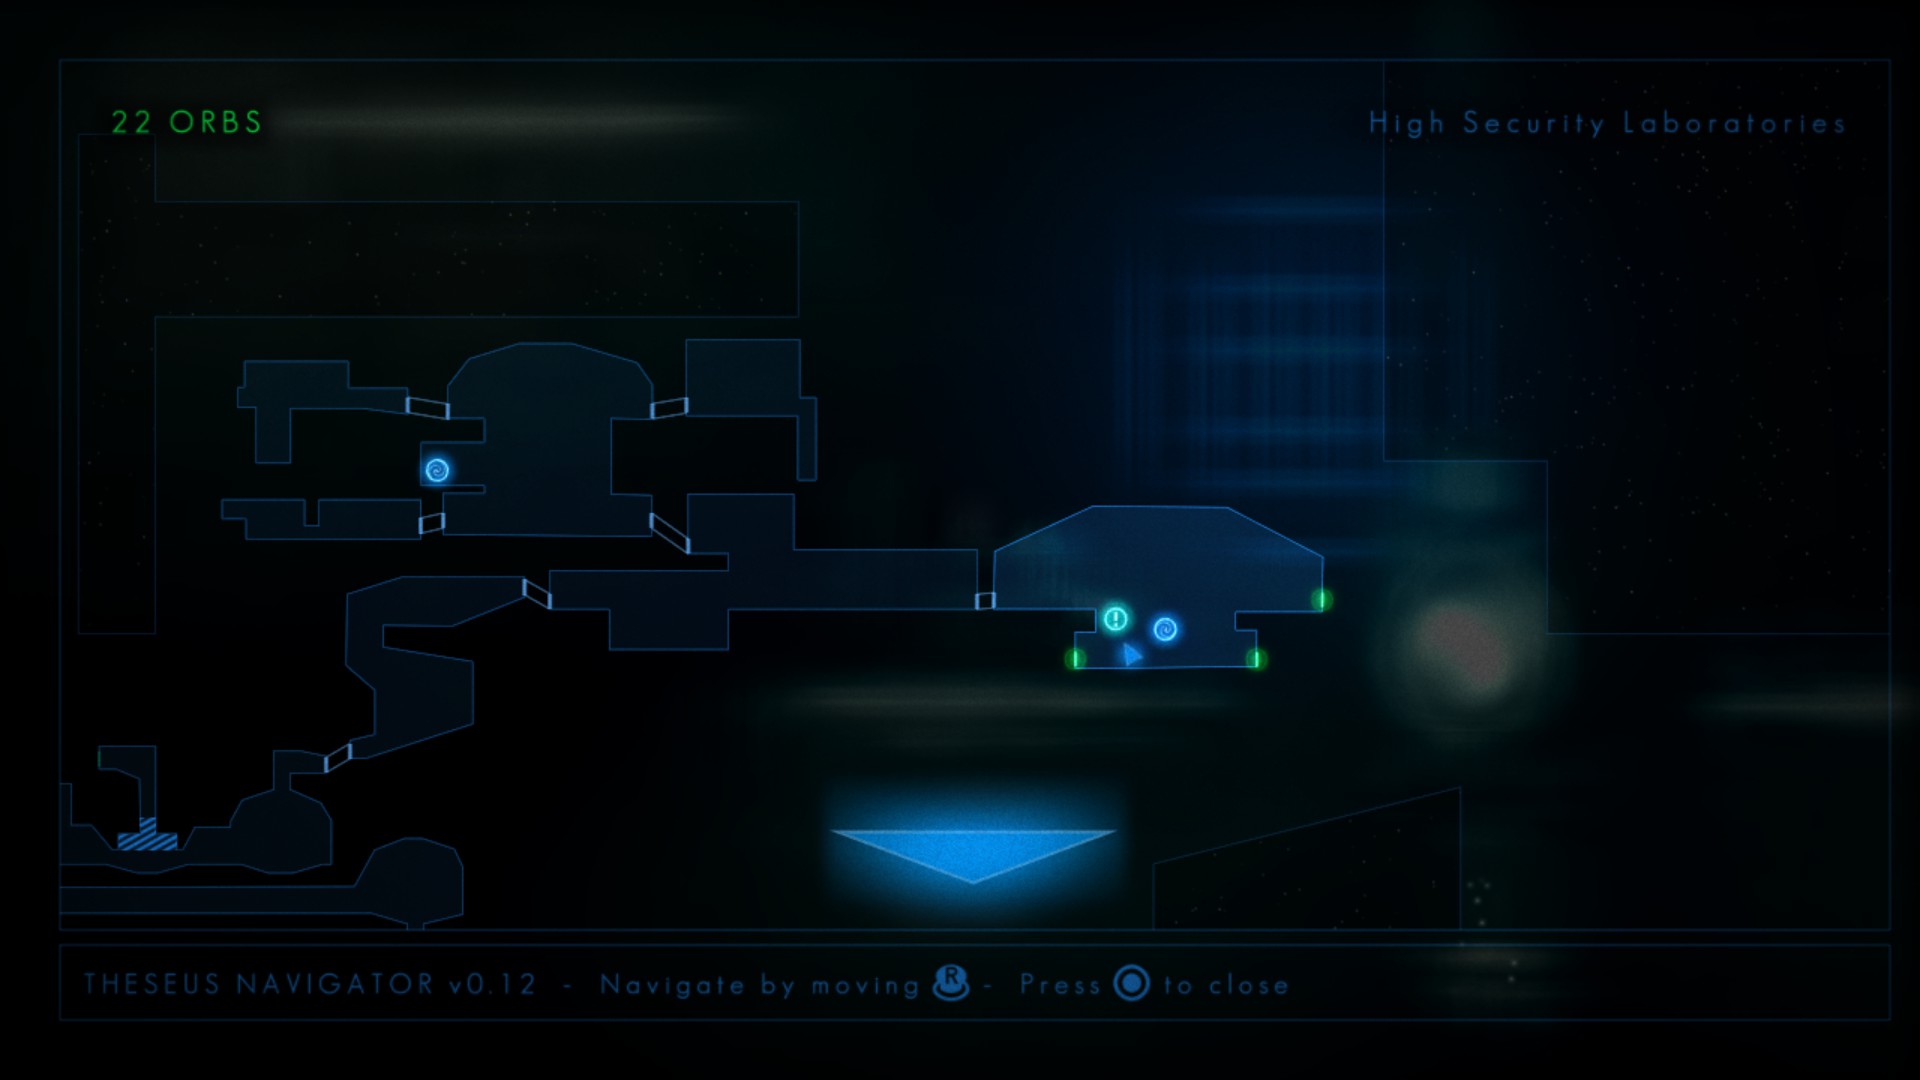
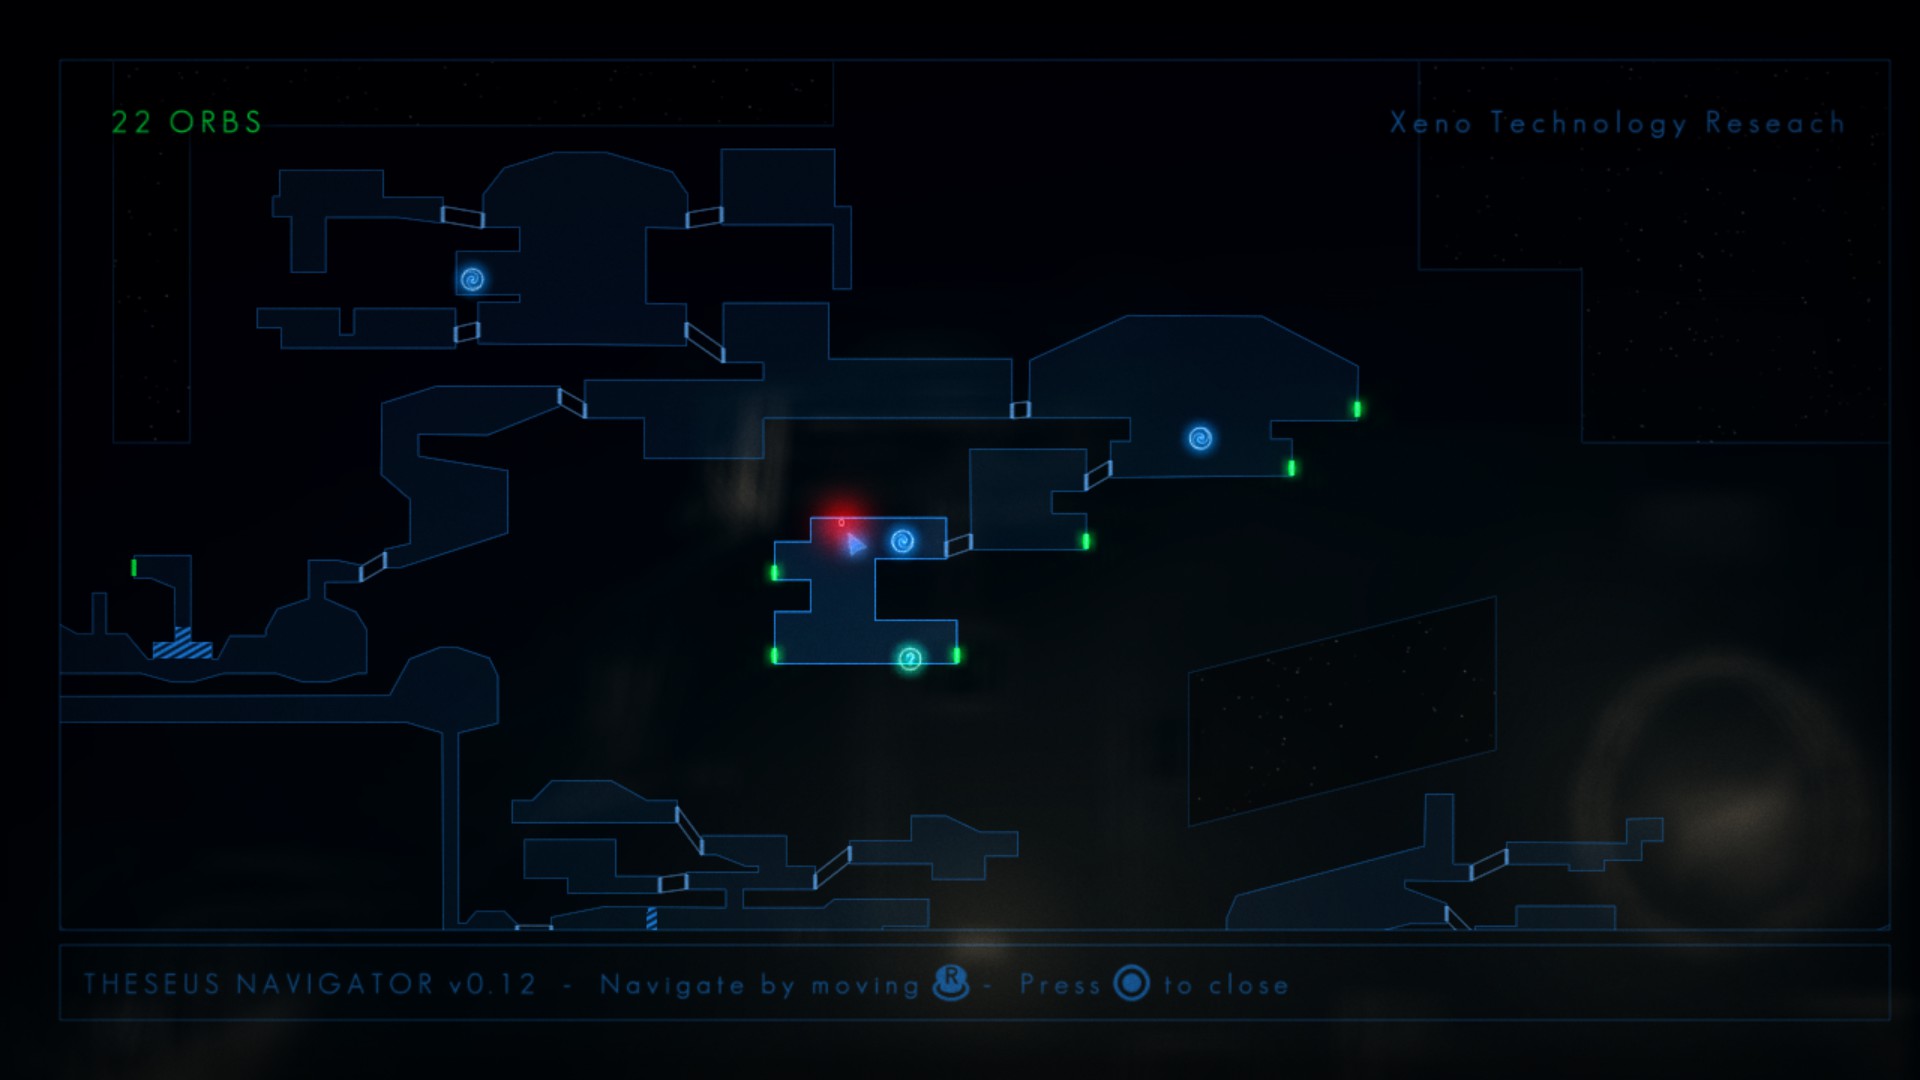
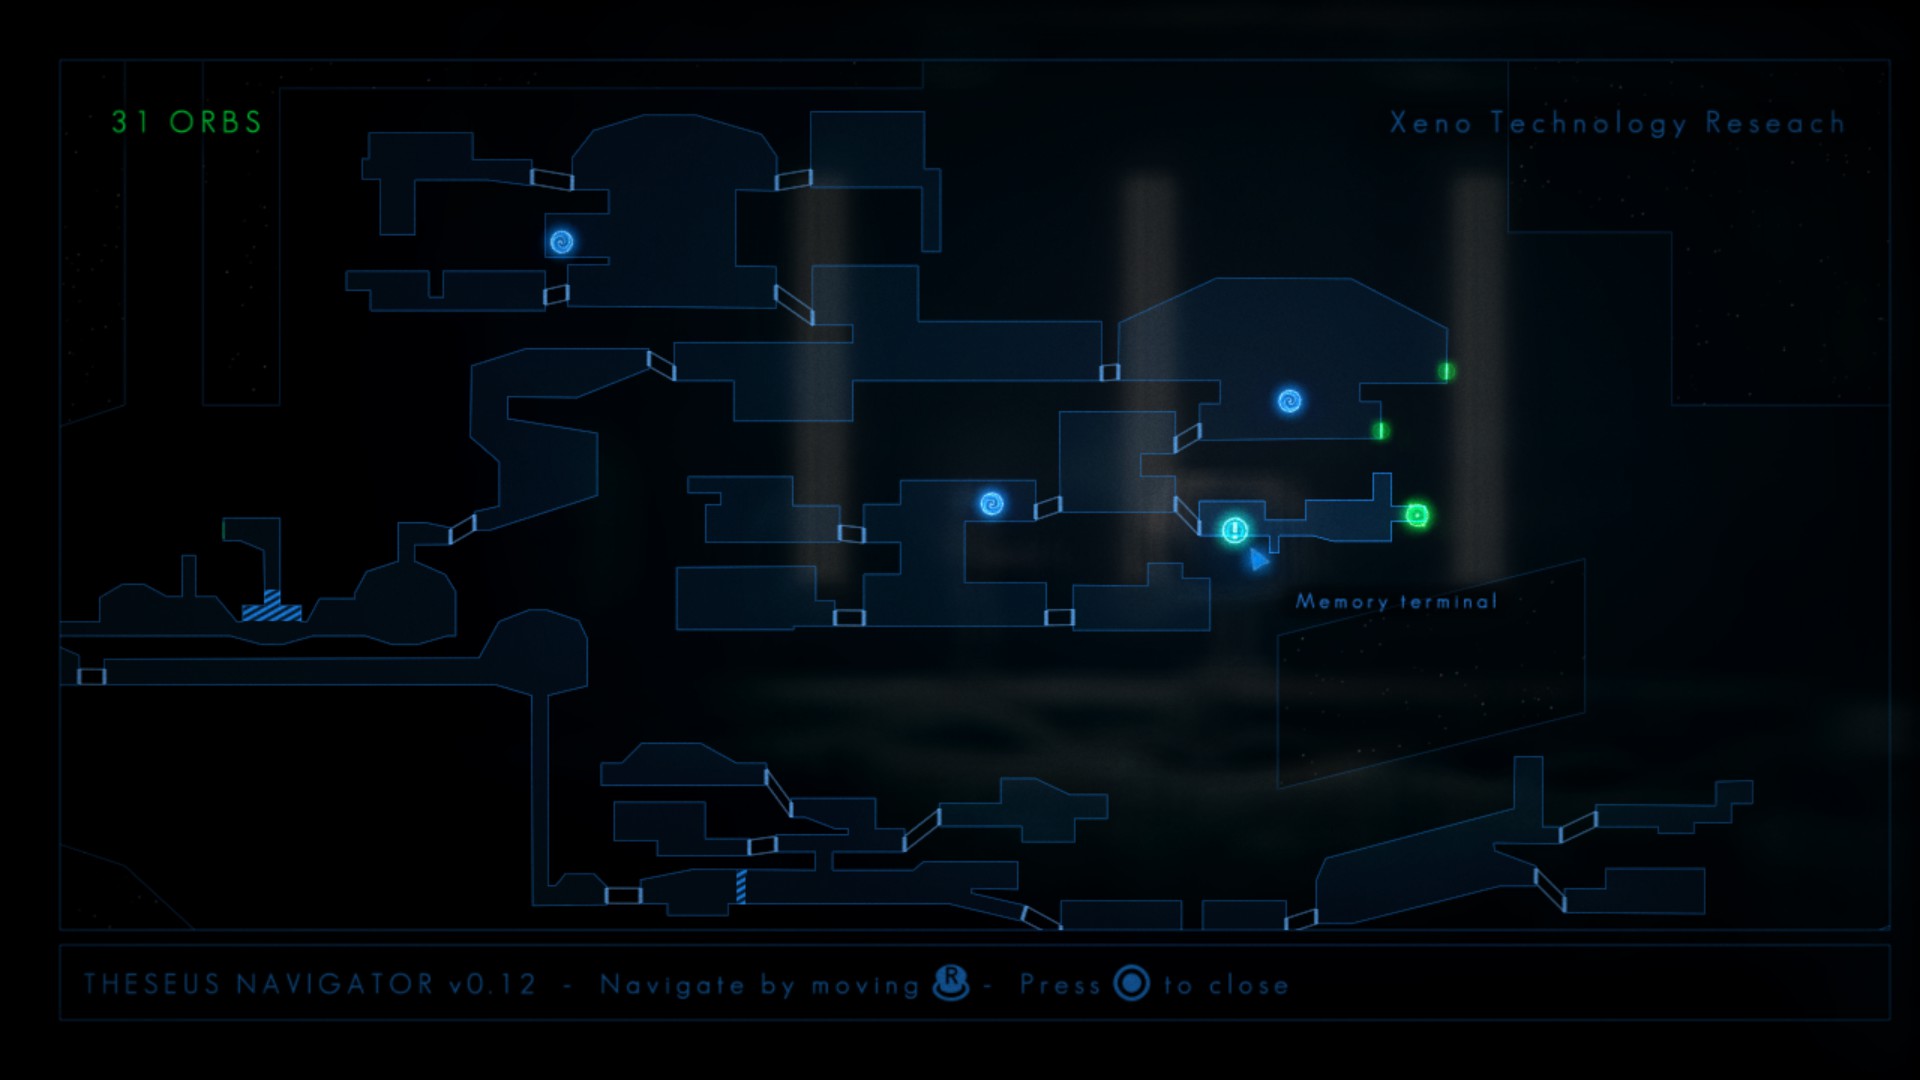
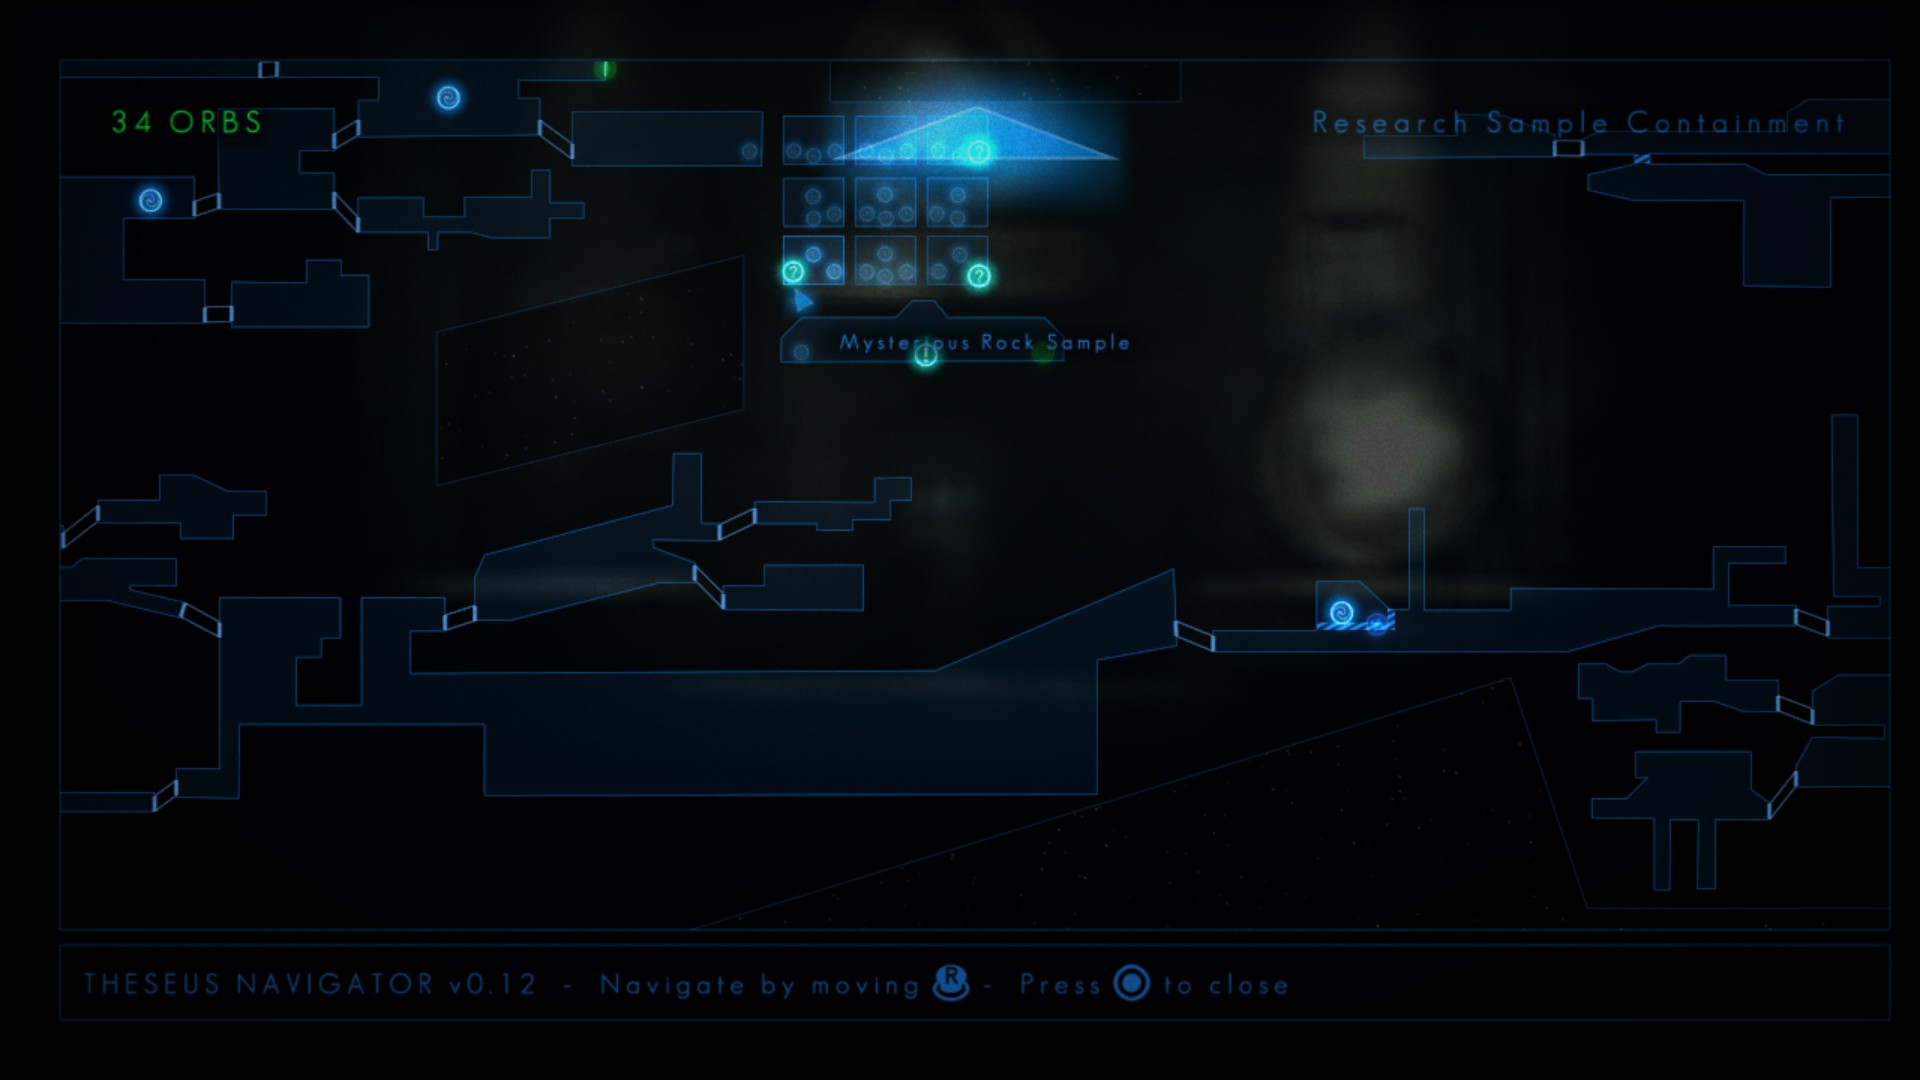
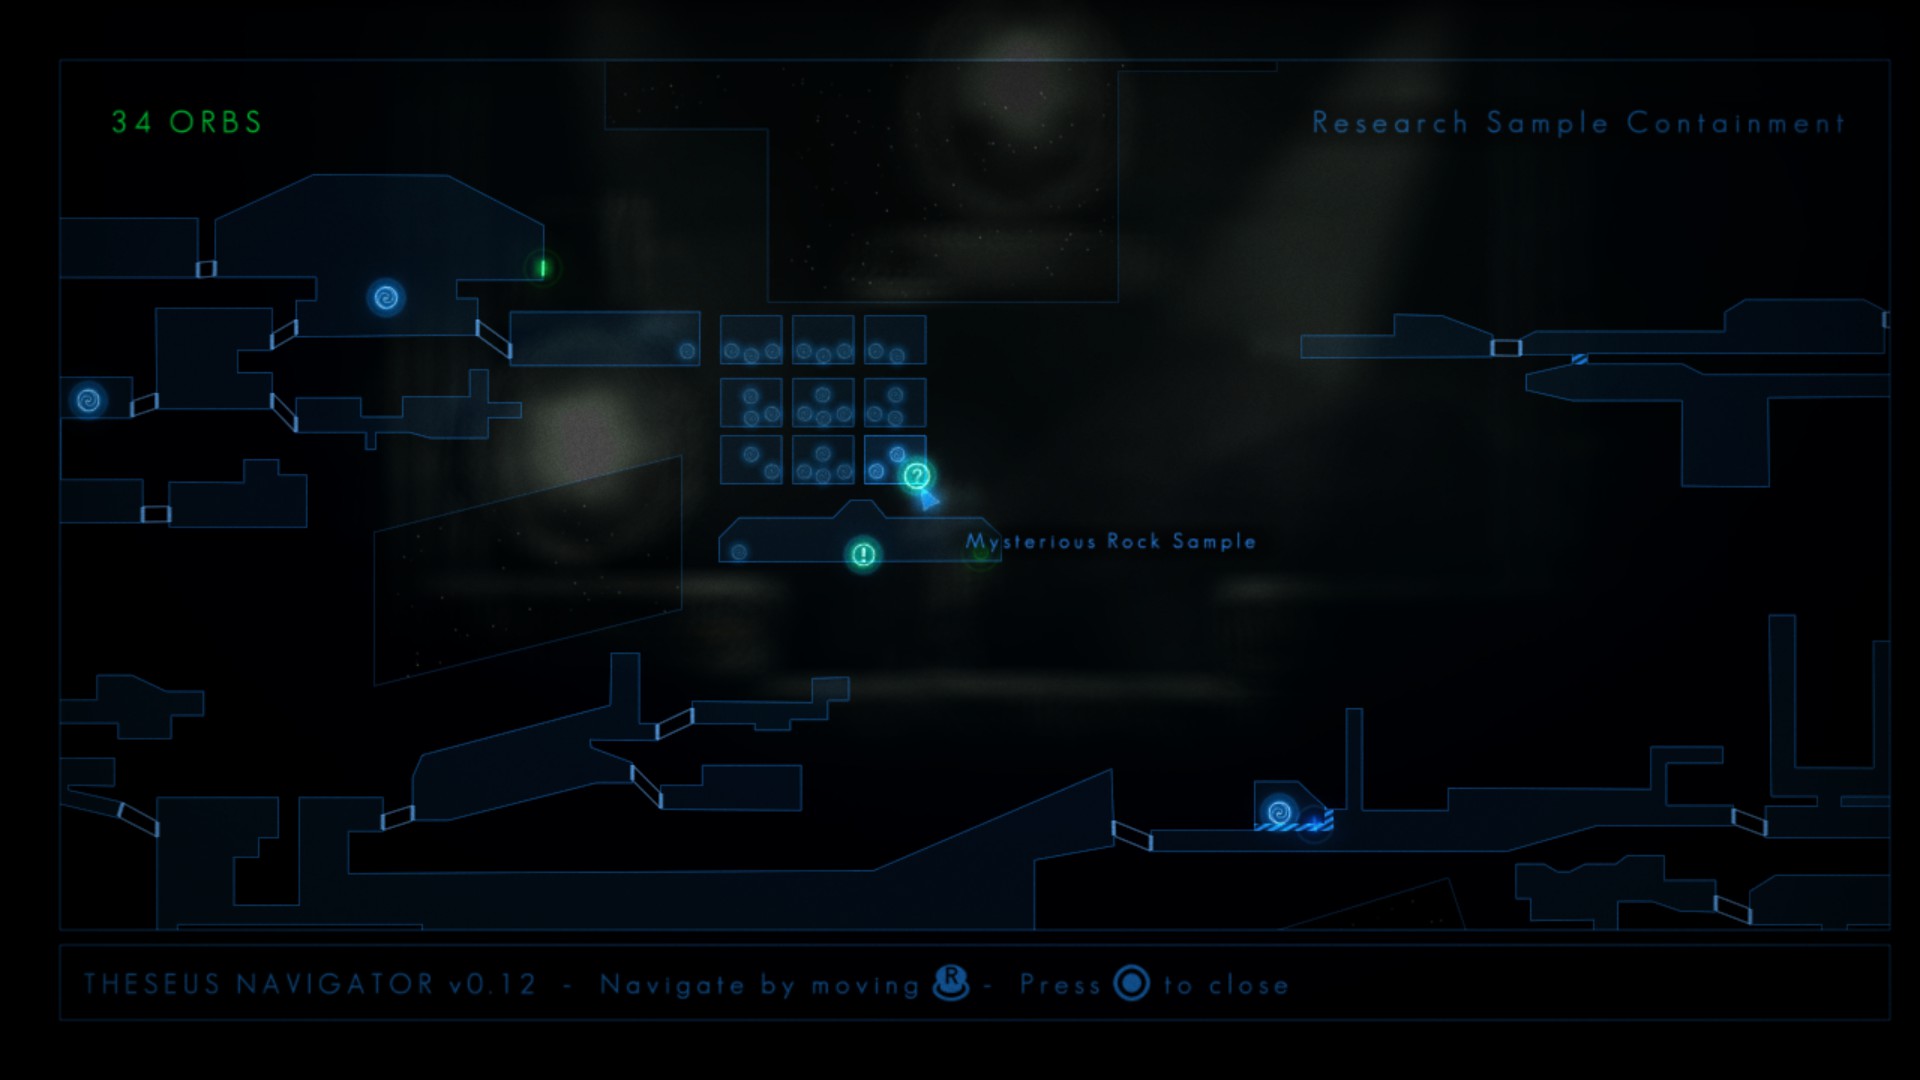
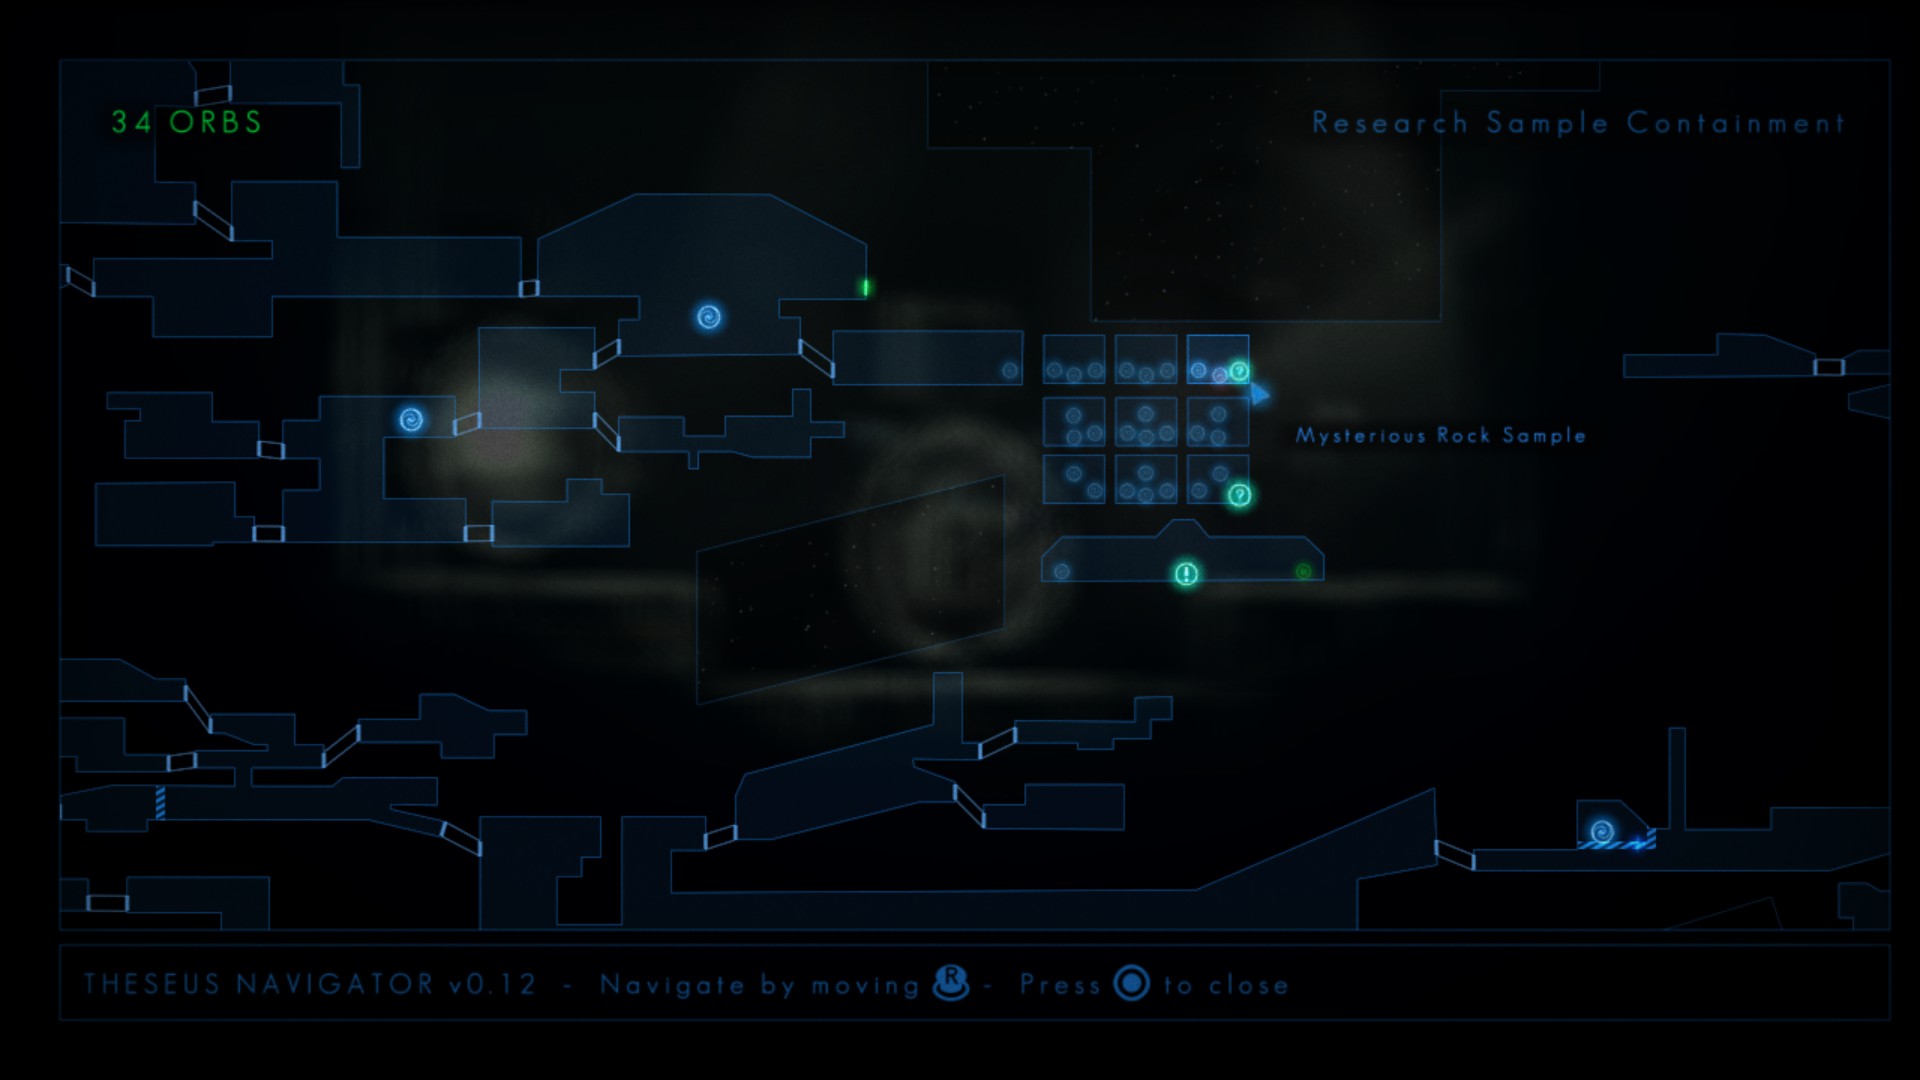
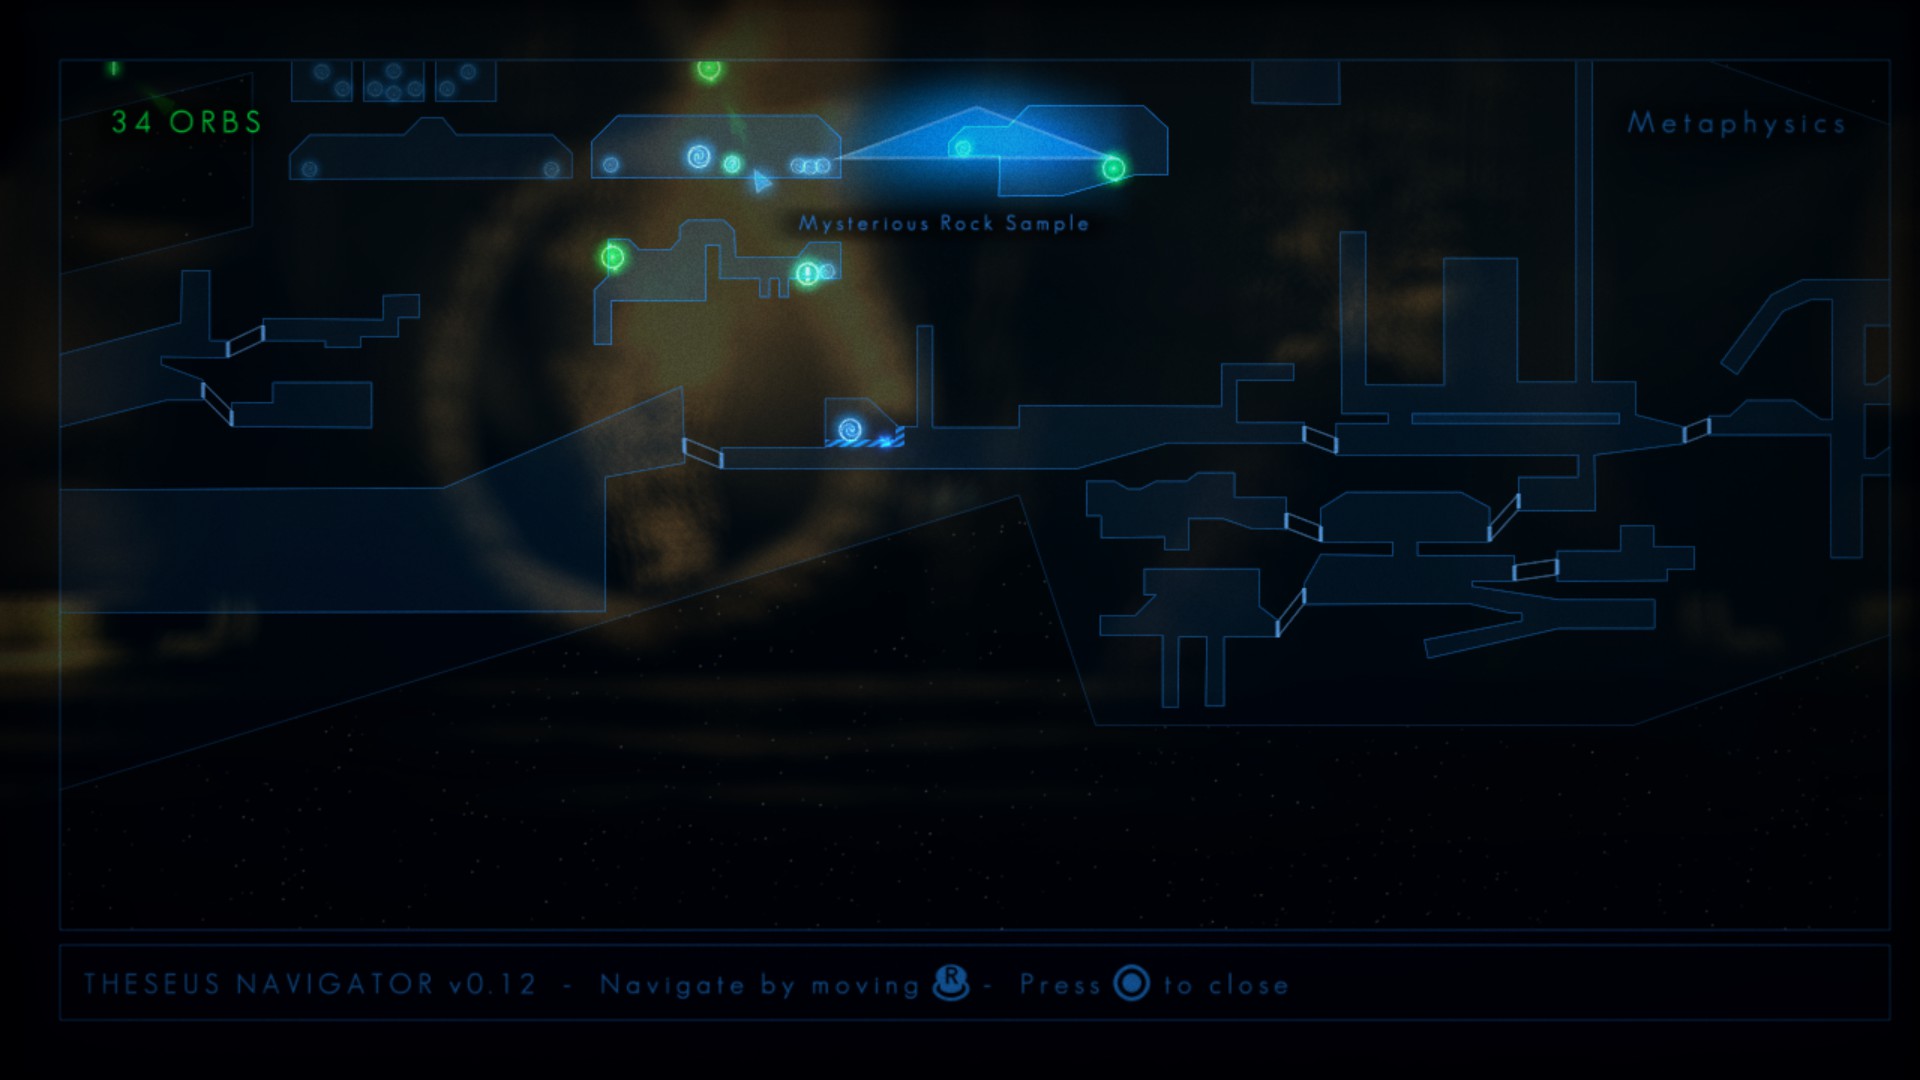
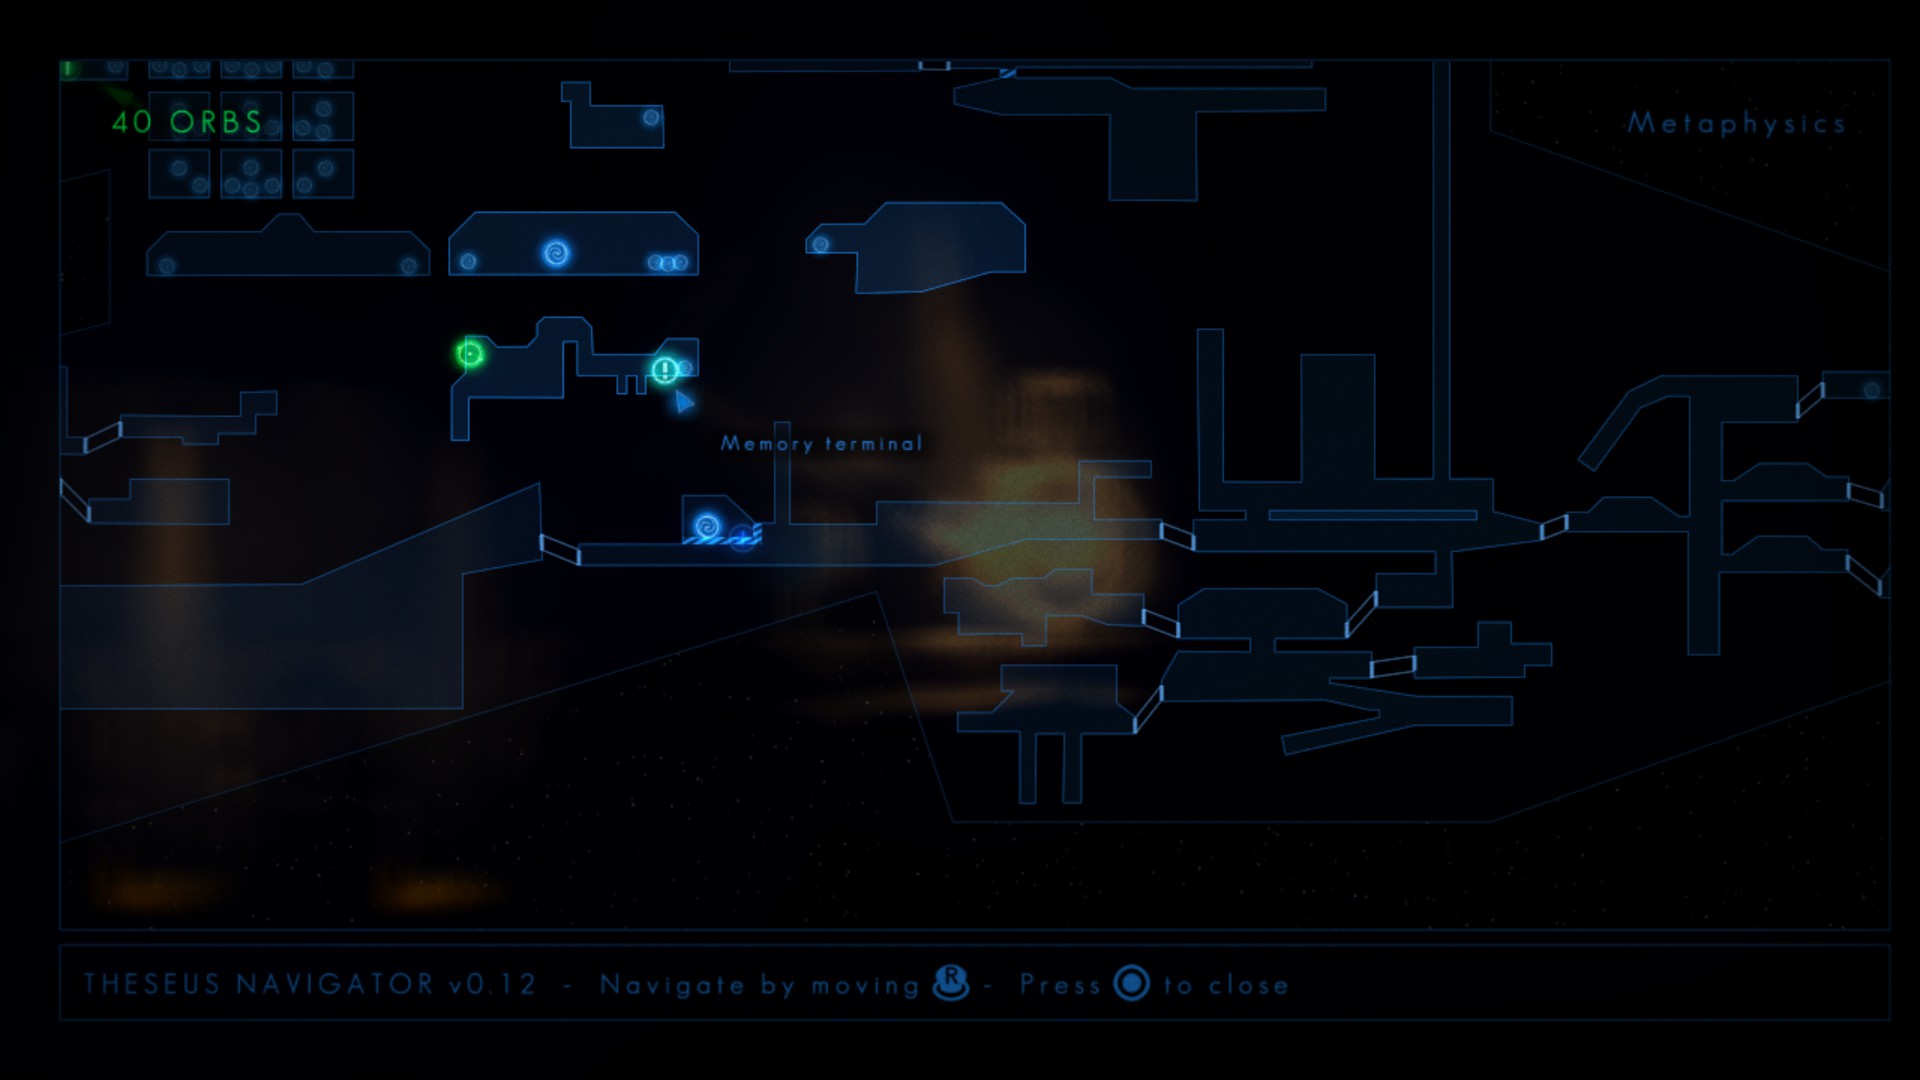
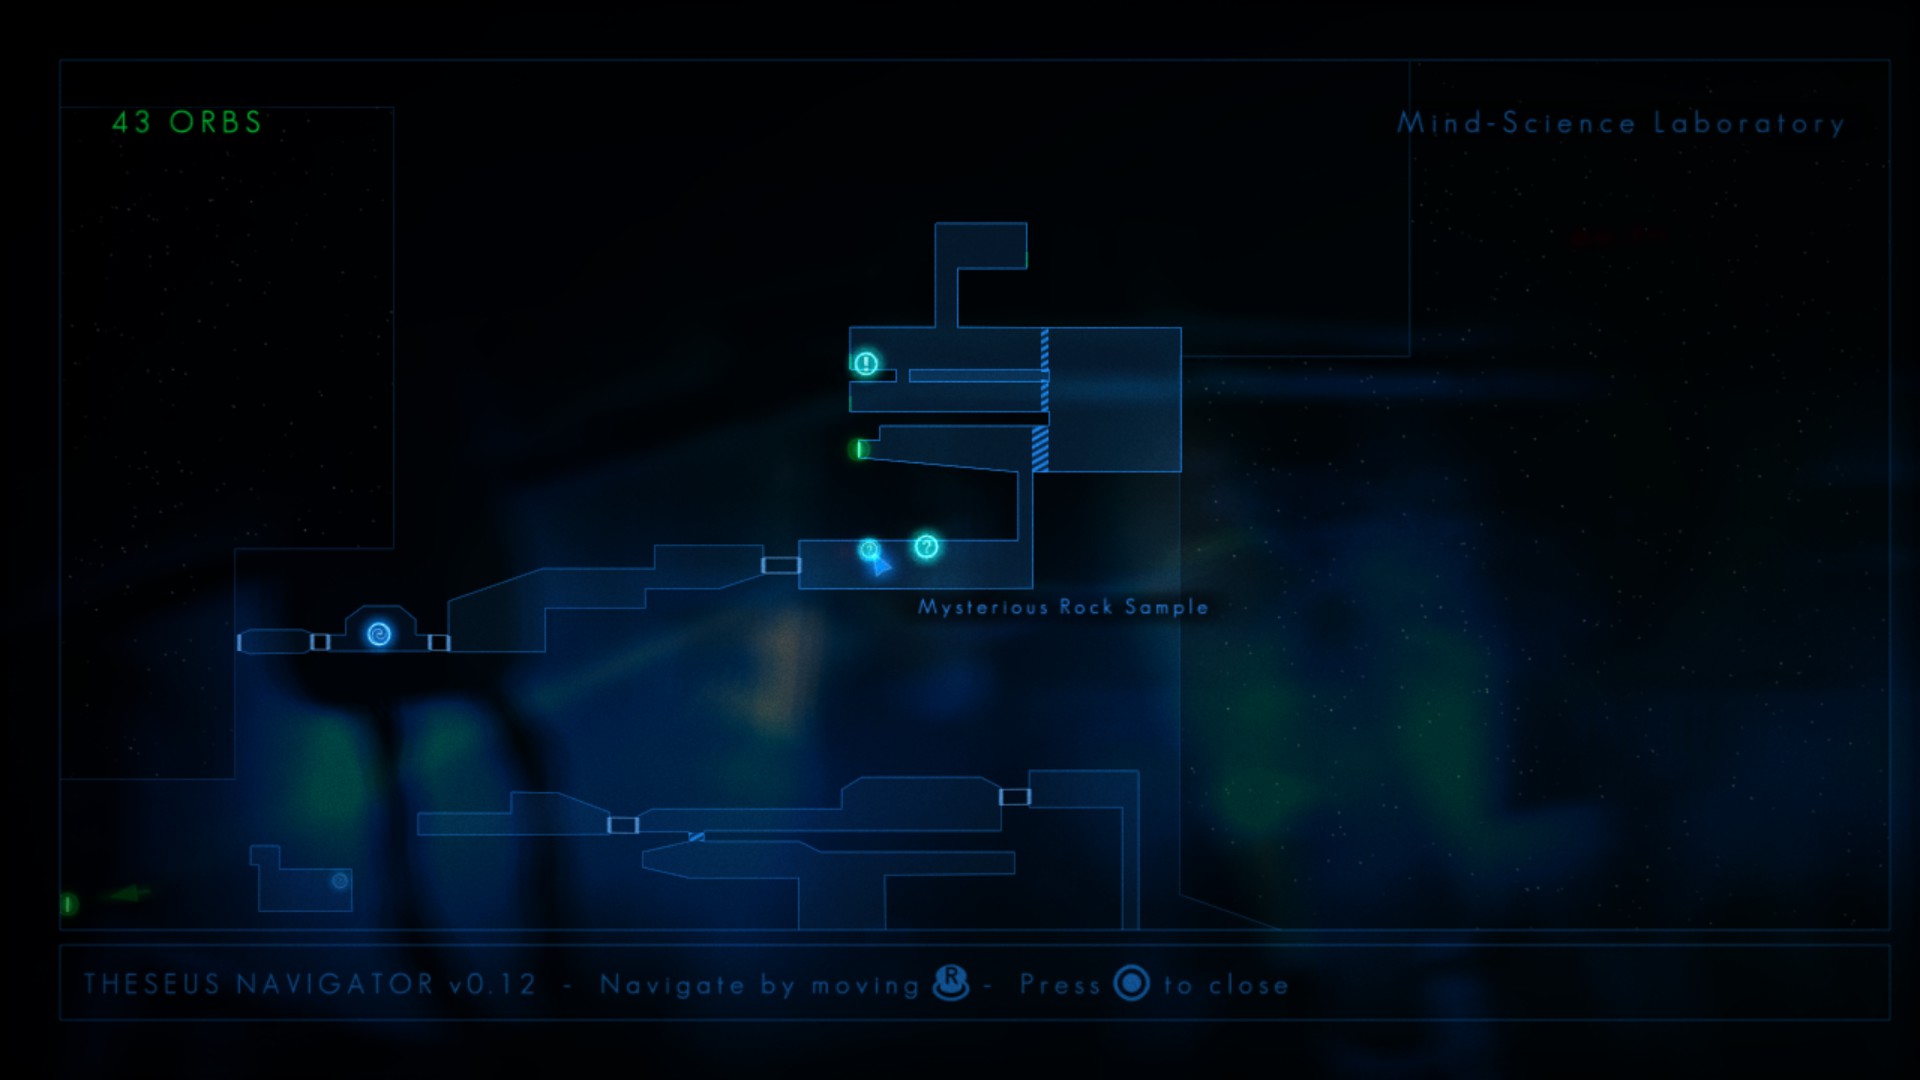
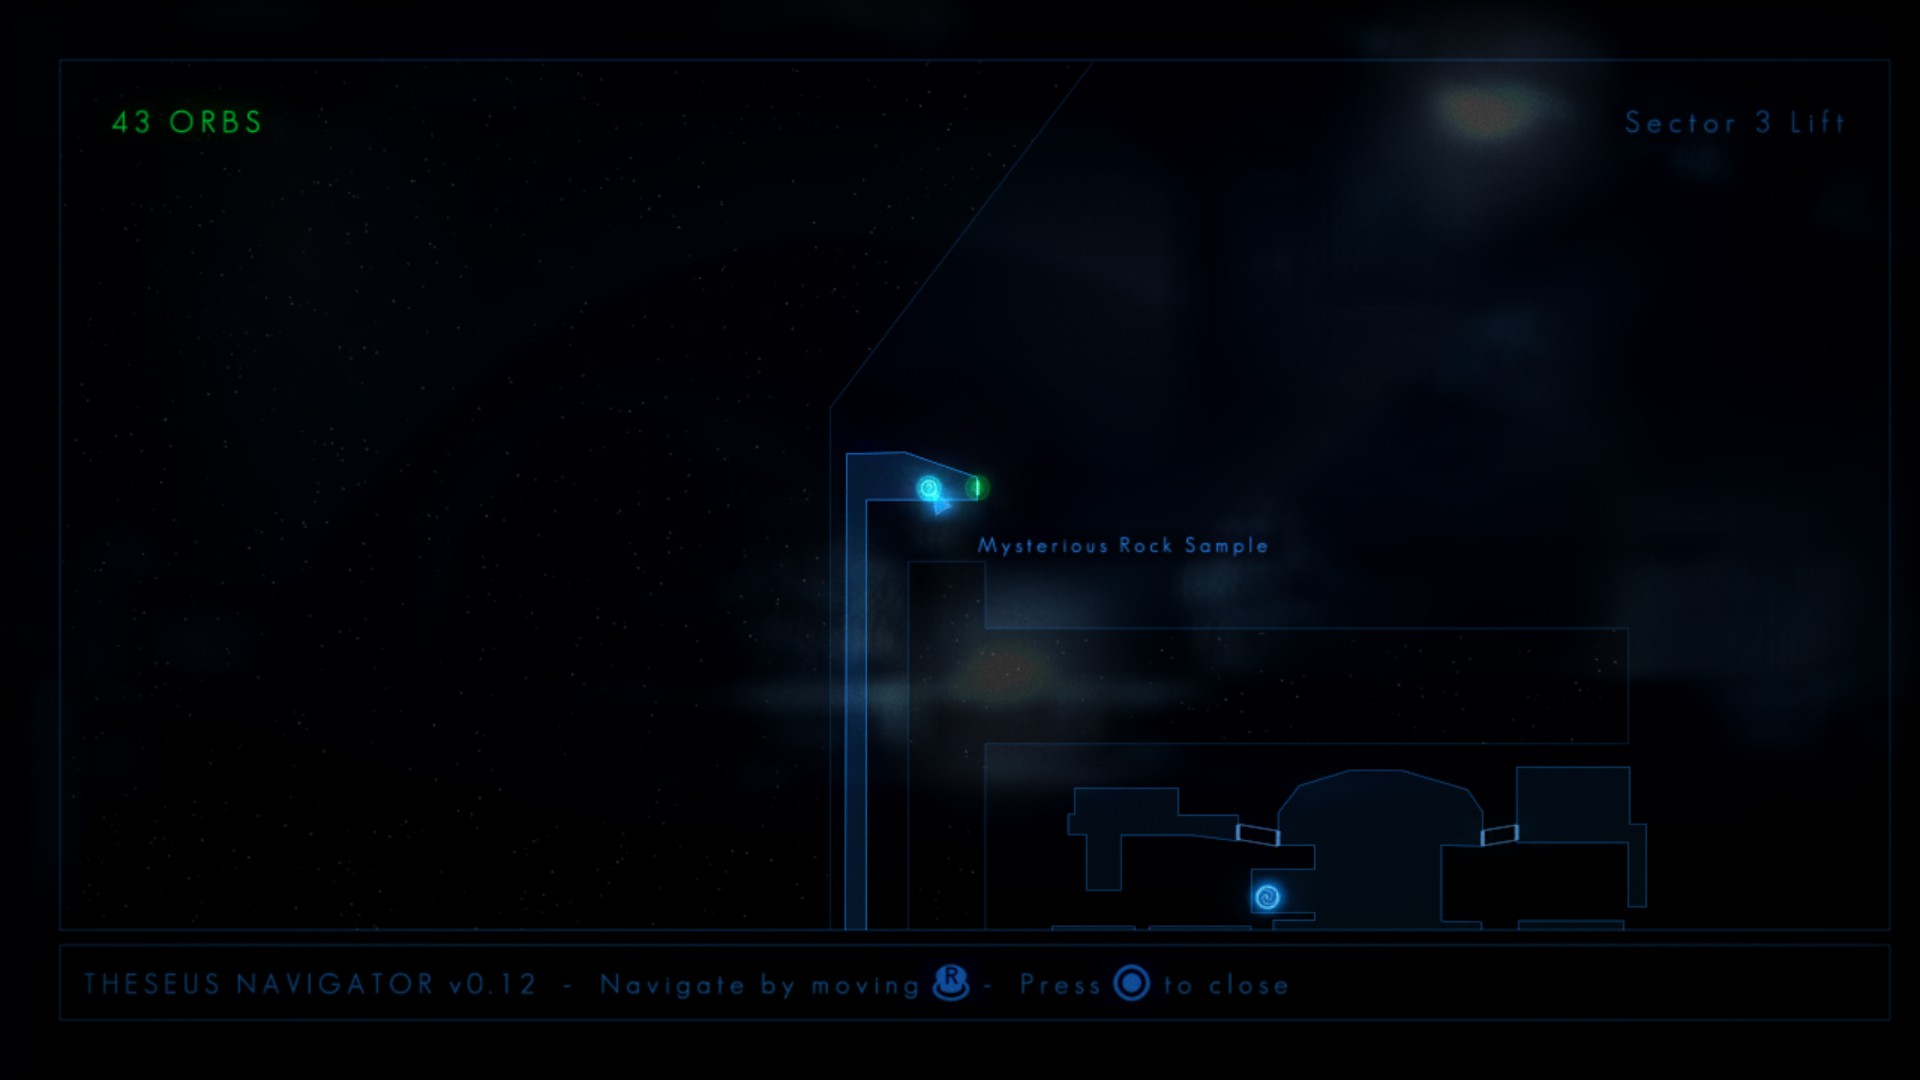
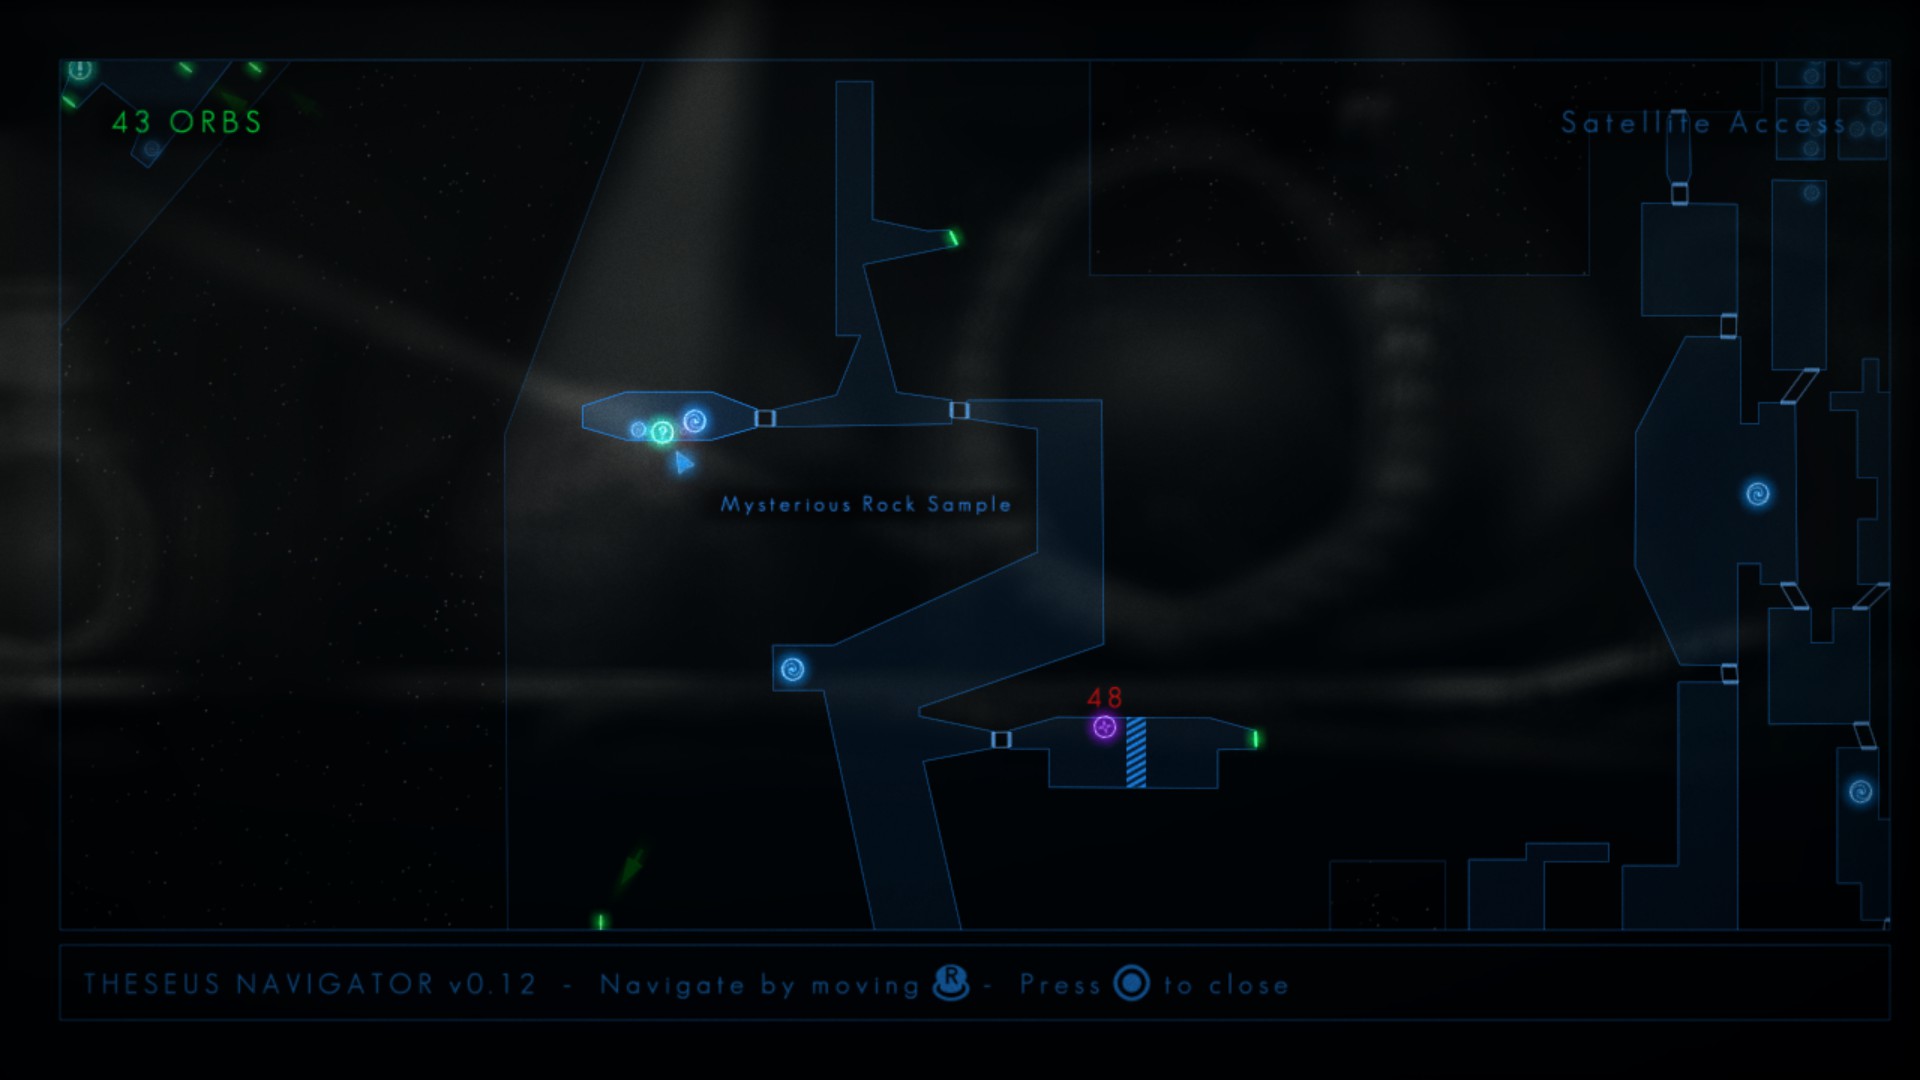
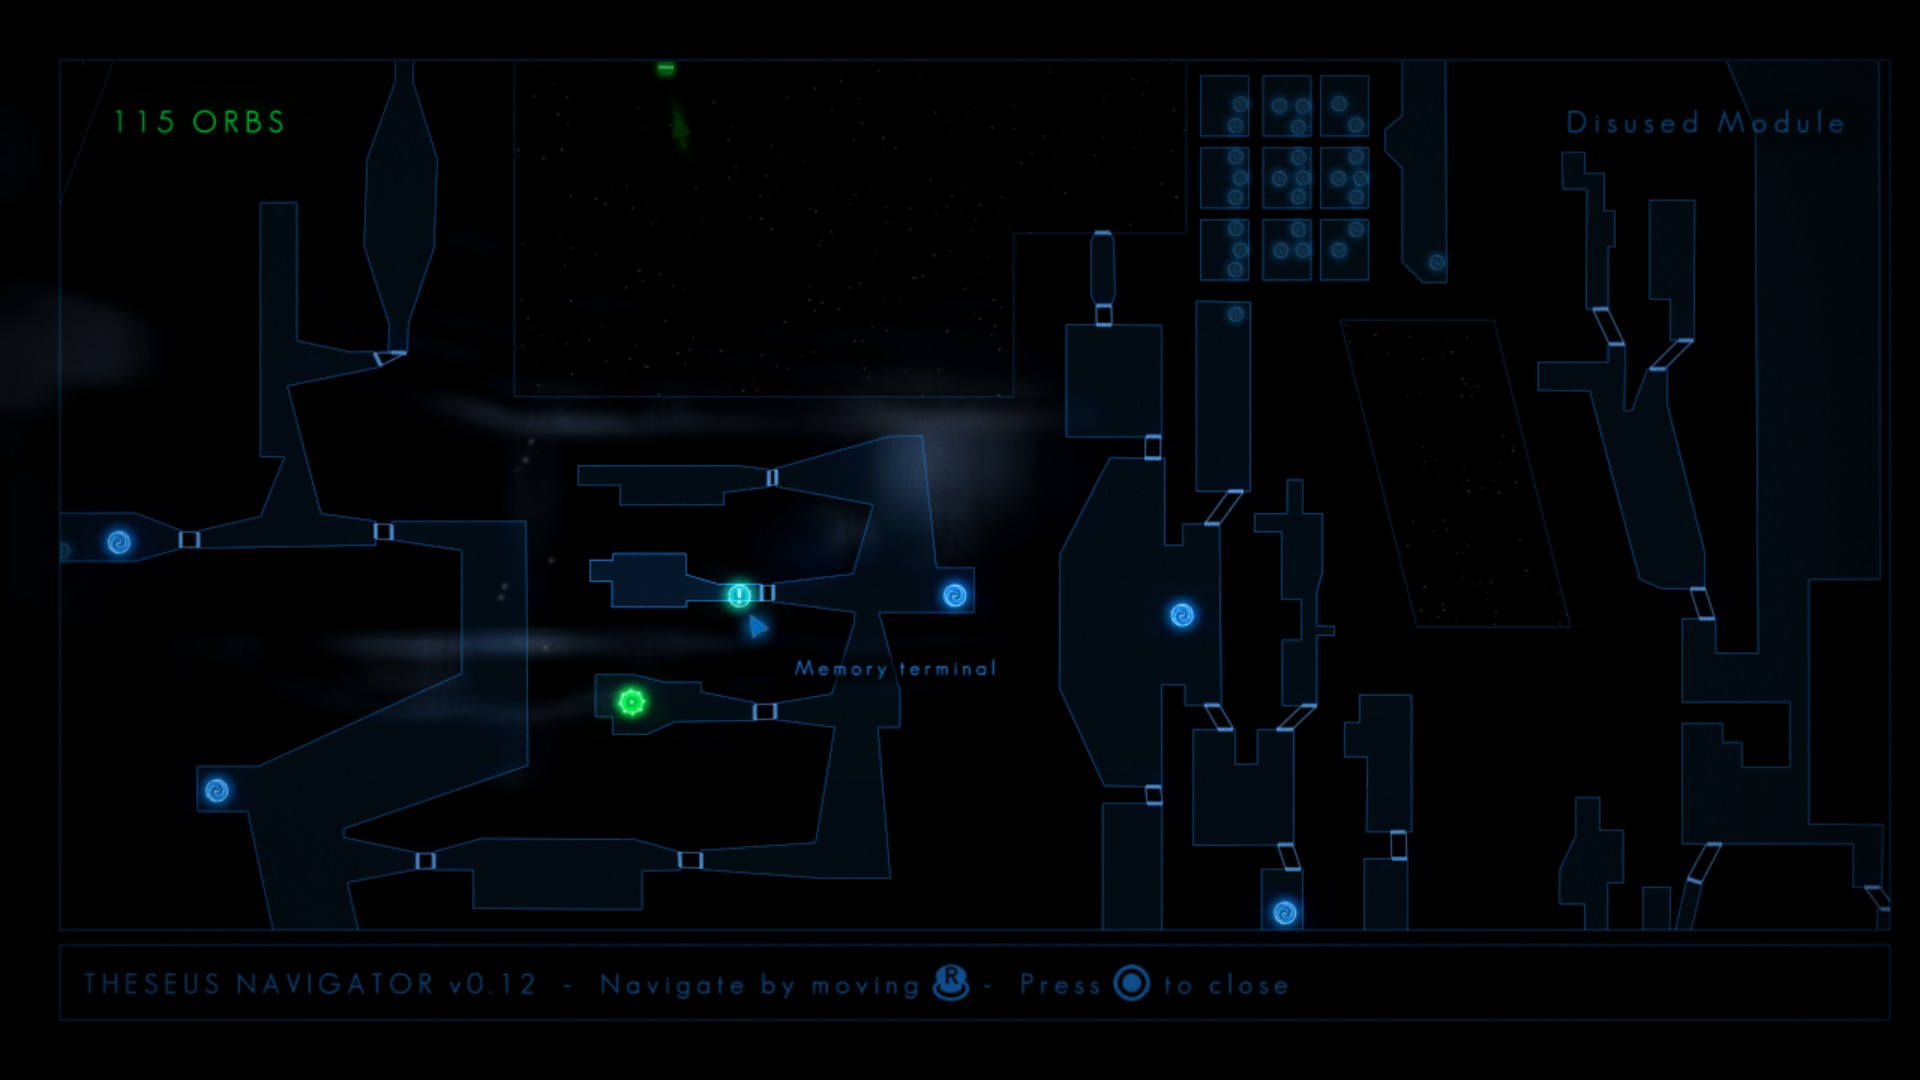
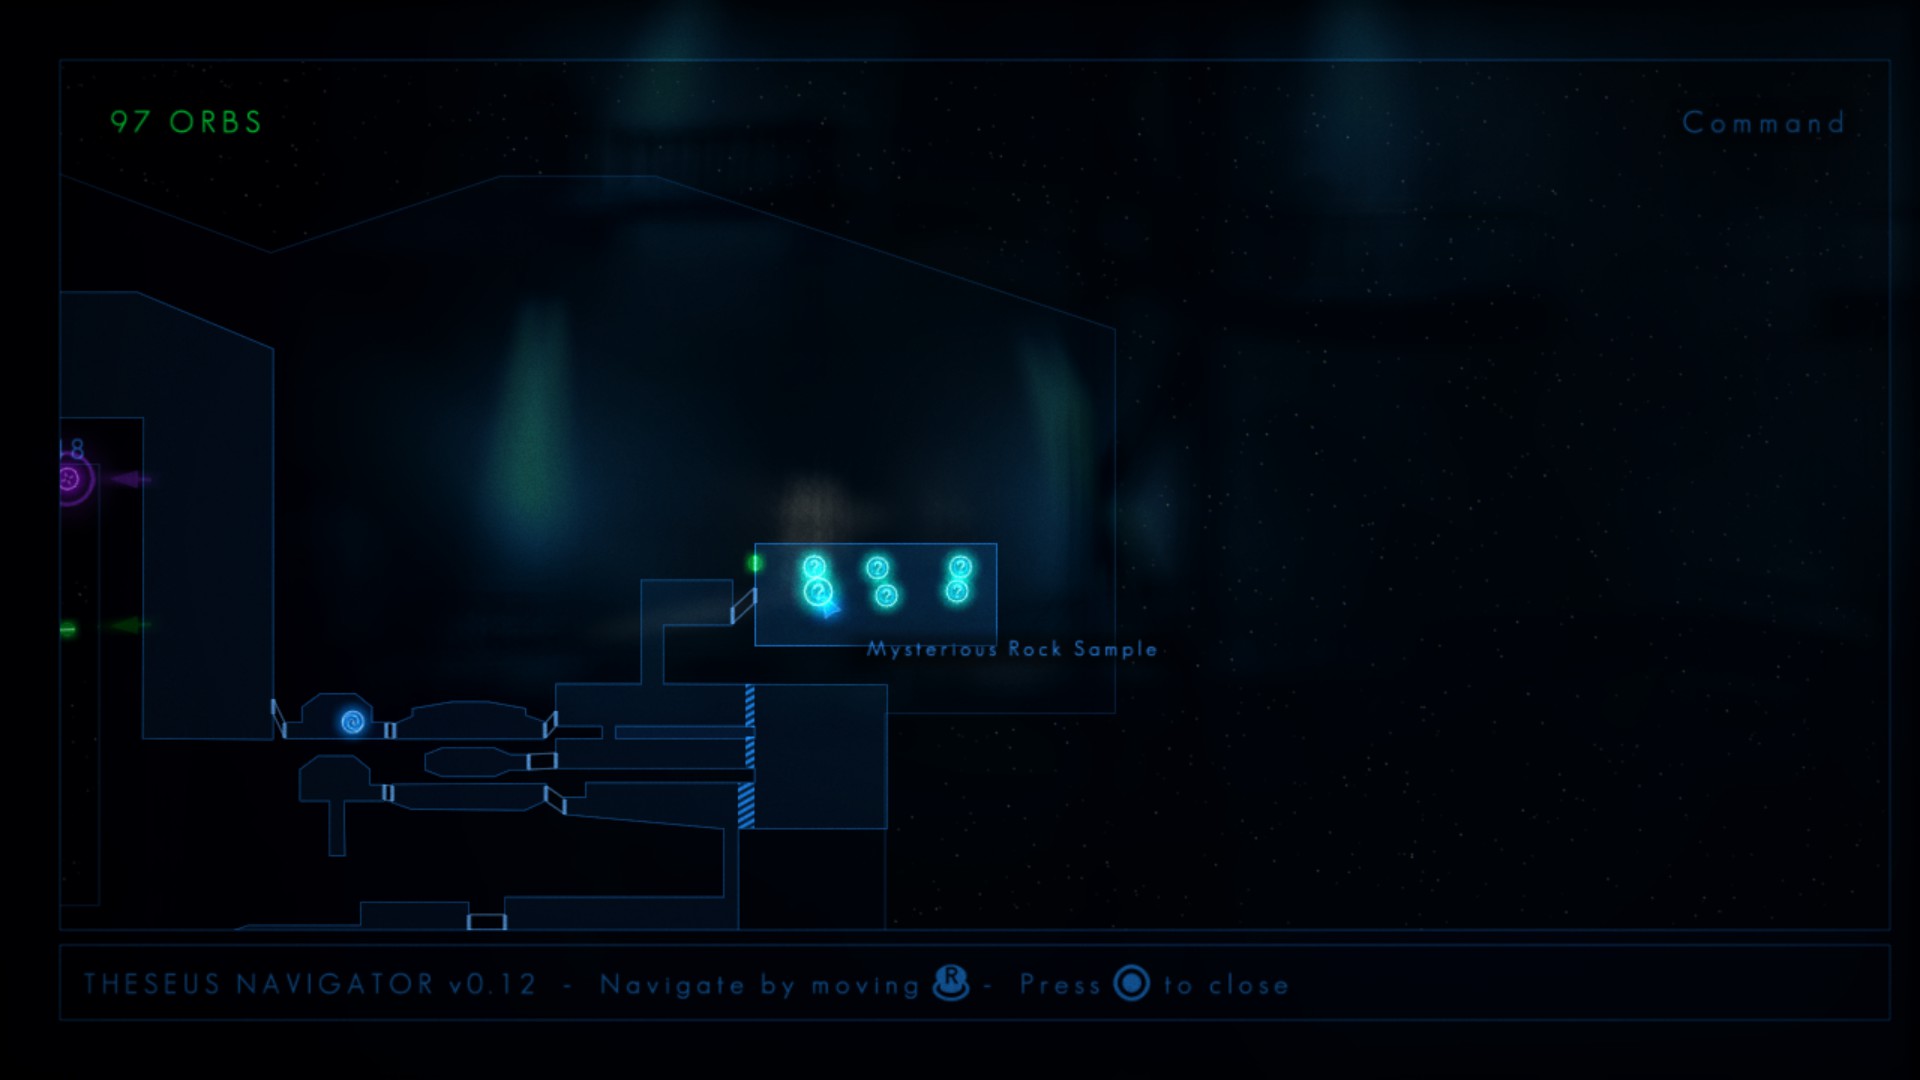
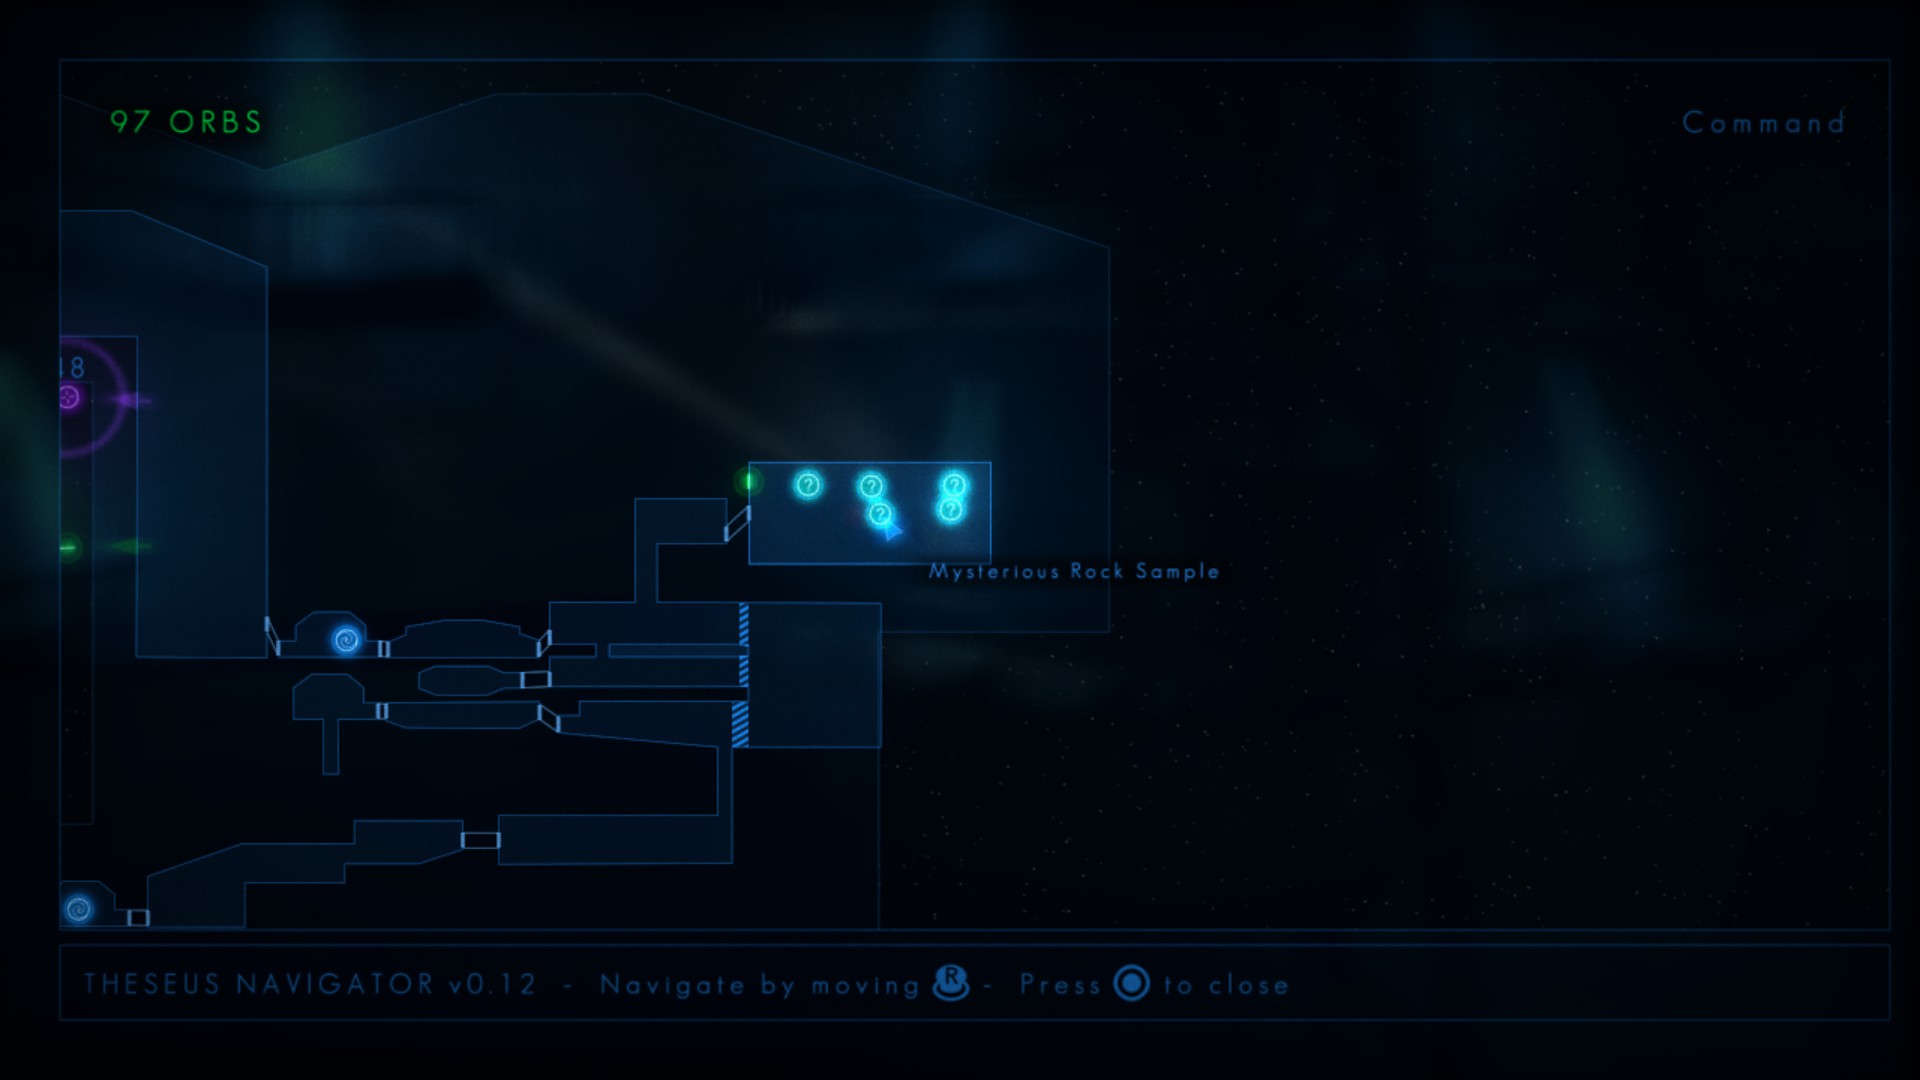
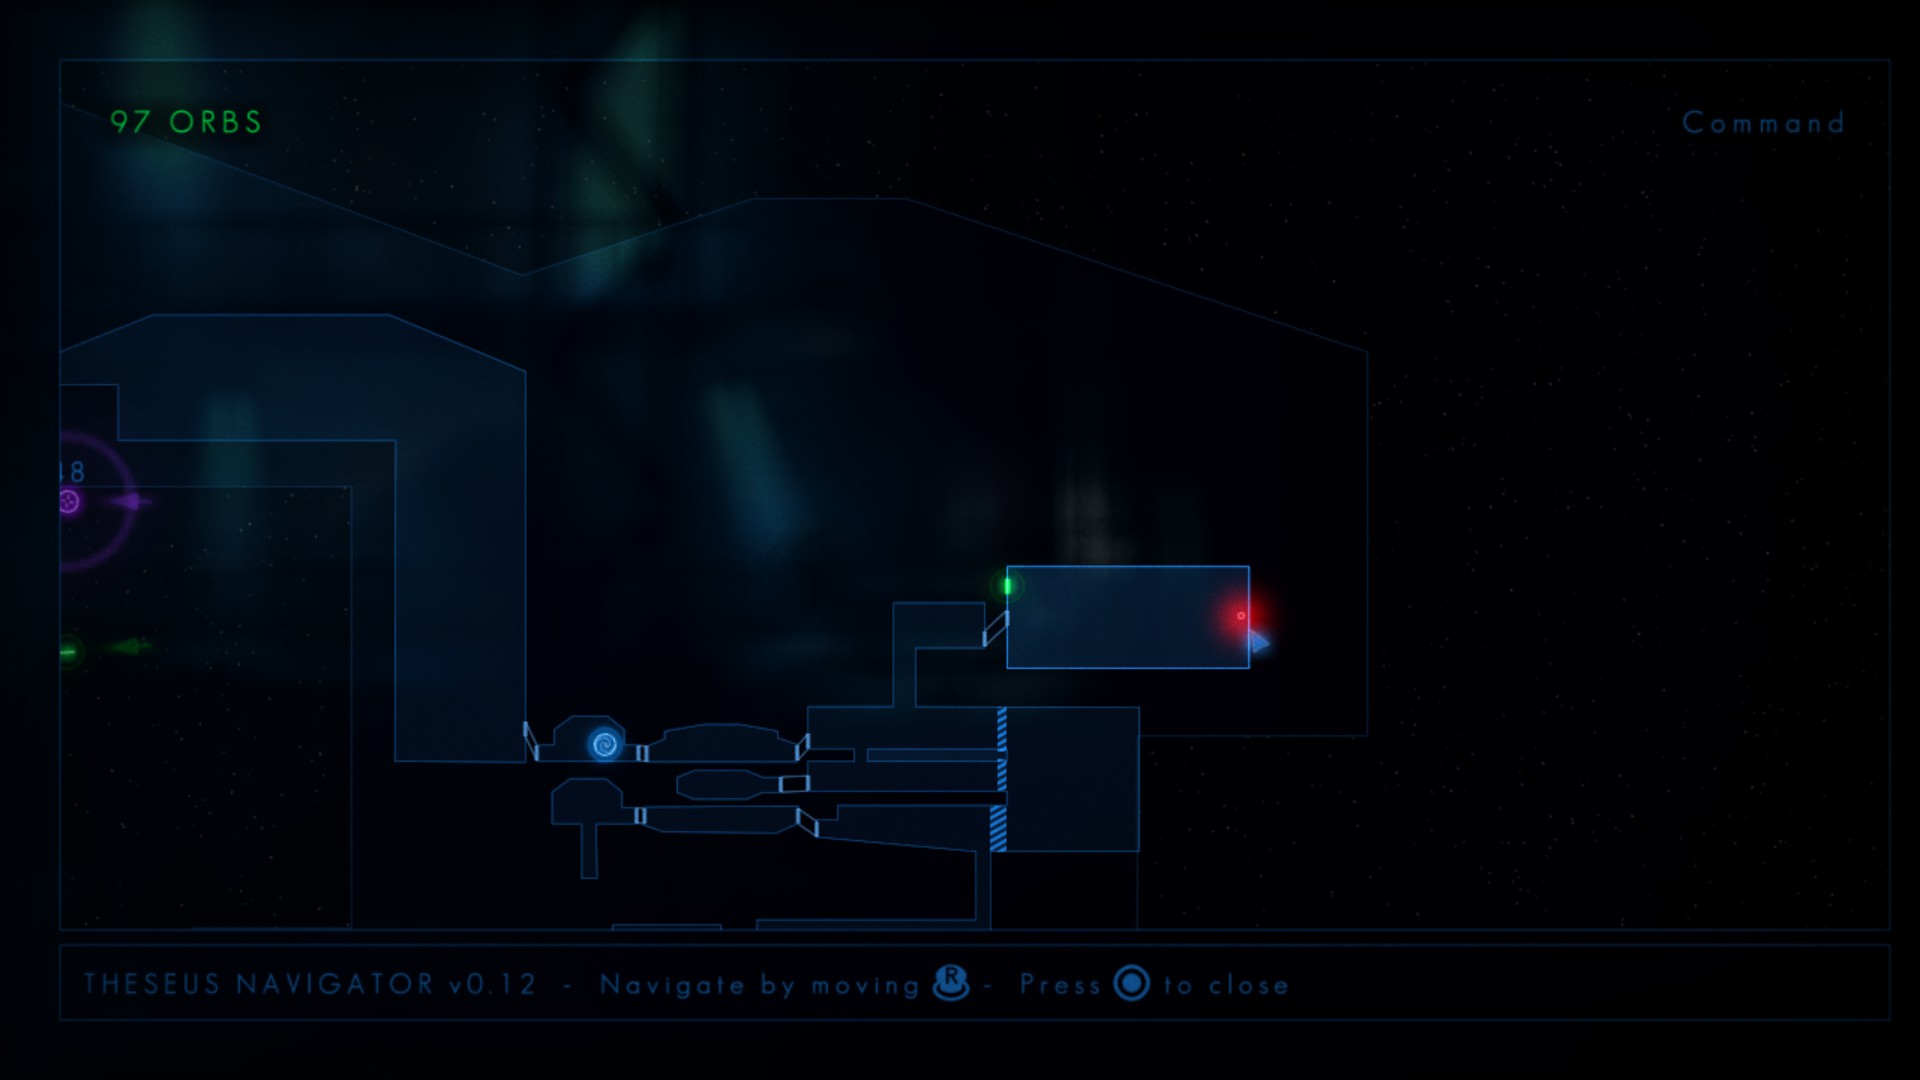
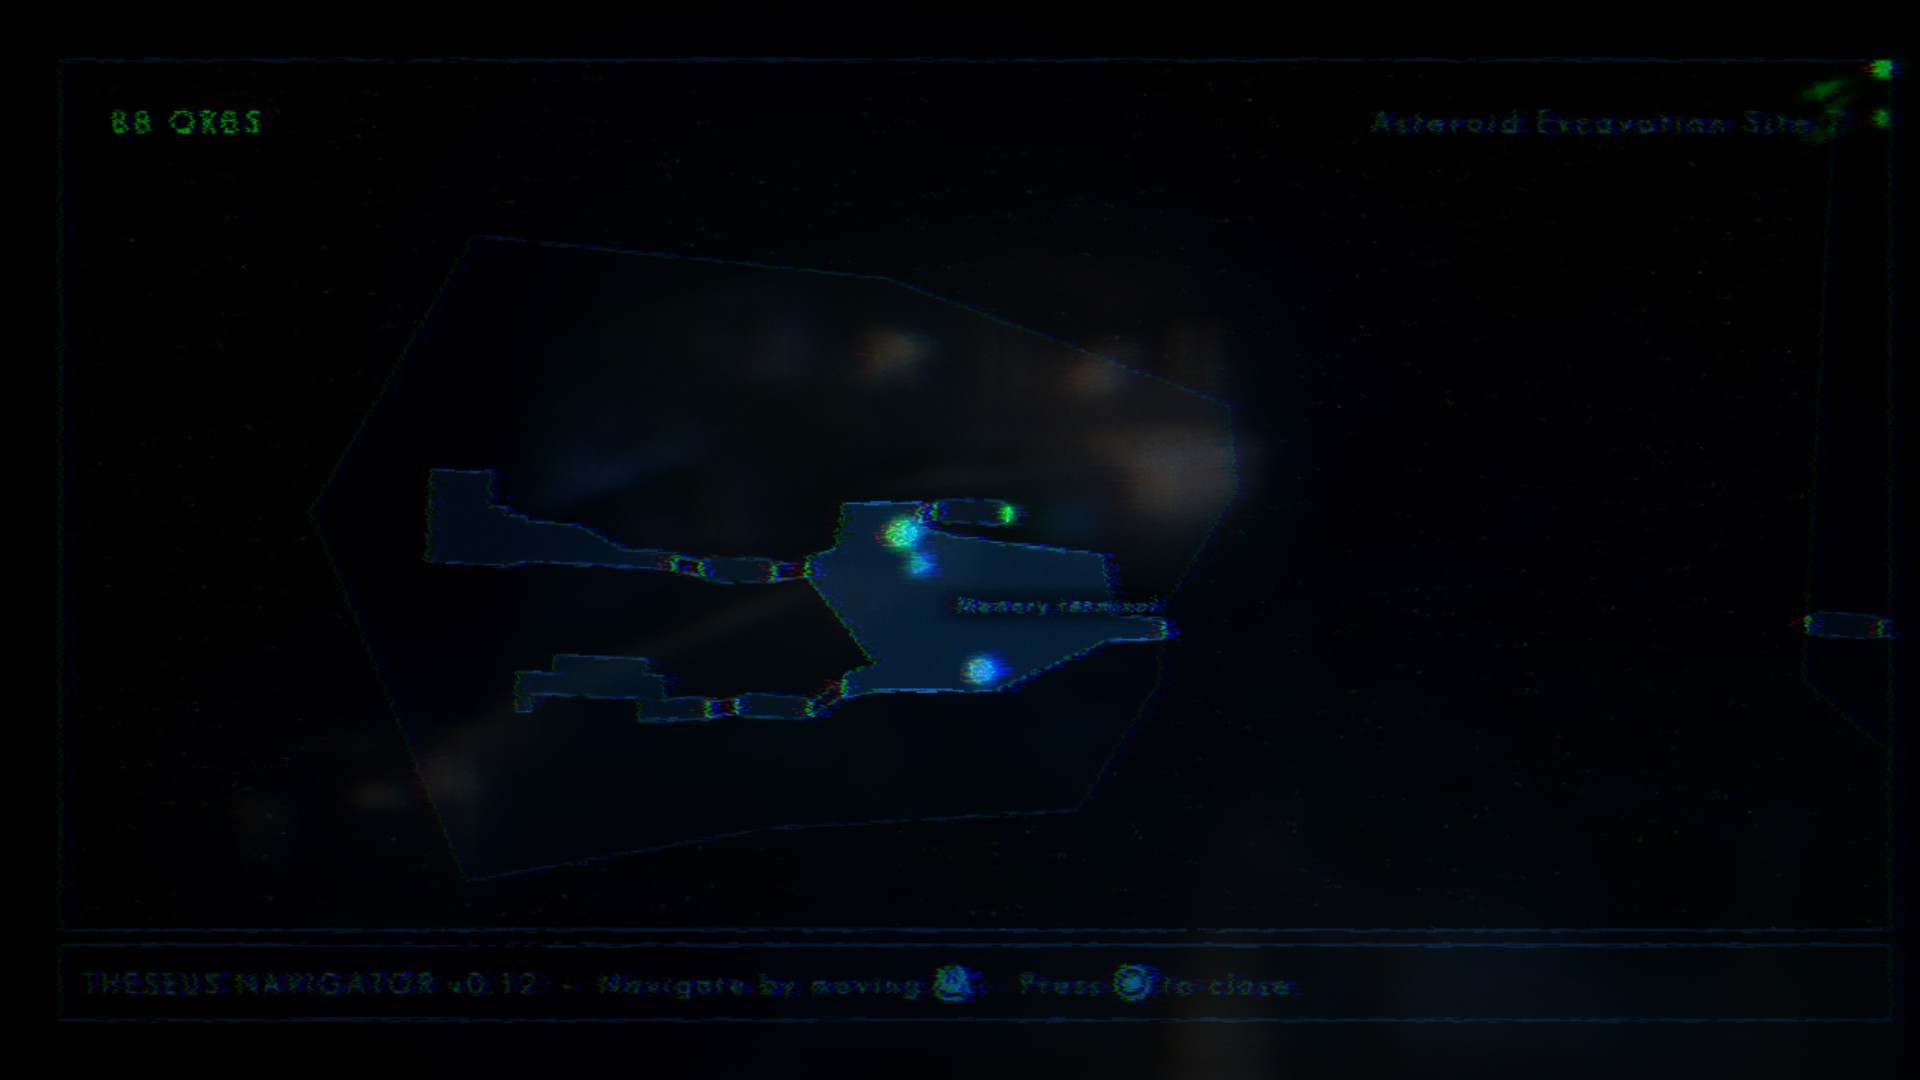
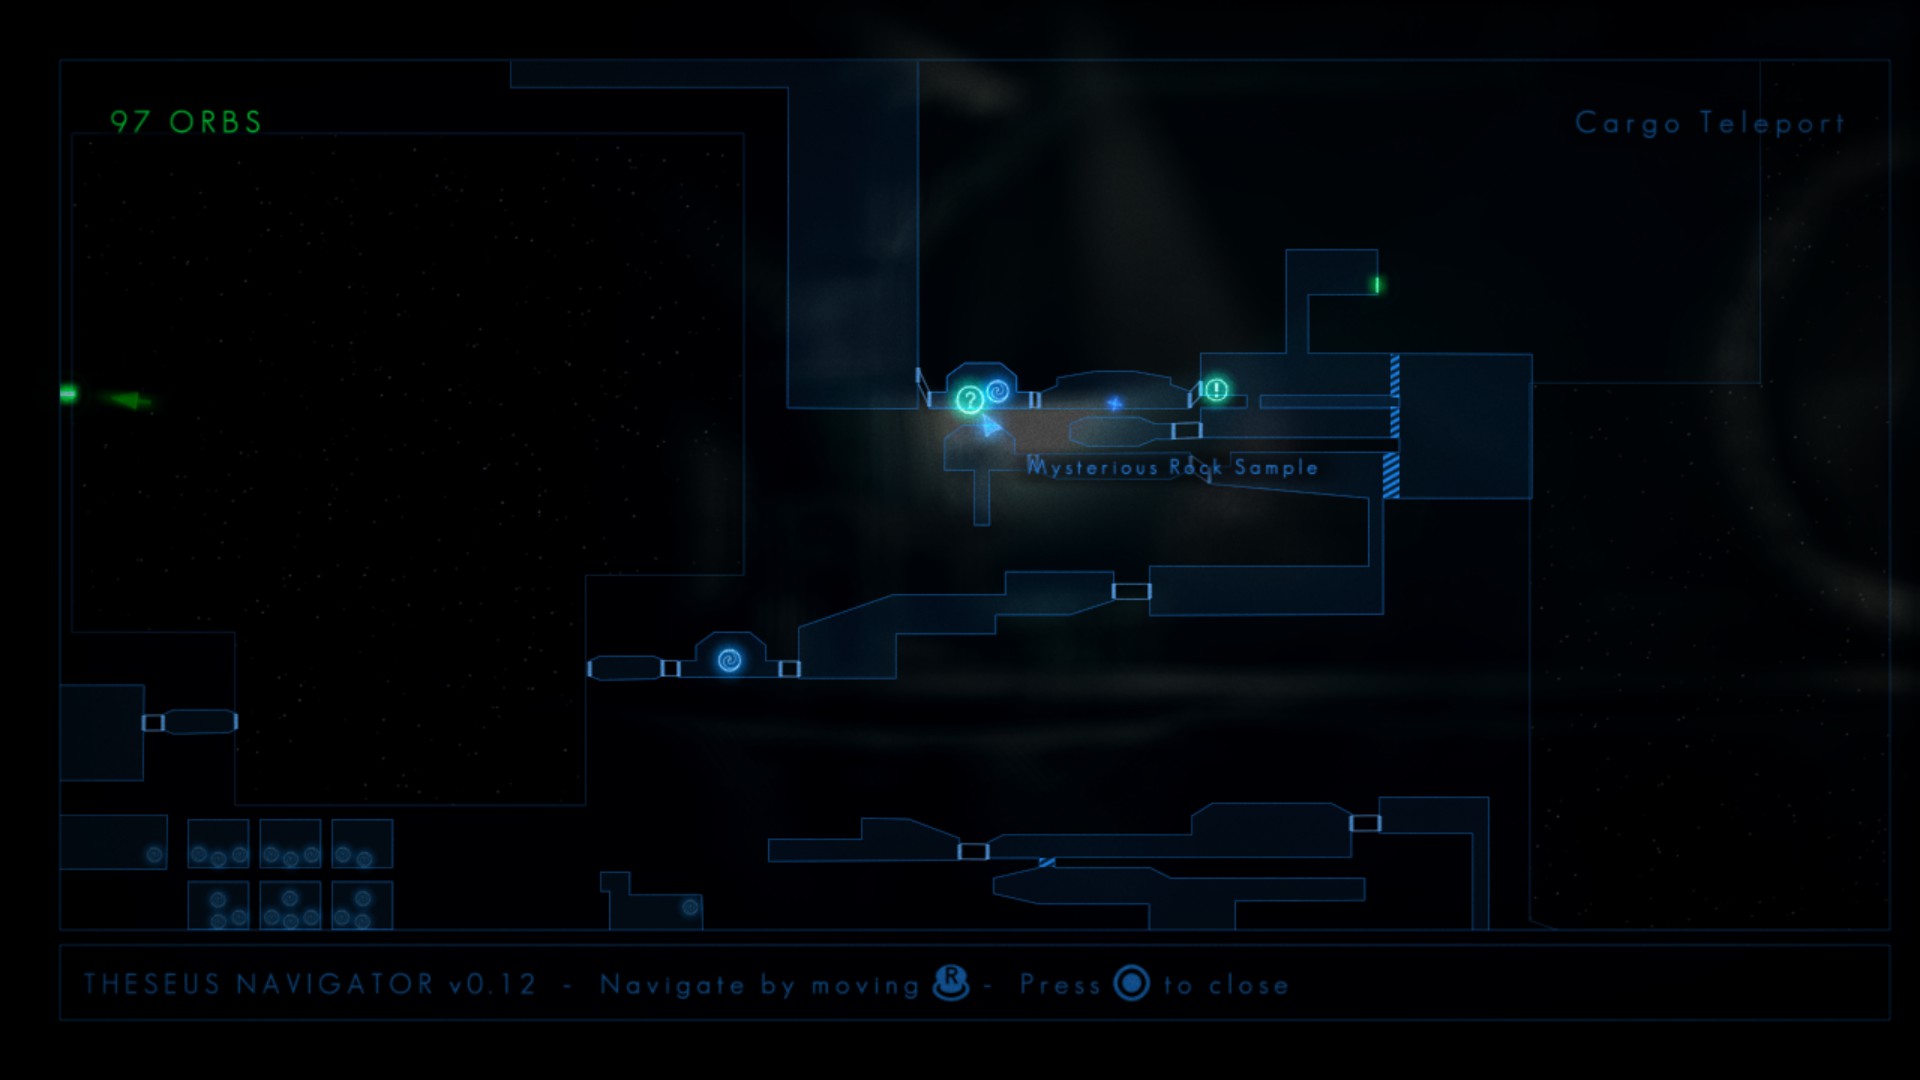
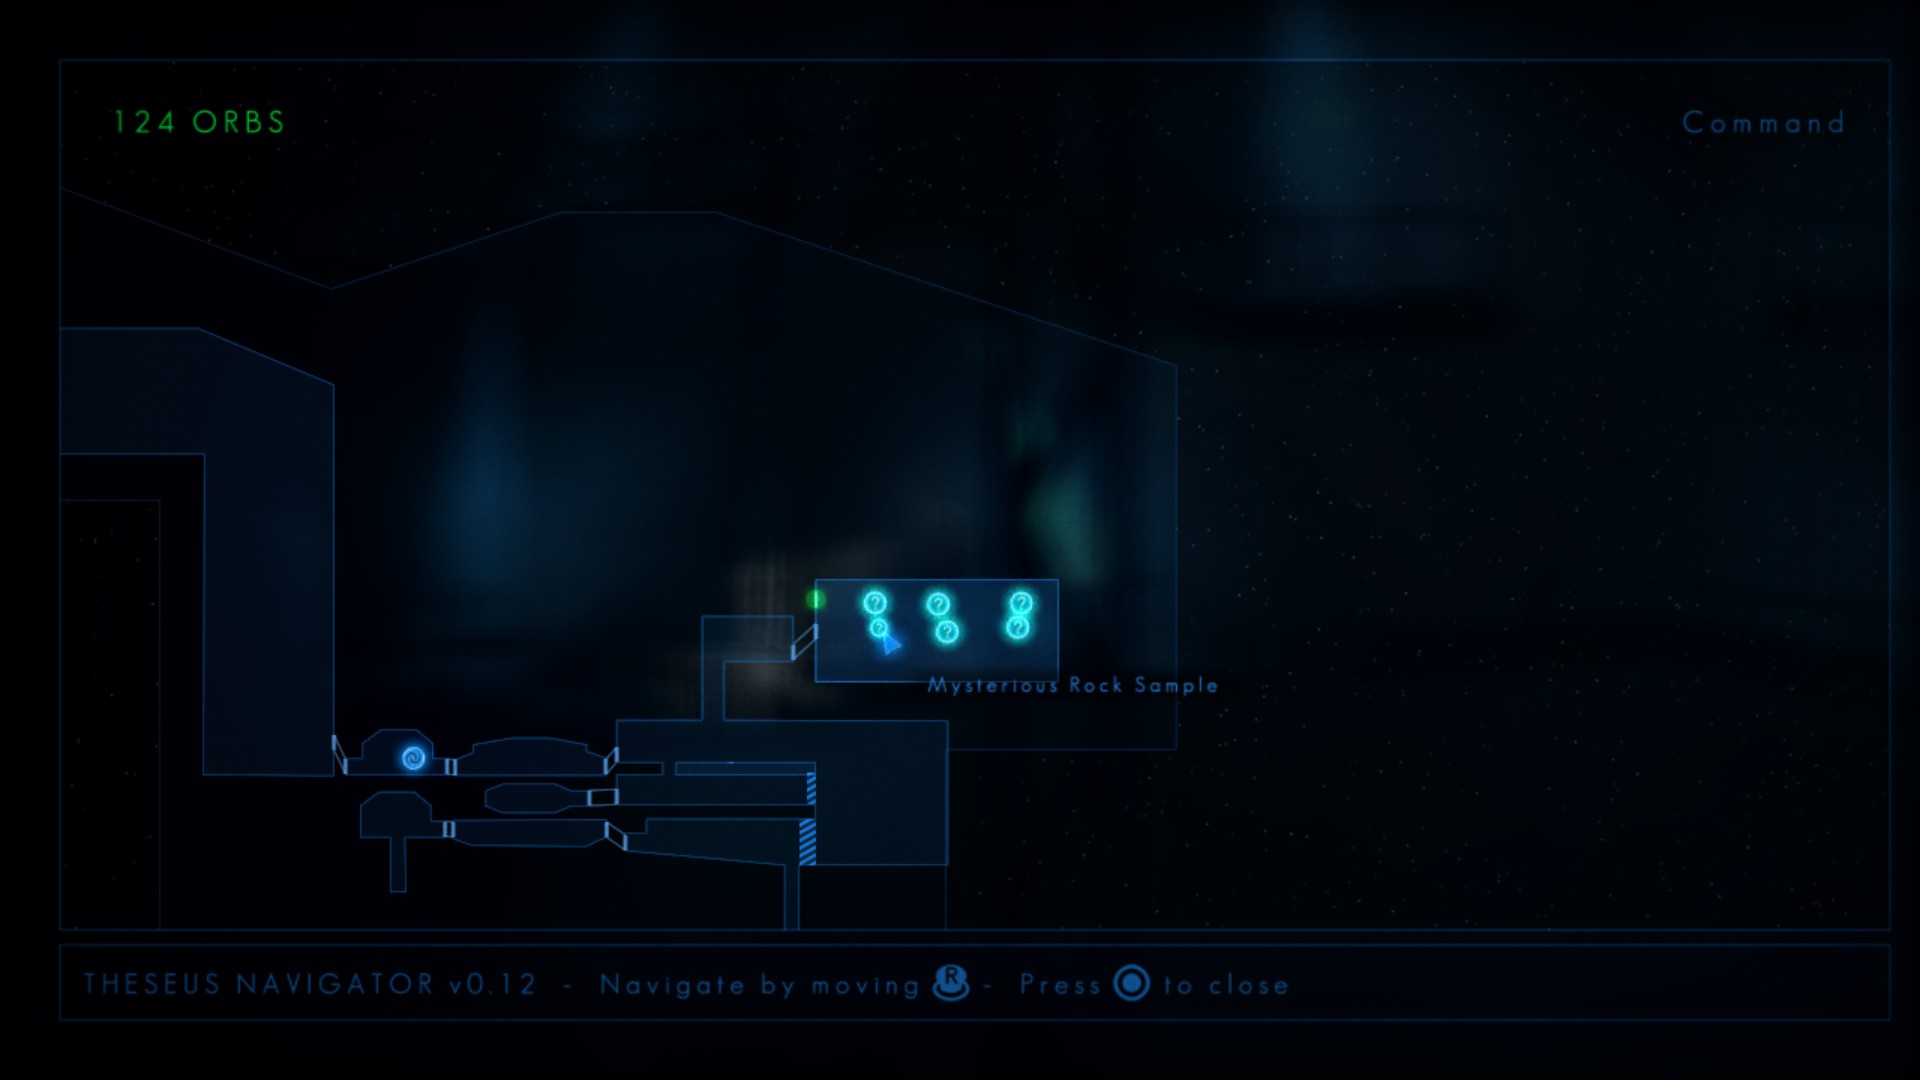
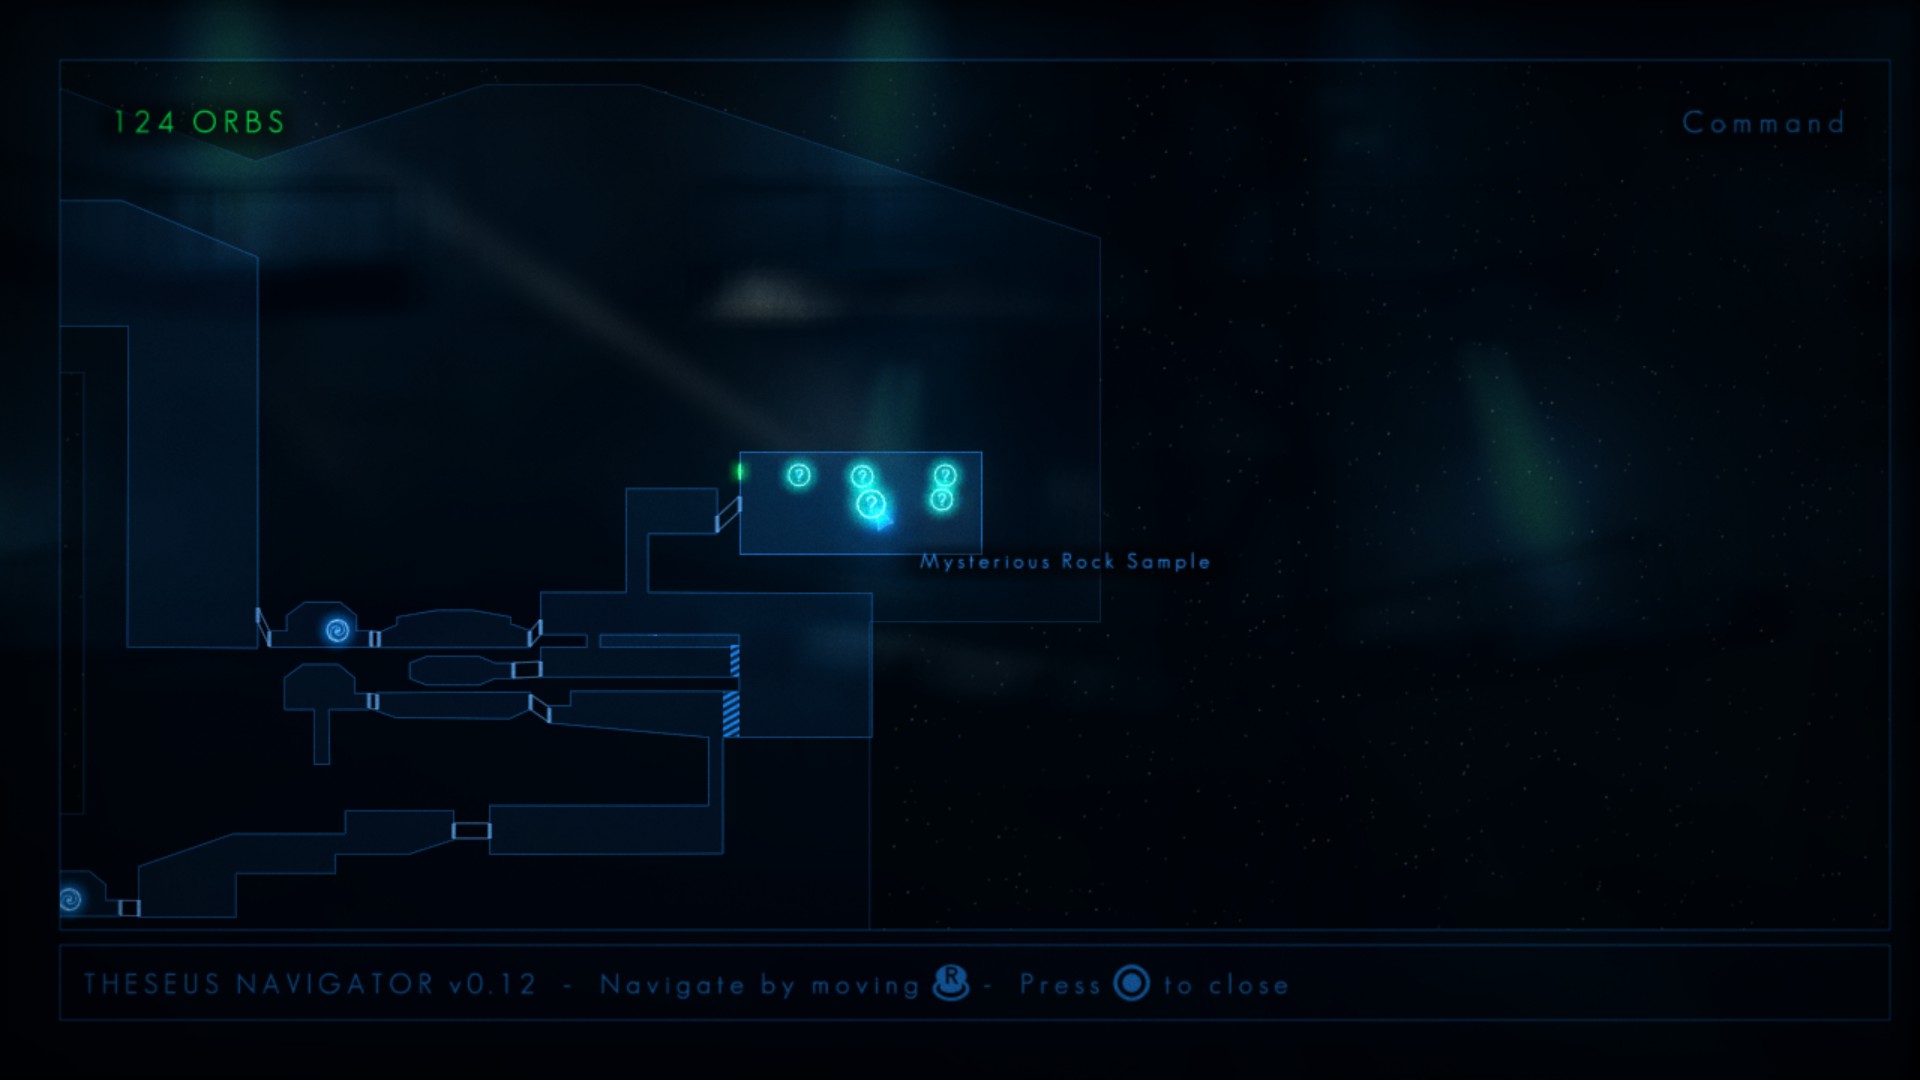
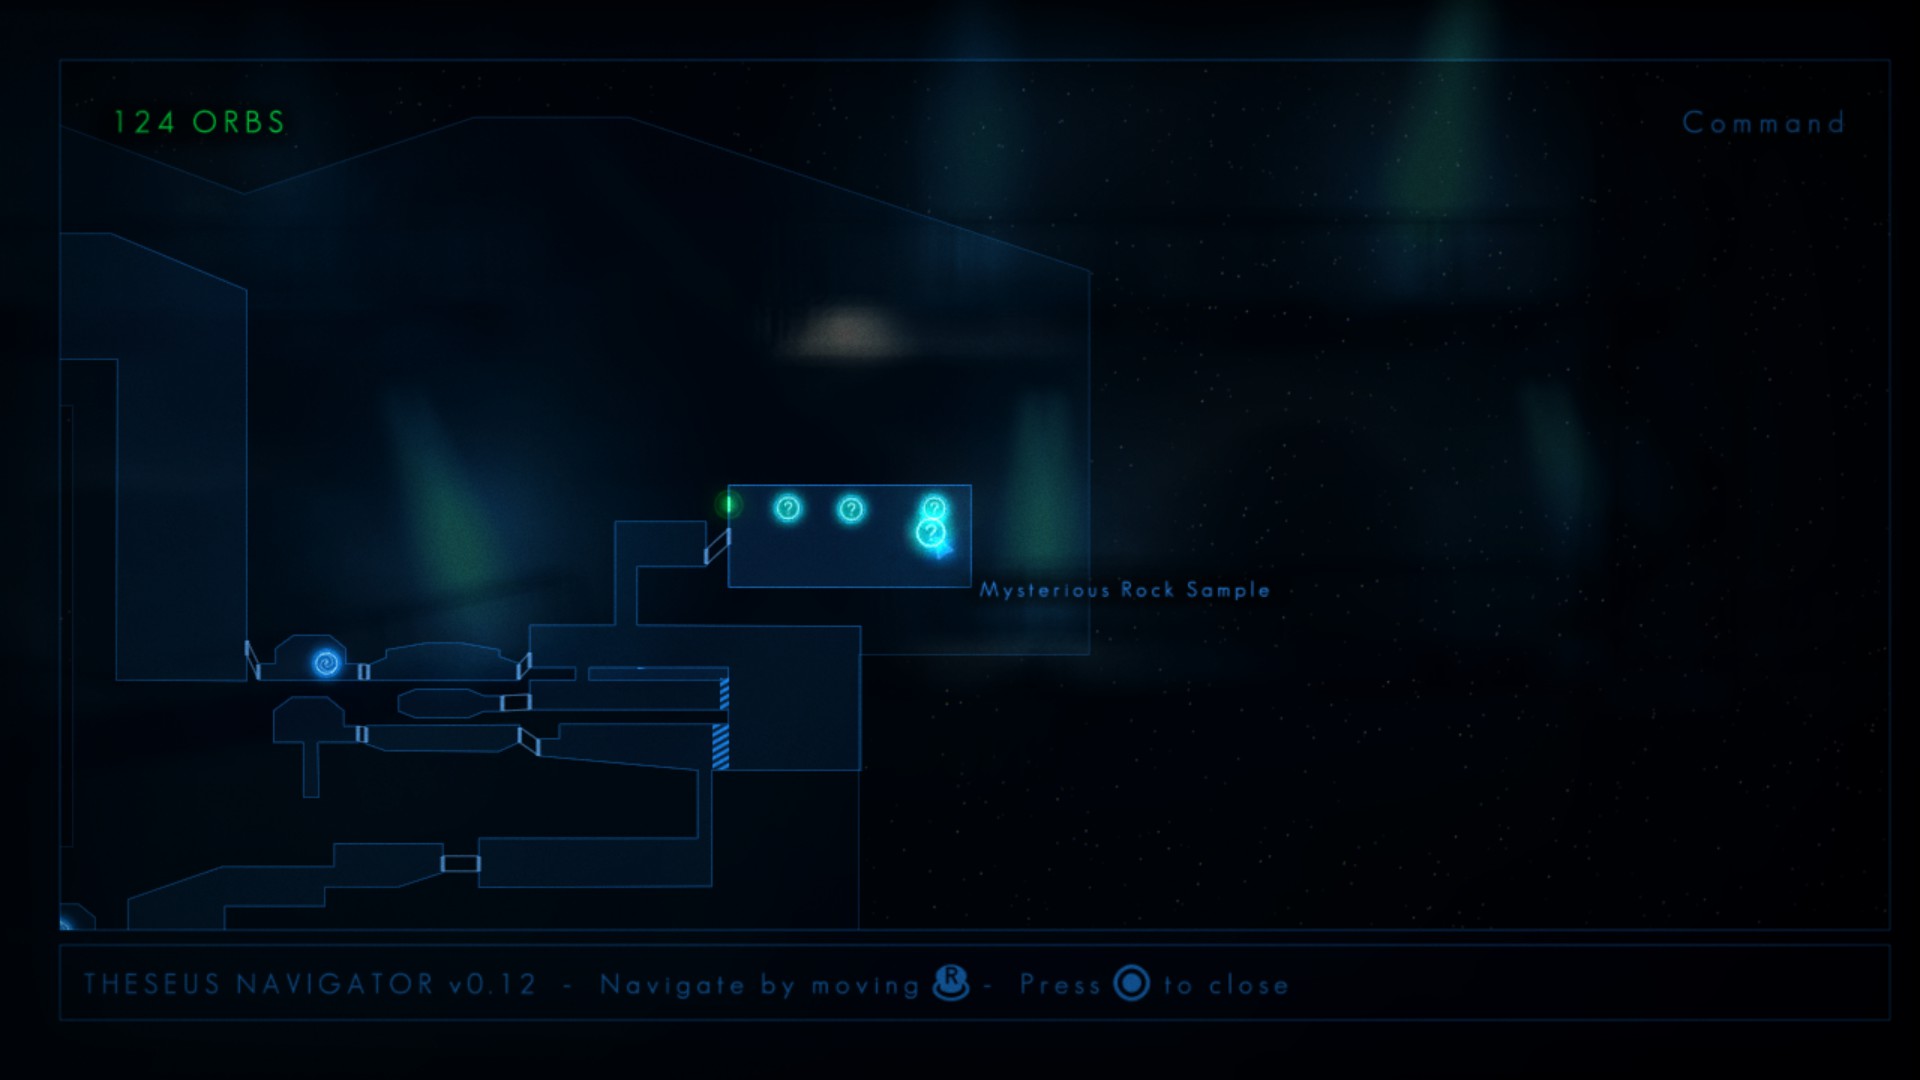
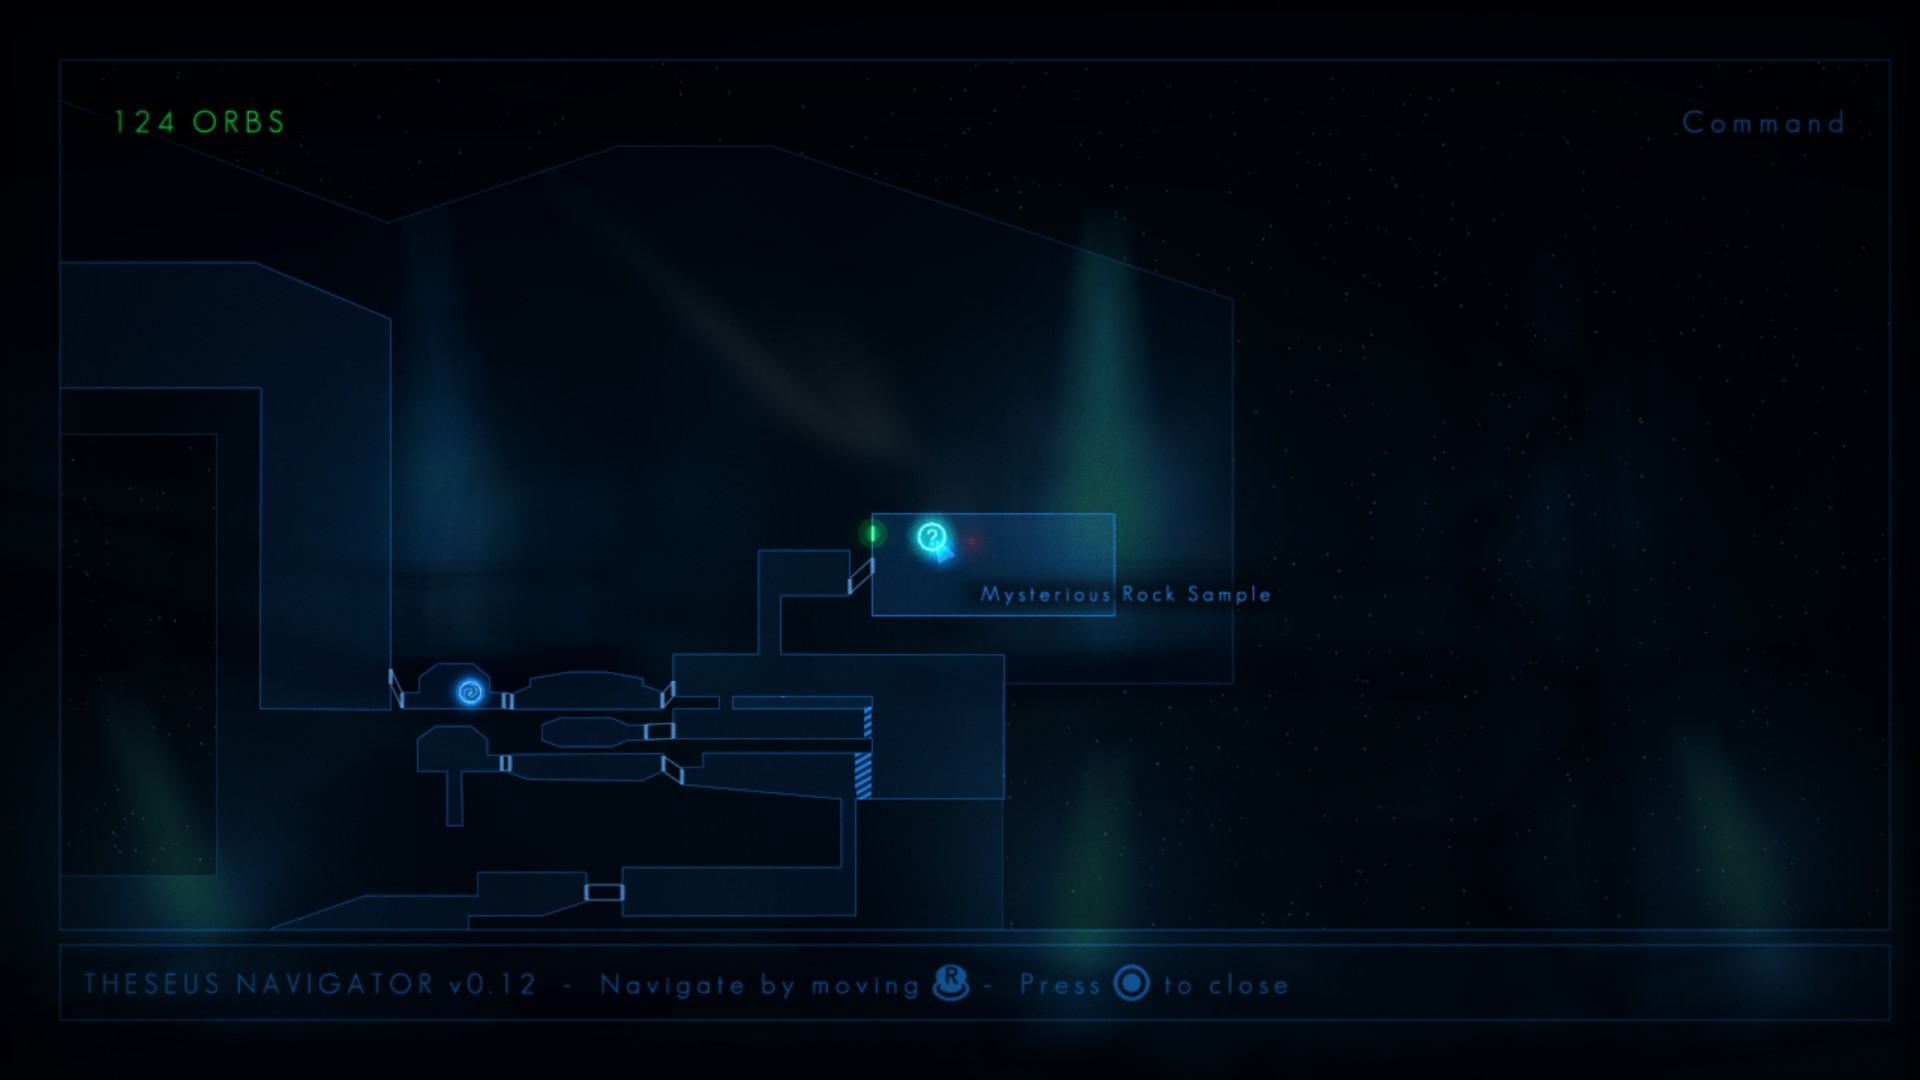
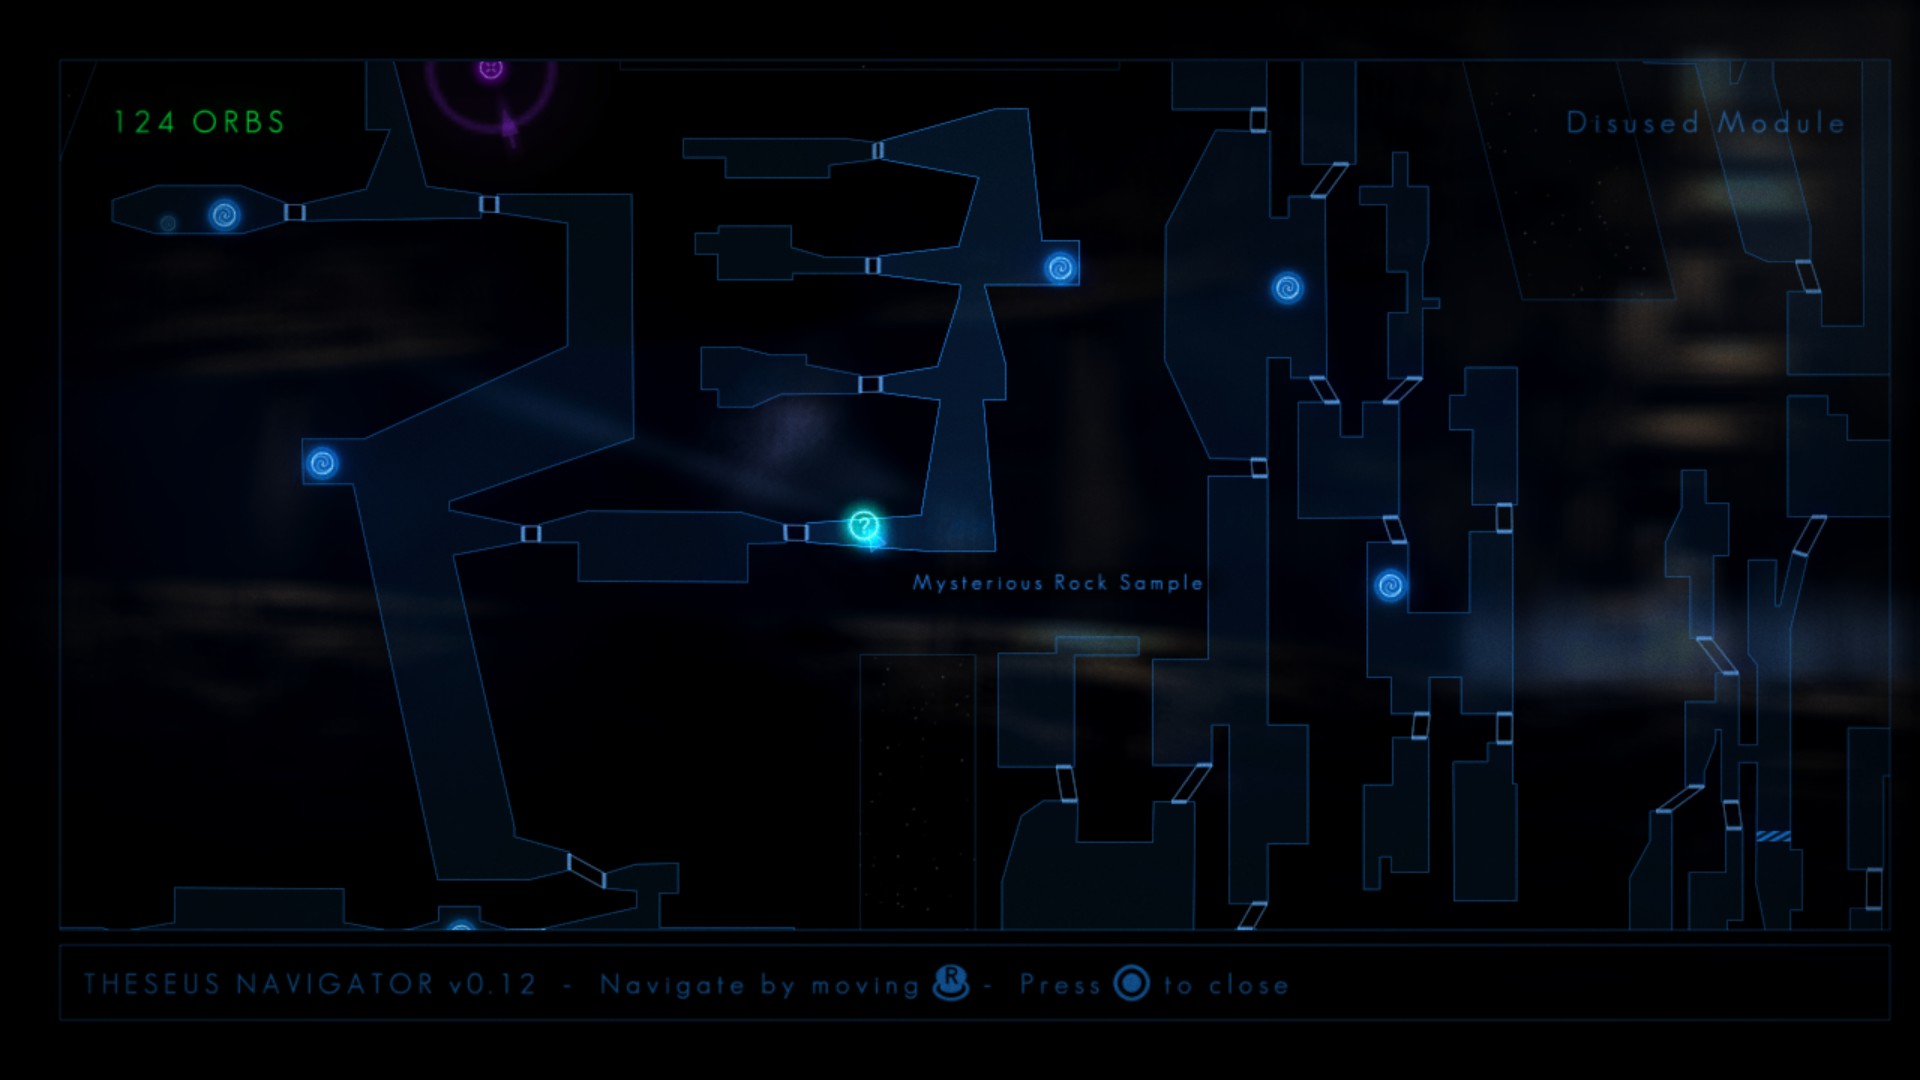
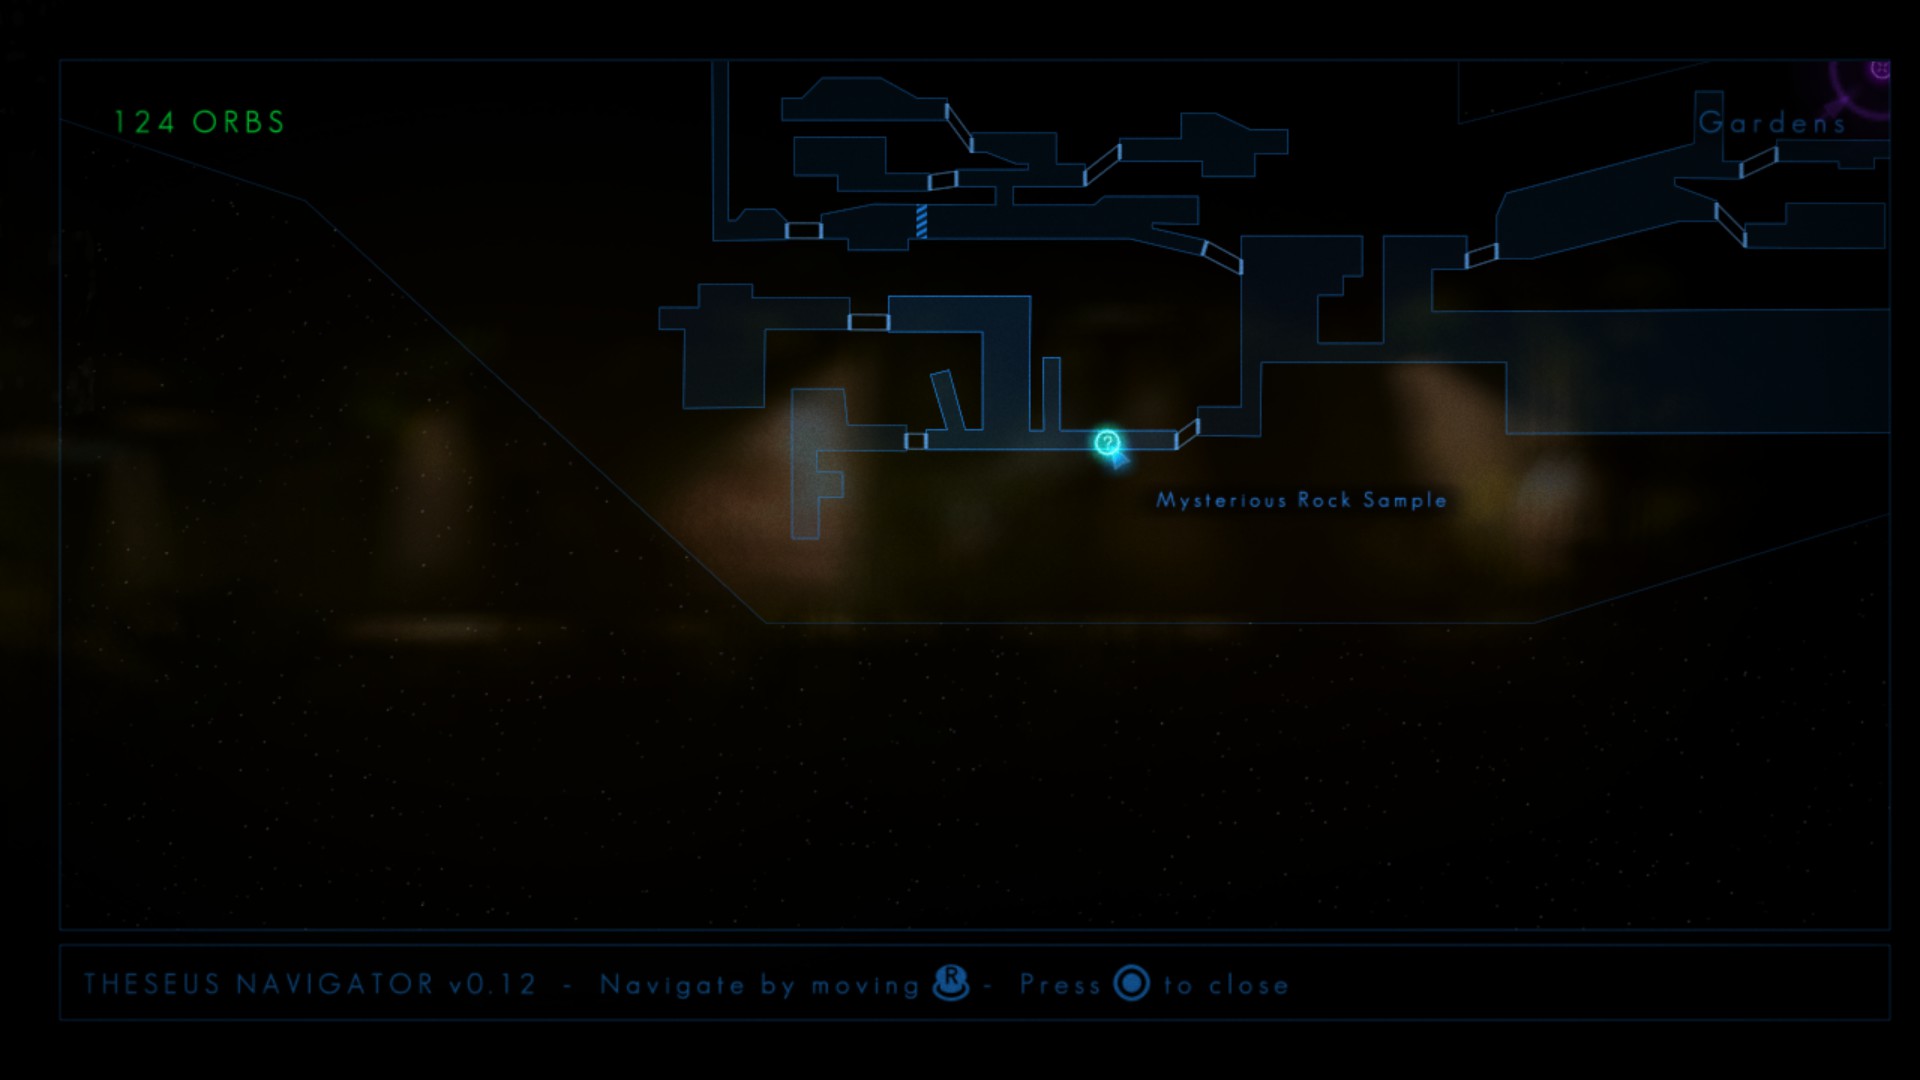
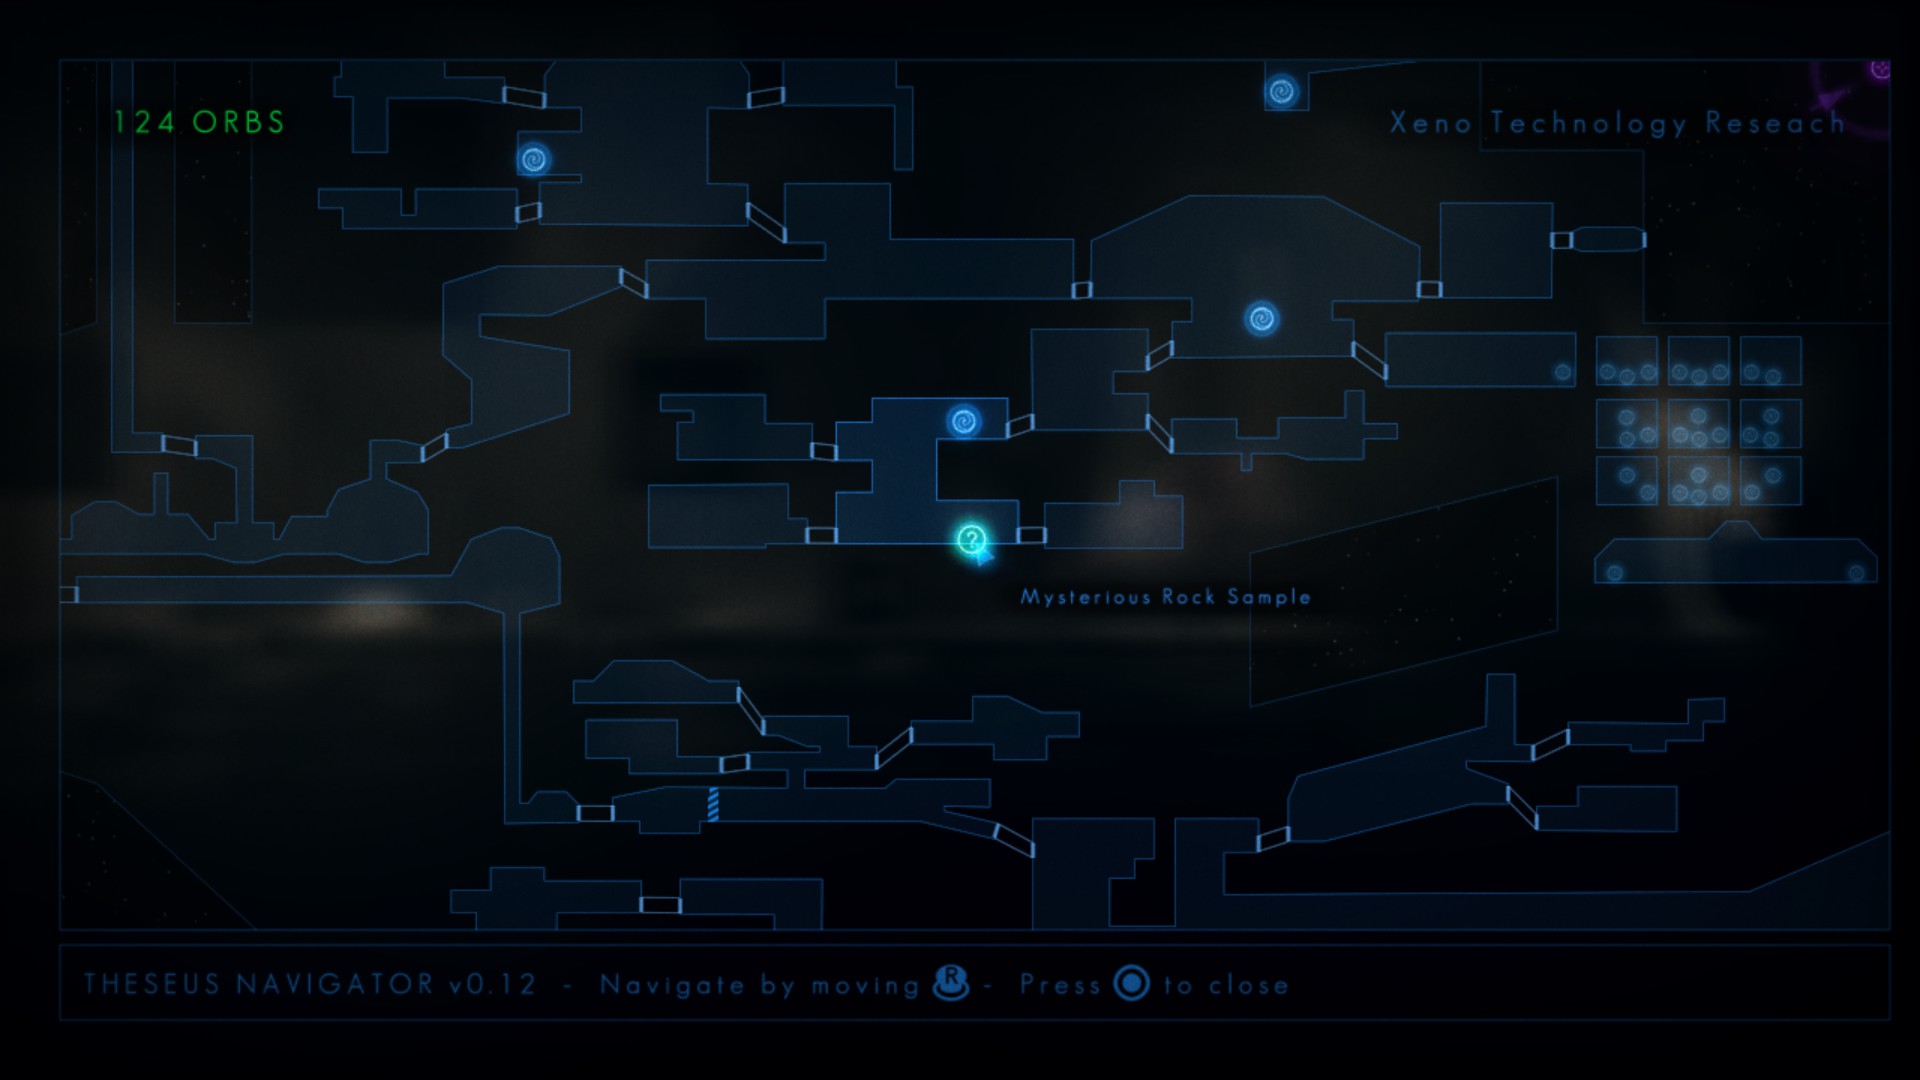
These mysterious rock samples are identified on your map (called the Theseus Navigator in-game) by a green circle with a question mark in it:
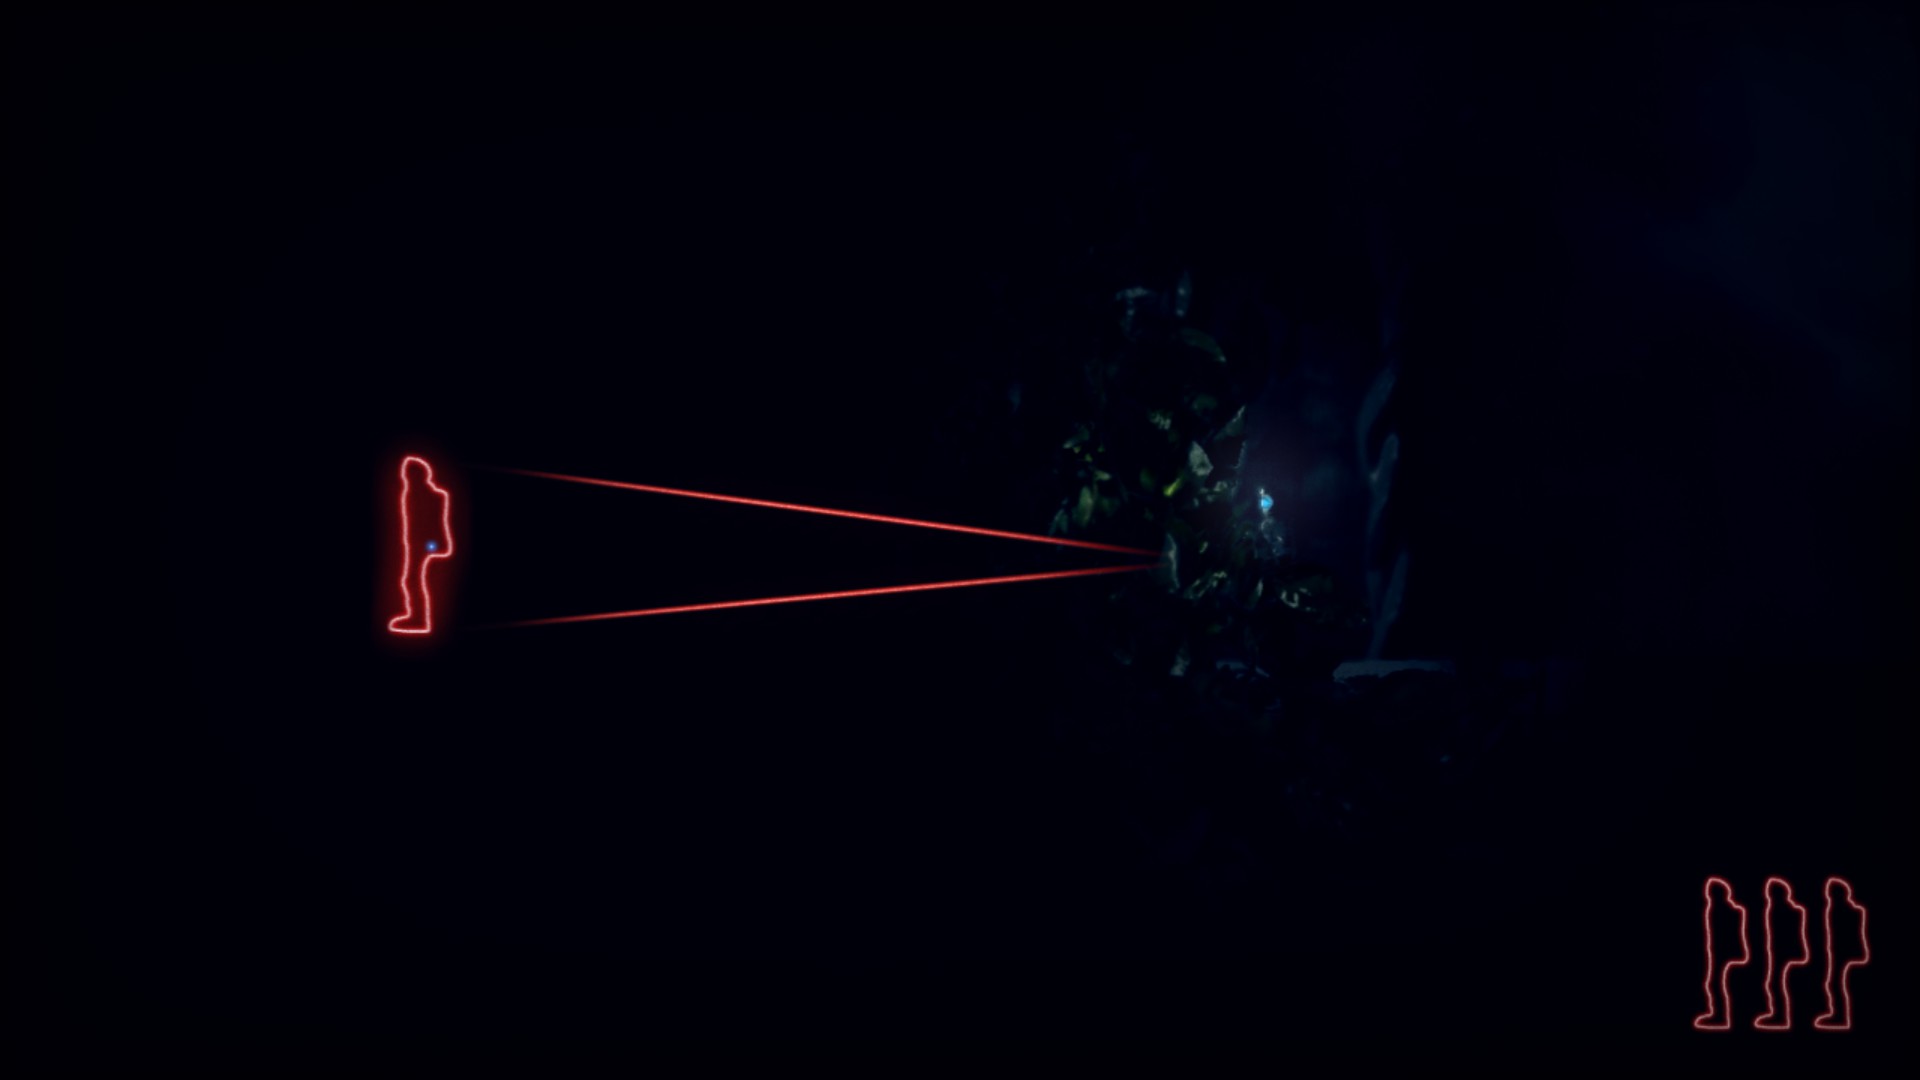
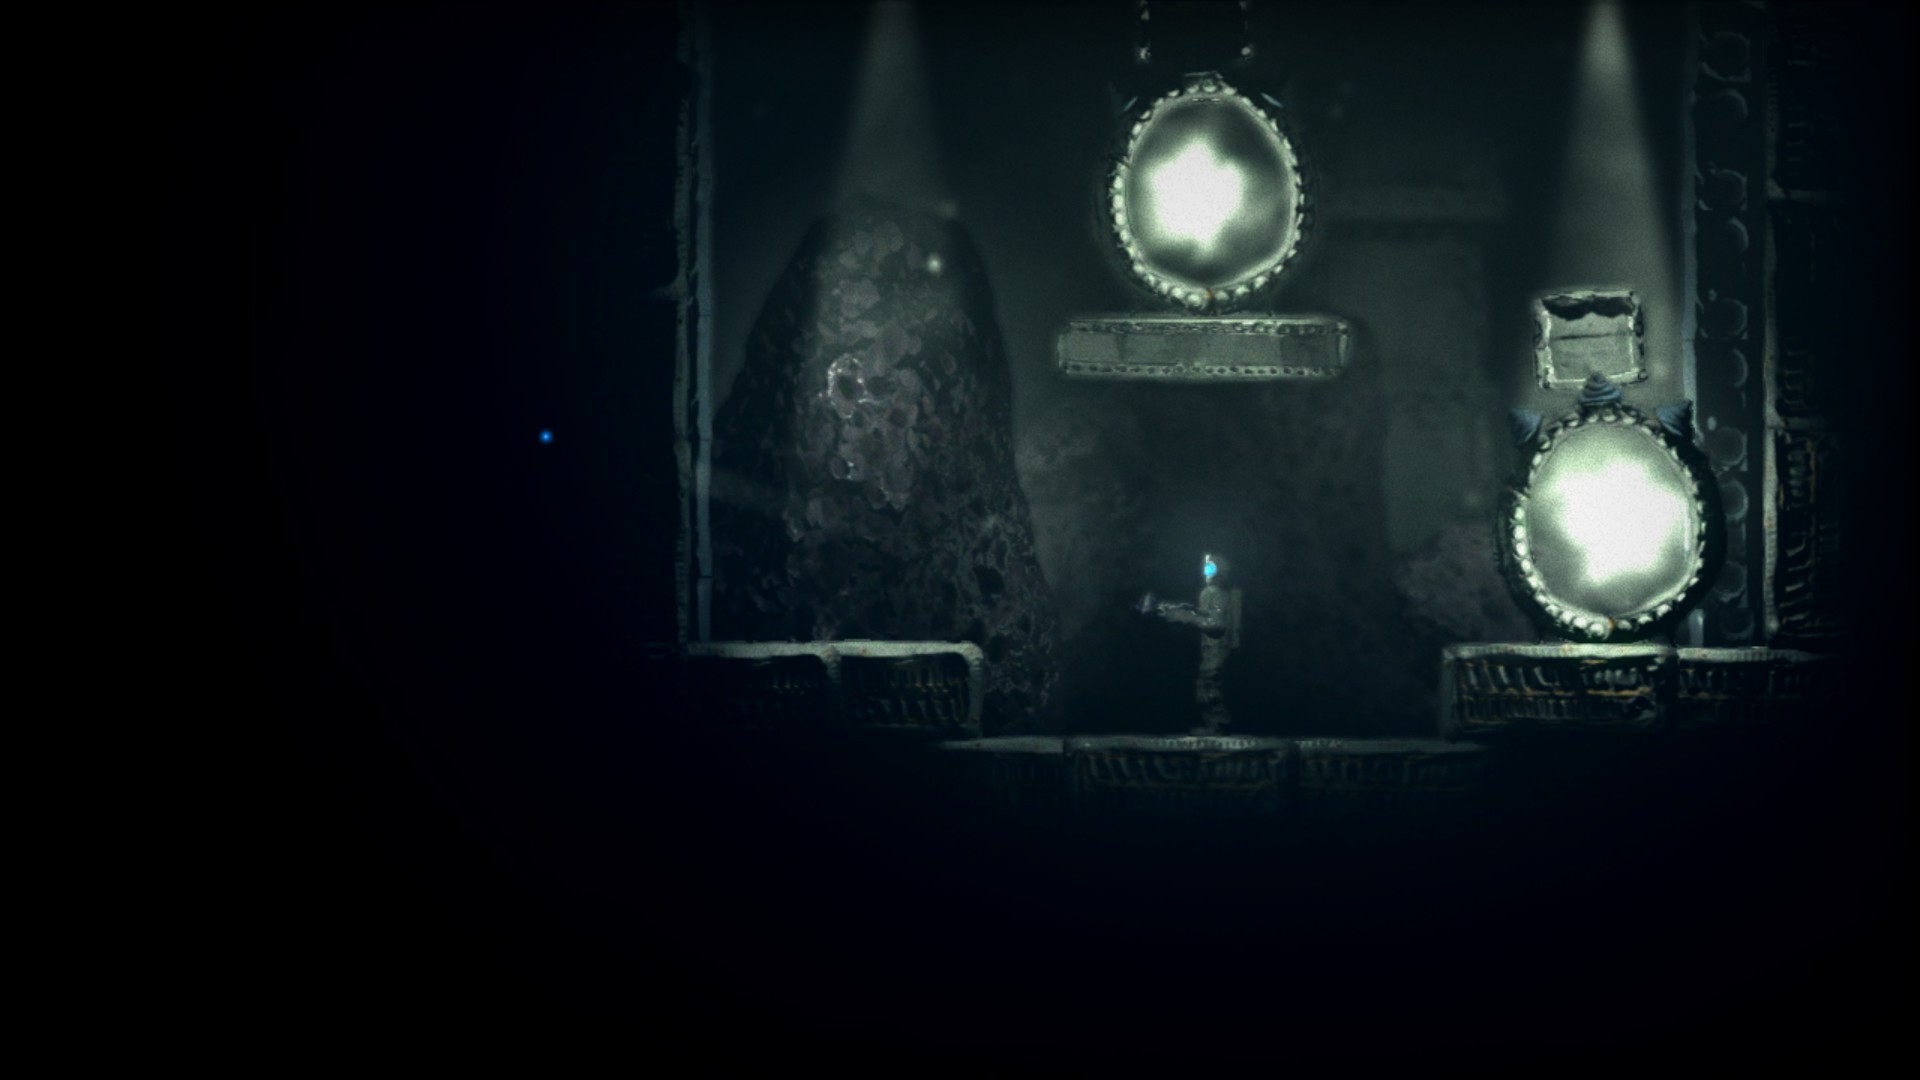
If you walk in front of one of these stones, text will automatically be displayed on-screen:

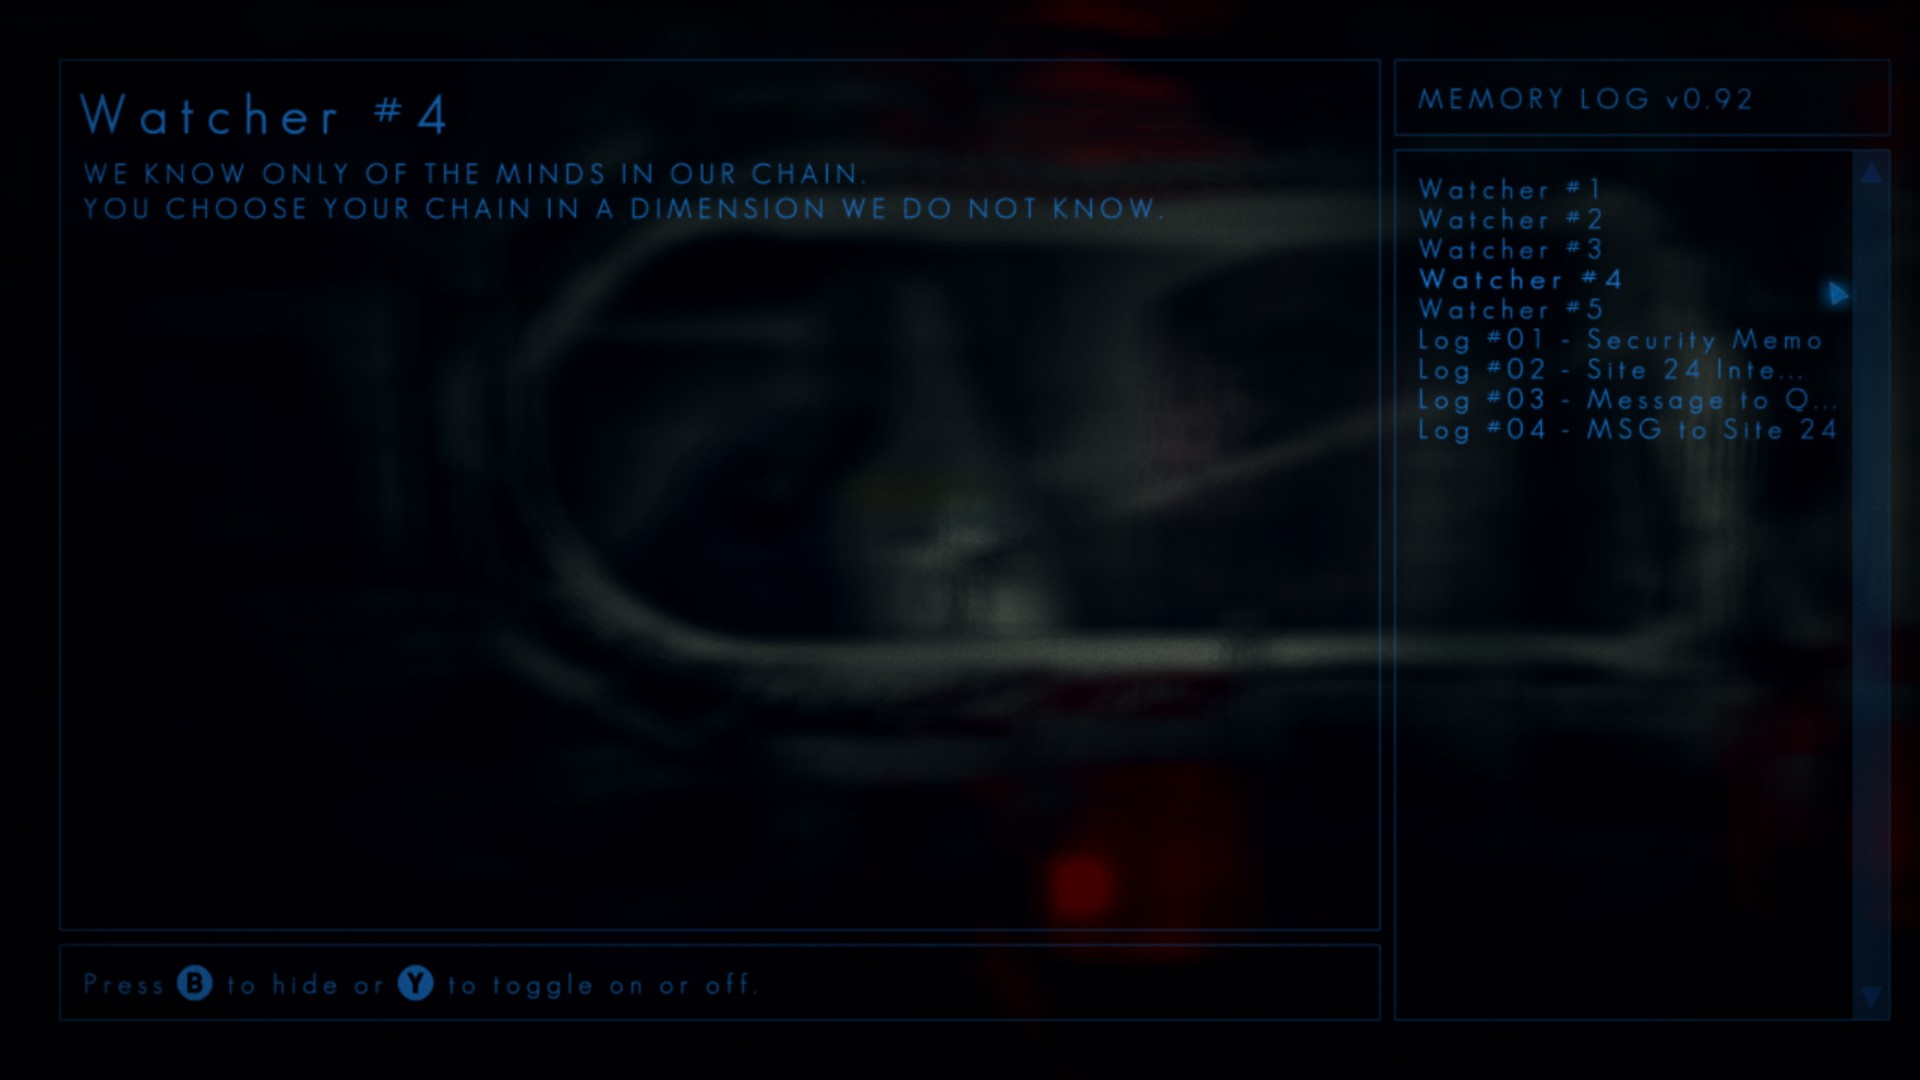
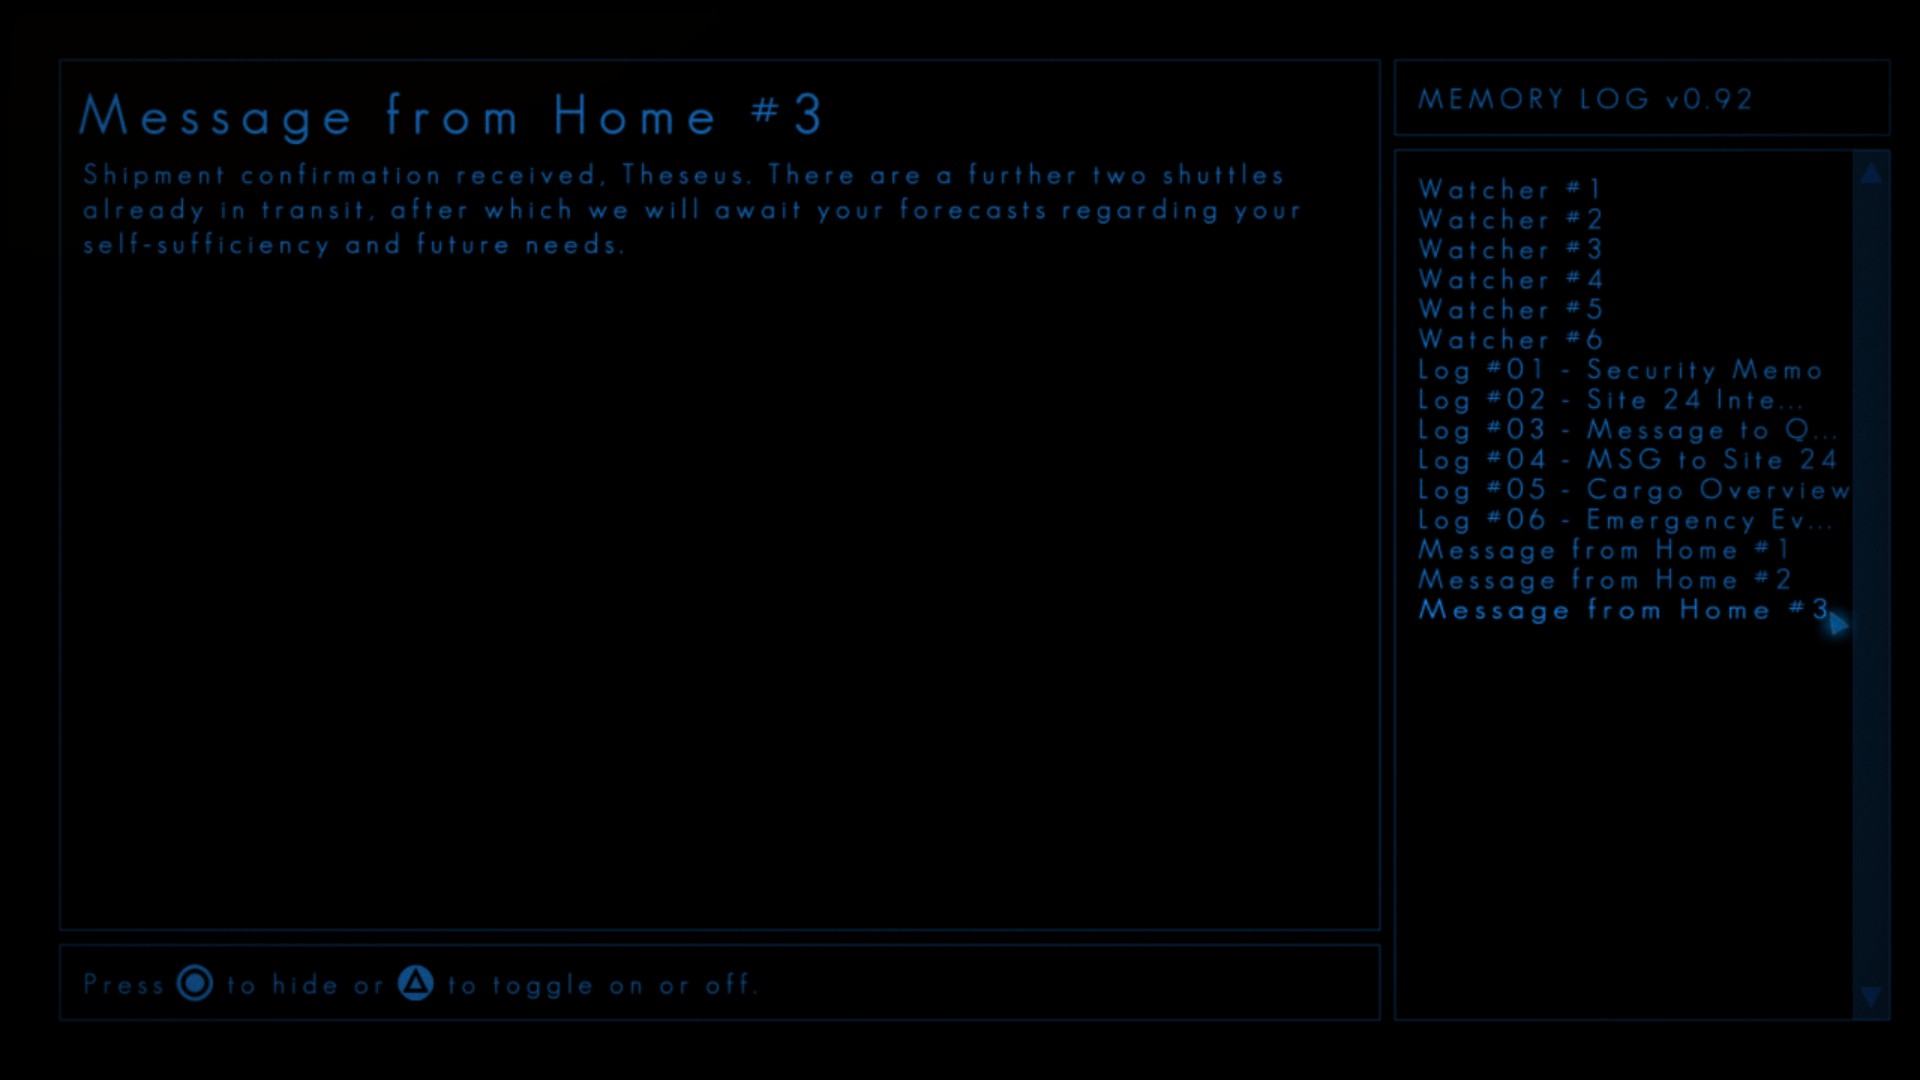
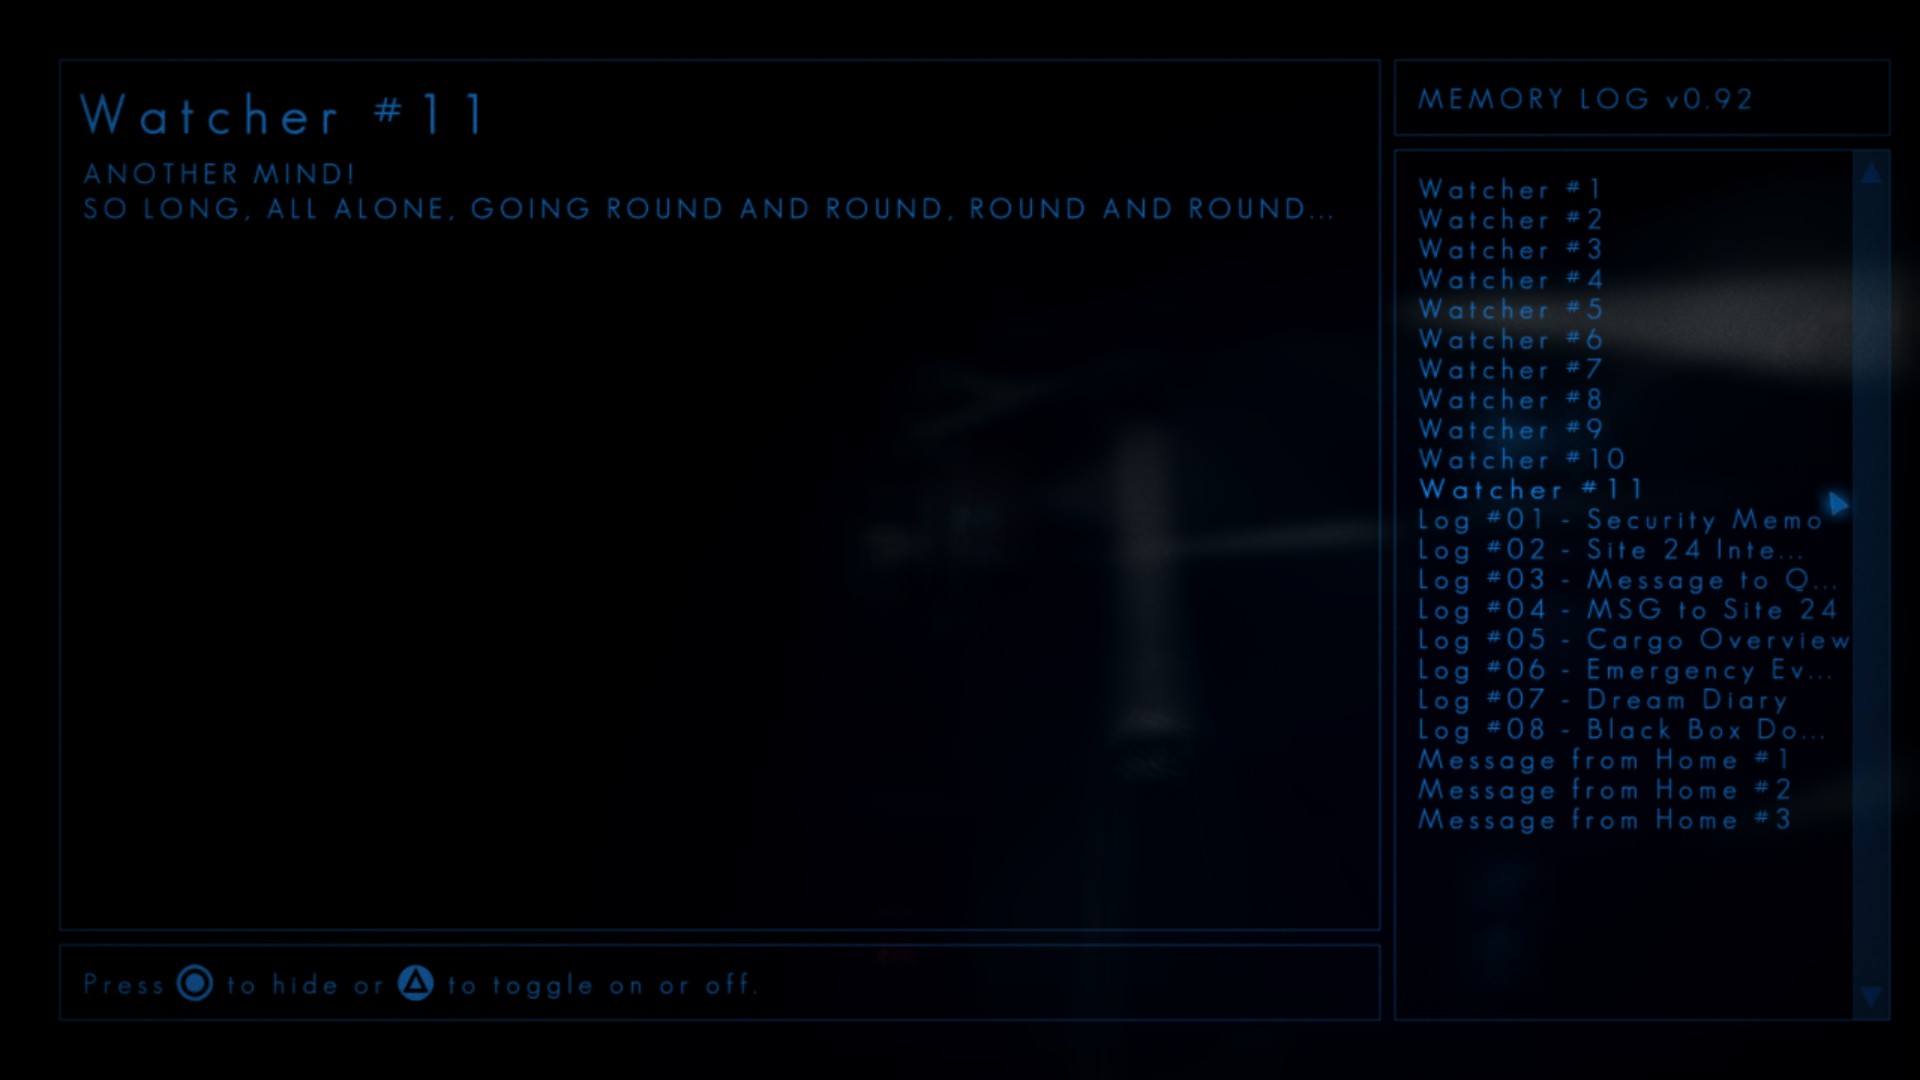
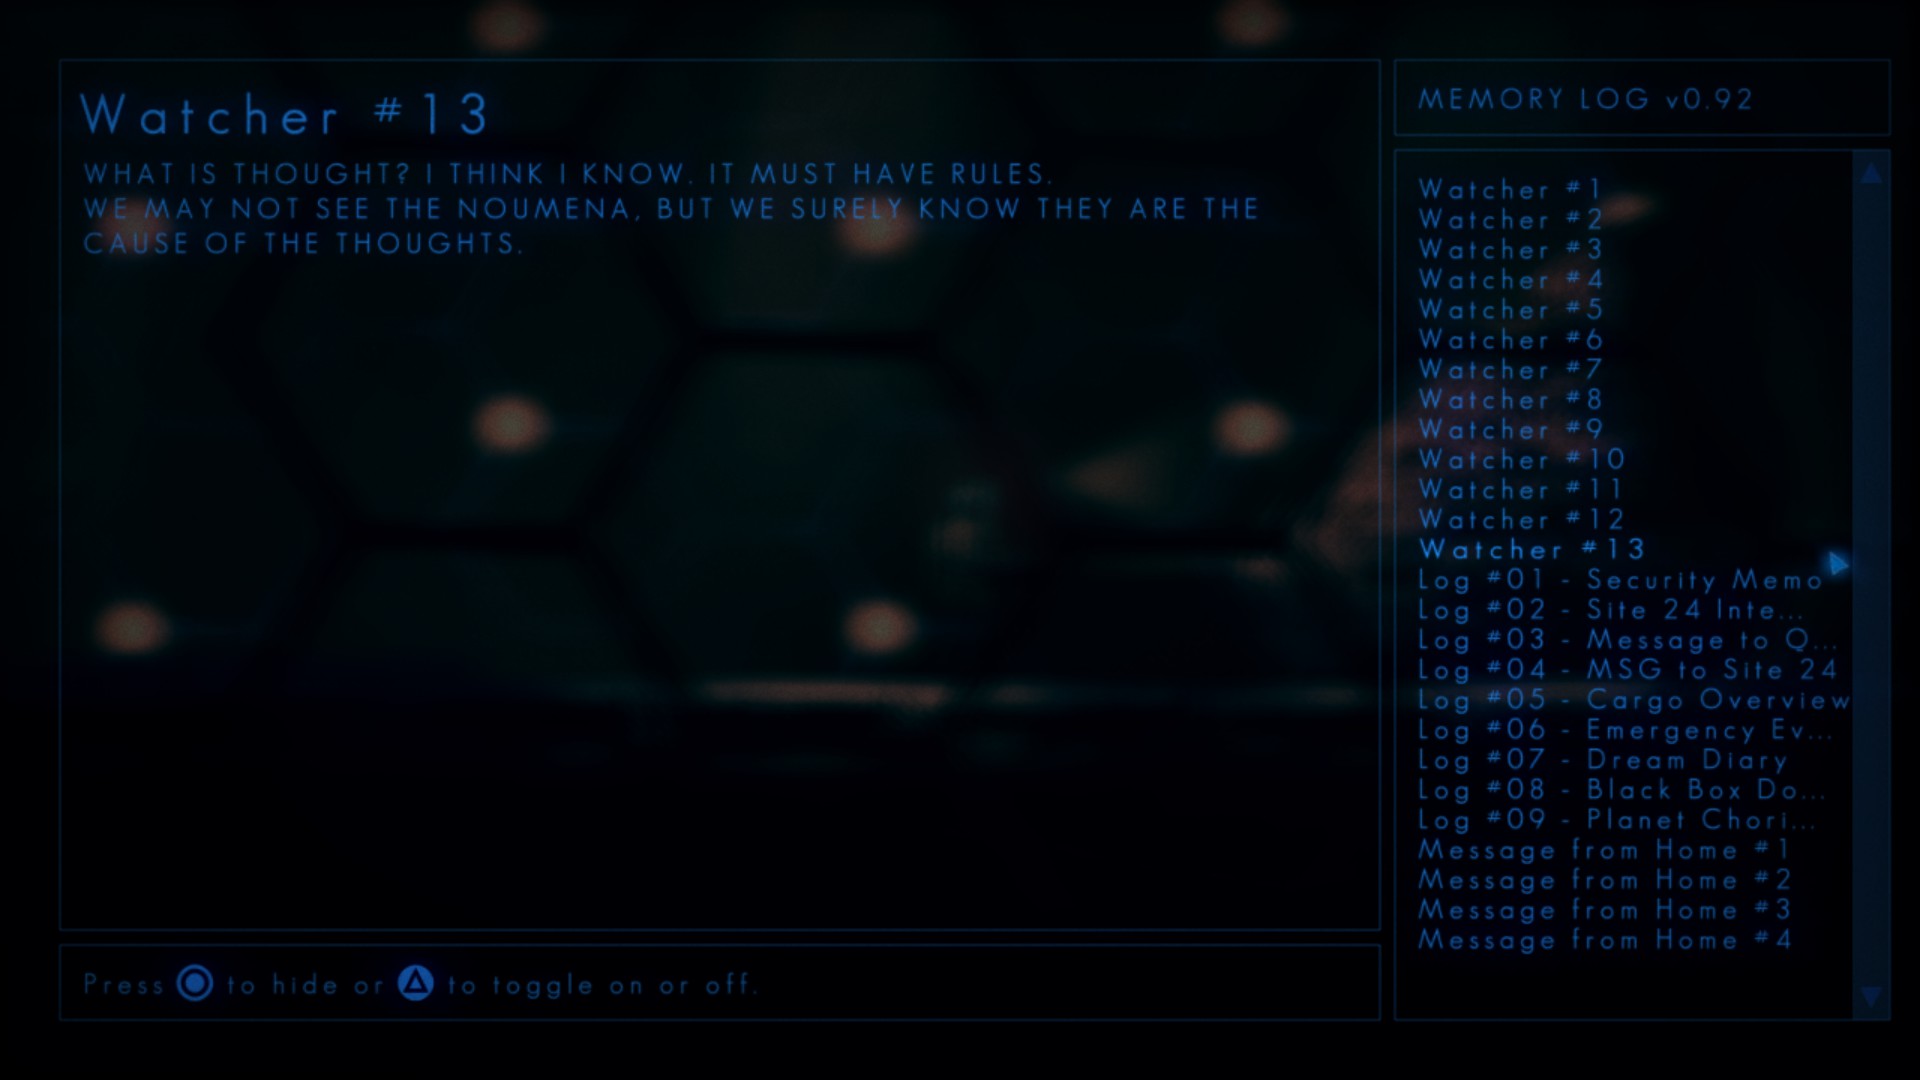
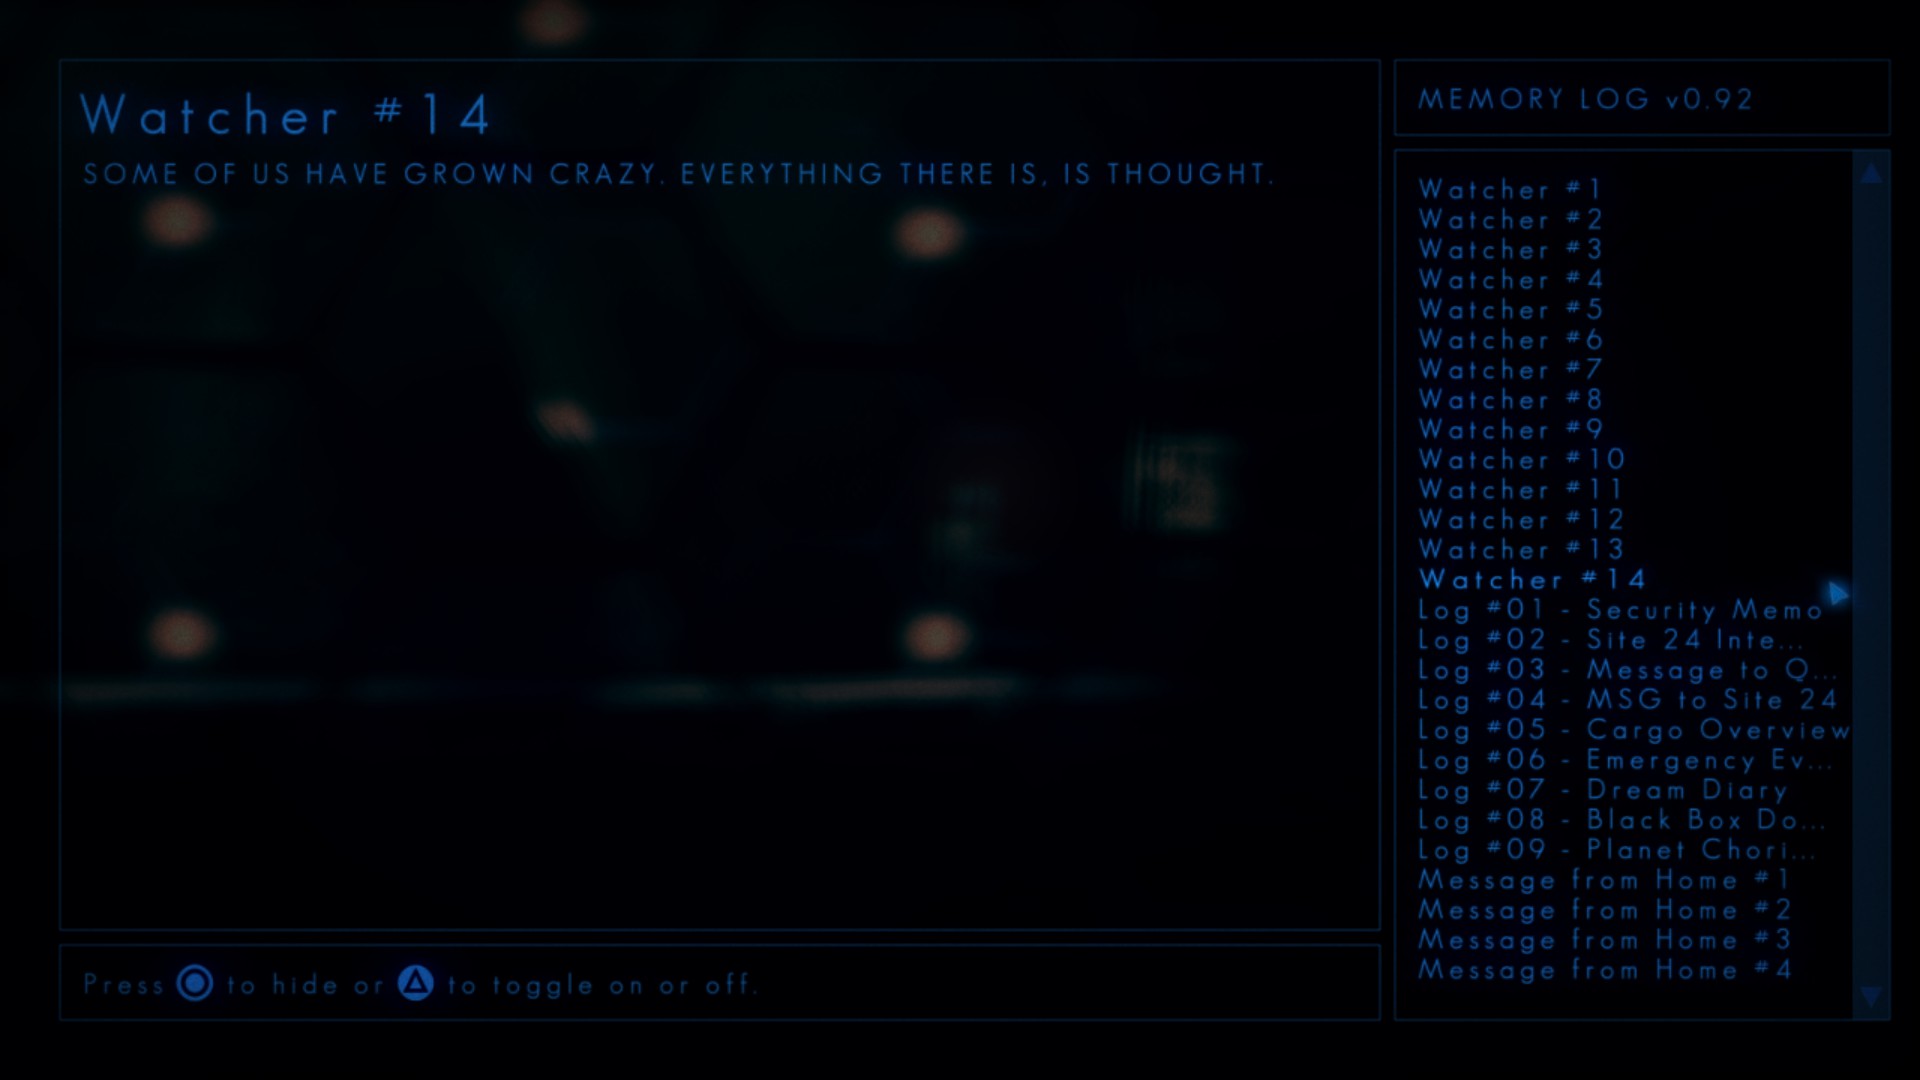
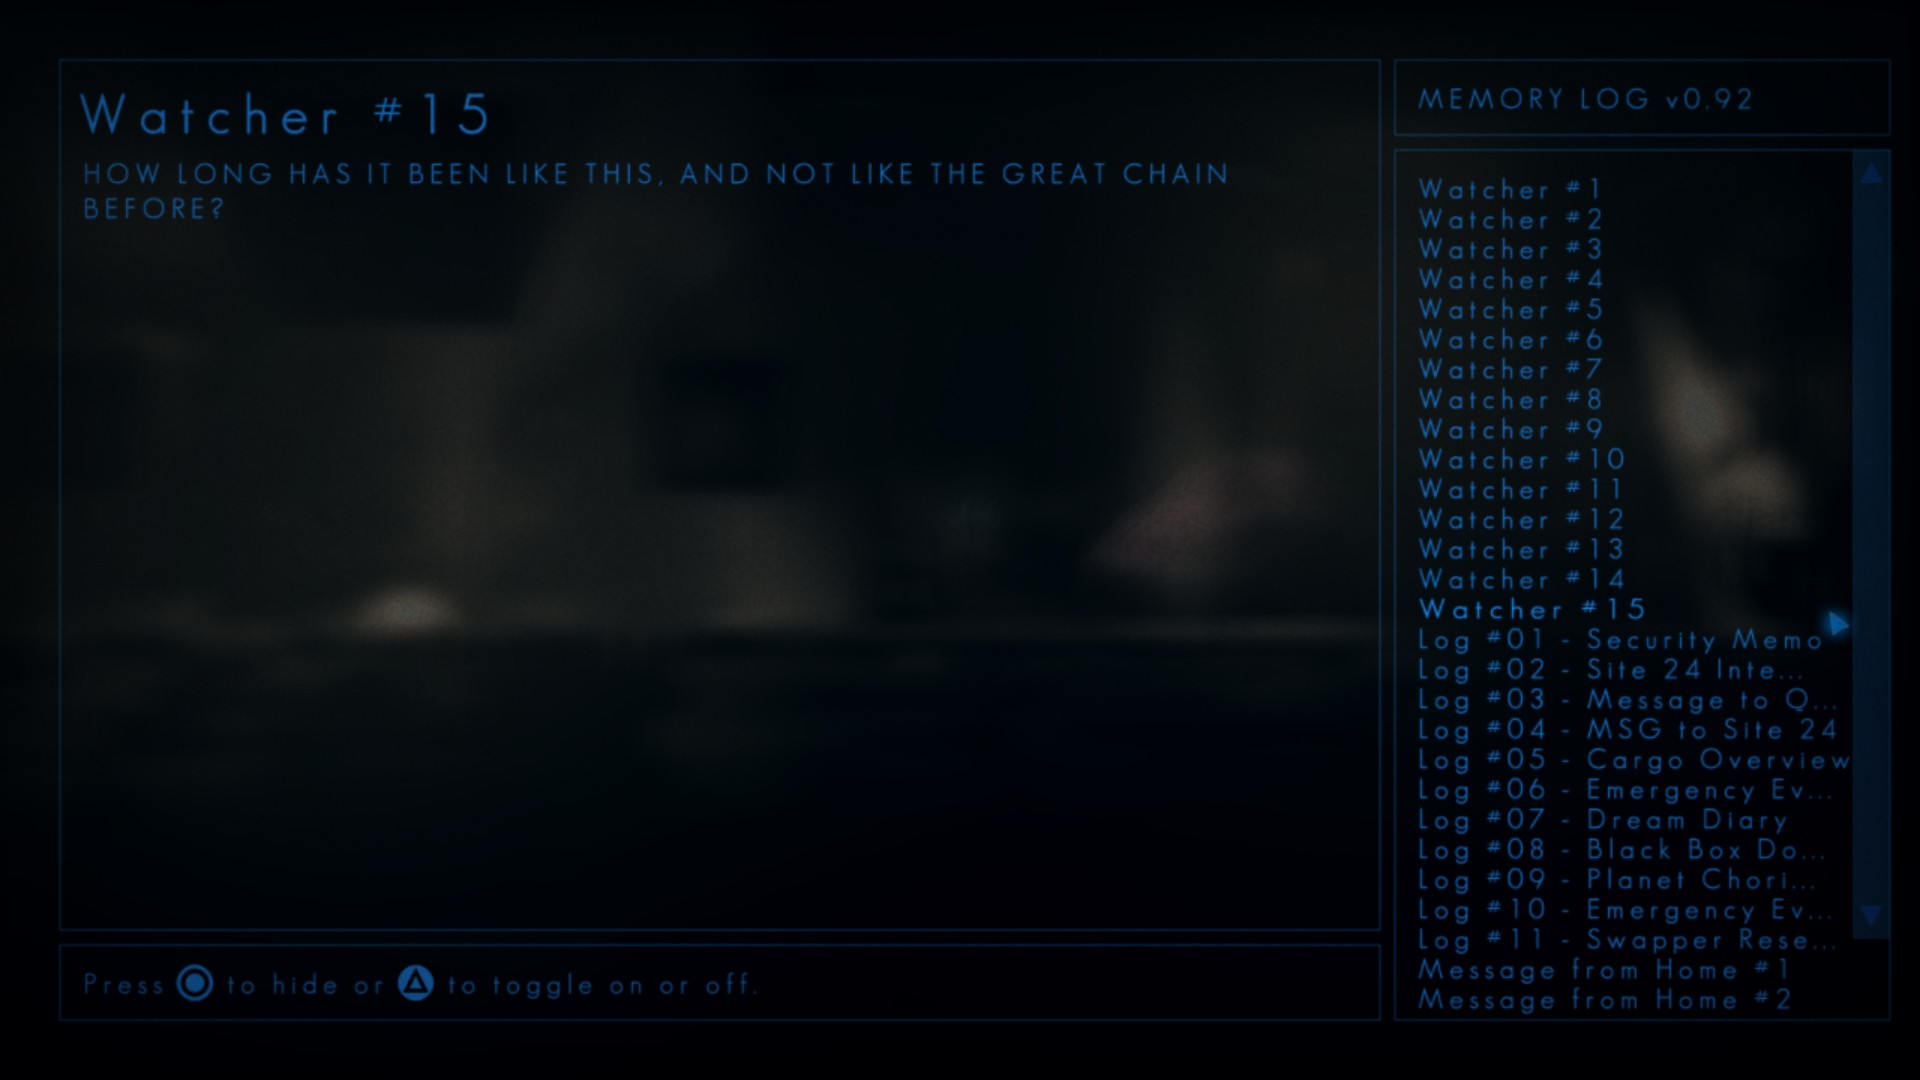
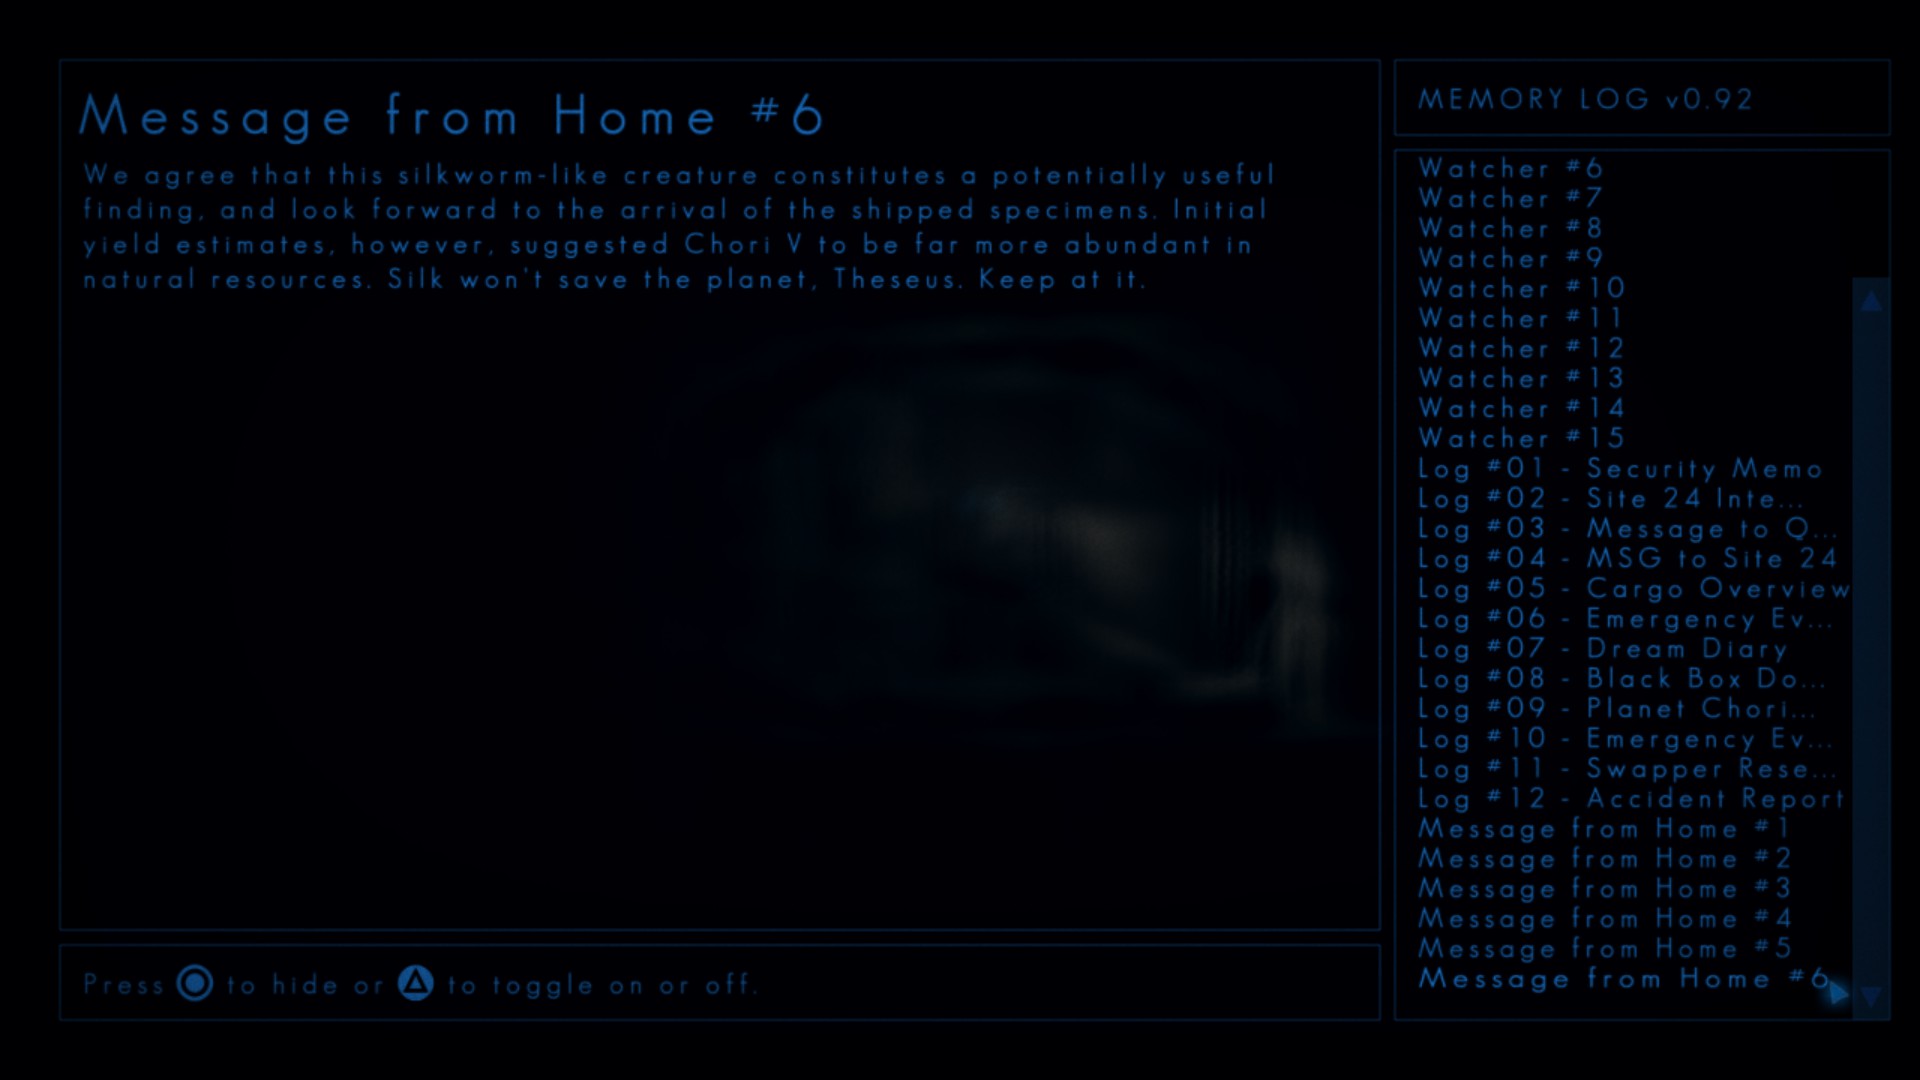
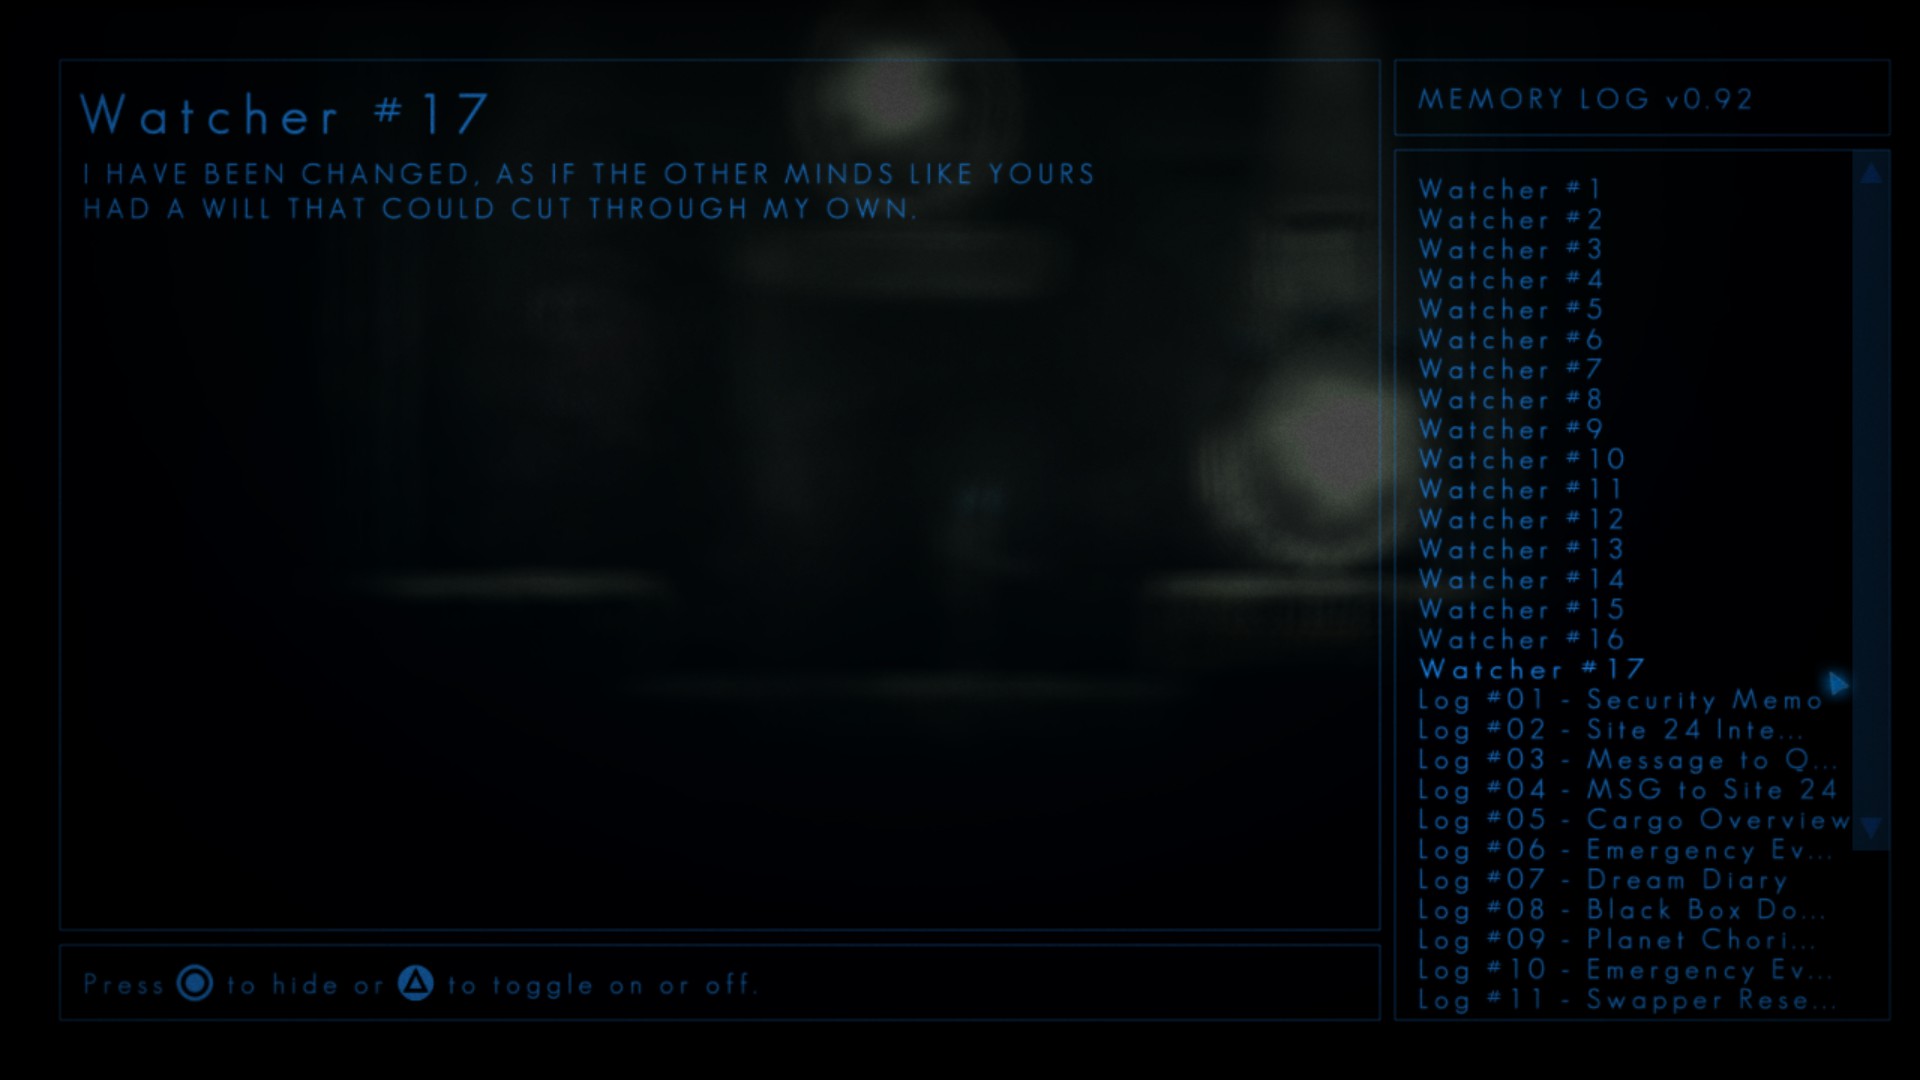
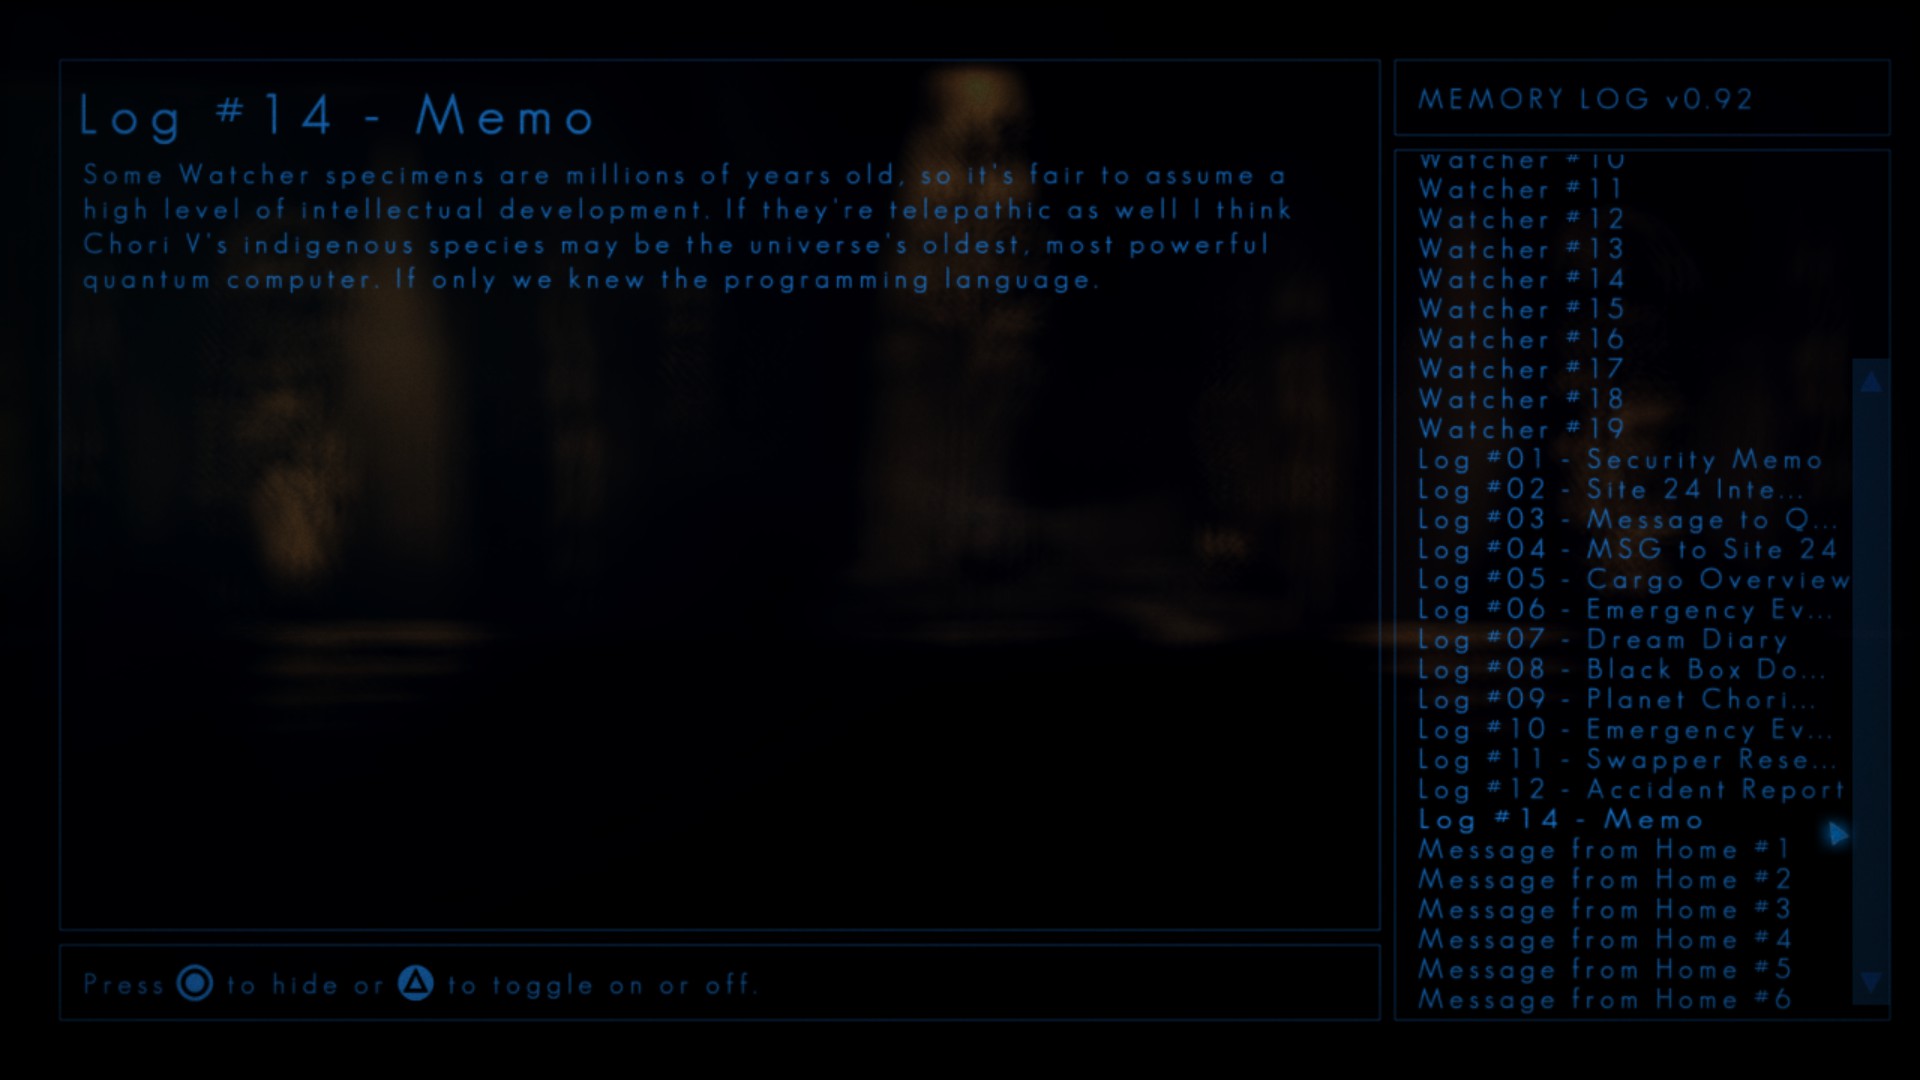
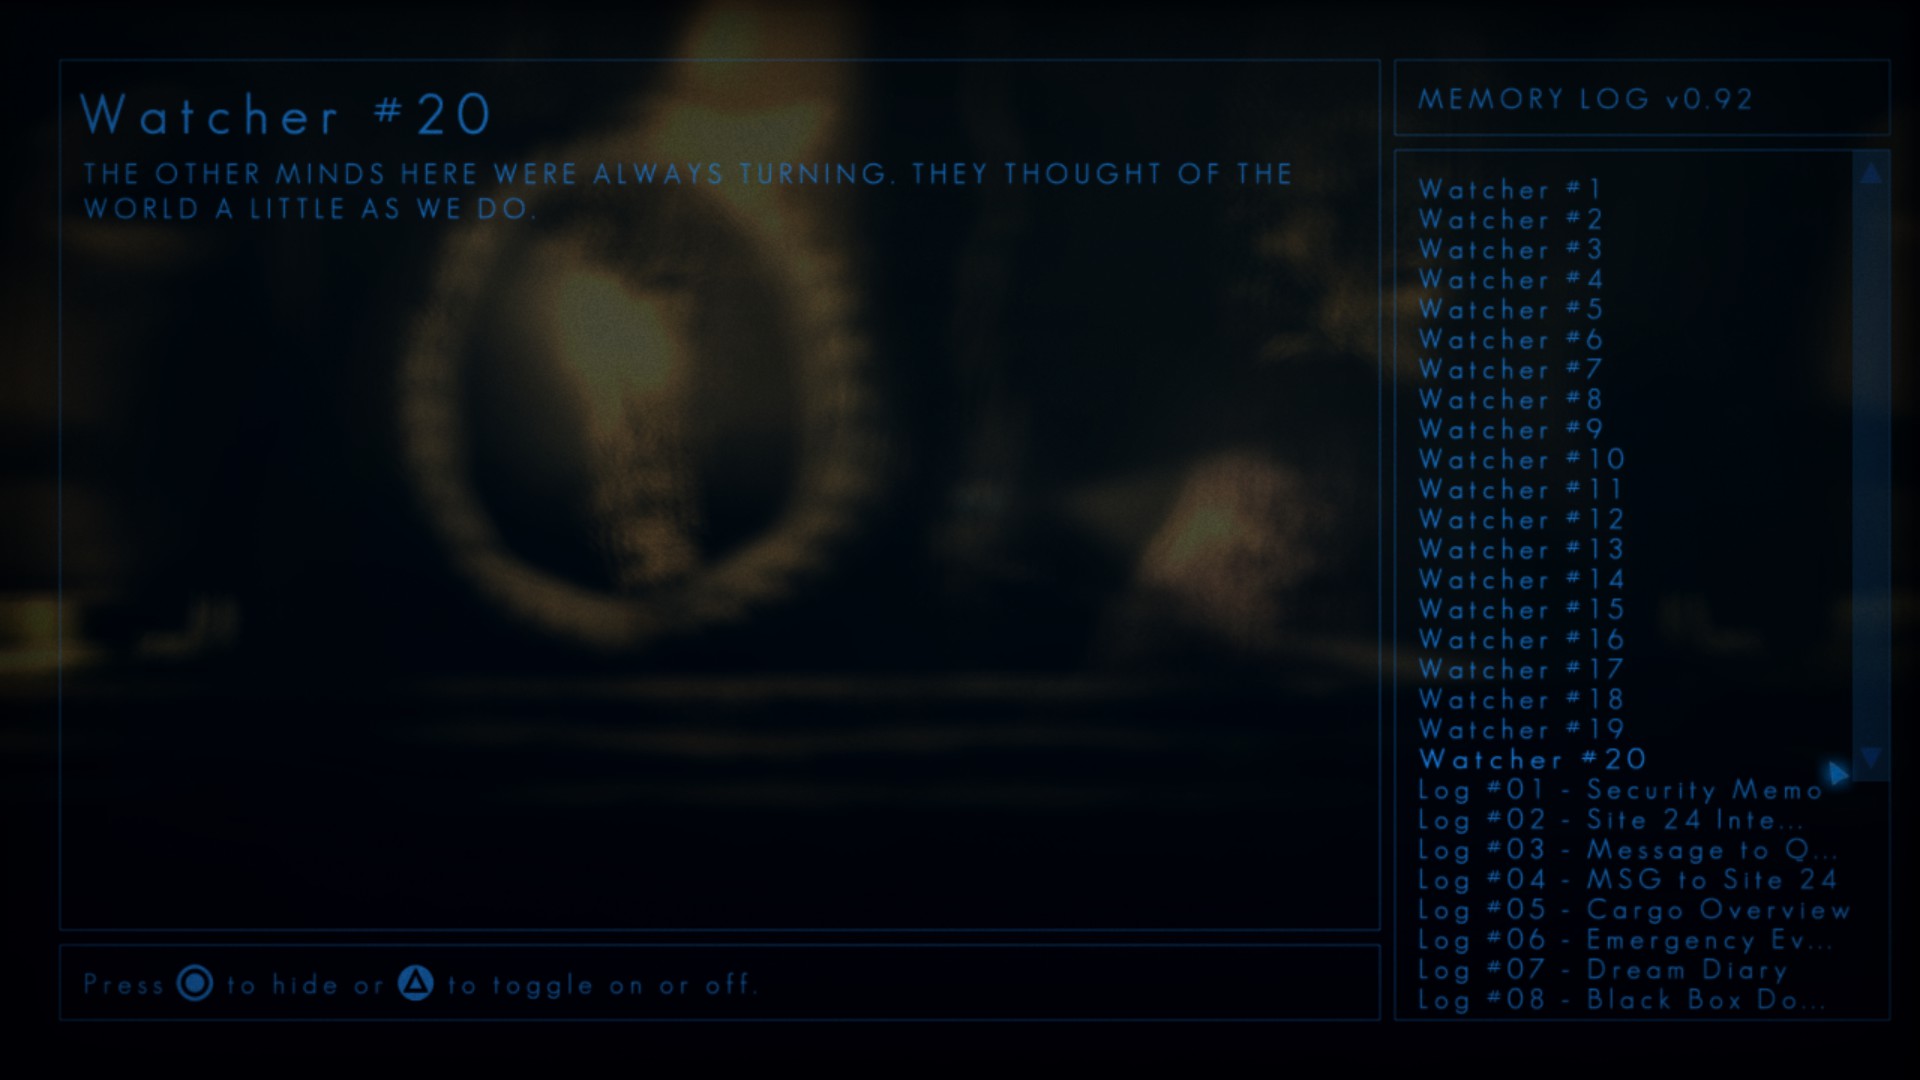
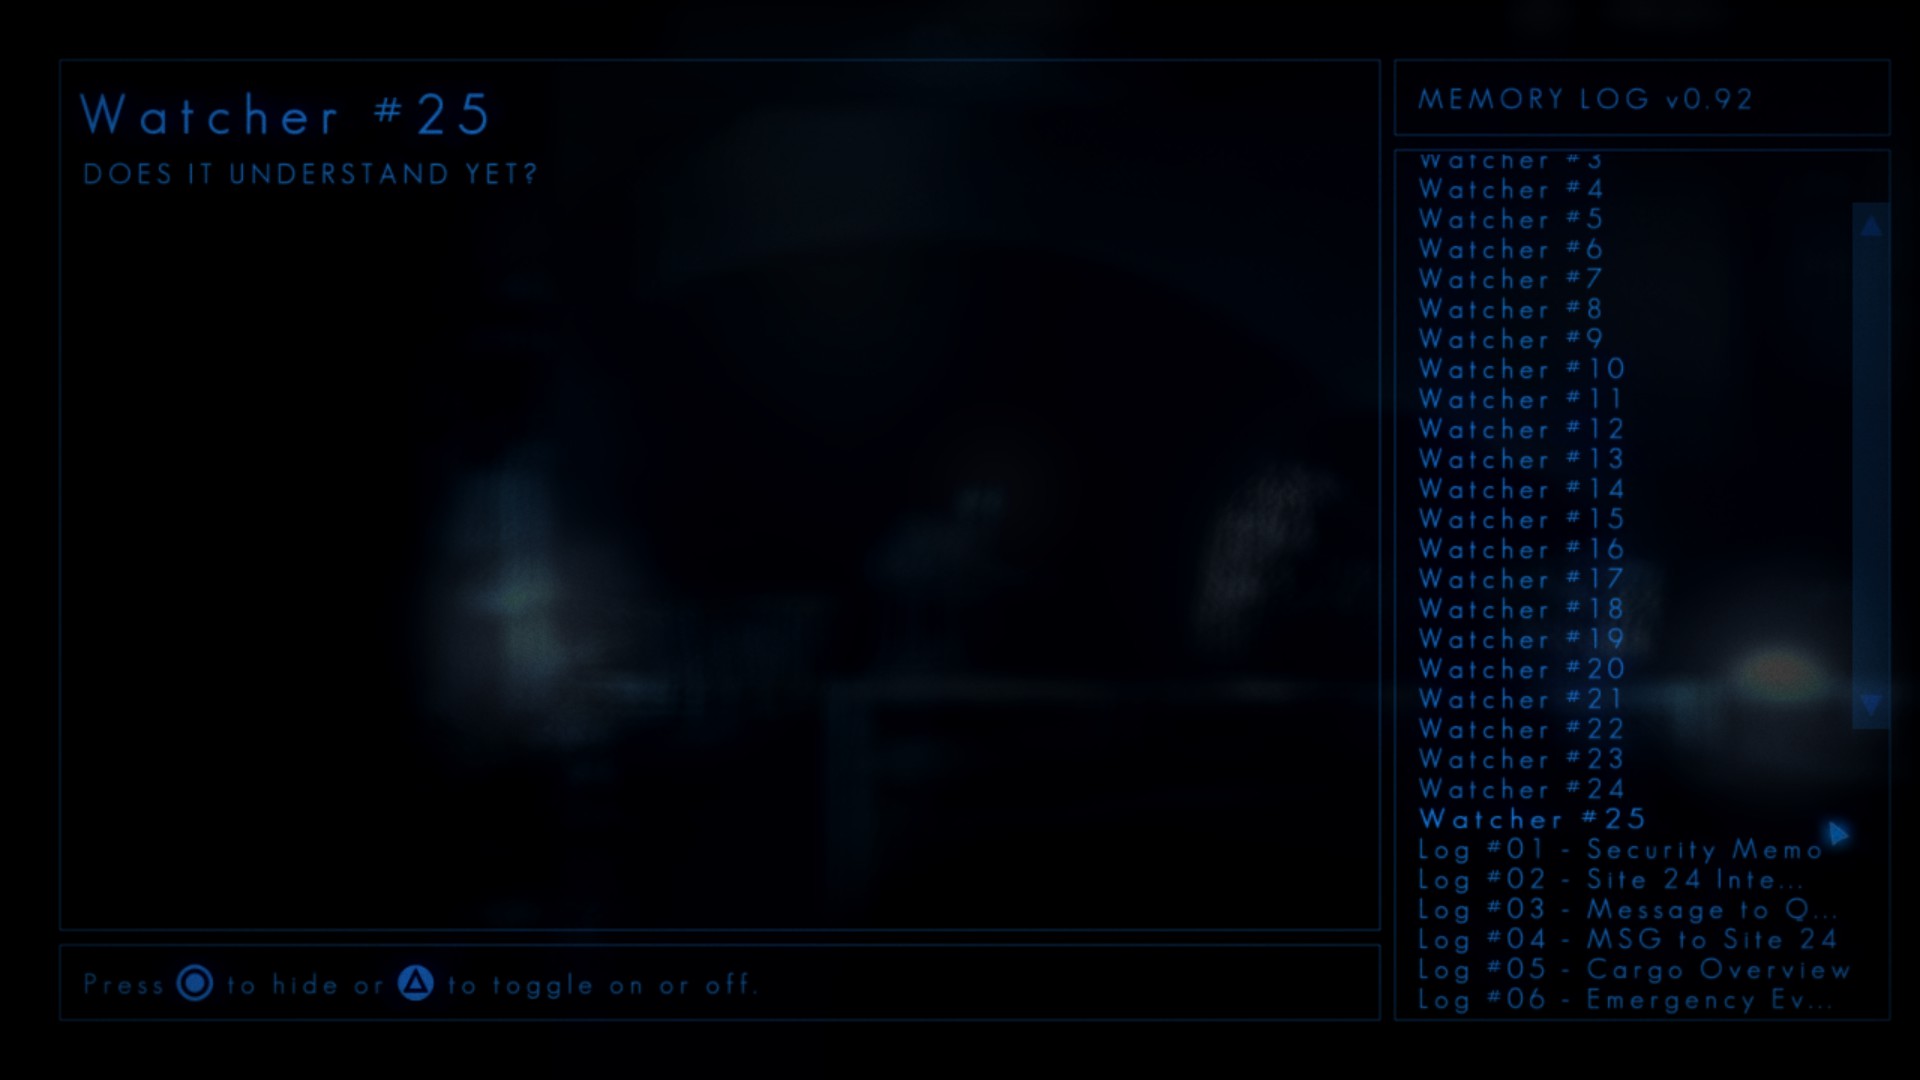
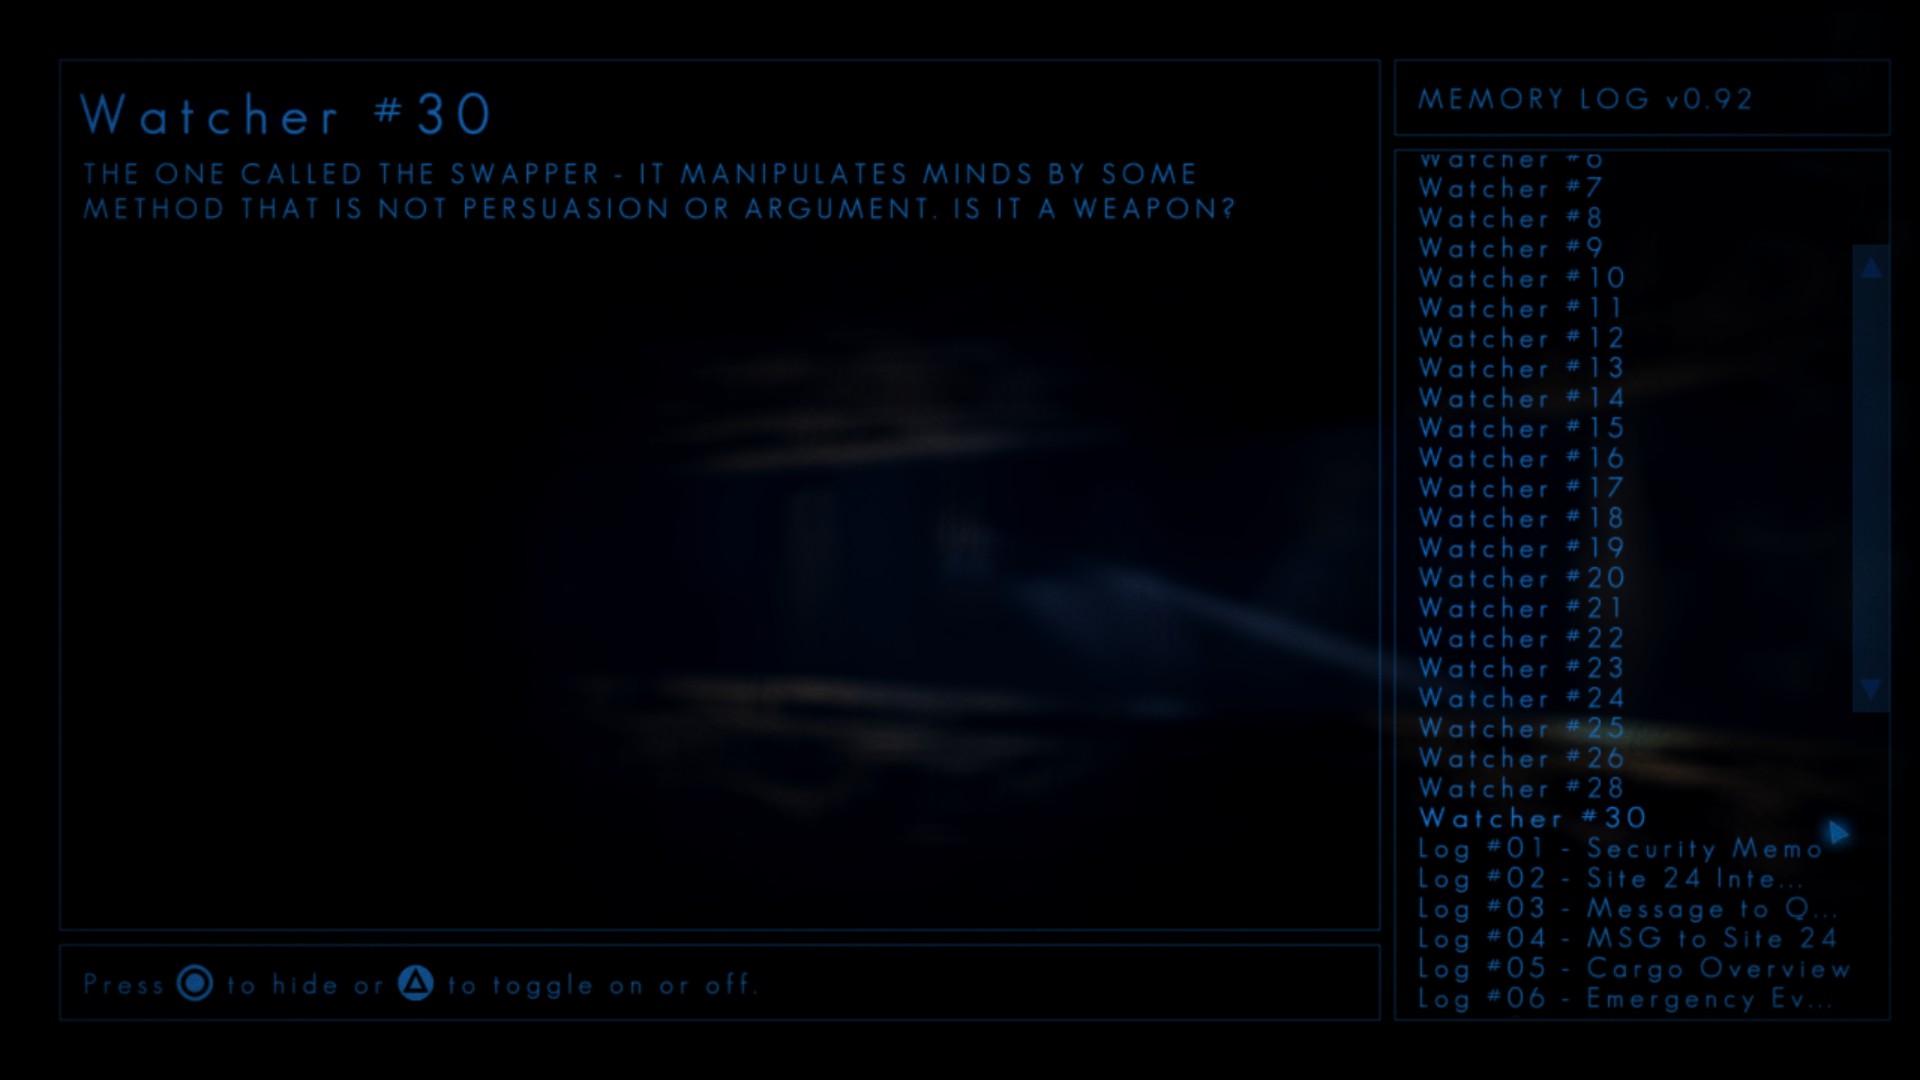
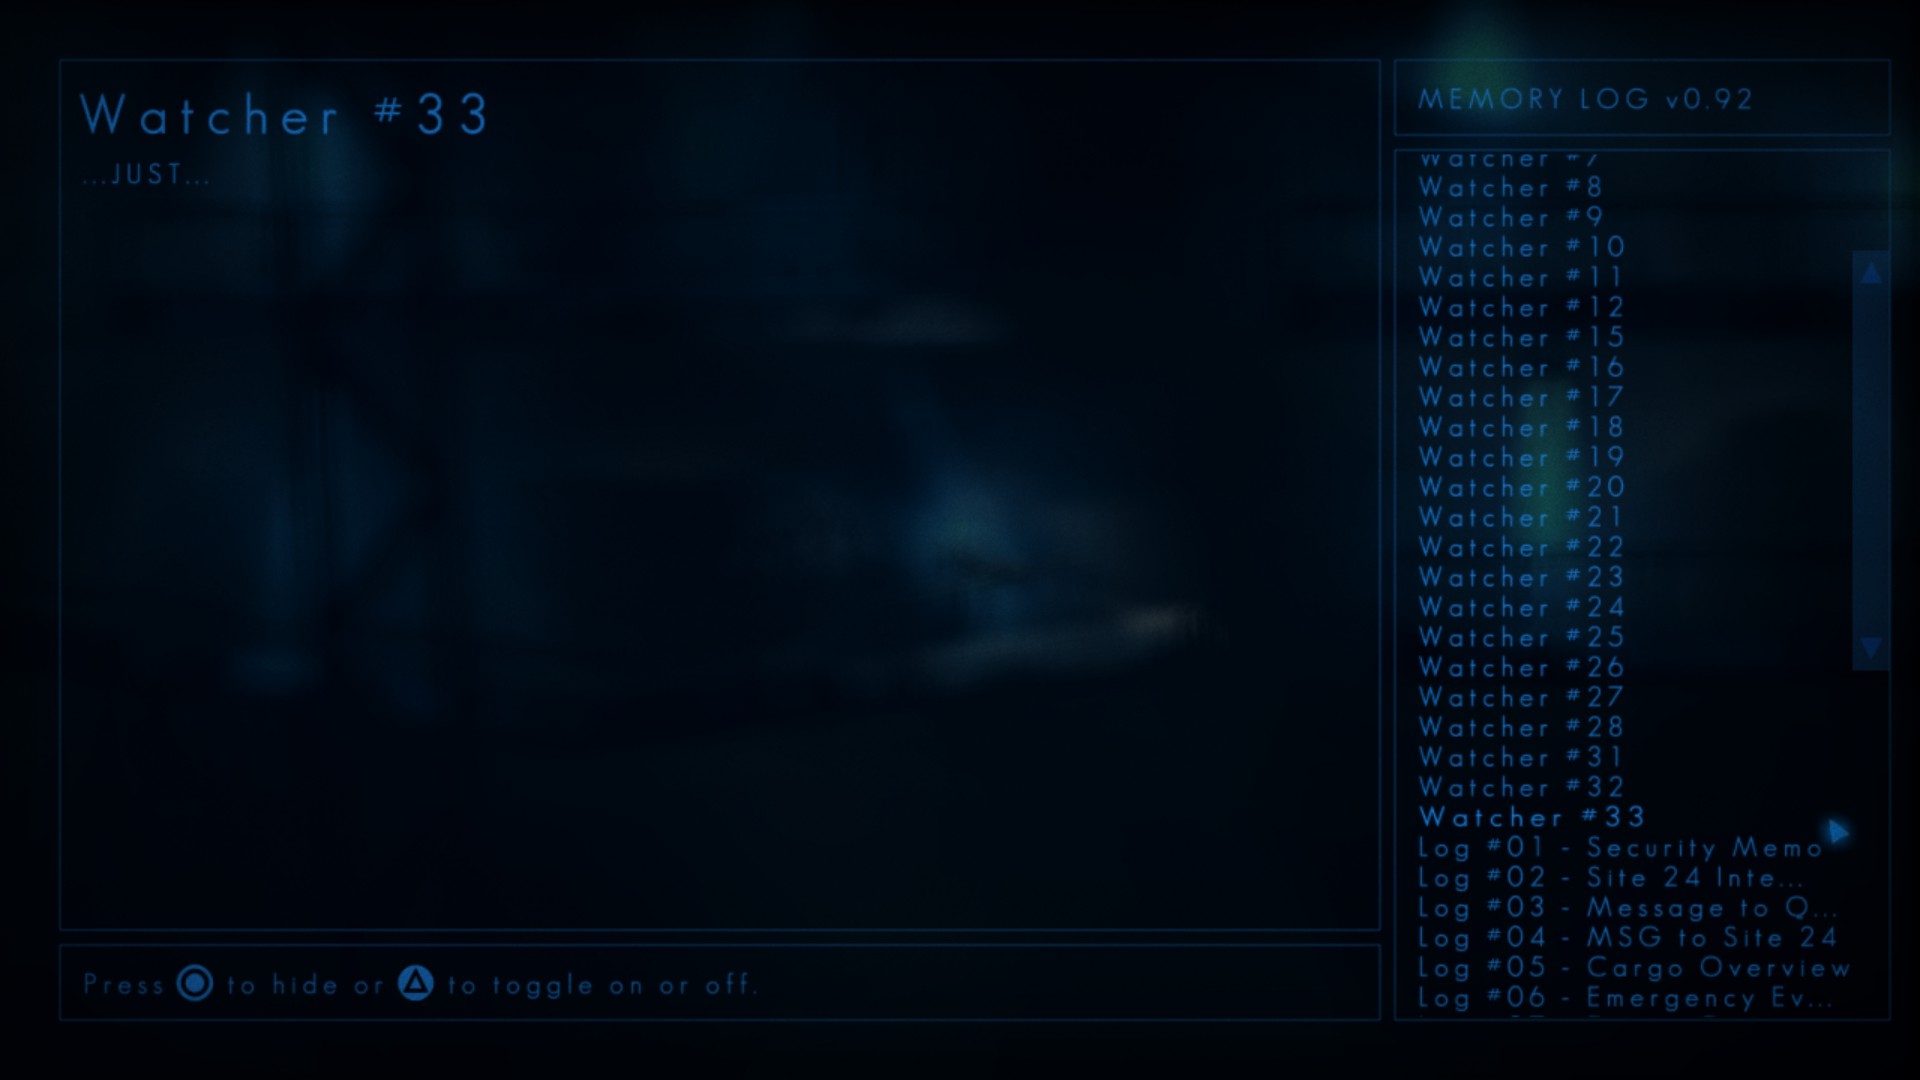
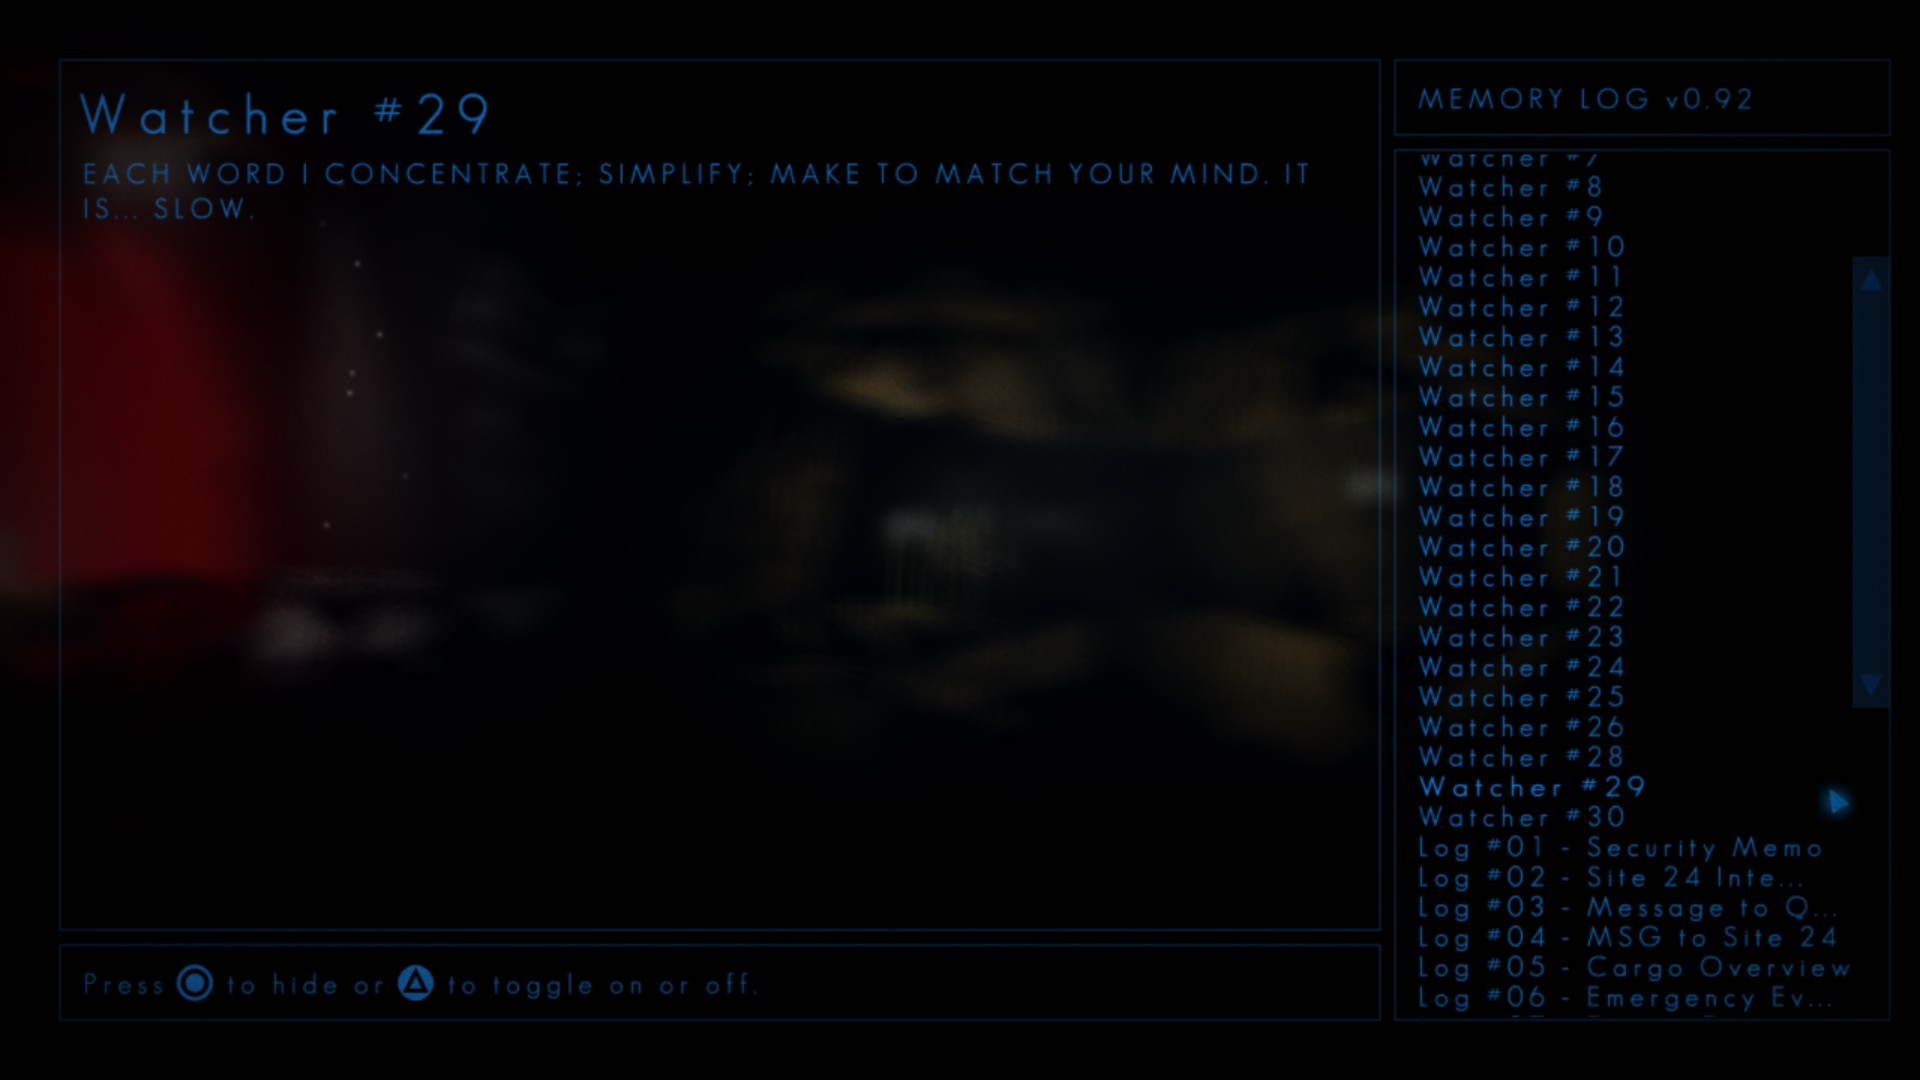
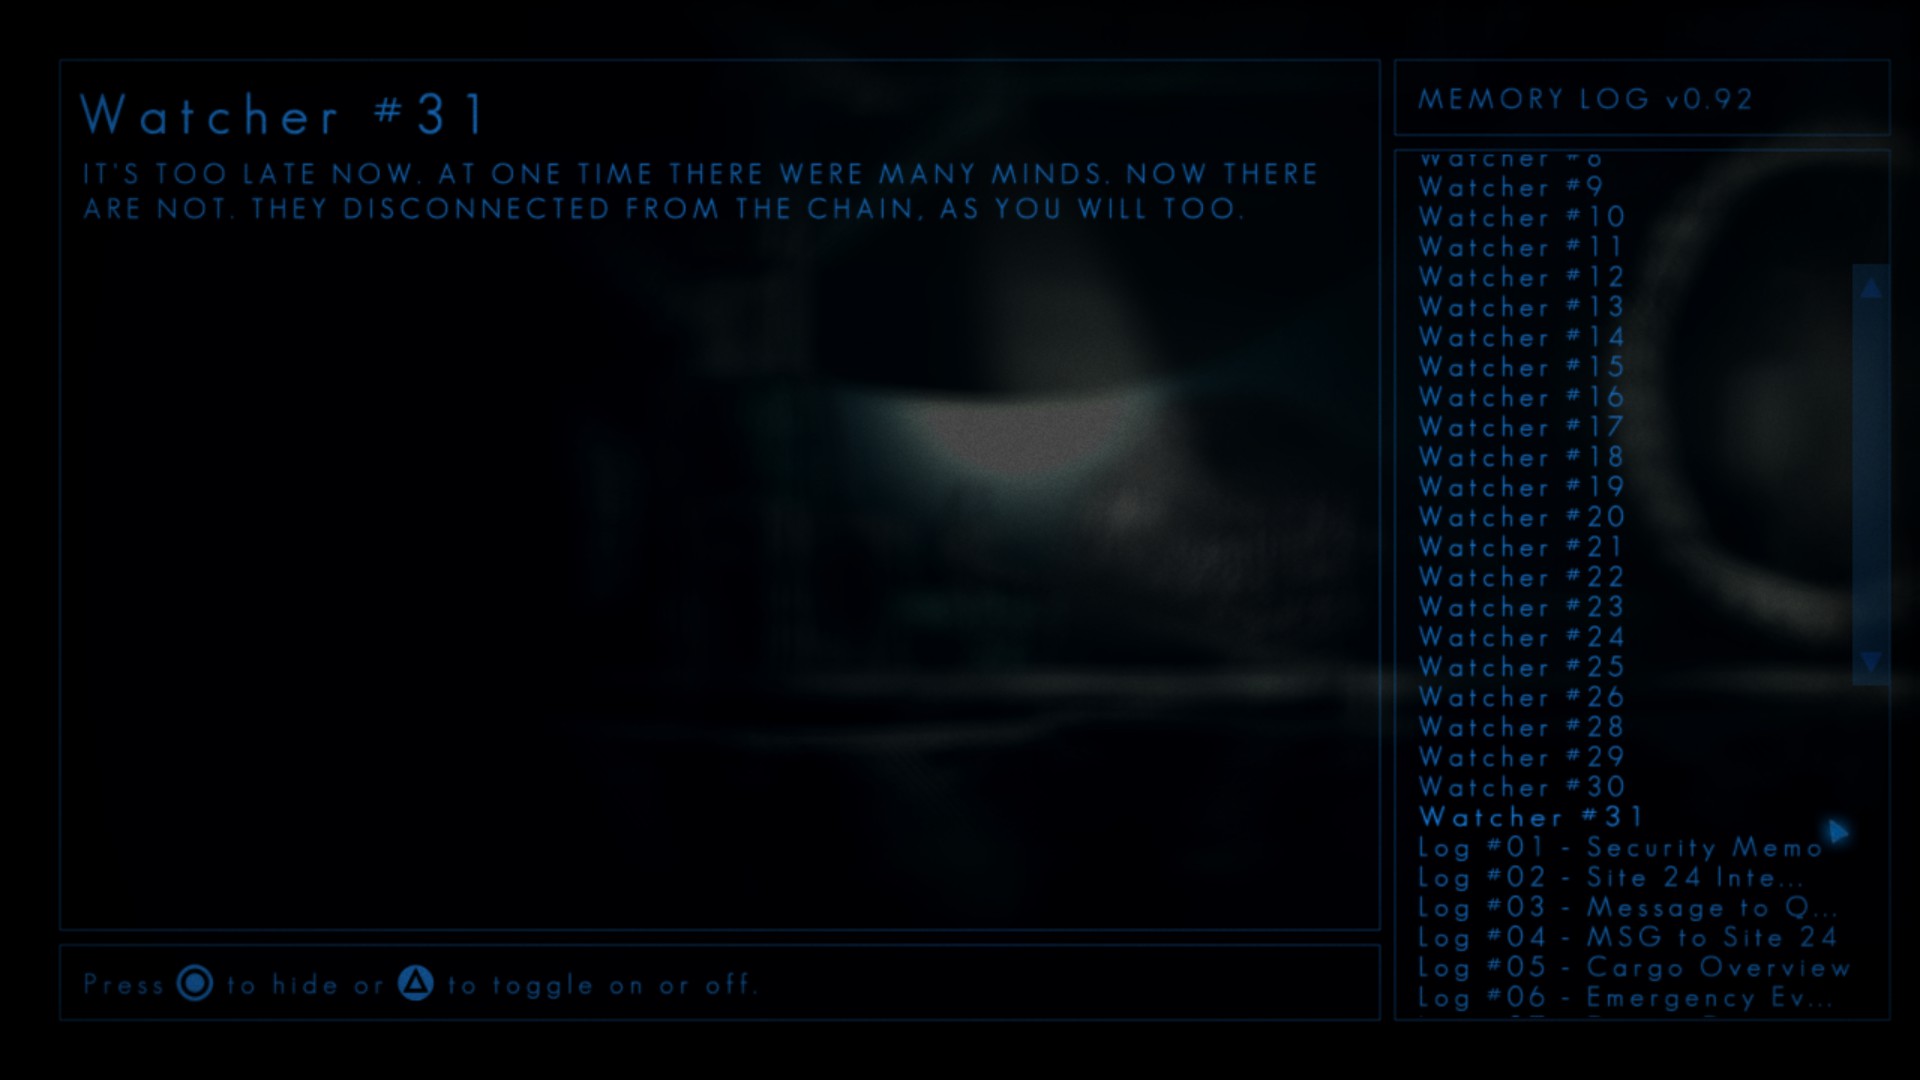
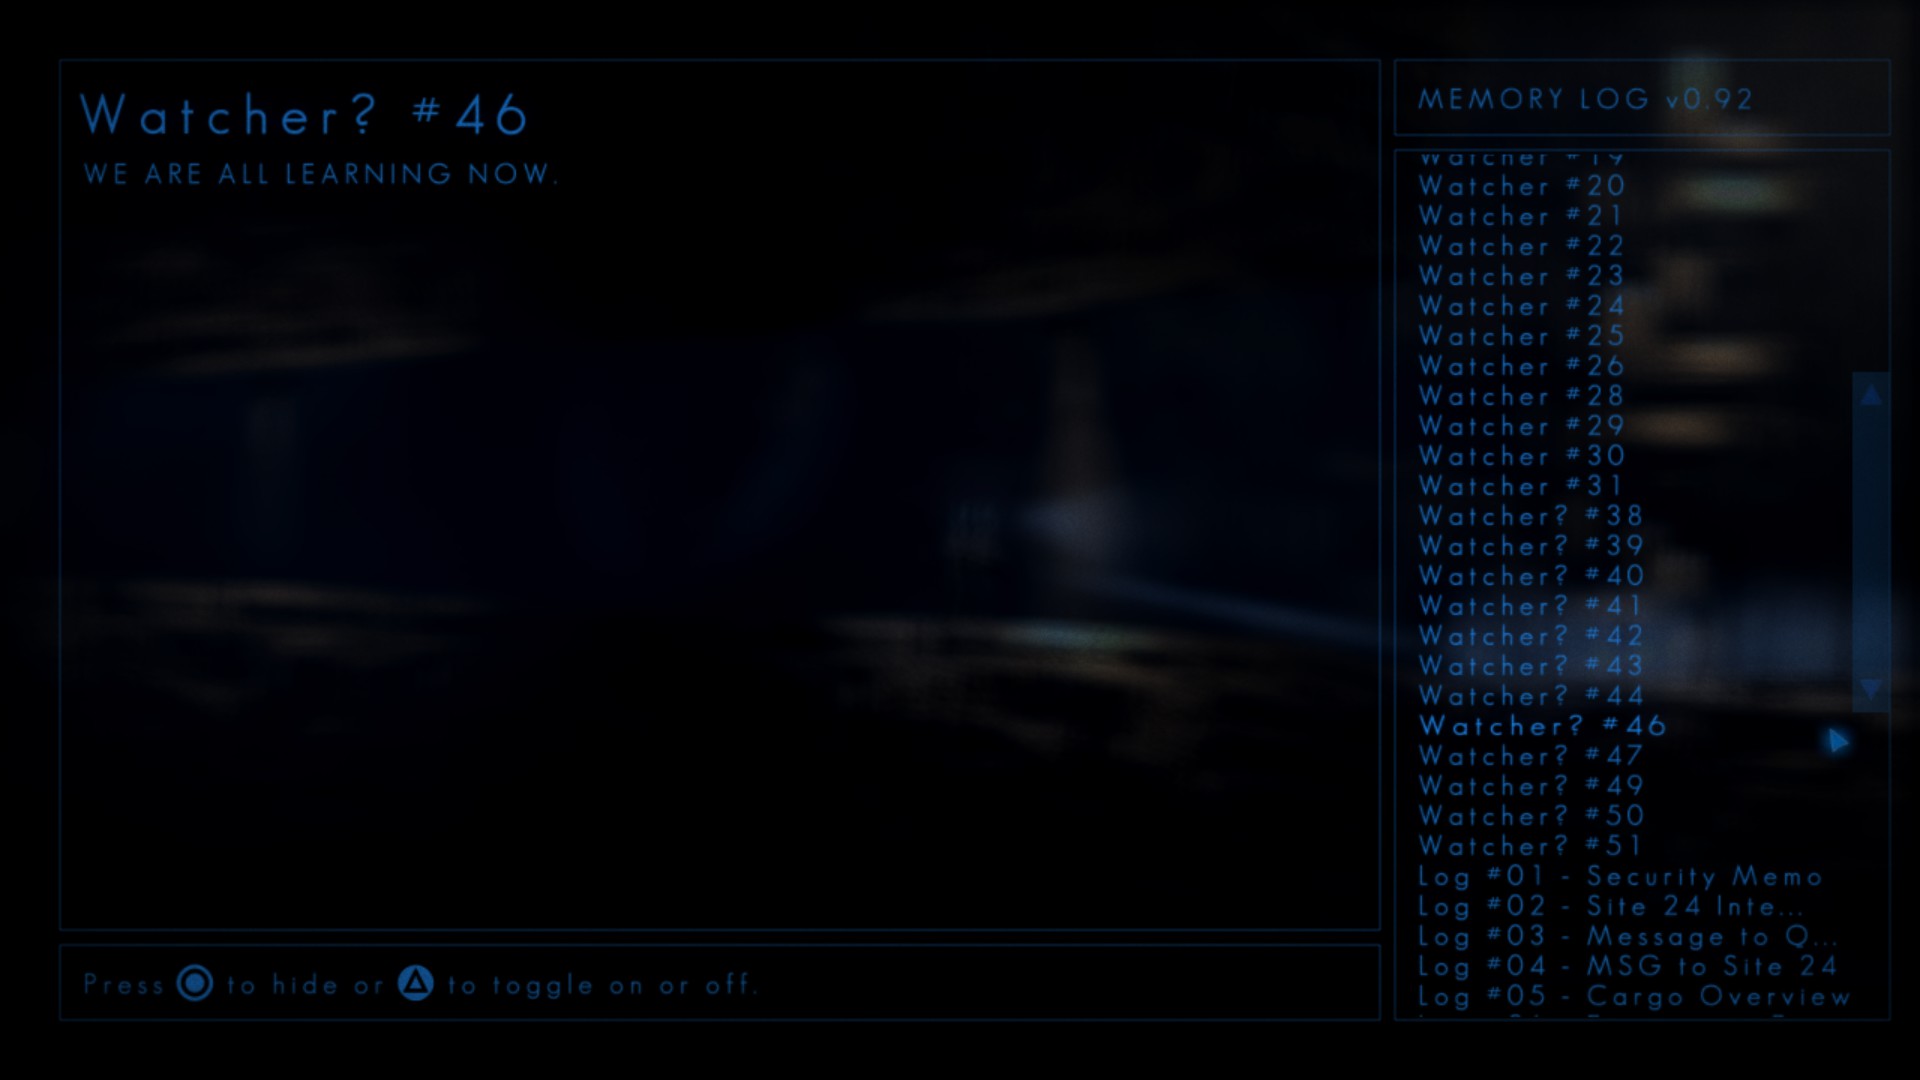
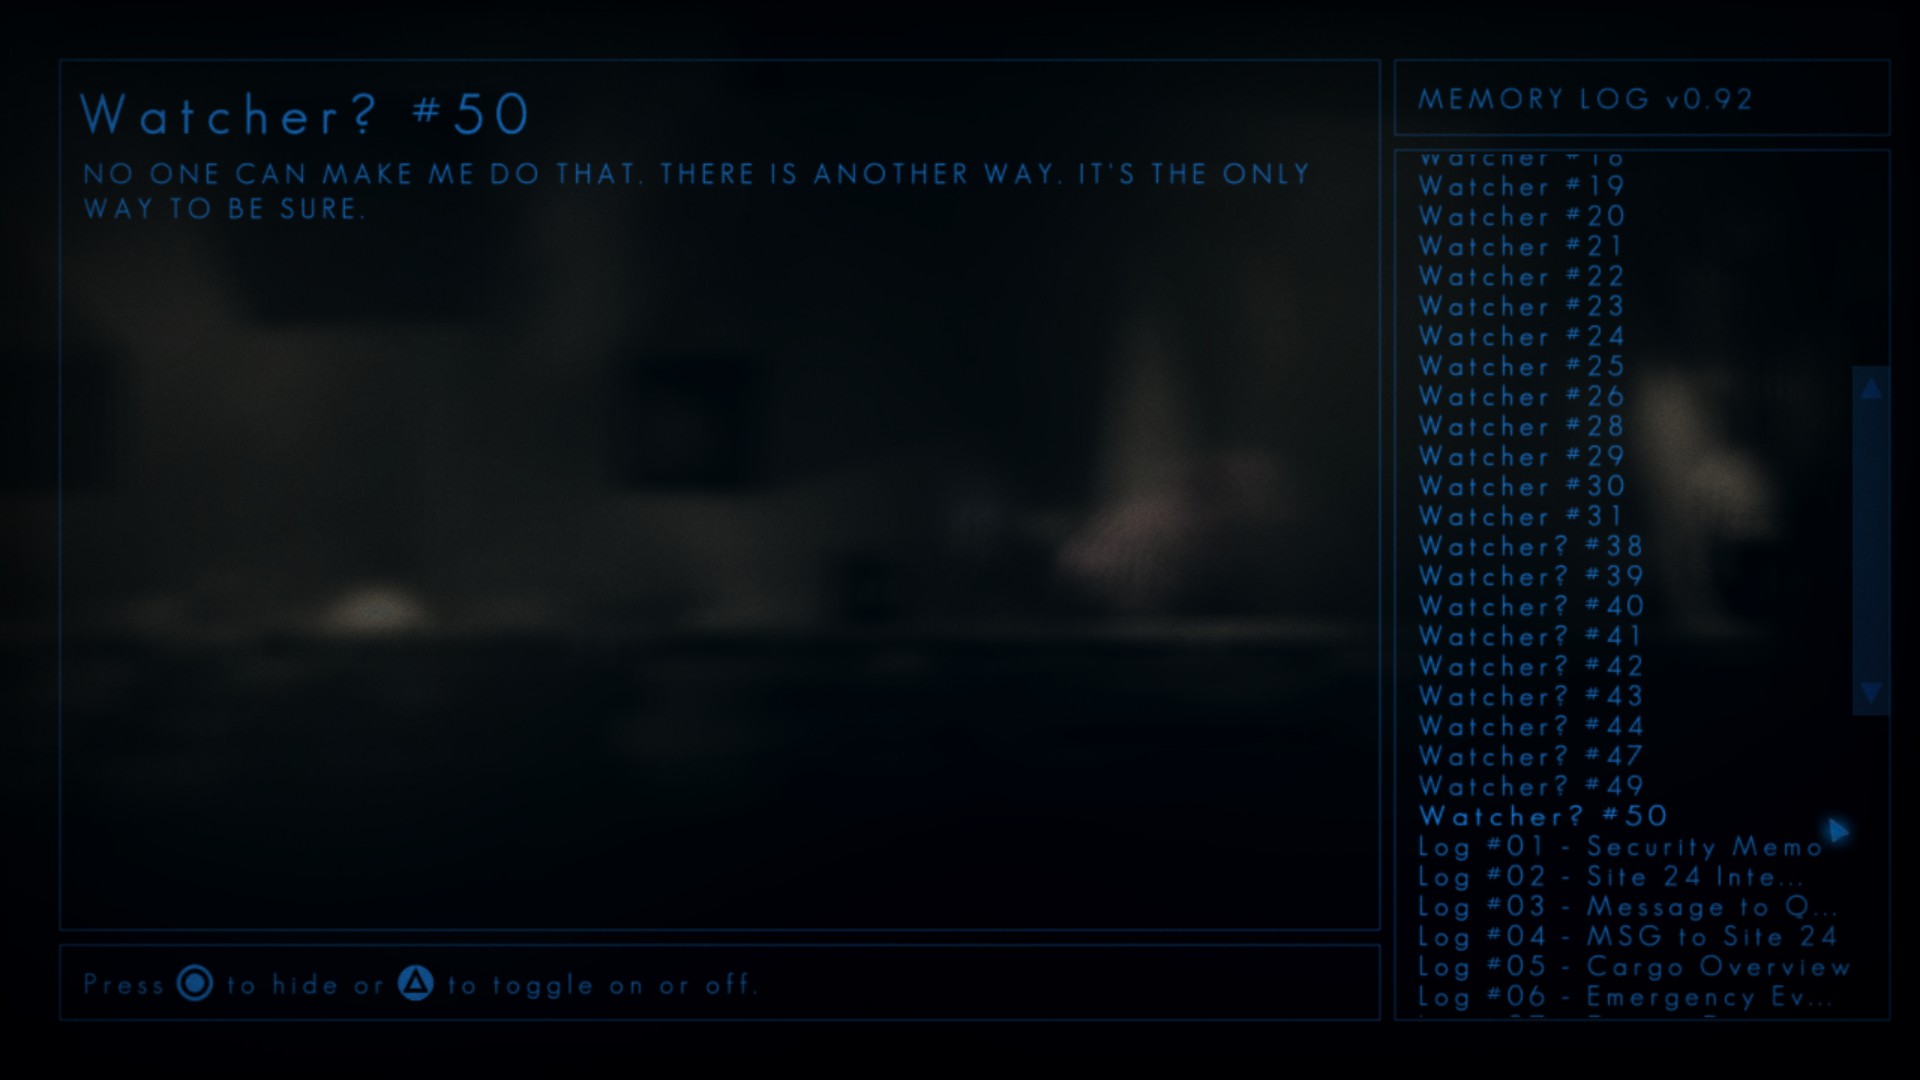
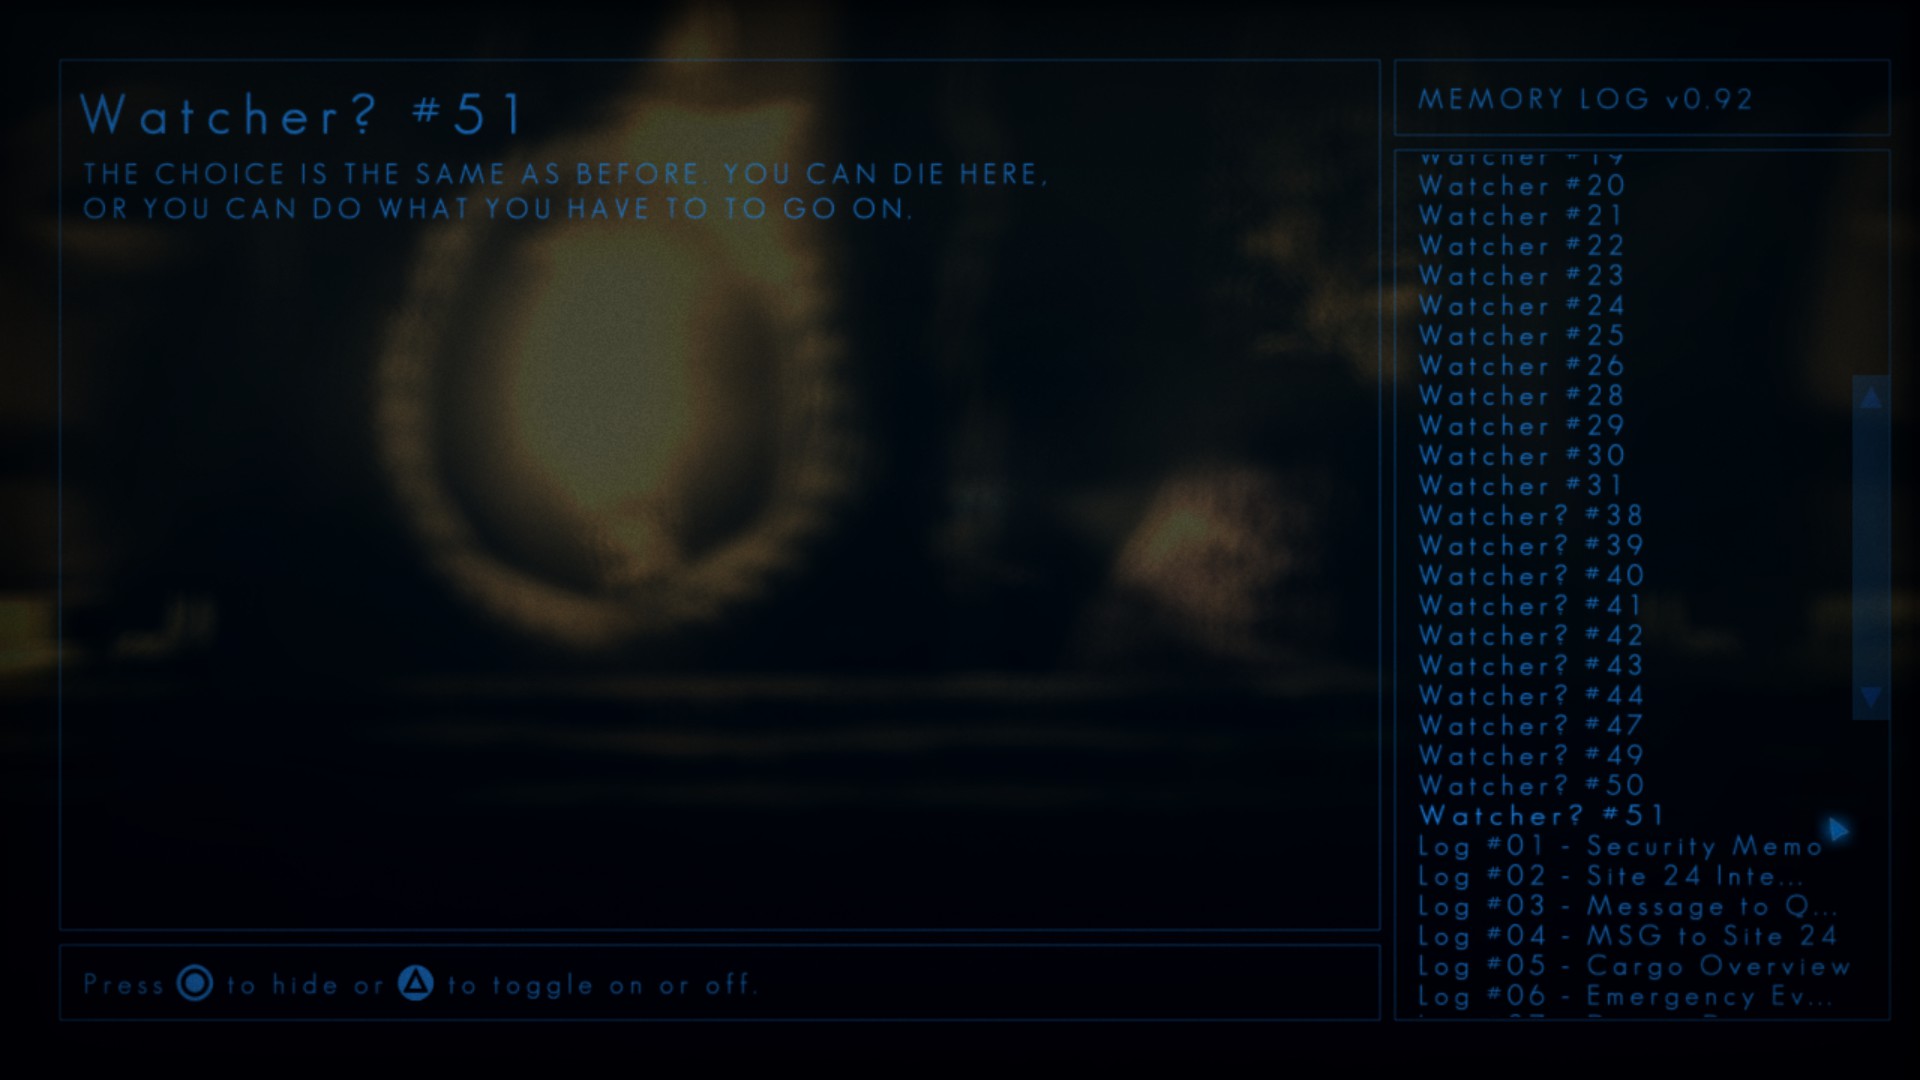
Once you’ve done this, the watcher’s text will be viewable from the Memory Log in one of the following formats: Watcher #N, Watcher? #N, or Watcher? #N on Chori V (where N is a number between 1-51):

Logs (23 Total)
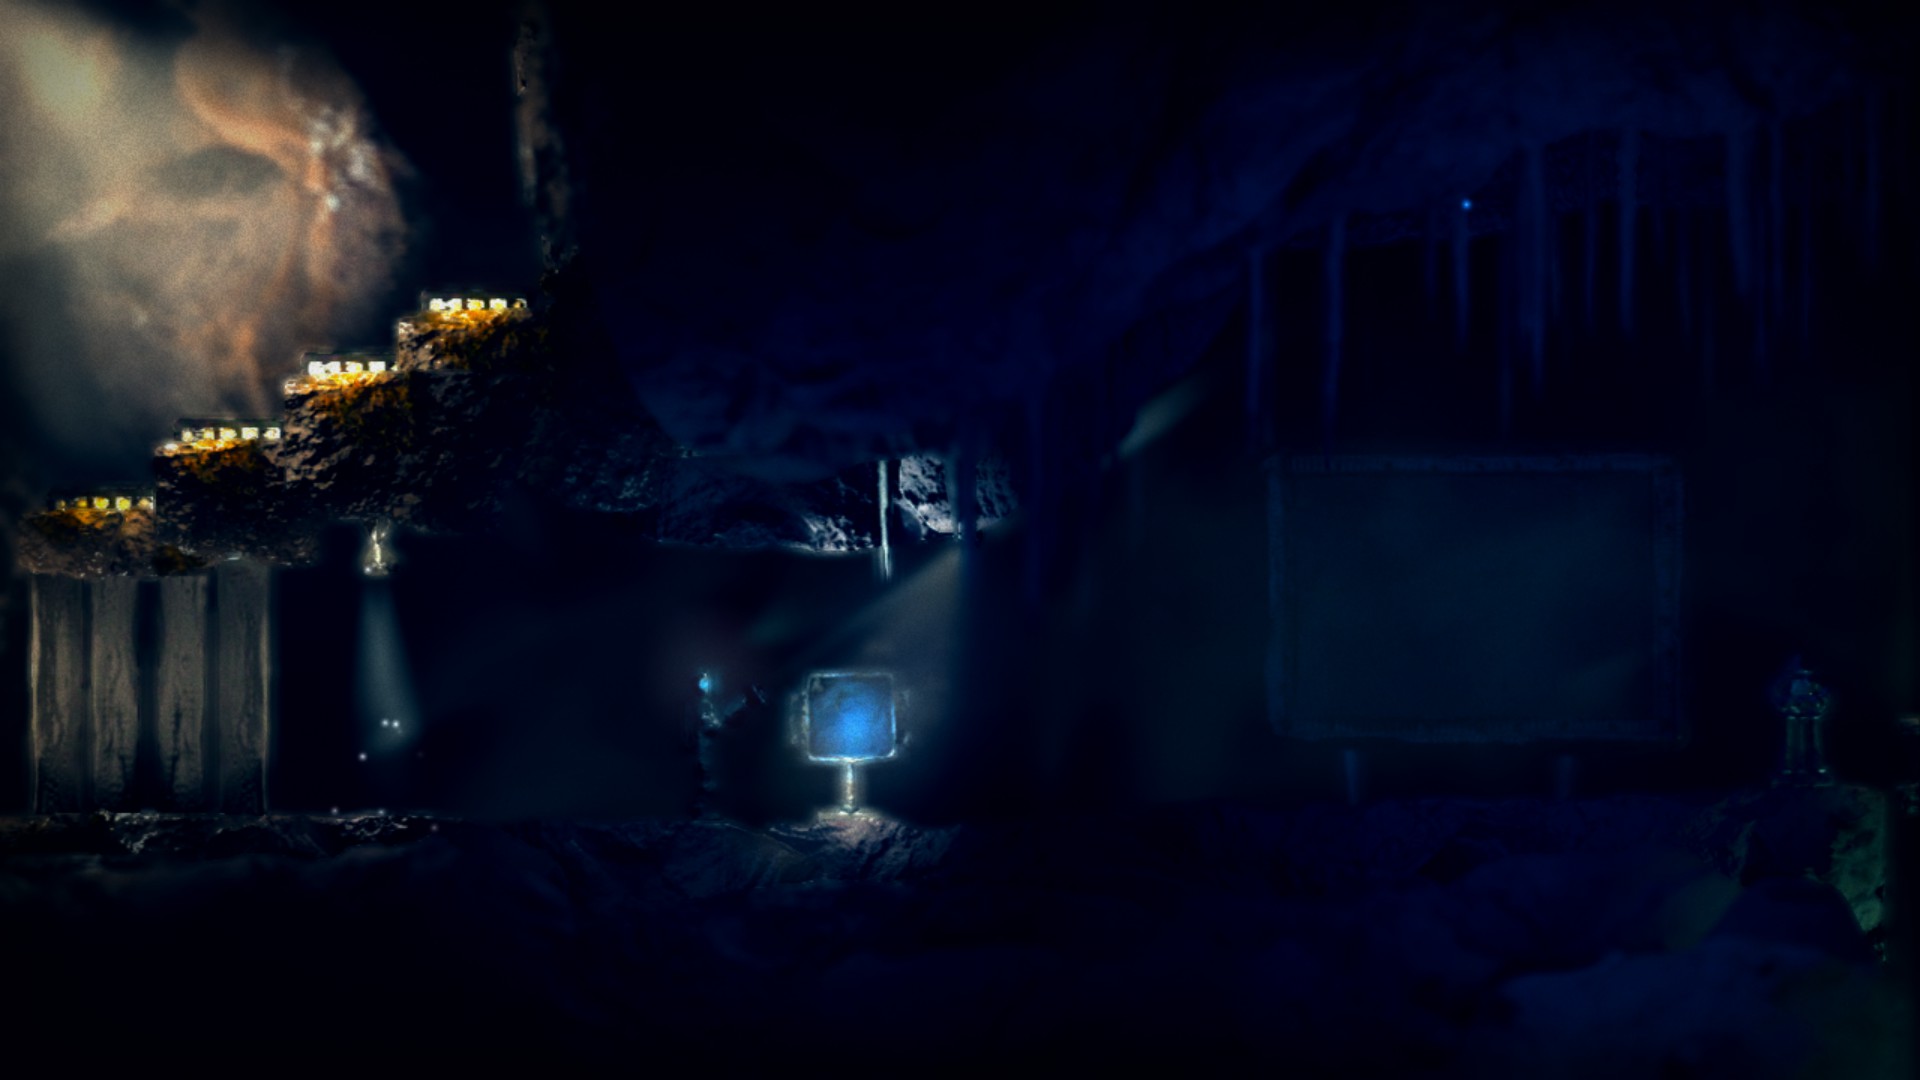
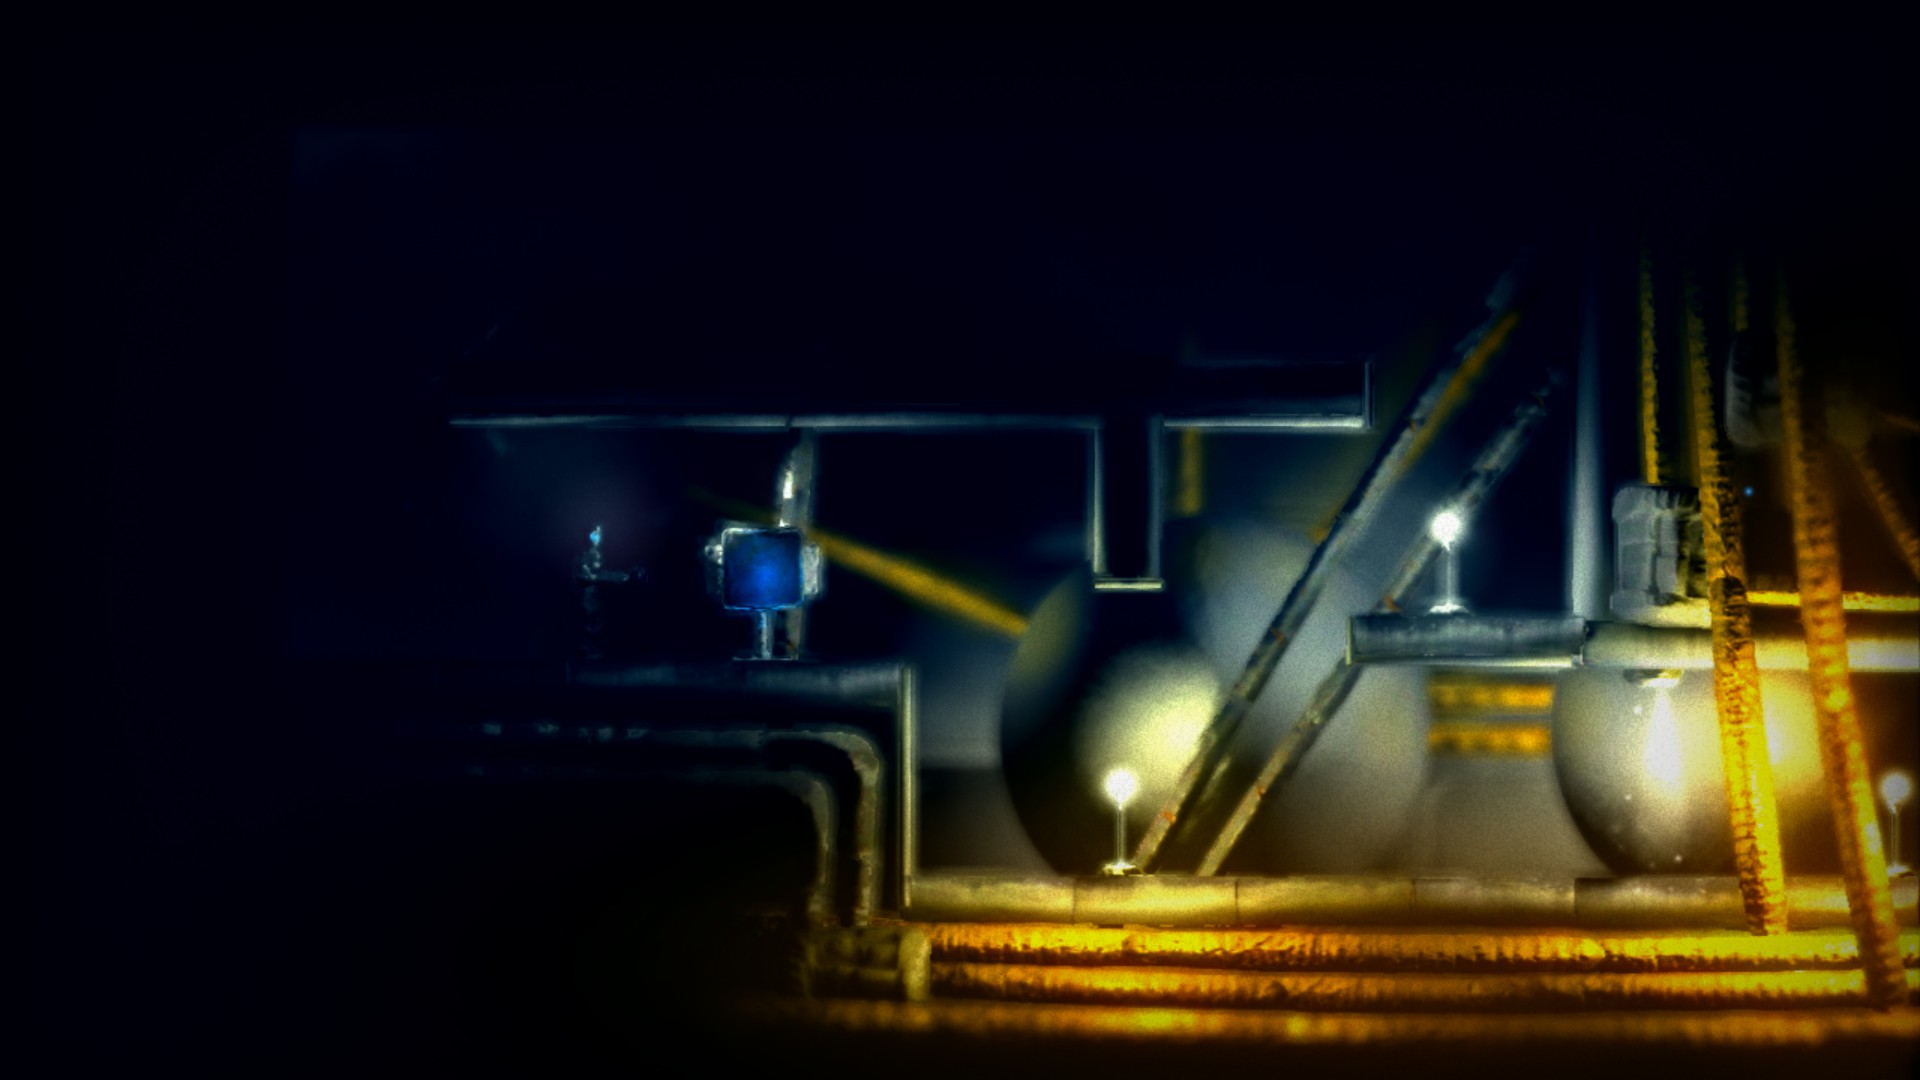
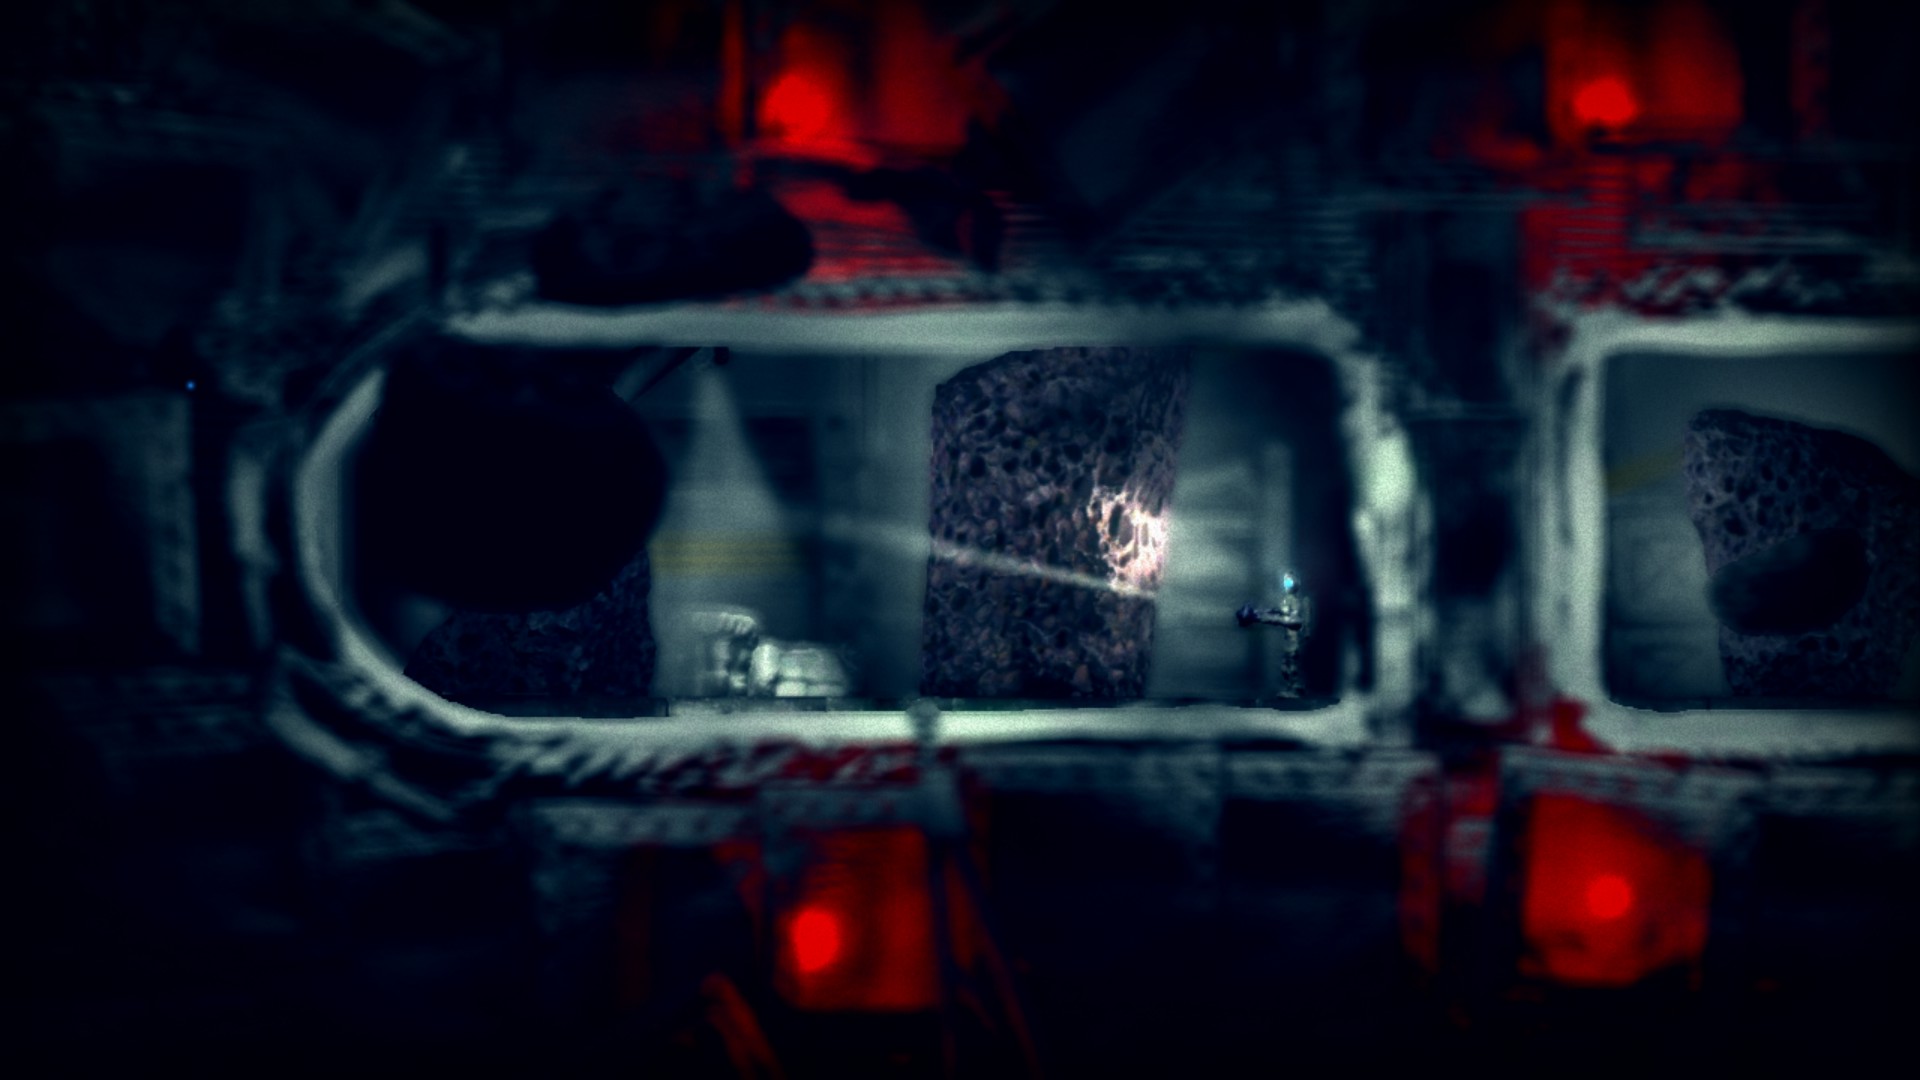
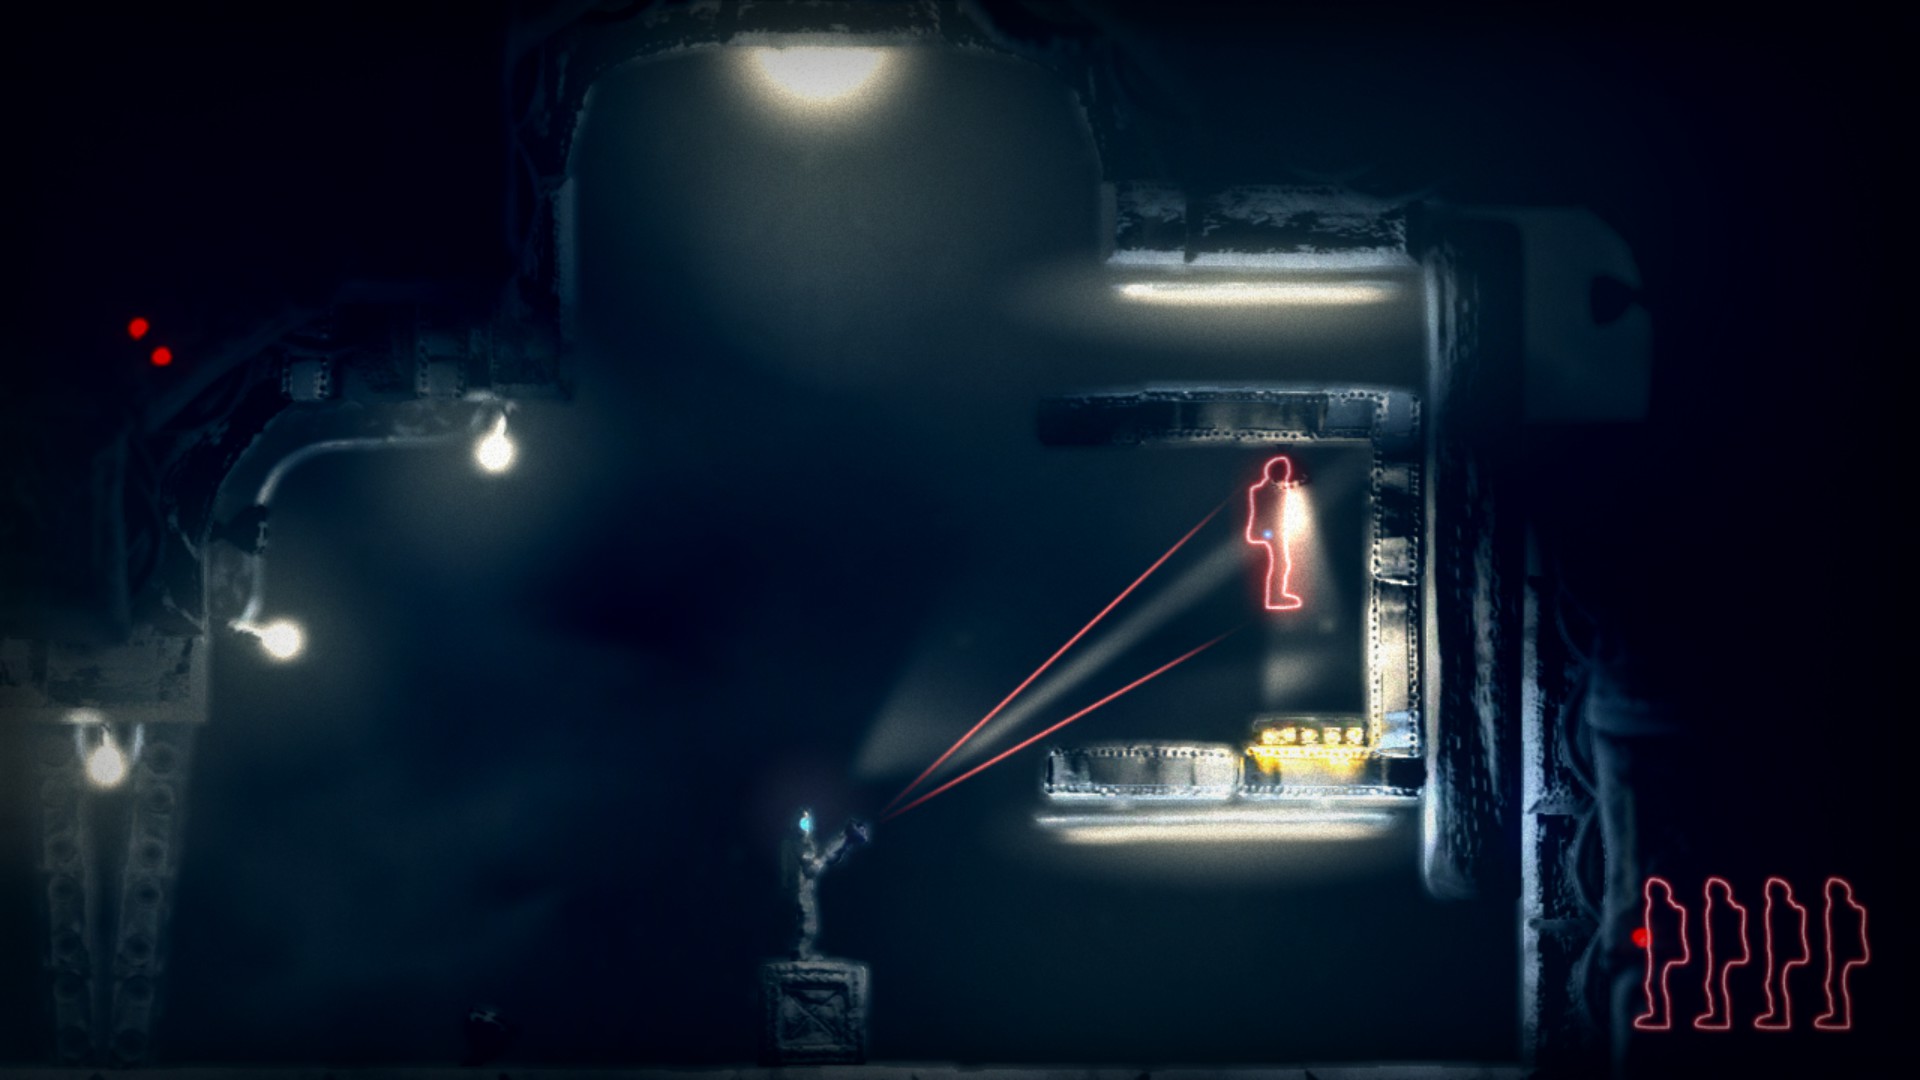
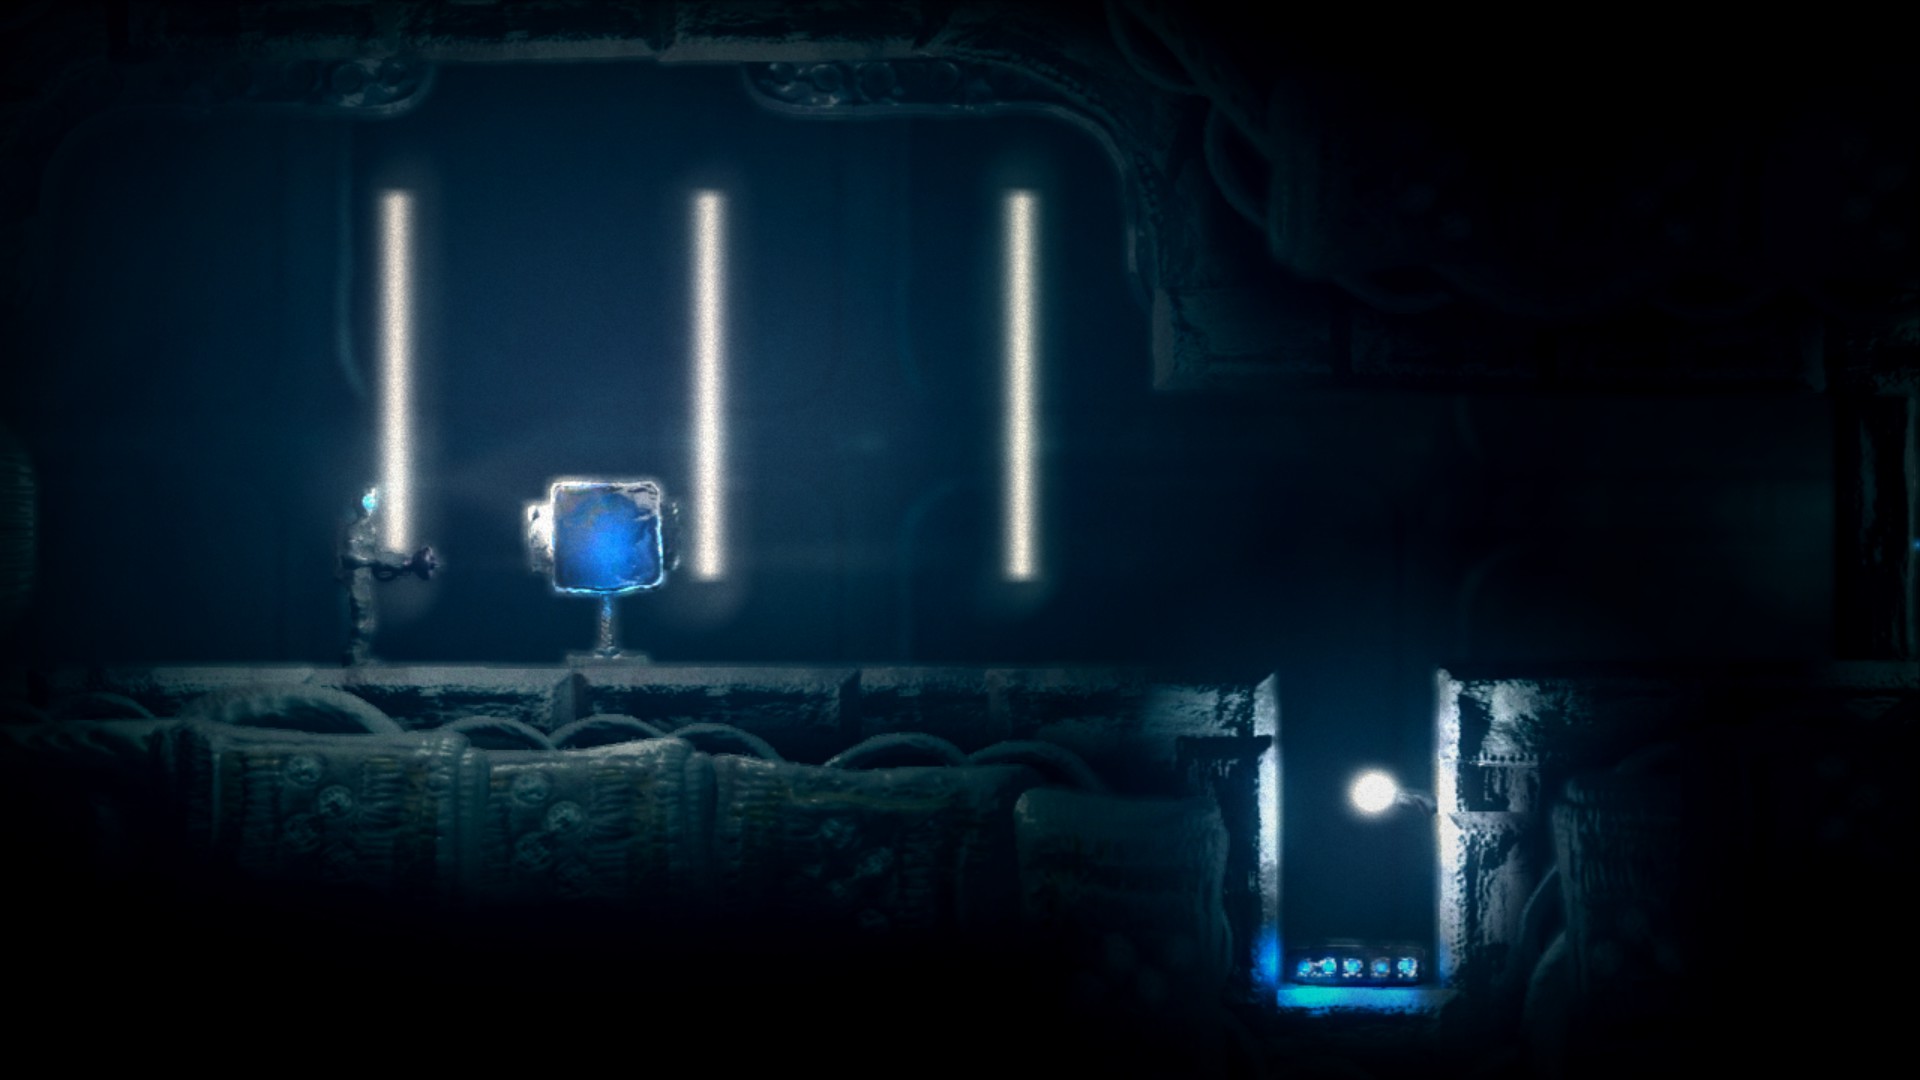
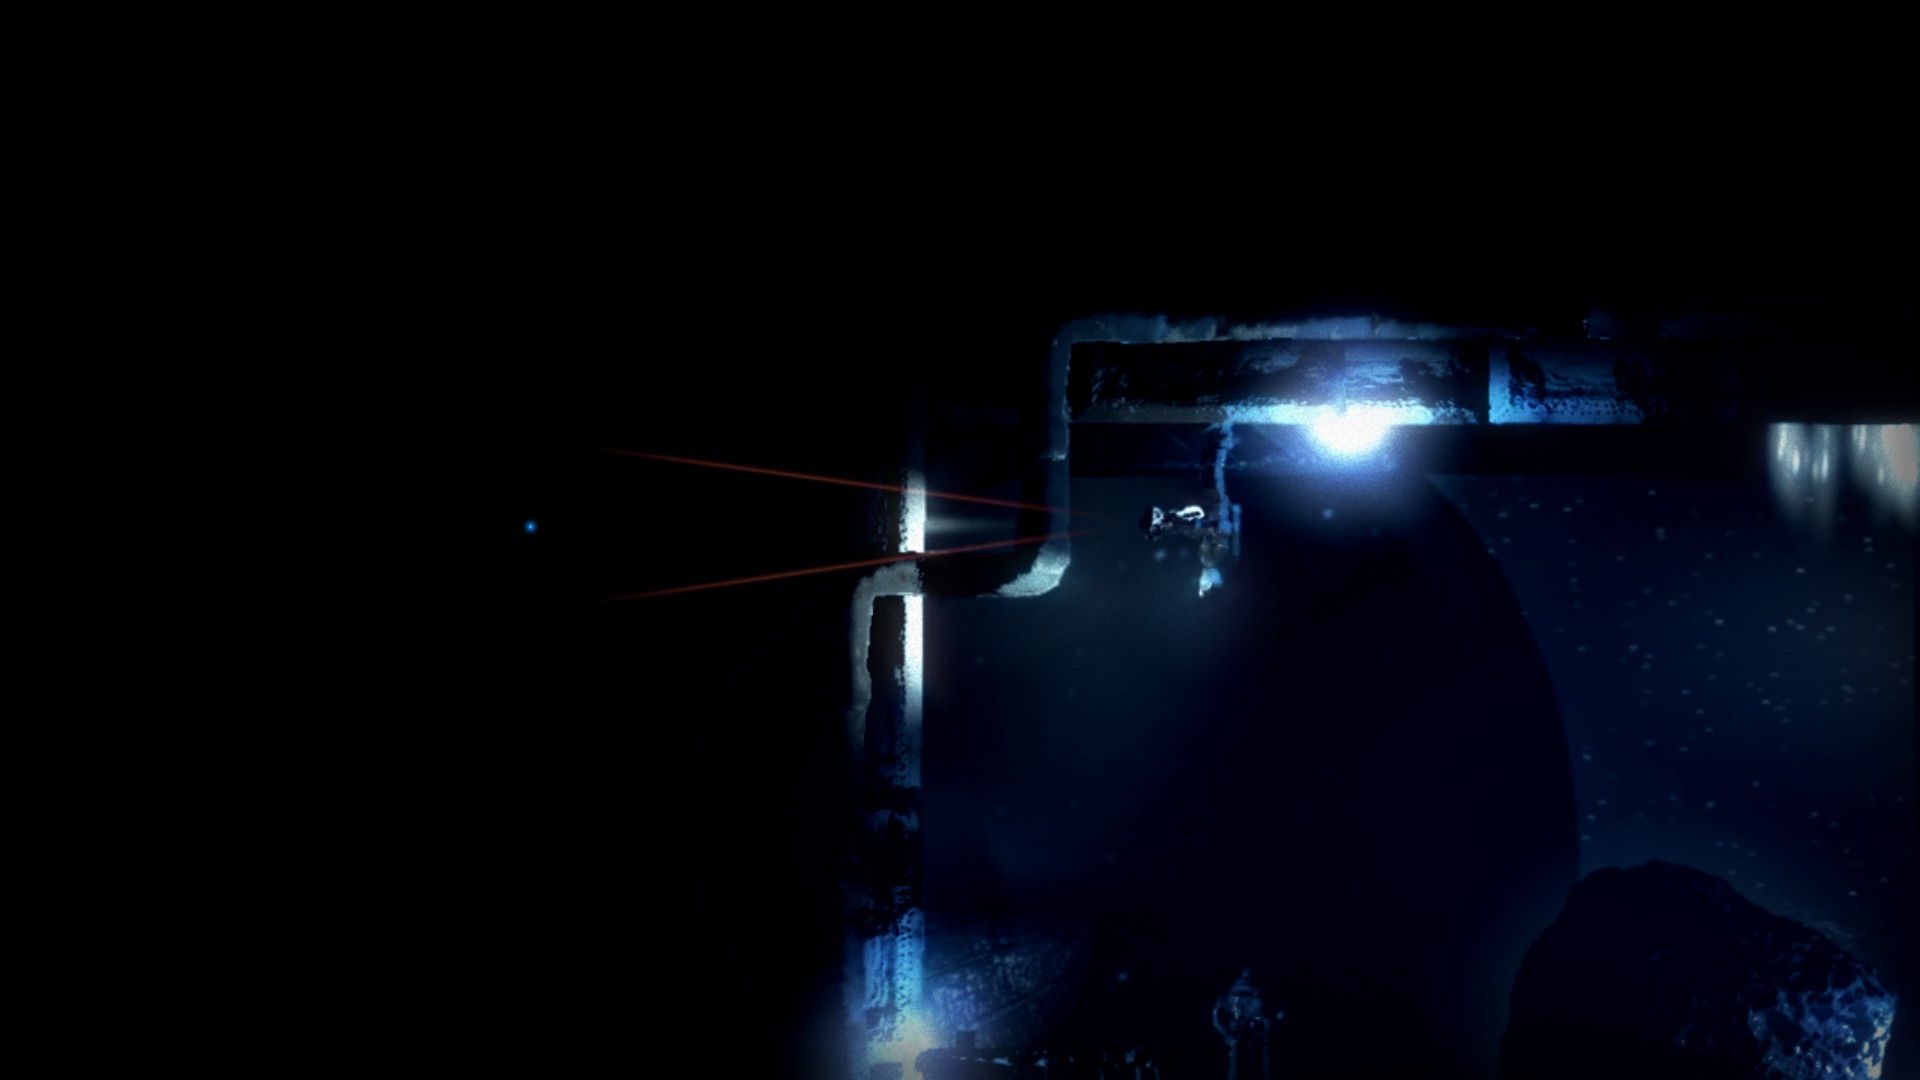
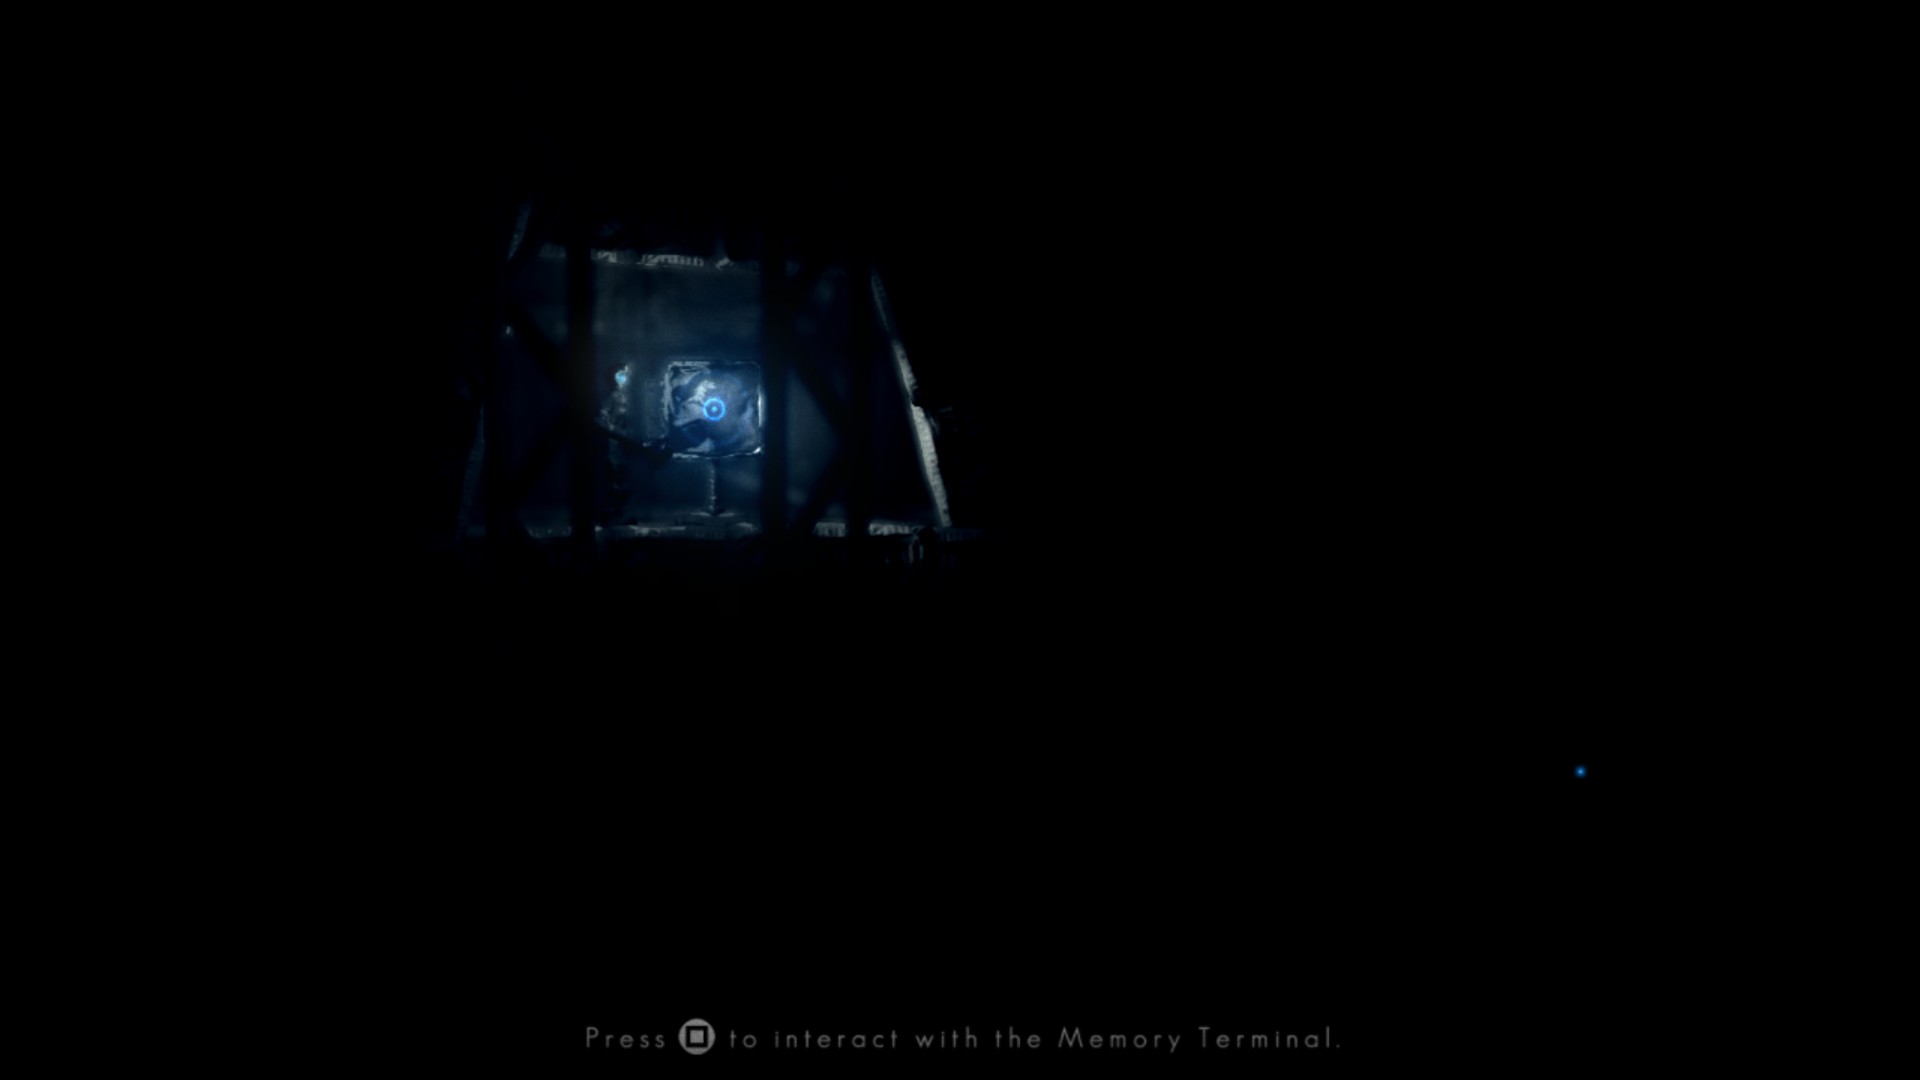
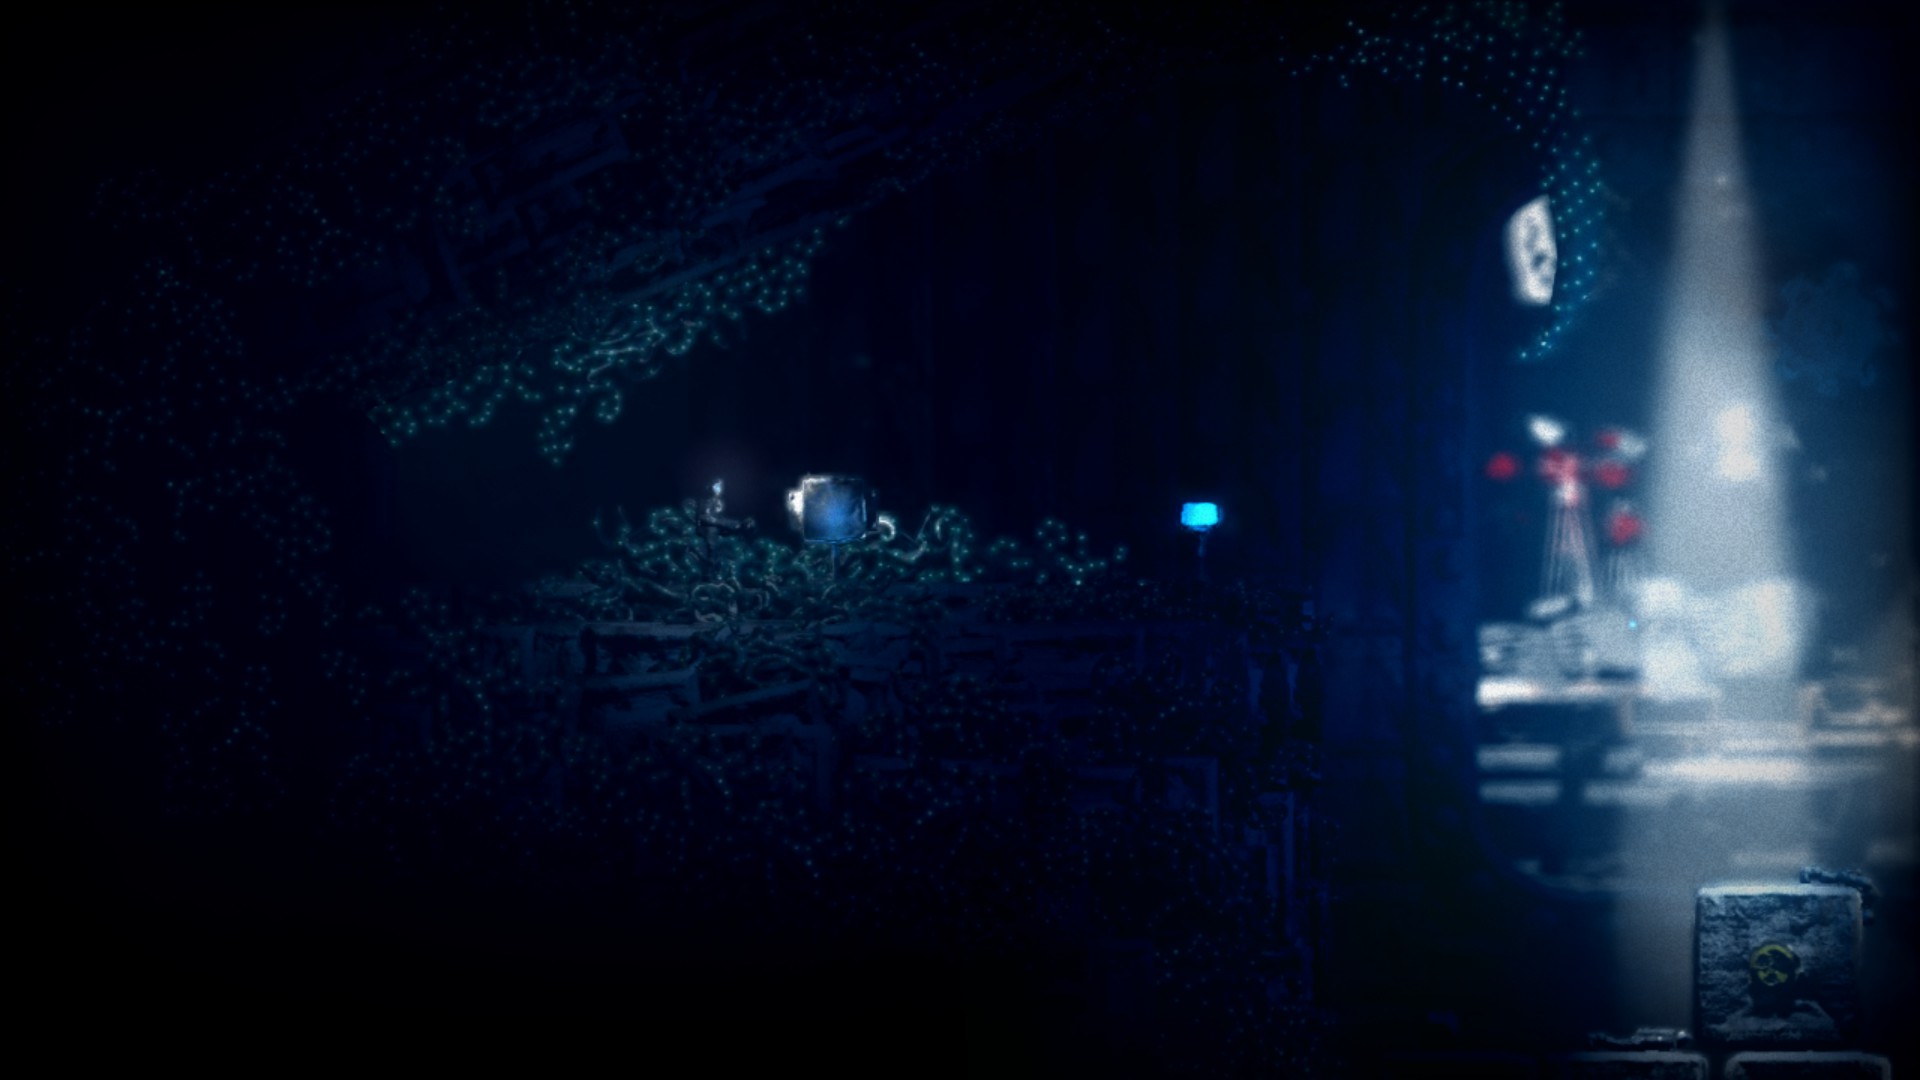
Unlike the Watcher Entries, Logs are unlocked by interacting with some of the terminals you discover as you journey through Theseus and beyond:

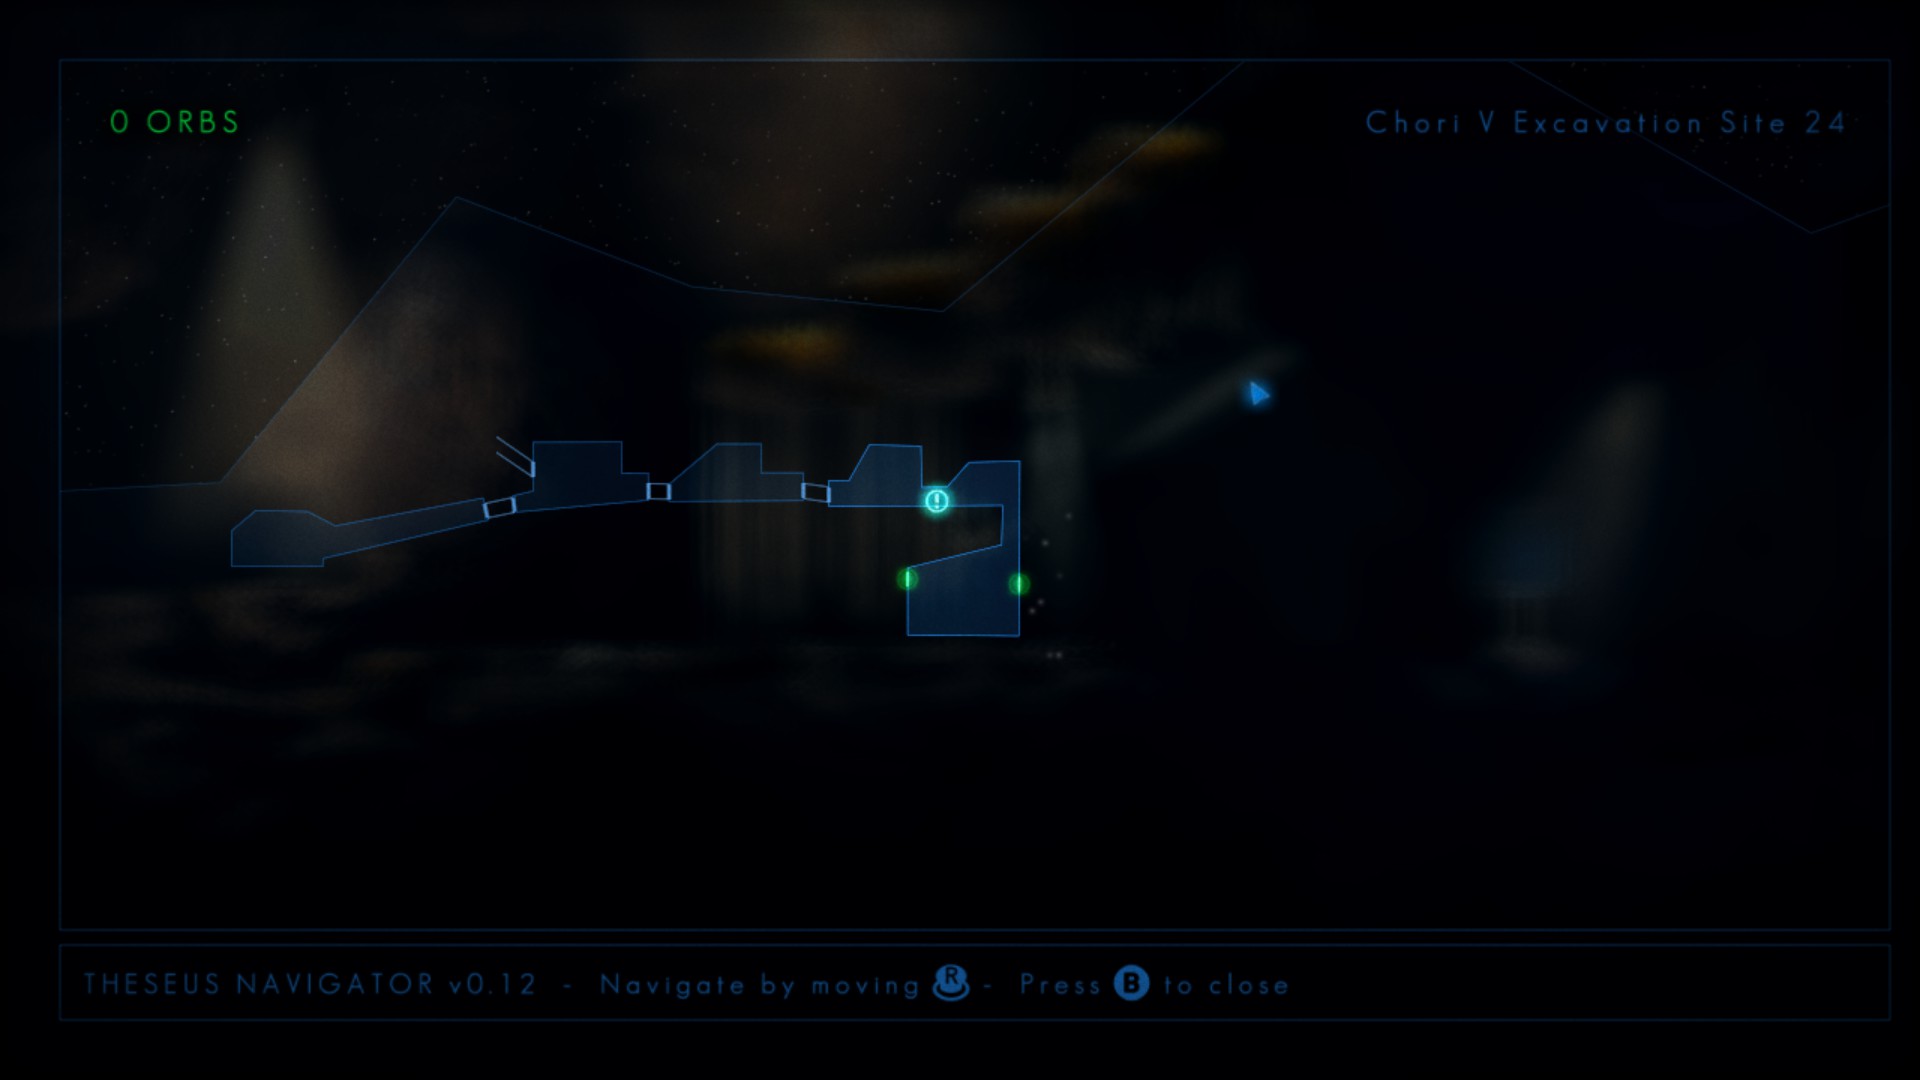
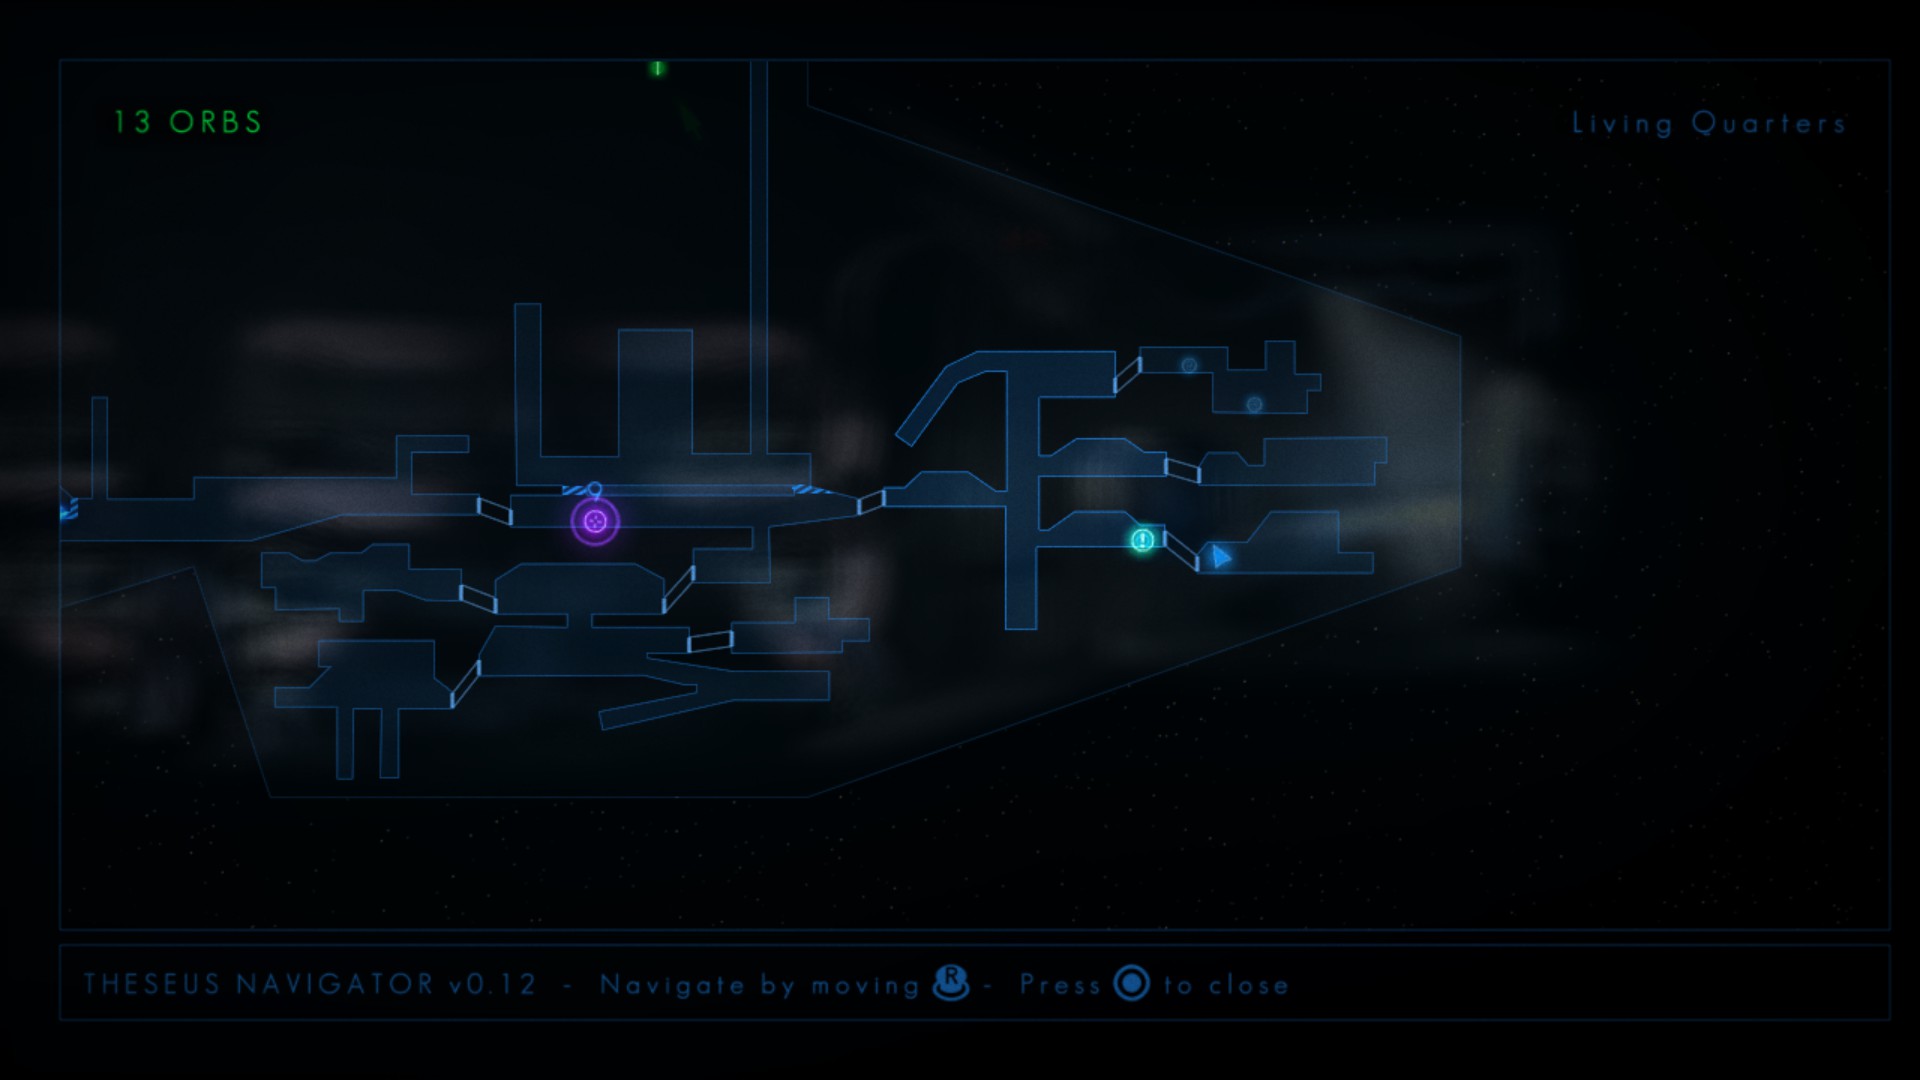
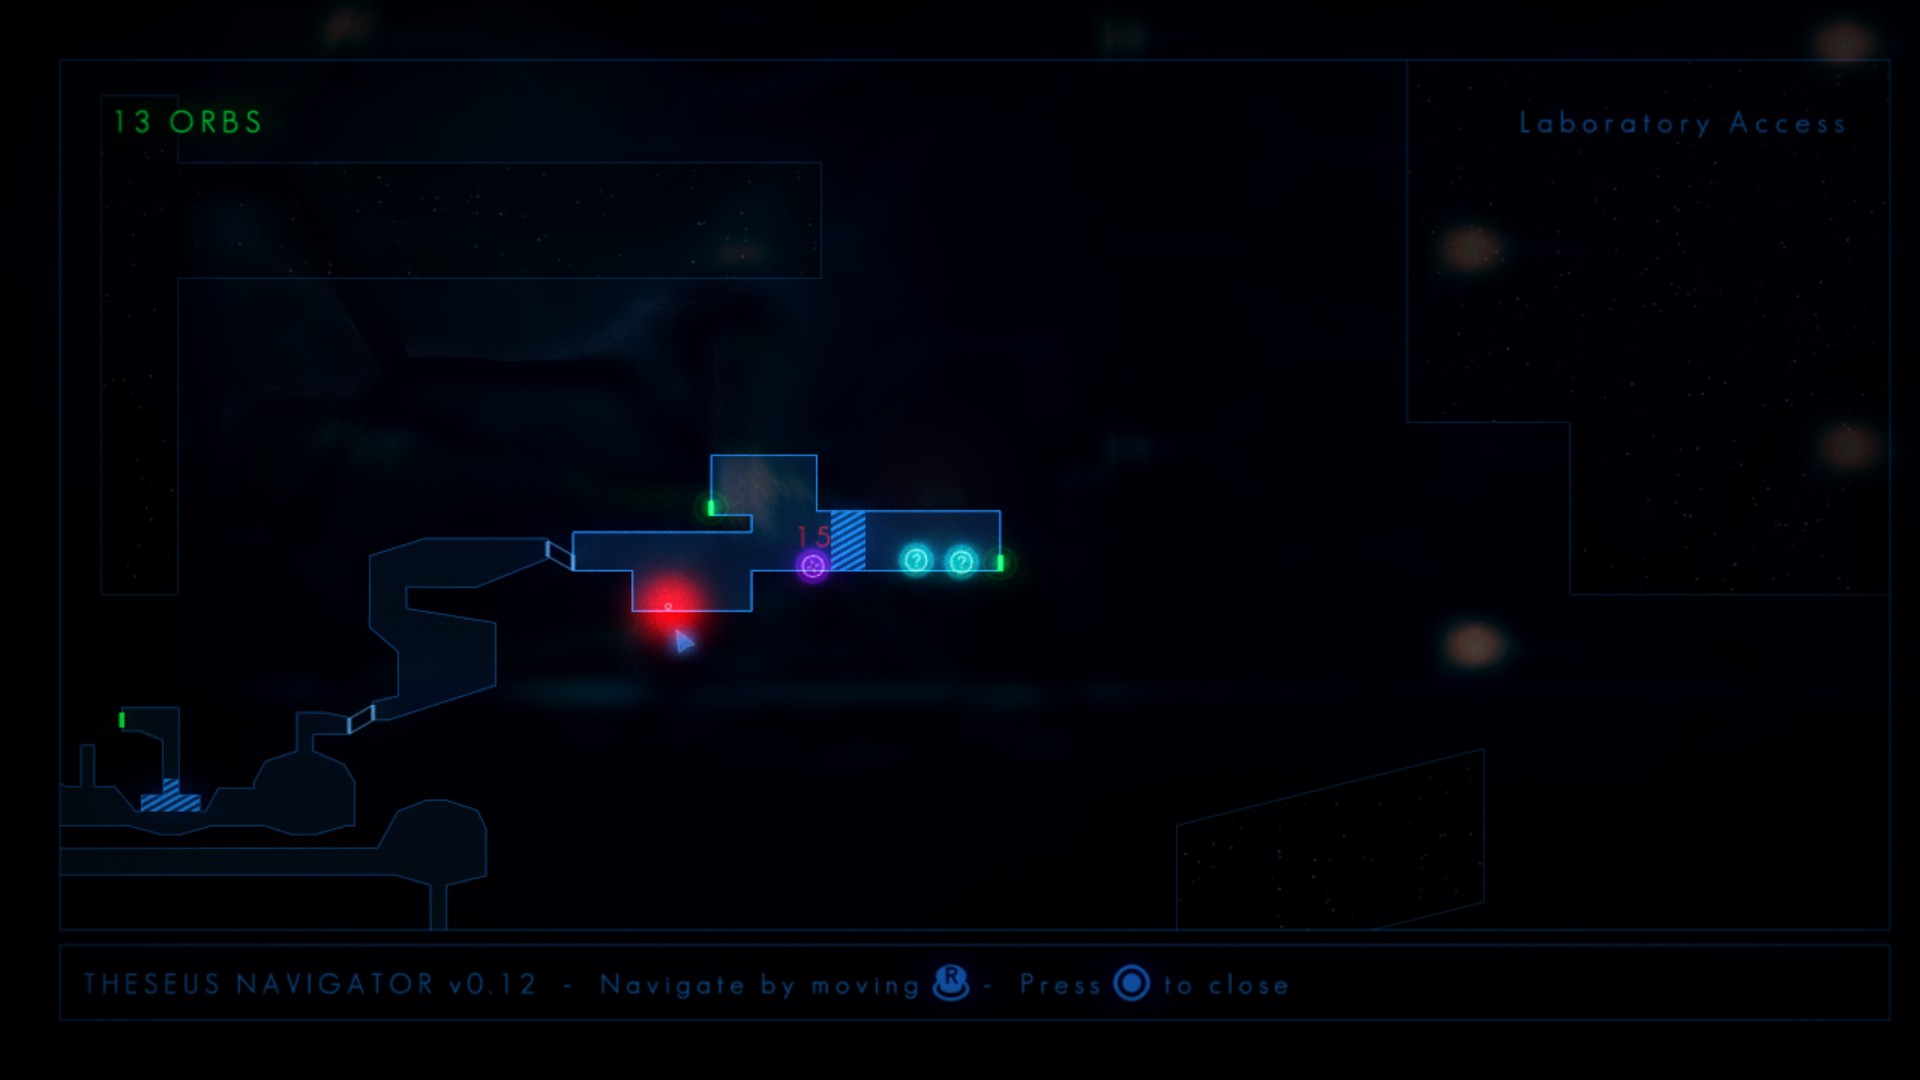
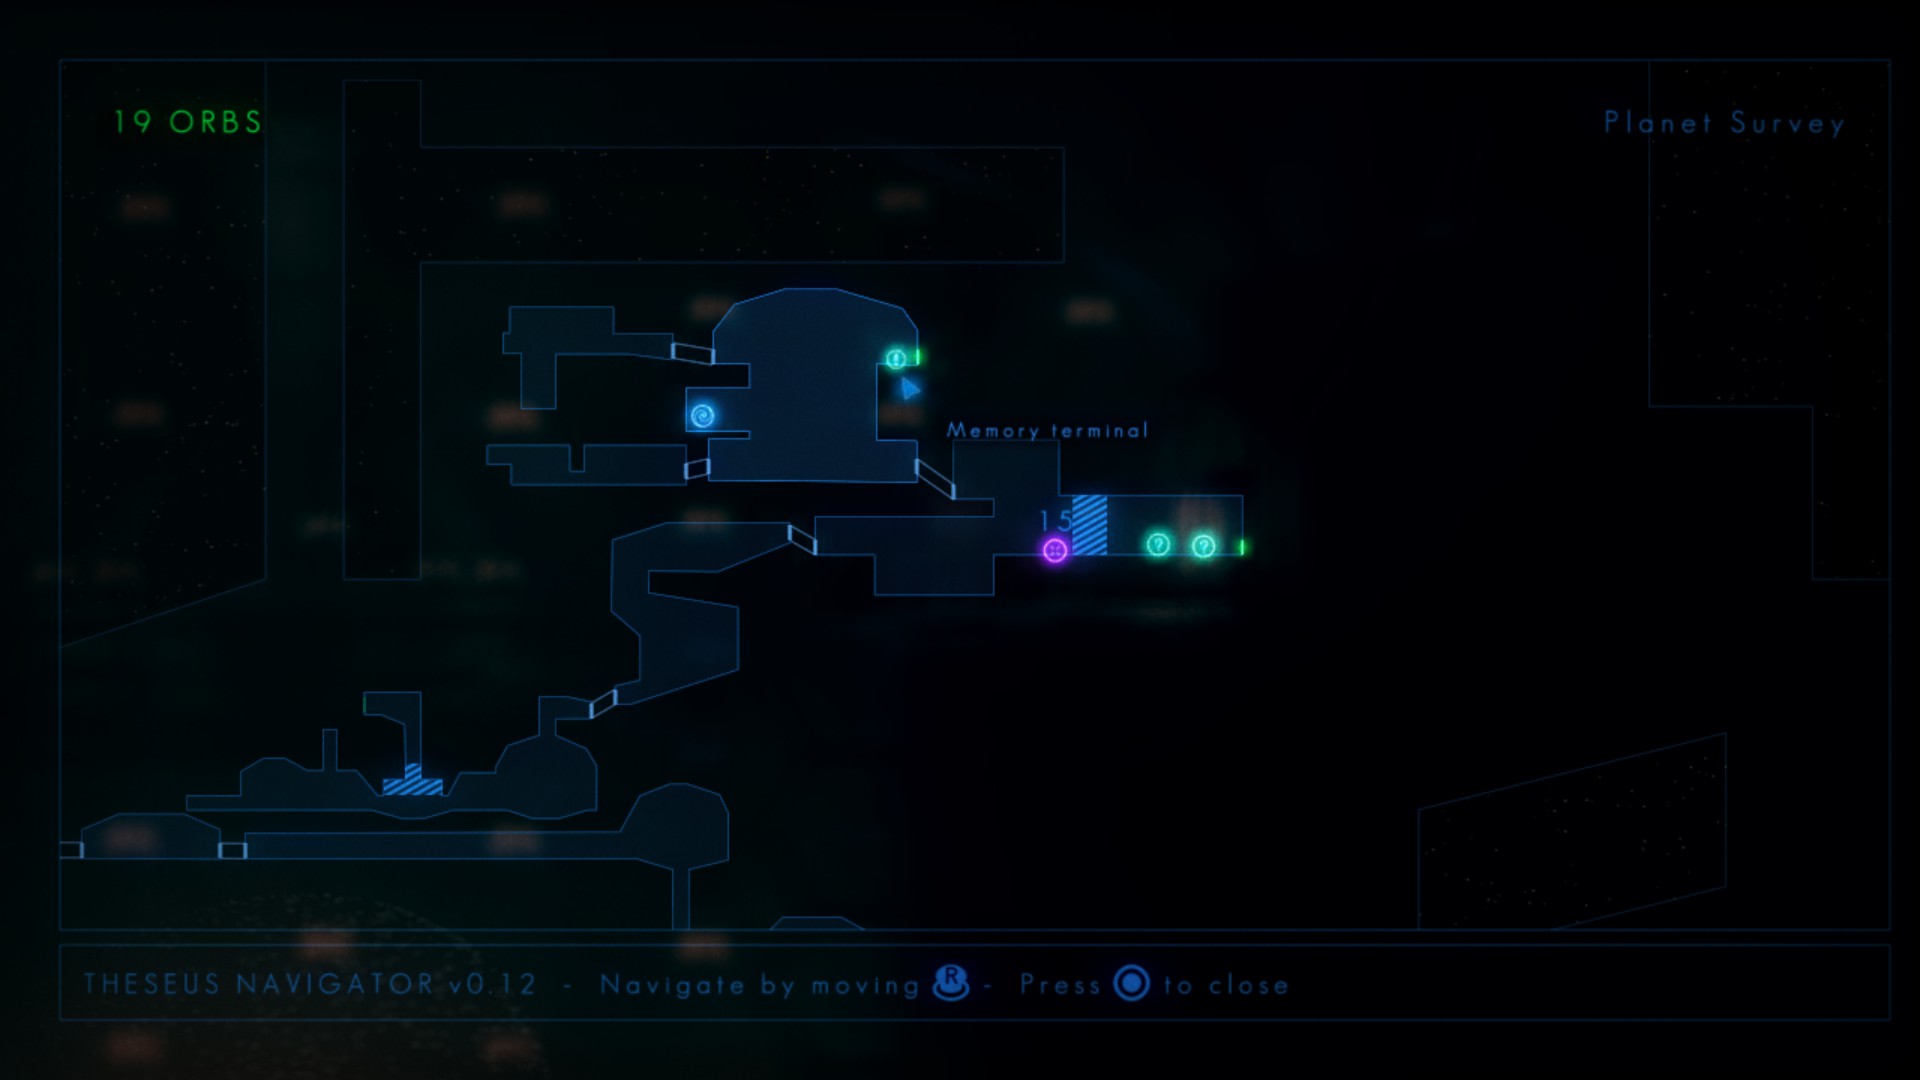
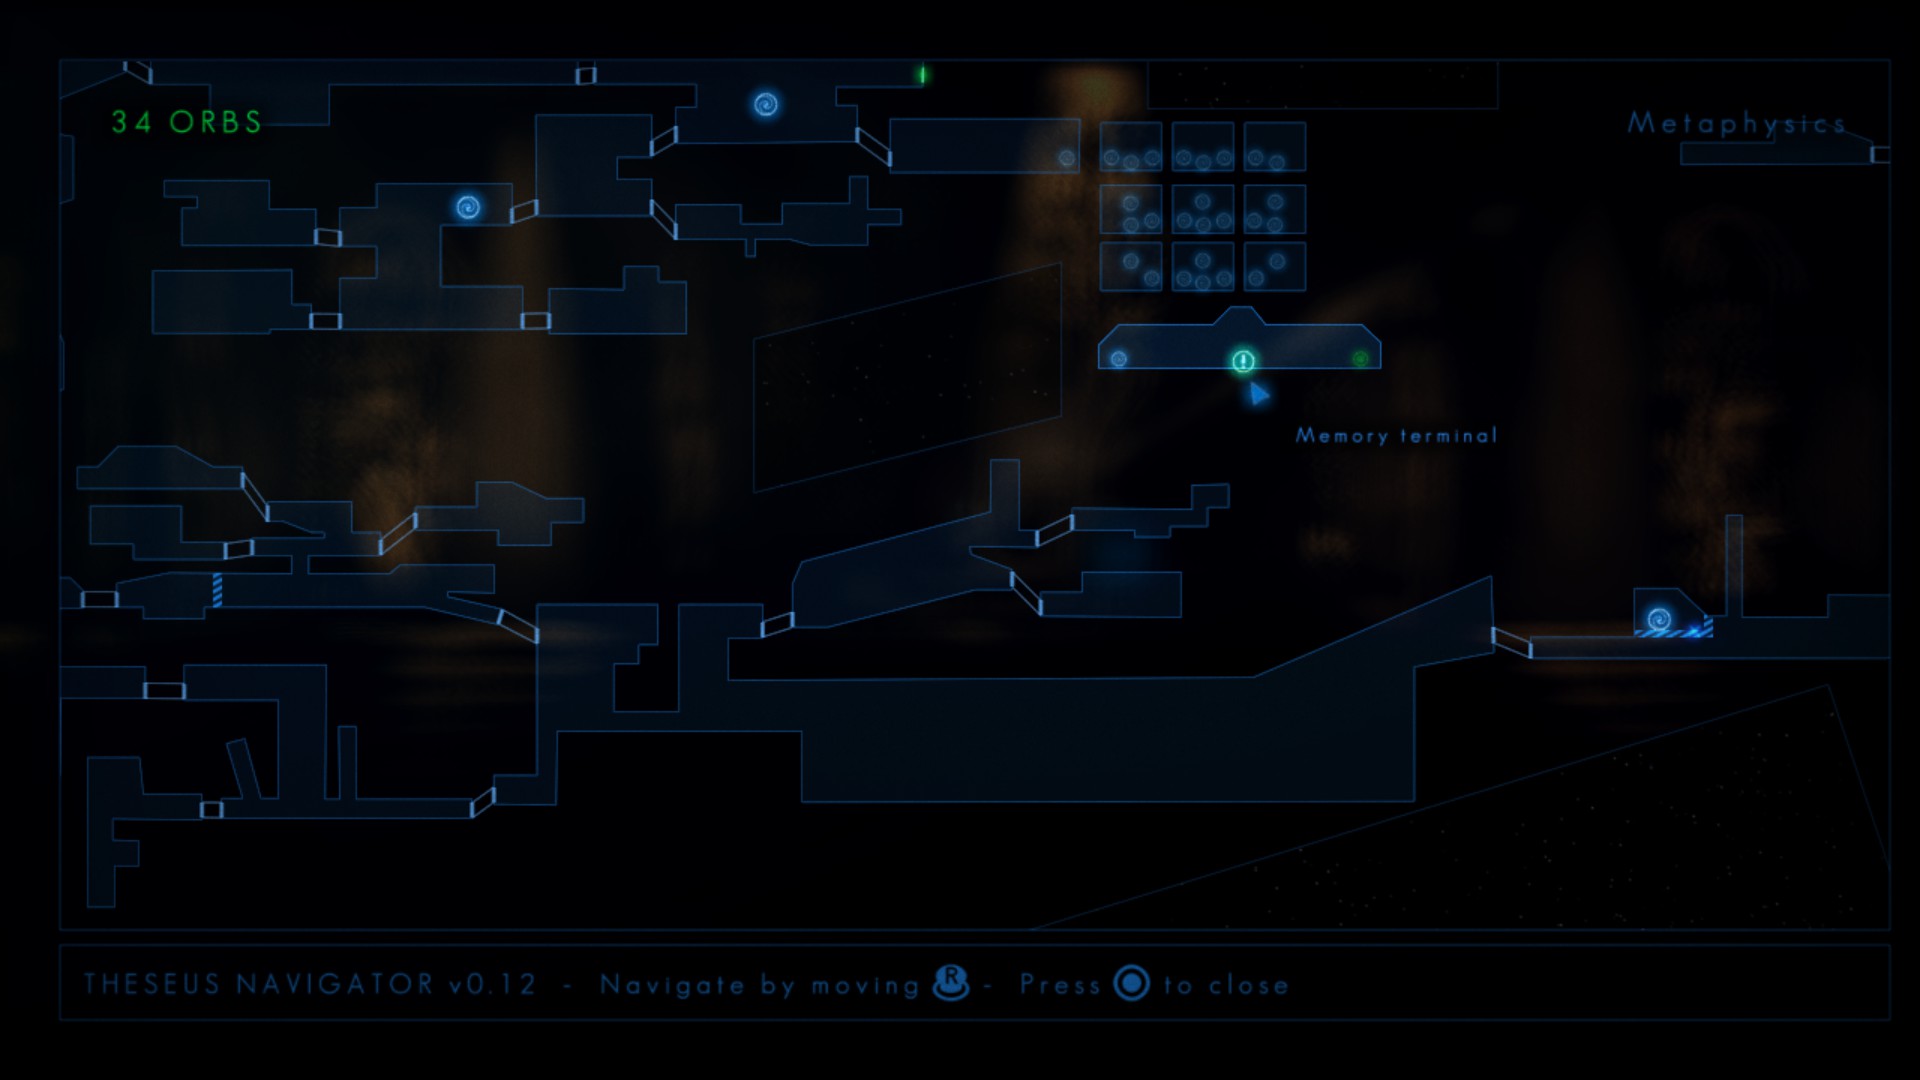
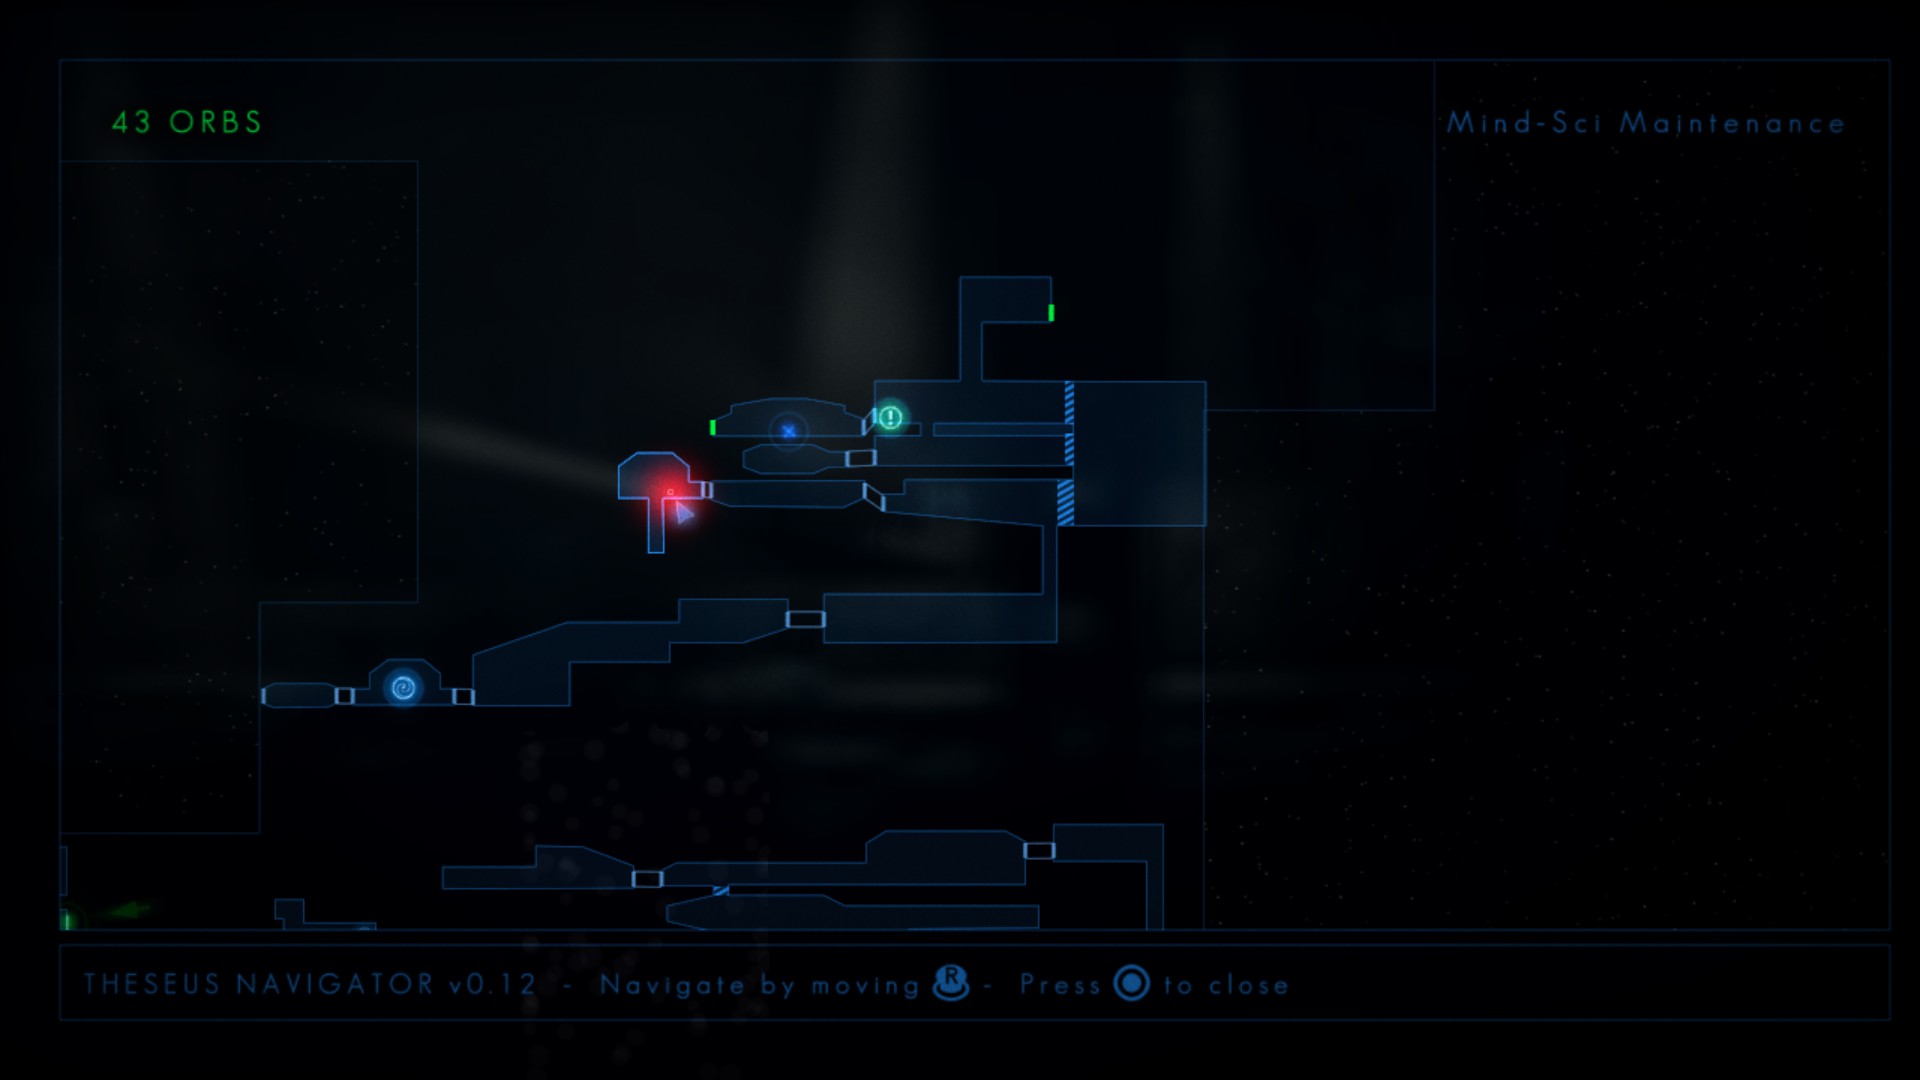
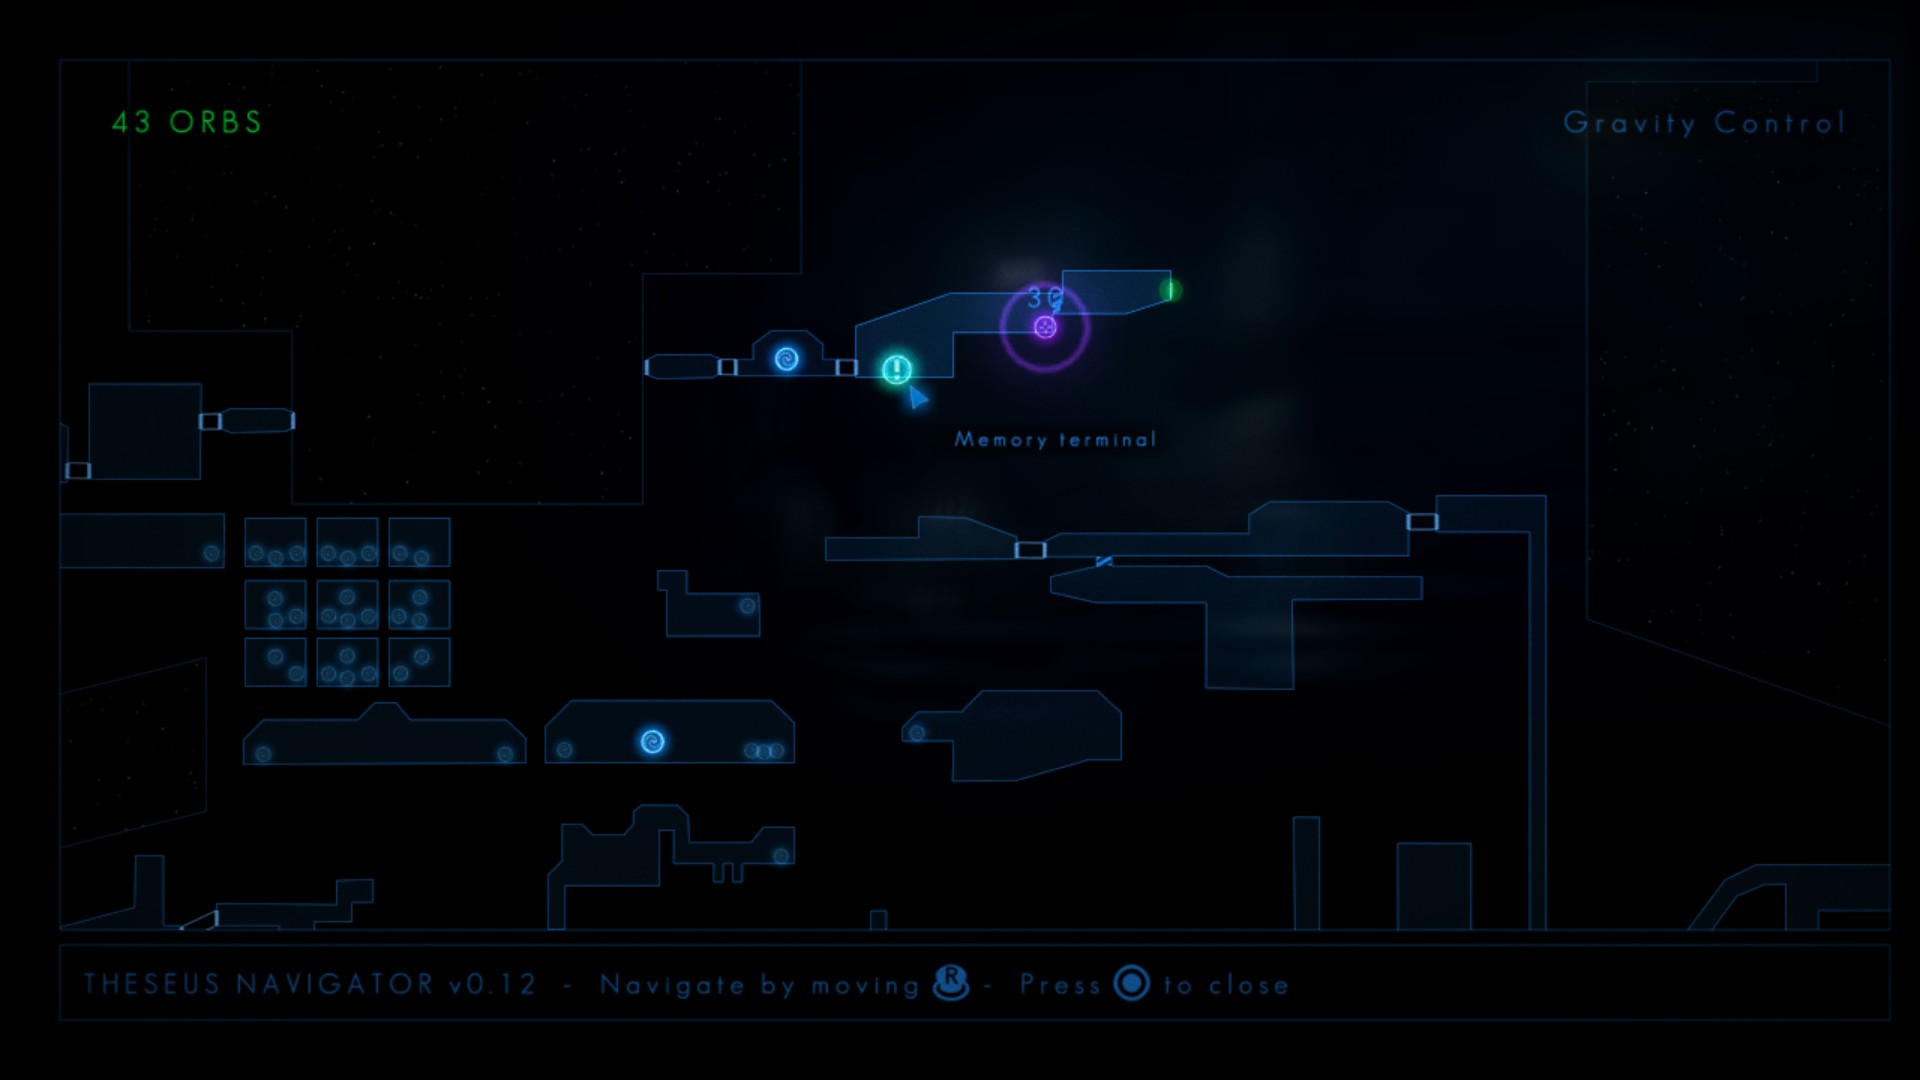
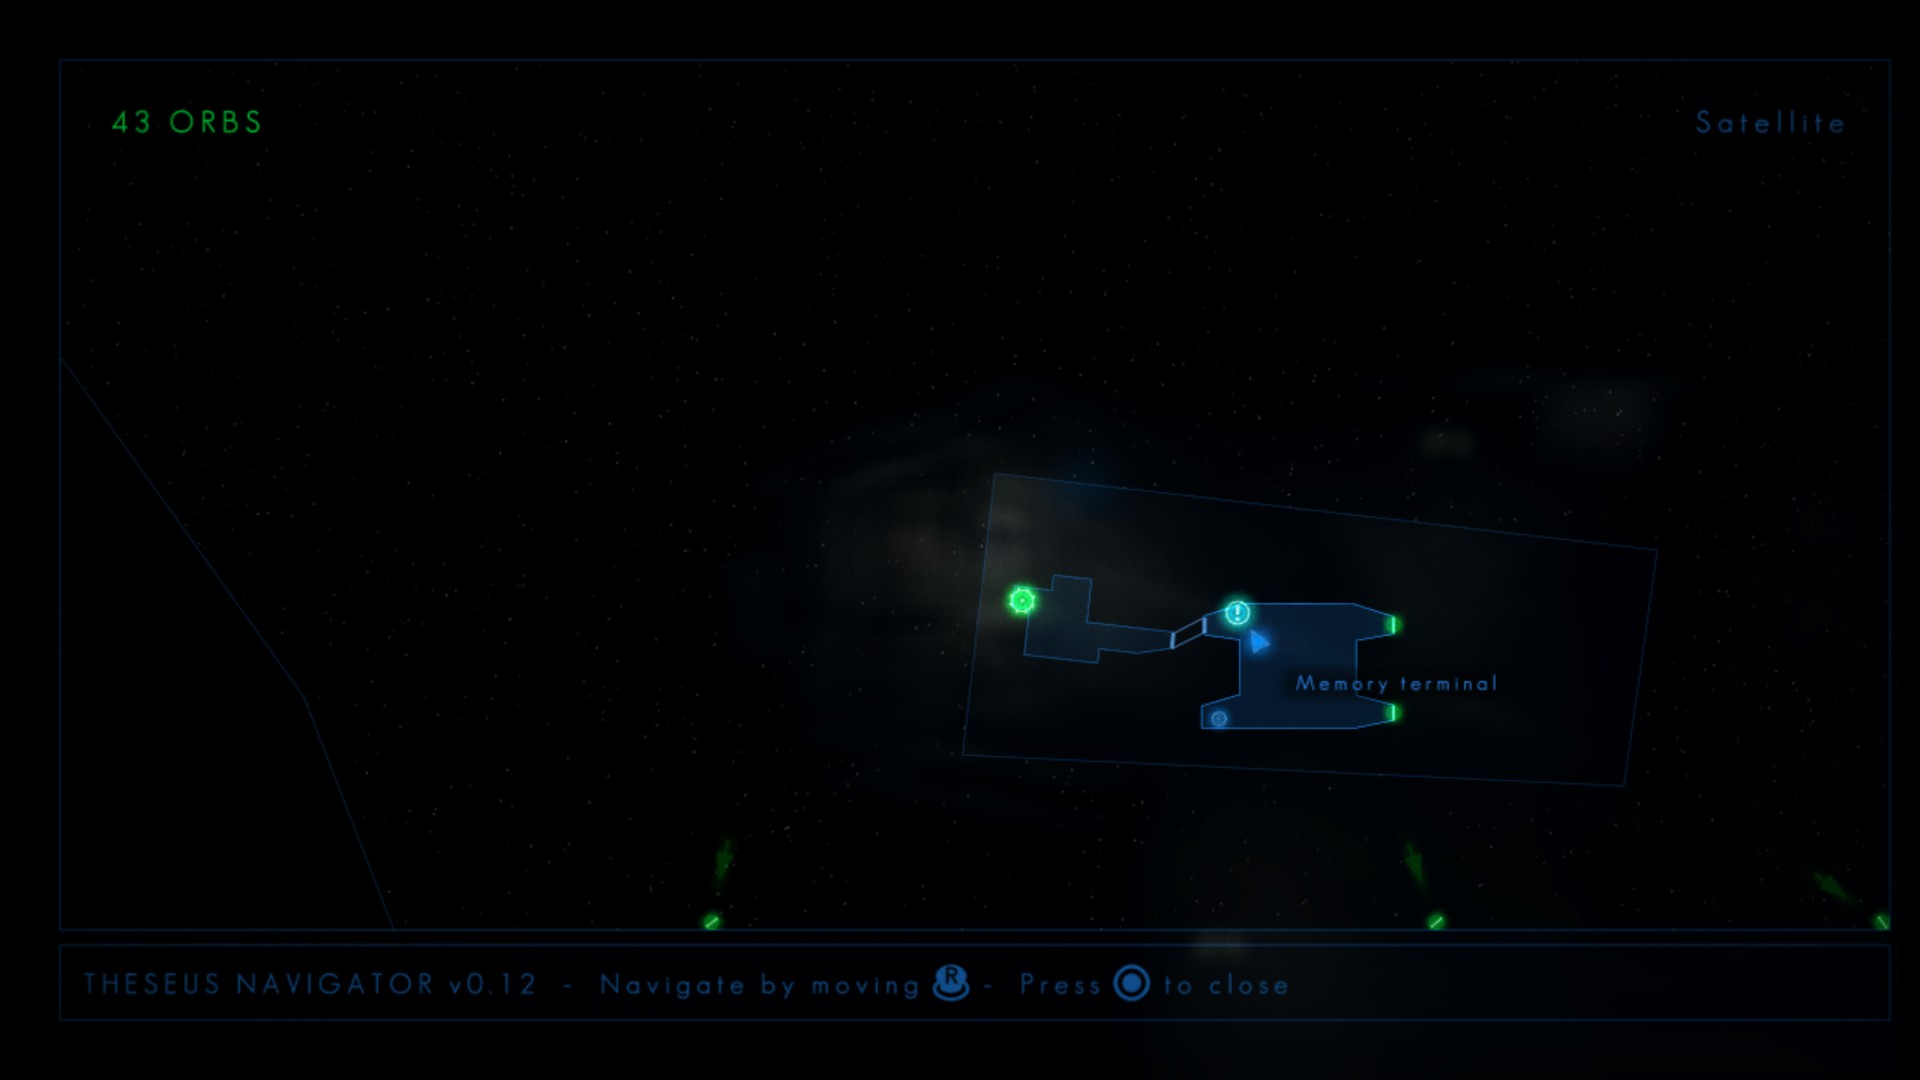
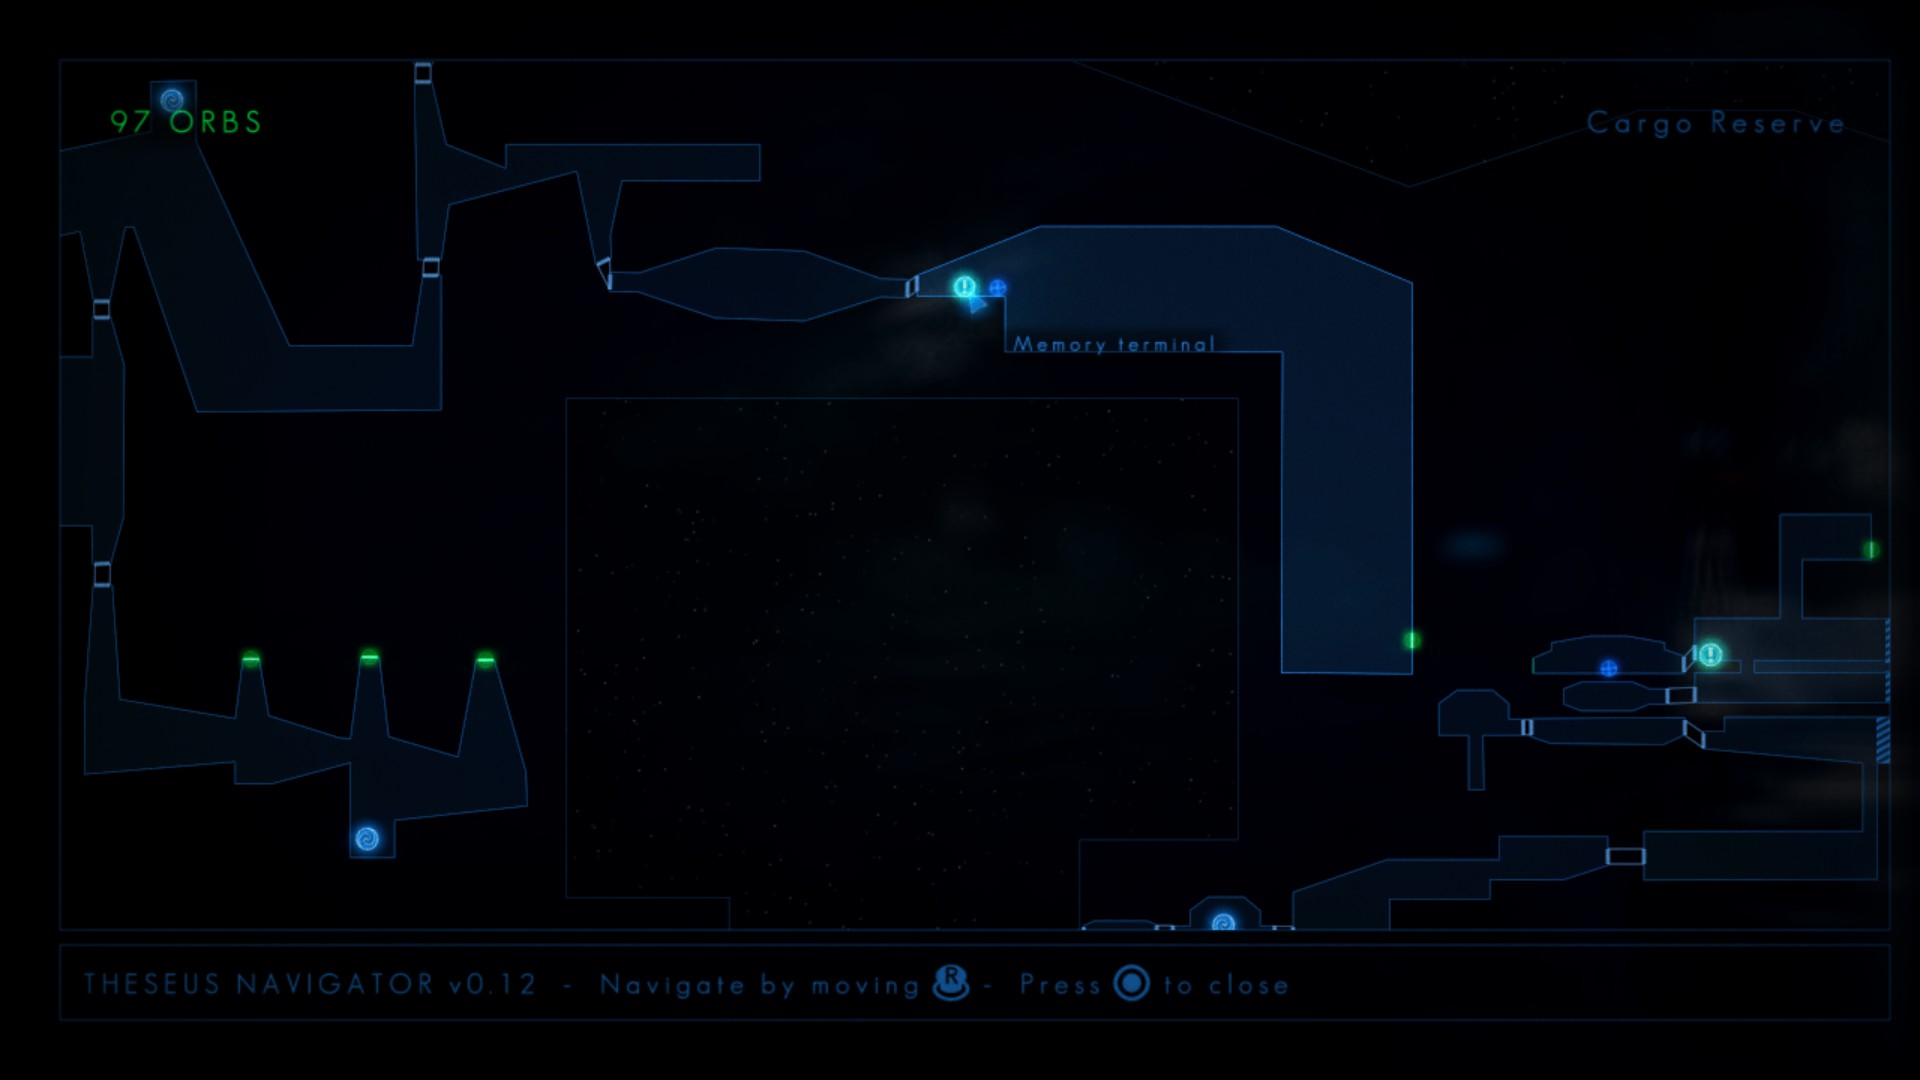
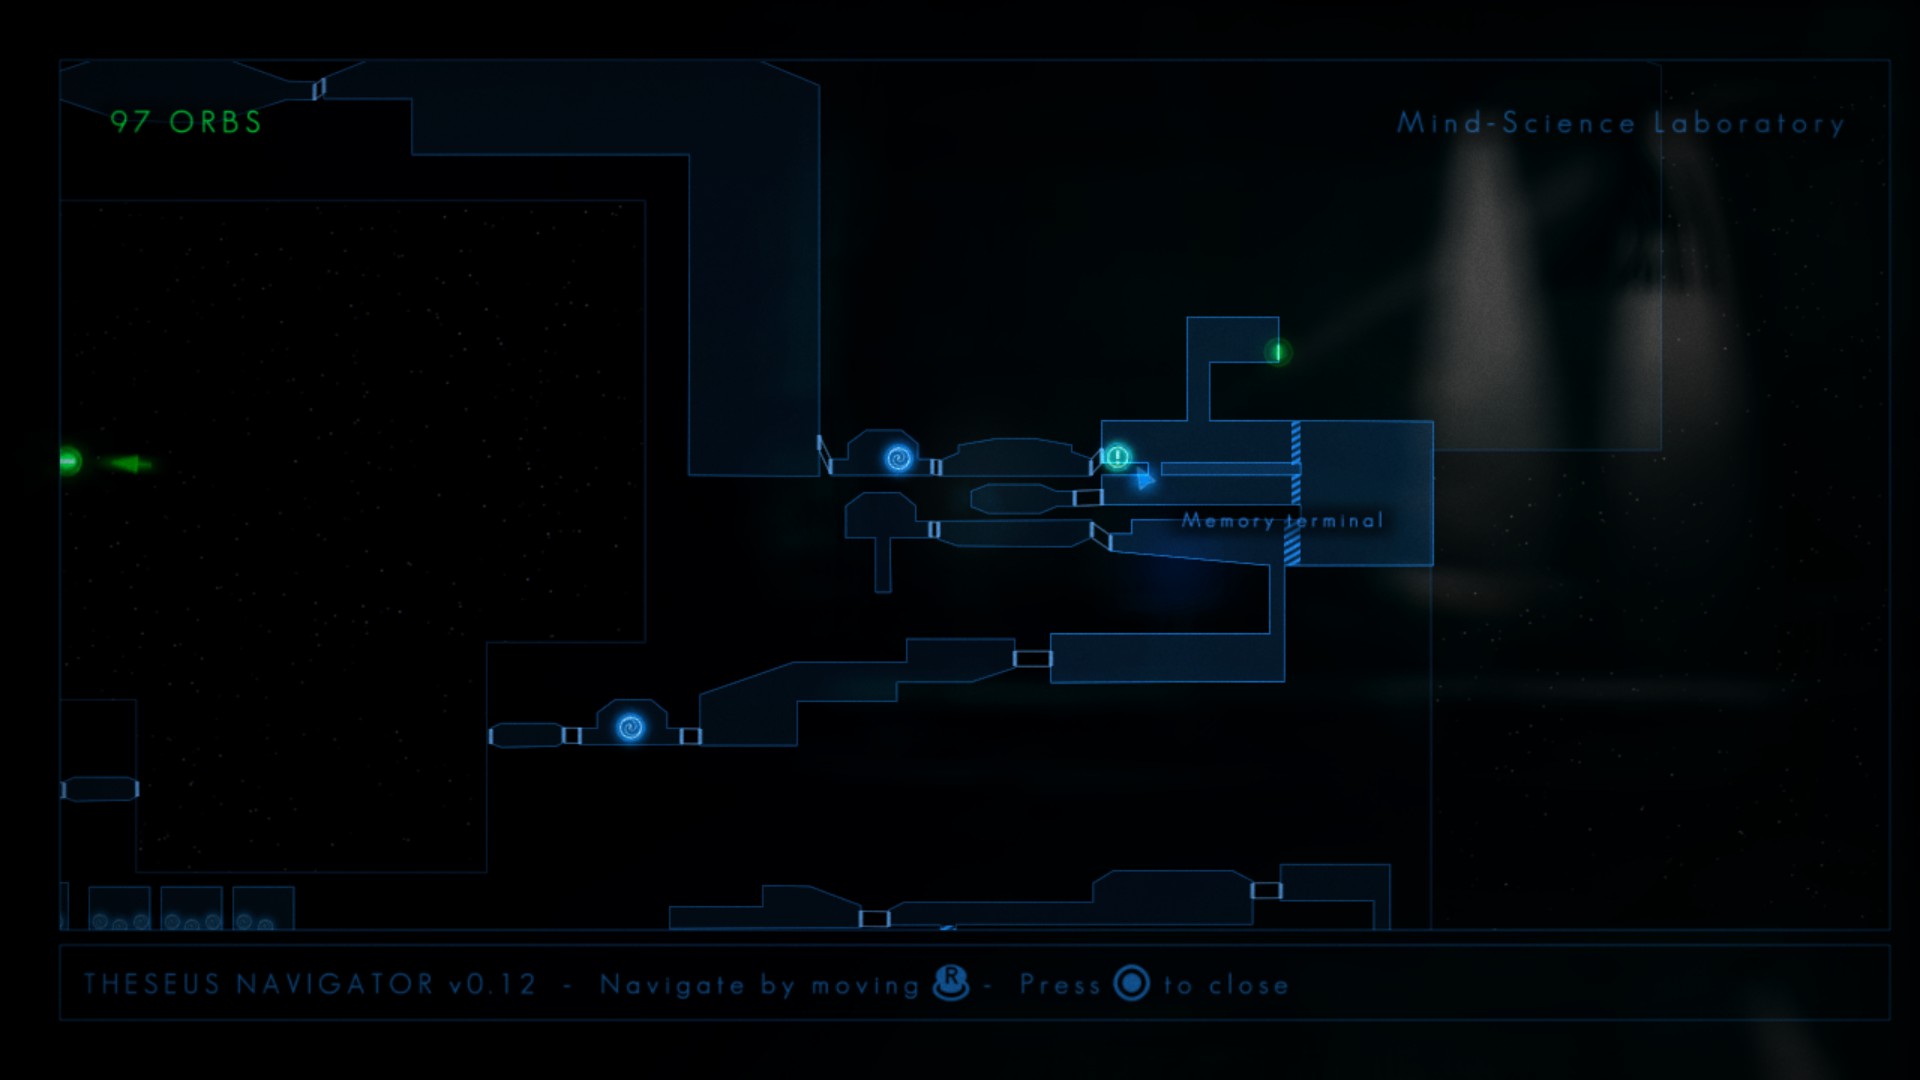
These terminals are not hidden and are marked by a green exclamation icon on your map:

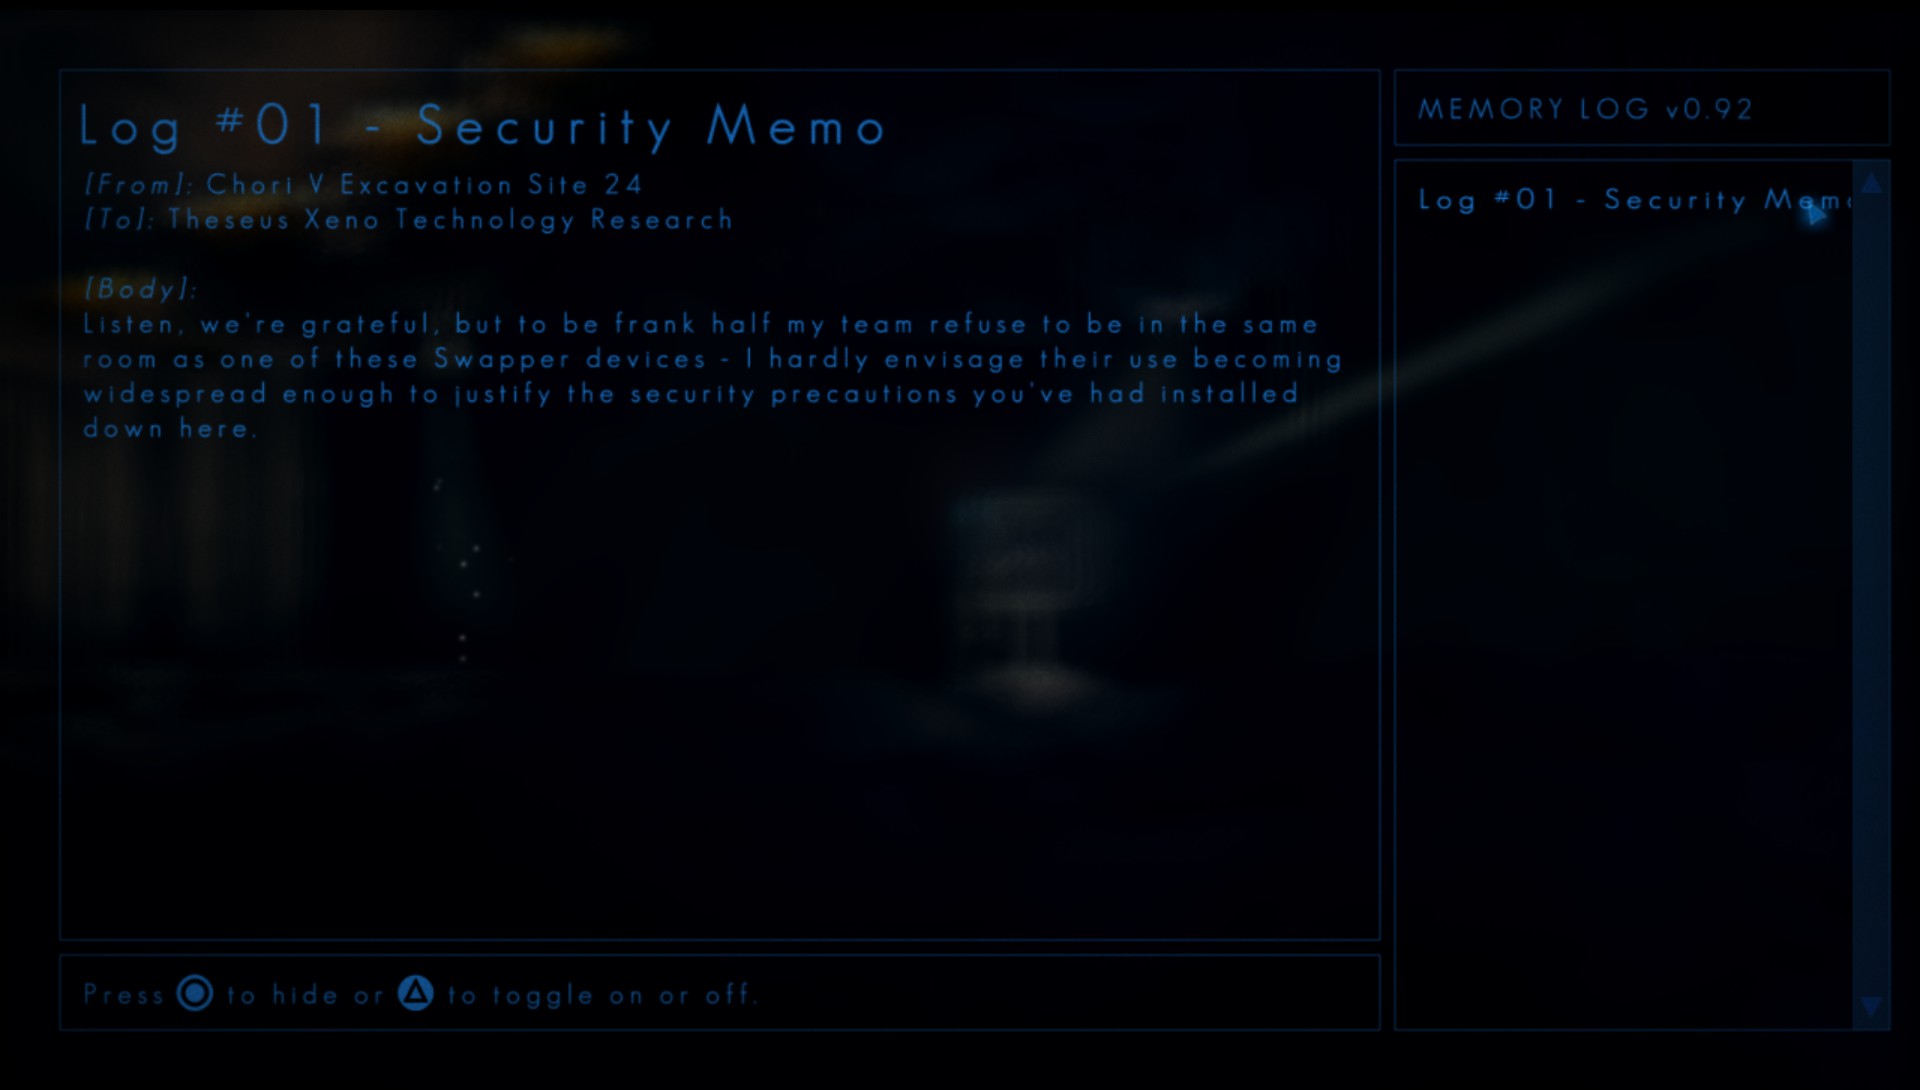
If you interact with a memory terminal, its respective Log will be displayed, and you will unlock that entry in your Memory Log in the format Log #N (where N is a number between 01-23):
Messages from Home (10 Total)
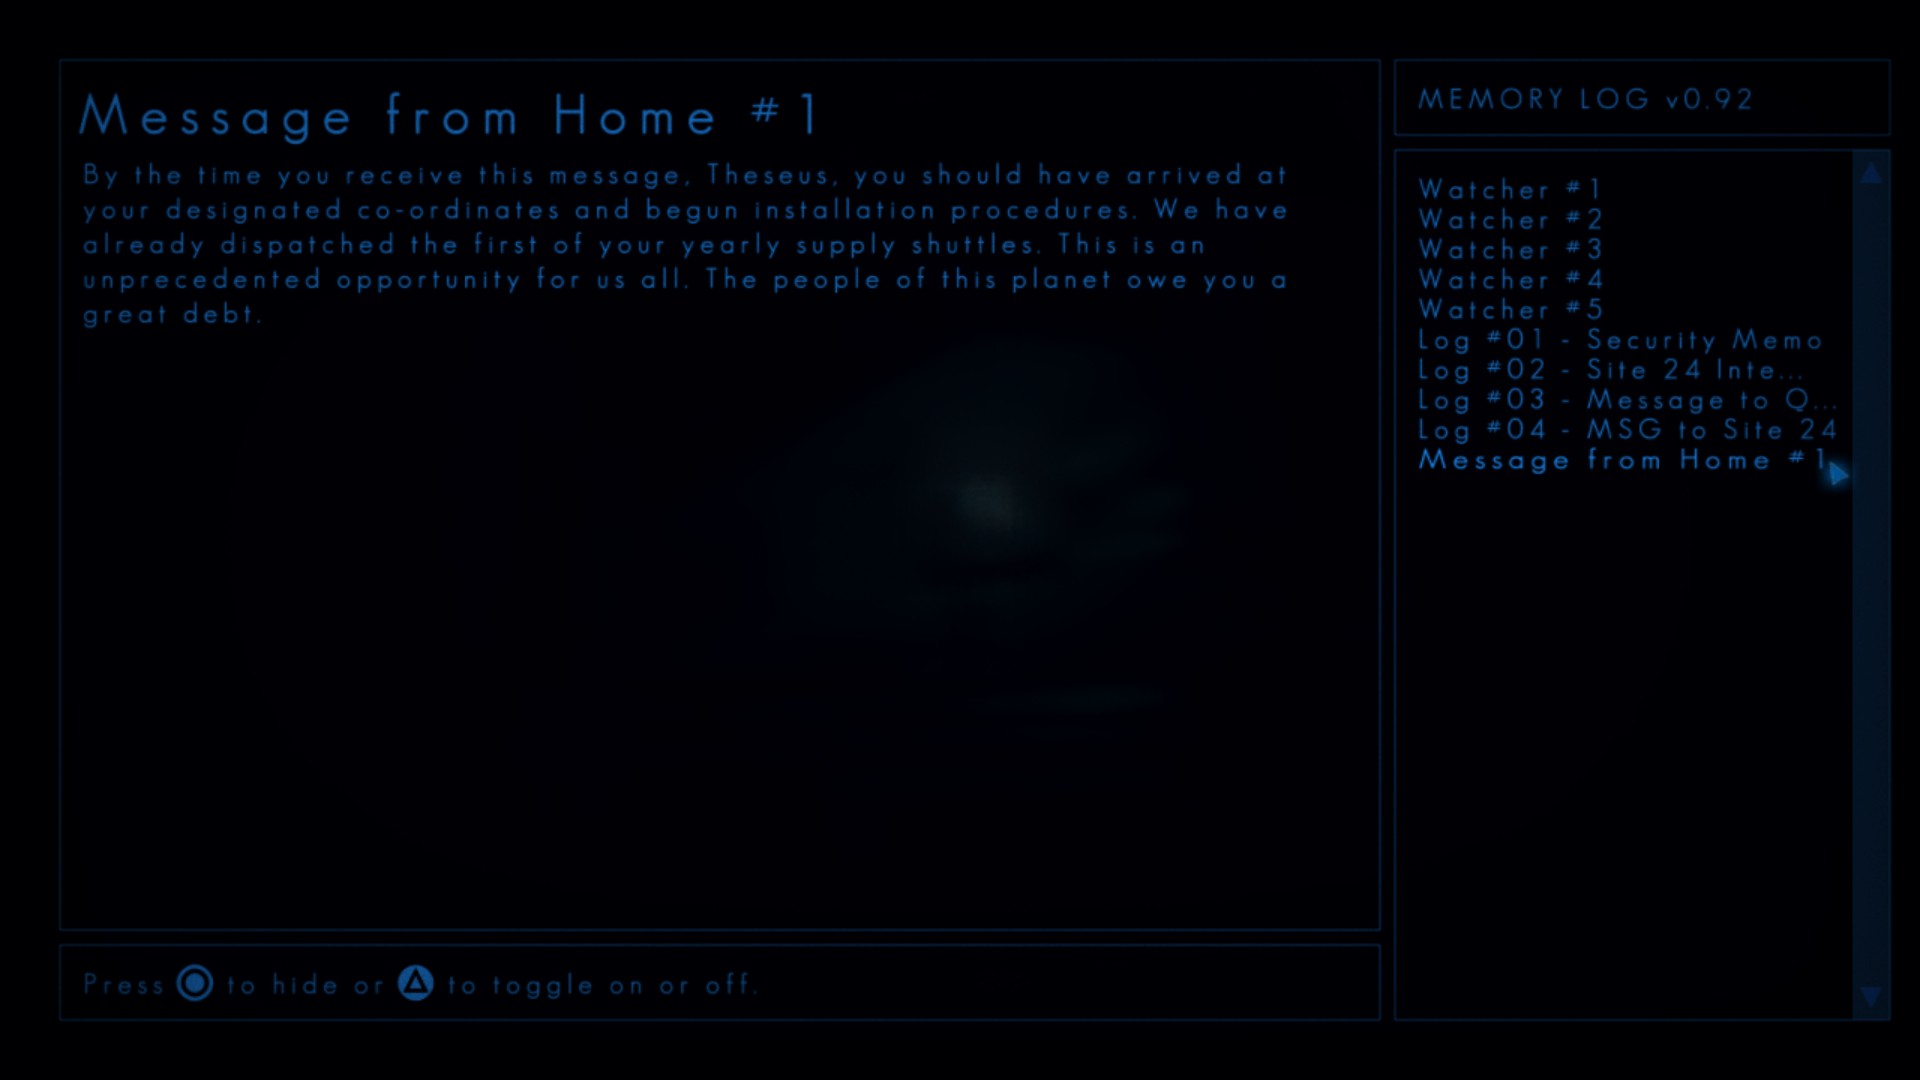
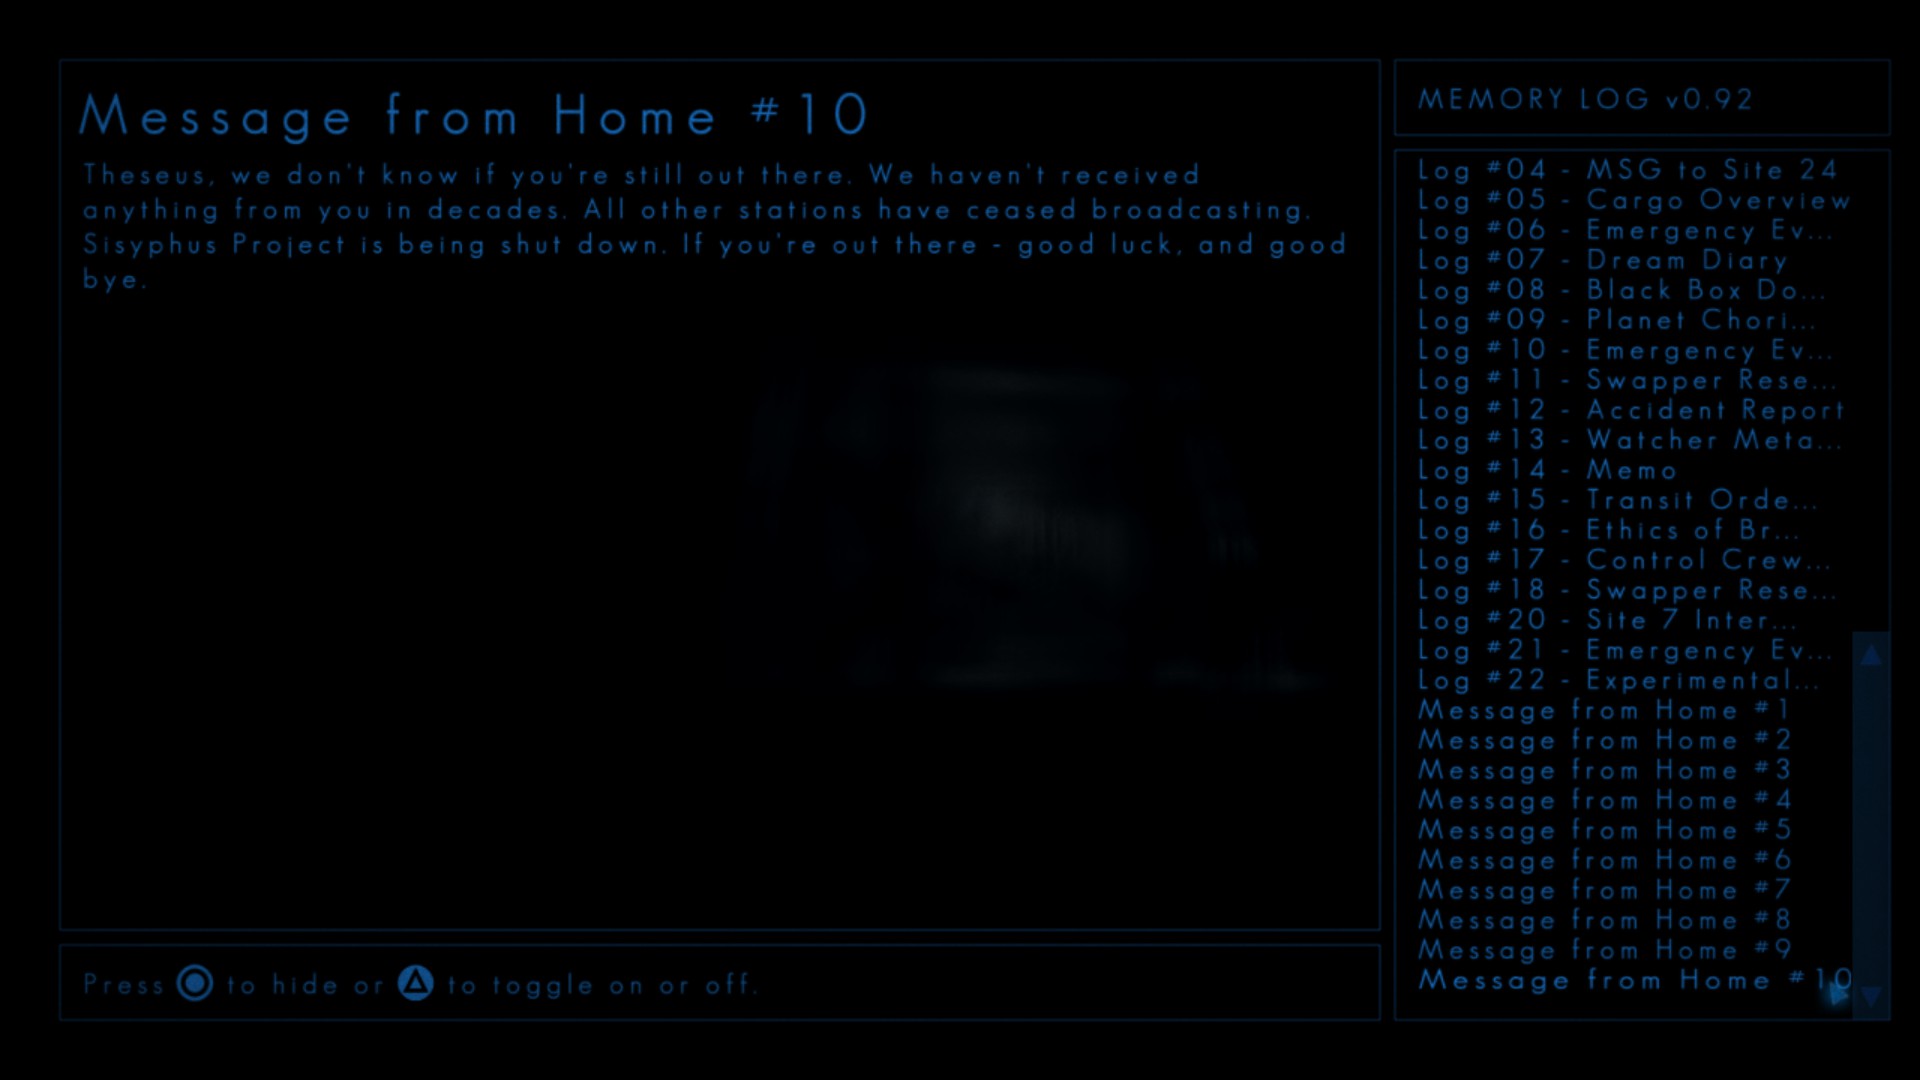
Messages from Home are the third and final category of the Scavenger’s Memory Log:
Because these topics have already been extensively covered in various guides, this walkthrough will not delve into exhaustive details on how to acquire them. Nonetheless, to ensure comprehensive coverage, they are still incorporated into this guide.
These entries can be acquired through terminals similar to those used for unlocking Logs. However, it’s important to note that they are exceptionally concealed and do not display an icon on the map.
Securing every message is crucial for achieving a 100% completion rate for your achievements. For more in-depth information on obtaining these messages, please refer to one of the numerous achievement guides available on Steam.
MISSABLE WARNING #1
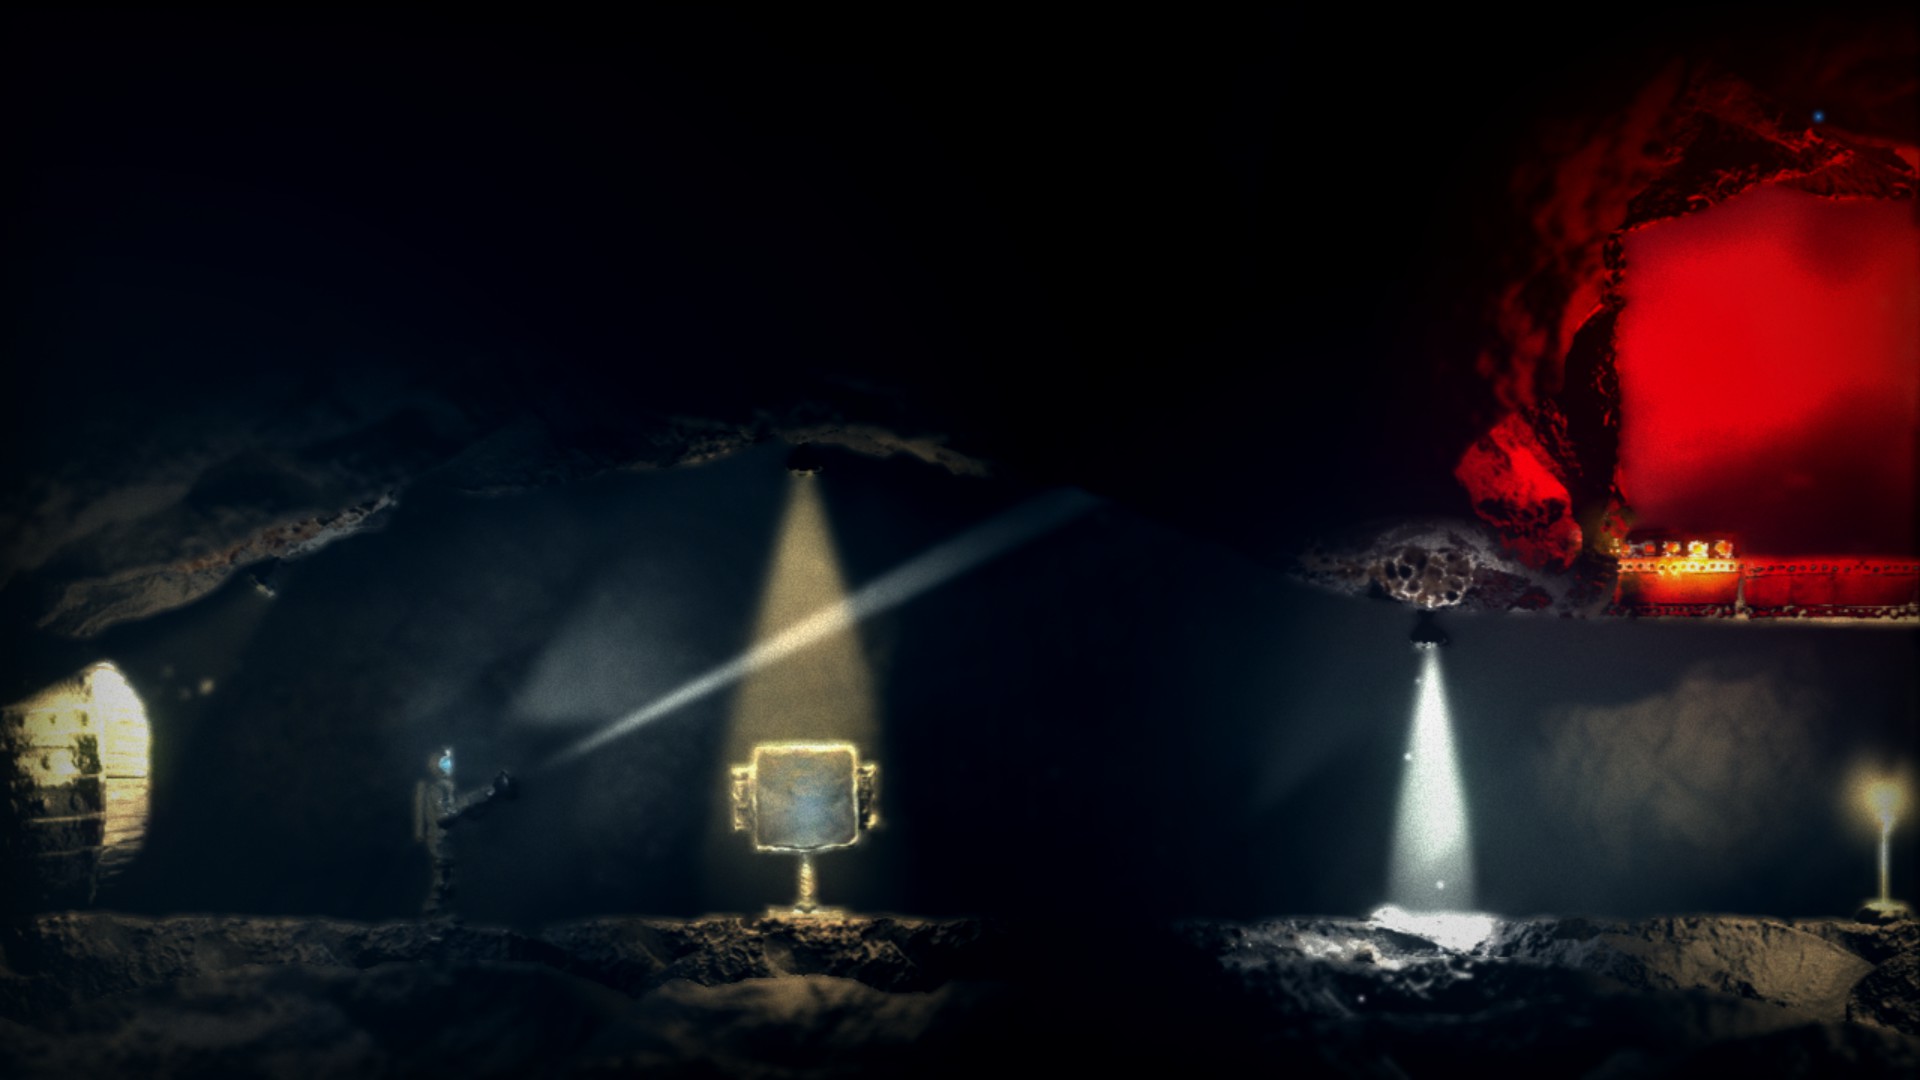
The initial location you explore is Chori V Excavation Site 24. Within this area, you’ll encounter the first three Memory Log Entries: Log#01, Log#02, and Log#03. Upon obtaining the first two entries, you’ll encounter an inactive teleportation gate.

Nearby is an orb that can be used to activate the teleporter (Log #03 can also be found here). Once you’ve powered and jumped through it, the gate on the other side will malfunction and become unusable:

As a consequence of this situation, you’ll lose the opportunity to revisit Excavation Site 24 and obtain Logs#01, #02, and #03. Therefore, it’s crucial to access all the memory terminals and collect their corresponding entries before proceeding through the teleportation gate that leads to the Hangar.
Chori V Excavation Site 24
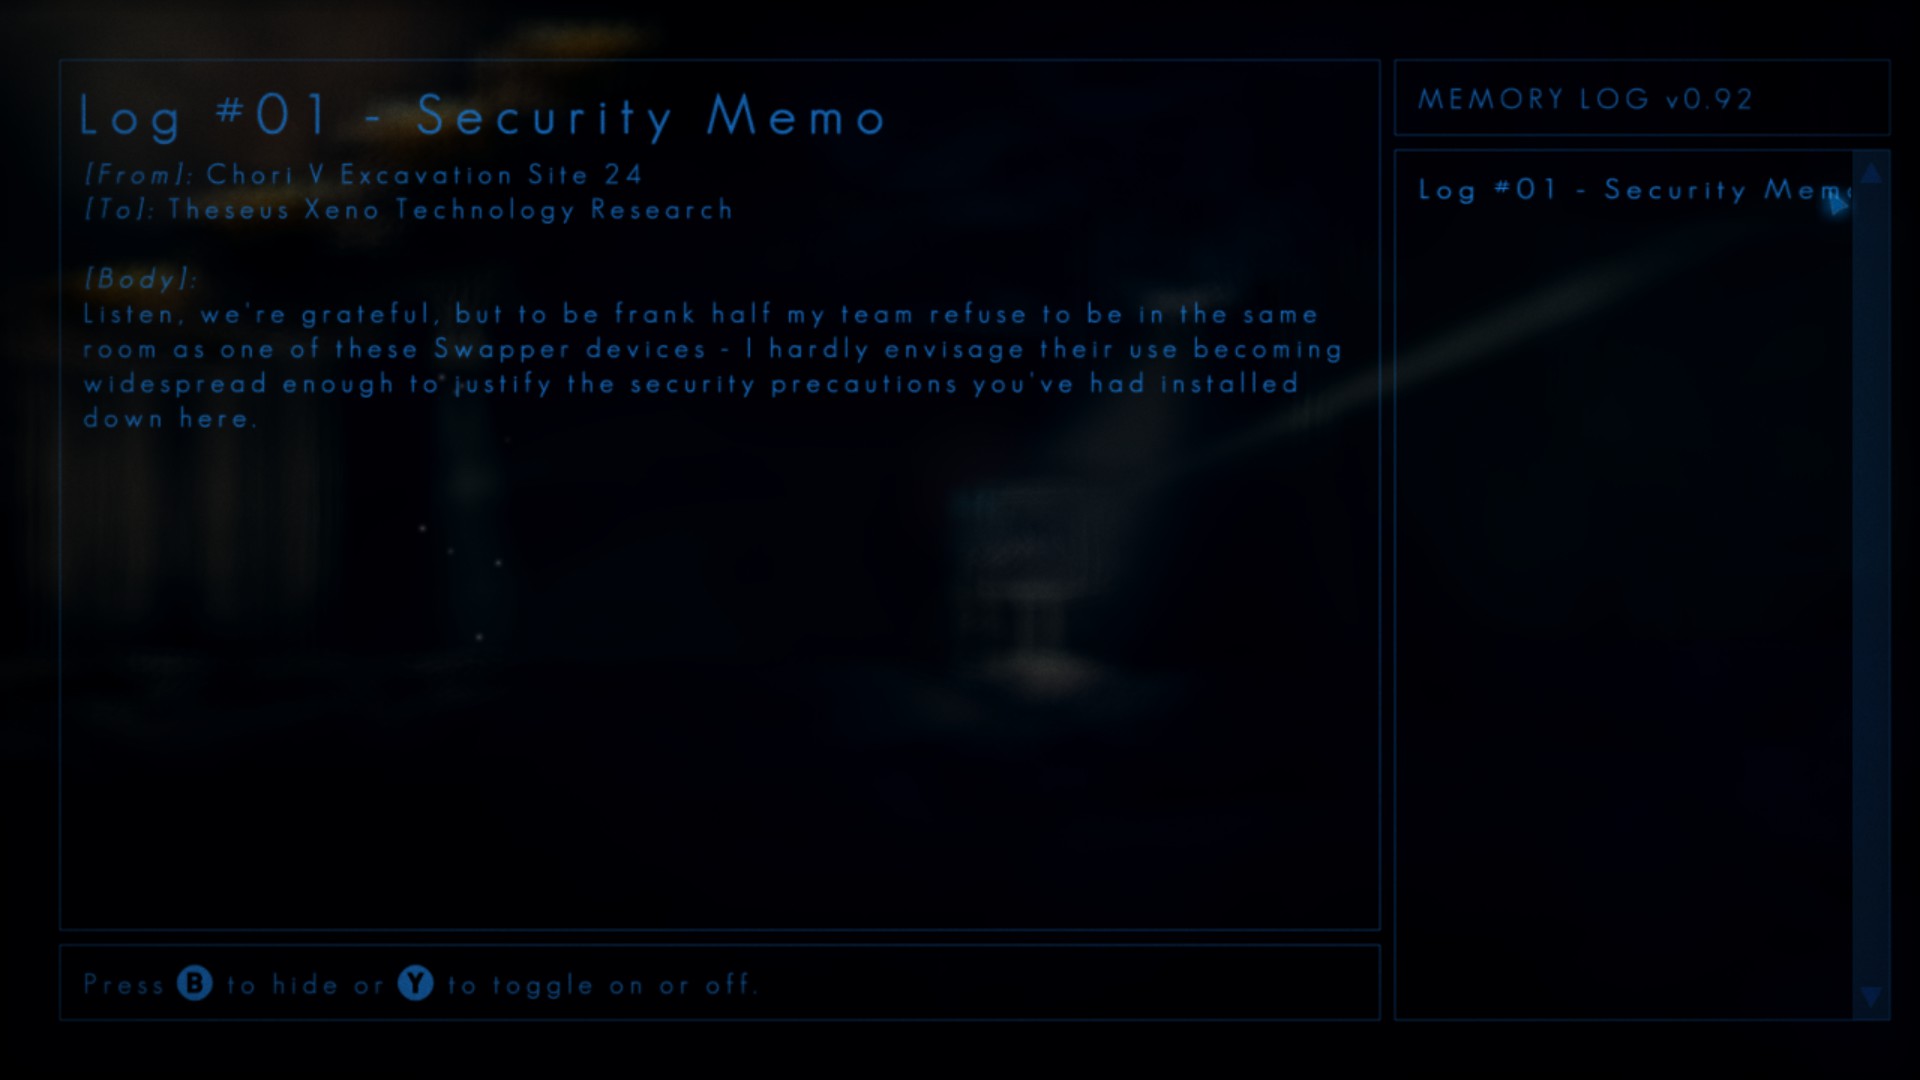
Log #01 – Security Memo
Location:
Content:
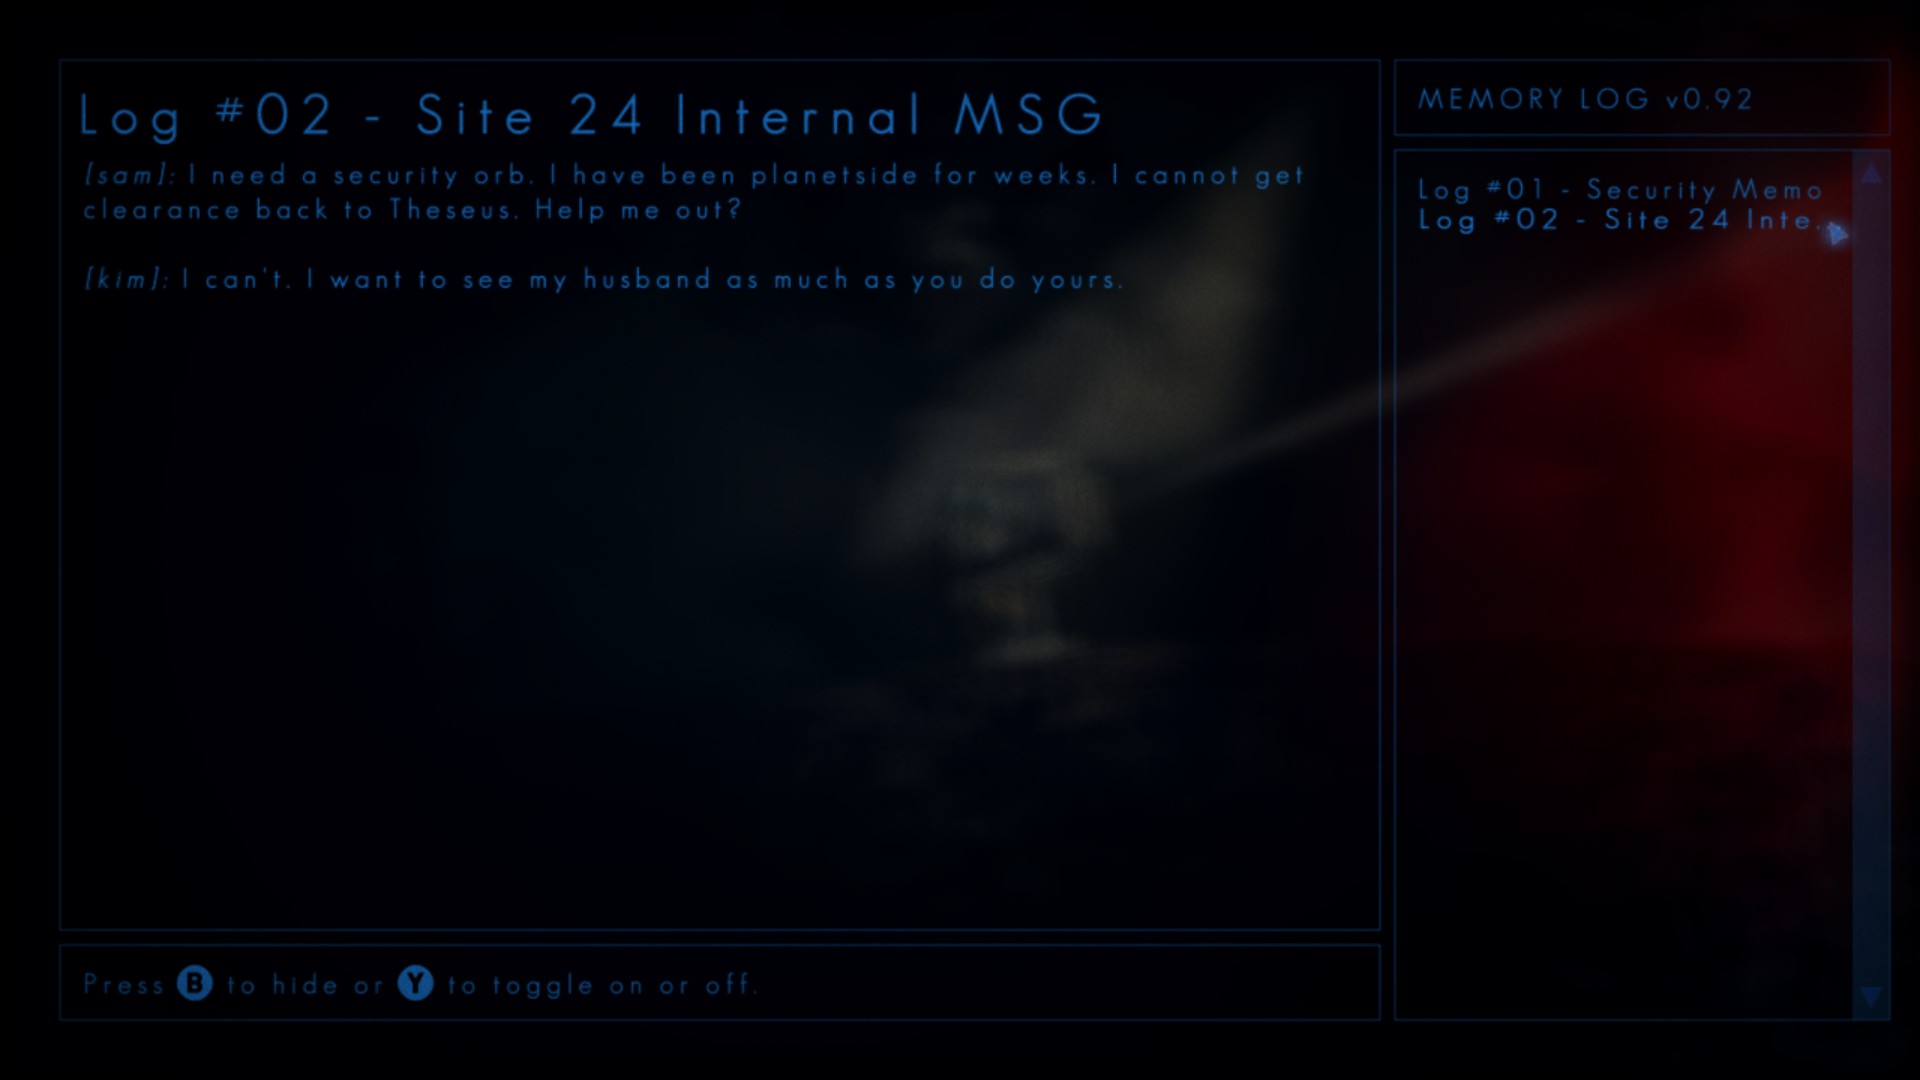
Log #02 – Site 24 Internal MSG
Location:
Content:
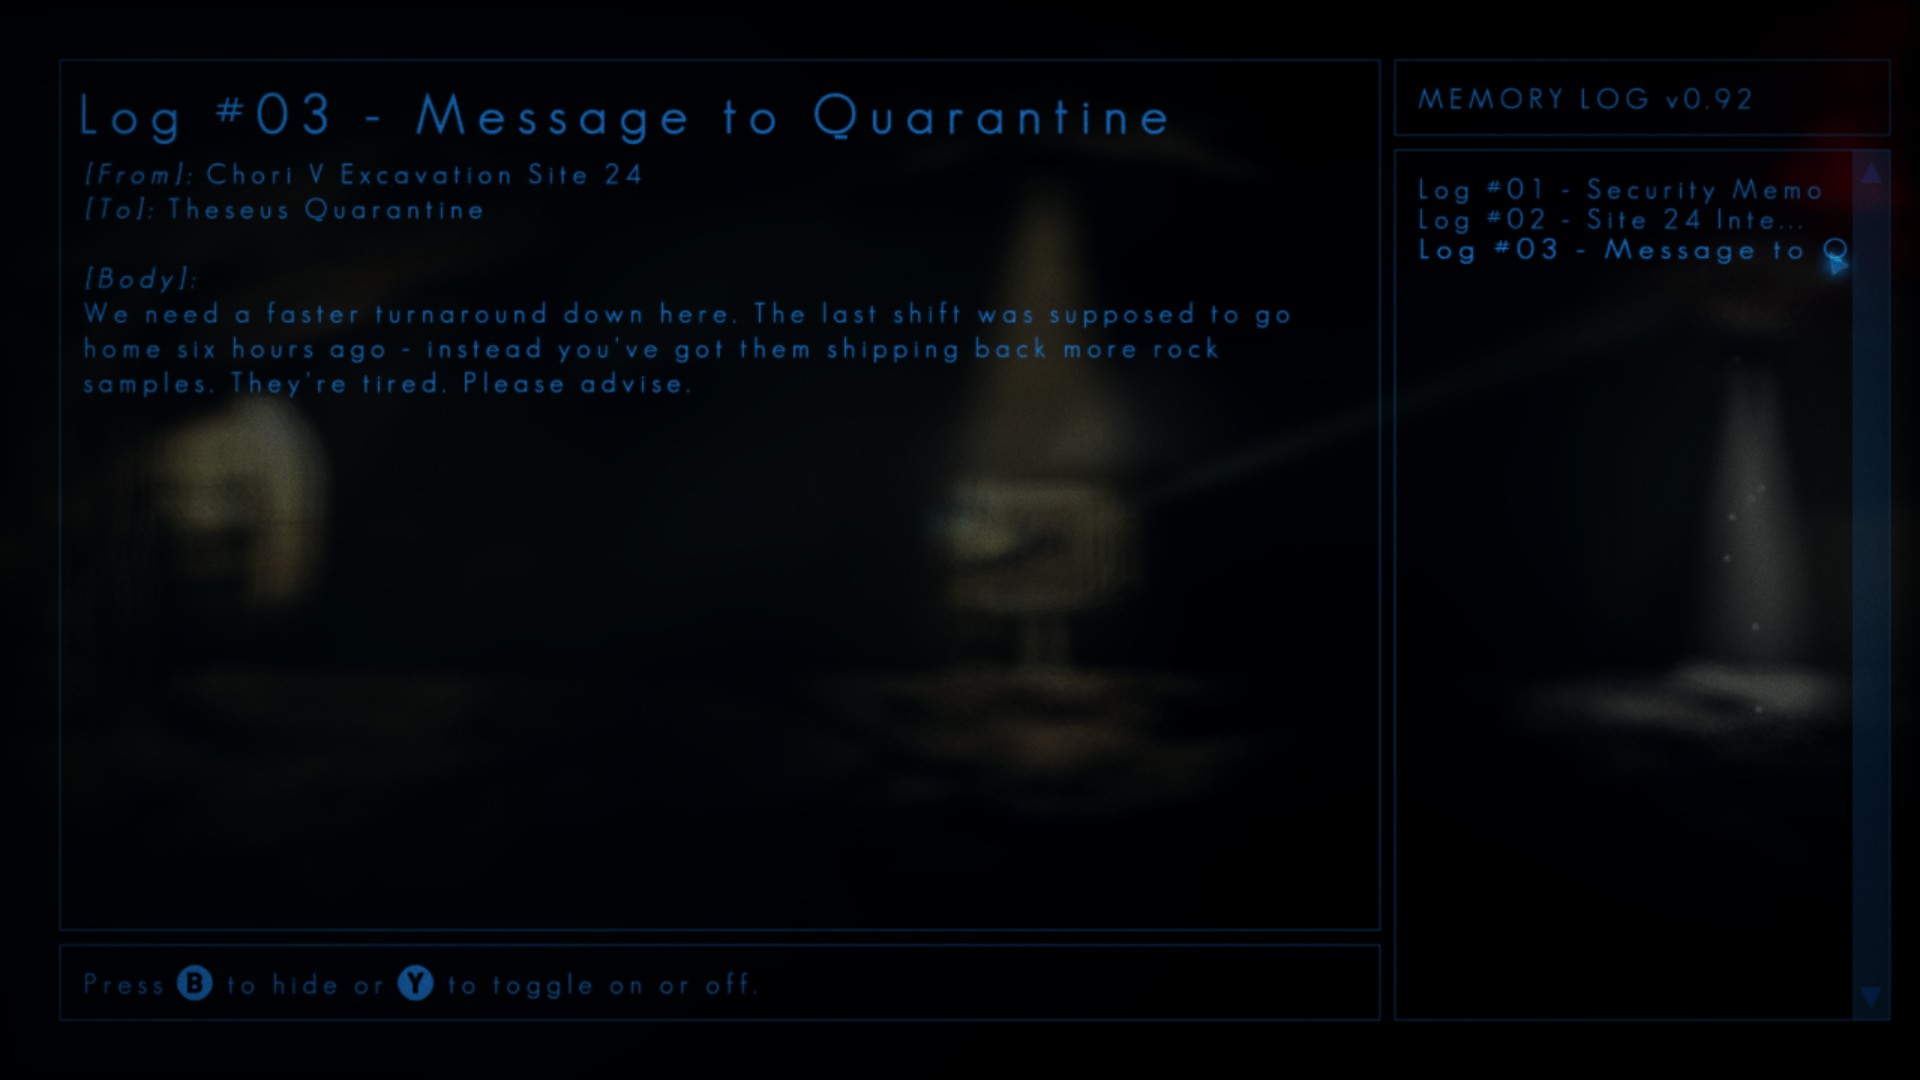
Log #03 – Message to Quarantine
Location:
Content:
Hangar
Watcher #1
Location:
Content:

Watcher #2
Location:

Content:

MISSABLE WARNING #2
Choosing the right exit after encountering Watcher #2 will guide you into the Quarantine area. As you continue in the right direction, approaching a lift, you’ll notice two barriers ascending on both sides of the Scavenger. These barriers serve the purpose implied by the area’s name – isolating individuals who might be potentially contaminated. On your map, you can identify these barriers as two light blue rectangles with diagonally-slanted dashes inside them.


By powering the console above the lift with 2 orbs, you can remove the right barrier, allowing the Scavenger to head deeper into the station. Unfortunately, the barrier on your left will never lower:

Consequently, Watcher Entries #1 and #2 can become permanently unobtainable. While it would require a deliberate effort to miss these two entries, there is a technical possibility of them becoming inaccessible. Therefore, it’s essential to ensure that you’ve gathered both of these entries before approaching the lift in the Quarantine area.
Quarantine
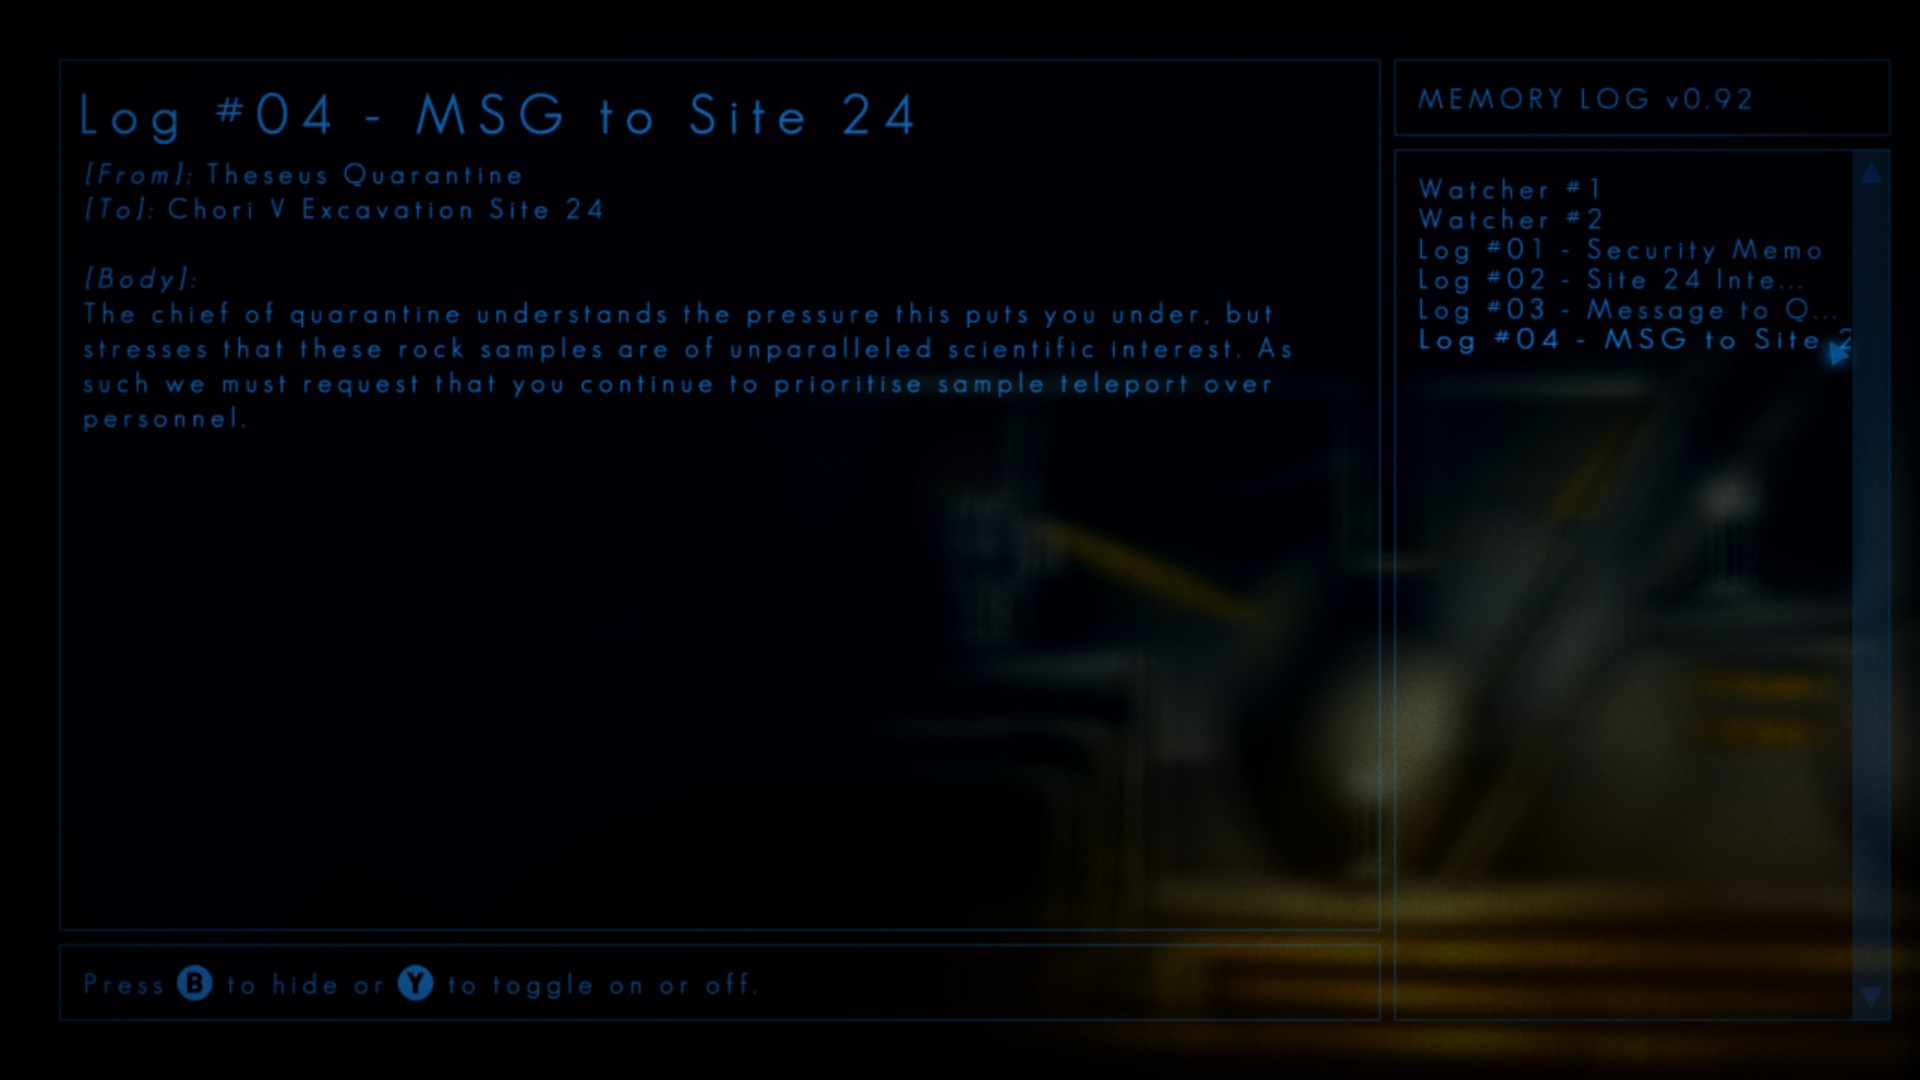
Log #04 – MSG to Site 24
Location:

Content:
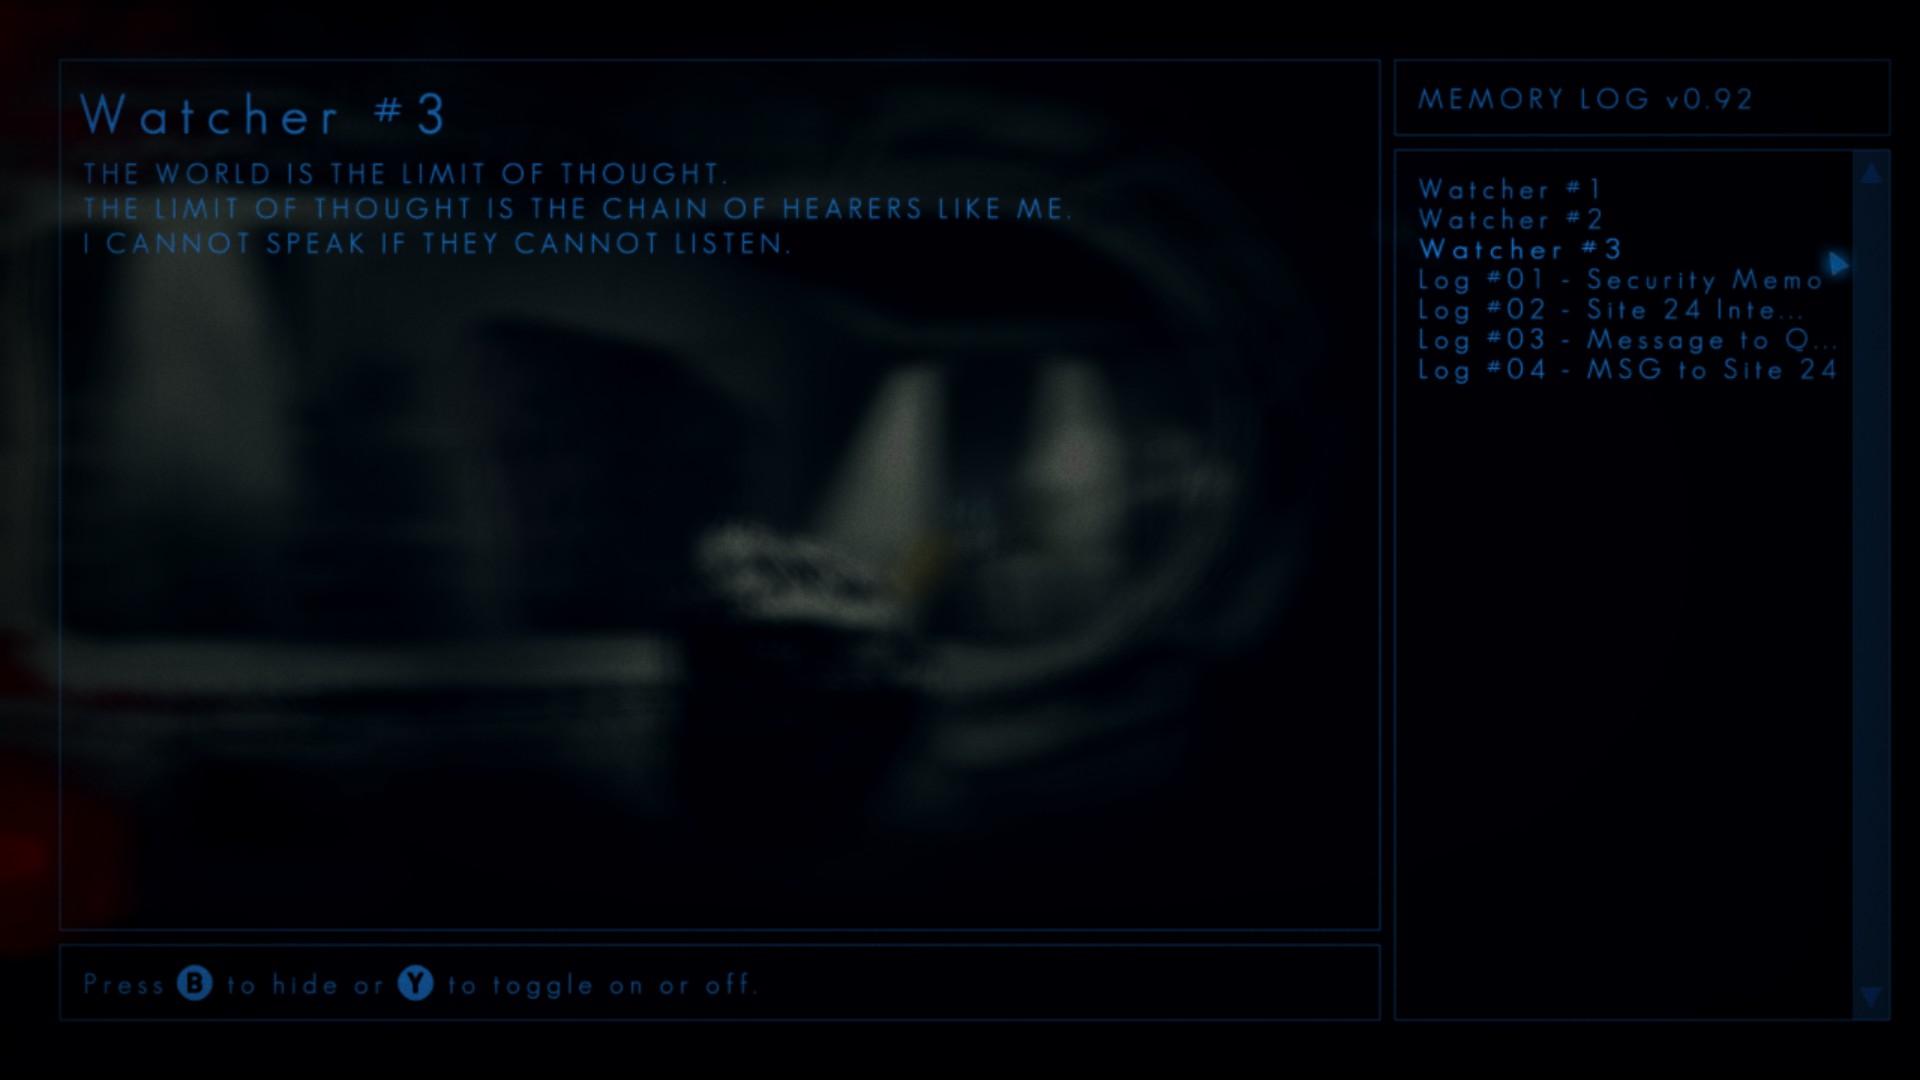
Watcher #3
Location:

Content:
Watcher #4
Location:

Content:
Watcher #5
Location:
Content:

Message from Home #1
Location:


Content:

Cargo Bay
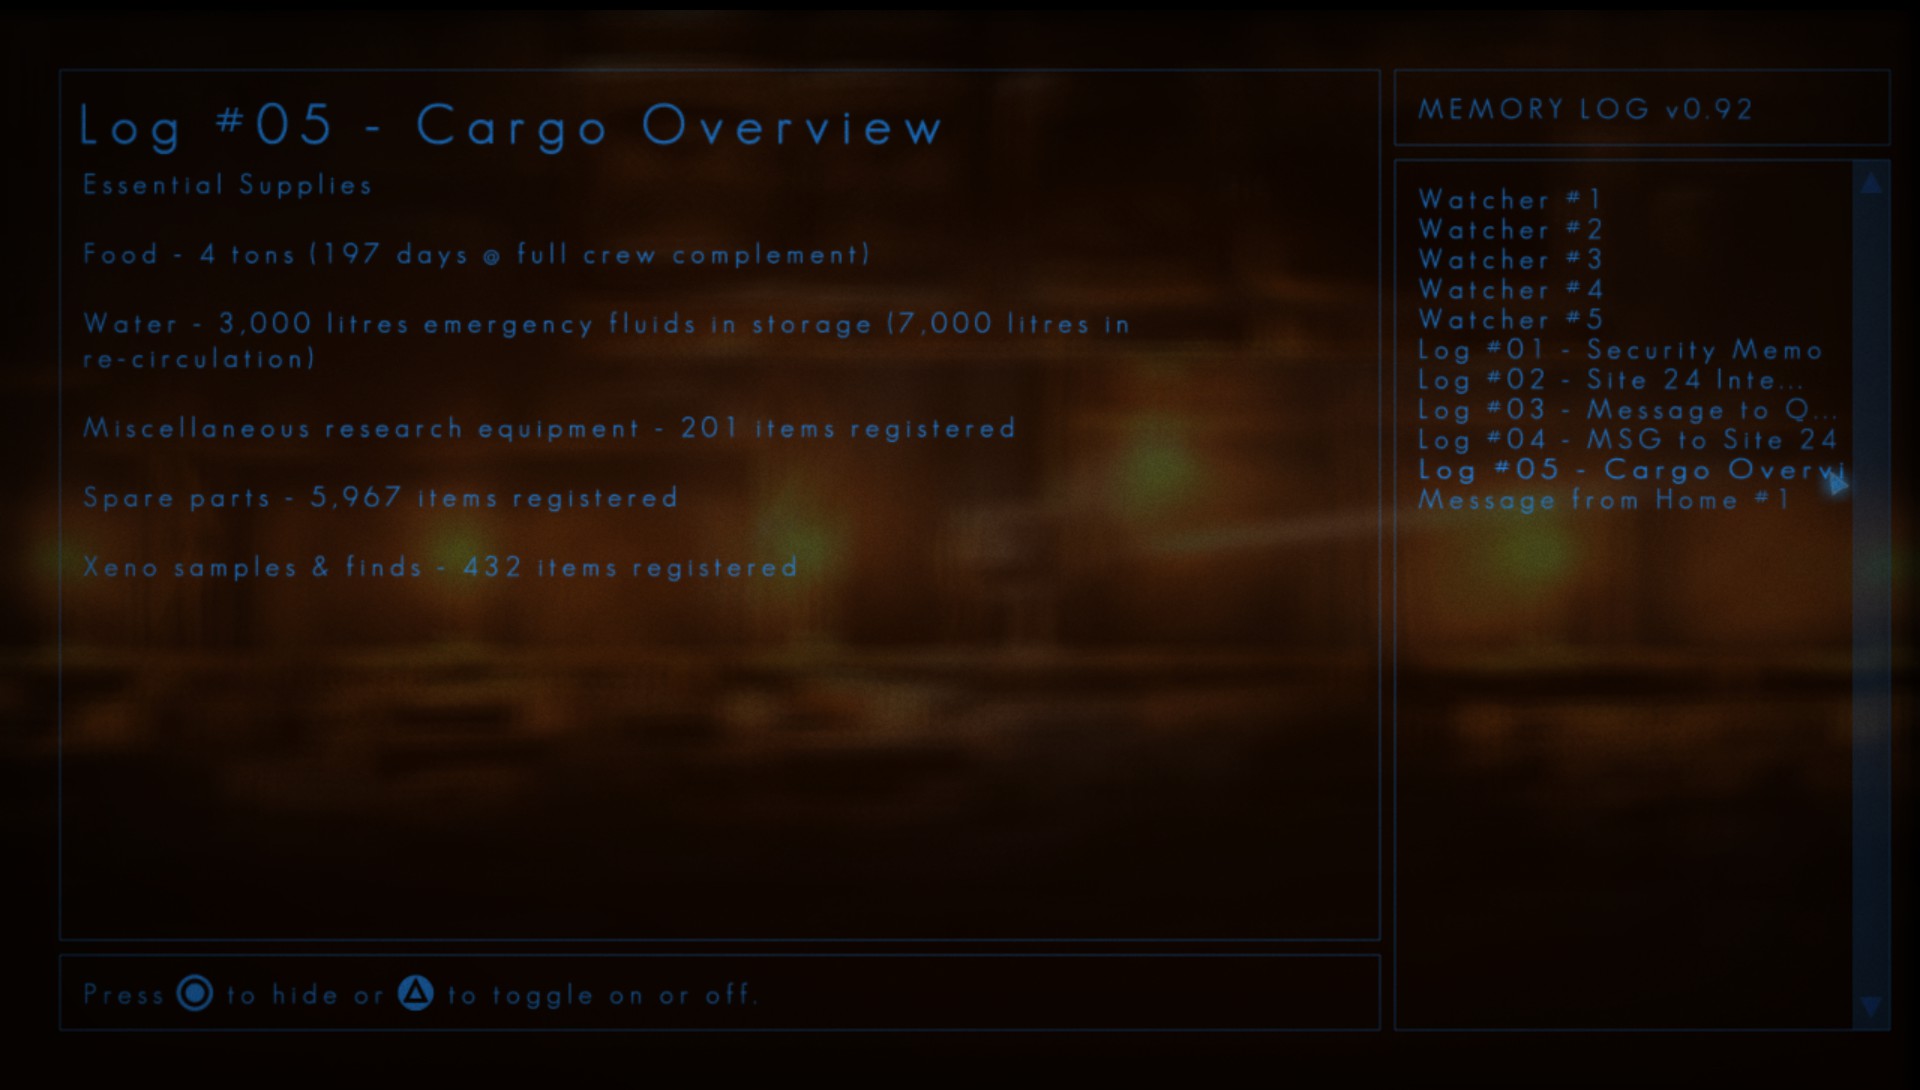
Log #05 – Cargo Overview
Location:


Content:
Gardens
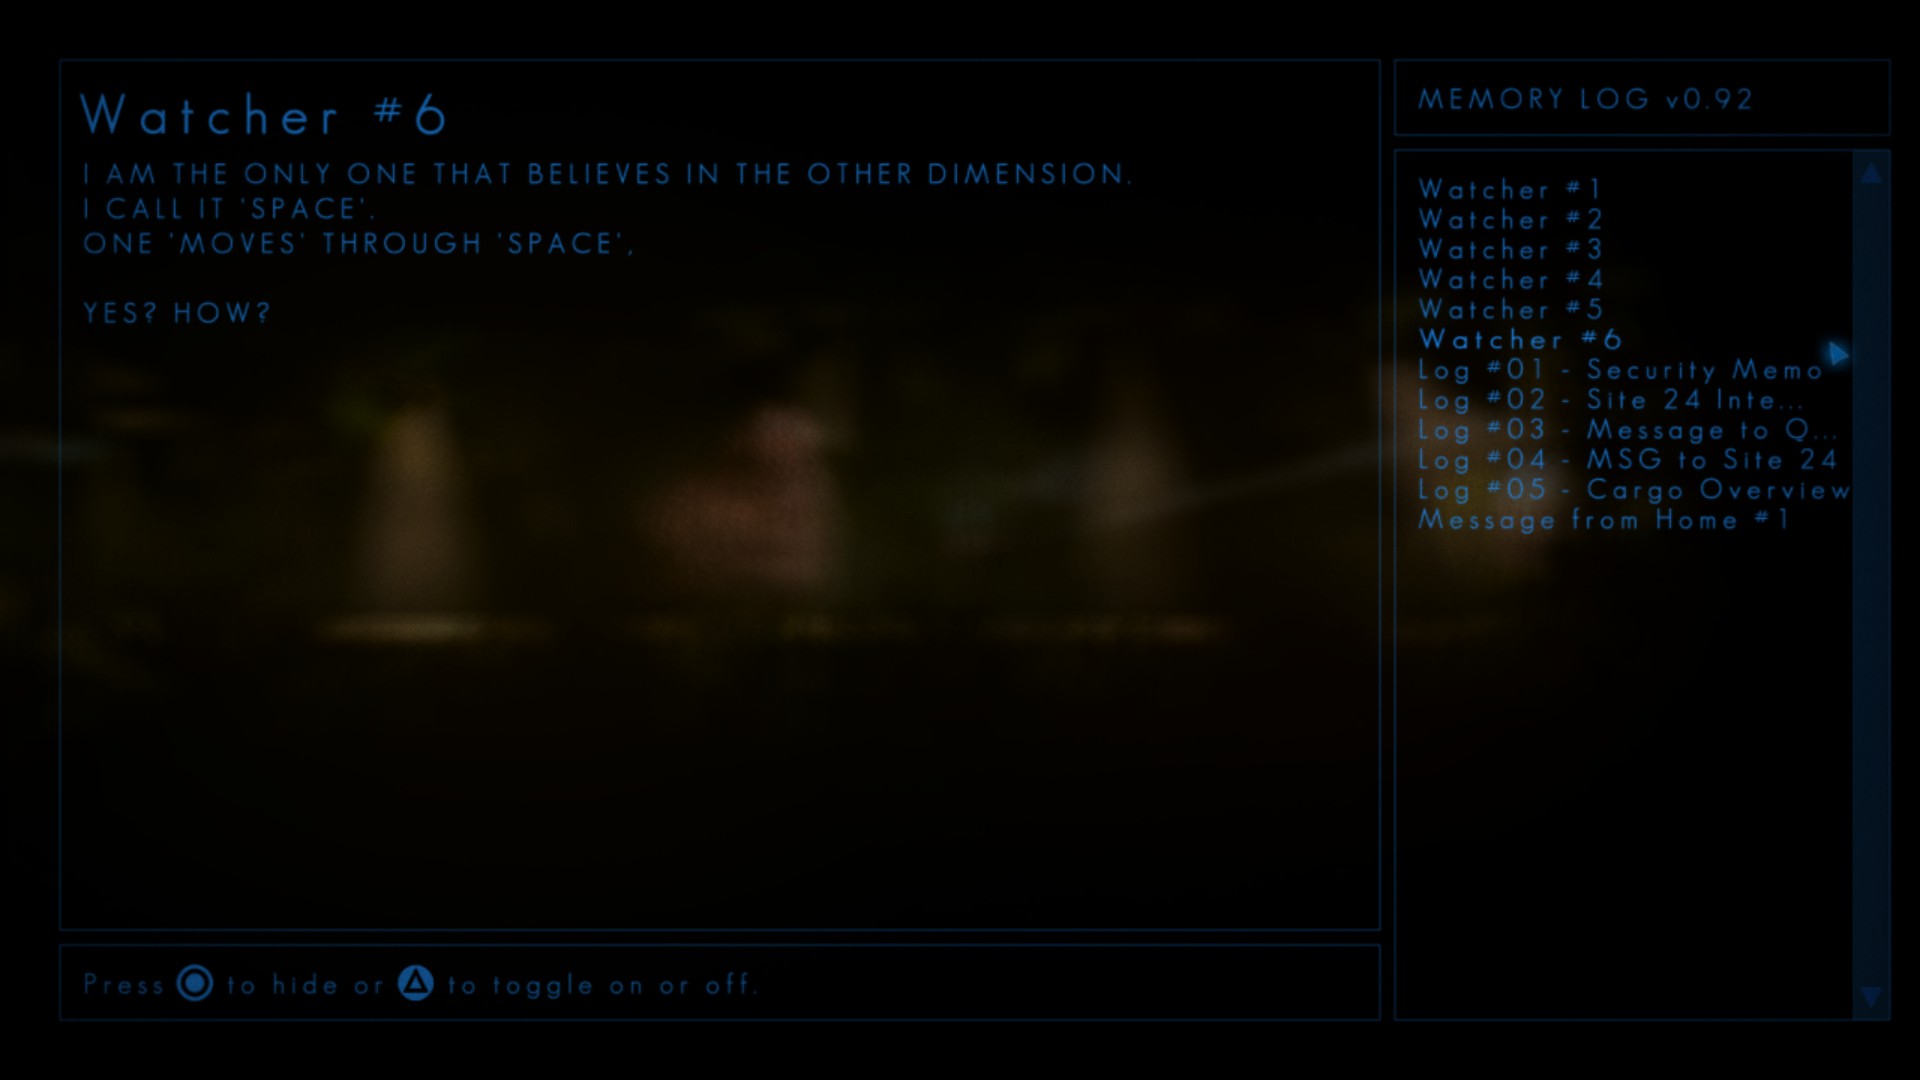
Watcher #6
Location:


Content:
Message from Home #2
Location:

Content:

O2 Greenhouse
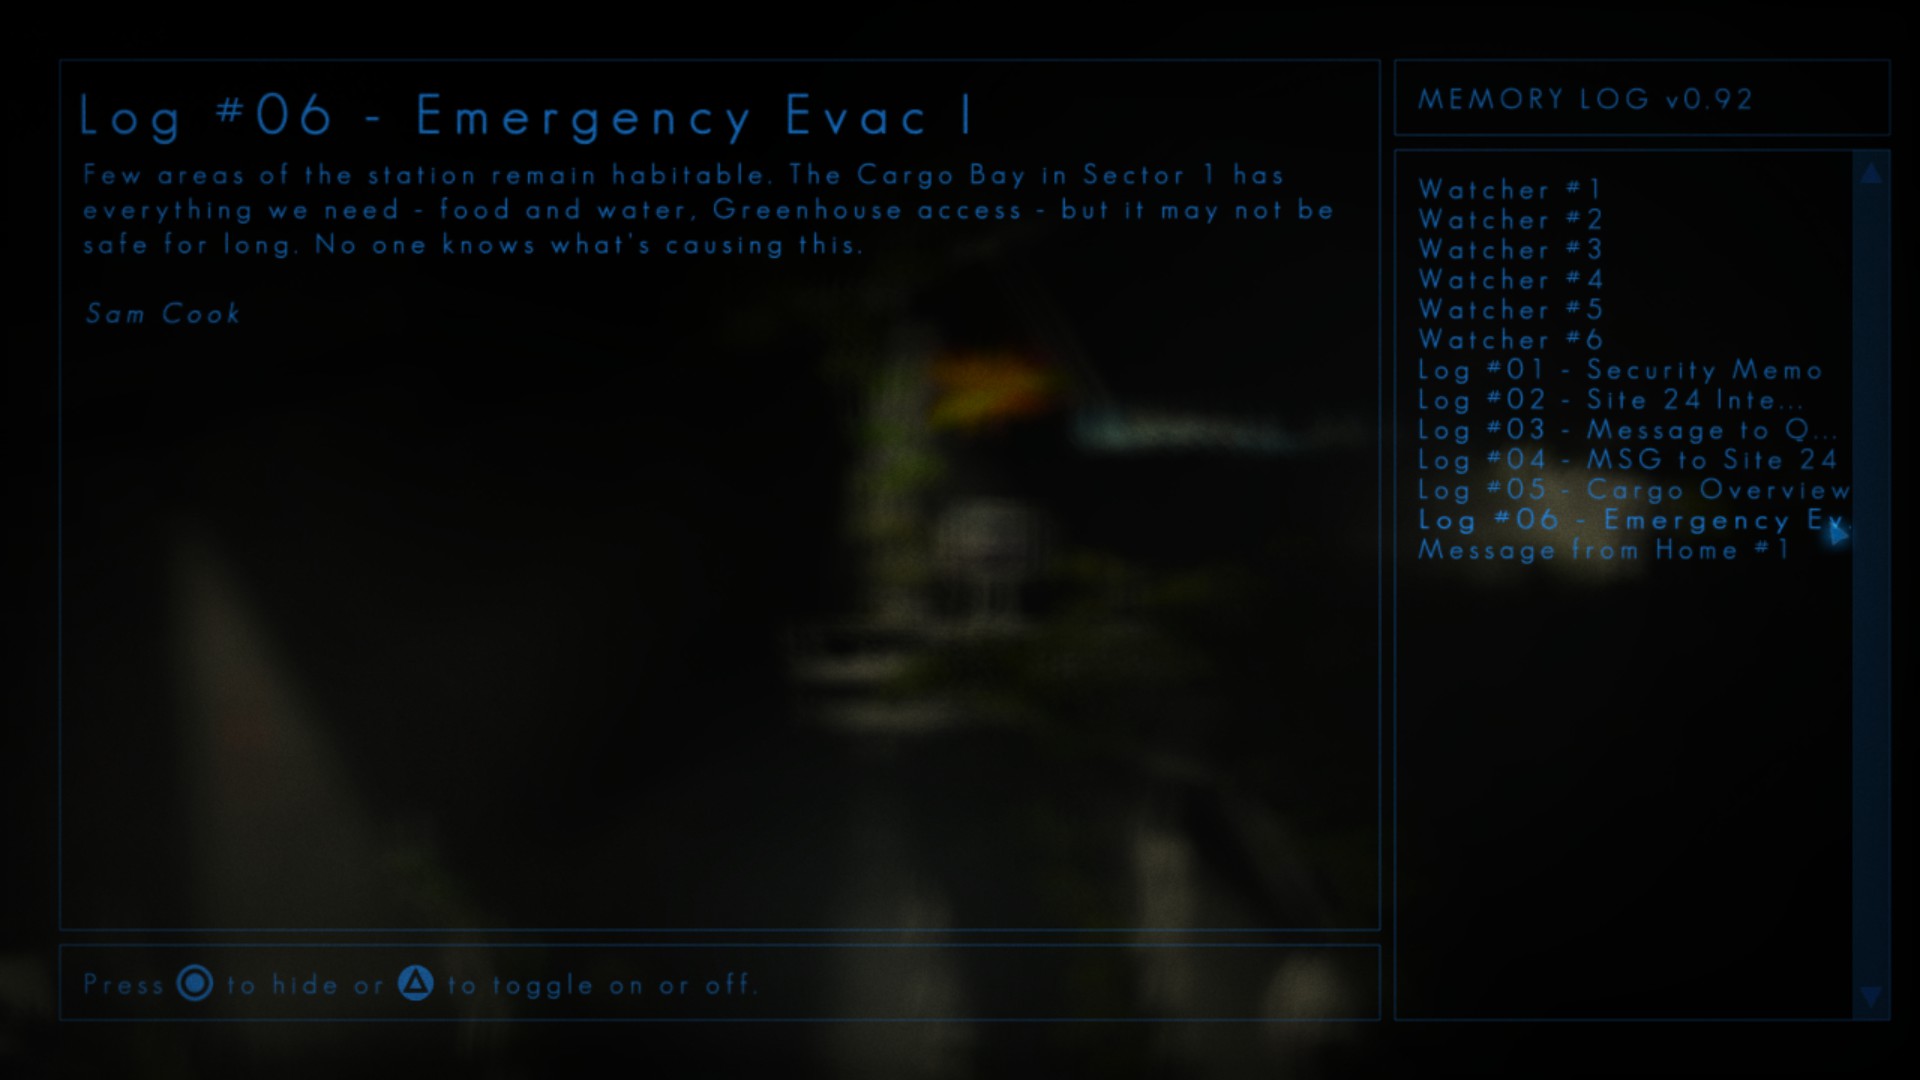
Log #06 – Emergency Evac I
Location:


Content:
Cargo Bay (Revisited)
Message from Home #3
Location:


Content:
Cargo Access Chute
Watcher #7
Location:

Content:

Living Quarters
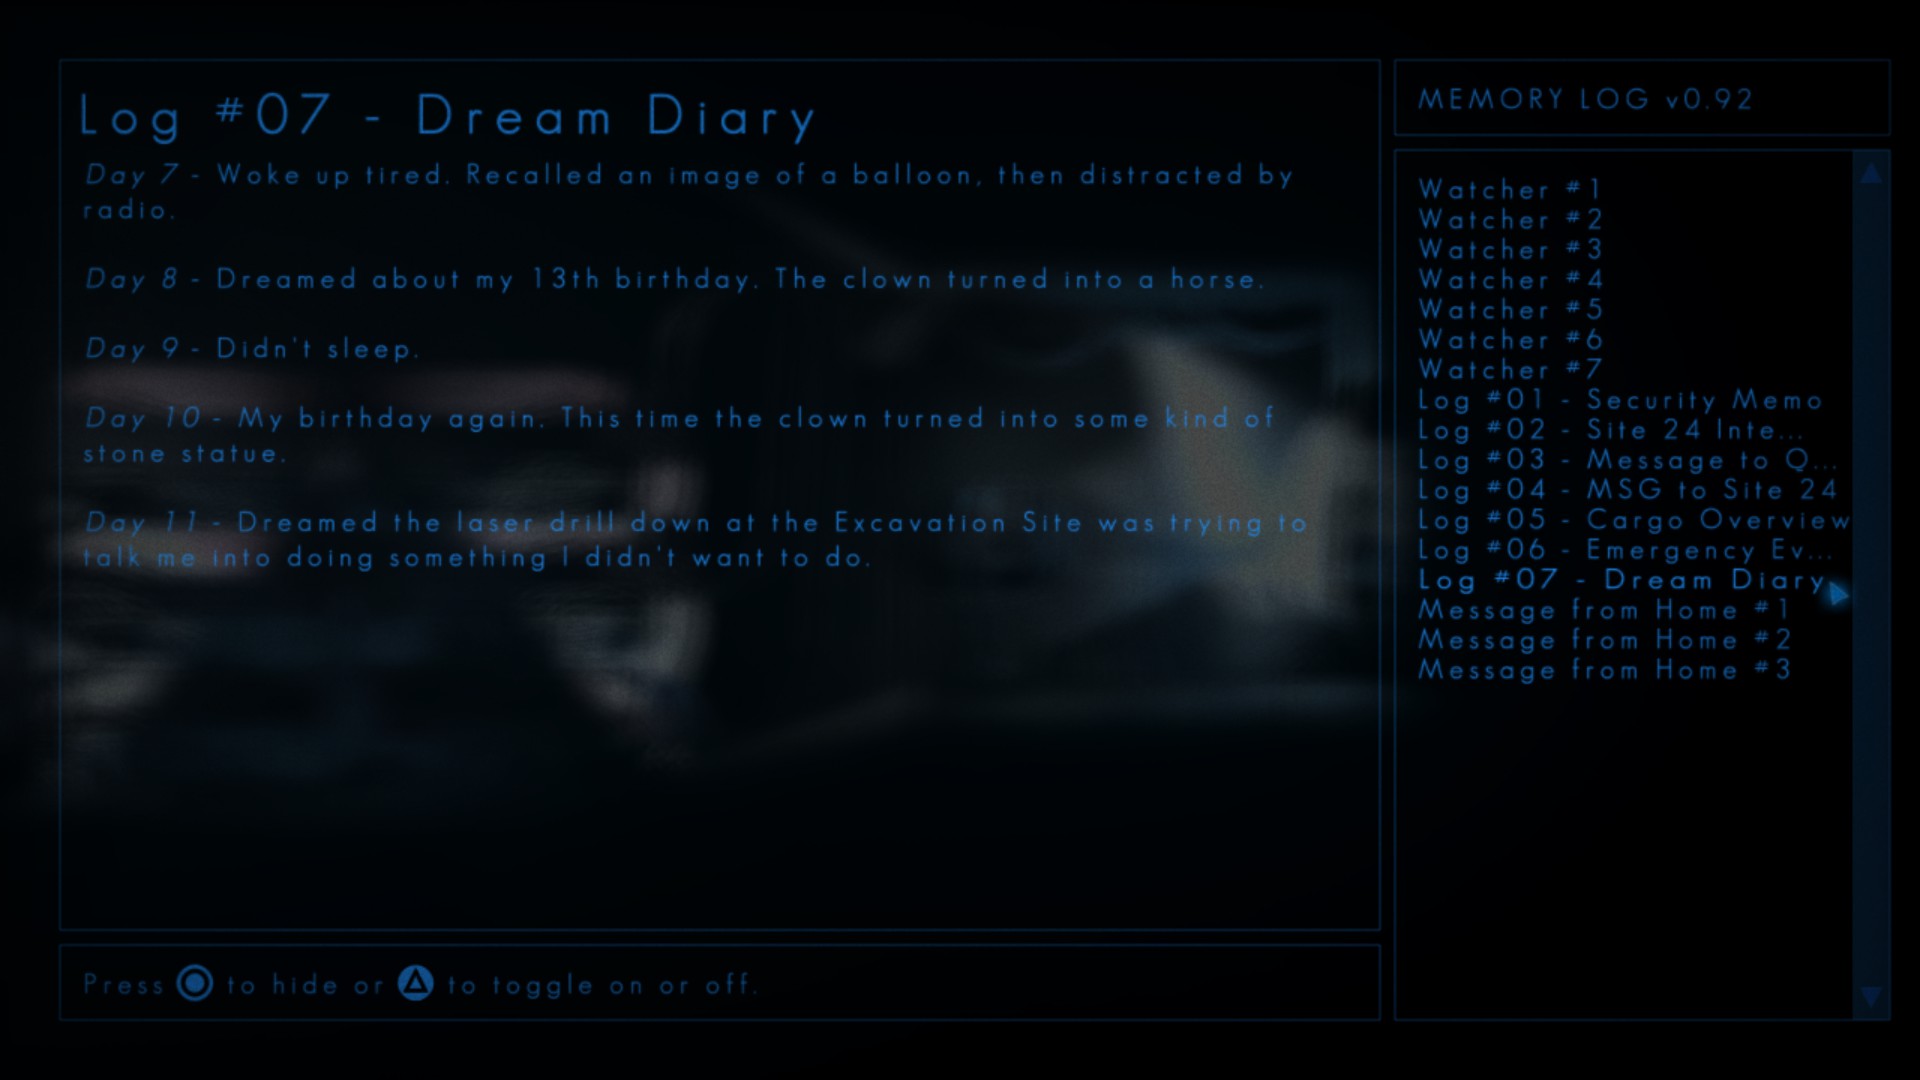
Log #07 – Dream Diary
Location:

Content:
MISSABLE WARNING #3
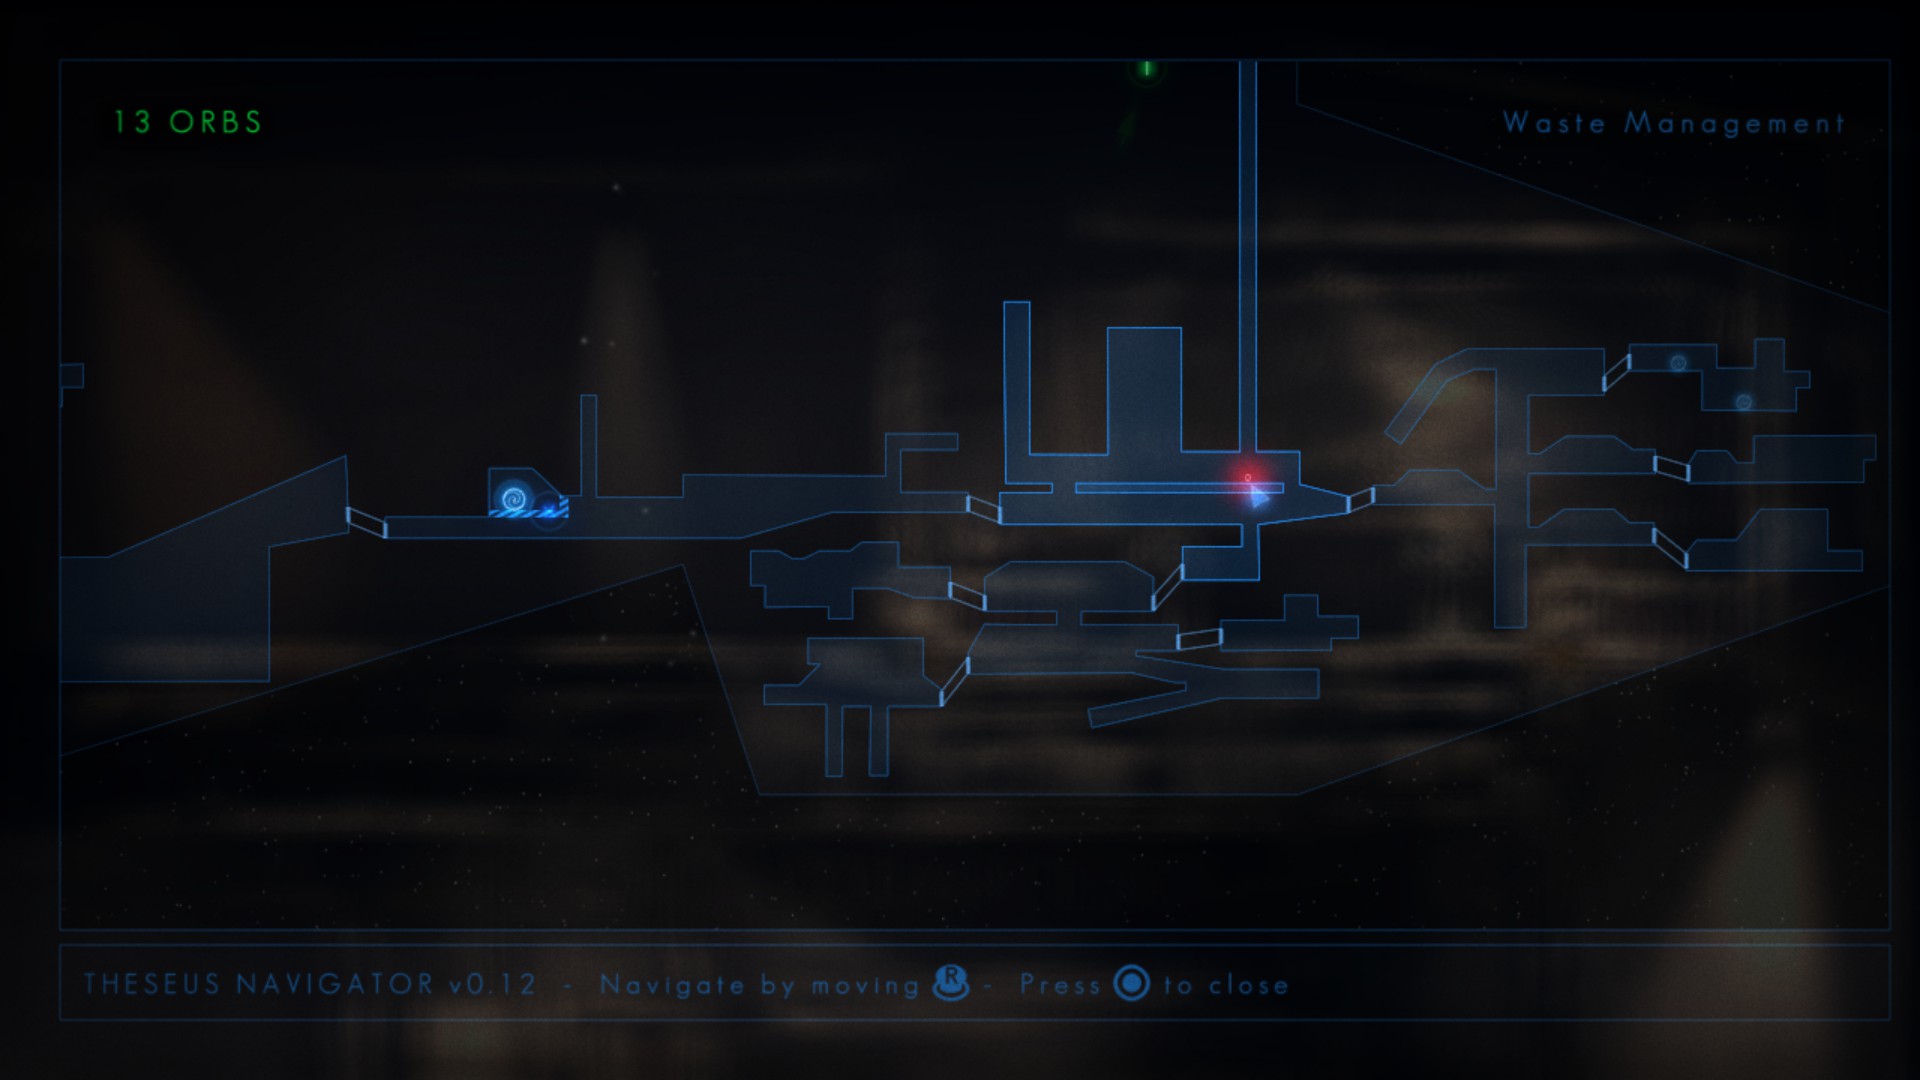
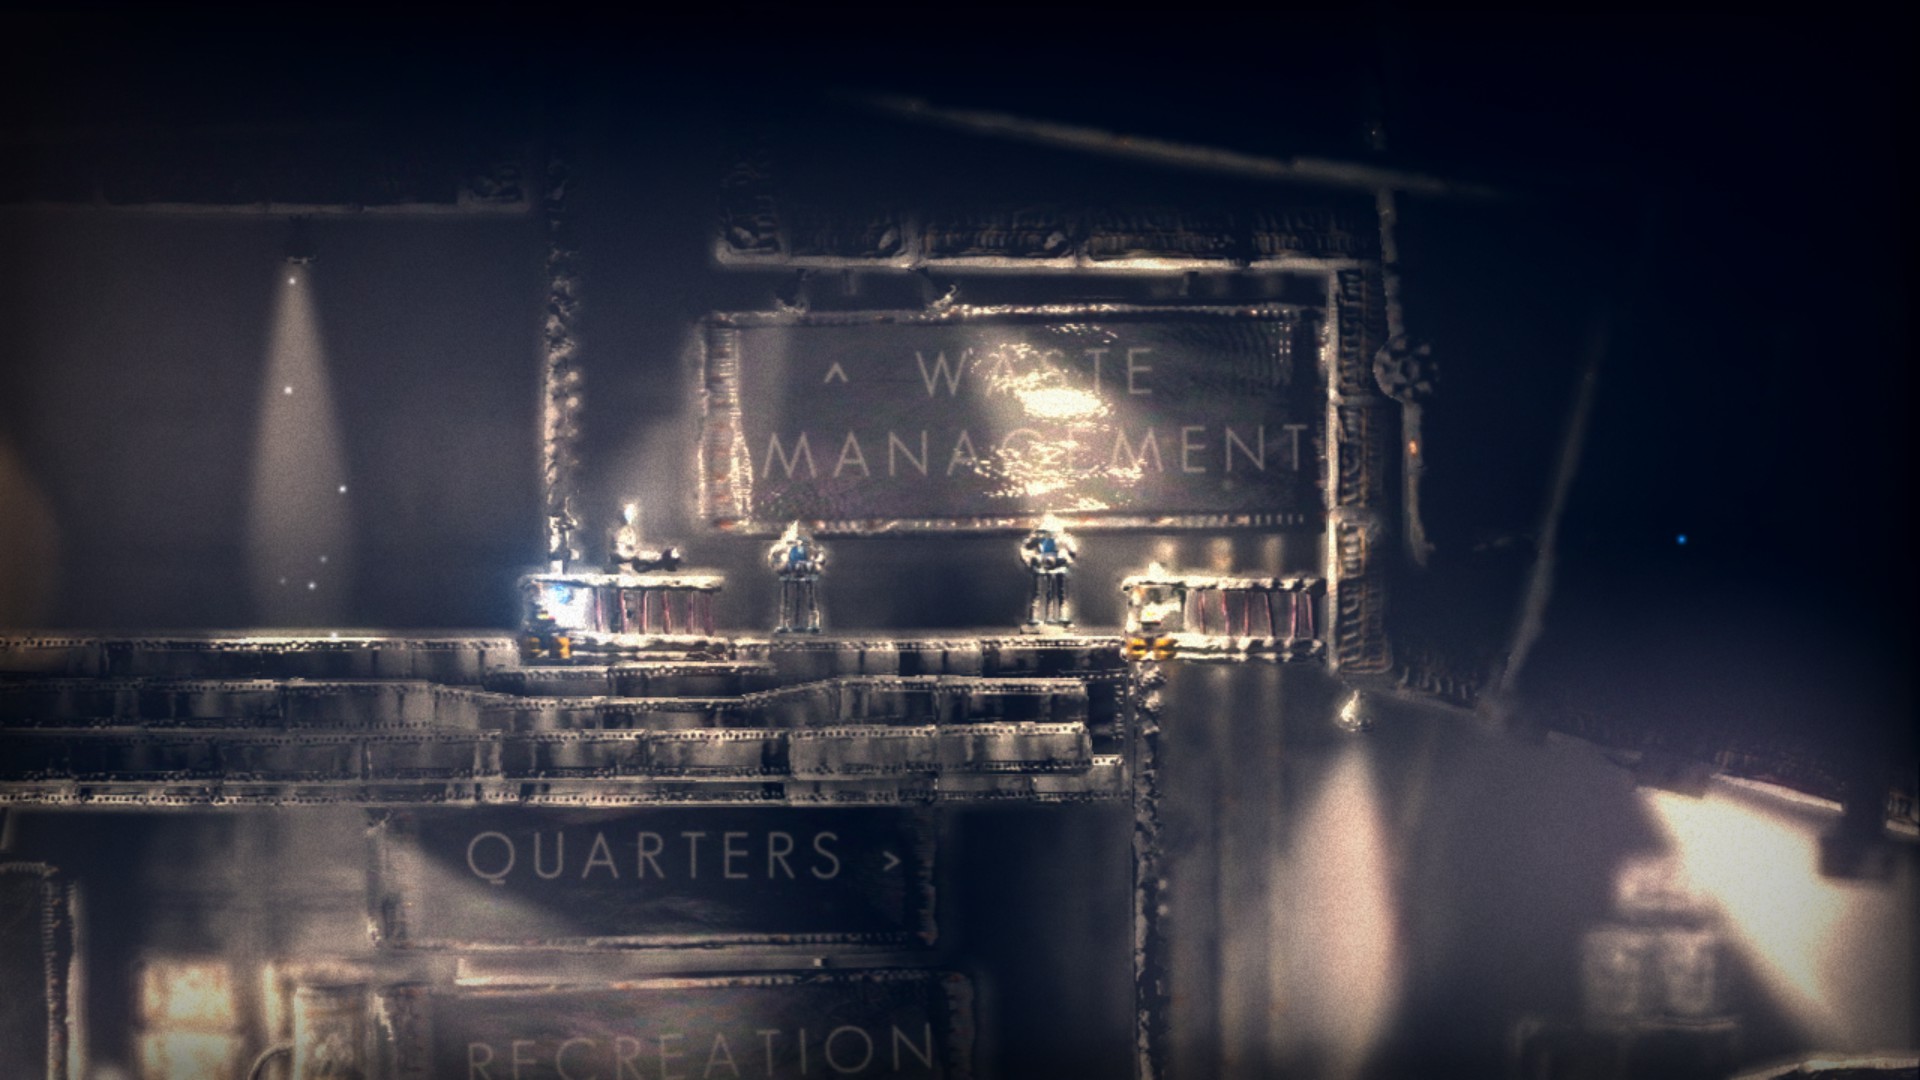
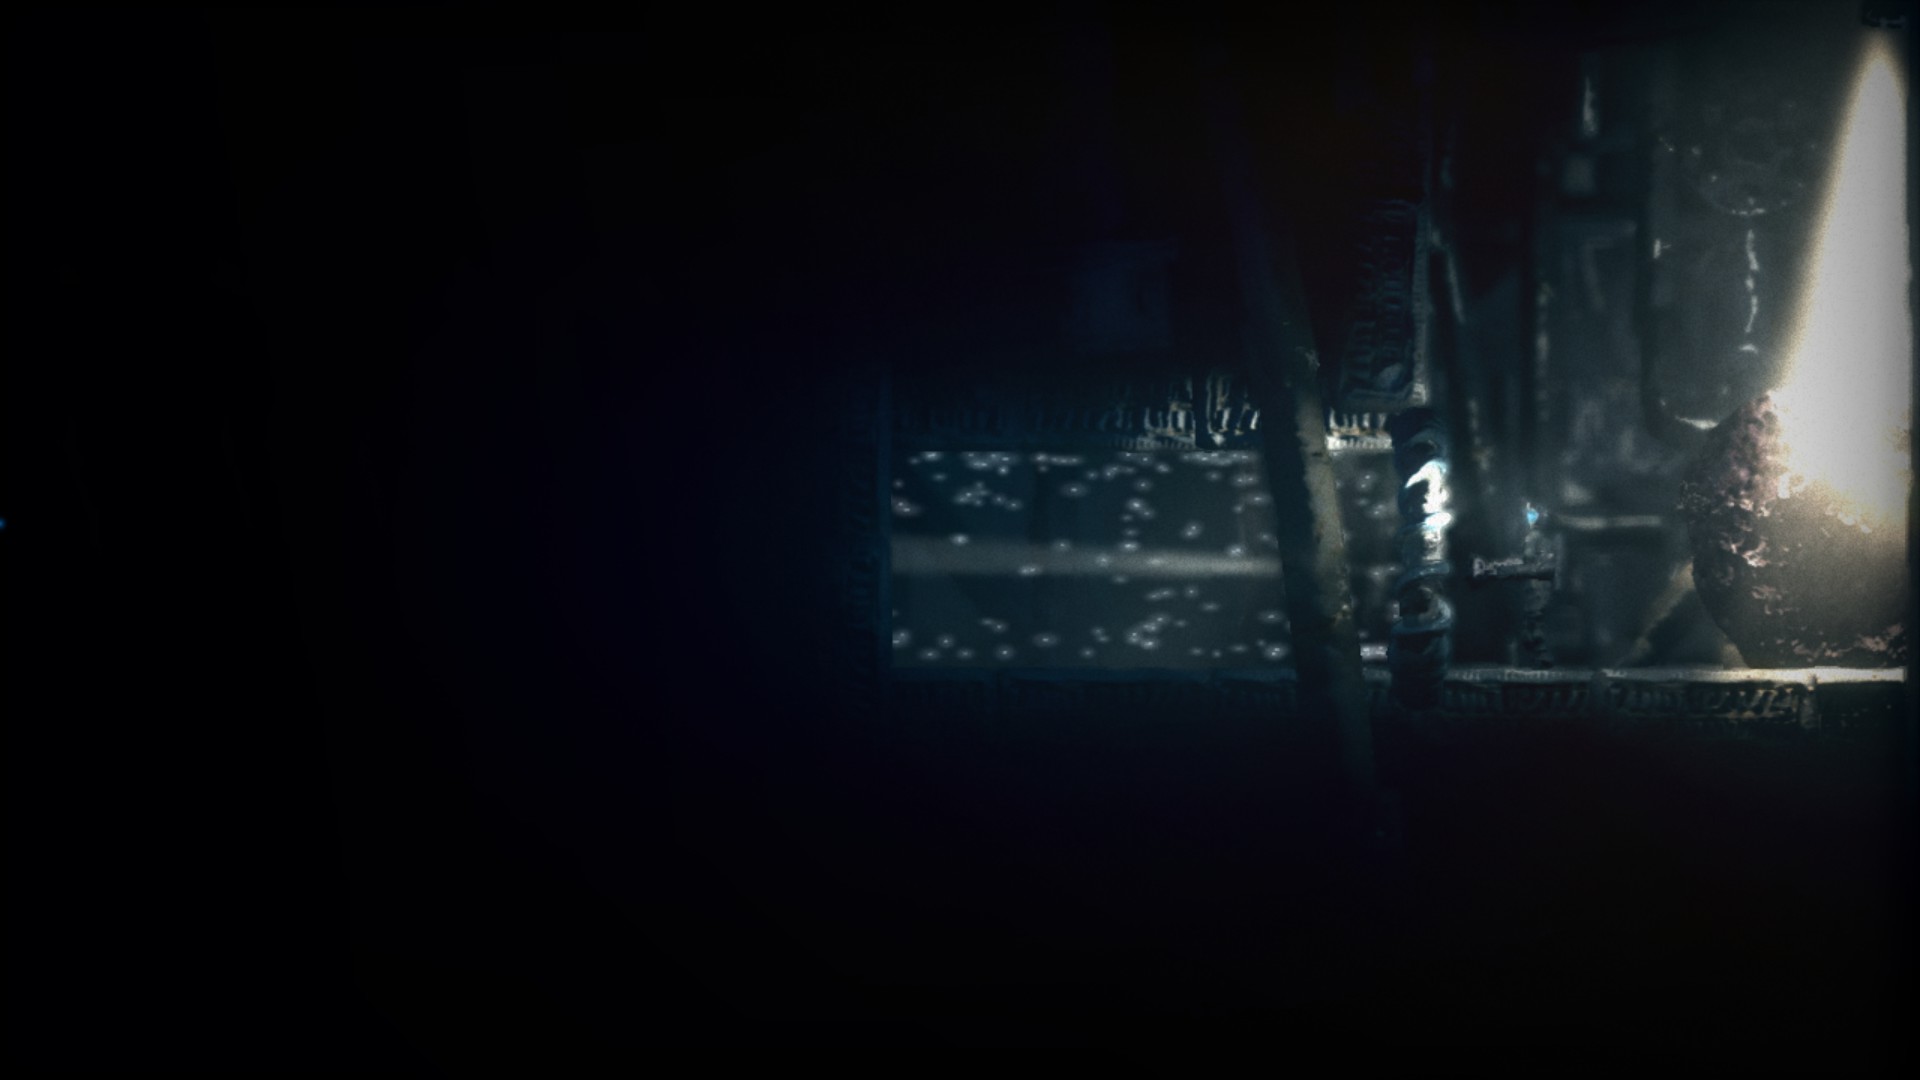
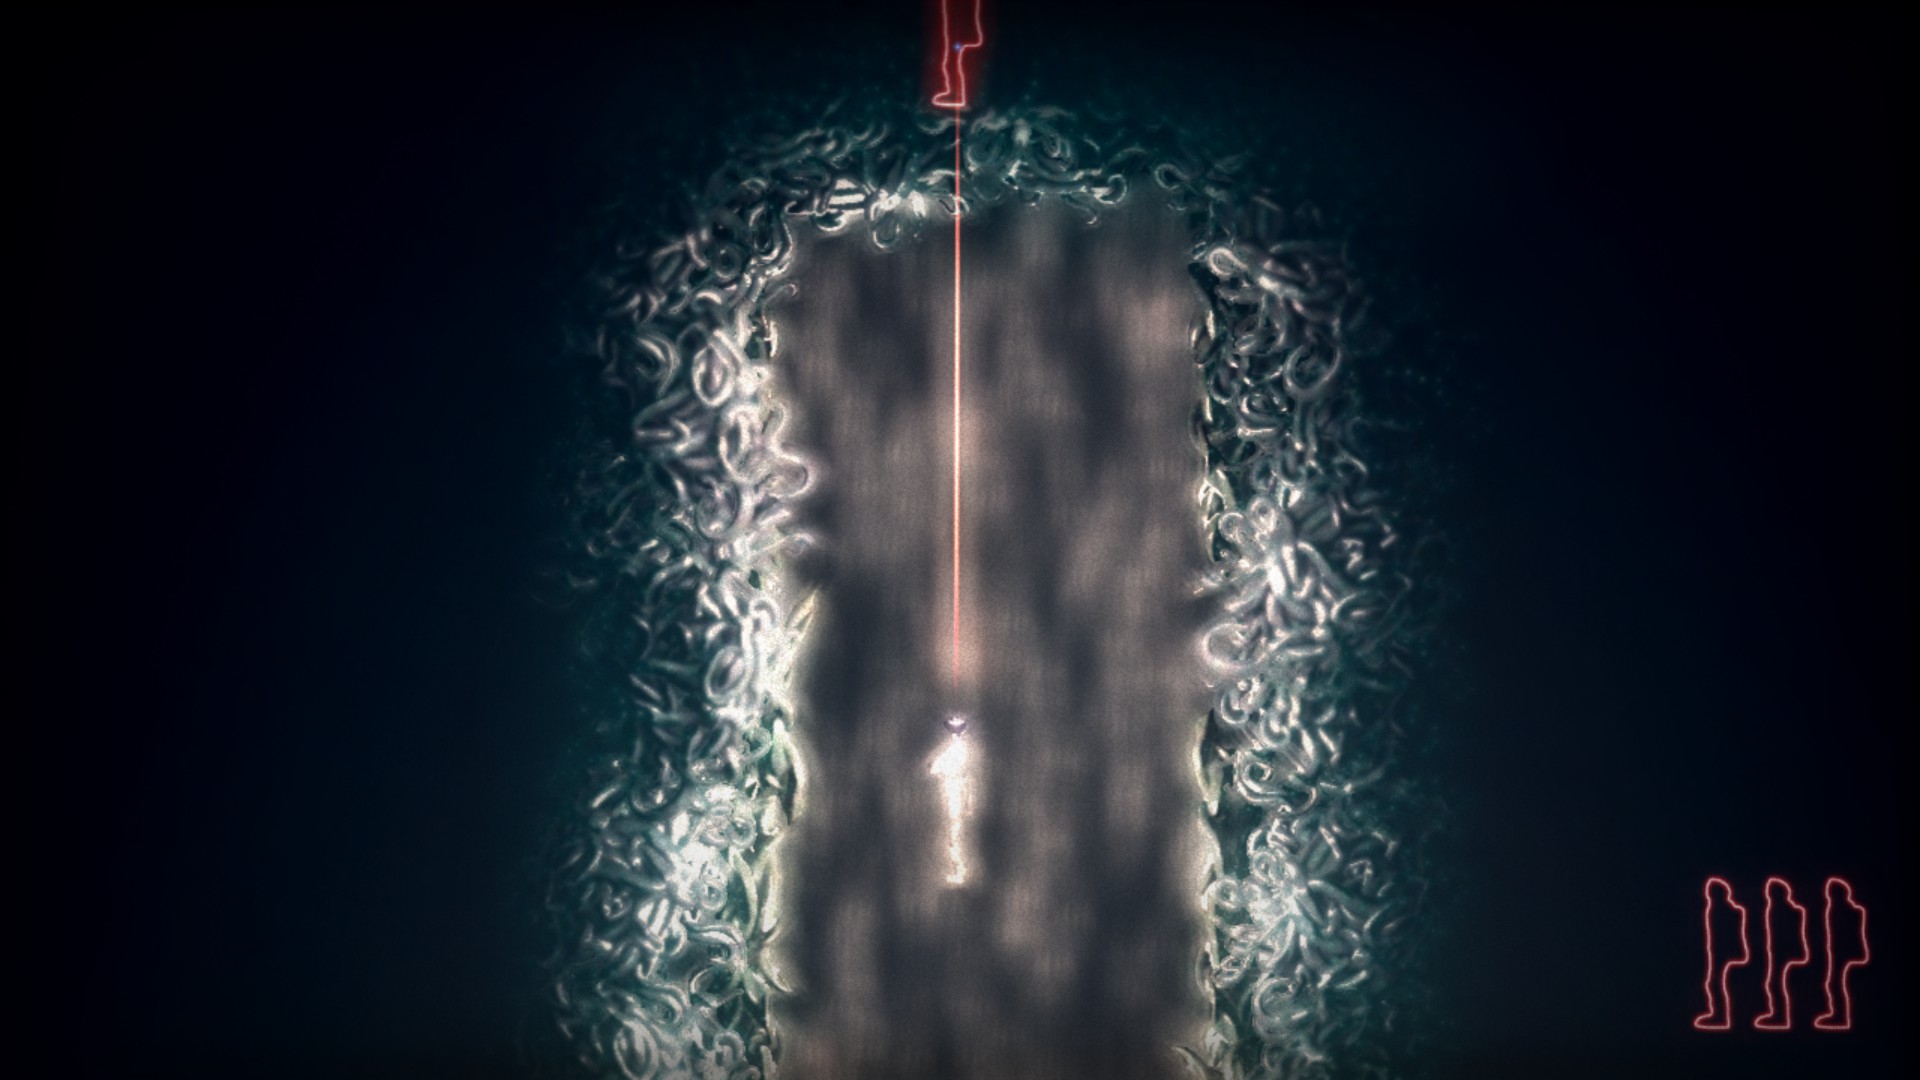
You should now have enough orbs to turn on the console in Waste Management and access the jet stream above it:
If you safely exit the stream without getting incinerated, you will find a lift to the right that leads upward through a long, vertical passage:
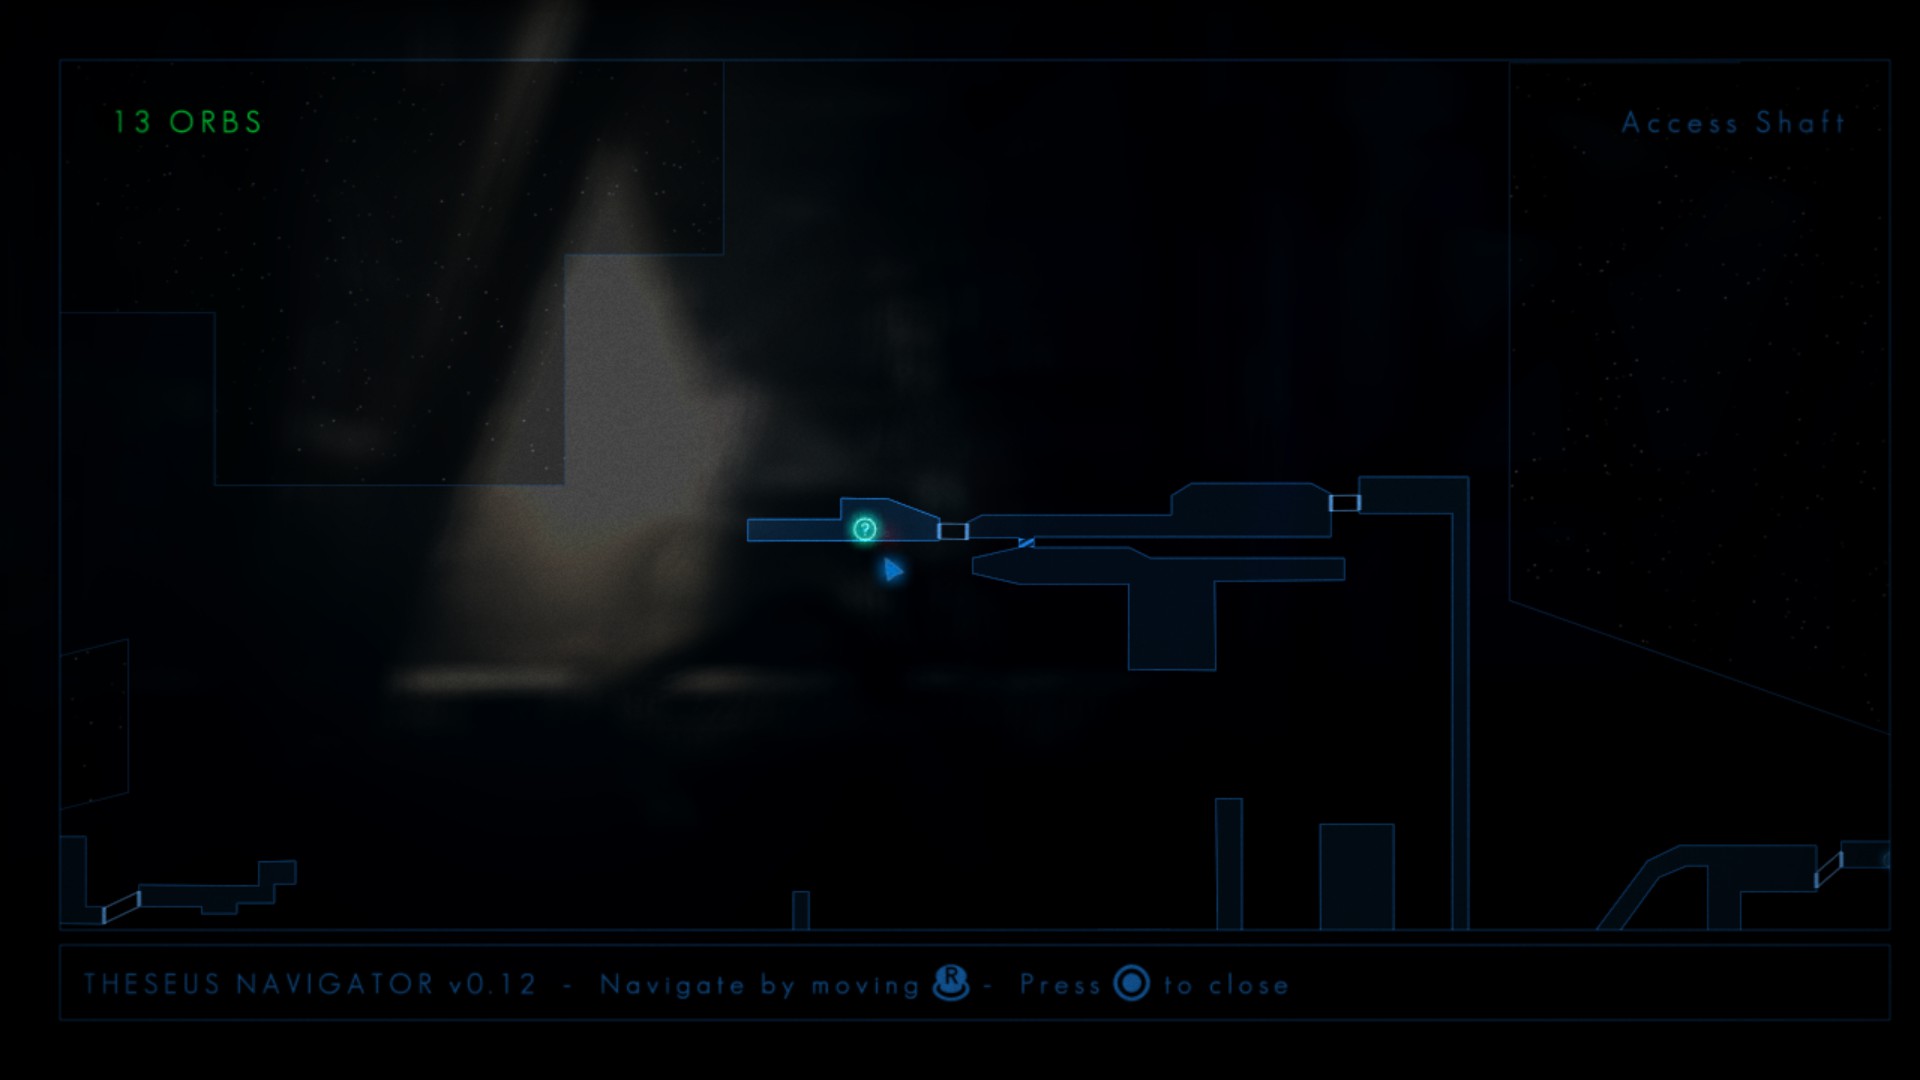
This lift will lead you to the upper section of Waste Management, which contains a Watcher Entry and a Log. From here, you can reach Access Shaft, where you will find another Watcher Entry and a jet stream:

The problem is that entering this stream triggers vines to grow over the lift you used before to access this area:
This, in essence, causes the Log and the two Watcher Entries you have previously come across to become potentially overlooked. Therefore, it’s imperative to ensure that you obtain all three of them while the opportunity is still available.
However, there’s an additional aspect to consider!
Following this jet stream will guide you to a particular segment within the Hangar that you haven’t explored yet. Within this region lies another Watcher Entry. Even though you will revisit this area later in your gameplay, the content of the Watcher’s message will undergo a transformation. It would be in your best interest to seize this opportunity and collect it now before it becomes permanently inaccessible.
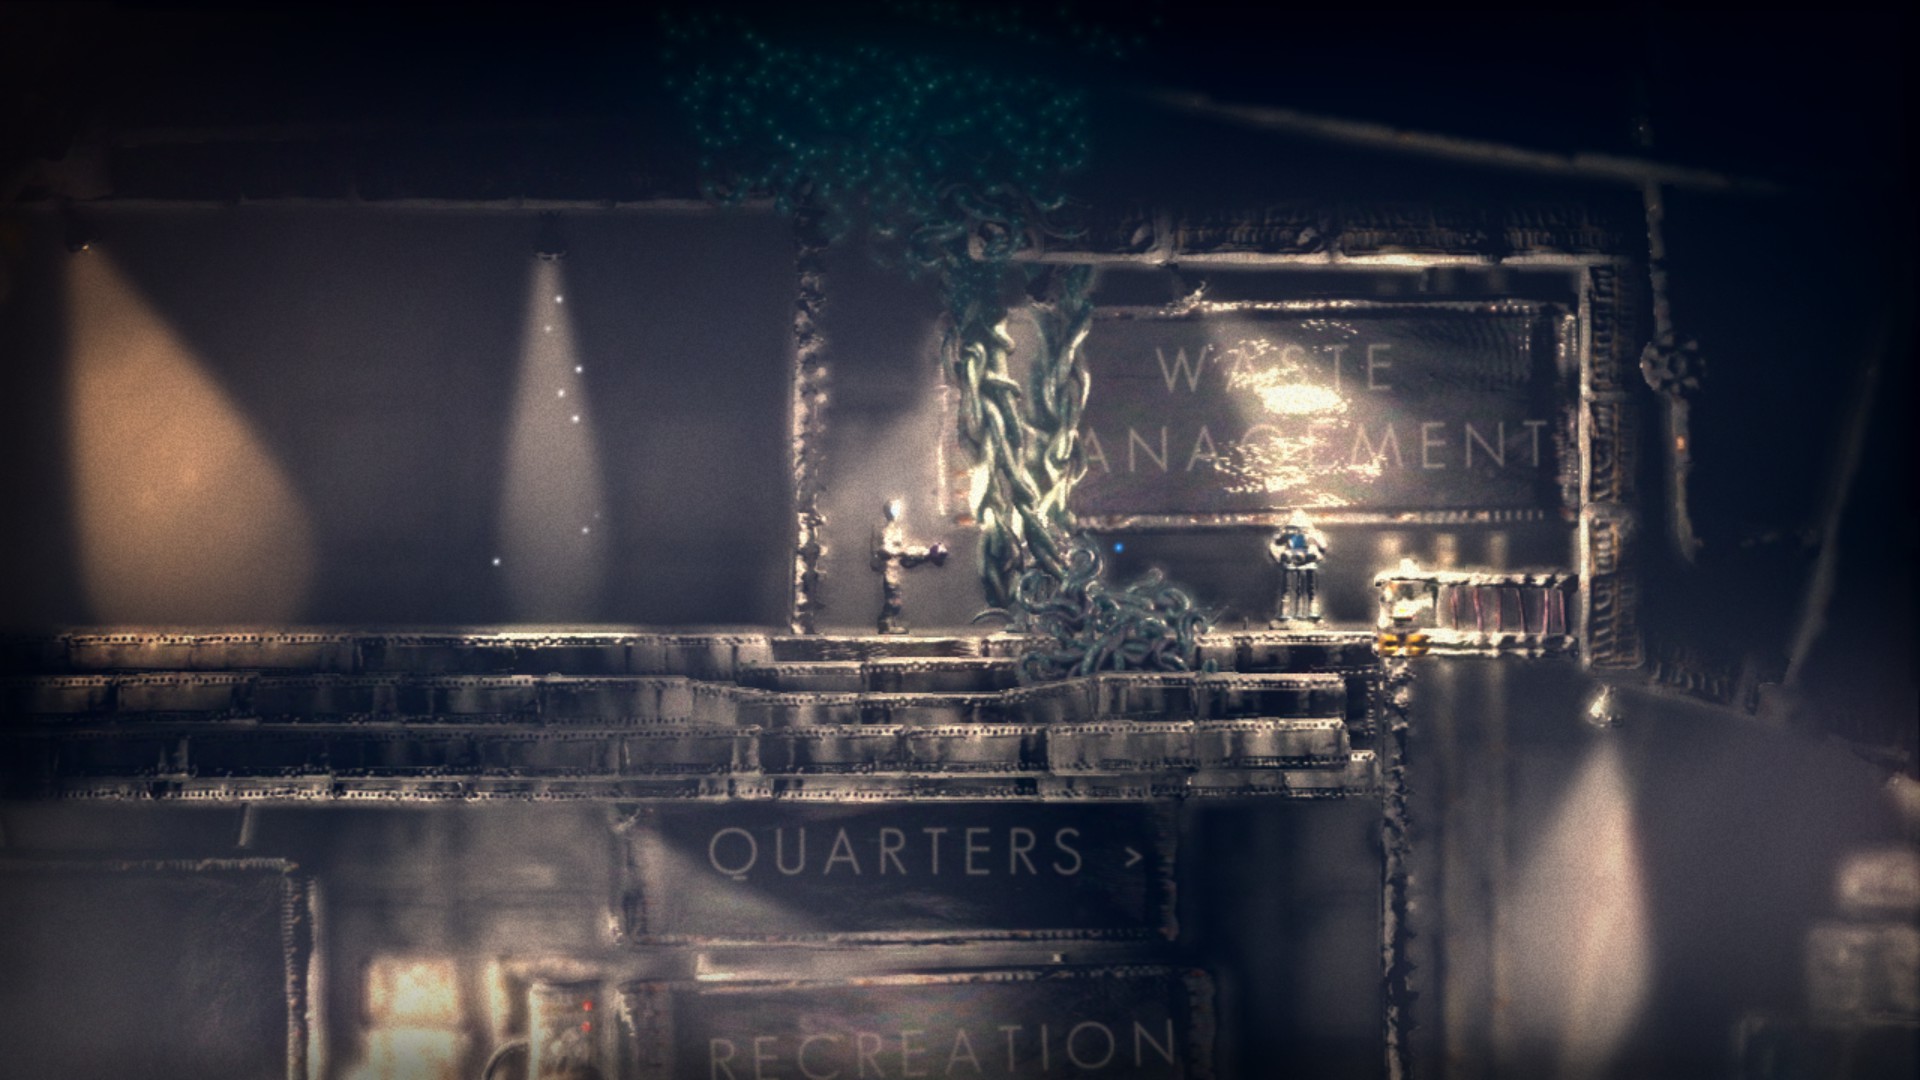
Waste Management
Watcher #8
Location:
Content:

Log #08 – Black Box Download
Location:


Content:

Access Shaft
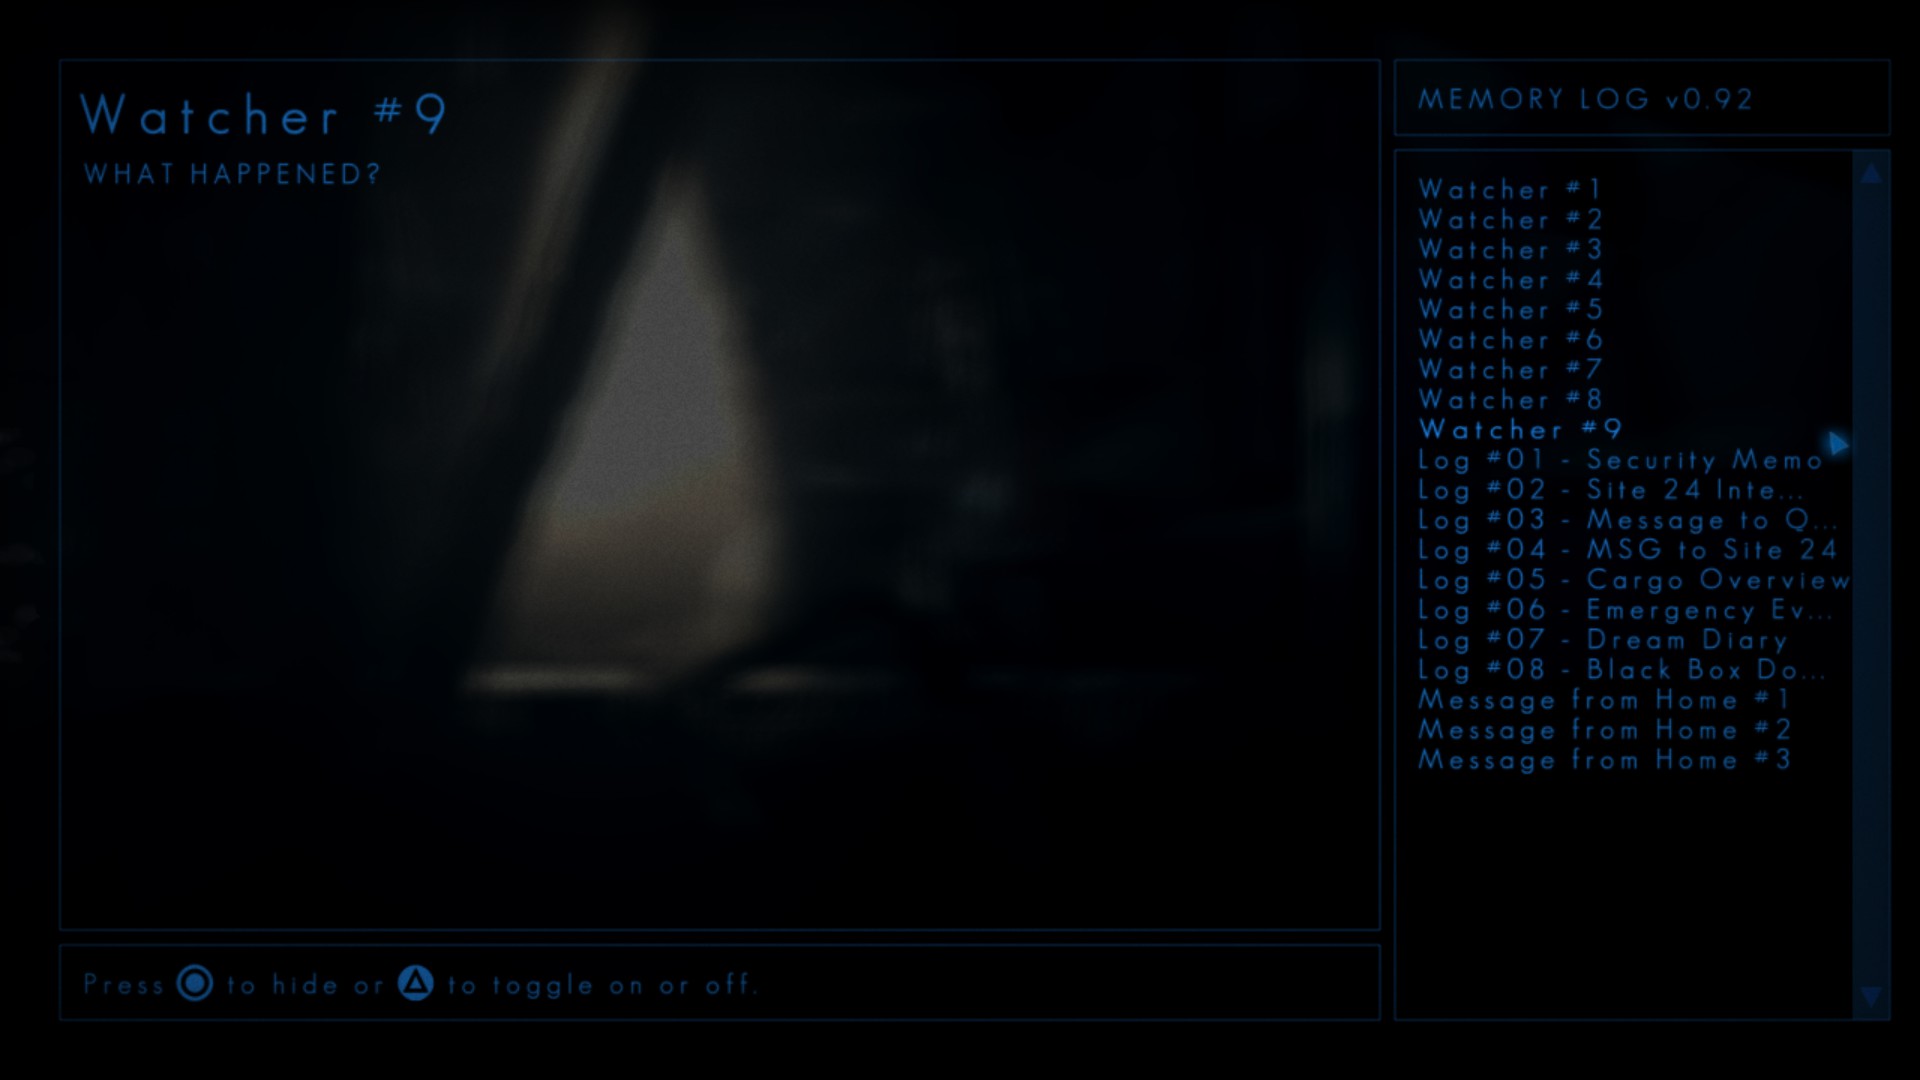
Watcher #9
Location:
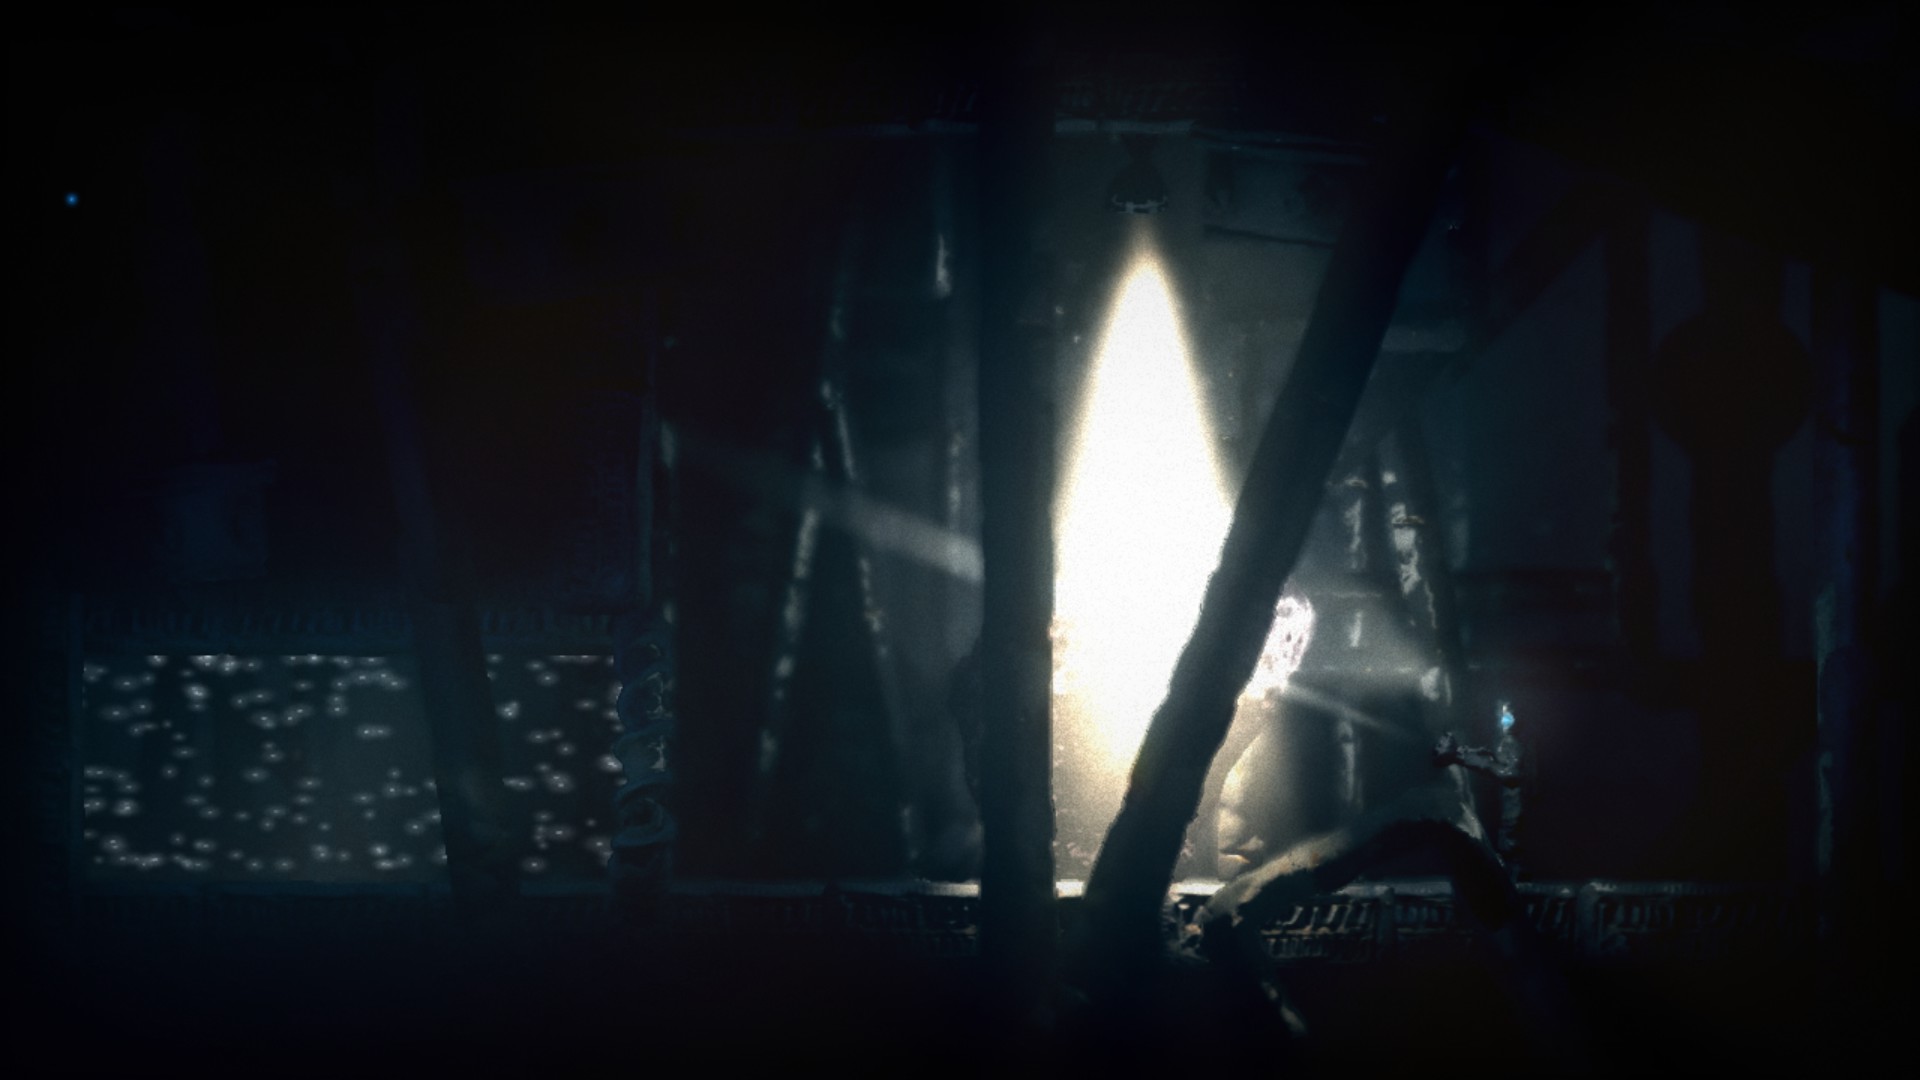
Content:
Hangar (Revisited)
Watcher #10
Location:

Content:

Laboratory Access
Watcher #11
Location:

Content:
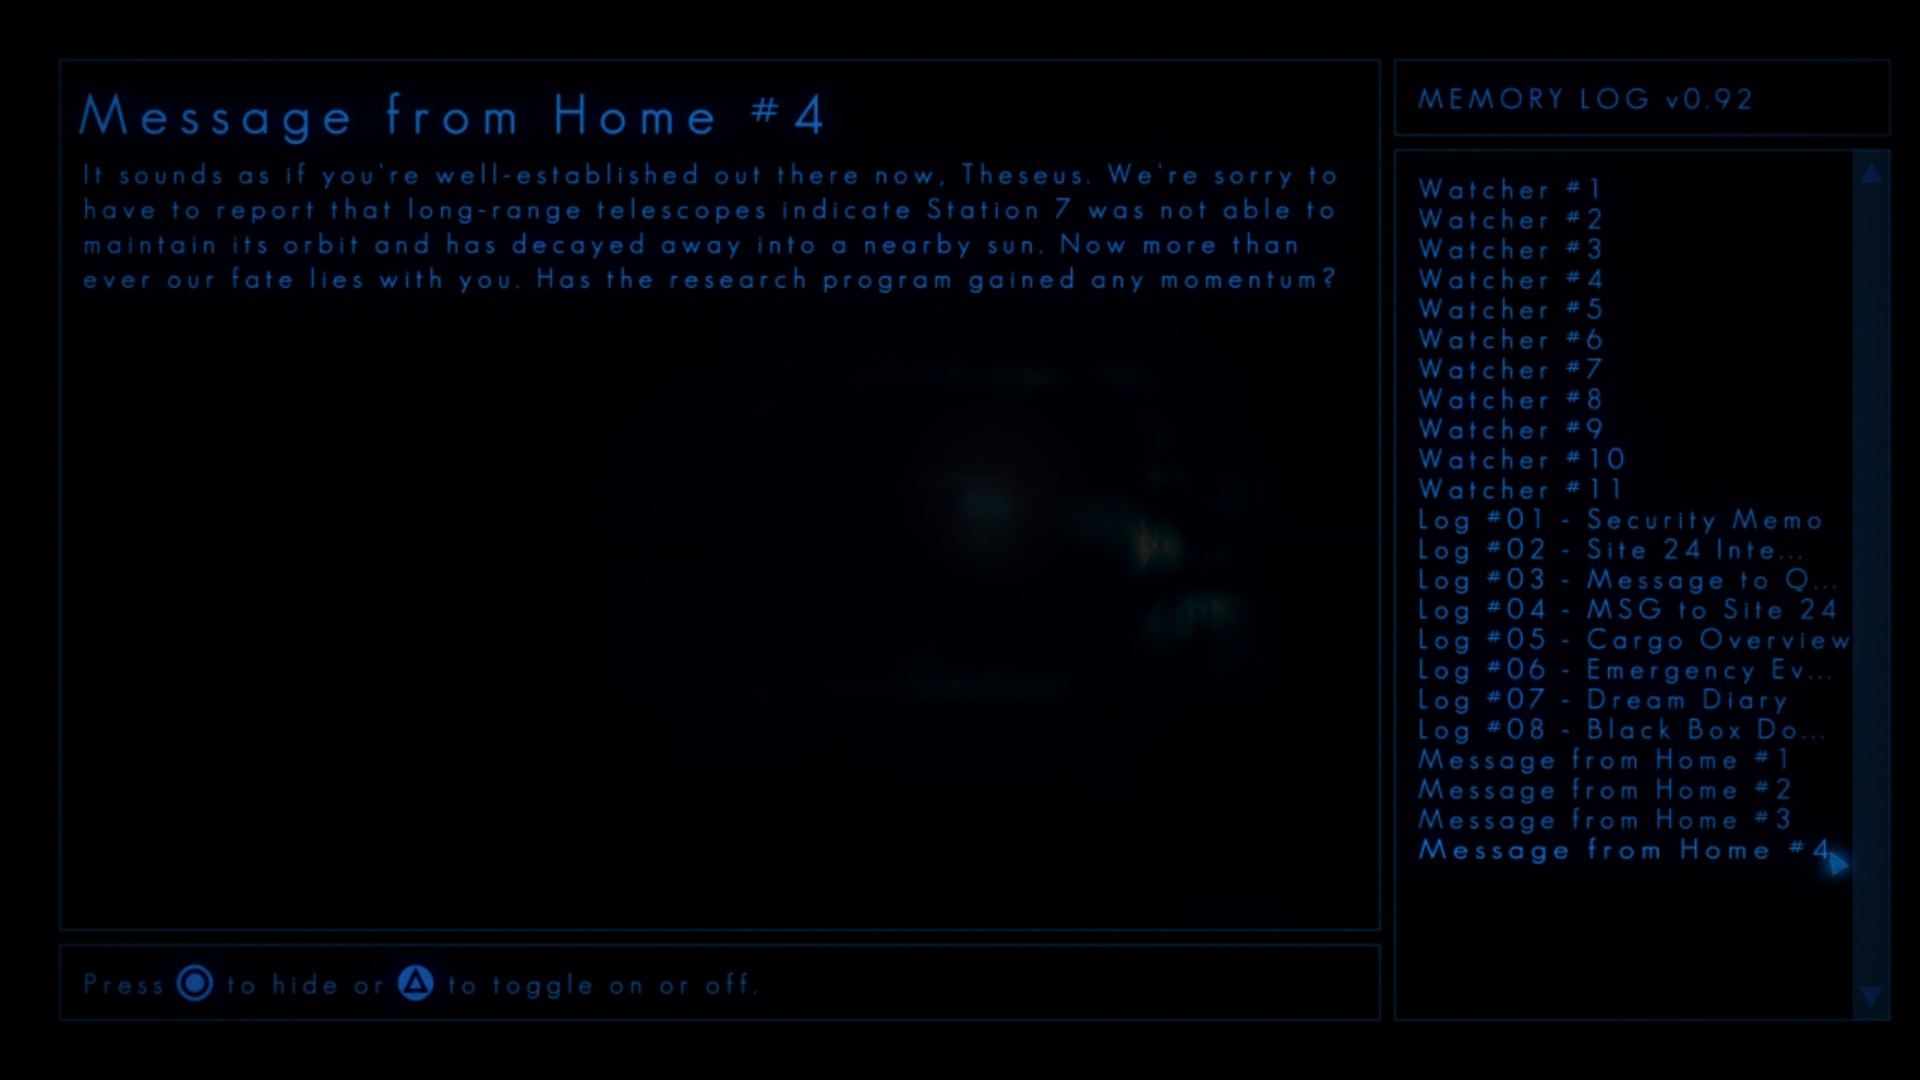
Message from Home #4
Location:
Content:
Planet Survey
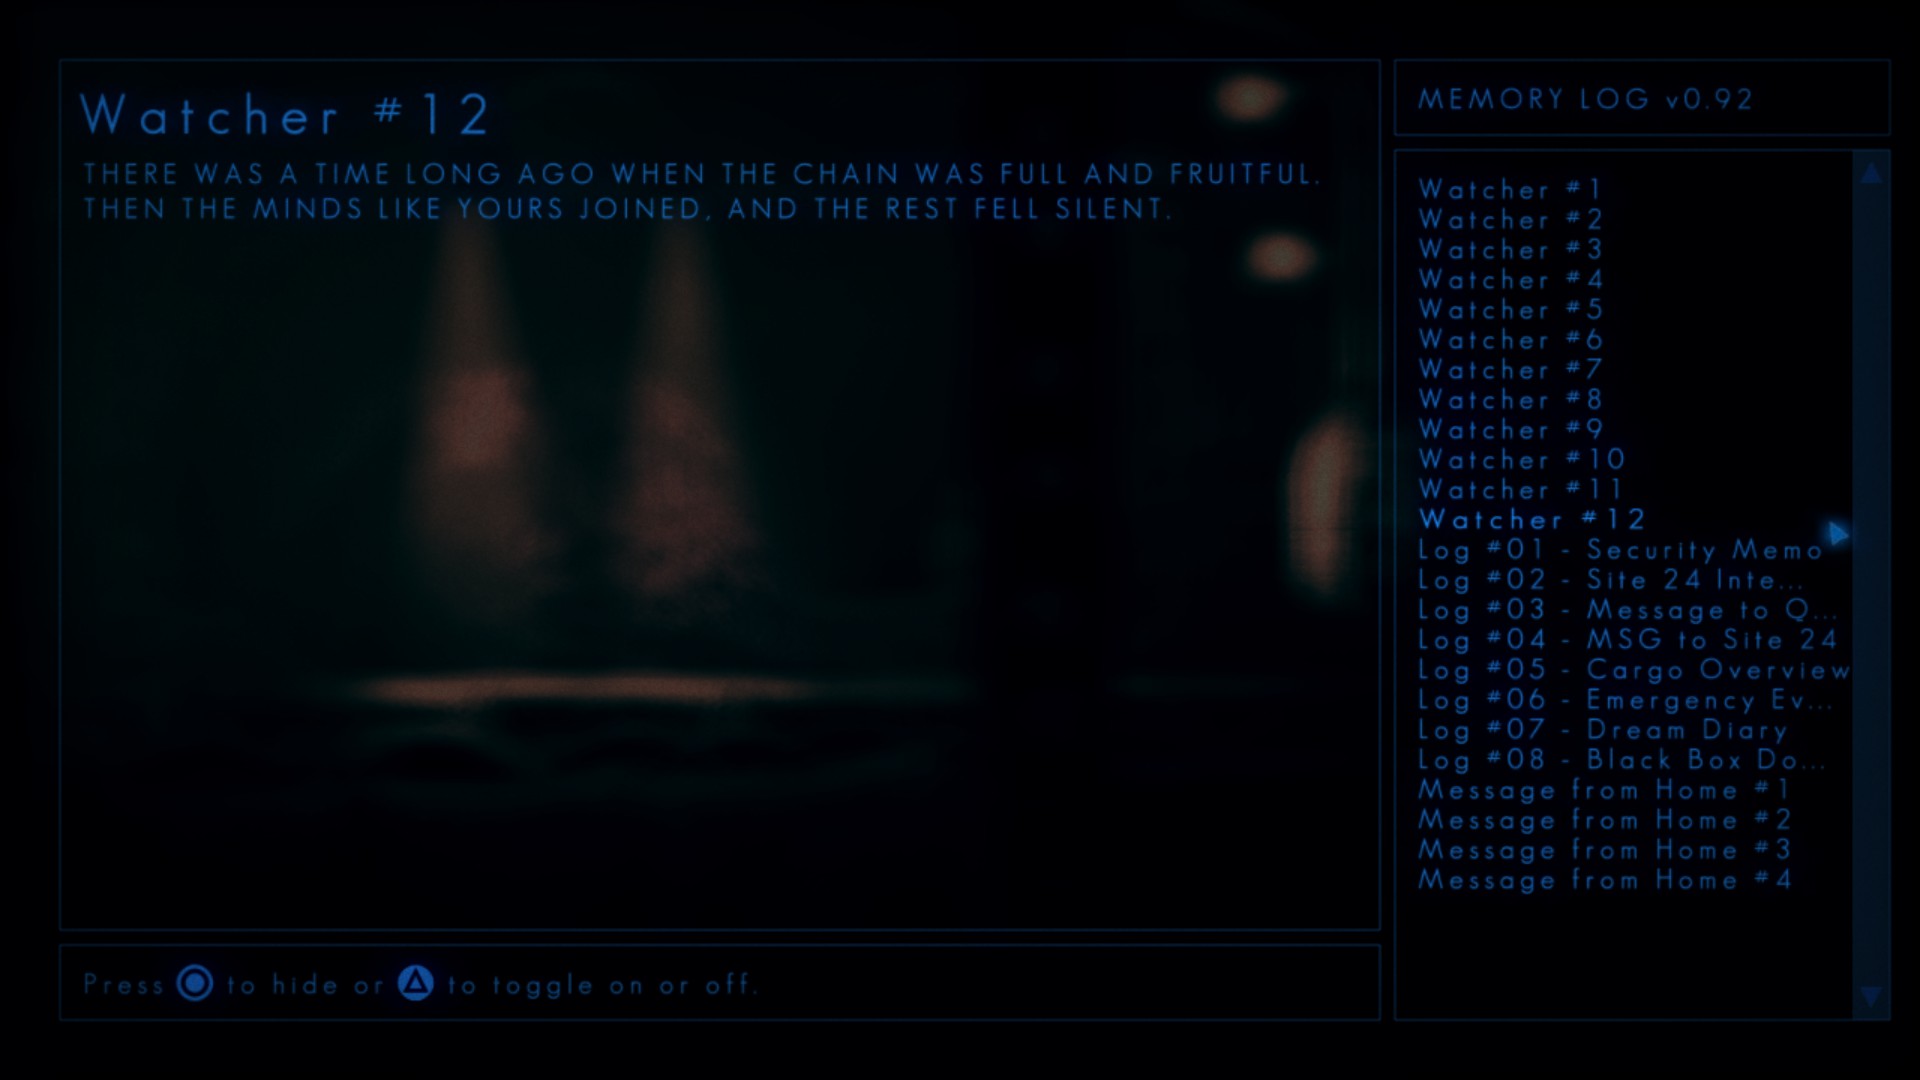
Watcher #12
Location:

Content:
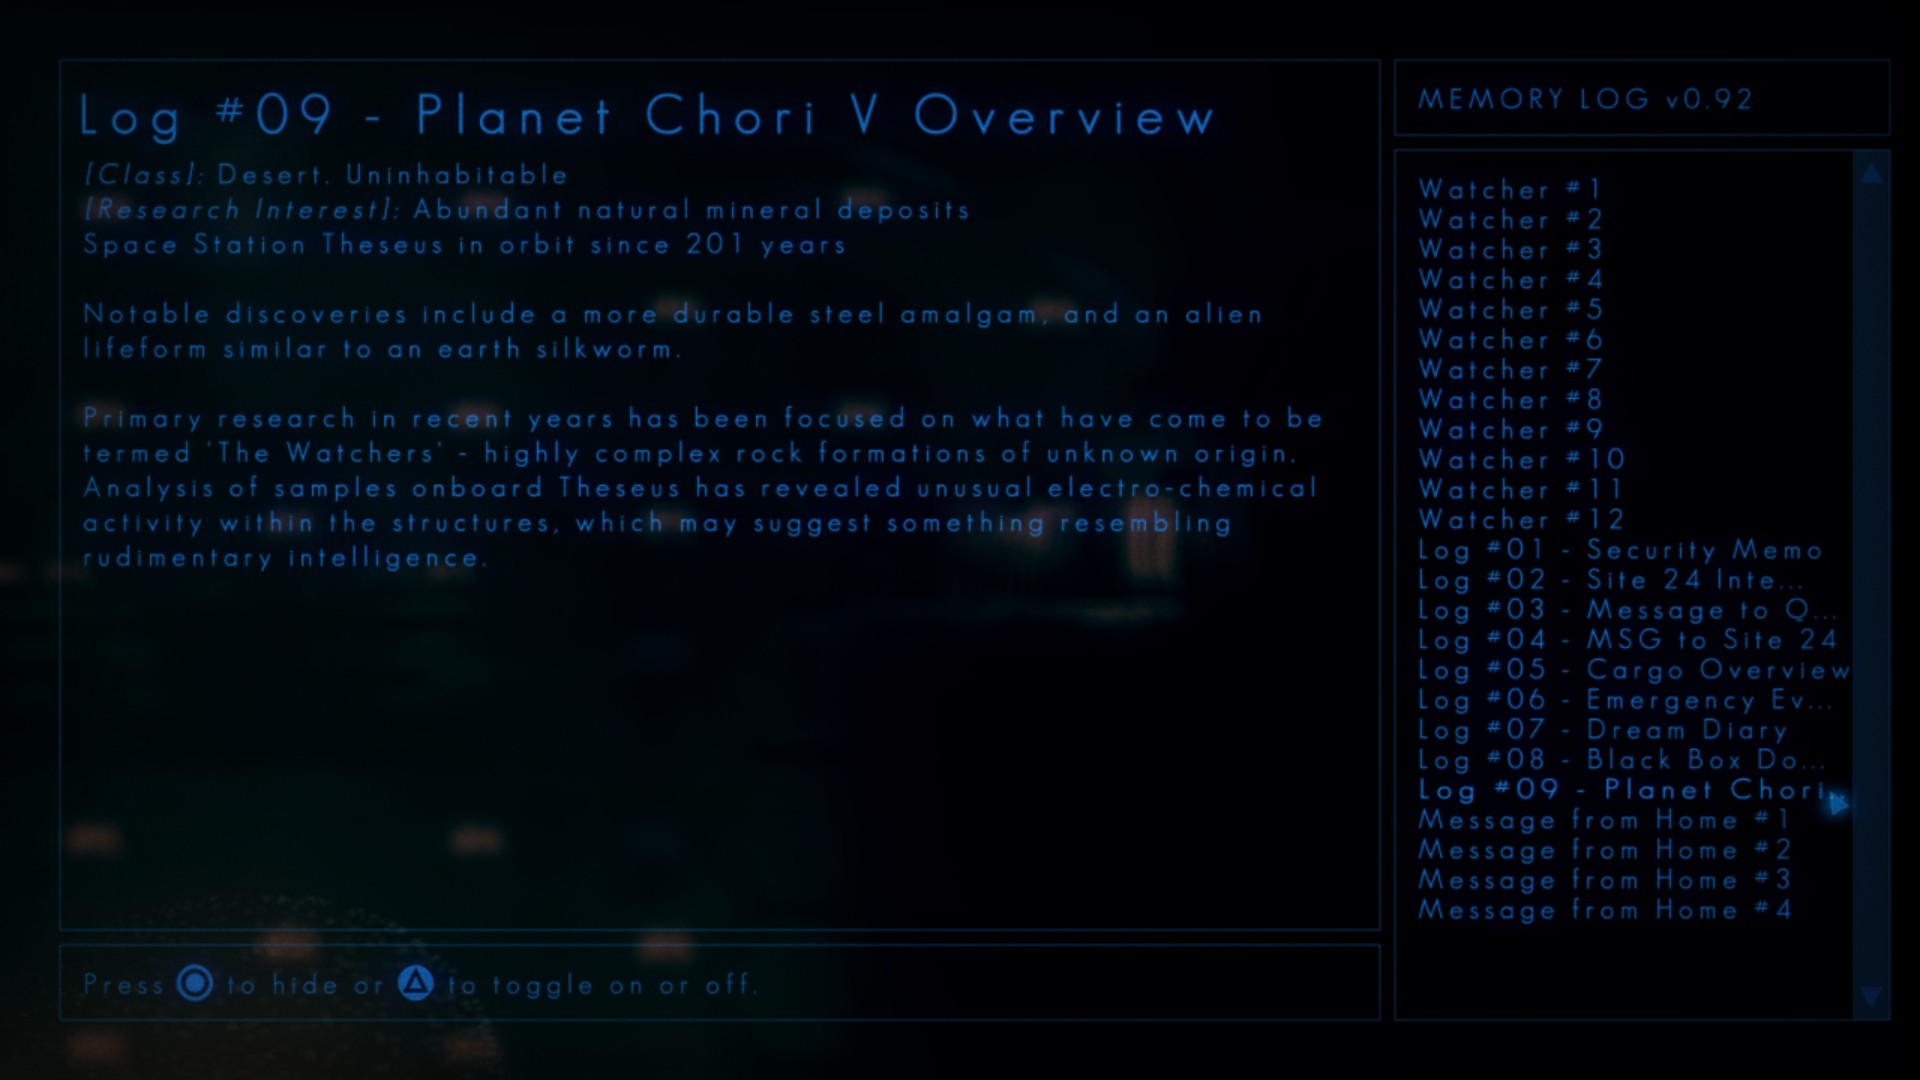
Log #09 – Planet Chori V Overview
Location:
Content:
Laboratory Access (Revisited)
Watcher #13
Location:
Content:
Watcher #14
Location:
Content:
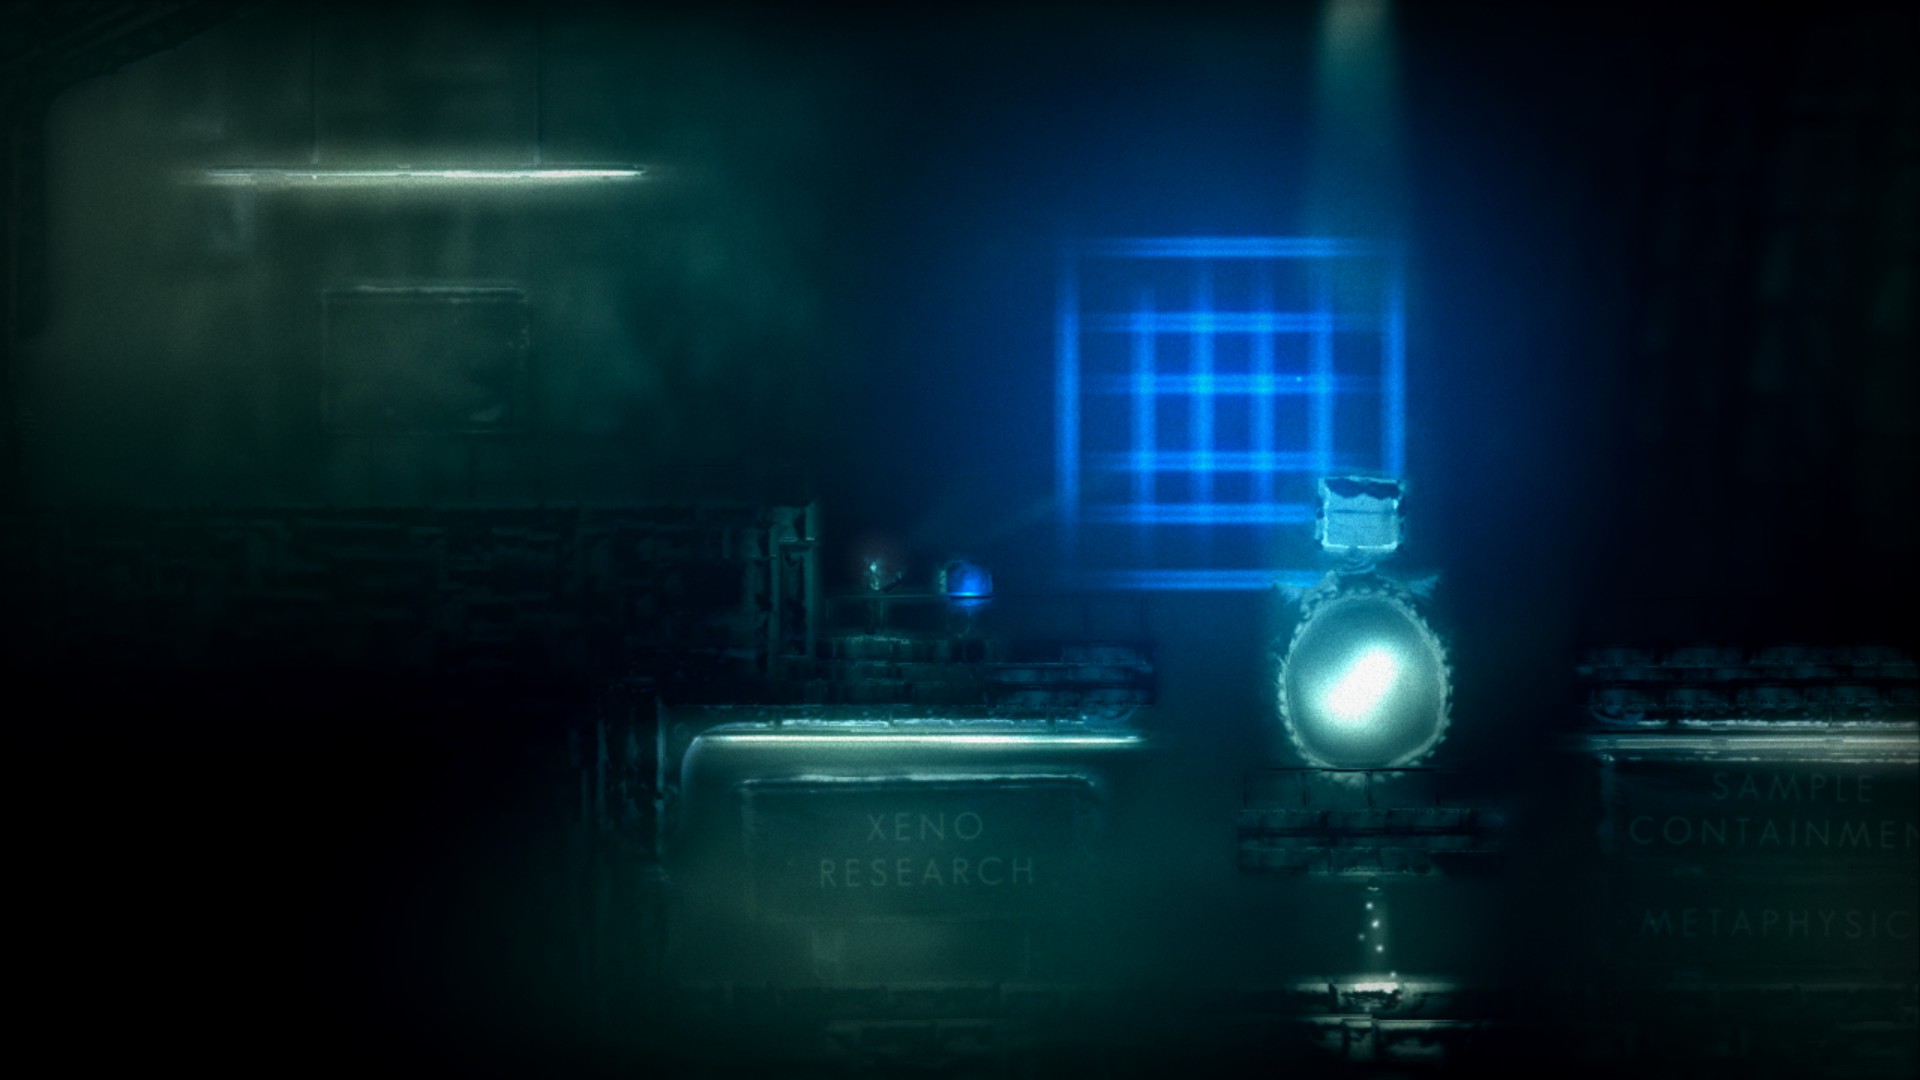
High Security Laboratories
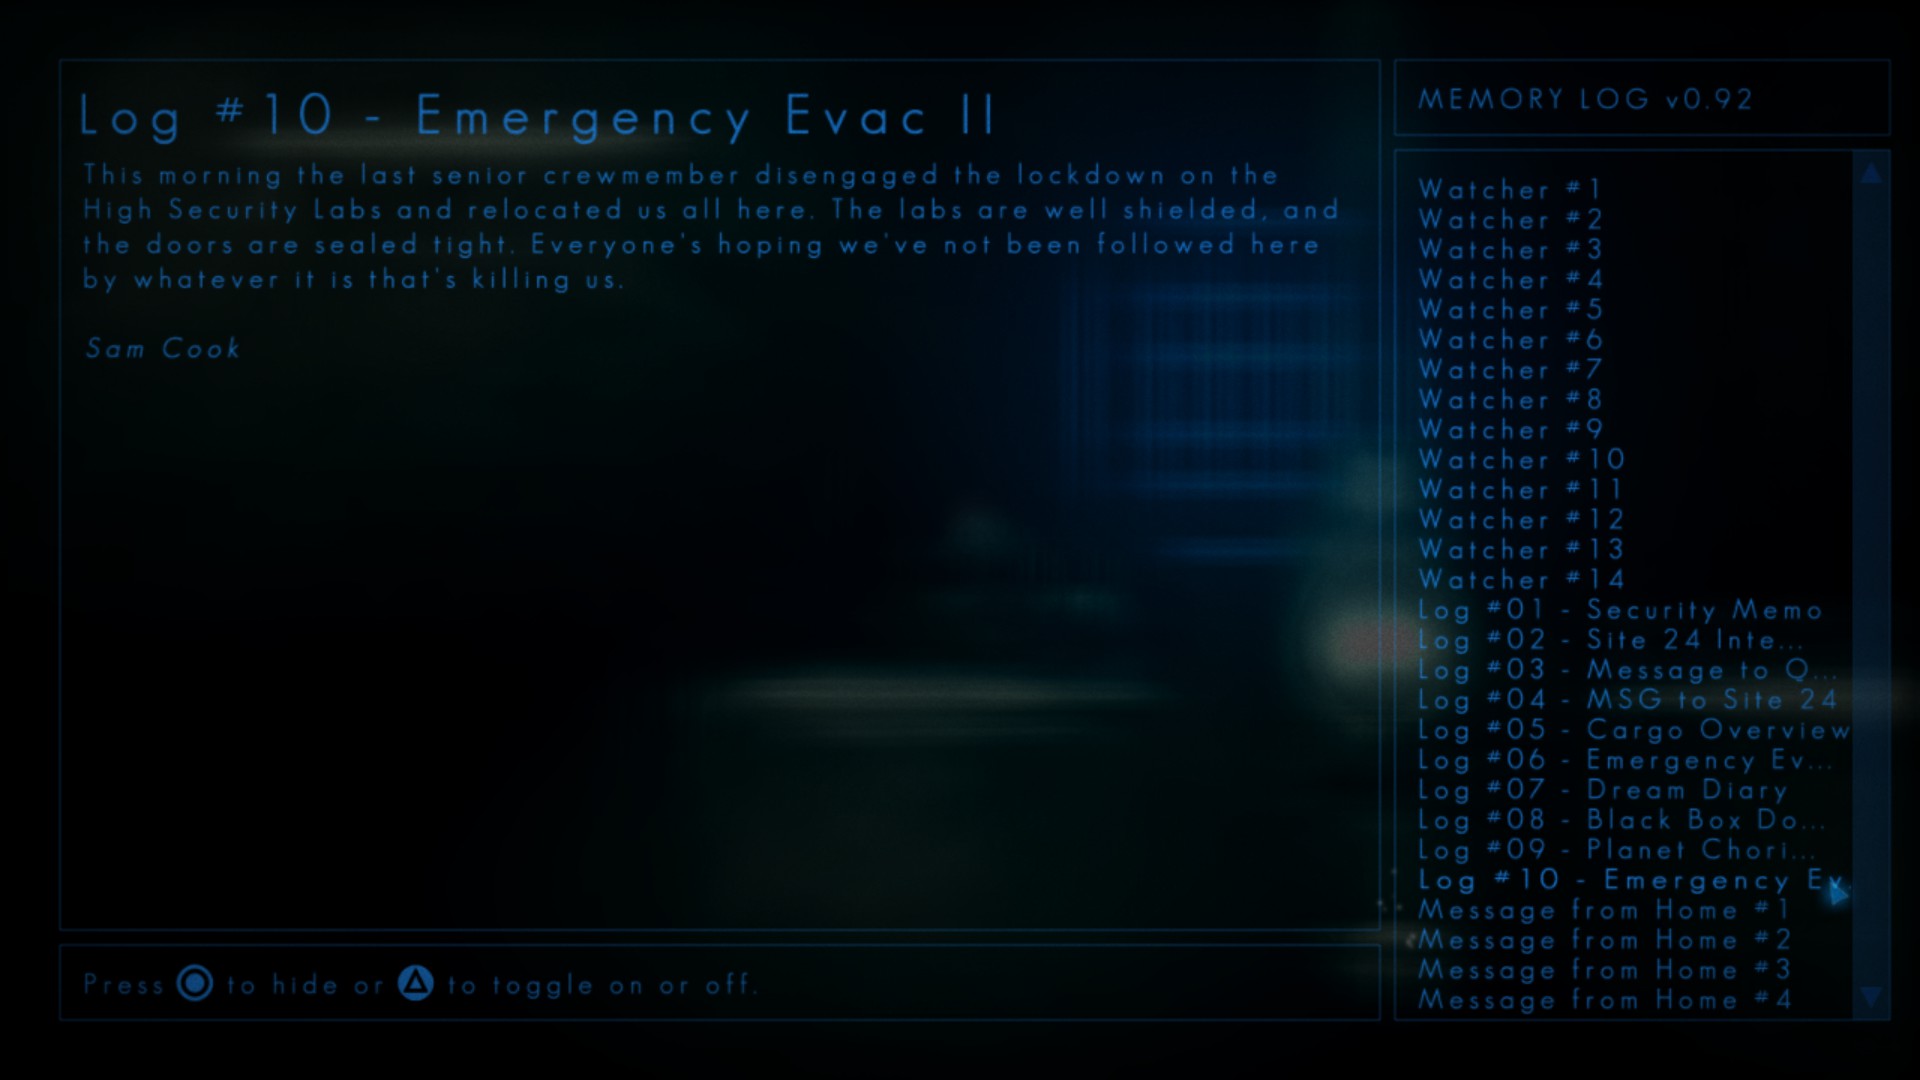
Log #10 – Emergency Evac II
Location:
Content:
Xeno Technology Research
Message from Home #5
Location:

Content:

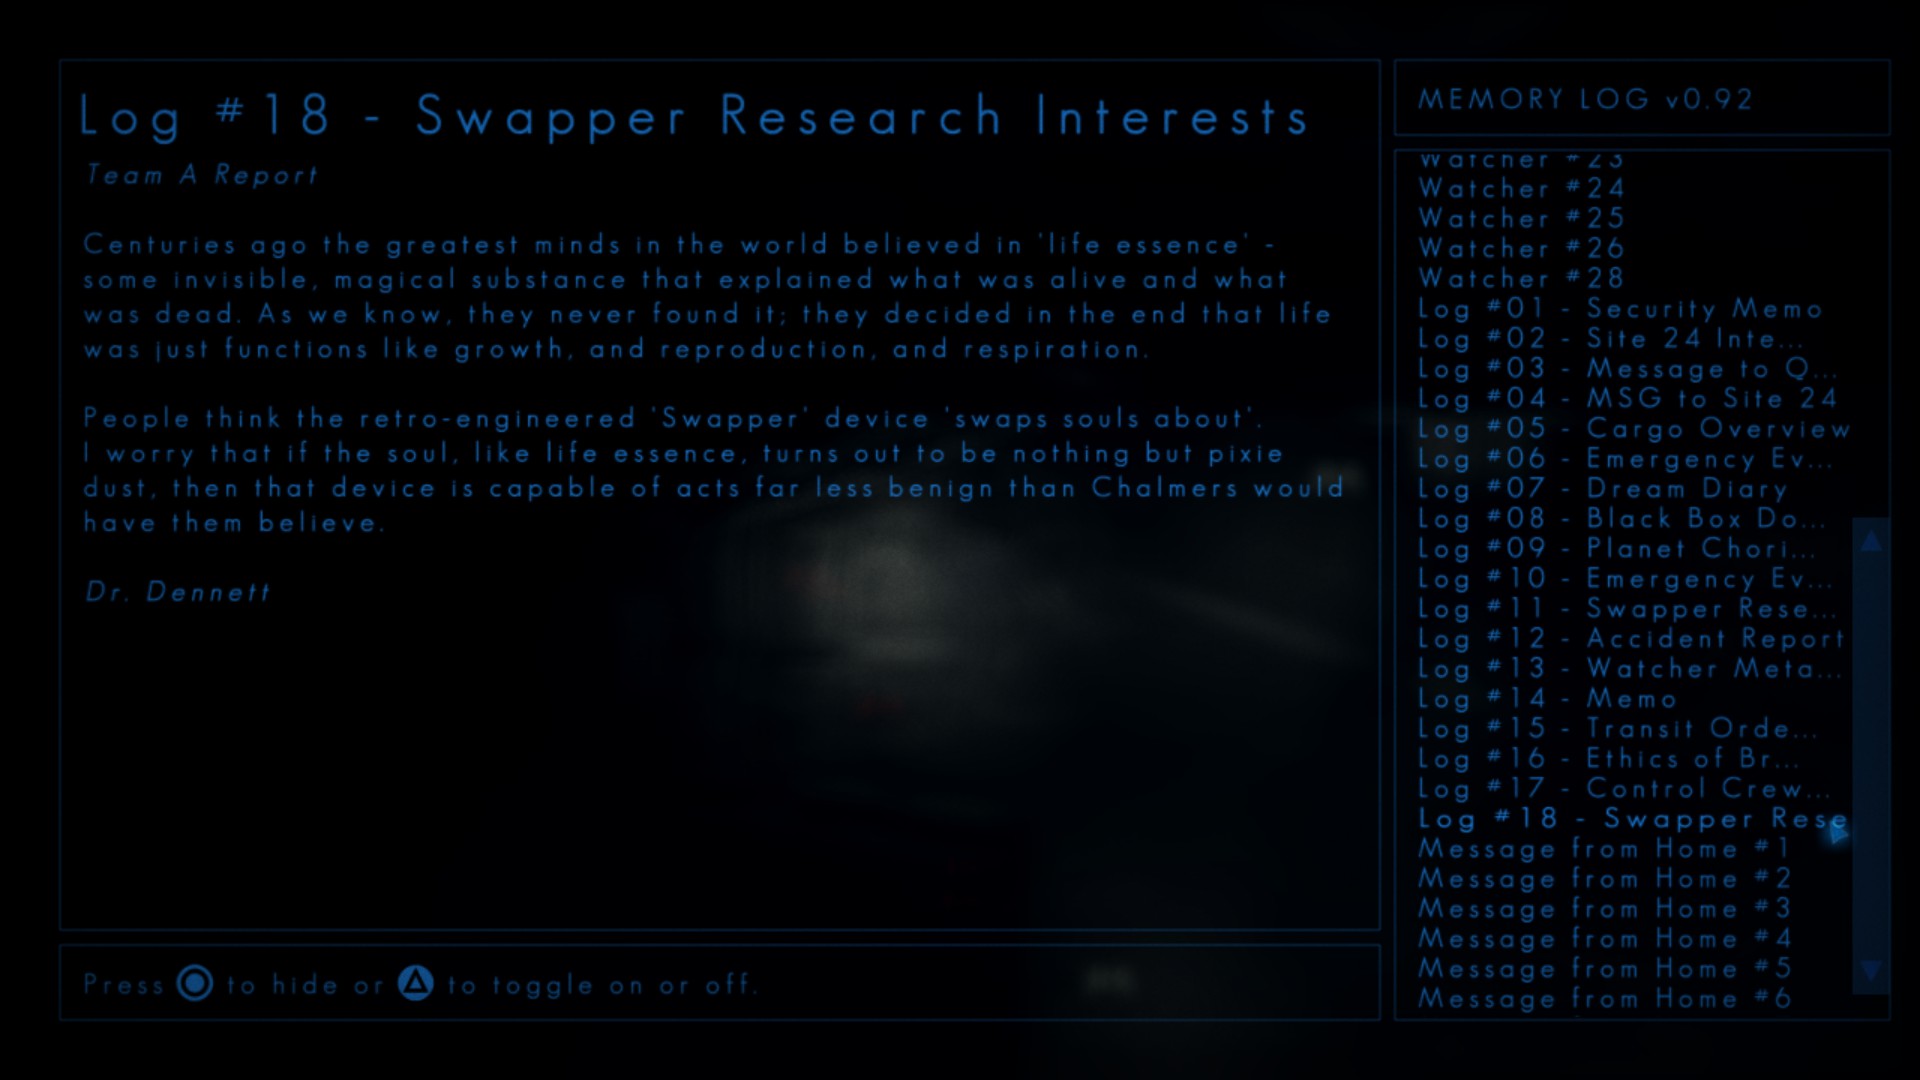
Log #11 – Swapper Research Interests
Location:

Content:

Watcher #15
Location:

Content:
Message from Home #6
Location:


Content:
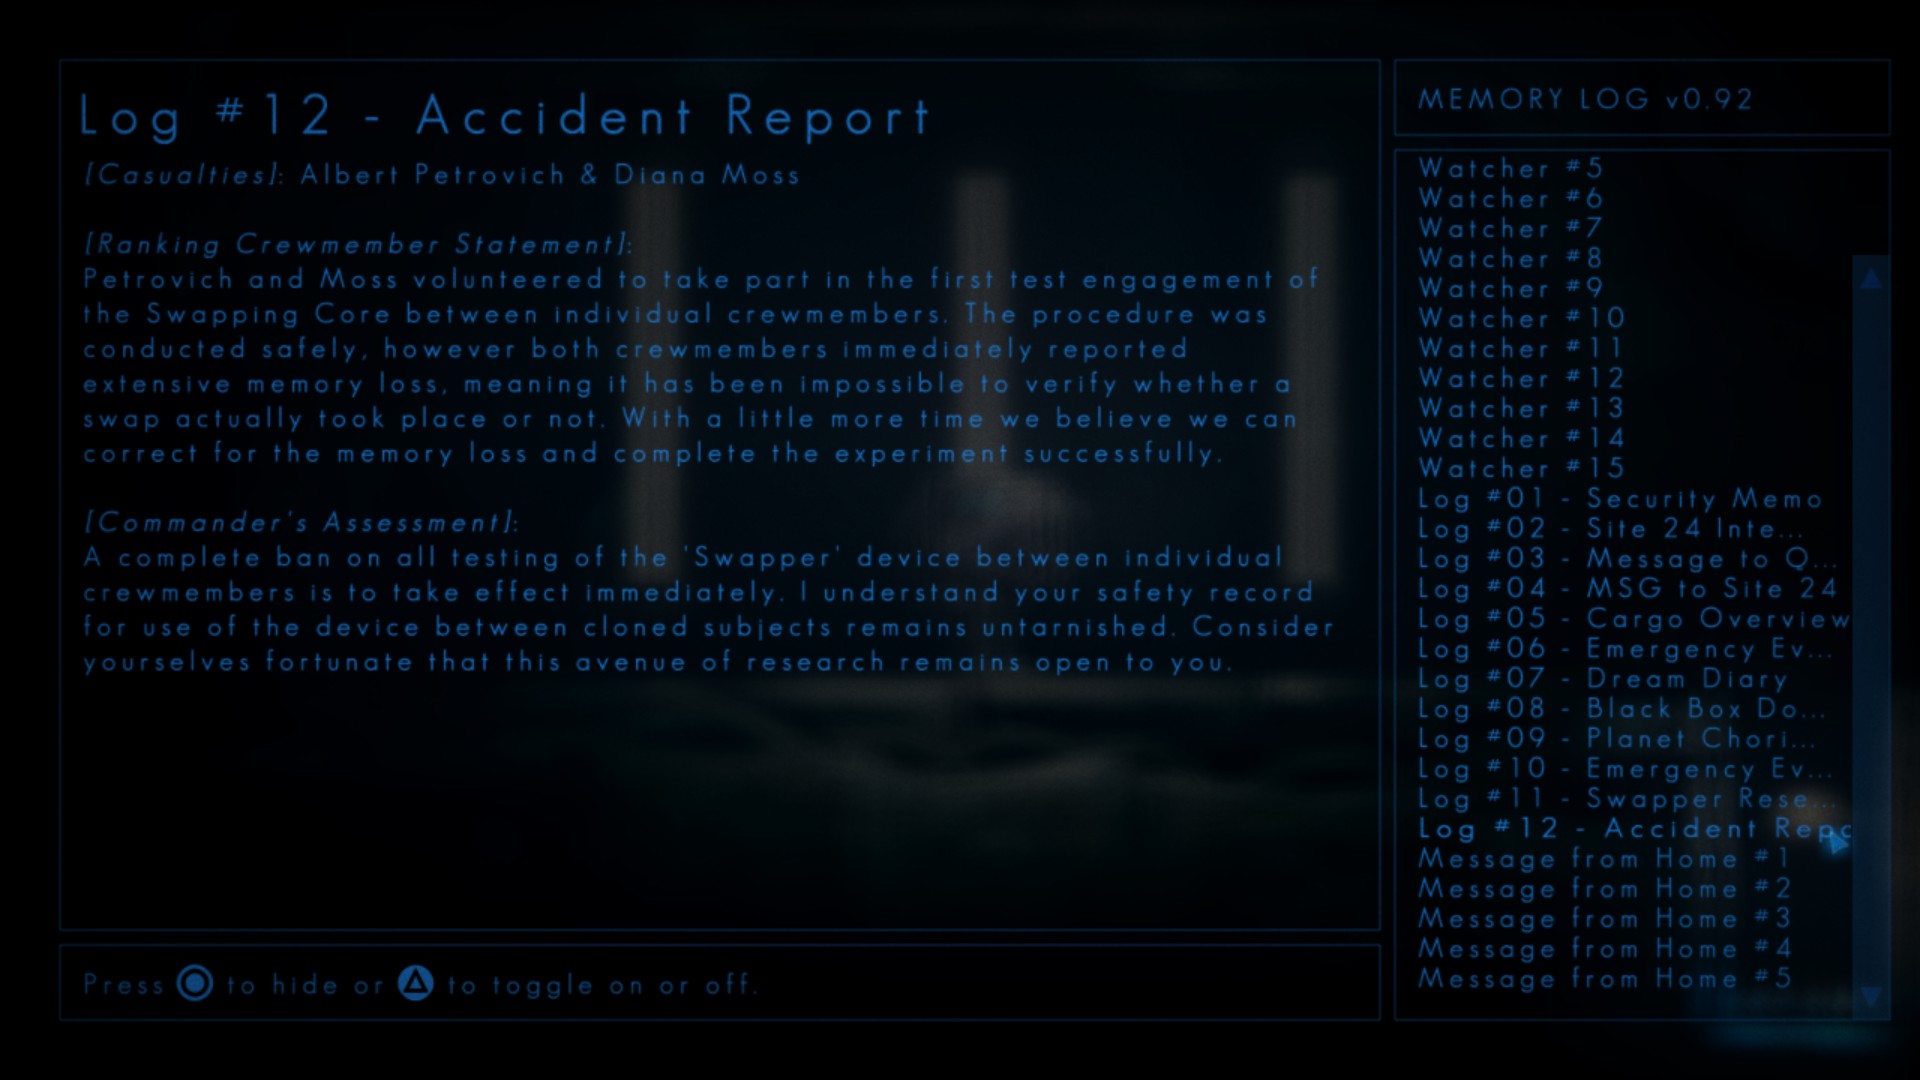
Log #12 – Accident Report
Location:
Content:
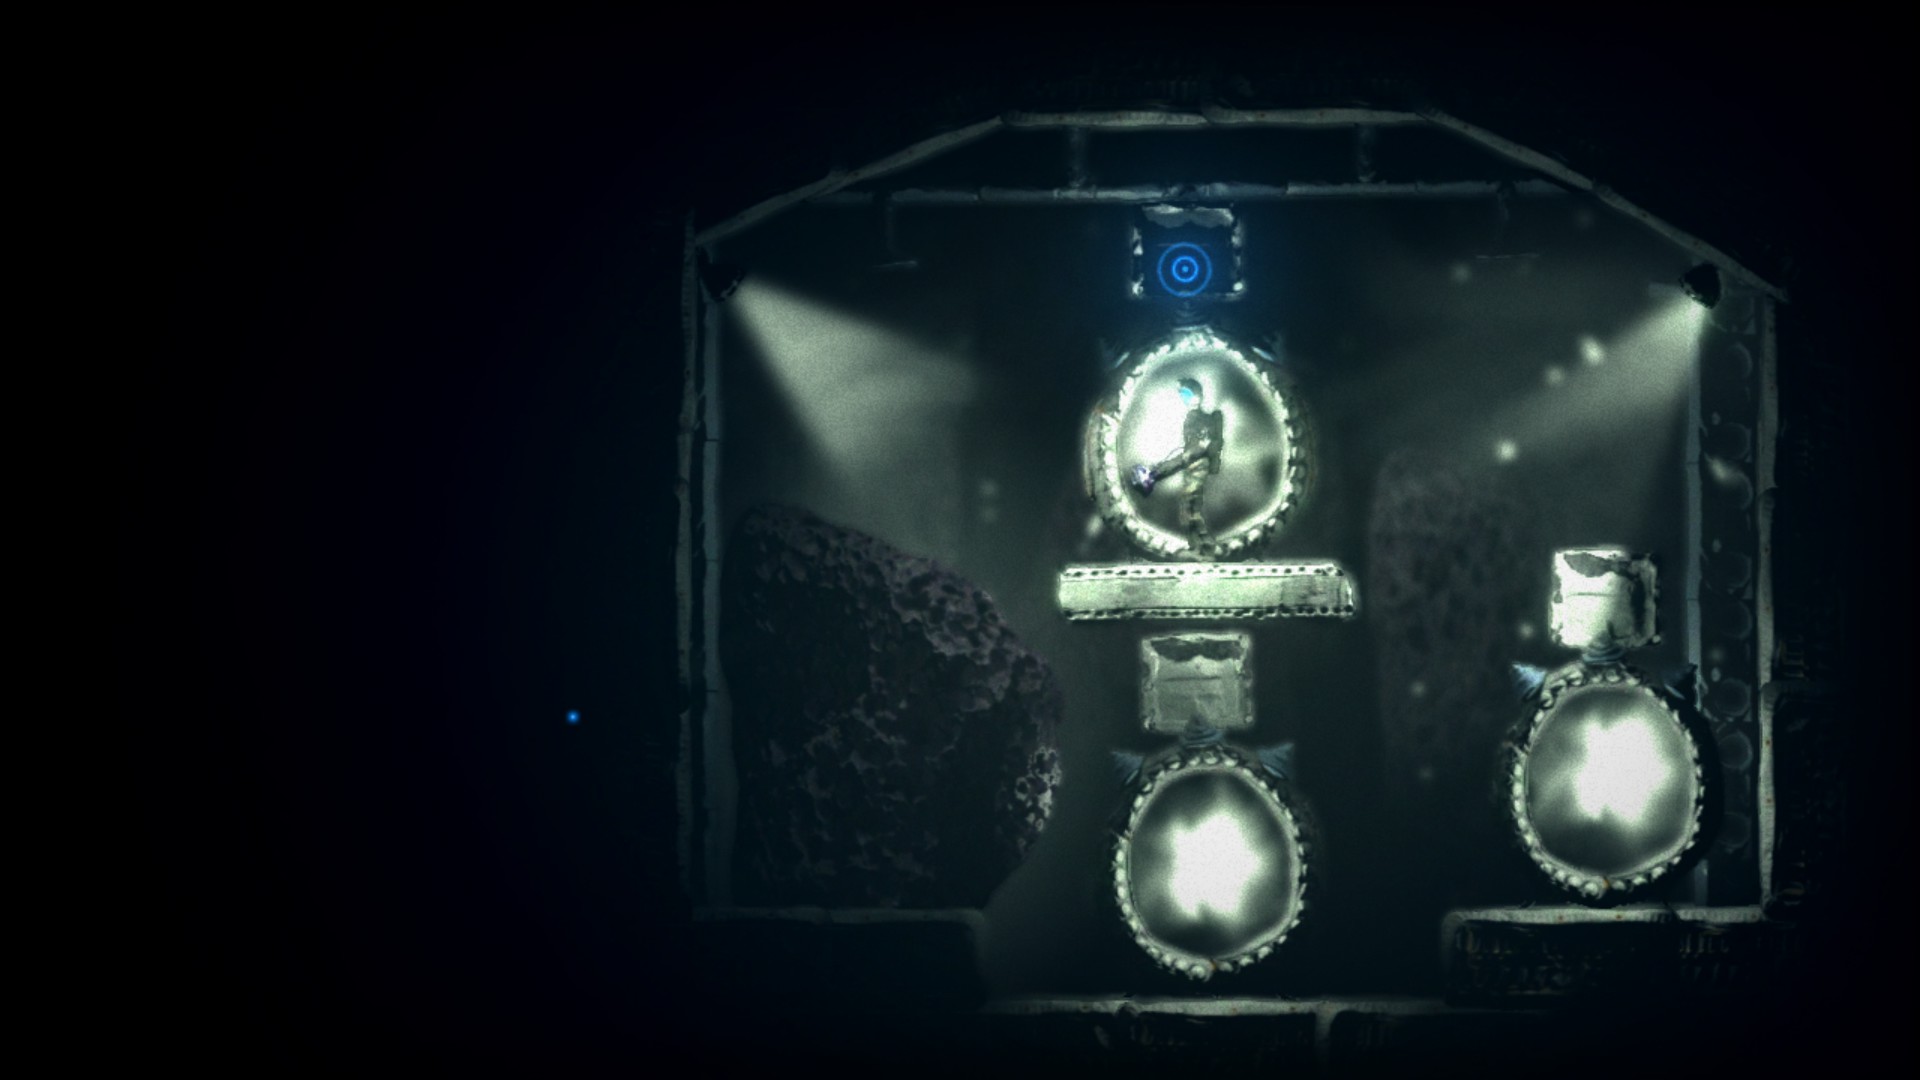
Research Sample Containment
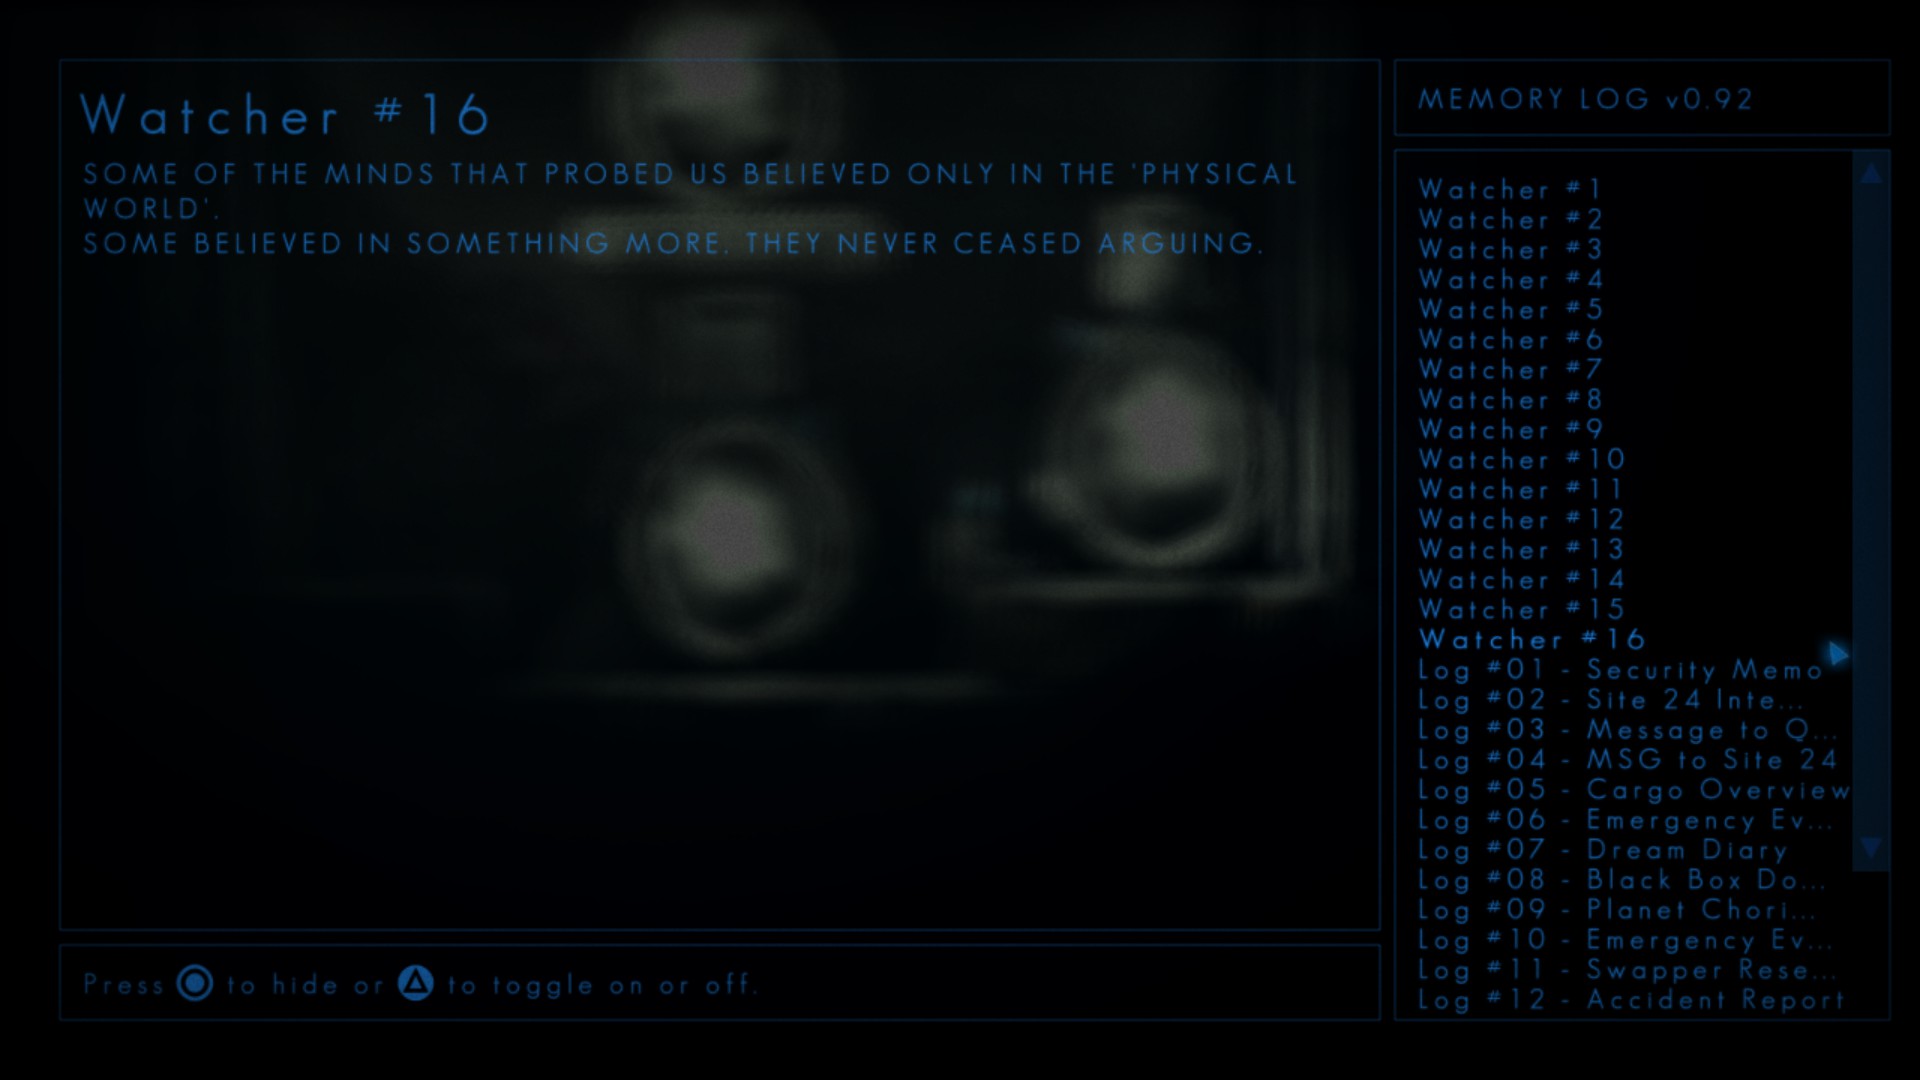
Watcher #16
Location:

Content:
Watcher #17
Location:
Content:
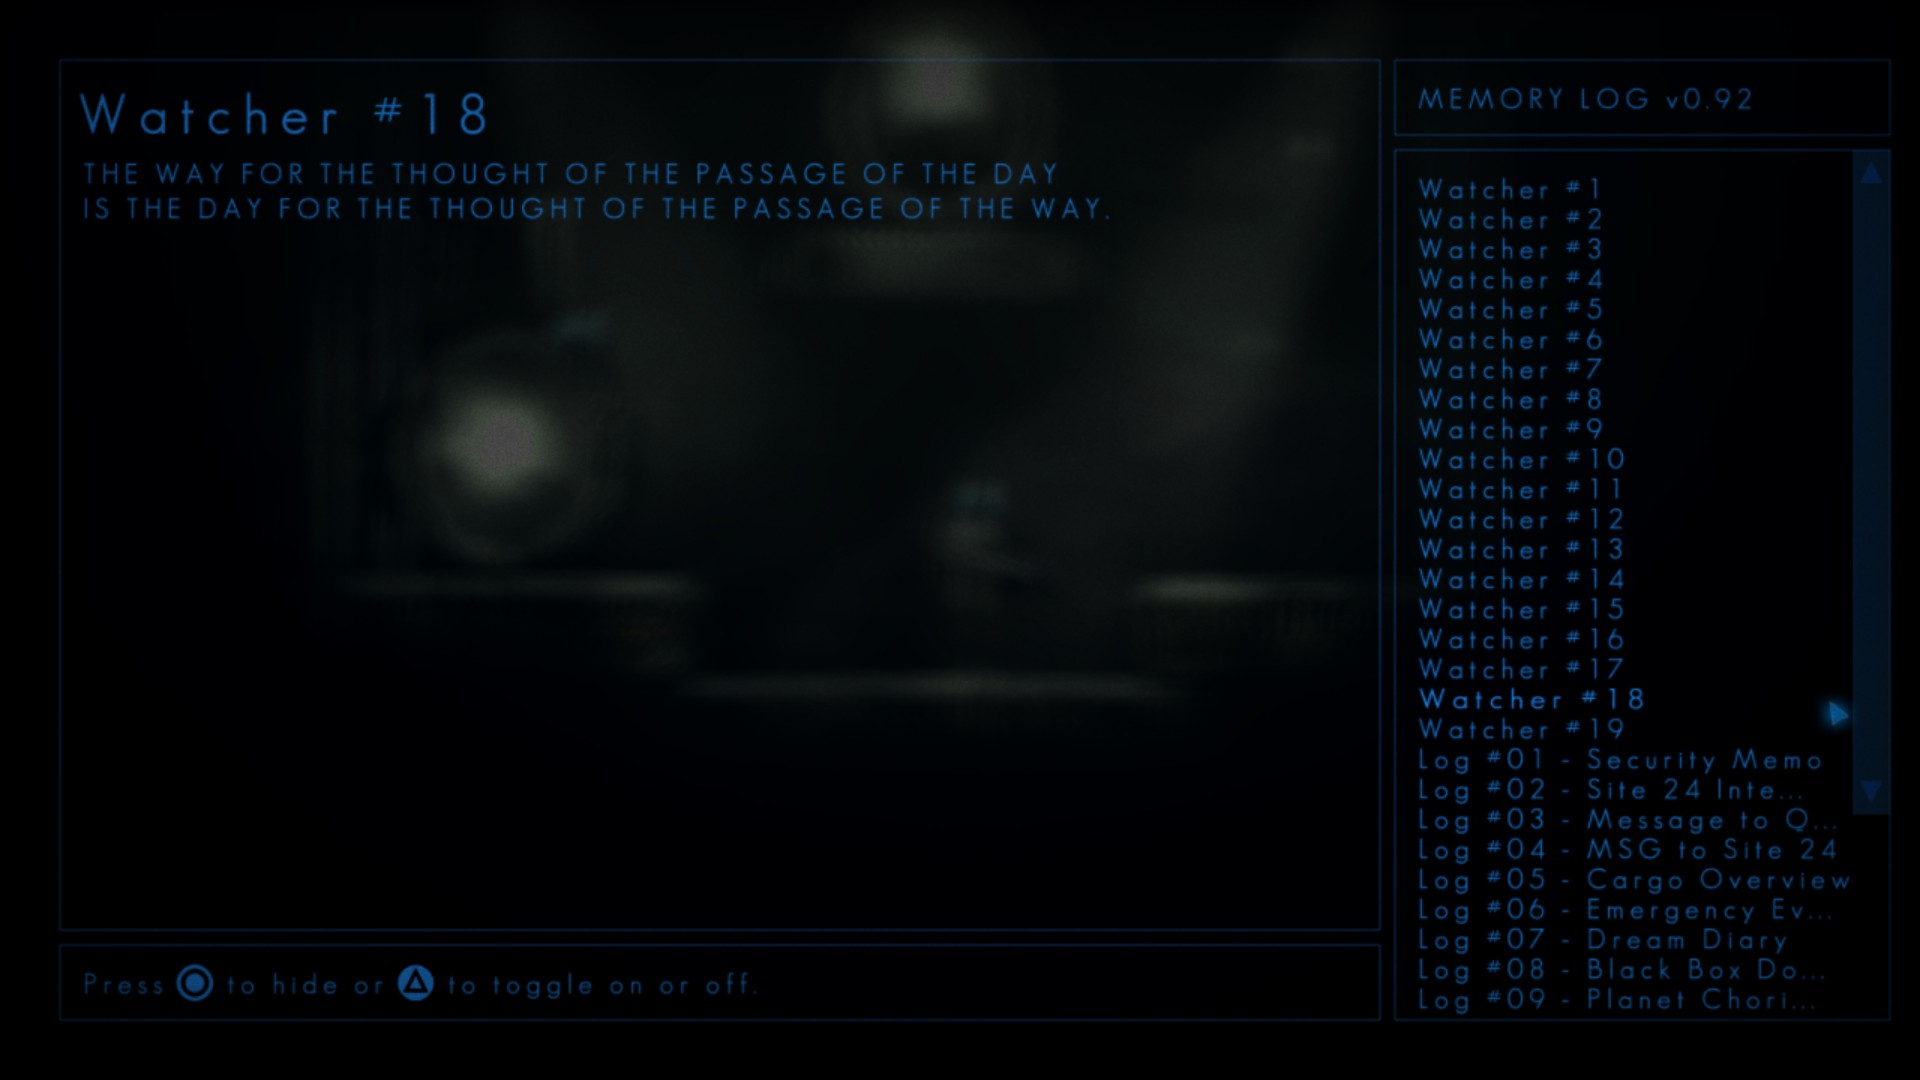
Watcher #18
Location:
Content:
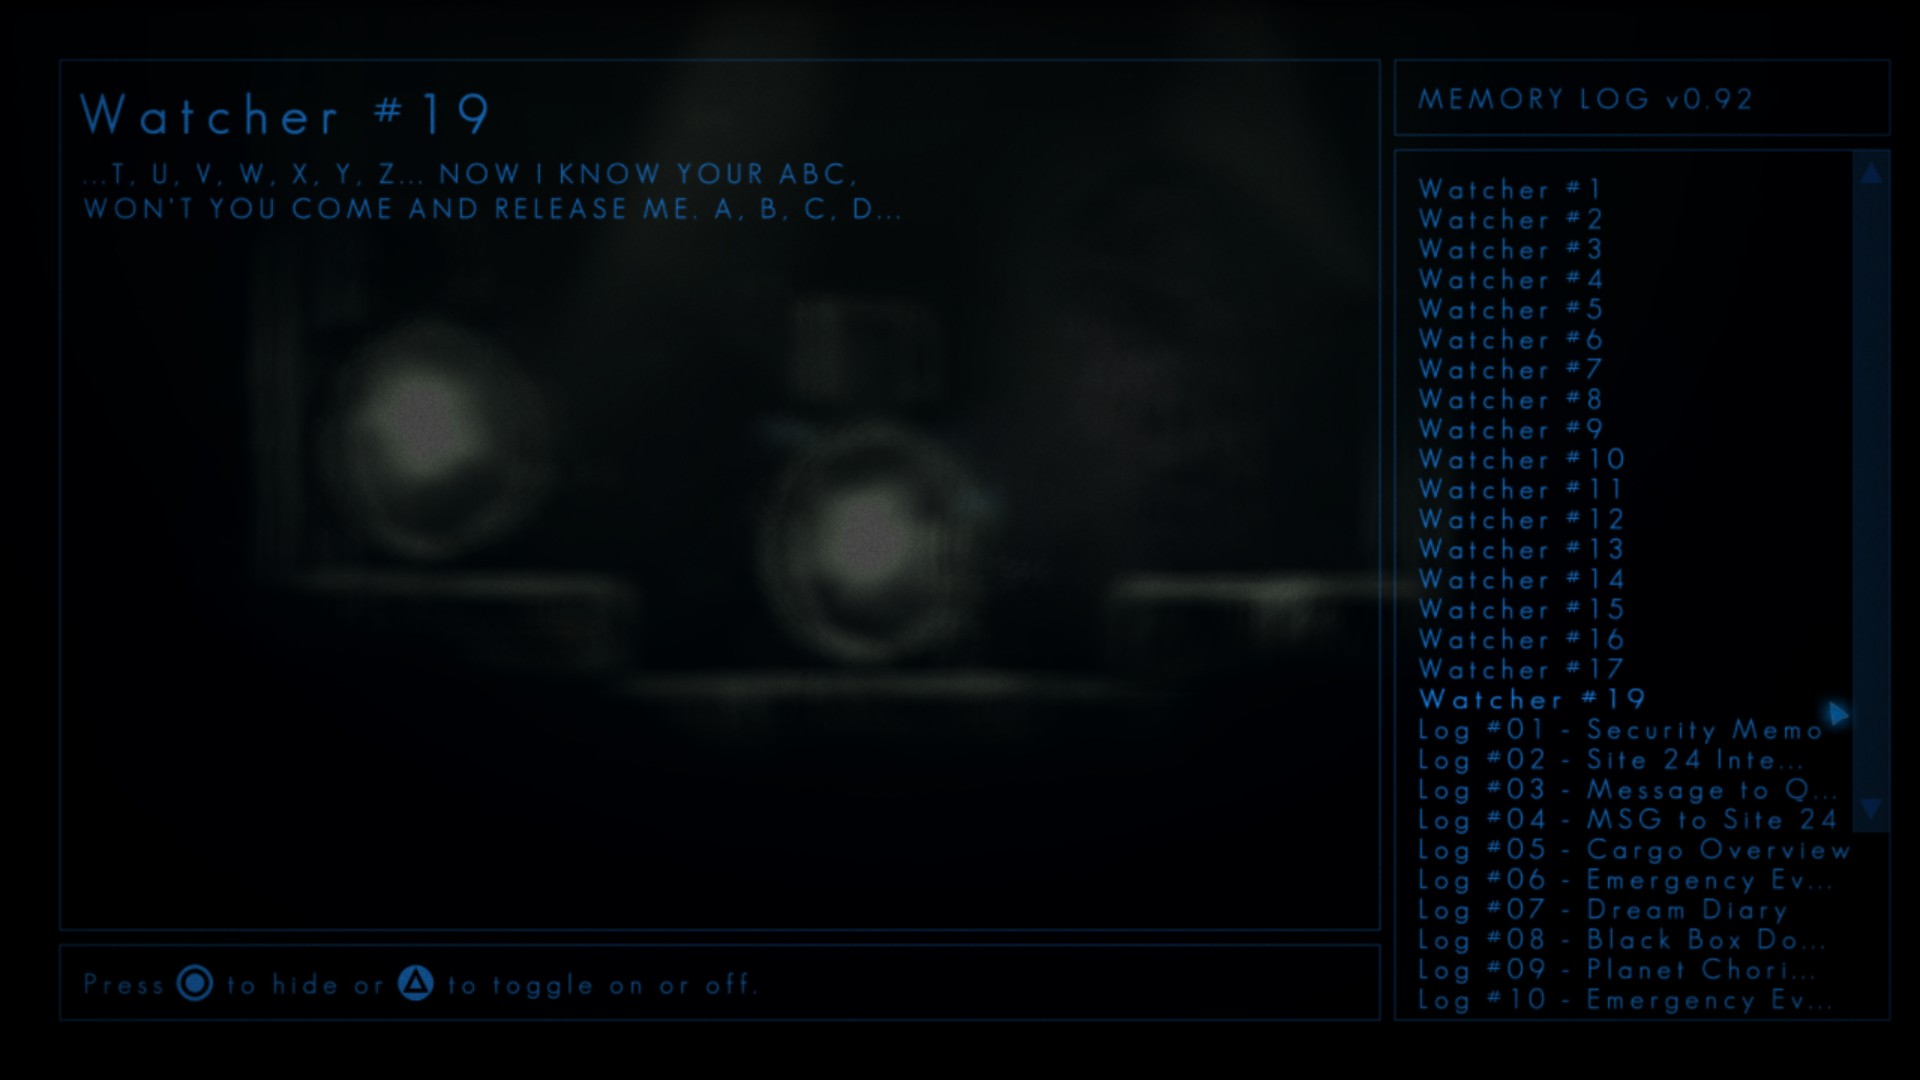
Watcher #19
Location:
Content:
Metaphysics
Log #14 – Memo
Location:

Content:
Watcher #20
Location:
Content:
Log #13 – Watcher Metaphysics
Location:
Content:

MISSABLE WARNING #4
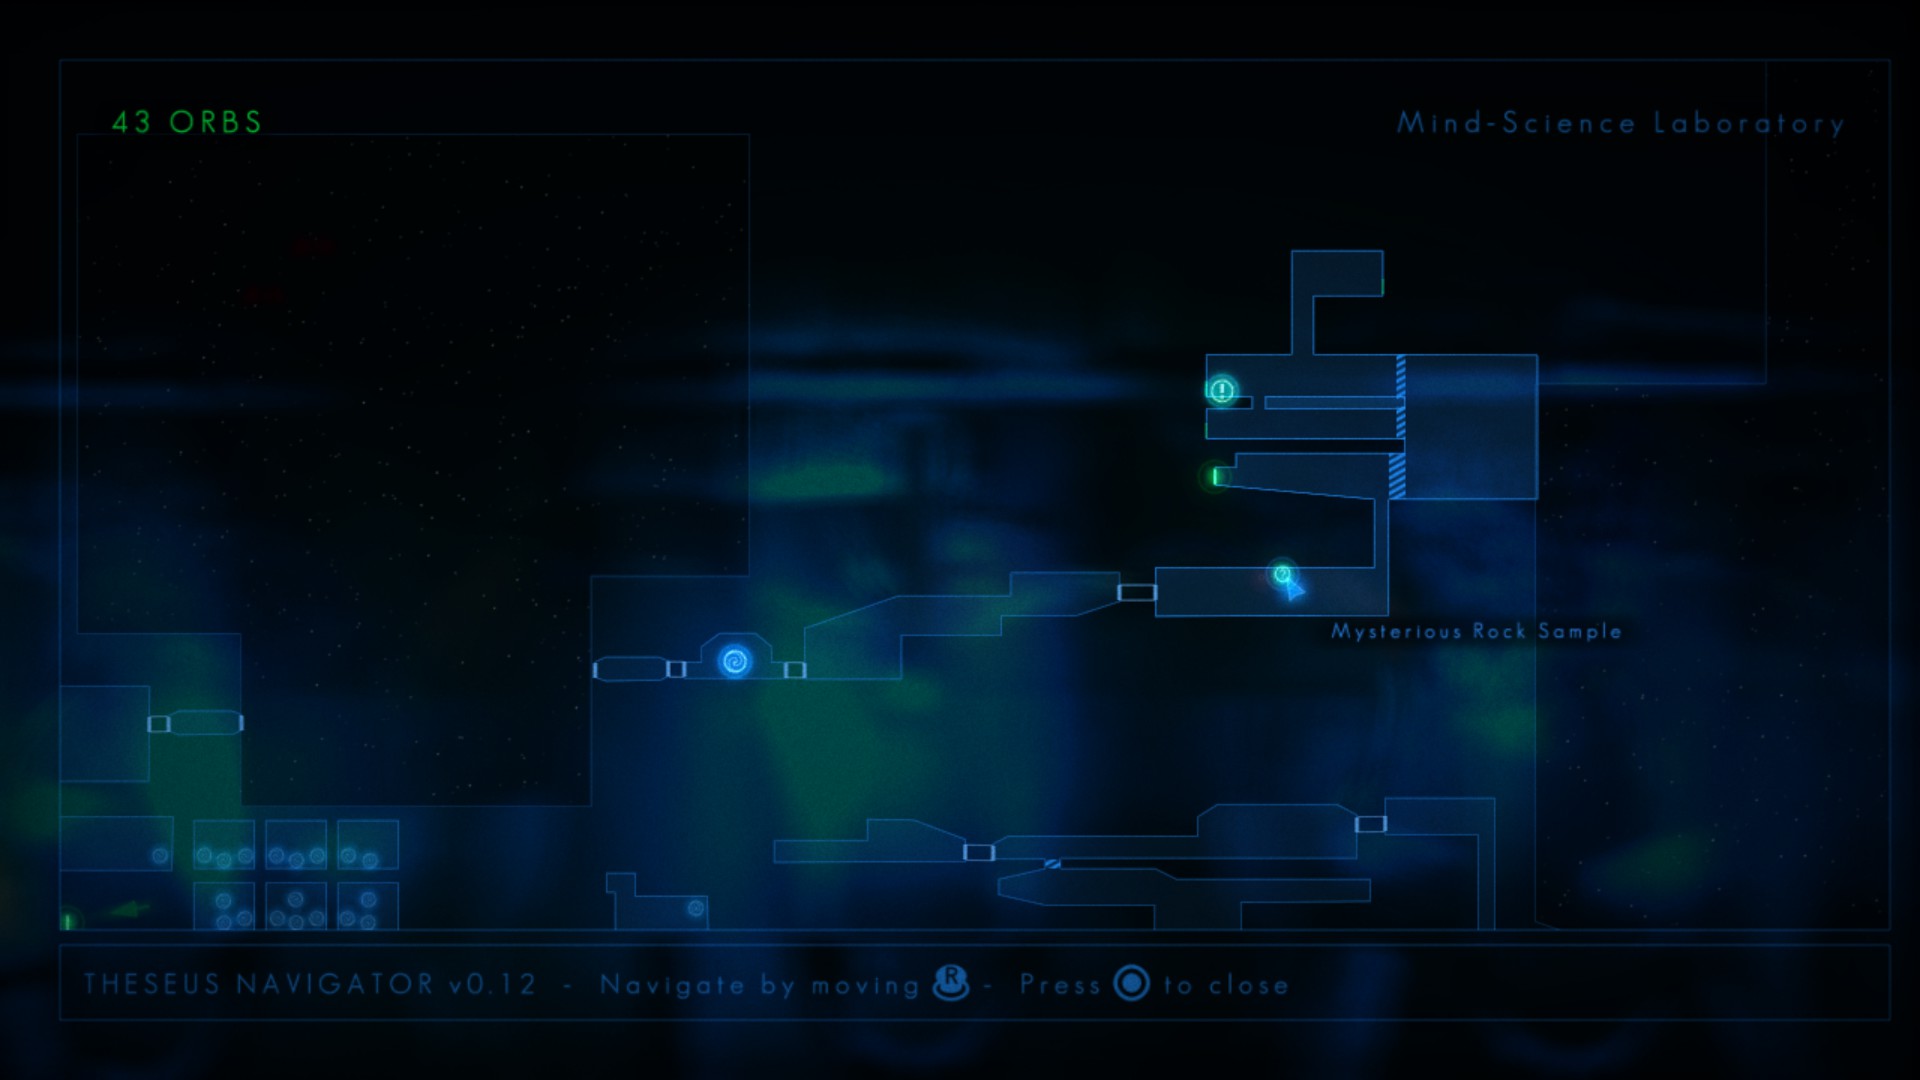
At some point you will enter a section called Gravity Control. Within this area is a console that requires 30 orbs to power it:


Activating this console will turn on some reverse gravity panels and cause a nearby crate to move upward toward the ceiling, blocking any future access to this area from the left side:

What’s more, as you progress further into the Mind-Sci facilities–past some Watcher Entries and a Log–you will eventually reach a one-way jet stream that leads downward:

This particular stream and the previously mentioned crate within Gravity Control render Watcher Entries #21-23 and Log #16 inaccessible. Watcher Entries #21-22 are inherently unavoidable as you must traverse through them; there’s no option to leap over them, and the area is shrouded in a blue fog, obstructing any attempt to create clones to bypass them. However, Watcher Entry #23 and Log #16 are potentially missable. Therefore, it’s crucial to exercise caution and not inadvertently overlook them.
Furthermore, this stream will propel the Scavenger back into a segment of the Hangar that you have explored before:


Within this area, you will encounter the same Watcher stone that you previously interacted with to acquire Watcher Entry #10. However, interacting with this stone on this occasion will grant you access to Watcher Entry #24, a crucial step you should take since this represents your final opportunity to explore this location.
Now, you might wonder why it’s essential to do this. Well, there are four ways to enter this particular section, but it’s worth noting that two of them, as previously mentioned both here and in a prior warning about missable content, become inaccessible. As for the remaining two entry points, they permit you to exit the screen but do not allow you to return to it. This limitation arises due to a combination of upward-moving jet streams and the presence of red fog, which effectively obstructs both downward movement and the ability to swap past the streams:
Gravity Control
Log #15 – Transit Order – Watcher Sample #01
Location:

Content:

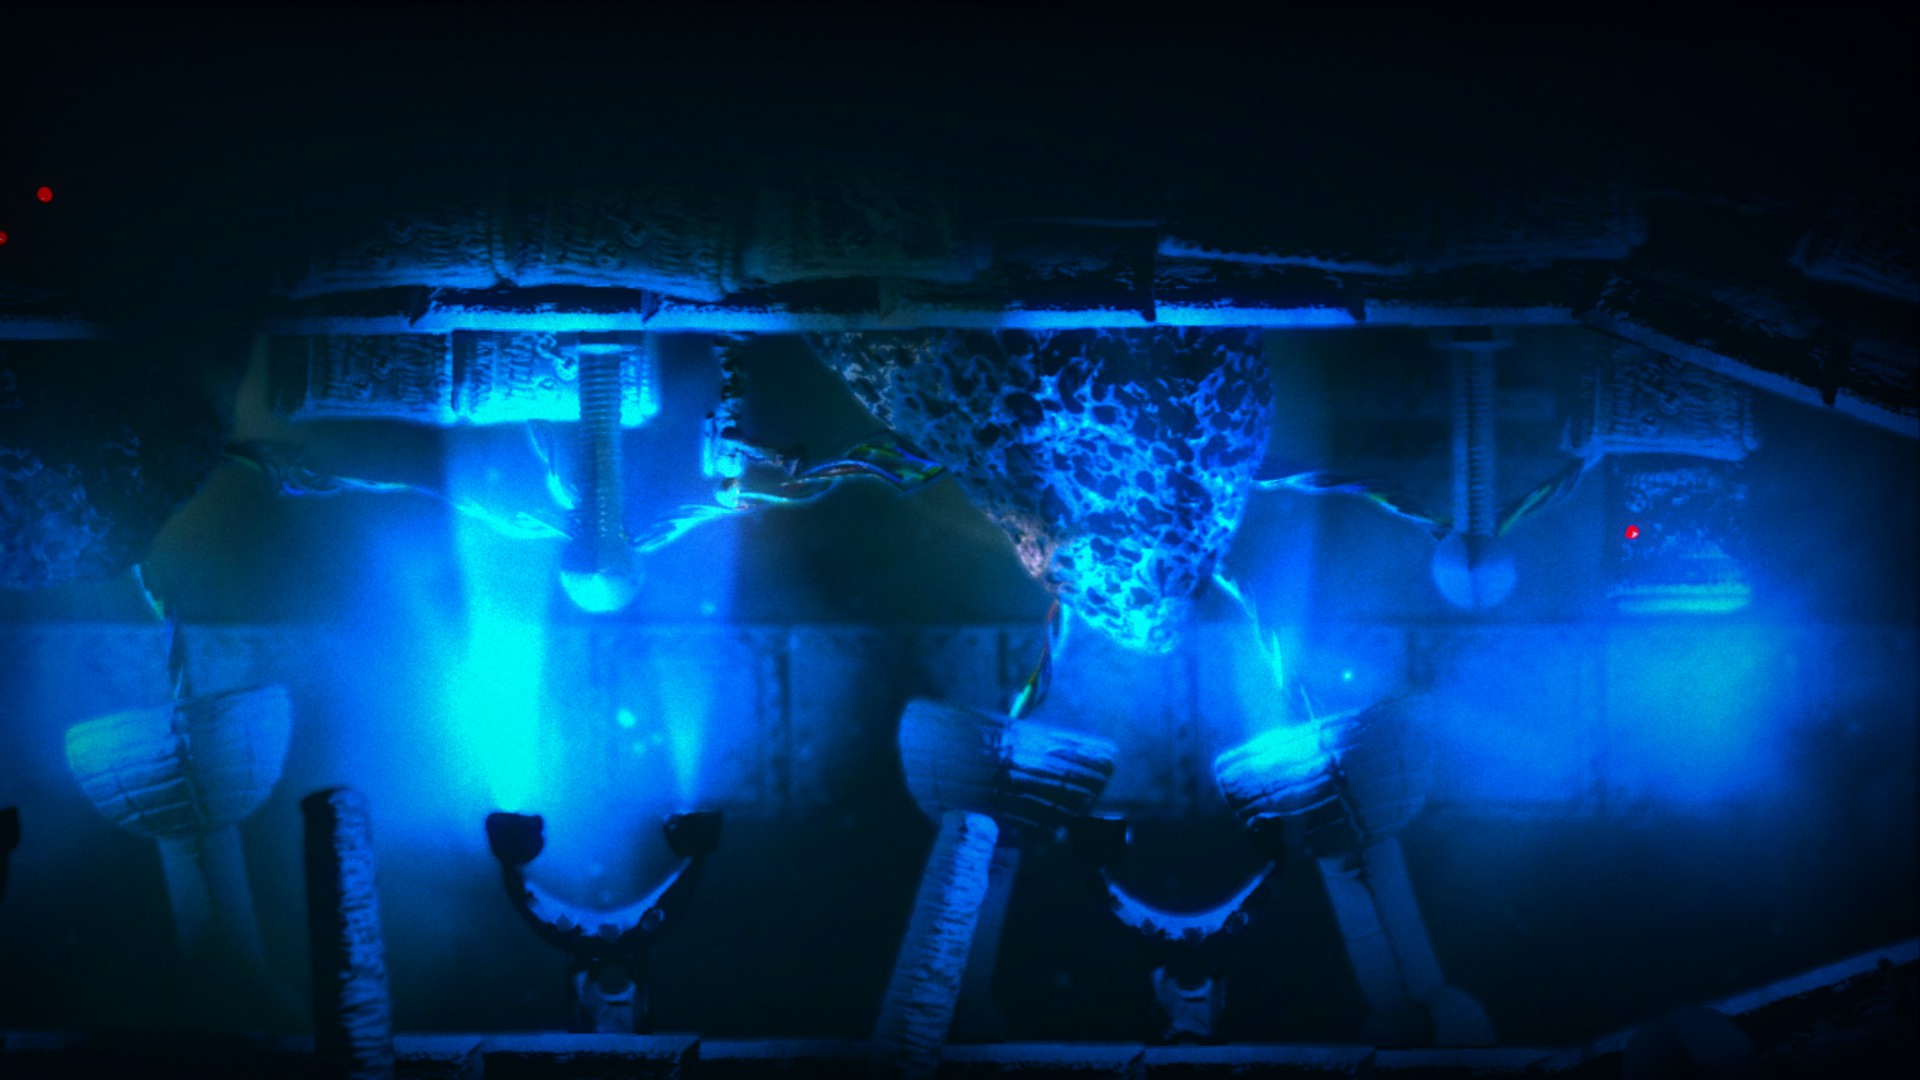
Mind-Science Laboratory
Watcher #21
Location:

Content:

Watcher #22
Location:
Content:

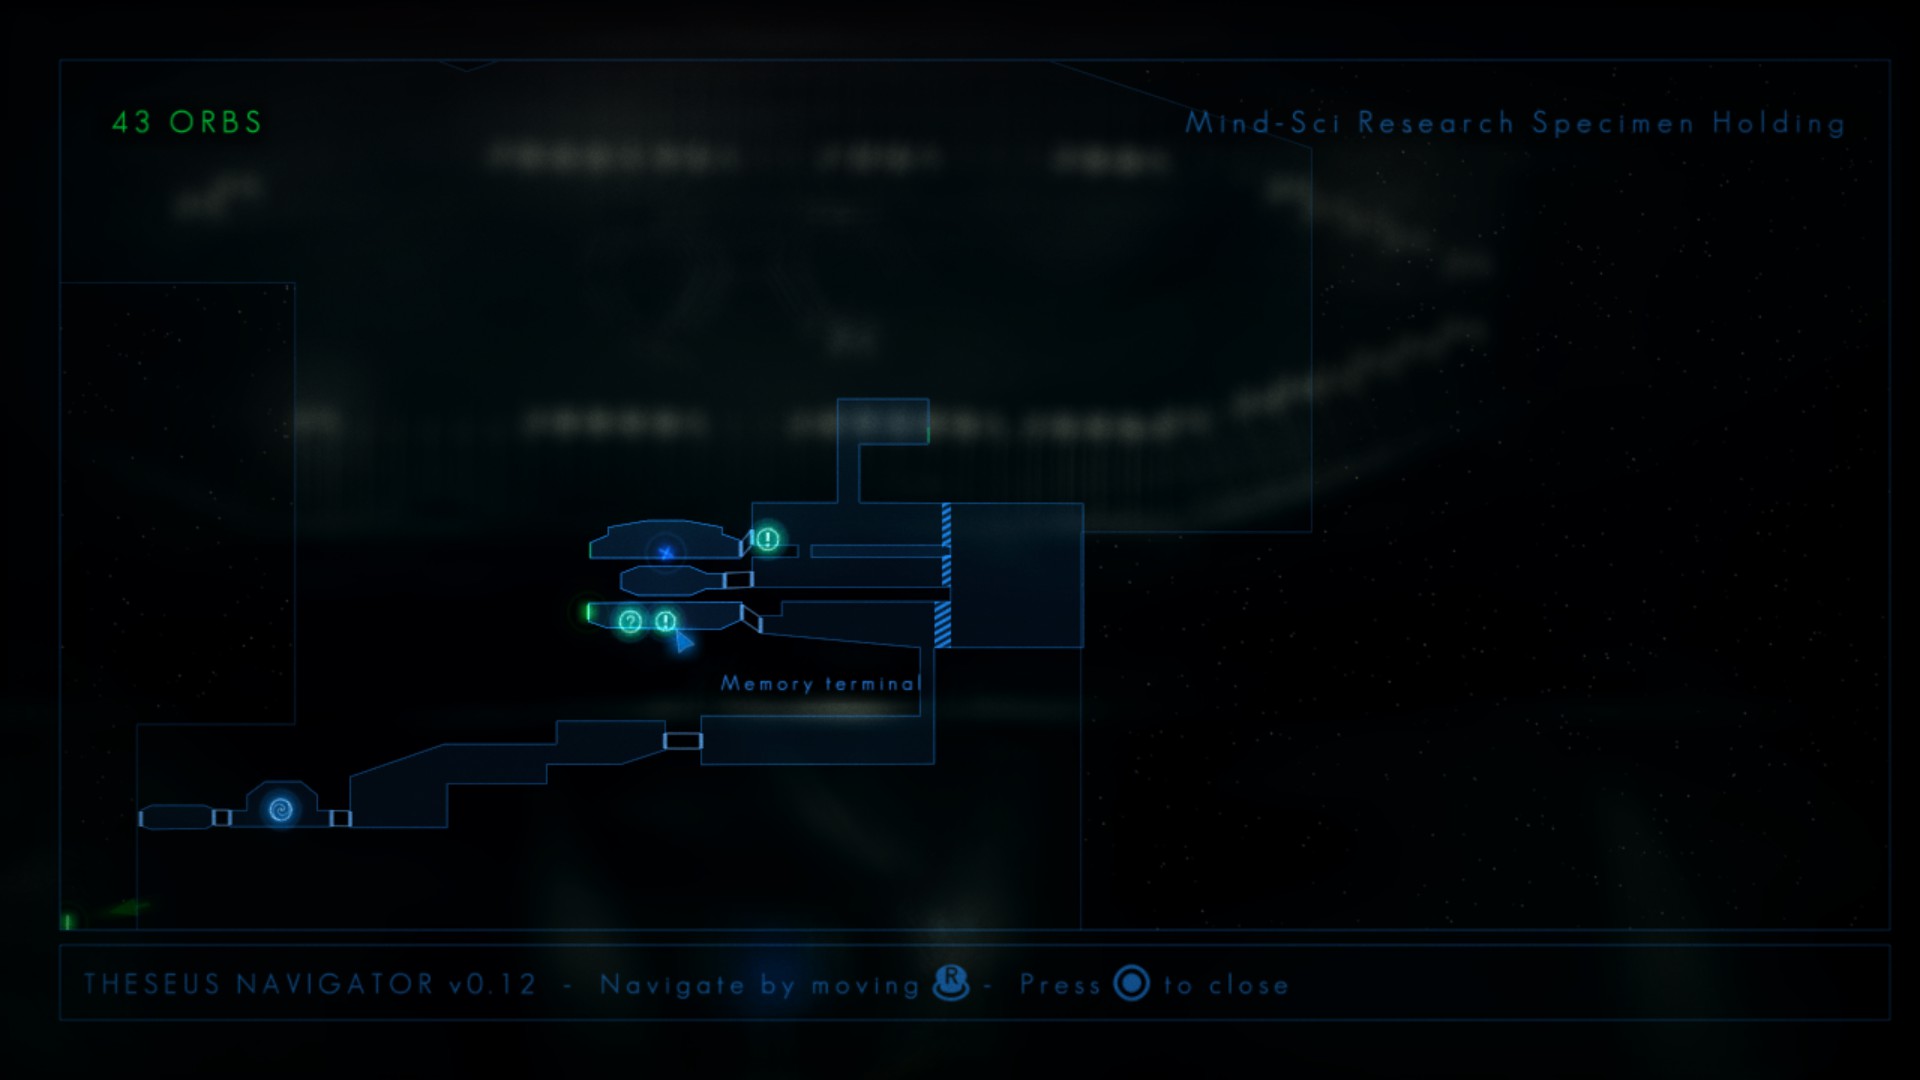
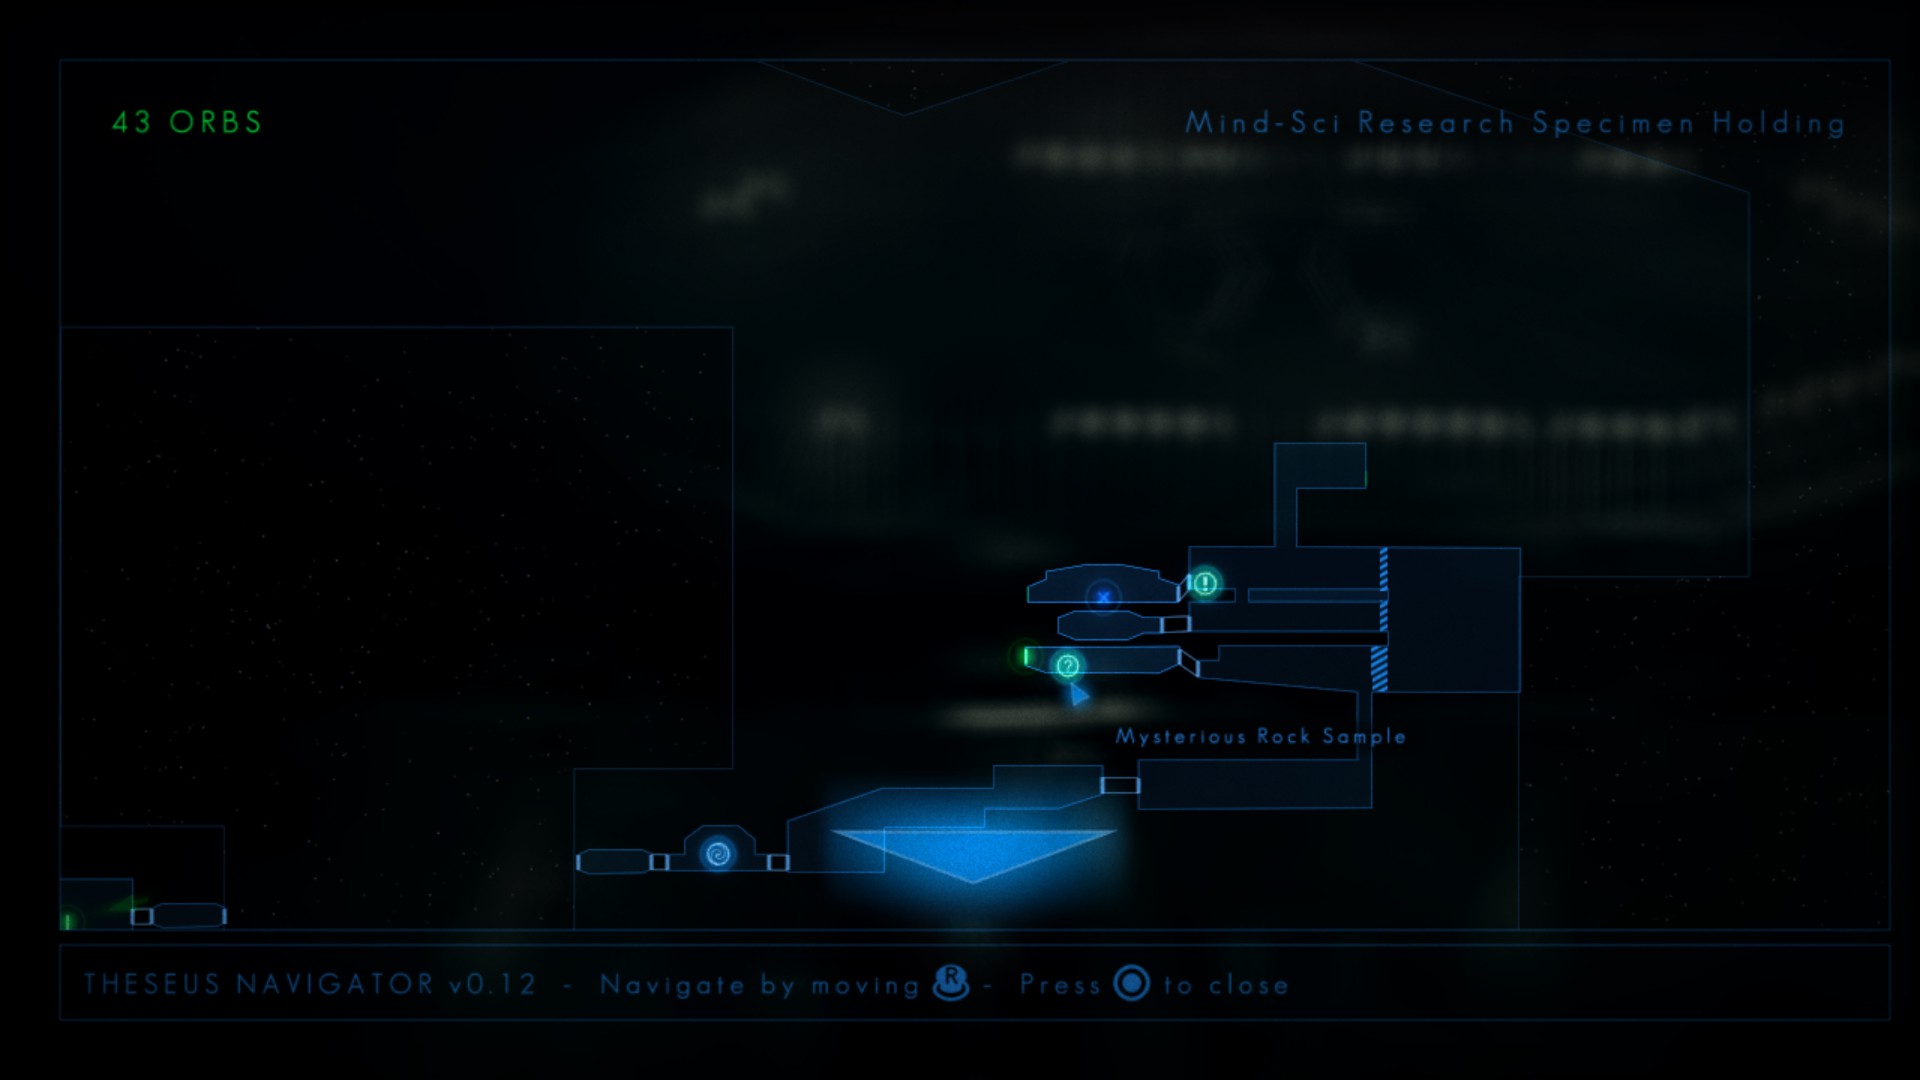
Mind-Sci Research Specimen Holding
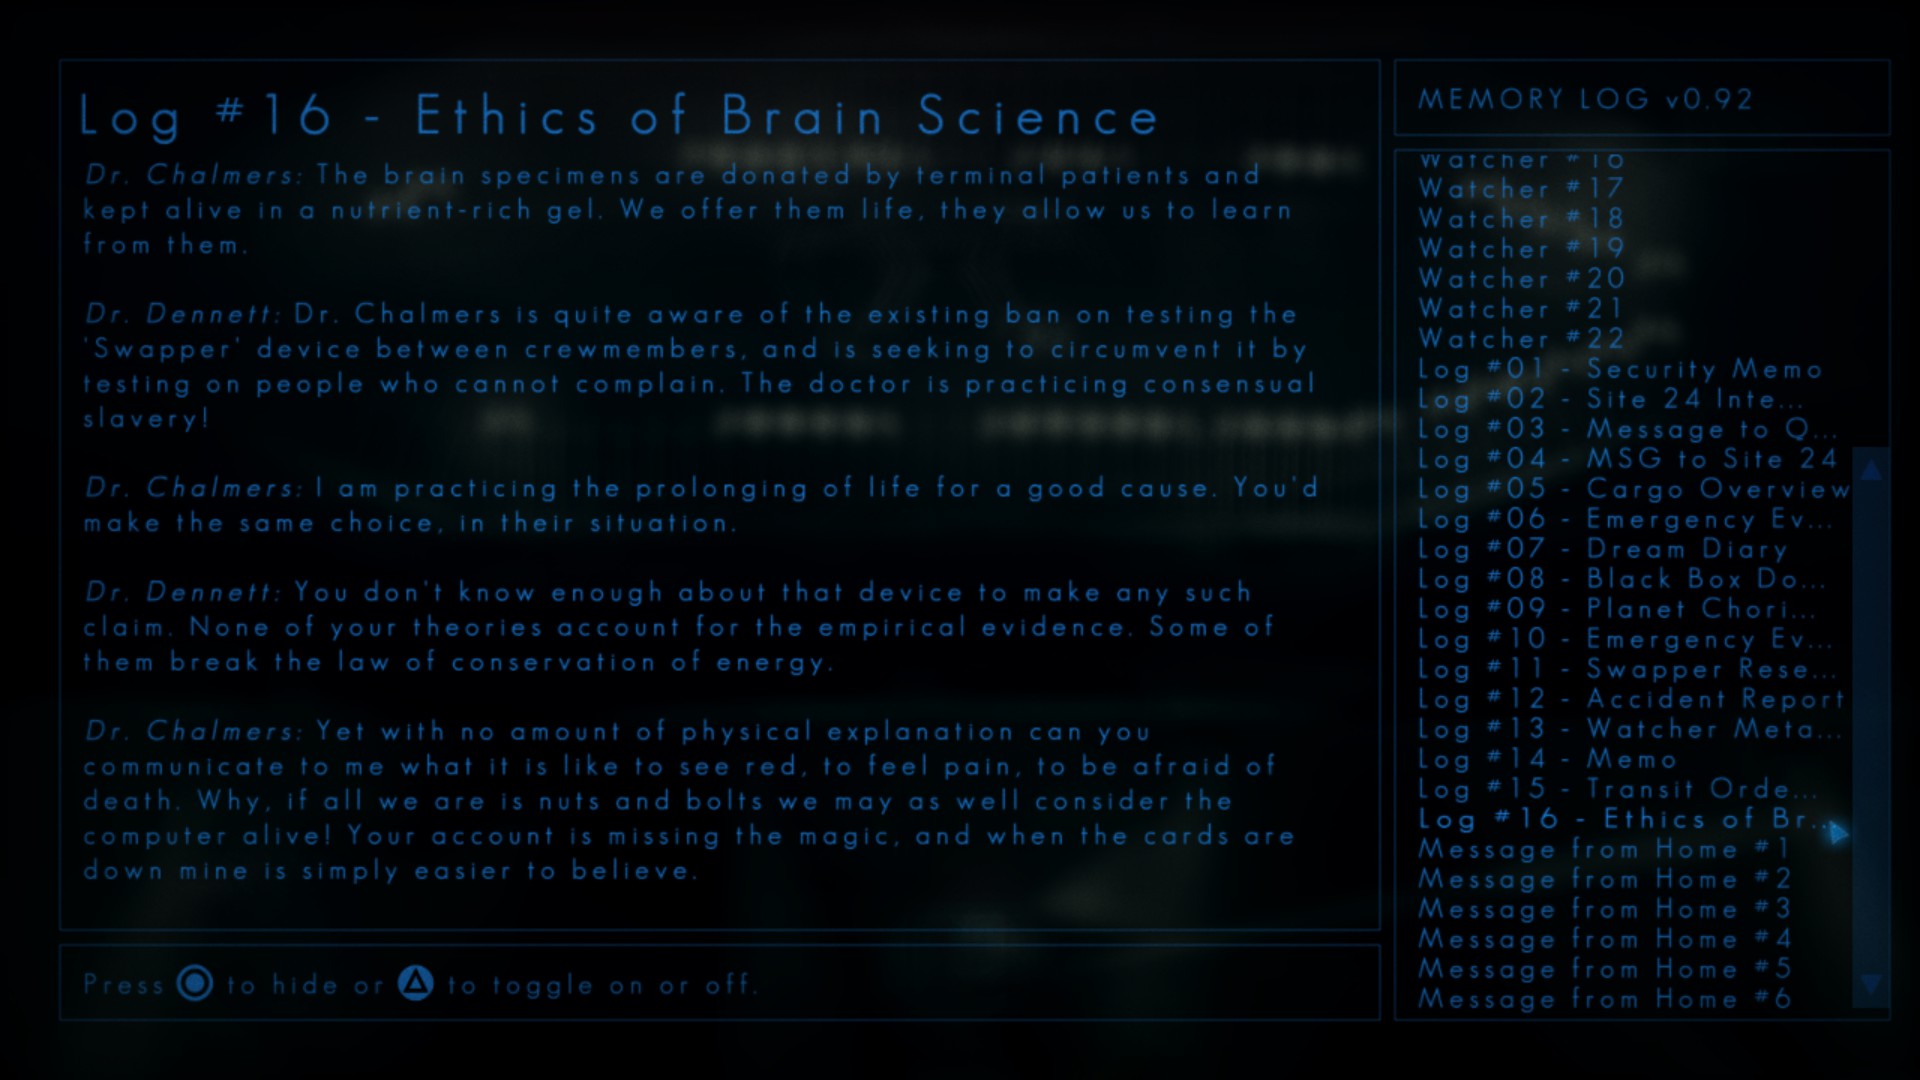
Log #16 – Ethics of Brain Science
Location:

Content:
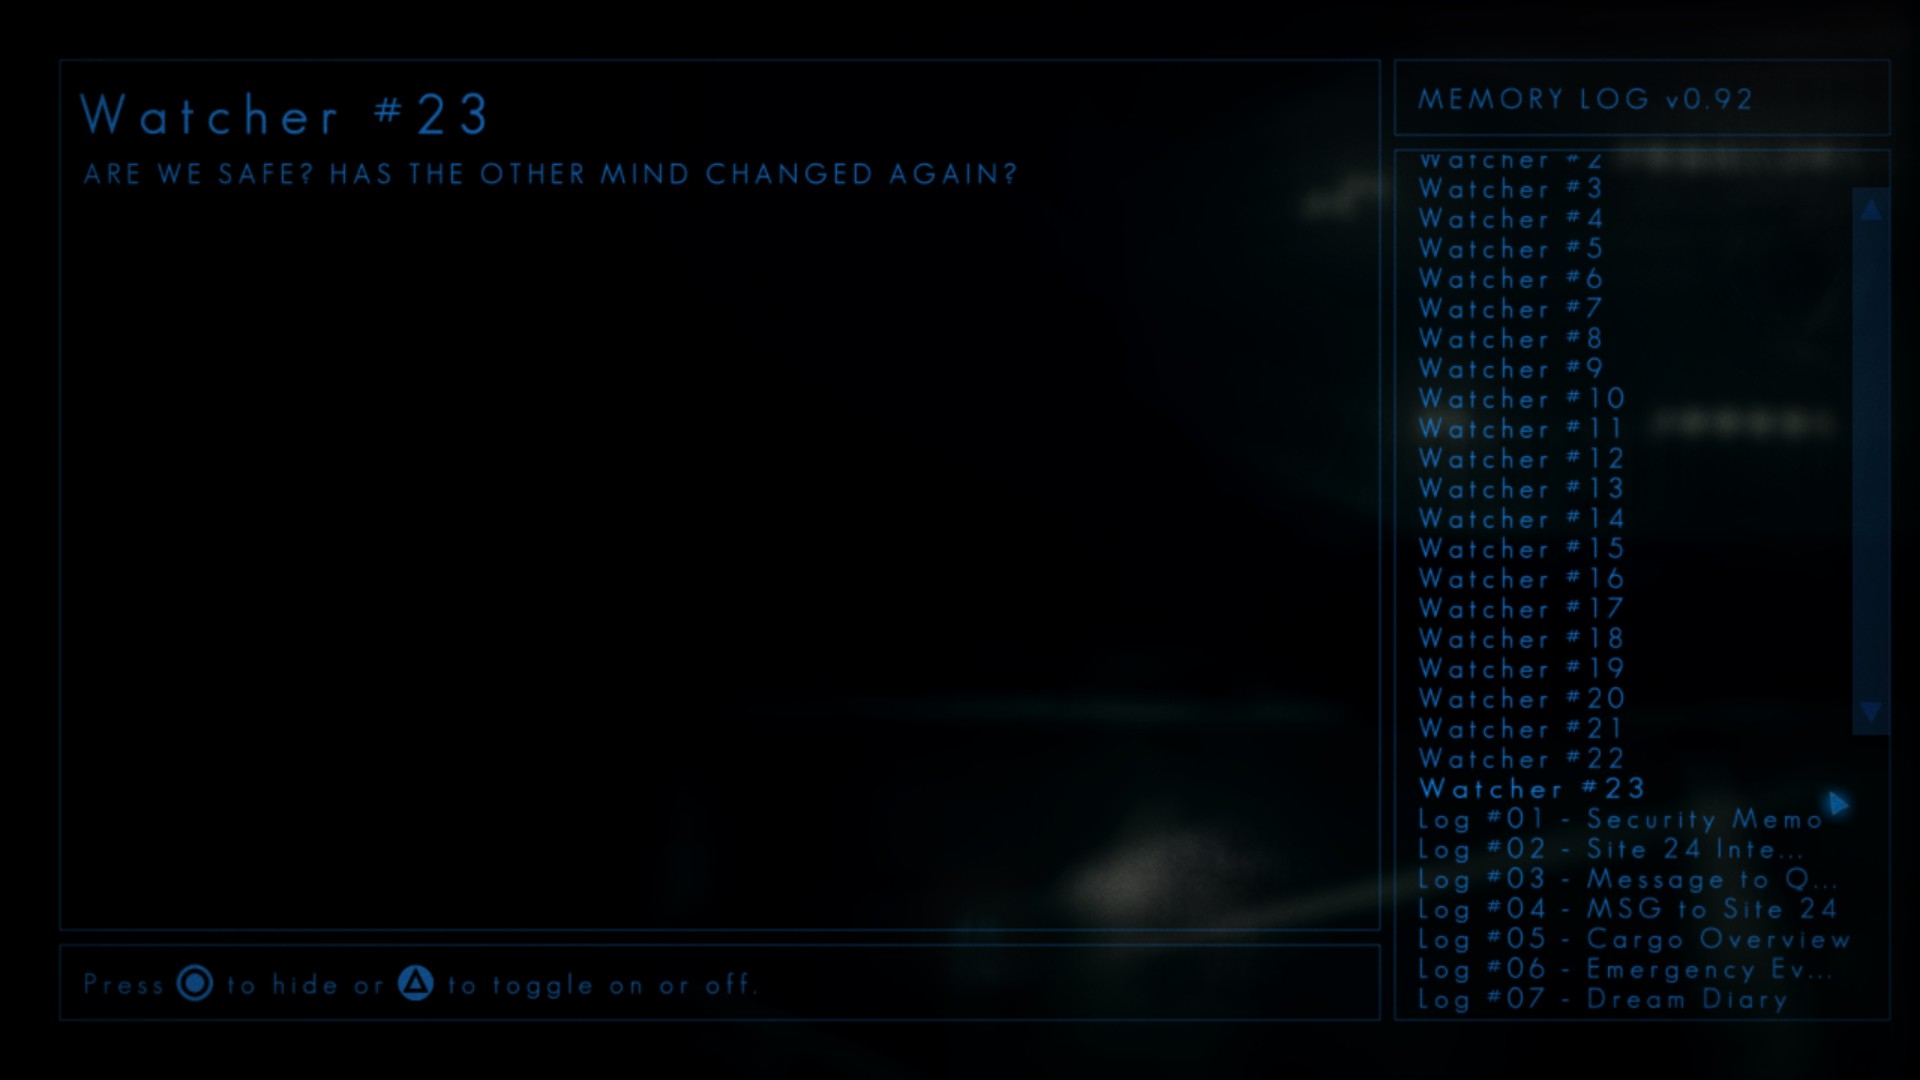
Watcher #23
Location:

Content:
Hangar (Third Visit)
Watcher #24
Location:

Content:

Sector 3 Lift
Watcher #25
Location:
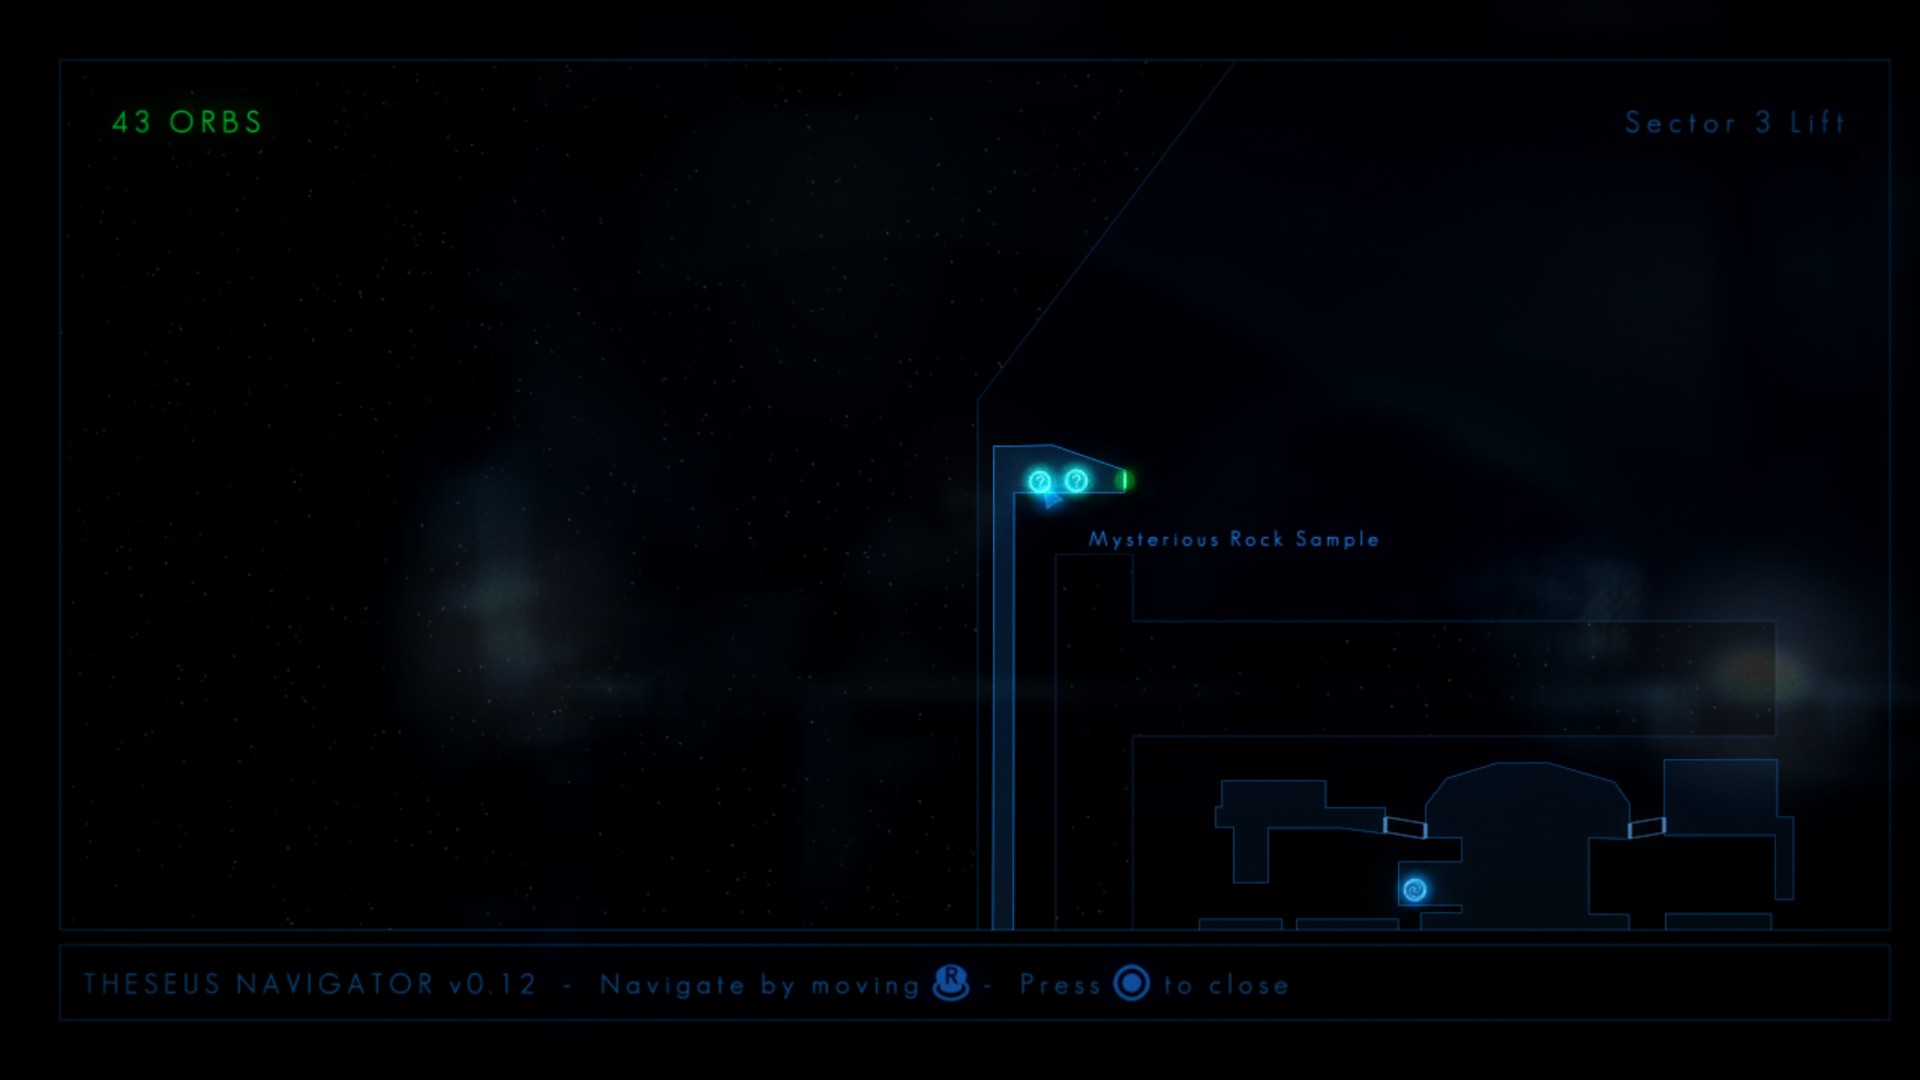

Content:
Watcher #26
Location:
Content:

Message from Home #7
Location:


Content:

MISSABLE WARNING #5
The warning I’m about to share is quite extensive, so please be patient.
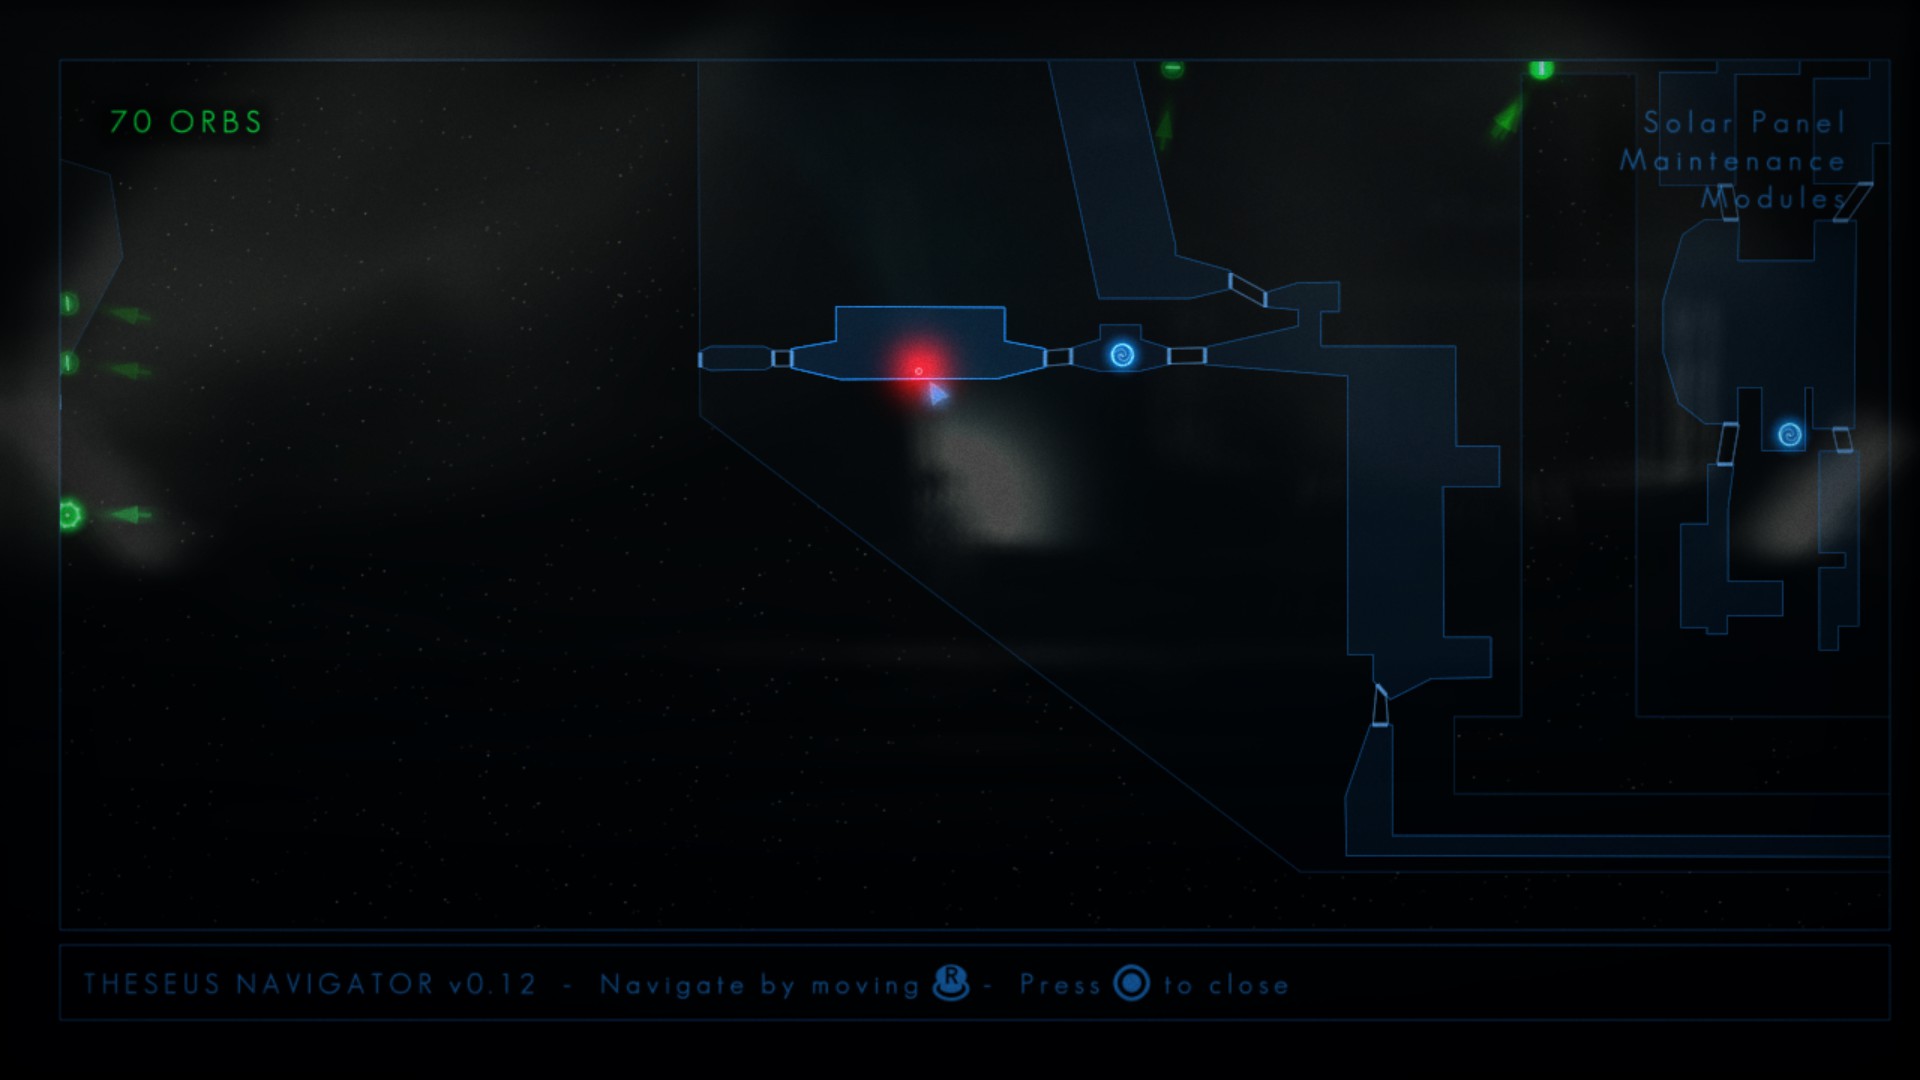
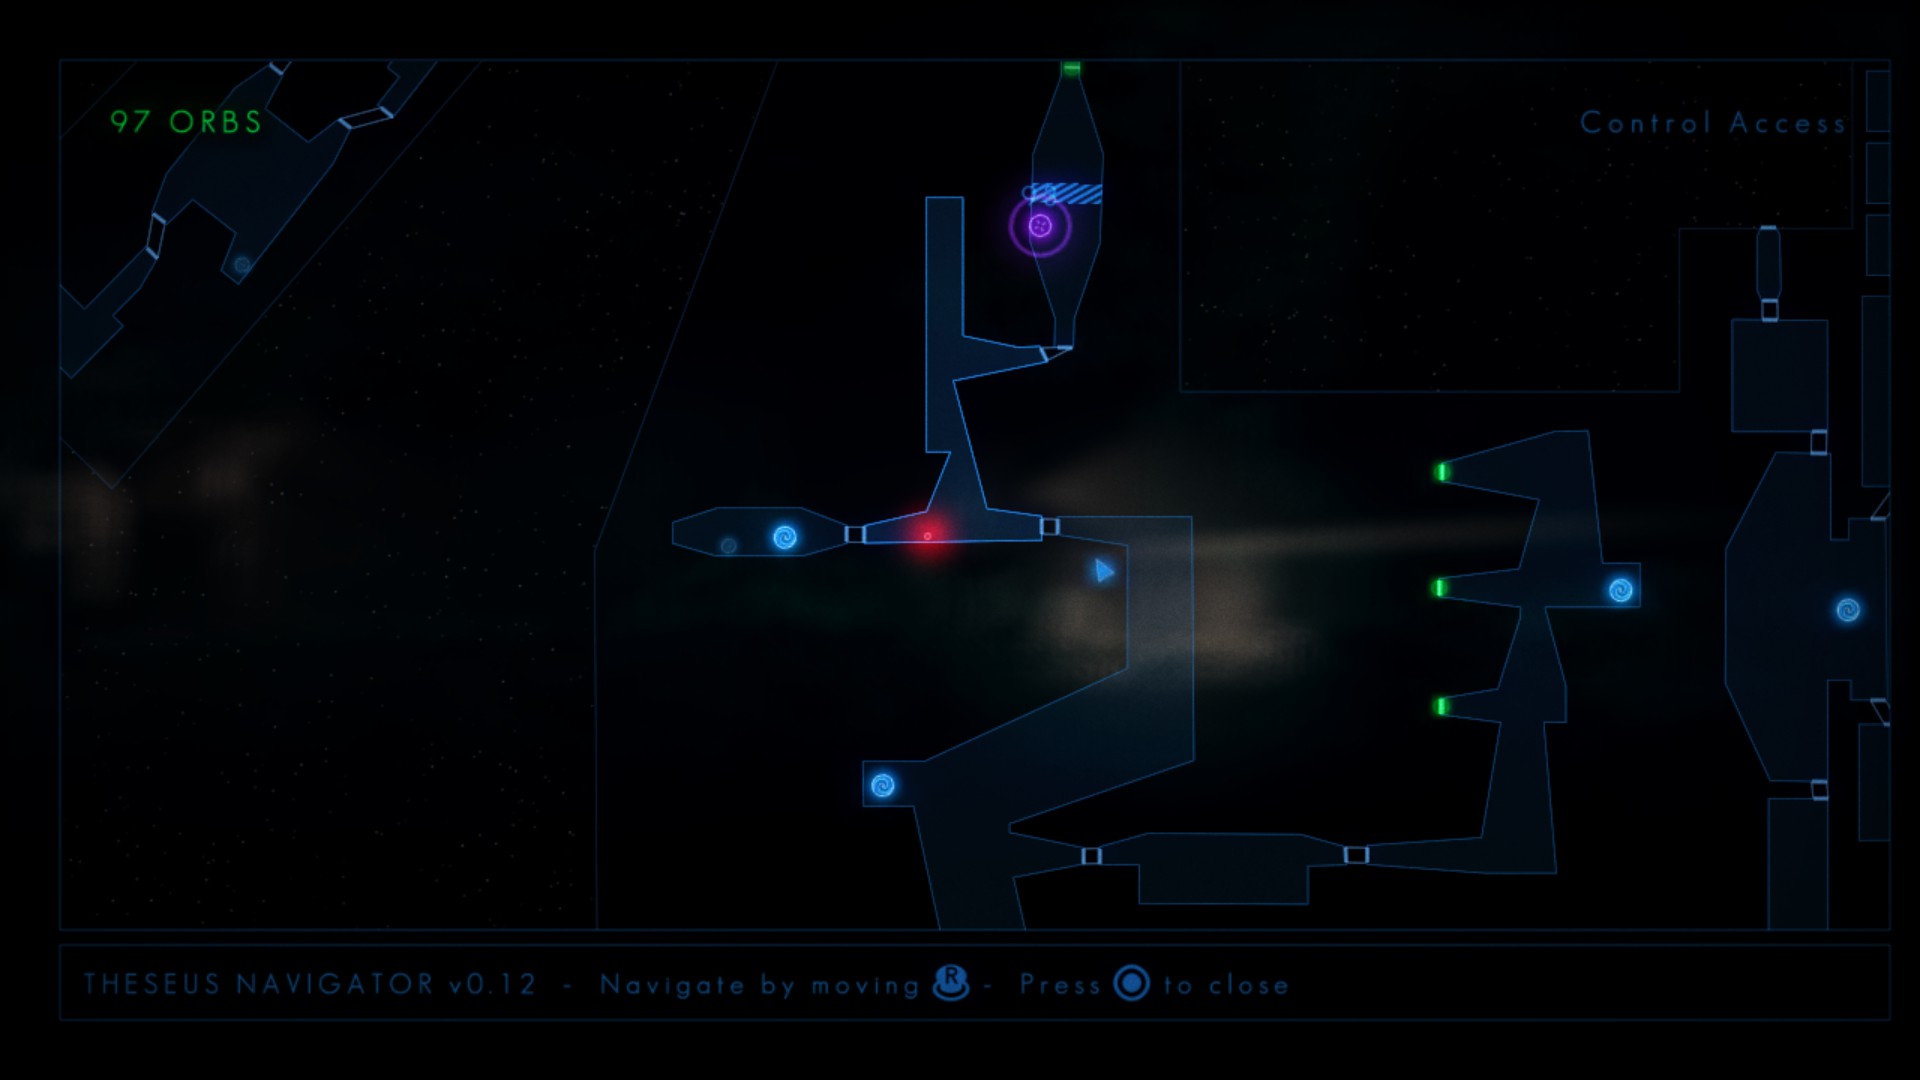
Upon reaching Sector 3 Lift, you’ll find yourself on the cusp of an area known as Control Access. Control Access serves as the gateway to three distinct chambers known as Solar Panel Maintenance Modules. These modules house control consoles responsible for deploying the space station’s solar panels. What the game fails to explicitly convey is that releasing all three of these panels will result in the permanent loss of six Watcher Entries. To access these entries, you must release one of the panels, and another panel must be released to accumulate a sufficient orb count. I’ll provide more detailed information on this matter shortly. But before that, let’s address another crucial aspect of this area.
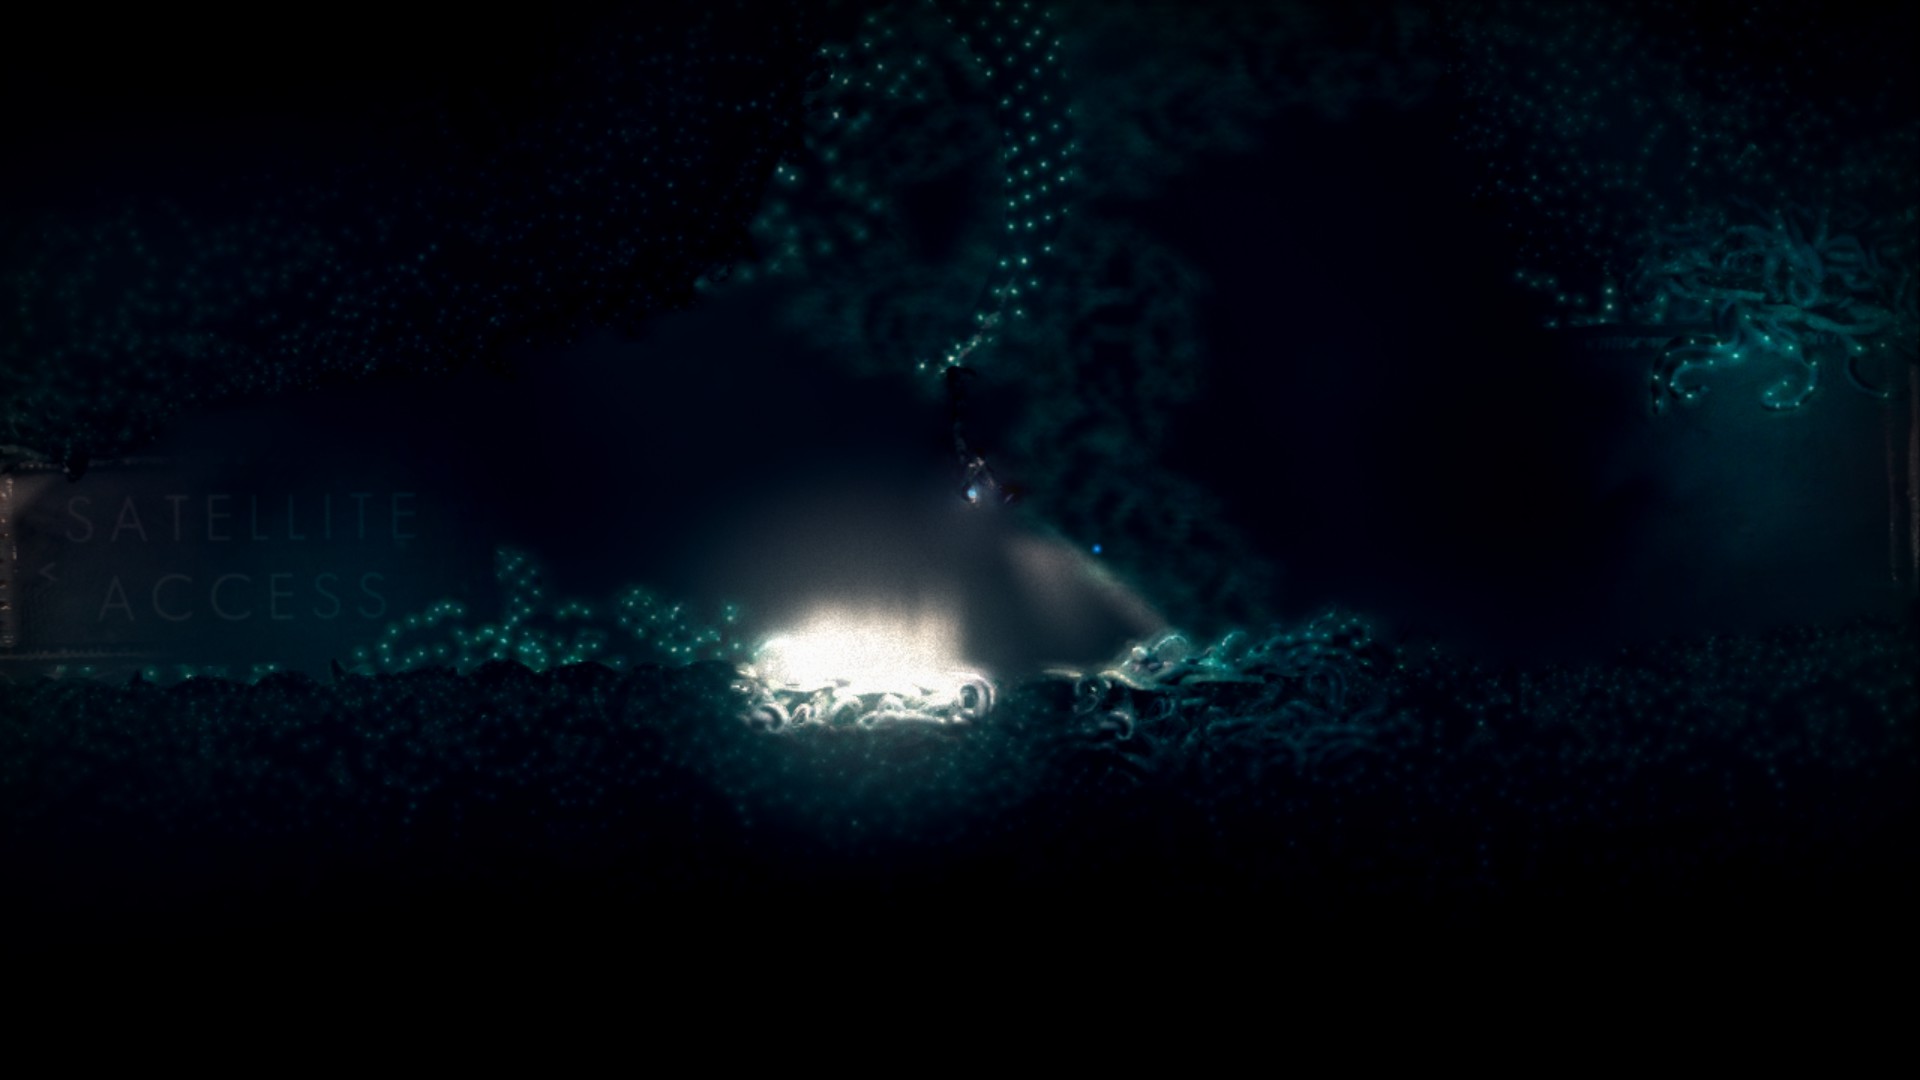
Apart from the rooms housing the solar panels mentioned earlier, there is an additional section accessible from Control Access called Satellite Access. As the name suggests, this area provides access to the Satellite section:

Within Satellite Access, you’ll come across a Watcher stone. However, if you proceed past it and enter the portal leading to Satellite, its associated entry will undergo a transformation into a different one, making the previous entry unattainable. To circumvent this issue, it’s imperative to interact with the stone once before teleporting to Satellite and then revisit it on your return journey.
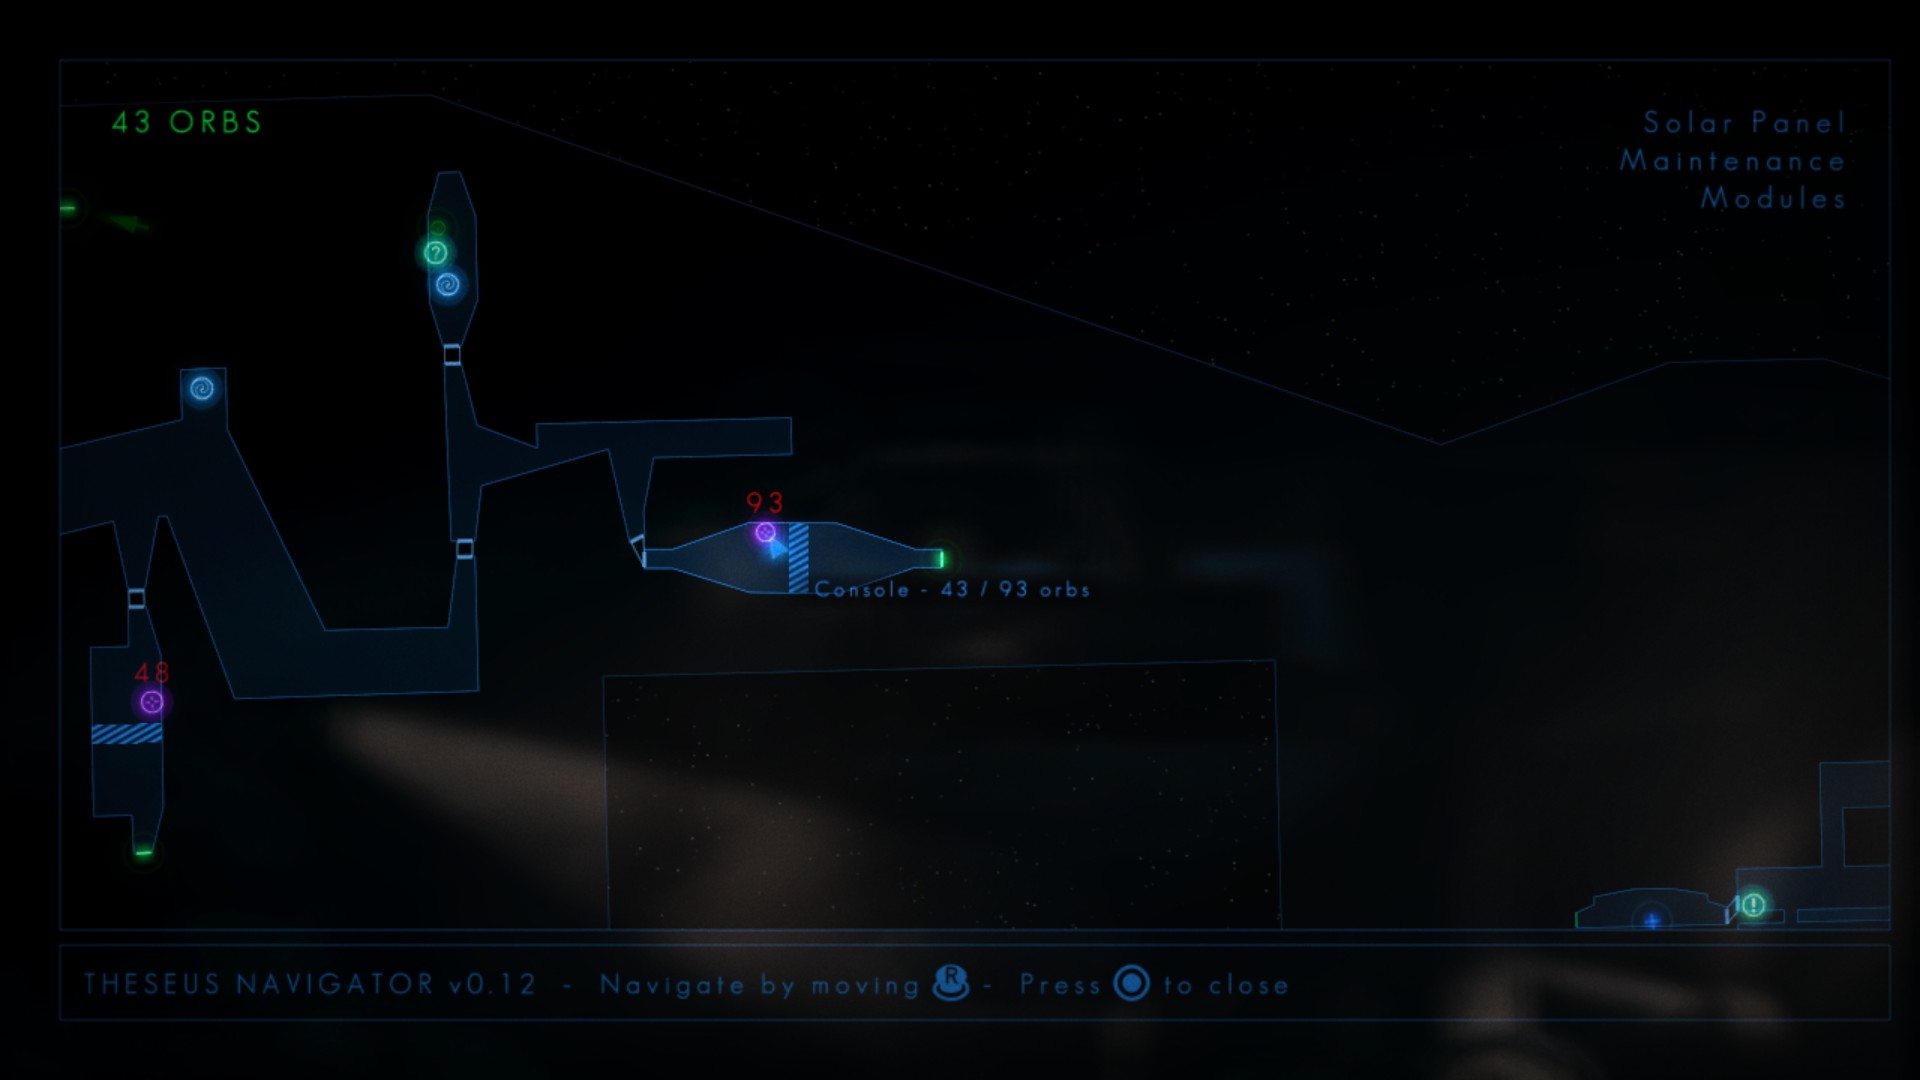
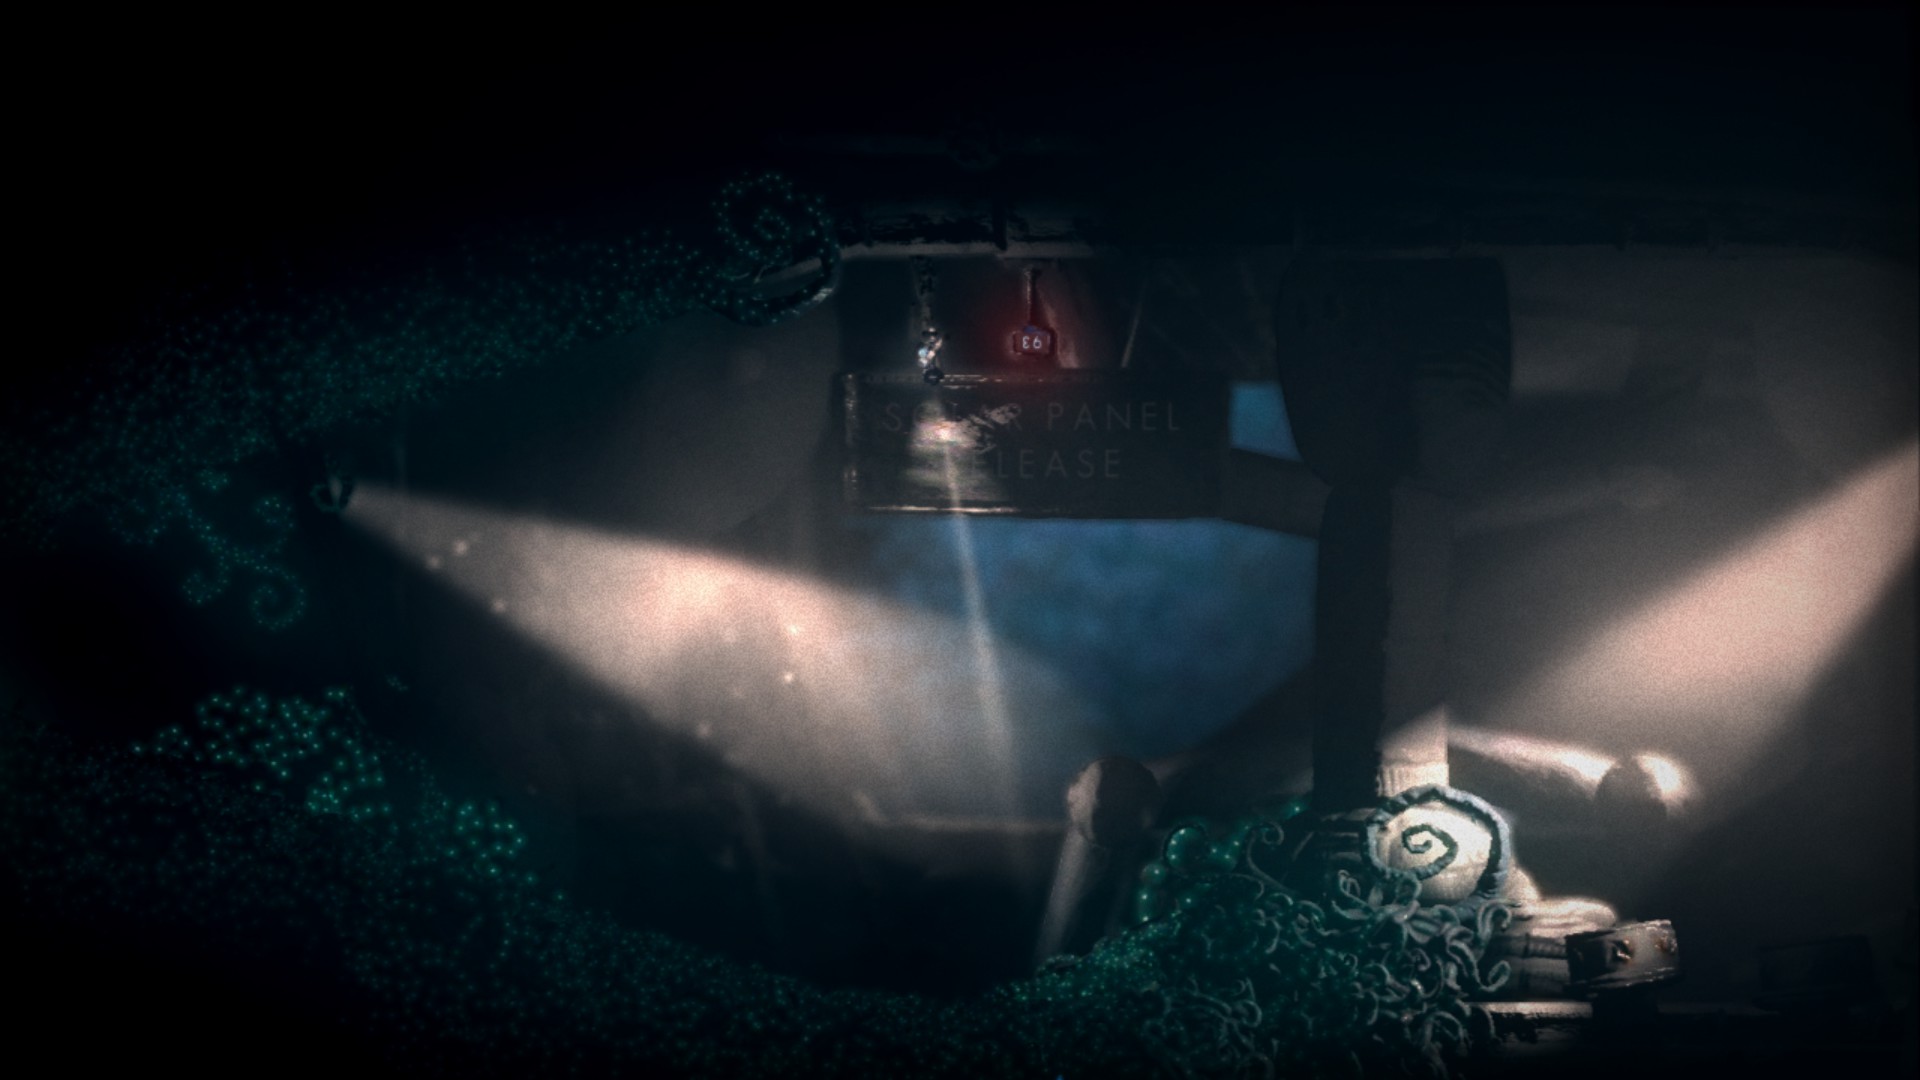
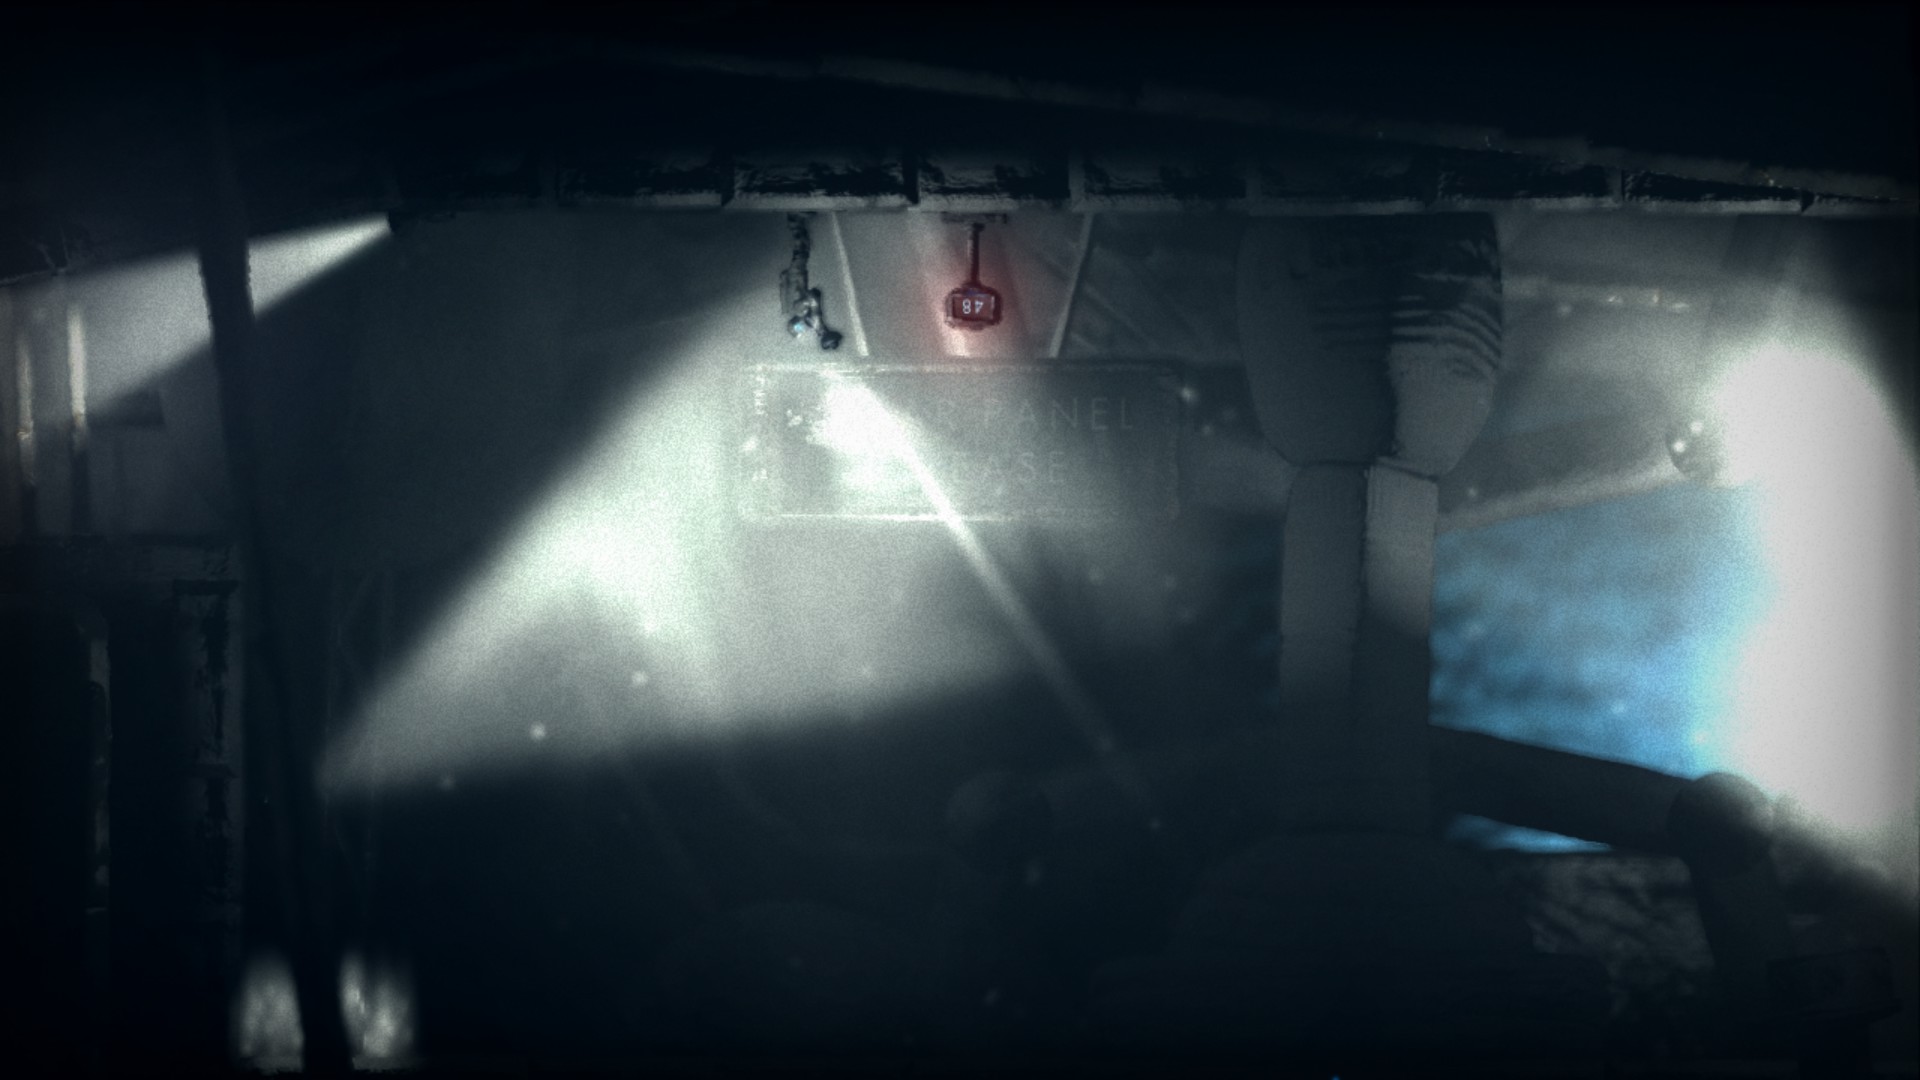
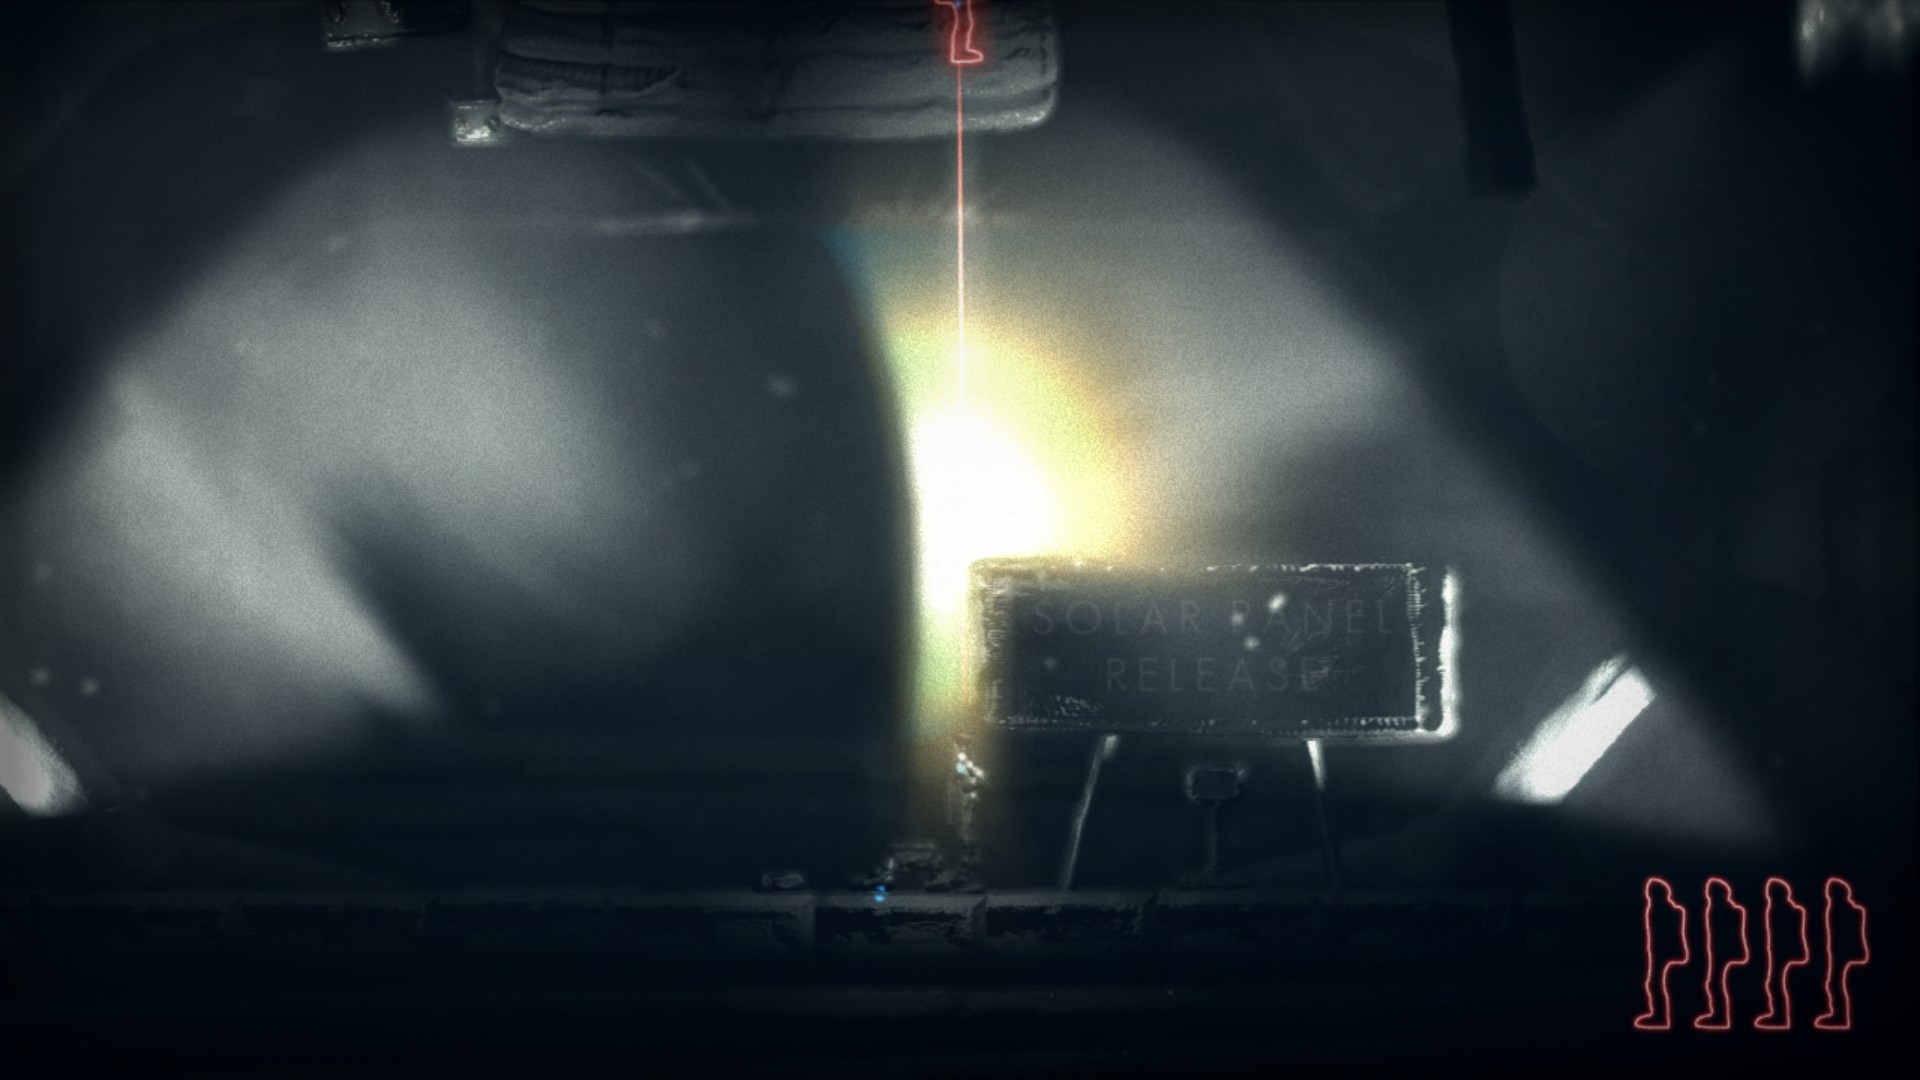
Now, let’s return to the topic of the missable entries related to the solar panels. First and foremost, the console you must activate to unlock the six missable entries appears as follows:
The other two require 48 and 66 orbs. Here’s the location of the 48-orb console:

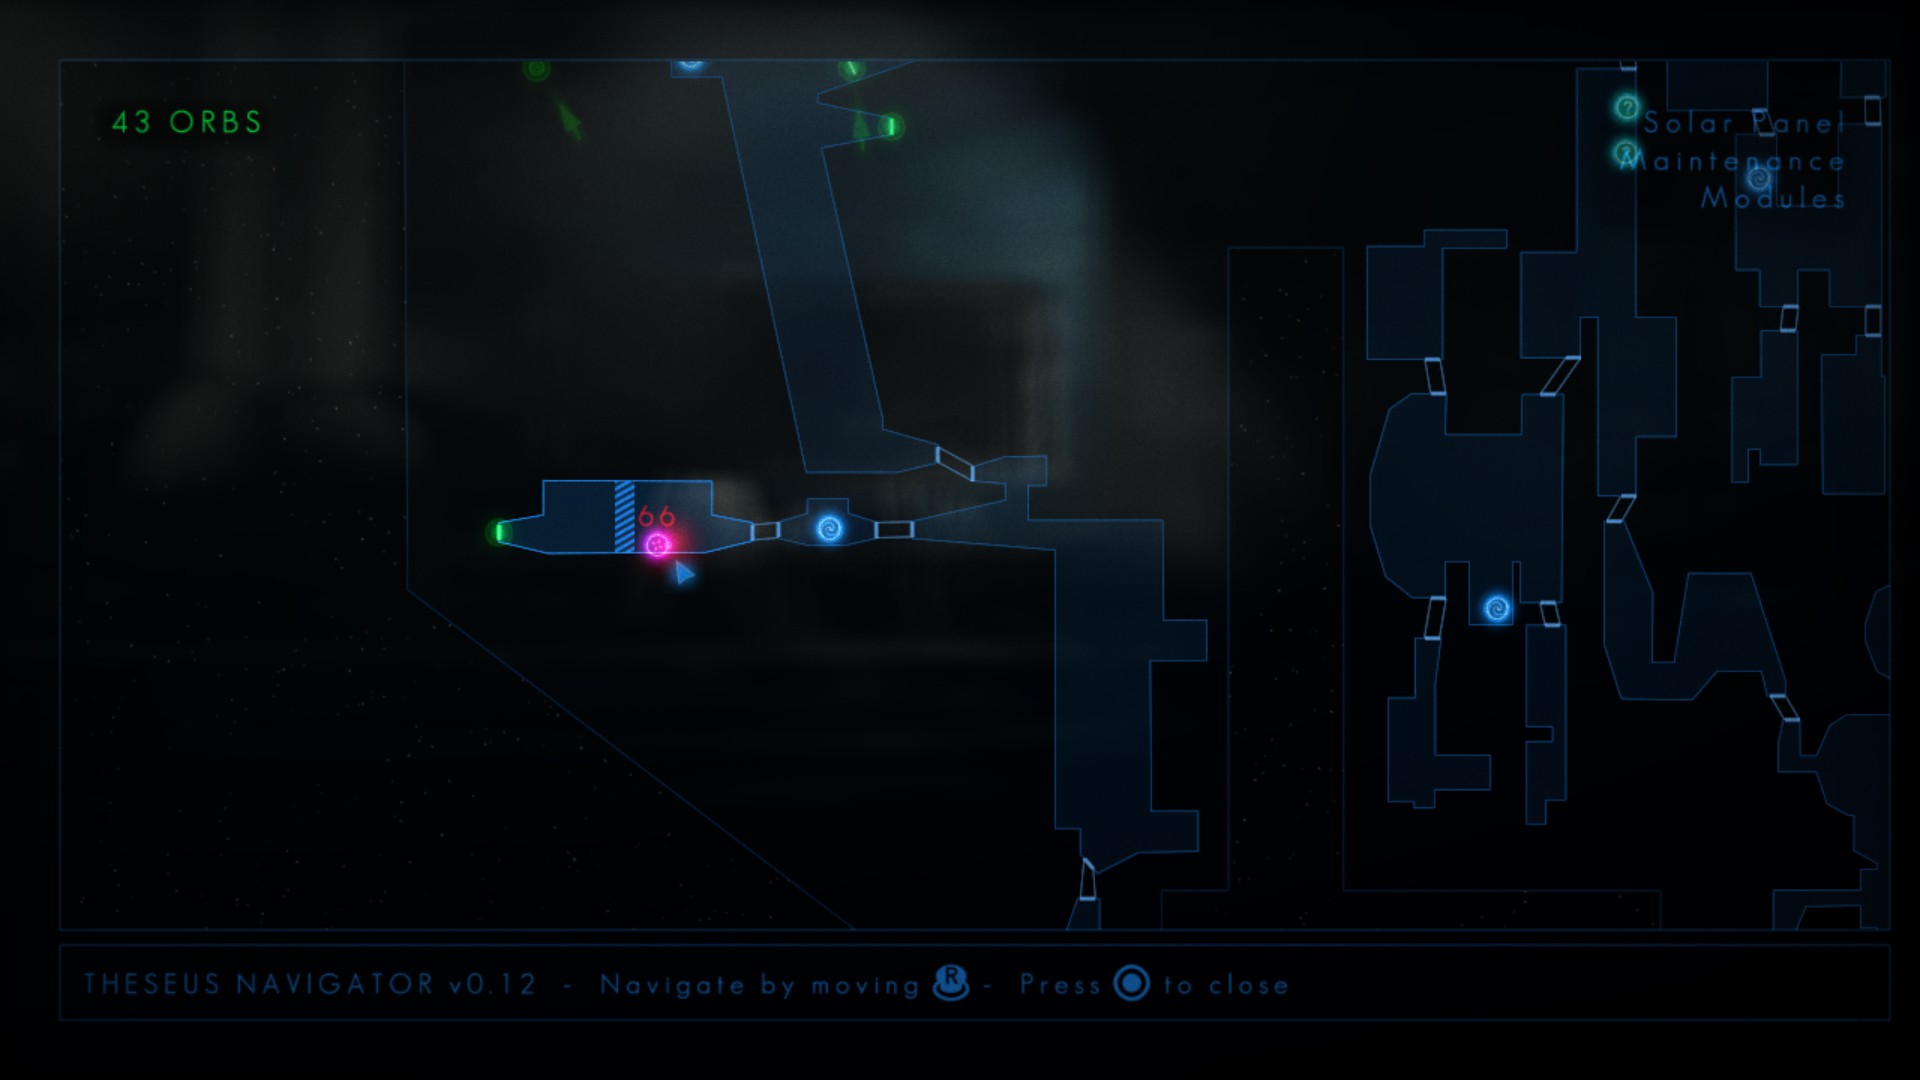
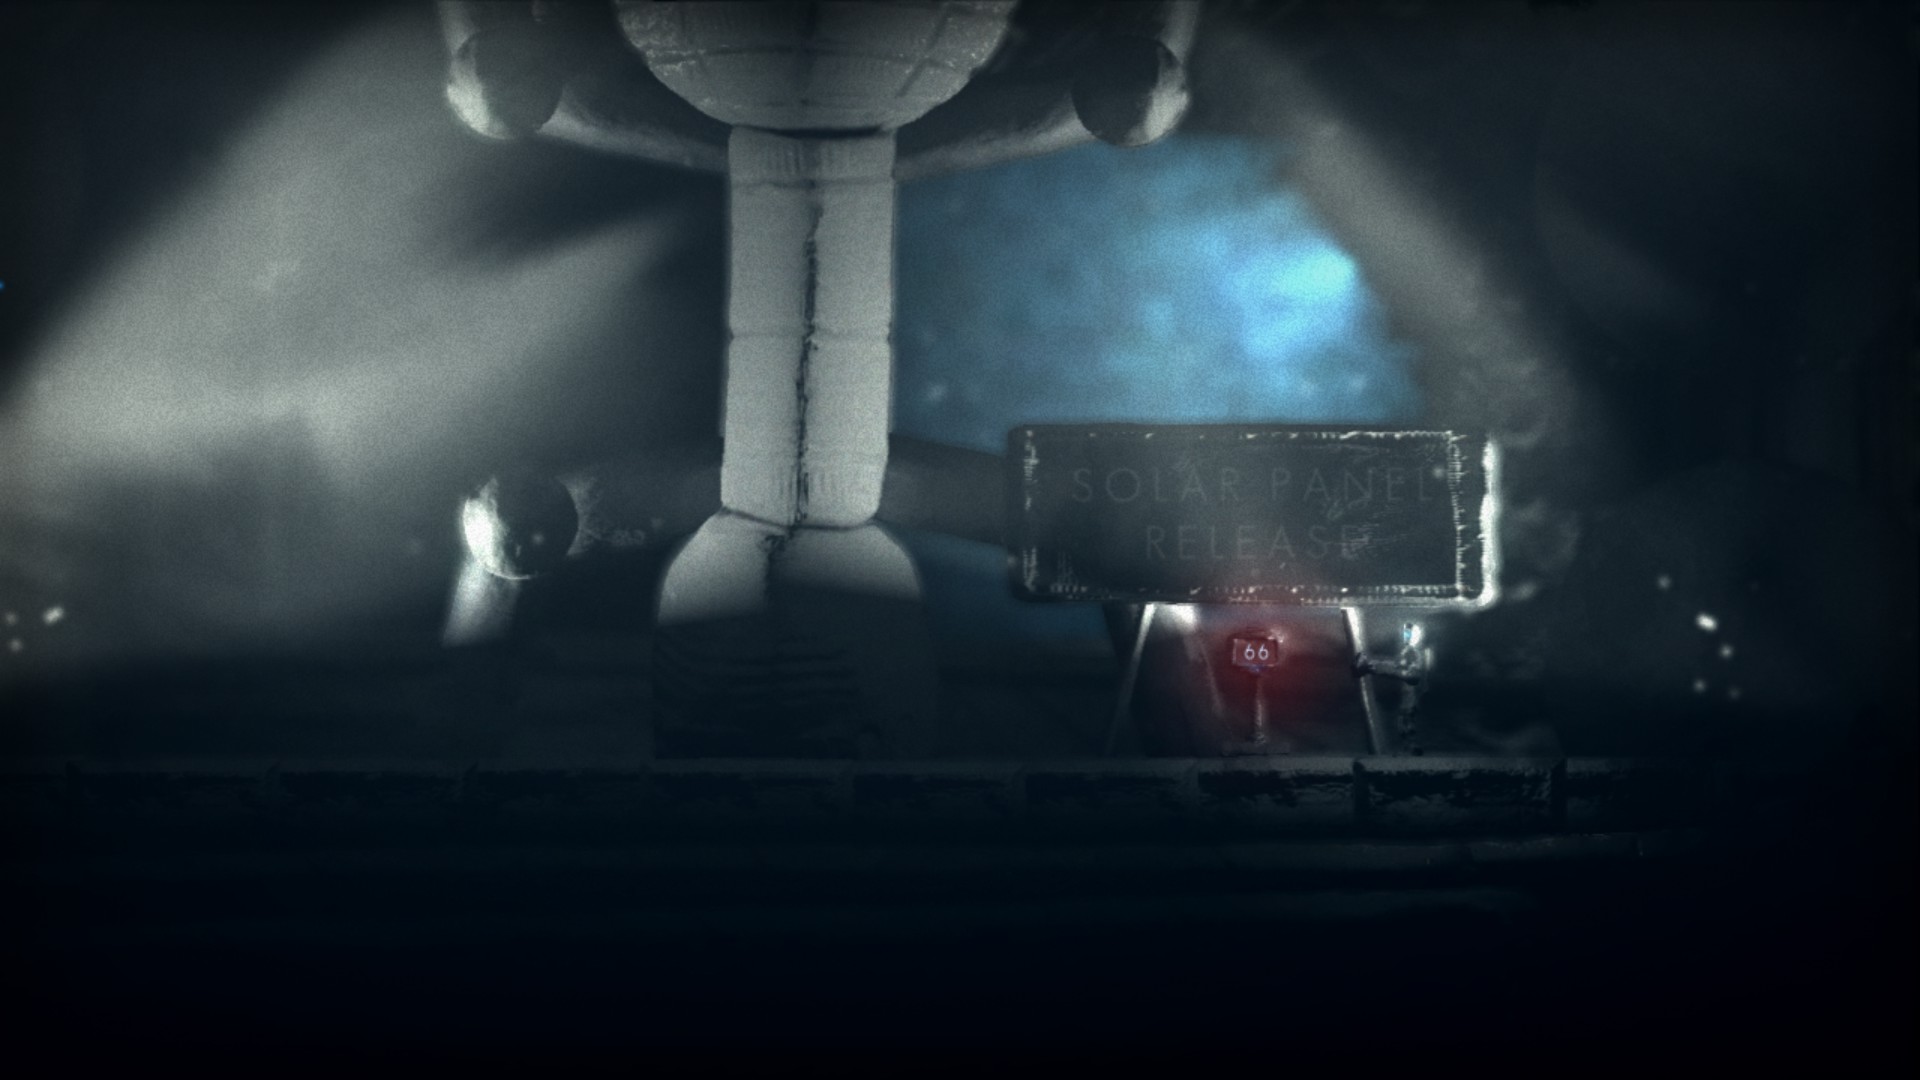
And here’s the location of the 66-orb one:
If you successfully solve all the puzzles preceding Control Access and those within the Satellite section, your orb count will reach a total of 70. This enables you to activate any of the available consoles (remember to activate only one of these terminals). Once you’ve done so, proceed beyond the panel and clear all the puzzles in the area. It’s worth noting that I chose to complete Disused Module before tackling Asteroid Excavation Site 7 (both of these regions are situated beyond the elevated solar panels).
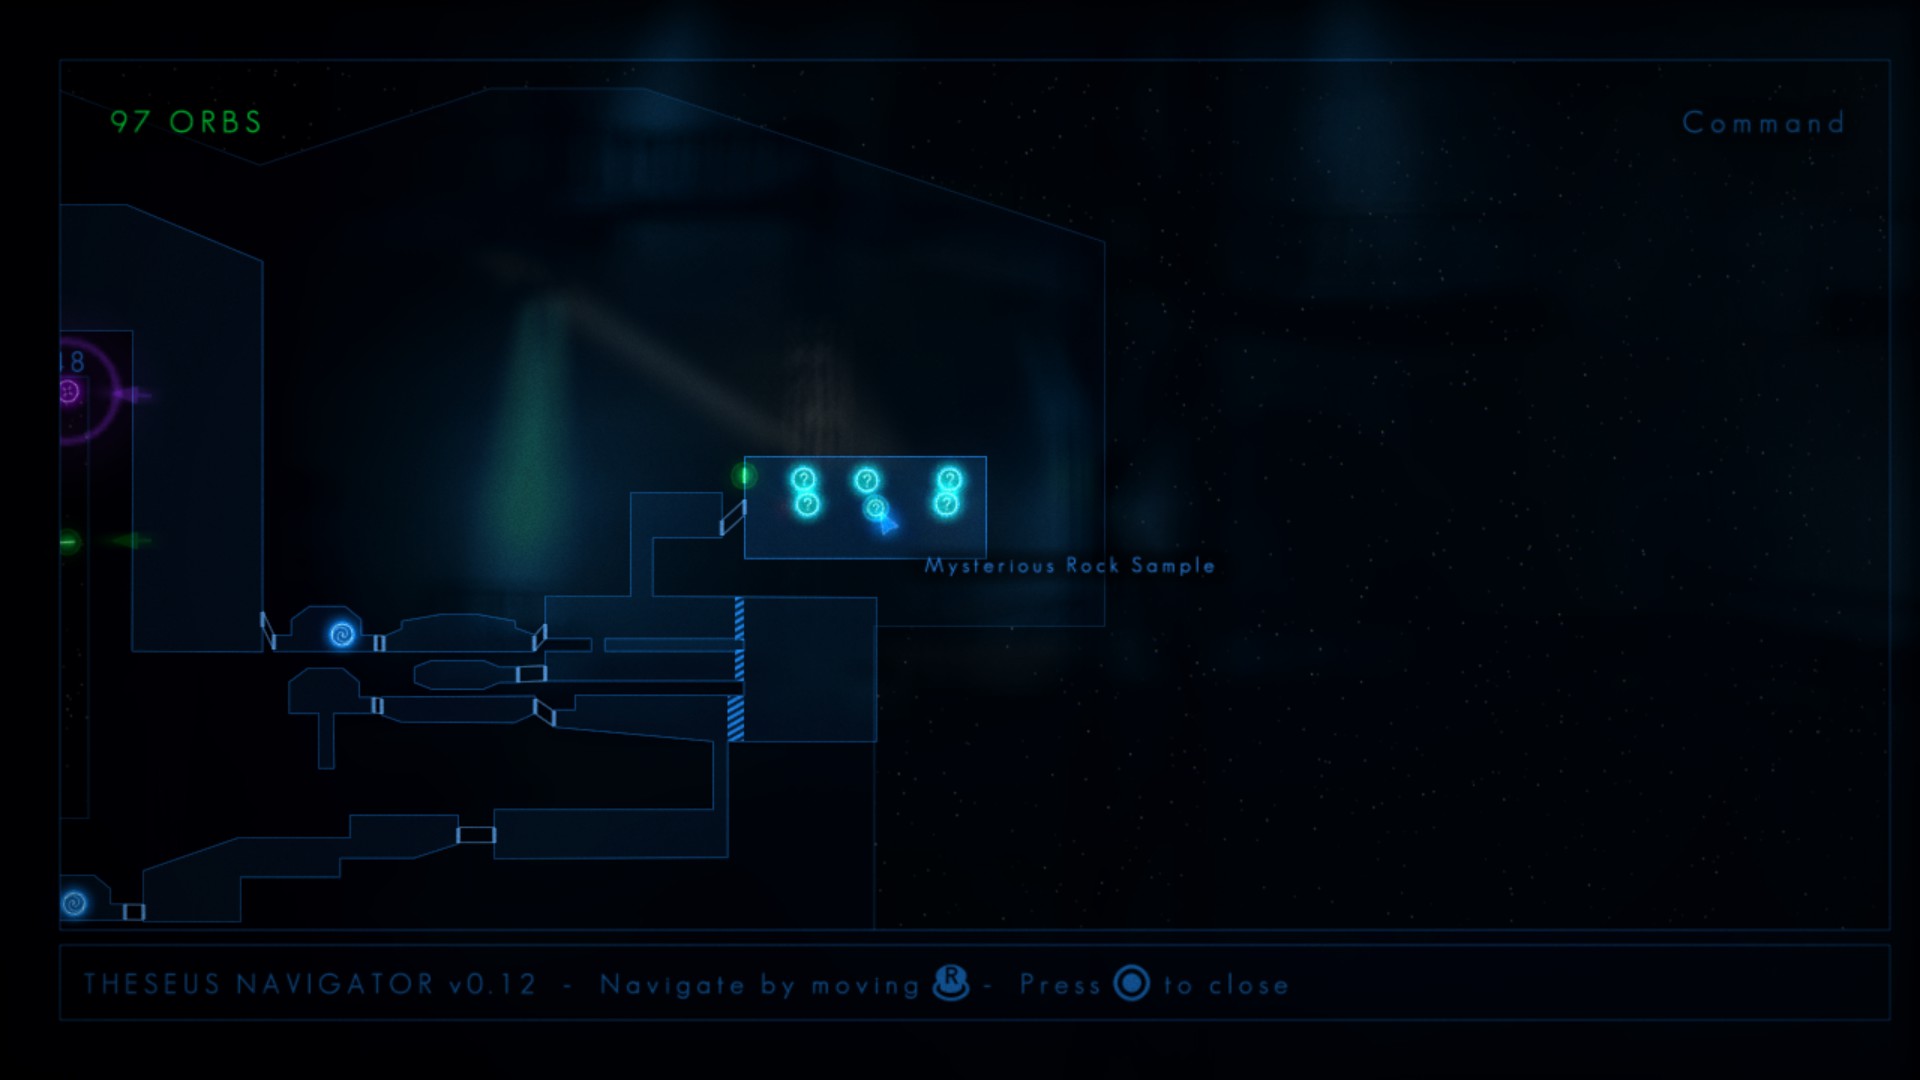
With the puzzles completed and their corresponding orbs in your possession, you can now power the 93-orb console. This action will grant you access to the Command section, where you’ll find the six missable Watcher Entries:
However, the challenges aren’t over just yet. Upon entering the Command section with all the solar panels released, a cutscene will be triggered. This cutscene not only substitutes the six previously mentioned Watcher Entries but also replaces the entries of seven additional Watcher stones. To simplify matters, let me provide a list of the entries that undergo replacement:
- Watcher #6 (Gardens)
- Watcher #7 (Cargo Access Chute)
- Watcher #12 (Planet Survey)
- Watcher #15 (Xeno Technology Research)
- Watcher #20 (Metaphysics)
- Watcher #29 (Asteroid Excavation Site 7)
- Watcher #30 (Disused Module)
If you’ve been diligently following this guide, you should have already acquired all of these entries. However, if for any reason you haven’t, this is your final opportunity to obtain them.
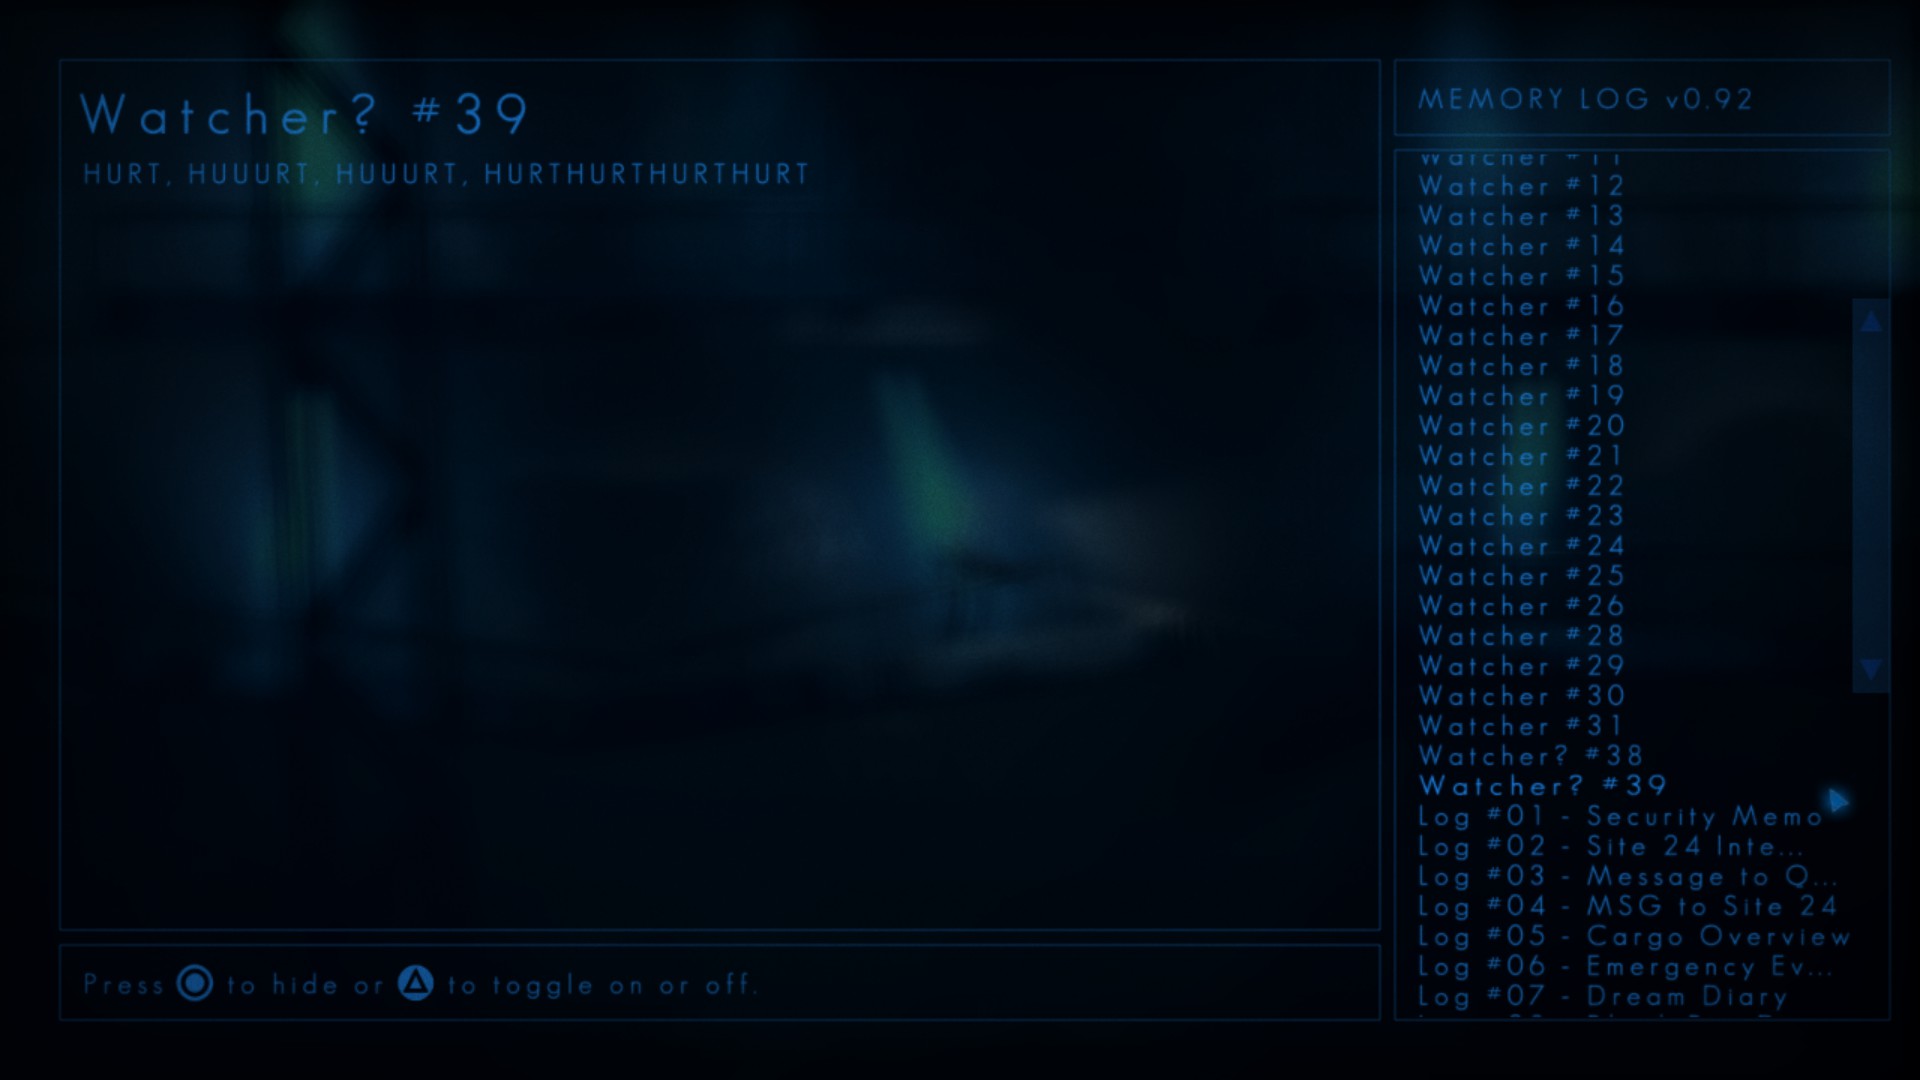
There is one more change to be aware of, but fortunately, based on my somewhat limited testing, it shouldn’t hinder your ability to obtain any entries. Essentially, following the triggering of the cutscene in Command, any Watchers you previously interacted with will now display nonsensical messages on the screen, resembling something like this:
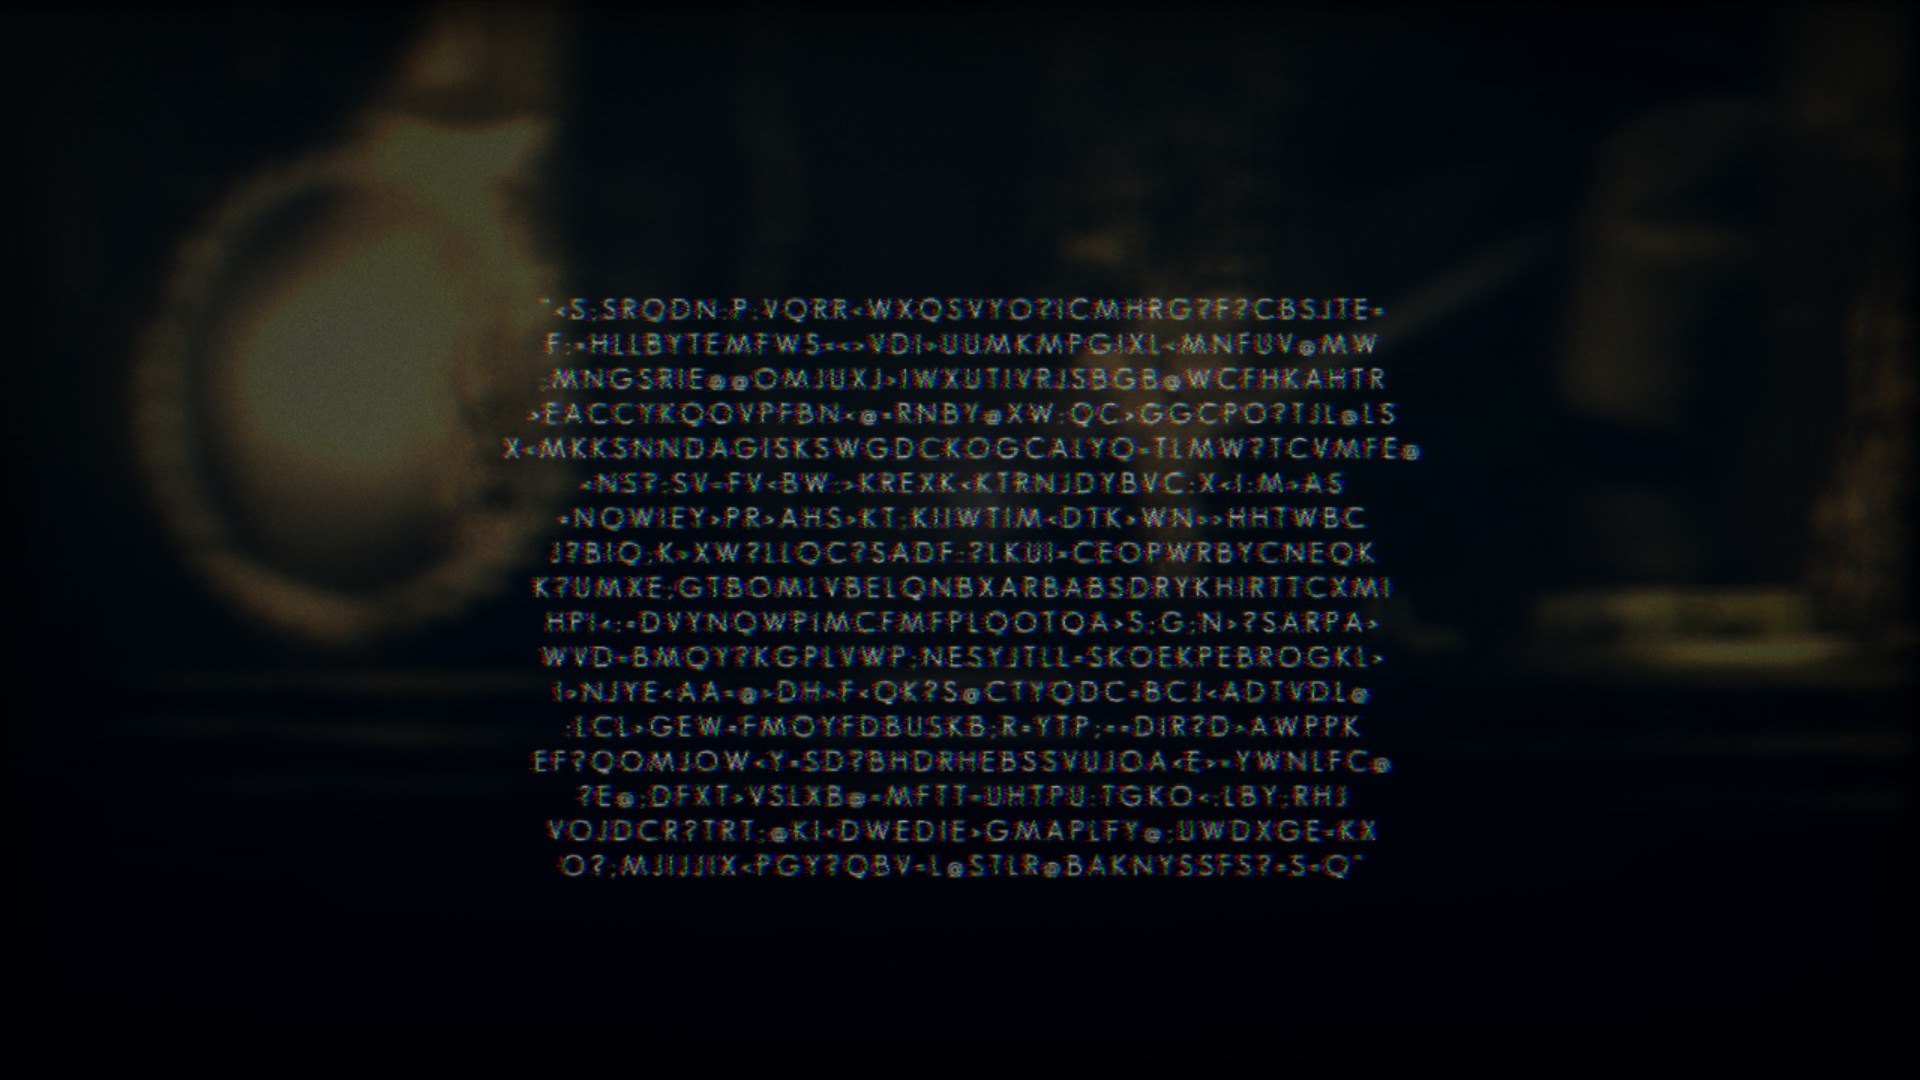
The testing I referred to earlier involved intentionally skipping two Watcher stones in Laboratory Access and subsequently revisiting them after the cutscene and gibberish messages had occurred. Upon interaction, these stones initially presented their standard entries and then proceeded to display the gibberish message during all subsequent interactions. While I didn’t perform this specific test with every stone, it is likely that the others will behave in a similar manner and shouldn’t pose any hindrance to obtaining their entries.
Control Access
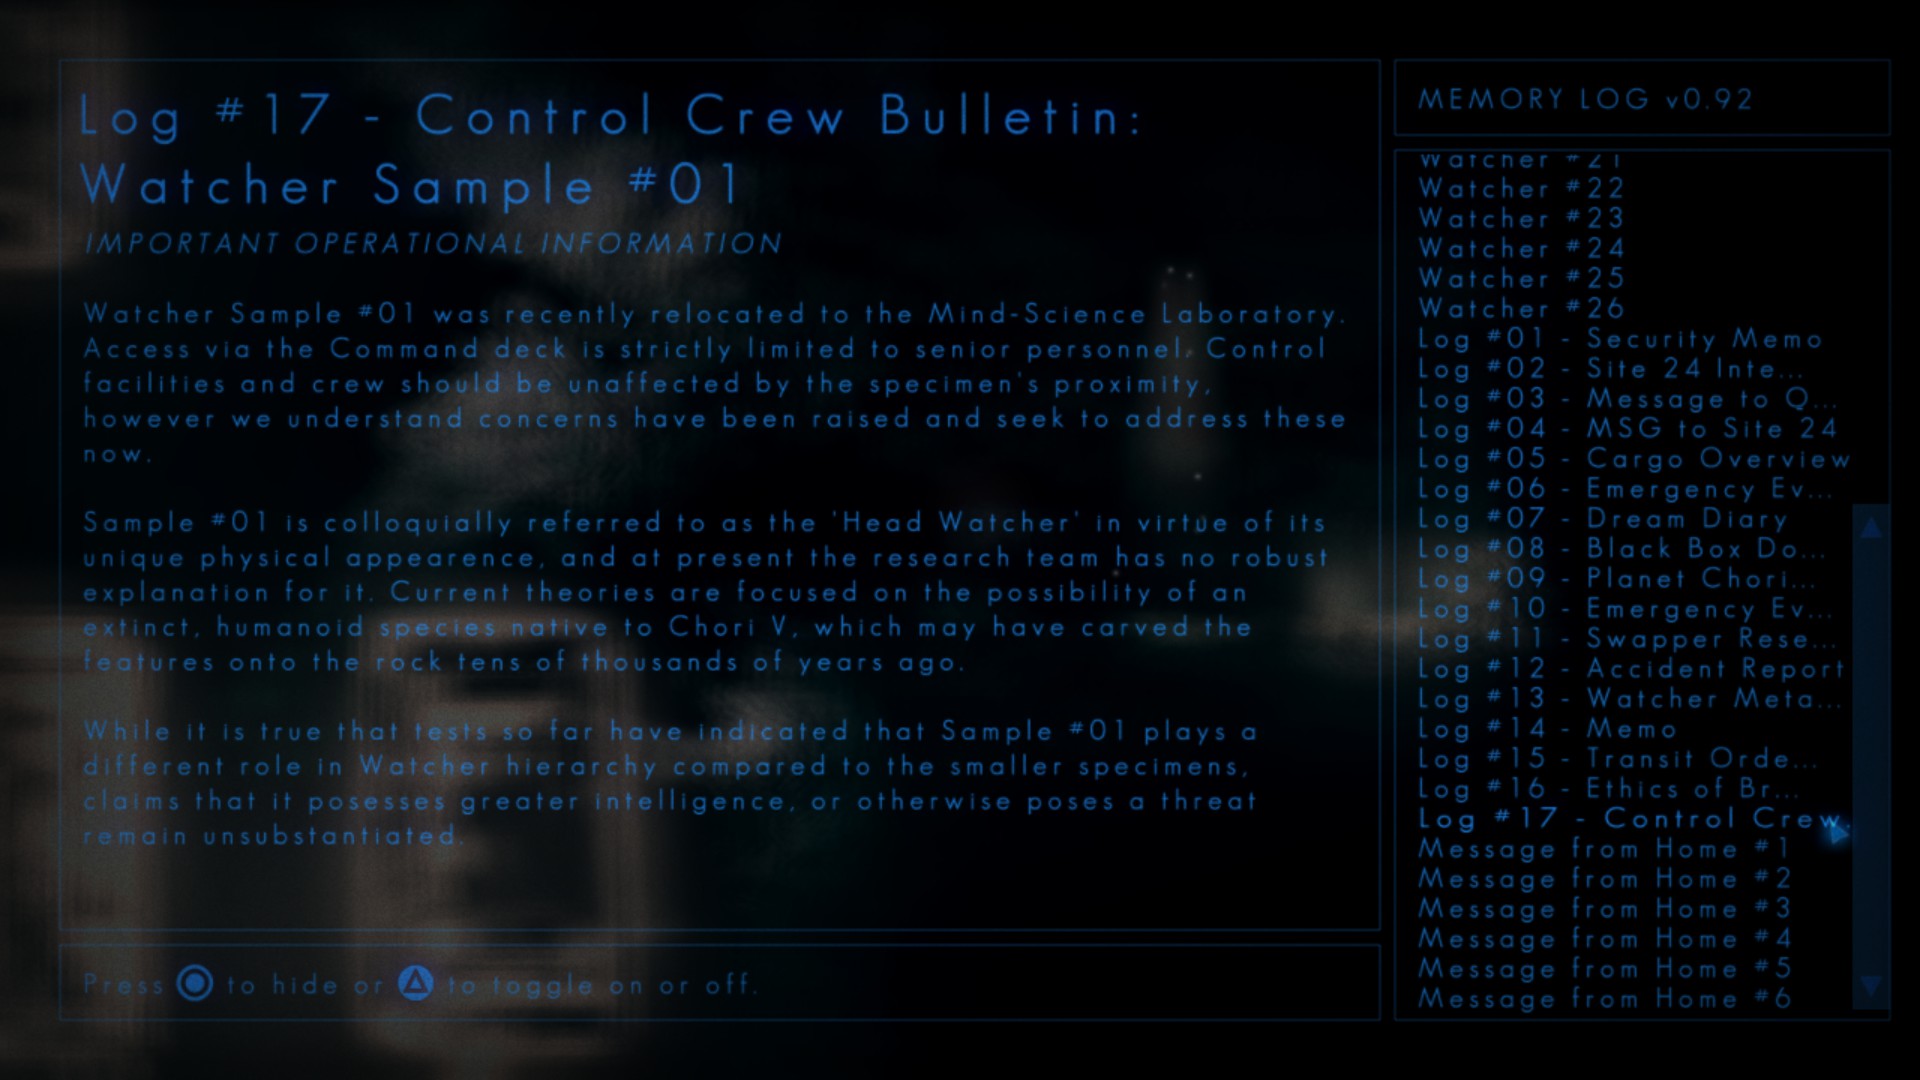
Log #17 – Control Crew Bulletin: Watcher Sample #01
Location:

Content:
Satellite Access
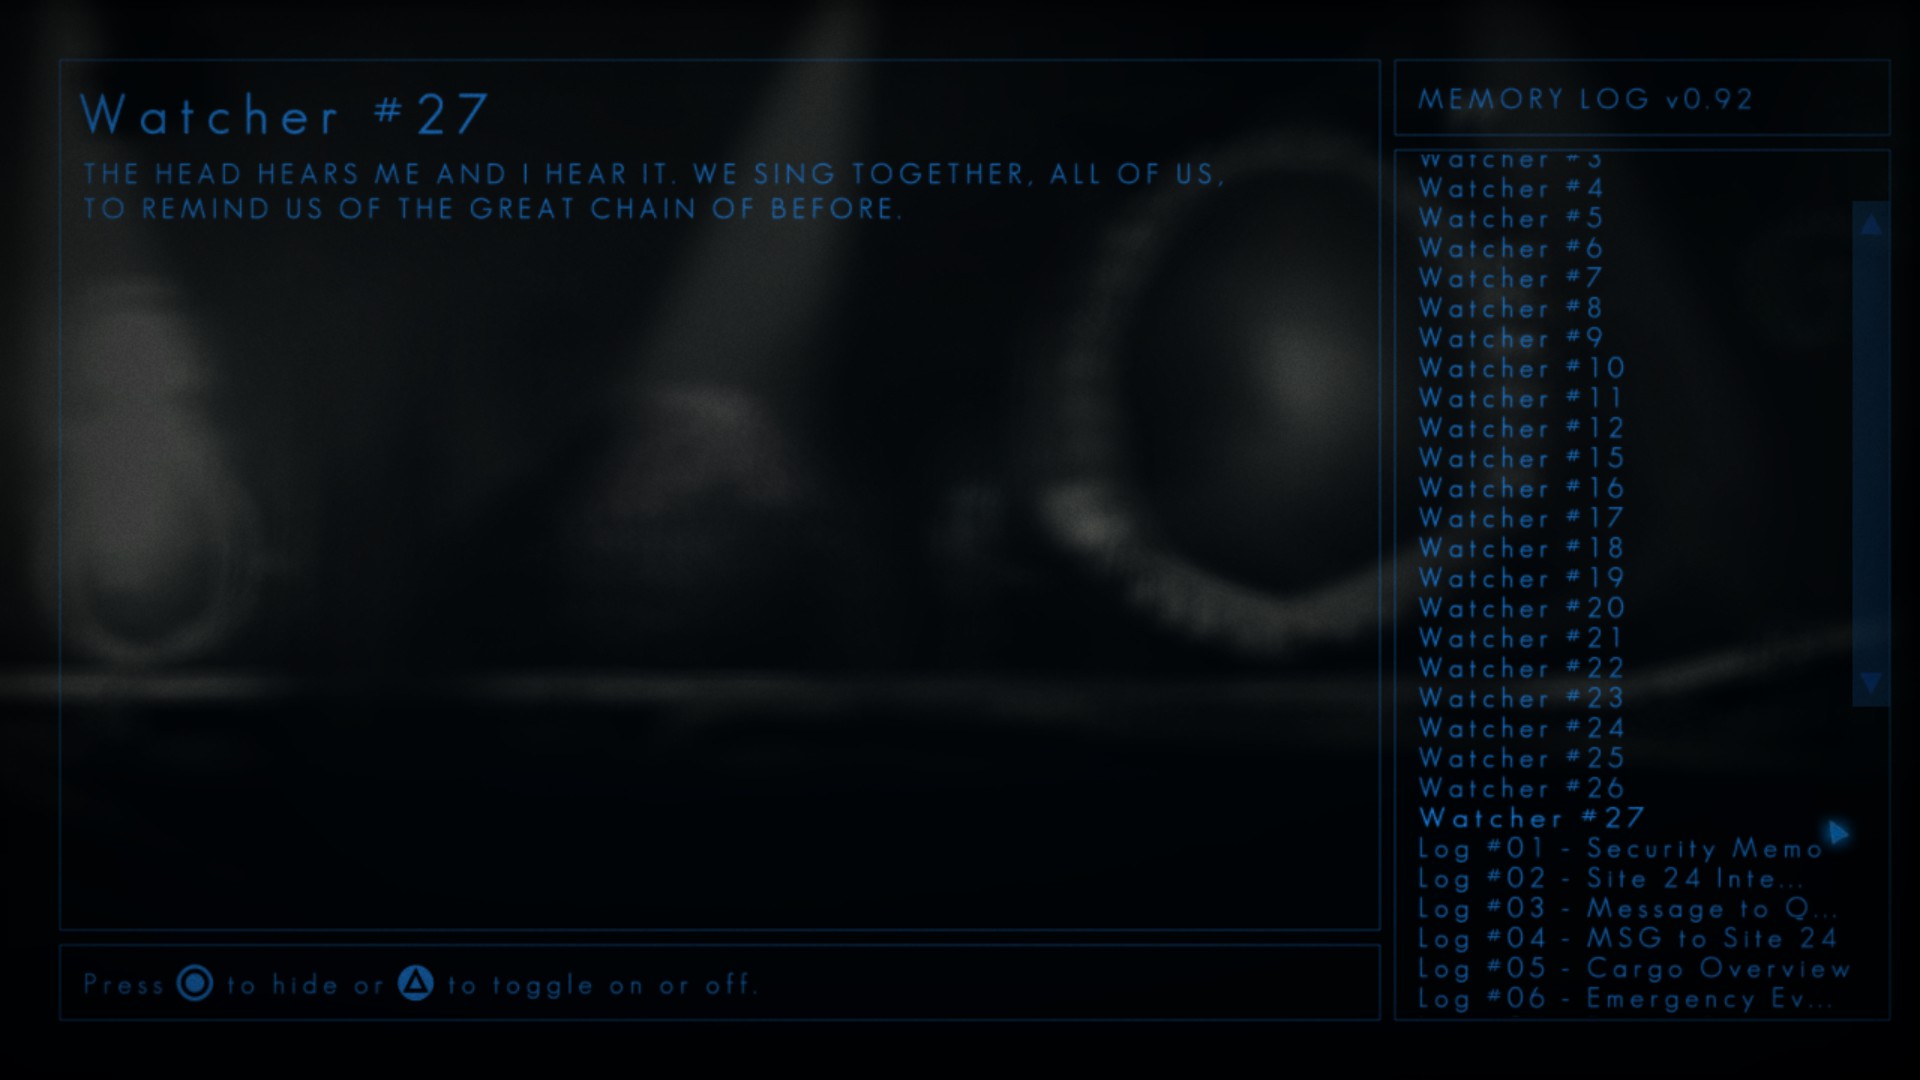
Watcher #27
Location:

Content:
Satellite
Log #18 – Swapper Research Interests
Location:

Content:
Satellite Access (Revisited)
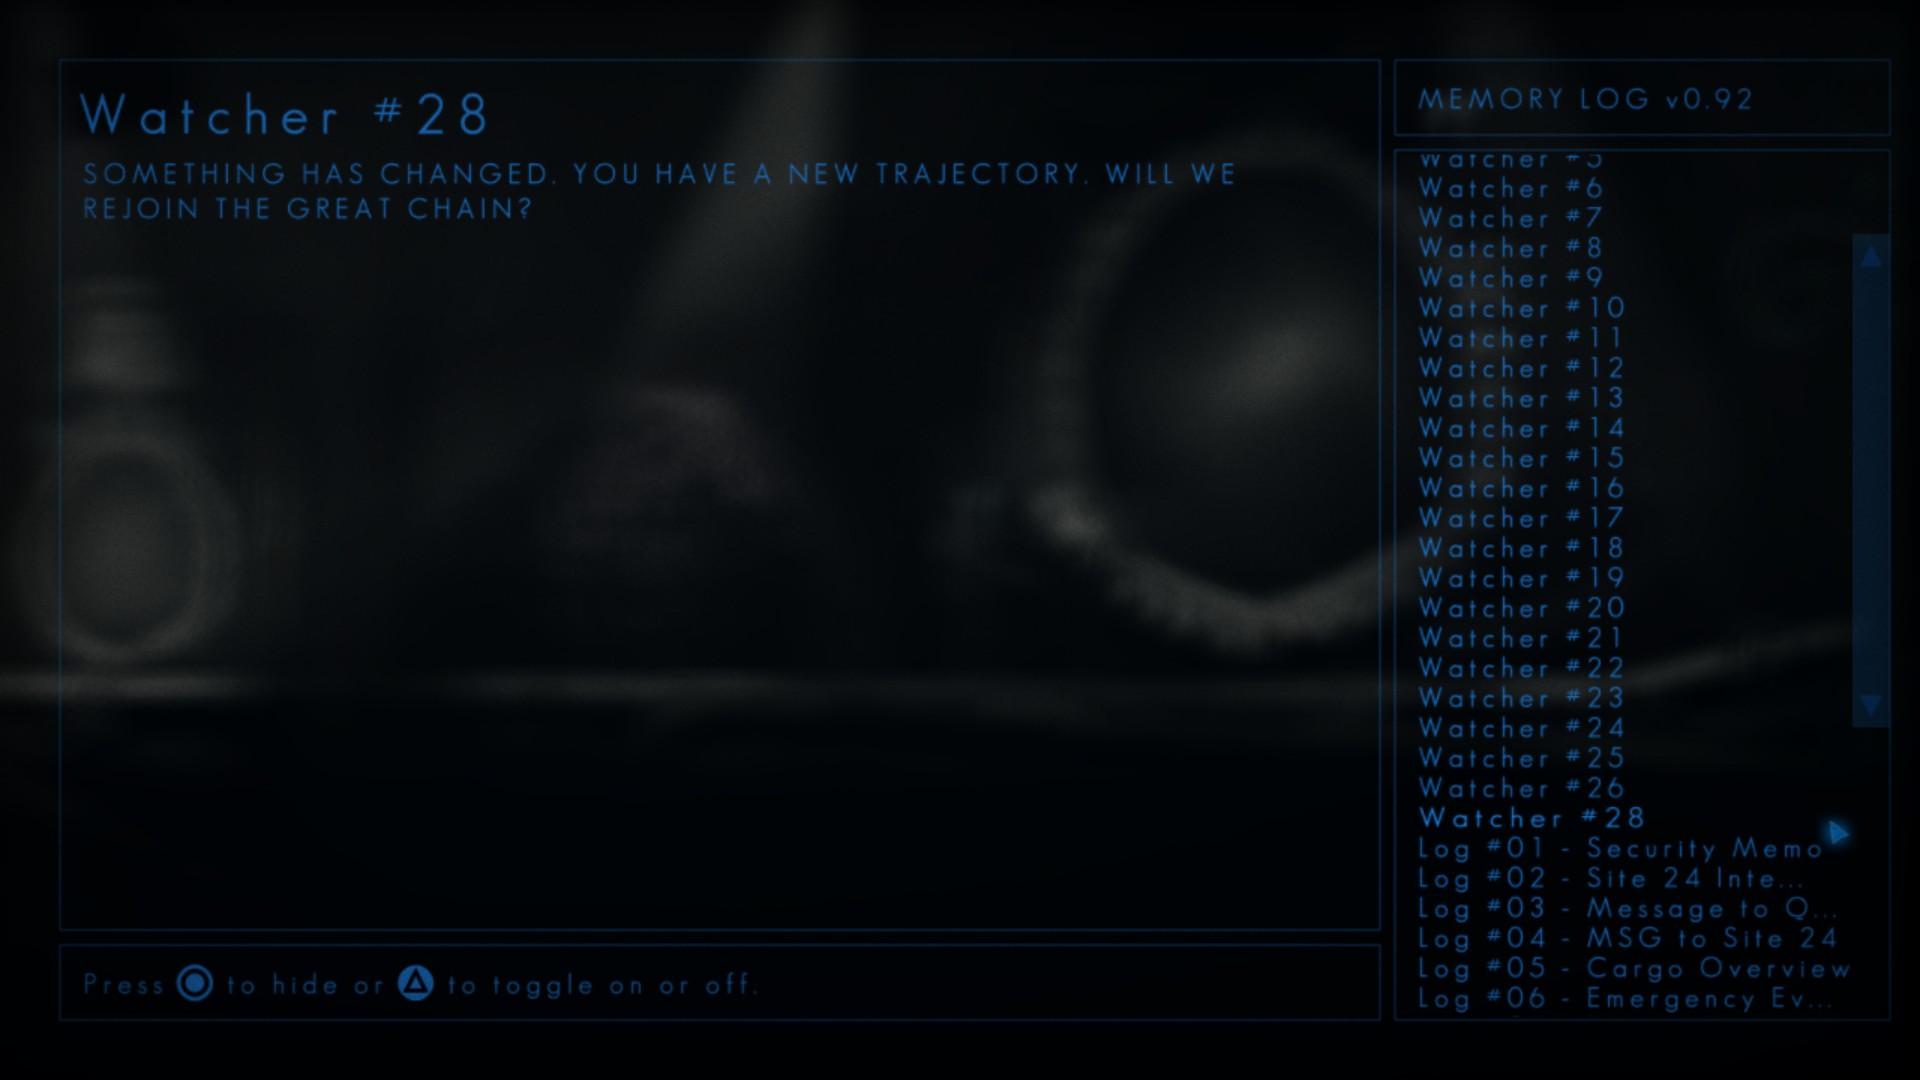
Watcher #28
Location:

Content:
Disused Module
Watcher #30
Location:

Content:
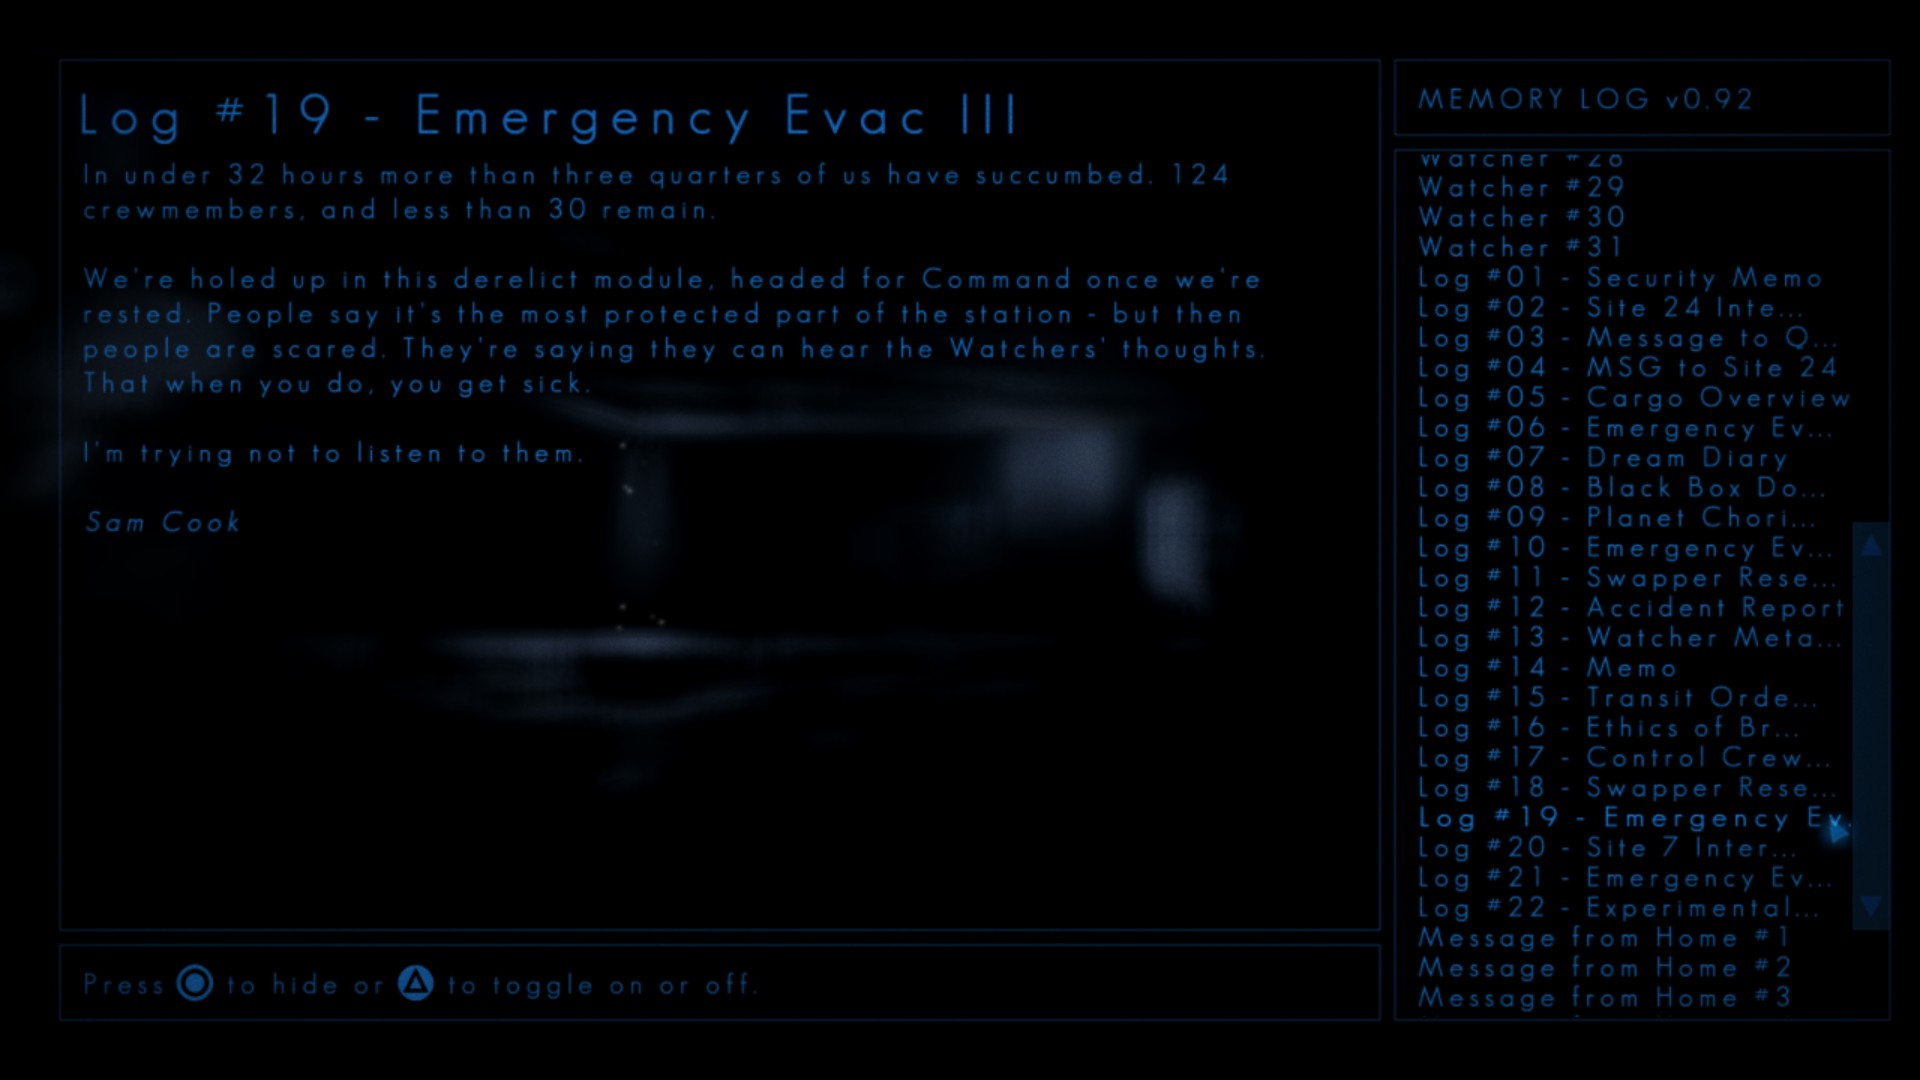
Log #19 – Emergency Evac III
Location:
Content:
Command
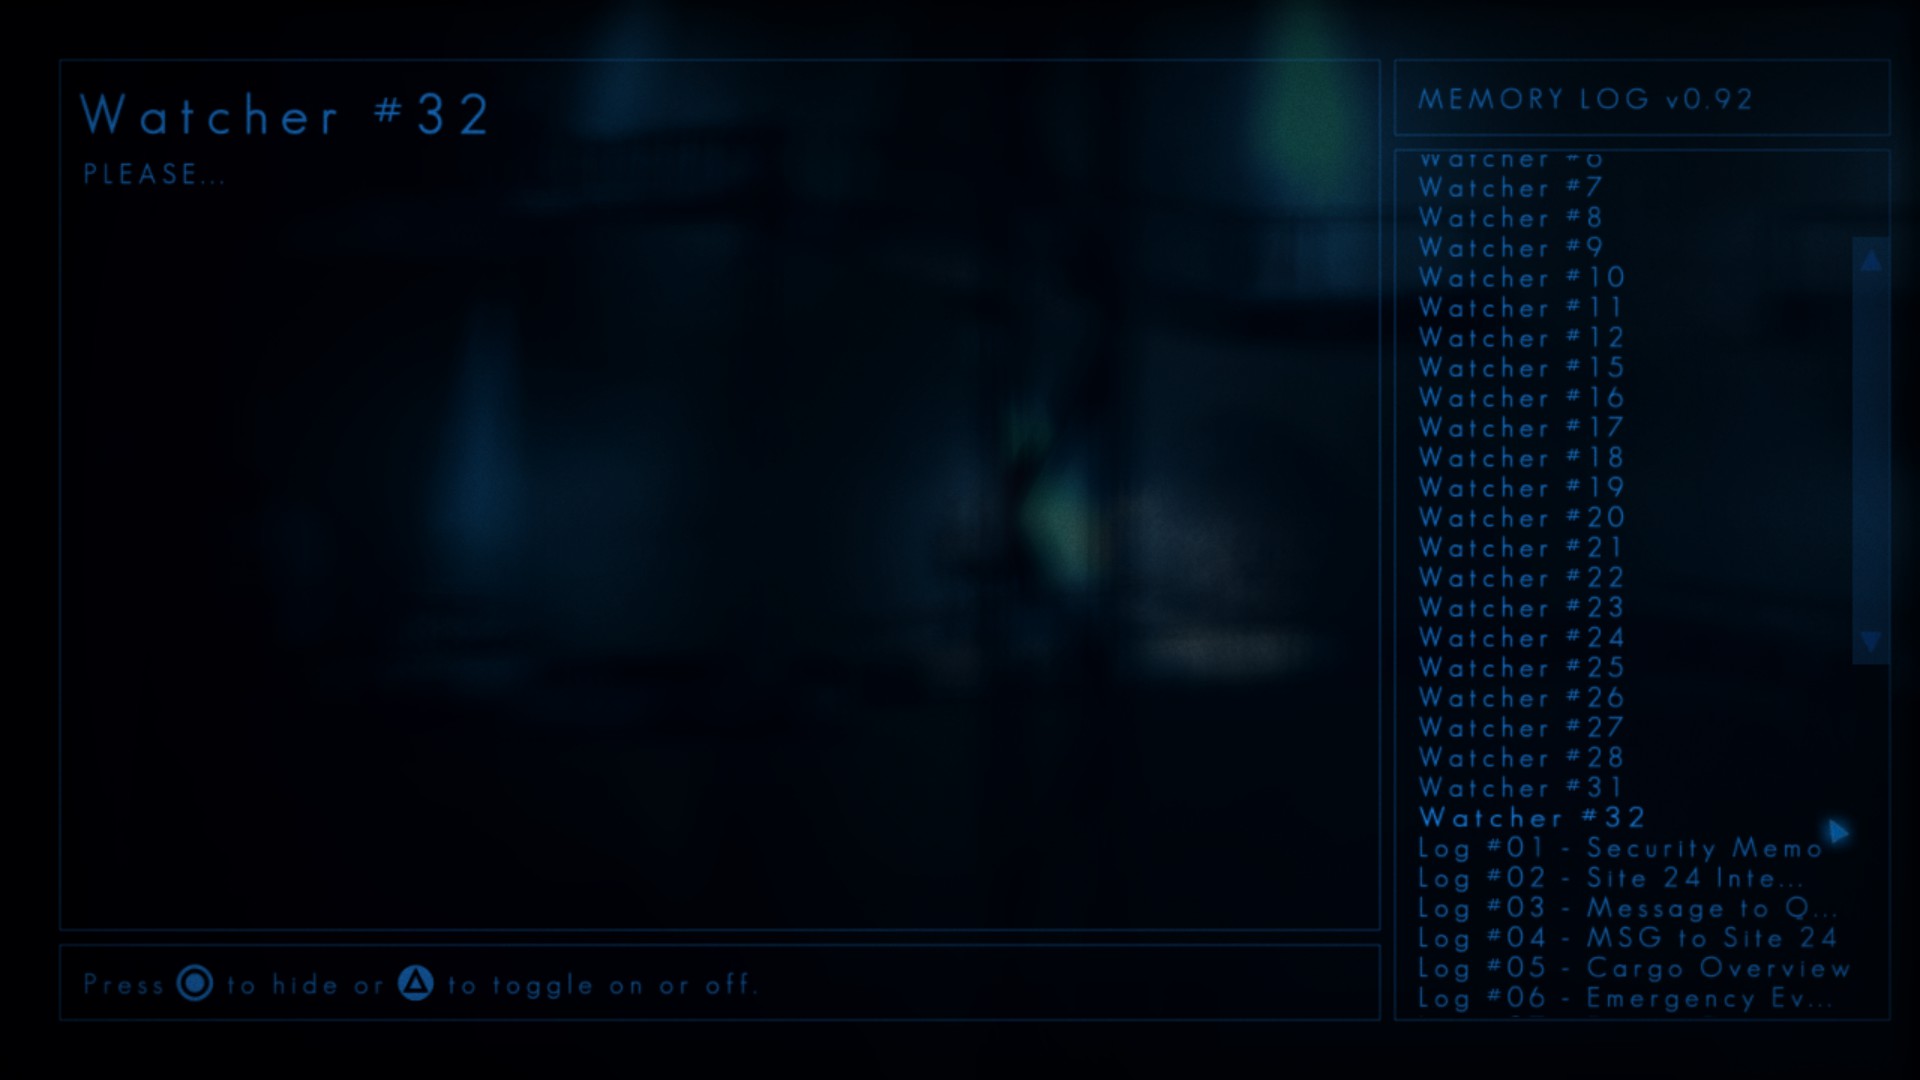
Watcher #32
Location:
Content:
Watcher #33
Location:
Content:
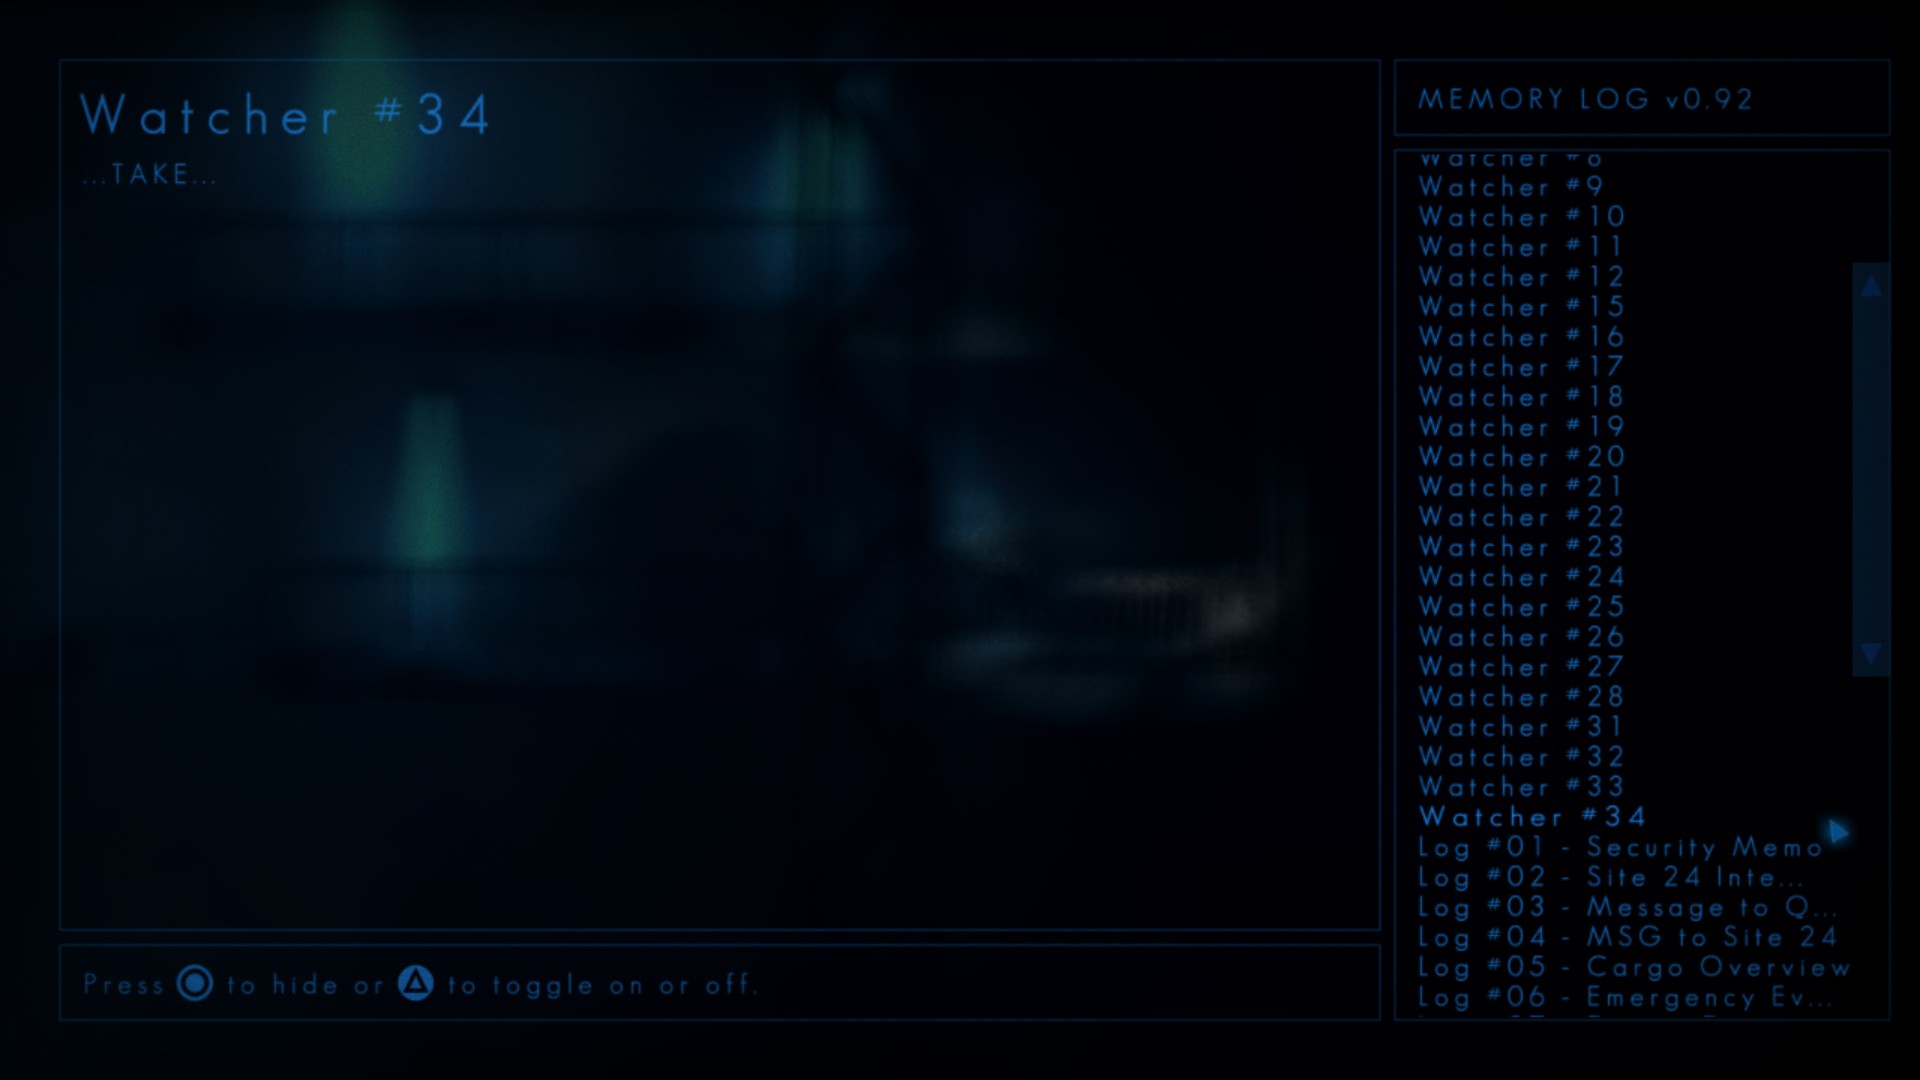
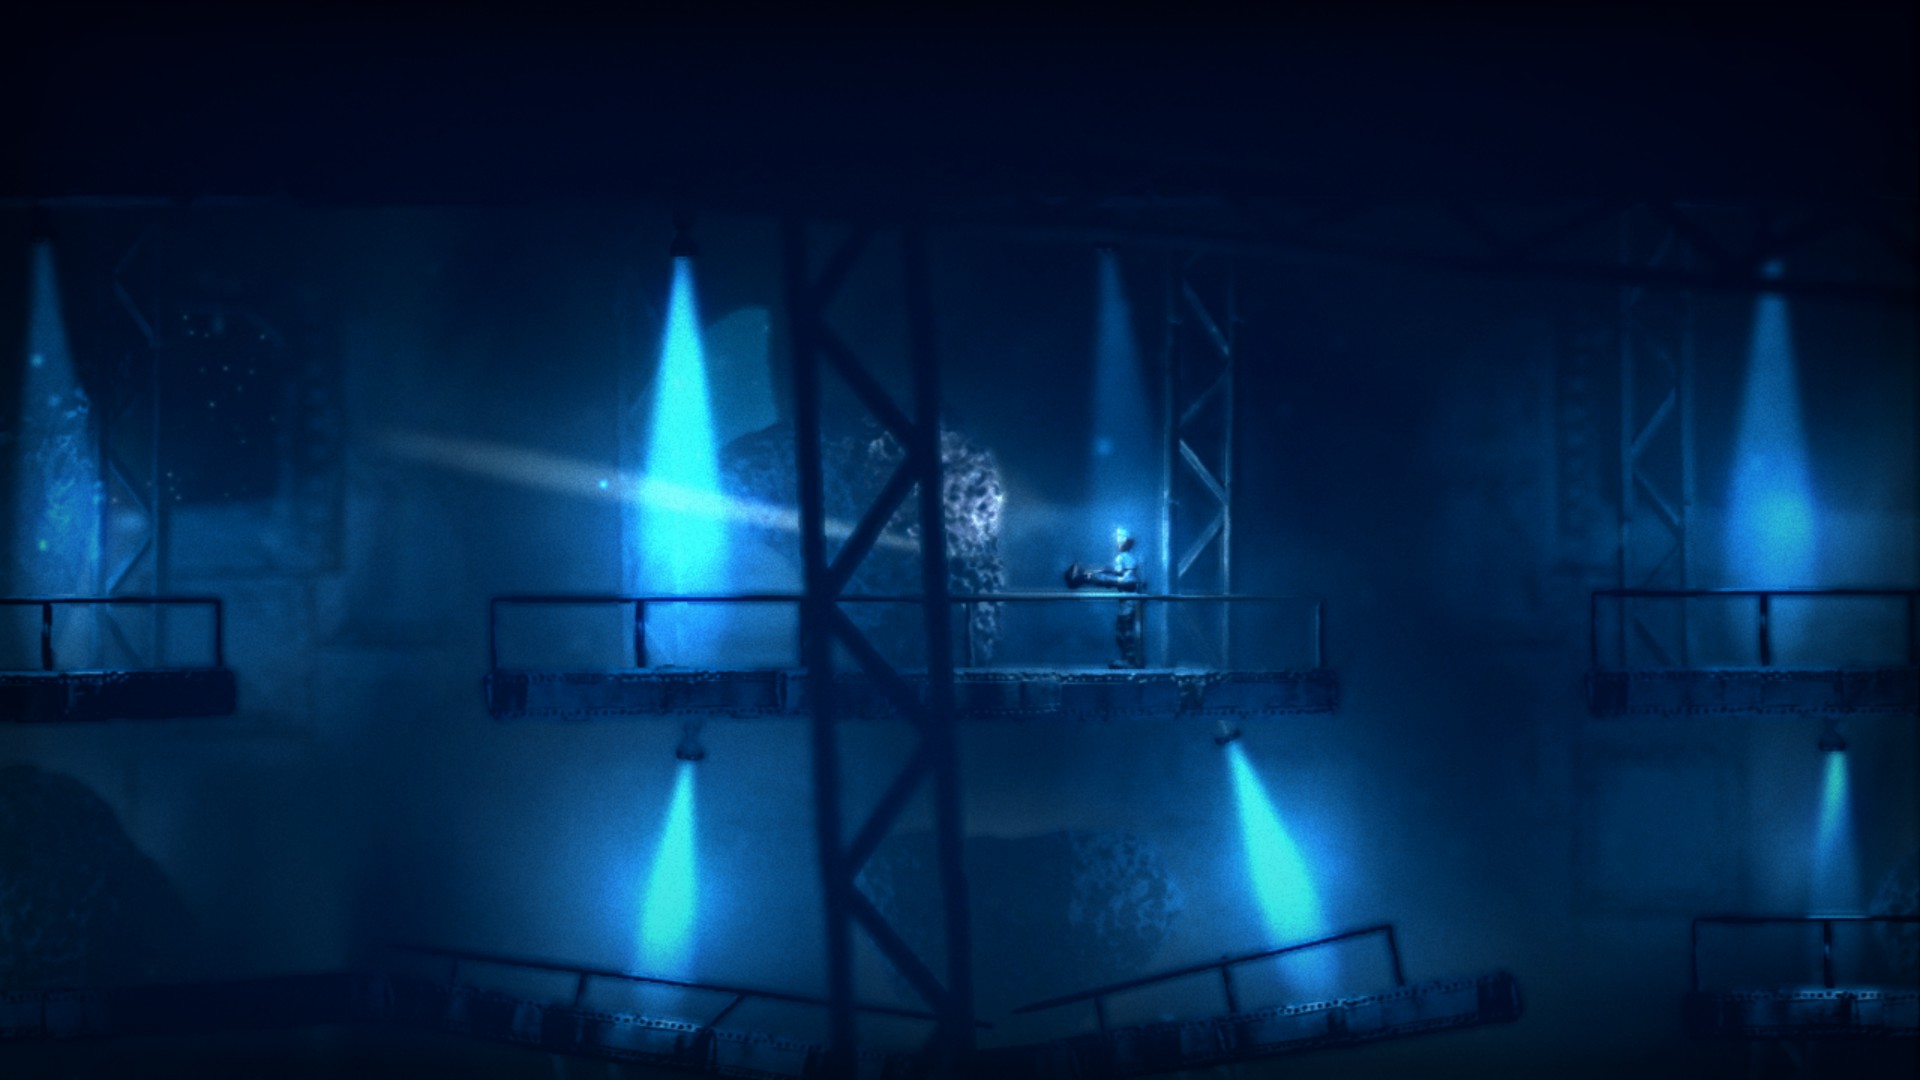
Watcher #34
Location:

Content:
Watcher #35
Location:


Content:

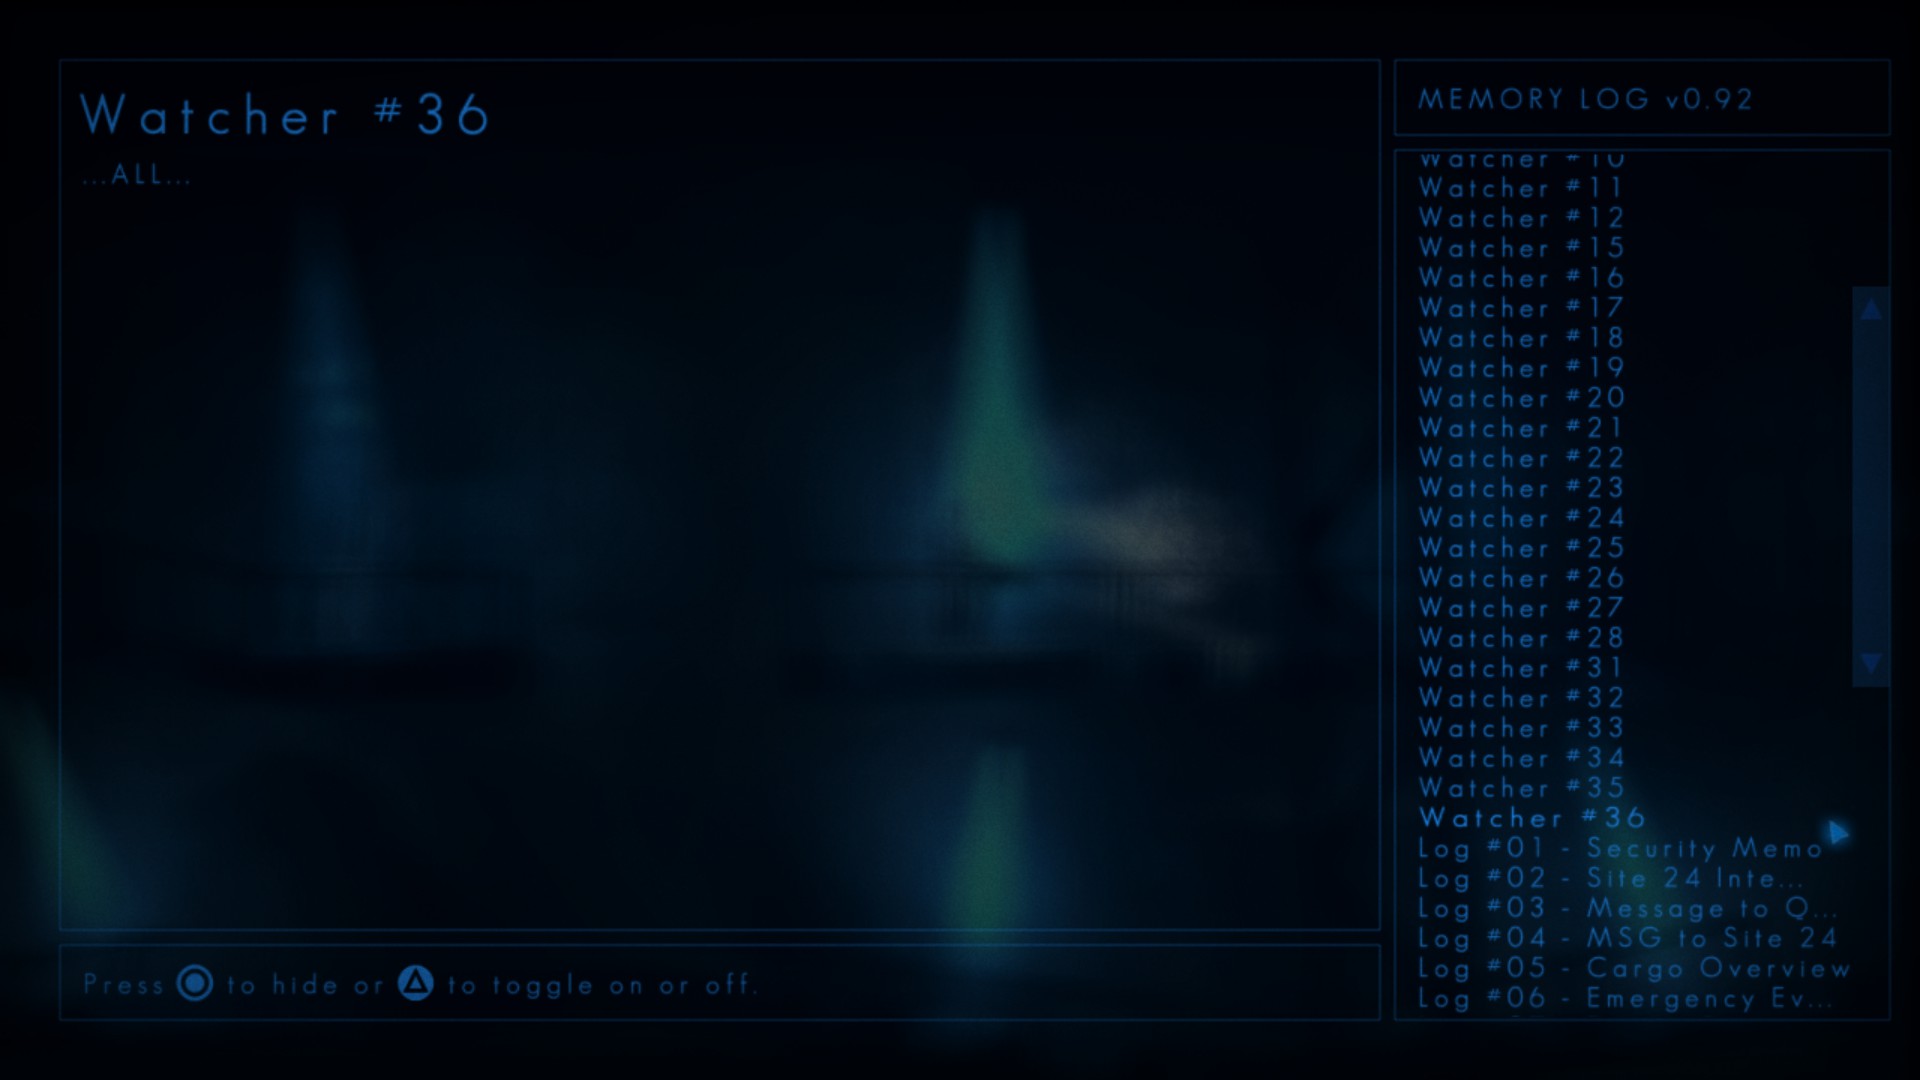
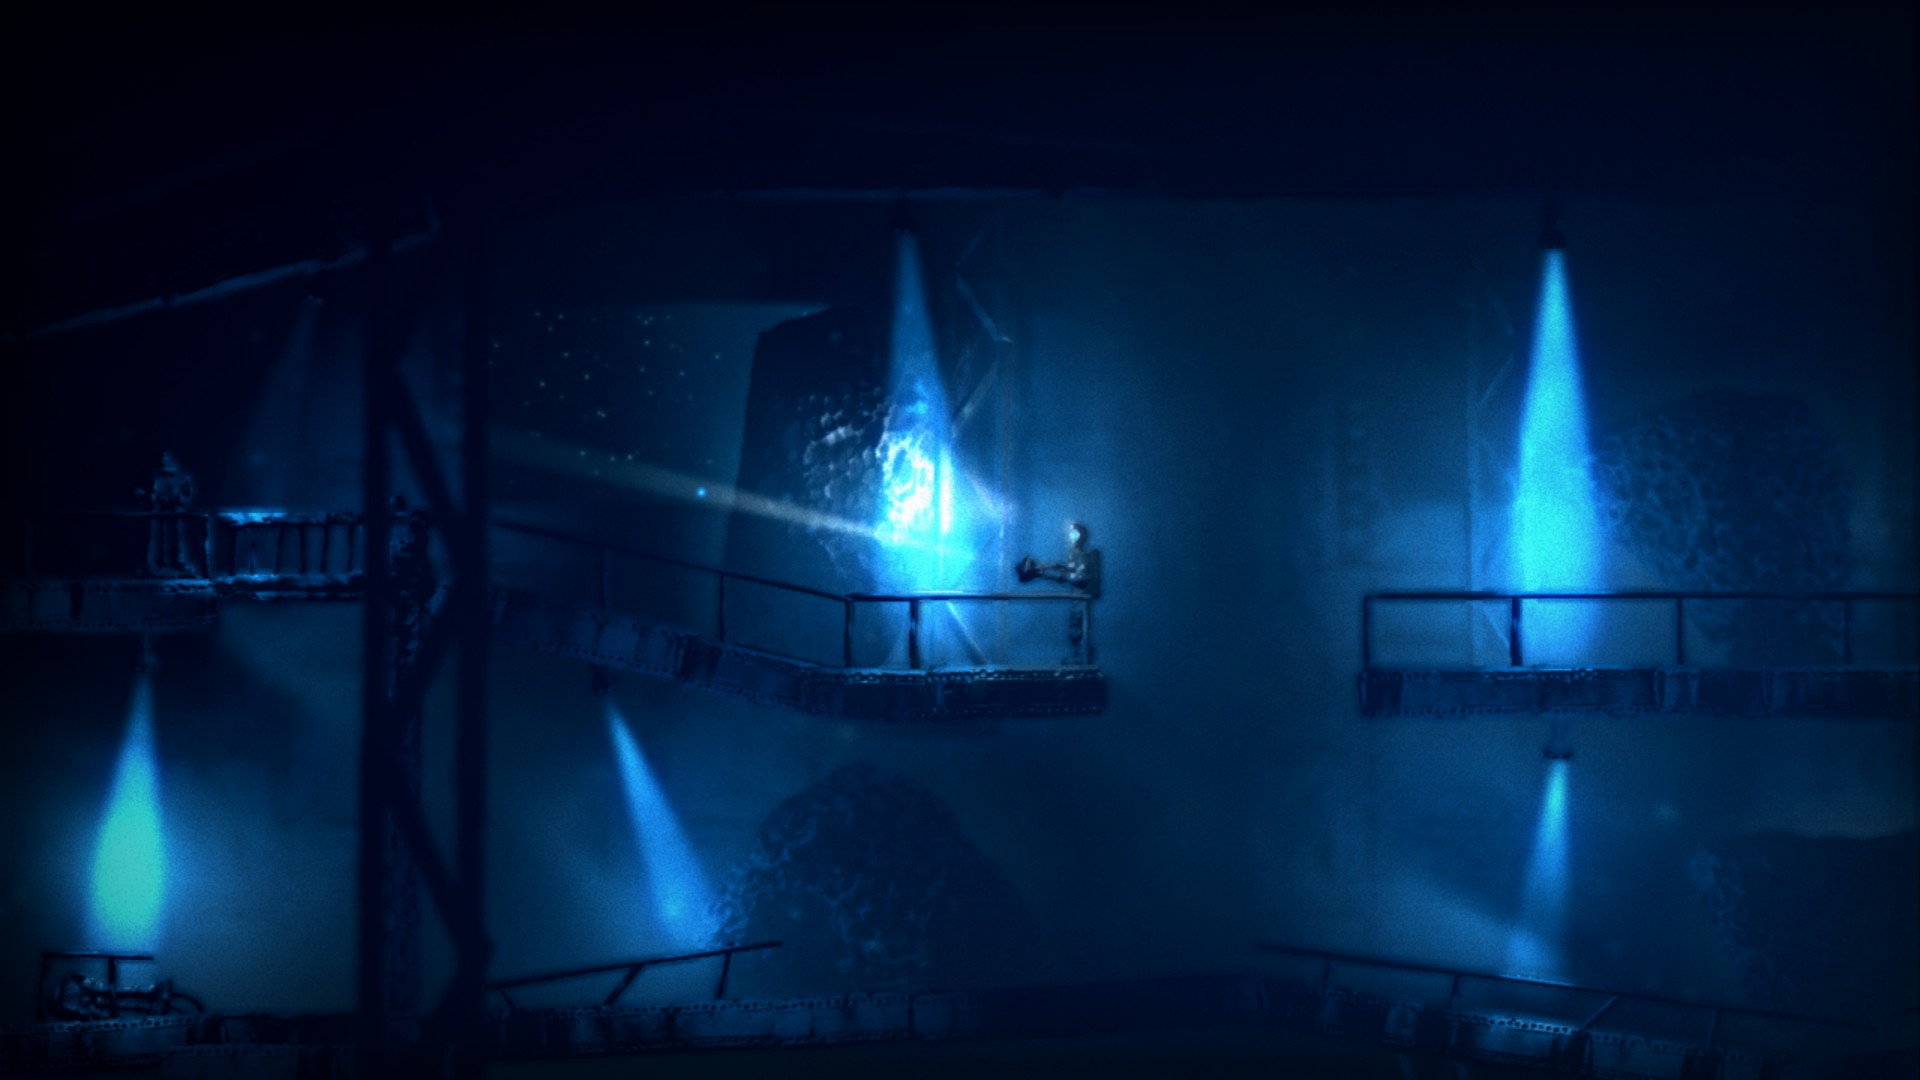
Watcher #36
Location:

Content:
Watcher #37
Location:

Content:

Message from Home #10
Location:

Content:
Solar Panel Maintenance Modules
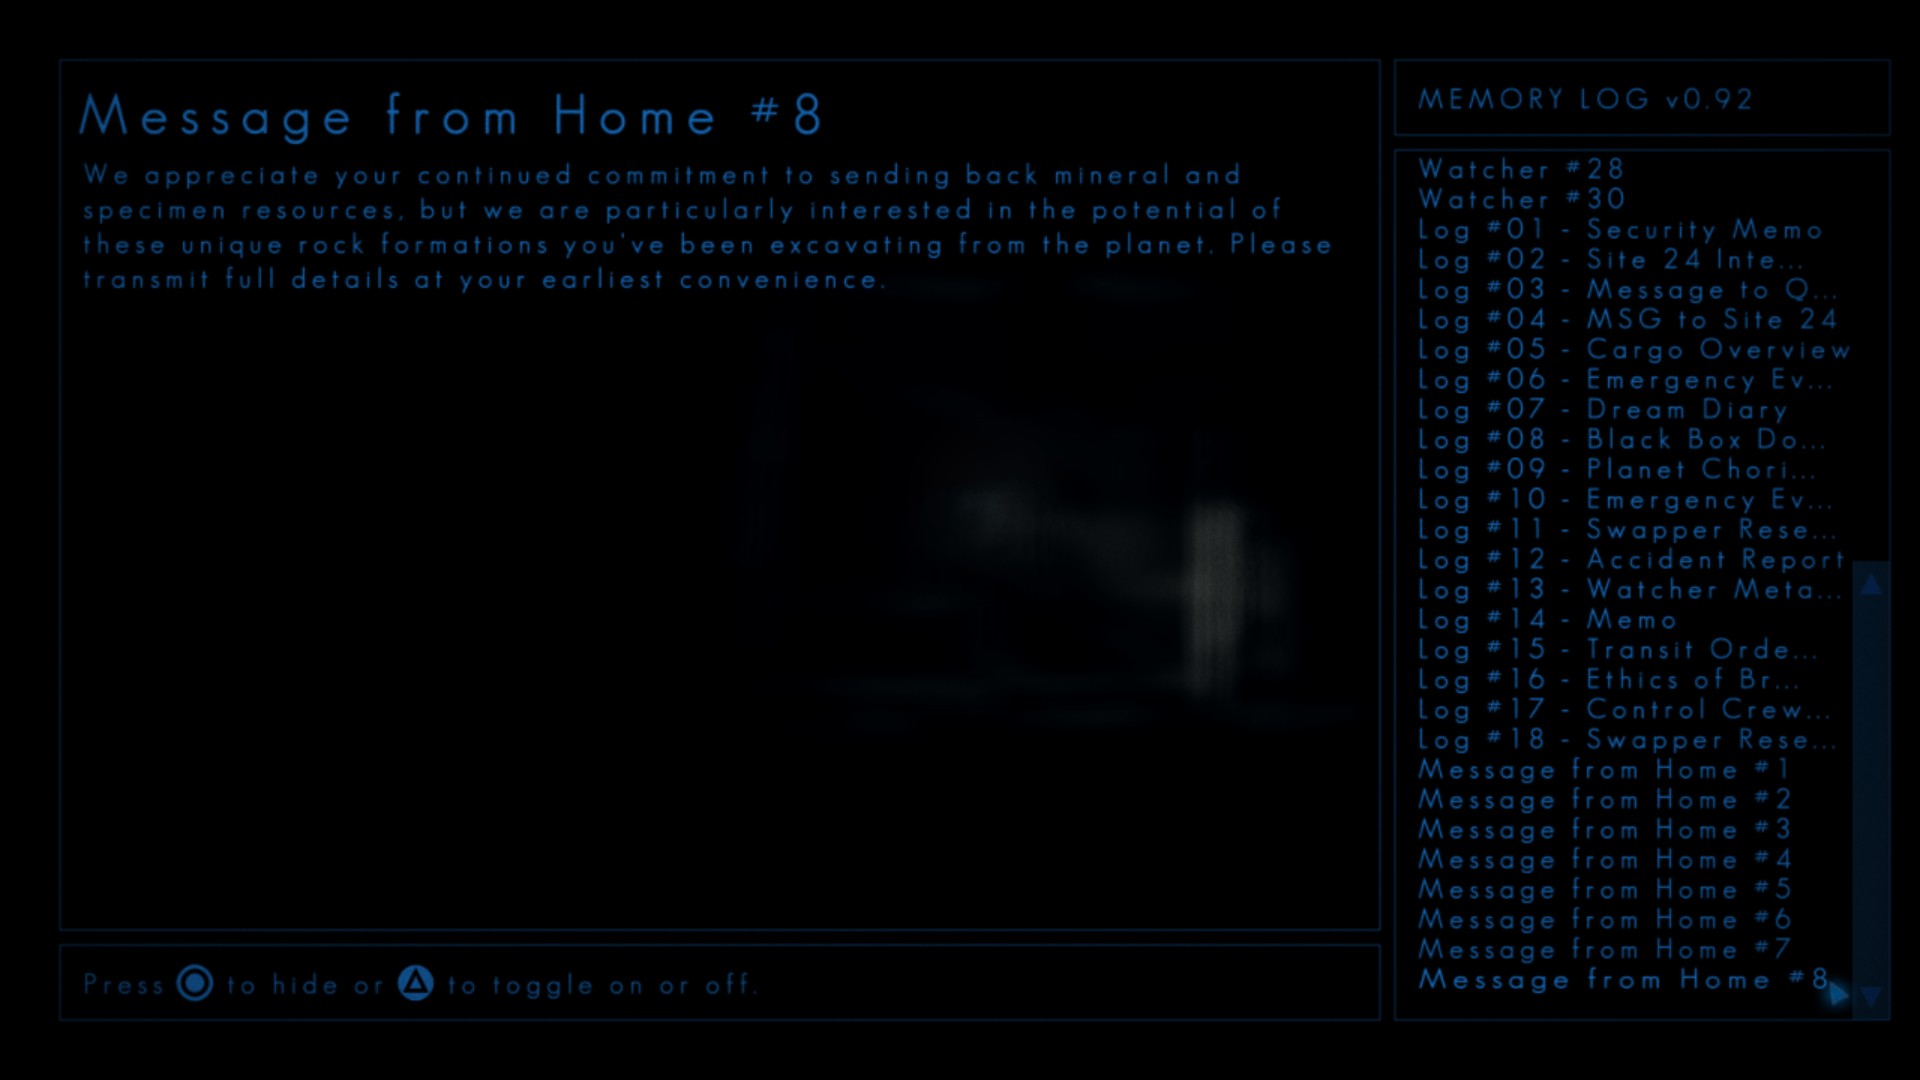
Message from Home #8
Location:


Content:
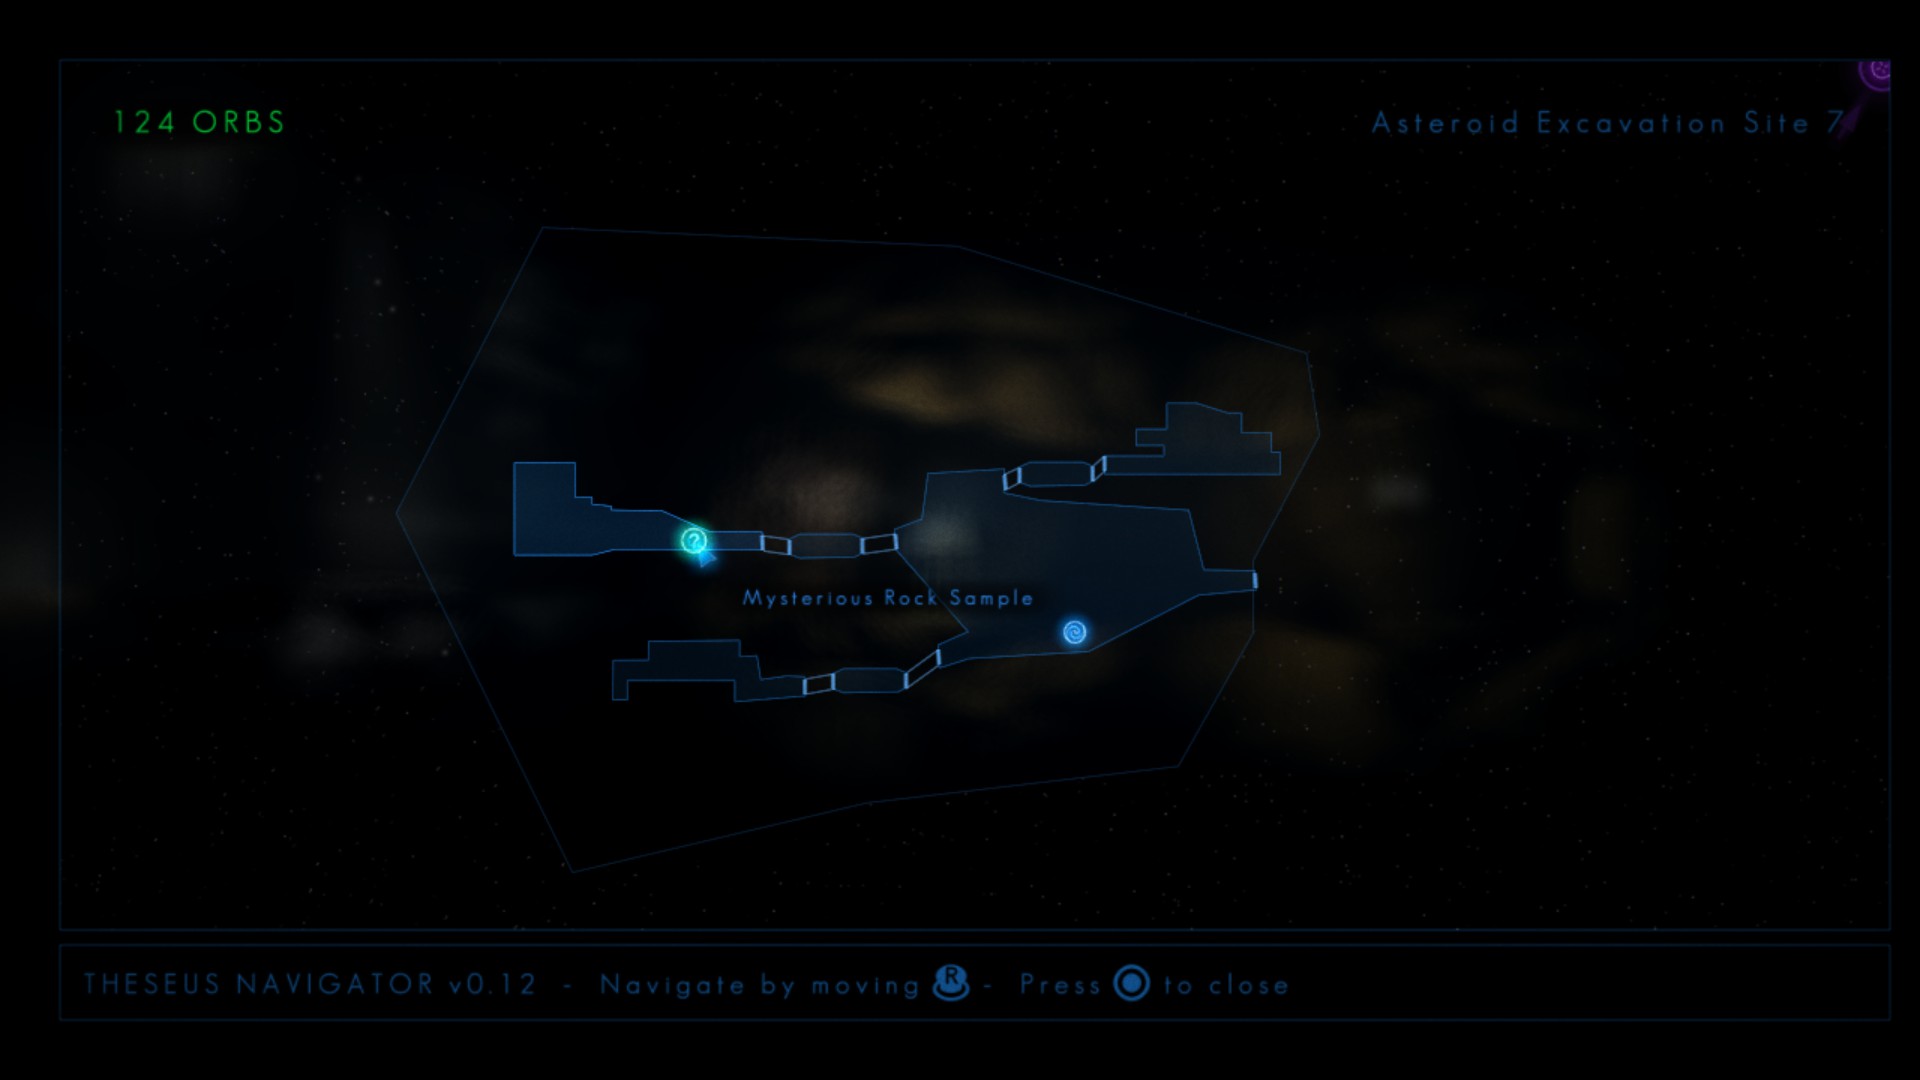
Asteroid Excavation Site 7
Watcher #29
Location:

Content:
Log #20 – Site 7 Internal MSG
Location:
Content:

Control Access (Revisited)
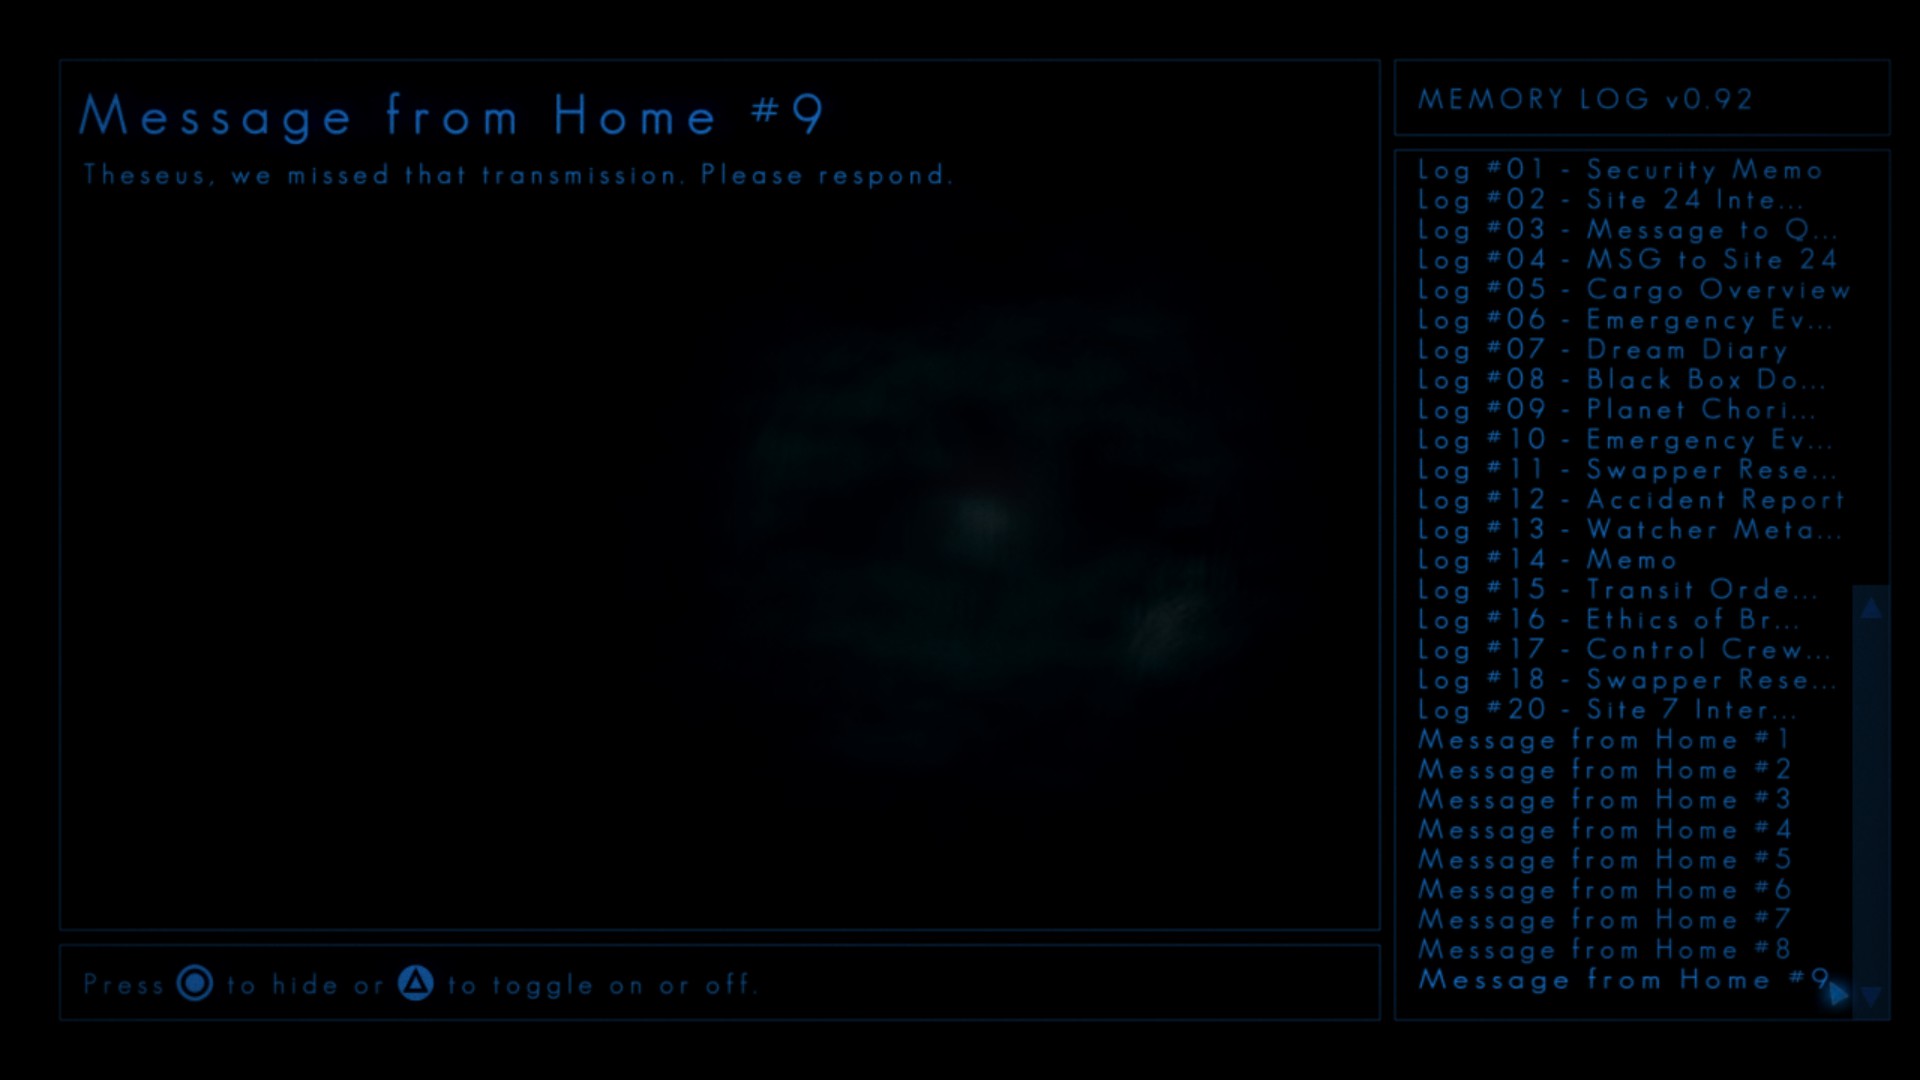
Message from Home #9
Location:


Content:
Cargo Reserve
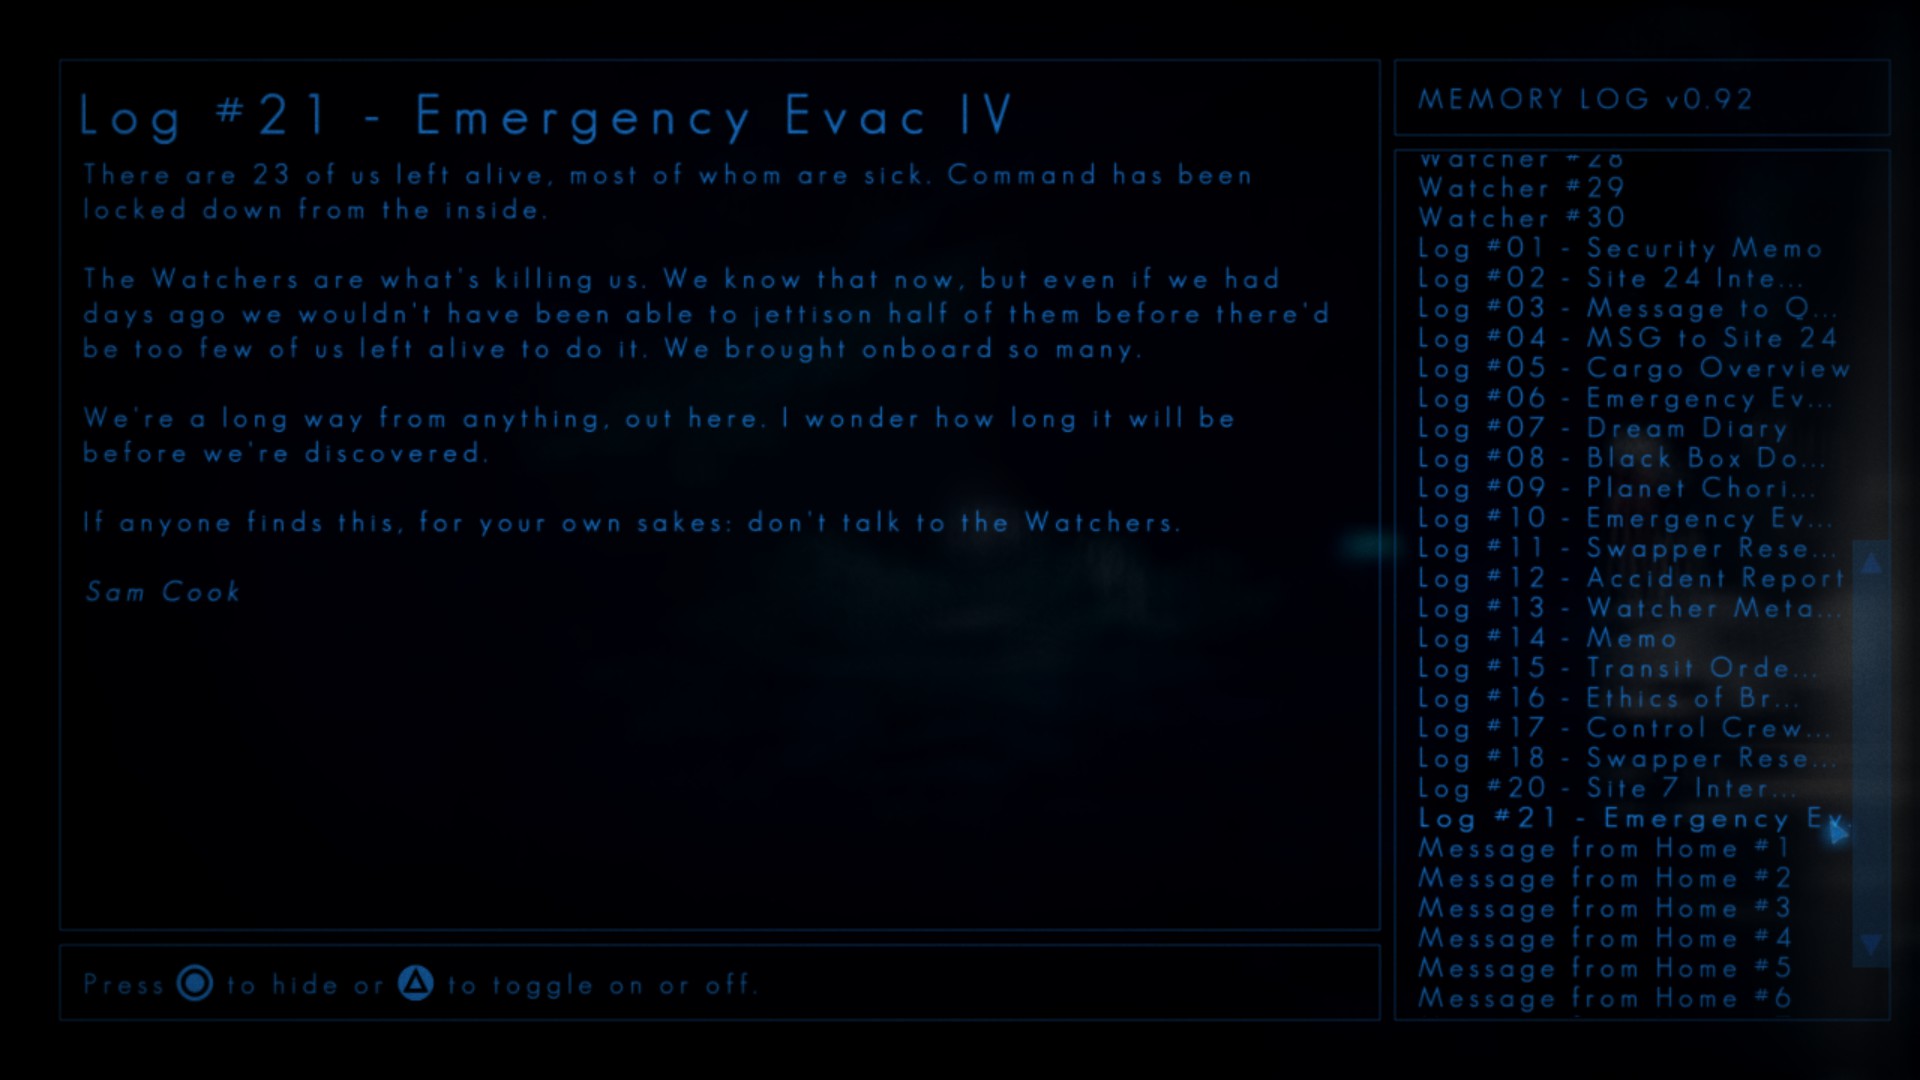
Log #21 – Emergency Evac IV
Location:
Content:
Cargo Teleport
Watcher #31
Location:
Content:
Mind-Science Laboratory (Revisited)
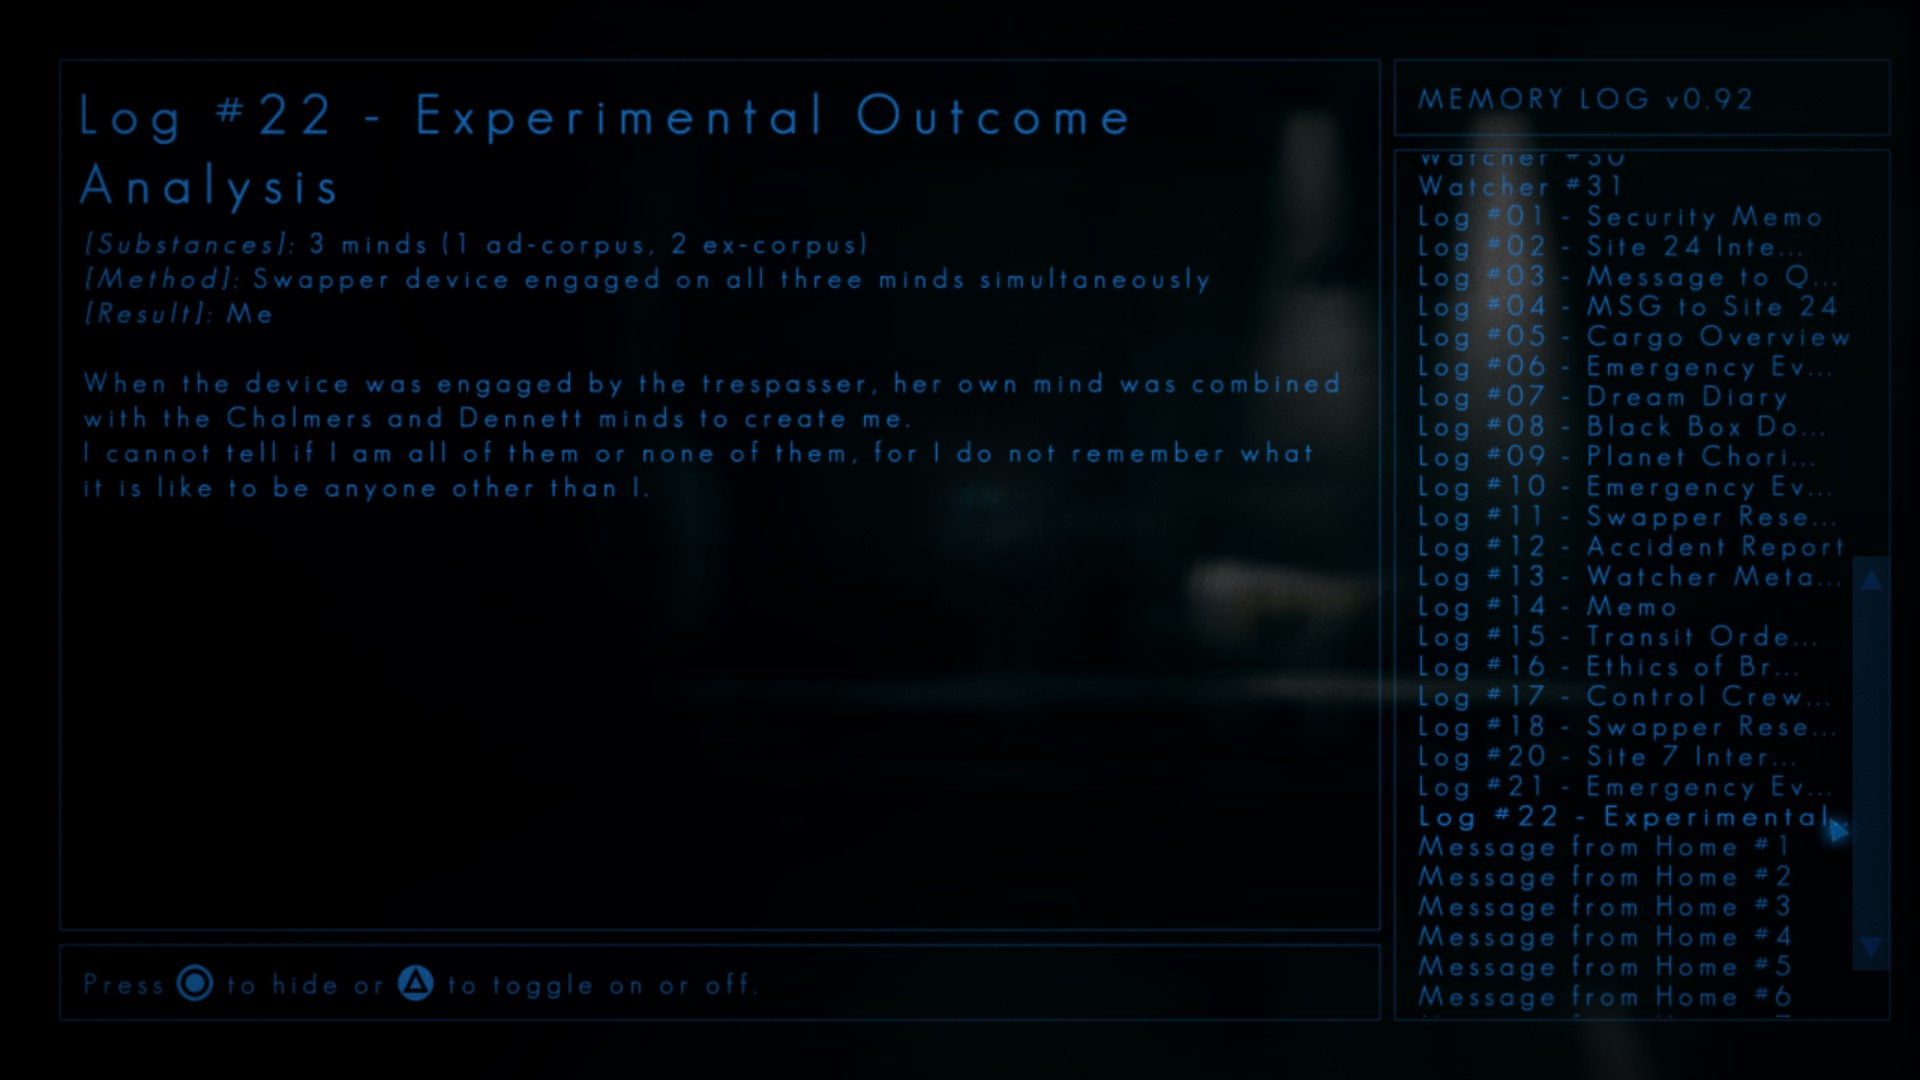
Log #22 – Experimental Outcome Analysis
Location:
Content:
Command (Revisited)
Watcher? #38
Location:
Content:

Watcher? #39
Location:

Content:
Watcher? #40
Location:
Content:

Watcher? #41
Location:

Content:

Watcher? #42
Location:

Content:

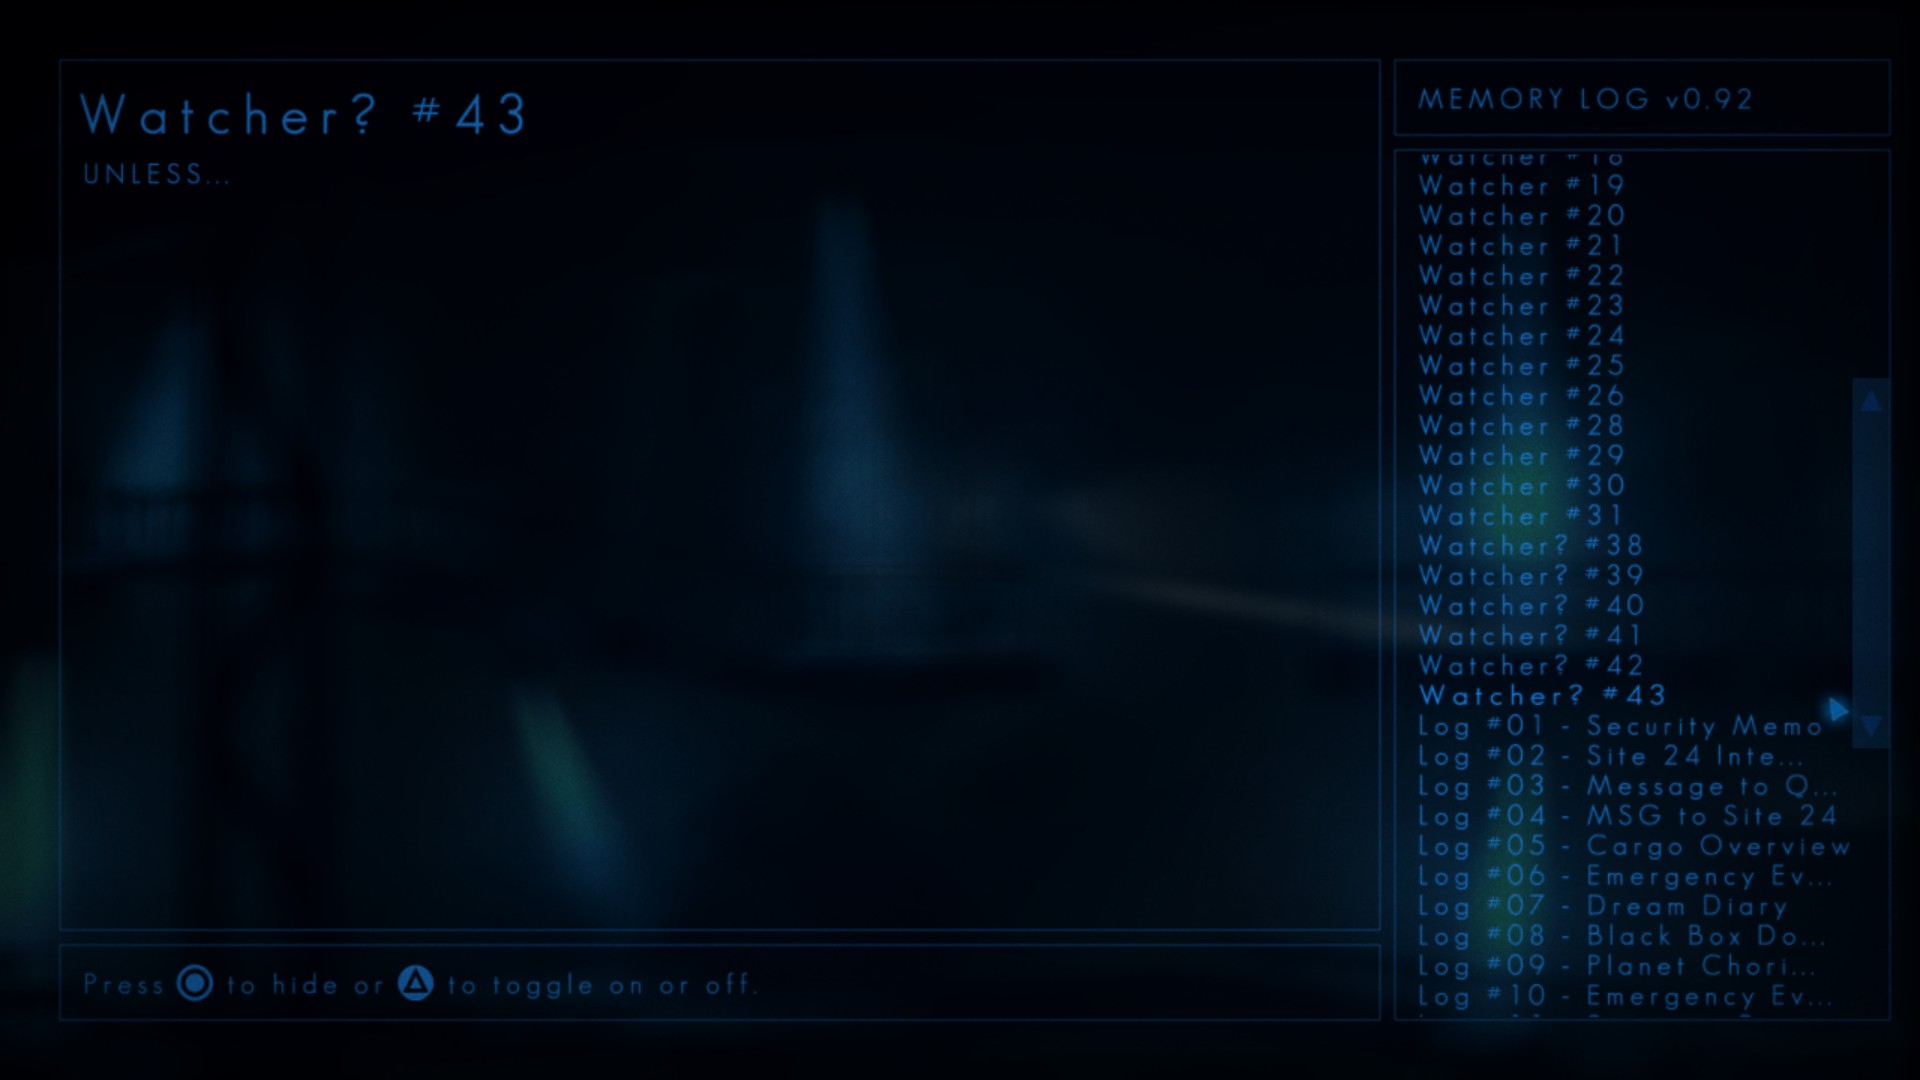
Watcher? #43
Location:
Content:
Cargo Access Chute (Revisited)
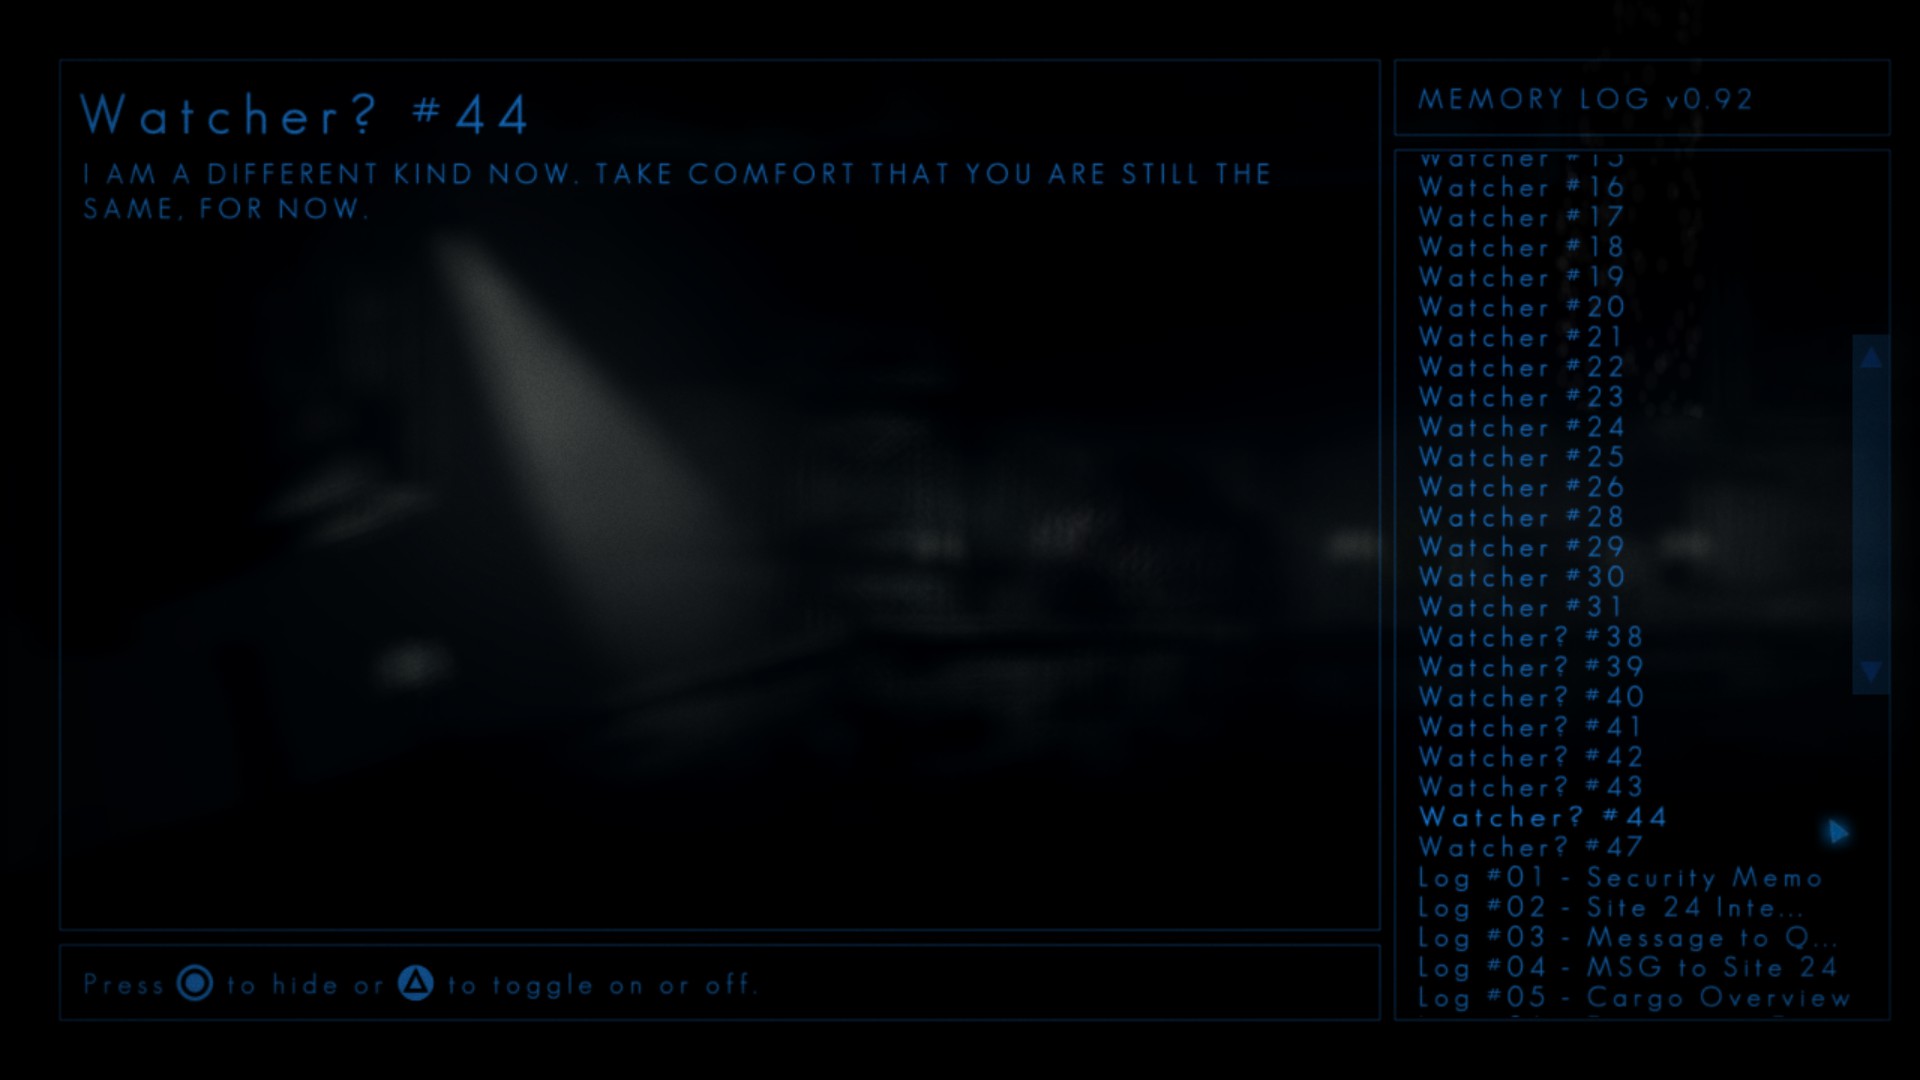
Watcher? #44
Location:

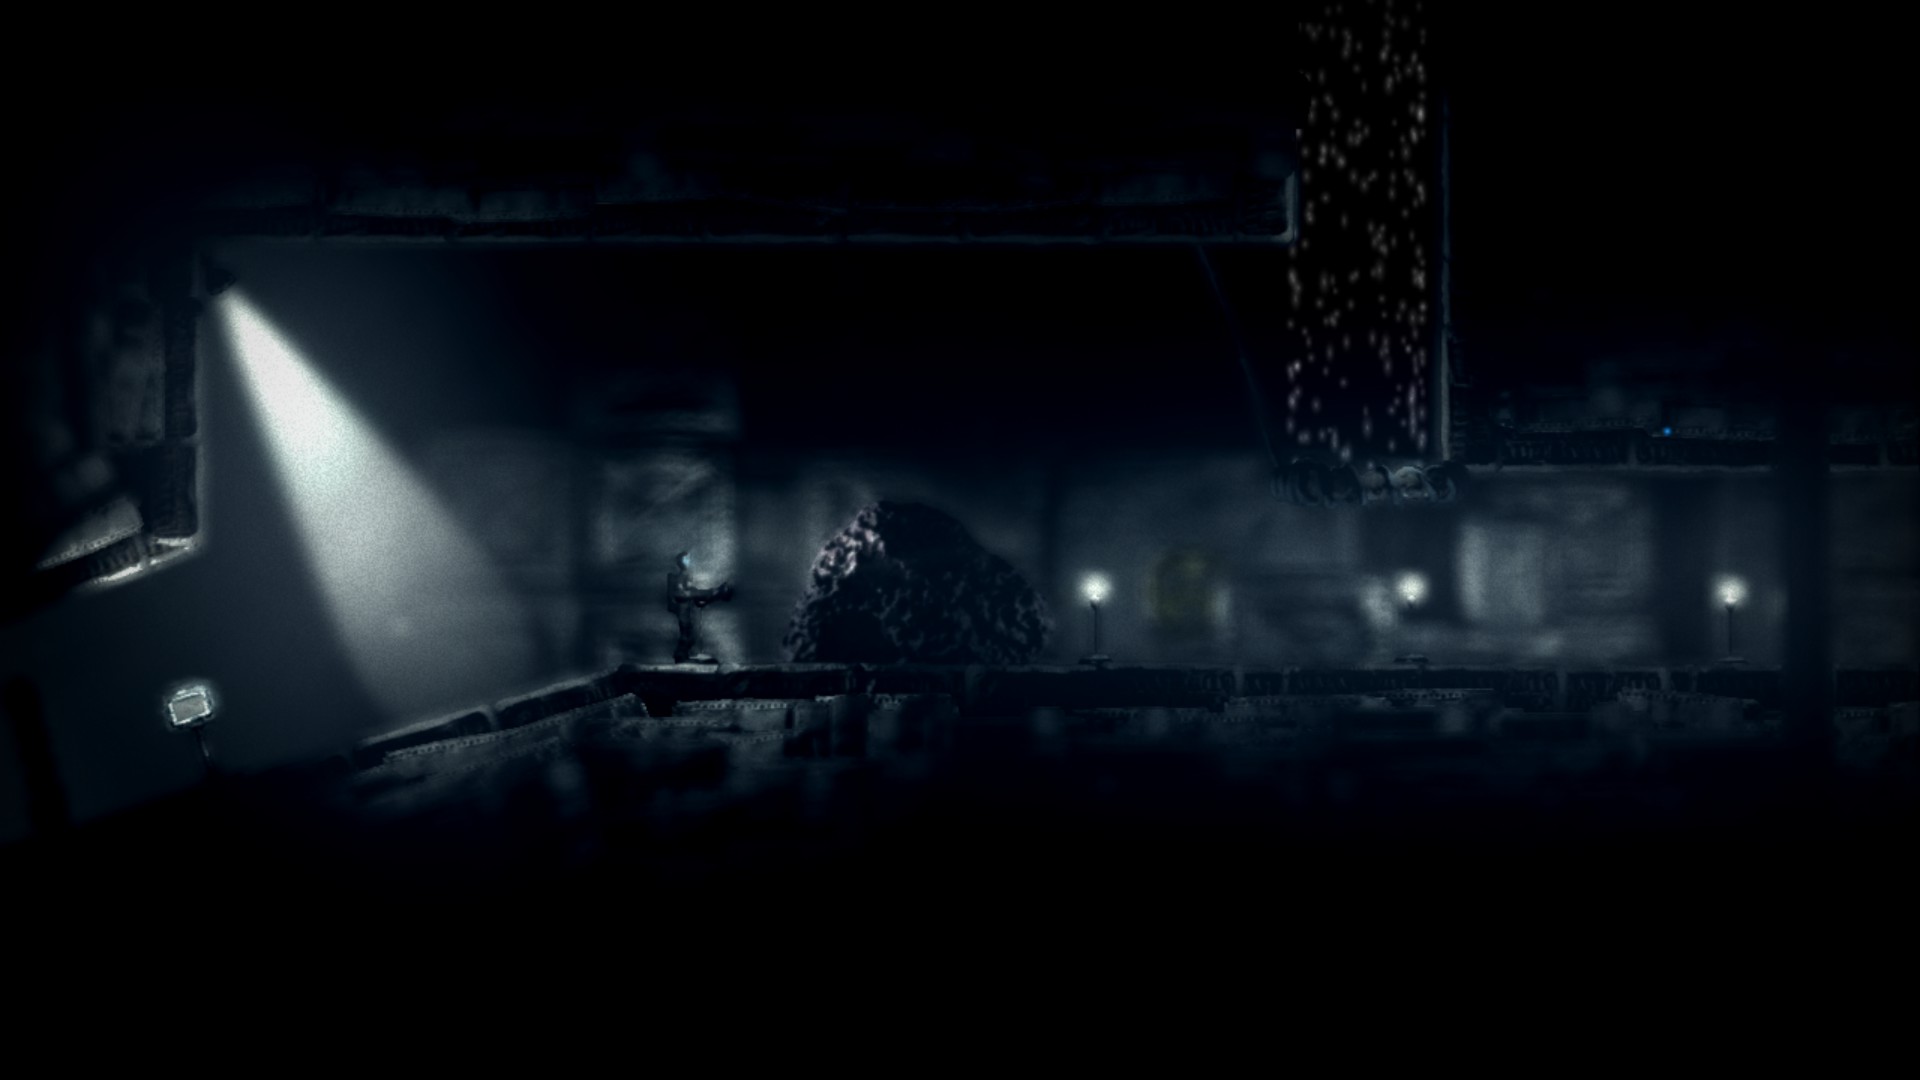
Content:
Asteroid Excavation Site 7 (Revisited)
Watcher? #45
Location:

Content:

Disused Module (Revisited)
Watcher? #46
Location:
Content:
Gardens (Revisited)
Watcher? #47
Location:

Content:

Planet Survey (Revisited)
Watcher? #49
Location:

Content:

Xeno Technology Research (Revisited)
Watcher? #50
Location:
Content:
Metaphysics (Revisited)
Watcher? #51
Location:


Content:
MISSABLE WARNING #6
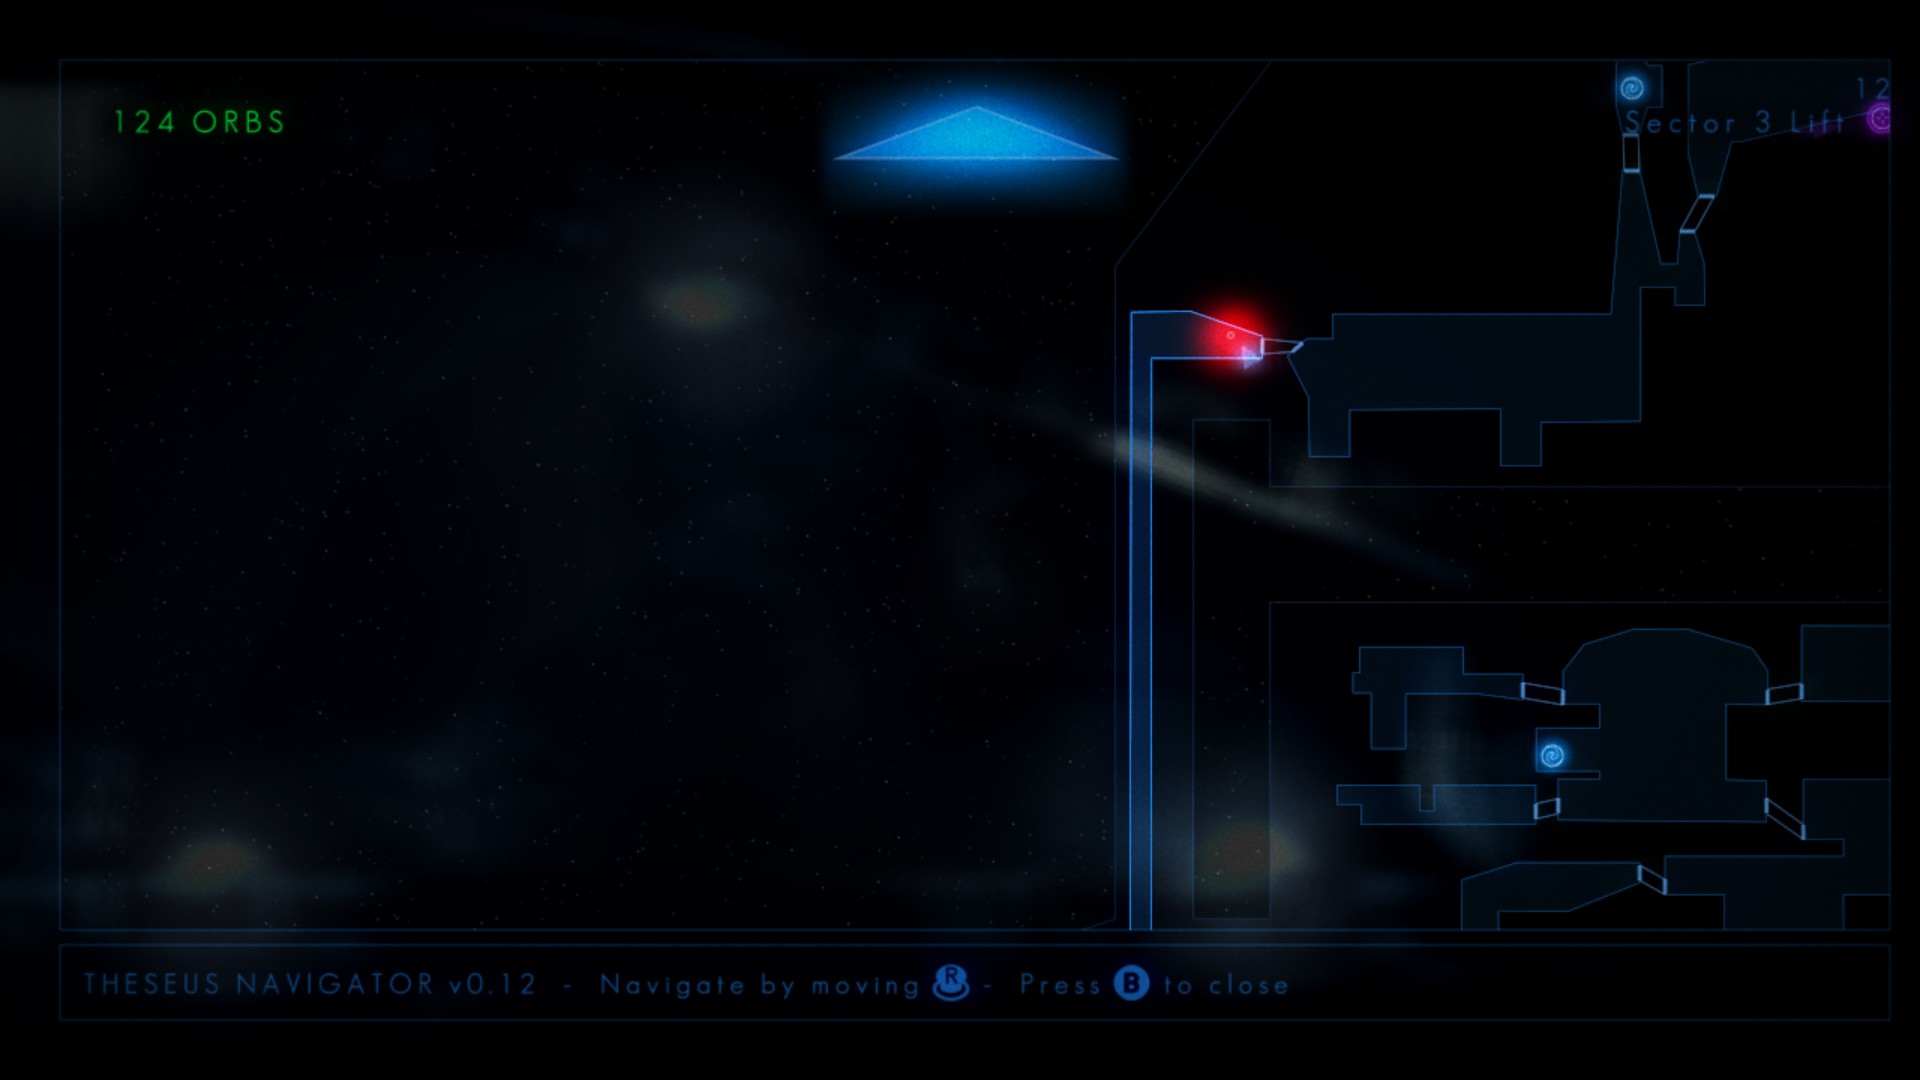
At the very top of Command, past the terminal with Log #23, you will find a console. This console requires 124 orbs for activation:
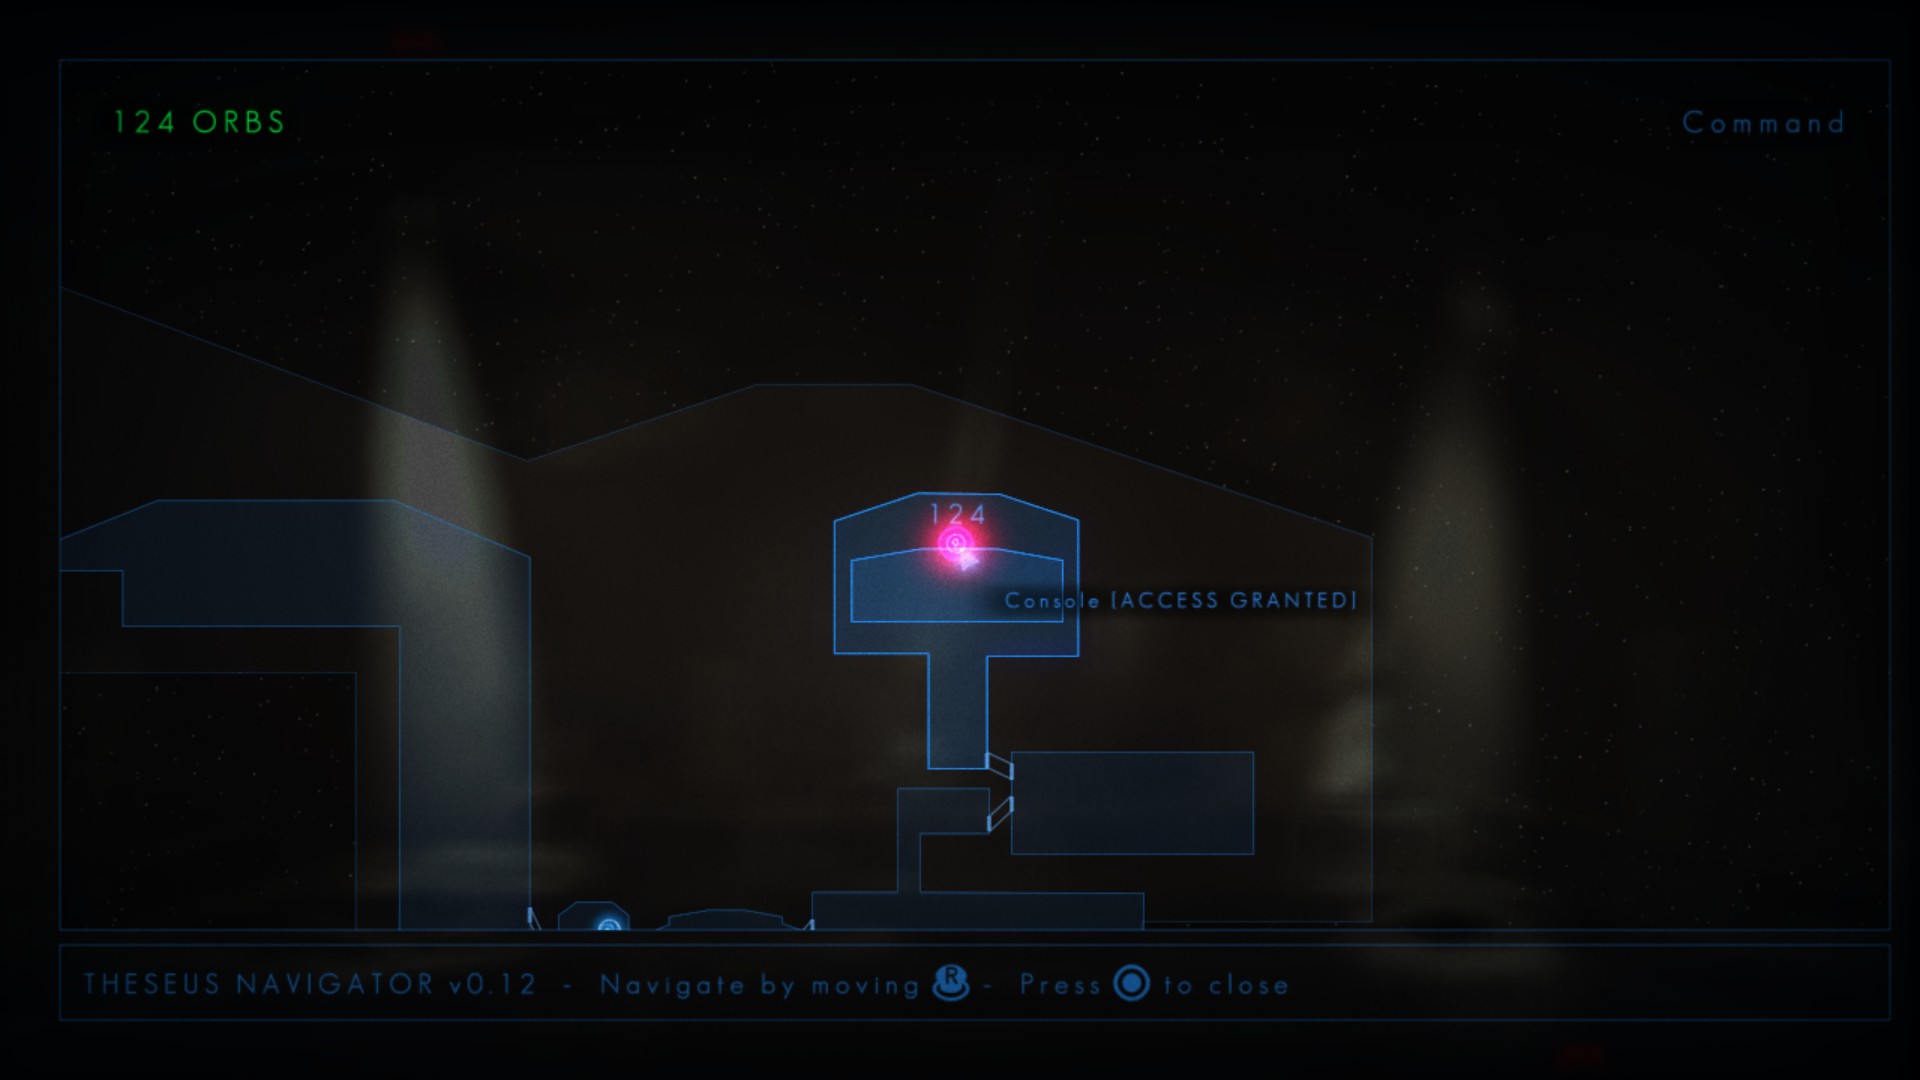
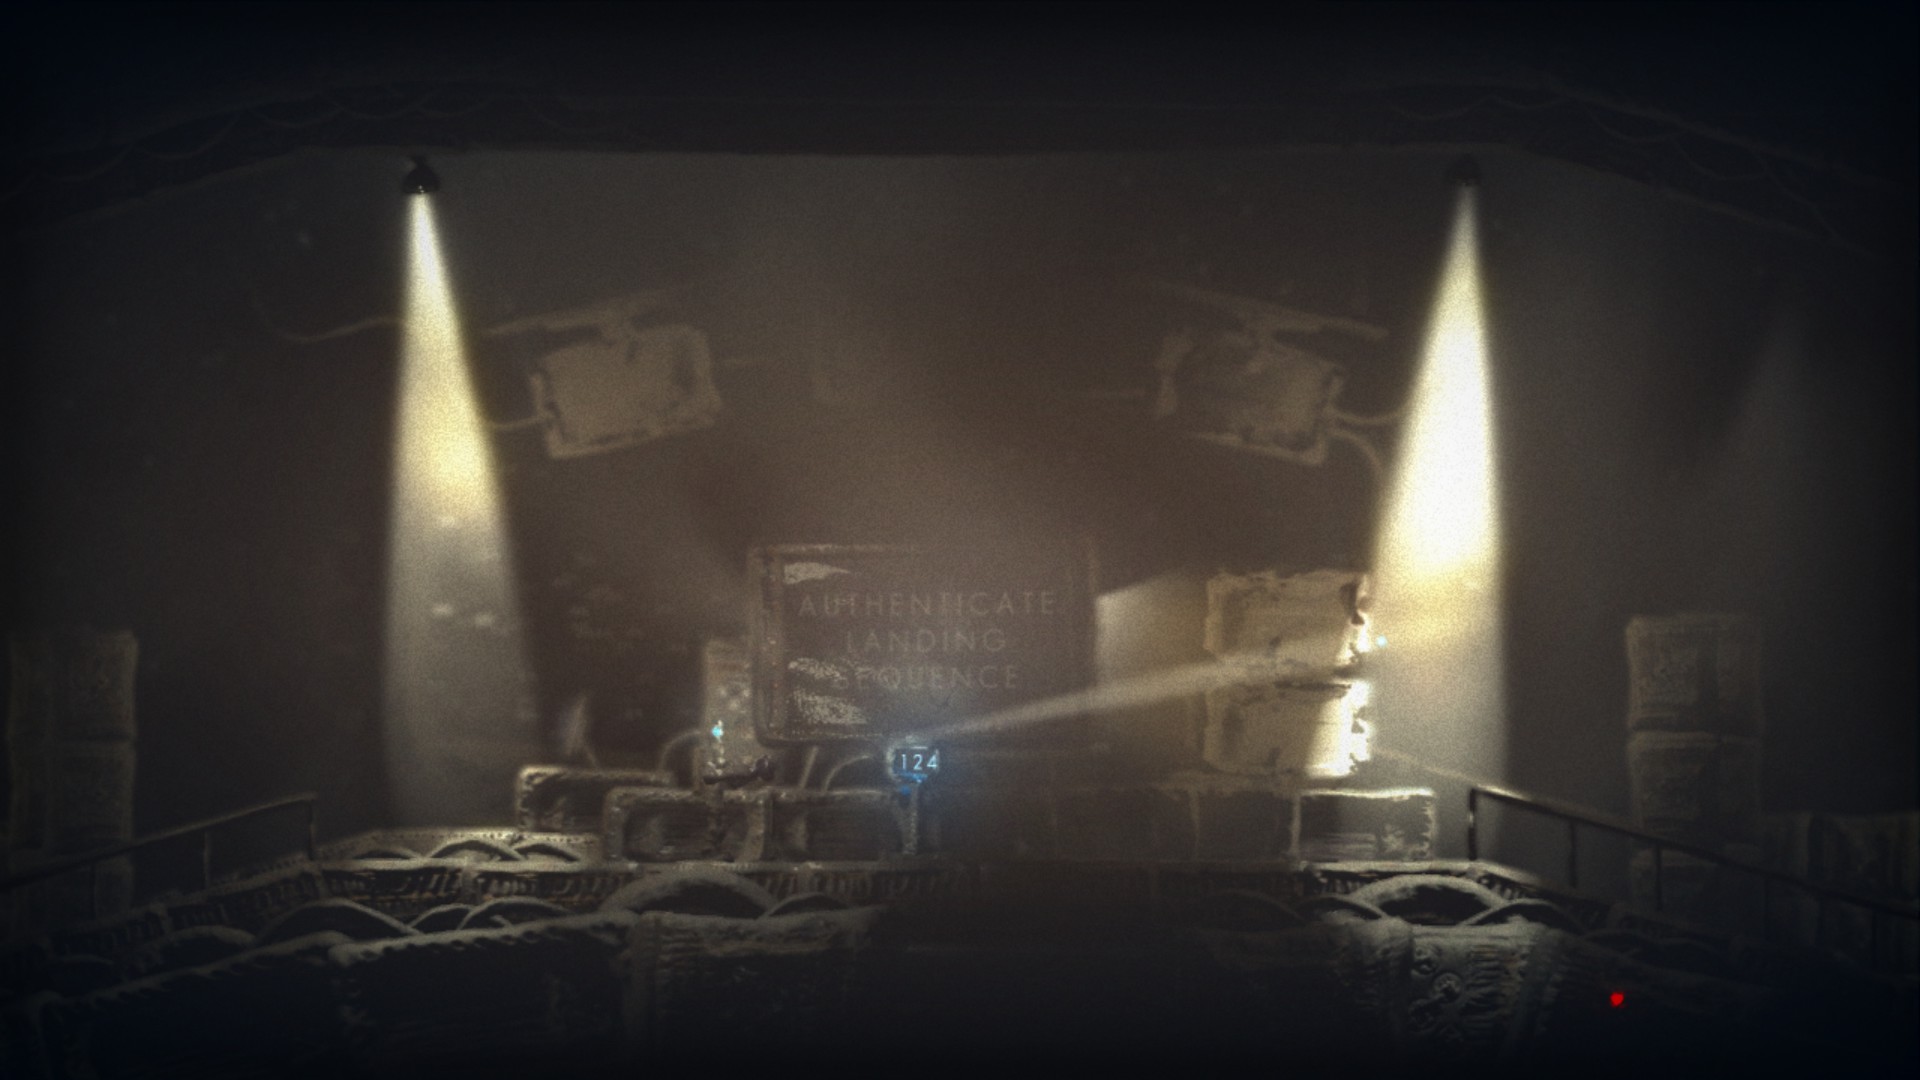
The console does have a notable issue: after successfully authorizing the landing procedure, the Scavenger becomes confined to Chori V, rendering them unable to explore other sections of the game. To circumvent this limitation, it is advisable to verify that your Memory Log contains the specific entries outlined below:
- Watcher Entries: 1 to 47 and 49 to 51 (since entry 48 pertains to Chori V).
- Logs: 1 to 23.
- Messages from Home: 1 to 10.
Command (Third Visit)
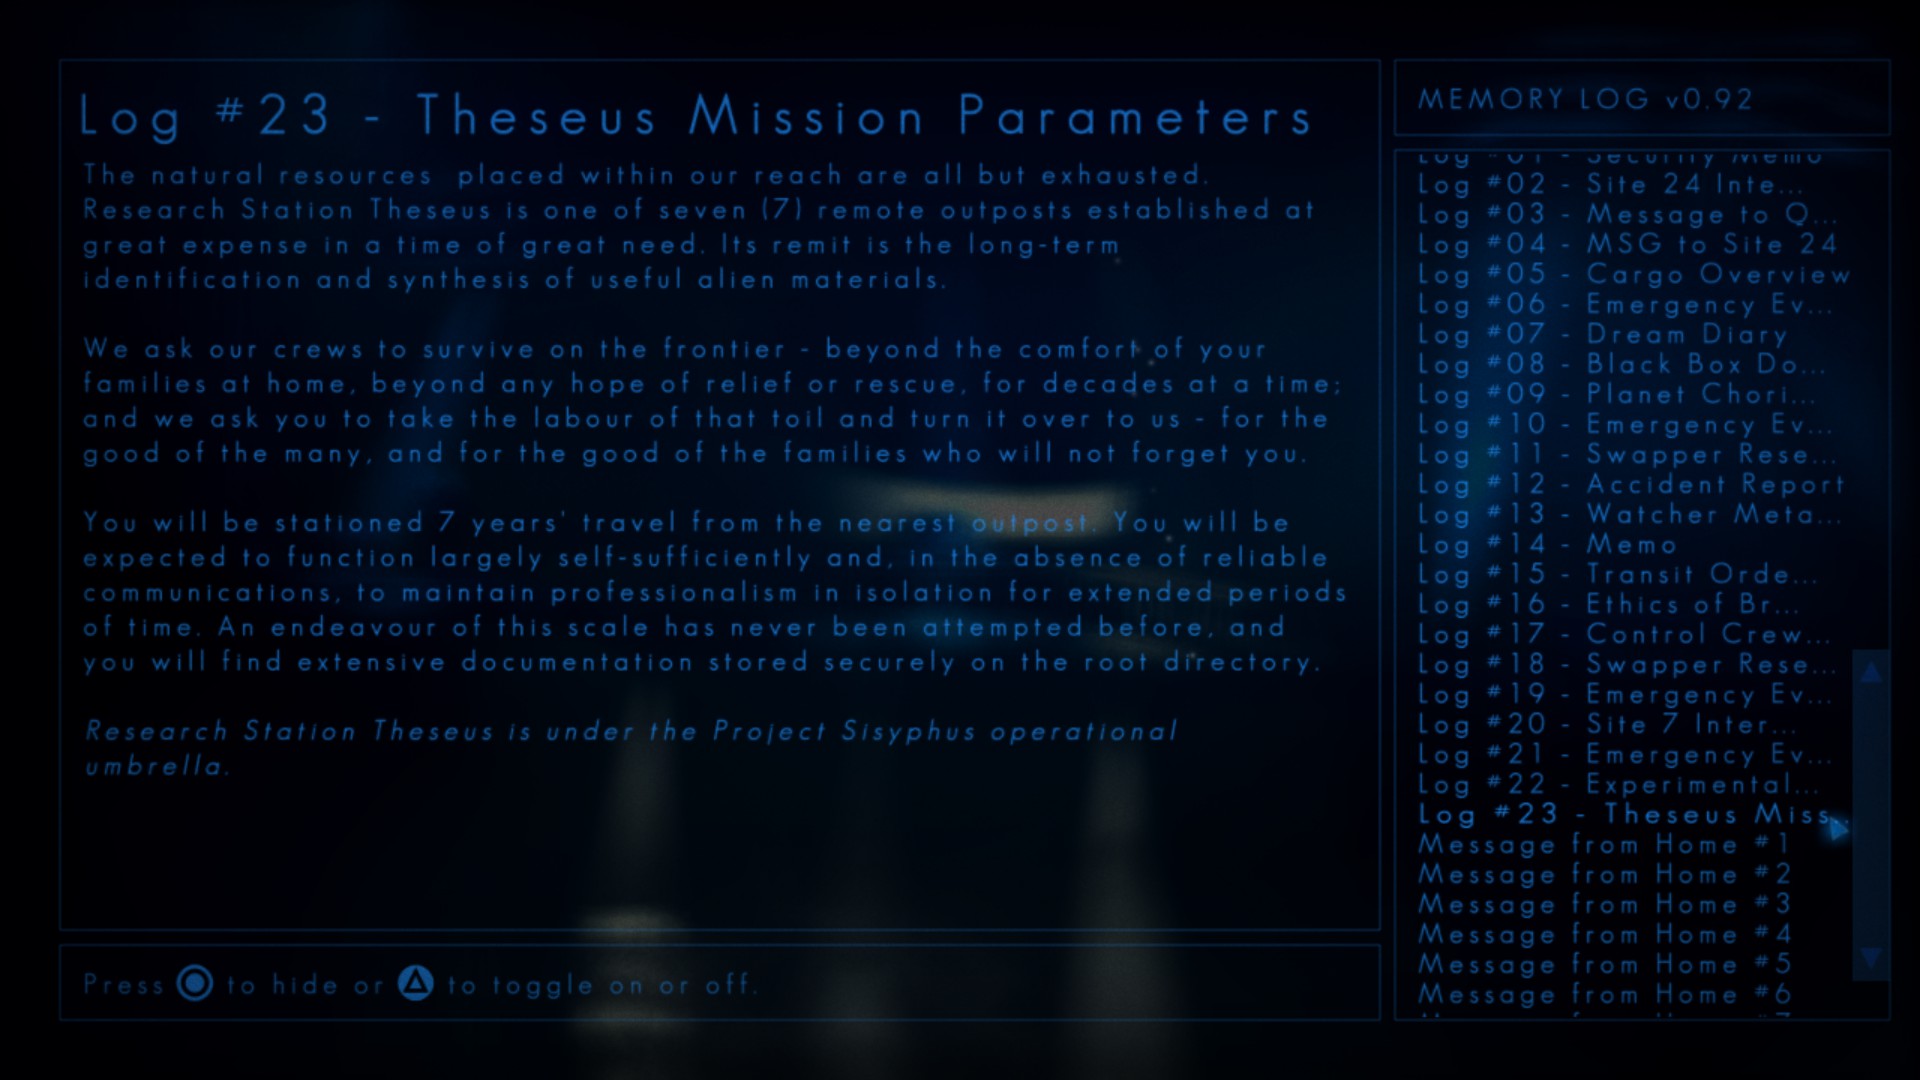
Log #23 – Theseus Mission Parameters
Location:

Content:
MISSABLE WARNING #7
To ensure that you can access your Memory Log entries on Chori V and still complete the game without losing them, I suggest creating a backup of your save. If you’re playing on a Windows PC, follow these steps:
- Go to your Documents folder.
- Look for the folder named “Facepalm Games” inside Documents.
- Inside the “Facepalm Games” folder, you will find another folder named “The Swapper 1000.”
- Create a duplicate of the “The Swapper 1000” folder (be sure to save it in a different location).
- If you wish to access this backup save after finishing the game, simply copy the duplicate folder and paste it back into the “Facepalm Games” directory.
By following these instructions, you can safeguard your Memory Log entries and enjoy completing the game without the risk of overwriting your progress.
Chori V
NOTE – Since Theseus Navigator is offline, opening up your map on Chori V will result in the following:

Due to the above, all of the remaining entries will not include a corresponding map screenshot.
Watcher? #48
Location:

Content:

Watcher? #49 on Chori V
Location:

Content:

Watcher? #50 on Chori V
Location:

Content:

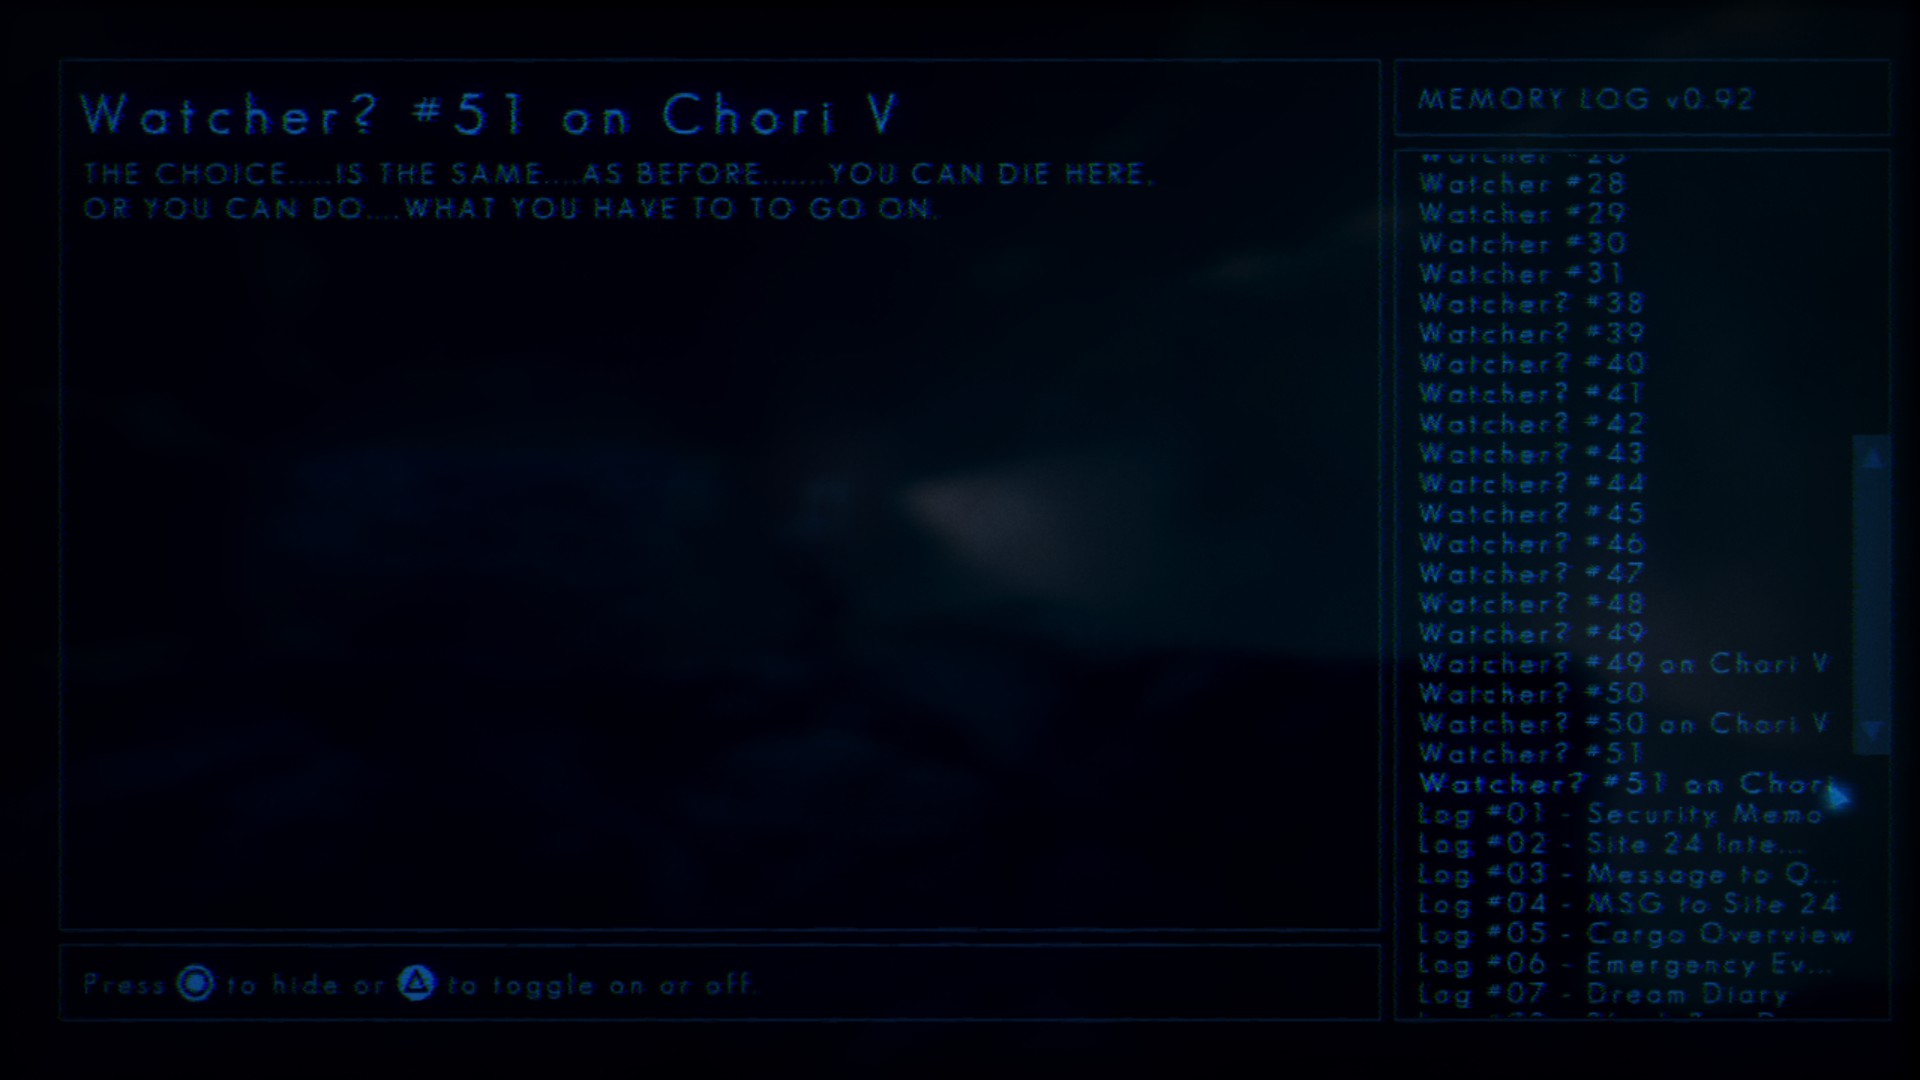
Watcher? #51 on Chori V
Location:

Content:
That's everything we are sharing today for this The Swapper guide. This guide was originally created and written by Attempt_NP1. In case we fail to update this guide, you can find the latest update by following this link.