- Title: Sekiro: Shadows Die Twice
- Release Date:
- Developer:
- Publisher:
Information about Sekiro: Shadows Die Twice is still incomplete. Please help us fill the details of the game using this contact form.
There are ten to find, and each can help you out in different combat situations. You can have three equipped at once, and you’ll be able to cycle through them on the fly. Knowing what each one does and having the correct ones equipped for the types of enemies or bosses, you’ll face can be hugely beneficial. So where do you get them, and what do they do? Read on to find out.
Loaded Shuriken
Location: Outskirts Wall—Gate Path
You should see a hole in a building and a grapple point from the Idol. There’s a body to the left when you enter, and the Shuriken Wheel item will be next to it. Take it to the Sculptor to have it upgraded to the Loaded Shuriken Prosthetic Tool.
Uses: Used to stun or interrupt enemies and deals heavy posture damage to airborne enemies.
Shinobi Firecrackers
Location: Outskirts Wall—Gate Path
After you’ve fought the mini-boss General Naomori Kawarada, head left and grapple to the top of the structure to find a merchant. He will sell you Robert’s Firecrackers which you can take to the Sculptor to obtain the Shinobi Firecrackers.
Uses: Can stun or scare enemies. Most effective against beasts.
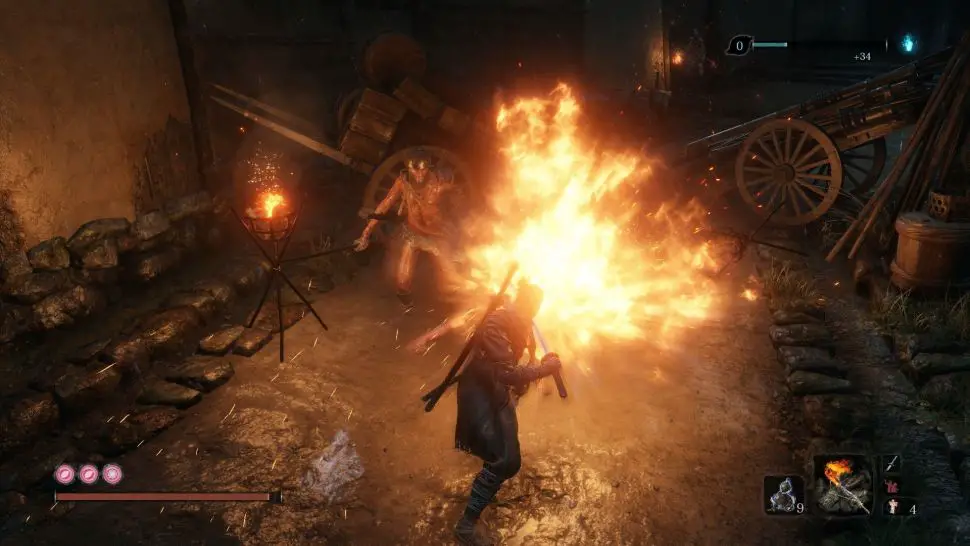
Flame Vent
Location: Estate Path
Head up from the Idol to find old buildings and a number of enemies around a bonfire. You’ll find the Flame Barrel inside the fire. Return it to the Sculptor to acquire the Flame Vent Prosthetic Tool.
Uses: Sprays out flames in front of you dealing fire damage to enemies. Effective against red-eyed enemies.
Loaded Axe
Location: Estate Path
Follow the path beyond the bonfire (see above), and to your left, you’ll find two enemies that you can eavesdrop on. Kill them to find the Shinobi Axe in the building behind them. The Sculptor will turn this into the Loaded Axe Prosthetic Tool.
Uses: Use this to break through enemies’ shields.
Mist Raven
Location: Bamboo Thicket Slope
From the Idol, head up the stairs and use the grapple on a tree to the left. Jump in the water, swim upriver, and grapple to another tree on the right with an item. Look right and break the bamboo blocking the way to access a cave. An enemy is guarding the Mist Raven Feathers. Once you’ve defeated him take the item to the Sculptor to receive the Mist Raven Prosthetic Tool.
Uses: Use to evade enemy attacks and teleport in a specific direction. Ineffective against grab attacks.
Loaded Spear
Location: Ashina Castle
Take out the two enemies on the bridge next to the Idol to retrieve a Gatehouse Key then drop down the right side and head for the Ashina Reservoir. You’ll find the Gatehouse in an area patrolled by a number of enemies. Use the key to get the Gyoubu’s Broken Horn item which the Sculptor will transform into the Loaded Spear Prosthetic Tool.
Uses: Mid-range thrust attack that can strip the armour of some enemies.
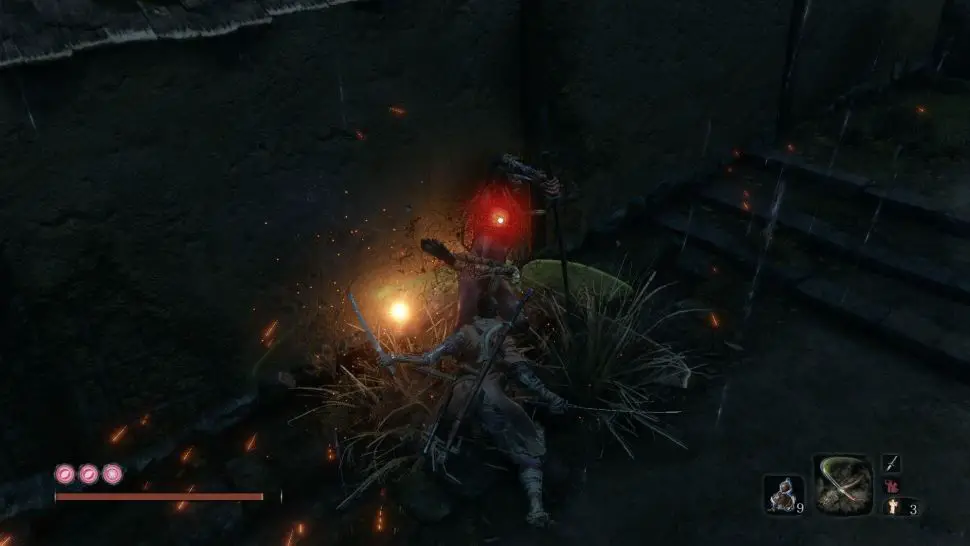
Sabimaru
Location: Upper Tower—Antechamber
From this Idol, head into the room with two holes in the floor. Drop down and defeat the enemies then locate the chest in a nearby room to collect the Sabimaru Prosthetic Tool.
Uses: Use to perform a flurry of attacks that inflict poison damage.
Loaded Umbrella
Location: Old Grave
Drop down to a building from the left of this Idol and through a hole in the roof to find a merchant. He will sell you the Iron Fortress item which the Sculptor will return to you as the Loaded Umbrella Prosthetic Tool.
Uses: Use to block attacks and make deflecting much easier.
Divine Abduction
Location: Gun Fort
After you’ve taken out the Long-arm Gentipede Giraffe boss, you’ll find the Large Fan item in the same room. Take it to the Sculptor to obtain the Divine Abduction Prosthetic Tool.
Uses: This can be used to turn enemies away from you, making them vulnerable to backstabs and shinobi techniques.
Finger Whistle
Location: Sunken Valley
The Slender Finger item is dropped by the Guardian Ape boss. Take it to the Sculptor to obtain the Finger Whistle Prosthetic Tool.
Uses: You can use this to turn dogs, monkeys, or wolves against anything in sight.
That's everything we are sharing today for this Sekiro: Shadows Die Twice guide. This guide was originally created and written by HSD.. In case we fail to update this guide, you can find the latest update by following this link.