- Titel: Plichtsroep: Black Ops II - Zombieën
- Releasedatum:
- Ontwikkelaar:
- Uitgever:
Information about Call of Duty: Black Ops II - Zombies is still incomplete. Help ons alstublieft de details van het spel hiermee in te vullen contactformulier.
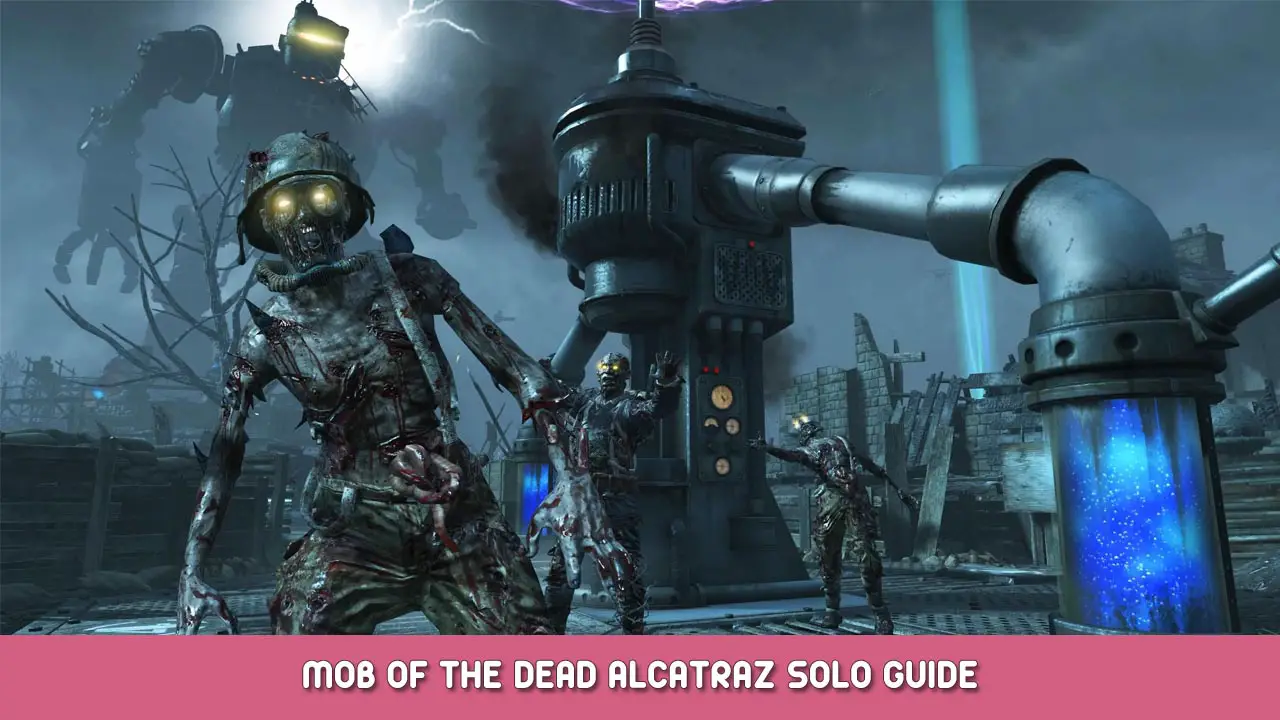
A condensed and concise guide for players venturing or returning alone into Mob of the Dead Alcatraz Zombies.
Armament
What is our Goal?
Our primary objective when faced with an outbreak of the undead, is to acquire the most dominant gear possible to permit us the greatest chance of survival. In Mob of the Dead this gear pertains to the following:
- Perks
- Monkey Bombs*
- Tomahawk*
- Golden Spork
- Deployable Riot Shield
- Wonder Weapons
- Pack a Punched Upgraded Weapons
*Please note that you cannot have both the Monkey Bombs and the Tomahawk at the same time.
Perks
In Zombies, each human is allowed a maximum of four [4] perks to drinking before becoming full.
In Alcatraz, there is a total of six [6] perks available to drink, sprawled about the map. The Perk machines available to drink from are the following:
- Quick Revive
- Juggernaut
- Double Tap
- Speed Cola
- Electric Cherry
- Dead-shot Daiquiri
The decision then becomes to what concoction of perks do we combine that gives us the greatest advantage. Gelukkig, there is no one ultimate concoction, yet each person will find one combination that works the best for them. I will tell you my selection of the six perks and why.
My Selection:
- Juggernaut
- Double Tap
- Speed Cola
- Dead-shot Daiquiri
I choose Juggernaut for twice the maximum health, Double Tap for twice the fire rate of every fully automatic weapon, and for twice the stopping power of each bullet; Speed Cola for twice the reload speed and finally, Dead-shot Daiquiri for the improved hip fire and aimed accuracy to conserve ammo and works very well with the Blundergat wonder weapon and its’ upgrades. I leave out Quick Revive because my goal is to not die or go down, and buying quick revive not only takes up a perk slot, but assumes you will go down, not the outlook in Zombies I like to have. I also come from playing World at War Nazi Zombies, where the stakes are high and if you go down in solo, then you die, even if you bought Quick Revive. Electric Cherry isn’t super helpful or as helpful as other perks in my opinion because it is only effective when you are near or touching zombies, which happens to be only a small percentage of the time. I find the constant electric shock and noise after every reload annoying and quite distracting from the experience, but it can get you out of a pinch. Opnieuw, your call.
Monkeys
You will acquire monkey bombs from the box and the box only. You are given a set of three and they only work when thrown inside of the map. Monkey Bombs will refill every Max Ammo, but to fully take advantage of Monkey Bombs as a weapon in Solo, I find it very effective to gather a horde of zombies near a trap, activate the trap and simultaneously throw the monkey bomb into the vicinity of the trap in which all the zombies walk into their peril. De Fan Trap near the Warden’s Office works well and so does the Acid Trap in the Cafeteria.
Tomahawk
The tomahawk is retrieved once all three [3] Cerberus heads are fully fed which is about six to seven zombies corpses. One Cerberus head is near spawn, another is near the roof and a third near the docks, which can be fed in any order. The tomahawk can be charged twice by holding it for a few seconds, each charge releasing a harmless pulse emitted from the feet of the player. Upgrading the tomahawk will then increase the Maximum Charge from 2 -> 3. The tomahawk can be thrown to pick up power drops and knock the helmet off Brutus the Warden, or even kill him. Combining the Acid Gat with the tomahawk is a very powerful move. You don’t need to charge the tomahawk until higher rounds, as it will do enough damage to require only one or two shots from your weapon to finish the zombies off.
Tomahawk Upgrade Requirements in Order: Slay roughly 10 zombies with the tomahawk in the prison.
- Survive a full round op de bridge only using the tomahawk.
- Head back to the prison via electric chair.
- Fling the tomahawk into the lava abyss near spawn.
- Survive 2 rounds without it.
- Enter afterlife mode and redeem your upgraded tomahawk from where you got it before.
Pack a Punch, Wonder Weapons and Shield
I assume you know how to build the plane and get to pack a punch which is on the bridge, as well as the shield which is very easy to build and even easier to learn by watching a YouTube video or reading another guide. The shield block attacks from the rear, can be deployed as cover and can be replaced from the workbench, which I recommend having crafted in the Cafeteria or by Electric Cherry. Herinneren, many weapons can be pack a punched a second time and many time more for only 2000 punten, which allows the player to reroll what attachments they have on their gun, such as a red dot sight, target finder, grip etc. The Ray gun Mk1 and Mk2 can only be gathered from the mystery box but the Blundergat can be acquired from both the box and a side quest. Opnieuw, a quick YouTube video will better show you how to get a free Blundergat in just two minutes. If desired, a player can have two Blundergats at one time if they convert their first one, acquired from the mystery box, into the acid gat before being awarded the free Blundergat in the warden’s office.
Golden Spork
This special melee weapon allows insta-knife kills up to round 33. It is very useful in close quarters but personally, I find myself not one to knife often and too lazy to go for it anyways. There is a worthy guide and for the sake of redundancy I will link it just below; it explains how to get the Golden Spork clearly.
Pathing
In Mob of the Dead, we have one last weapon: Punten!
This section will analyze different routes possible to take around the map, what benefits they have and why some are…just better.
Let’s Begin:
From Spawn, it actually doesn’t matter which way you decide to go, door prices are equal and both open upon the purchase of one or the other. Instead of getting the B23R to recommend you buy the MP5 off the wall opposite the Cafeteria. Then head back and feed your first Cerberus. The earlier you feed them, the easier it is to get the tomahawk.
A.) For the second door you open you have [5] keuzes. Cell Doors next to B23R.
- Side Door entrance to Cells above MP5.
- Cafeteria Door next to MP5.
- Basement Door leading to the laundry room, which requires an afterlife, is adjacent to MP5.
- 3rd Floor Gate leading to Gondola.
Opmerking: I assume for the most part when you are choosing an option and continuing that path, you do not open doors that begin other paths. Anders, paths can become convoluted, redundant, and very points demanding.
B.) If you choose option [1]:
Your next two options for pathing may be either option [2] from above, or *open the basement door near the Warden’s Office. Assuming you logically open the basement door, you now have another two options, either the Laundry room door or the door heading down to the docks. Assuming you open the door leading down the stairs to the bottom of the prison, then open the door at the bottom leading to Jug’s Gate and the Generators’ Gate I strongly advise you do not open the Gate to Juggernaut because it is a great place in the low-mid rounds to dig in at behind a riot shield, especially if you have Monkeys in your inventory. So that leaves us with opening the door to the generators and lastly, outside to a Cerberus head location, plane part, Juggernaut, and the Gondola. Taking the Gondola up to the prison, you get three path decisions. You can open the door in view of the Gondola leading to Spawn/Cerberus head. You can open the door leading to the roof above Cafeteria. Or you can jump down from the catwalk to the main entrance of the Cafeteria, open it and go to the roof from a side door in the Cafe. I strongly recommend opening the door leading to the roof and the side door leading to the Cafe, while keeping the main Cafe entrance shut. The rest of the doors become your choice but I recommend keeping them closed for the safest routes.
C.) If you choose option [2]:
You will have to follow Path (B) starting from the single asterisk * above in (B).
D.) (Highly Recommended) If you choose option [3]:
You will have to open the side door leading to the roof and to the Gondola. From the Gondola you should expect to repeat the reversed path order of (B).
E.) If you choose option [4]:
Open the next door leading to the tomahawk when completed and you will then have to follow Path B starting from the double asterisk ** above in (B).
F.) If you choose option [5]:
You can take the gondola down to the docks to feed the Cerberus and get Jug. Then open the door near the Cerberus into the Generators, open the Gates and go up the stairs and reverse the order of Path B . Or you can keep the Gates closed in the Generator room along with the Gate near Jug allowing the zombies to funnel when holding down the tunnel near Jug. Doing this however means that in order to get to the tunnel, you need to take the gondola back up to the prison and choose another path to get down to the tunnel next to Jug if desired. Shown here:


My Preferred Path:
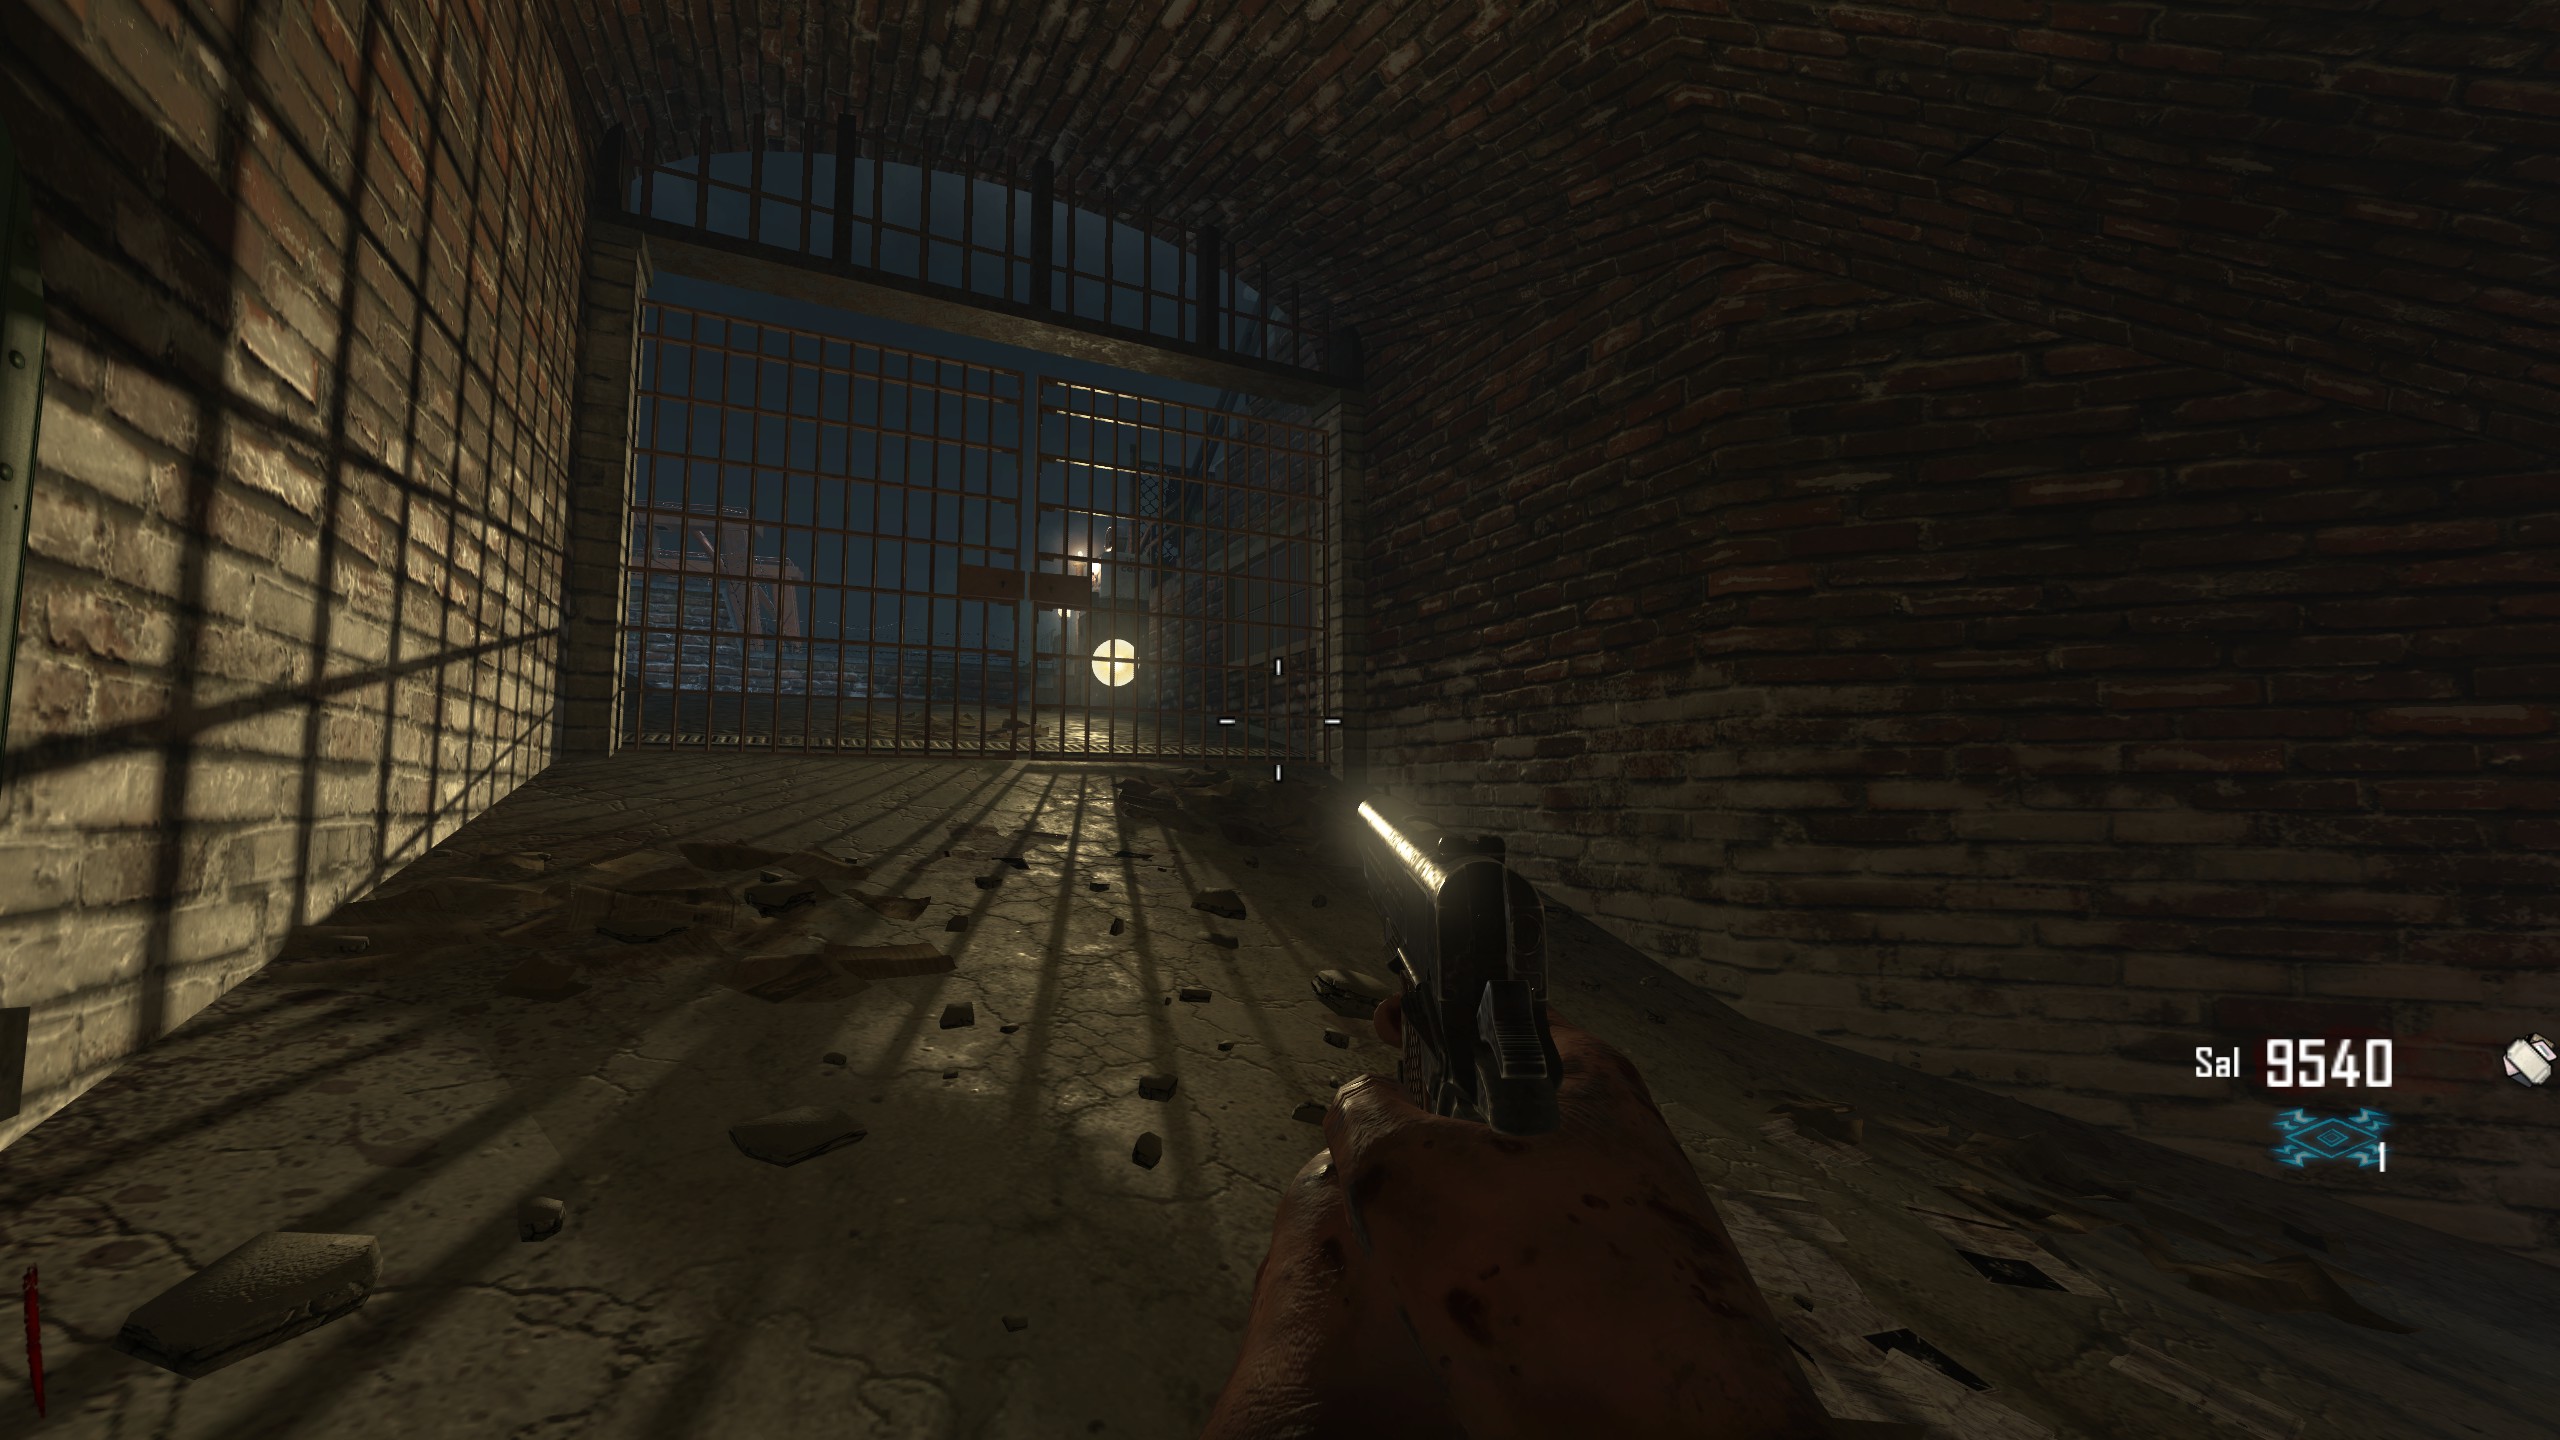
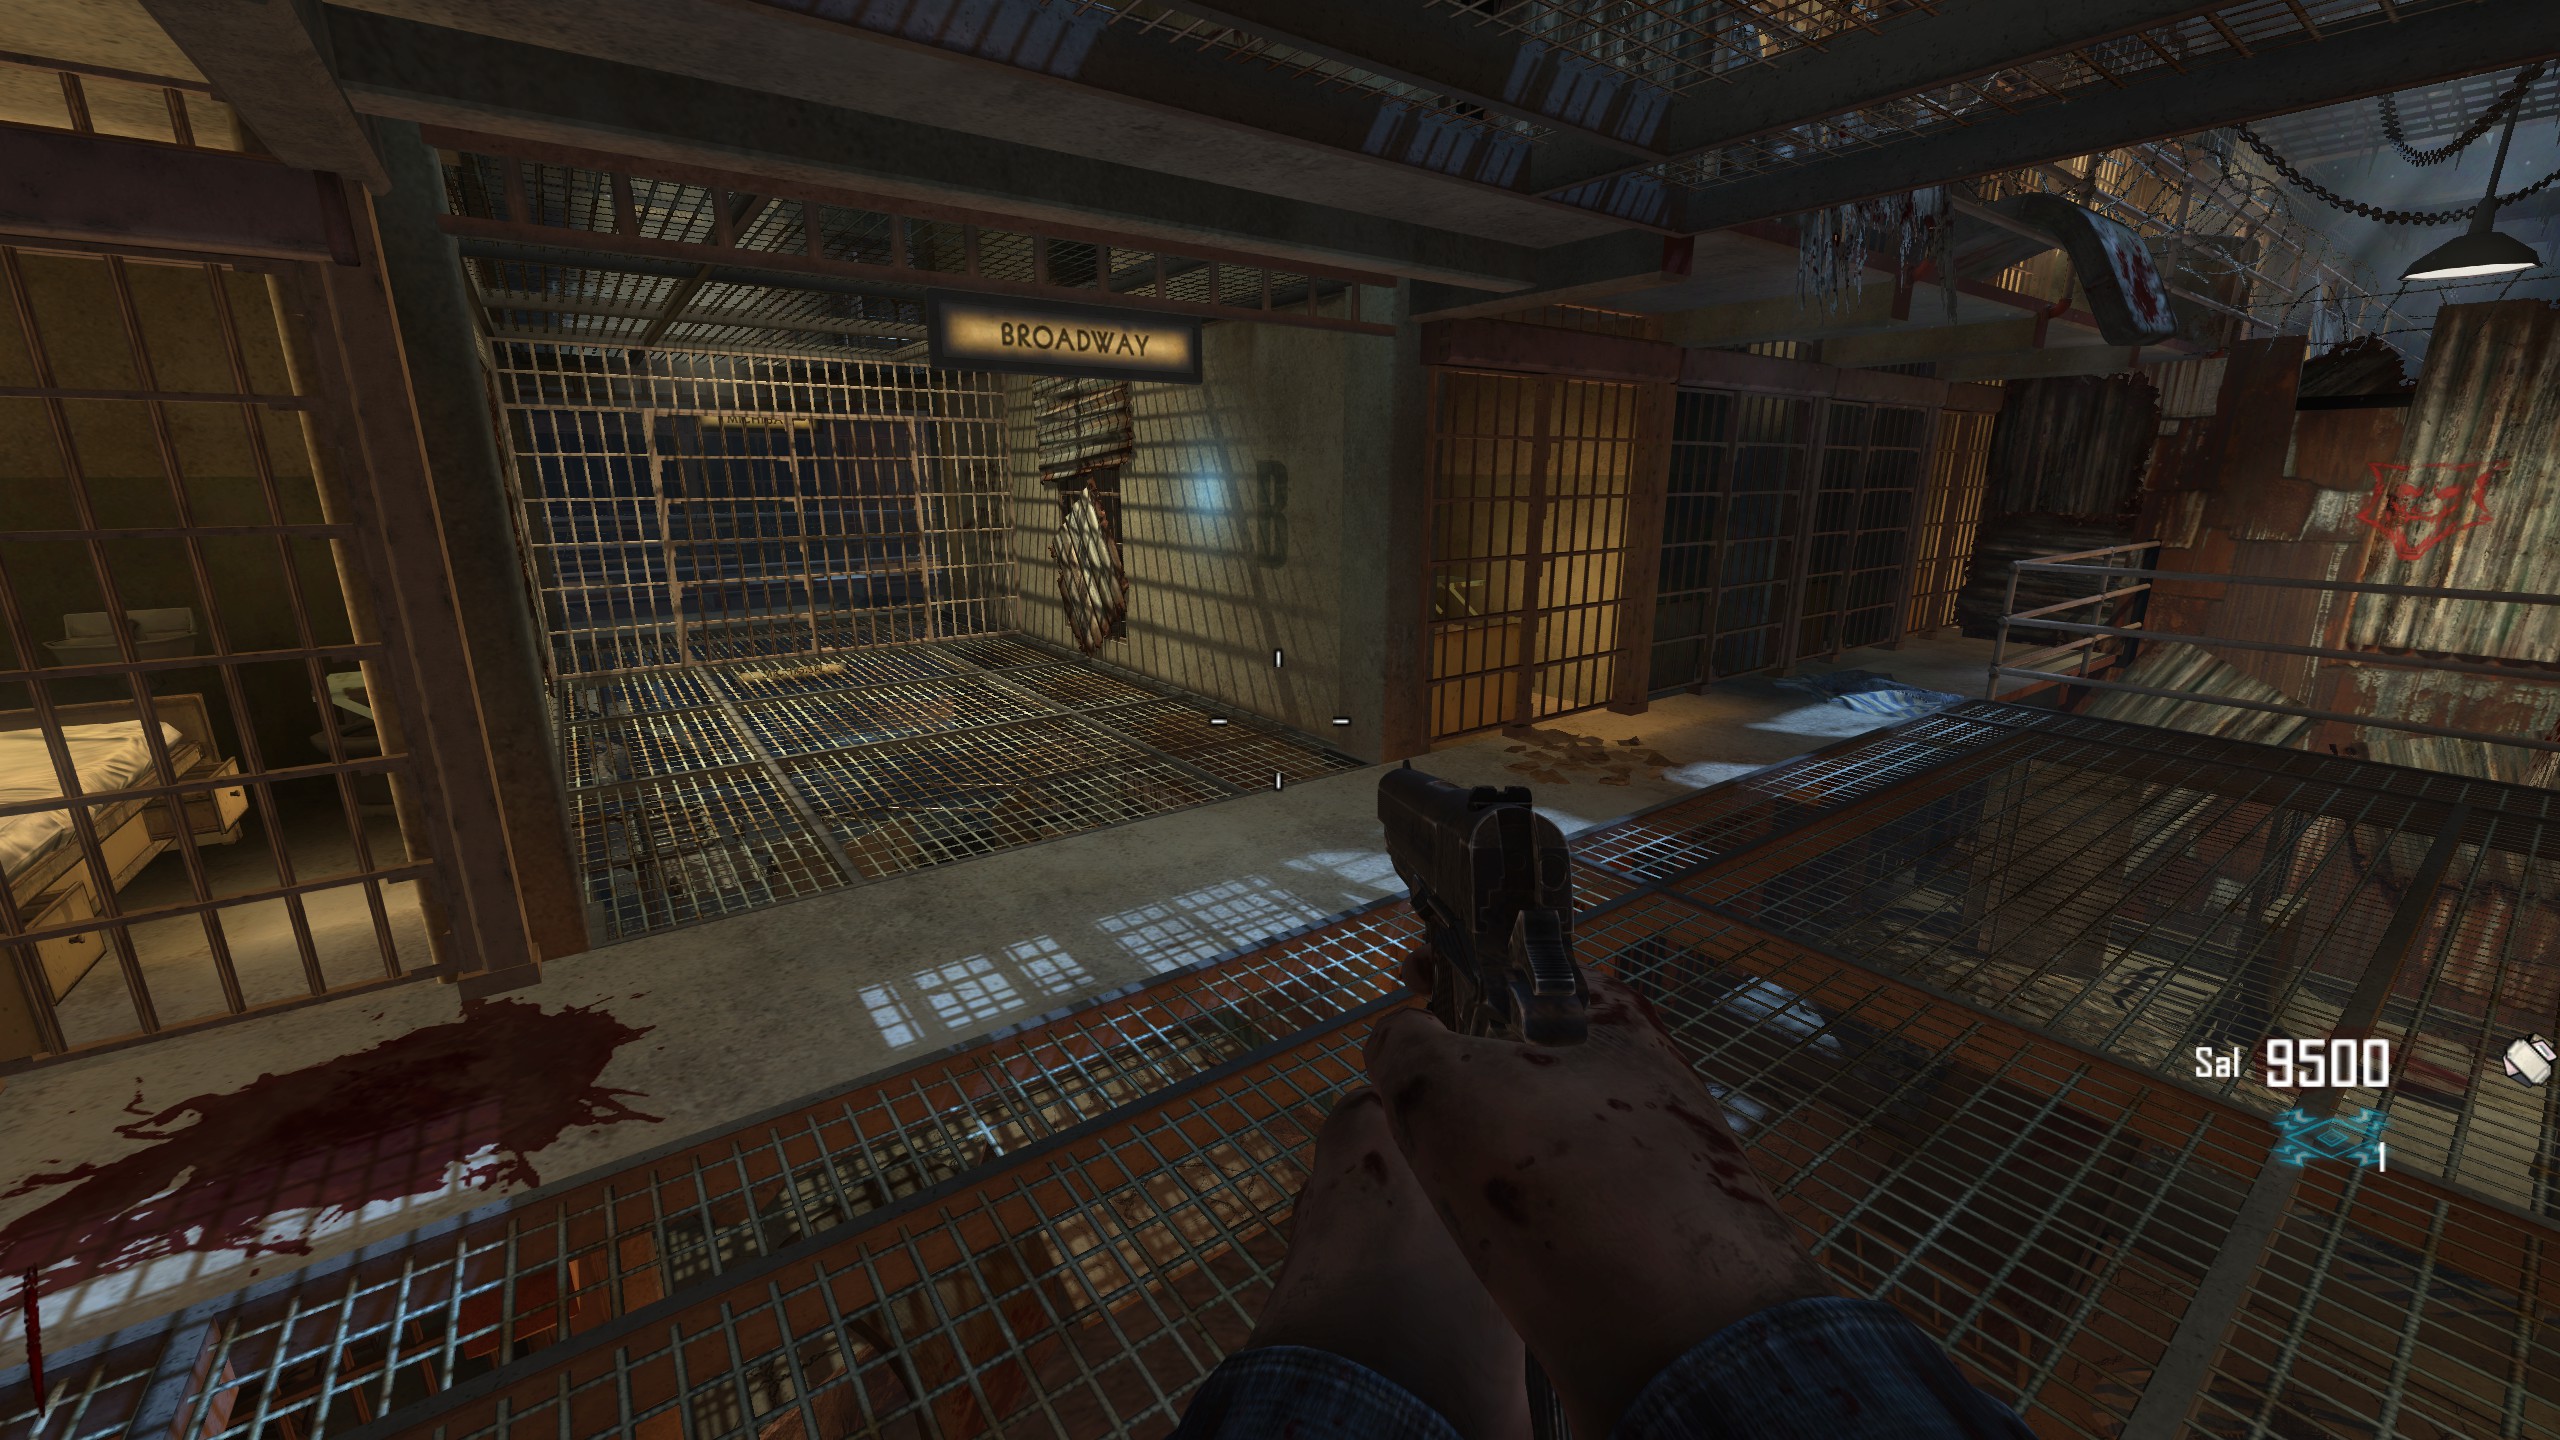
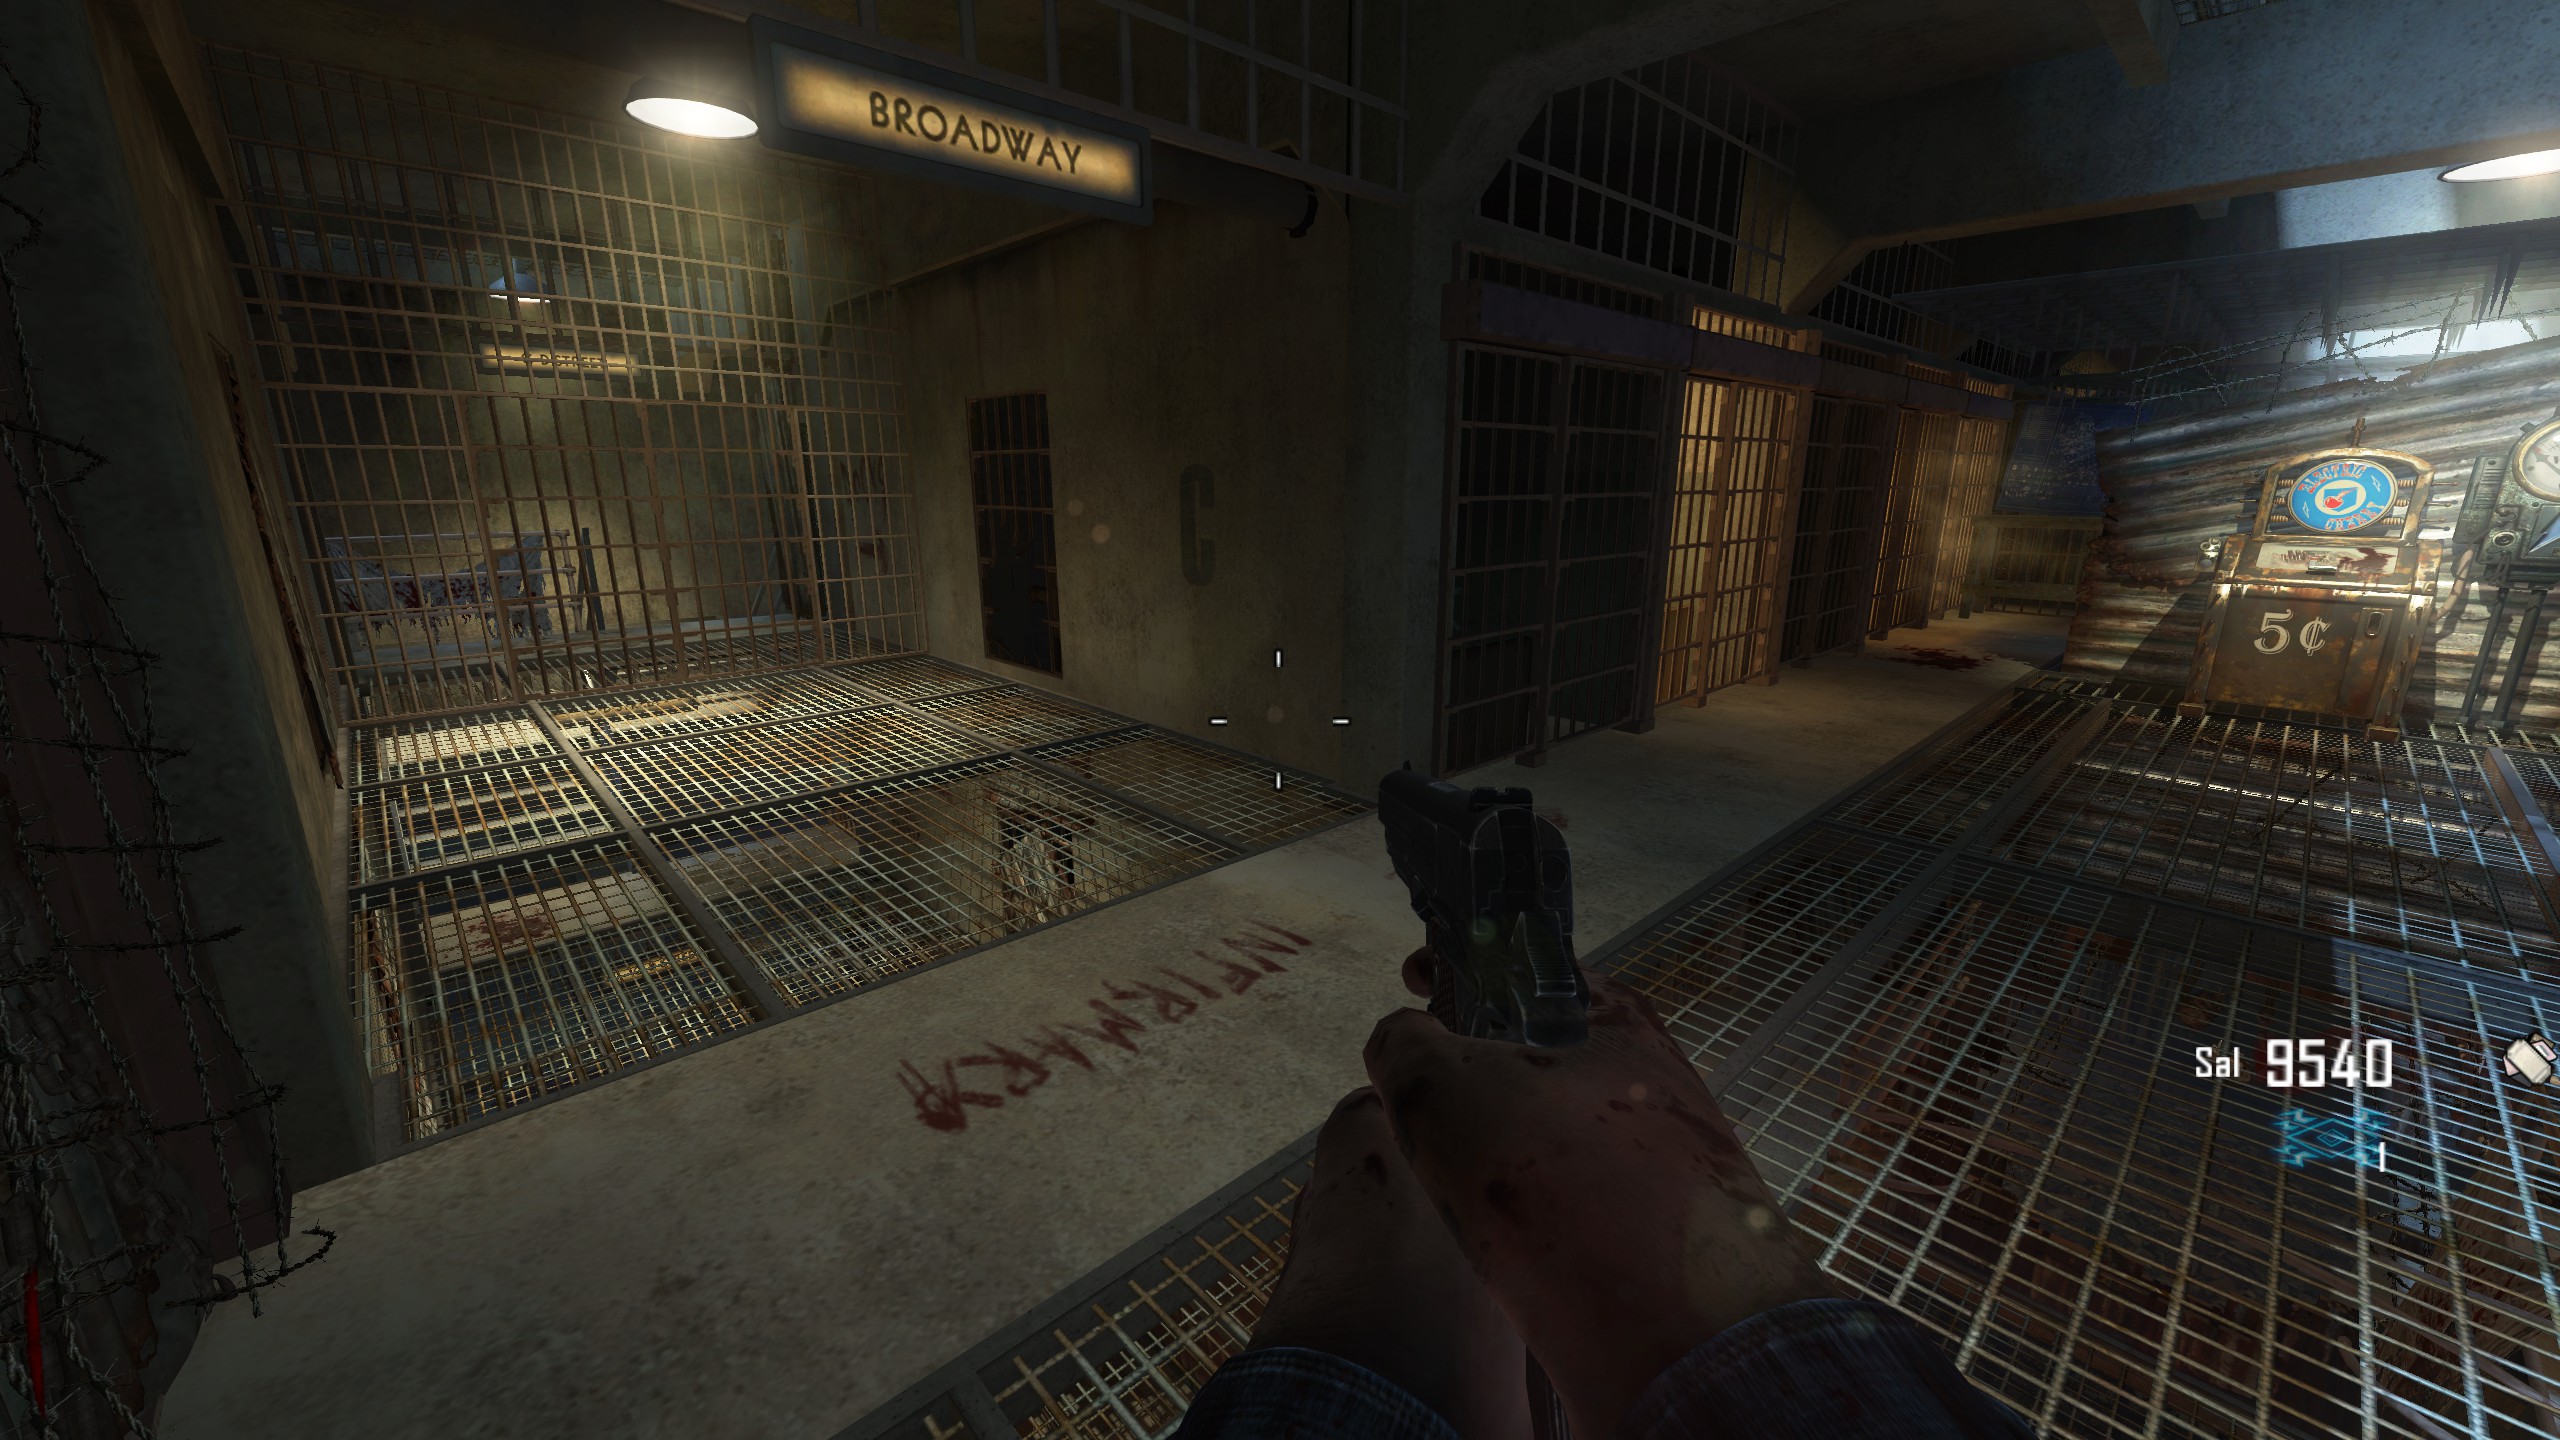
I greatly suggest choosing Path (C) or Path (F) because the doors decided to keep closed, greatly reduce the paths zombies can take to get to you and help fortify some vulnerable locations, while retaining full map functionality. If you are like me and enjoy training the undead in the Cafeteria, Path C is for you, anders, try Path F. Here are images of the doors I personally do not open.
Cell door Near B23R and Cerberus:
Door Leading to Electric Cherry above B23R and Cerberus:
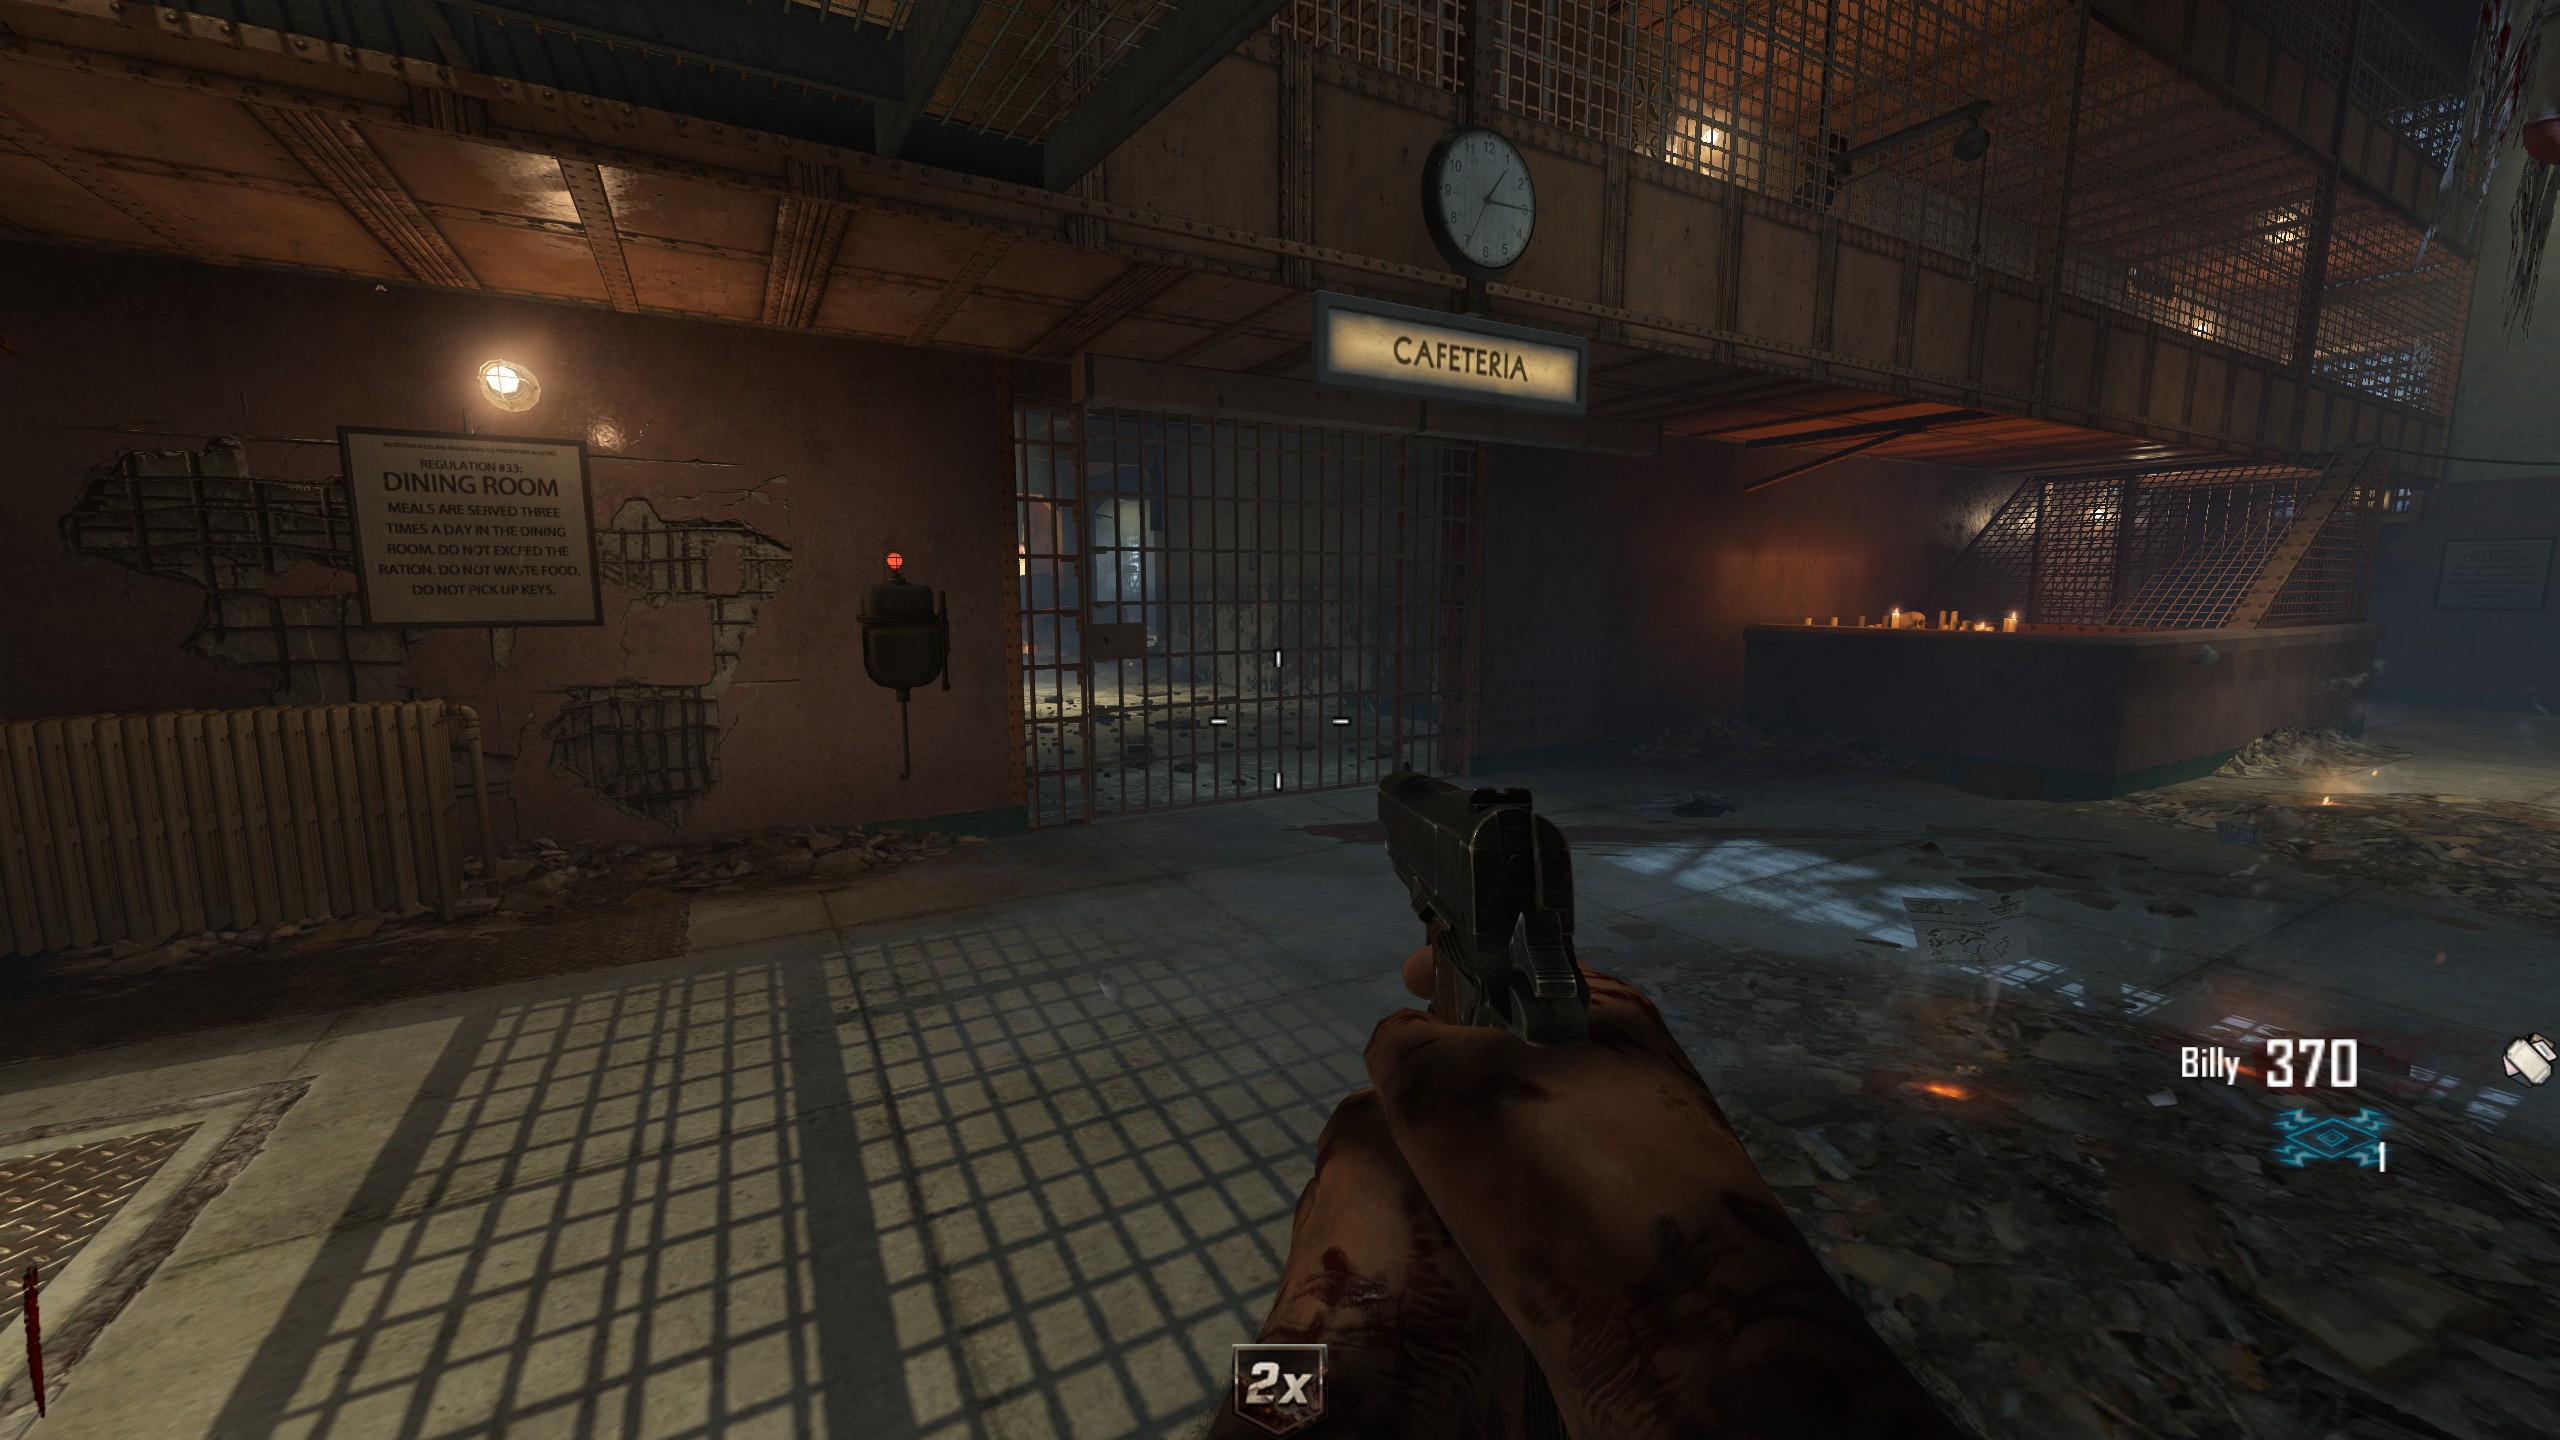
Cafe Main Entrance:
Juggernaut Gate:
Conclusie
Al met al, take every available route and see which is better. Some players prioritize efficiency and open all the doors to the map, but do what you find works best.
I hope at the very least some of this Guide will help zombie players in attempting Mob of the Dead Solo. If anyone has a question, please message me or comment below and I will happily clarify something I missed, or what path you think is the best. If anyone wants to find Co-op players for Mob of the Dead or Black Ops 2 Zombieën, feel free to drop your name below as well.
Dat is alles wat we vandaag hiervoor delen Plichtsroep: Black Ops II - Zombieën gids. Deze handleiding is oorspronkelijk gemaakt en geschreven door xFermi. Voor het geval we er niet in slagen deze handleiding bij te werken, U kunt de laatste update vinden door dit te volgen link.