- Title: Ghostbusters: The Video Game Remastered
- Release Date:
- Developer:
- Publisher:
Information about Ghostbusters: The Video Game Remastered is still incomplete. Please help us fill the details of the game using this contact form.
Notice the game running oddly out of proportion in your 21:9 ultrawide setup? There’s a simple(ish) fix for that!
The Issue
If you are playing on a 21:9 ultrawide screen, chances are you are seeing a weirdly “zoomed in”, de-centered view when in-game:
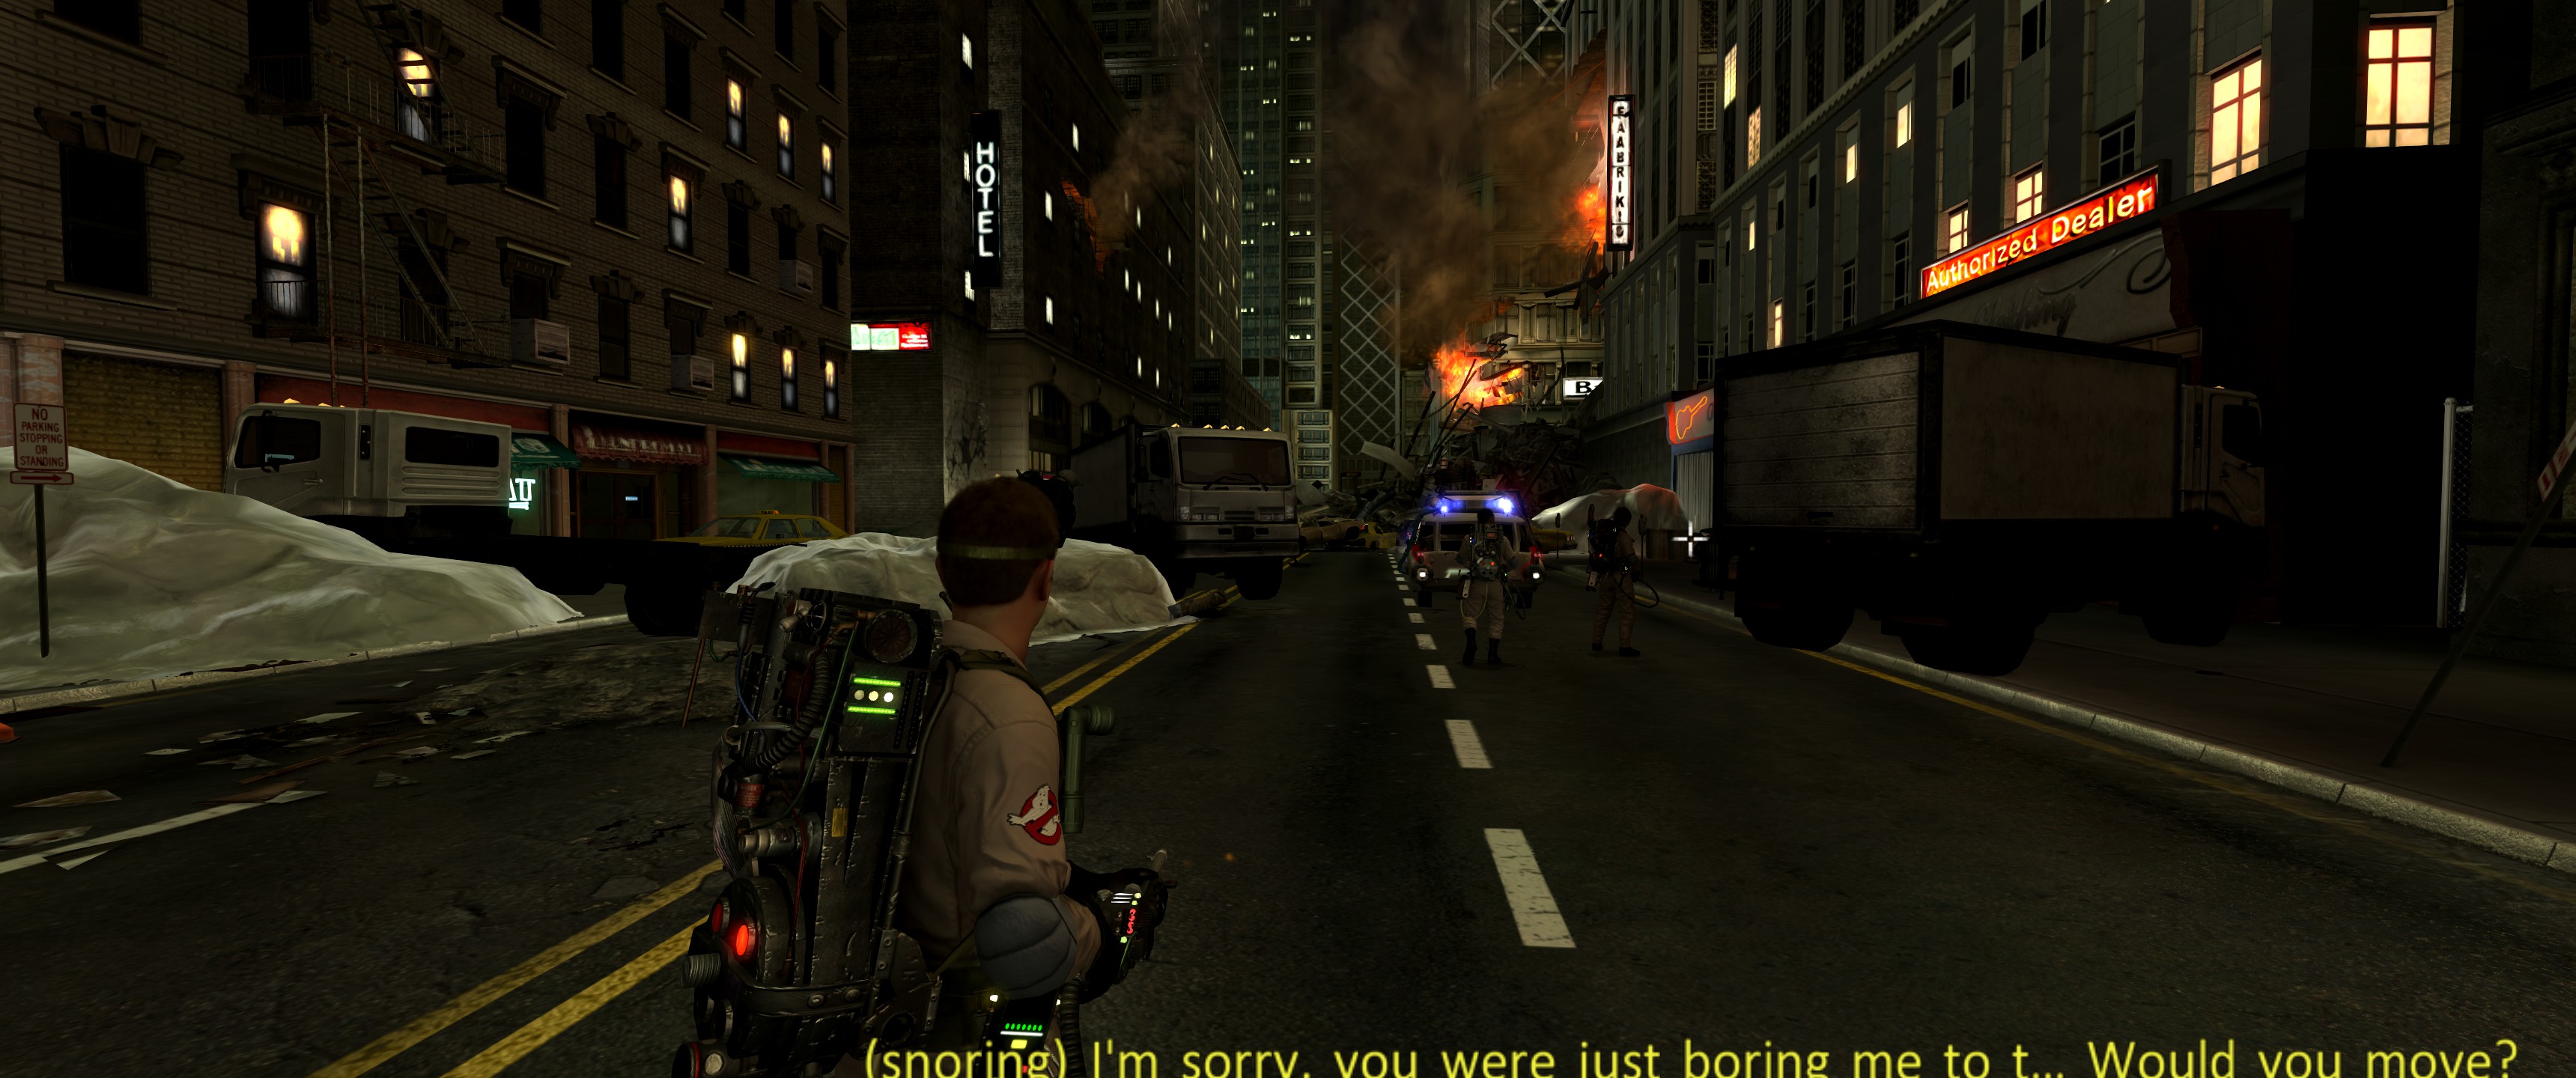
Notice how the crosshair is offset to the right, almost at 3/4 of the screen. The subtitles don’t look no good either.
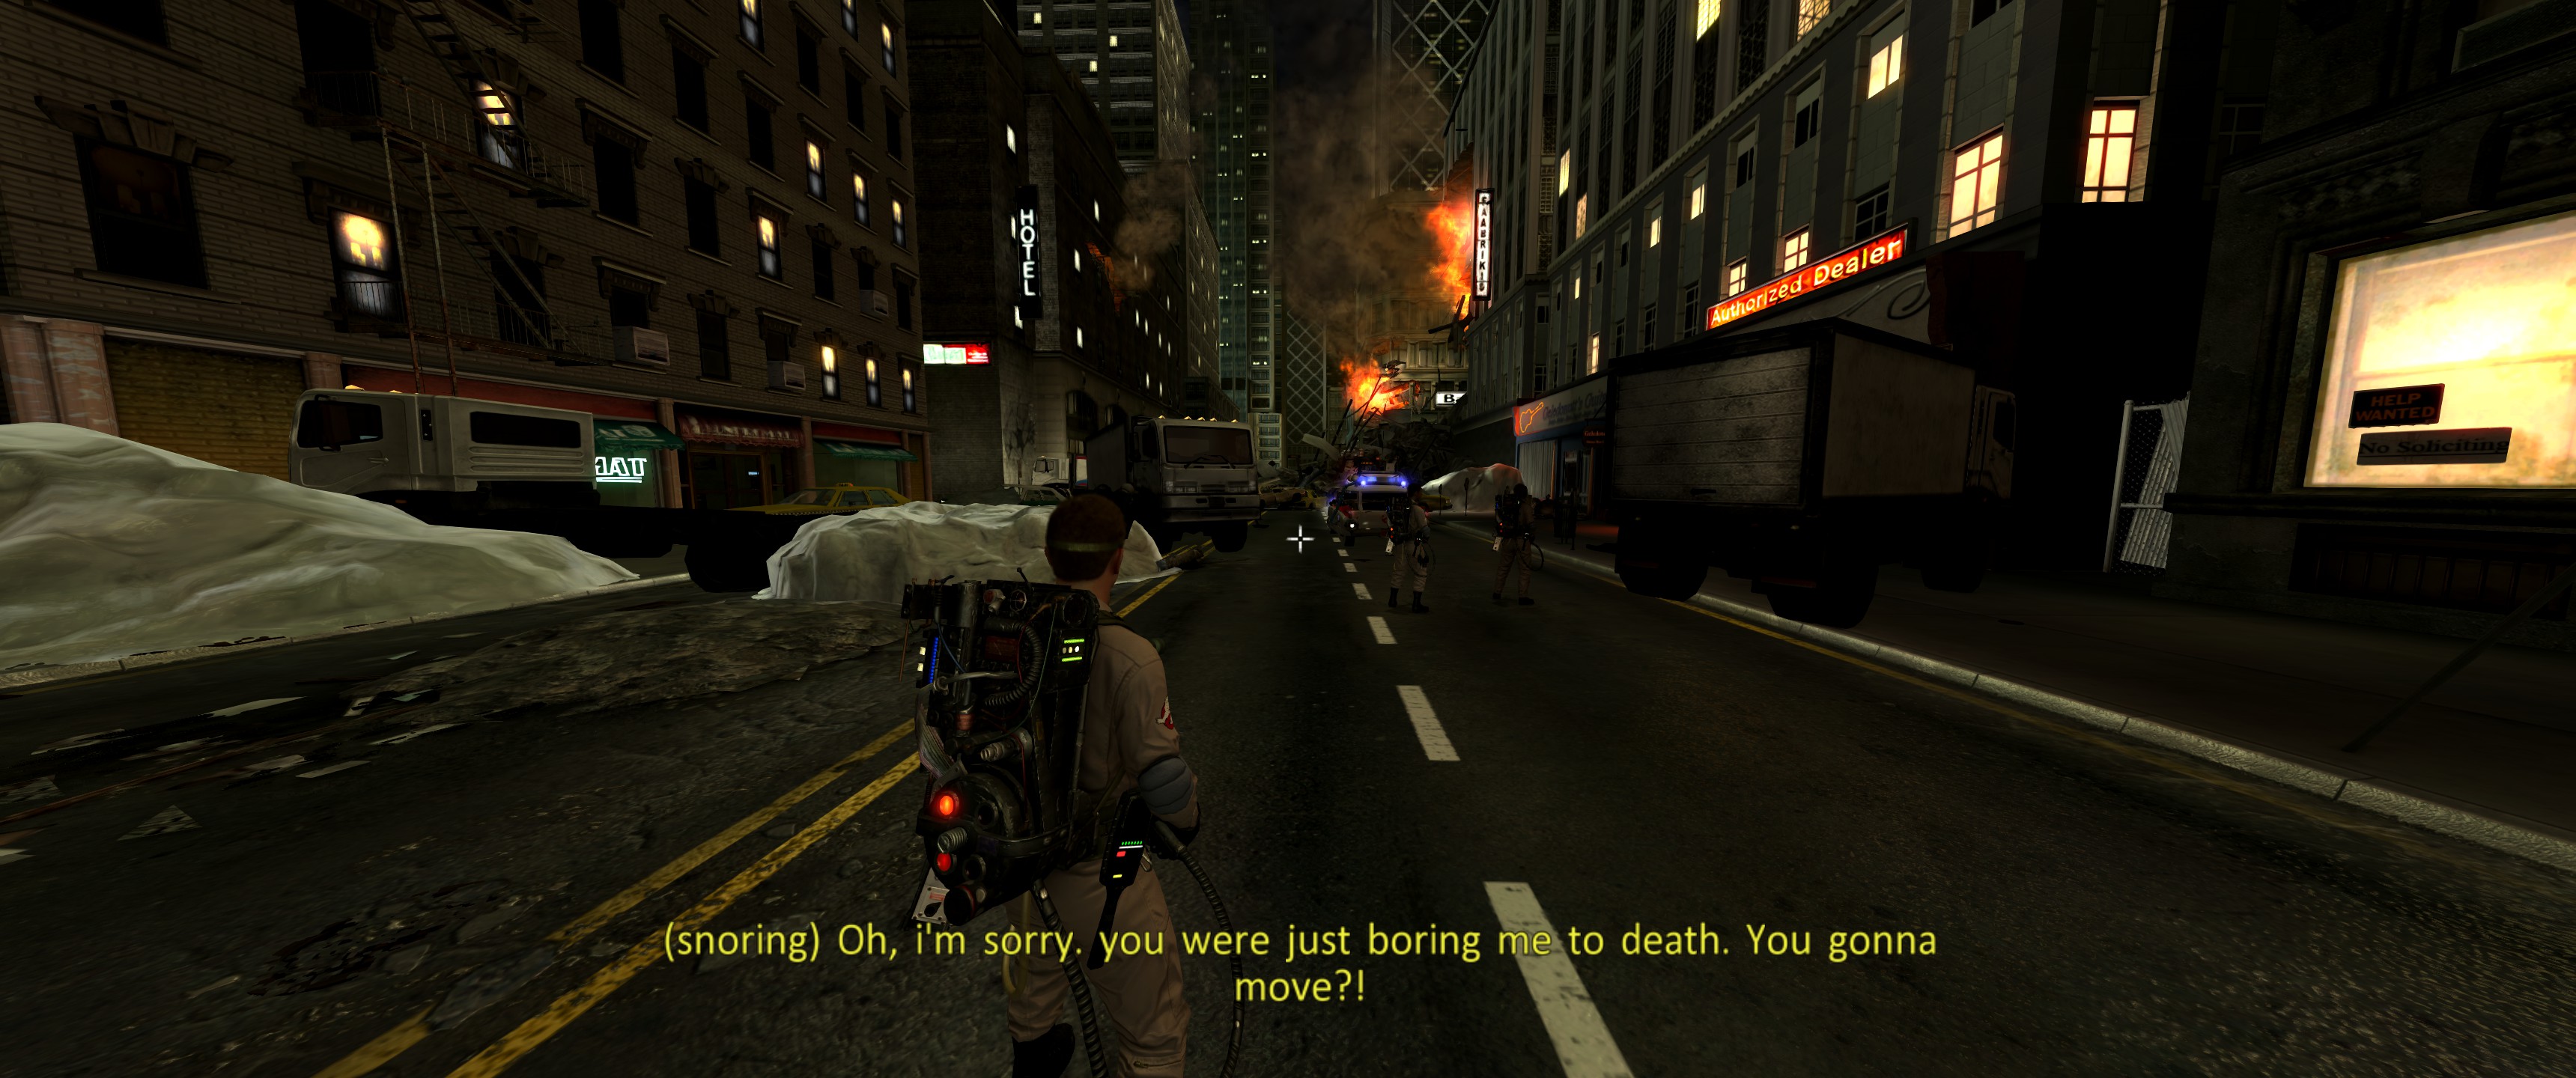
After the fix, you should have everything fitting the screen exactly where things should be:
Requirements
To apply this fix you will need a Hex Editor program. There’s no need for advanced binary/hexadecimal knowledge as there are only 4 changes to be made – all of them described in detail through this guide.
There are many options for Hex editors out there; you can search online and find the one that suits you best. If you want a simple and free one, I recommend HxD which was used in the making of this guide.
Locating “ghost.exe”
This fix consists of modifying the ghost.exe binary – the game’s main executable. Locate the folder in which the game is installed, usually in Steam’s default “steamapps/common” folder:
C:\Program Files (x86)\Steam\steamapps\common\Ghostbusters The Video Game Remastered
If you installed the game in a different place or are unsure of the installation path, you can easily find it in your Steam Library:
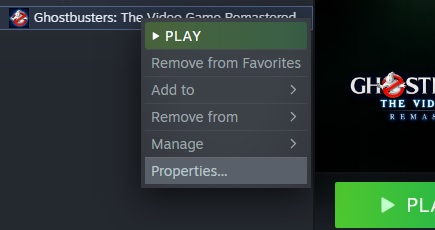
1. Right-click the game in your Steam Library and select “Properties…”
2. In the “Local Files” tab to the left, click “Browse” button on the top right side
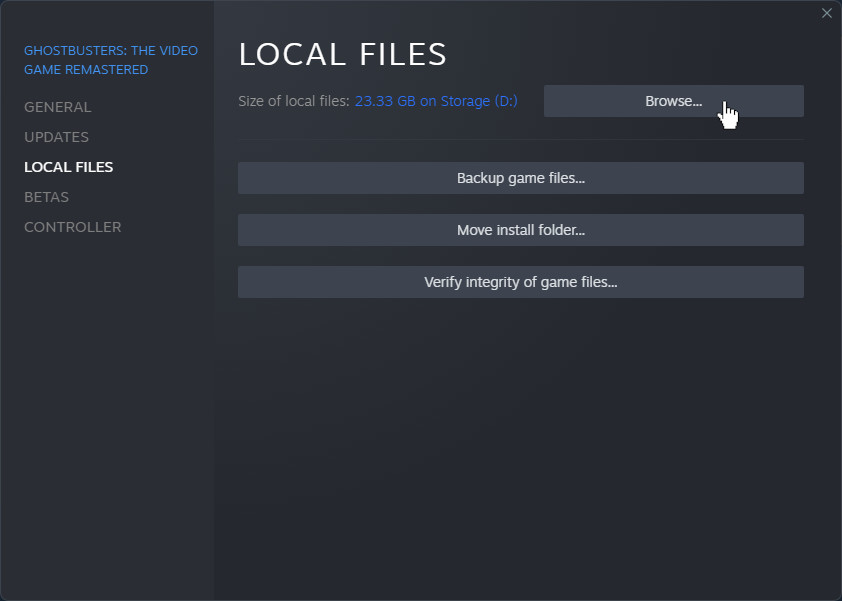
This should open a new Windows Explorer window directly to the game installation path i.e. where ghost.exe is.
Save this location for now, and keep the Windows Explorer window open.
Loading ghost.exe into the Hex Editor program
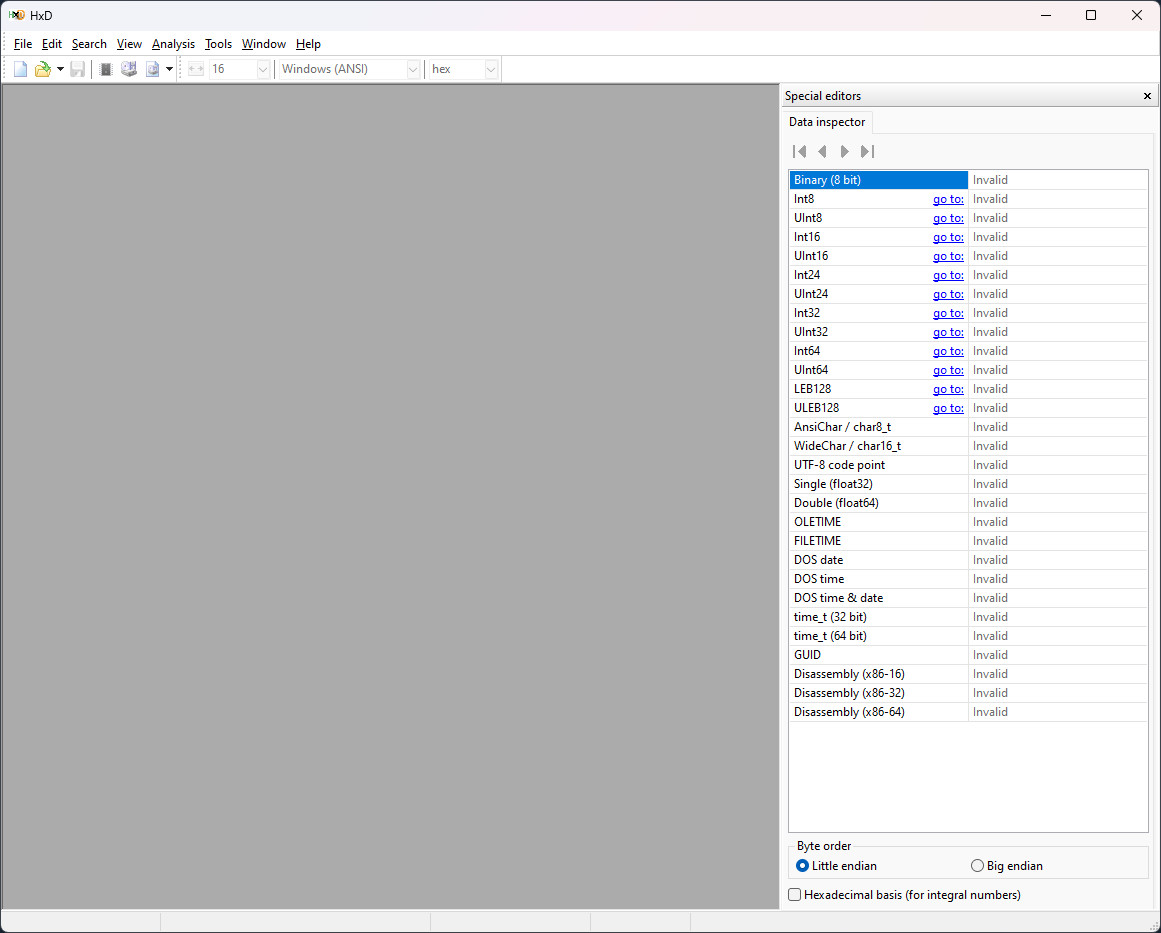
Go ahead and open your Hex Editor program. We will be using screenshots from HxD in this guide as mentioned above.
From the Windows Explorer window, you can simply drag ghost.exe into your Hex Editor to load it. Alternatively, you can “CTRL + O”, or “File > Open” and select the file from the folder in which the game is installed.
Once the file is loaded, you should see something like this:
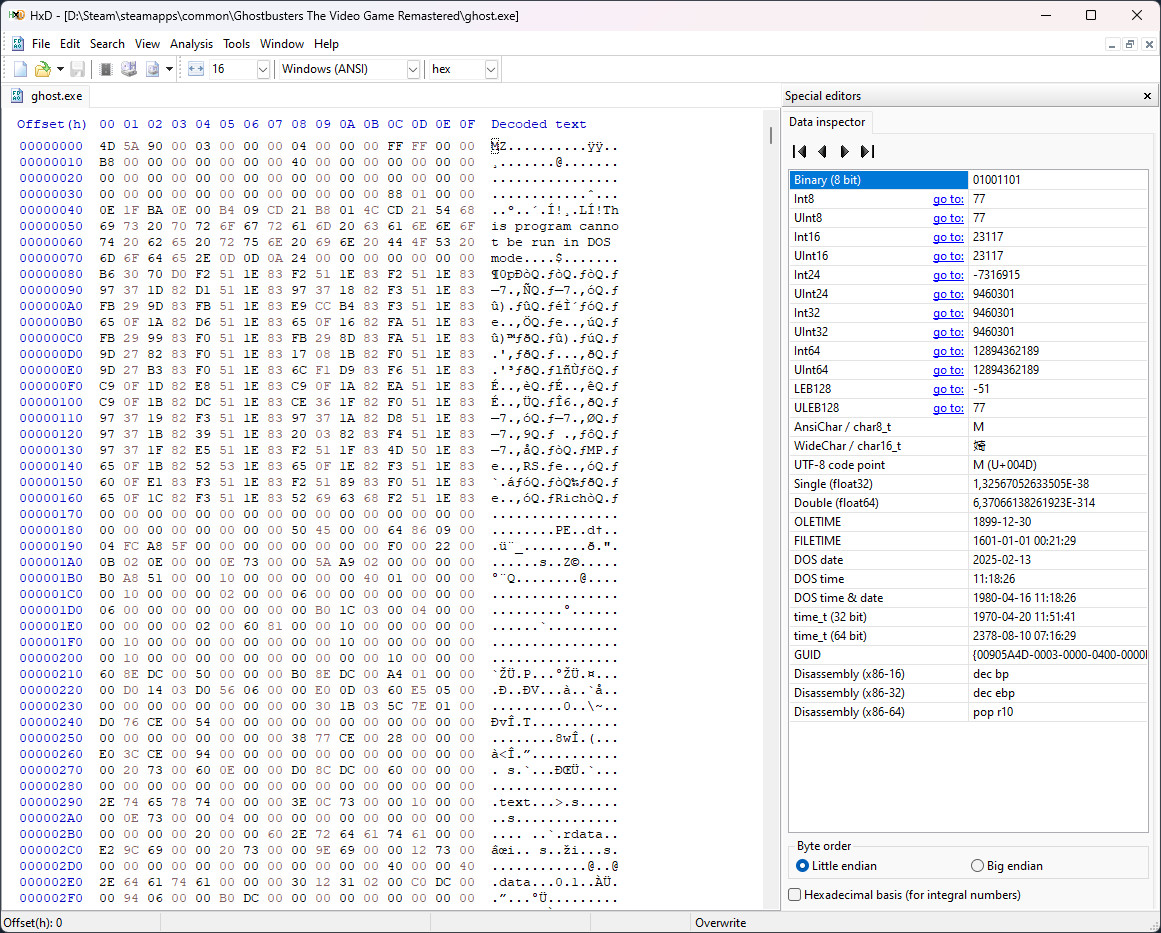
Do not despair just yet! All these alien, Matrix-looking gibberish does not need to make any sense to you – that’s fine!
Finding and replacing Hex values
In the next section you will need to find and replace 4 hex values in the binary file. If you already know how to do it, feel free to skip to the section below.
To find the values to be replaced, hit “CTRL + F” or “Search > Find”
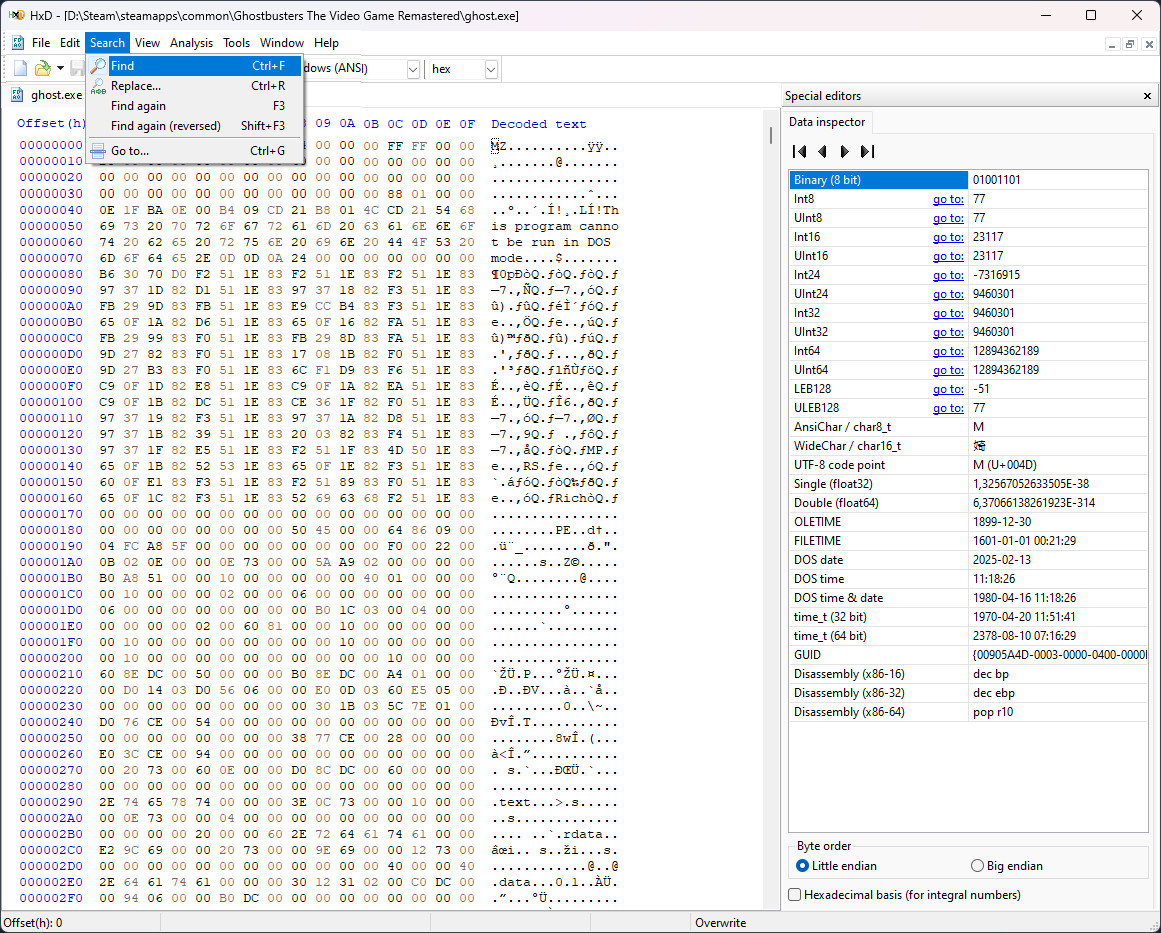
In the pop-up that opens up, make sure to select the “Hex-values” tab on the top. Paste in the given Hex search value and hit “Ok”.
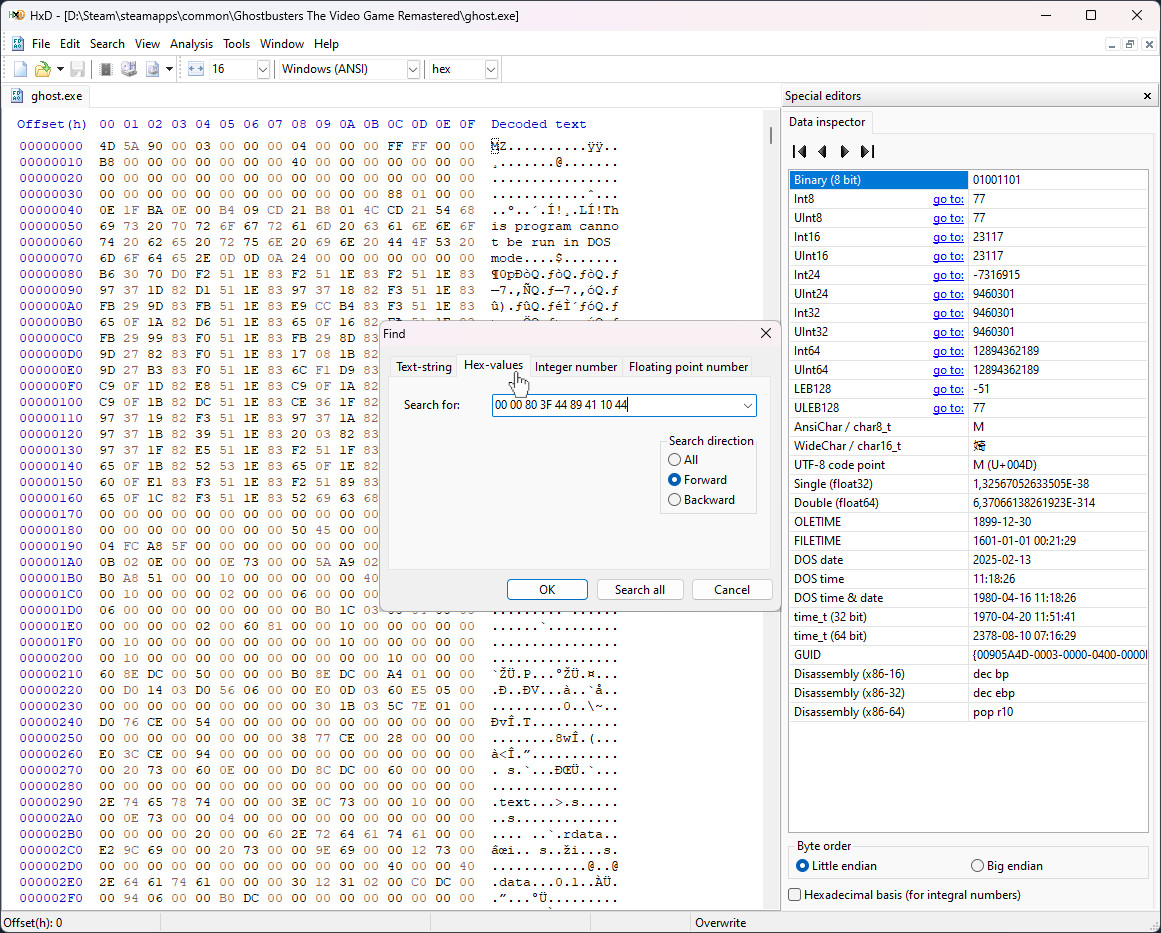
When the result is found, you will see it highlighted in the main window. Do not click anywhere just yet! You want to keep that selection highlighted.
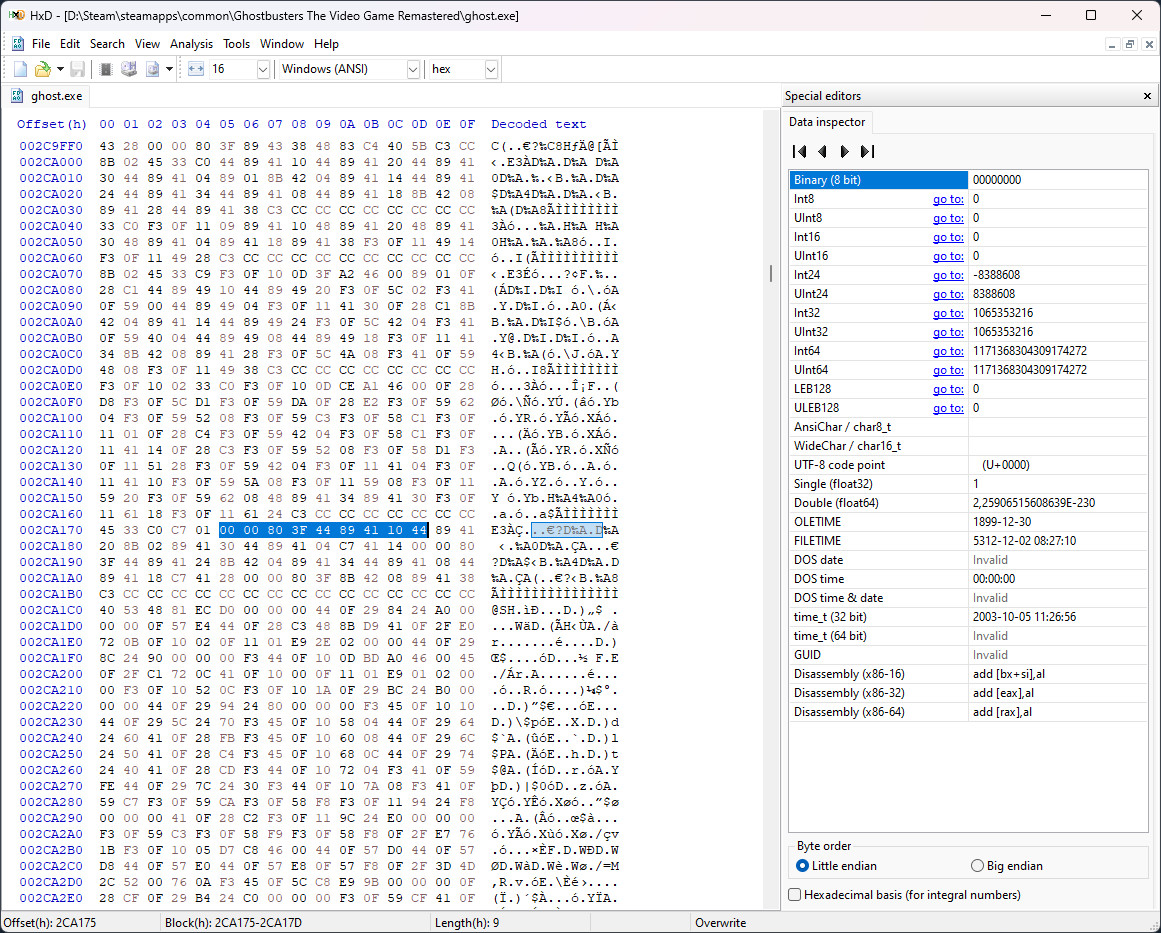
Without deselecting the search result, “Alt-Tab” back to the guide and copy the Hex replace value. Go back to your Hex Editor and simply paste the new value with “CTRL + V”. You should see the change highlighted in red.
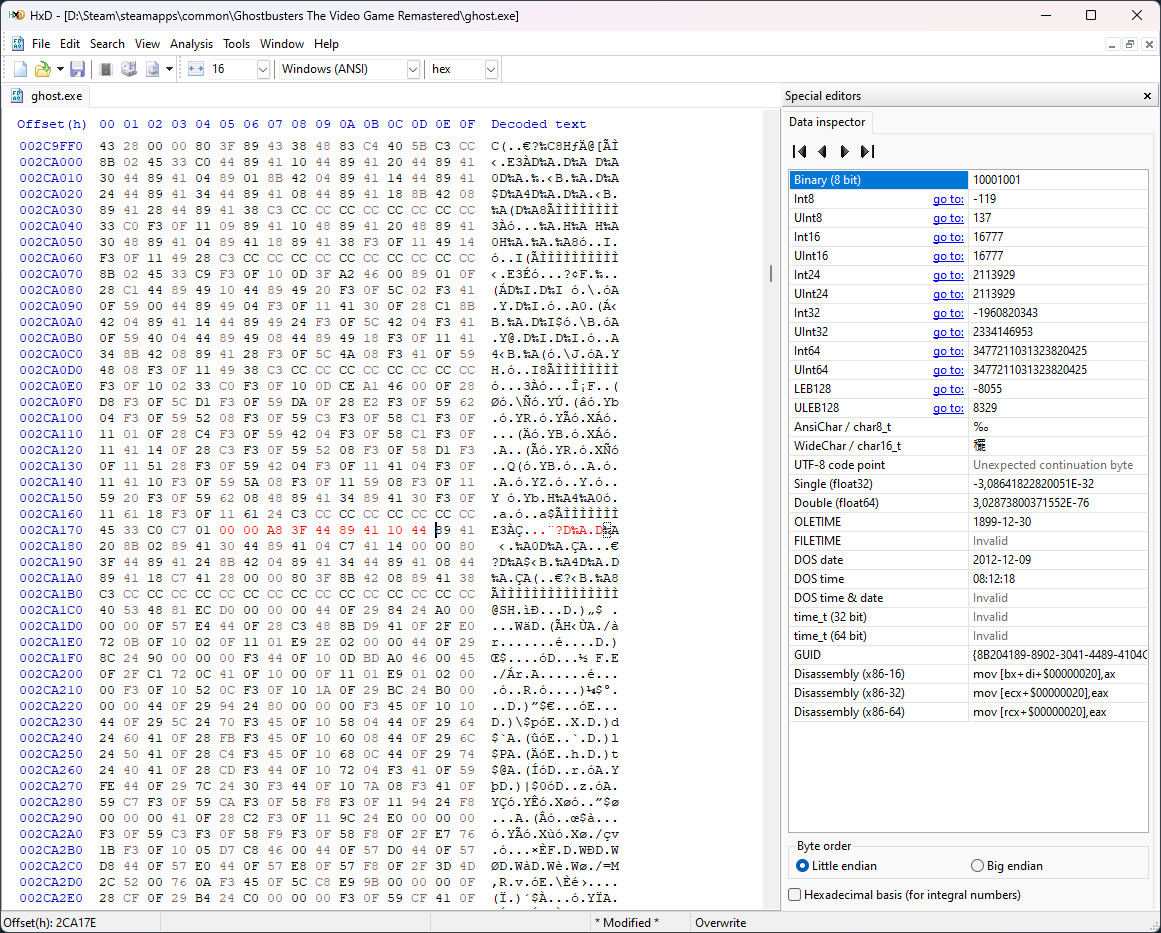
Saving (“CTRL + S”) at any point will remove the red highlight, meaning the changes were persisted into the file.
Applying the fix: modifying Hex values
The fix consists of editing 4 pieces of Hex data in the binary ghost.exe. Follow the steps in the section above to apply each of the changes exactly as described below.
First change
Search for
00 00 80 3F 44 89 41 10 44
Replace with
00 00 A8 3F 44 89 41 10 44
Second change
Search for
44 00 00 A0 44
Replace with
44 00 00 D0 44
Third change
Search for
AB AA AA 3F 00
Replace with
AB AA 8A 3F 00
Fourth change
Search for
39 8E 63 3D 67
Replace with
39 8E 36 3D 67
And there you have it! After the last change, make sure to save (“CTRL + S”) the changes and you’re ready to bust some ghosts!
Restoring the changes
Made one too many changes? Got the game in a broken state? No backups? No problem!
Steam has this really useful feature to “Verify integrity of game files”. Basically, it will check all the game files and, if any of them are a tiny bit different from what they should be, Steam will re-download the file to repair your game installation.
Please do note that running this integrity check will revert any changes in any other files (in case you have done any other manual changes to other game files).
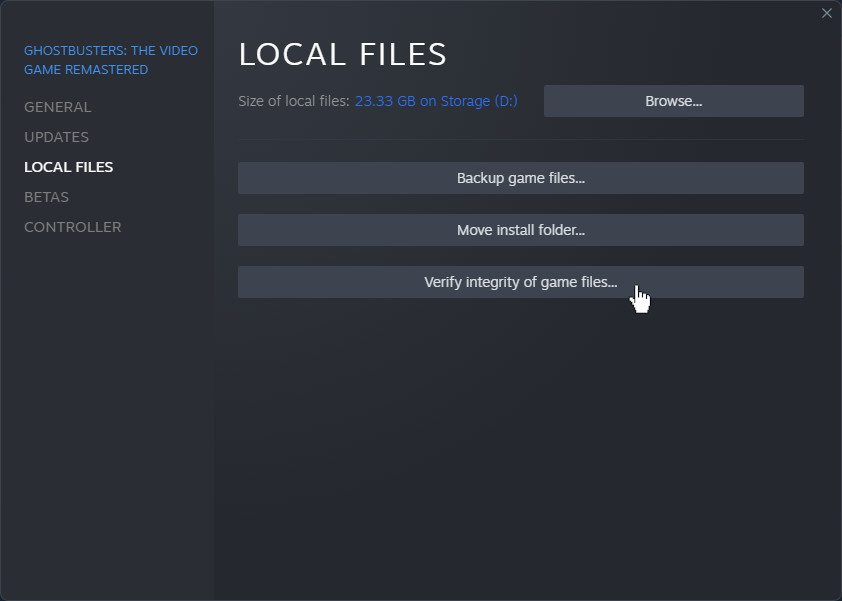
To revert changes and/or repair your game installation, find the game in your Steam Library, right-click it and select “Properties…”:
In the “Local Files” tab to the left, click the “Verify integrity of game files…” button:
The process might take a moment, but once complete you will have your game back in a pristine state again.
That's everything we are sharing today for this Ghostbusters: The Video Game Remastered guide. This guide was originally created and written by dread3ddie. In case we fail to update this guide, you can find the latest update by following this link.