- Título: Caja Mundial - Simulador de Dios
- Fecha de lanzamiento:
- Revelador:
- Editor:
Información sobre WorldBox - God Simulator aún está incompleto. Por favor ayúdanos a completar los detalles del juego usando esto formulario de contacto.
¿Estás cansado de hacer malos mapas?? Esta guía le mostrará cómo crear mapas que se vean bonitos y frescos.!
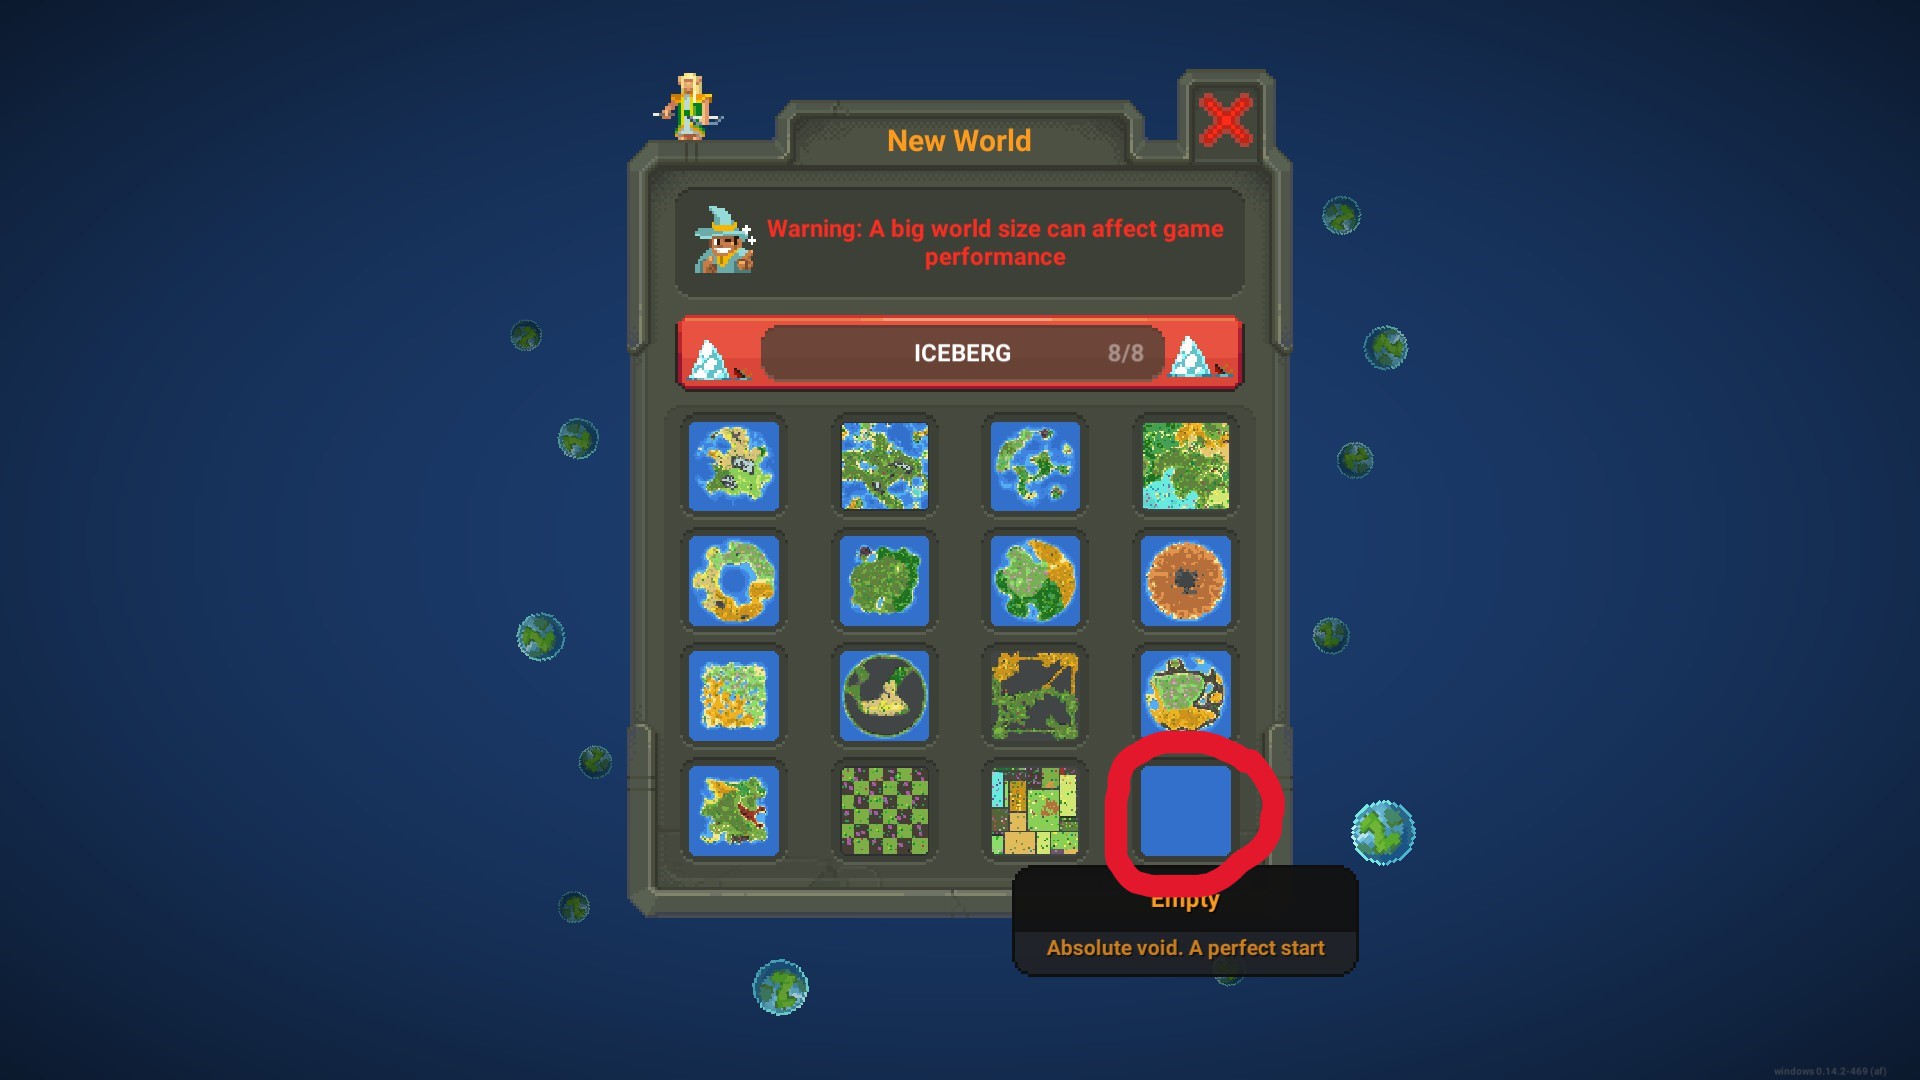
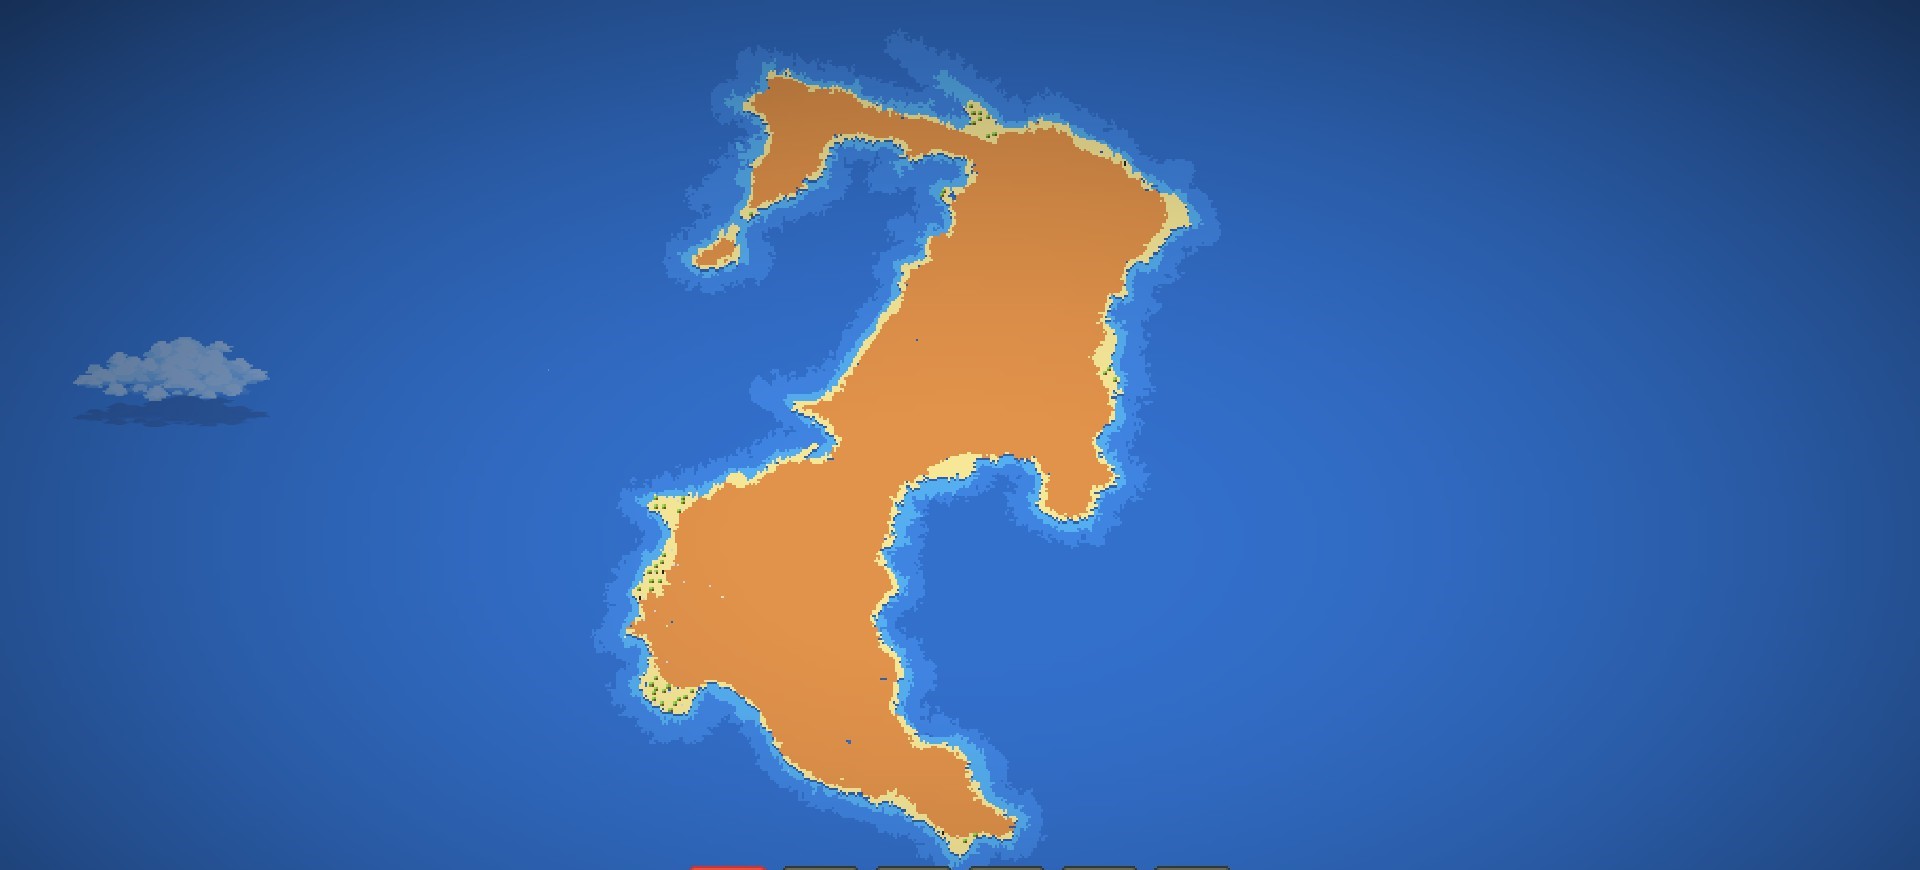
Paso 1: Creando una base
Primero que nada, necesitas comenzar un nuevo mapa. Deberías usar un mapa de iceberg vacío., para que puedas caber en la mayor cantidad de terreno posible.
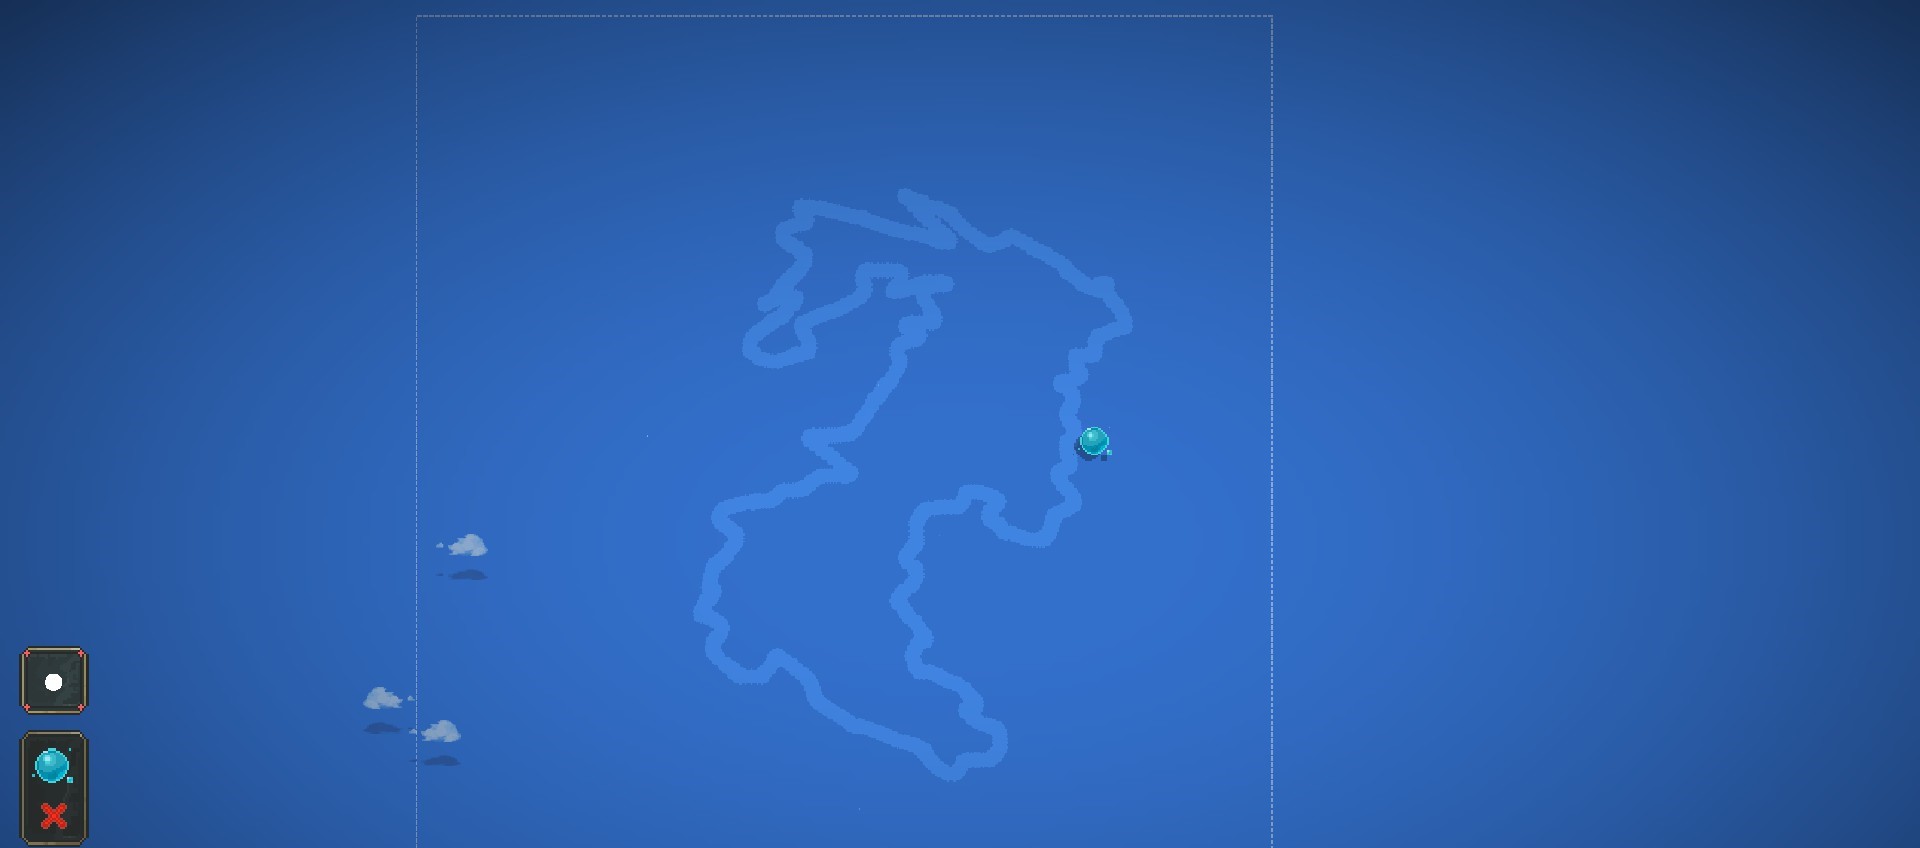
Entonces, Crea una base para la tierra que harás..
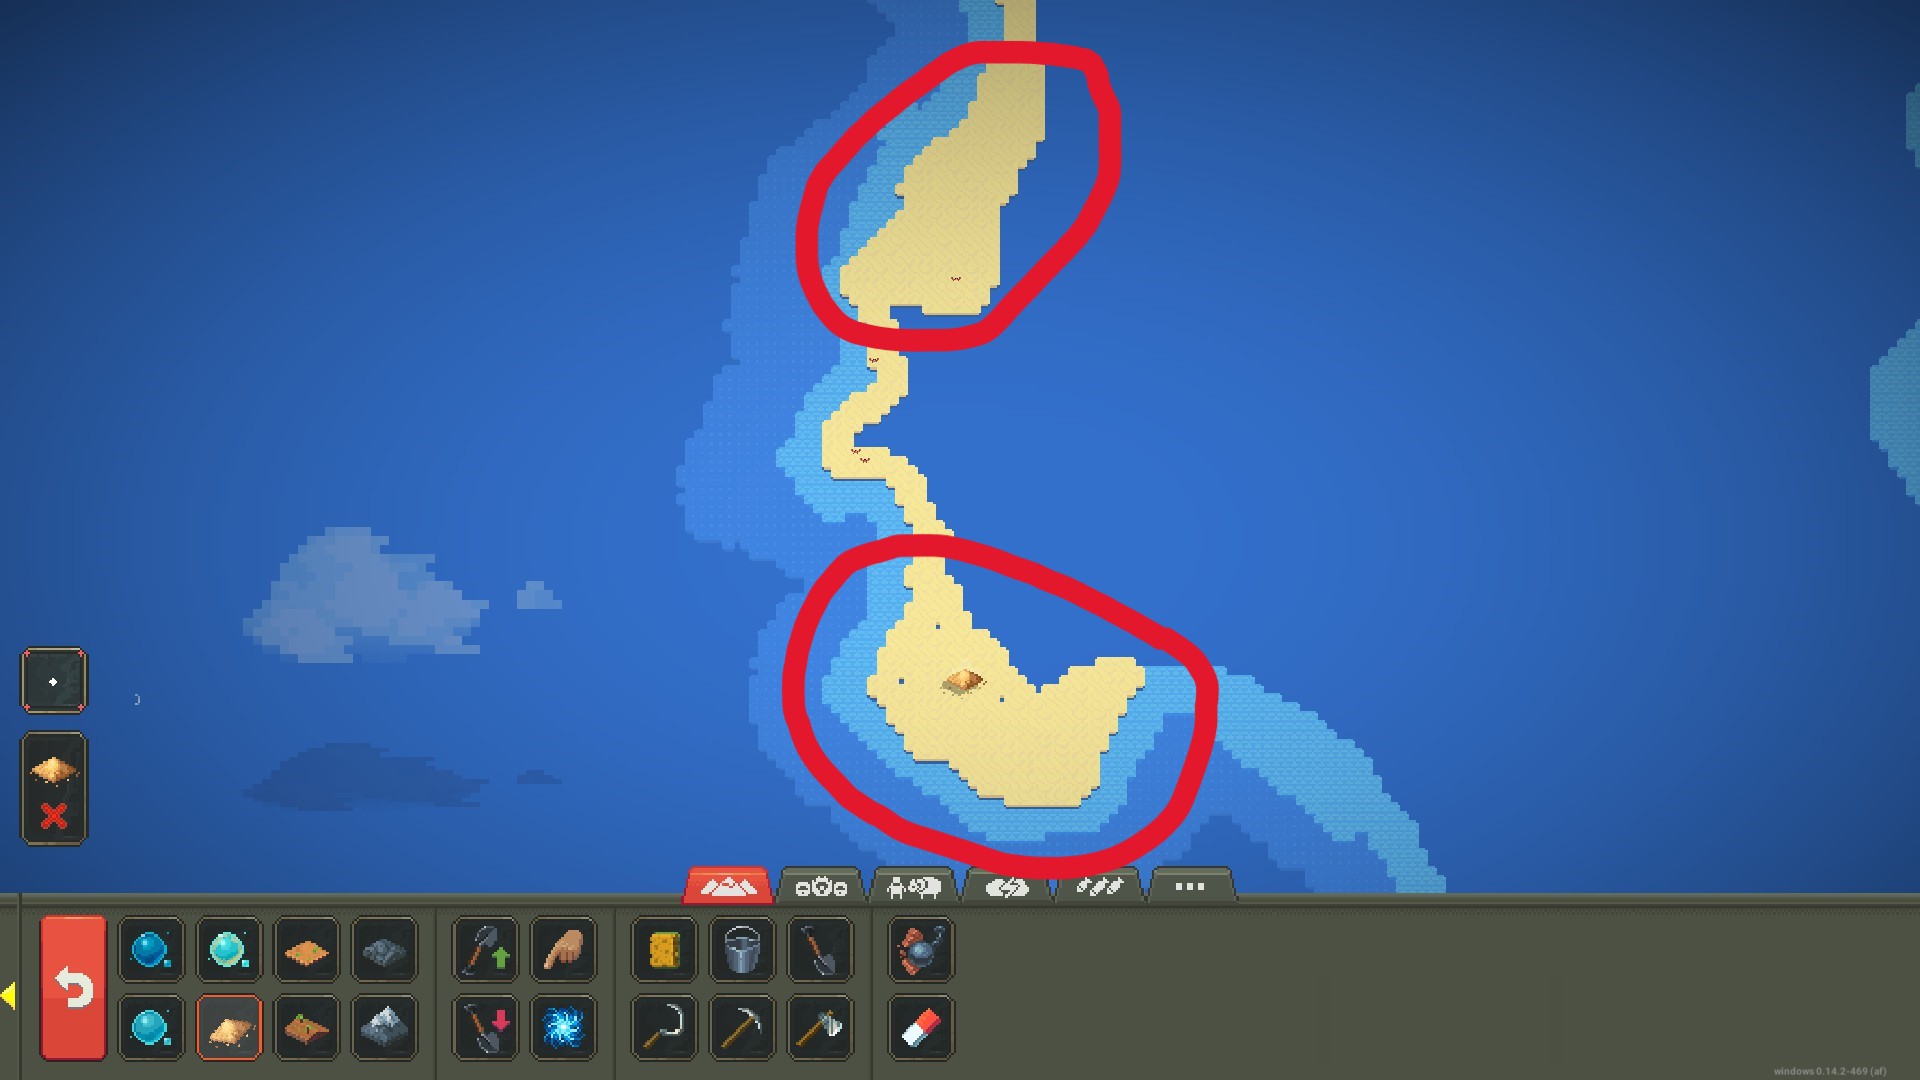
Utilice el 'Océano cercano’ para hacer un esquema de lo que estás pensando hacer
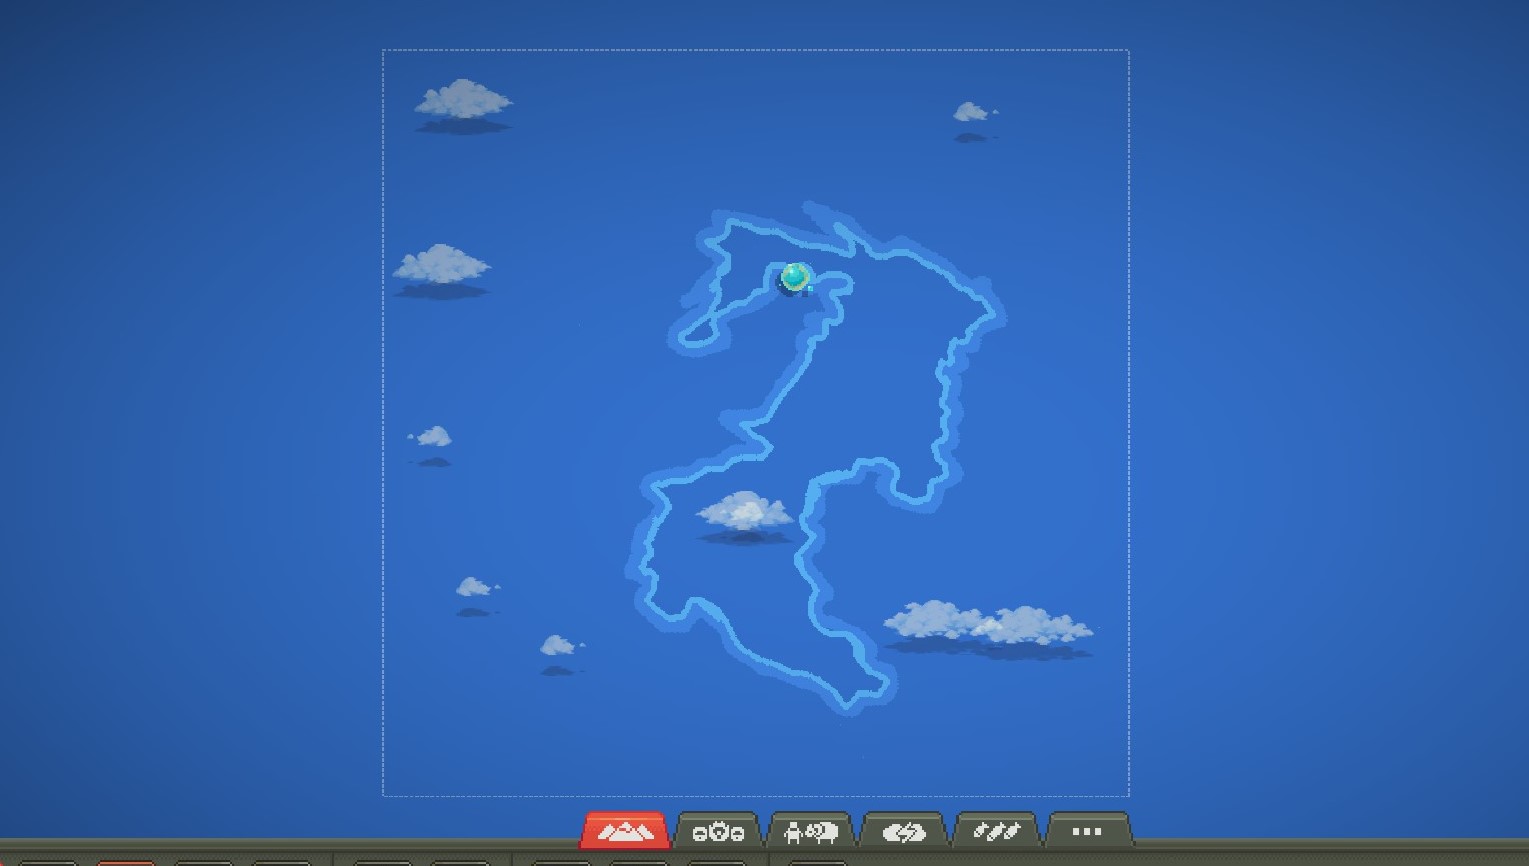
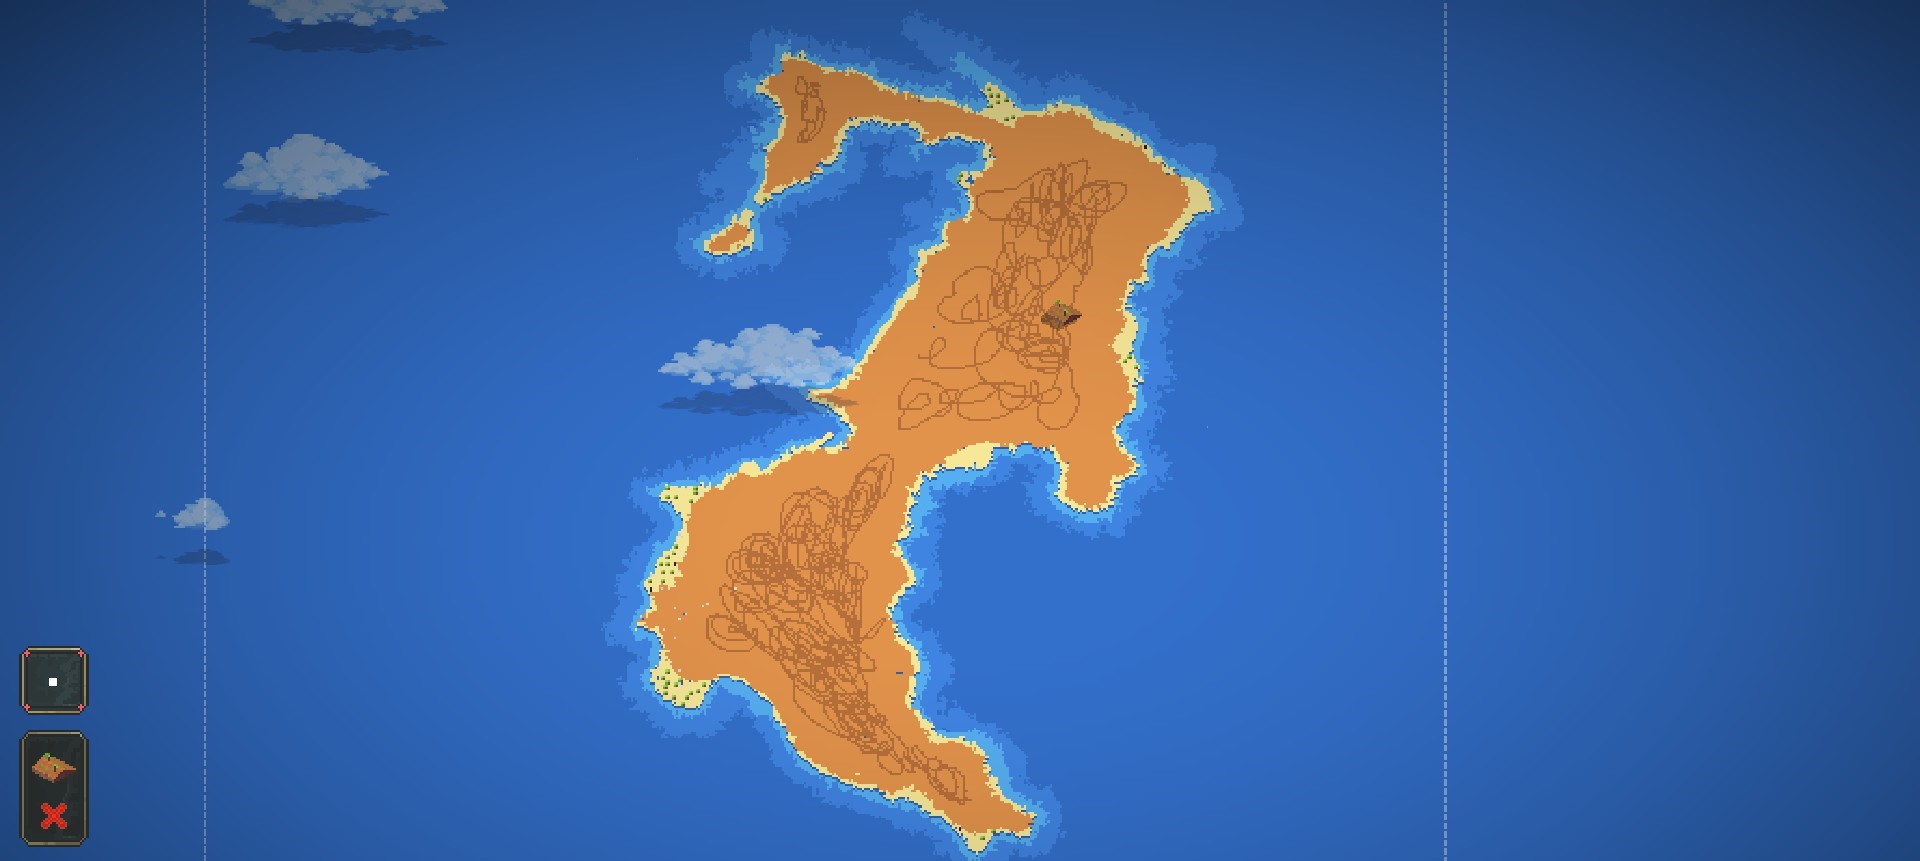
Paso 2: Línea costera
Entonces, necesitas usar el 'Océano poco profundo’ para revestir el interior del 'Océano Cercano’
Próximo, necesitas usar la 'Arena’ para revestir el interior del océano poco profundo, con un cepillo más pequeño.
(CONSEJO) Haz algunas áreas de la arena más grandes que otras partes., y adelgazar algunas áreas.
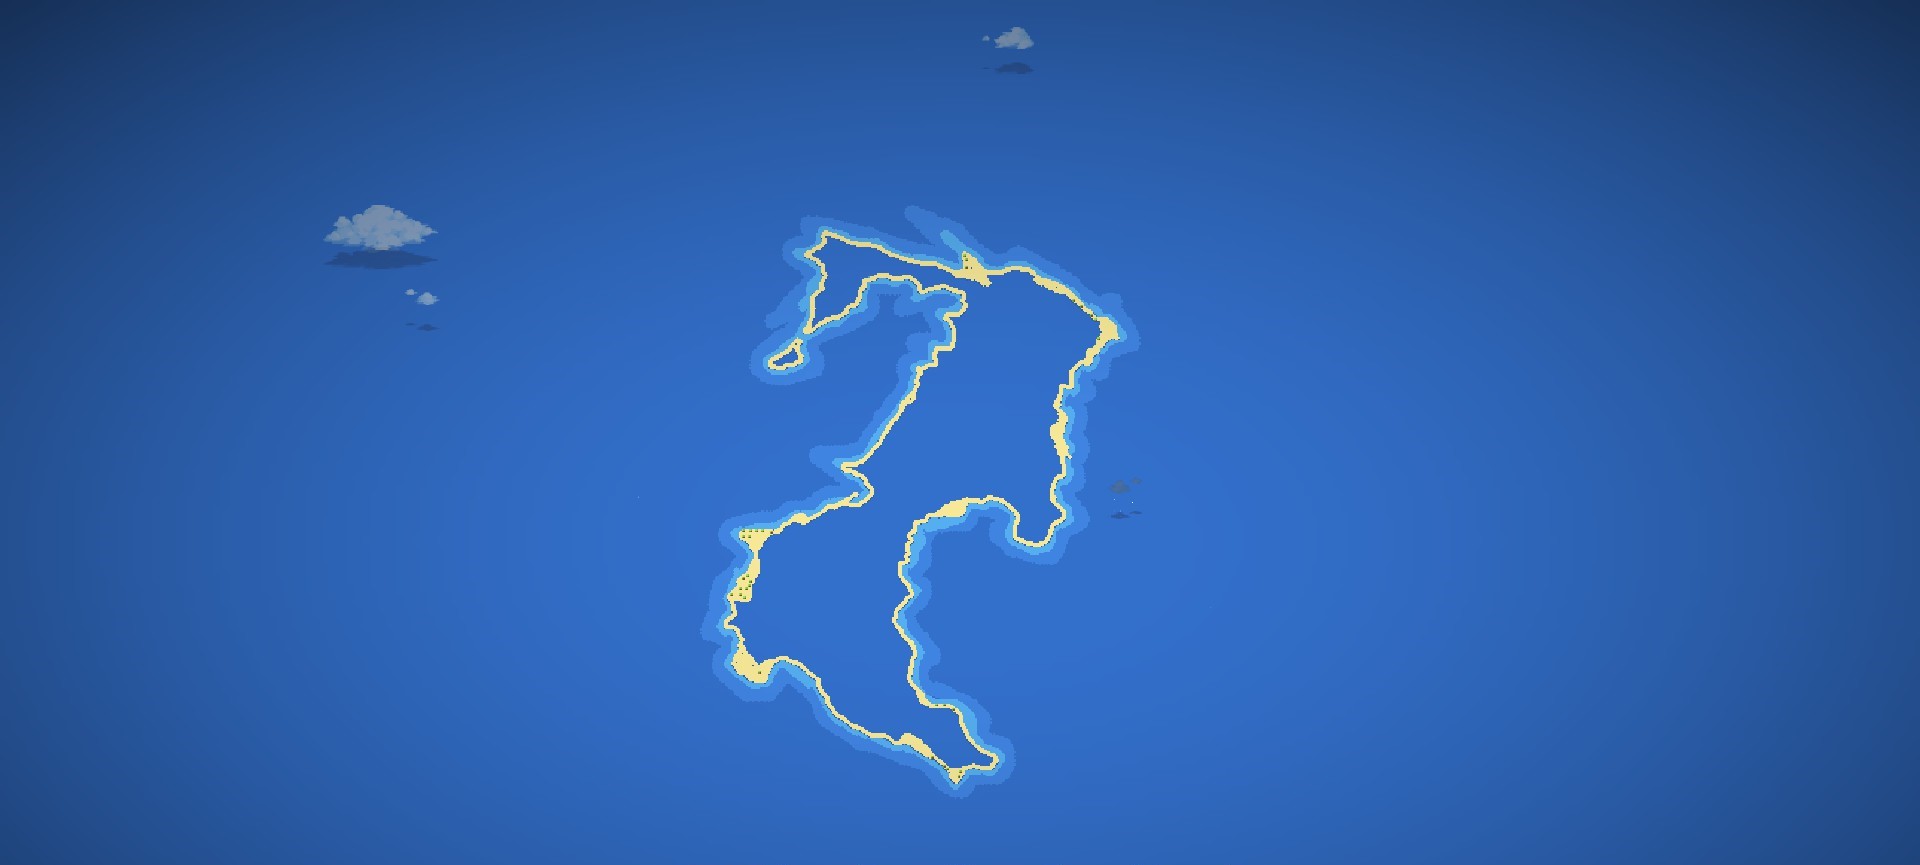
After that you should have something like this:
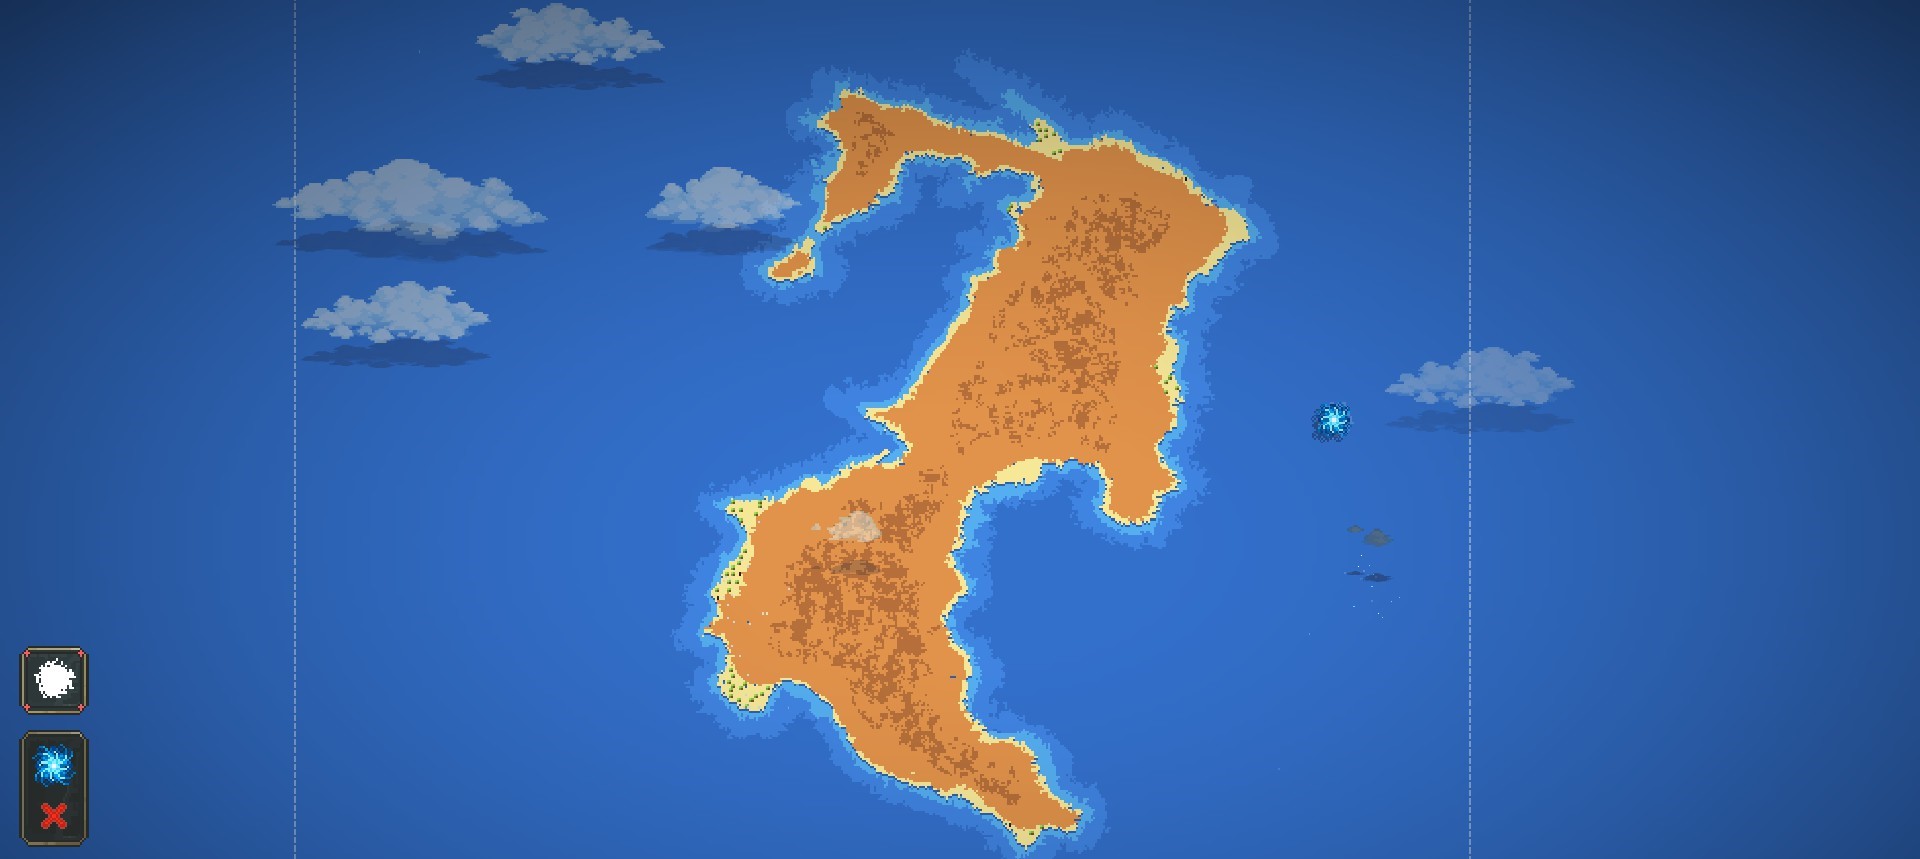
Paso 3: Continente
After the sands done, you need to use the ‘Plain Soil’ to fill in the land you’re making
Paso 4: Vórtice
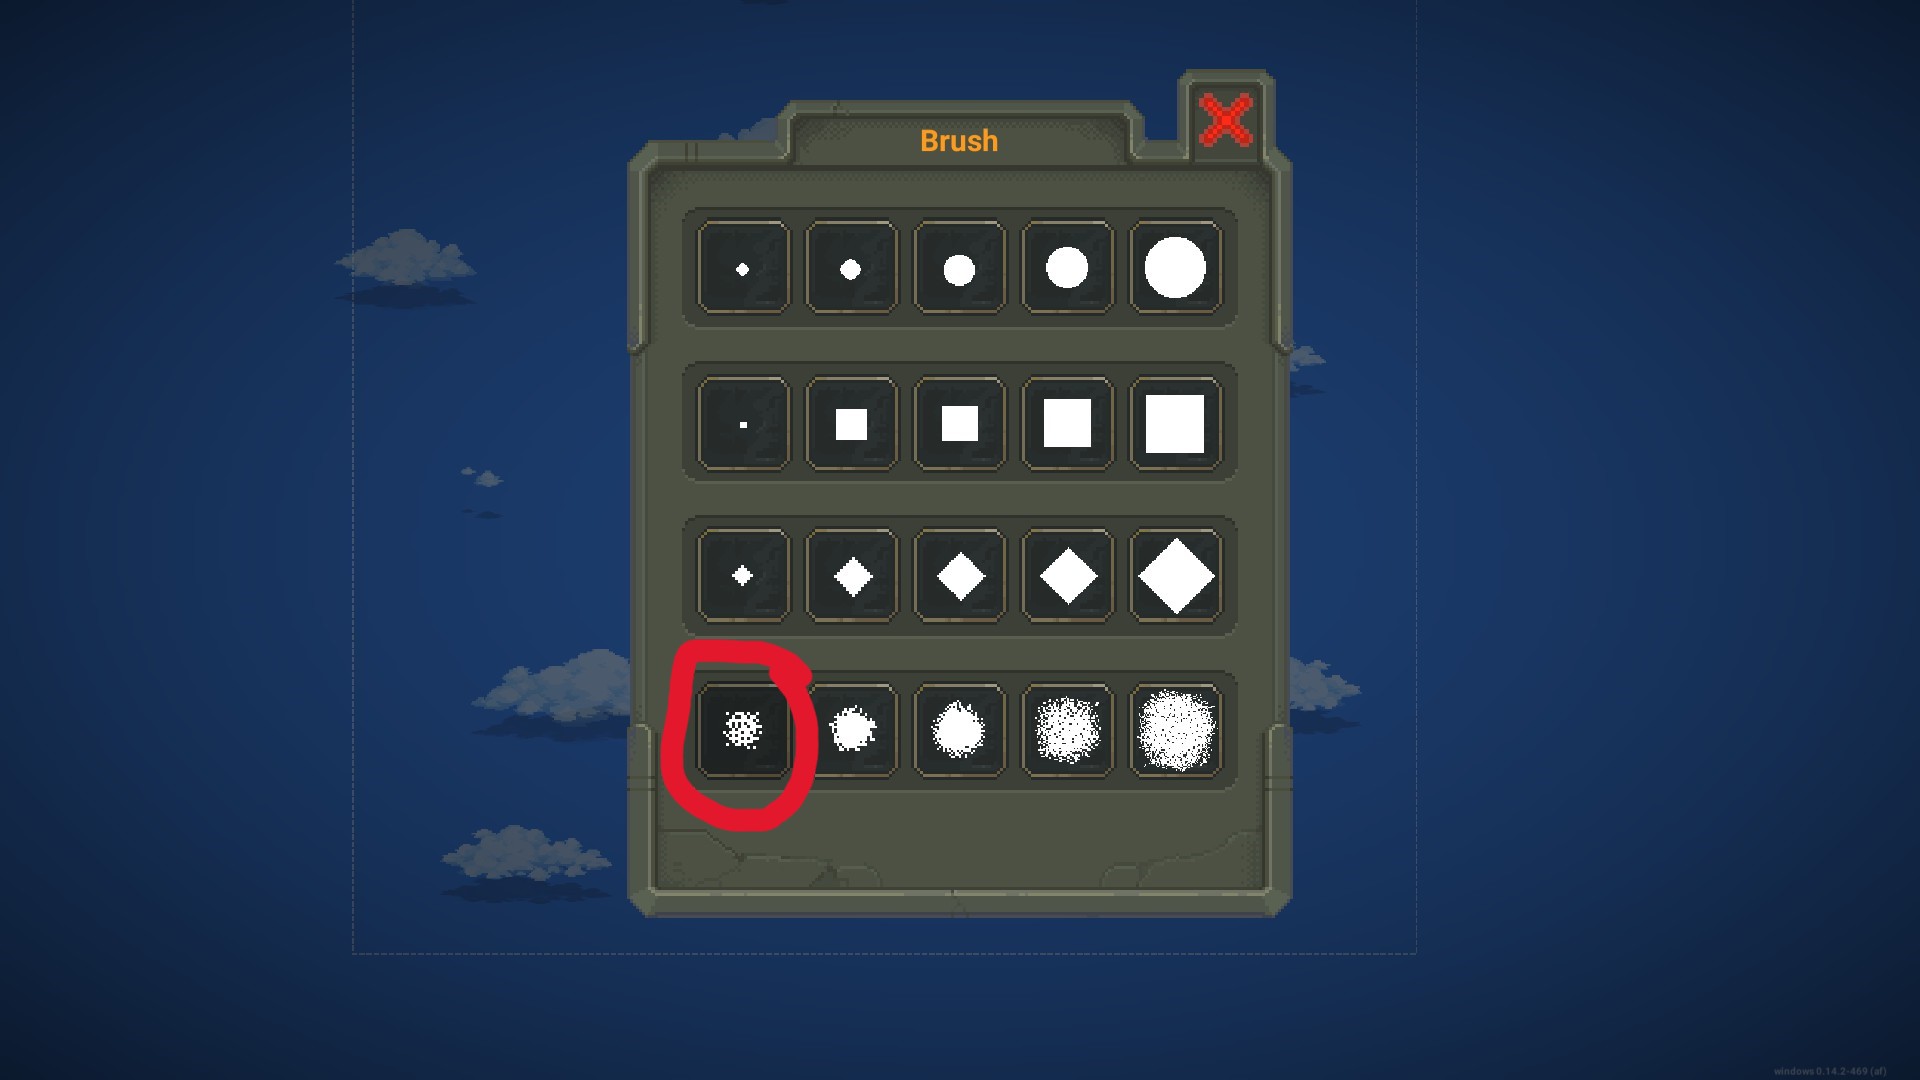
After everything is filled in, you need to use the ‘Vortex’ tool to Mix everything up, and make sure the brush size is on this:
(CONSEJO #2) Hold the Vortex on the ocean tiles to mix them up more, do light taps to mix up the sand and soil. It will look better.
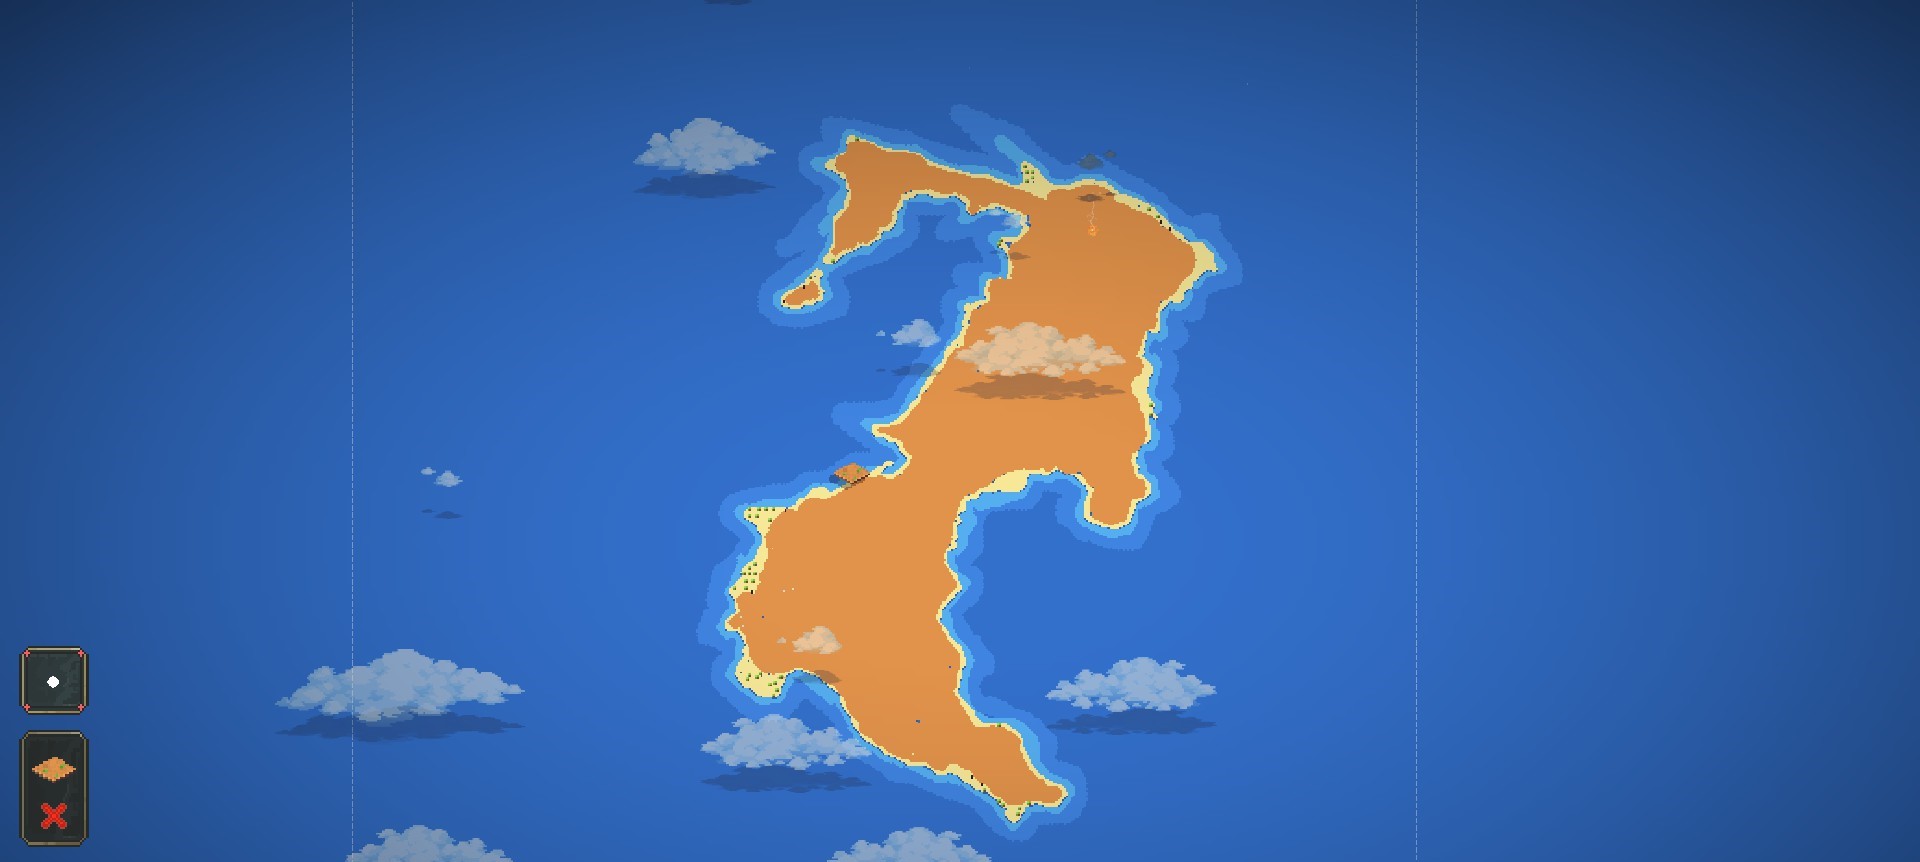
After Vortexing it should look something like this:
Paso 5: Adding Forests
Once You’ve done Vortexing, you need to add forests to make the land look nicer.
Primero, Use the ‘Forest’ Tool with a 1 pixel brush and scribble all over the land with it (I promise it’ll look good)
Entonces, you will need the Vortex again, and use it to mix it all up with the same brush you used to mix up the coastline until the forest looks something like this:
( There’s no straight-lines in nature, so mix it up so there is none)
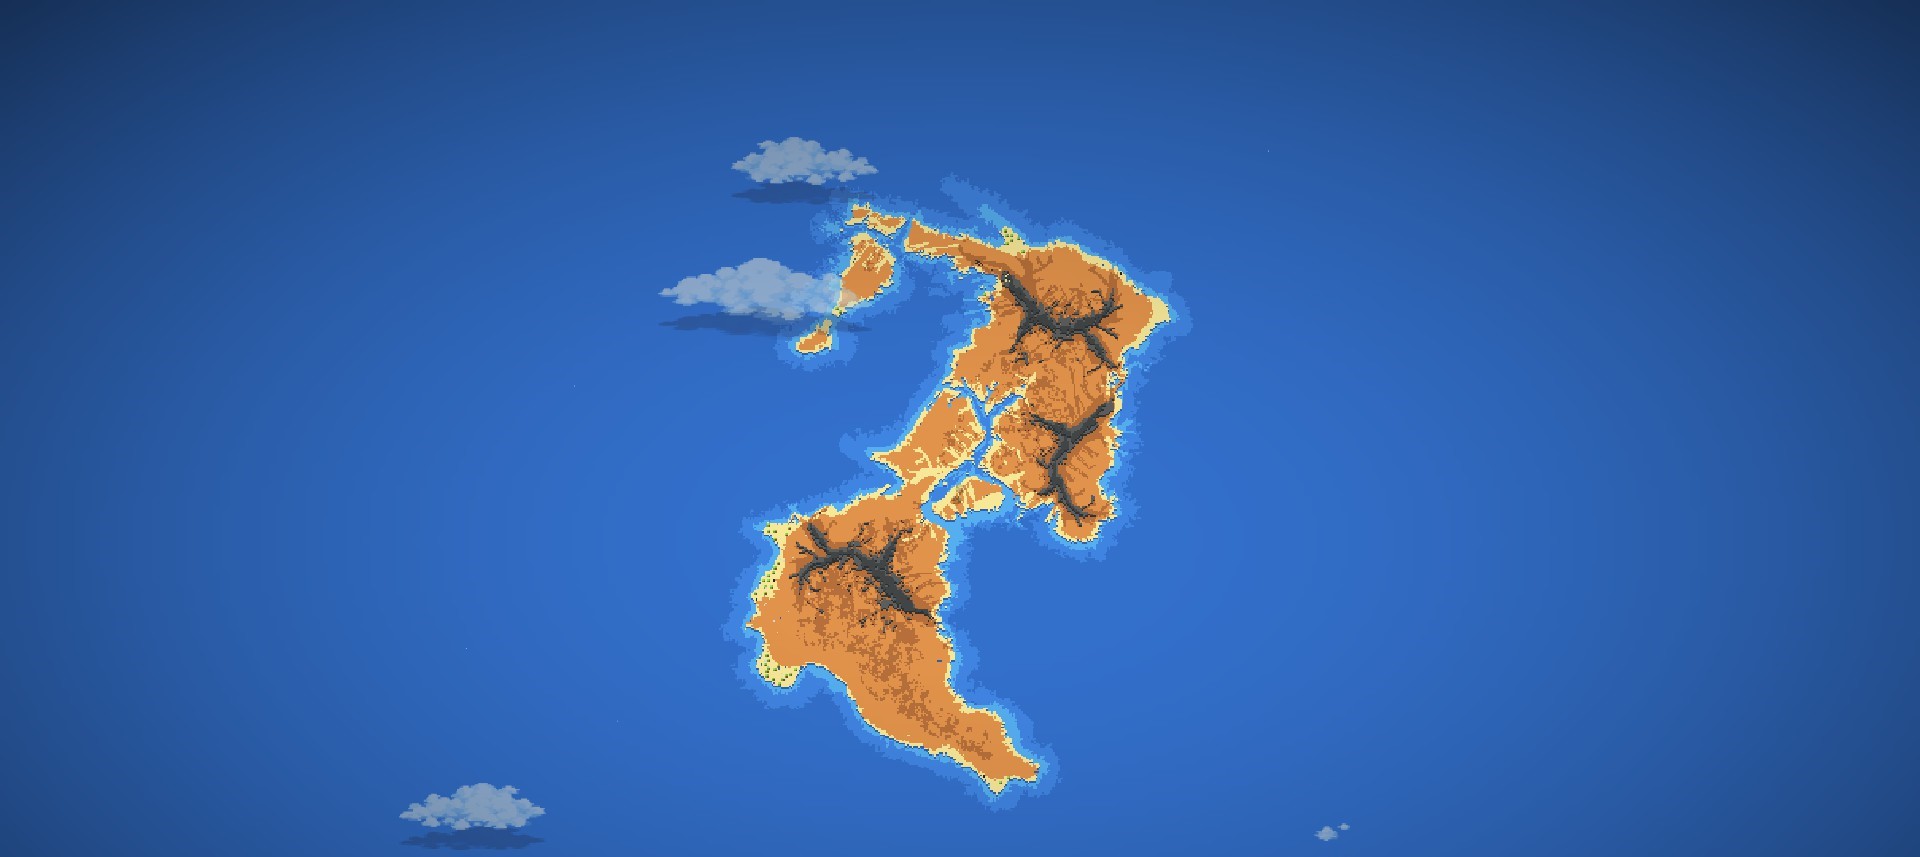
Paso 6: Mountains And Ravines
You might need to save the world here, but usually it comes out looking good, pero por si acaso, ahorrar.
Próximo, you need to use the ‘Earthquake’ tool on your land. The Earthquake makes some really nice looking mountains, and they’re unpredictable so they’re different every time. They can also go down instead of up, which creates ravines or cracks in the ground.
Paso 7: Rivers and Lakes
To create rivers, Use the shallow water tool again with the 1 pixel brush. Then Create squiggly lines going around the land, as that’s how rivers flow in real life. If the water gets stuck travelling through the river, widen it up slightly so the water can pass. If you want to create a lake, use a slightly bigger brush to make a shallow water hole in the land. Then make all the rivers connect to the lake like this:

Paso 8: Biomas, Trees and Flowers
After everything is done, it’s time for the Biomes.
You can use any biome/s you want for this, and i used grass for the tutorial to make things simple.
After you’ve placed your biome/s, You need to place the trees and Plants. Put the trees in the area of the dark forest tiles, and put the flowers beside the rivers and lakes
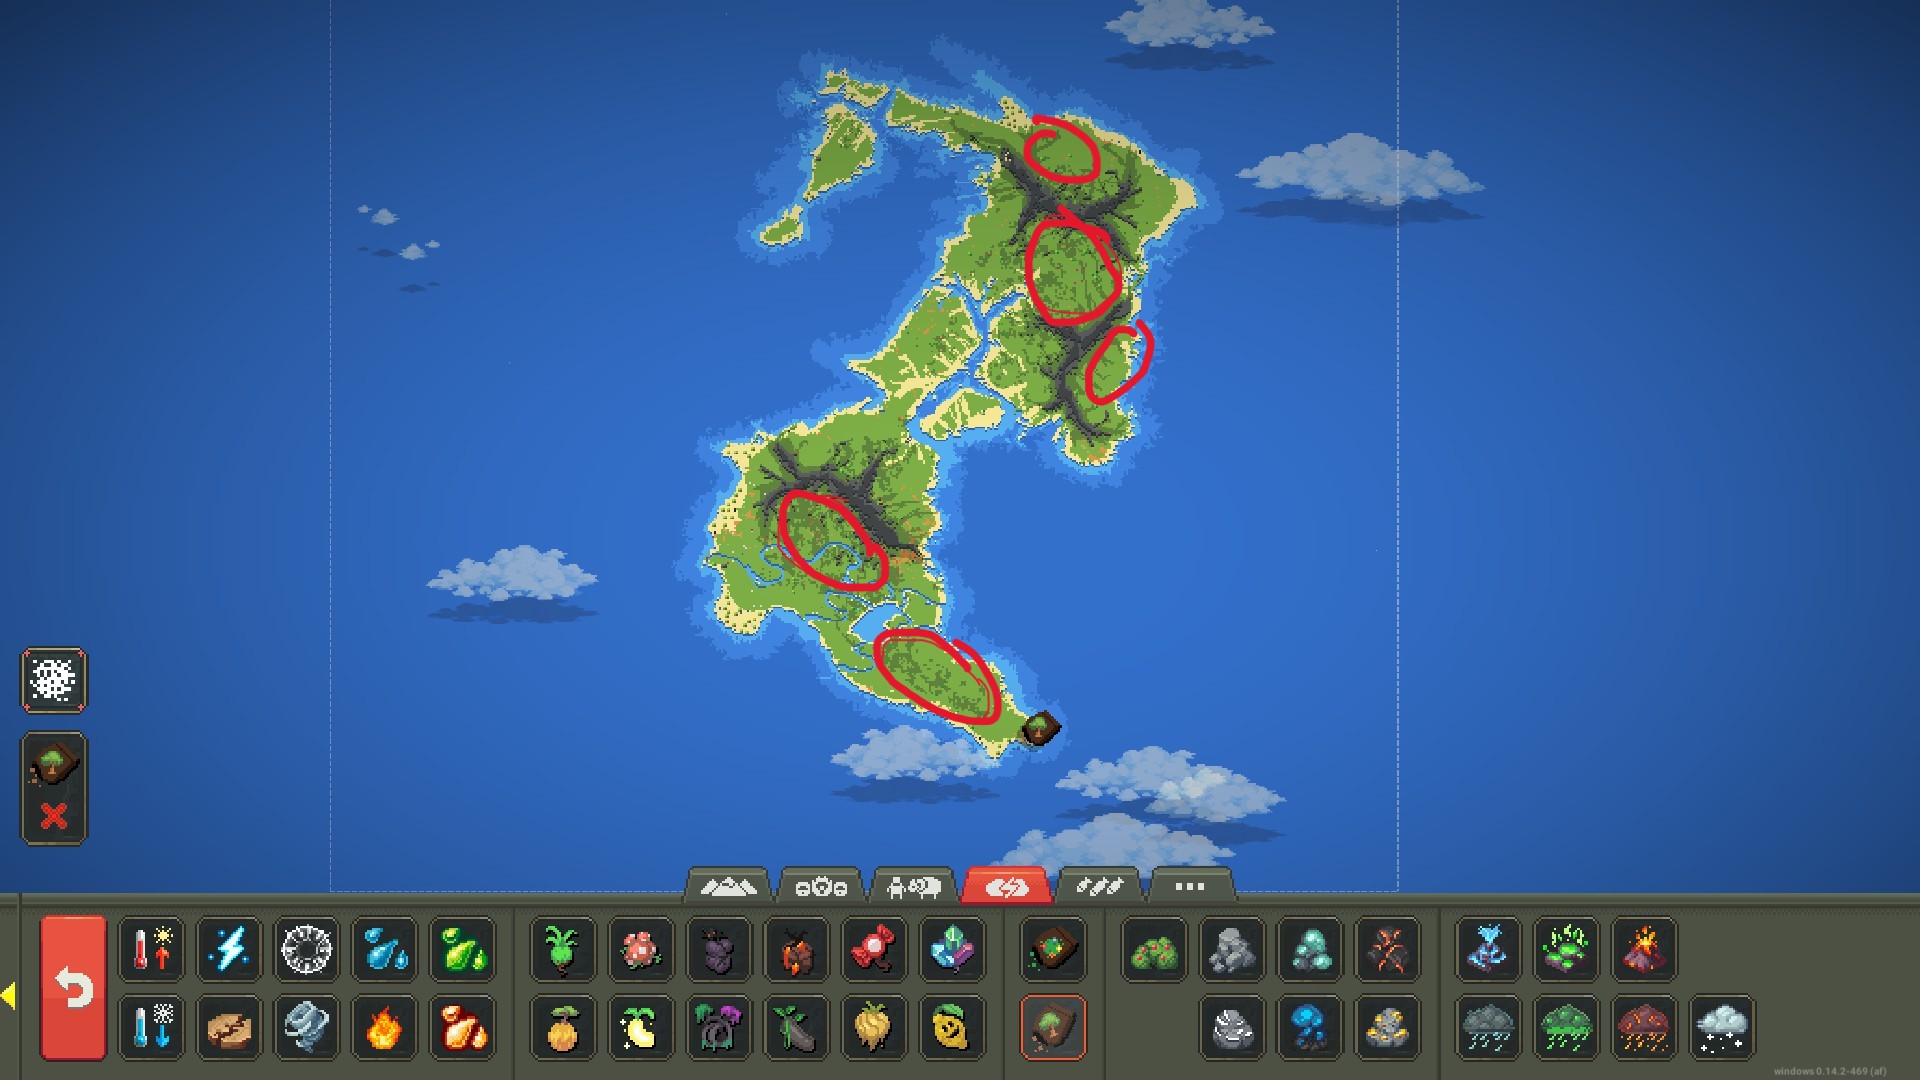
( This is where i would put my trees)
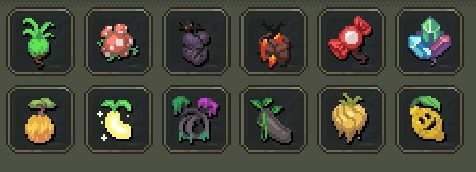
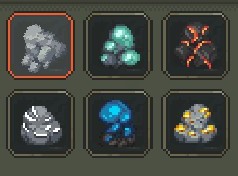
Paso 9: minerales
You can use ores and minerals if you want, though they spawn naturally with a world law. The Ores are entirely up to you.
Eso es todo lo que estamos compartiendo hoy para este Caja Mundial - Simulador de Dios guía. Esta guía fue originalmente creada y escrita por Kyberfibra. En caso de que no actualicemos esta guía, puede encontrar la última actualización siguiendo este enlace.