
- Título: This Means Warp
- Fecha de lanzamiento:
- Revelador:
- Editor:
Information about This Means Warp is still incomplete. Por favor ayúdanos a completar los detalles del juego usando esto formulario de contacto.
Just a few tips for those starting out in the game. Gameplay basics that might not be readily apparent, or that might take awhile to figure out – nothing truly advanced.
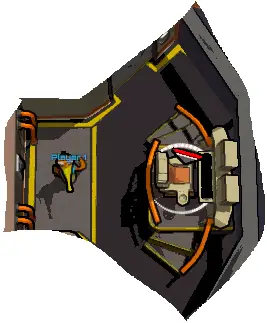
el barco
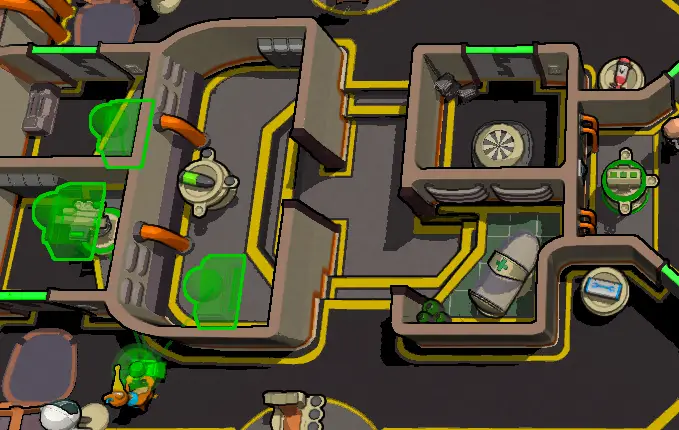
The Ship itself. No alternate layouts yet, as far as I’m aware.
Ship Basics
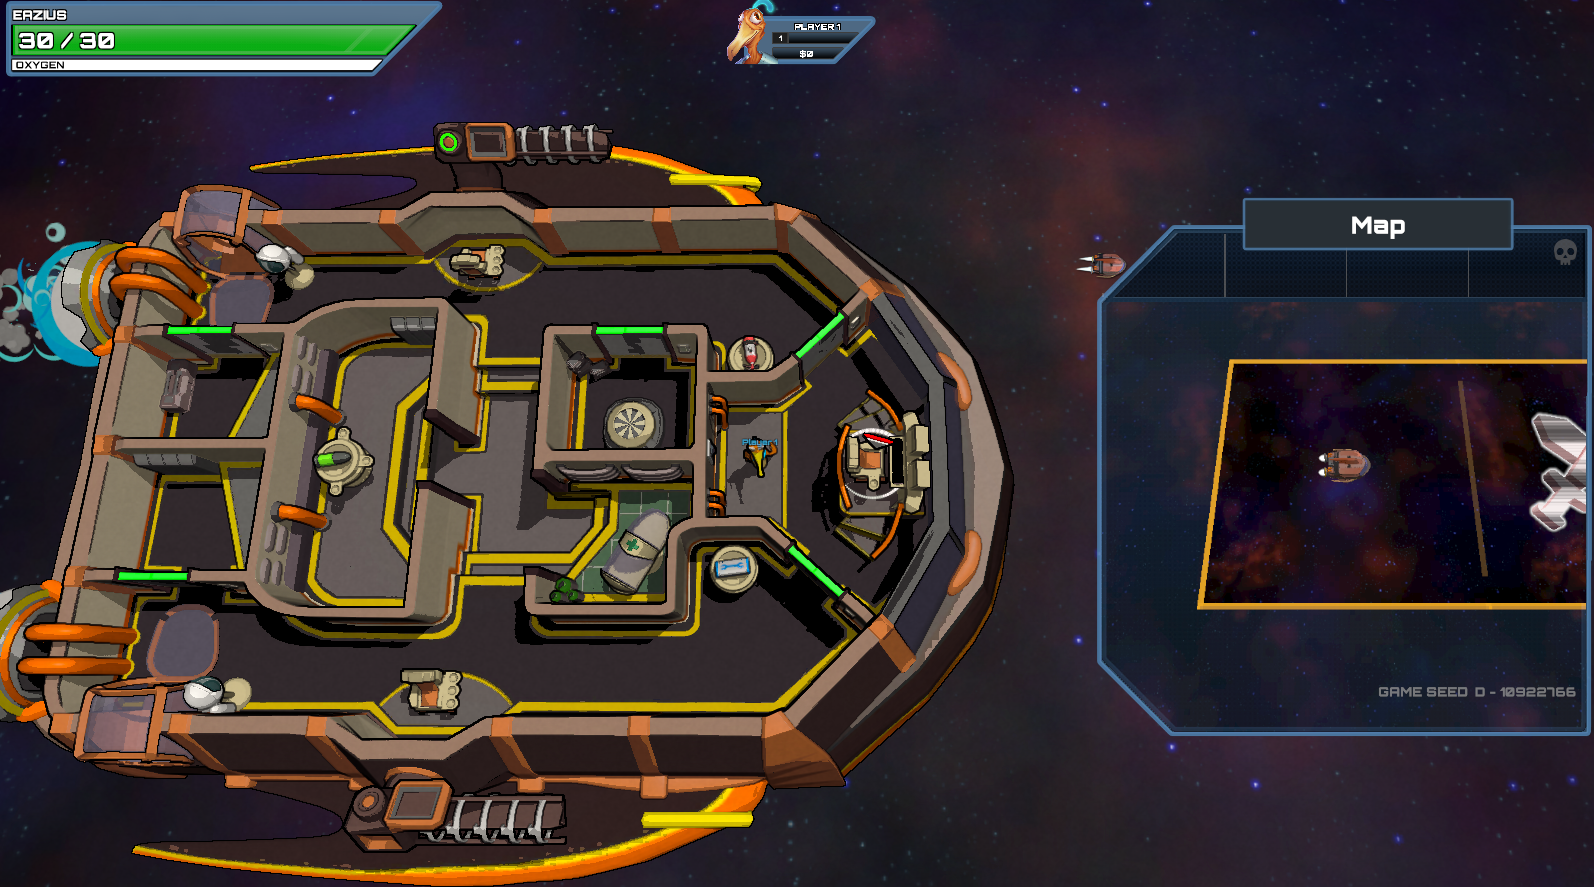
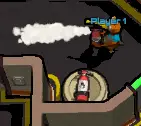
Obviamente, the basic of the basics. Space is an unpressurized vacuum. If you activated the airlock without first having activated a spacesuit (conveniently located next to each airlock), your character will float out into space and die.
Die quickly if you’re in battle. If in an event (decir, throwing their equivalent of Tribbles into the incinerator and accidentally activating the airlock), tu mueres
despaciobefore returning to and waking up in the medbay. If playing singleplayer…sí, you’ve failed the event.
For that matter, the medbay and the incinerator. The latter is a pinstriped circle above the medbay, and it’s where you chuck in certain event objectives and bombs. Or unwanted items. (During a later run I found out that sufficiently high enough quality items, when put into the incinerator, are ‘sold’ for credits.)
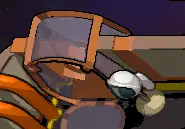
The medbay is where you revive at – neither of them can be upgraded.
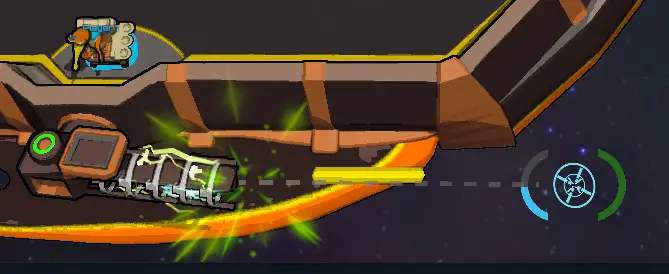
The Extinguisher
The fire extinguisher (located north of the bridge, where you steer the ship) is a handy tool…a veces. When an enemy fires, oh, fire at you (typically caused by a laser), you need to use the extinguisher on the fire before you can repair the object the fire is on. Point your character in that direction and activate the extinguisher.
There are a couple of events in space that require you to make laps around the ship – use the extinguisher for this. Point in the direction
oppositethat you’re heading, and activate, then behave like Wall-E and Eva waltzing in space.
ADVERTENCIA: For the events in space where you are collecting items, do NOT use the extinguisher – the activation of the extinguisher is the same for picking up items. Además, if you have something in hand, you have to let go (usually right-click) before you pick something else up. Agradecidamente, the extinguisher and repair kit, Después de un breve retraso, have unlimited supplies.
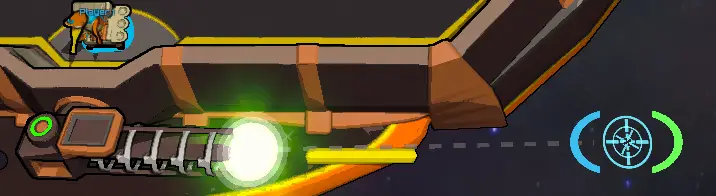
The Repair Kit
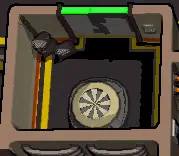
The repair kit, silver with a blue border and a blue wrench symbol in the middle, is vital. One can use them to repair parts of the ship, obviamente – but if you take too long to repair something, the damage will turn from orange to red. Meaning that some of the damage is sustained and will be permanently lost from the ship that run (it’s mostly fixable after the current event/fight, but there will be leftover damage).
You can stock up on repair kits, picking them up and depositing them in the middle of the ship or elsewhere, but AI allies will not pick them up – they’ll get fresh kits, thank you very much.
When a ship wall is blown out, people walking nearby will most likely get blown out into space. Same if you walk too close without a repair kit – try to activate the kit as soon as you can, both to stop the drain on oxygen and to erect a temporary blockage on the missing wall as you fix it.
Damaging the enemy
Disabling portions of the enemy ship is, Bueno, a vital part of the game. Generalmente, focus on their weapons or ammo. Sin embargo, destroying the enemy walls is also a valid tactic, especially if one or more enemy crew is next to said wall – they will helplessly spill out into space, temporarily reducing the number of crew running around repairing, resupplying, and firing on your own ship.
Shields have shield generators, and those have to be taken down (or shields worn out) before they can be bypassed. A few times in the game, there are shields that cannot be bypassed by you, and they turn into survival minigames of a sort. Just repair/shield the damage as best you can, until you can either flee or fight back again.
Ammunition storage…disabling them is a good and bad idea? It stops their resupply, but once it’s repaired, the person doing so will immediately pick up the ammo and head to a weapon.
Munición
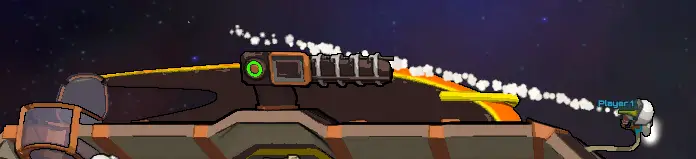
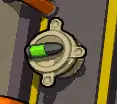
The black and green bullet dispenser, in the middle of the ship to the left. Like repair kits, they can be taken, then left out on the ship until they despawn. Más importante aún, you can resupply your weapons before heading into combat (right-click to get out of the weapon’s chair).
Using Weapons
It’s rather simple. Simply Point and Click…and HOLD. When charging up the weapon, first the blue bar slowly lights up.
When fully charged, the green bar lights up, and you can finalize your aim and fire (for single shot weapons).
Enemy ship sections that can be targeted will light up when your cursor passes over them, along with their current status (HP, armadura, any debuffs/buffs). Usually just walls, puertas, munición, utilities and weapons. The floor isn’t a valid target for the main weapons (other way around for bombs). Desafortunadamente, lo mejor que puedo decir, there’s no way to make AI crewmates target a specific part of the enemy ship.
When you replace a weapon, either utility or main, that had crewmate assigned to it, that crewmate’s assignment will be RESET. Be sure to re-assign them as needed!
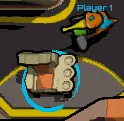
AI Crewmates
As it states in the game, press R to assign a crewmate to
priorizara station.
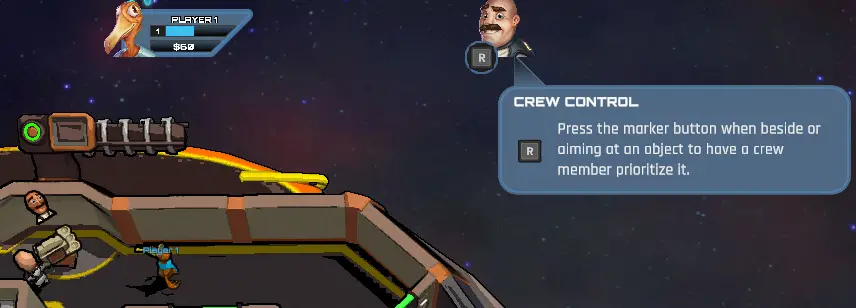
That’s where they’ll be at the start of an event, but as the situation changes, so will their position (en primer lugar, it consists of running to get ammunition for their own weapon, or getting to a free weapon slot). As fights get more convoluted, so do their priorities – at times I’ve had a crewmate trying to get to a weapon to bomb the enemy, and ignoring the hole in the wall sucking them into space.
dicho eso, the usual placement of your first high weapons skill crewmate is for the top weapon emplacement, as that’s the furthest from the bridge when you enter combat.
The Bridge
The bridge is where you steer the ship when not in an event. It has room for one ship utility item, or storage for the upgrade orbs if your current slots are filled satisfactorily. Caution: When getting off the Bridge at the start of an Event or Battle, el jugador
siempregets off to the south.
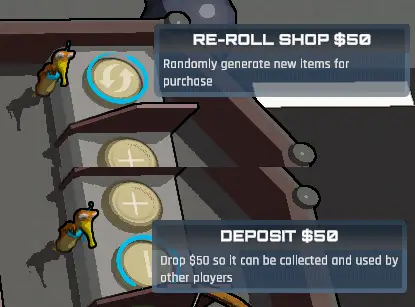
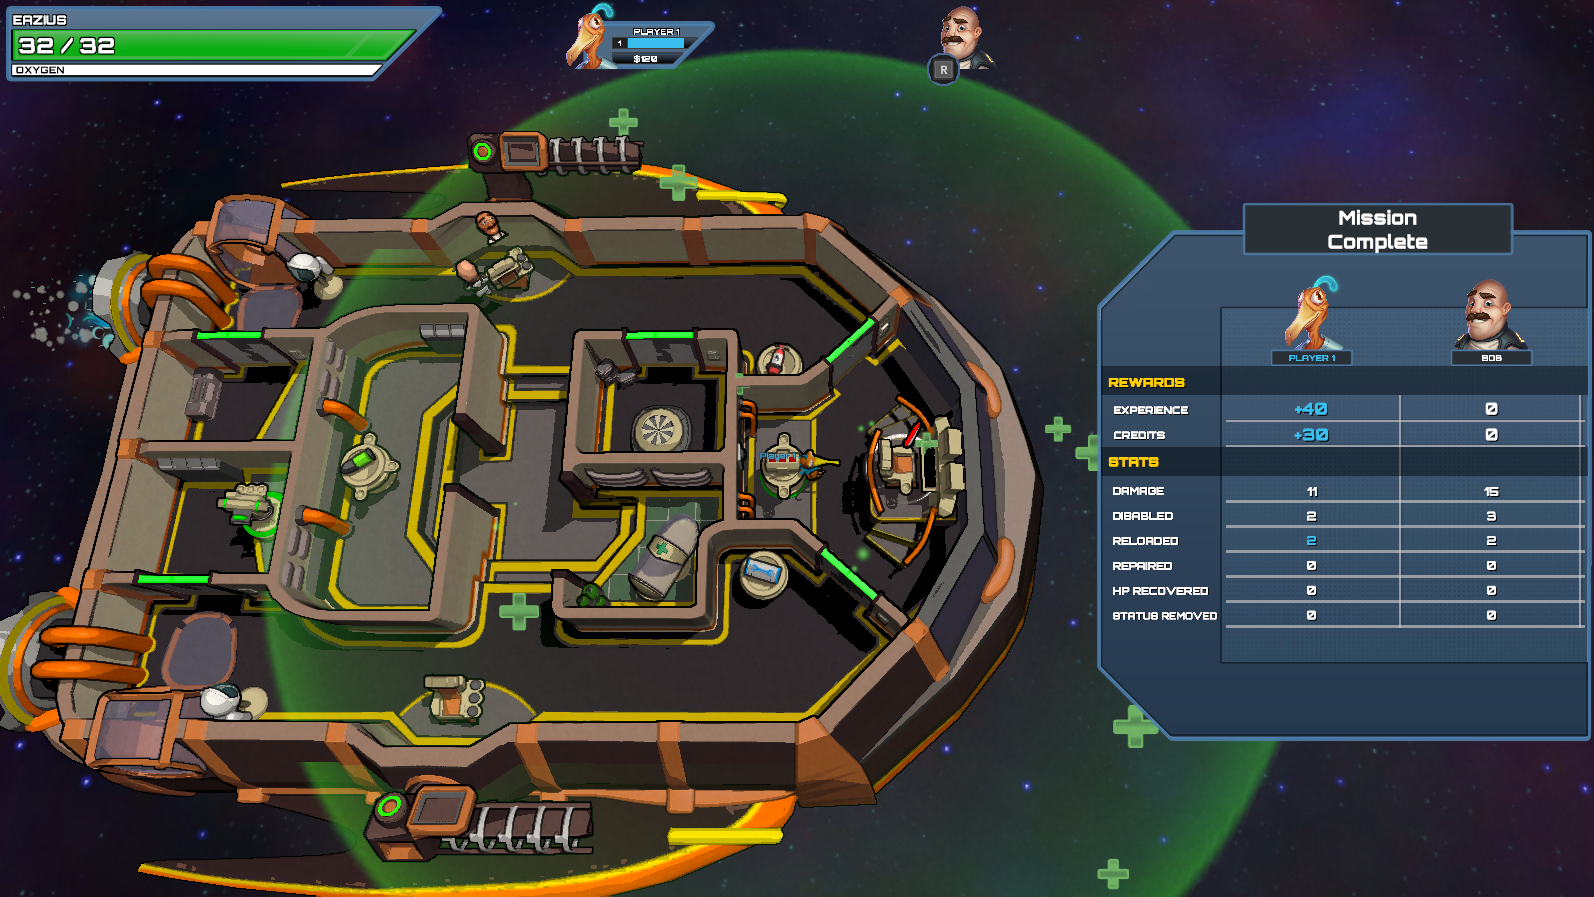
When steering the ship in space, it’s similar to walking around. Sin embargo, you can press Shift for an unlimited boost in speed, making the map much easier to use. Events are exclamation points. stopwatch symbols are for time-limited events (whether that’s defending against a heavily shielded cruiser or an asteroid field, or collecting items). Fights are crossed swords (with wings underneath for an elite battle, skull and crossbones for a boss). A person symbol is a new crewmate – choose from 2 opciones! The circles on the map after the boss fight is the Warp to a new field, where you select which specific increase in difficulty you’d prefer. After you warp, you get to a shop where you can use your credits to purchase something new.
You cannot sell anything at the shop, only purchase.If playing multiplayer, there’s a place at the shop that acts like a miniature bank so players can pool money.
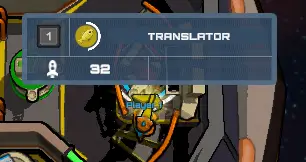
The bridge is also the place to ‘install’ the special upgrades (such as the translator – looks like a fish. Babelfish reference to Hitchhiker’s Guide to the Galaxy?) or Hull upgrades. Such upgrades can be installed (and the pilot chair entered) desde cualquier dirección.
Sin embargo, de nuevo, getting off the seat is always ‘down’ al sur, so keep the AI off that bottom cannon if in singleplayer, so you can sprint to it easily at the start of a fight.
corriendo
es simple, press Shift whilst running around. The cooldown is short, but also the duration of the sprint – but be wary of pressing Shift too many times to spam it, else you run the risk of Sticky Keys activating and messing up your tempo.
Advertencia:Players cannot sprint while holding an item. Don’t wait until the last second for a bomb, thinking you can sprint to the incinerator!
Some Utilities
Buffing Utilities – so far I’ve encountered damage boost, repair speed boost, and sprint boost. Easy to tell what each does, and it’s a fairly long boost time, but it does
noactivate automatically, and only works for the activating crew member (so only one crew benefits).
robots – robots that scurry around doing a singular purpose…but once it’s fulfilled, they go back to recharge. Useful with ammunition bots, as you can rest in your weapon and let it refill your ammo while you stay in the chair, at least for the first bot. Less useful in the heat of battle when you’re often running ammo yourself, or when the enemy sends lots of bombs at you (the bomb disposal bot only handles one bomb before going to recharge).
torretas – the ‘true’ torretas. Handling beam weapons and physical objects. Not continuous lasers, but initial plasma shot cannons. Physical objects would be the rockets – as the typical rocket launcher sends multiples, the turret will only take down one. Sin embargo, the turrets ARE automatic, and do not need to be manually activated.
Repair Pulse – somewhat useful in battle, this utility, Cuando se activa, will repair every damaged (not destroyed) section by ONE hp. Handy against rockets, which typically have a large AoE but small damage dealt.
Shield Generator – highly useful with an AI crewmate on it, as they will head there and use it against various incoming targeting reticules, whether it’s an enemy ship weapon or incoming asteroid. Most annoying bit about the generator is the likelihood of AI crewmates staying on the utility, denying you access to upgrade it, even after the fight’s over.
The cooldown for utilities is rather long, alrededor 40 seconds base for each.Hay 5 spots for Utility installations. One in each of the rear rooms, one to either side of the Ammunition generator, and one by the captain’s chair.
Sólo el 3 closest are shown at a time though. ONCE A UTILITY IS INSTALLED, IT CANNOT BE MOVED. Installing a new utility in its place DELETES the previous utility. No combination or uninstallation.
Eso es todo lo que estamos compartiendo hoy para este This Means Warp guía. Esta guía fue originalmente creada y escrita por DragonANGL. En caso de que no actualicemos esta guía, puede encontrar la última actualización siguiendo este enlace.