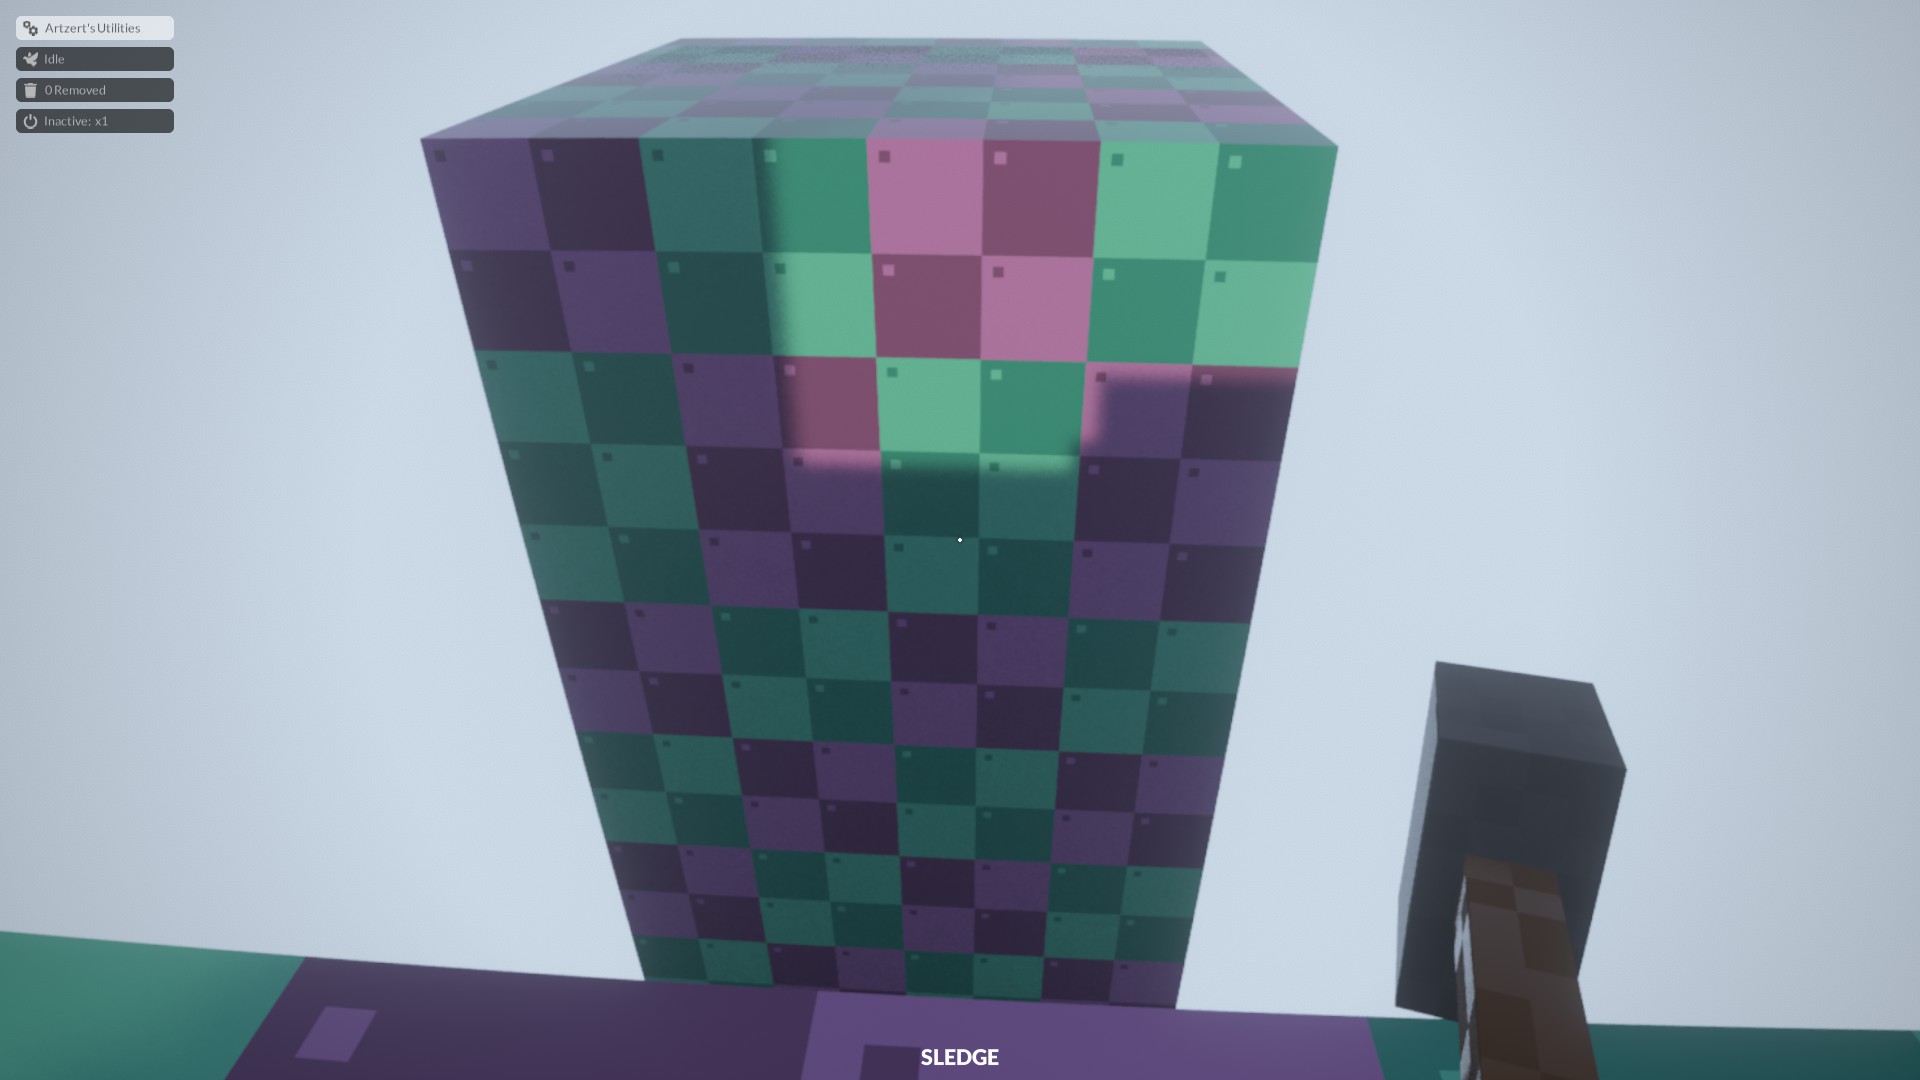
A comprehensive guide covering the basics all the way up to complicated, risky and far reaching contraptions. The image shows what to expect, and a bit more.
Introducción
Planks can be very versatile – overcome ledges, scale walls, even cross large gaps – and I will endow you with some knowledge, so that you may conquer many obstacles.
I recommend you get the automatic dev map from the workshop and set the height bias up to about 1 10th of the slider, so you can practice using planks. y con eso, lets start with the very basics.
If you already know how to place a plank, you can skip the next section.
The Very Basics
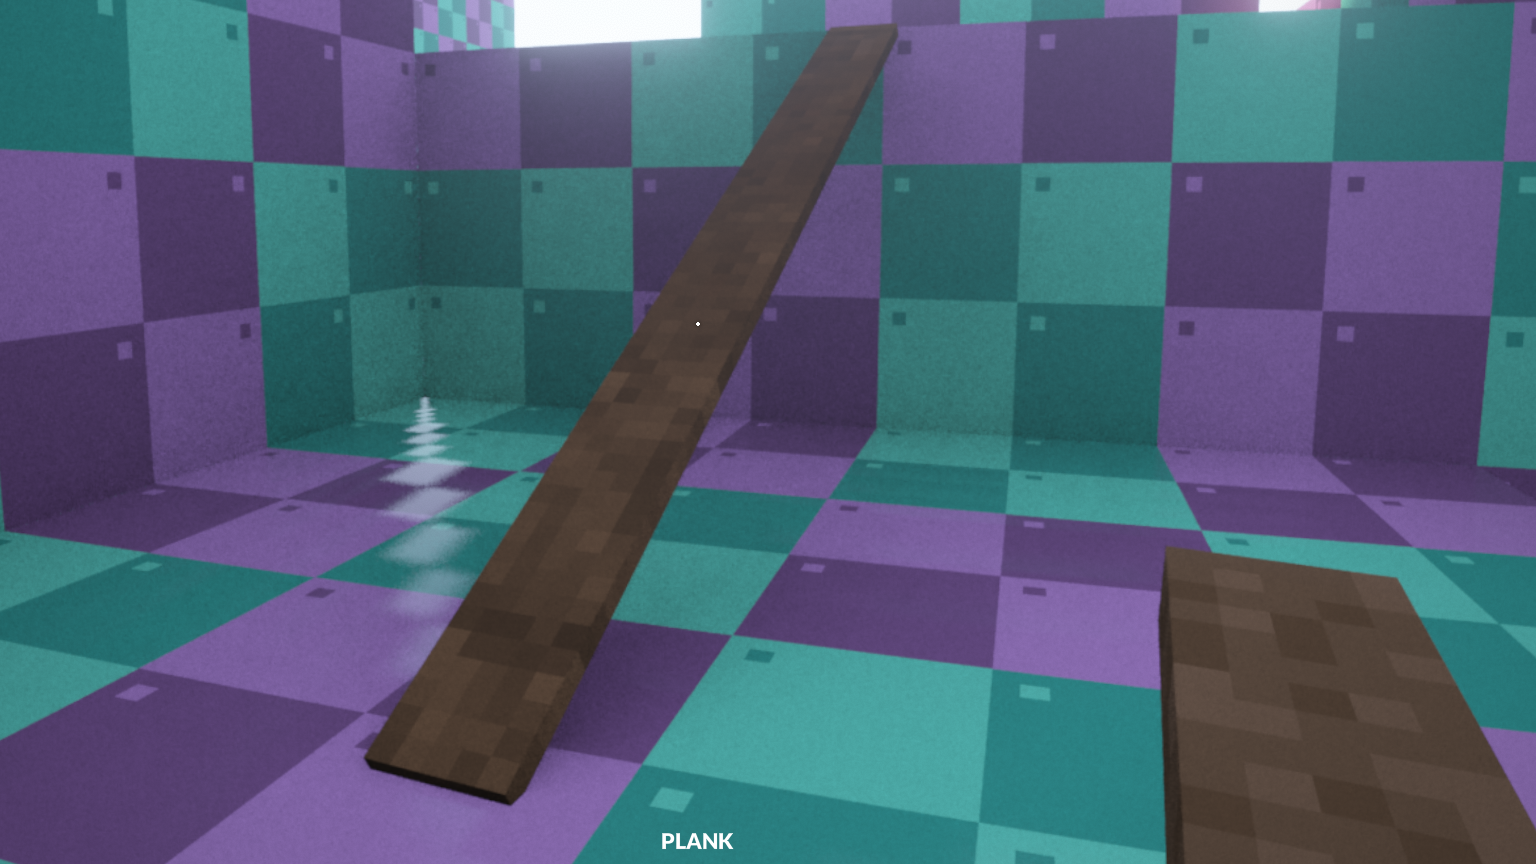
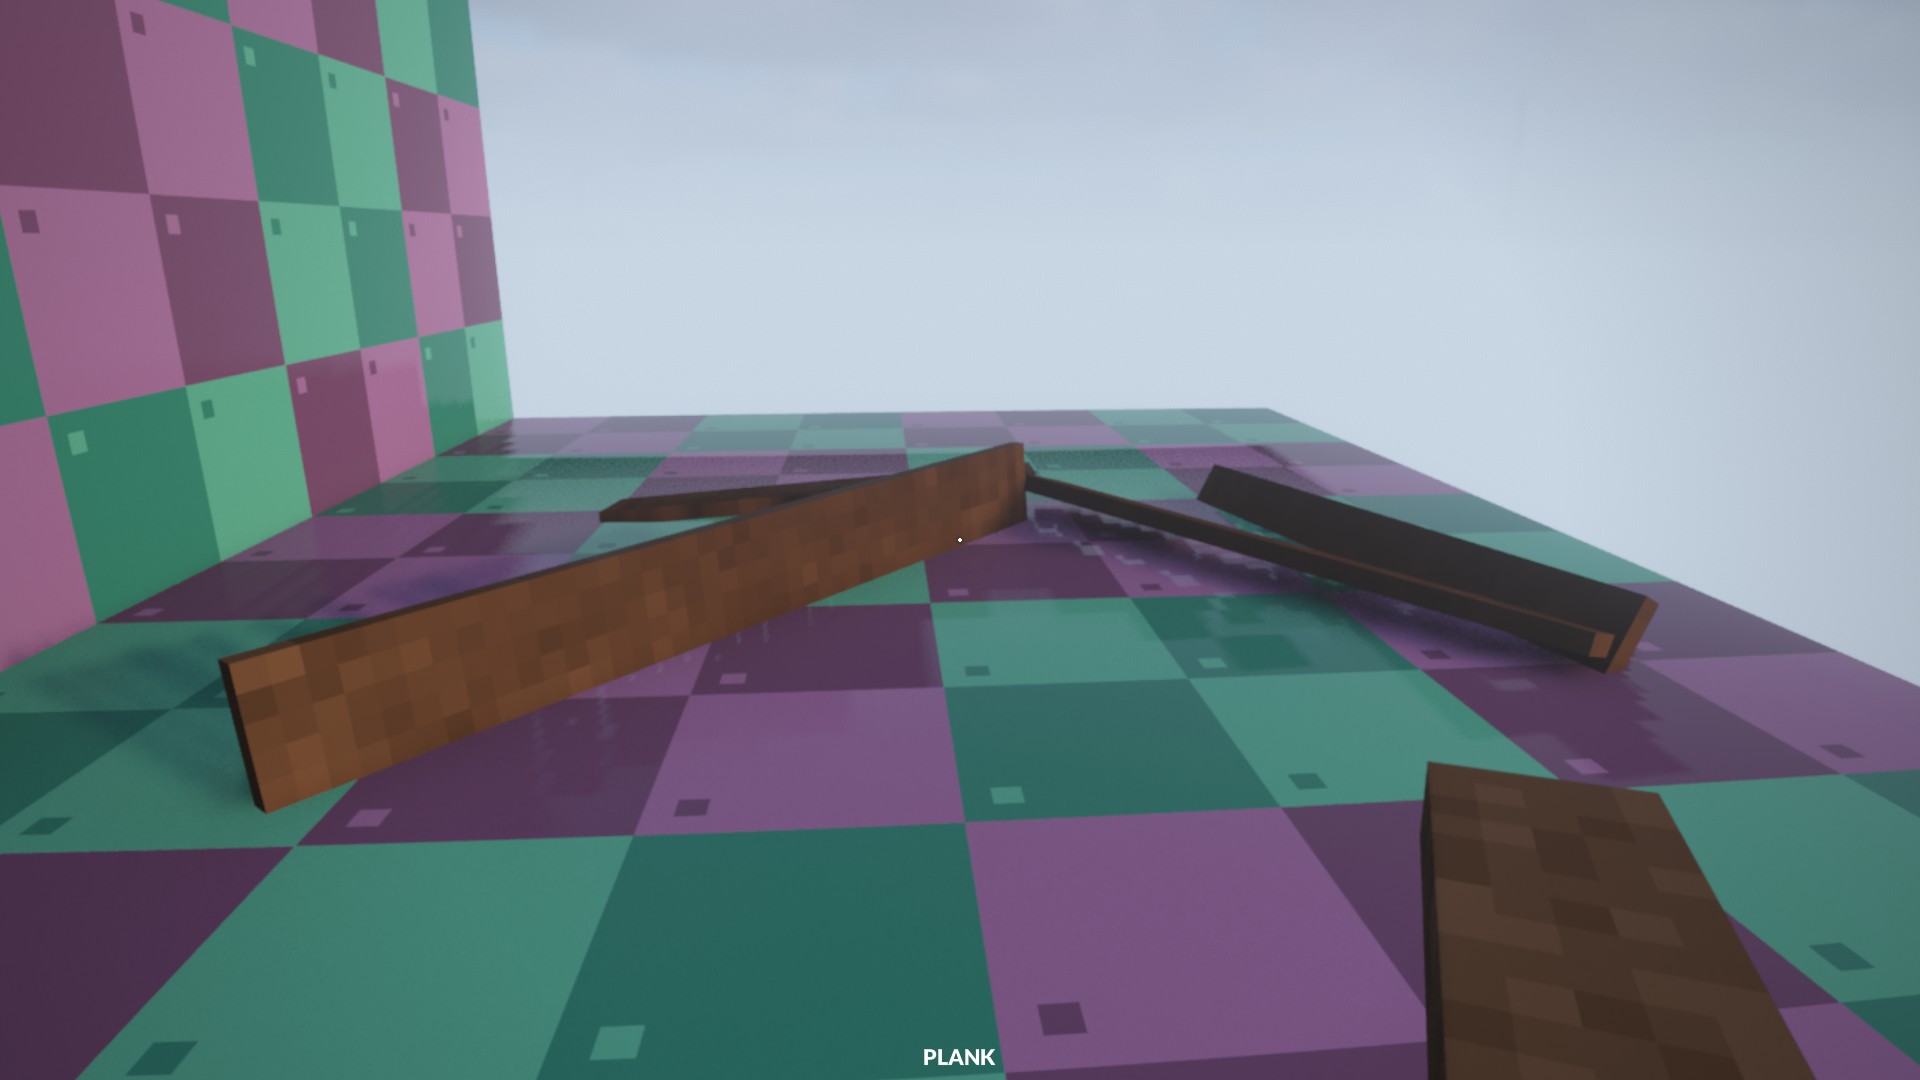
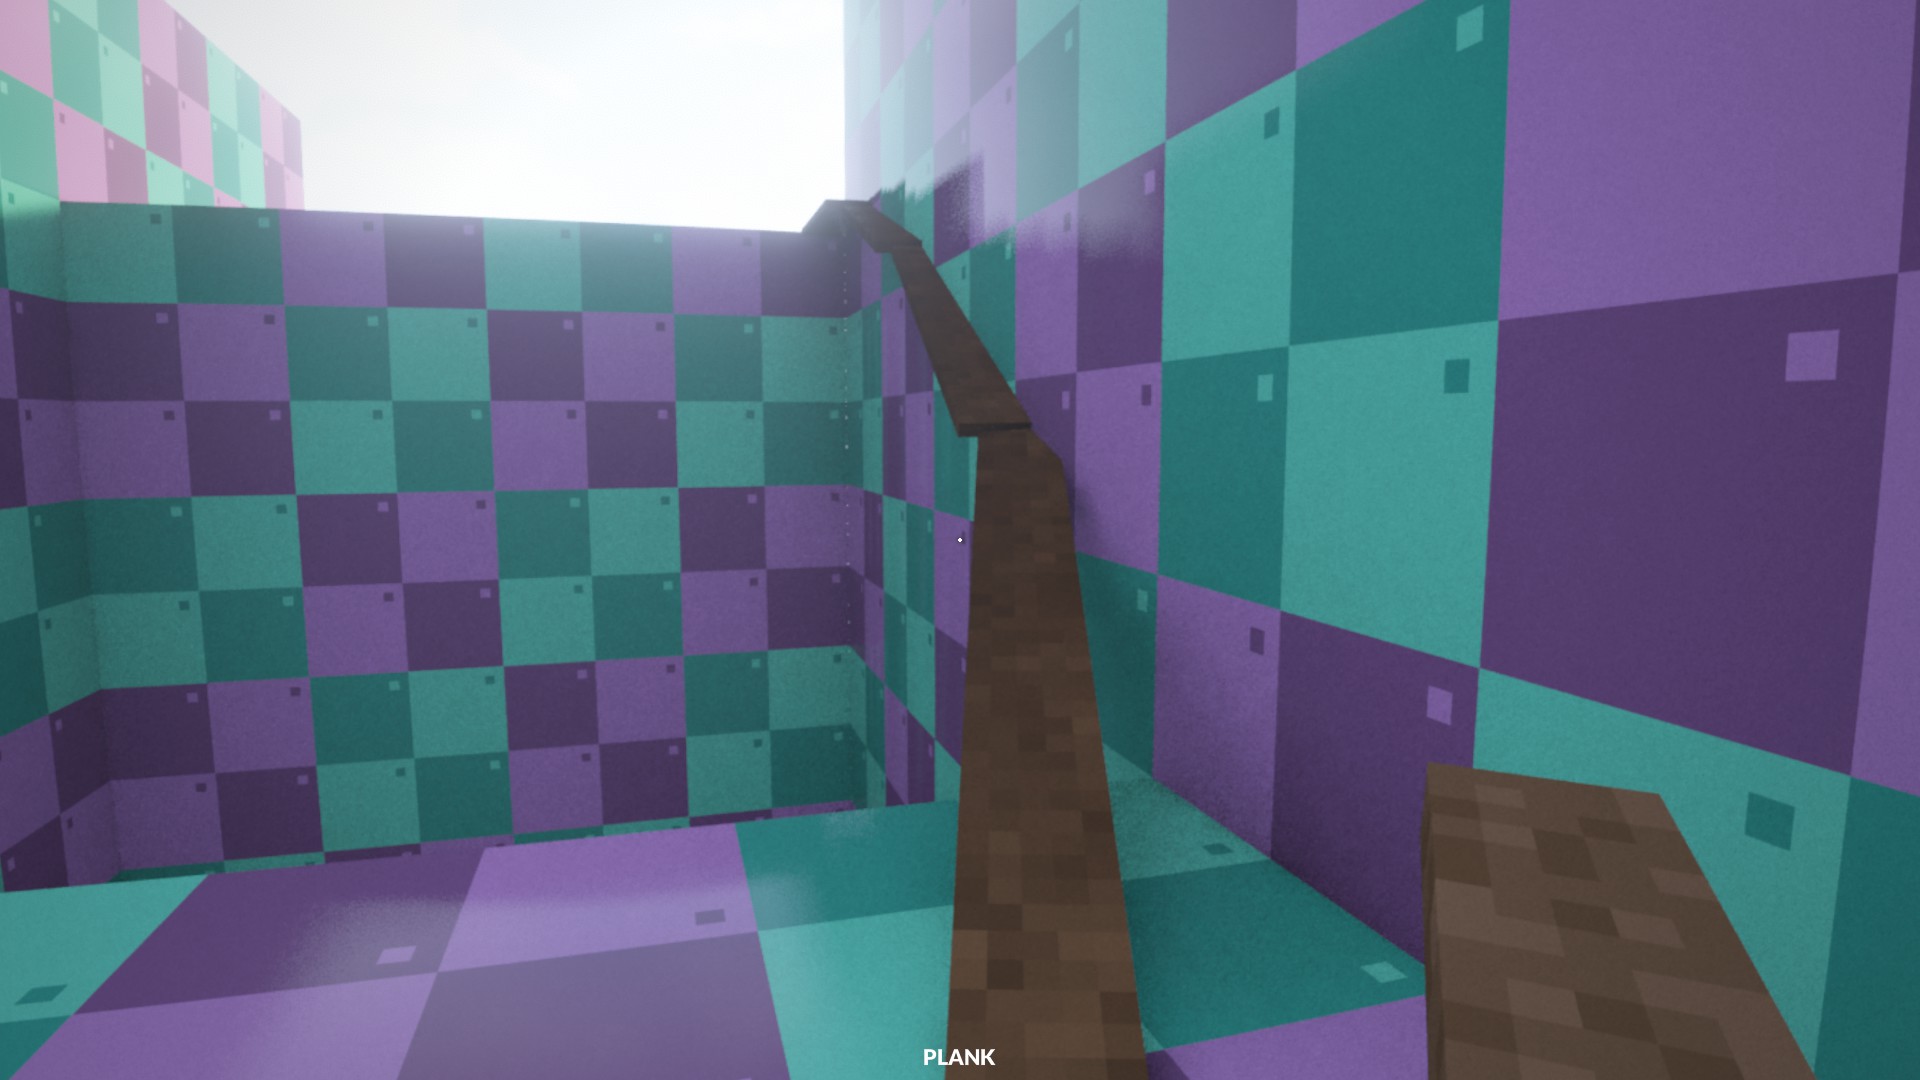
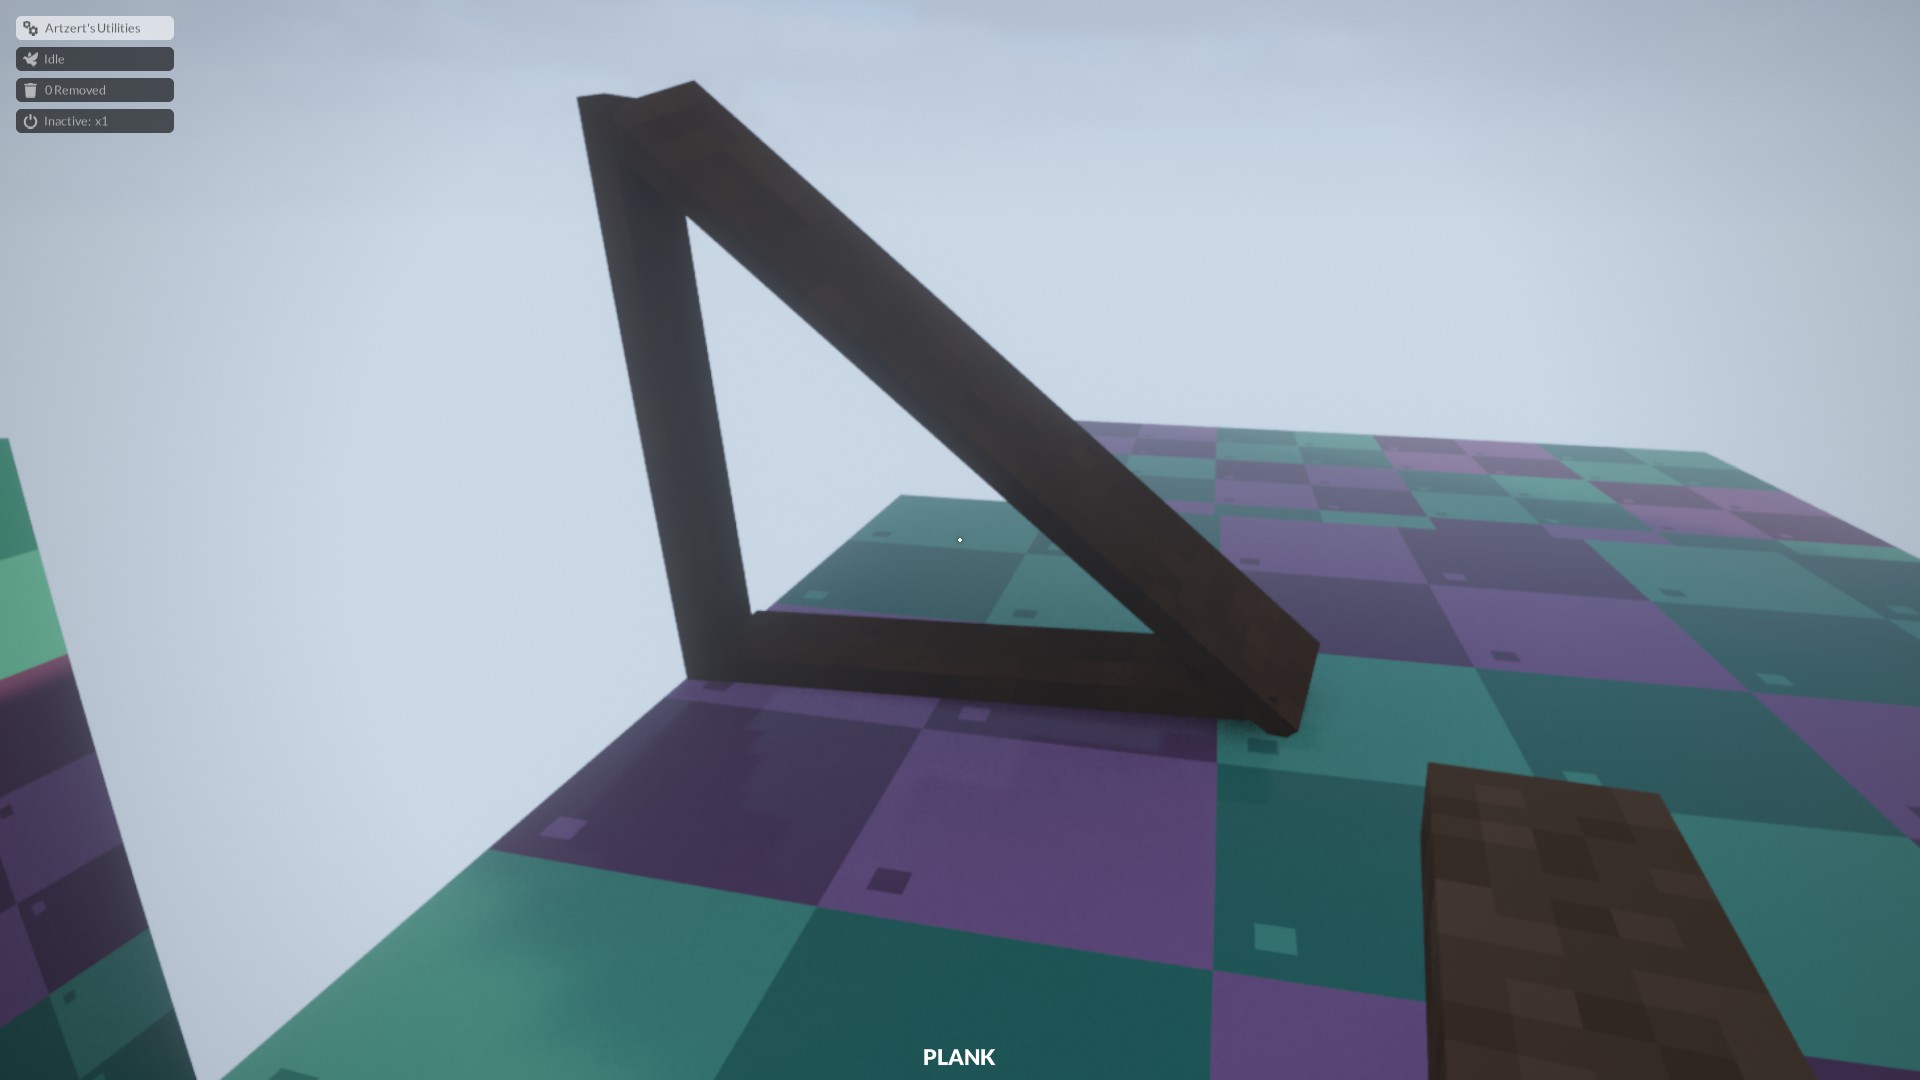
To use a plank, hold left click on a surface within grabbing distance (the crosshair will get a ring). While still holding left click, drag the plank to another surface within grabbing distance (to connect the two), or to open air (the plank will only be attached on one end). To test you can do this, let’s make a small ramp!
Find a small ledge, preferably one you cannot jump over on your own, but not so high you cannot reach the top of it. Start by attaching the plank to the top of the ledge. Entonces, drag the plank down to the ground a bit away. Si se hace correctamente, you will have made a ramp that you can walk up to the top of the ledge!
Now we can move onto some contraptions which take more skill.
Bigger and Better pt1
Now that you know the basics, we can move on to larger and more complex creations, which will help us reach for the skies! Using logic and common sense, we can build up to the largest (and riskiest) construye.
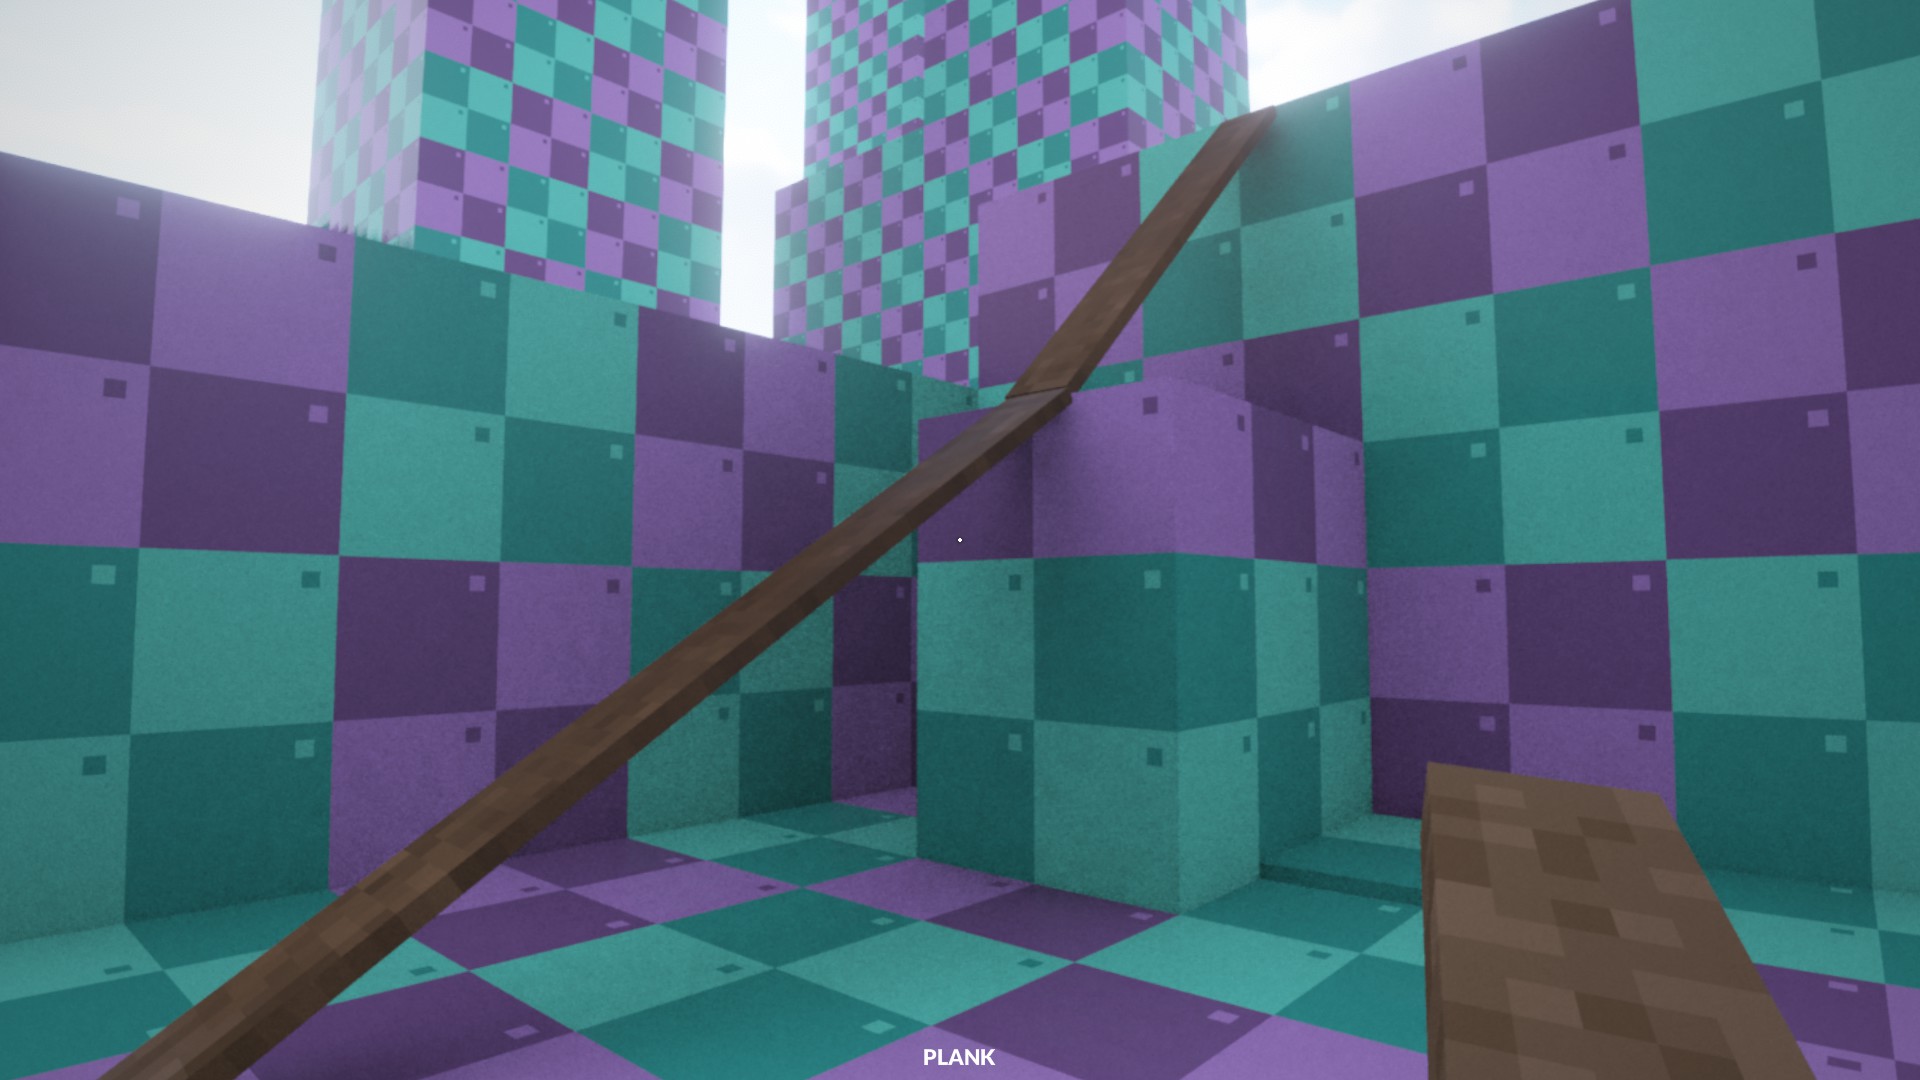
Entonces, we can build up a small ledge, but what about larger ones? Ones you can’t reach from the ground? Bien, you can build up a staircase of ledges easily, así:
But there is no second ledge here – so what to do?
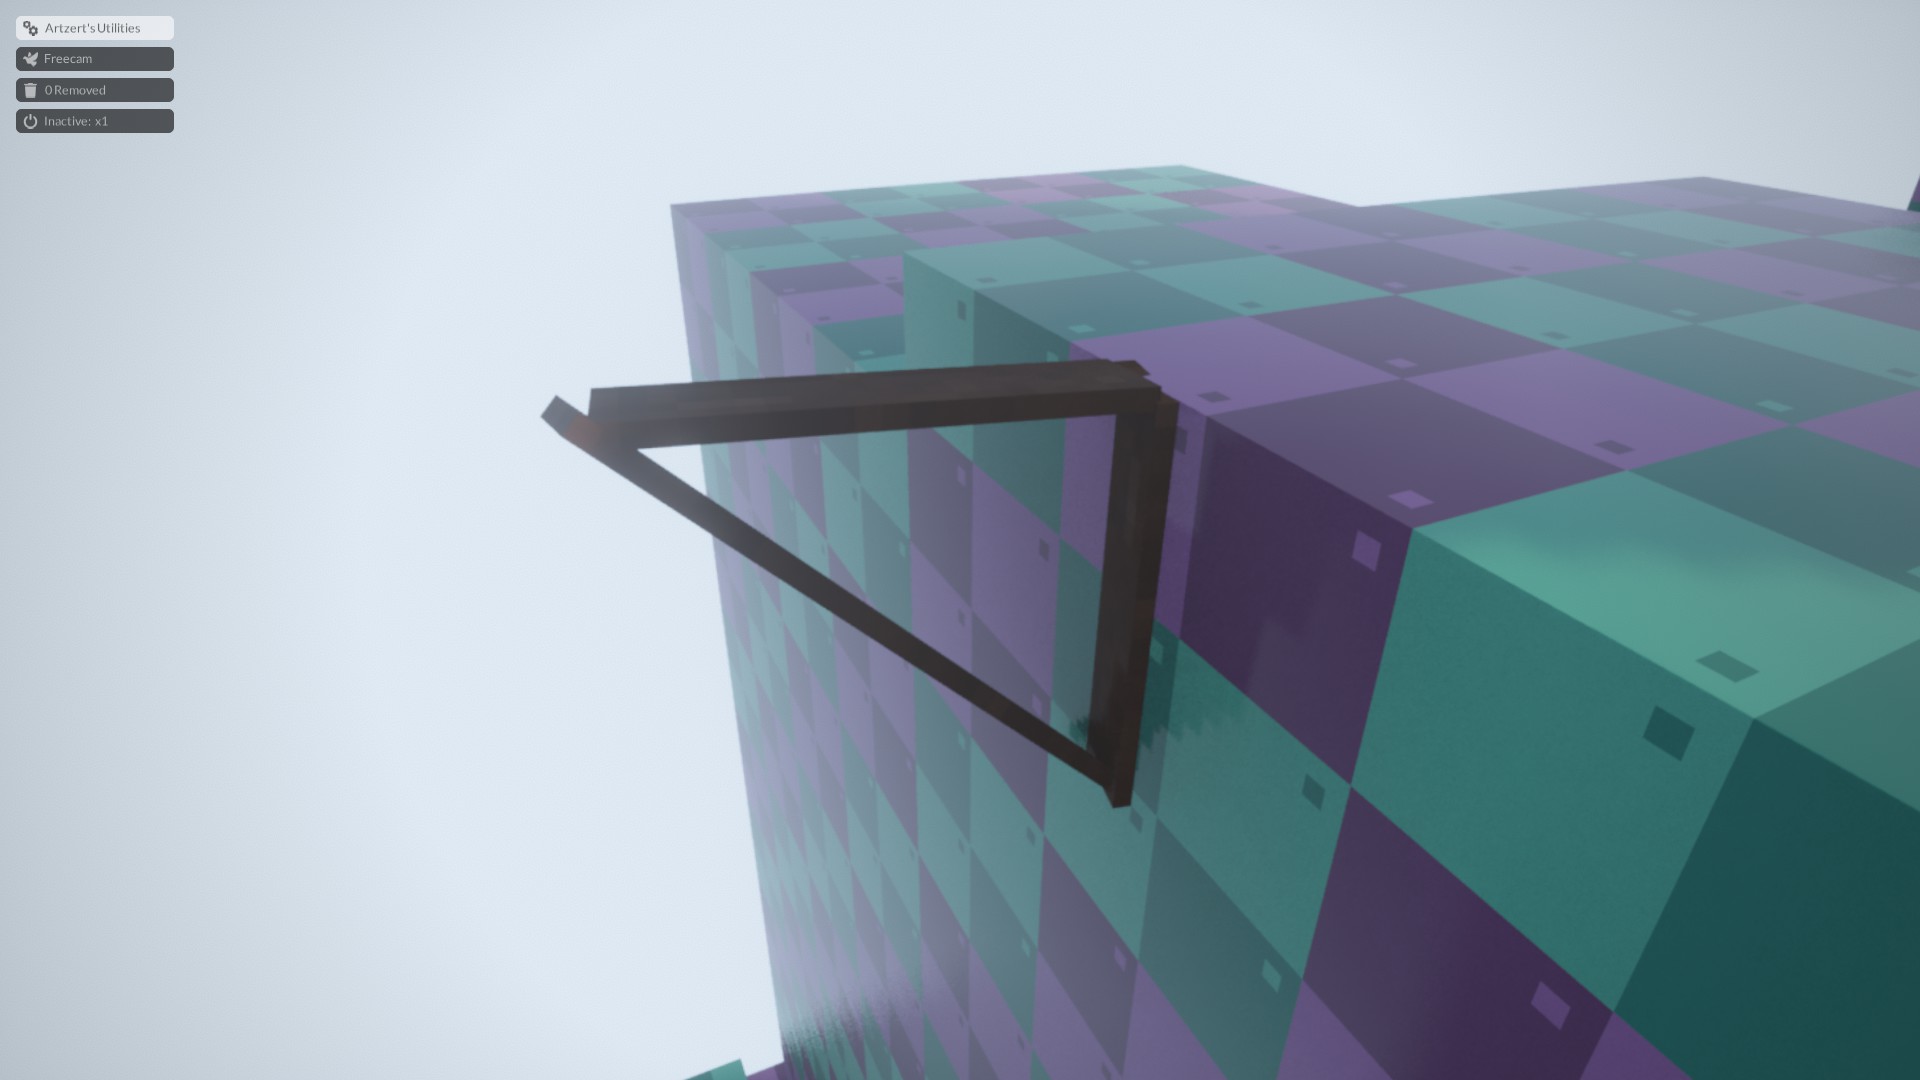
Bien, you can stand planks upright!
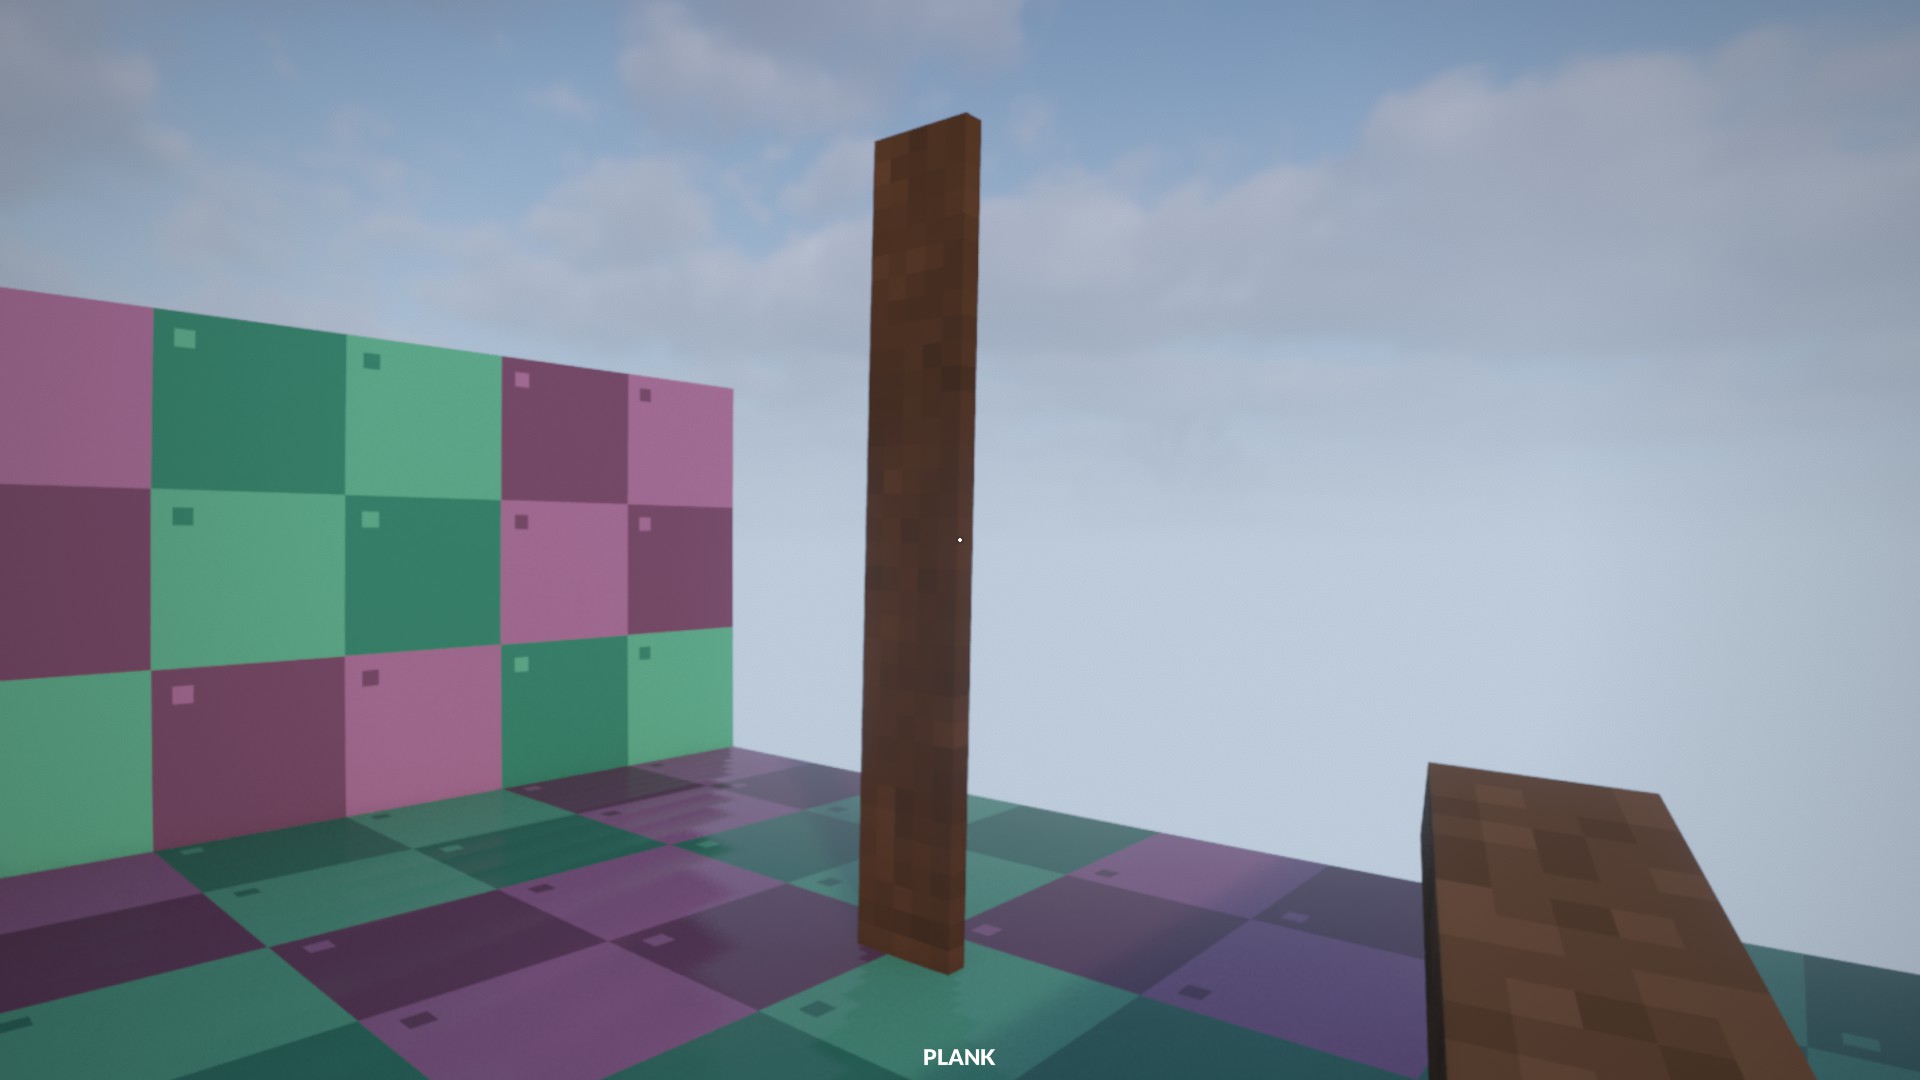
Using a vertical plank, you can create a ‘ledge’, and build up the larger ledge!
Now that we have this key concept, let’s move on to the second one!
Bigger and Better pt2
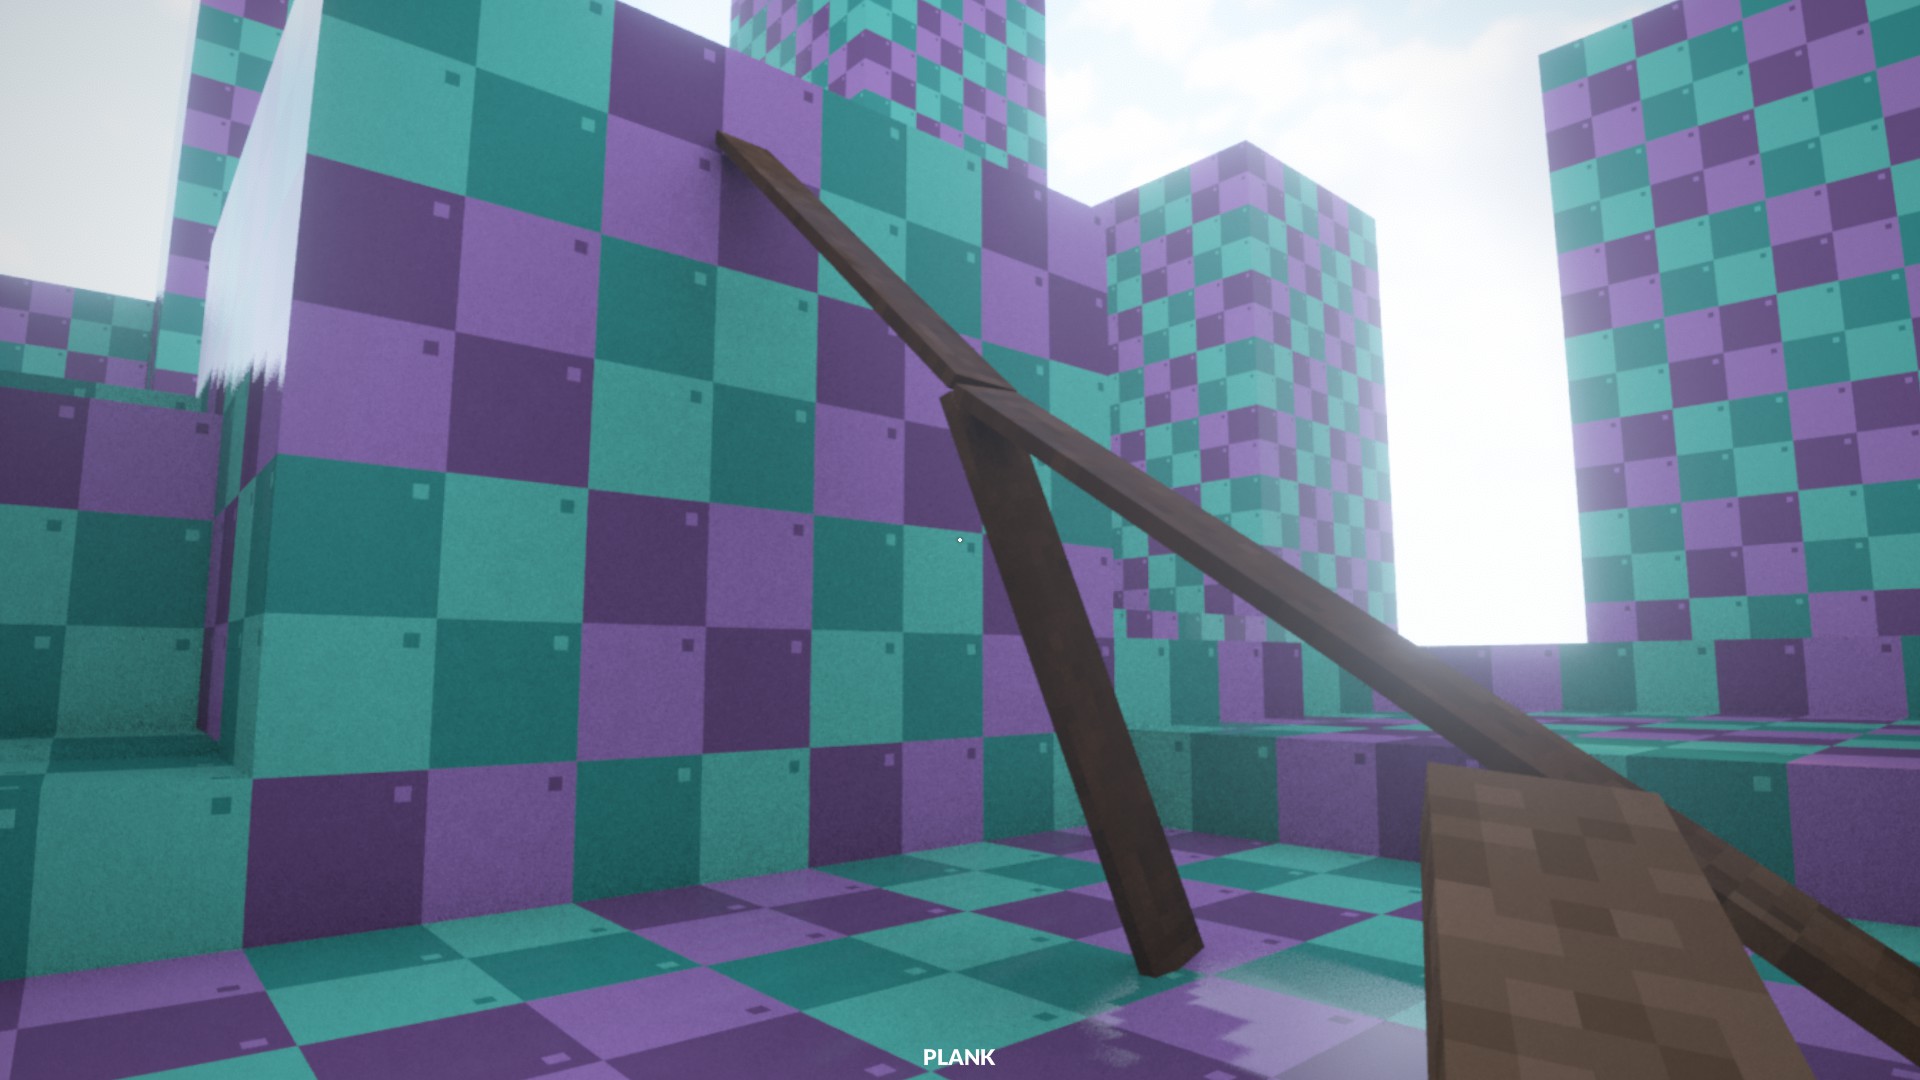
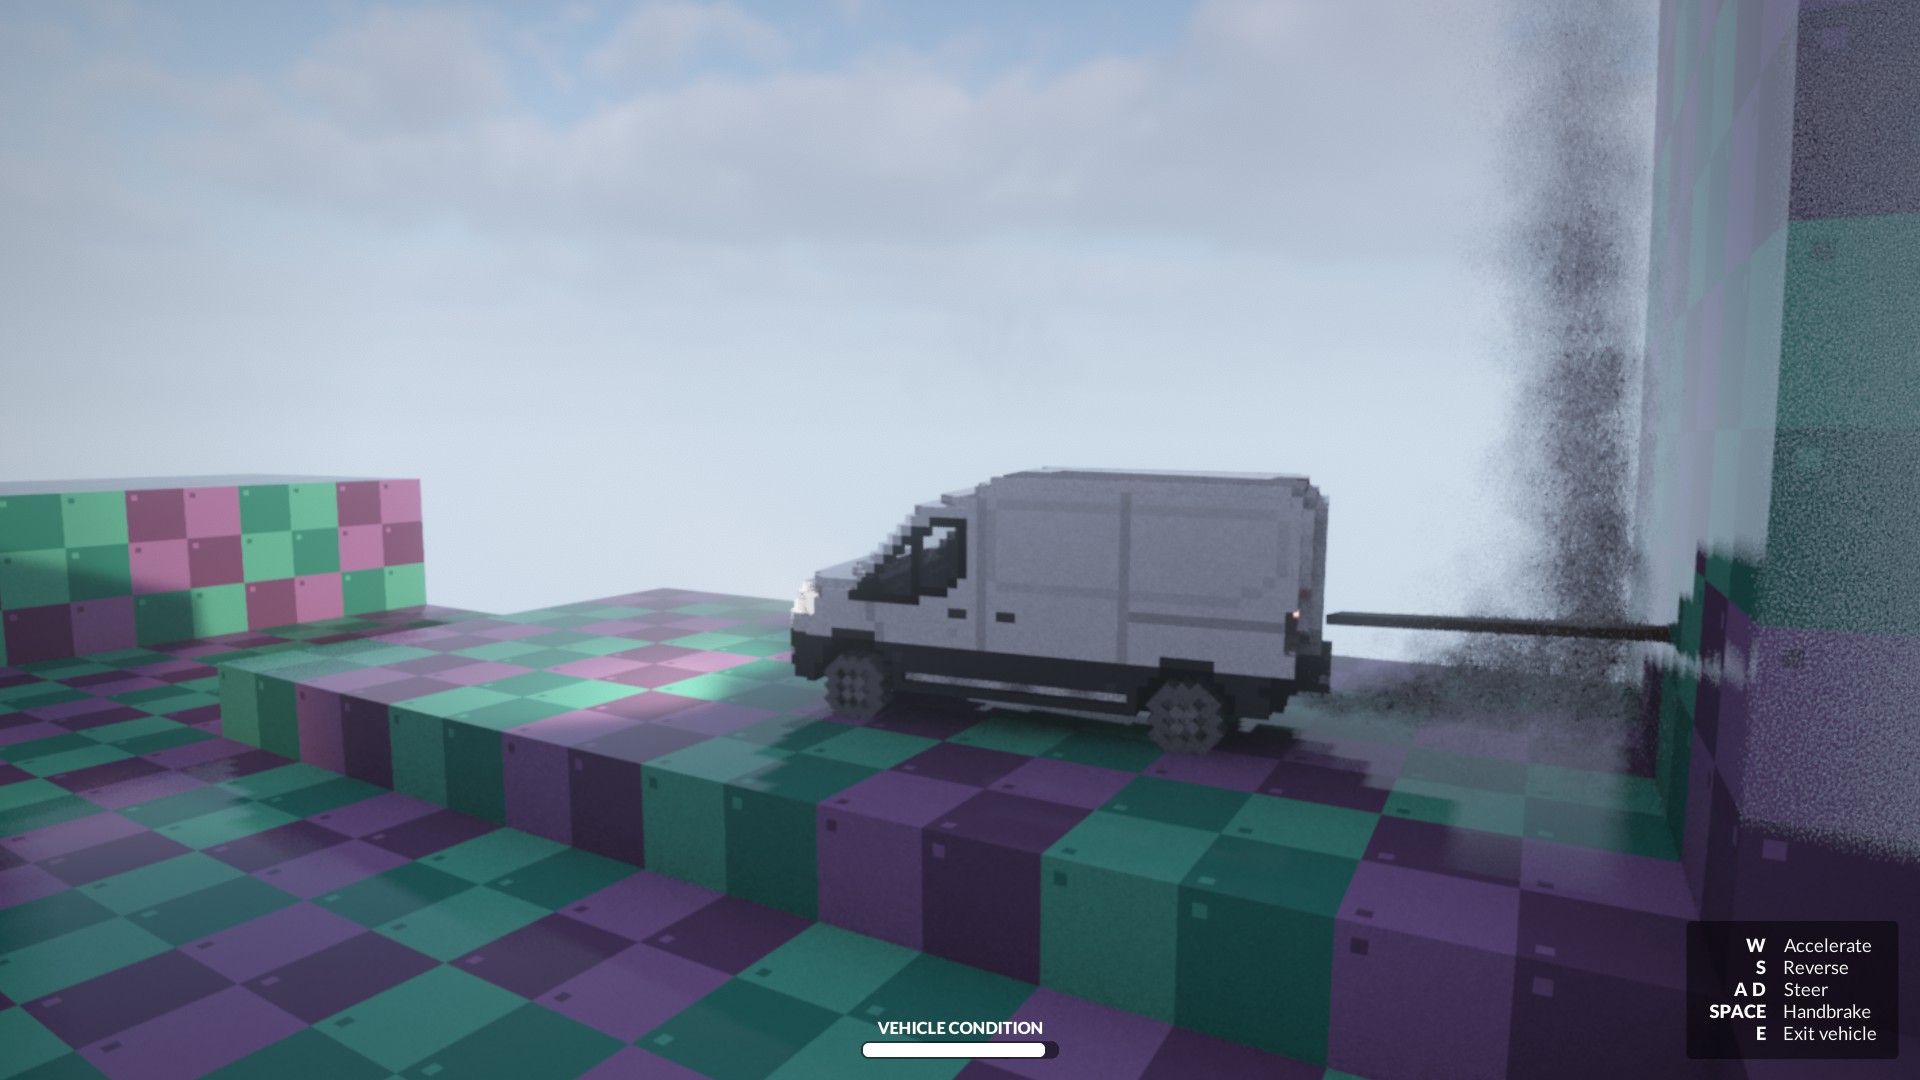
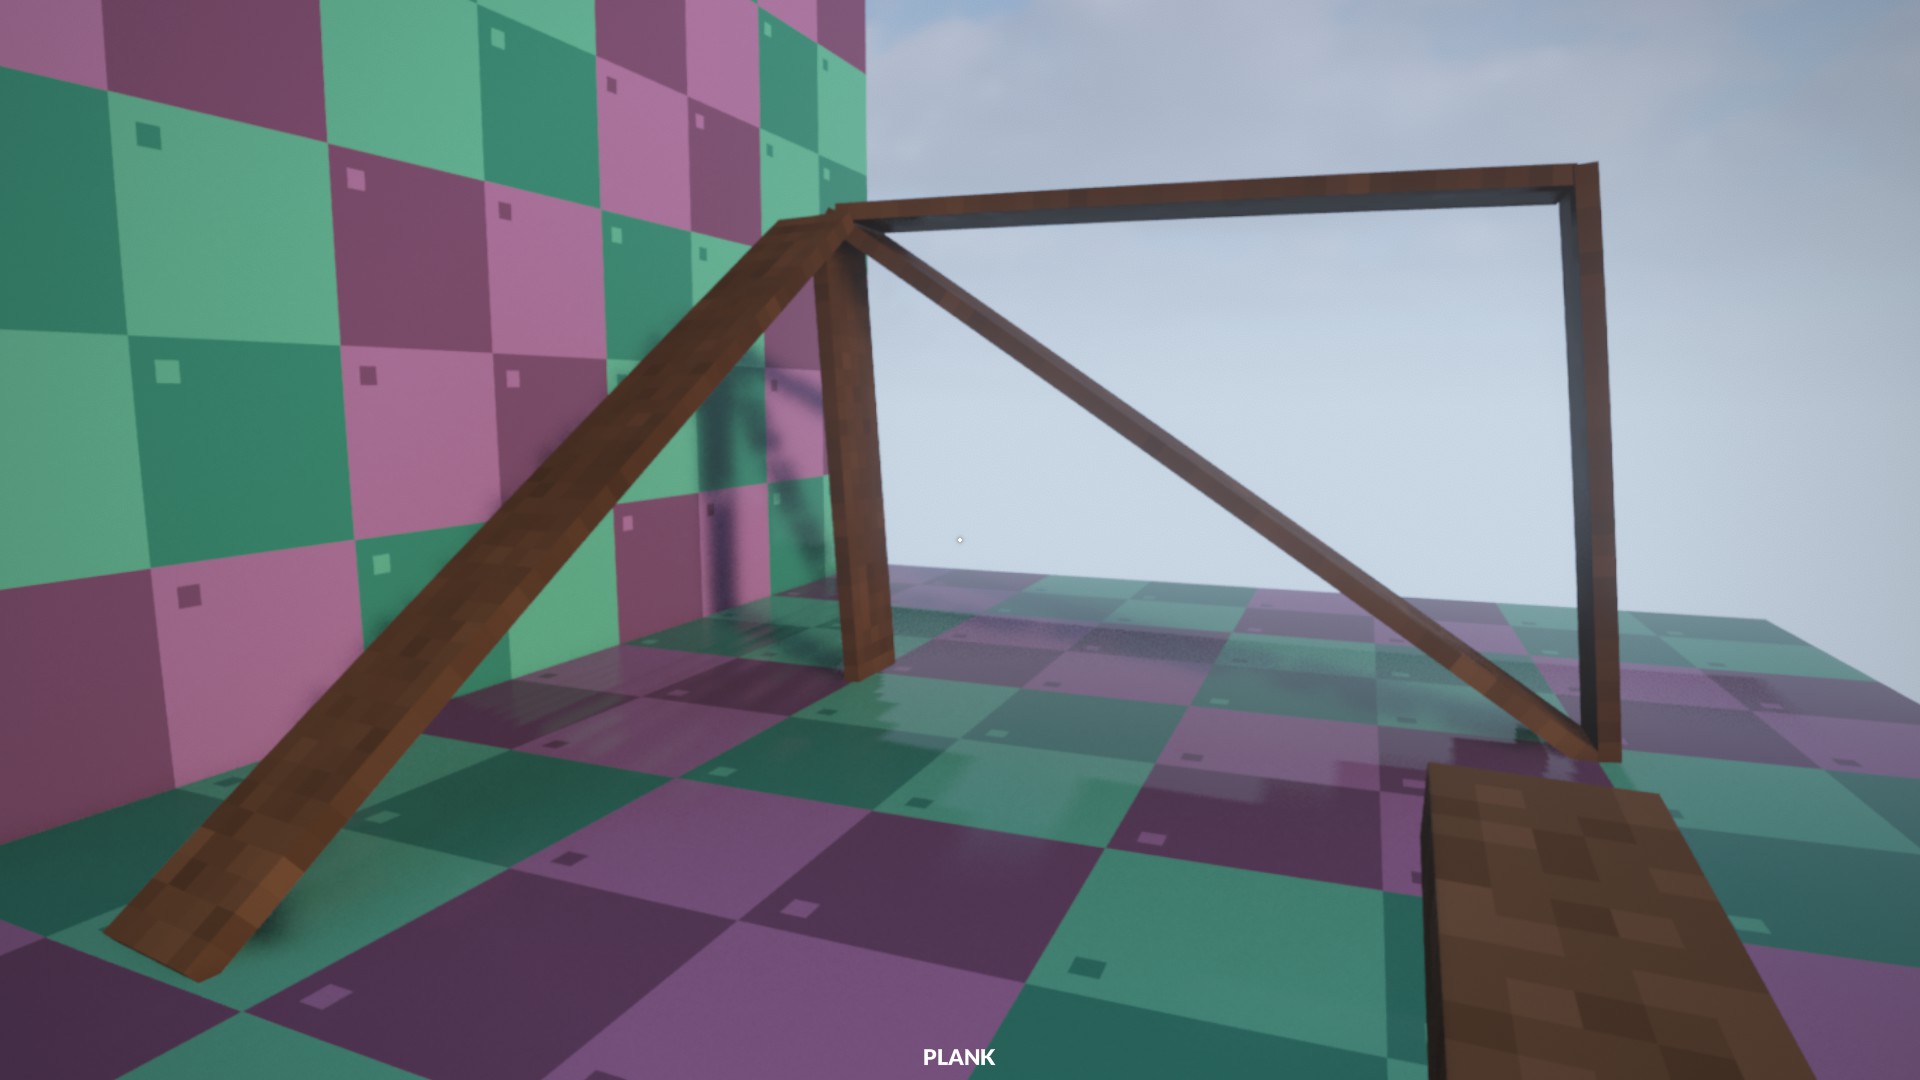
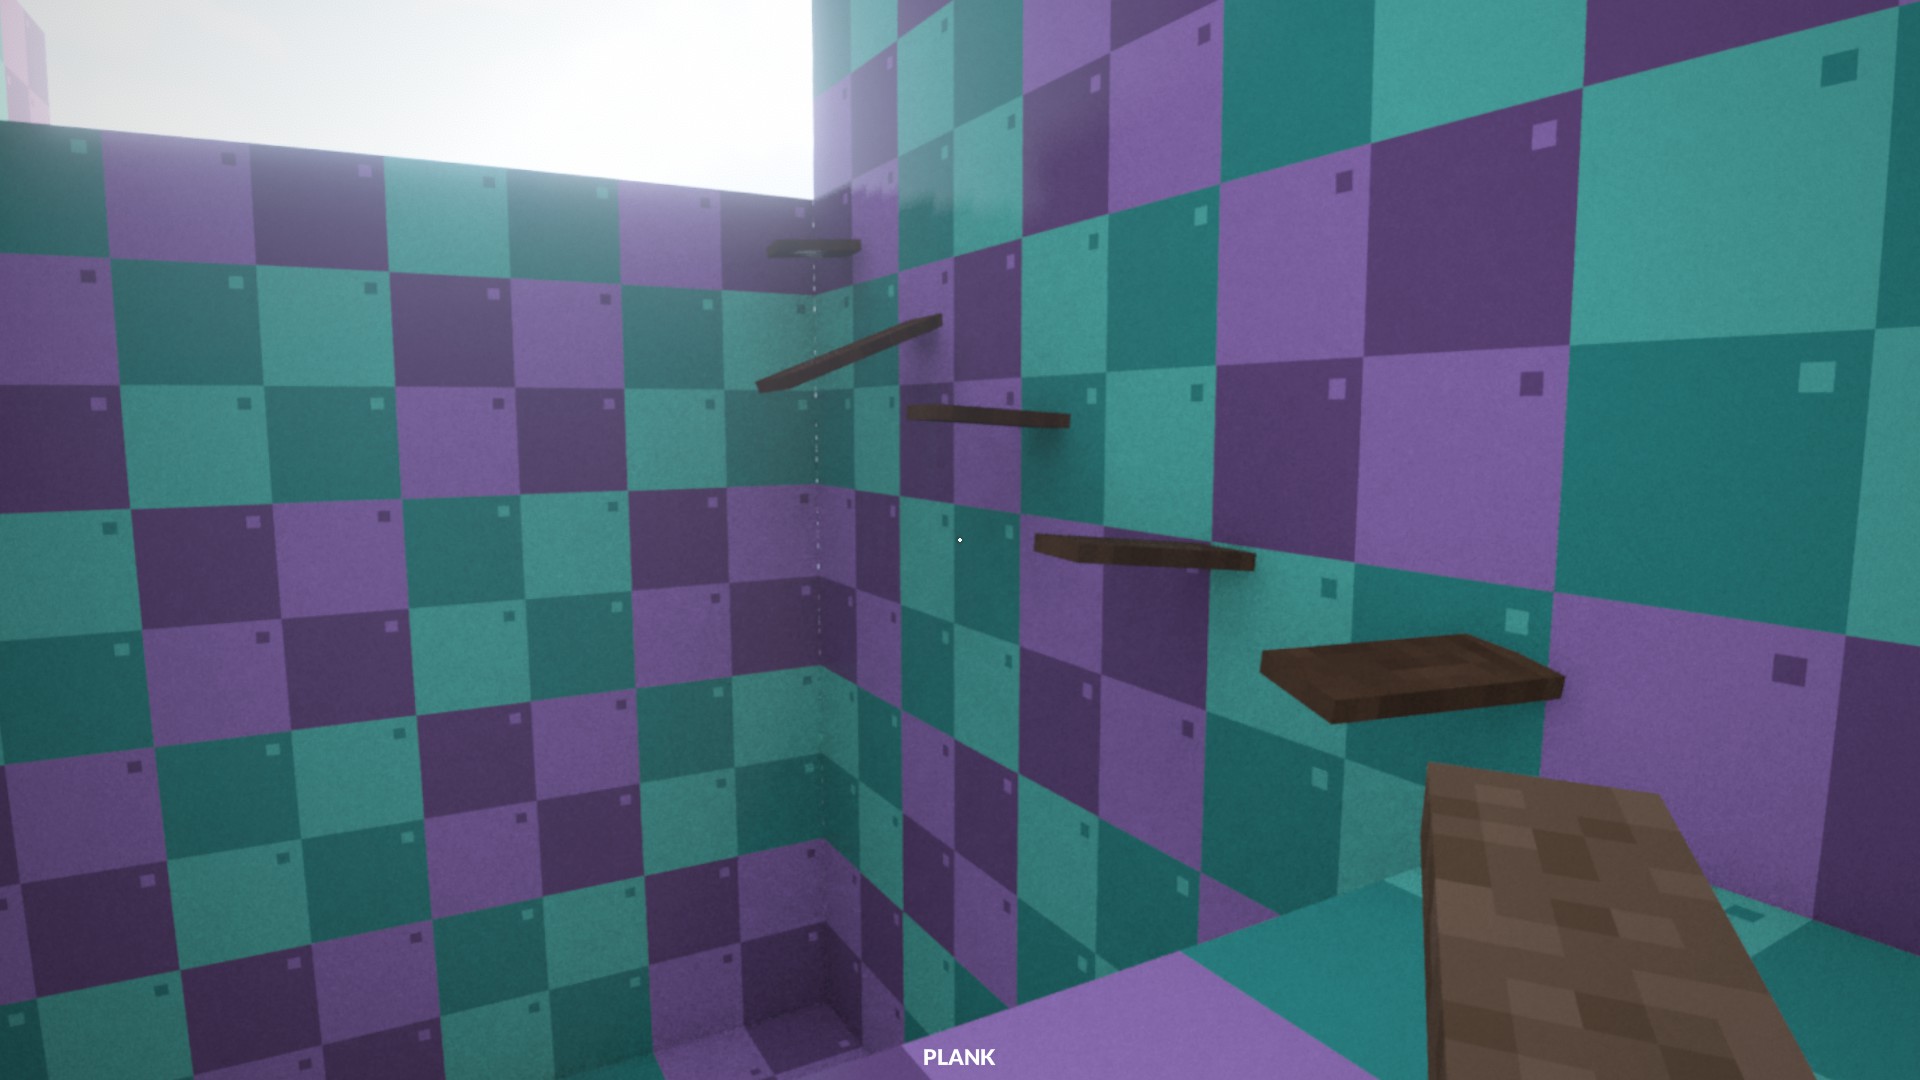
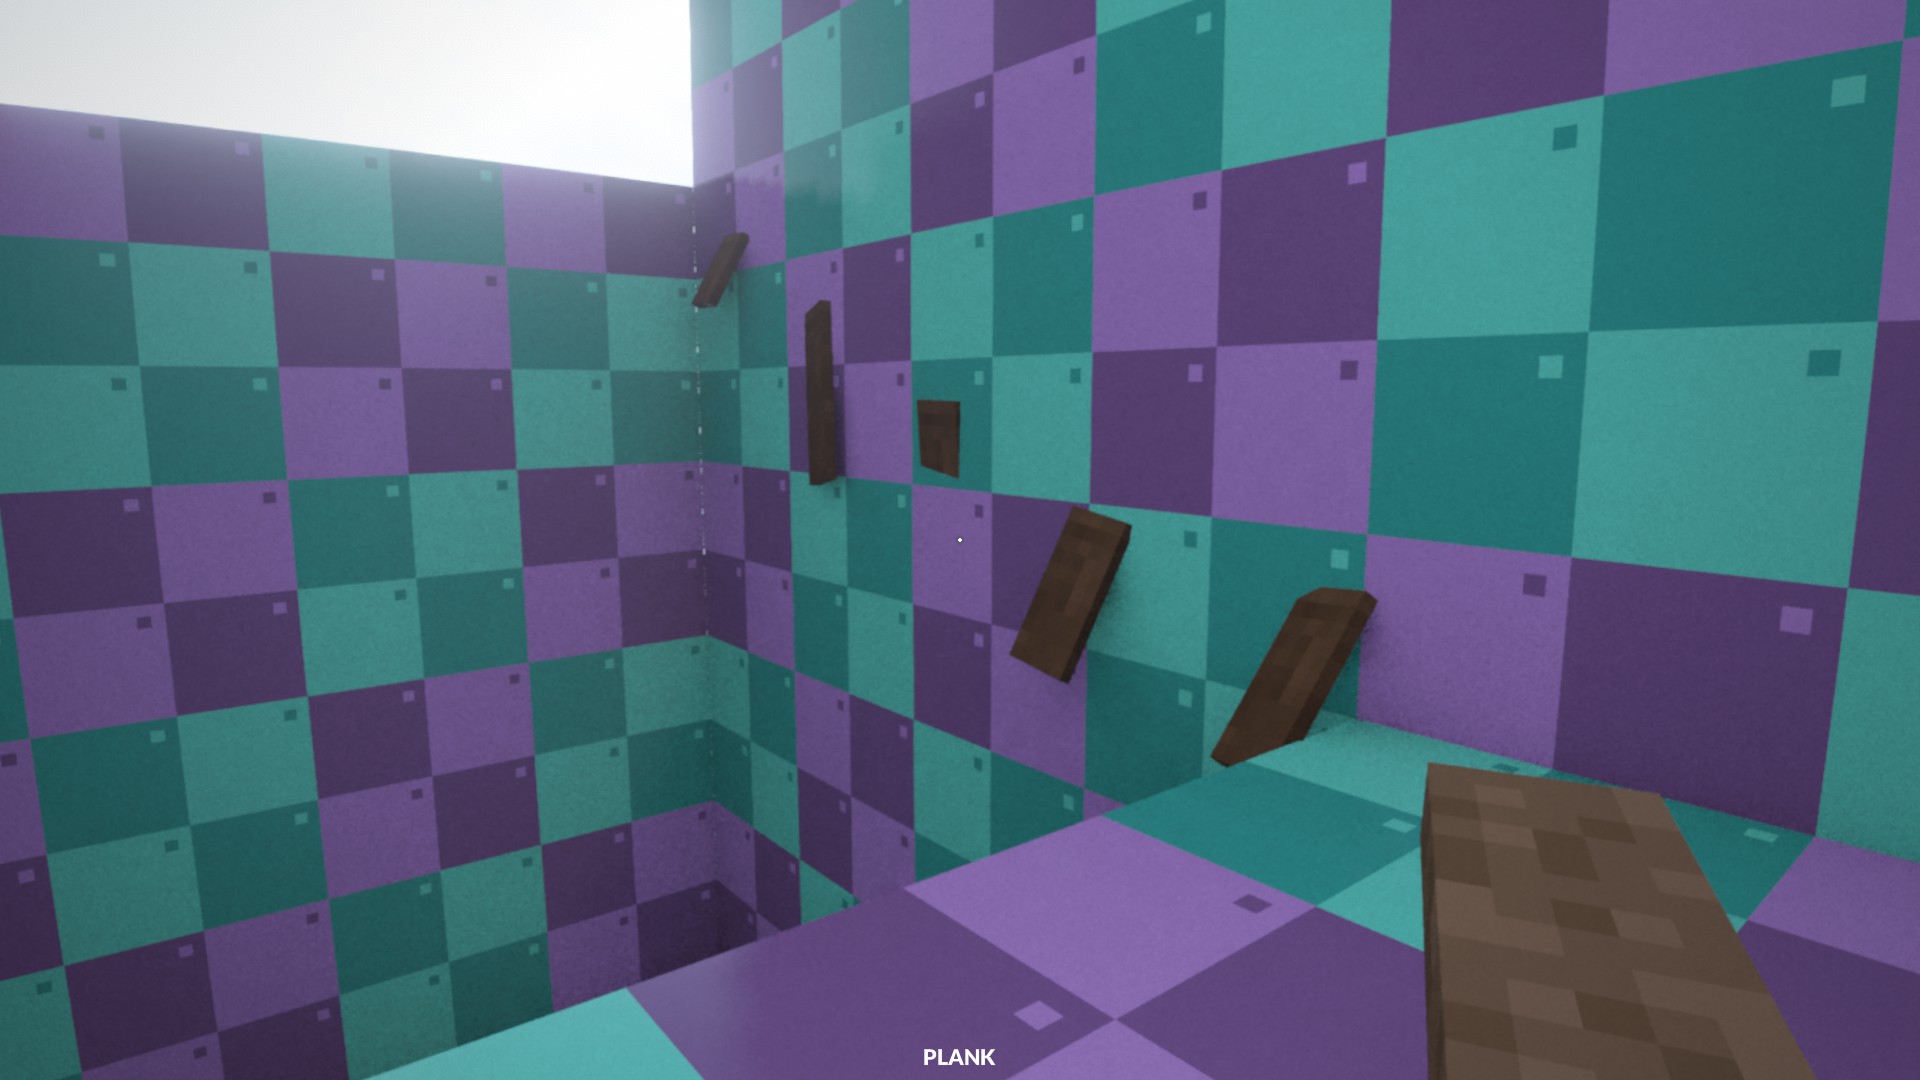
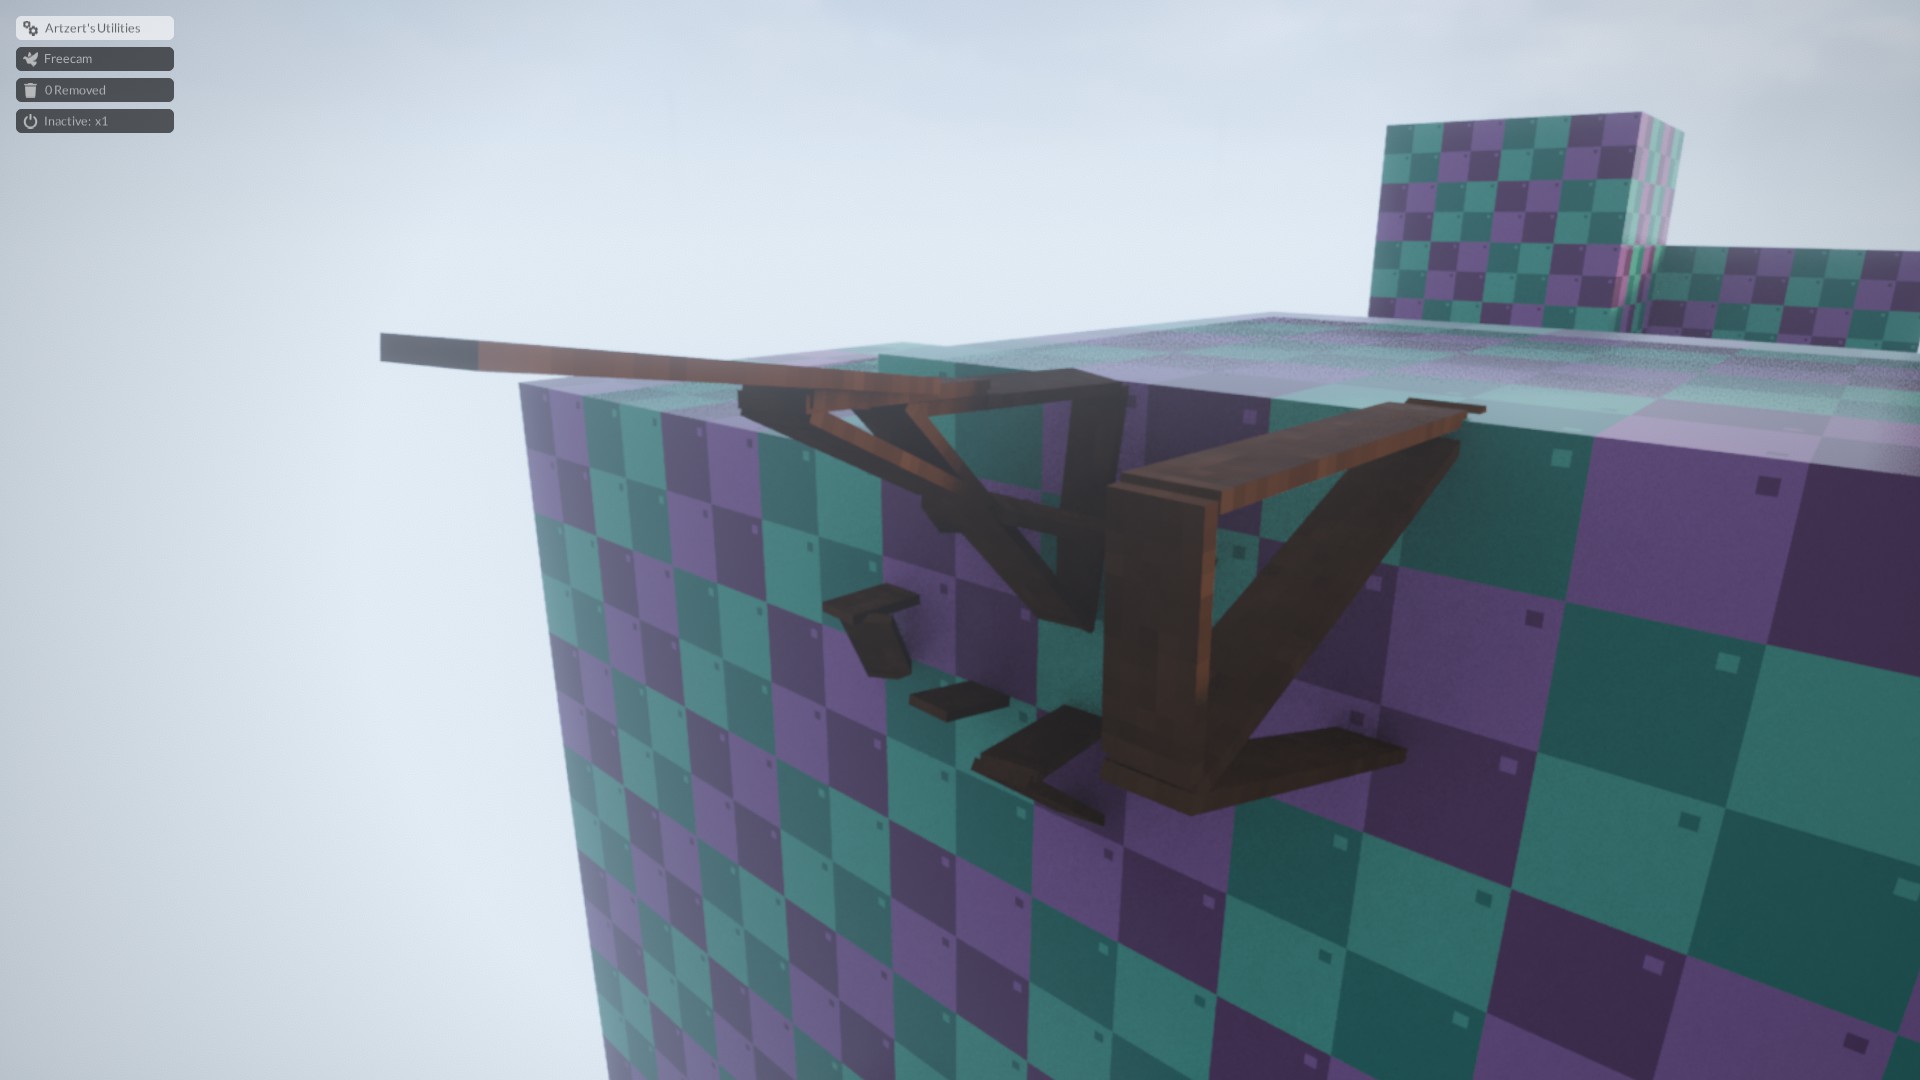
These ramps are all well and good, but what if you want just.. una plataforma? Something standalone, that you can use to generally just gain height? En este caso, we need to start understanding structural integrity, and to learn not to rely on the joint stiffness; the rusty, fatigued nails you use to ‘secure’ your planks to other objects? Seguro, they almost never let go (just ask that poor van), but they so easily bend, any plank on a slant is bound to fall without something more. Just try – putting a plank on an angle is basically impossible without something to stop it falling.
Entonces, getting back on track, how do we get a platform?
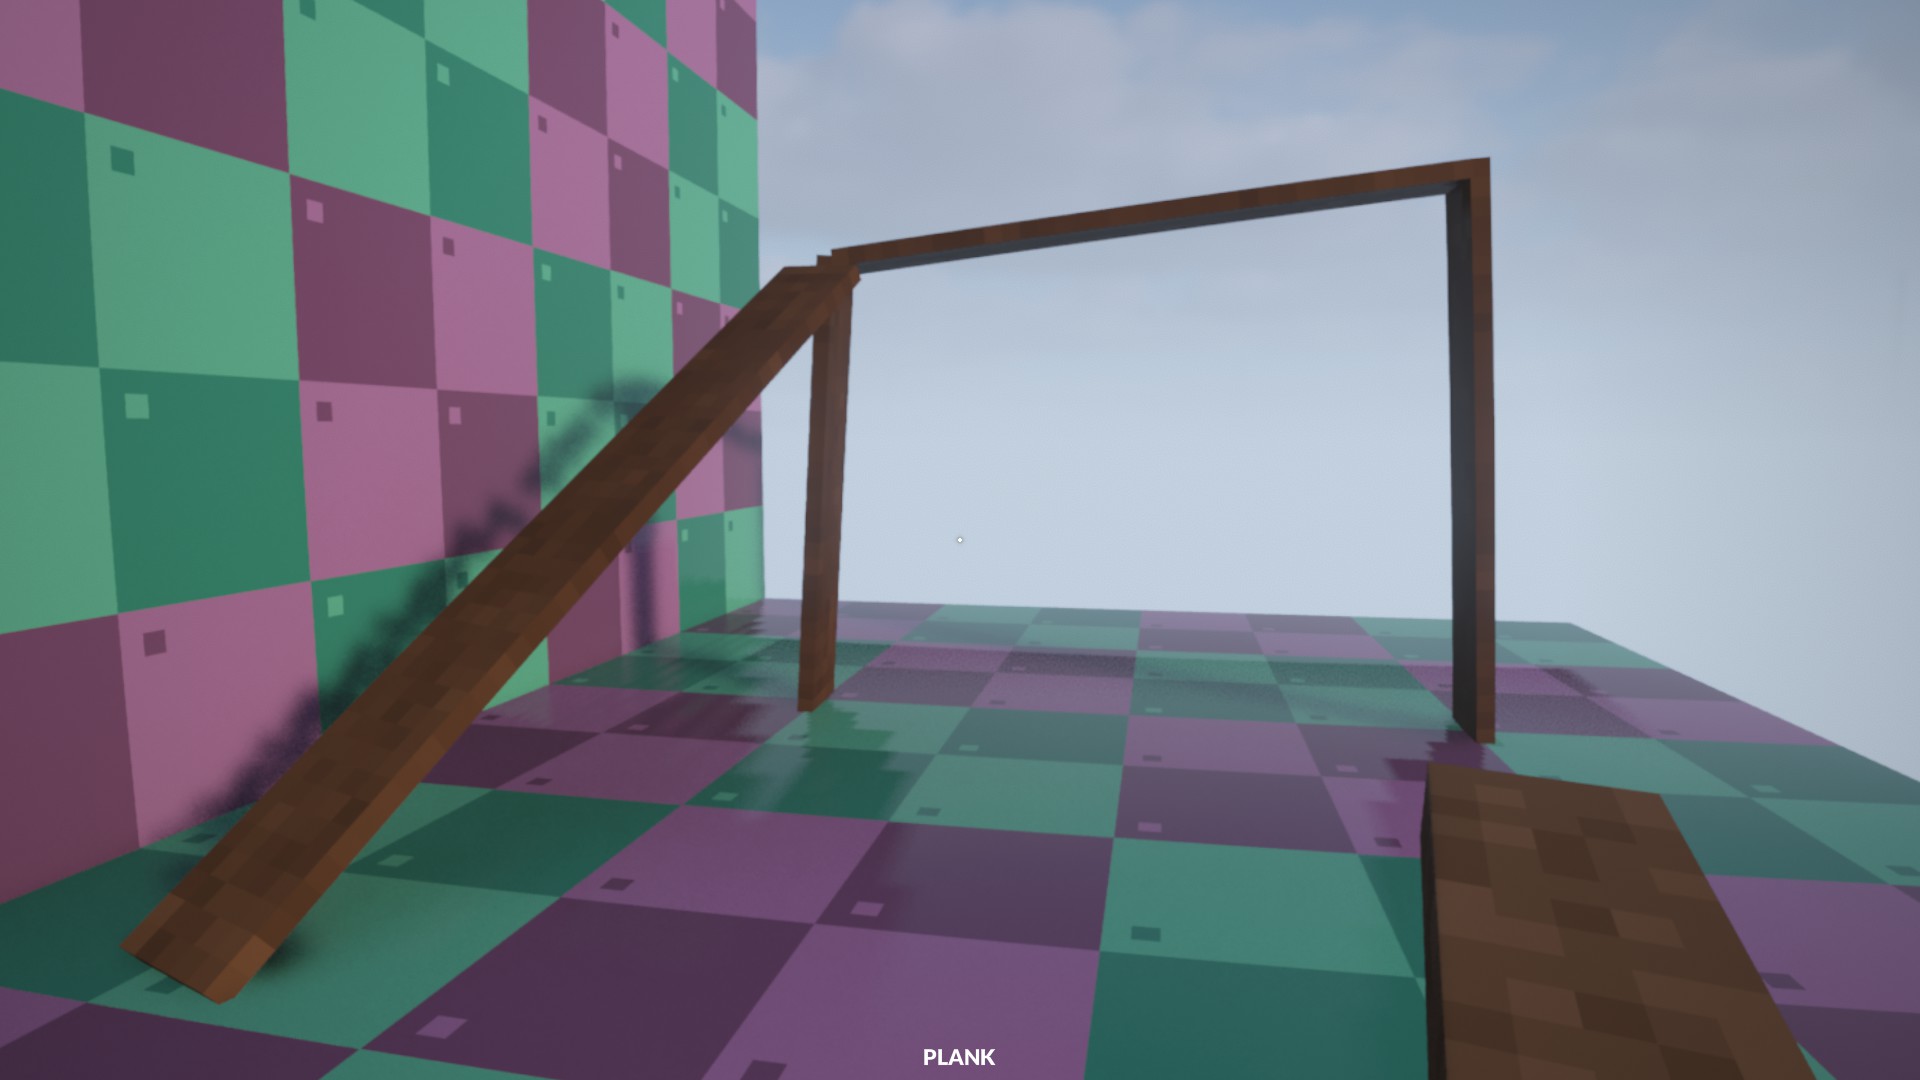
We could make some sort of platform with two pillars (vertical) and a beam (horizontal), and put a small ramp to get up, pero…
It will fall over easily, making it not viable for many uses. Sin embargo…
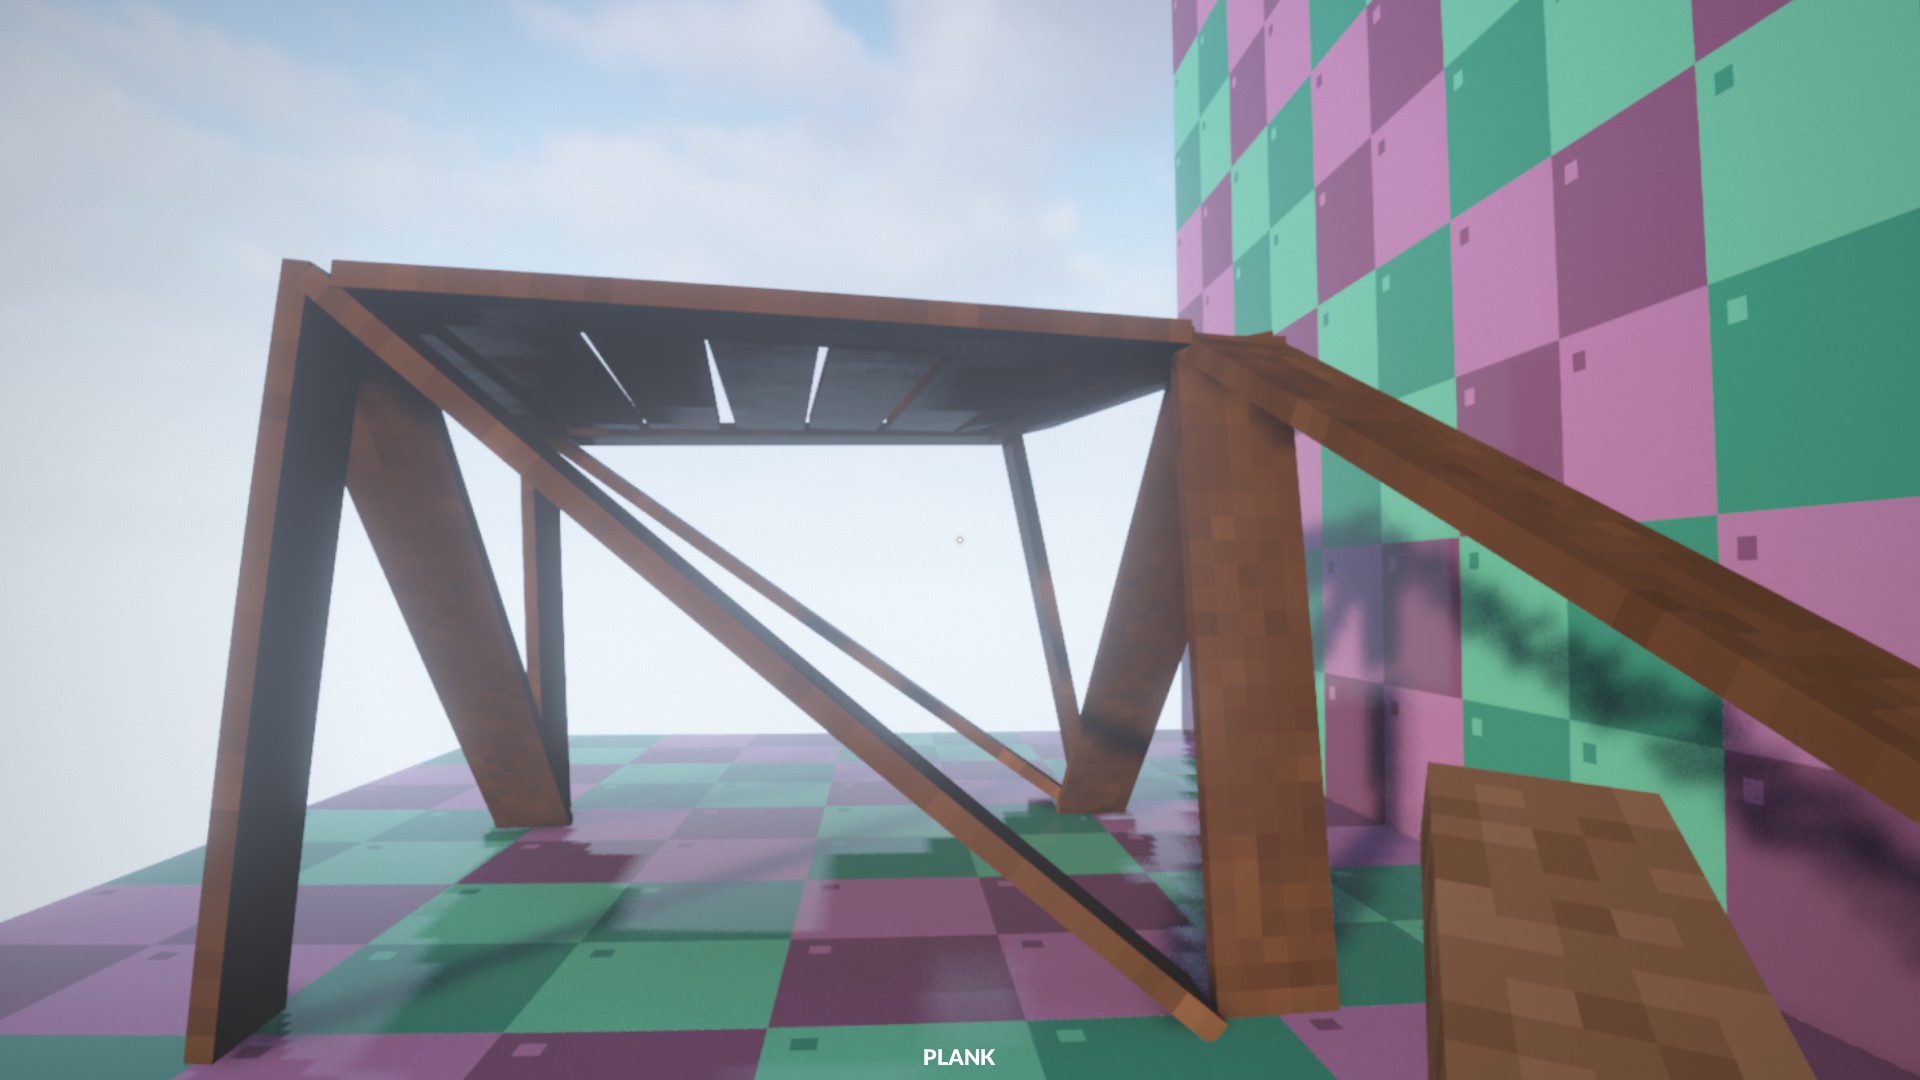
A simple triangle can make all the difference! If you want to know why this works, find a different guide (not here, on the internet in general) on triangles and their stability. Por ahora, just know triangles are very stable. If you want a wider platform, all that is needed is to repeat the structure around.
Moving Across pt1
Let’s take a break from moving up. How do we get across walls and chasms without using the ground? Bien, let’s find out.
Here we have a wall and a hole that will be inconvenient to get out of. Primero, let’s see what not to do.
Este
técnicamenteobras, but it is thin and pretty unstable, due to it being half inside of the wall. I definitely do not recommend it, unless you are running very low on planks.
This no longer clips through the wall, but remember when i told you about the weak nails?
Con el tiempo, or objects falling on it, the planks will droop and the path become non passable.
Entonces, after all this, what is the correct* way to cross?
*subjectively
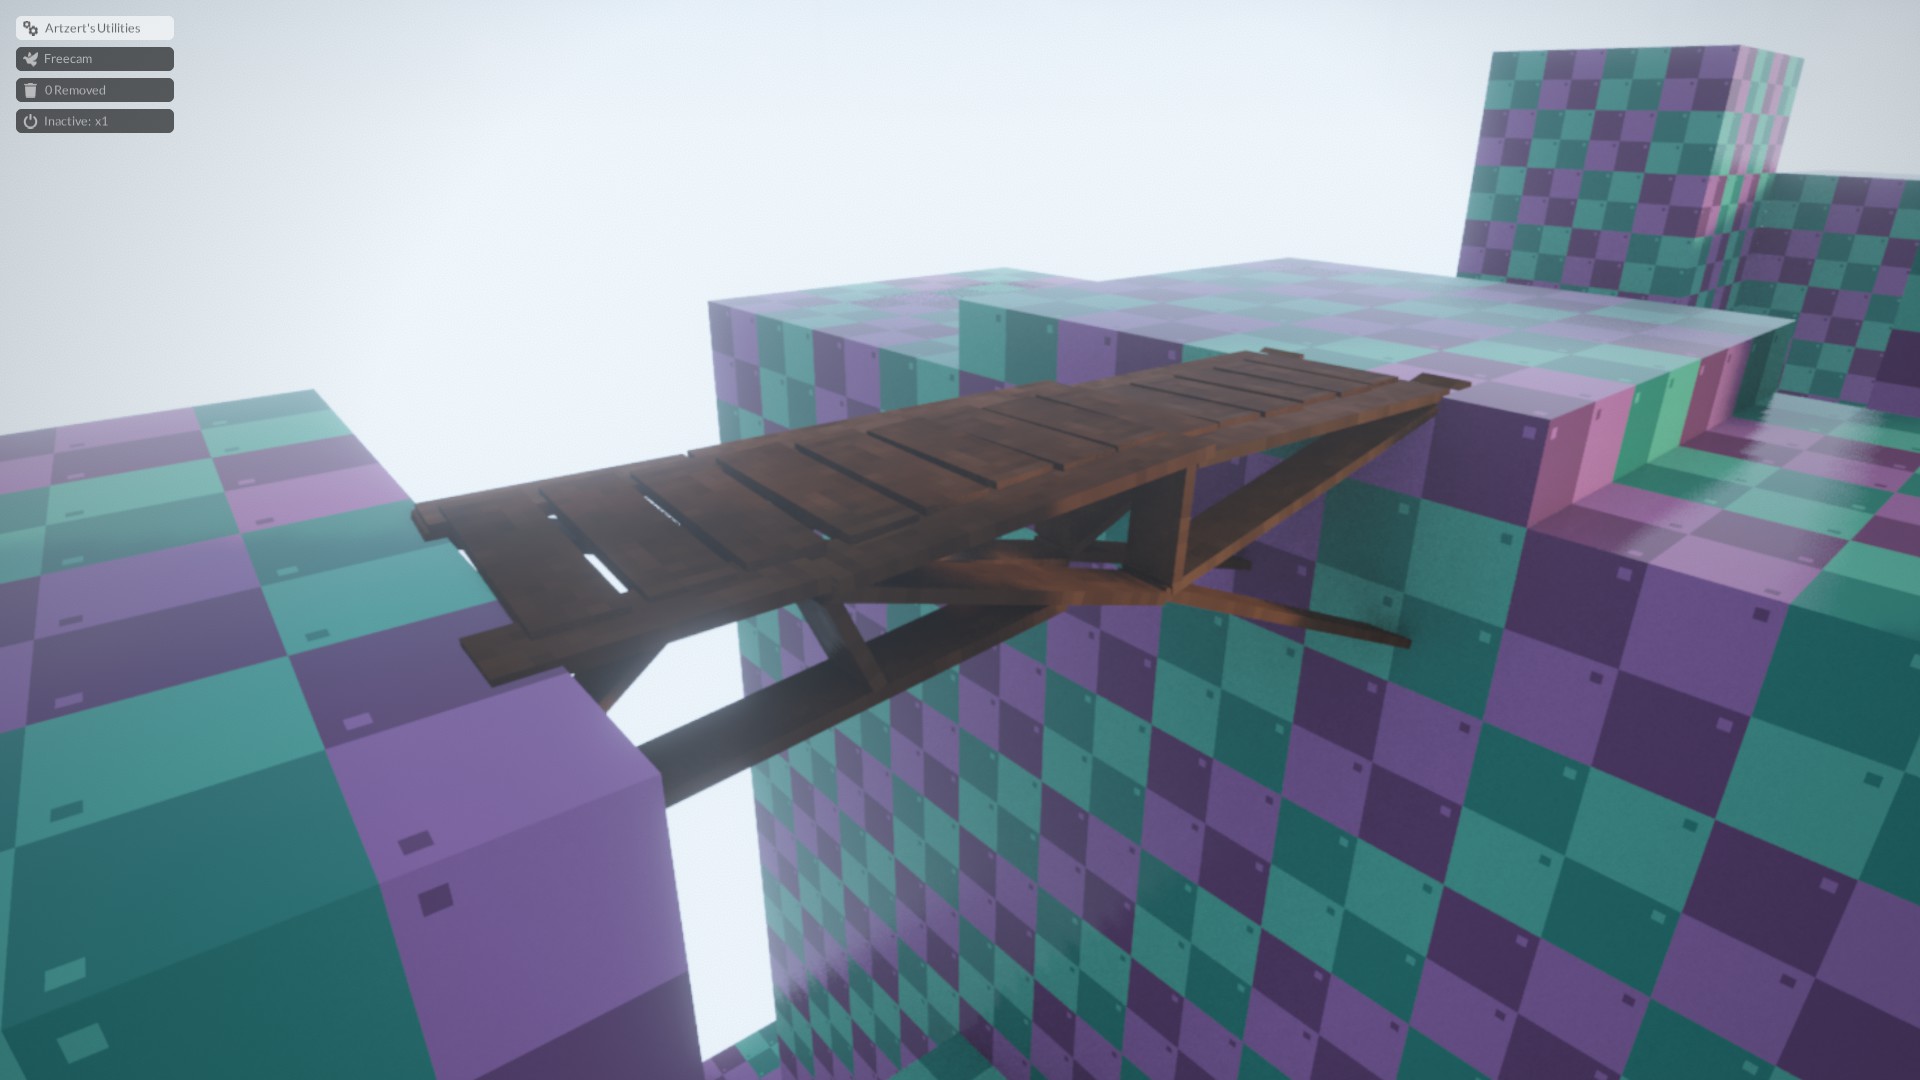
Aquí, I have made little platforms on the wall to put a walkway on. Notice how the platform forms a triangle with the wall, meaning it is stable and will not droop. Con este método, you can make an infinitely long, long lasting walkway that can even hold a load.
Moving Across pt2
Bien, aquí estamos. A destination, a gap, and everything to lose. How do we get across without falling?
La respuesta es… a lot of planks and a lot of patience.
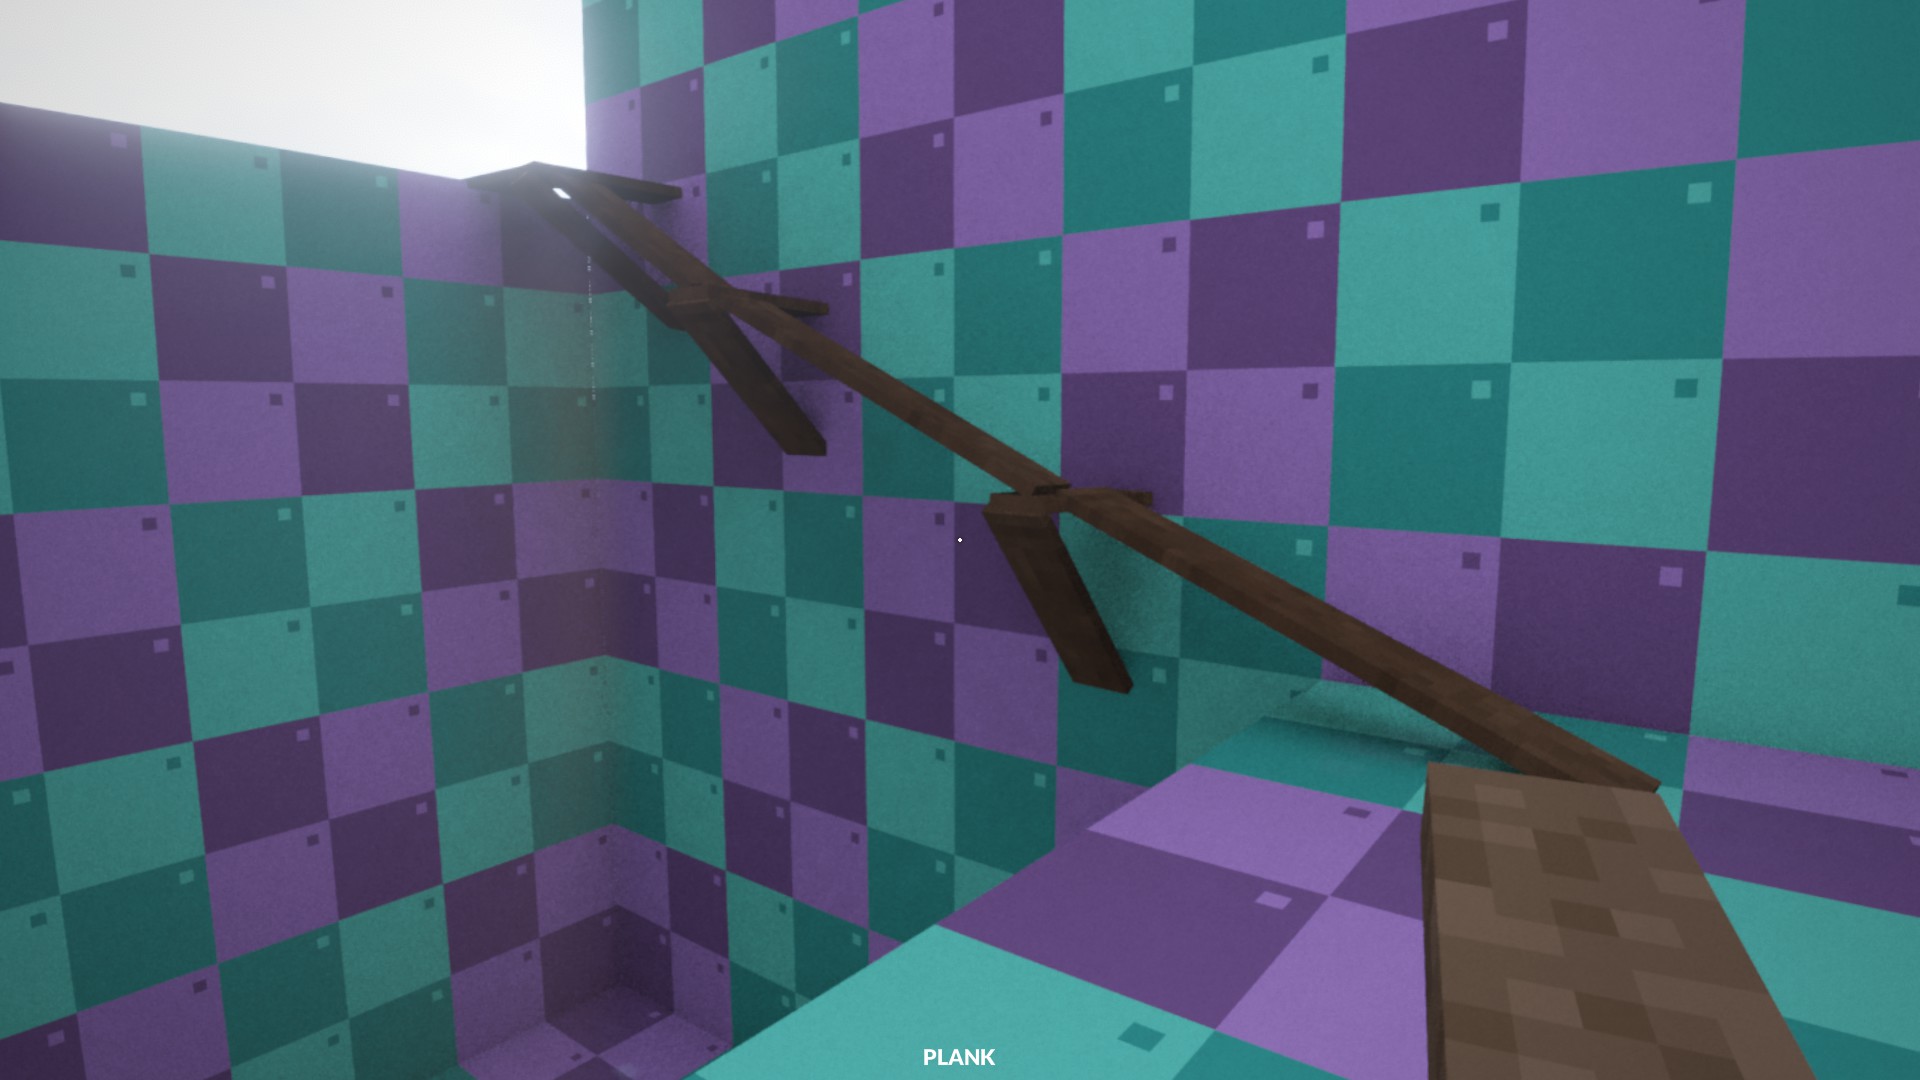
Primero, we need a scaffold. If you just need to get across this can also be the finished product but I plan for the bridge to hold a load. Make a pillar, bring off a plank towards the ground (but DO NOT attach it to the ground!), then connect it back to the base of the pillar:
Then push it off. It should pivot into place!
This is one of the benefits of weak nails; you can push parts into place!
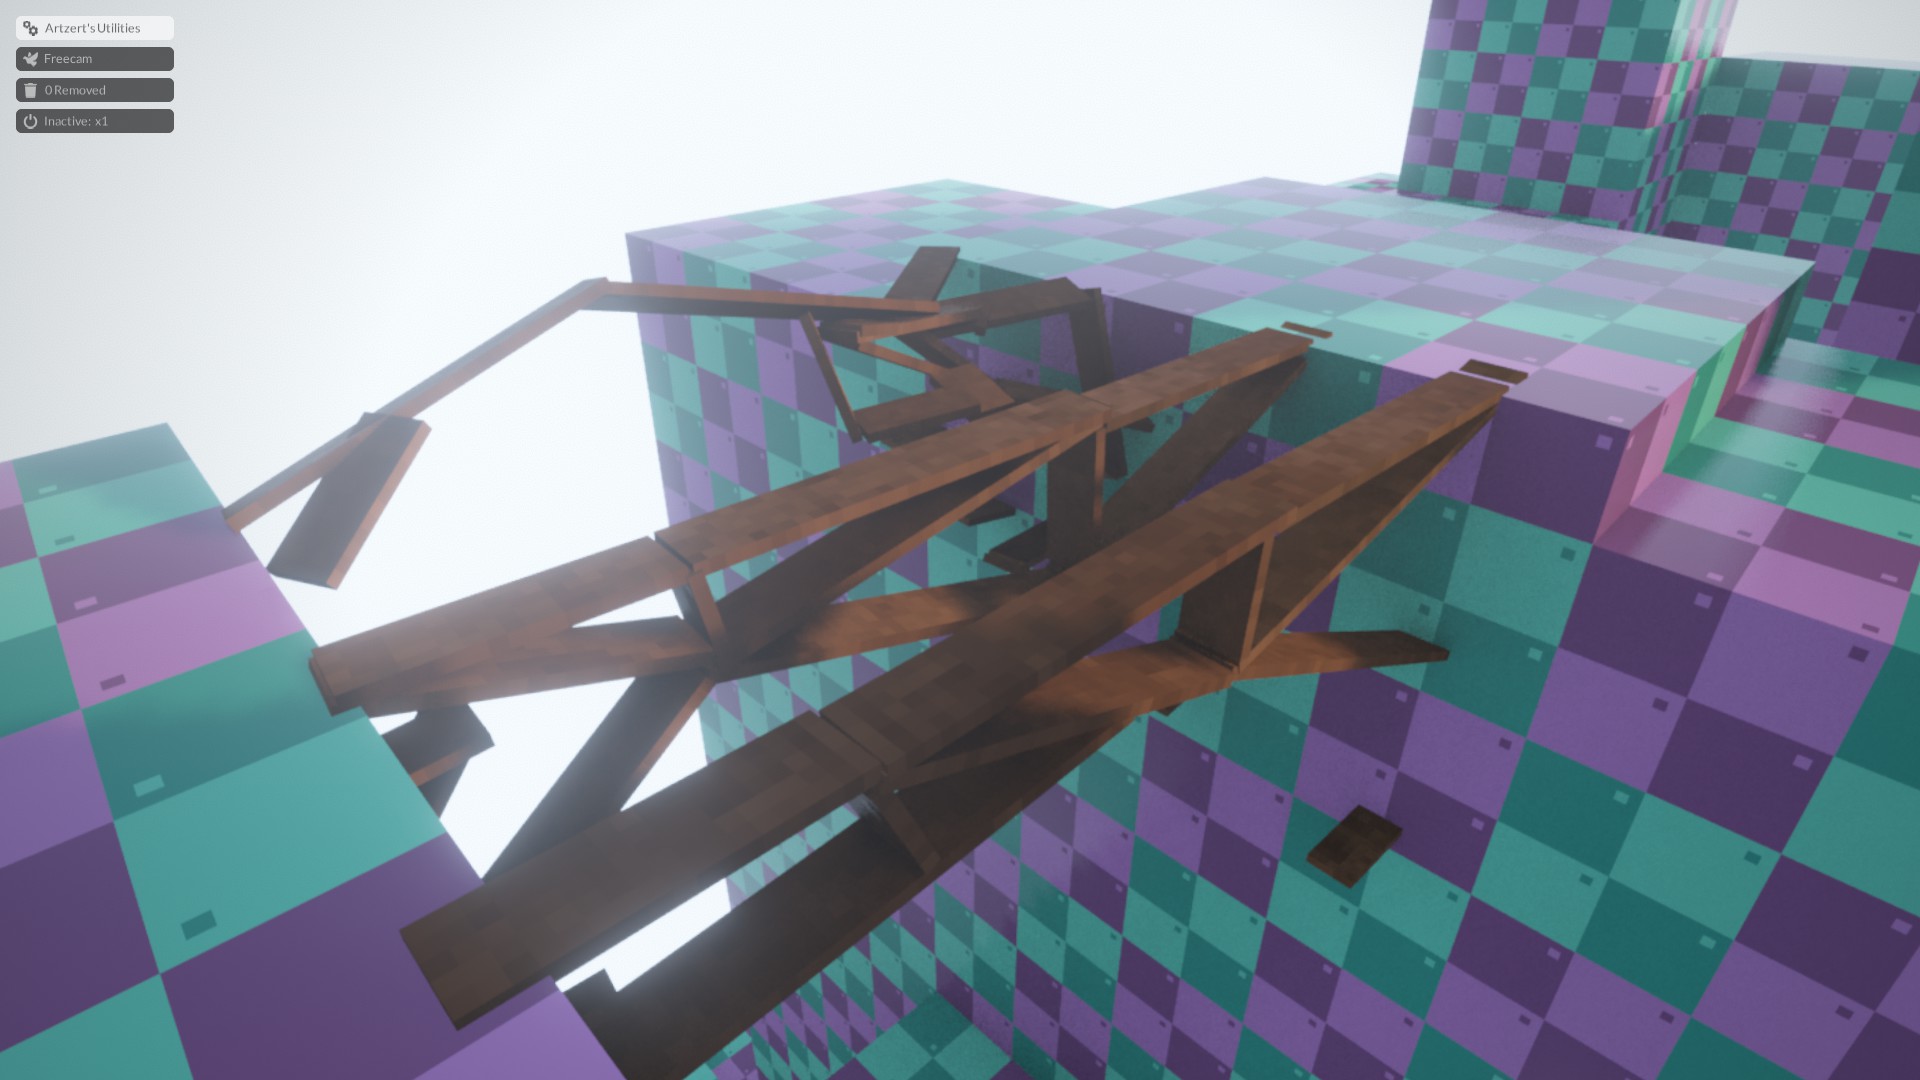
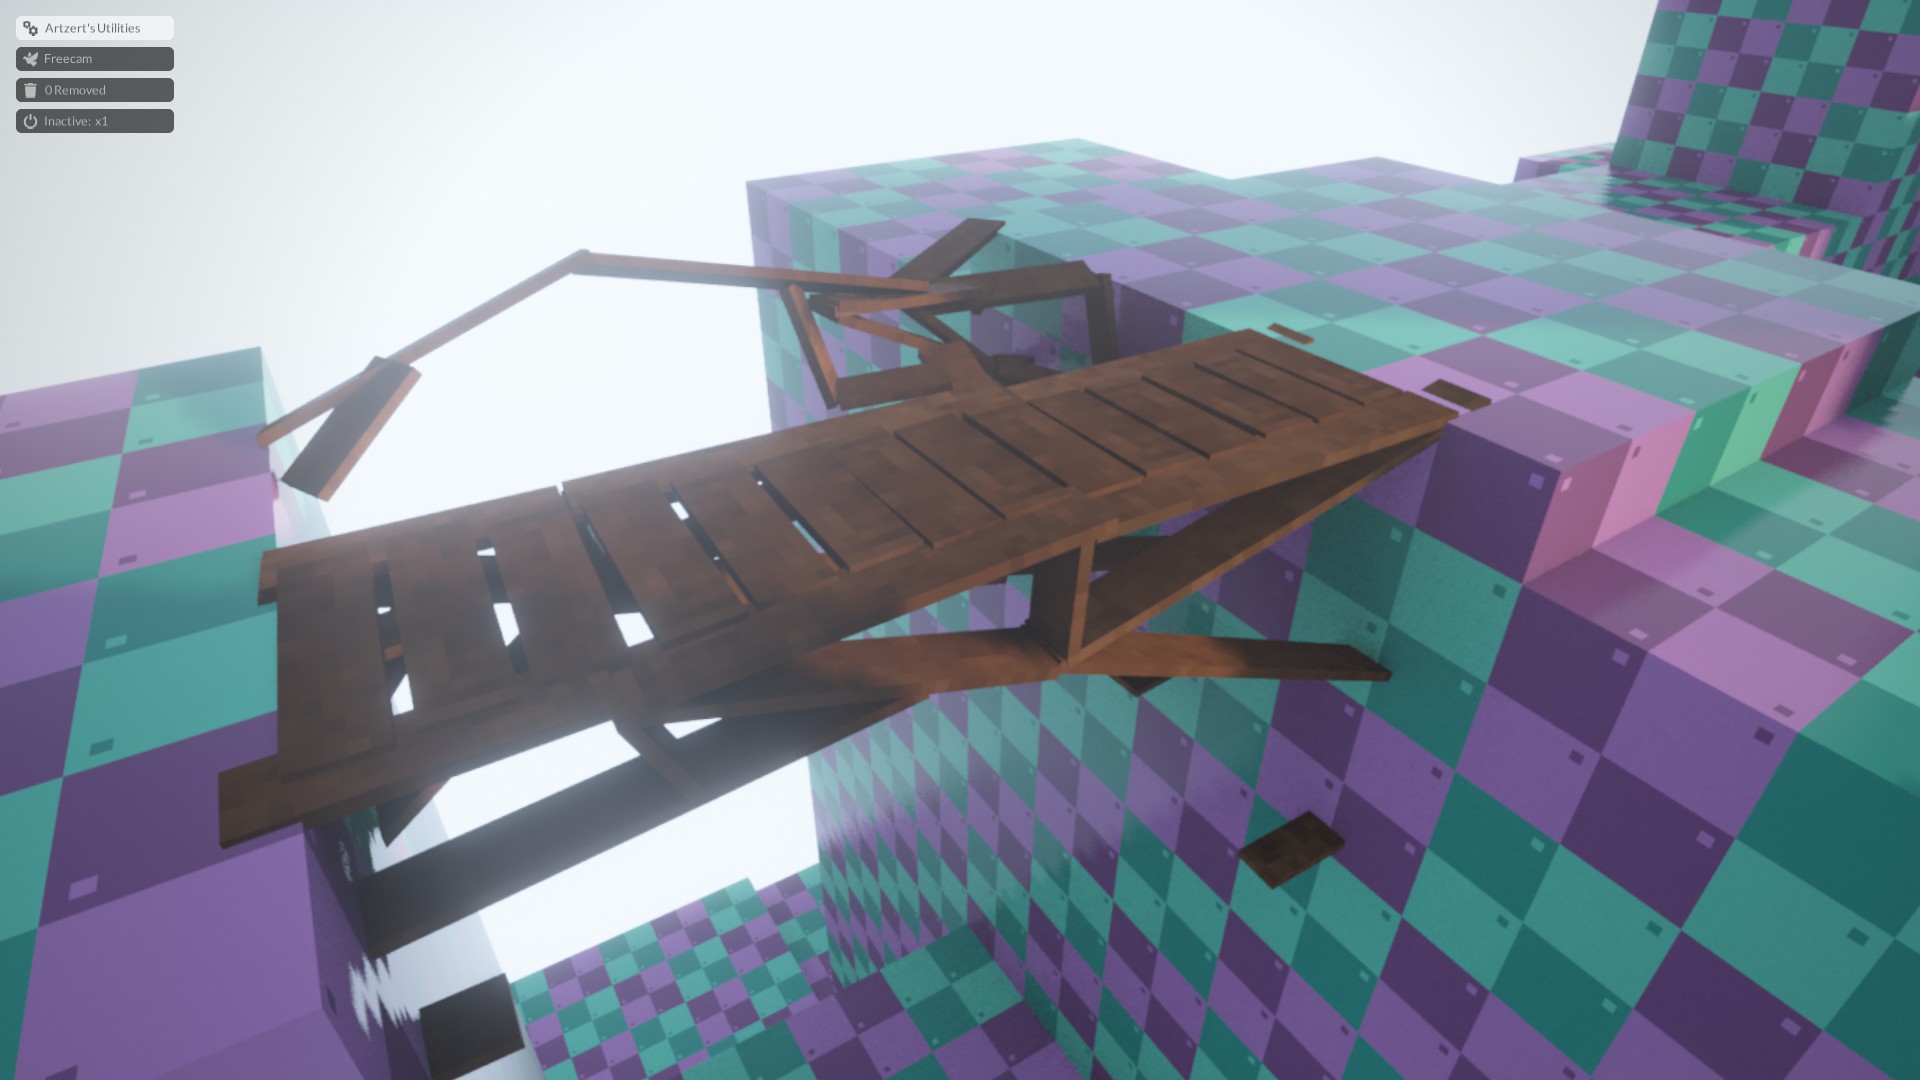
Sin embargo, this is the place where I get to the point that I can no longer fully explain how to do this. But you will have to get some scaffolding below. As a result of me not being able to continue, I will provide some images of stages in construction.
Oh, por cierto, you can time a plank falling so that you attach it in a way you could not normally. I use it in the next image.

La prueba
You have done well if you made it this far. Sin embargo, a good builder can use their knowledge to adapt to any given situation. So here is your test.
Your challenge is to scale these two walls, and get up to the top. It doesn’t have to be quite as tall as this, just tall enough to prove your creation. The creation must span (and rely on) both walls, not just one.
If you want to see my solution, scroll down. Si no, or you want to try the test and prove your worth,
look no further.Well here we are. Are you ready to see the answer?
the answer. 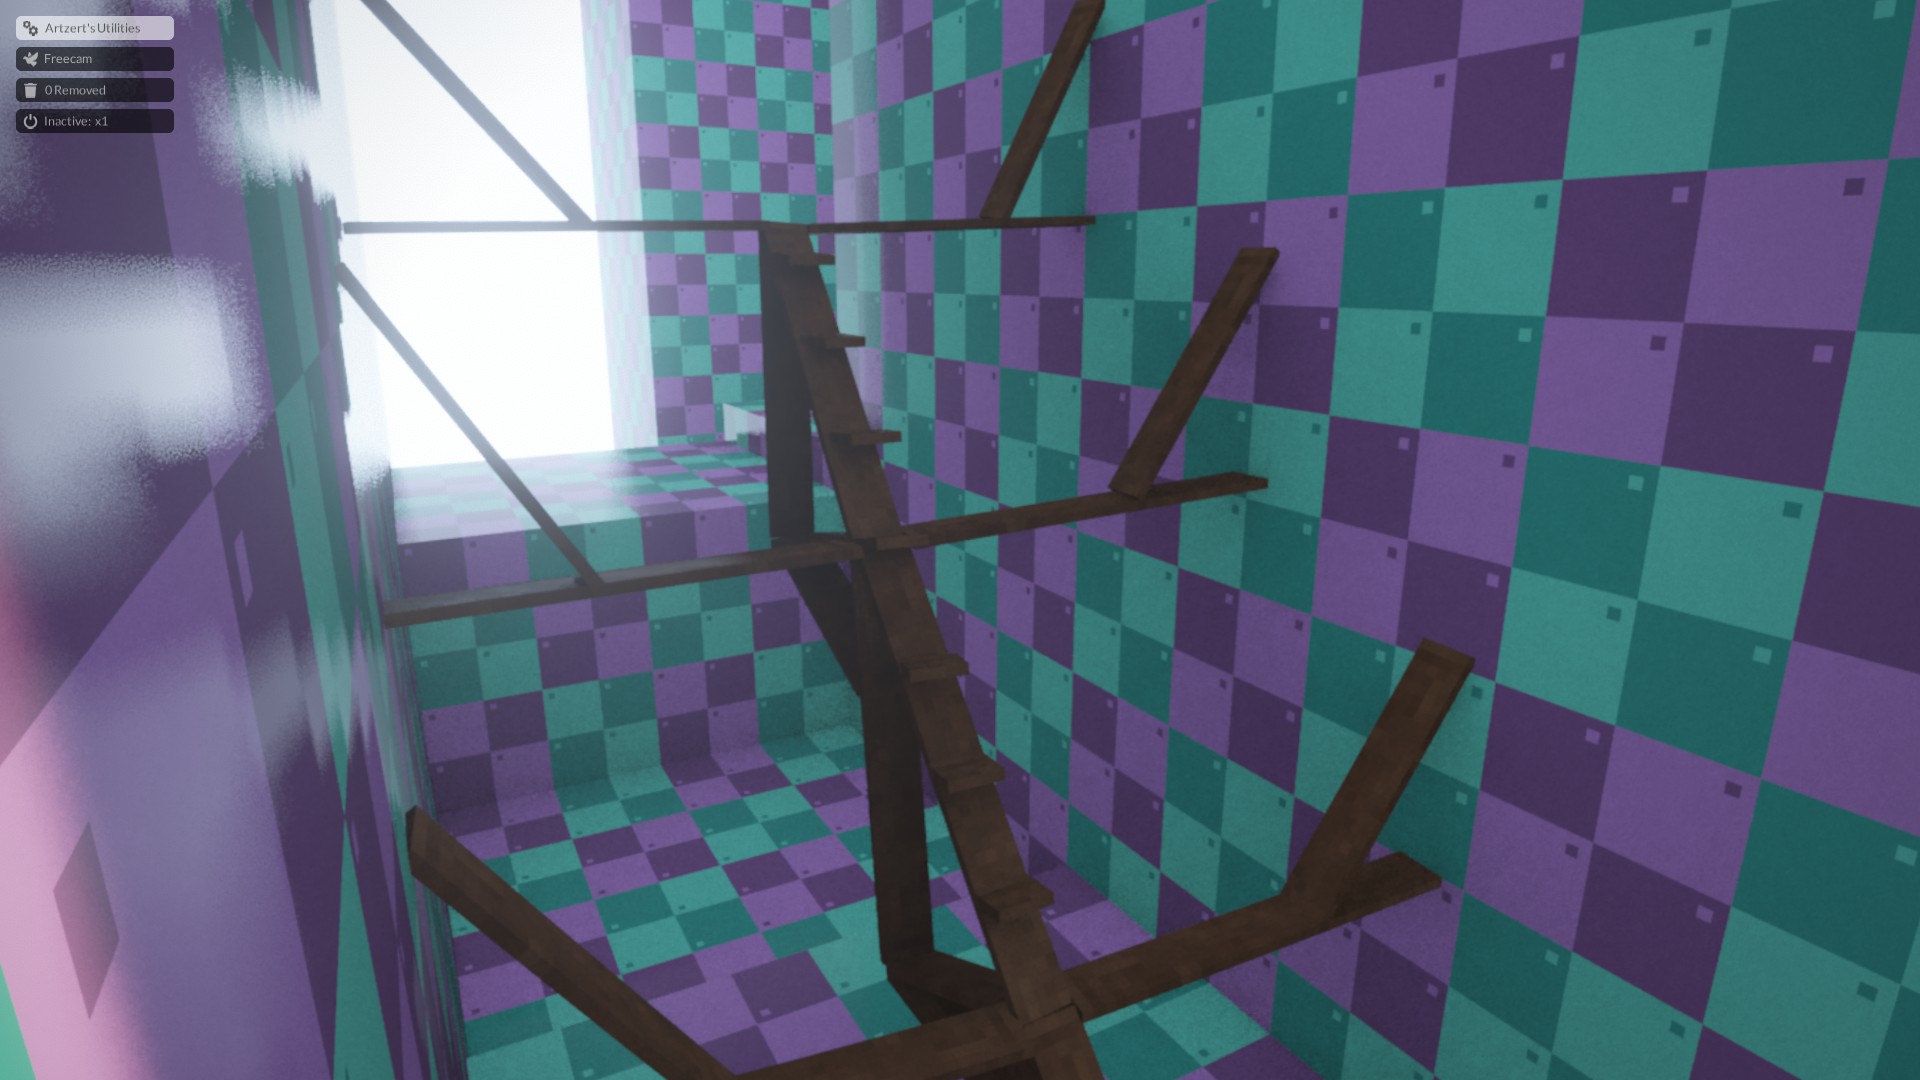
I used many of the tricks I explained earlier, such as the pivot i used in the scaffold for the bridge.
Eso es todo lo que estamos compartiendo hoy para este Demoler guía. Esta guía fue originalmente creada y escrita por tu. En caso de que no actualicemos esta guía, puede encontrar la última actualización siguiendo este enlace.