To the untrained eye traps may seem like a waste of tool slots, a minor annoyance, a traversable obstacle at best, but to me, an experienced trapper, they’re the most powerful, essential tool in the game that scores me free kills and assists in lair defense almost every single game. In this guide you’ll learn how to make people’s life a living hell like a real hunter.
Introducción
Fondo: I have over 2500 hours in Rainbow Six Siege, half of which I spent on defense playing exclusively trap operators like Kapkan, Lesion, Frost and Ela. When I first played Hunt and tried using traps I instantly made the connection between it and R6 Siege and noticed a huge number of similarities the two games share. What followed were hours of fun and countless dead bodies in my traps.
Types of Traps and Their Uses
There are four distinct trap types in the game, three of which you can carry on your person: Concertina mine, poison mine, alert trip mine y bear trap (can be found in compounds and lairs).
On their own their usefulness and impact are quite limited. It is only when they’re combined with each other or other world objects (such as red barrels) that these traps become incredibly deadly.
The exception being the concertina mine which can be triggered preemptively and serve as a very powerful entry denial tool and a mini version of the concertina bomb. If someone runs through an armed concertina mine, it will cause relatively little damage and some bleeding. It can also be disarmed or simply jumped over. But if you set a concertina mine in front of a doorway and trigger it with your knife or gun, it will be impossible to run or jump through it without sustaining severe wounds and enemy hunters will either have to find another way in or waste an explosive to clear it.
The alert trip mine can be placed next to a red barrel and turned into a deadly explosive mine. Triggering it will instakill everything in a radius of 2+ metros.
The poison mine can be combined with either the bear trap or the concertina trap to instakill enemies unfortunate enough to trigger them at the same time. For best results place them next to each other or one of top of another.
Trap Placement and Concealment
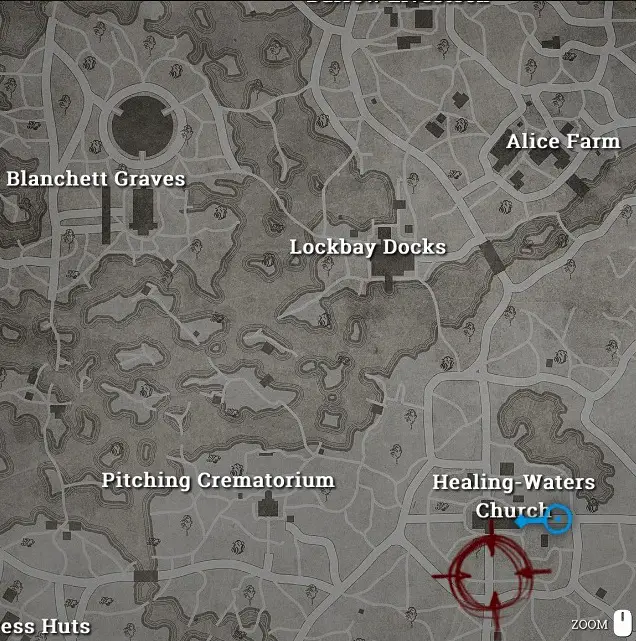
The alert trip mine + red barrel combo works best in high traffic areas, such as boss lairs and compounds near the center of the map that contain two clues.
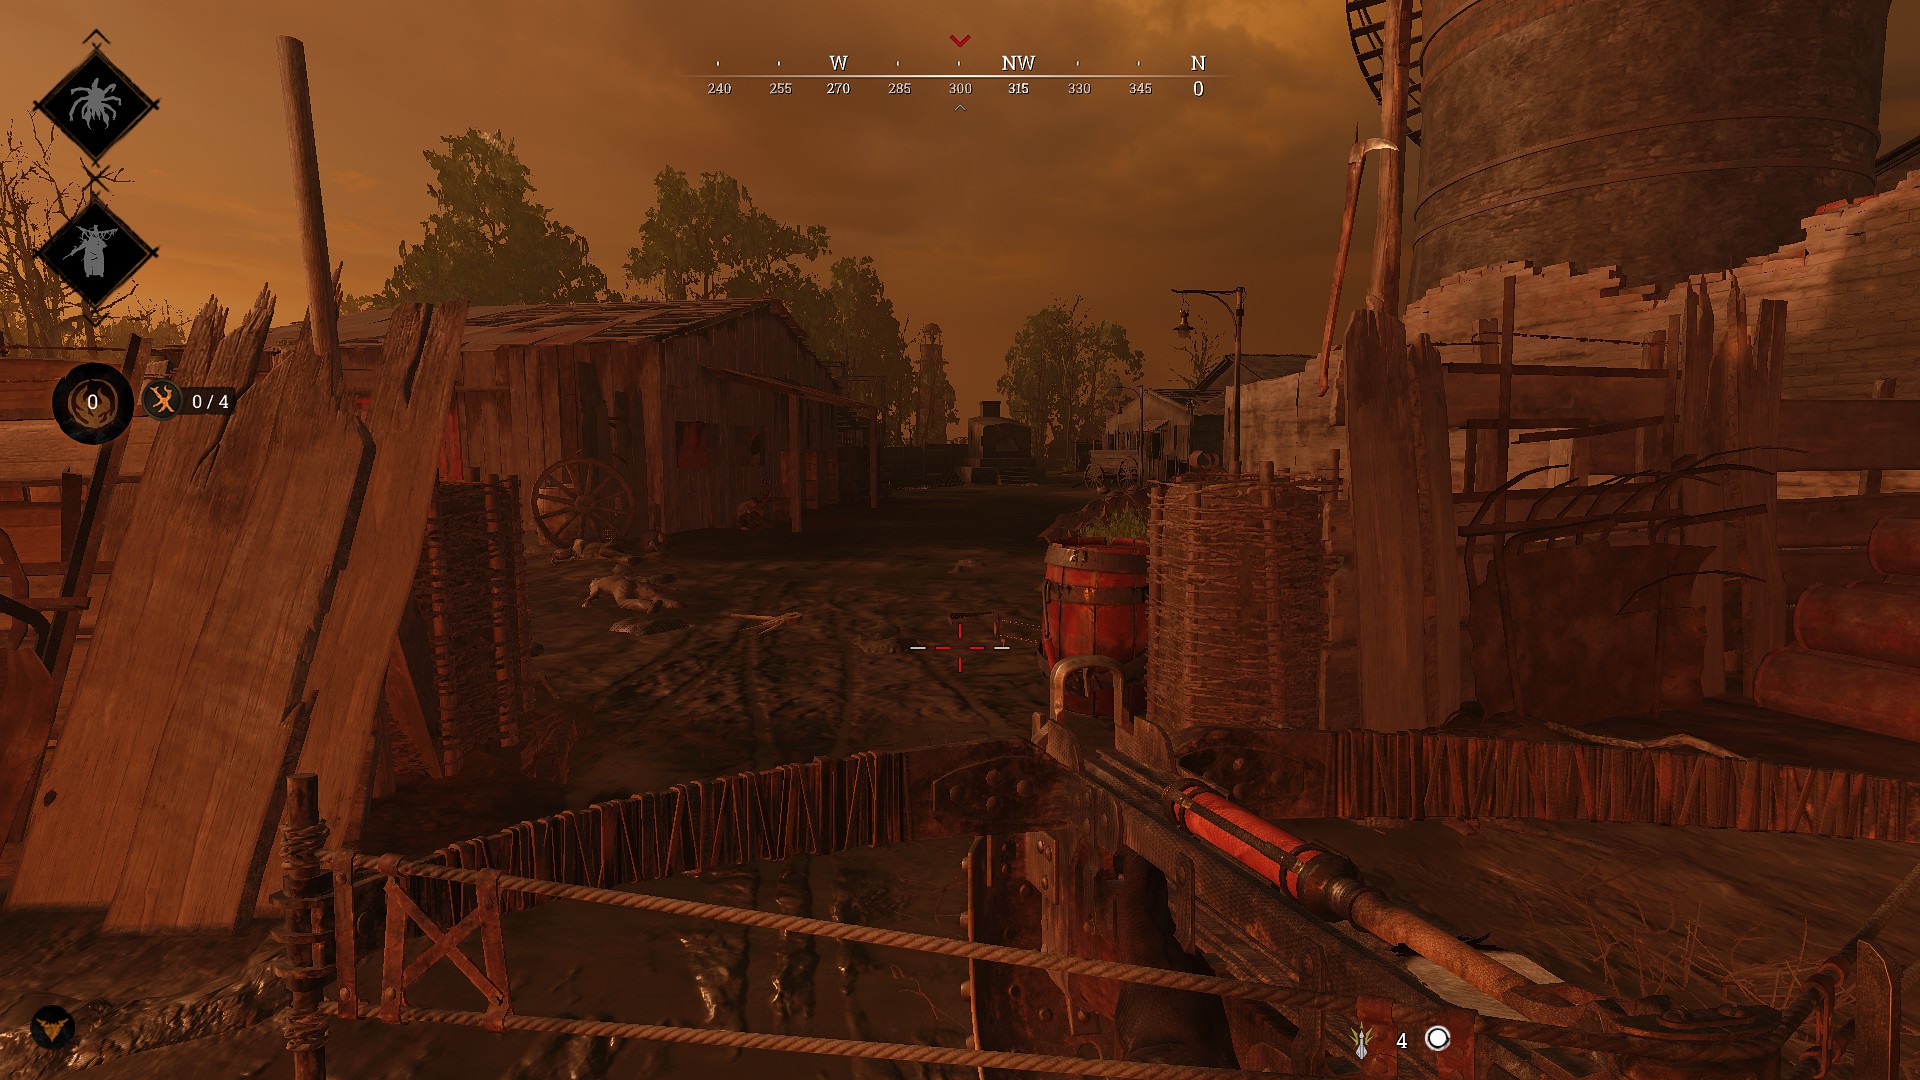
You should always try to place alert trip mines near red barrels at a slight angle when viewed from the entrance of the compound so that they’re hard or impossible to see until someone turns the corner or is very close to them. It’s also a good idea to hide the bigger part of the alert trip mine behind the barrel, making it harder to spot from a distance.
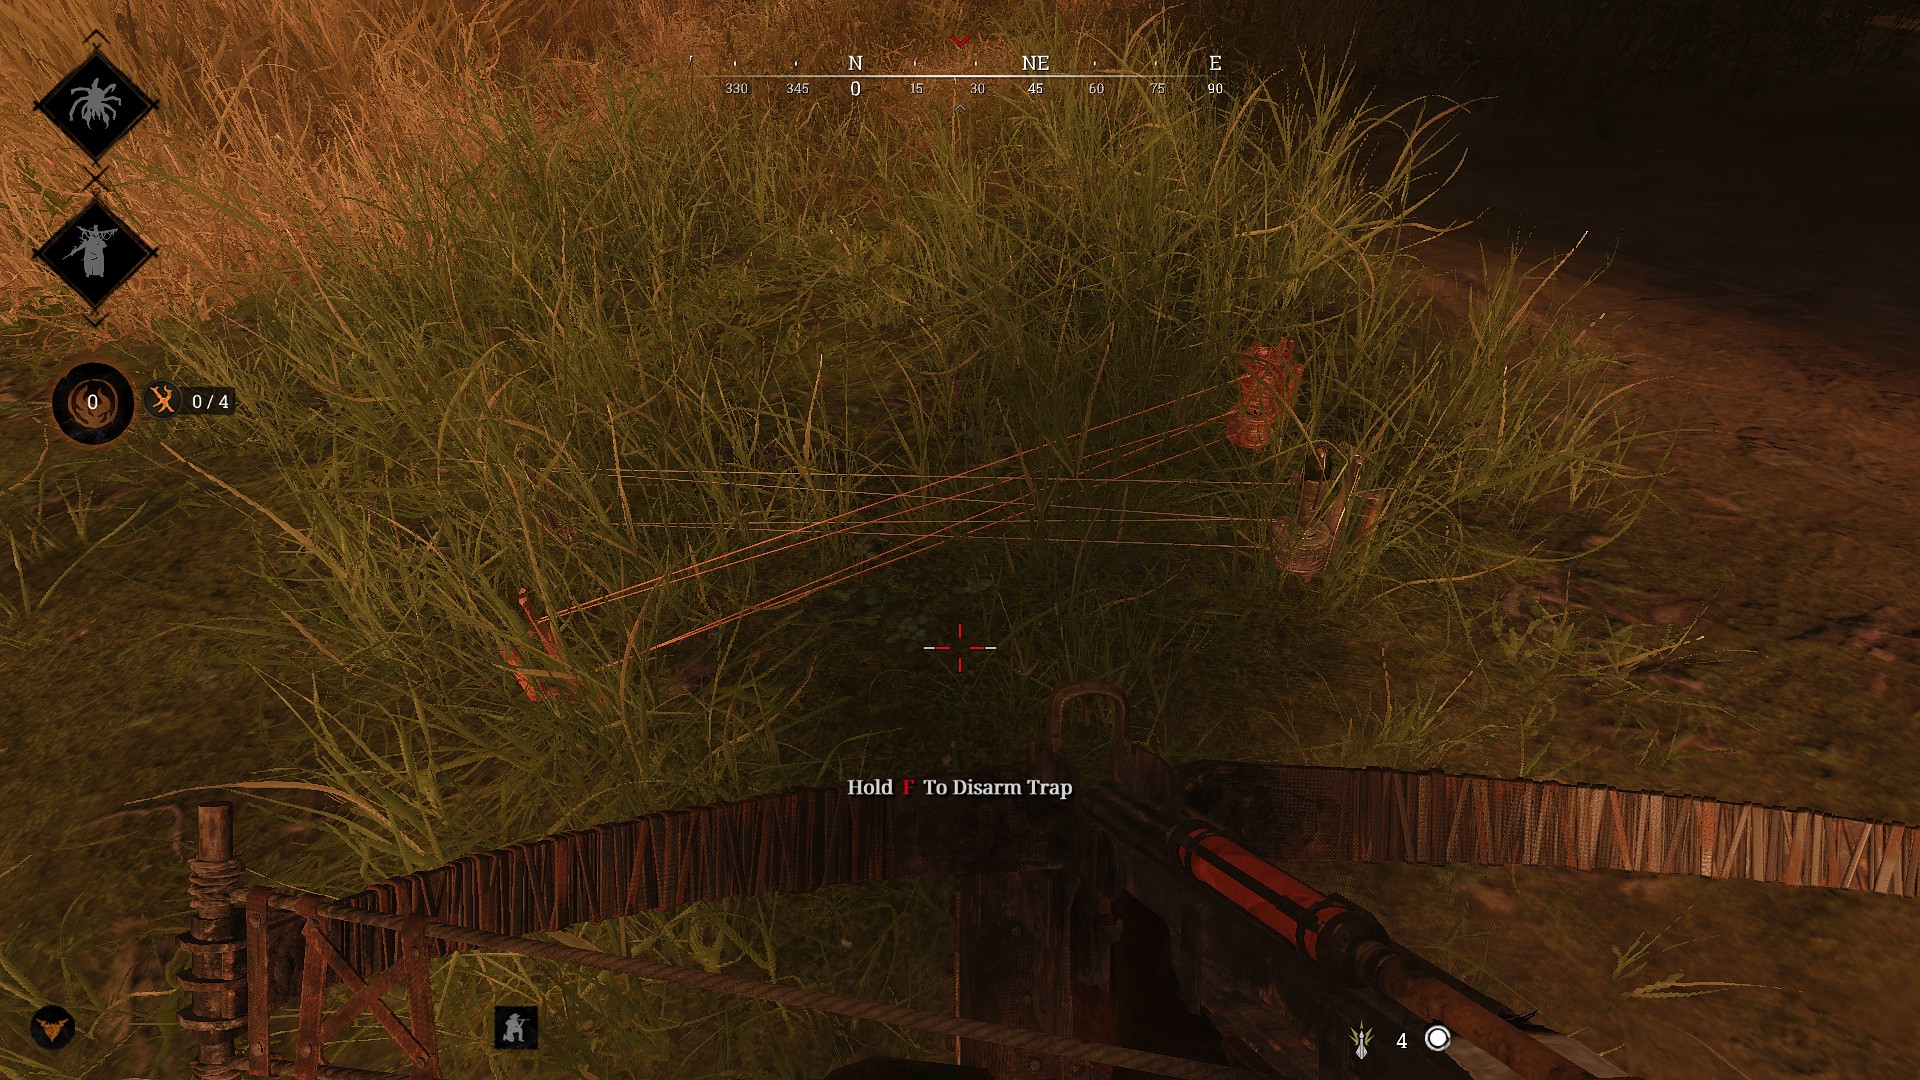
Some boss lairs have animal bodies piled up next to red barrels. Those are insanely good for concealing your traps as they clip right through them. Grass works really well for concealment as well.
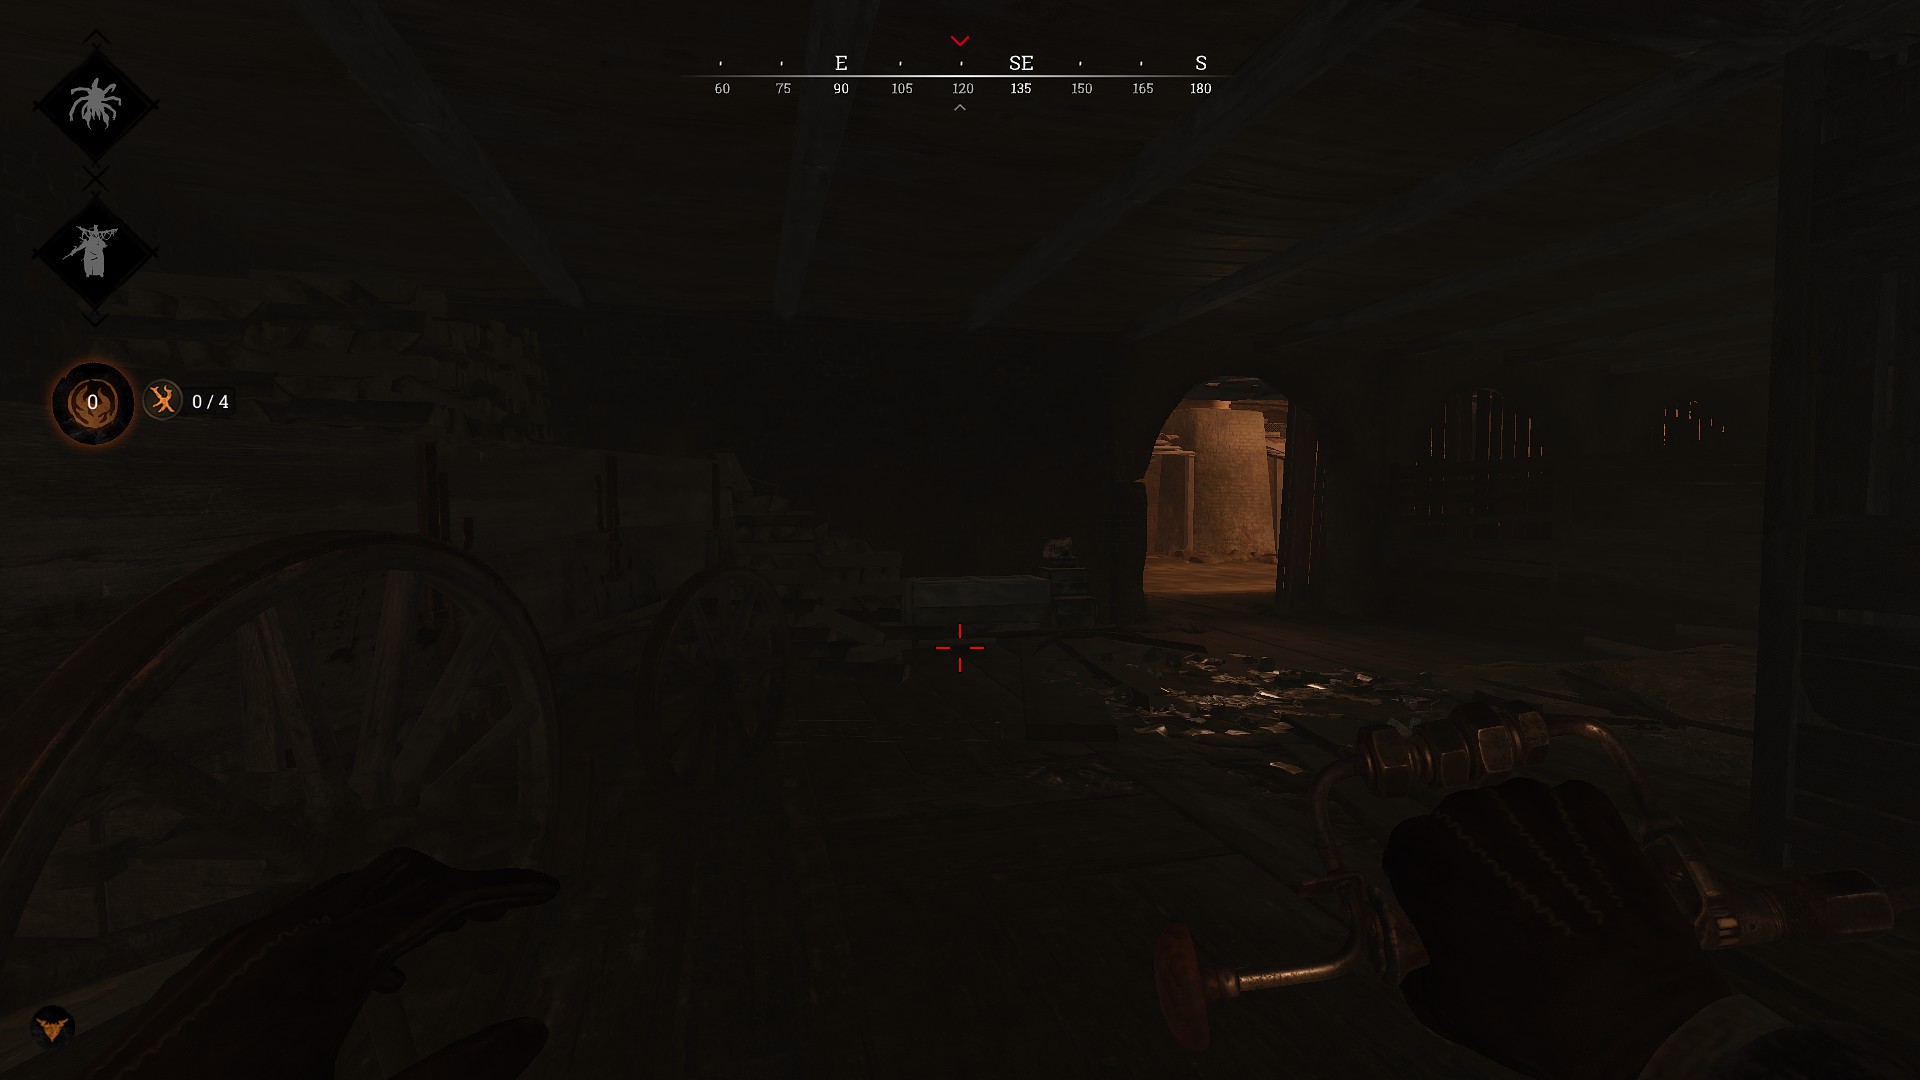
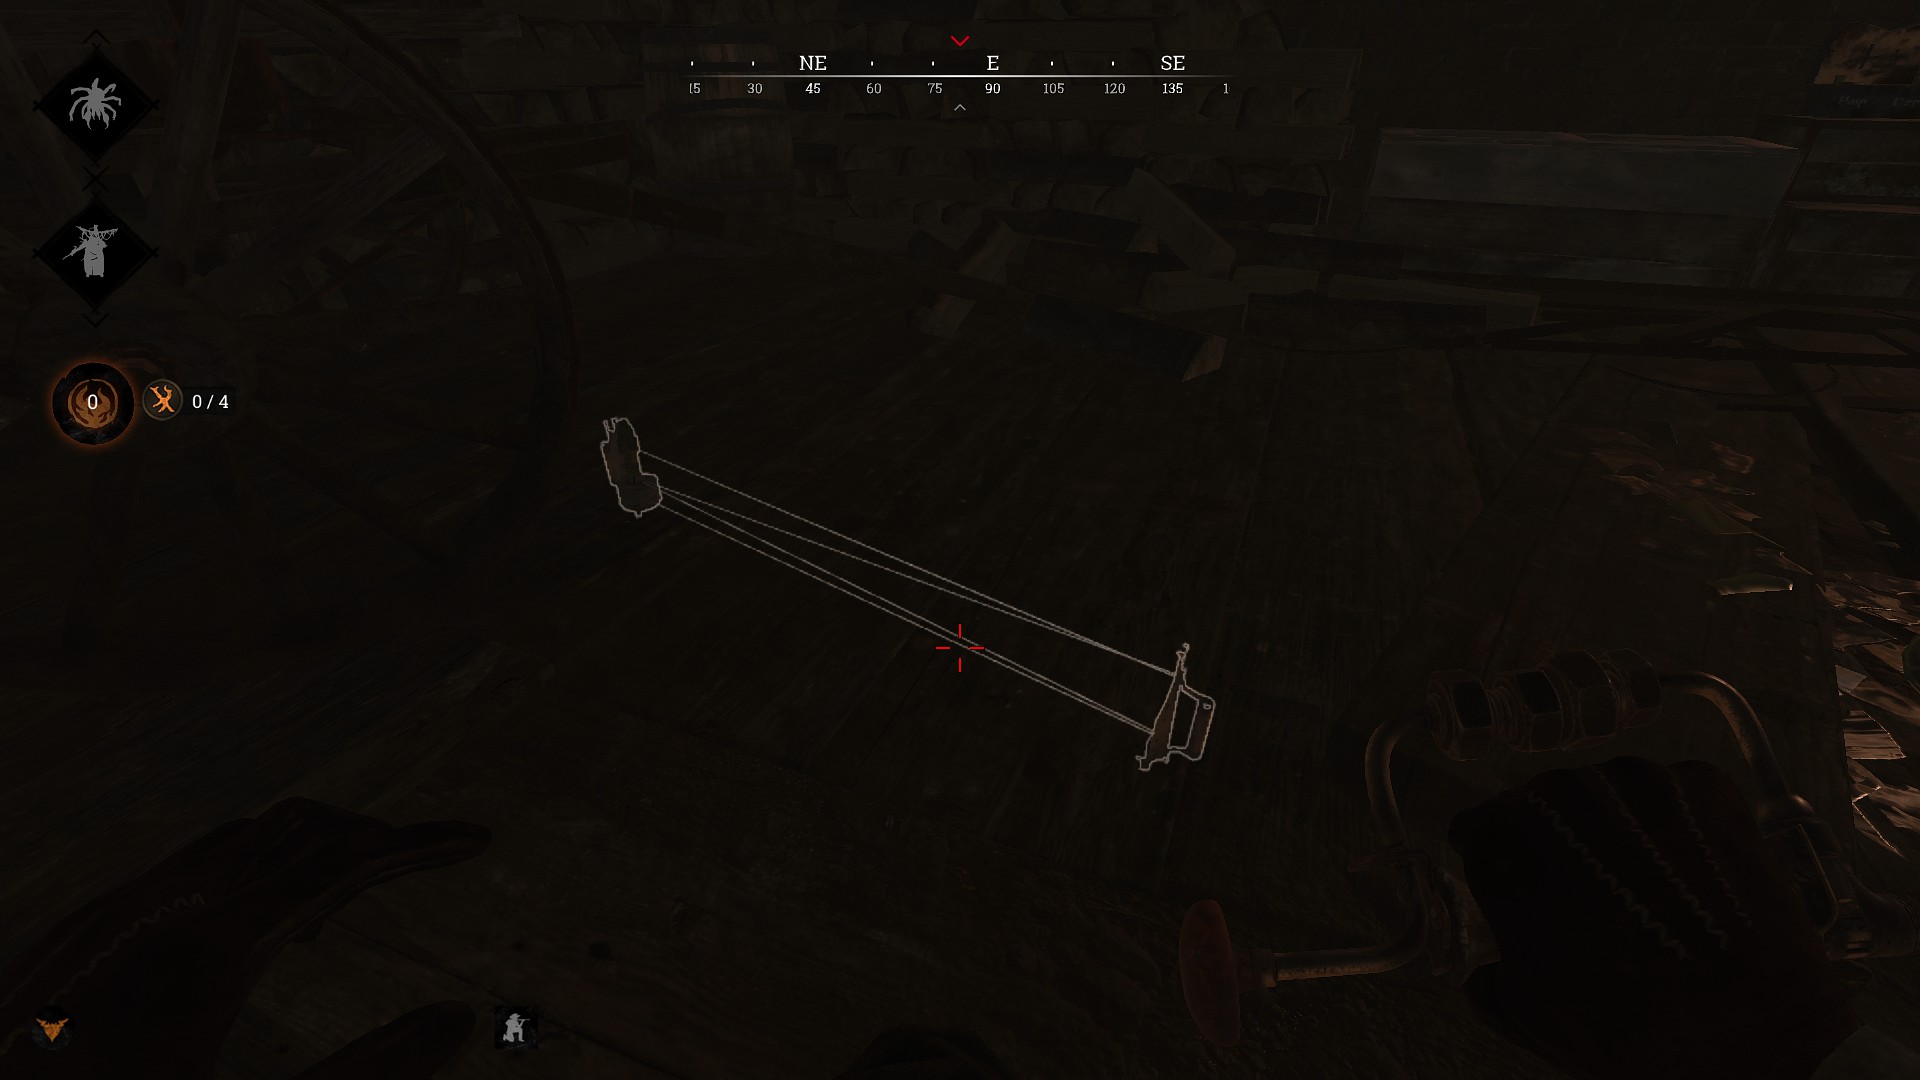
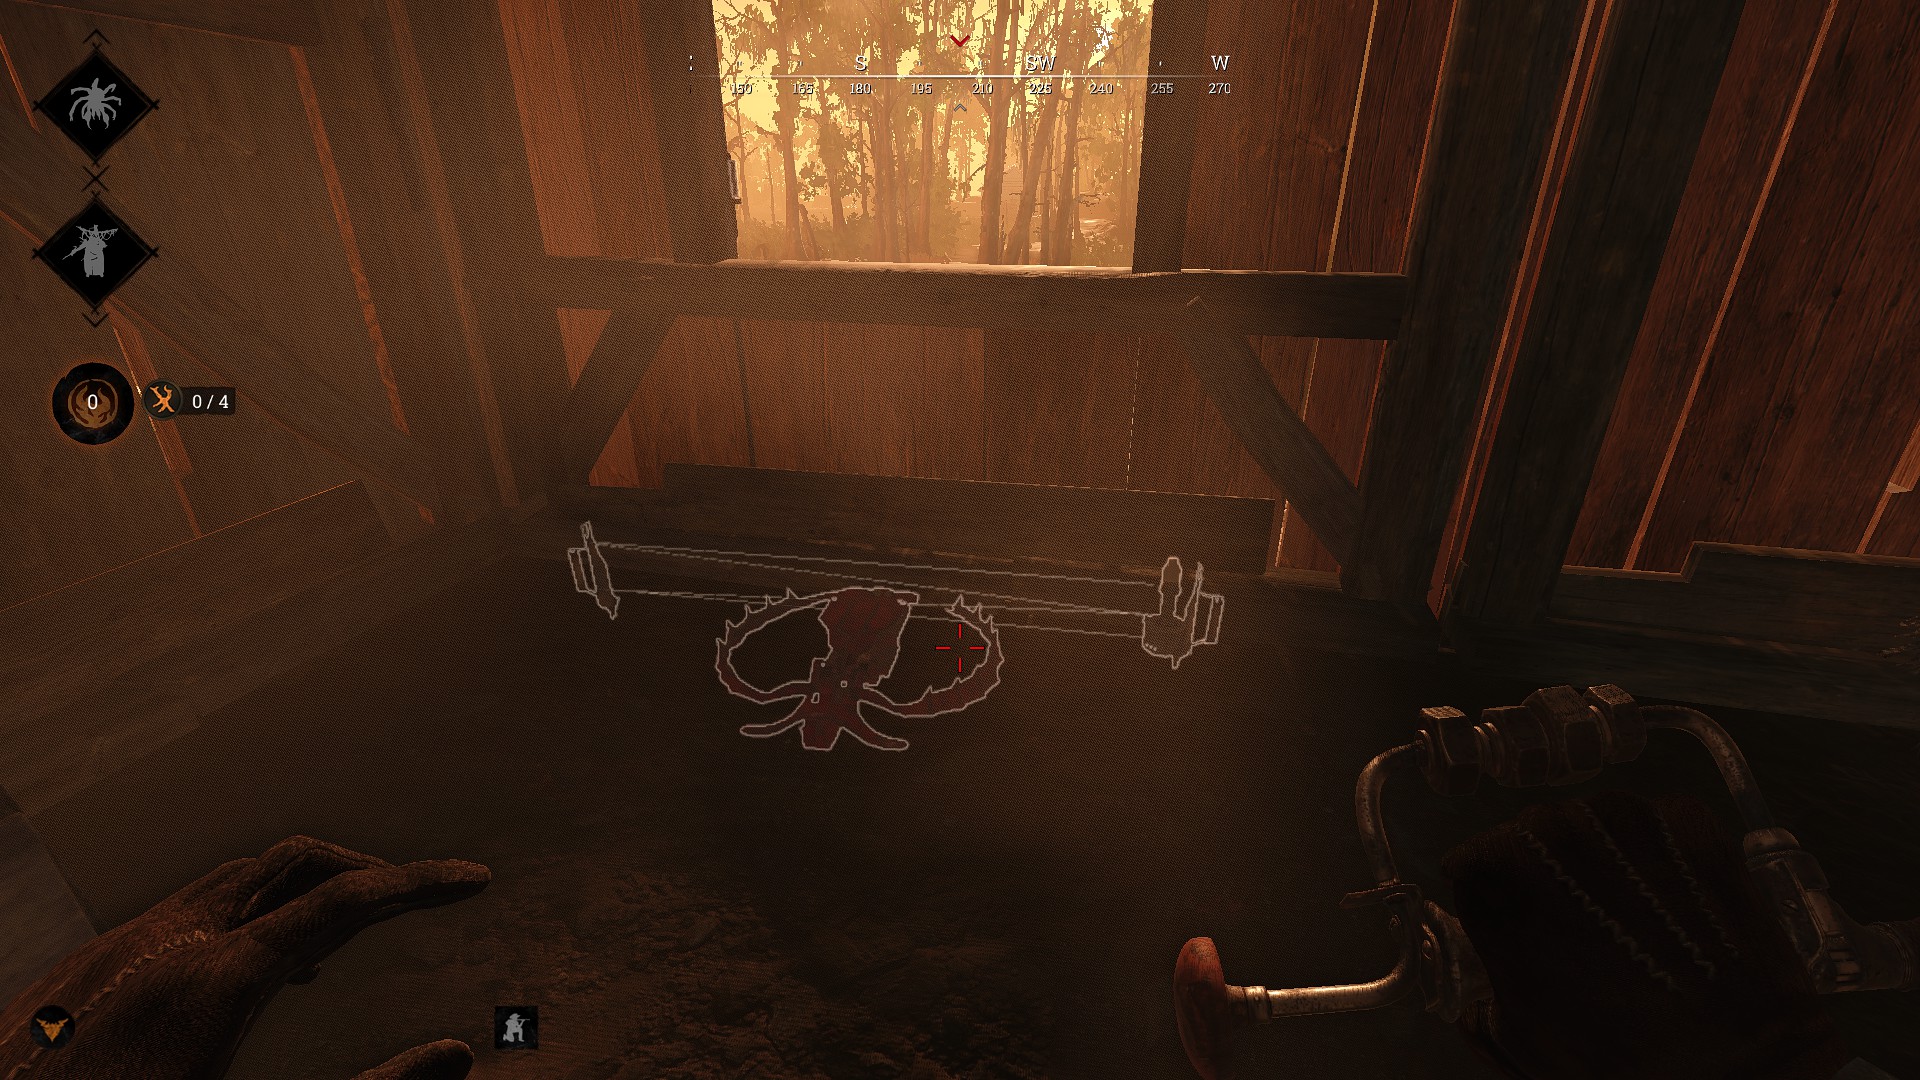
Concertina mines/bear traps and poison mines should mostly be reserved for lair defense. They can be placed in grass around a boss lair, under easily accessible windows of a boss lair, in choke points or on stairs of boss lairs, and work particularly well in poorly lit places, buildings surrounding boss lairs that people like to camp in and outer entrances leading to the boss lair building.
Do’s and Don’t’s
Do’s:
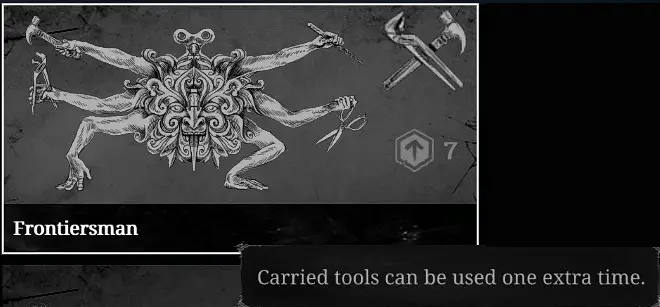
In order to maximize your deadliness and turn half the map into minesweeper you should always use the frontiersman trait which allows you to use tools (leer: each one of your traps) one extra time.
Watch where you step. A real hunter always watches where he steps. It’s easy to place a trap, forget about it and walk into it 3 minutes later and die horrifically. También, none of what’s described in this guide is new and a lot of it is extensively used by other players, so be careful near red barrels, windows and inside boss lairs that have players in them.
Don’t’s:
Don’t put your traps where you don’t want them. If you put down a trap it becomes a world item, meaning you can’t put it back in your inventory. So make sure you place your traps where you want them, because you won’t be able to carry them with you.
Eso es todo. Happy huntin’.
Eso es todo lo que estamos compartiendo hoy para este Caza: Confrontación guía. Esta guía fue originalmente creada y escrita por Adler. En caso de que no actualicemos esta guía, puede encontrar la última actualización siguiendo este enlace.