
- Titel: Hände der Nekromantie
- Veröffentlichungsdatum:
- Entwickler:
- Herausgeber:
Informationen über Hände der Nekromantie sind noch unvollständig. Bitte helfen Sie uns dabei, die Details des Spiels auszufüllen Kontaktformular.
Jede Episode von Hands of Necromancy besteht aus sieben Karten. Der erste von ihnen dient als Drehscheibe für die Episode, wobei fünf Portale auf fünf Karten liegen. Vier dieser Karten sind miteinander verbunden, d.h. Die sechs verschiedenen Schlüssel werden zwischen ihnen geteilt und der Nekromanten muss die meisten mehr als einmal besuchen, die benötigten Schlüssel voneinander tragen. Er erhält auch im Laufe seines Abenteuers Zugang zu vier verschiedenen Transformationen. Diese Transformationen sind mit ihren eigenen Kampf- und Erkundungsfähigkeiten ausgestattet und sind auch für den Fortschritt innerhalb der Episode erforderlich.
Durch die vollständige Erfüllung der Anforderungen der ersten vier Karten innerhalb einer Episode können der Nekromant auf die sechste Karte der fraglichen Episode aus dem zugehörigen Hub zugreifen. Die sechsten Karten sind in sich geschlossen. Sie markieren Punkte ohne Rückkehr und dienen als Zwischenstufe zwischen dem Hub und der letzten Karte der Episode. Das Finale (oder der siebte) Die Karte jeder Episode ist auch eine in sich geschlossene Angelegenheit, Gipfel in einem Bosskampf mit einem der untoten Könige. Die einzige Ausnahme von diesem System ist die letzte Karte der dritten Folge, Das lässt den gewöhnlichen Niveau-Aufbau beiseite und legt den Nekromanten direkt in eine Arena, in der er gegen den letzten untoten König kämpft.
Es gibt keine geheimen Karten im Spiel. Obwohl ab der zweiten oder dritten Folge dem Nekromant die Transformationen gewährt, die er zu diesem Zeitpunkt hätte gewinnen sollen, Es wird empfohlen, aus der ersten Folge zu beginnen, wenn es Ihr erster Durchgang ist.
Dieser Handbuch listet die Geheimnisse in der Reihenfolge der Kartennummern auf. Trotzdem, Berücksichtigung des Hub -basierten Fortschritts, Die tatsächliche Reihenfolge der Bekämpfung des Niveaus kann stark unterschiedlich sein. Wenn eine Transformation erforderlich ist, um ein bestimmtes Geheimnis zu erreichen, Der Leitfaden sagt es in Klammern.
Alle Screenshots sind etwas Gamma, das außerhalb des Spiels für bessere Klarheit gepoppt ist.
Folge 3: Facing Death
Das Spiel sammelt und bietet Hinweise auf eine Schlüsselpresse. Falls die Dinge verwirrend werden, Hier ist die optimale Reihenfolge der Fortschritte durch die Episode:
- Clear out the Ancient Ruins, get the lay of the land and find the sole secret.
- Get the Iron Key from the Swamp Village and find the first three secrets.
- Get the Skull Key from the Volcano.
- Get the Fire Key and the Dragon Key from the Temple of Iron.
- Get the Wyvern transformation from the Abandoned Castle.
- Return to Swamp Village, get the Wind Key and find the last secret.
- Return to the Volcano and get the Snake Key.
- Return to the Ancient Ruins, fly over the abyss and enter Mountains of Evil.
- Fight your way through Mountains of Evil to reach the Final Encounter.
- Confront the last Undead King in the Final Encounter.
Facing Death contains a total of 13 Geheimnisse.
M15: The Ancient Ruins (Nabe)
Diese Karte enthält nur ein einziges Geheimnis.
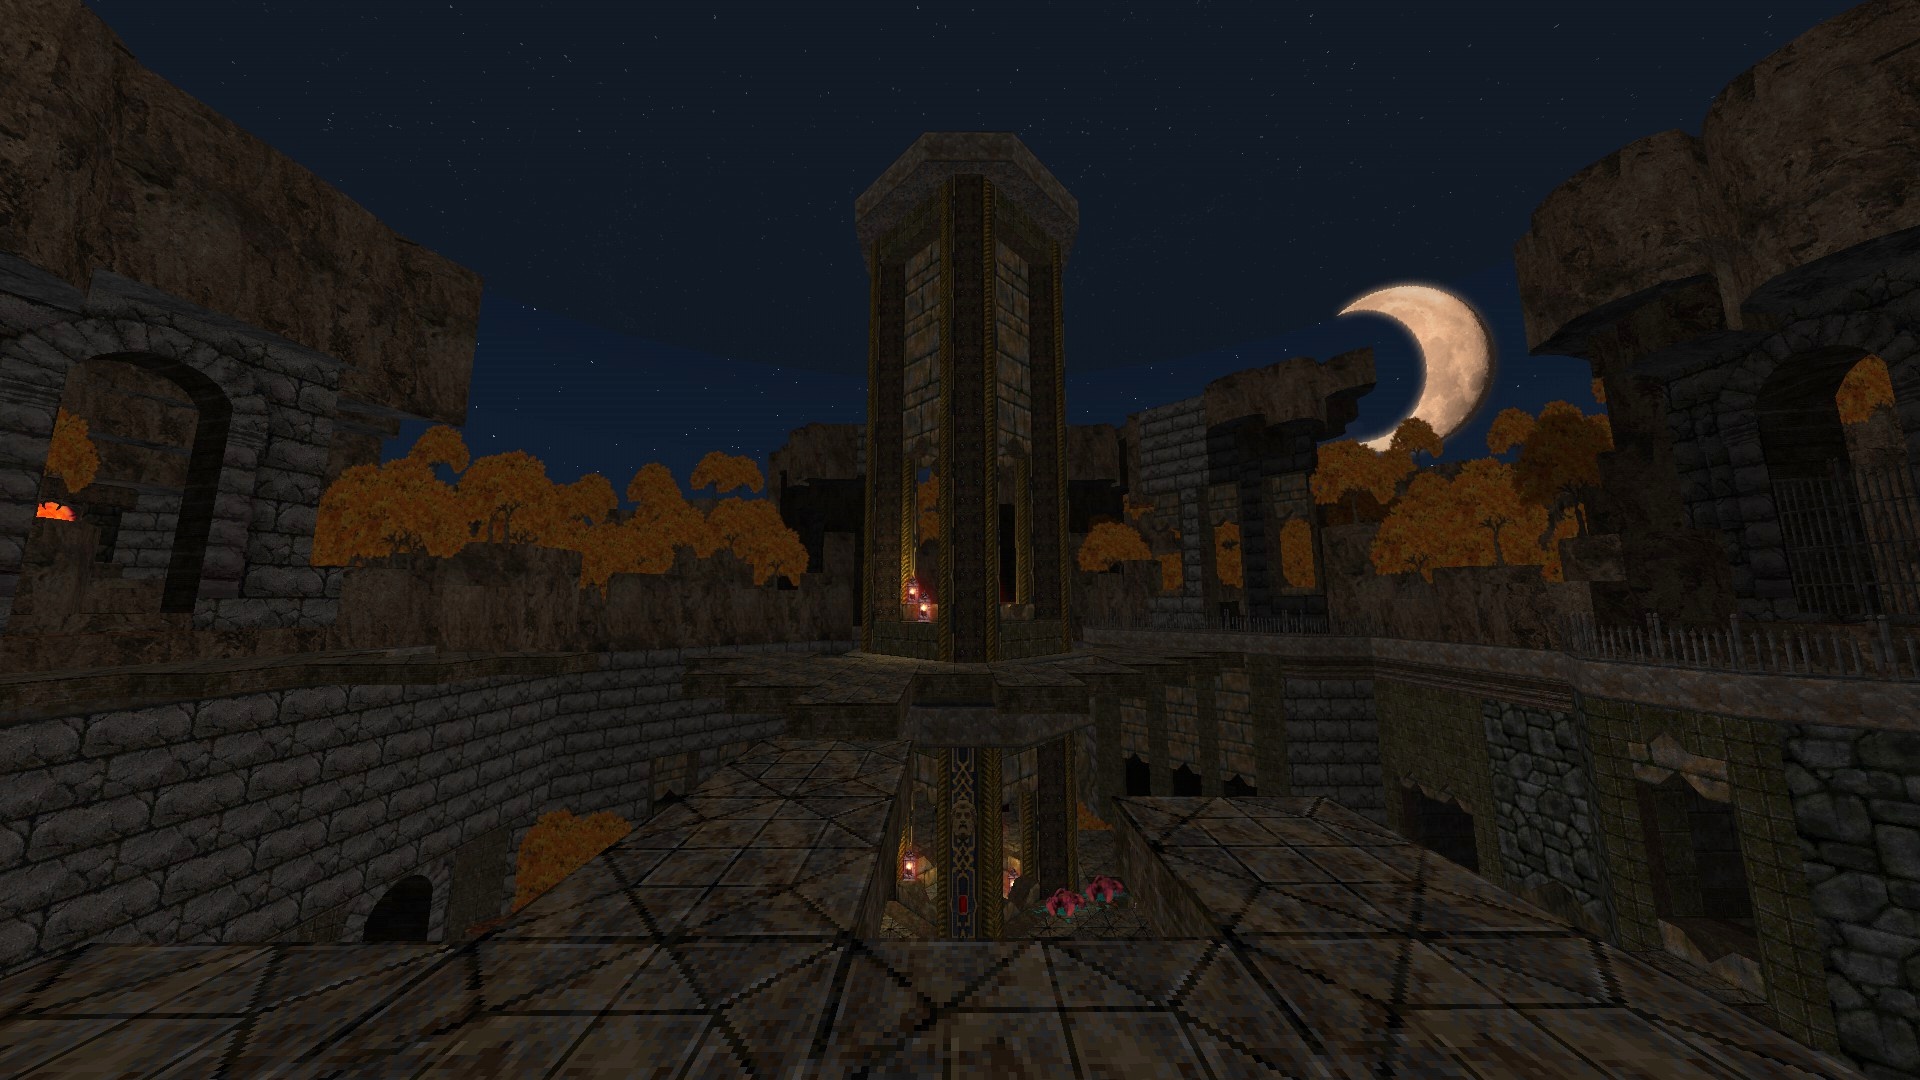
1/1 – Make your way to the top level where the portals to Temple of Iron and The Abandoned Castle are found and jump over the balcony railing to reach the otherwise barred area where a bunch of items are lying out in the open.
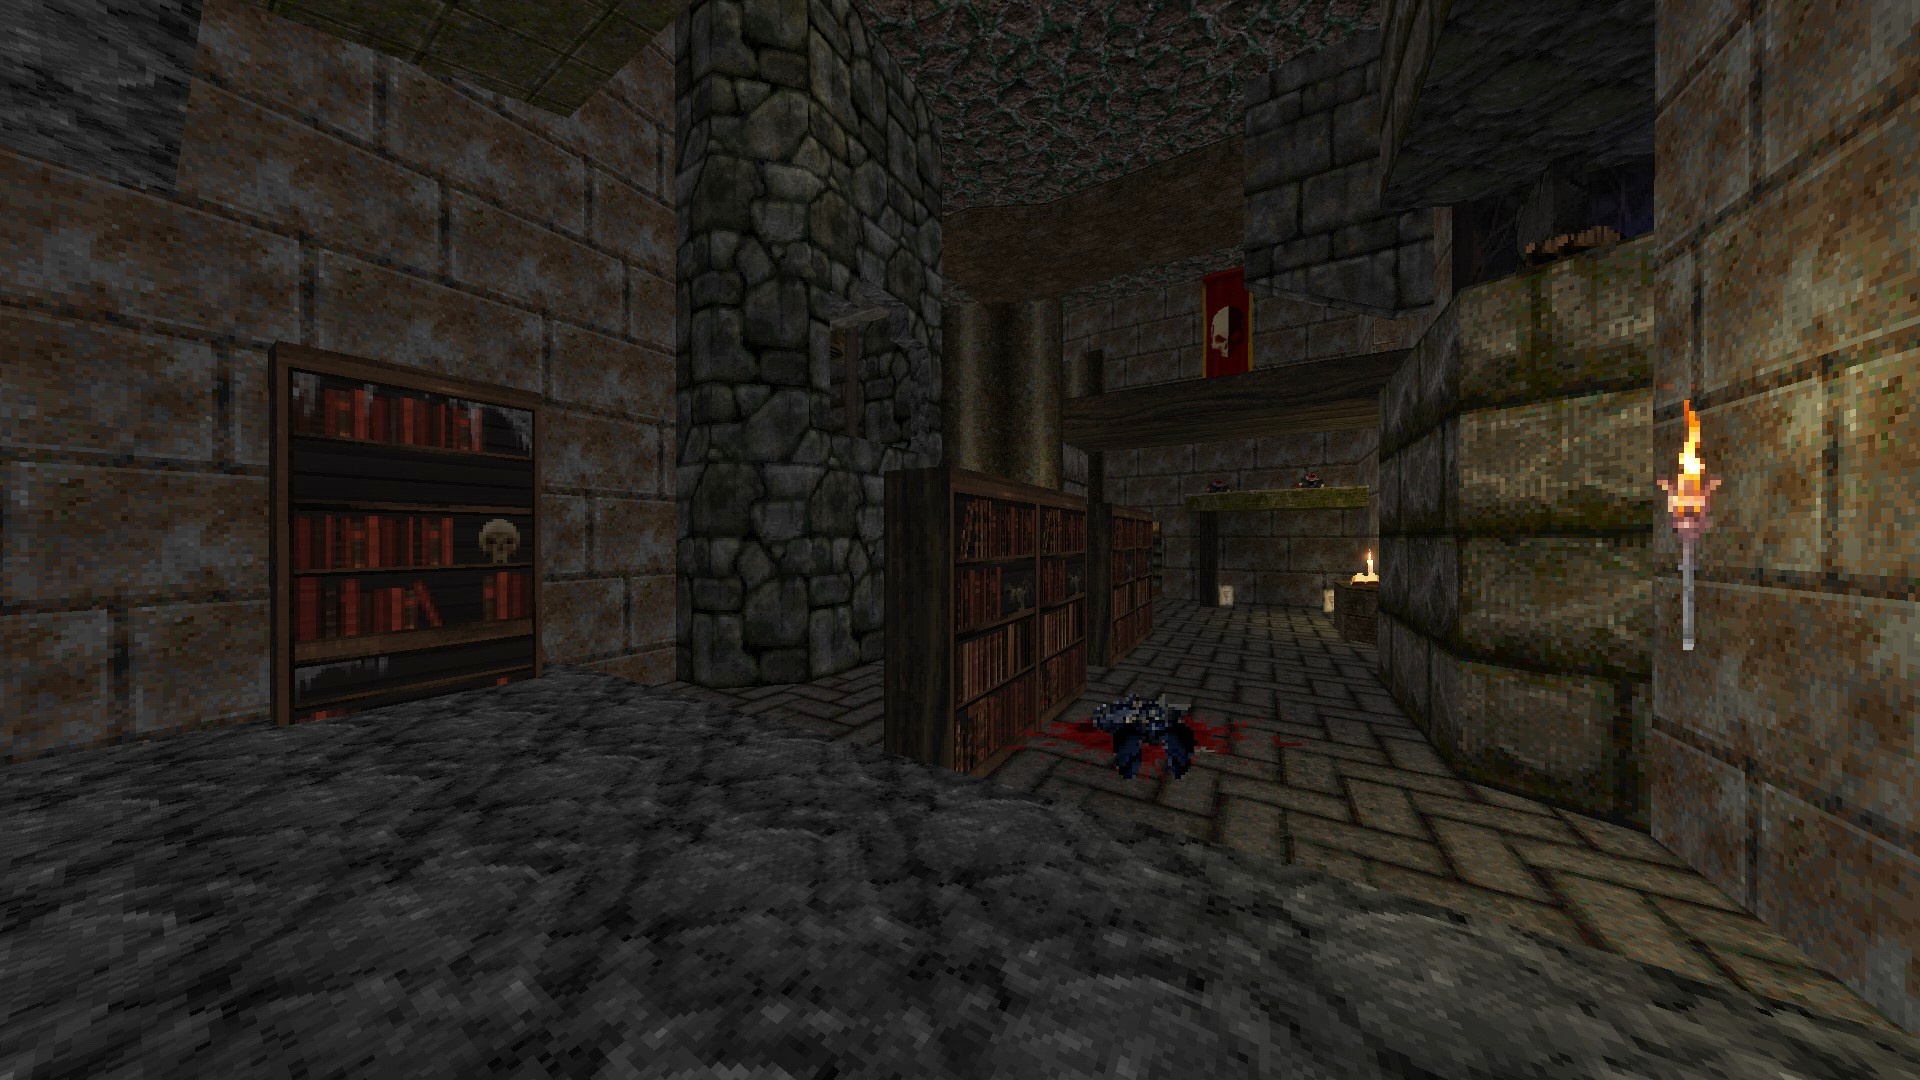
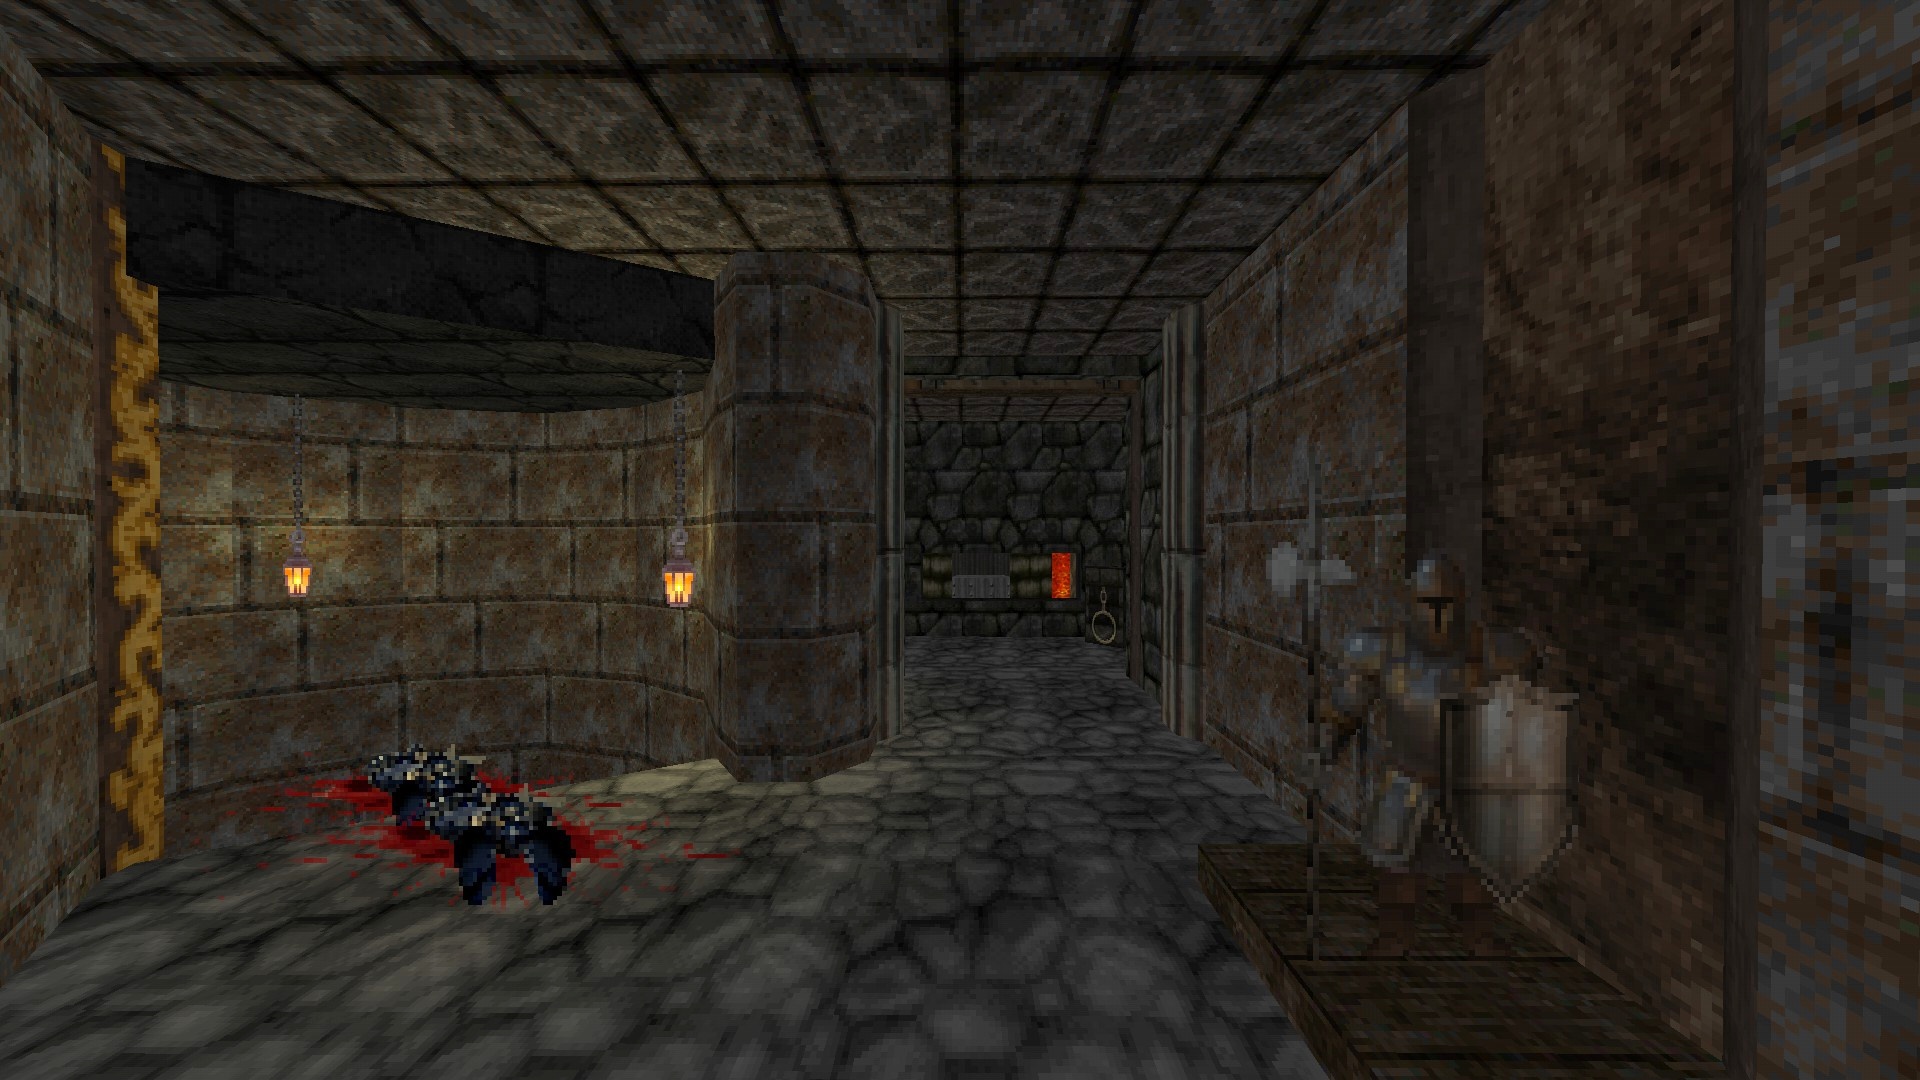
M16: Temple of Iron
Diese Karte enthält 5 Geheimnisse.
1/5 – (Sumpfschlange) Gleich am Anfang, fit through the opening found nearby the switch that opens up the way into the temple to reach a bunch of barred items.

2/5 – Nach dem vorherigen Geheimnis folgen, take the stairs to the lower level and use the wall panel between the two candelabras to reveal a hidden item.
3/5 – Use the wall panel marked with a candle between the two crushers before the second Skull door to access a hidden compartment.
4/5 – The switch found on the second floor of the library that activates the nearby lift doubles as a way of accessing the hidden compartment on the lower floor. Ziehen Sie daran, quickly drop down and turn around to get into the newly-revealed area.
5/5 – Right after pulling the switch that activates the lift to the top floor, drop down to your left, turn around and follow the narrow ledge. Approach the vase on the other side to reveal a hidden compartment.
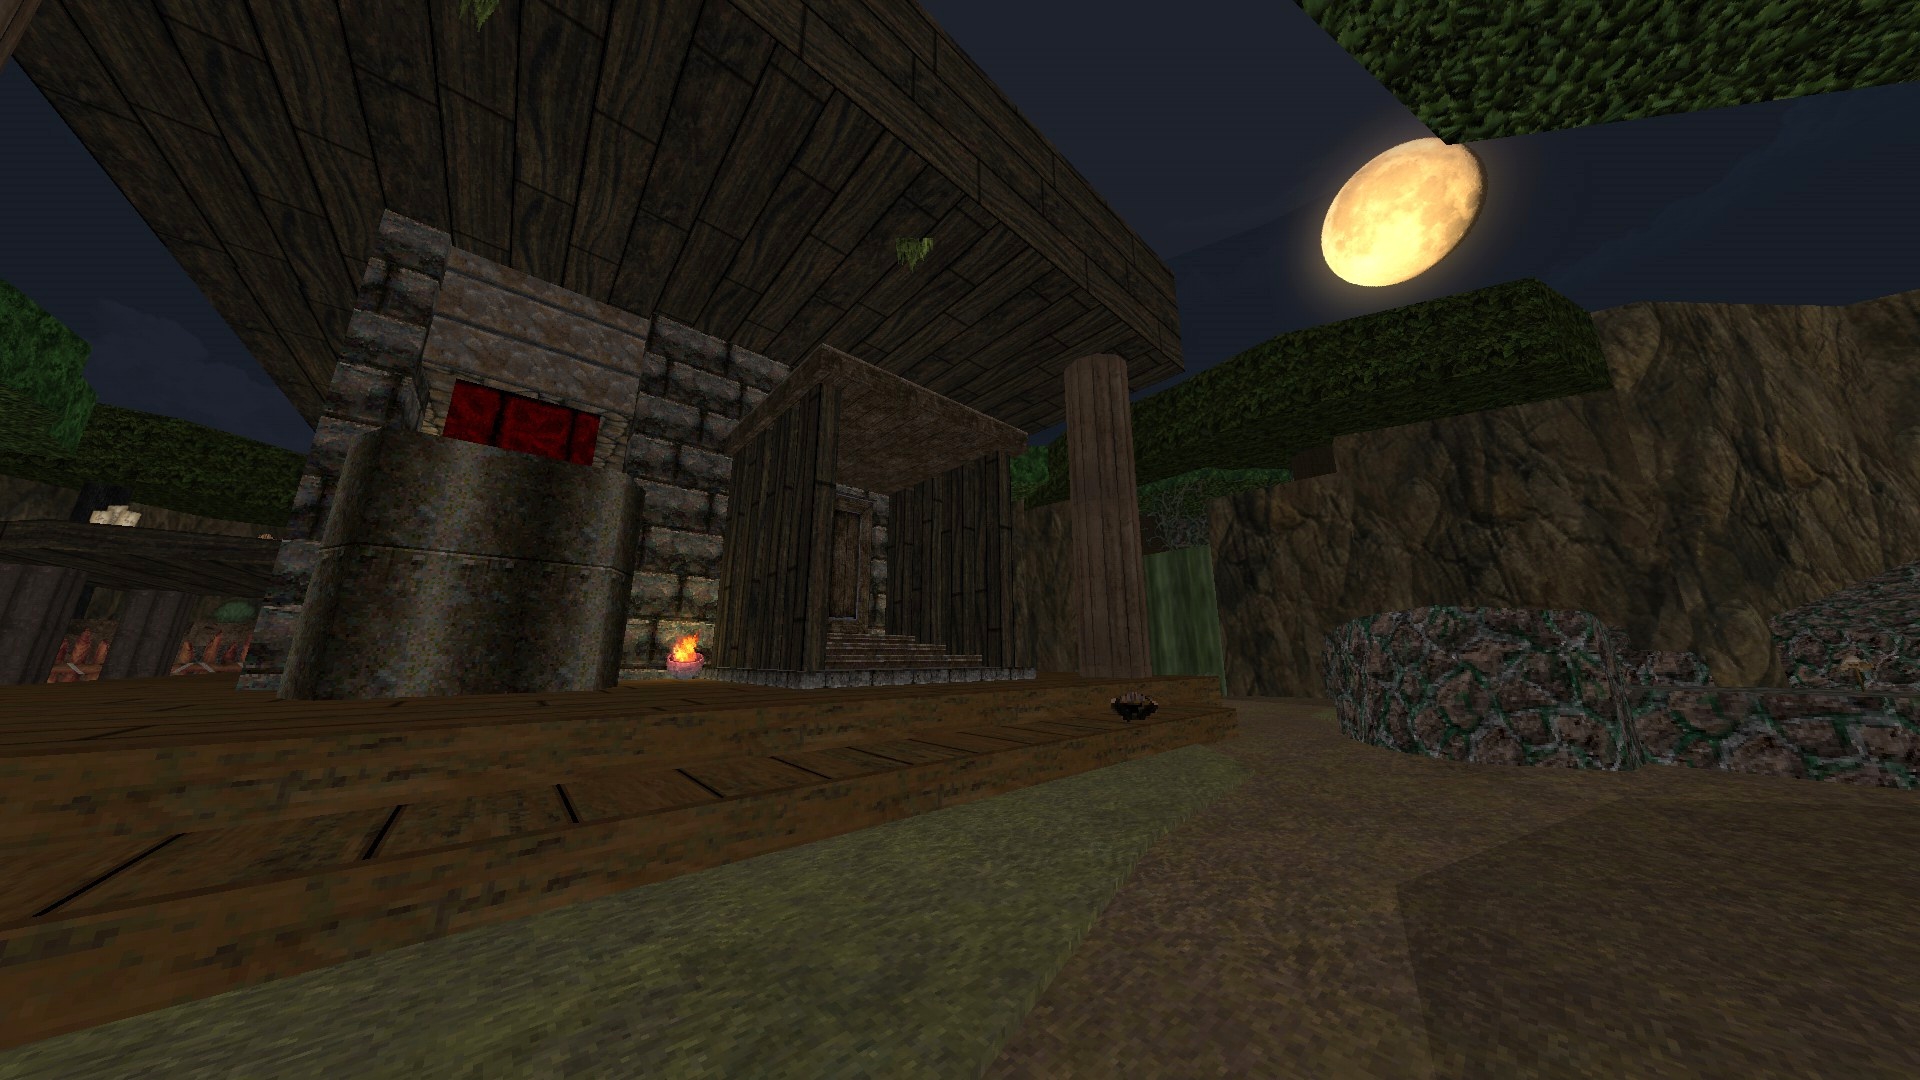
M17: The Swamp Village
Diese Karte enthält 4 Geheimnisse.
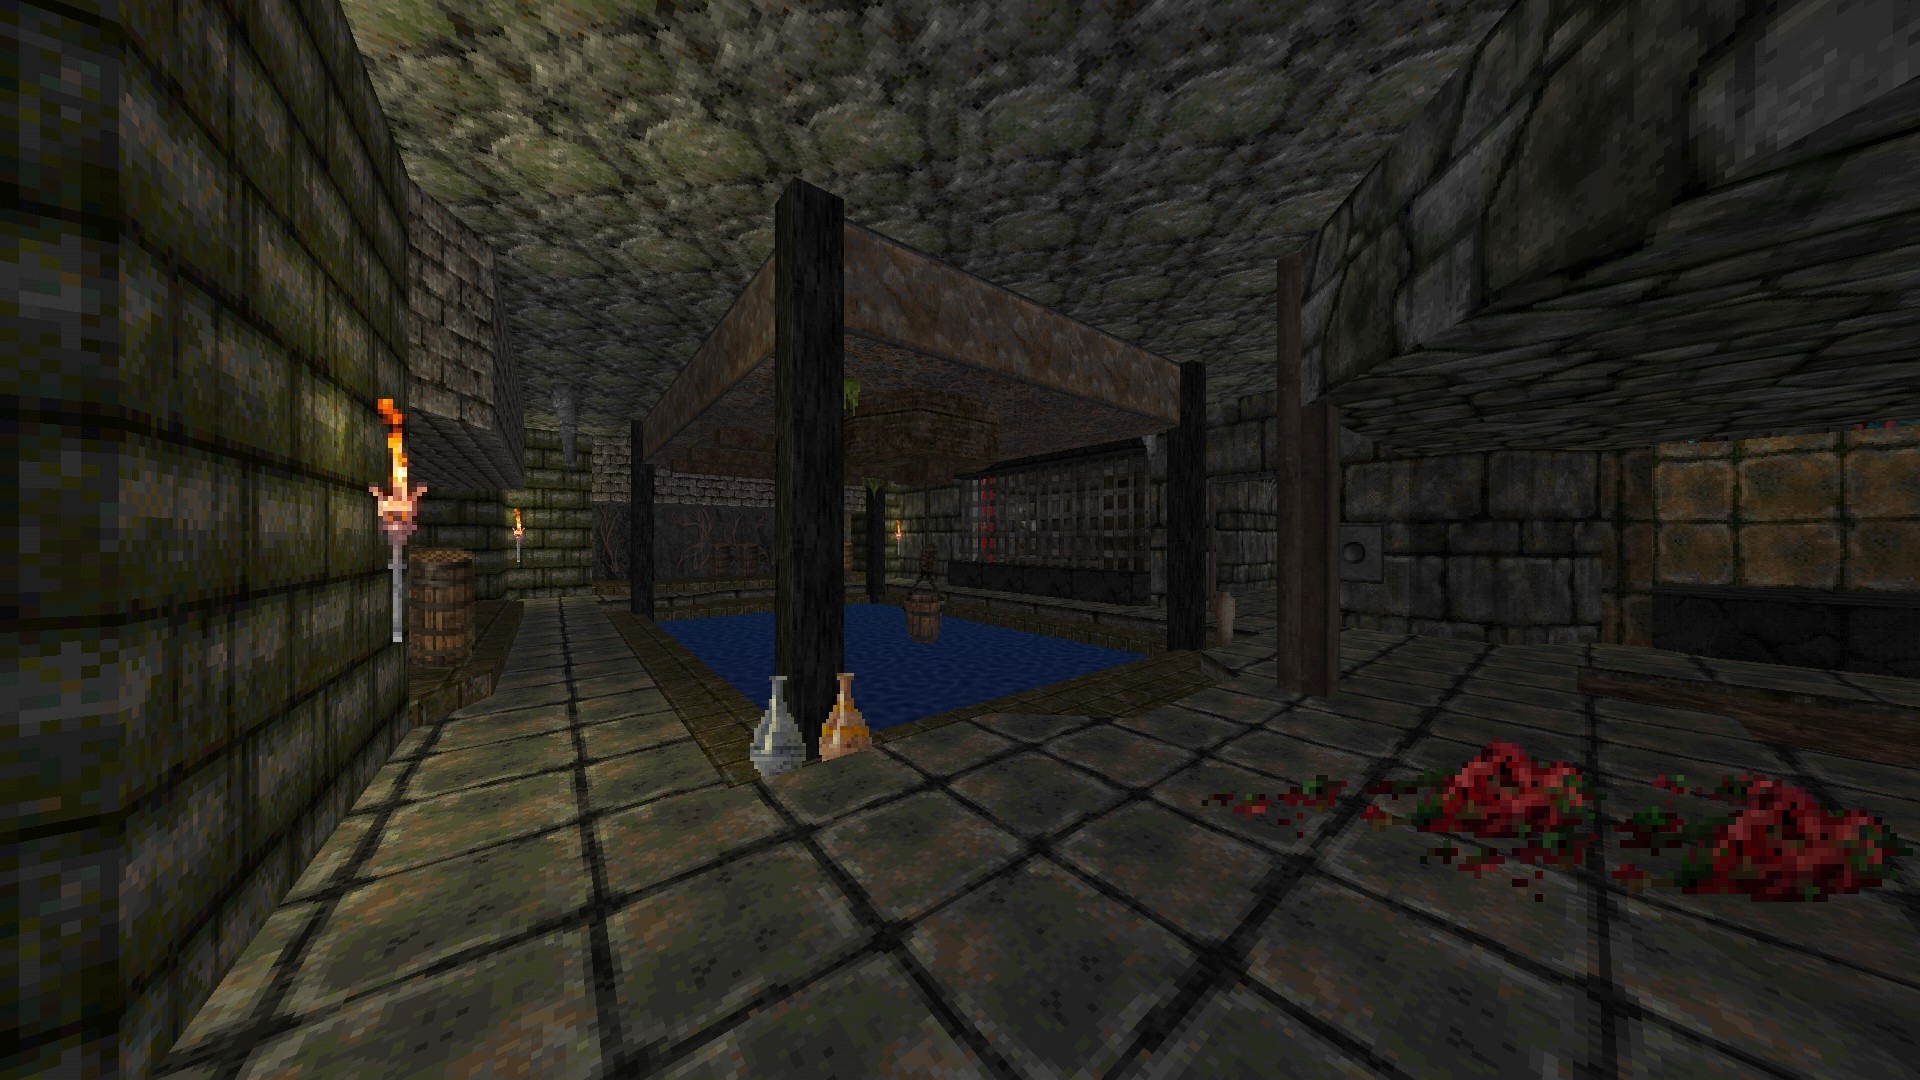
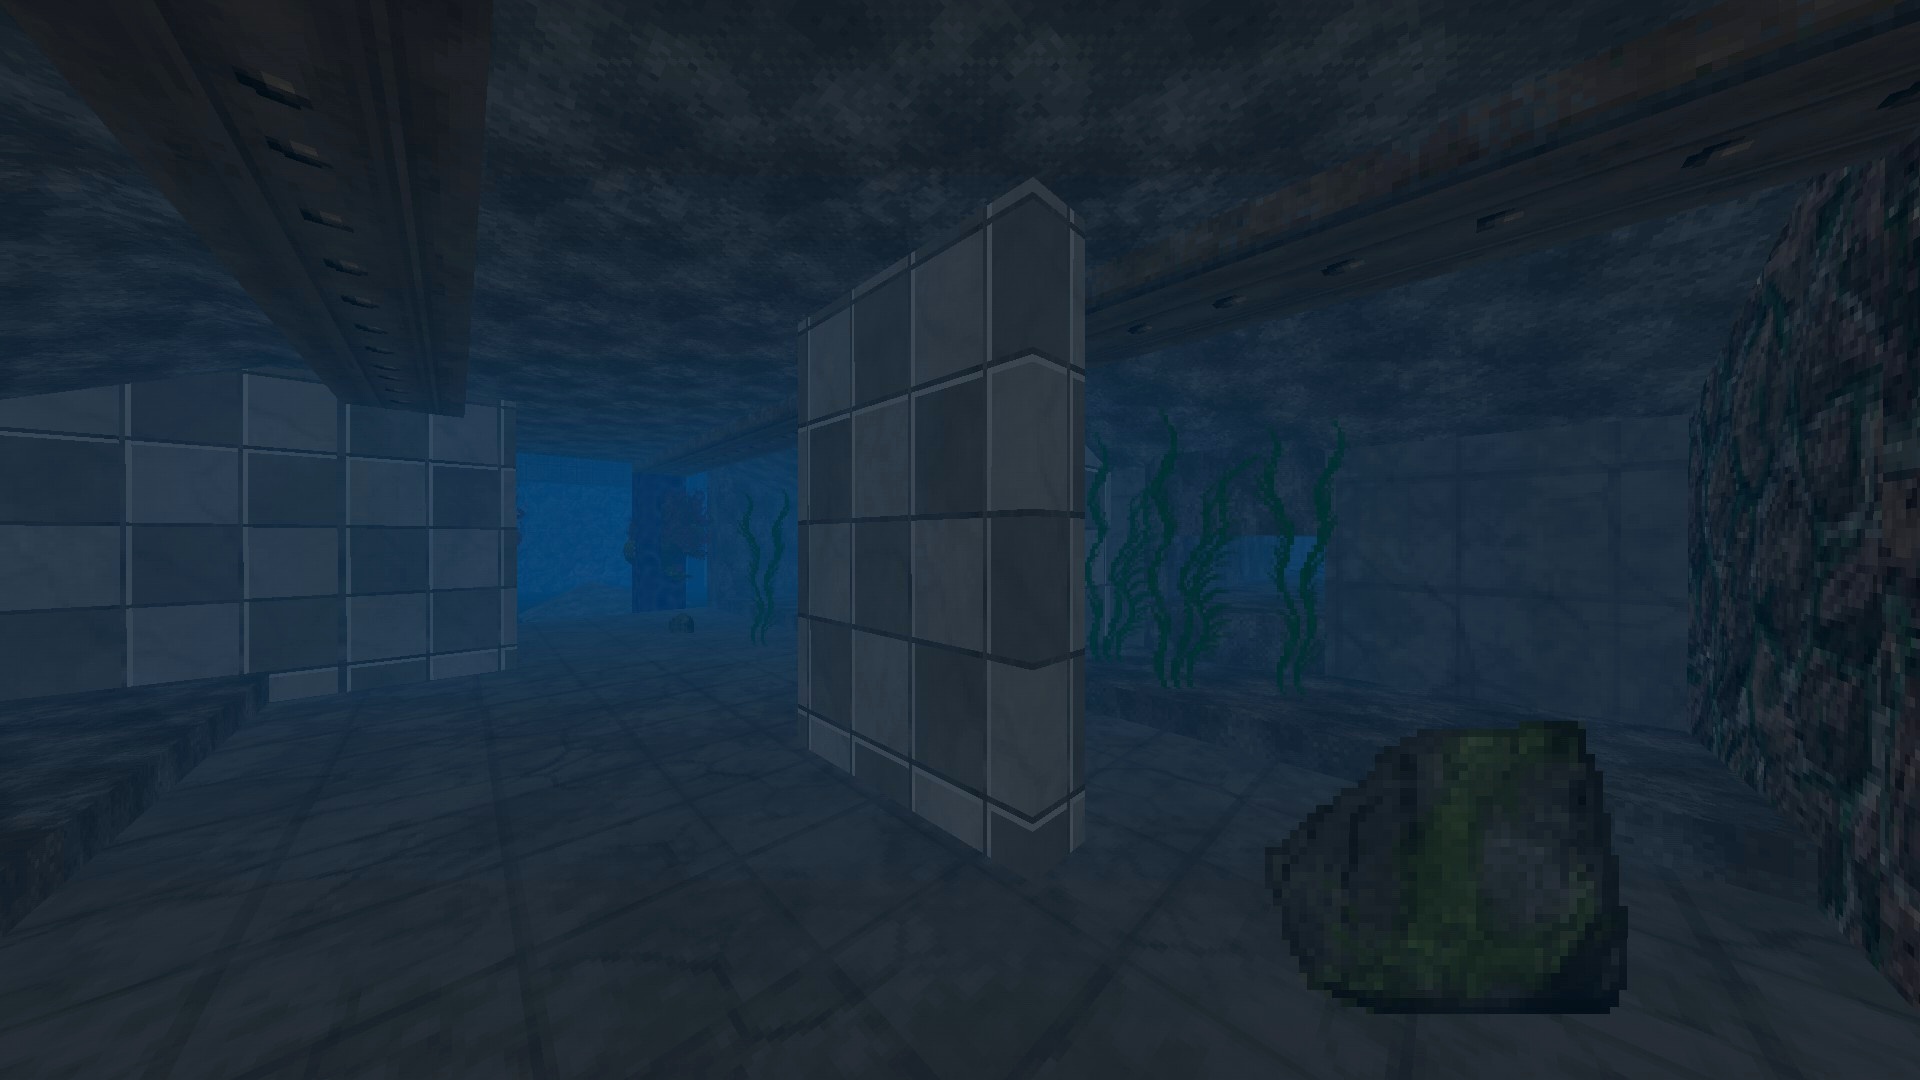
1/4 – (Sumpfschlange) Once you reach the pool in the building right across the portal, dive in and look for an opening you can fit through through reach a lengthy side area that ends with an otherwise barred item.

2/4 – Nach dem vorherigen Geheimnis folgen, leave the building via the back door and look for a slightly discolored part on the enormous trunk next to the hut. Walk through it to find a hidden item.
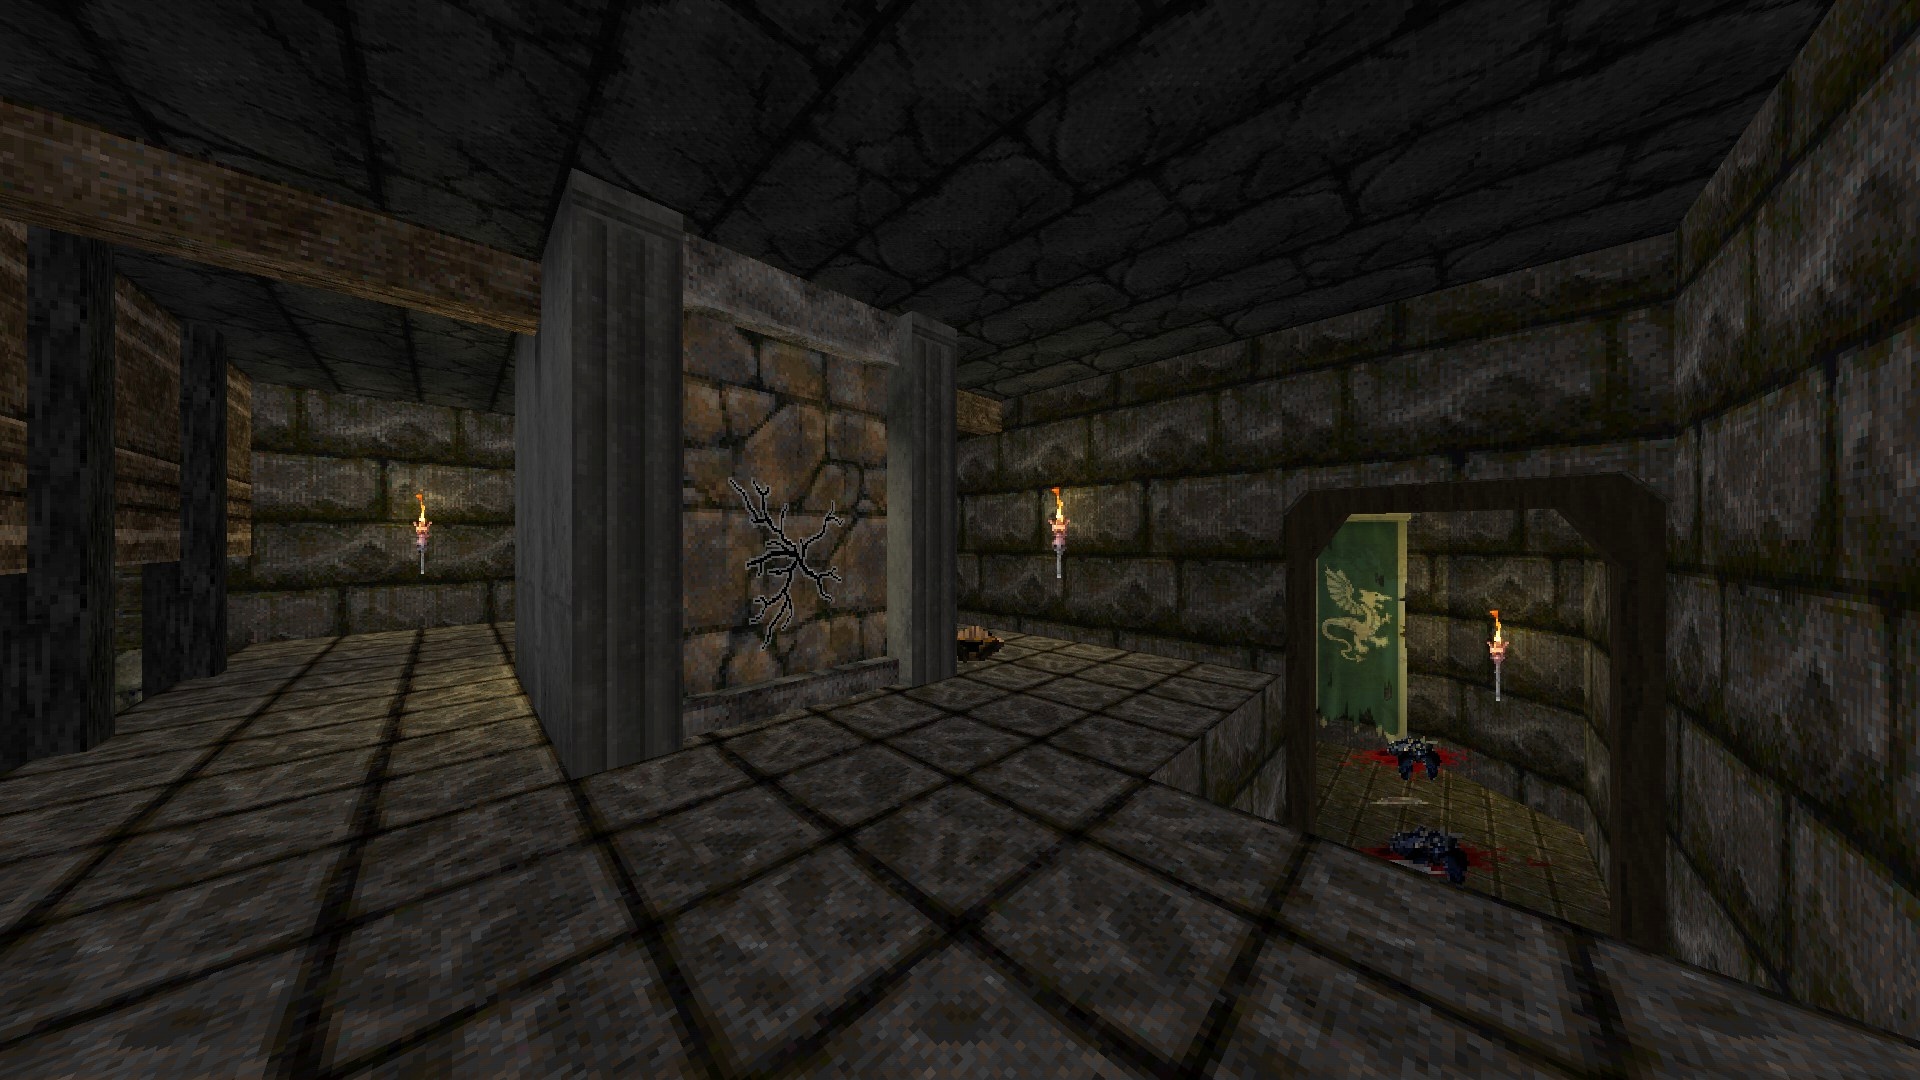
3/4 – In the building behind the central one, find the cracked side of the pillar at the center of the very first room and destroy it to reveal a hidden alcove.
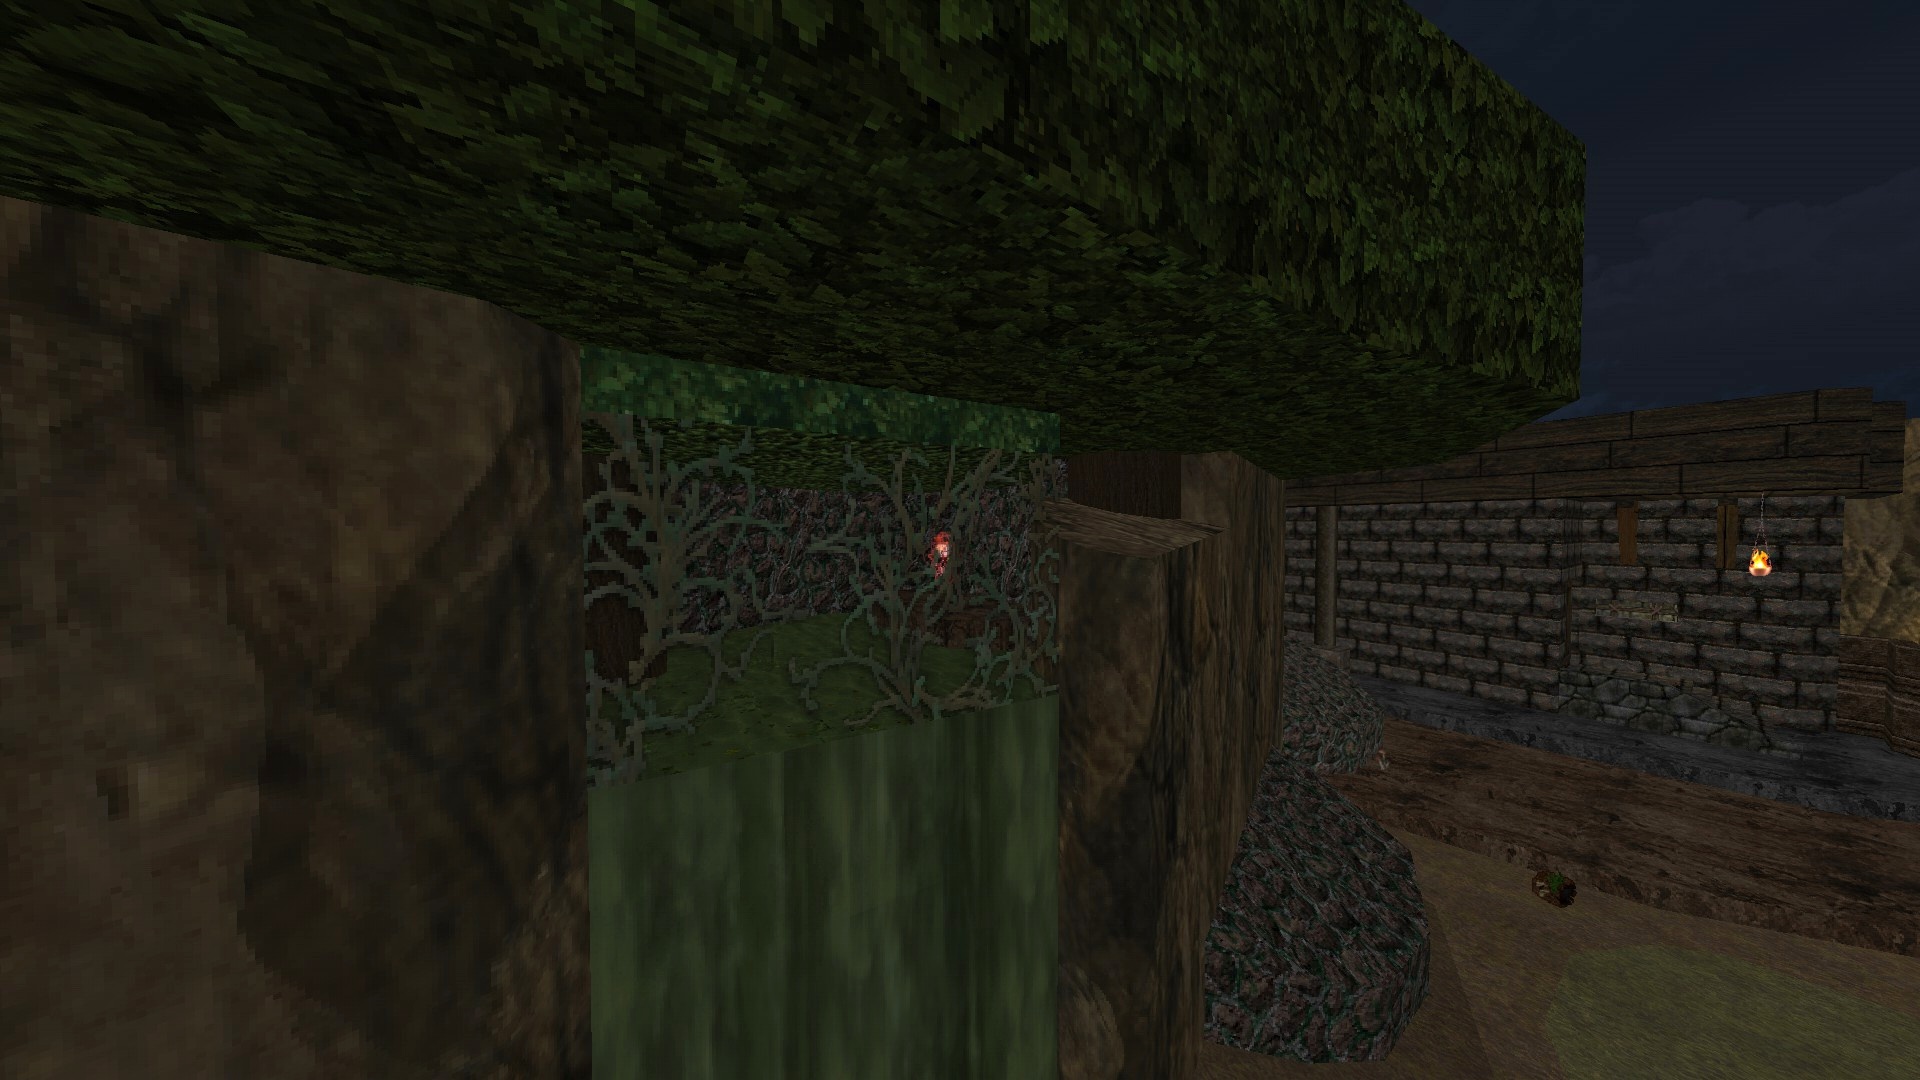
4/4 – (Wyvern) Fly into the opening covered by plants above the waterfall next to the central building to find a hidden item.
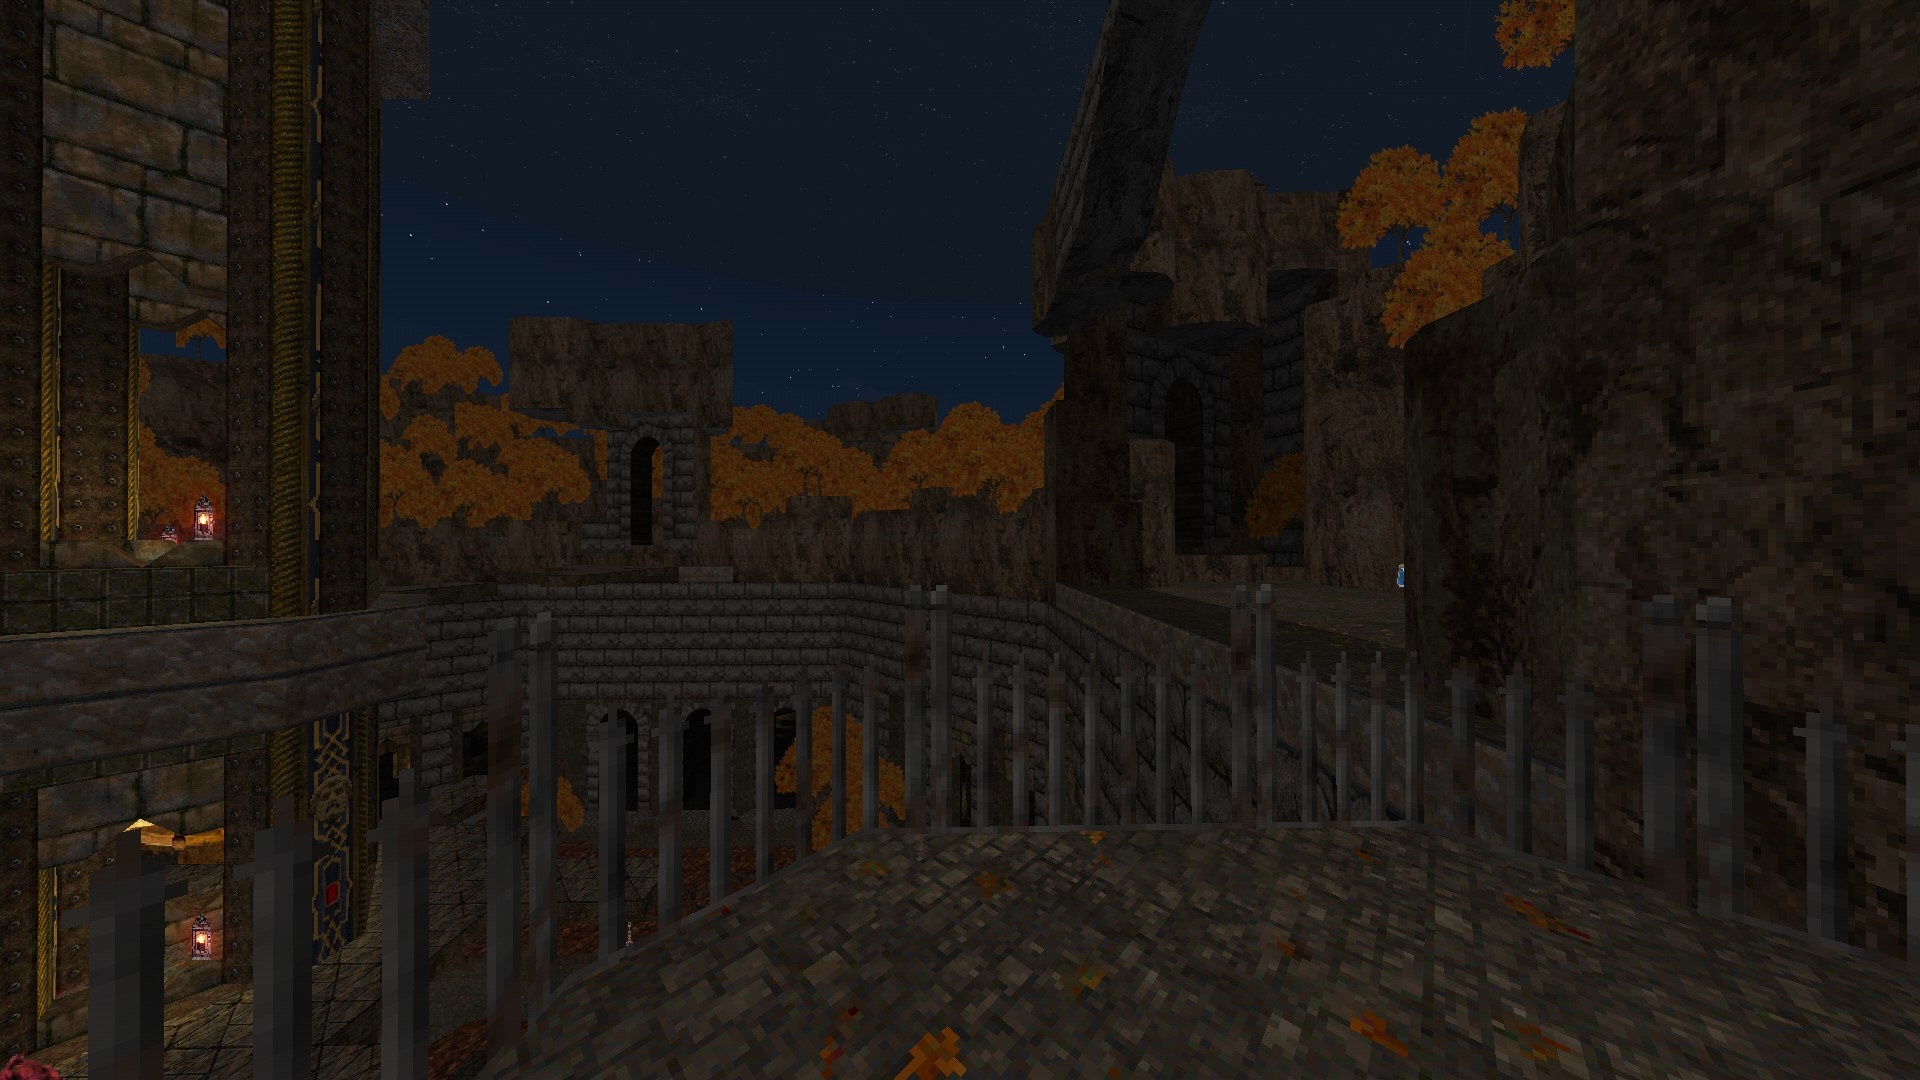
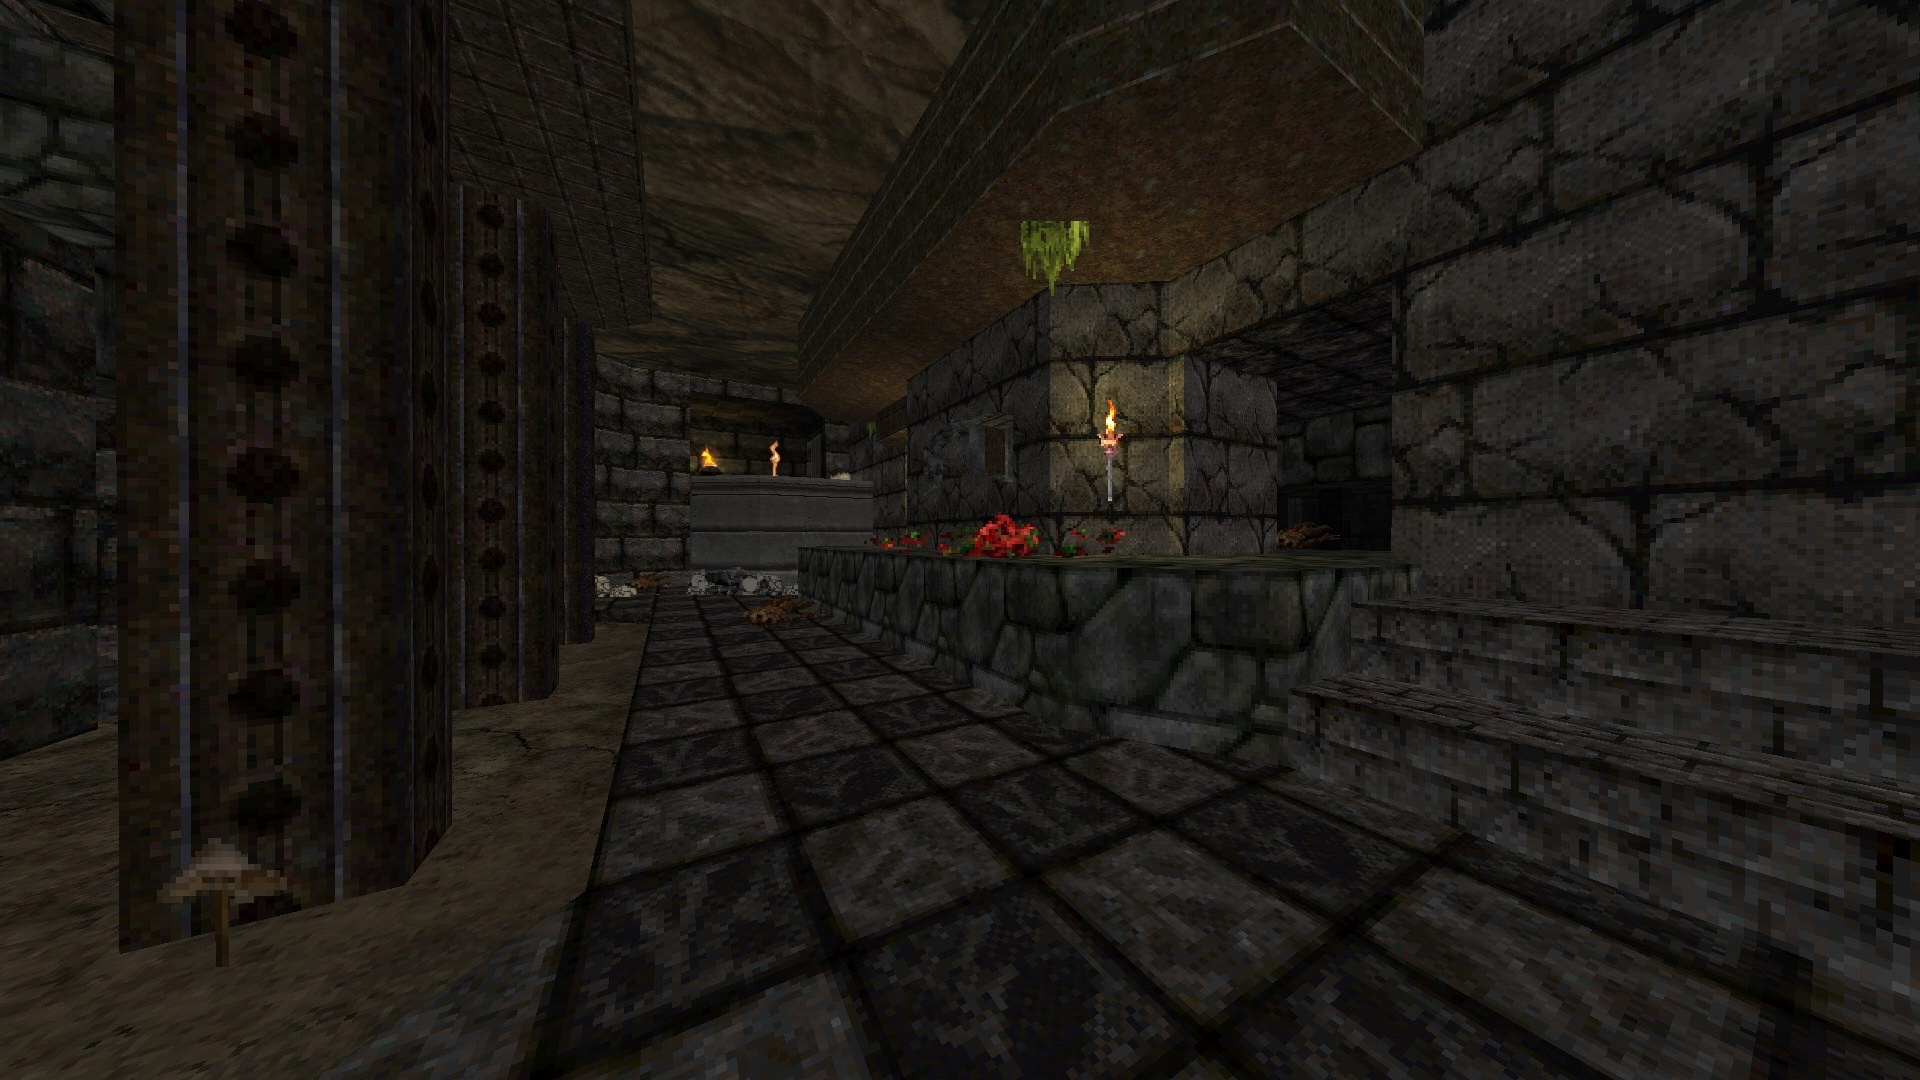
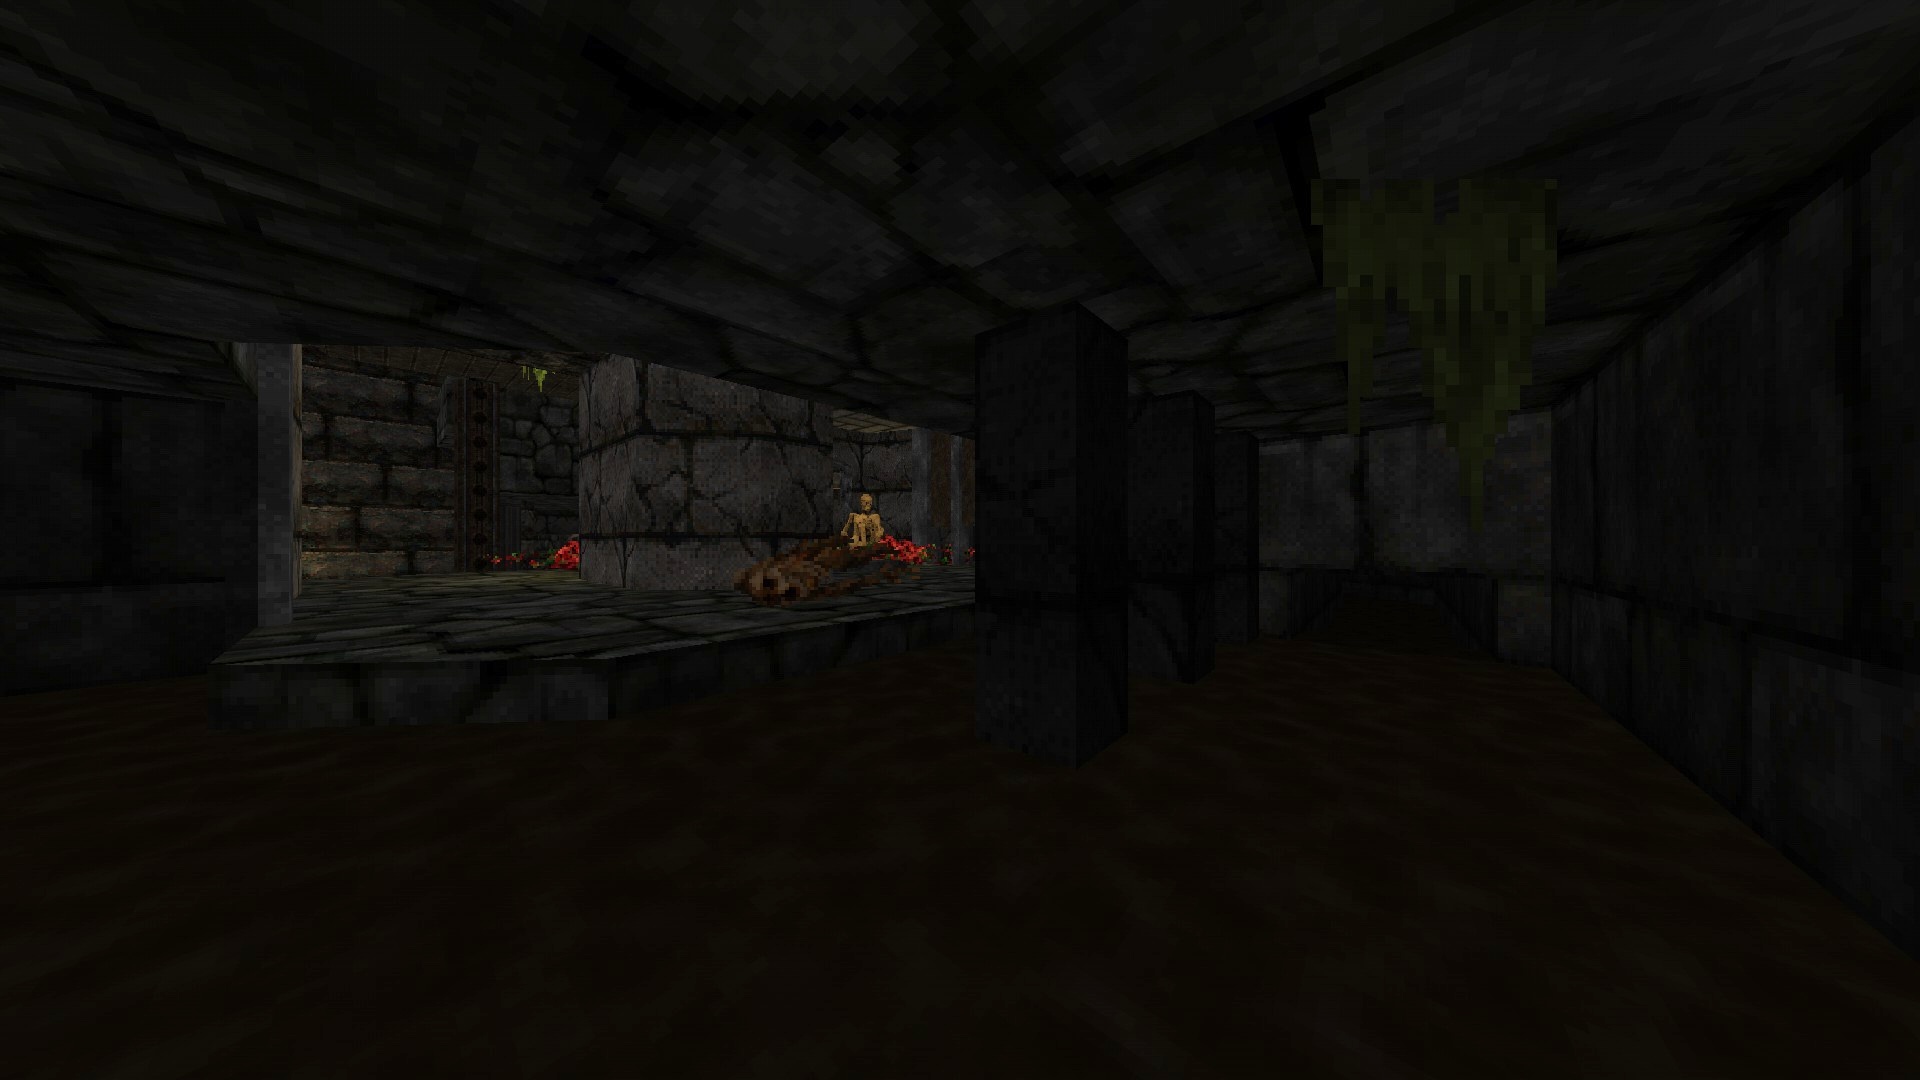
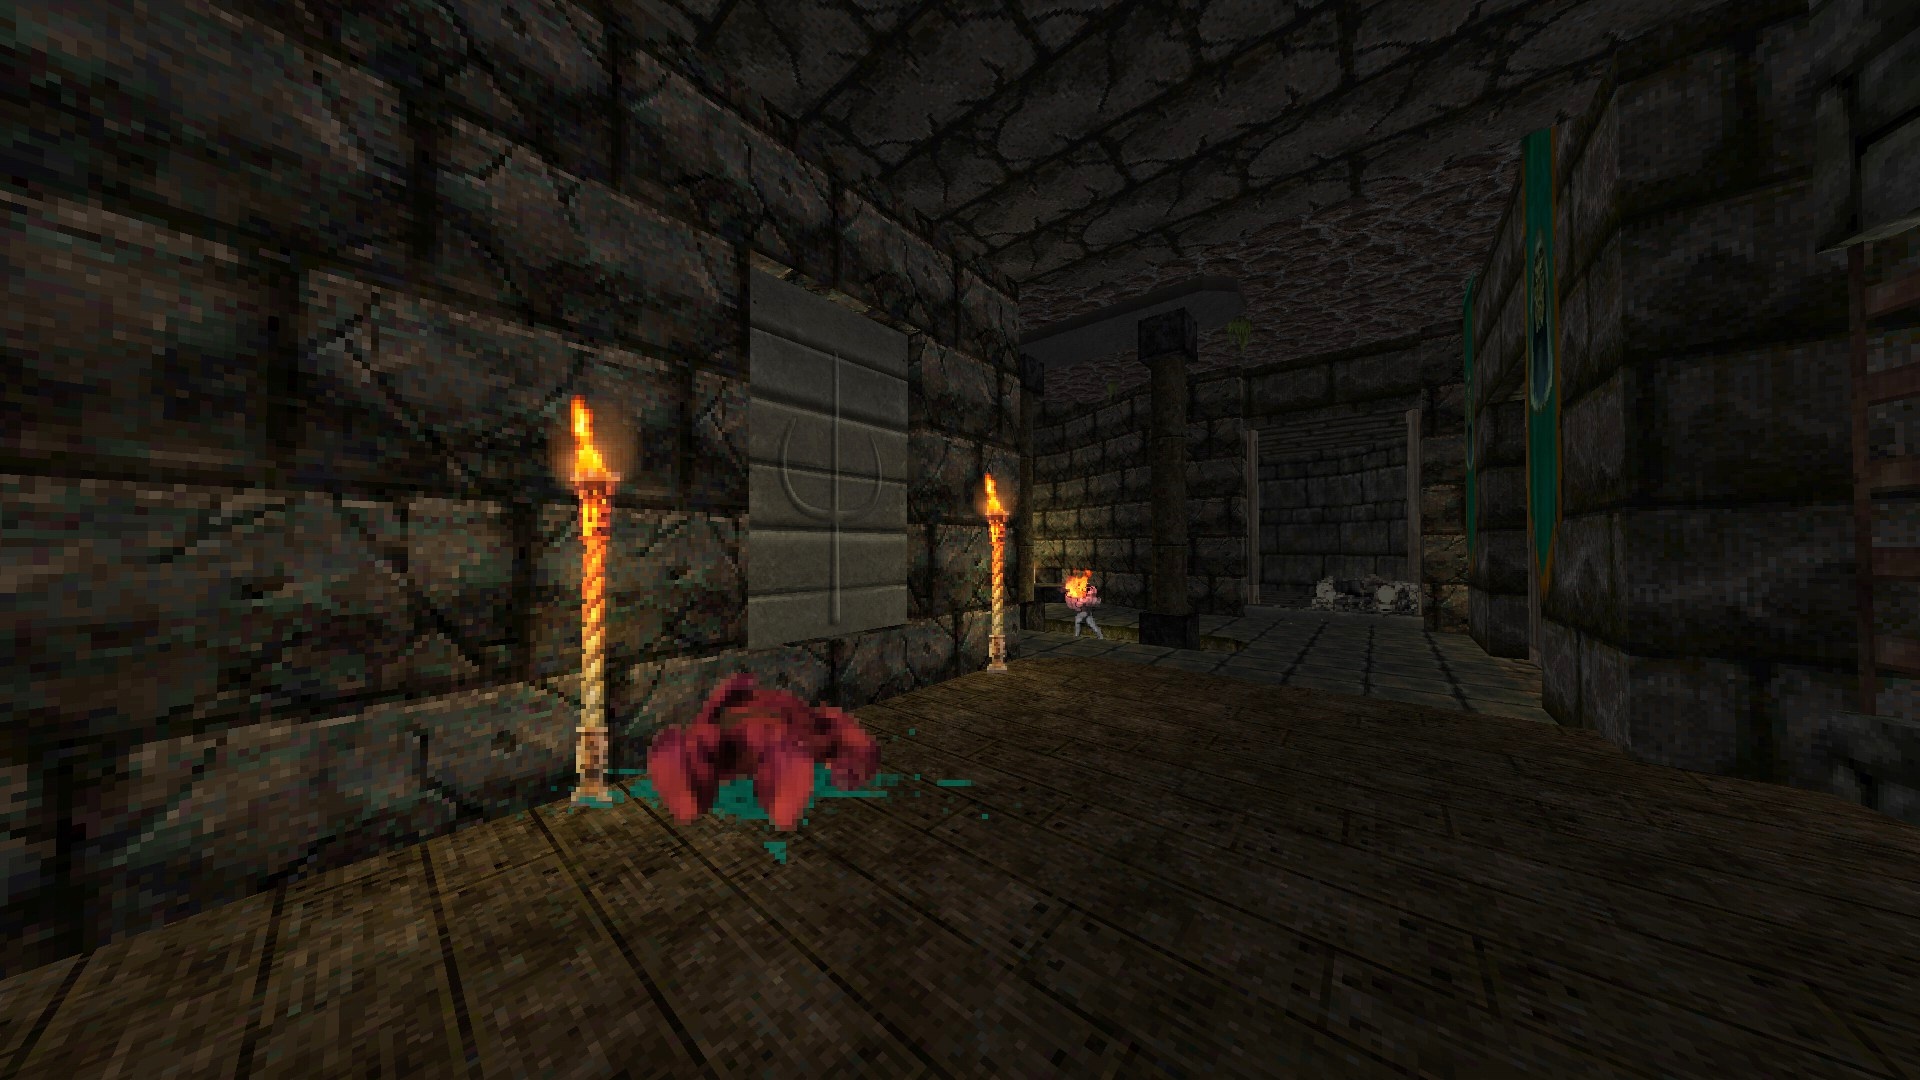
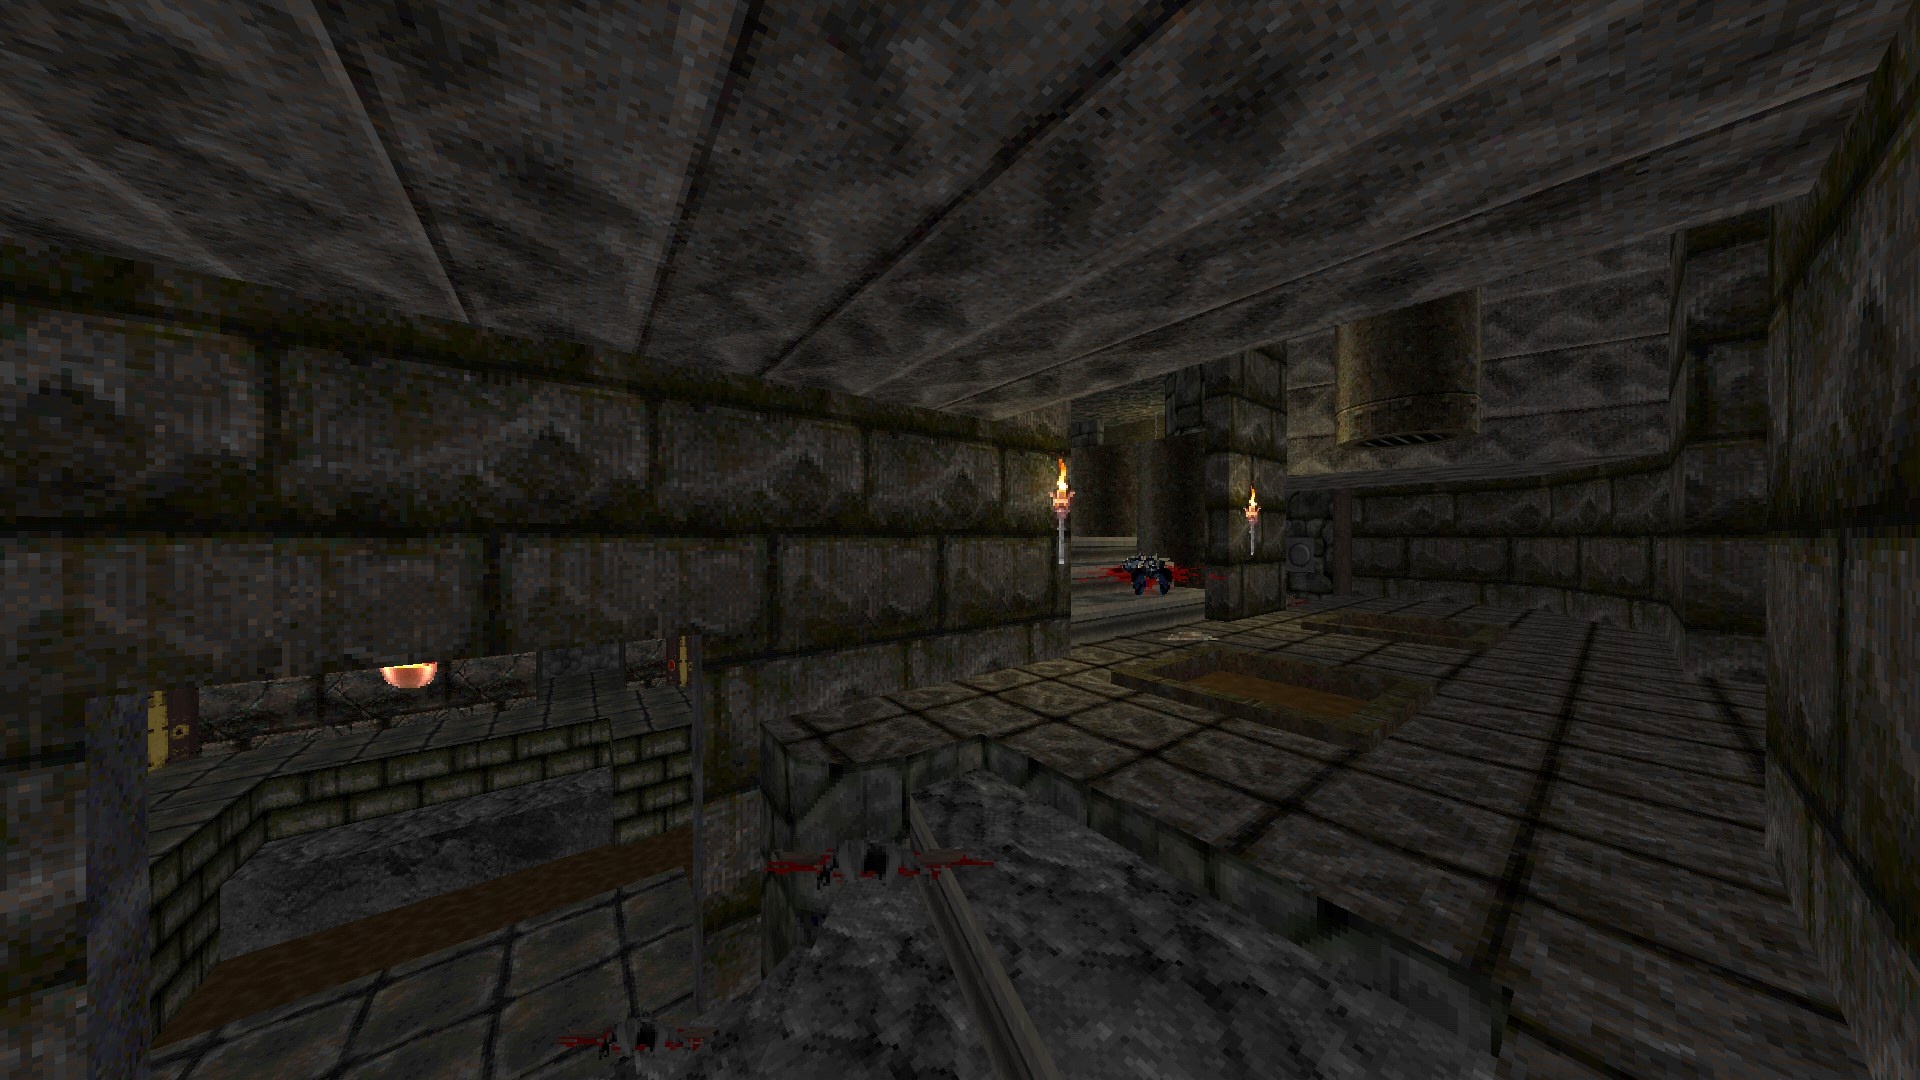
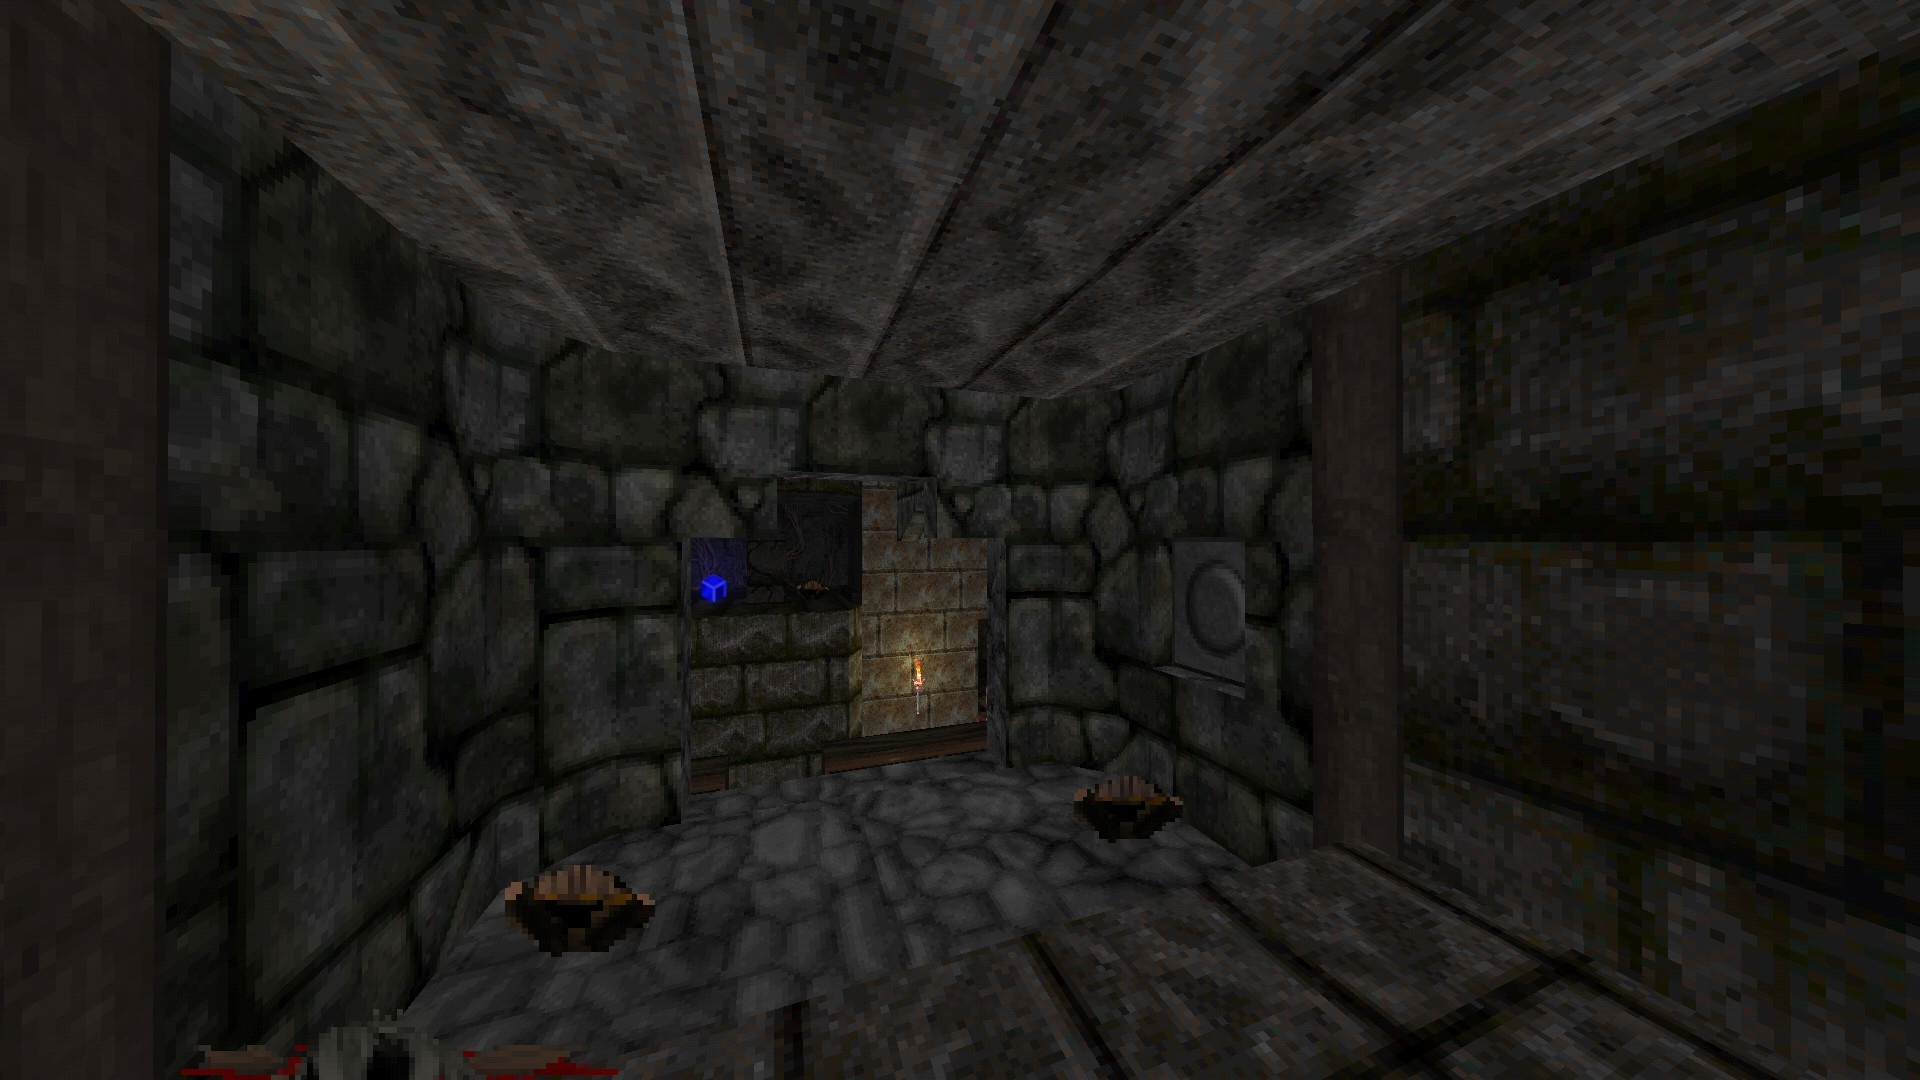
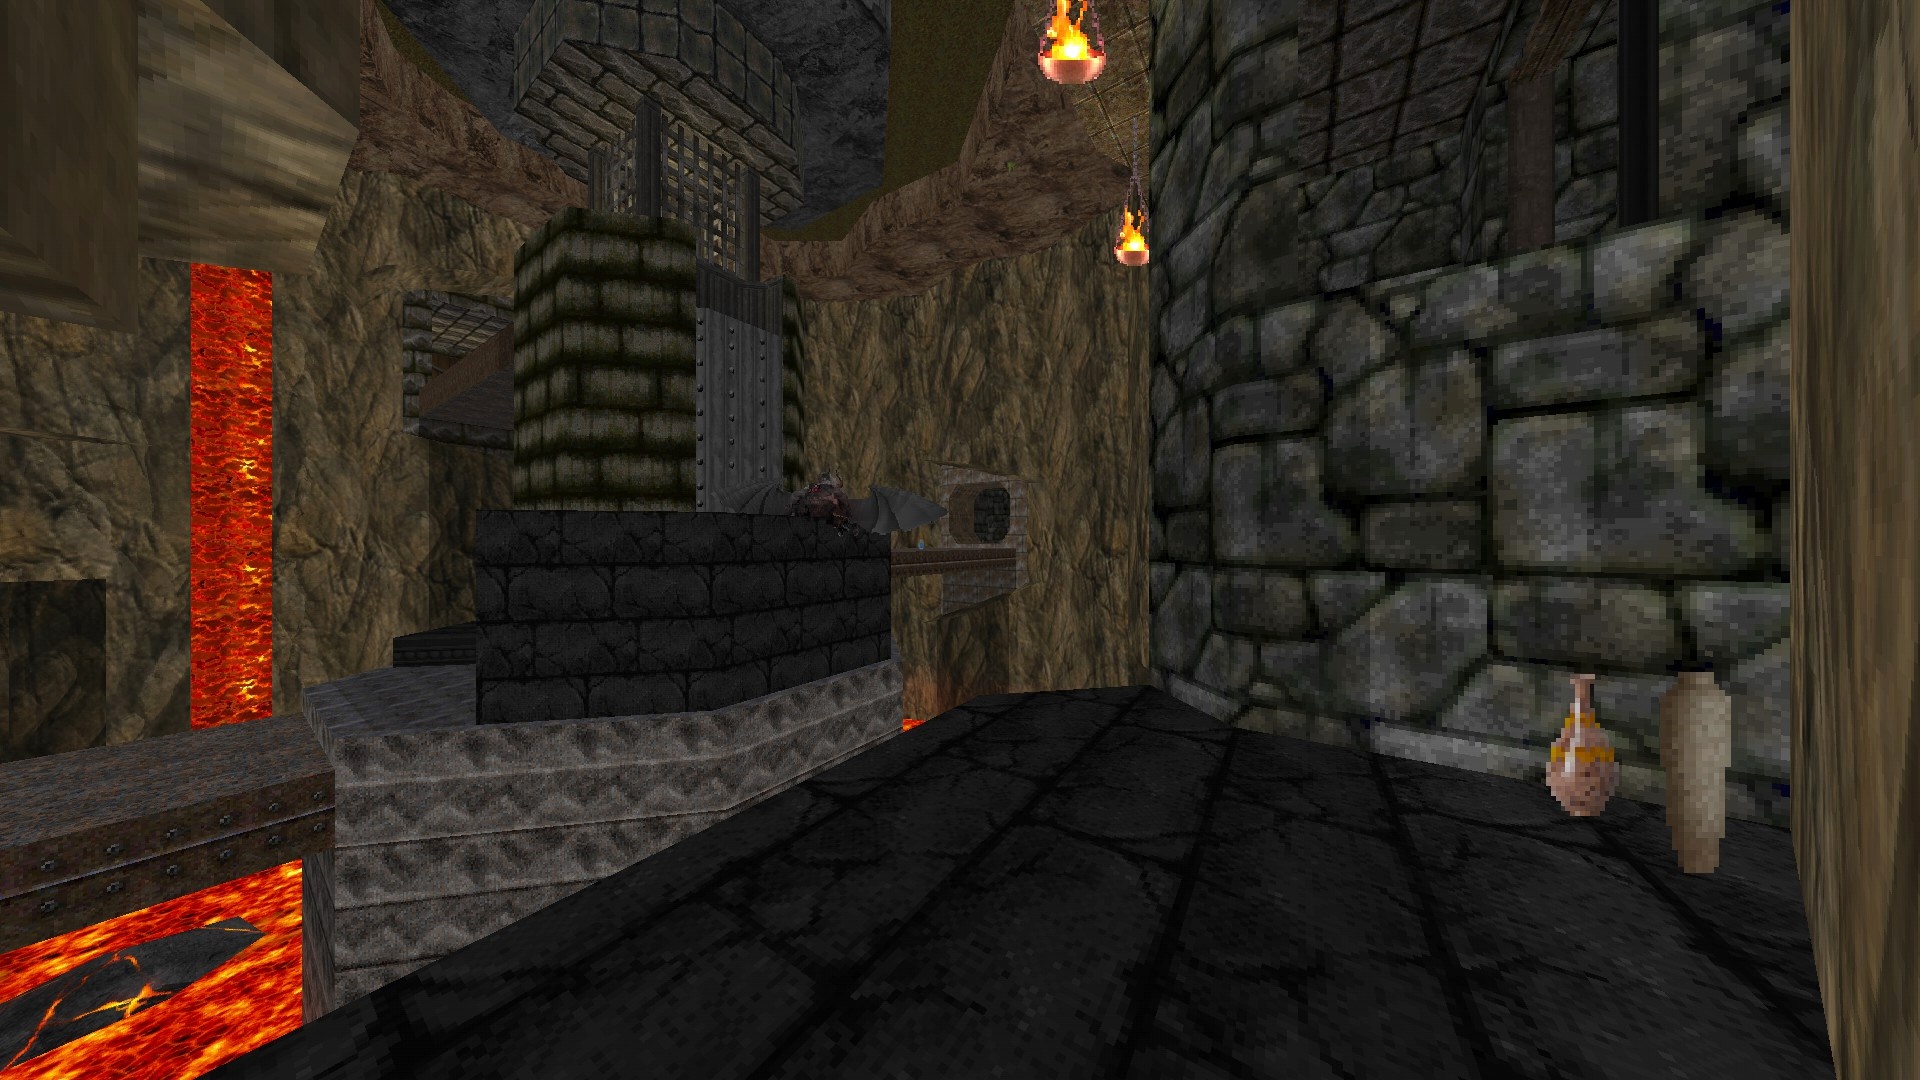
M18: The Volcano
Diese Karte enthält nur ein einziges Geheimnis.
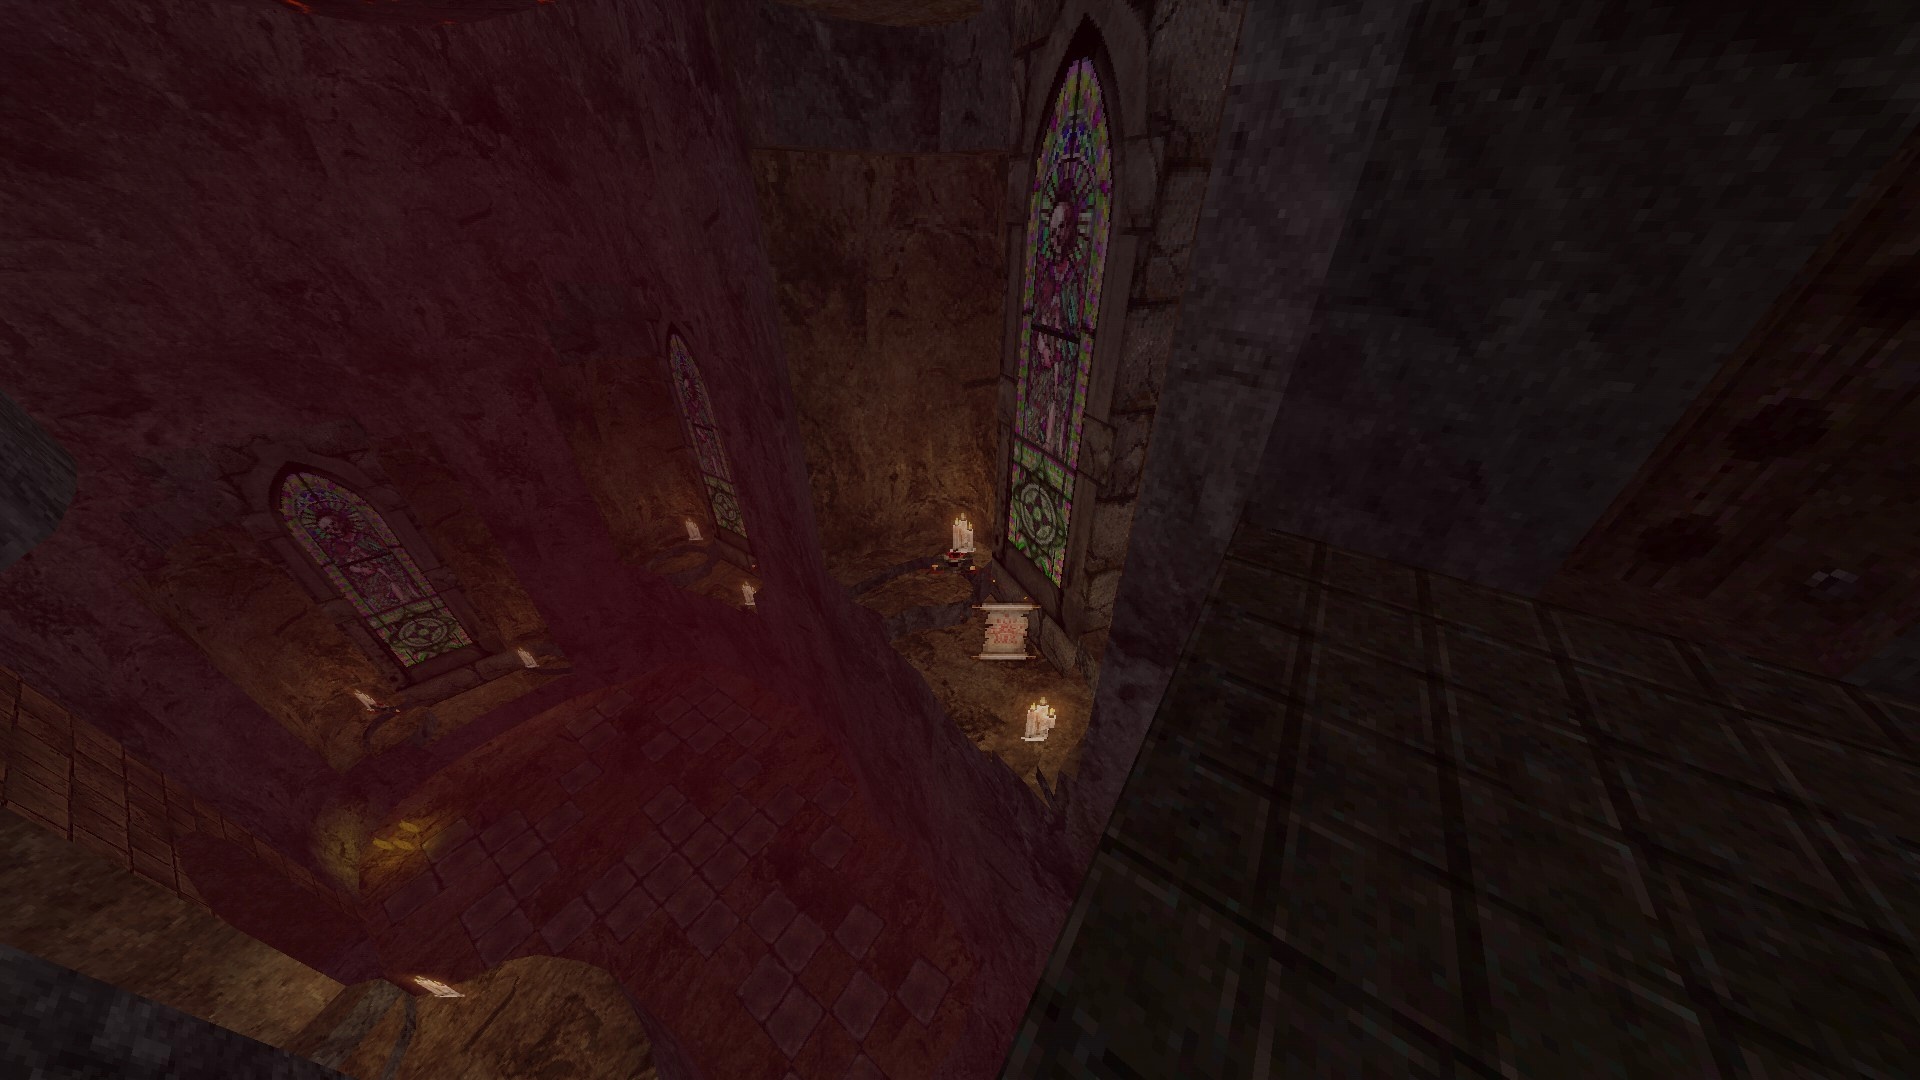
1/1 – Shortly after picking up the Iron Key, you need to take a stone lift to progress. After taking it, simply turn around and drop down to the nearby ledge to pick up the map scroll lying out in the open.
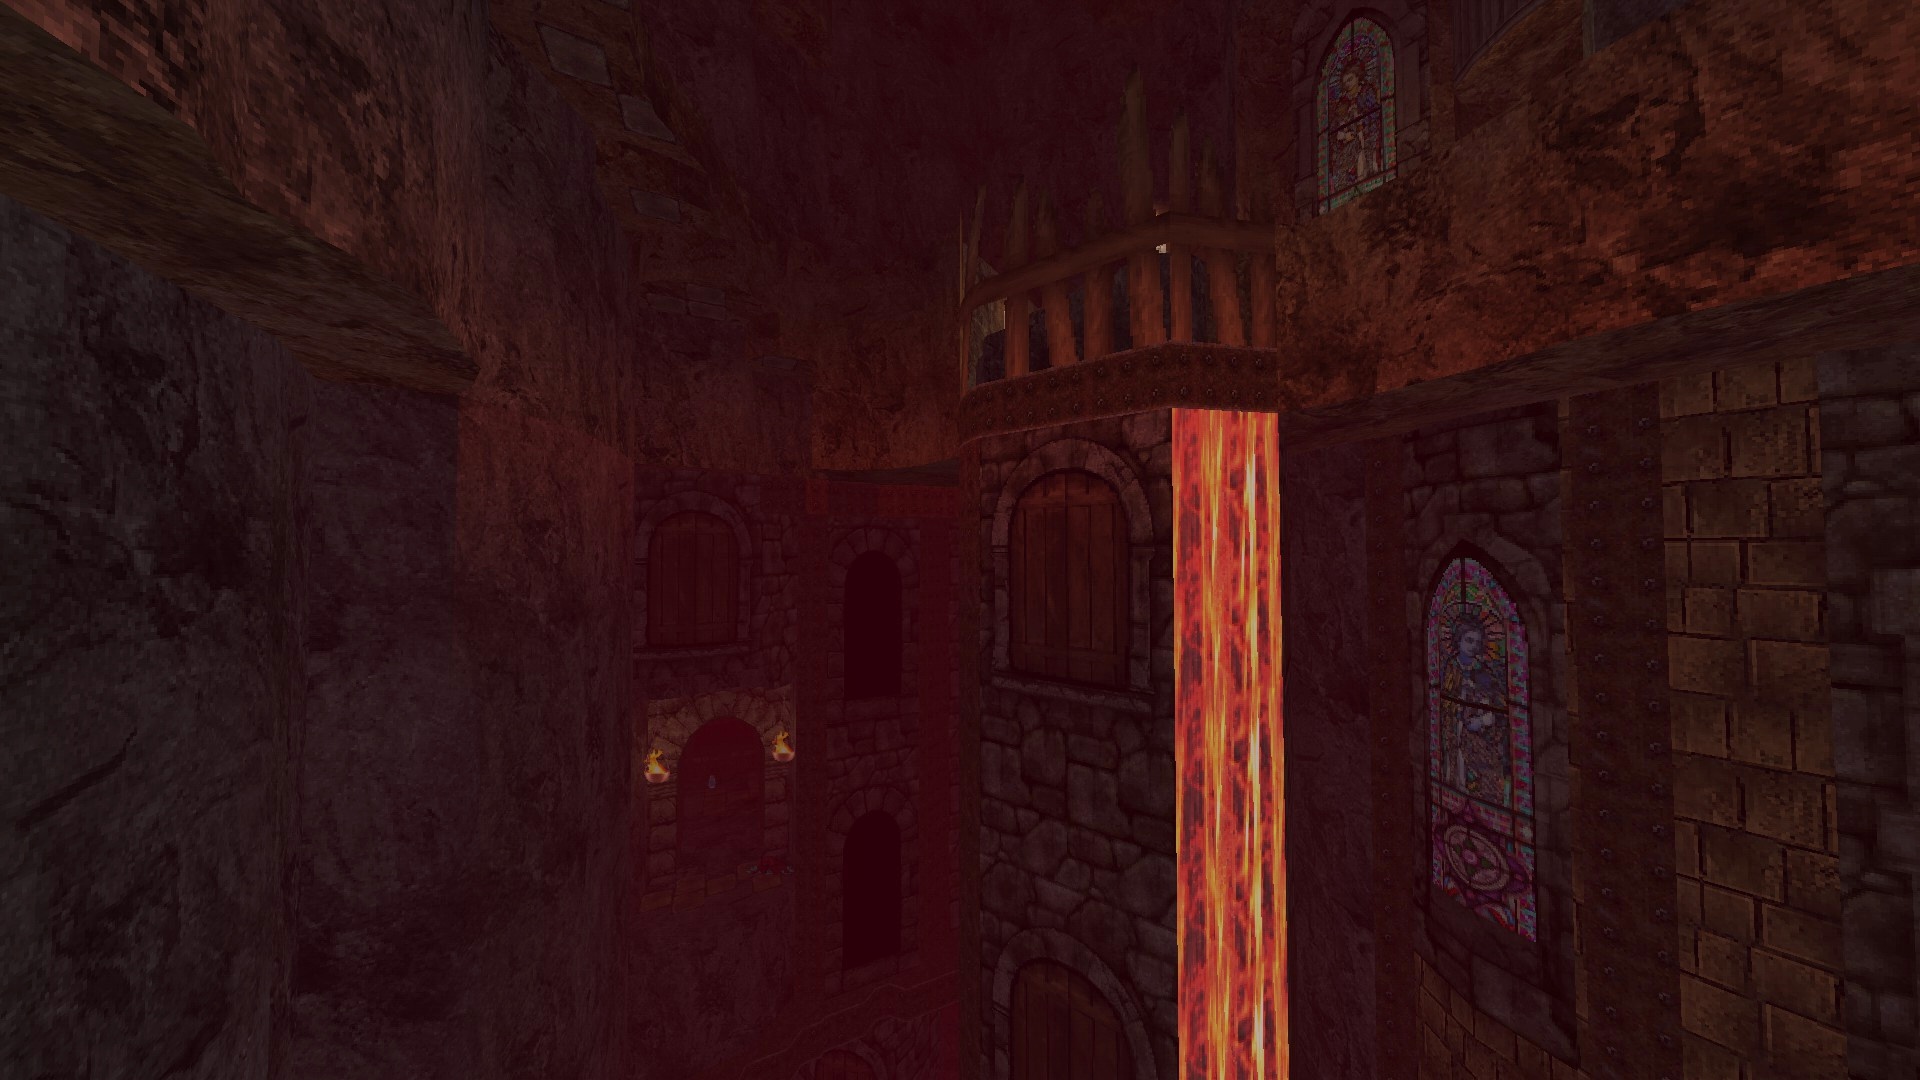
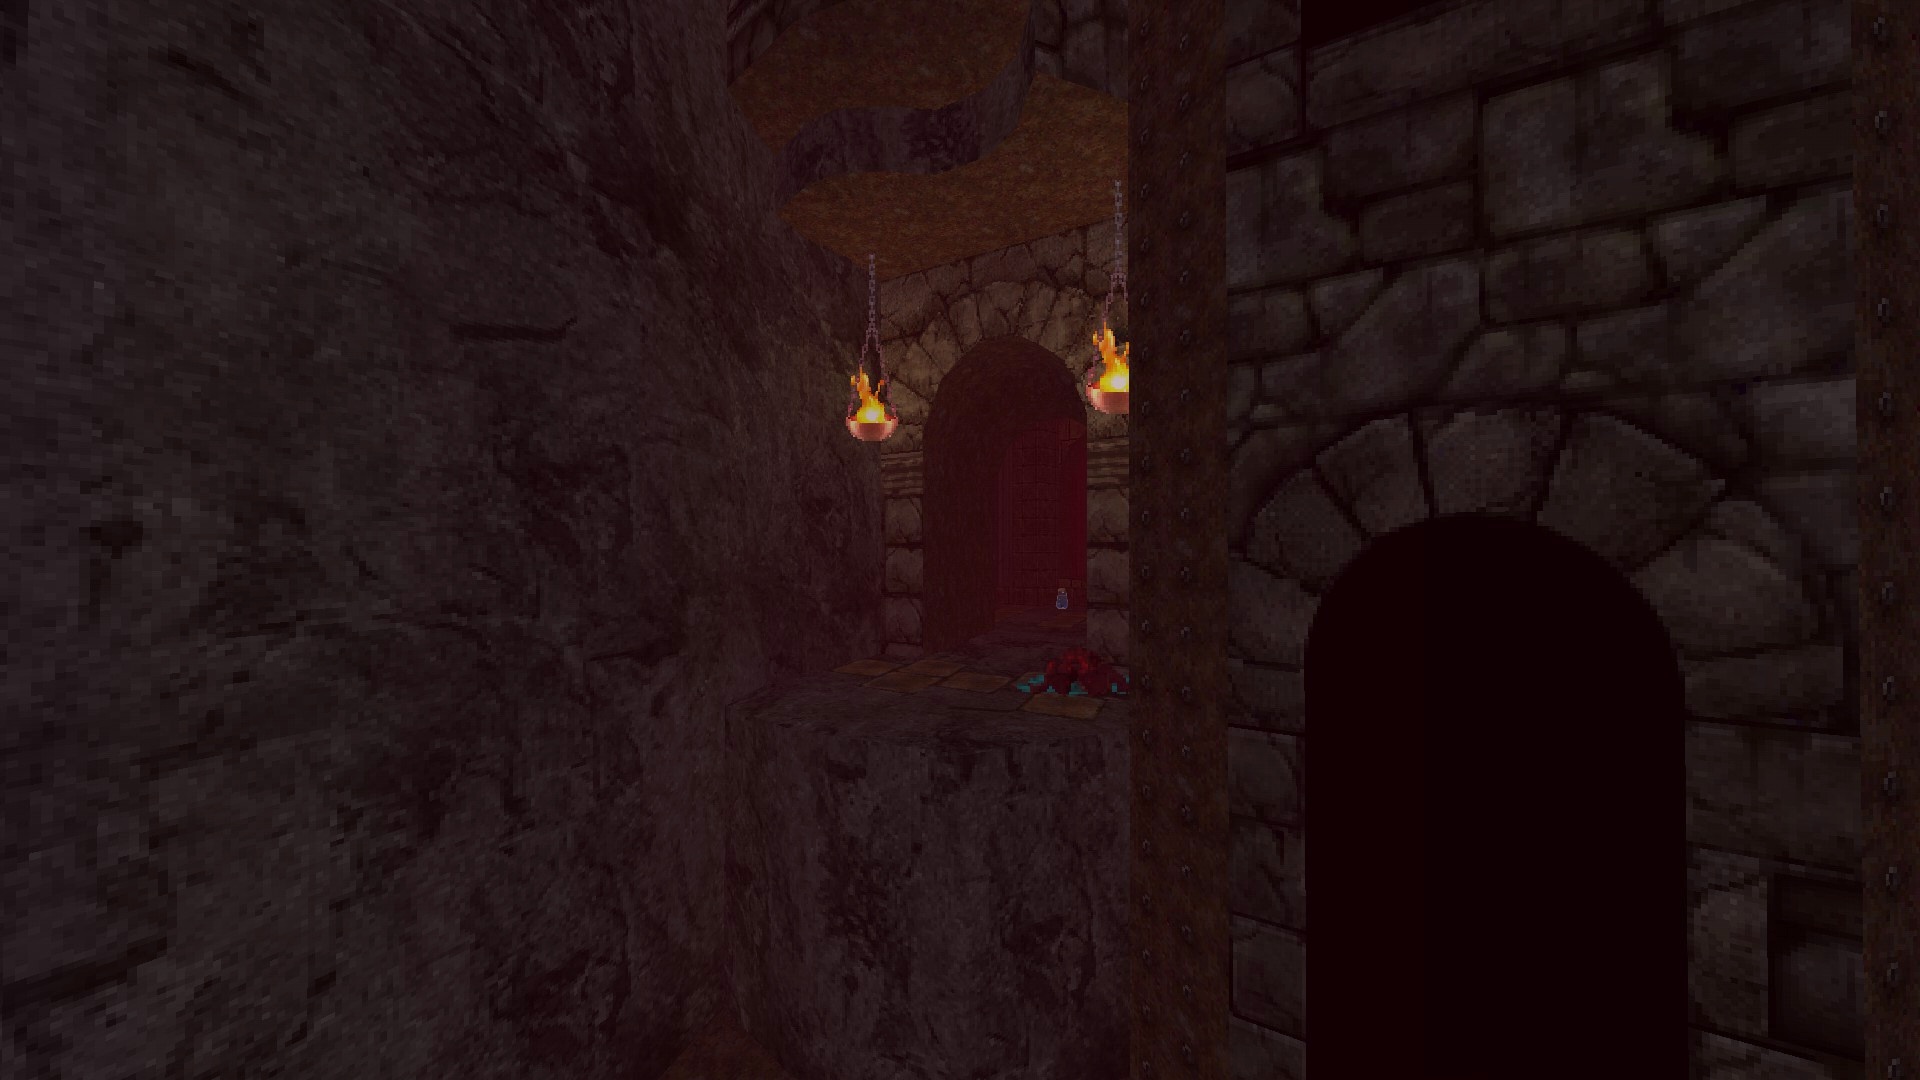
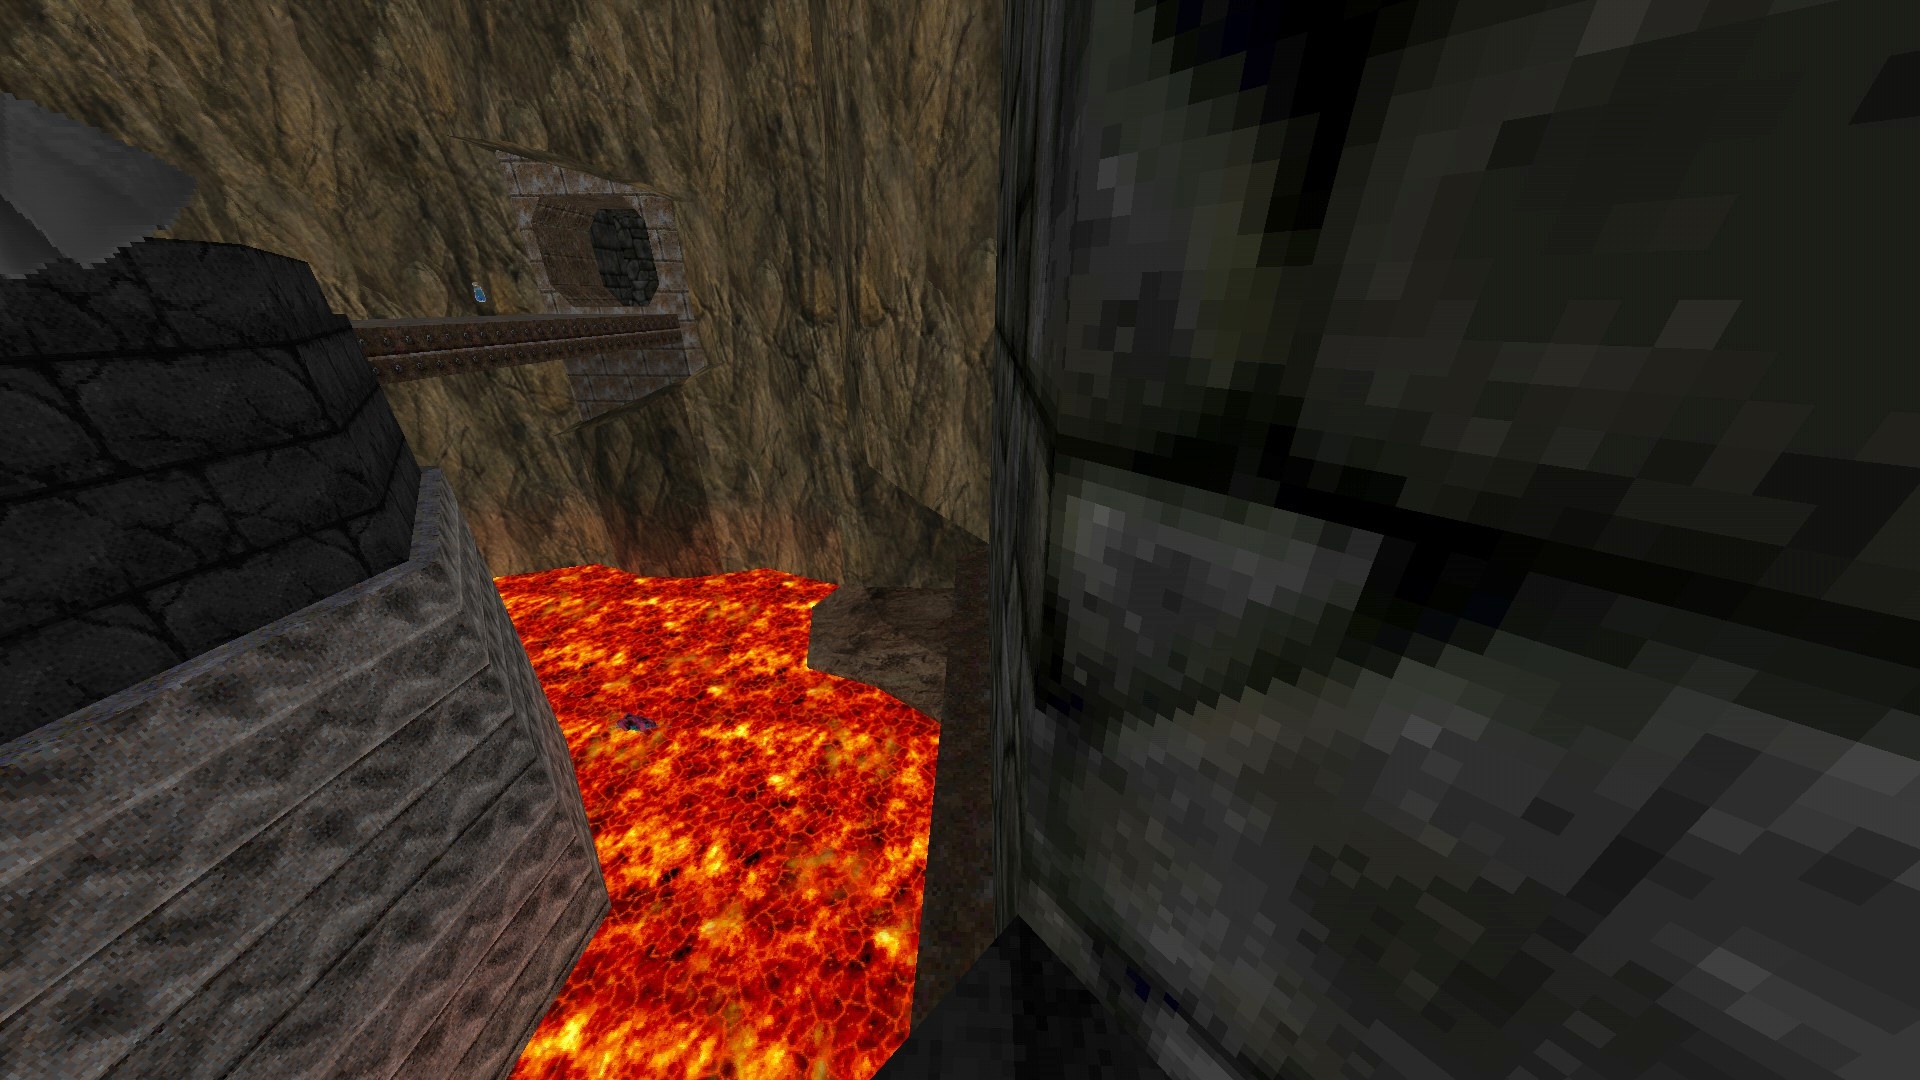
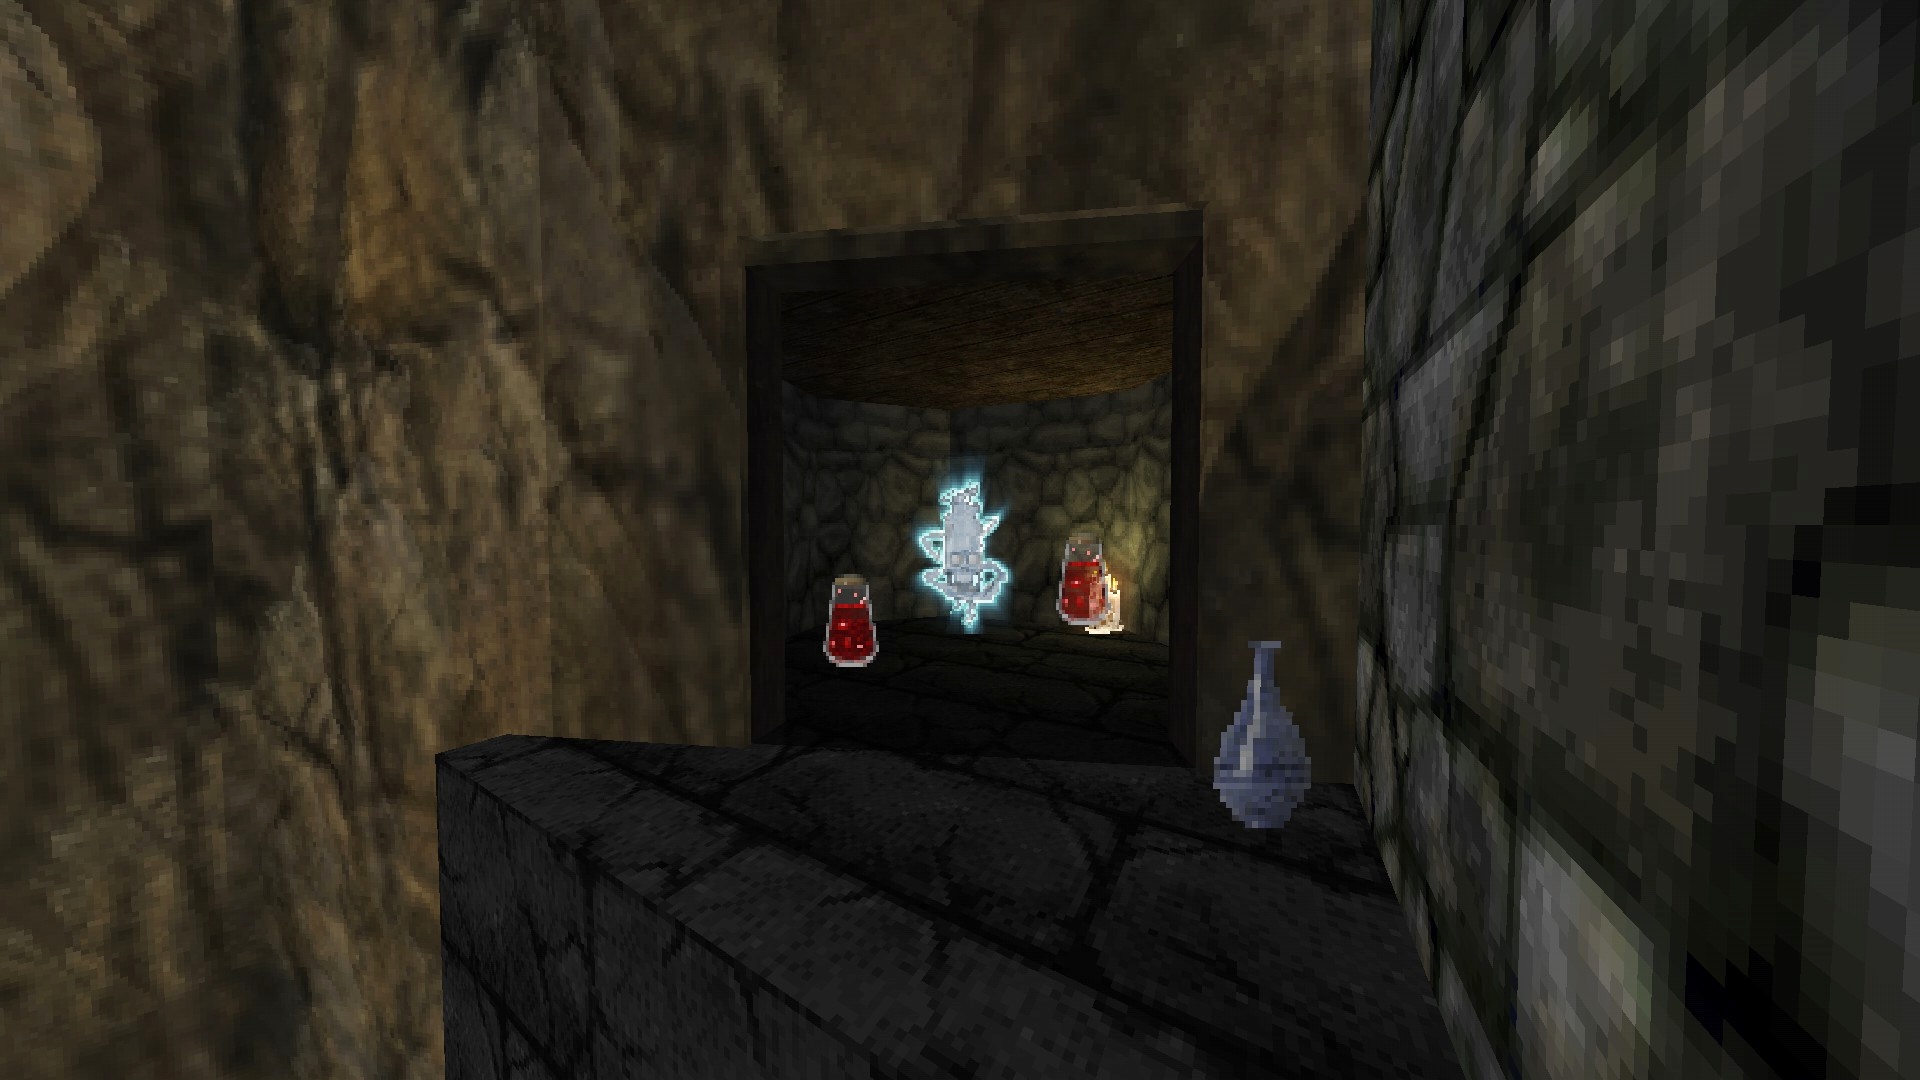
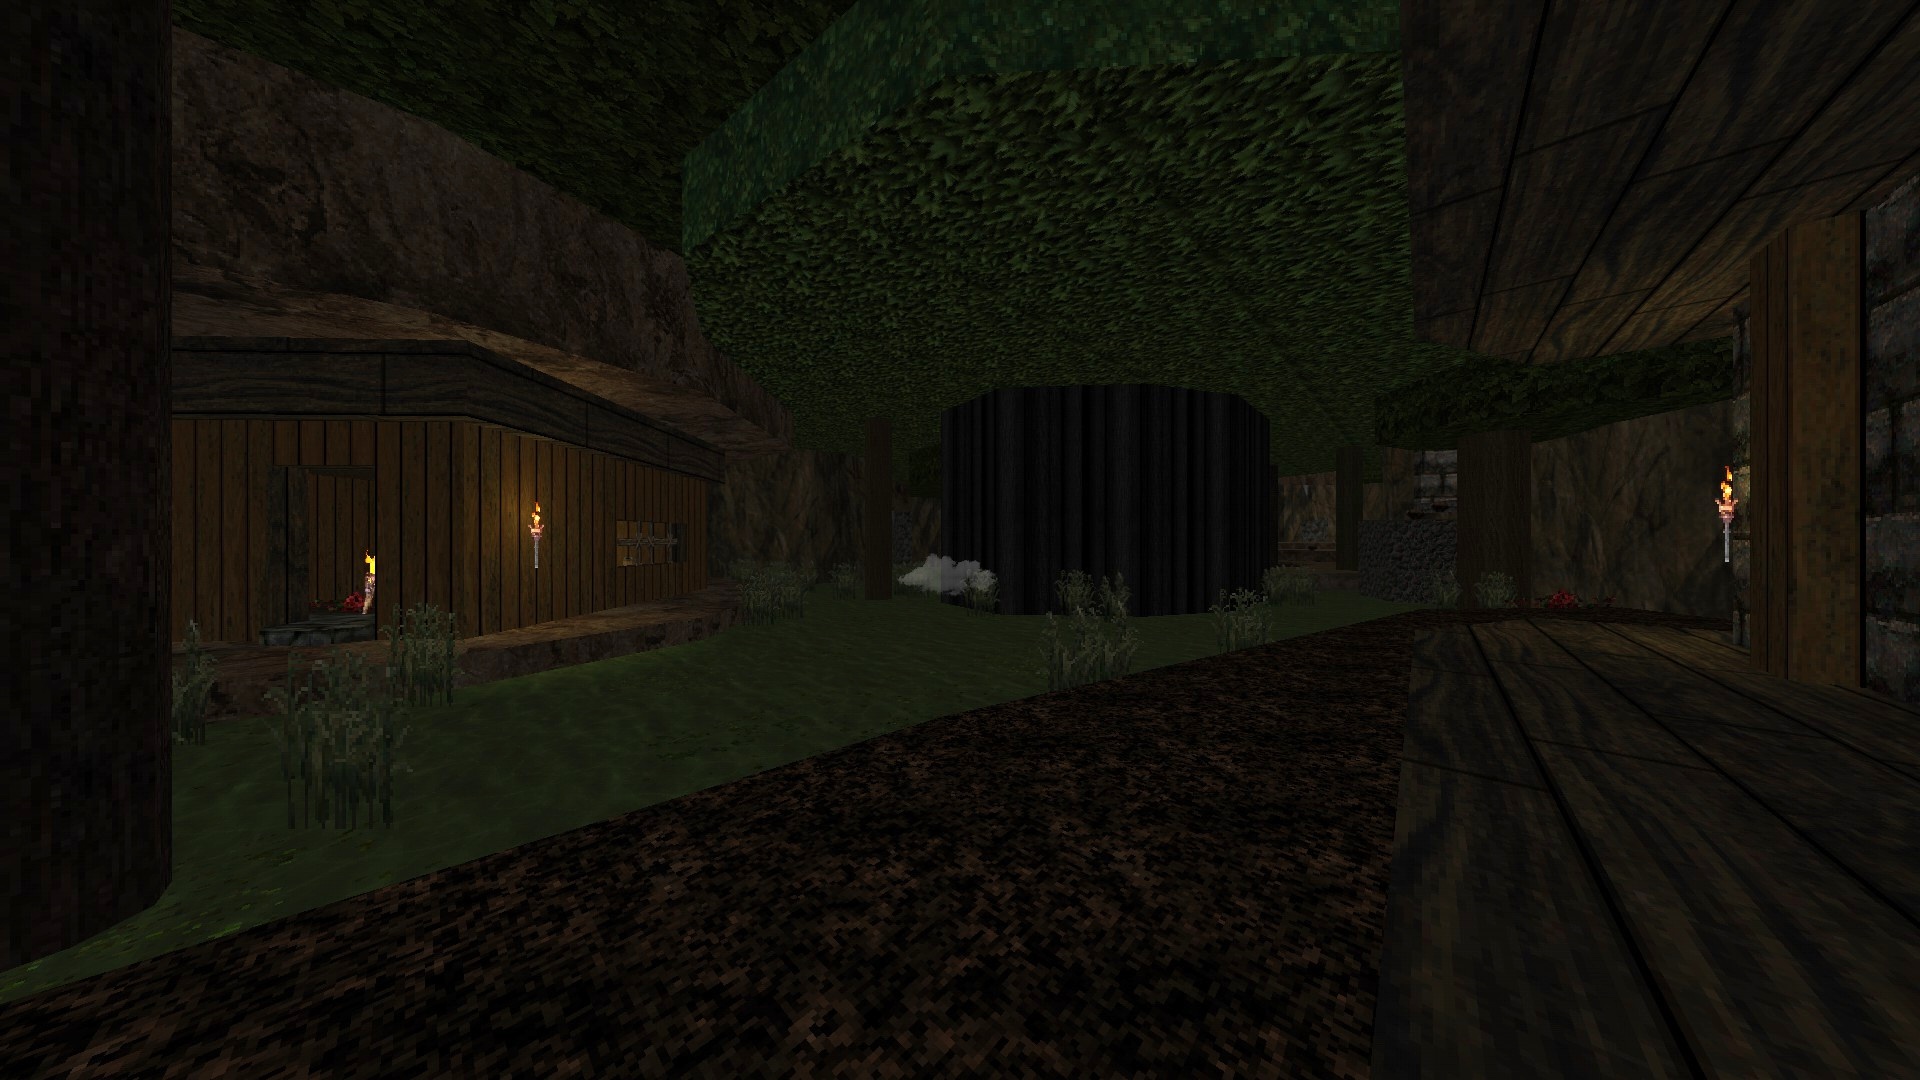
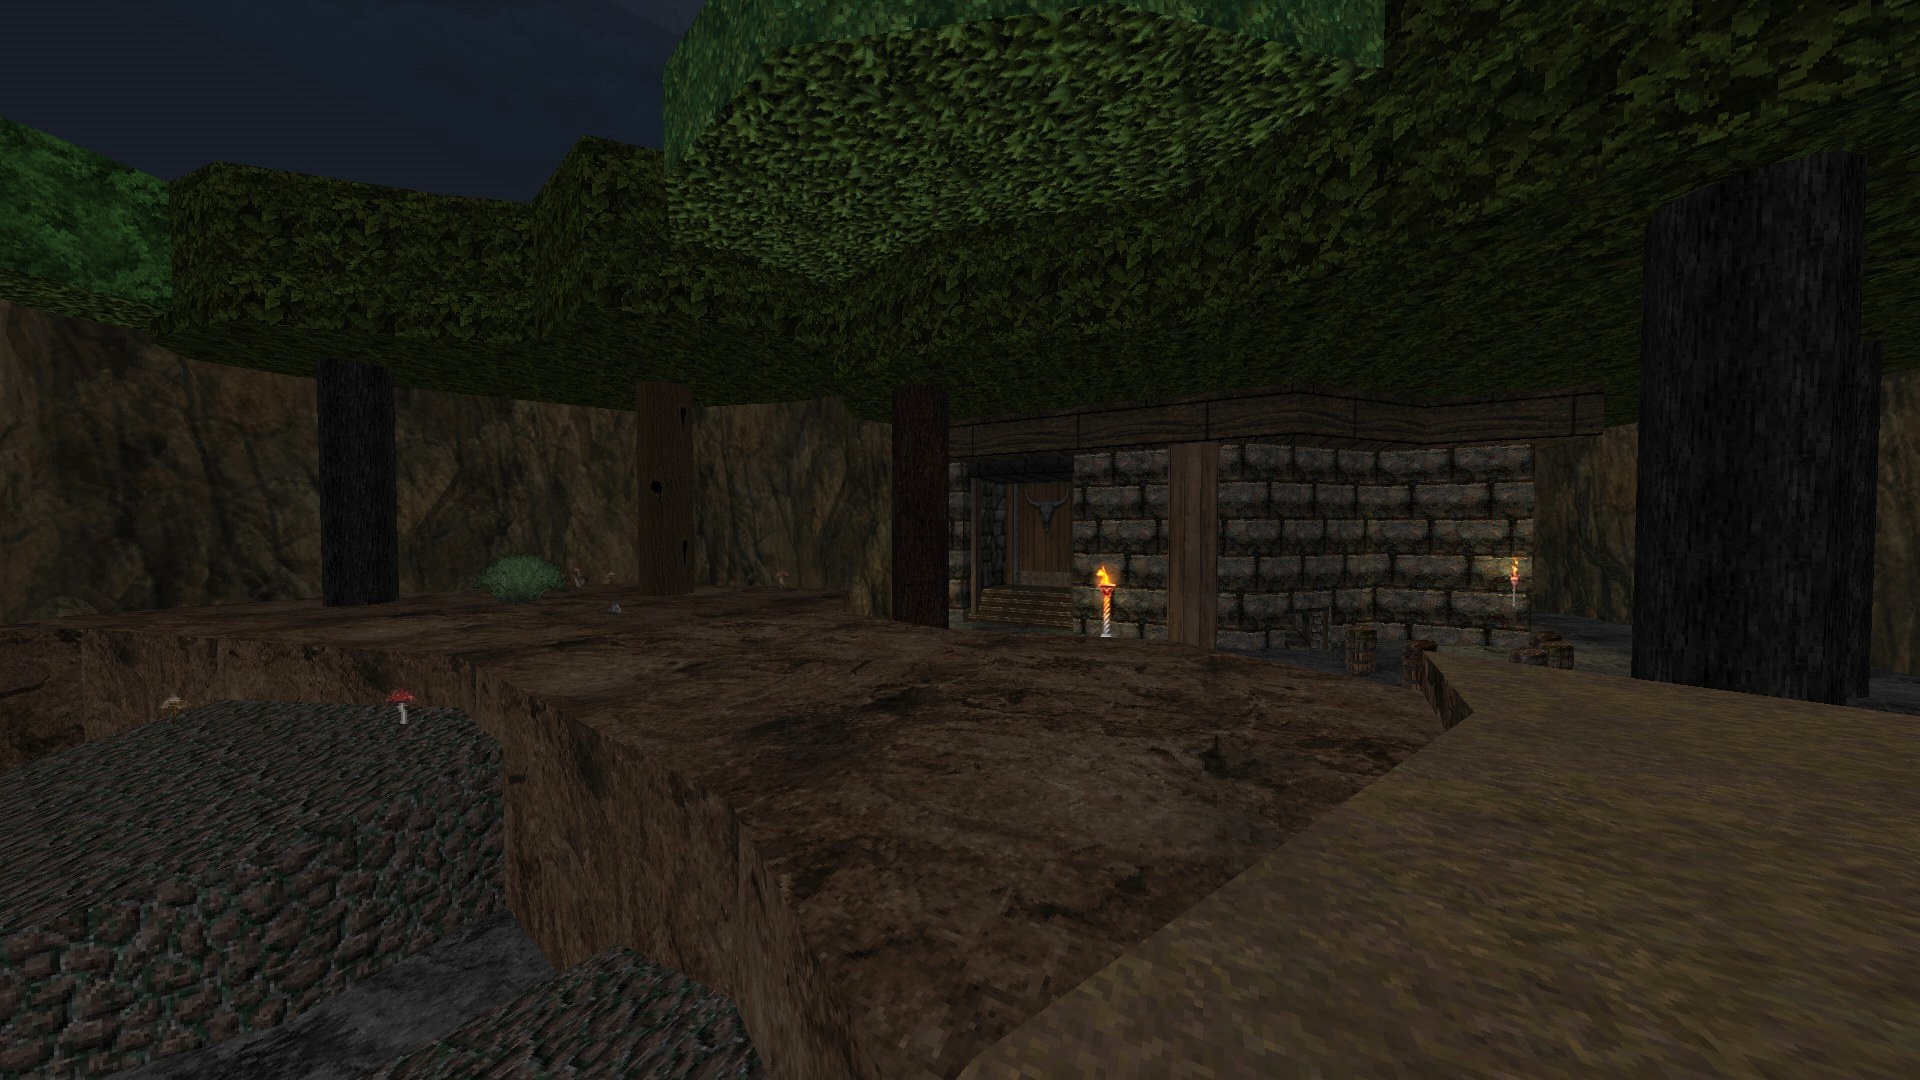
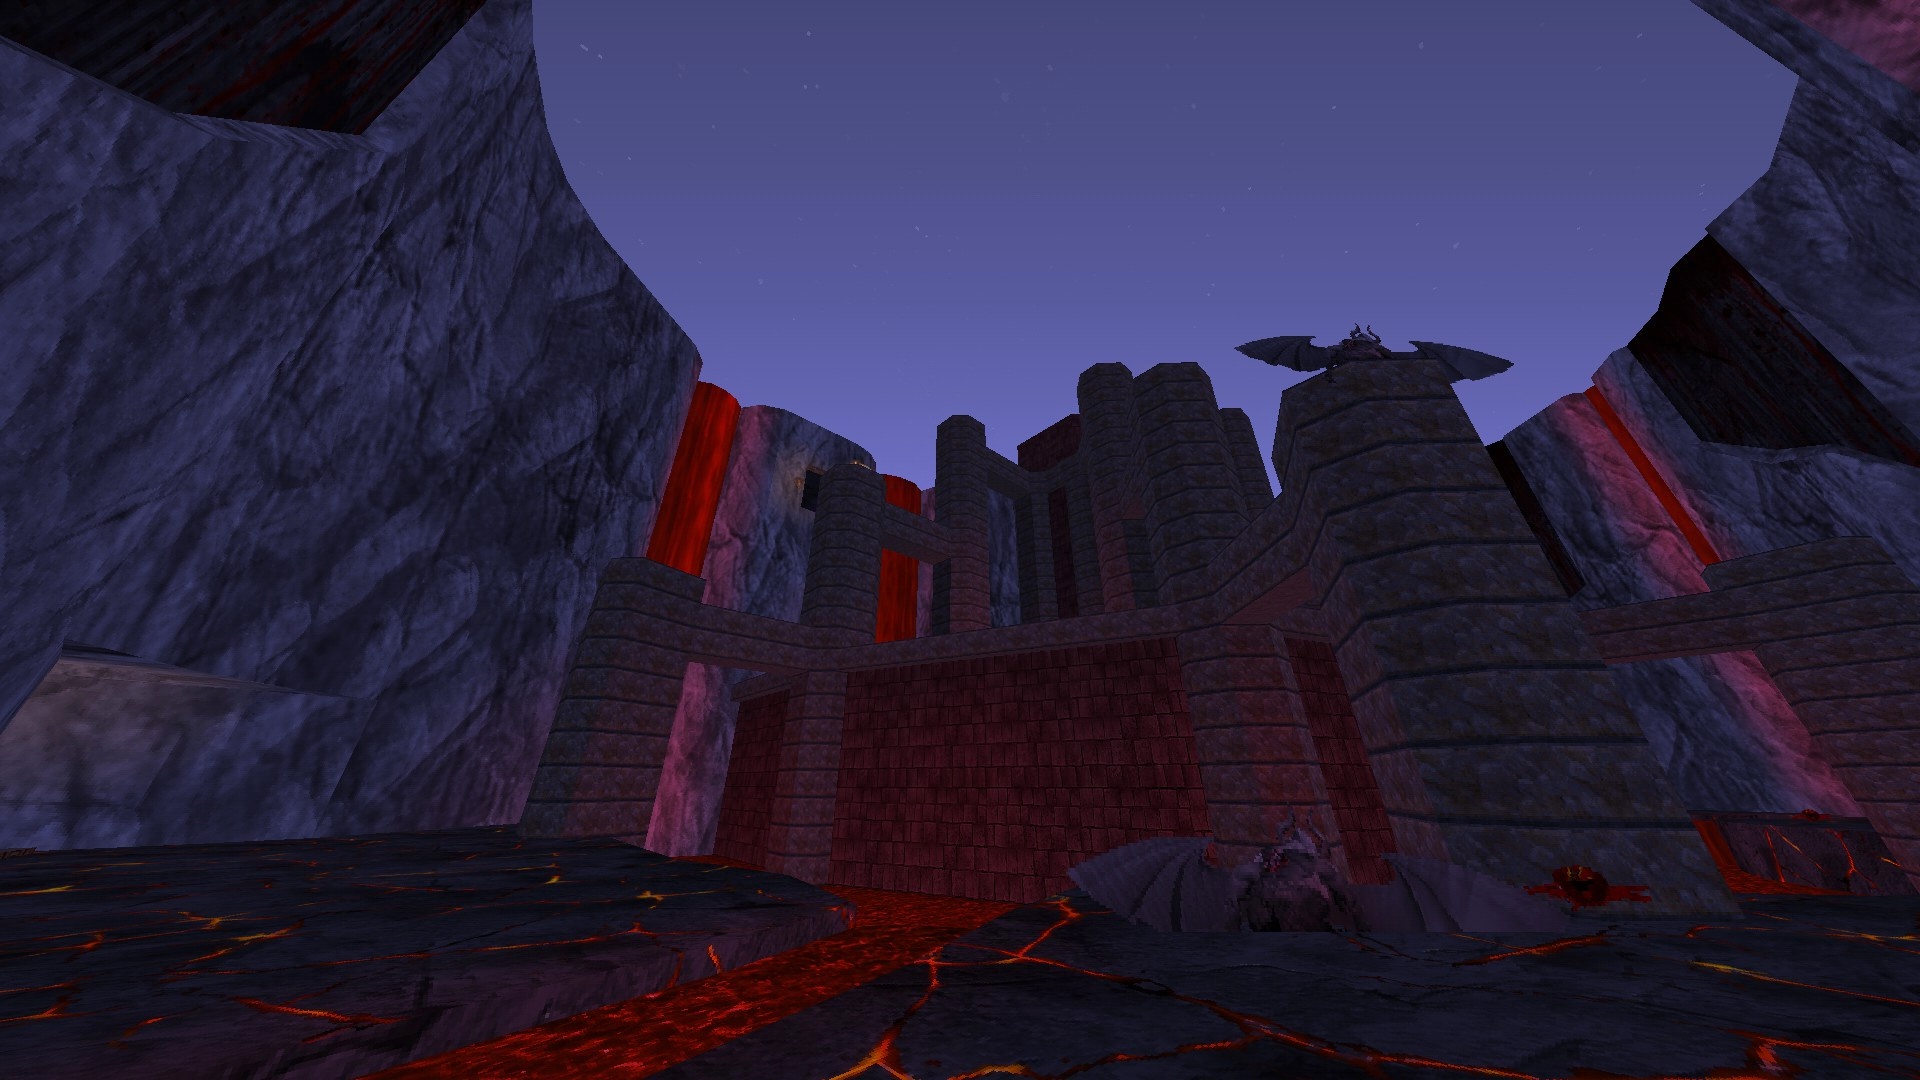
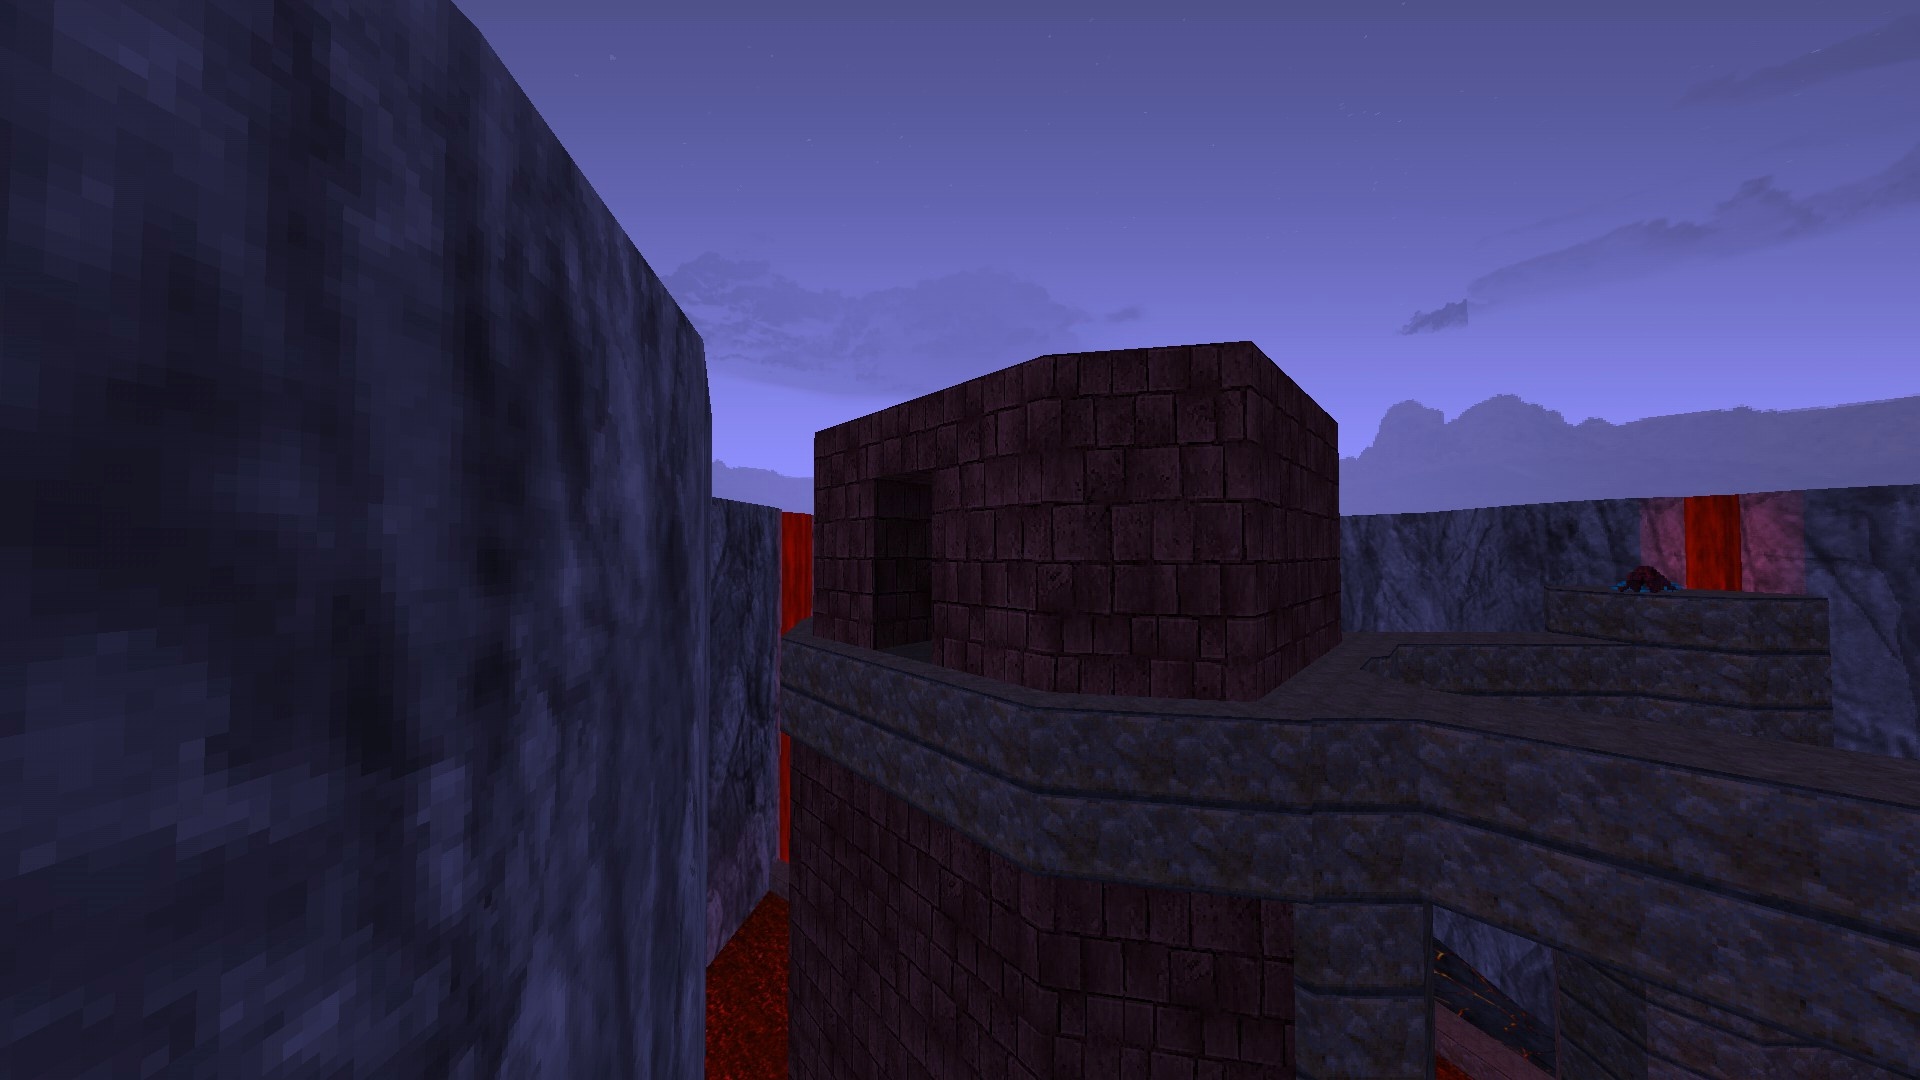
Hinweis – Once you get the Wyvern transformation you need to return to the Volcano and find the Snake key. Since the entrance to the room it is in is rather hard to spot, the above shots are provided as hints. The opening is near the upper reaches of the secondary cavern.
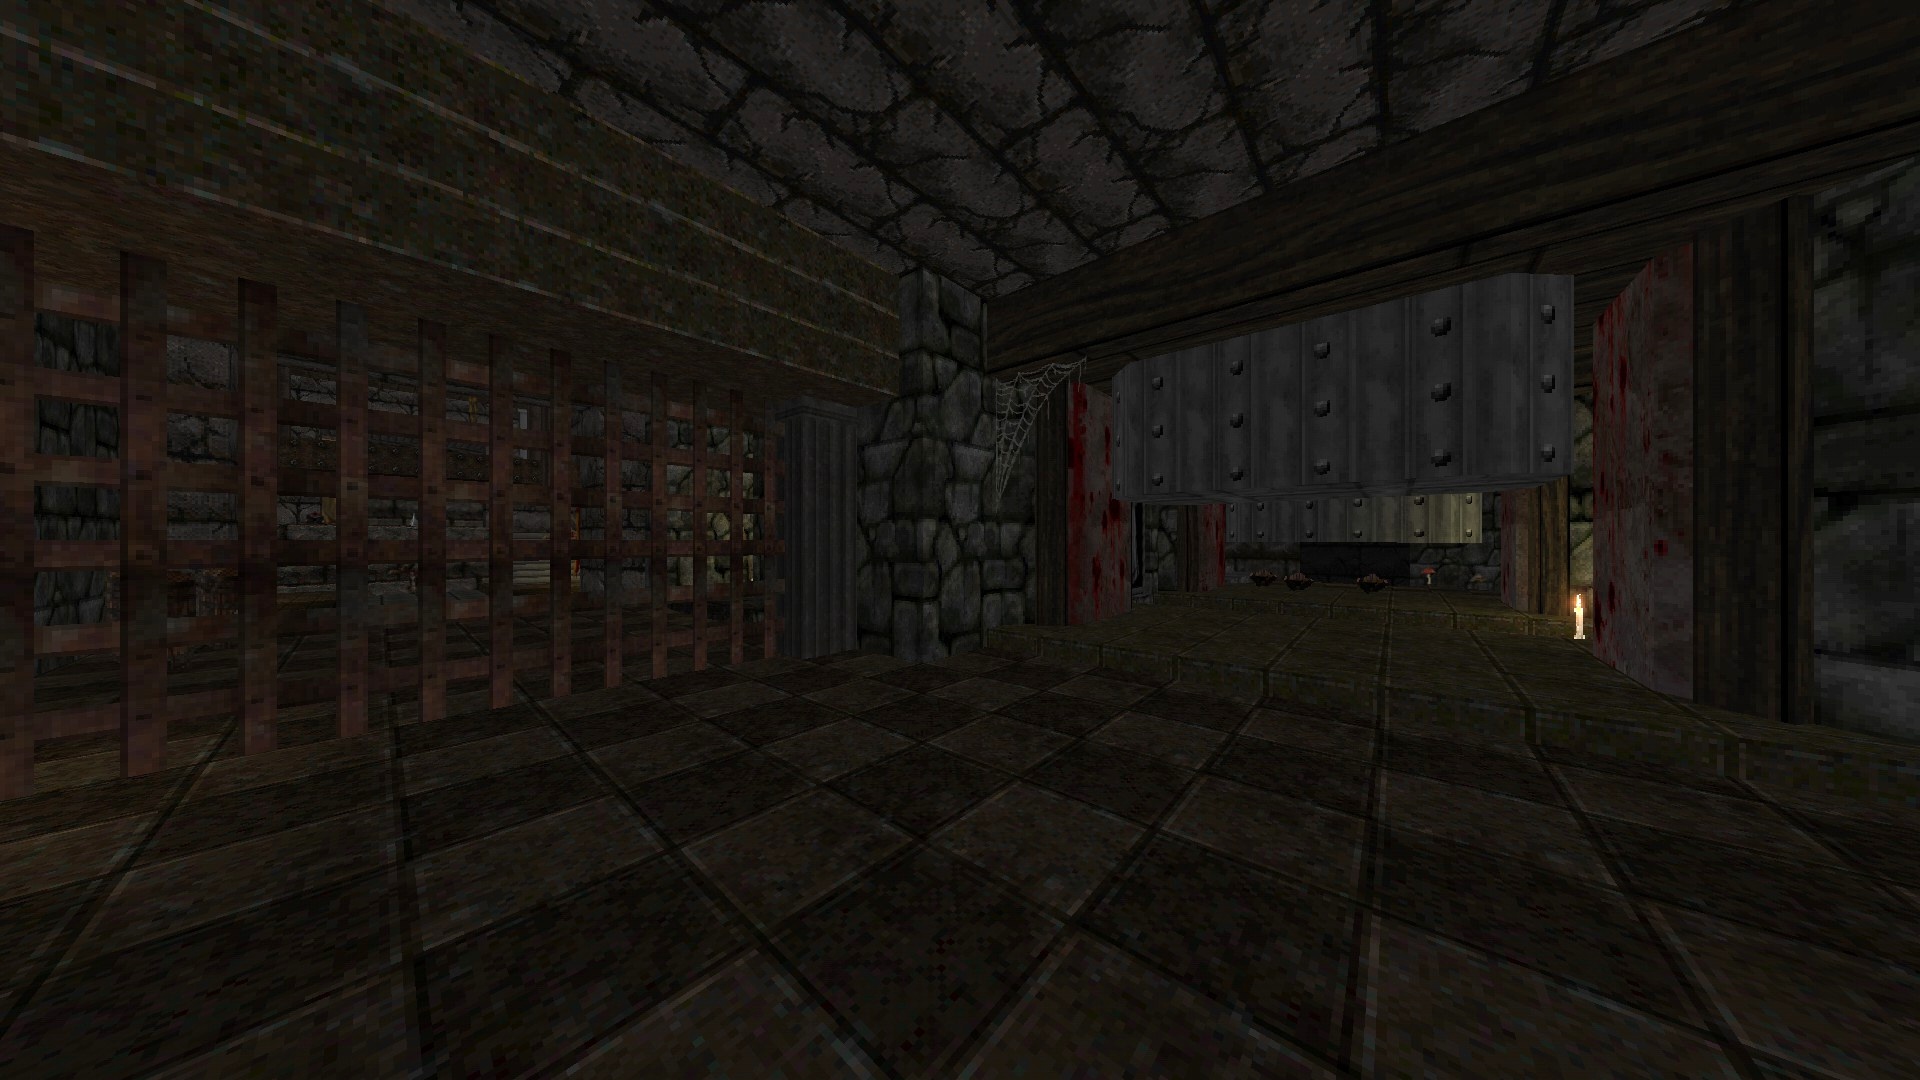
M19: The Abandoned Castle
Diese Karte enthält nur ein einziges Geheimnis.
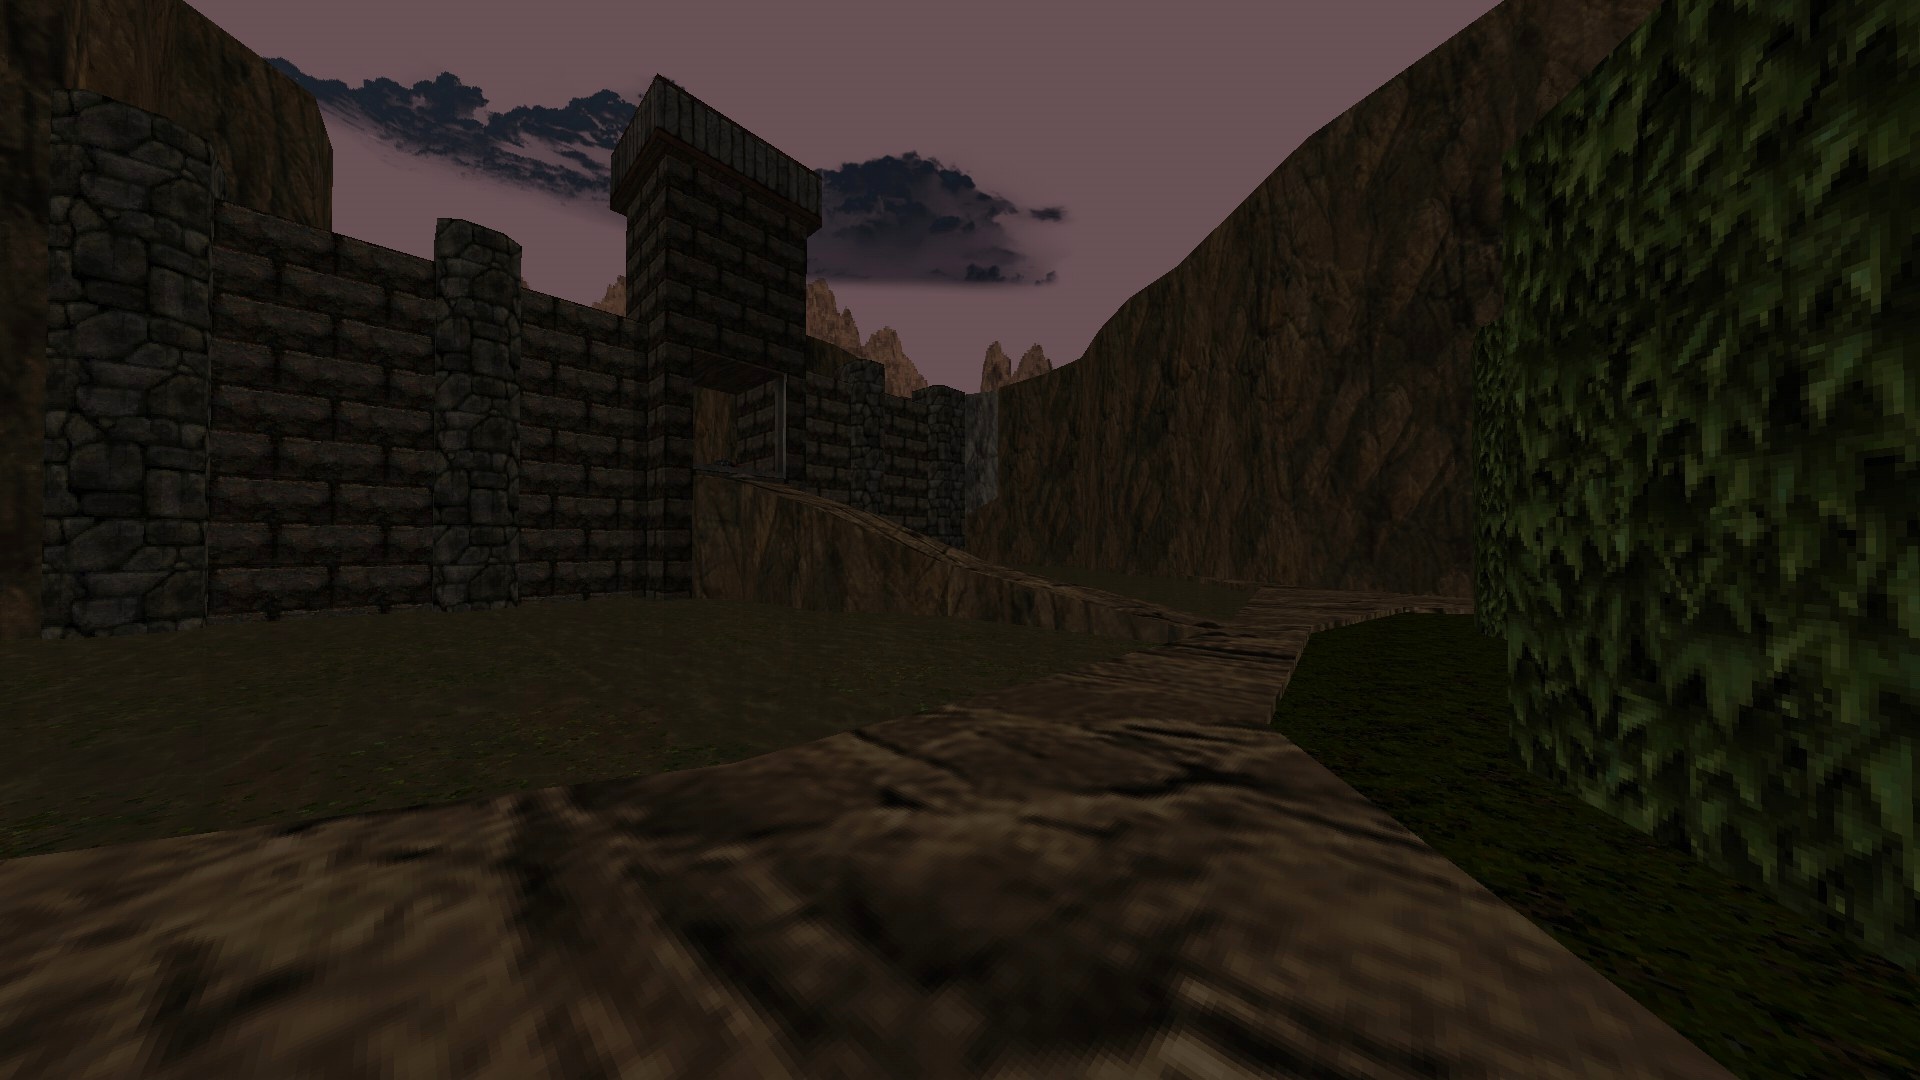

1/1 – After dealing with the initial attack, look for a slightly indented part on the rocks surrounding the area and use it to reveal a side area with lots of ammo.
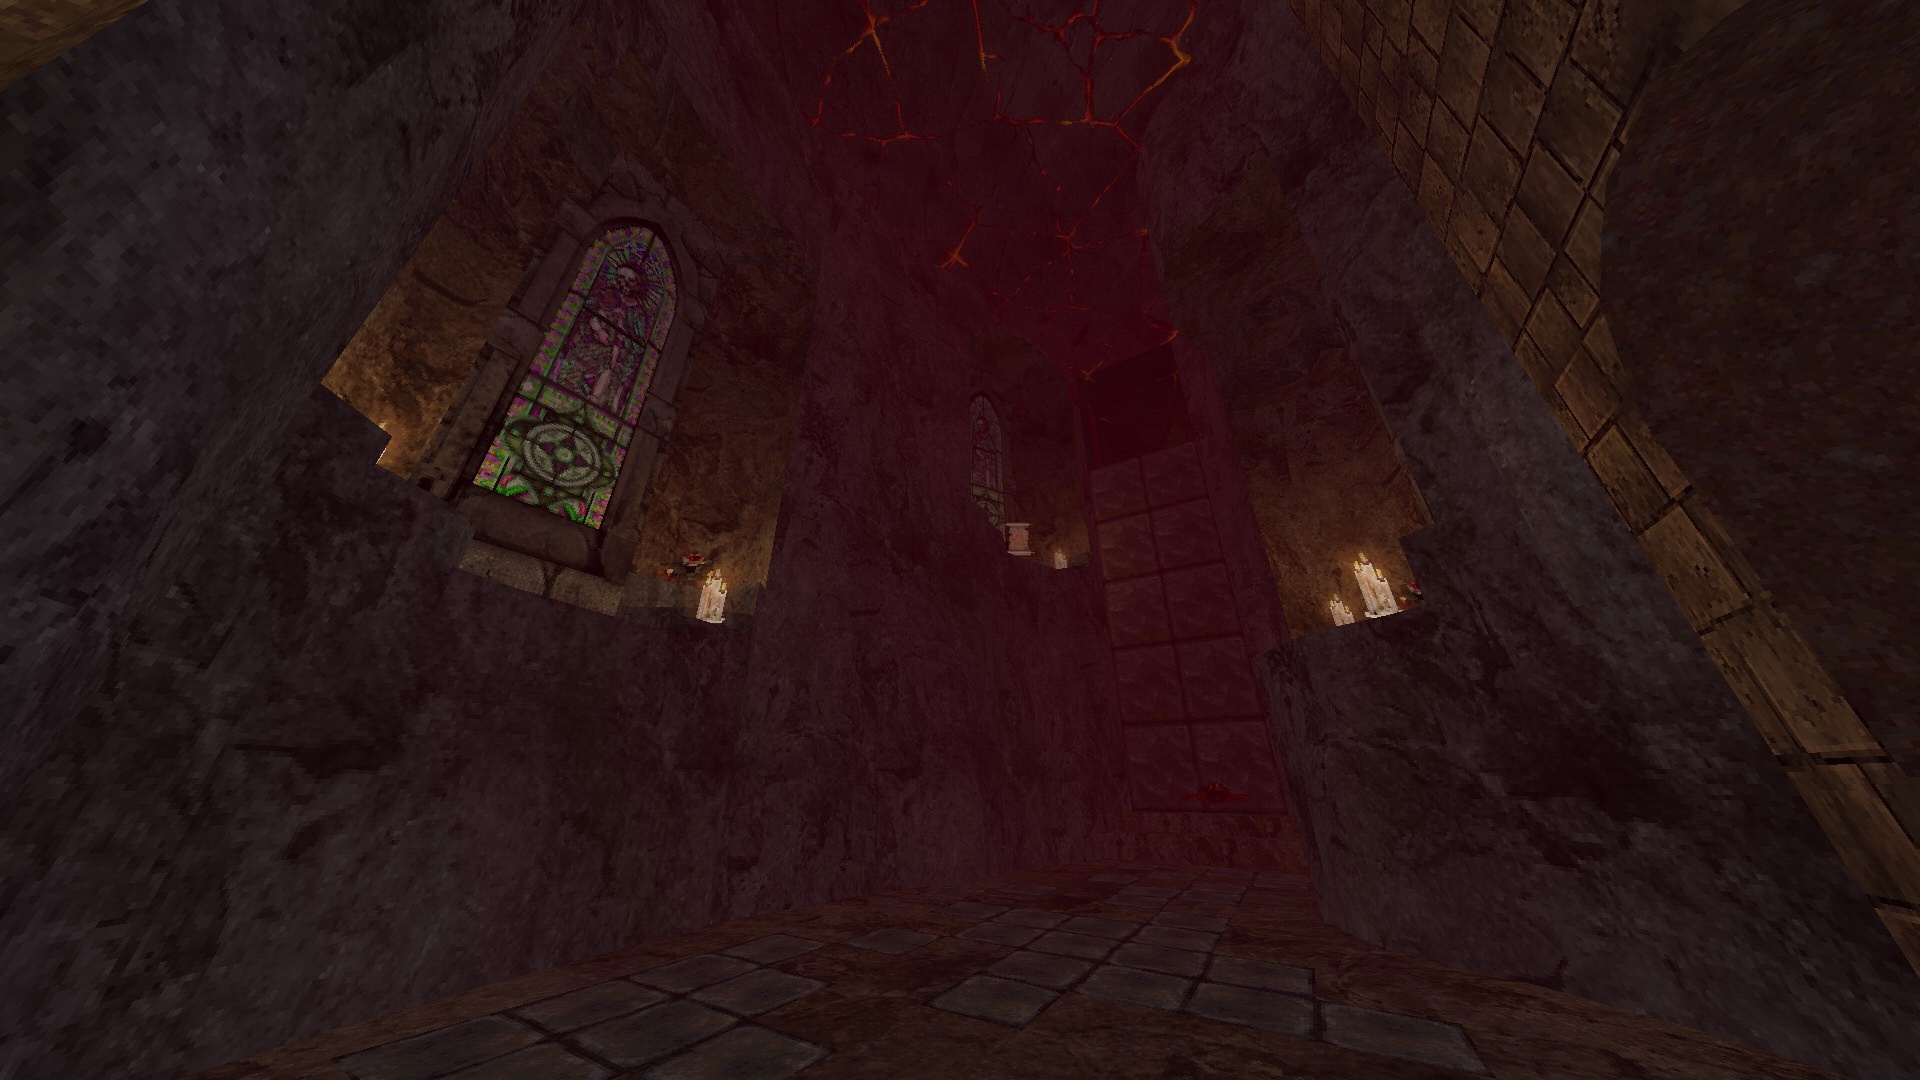
M20: Mountains of Evil
Diese Karte enthält nur ein einziges Geheimnis.
1/1 – After dealing with the foes in the blood arena and opening the door out of it with the Fire Key, turn around and fly to the back of the tower to find a newly-revealed compartment.
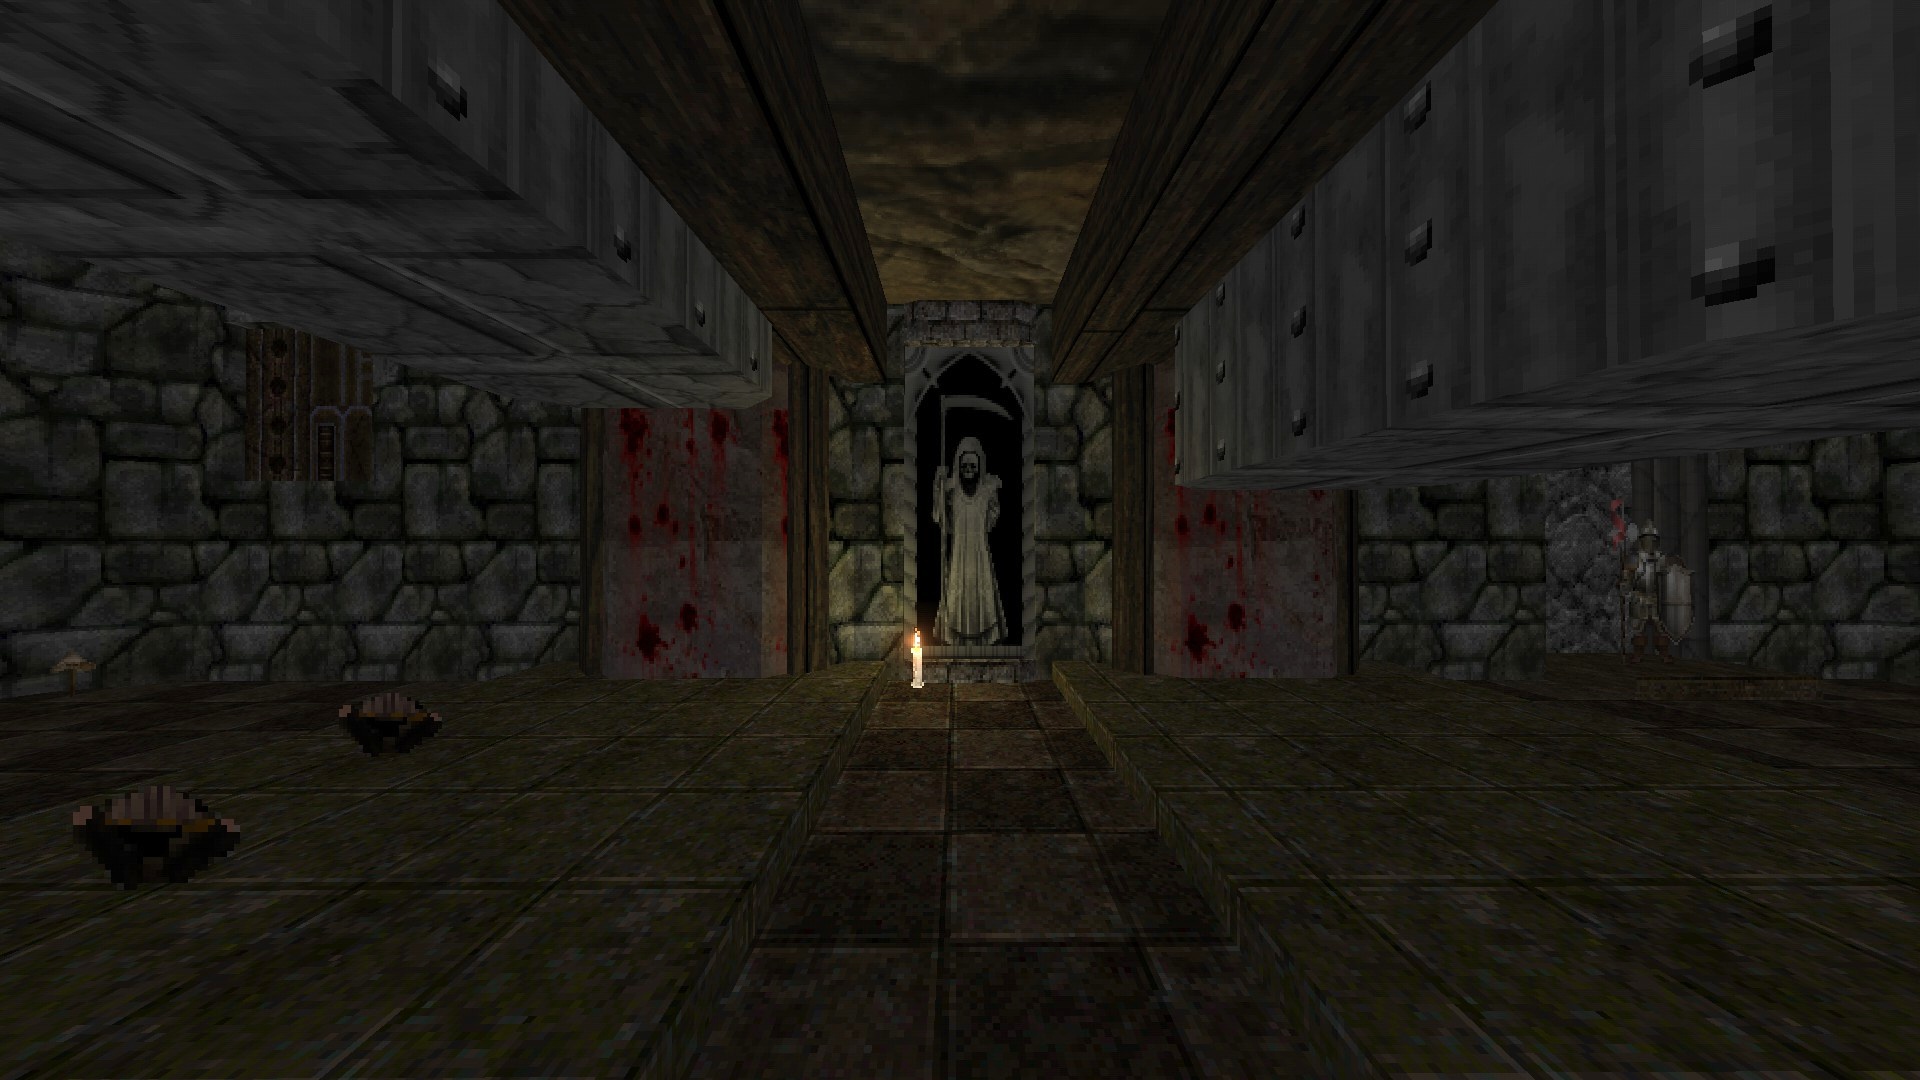
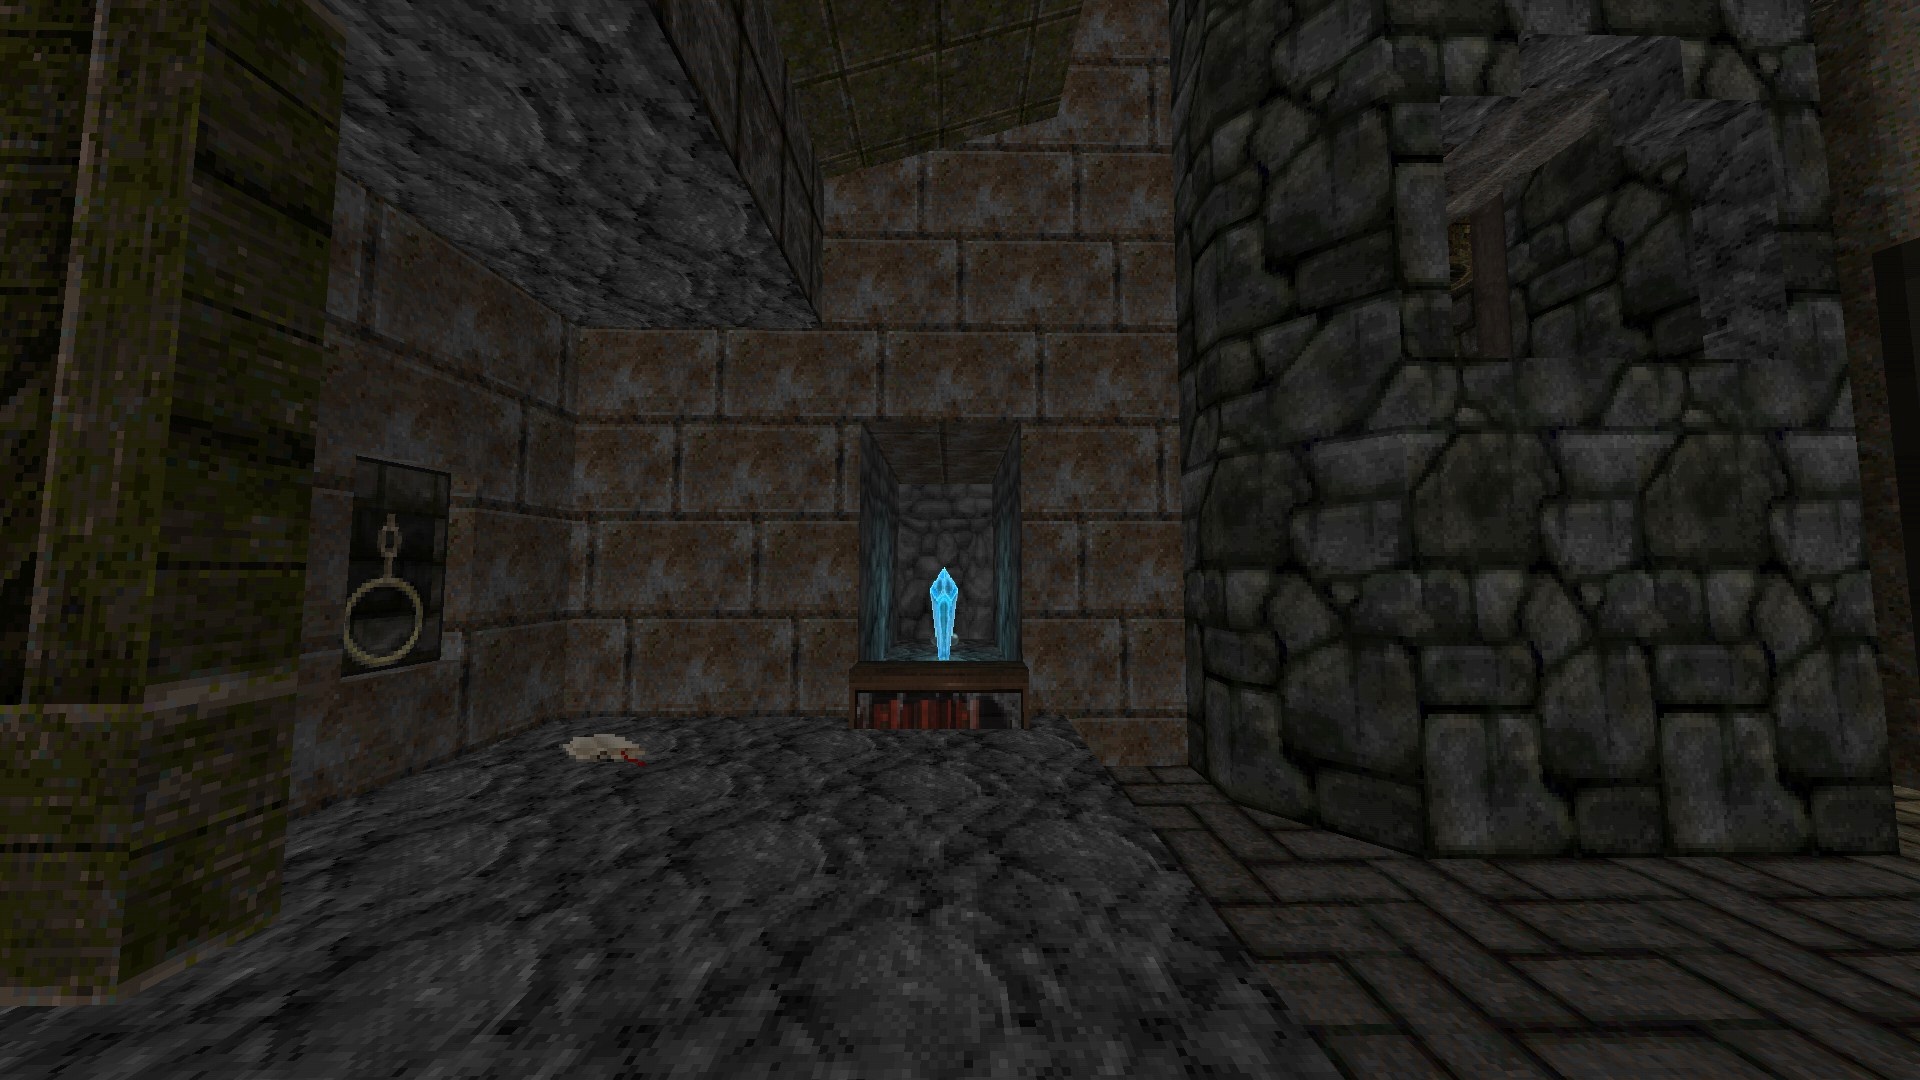
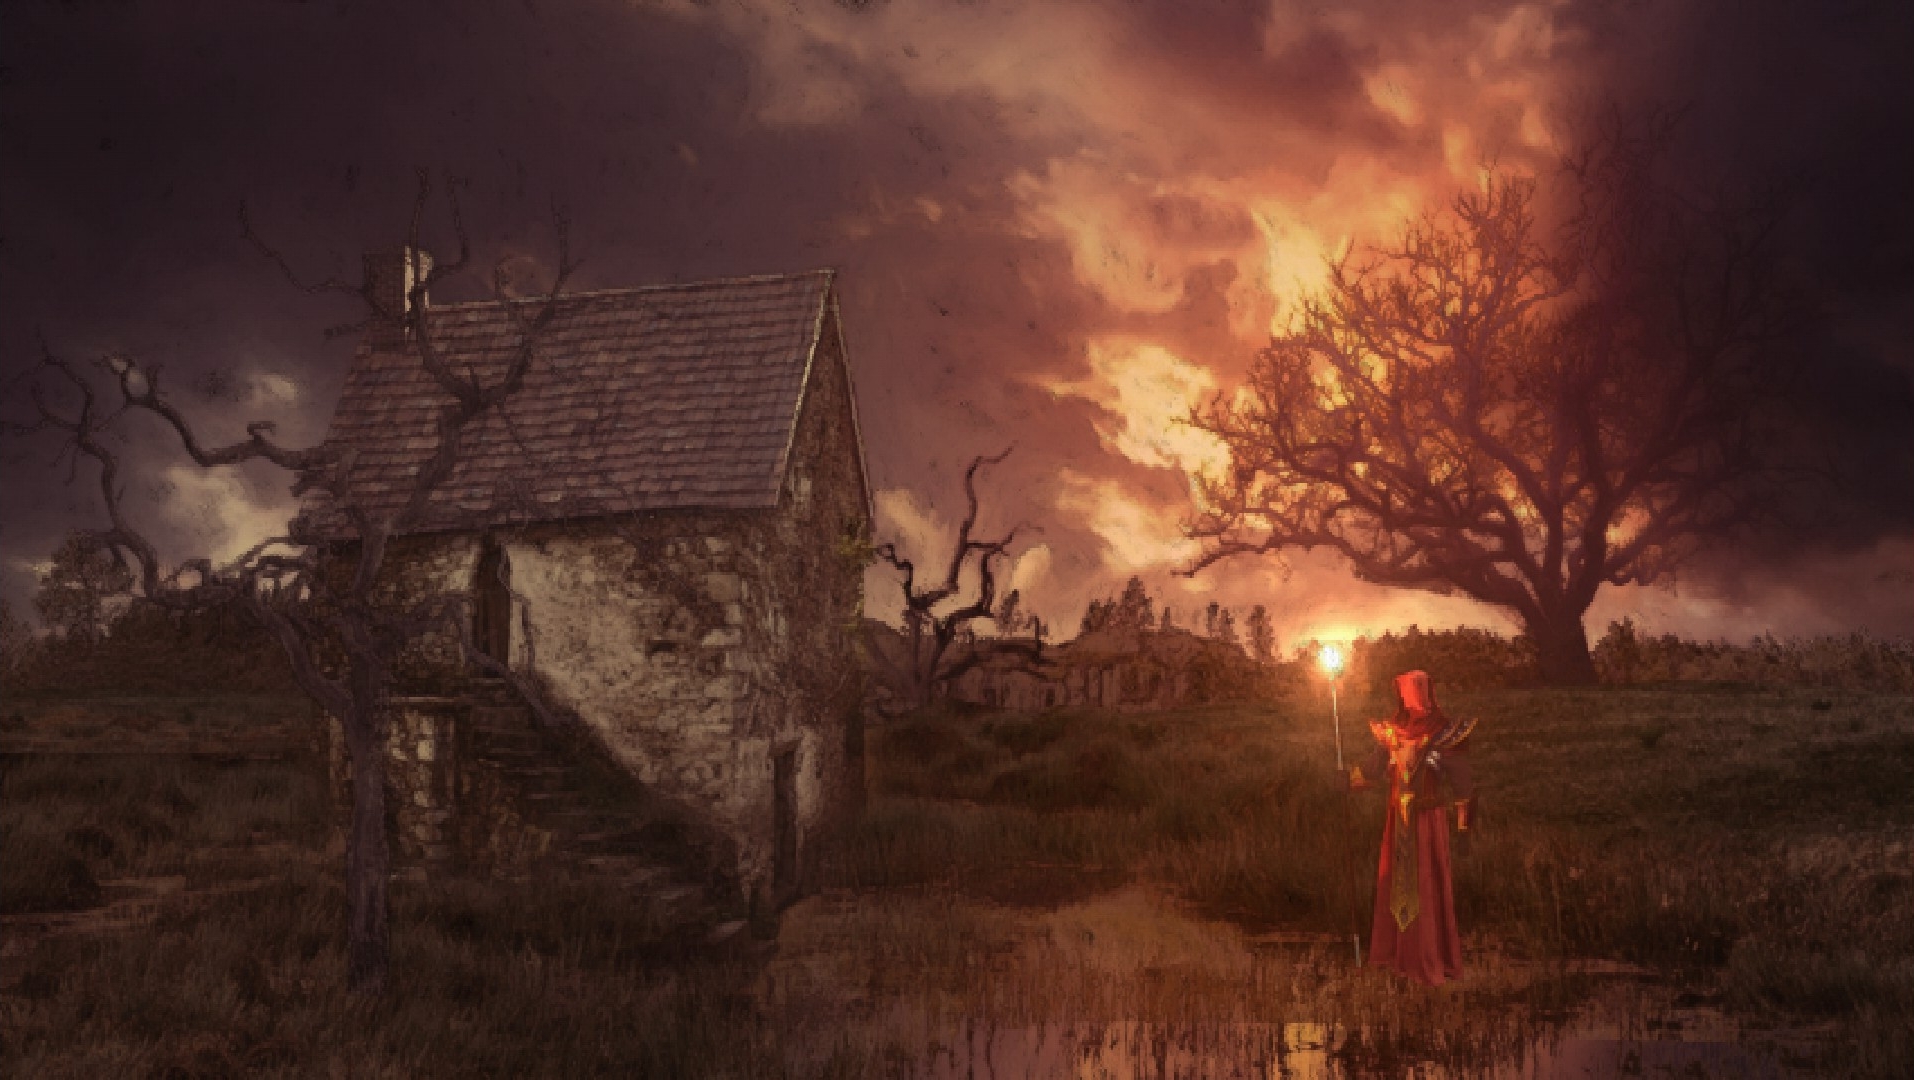
M21: The Final Encounter
This level has no secrets. Here is a piece of artwork instead!
Das ist alles, was wir heute dafür teilen Hände der Nekromantie Führung. Dieser Leitfaden wurde ursprünglich erstellt und geschrieben von ERC. Für den Fall, dass wir diesen Leitfaden nicht aktualisieren können, Sie können das neueste Update finden, indem Sie diesem folgen Verknüpfung.