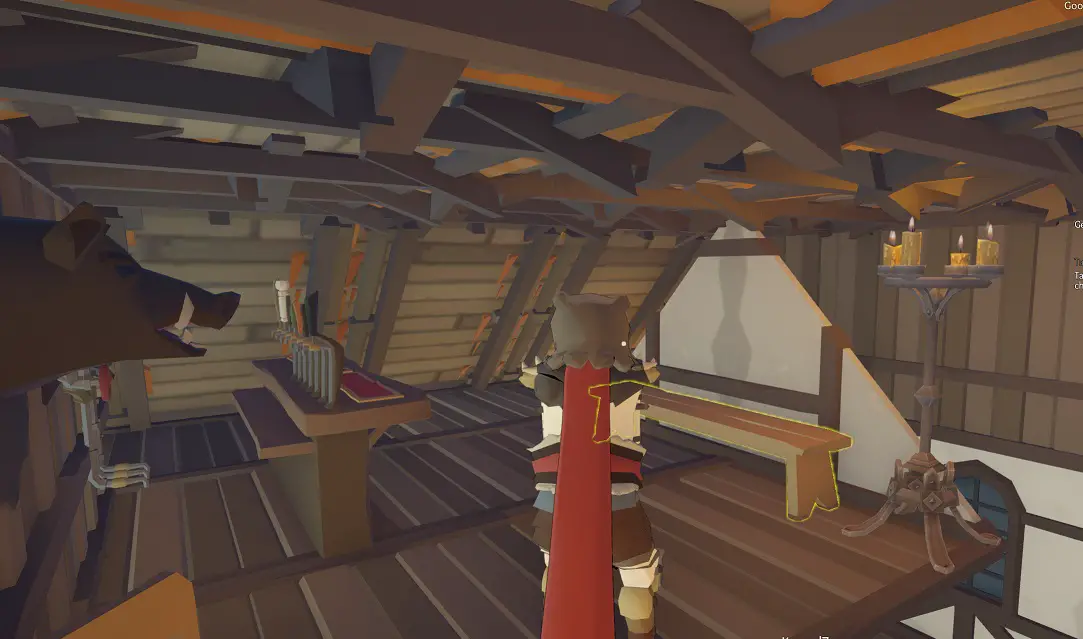
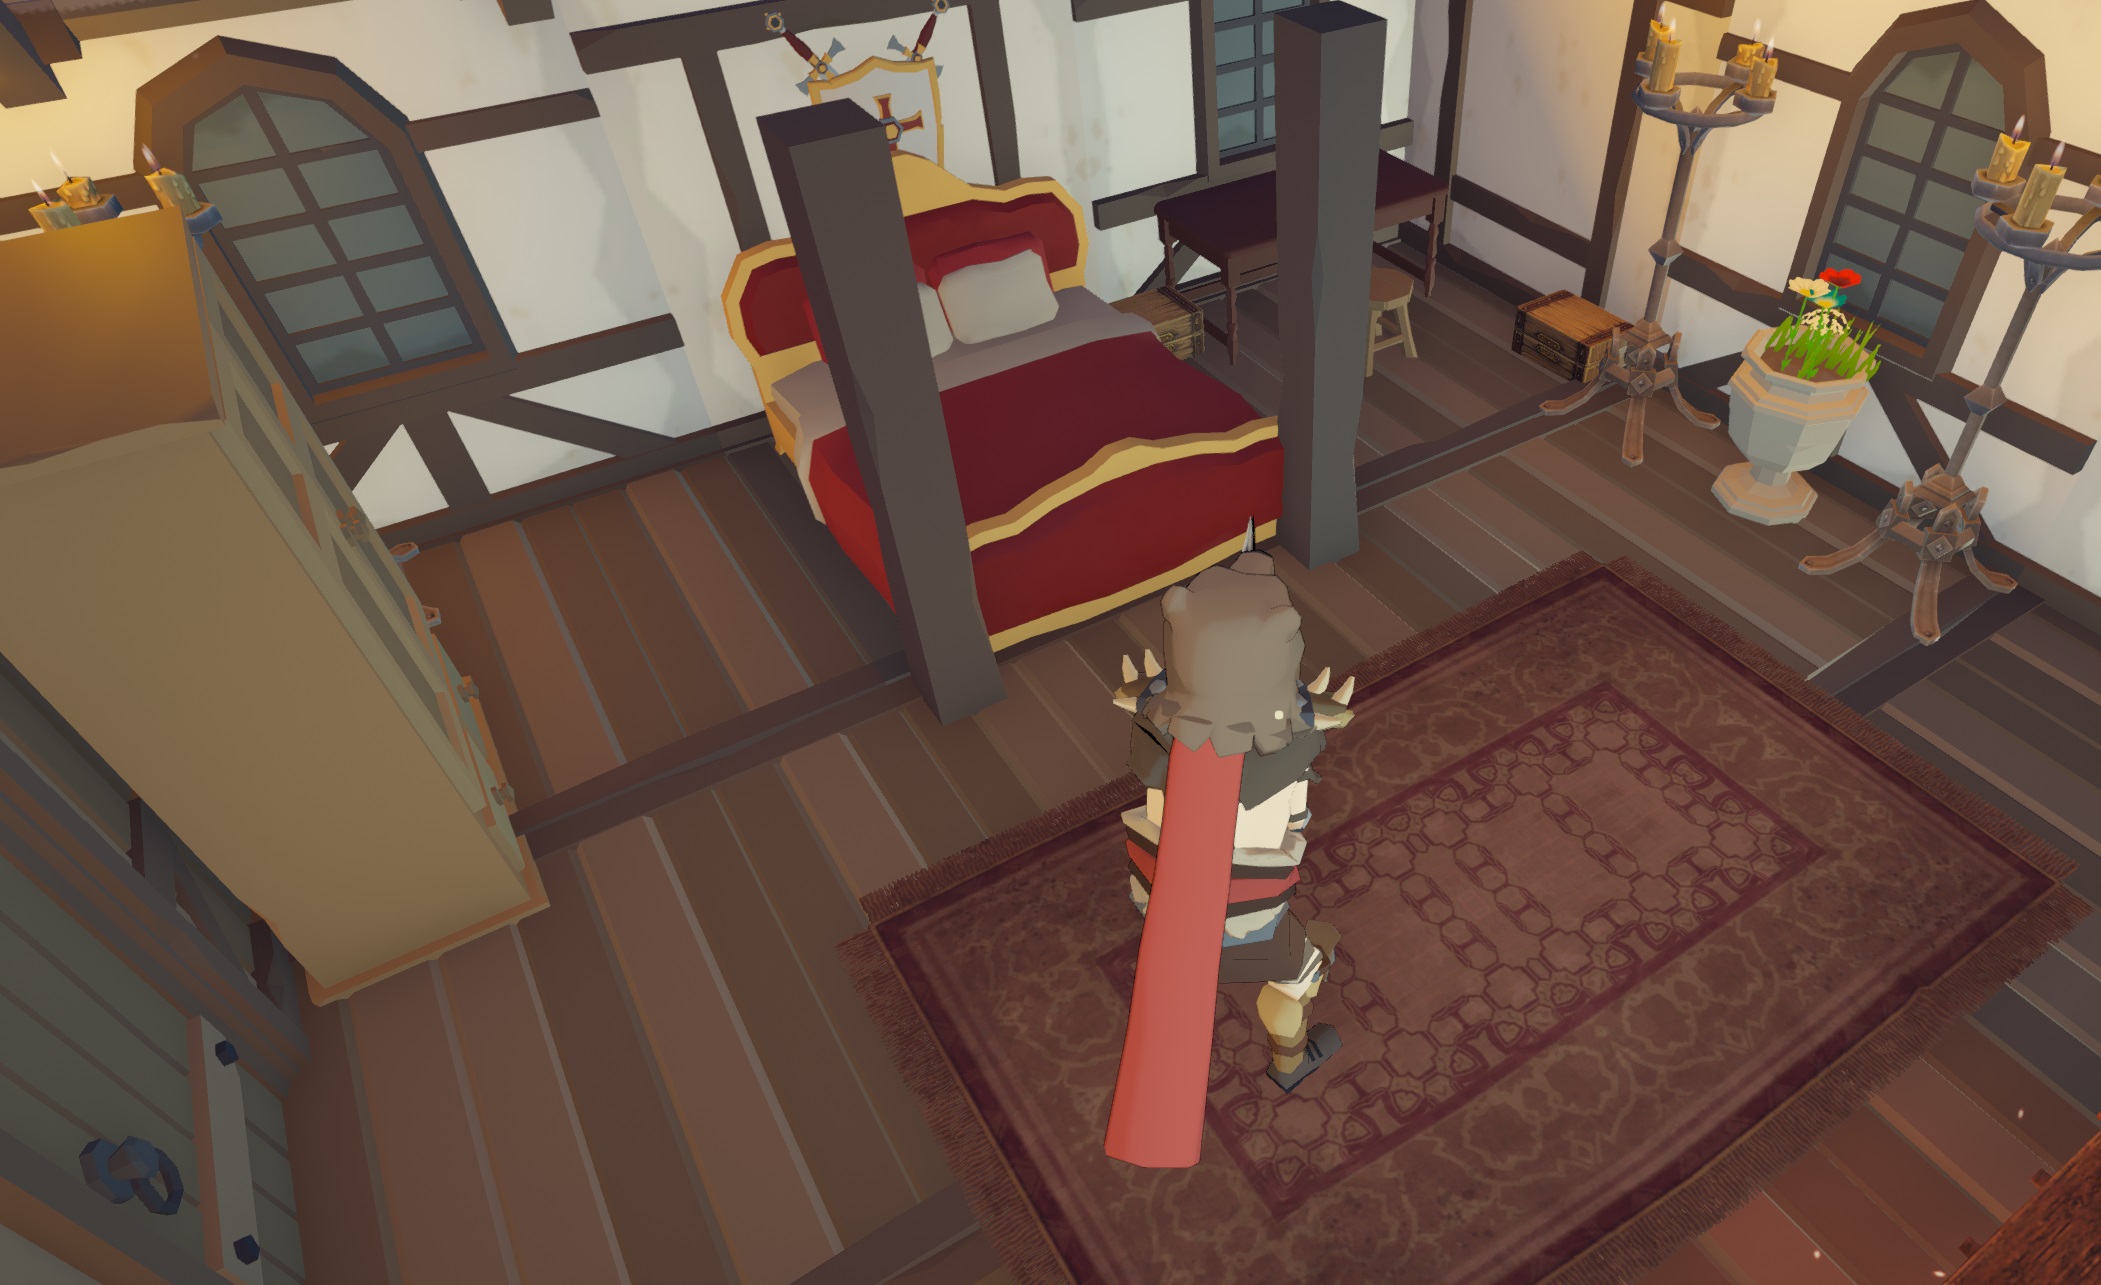
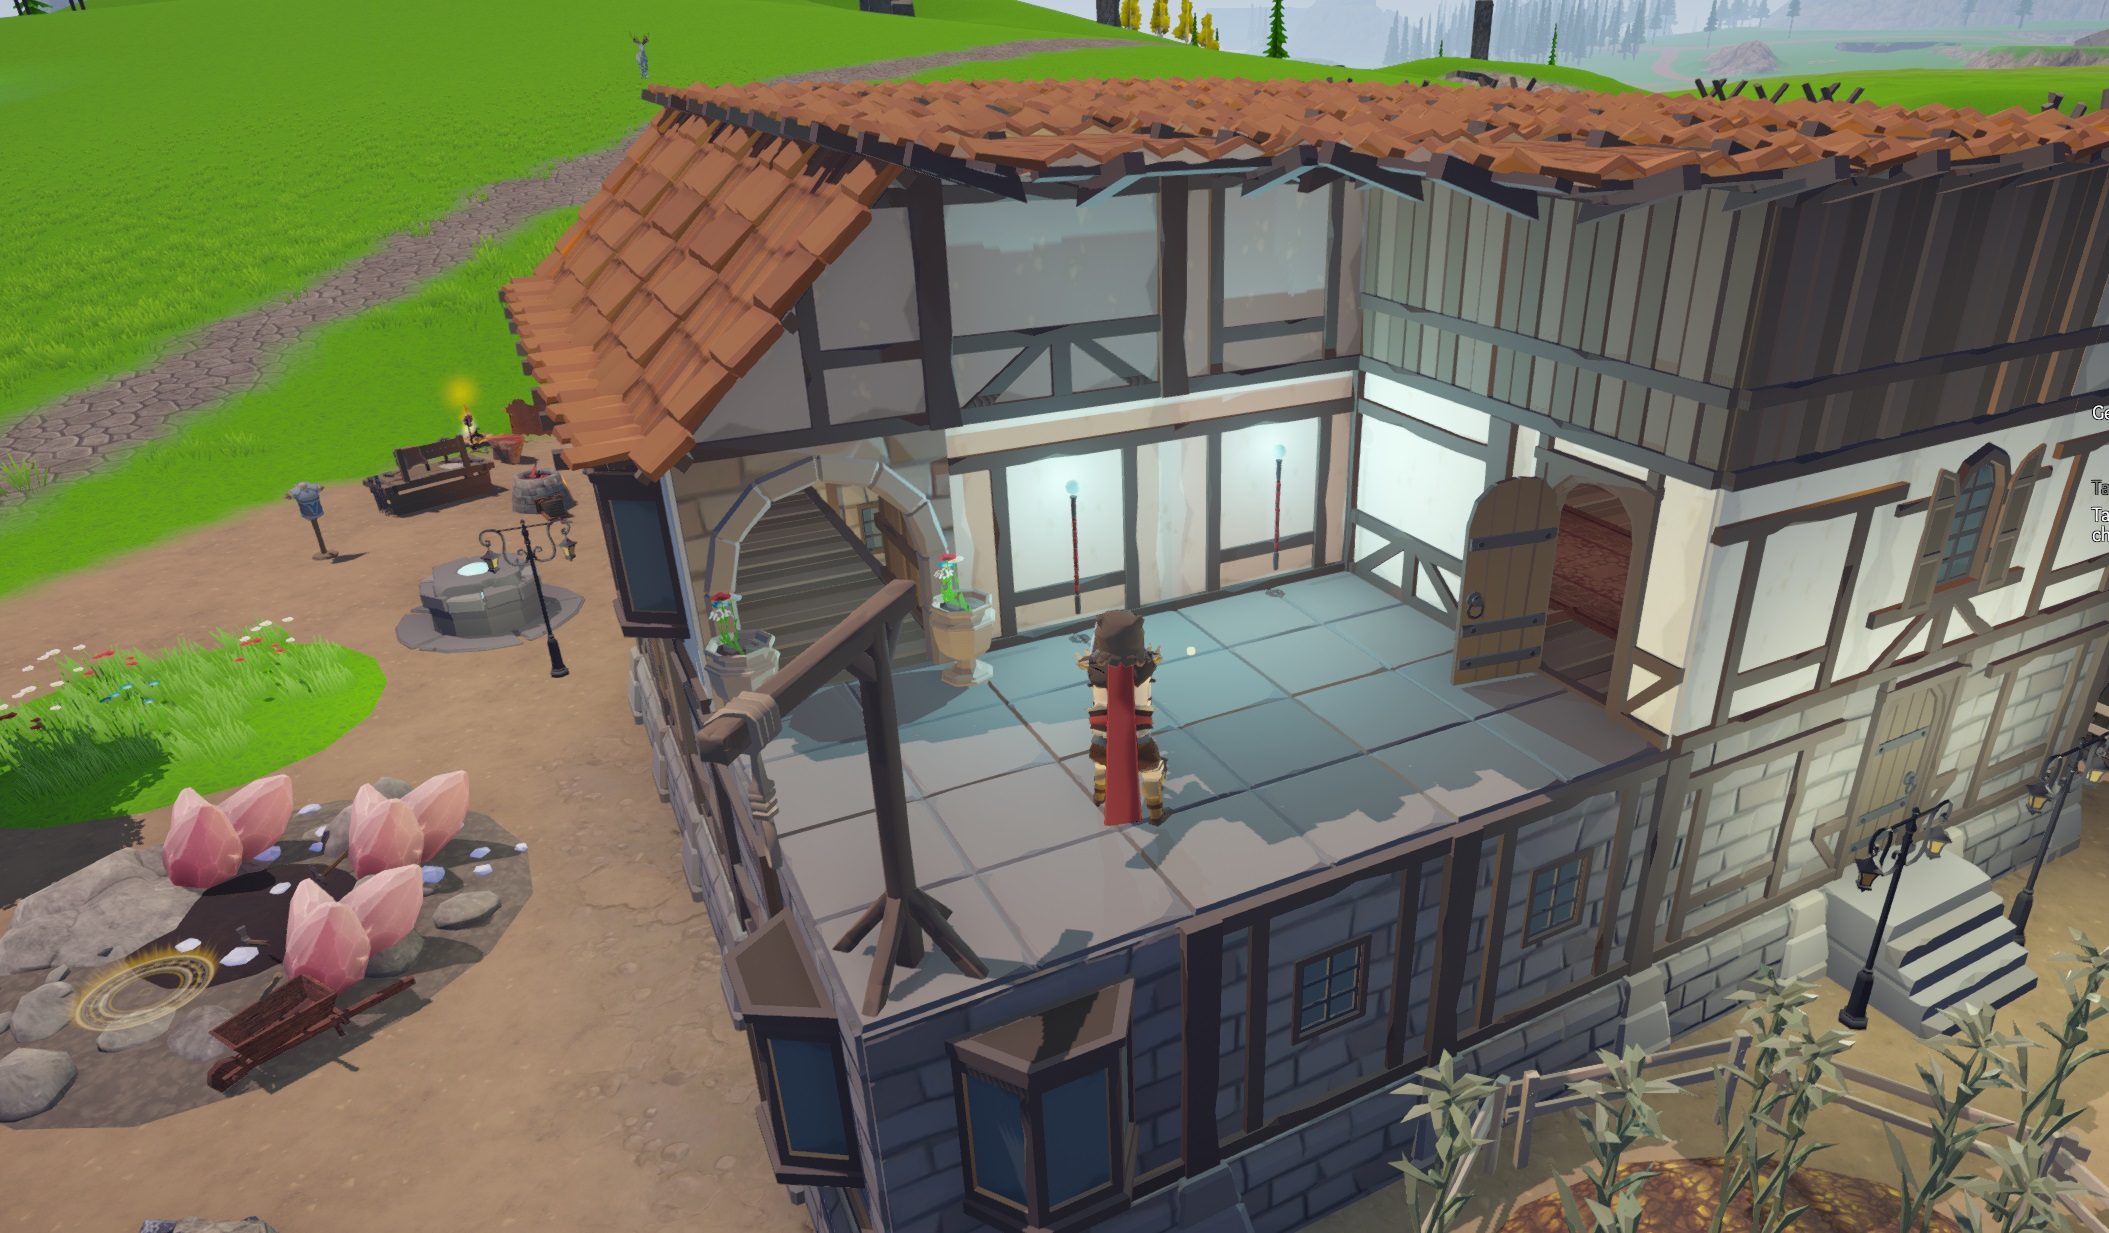
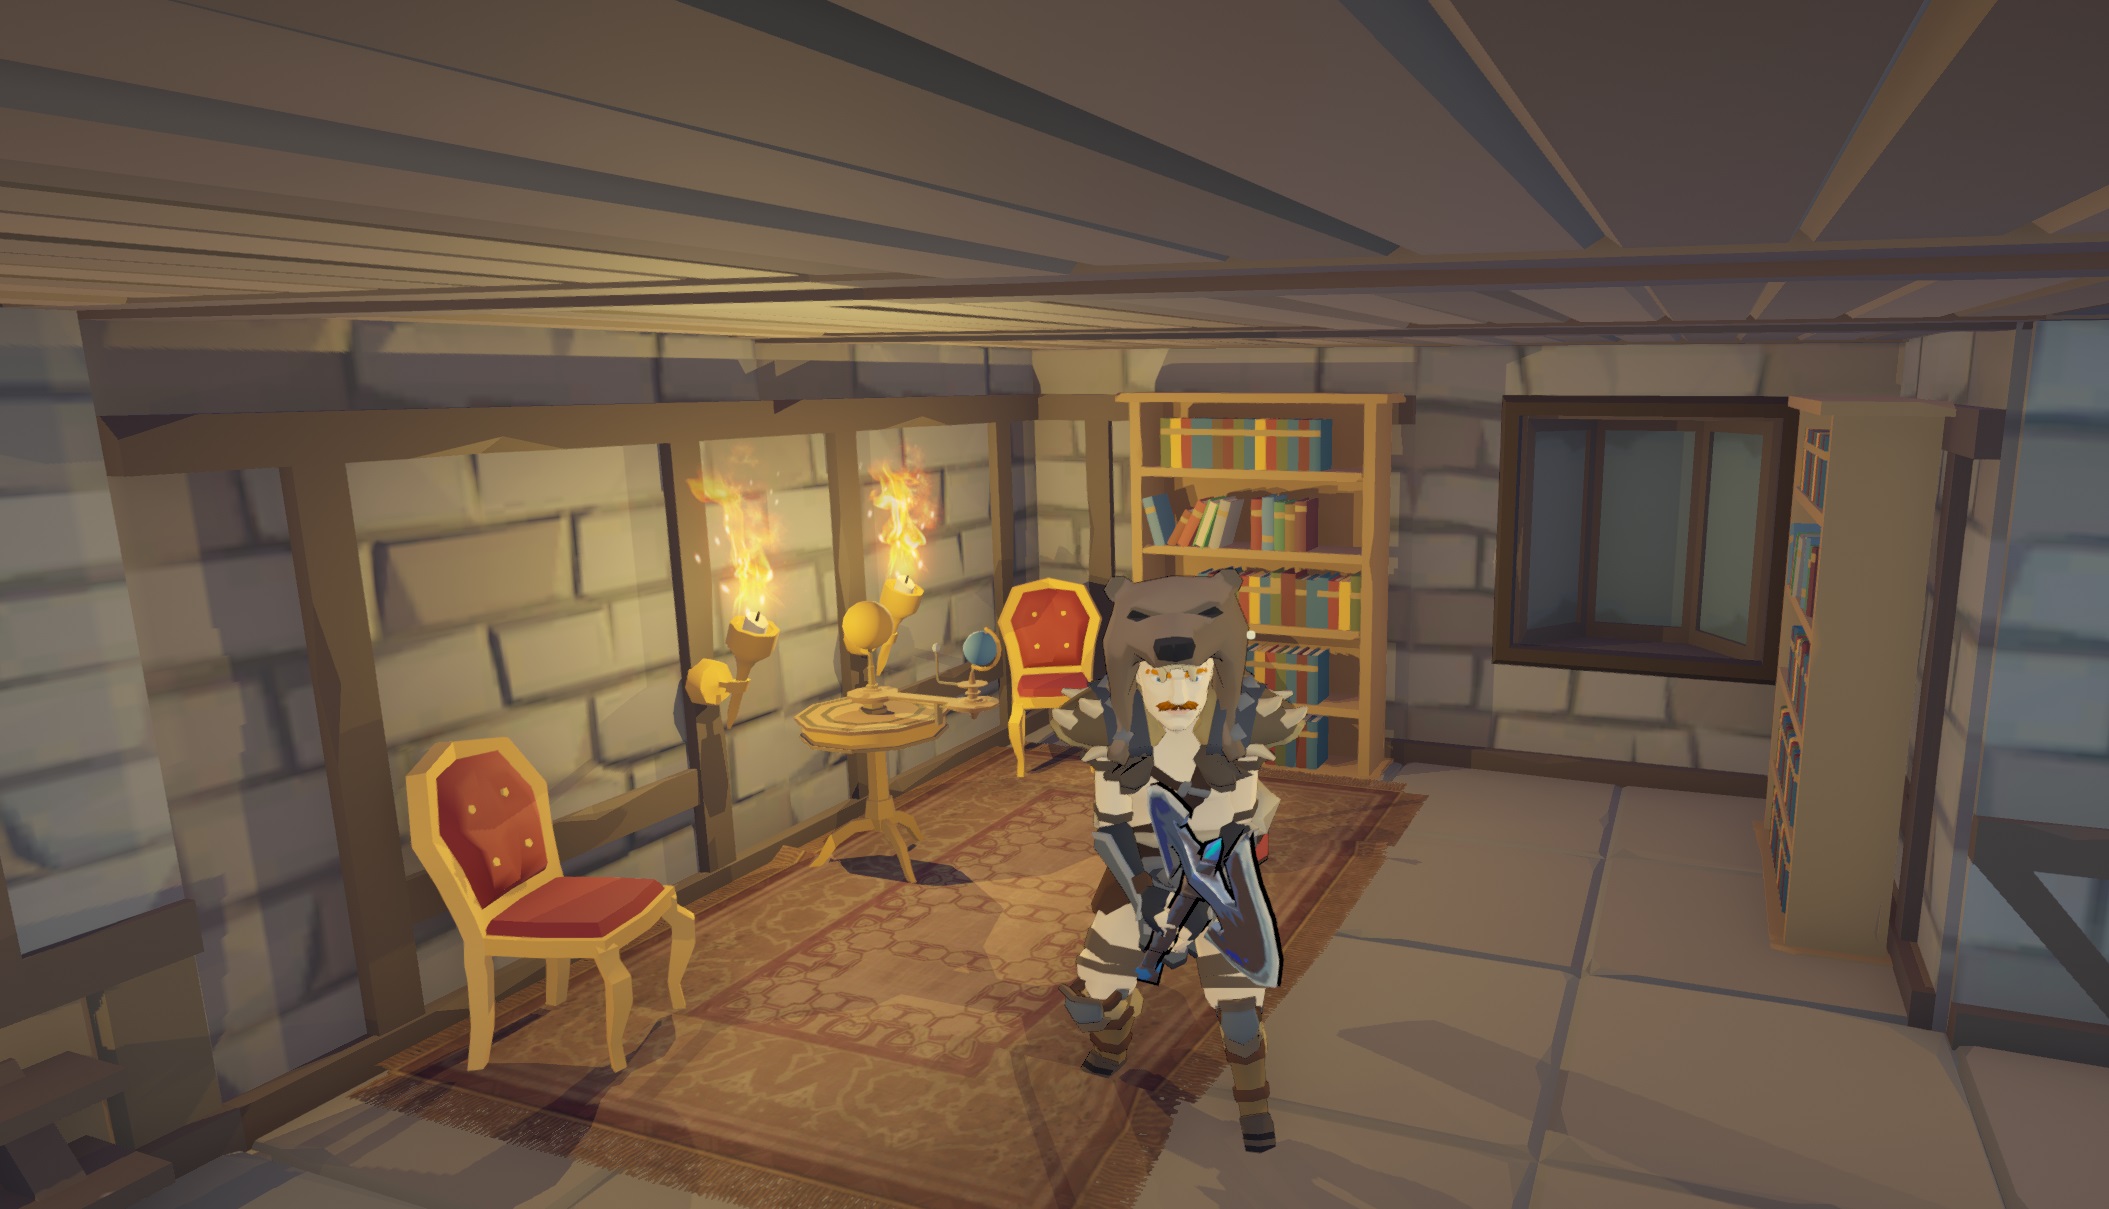
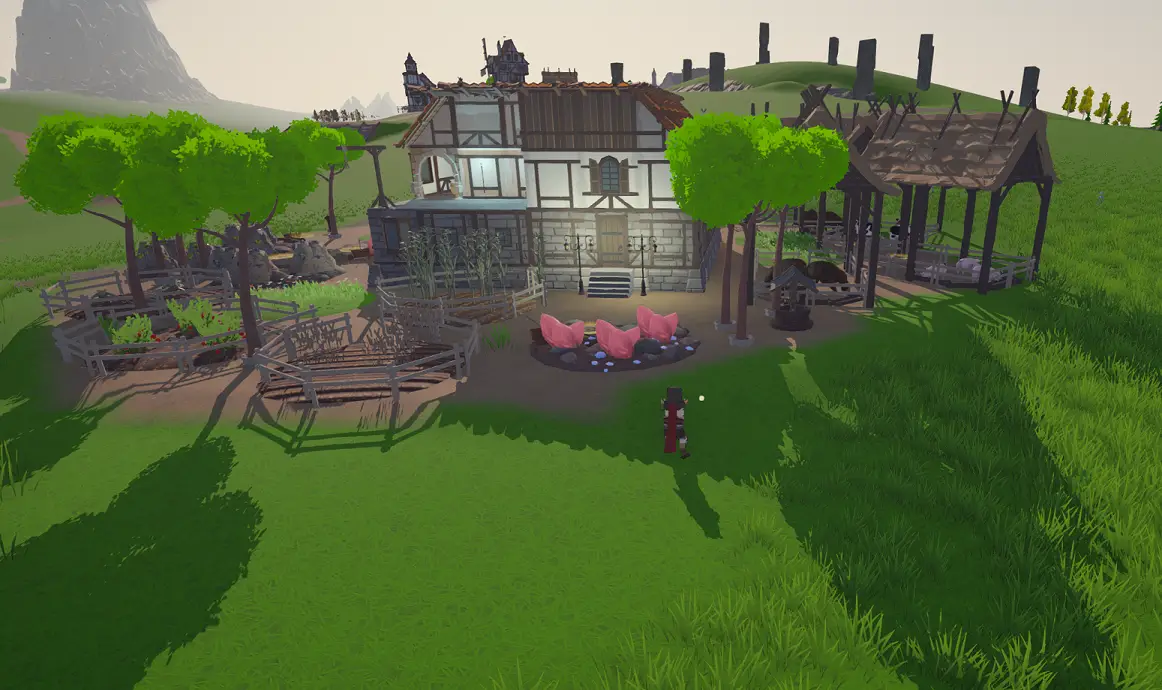
Basic Guide to building your player house and the resource generators. Skip down to the second section to see money making.
Much of this is obvious but hopefully reading this will let you know what to expect with the same tools.
I may delve into the modding and see what an „average joe“ can build in there and the level of effort required.
STANDORT
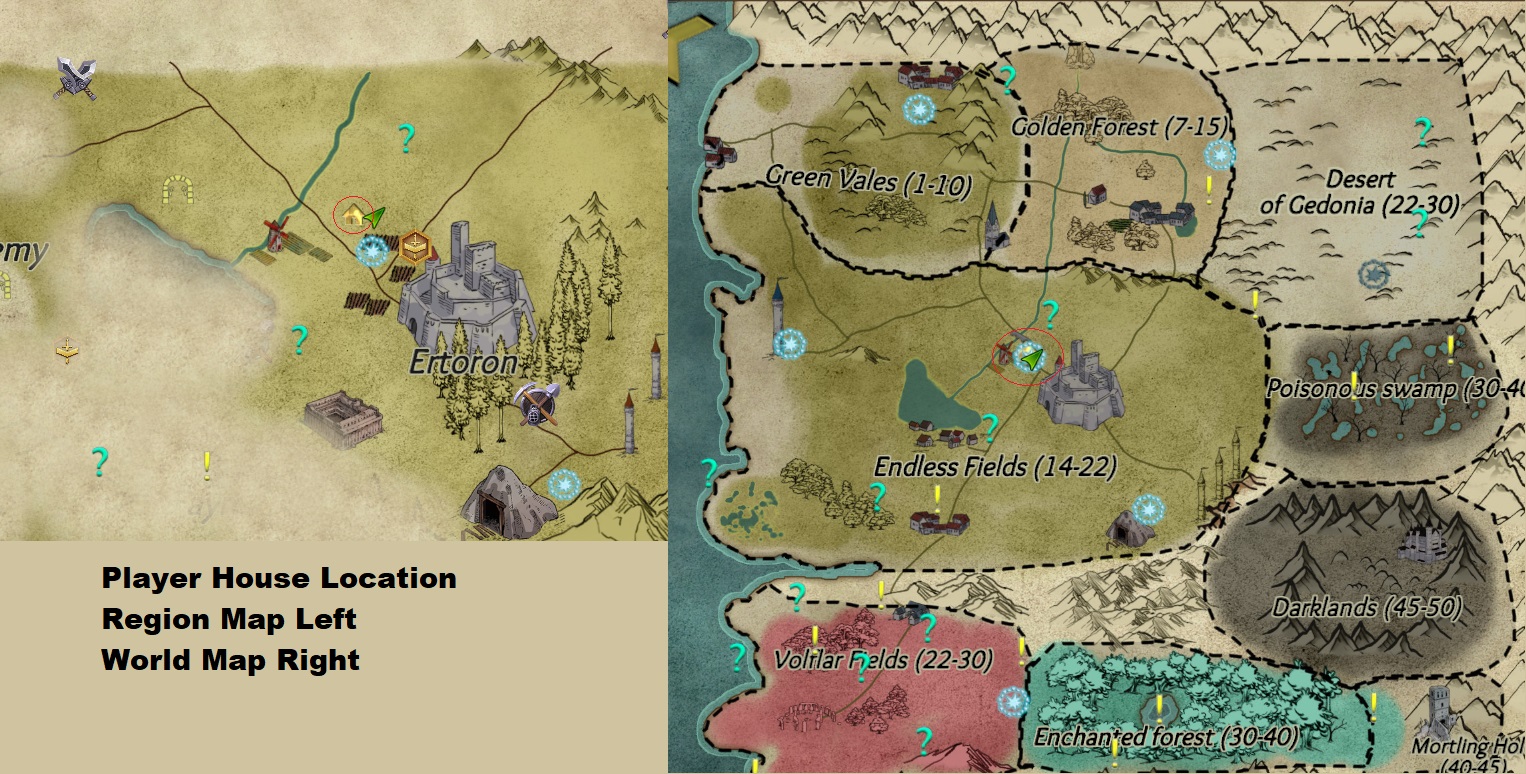
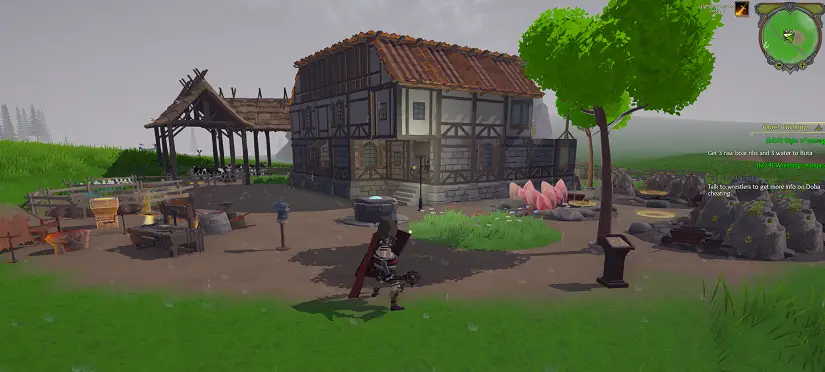
Your home is located Northwest of Ertoron in the Endless Fields. There is a waypoint nearby just Southeast of your plot. There is also a vendor who sells some relatively useless items, but is incredibly useful as your place to sell junk, crafting items, usw.
From the starting zone, you can follow the path leading South West to Endless Fields, where it will then turn South East then East. Alternatively you can head as the crow flies South South East.
BASIC MENU
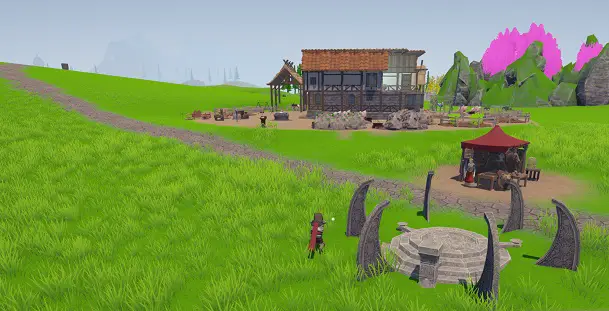
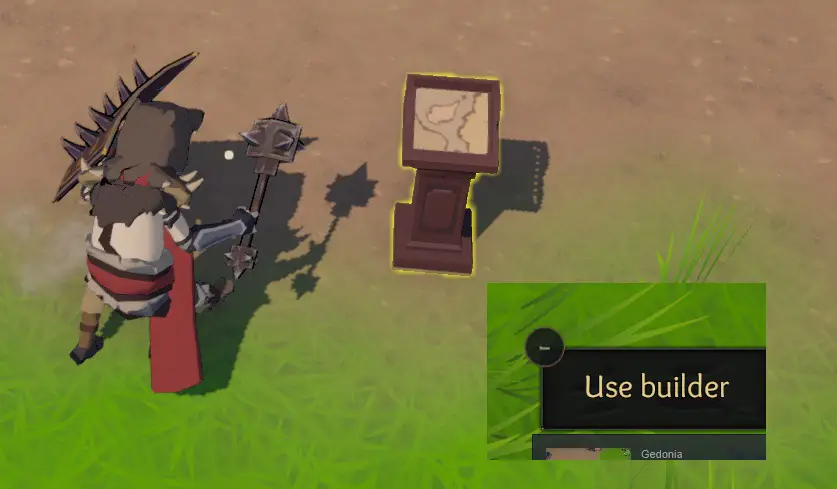
When you arrive at your home location, it will be a blank dirt patch with a Pedestal showing what looks like a map. Highlighting it will show „Use builder“. Pressing the action button will open the building menu and change your view to floating over the building plot. For your house, Es gibt ein 6 X 6 grid to work in. The surrounding area is meant for your „Hof“ aka your crafting areas. There are three floors available for placement, but the third floor is where your roof must also exist.
At the bottom of your screen there are the following commands:
Show Roof – This is an on/off toggle to show your roof. Needed to build roofs, defaults off.
Klar– Used to remove items. When selecting, it will highlight blue. Hovering over an item will highlight it with a slight white hue (Manchmal).
***You need to hold LMB for ~2seconds for the item to be removed.Switch house/yard Button – This will toggle between items for your Yard or House. Default House
House Menus:Böden– Flooring and Stairs
Wände – Wände
Roofs – Roofs
Andere – All furniture, Truhen, Artikel, Dekorationen, usw
Farben – Select a color scheme for your walls and roof, selectable per floor
Yard Menus:Functional – Crafting Spots, Resource Generators, Homing Spot, and a Training Dummy
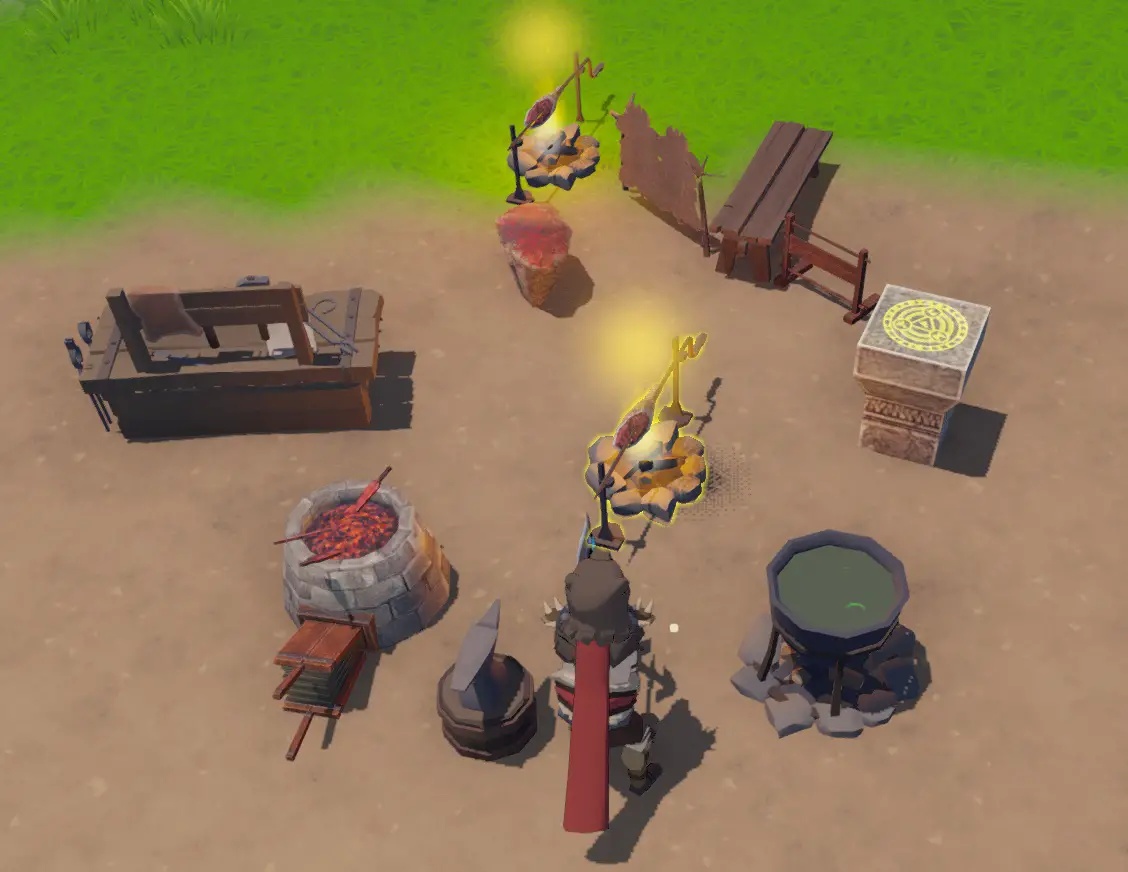
Crafting Spots – Puts all the game’s crafting pieces into a small circle, you cannot individually place them
Bauernhof – Plants for Alchemy
Yarn Farm – Plants for Tailoring
Mining Spot – Ore for Smithing
Animal Farm – Animals for Food and Leather
Crystal Mining Spots – Crystals for Enchanting
Homing Spot – Teleport Home Spot, when selected in game, gibt dir „Homing Stone“ which will instantly teleport you here. ***VERY USEFUL***Trainingsdummy– A small manequin you can whack to get your DPS. You need to attack it for a period of time before the dps shown is accurate.
Dekorationen– Zäune, Wände, and a few misc items for the yard
Large X – Exit Building Mode
Smaller X – Each item sub menu can be closed with the small X in its upper right corner
Additionally you have the following controls:
- Zoom in/out with the Mausrad
- Halten RMB to Rotate the Camera (shown on right side of screen at all times during build mode)
- MMB to cancel an item on cursor for placement, be sure to use this after you’re done with a certain item, sometimes clicking other UI elements will not recognize and you’ll accidently place an item behind it.
- RAUM to switch between floors.
- LMB to select items from the menus and place them.
- R to rotate the item (if able)
TLDR – $$$ Resource Generation – Money Making
WIP Page
TLDR of the TLDR – Fill your plots with the crafting generators, sleep as much as possible to skip time, Beute, verkaufen, Spülen wiederholen.
Most profitable Animal Farm – Bulls *requires added steps before sale
Easiest most profitable Mine – Huge Mithril Deposit
Don’t worry about placement too much for the mines, they have only a small elevation collision and nothing that blocks you from running across them. Do keep in mind the rotation so you have the selection menu come up in a predictable way.
Note that when you harvest, you need to hit action key on each node spawned THEN refresh them. You can overwrite a ready-to-harvest node if you click a new placement in the menu before harvesting.
For Animal Farms, they have heavily collision and are quite large. Consider their placement carefully.
Crystal Mine
MENGE 3 (1×3) – Red crystal – 56 time sells for 27g
81g per 56 = 1.44g per hour
Meine Stunden
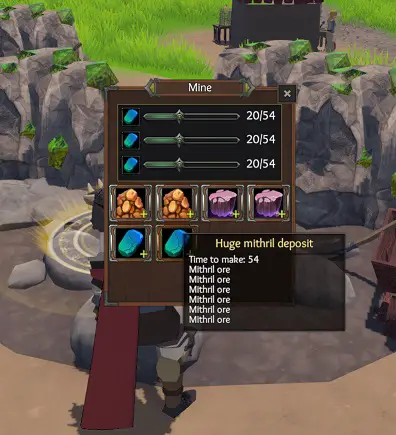
MENGE 15 (3×5) – Huge Mithril Deposit – 54 time sells for 17 Gold
255 pro 54 = 4.72g per hourAlchimie
MENGE 9 (3×3) – Nighteye / Bloodflower – 48 time sells for 20 Gold
180 pro 48 = 3.75g per hourSchneiderei
MENGE 9 (3×3) – Enchanted Cloth – 48 time sells for 20 Gold
180 pro 48 = 3.75g per hourTiereStier
MENGE 9 (3×3) – Rugged Leather and Tender Meat – 70 time sells for 27 Gold(41 Cooked) Und 20 Gold
549 pro 70 = 7.84 per houR
Kuh
MENGE 9 (3×3) – Milch, Rohes Fleisch, Thick Leather – 70 time sells for 20gold, 2 Gold(6 Cooked), Und 13 Gold
351 pro 70 = 5.01 pro Stunde
XP Farming – Craft Dependent
TLDR: If you have a homestead, do cooking. Free xp and Money.
At Weaponcrafting 5, Mithril Ore can be converted into Mithril Arrows, giving you 50xp each time or 750xp per full node rotation. They can be sold for 10g versus 17g from the ore. BUT AFAIK you have to sell items one at a time, including arrows, and I personally don’t feel like clicking 2700 mal.
At Cooking 5Tender Meat is Cooked giving 50xp each and increases the value of the item. Resale value clicking required is 1/5th what it is for mithril. (41 jeweils Gold).
Placing Items / Tricks
All building items must exist within the 6×6 Netz
Most items require a floor below it to be placed. This include wall hung items.
Roofs require a floor and/or surrounding walls. Its finicky.
***Due to the above rules, building a room with high ceilings but also decorations requires you to place a floor, place the item, then remove the floor.
Böden, Wände, and Roofs snap to the grid. Roofs snap offset halfway to the grid.
All items cost the amount shown and when deleted will refund the equal amount back.
You will need ~$3,000 to build a basic 2 story house, not including items/decorations/crafting stuff.
You will need ~$10,000 to build a full house furnished and all crafting stuff you’d possibly want.
Bodenbelag
- Im ersten Stock, all floors sit up ~3/4th of a player length. You will need to place a set of stairs for aesthetics and access purposes. (Effectively removing 1 grid of space for building)
- Stairs for access to the next floor up. Im ersten Stock, the bottom 2/3rds of the stair end up underground. On the 2nd and 3rd floor, you see their full down to the floor below.
- All Stairs in this menu are a two section, right angle. Each stair has a 0, 90, 180, Und 270 degree version.
- ***If you place a floor too close to the stairway opening, the player will sometimes get stuck on them and can’t pass them without janking around.
- ***These stairs kinda suck. The easier/better stair is actually in „Andere“ on the last page and is labelled Ladder. This is a Straight stair section and has far less issues then the other stairs.
- Flooring requires no supports, they can be floating
Wände
- Walls require a floor under them to be placed. This is dependent on the floor shown within the grid placement, which you can rotate the wall around (using R).
- For vaulted ceilings, place a floor, place the wall, then remove the floor.
- There are two pieces „stone arc“ which look like triangles, they are useful for filling roofing gaps or for low walls.
- Der andere „stone arc“ piece is a good open doorway. For some reason after placing one I had a bug where my character could not pass through it, removing it then replacing it fixed the issue.
Roofs
- Wie bereits erwähnt, roofs require walls/floors to be placed. They’re finicky and kinda a PITA.
- They don’t place as easily/nicely due to being half off center. For a flat roof, not a big deal. For a nice angled roof its a little more painful
- The bottom of the roof piece exists at the FLOOR of the 3rd floor. You cannot place any higher, which means your third floor must have a flat roof, a loft setup, or be dedicated only to your roofing.
- Wie bereits erwähnt, verwenden „stone arc“ triangle pieces to fill the gaps on the flat edge of your roof along with walls.
- On the slope edge, you will end up placing overlapping pieces of roof (since they place at half grid placement) to make your complete roof.
Farben
- In this menu you choose a „paint“ for each floor’s walls and roof. The walls are a few colors as well as a few shades of stone.
- The two walls which are white with wood framing will change their white section to whichever color you choose.
- Roofs only give you a choice between colors (no changing pattern)
- Wood walls do not change color
- The wall color applies inside and out.
Andere (aka Objects)
- Wie bereits erwähnt:
On the last page is „Leiter“ which is an easier straight staircase. It starts at the current floor unlike the stairways which start at the floor below.
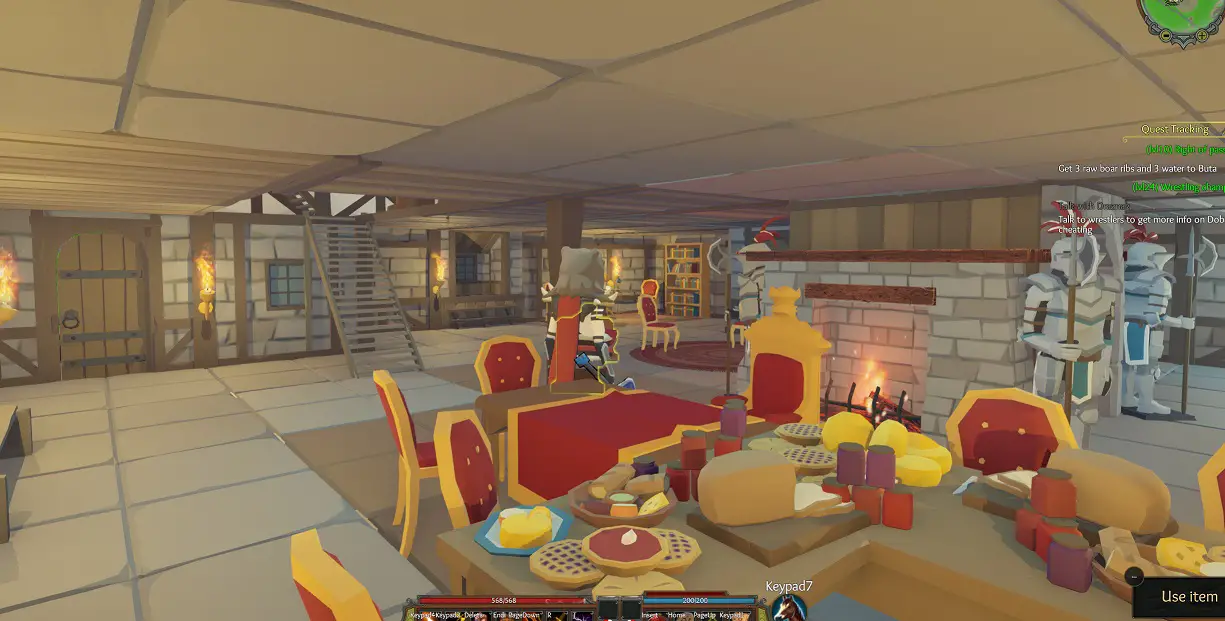
Most objects require a floor below it to be placed, even if its a wall mounted or „schwebend“. - Objects can overlap one another, but will have clipping issues in many cases
- Check placement at multiple angles before plopping down, you can’t move them once placed. They must be deleted and replaced to move location.
- Lighting will bleed through walls
- Chests can sometimes have clicking issues if you place them too close to other items
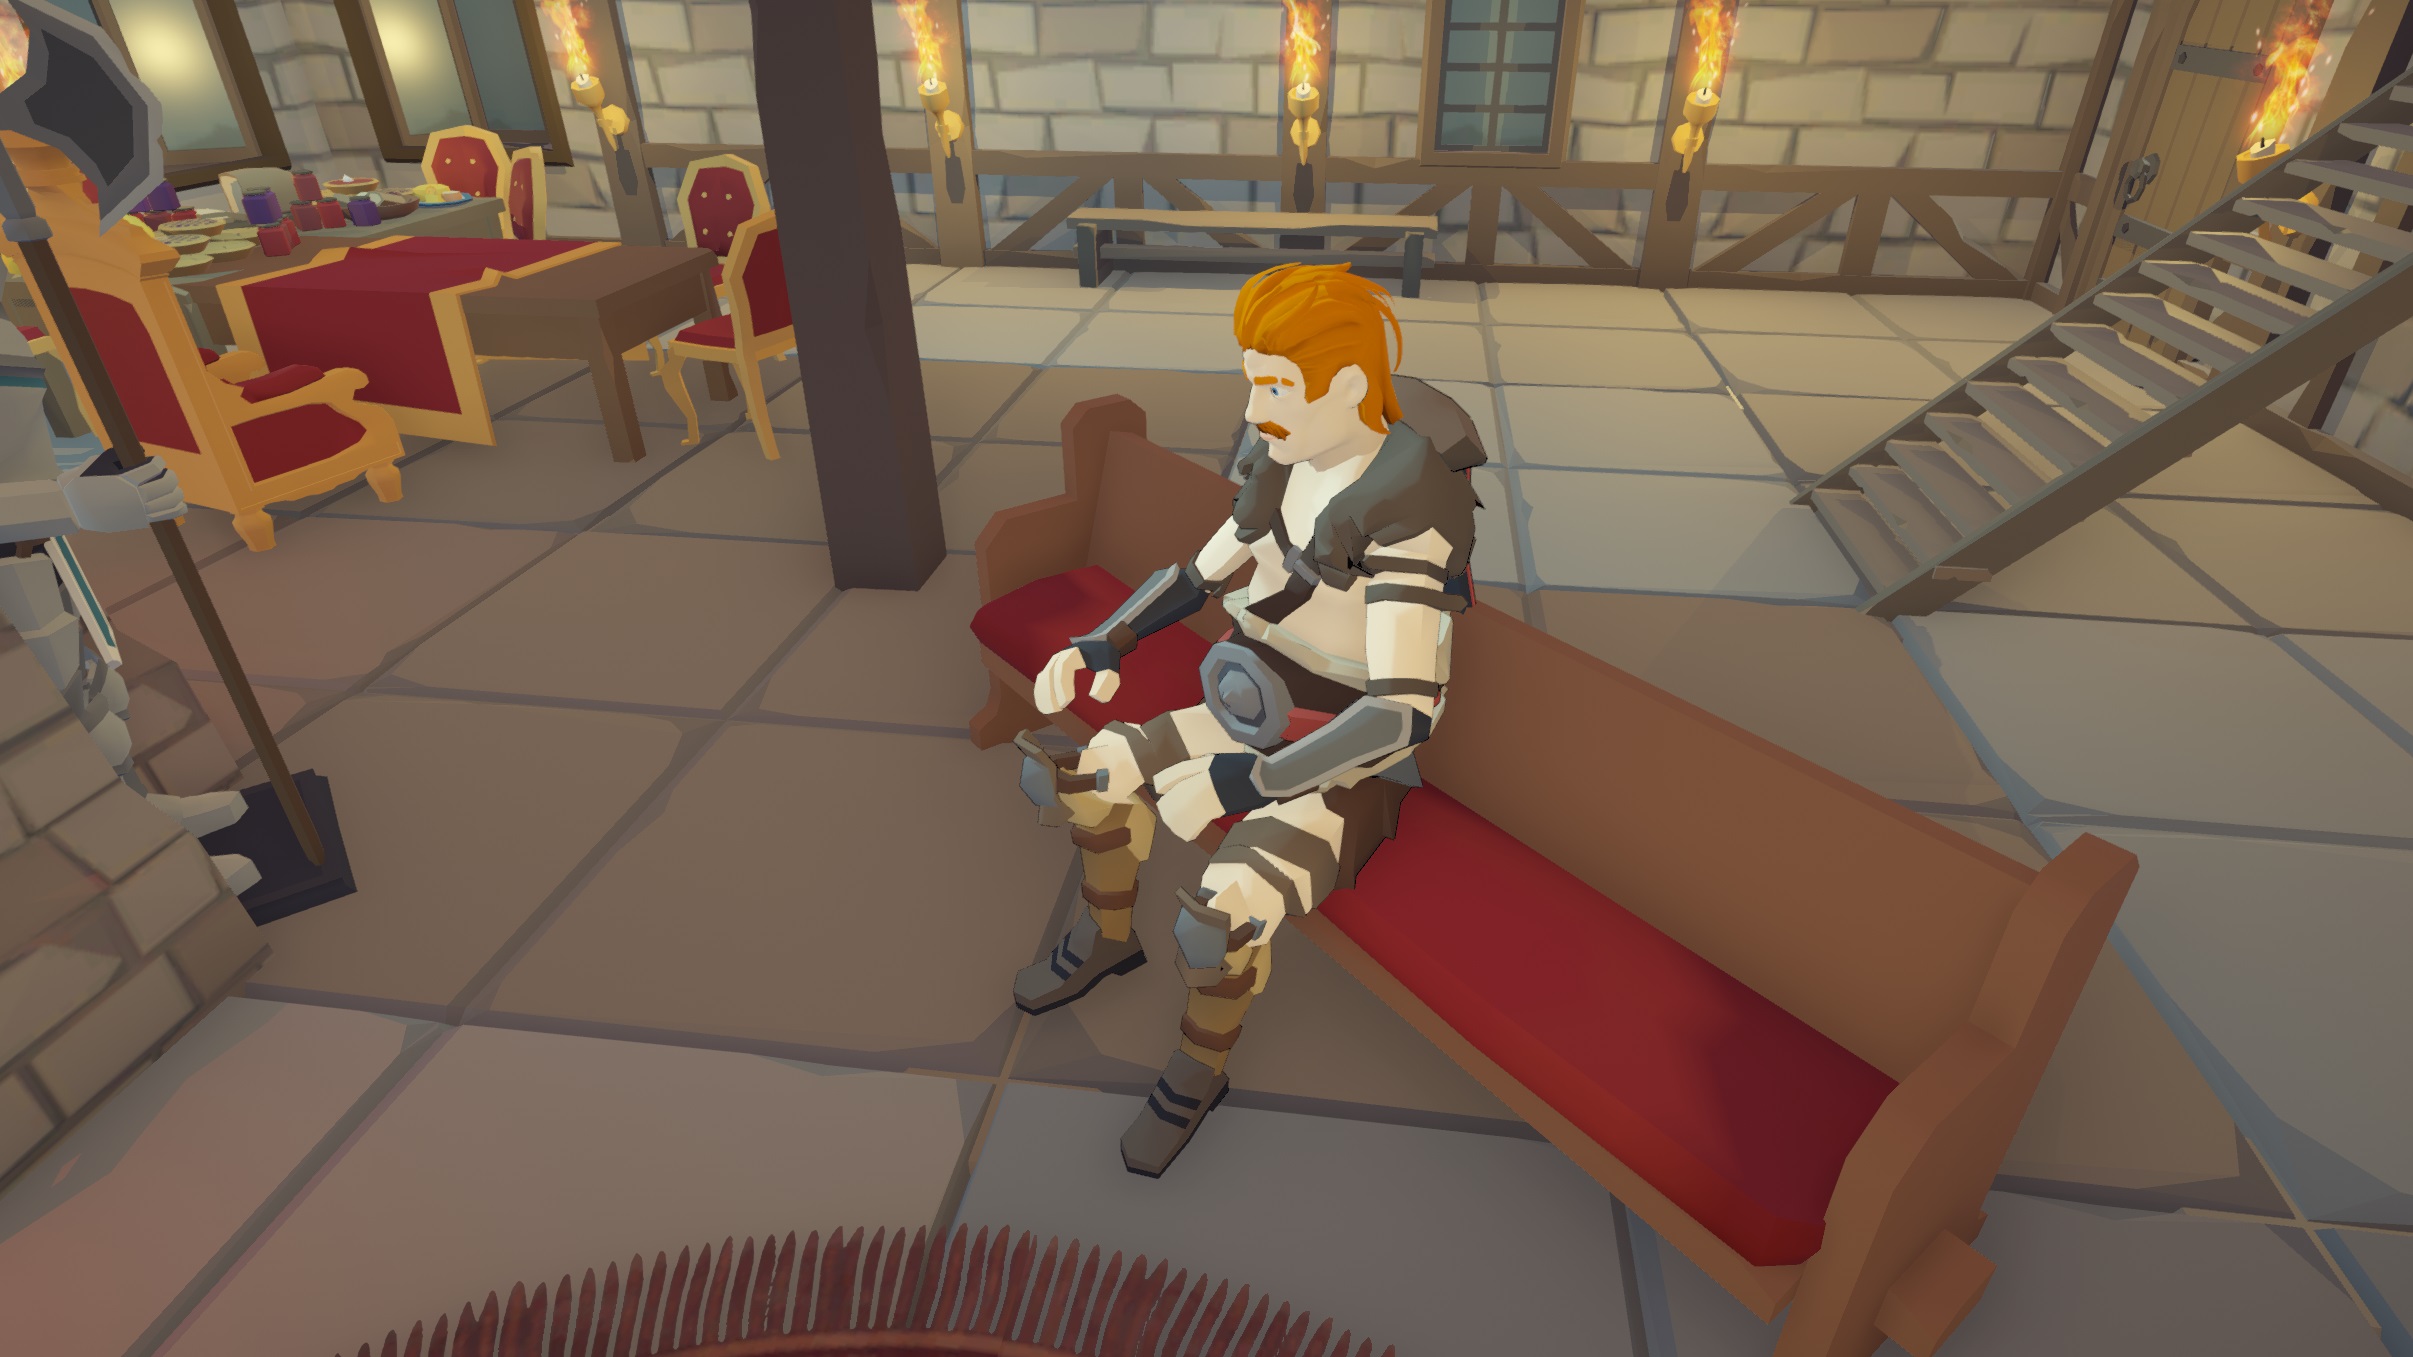
- Chairs are functional but give a mini-cutscene of you sitting at them.
- Es gibt keine „free text“ Zeichen (ala minecraft) to help label your chests.
Yard Items
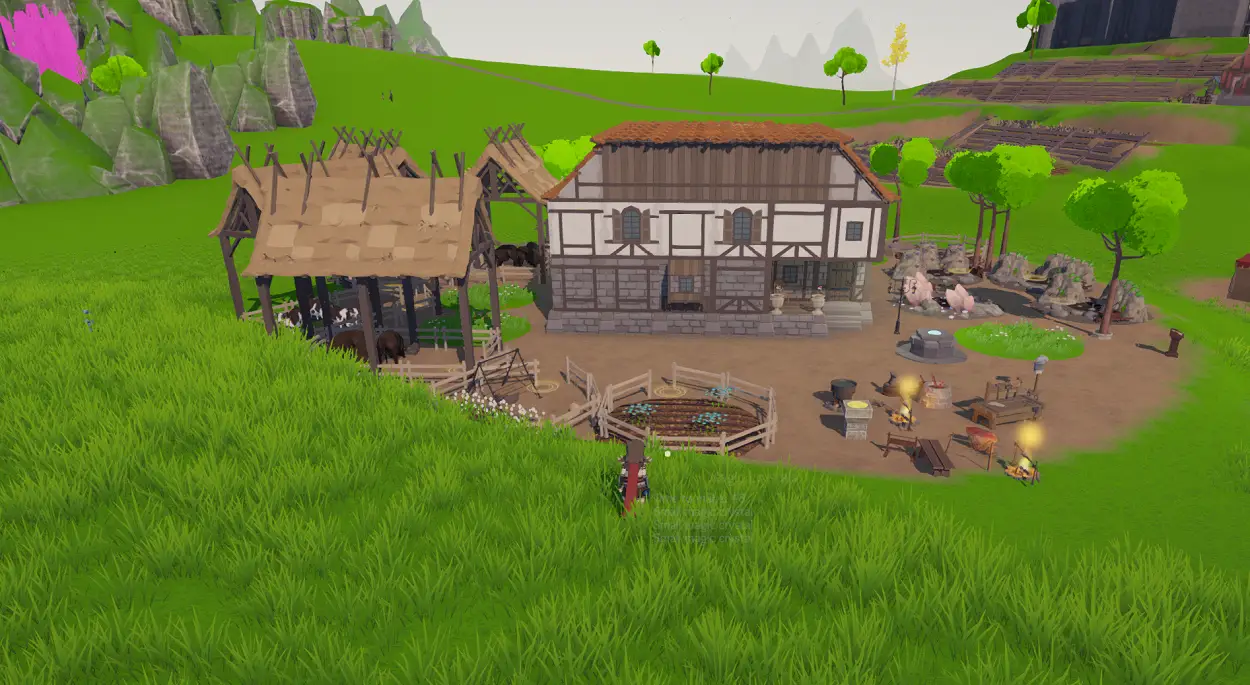
- The usable space is slightly smaller than the dirt patch shown.
- Als Faustregel, the entire item must sit on the dirt patch to fit and be placeable.
- Objects will show red when they cannot be placed, but will also show green at the edges and still not be placeable.
- Crafting objects cannot overlap one another and need a small gap to place correctly.
- Without trying to min/max I have the following in my yard: 1 homing spot, 1 crafting cluster, 2 Tuch, 2 alchemy, 4 mining spots, 3 animal farms, Und 3 food farms.
Resource Generators
- All of the resource generators have a similar menu.
- You are given three slots and can choose which type of item to make.
- Depending on rarity they have differing timers to generate with the longest being 54 for mithril, 56 for red crystals, Und 70 for cows/bulls. Others are shorter or similar. One in game hour = One tick of the timer.
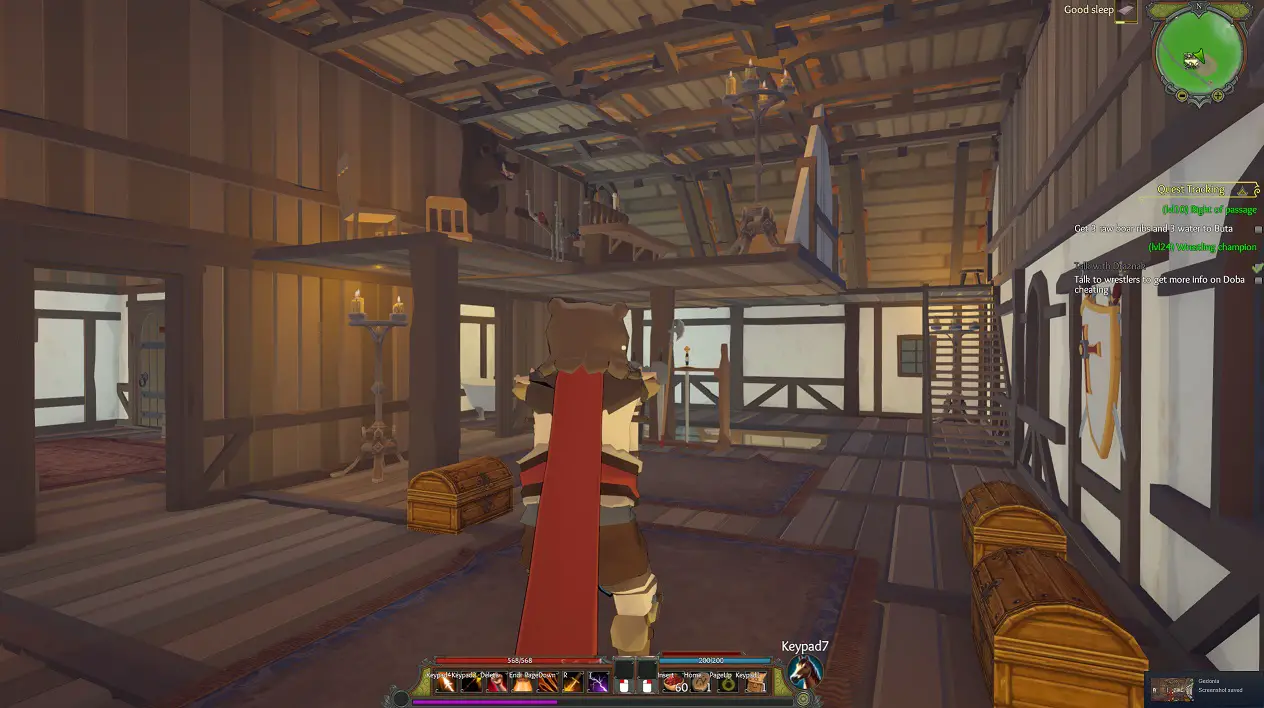
- You can sleep up to 12 hours at a time which will push the timer along. Der „Gut“ sleep timer is 30minutes and to my knowledge can’t be cancelled.
Das ist alles, was wir heute dafür teilen Gedonien Führung. Dieser Leitfaden wurde ursprünglich erstellt und geschrieben von Lilbabycat. Für den Fall, dass wir diesen Leitfaden nicht aktualisieren können, Sie können das neueste Update finden, indem Sie diesem folgen Verknüpfung.
