
- Titel: DEATHLOOP
- Veröffentlichungsdatum:
- Entwickler:
- Herausgeber:
Information about DEATHLOOP is still incomplete. Bitte helfen Sie uns dabei, die Details des Spiels auszufüllen Kontaktformular.
Charlie has a rocket sitting in his game, Condition Detachment. You can use it against him. Bedauerlicherweise, a lot of players (ich eingeschlossen) seem to have problems getting to launch it. This guide will attempt to make that easier for you.
Über diesen Leitfaden
There are at least two achievements tied to the rocket (there may be a third, but I didn’t get it). One involves killing Charlie Montague within the rules of the game, which the rocket counts (scheinbar). There’s also the achievement requiring Colt to die via every method that exists in the game, including the rocket. There’s also word floating around about a third achievement about killing Charlie specifically with the rocket.
Bedauerlicherweise, there are a number of people confused about how to unlock the option to use the rocket. Not helping matters are the number of guides that claim to explain how to do this, miss the important step, and then give vague, unhelpful answers about the thing their guide was supposed to help with! (And I haven’t seen a guide that answers the question properly…) Also, here we are.
Teil I: The Prep Work
This part will focus on the necessary steps you will need to get started. This only needs to be done once per playthrough and can be done in either order. I’ll list it in the order with the least required loading screens.
Schritt 1: Hack 2Bit
This is thankfully straightforward, so I will be brief on this. The rocket is launched via a command given to 2Bit. In order to unlock the capacity to give commands, 2Bit will need to be hacked. Not by the Hackamajig, but by something more sophisticated.
- Head to Fristad Rock in the Afternoon. Bring your best fighting build.
- Once in, make your way to the bunker behind Frank Spicer’s club. It’s the place where Juliana Blake’s satellite is located.
- You’ve found the right place if you hear the sound of gunfire, and 2Bit commenting on a „Science Threat“. Clear the eternalists around the bunker, and head inside.
- There is a big computer at the back. Berühren Sie es, and the screen will show three points on a map. Find where they lead to find some hackable satellites.
- Hack one, and then prepare for a fight, as eternalists will try to break the satellites. If one breaks, you’ll have to restart the entire mission. (Verlassen, loop back to the afternoon, and re-enter Fristad. Or just quit to Main Menu and restart) Gott sei Dank, they are fairly sturdy, and there are two turrets at the hacker’s bunker to draw fire, so it should be fine if you’re quick to react to trouble.
- Sobald es erledigt ist, go back to the bunker and touch the computer again. Dann geh, as your job here is done.
Schritt 2: Discover the Rocket that Can be Used
Since Colt has to actually speak the commands to 2Bit, he needs to discover that 2Bit has the functionality (like all the other commands you can use). This is technically faster than the previous section, but a bit less intuitive. You need to listen in on a conversation by two eternalists on the second floor of Condition Detachment (The planet surface). Und offensichtlich, they can’t suspect anything up until that point. What I’ll give you is not the only way to do it, höchstwahrscheinlich, but the easiest way I’ve discovered it.
- Enter Updaam at Noon. Bring a stealth build. Shift and Aether are recommended, aber nicht erforderlich.
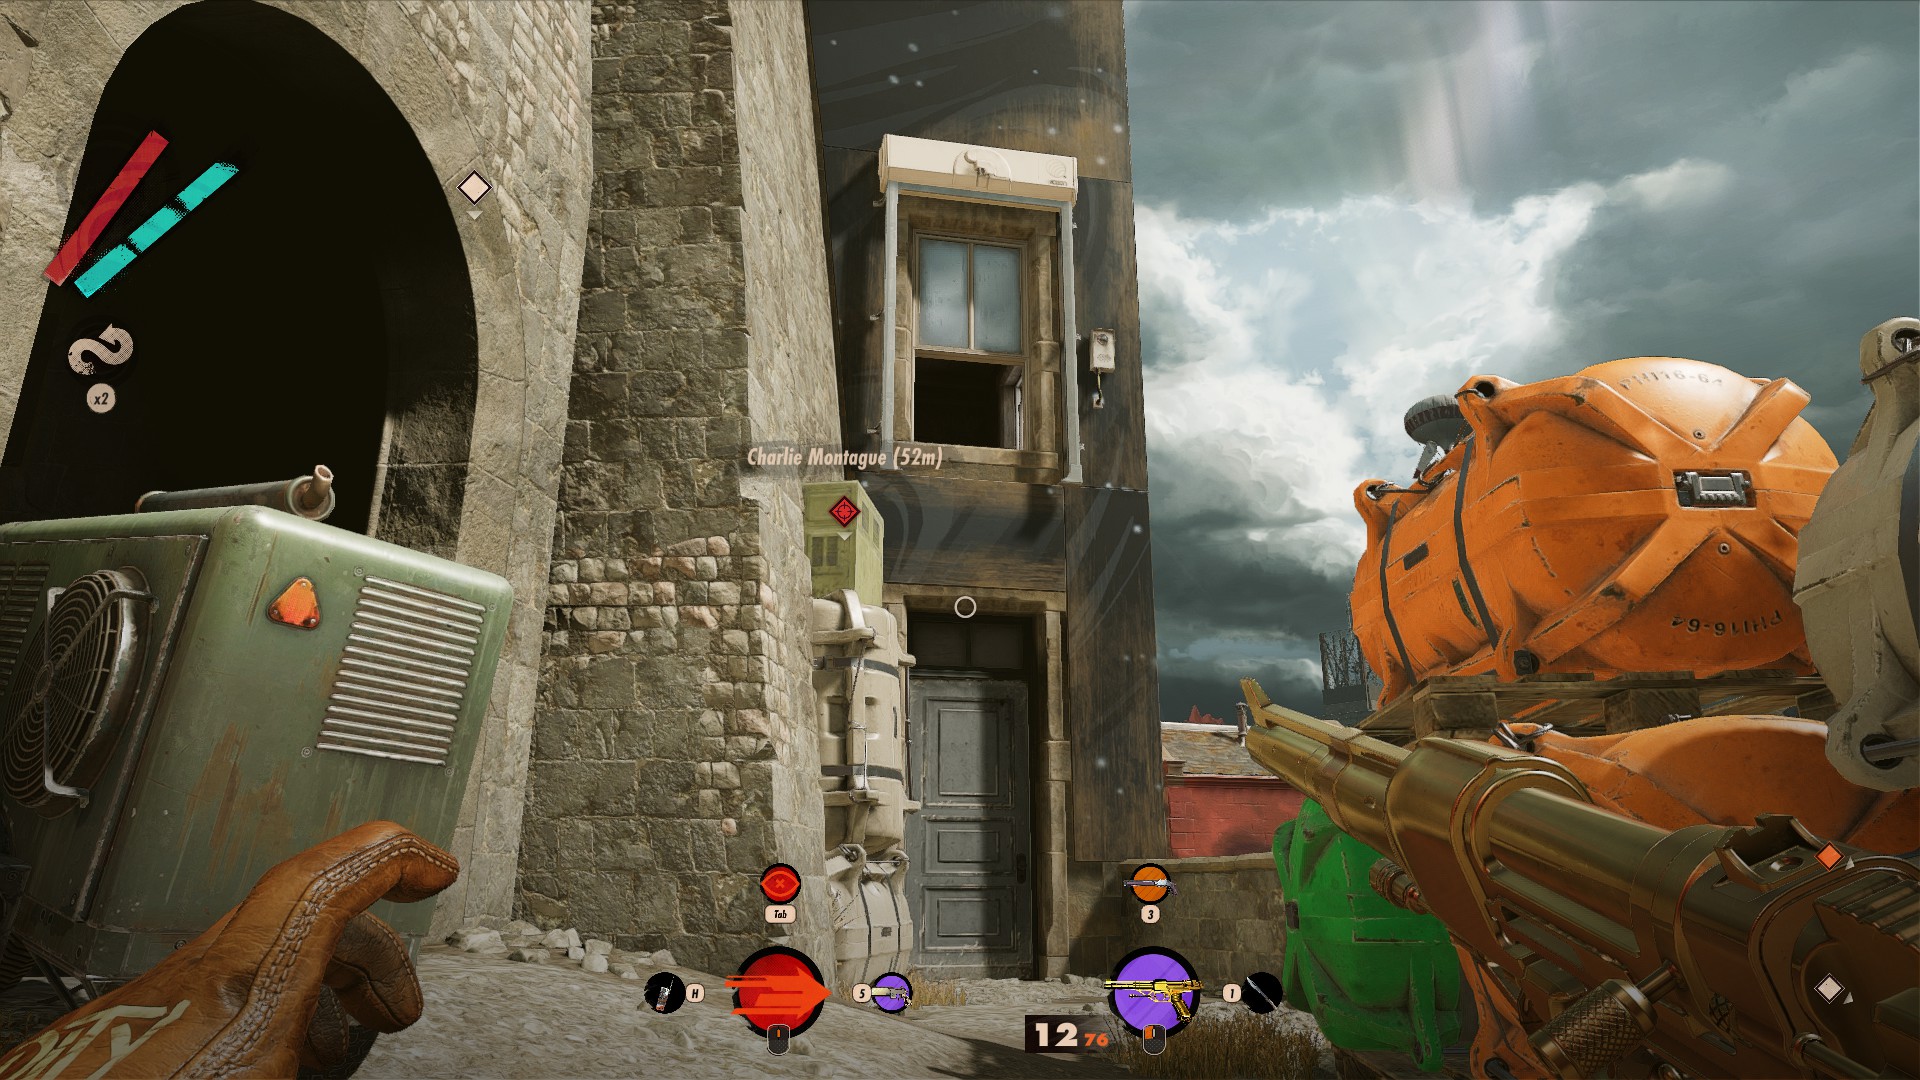
- Make your way to Charlie’s mansion, where Condition Detachment is being held.
- Sneak around the outside, either by using Shift to move along the right side of the mansion, and then circling around the exterior or by clearing the eternalists just outside (without alerting the ones in the building), then climbing over the structure to the left of the main entrance, climbing into a window on the other side, then turning left and exiting through the door. In jedem Fall, you’re looking for this window:
- Climb in, either through Shift, or by using the pile of boxes on the left wall. Sneak through the small back room to the door, through it, and hide behind this piece of decoration:
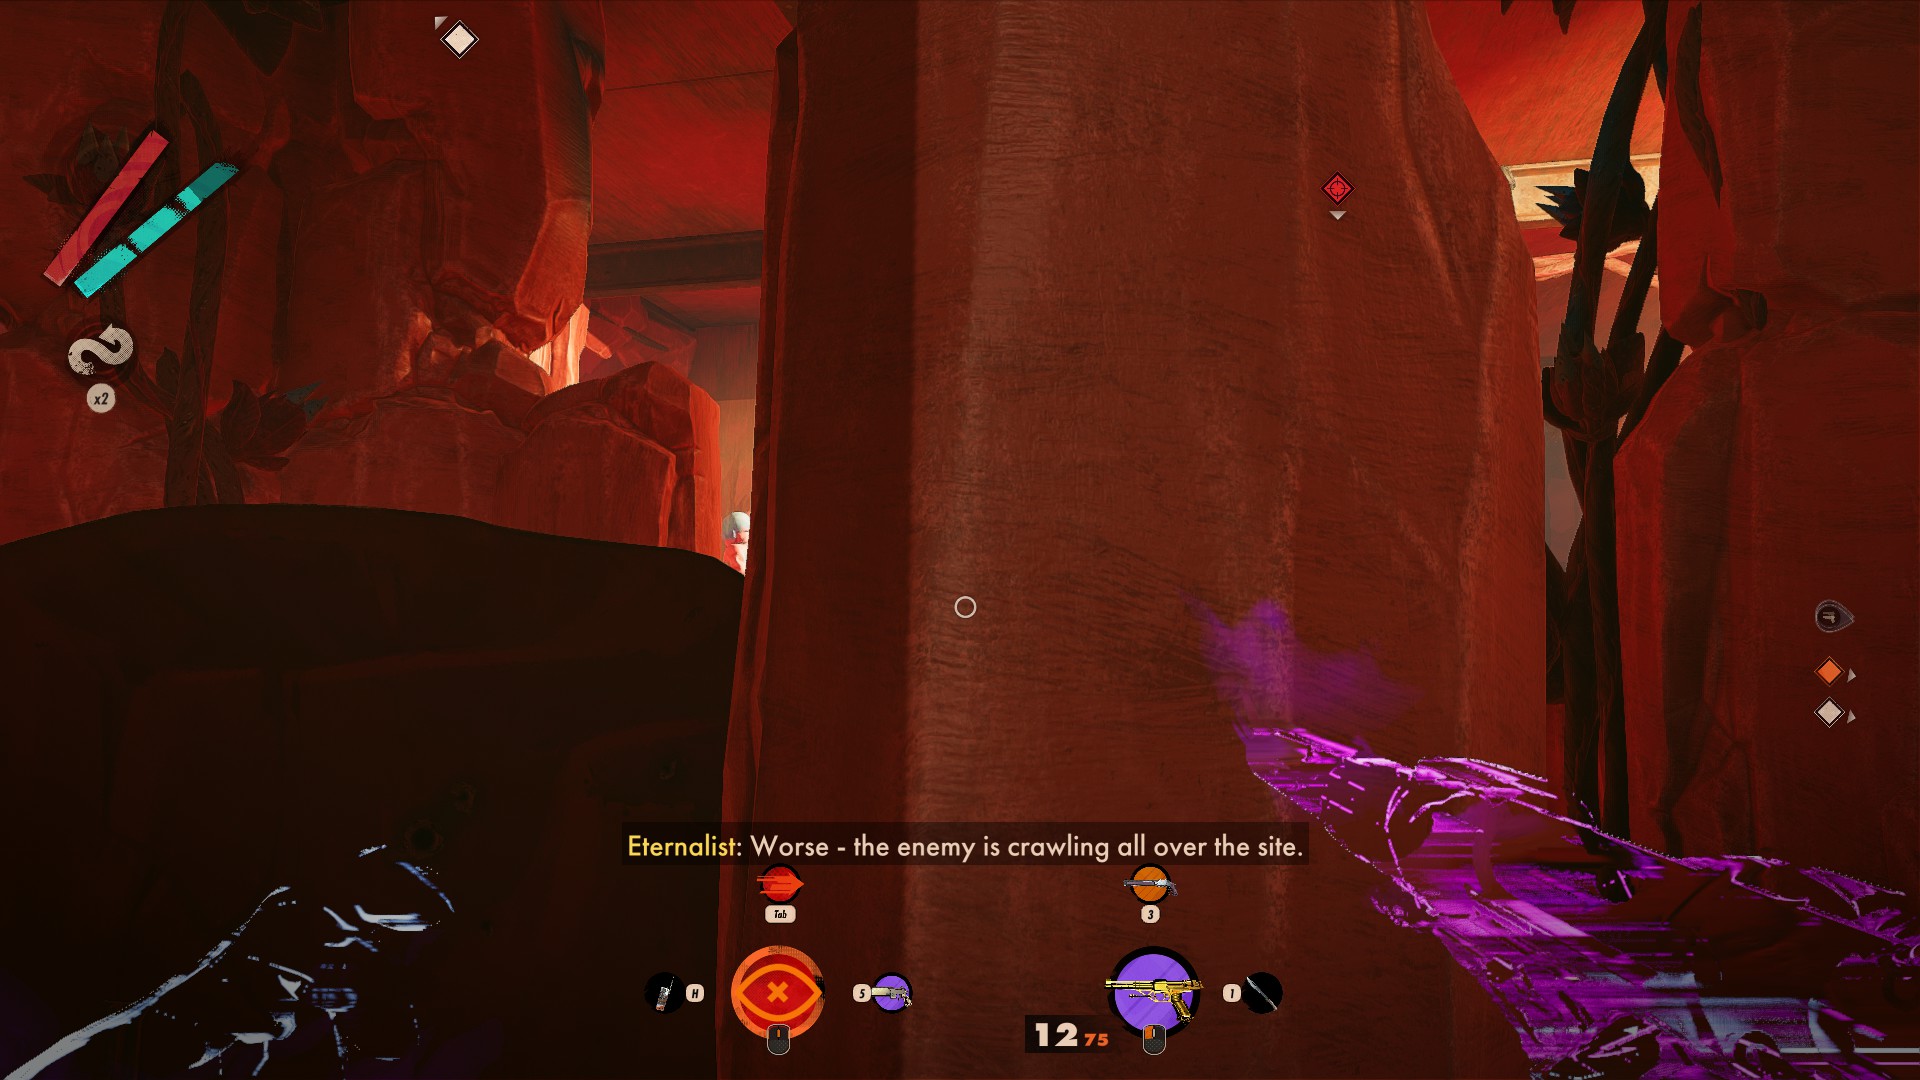
- You’ll hear two eternalists LARPing about how they’re surrounded, but they plan to steal some batteries to power the rocket, and fry the opposition. Das wird (somehow) clue Colt in on the rocket being fully functional.
Teil II: Die Ausführung
Now you’ve done the prep work, it’s time to put it together to burn that arrogant LARP enthusiast to ashes. One thing you’ll need to know is that the rocket will only kill people at the fourth floor (In Orbit). Gott sei Dank, Charlie will hang out there looking out a front window, unless he becomes alerted to somebody out to get him. Das heisst (Pfui) that you’ll have to use stealth if you want to kill Charlie, as the moment he detects Colt, he’ll retreat to his room, and when flushed out of there, he’ll warp throughout Condition Detachment, meaning he’s not likely to get caught by the blast. Wieder, this isn’t the only way, but it’s the easiest I know of.
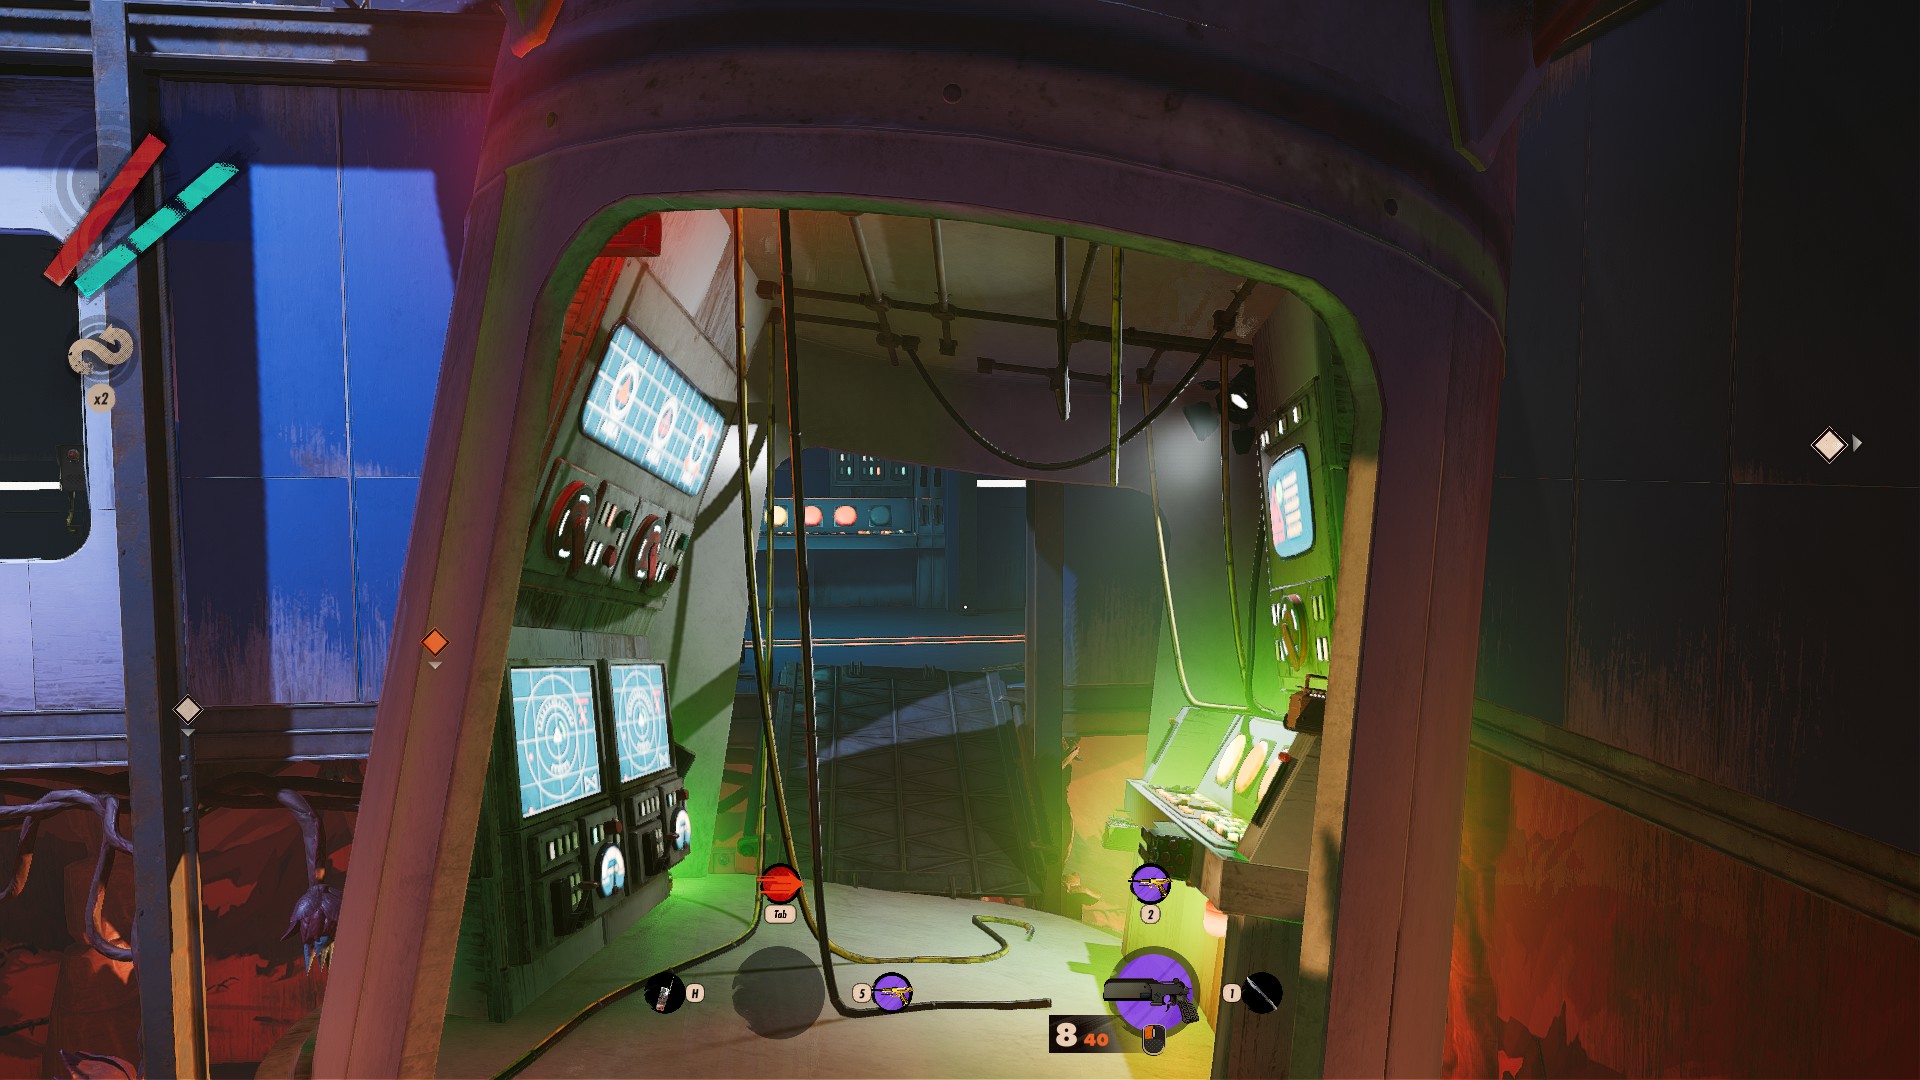
Another detail you’ll want to know is you’ll need batteries to power the rocket. Speziell, 3 von ihnen, put into the control panel accessed on the 3rd floor (Base Complex). Slots filled will have a green light, while empty ones will glow red. You want all lights to glow green.
- If you’re not starting from where we left off in step 2, head back to Updaam in Noon. Bring a stealth build. Shift and Aether are, wieder, recommended, aber nicht erforderlich. If you bring shift, pair it with the basic upgrades (Airborne and Reach). I will continue as if you have both. Wenn du kannst, try to order a battery from Gideon Fry in the Morning, and pick it up in the plaza. Go to Condition Detachment, and try to sneak around to the back.
- You can sneak around the 2nd floor to obtain the batteries required. While I find this a bit of a risk, you’ll likely need it if you don’t bring Shift. You should only need 2 von hier. (1 if you brought a battery from outside Condition Detachment)
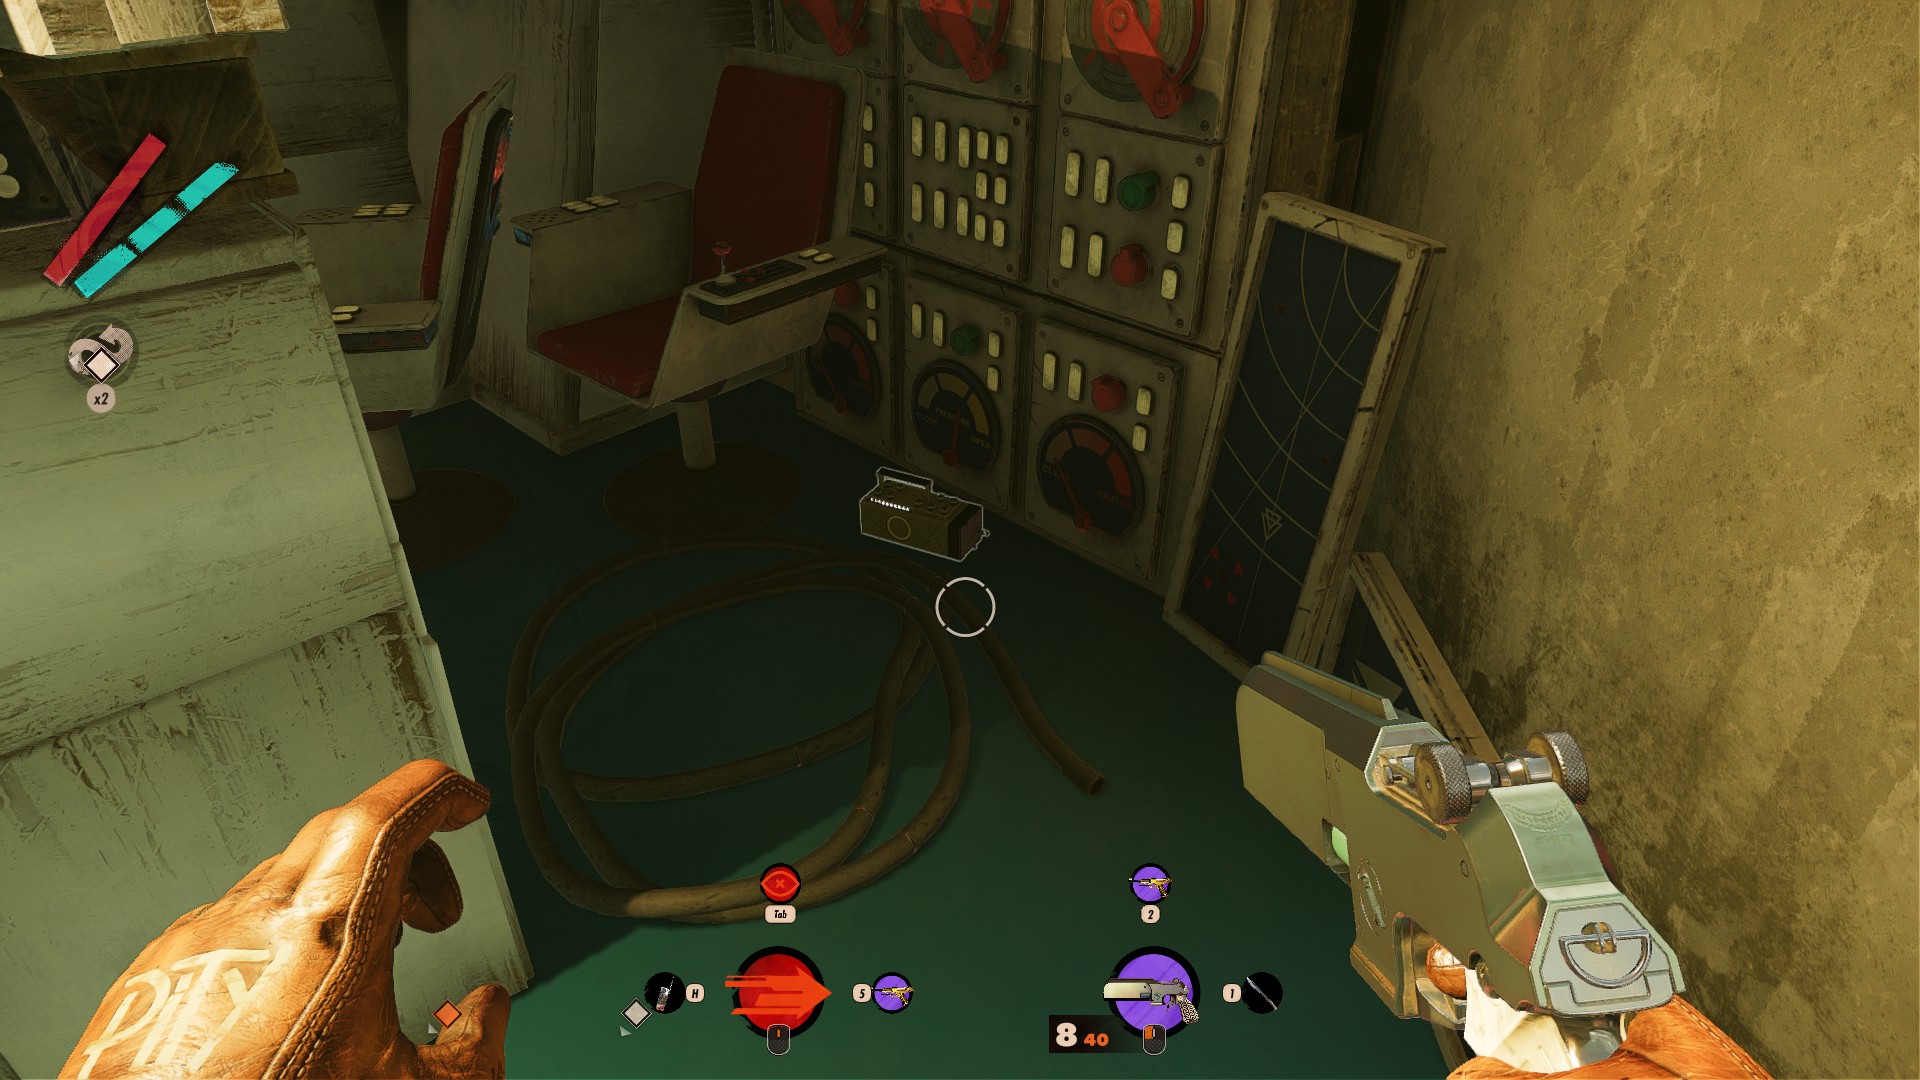
- Go to the back of the building. Von dort, you’ll want to use Shift to get up to a section of balcony leading to the 3rd floor, then shift again to a door (also on the 3rd floor) that leads into a back room. There’s a battery here, and you’ll want that. (This also acts as a useful spot to put stolen batteries, until you’re ready to move them to the rocket)
- If you step back outside, with some smart shift usage, you can get onto the roof. Von dort, you can navigate to Charlie’s back room, where two inactive turrets sit. You can hack them to steal the two batteries you’ll need.
- From the third floor backroom, use Aether to sneak into the Base Complex. You’ll likely need to kill 3 oder 4 eternalists, one or two by the backroom door, one patrolling the hallway to the second floor, and someone at the control panel of the rocket. Von dort, go back and forth to insert the batteries you pilfered. You’ll know the rocket is ready, because you’ll hear an audio cue once all lights are green.
- Go back to the backroom door, then hack your way into 2Bit’s room from that side’s entrance. Einmal da, just walk up to him, access Condition Detachment Game Manager, and then tell 2Bit to „Turn Em and Burn Em.“
Obligatory Conclusion
Und da haben Sie es. With this section complete, you should be a few achievements closer to 100% achievements in Deathloop. I hope this helped you, because I would have liked easier access to this information when I was trying it.
Auch, please let me know if there’s something wrong with it. Deathloop loves to change things around between different playthroughs of levels, so I’d like to know if there’s an edge case I’m missing.
Das ist alles, was wir heute dafür teilen DEATHLOOP Führung. Dieser Leitfaden wurde ursprünglich erstellt und geschrieben von Orangecraz. Für den Fall, dass wir diesen Leitfaden nicht aktualisieren können, Sie können das neueste Update finden, indem Sie diesem folgen Verknüpfung.