- Title: Call of Duty: World at War
- Release Date:
- Developer:
- Publisher:
Information about Call of Duty: World at War is still incomplete. Please help us fill the details of the game using this contact form.
A guide of the Logistical Reaper map “Nightclub”. This’ll include the main Easter Egg, the Song, Free Wonder Weapon, and More.
1. Pack-A-Punch
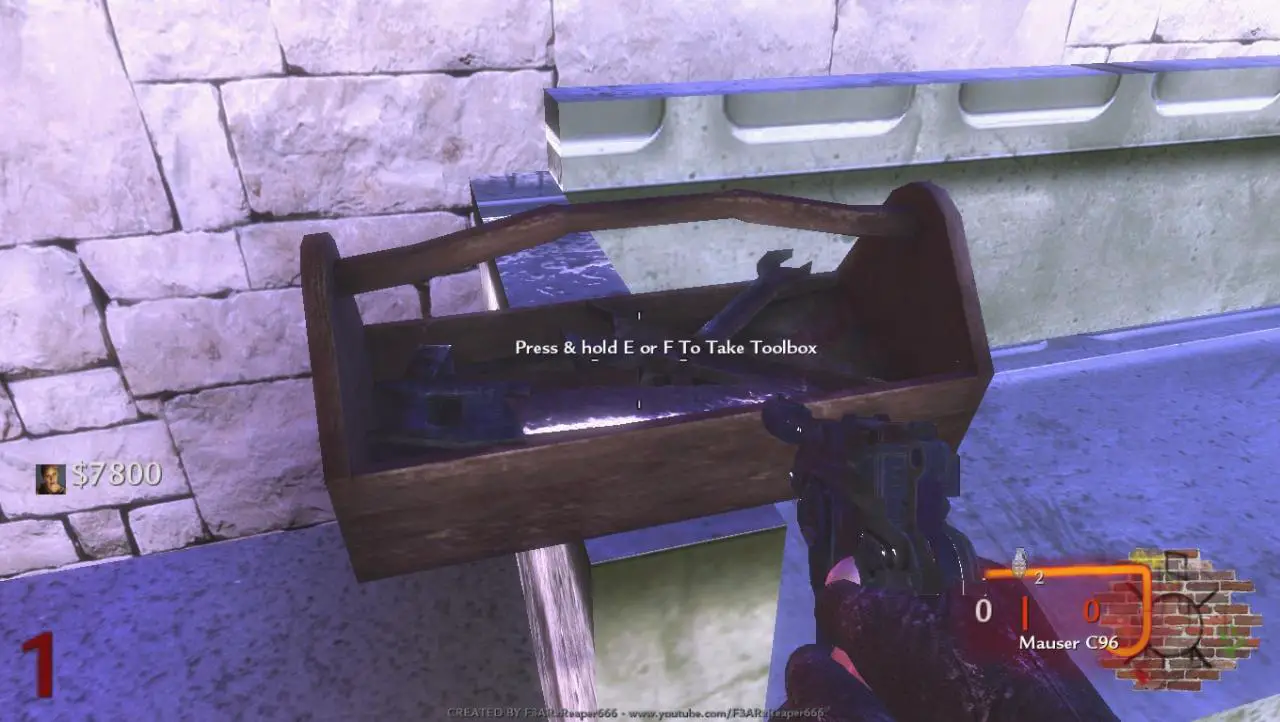
First you want to grab the tool box for the top floor of the club.
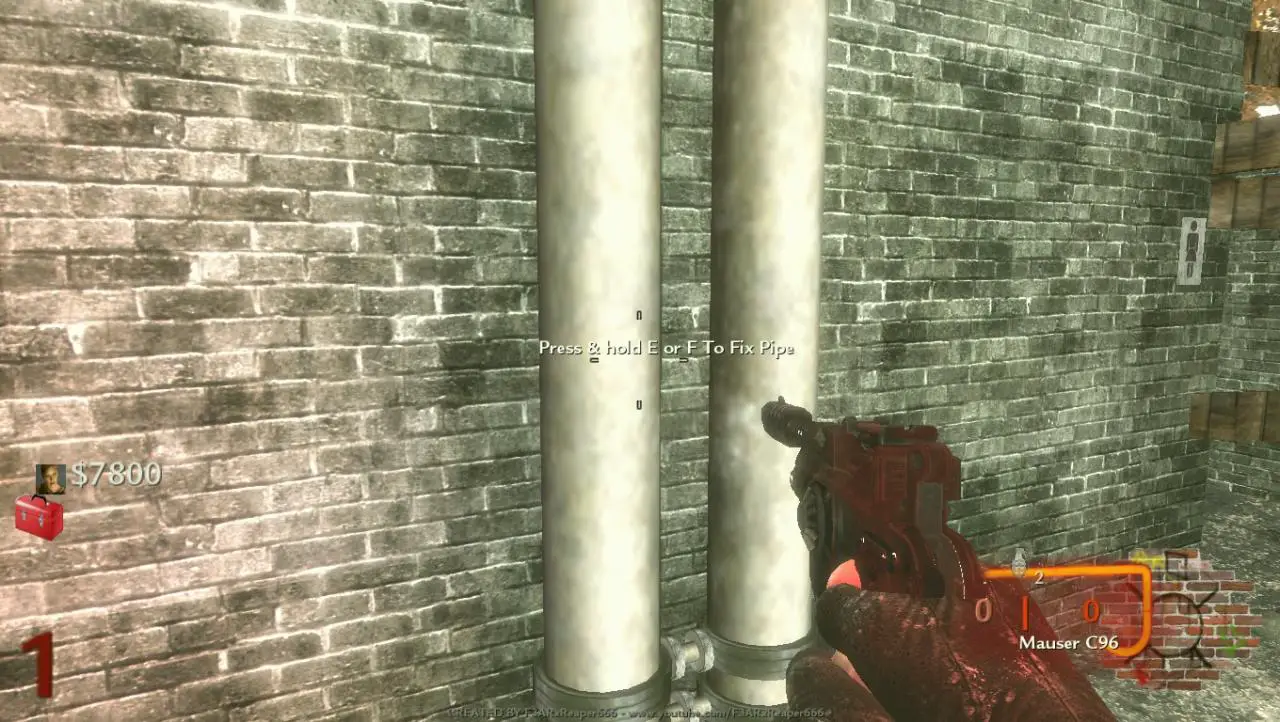
 Then you’ll want to go around and fix the broken pipes.
There’s one inside the bath room, to the right of the door way.
On top the grated floor balcony over the club floor.
And right outside the club entrance, in the alleyway.
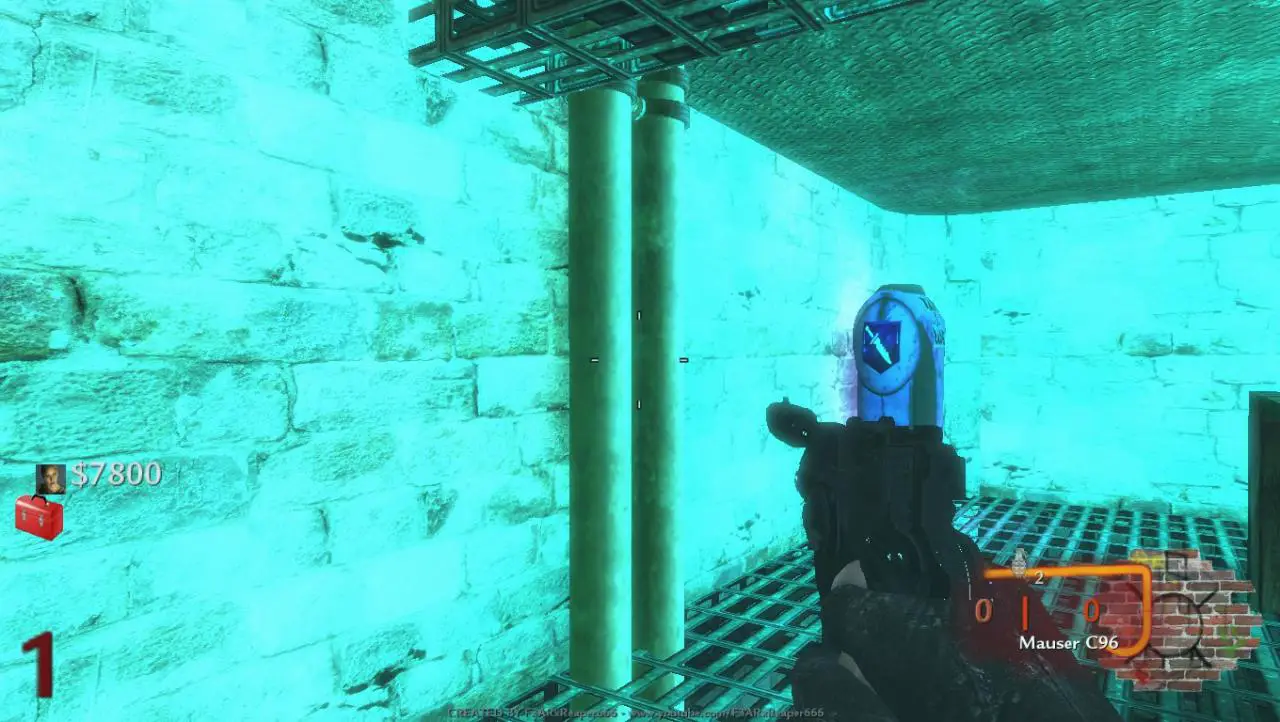
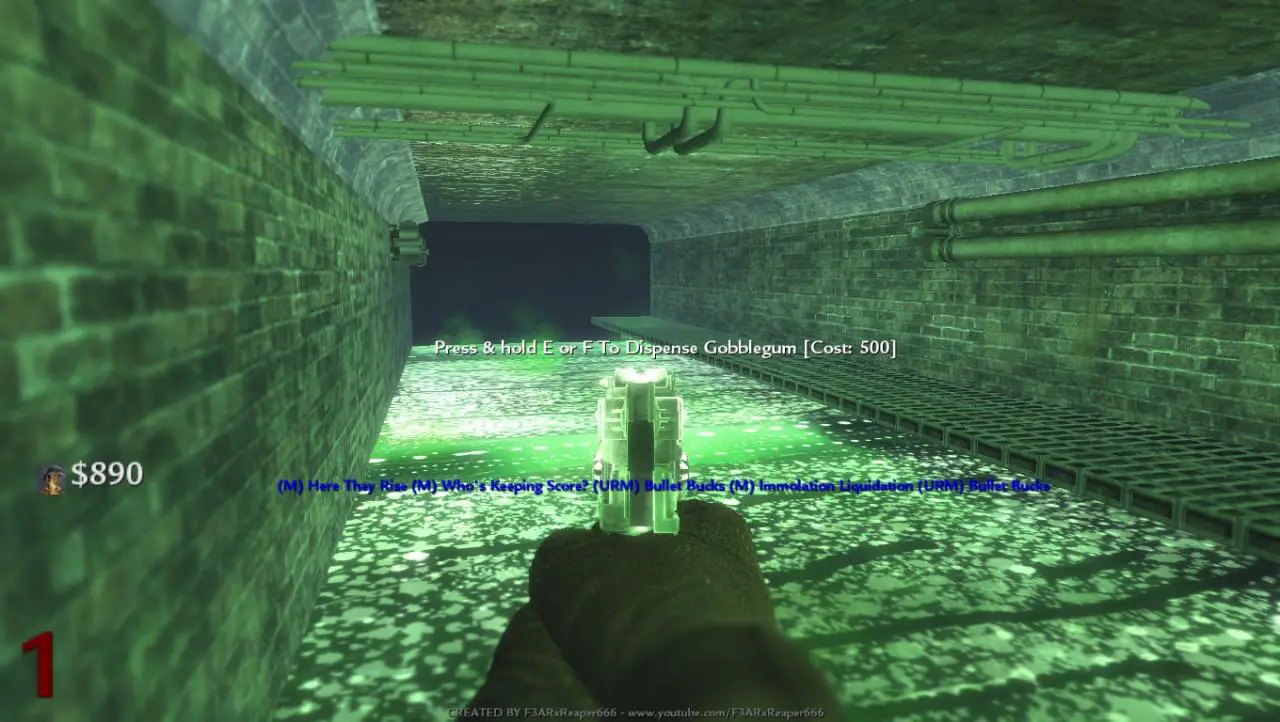
And then you can now go to one of the toilets and FLUSH your self down to the sewer where the Pack-A-Punch is.
Then you’ll want to go around and fix the broken pipes.There’s one inside the bath room, to the right of the door way.
On top the grated floor balcony over the club floor.
And right outside the club entrance, in the alleyway.
And then you can now go to one of the toilets and FLUSH your self down to the sewer where the Pack-A-Punch is.
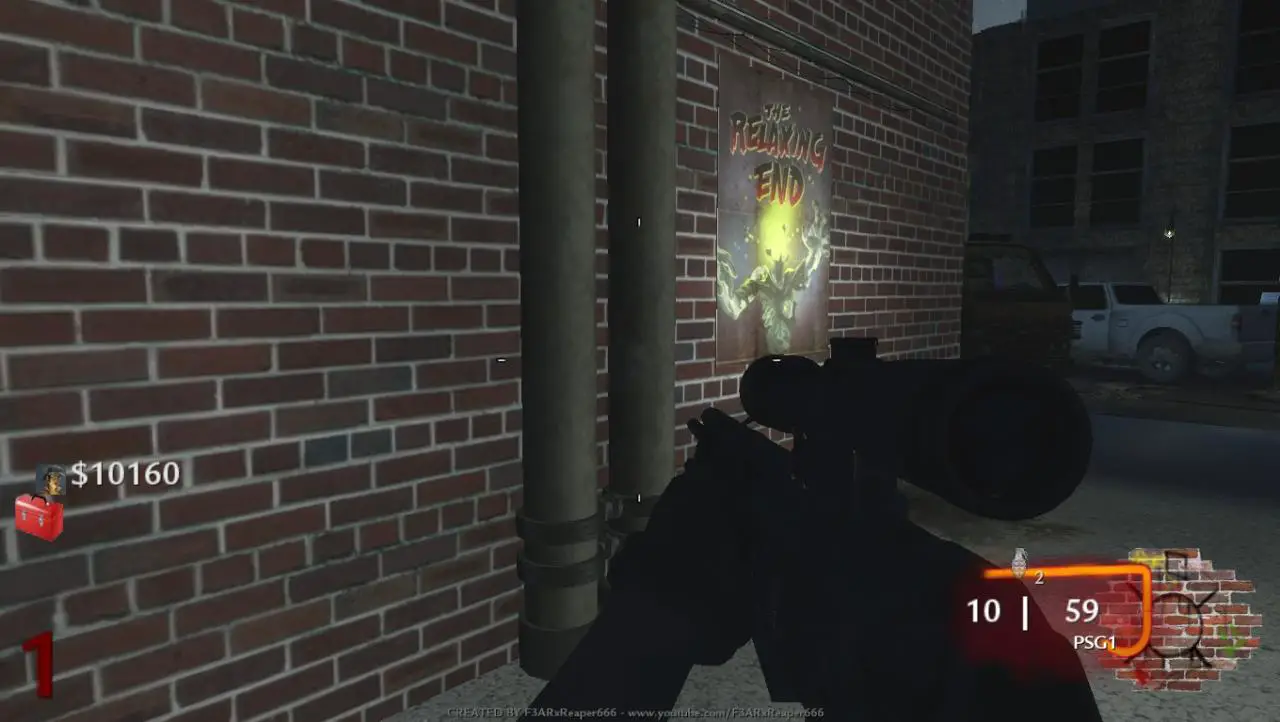
2. Relaxing Tea
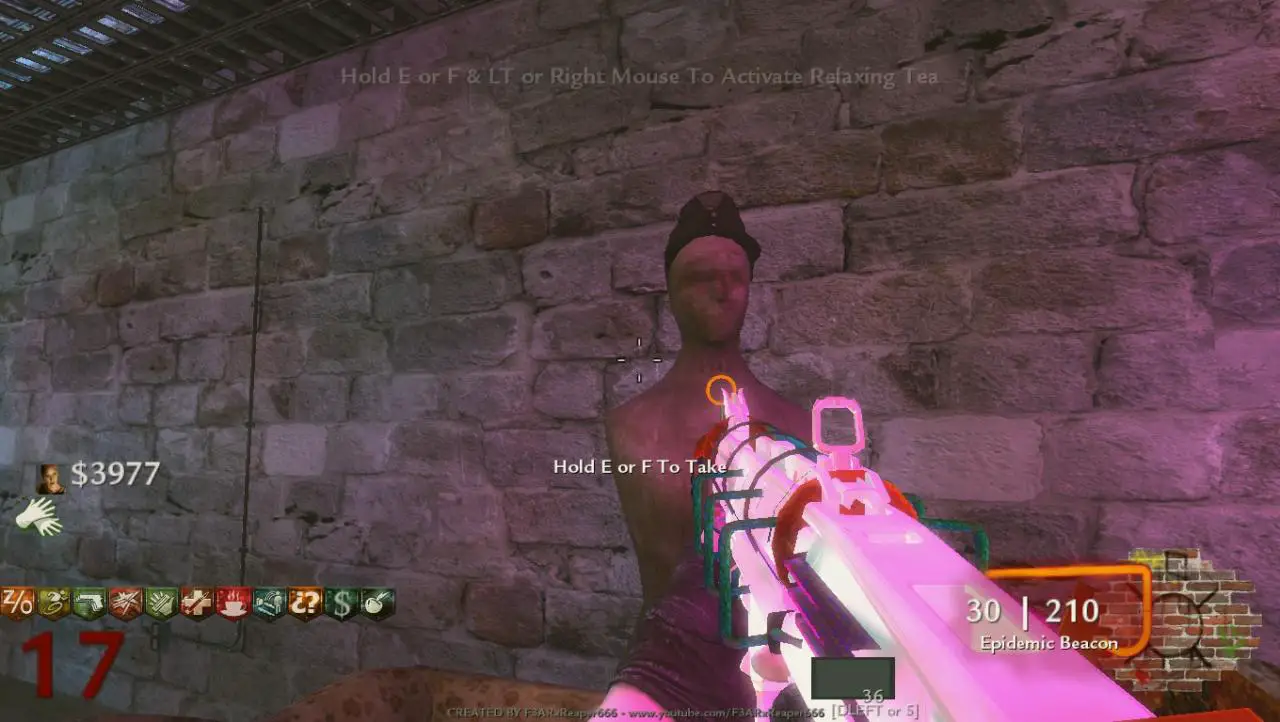
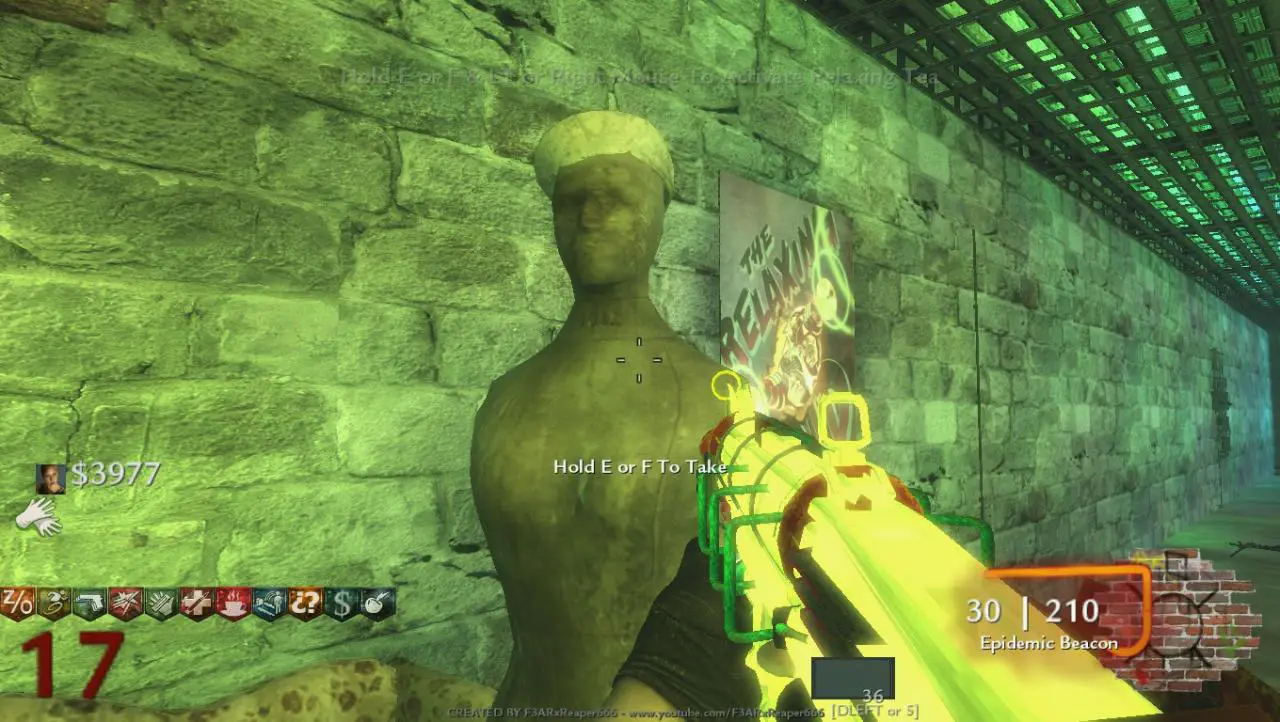
In order to get the relaxing tea you must first upgrade a weapon, after doing so you must than shoot three “The Relaxing End” posters and behind them will be mugs that you should pick up.
There’s one by spawn in the streets.
One in the top floor of the club.
And one in the sewer, where Pack-A-Punch is.
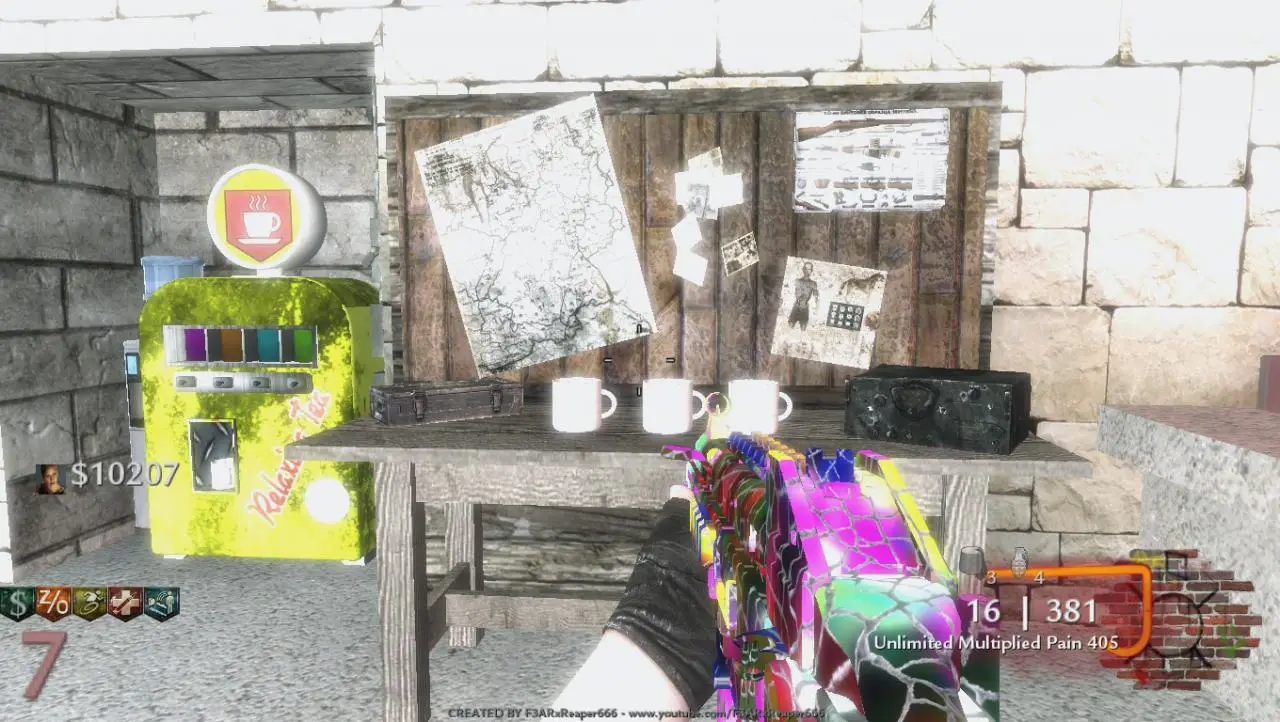
And then you must place the mugs on a workbench on the top floor of the club, this will move the metal grating that’s blocking the relaxing tea. Enjoy!
There’s one by spawn in the streets.
One in the top floor of the club.
And one in the sewer, where Pack-A-Punch is.
And then you must place the mugs on a workbench on the top floor of the club, this will move the metal grating that’s blocking the relaxing tea. Enjoy!
3. Main Easter Egg
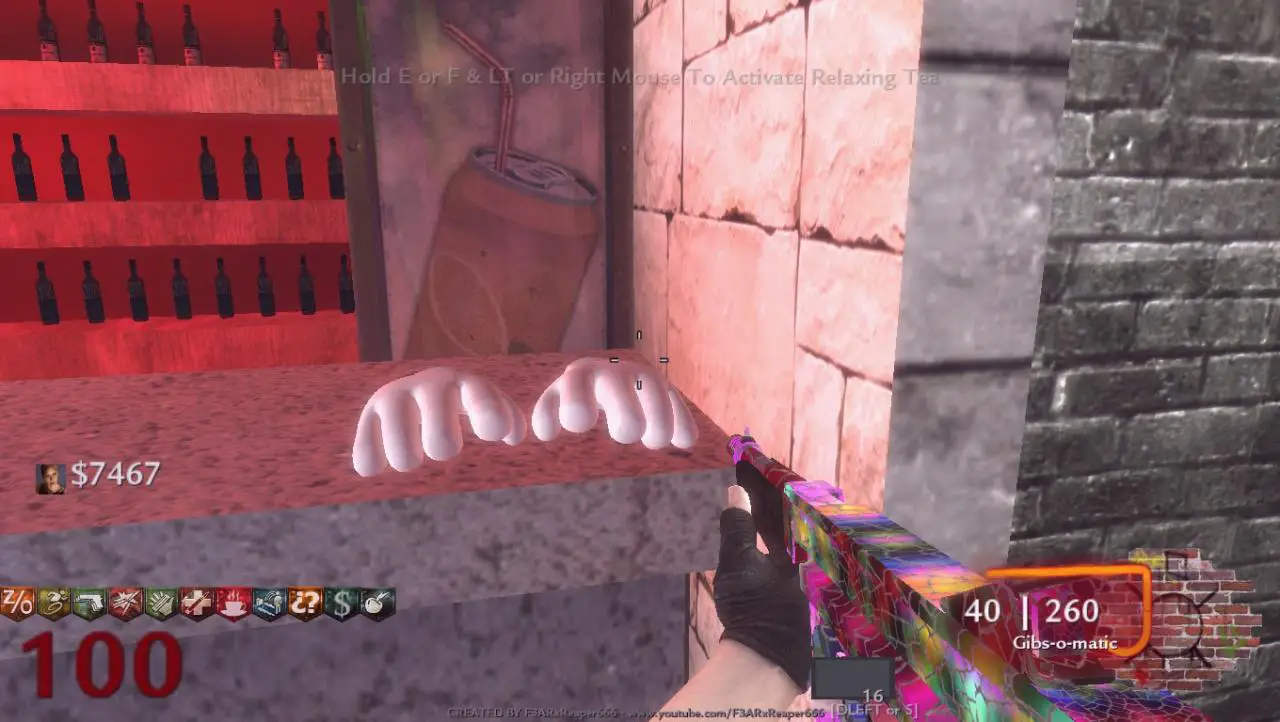
You must now use the relaxing tea to travel through space and time, into the future. In the future you must grab a pair of gloves on the bar in the top floor of the club.
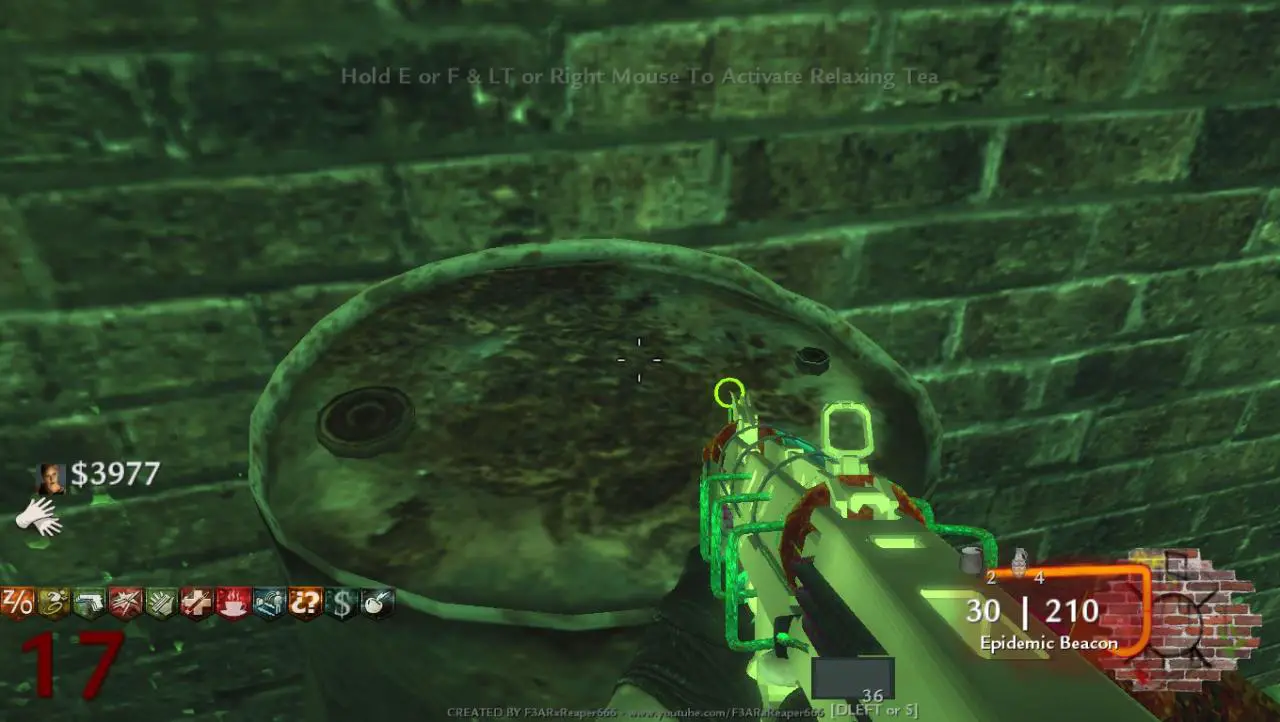
Than go back into the past, where you must go into the sewer and dip the gloves in what ever the ♥♥♥♥ is in this barrel.
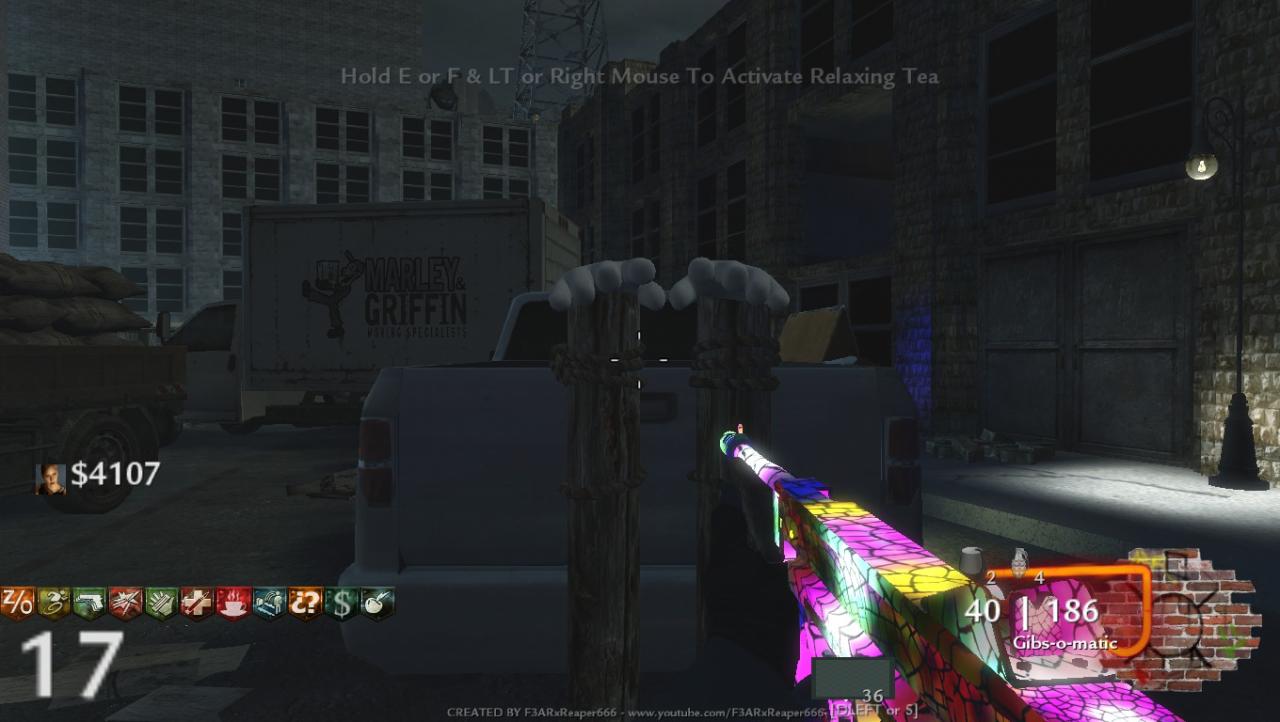
After you dip the gloves in what ever the ♥♥♥♥ was in that barrel, you must than place them on two wooden polls in behind a pick-up truck.
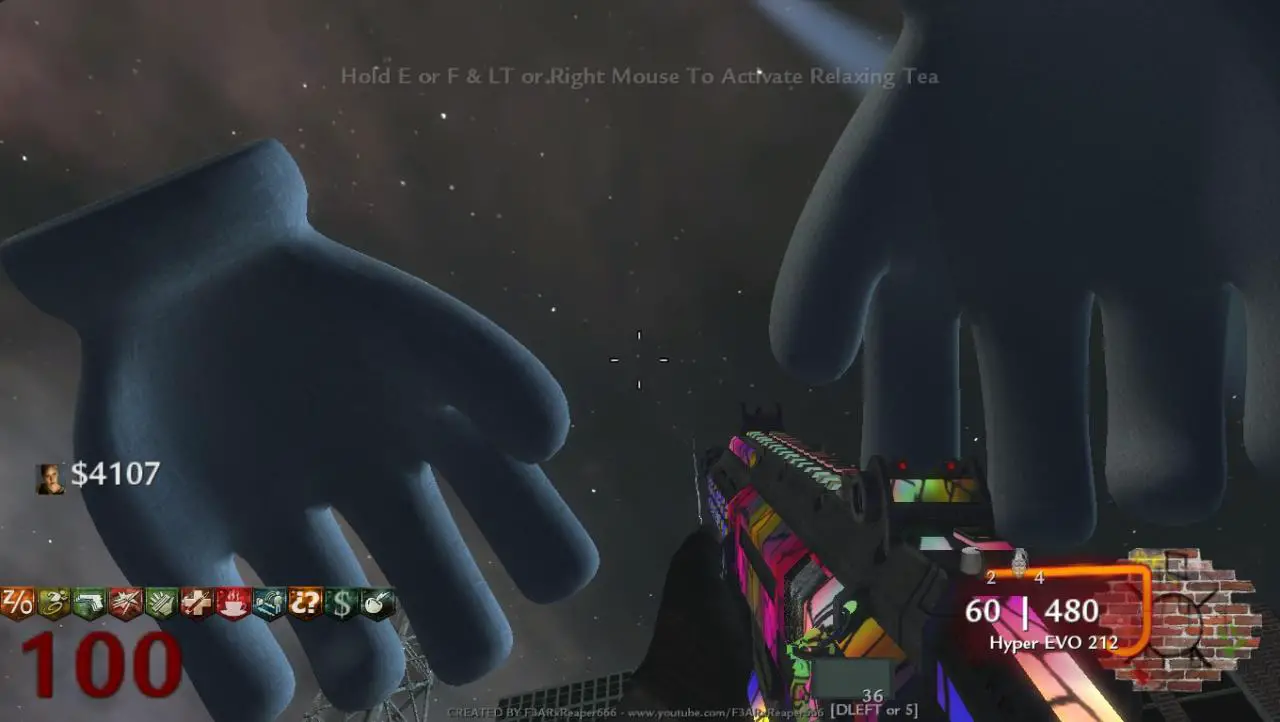
Now go forward in time, again! And now you must fight Master Hand & Crazy Hand, the secret is to defeating then is to fallow the wise teachings of our one true lord and savoir John Carmack which is “Shoot it ’til it dies!” And that’s it.
Than go back into the past, where you must go into the sewer and dip the gloves in what ever the ♥♥♥♥ is in this barrel.
After you dip the gloves in what ever the ♥♥♥♥ was in that barrel, you must than place them on two wooden polls in behind a pick-up truck.
Now go forward in time, again! And now you must fight Master Hand & Crazy Hand, the secret is to defeating then is to fallow the wise teachings of our one true lord and savoir John Carmack which is “Shoot it ’til it dies!” And that’s it.
4. Masks
Now there are masks that give you buffs.
Longer Sprint: You get this my sprinting a lot.
Located here:
50% Extra Damage: You get this get 115 head shots (I don’t know if it’s that much exactly, but it’s around that number)
Located here:

40% Damage Resistance: Use relaxing tea to go into the future! And kill some zombies. (the best way to do this is to use the under barrel waffe on the rayzor-back)
Located here:
Longer Sprint: You get this my sprinting a lot.
Located here:
50% Extra Damage: You get this get 115 head shots (I don’t know if it’s that much exactly, but it’s around that number)
Located here:
40% Damage Resistance: Use relaxing tea to go into the future! And kill some zombies. (the best way to do this is to use the under barrel waffe on the rayzor-back)
Located here:
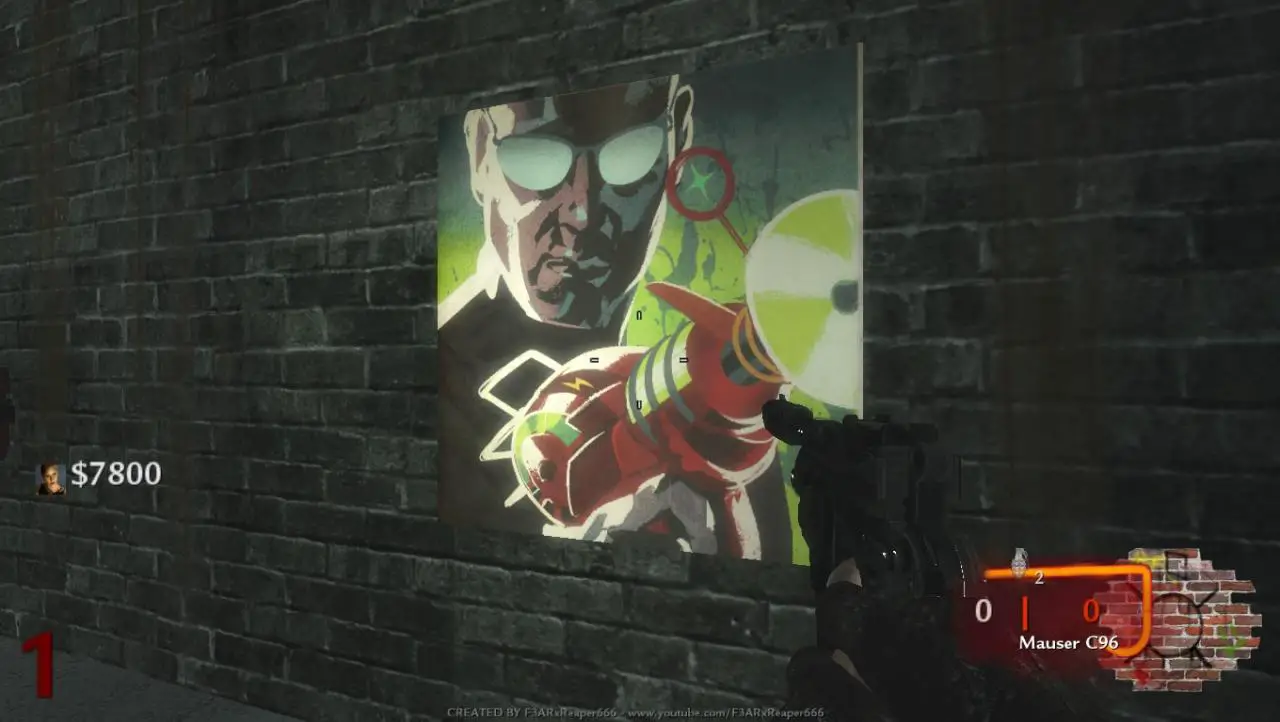
5. Song
You know the drill, find tree teddy bears, or meteor pieces, or whatever.
There are three CDs you must find to hear the map’s song.
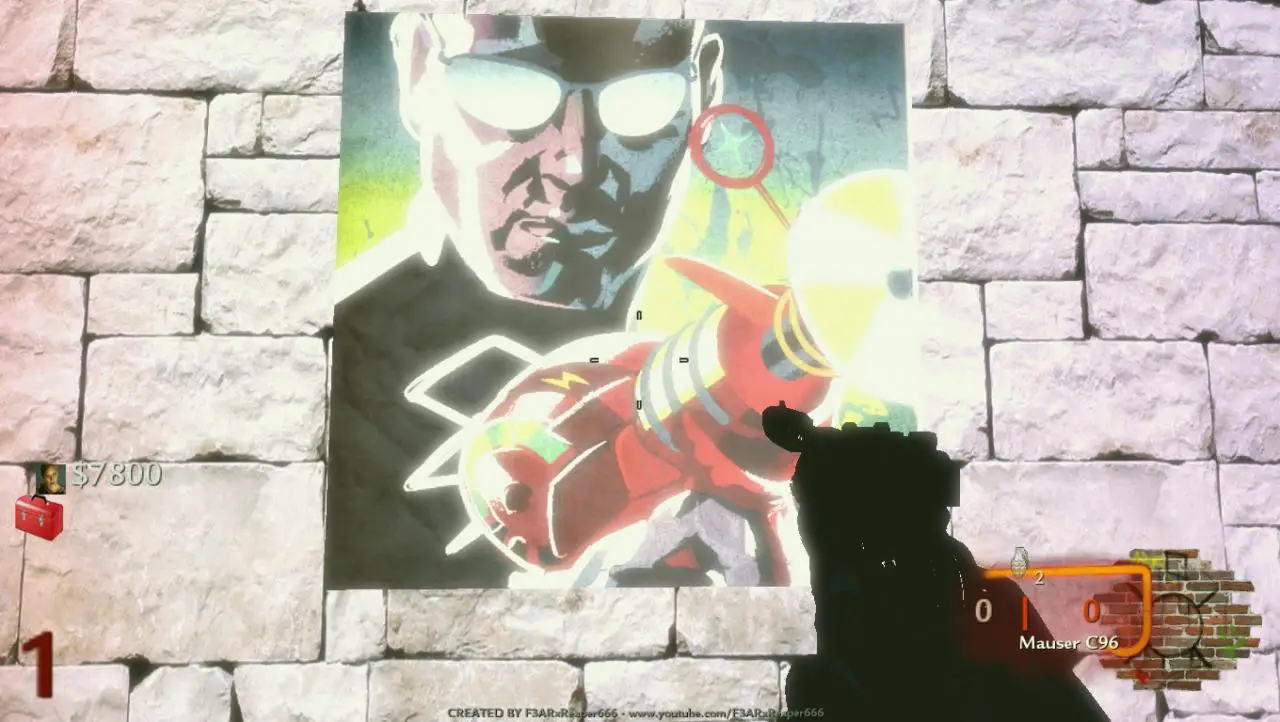
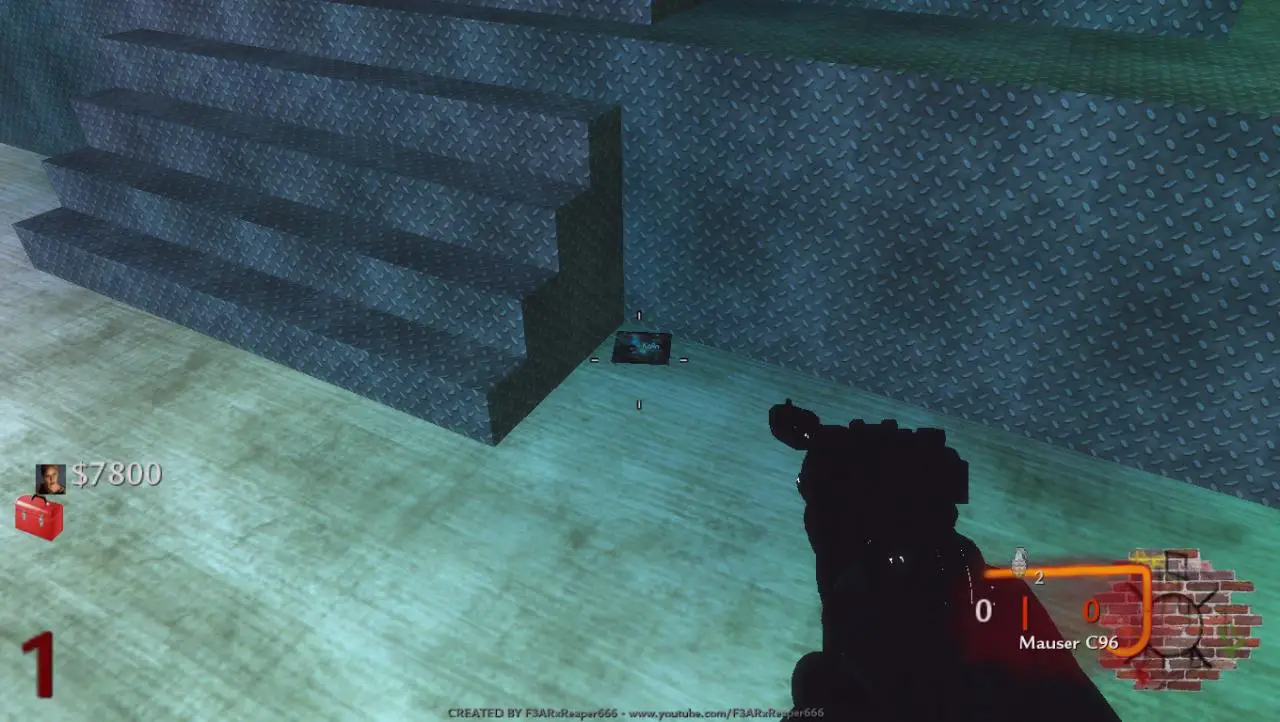
There’s one next to a wall buy at spawn.
One next to the steps to the death RAY in the middle of the dance full.
And the last one is in the sewer next to the Pack-A-Punch.
Congrats you get to here song now.
There are three CDs you must find to hear the map’s song.
There’s one next to a wall buy at spawn.
One next to the steps to the death RAY in the middle of the dance full.
And the last one is in the sewer next to the Pack-A-Punch.
Congrats you get to here song now.
6. Monty
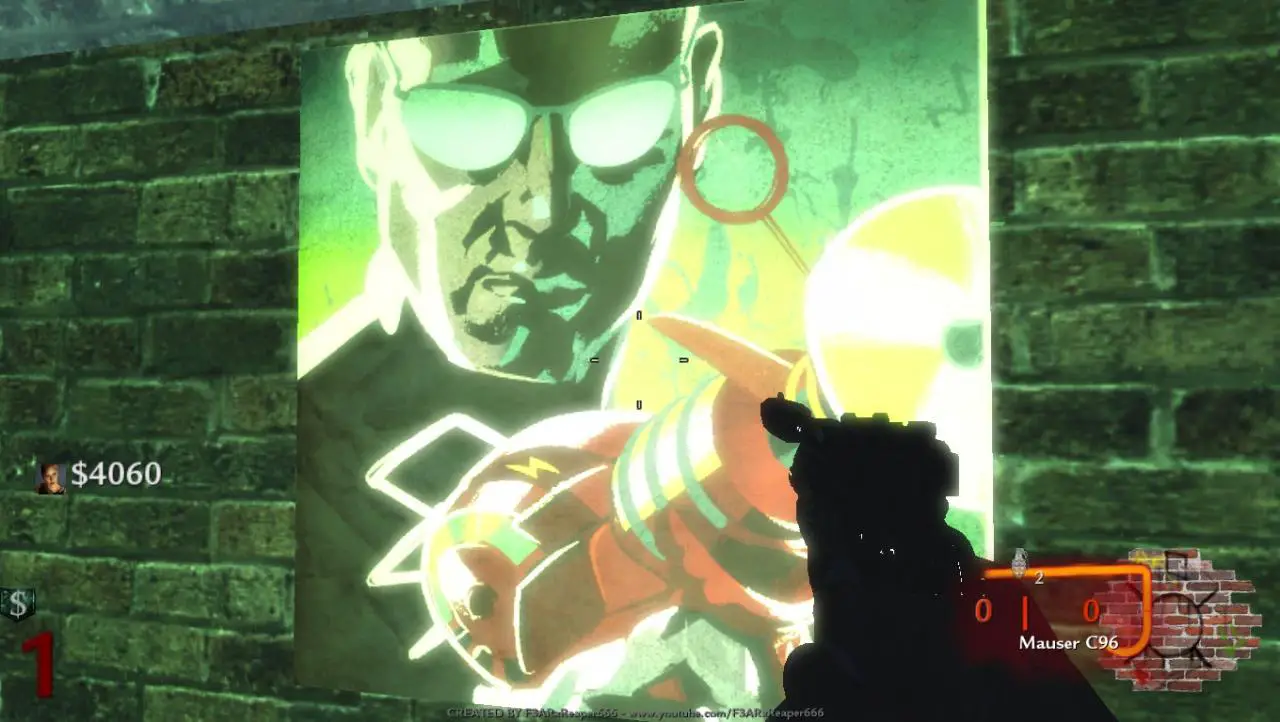
If you shoot four power ups hidden around the map, then the default announcer will be replaced by Dr. Monty.
The locations are:
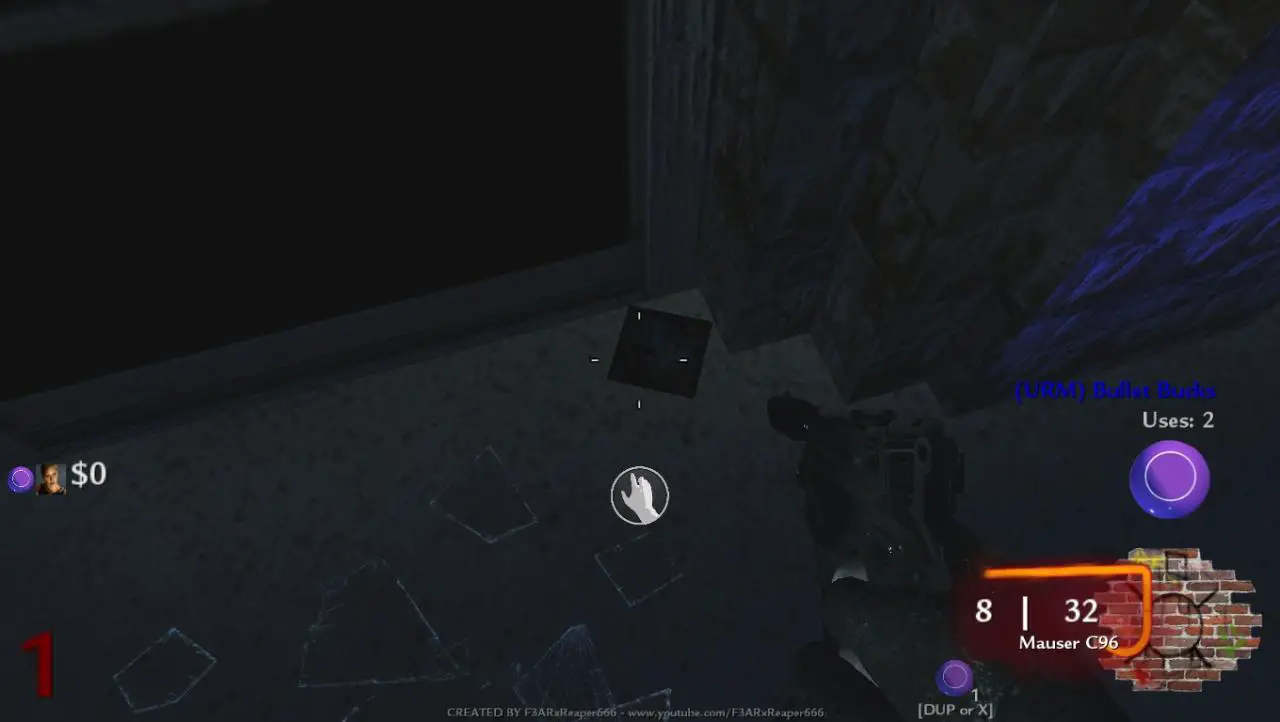
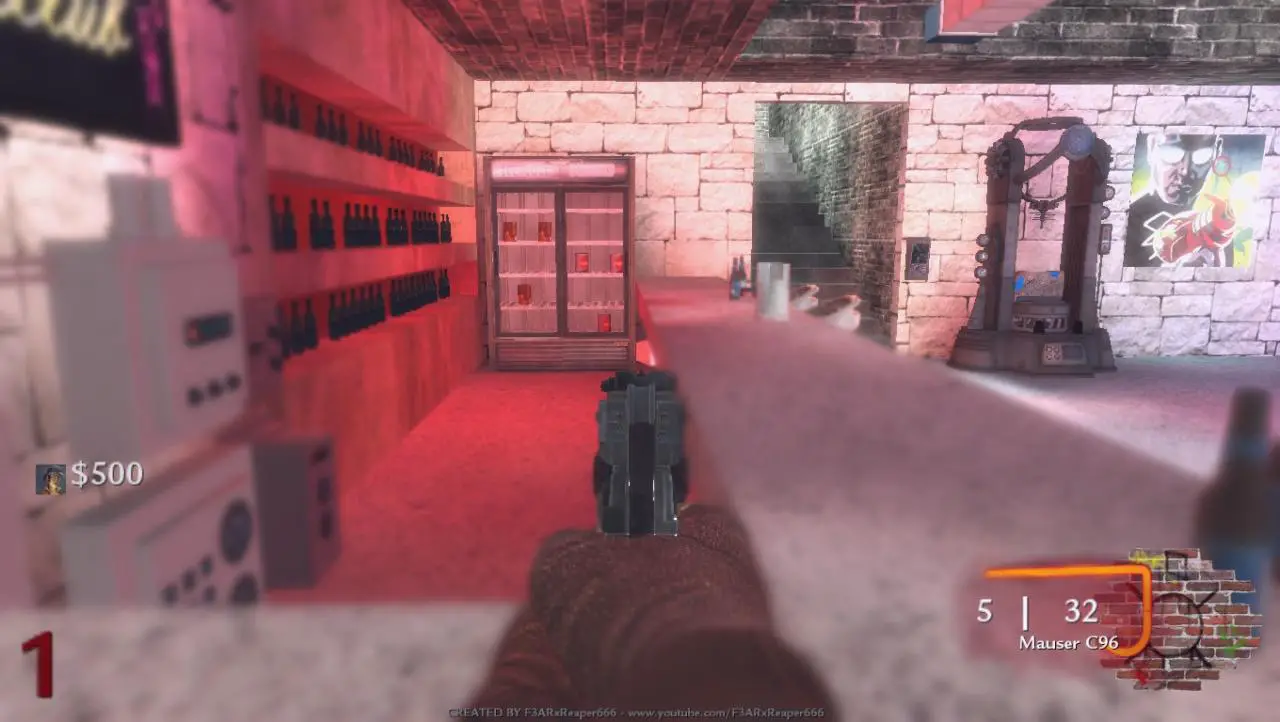
On the roof of the building behind Electric Cherry:
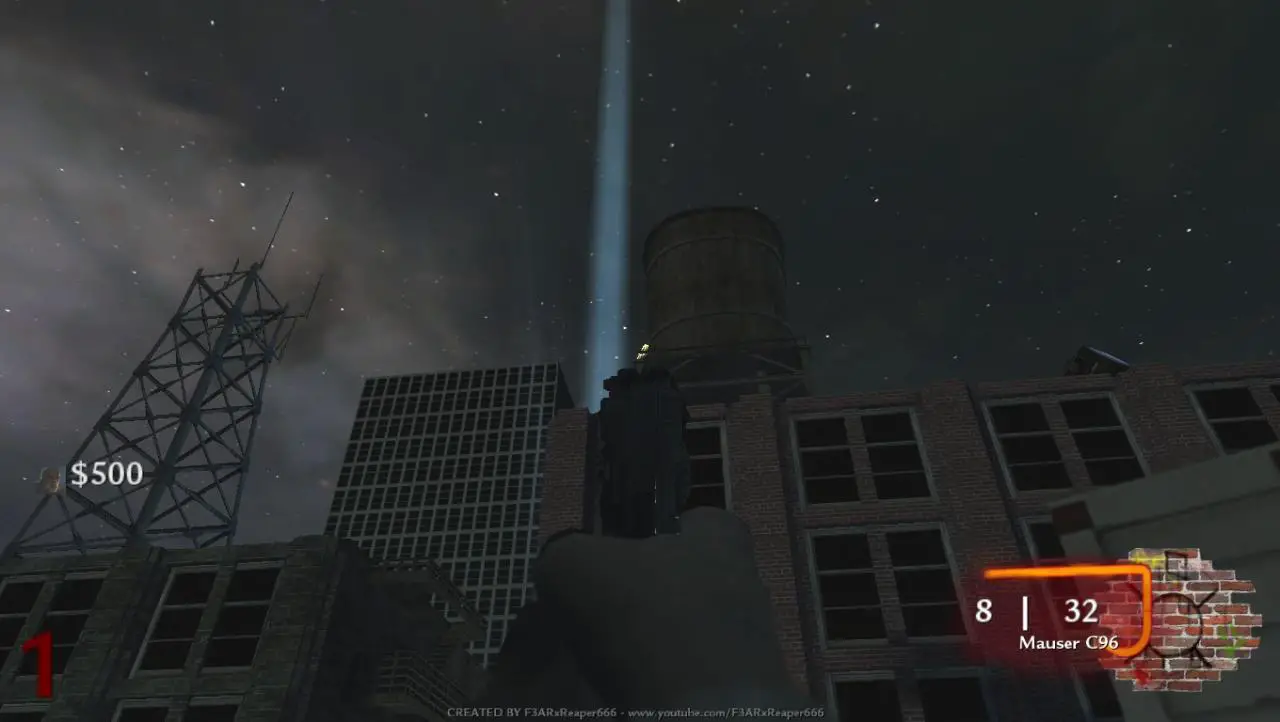
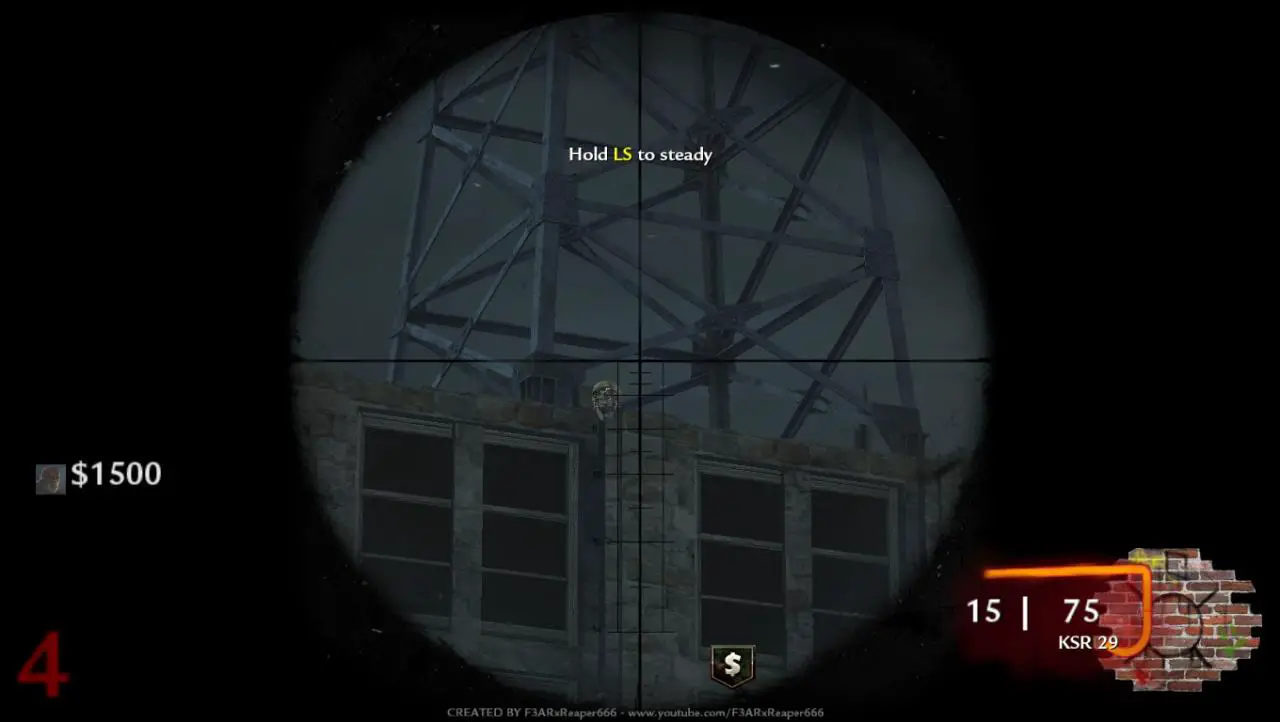
On an electric tower behind Nuke-A-Cola:
Under the counter of the bar on the top floor of the club:
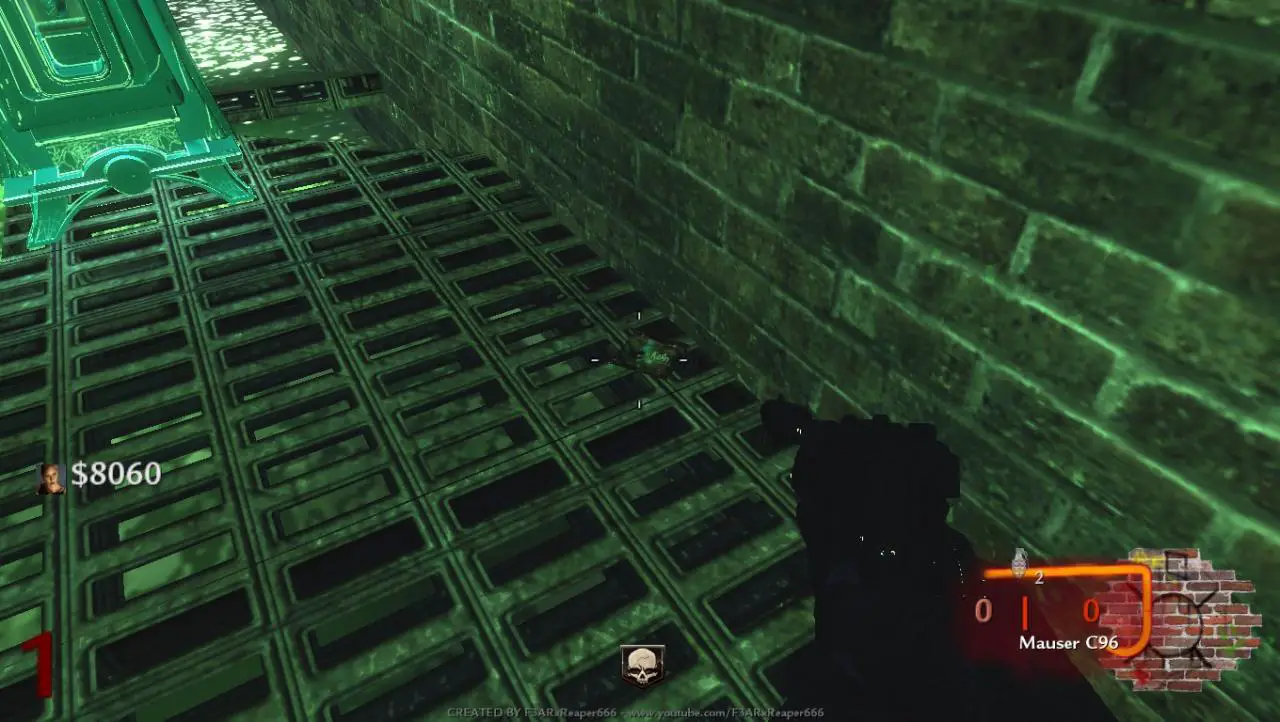
Under the grated floor in the sewer behind Point Crusher:
And now Dr. Monty is the announcer, Enjoy!
The locations are:
On the roof of the building behind Electric Cherry:
On an electric tower behind Nuke-A-Cola:
Under the counter of the bar on the top floor of the club:
Under the grated floor in the sewer behind Point Crusher:
And now Dr. Monty is the announcer, Enjoy!
7. Free Perkaholic
If you get a sniper rifle than you’re more lucky than you think, don’t trade it away because you can get a free perkaholic. Now what you need to do is shoot the all the members of Ultimus:
The locations:
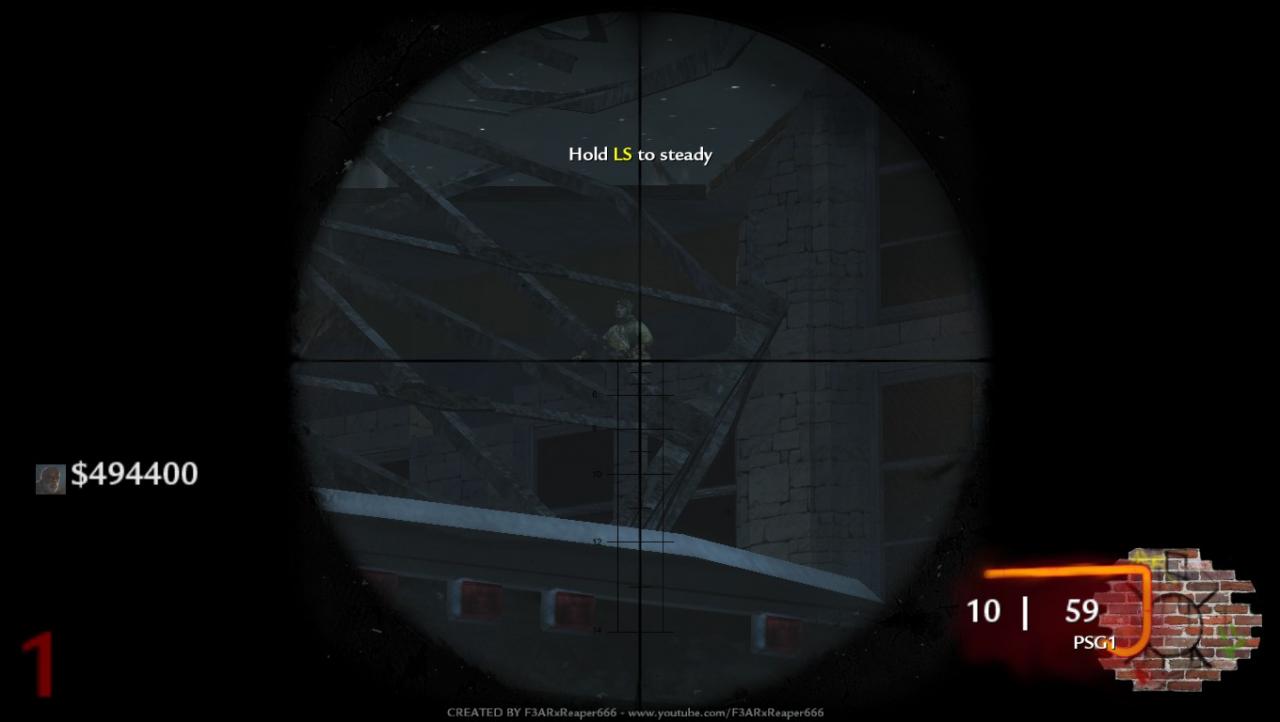
Nikolai in a broken electrical tower over the ambulance in spawn:
Takeo is under the Pack-A-Punch:
(I haven’t got an image yet)
Dempsey is behind a red car in spawn
(I haven’t got an image yet)
Richtofen is in a window of a building at spawn (The window will open after shooting the other three)
(I haven’t got an image yet)
The locations:
Nikolai in a broken electrical tower over the ambulance in spawn:
Takeo is under the Pack-A-Punch:
(I haven’t got an image yet)
Dempsey is behind a red car in spawn
(I haven’t got an image yet)
Richtofen is in a window of a building at spawn (The window will open after shooting the other three)
(I haven’t got an image yet)
8. A Blessing From John Carmack
On the top floor is a bar, there is a series of bottles on three selves.
You must shoot these bottles in a certain order with an upgraded weapon.
I will list the bottles as 1,5 referring to the 5th bottle on the top self.
1,1
2,1
3,5
Your done, now collect your blessing from John Carmack
You must shoot these bottles in a certain order with an upgraded weapon.
I will list the bottles as 1,5 referring to the 5th bottle on the top self.
1,1
2,1
3,5
Your done, now collect your blessing from John Carmack
That's everything we are sharing today for this Call of Duty: World at War guide. This guide was originally created and written by merasmurray. In case we fail to update this guide, you can find the latest update by following this link.