
This guide will show you how to solve all level puzzles in Abyss School. Since this will solve the in-game puzzles, expect to see some spoilers of the game as this page features the passcodes, as well as in-game photos.
Floor 1
On the first floor, you need to locate three key pieces to create a complete key. These pieces can be found in the room where you start. Specifically, you’ll find them in the closed locker, the open shelf, and the brown drawer on the left side of the room.
The chalkboard in this room provides a clue for the next puzzle, displaying the letter ‘A’ with the number ‘2’ next to it.

Now that you have the complete key, you can proceed to the next room. The chalkboard in this classroom displays the letter ‘B’ with the number ‘8’ next to it.

To progress further, you’ll need another key. One key piece is obtained by turning off the light switch in the classroom and then turning off the hallway light switch. This action will reveal the key piece on the classroom window. Additionally, you’ll find another key piece in a cross-space accessible with a crowbar found near the classroom windows. The key piece will be inside a red bin. Within the cross-space, there’s also a closet key in the yellow bin, required to open the closet and retrieve the final key piece.
Now that the key is complete, you can advance to the next room. Upon entering, the chalkboard reads ‘C’ with the number ‘4’ next to it.
Another key is necessary to progress to the following room. One key piece can be obtained by activating the air conditioning in the classroom, causing the key to drop on the floor. Additionally, you’ll find the men’s bathroom key in the brown drawer on the right side of the room.
This key leads to obtaining the passcode for the safe in the classroom. Using a sponge from the men’s restroom and detergent from the women’s restroom, you can wipe away the stain in the men’s restroom to reveal the safe passcode: 3 4 7 9.

The passcode grants you a pair of bolt cutters, which can be used in the women’s restroom to obtain the other two key pieces. One piece will be in the sink, and the other will be visible in the toilet bowl after flushing it.
Now that the key is complete, you can progress to the next floor. Upon reaching it, you’ll encounter a door with a passcode and the letters ‘C A B’ written next to it. These letters correspond to the chalkboard writings from the previous rooms. Inputting the numbers ‘4 2 8’ will unlock the door.
Congratulations! You’ve successfully progressed to the next floor!
Floor 2
On Floor 2, both the men’s and women’s restrooms are open. In the men’s restroom, there’s a jar by the sinks and a part of the bolt cutters near the urinals. Take these and head to the women’s restroom.
In the women’s restroom, open the closest door on the right side of the stalls to find the other part of the bolt cutters. Combine them to make a complete set and then proceed to the locked classroom.
Inside the classroom, search the brown drawer to the right for a door handle and find a shield model on a shelf. Use the door handle to unlock one of the doors in the hallway.
After unlocking the door, you’ll enter the computer room. Look on the cabinet to the right to find the handle of a hammer and locate the cleaning kit key on the table.
Use the cleaning kit key to unlock the other locked stall in the women’s bathroom. Inside, you’ll find the head piece of the hammer. Take it back to the classroom and use the hammer to create an opening in the damaged wall.
After entering through the hole, search the brown cabinet nearest to the opening to find a necklace and locate an hourglass on a desk. Gather these relics along with the ones you already have. Now, head to the door at the end of the hallway.
Arrange the relics as follows to unlock the door: place the jar in the top left, the hourglass in the top right, the necklace in the bottom left, and the shield model in the bottom right.
Once the relics are in place, proceed to the next room. Here, you’ll encounter Abyss zombies. Avoid them and make your way to the room on the left. Inside, grab the battery from one of the chairs.
Use the battery to power the statue, which will reveal the numbers 2 8 4 2. These numbers can be used to open the safe in the room, where you’ll find the red glasses.

Put on the red glasses to reveal the numbers 3 4 5 2 on the statue.
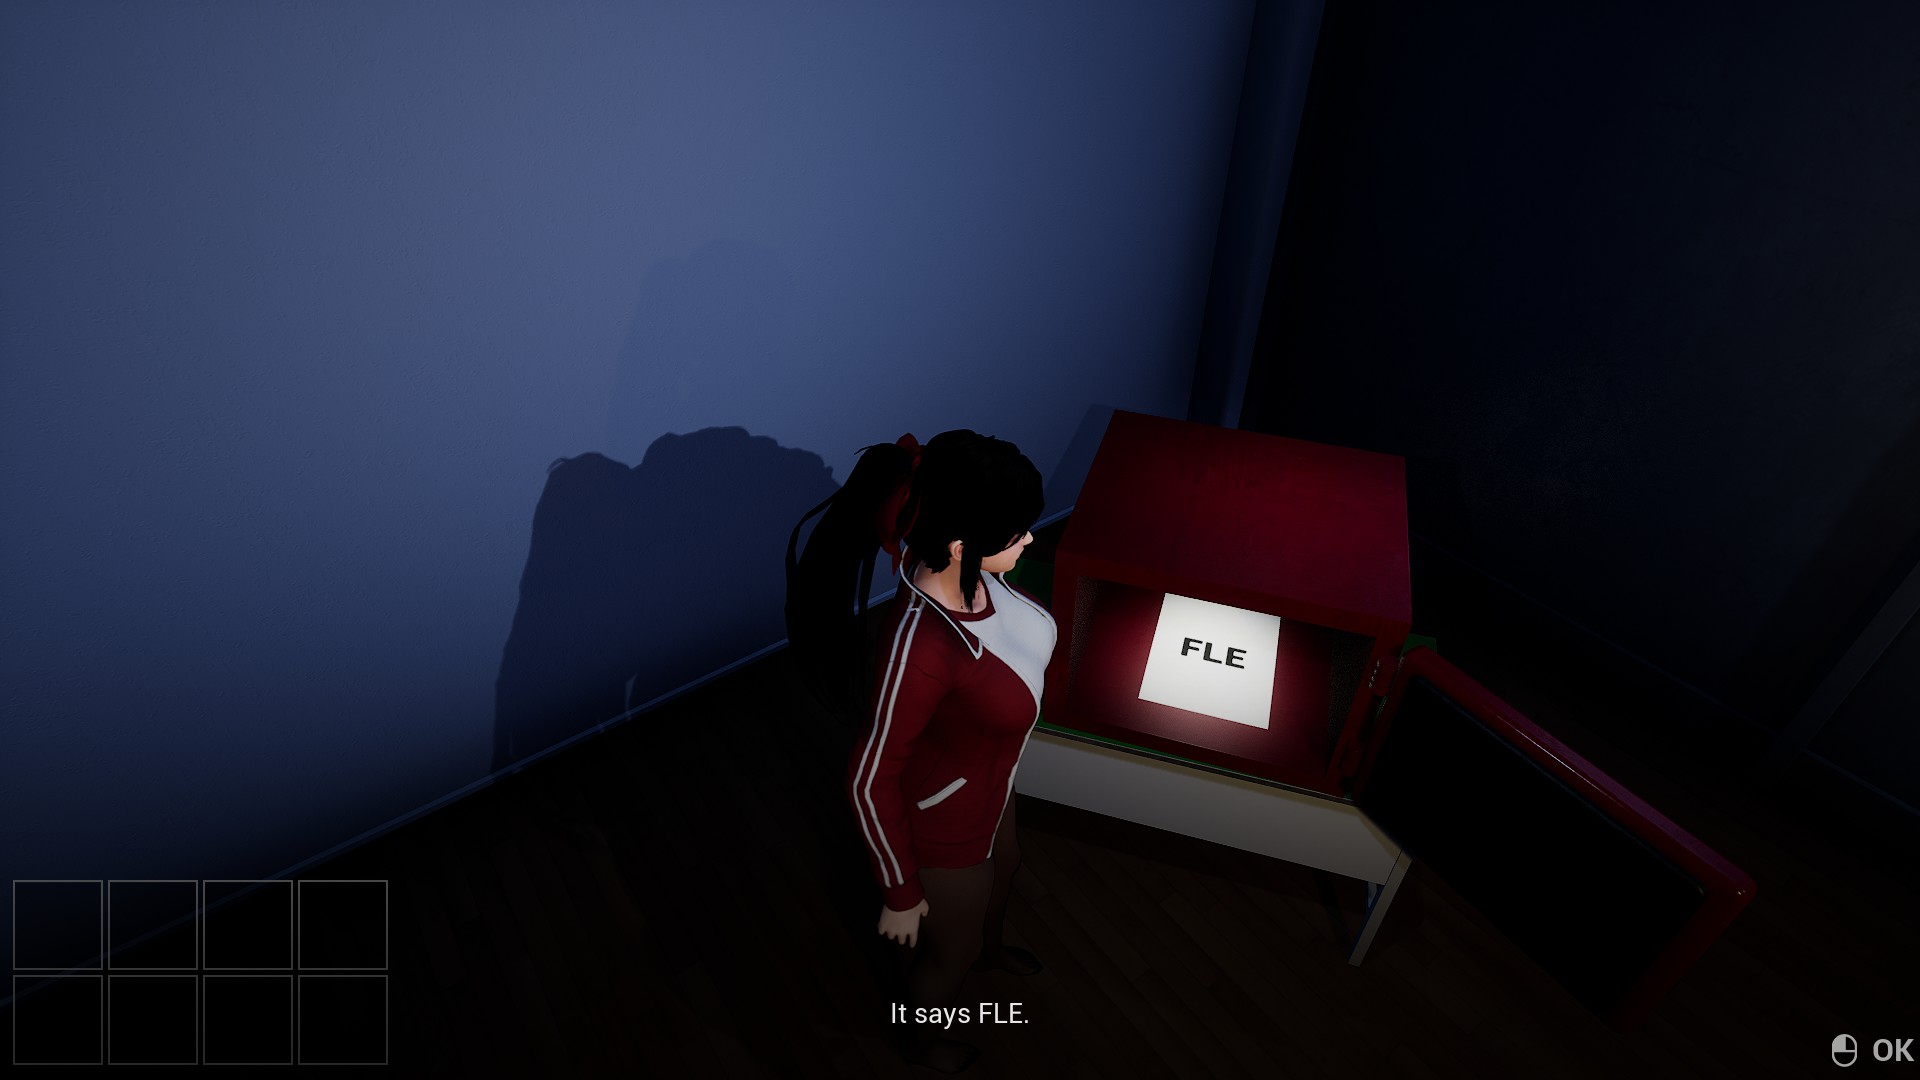
To get a paper with the letters F L E on it, use the passcode on the red safe in the classroom. This paper helps open the padlocked door.
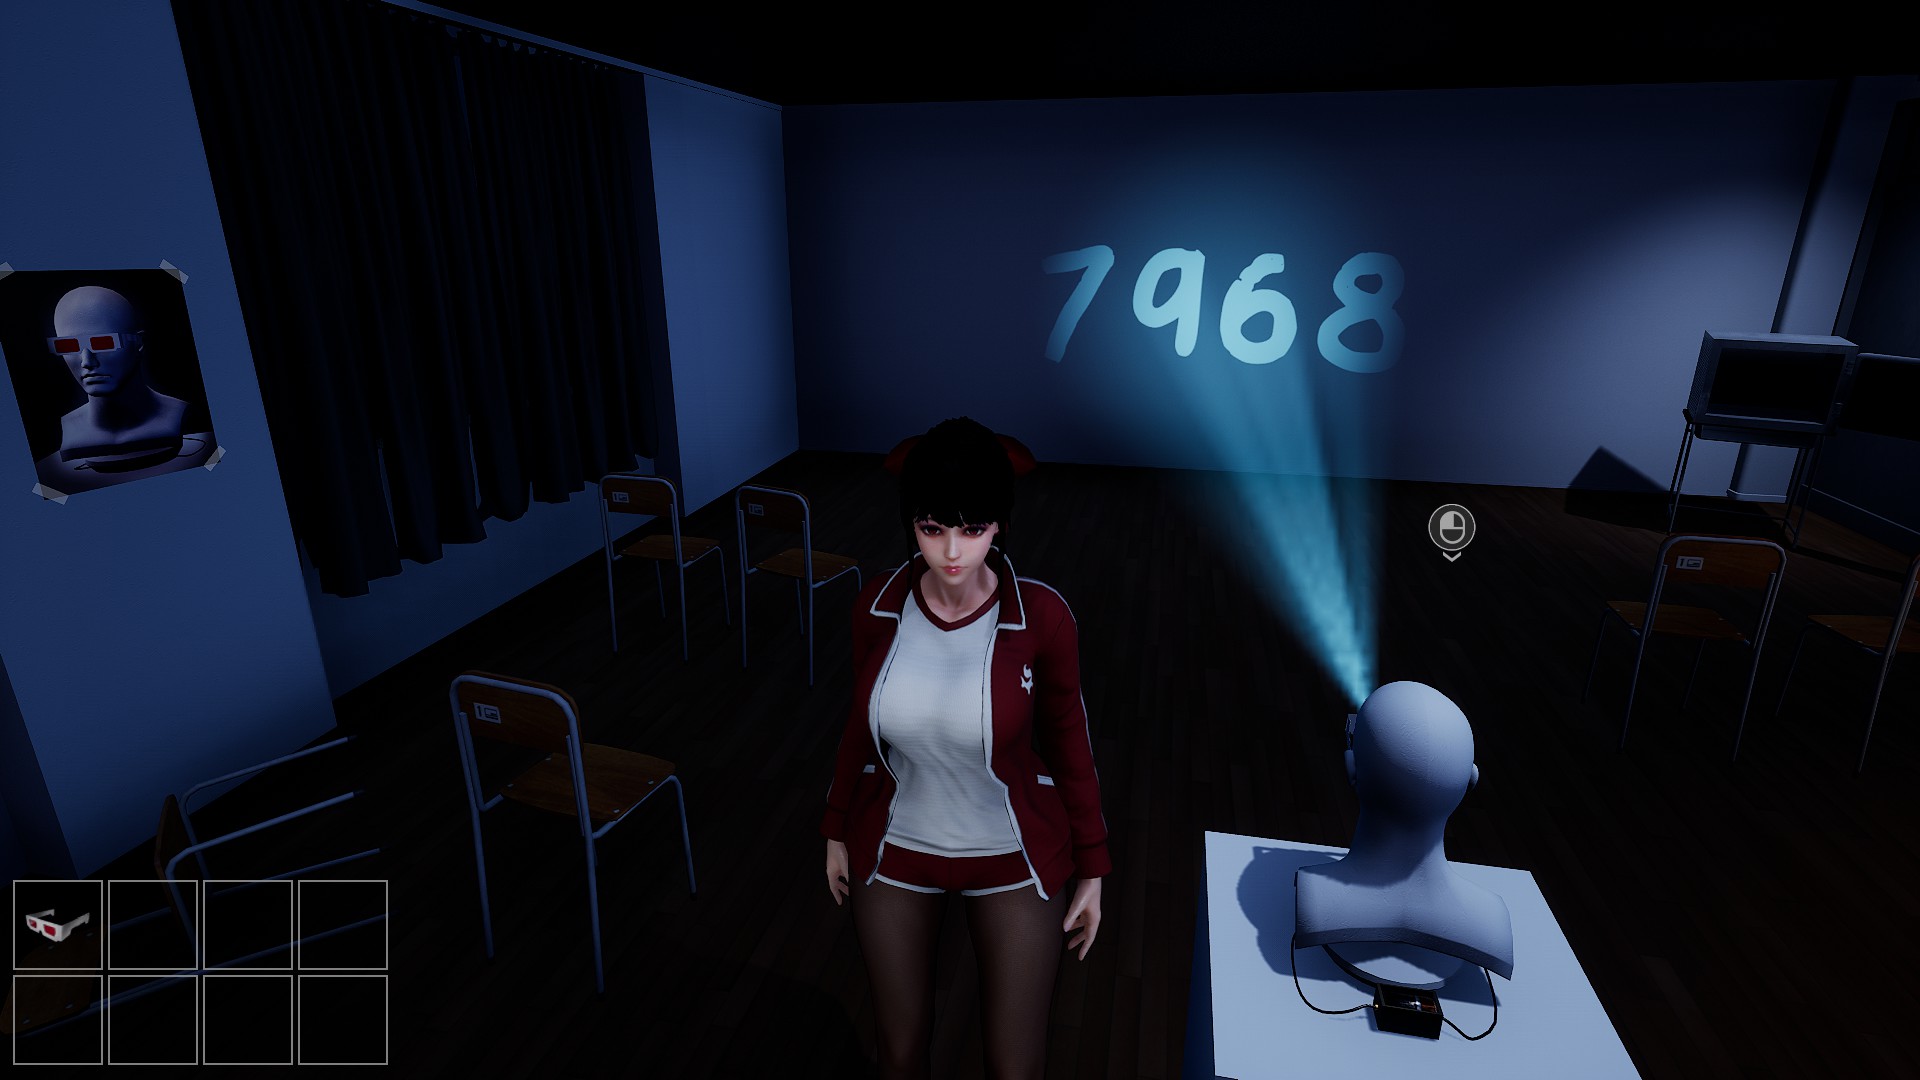
Afterwards, take off the blue glasses from one plaster head and place them on the other. This reveals the passcode (7 9 6 8) for the blue safe.
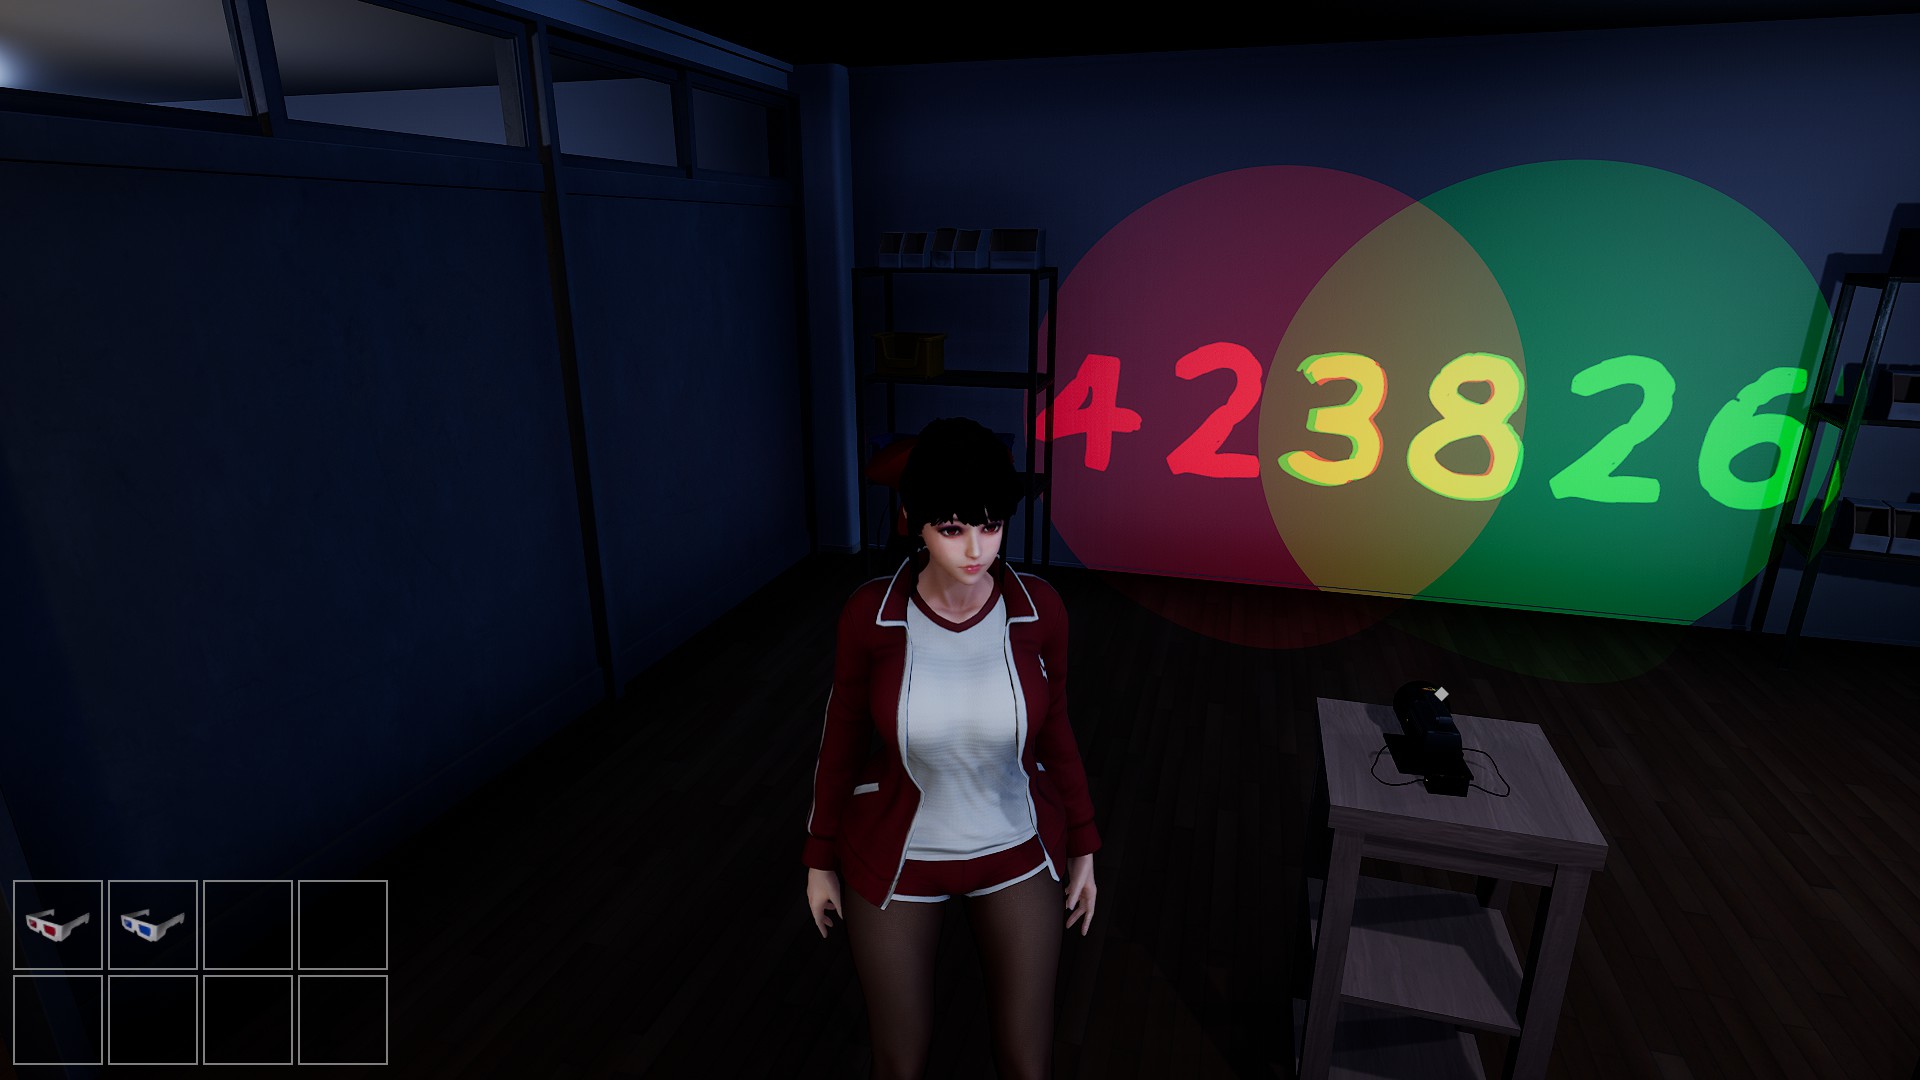
Next step: remove the glasses and the battery from the statue, and open the blue safe with the passcode to find another battery. These batteries power the two flashlights in the room. Put the batteries in the flashlights to reveal the numbers: 4 2 3 8 2 6.
The numbers you’ve got? They’ll unlock the big door. Once that’s open, you’re good to explore the rooms ahead. Oh, and remember to snag those glasses and batteries. They’re key for what’s coming next.
Next up, you’ll step into a room. Right there, sitting on the green desk, you’ll spot a statue. Give it a tap to crack it open and nab the remote. That remote? It’s your ticket to cooling things down. Turns out, it unveils a sneaky little clue hidden in the air conditioner.

To crack the safe and snag another remote for the next puzzle, you gotta organize your items just right. Here’s the scoop: gather your puzzle pieces from the corners of the classroom and arrange them according to the puzzle key.
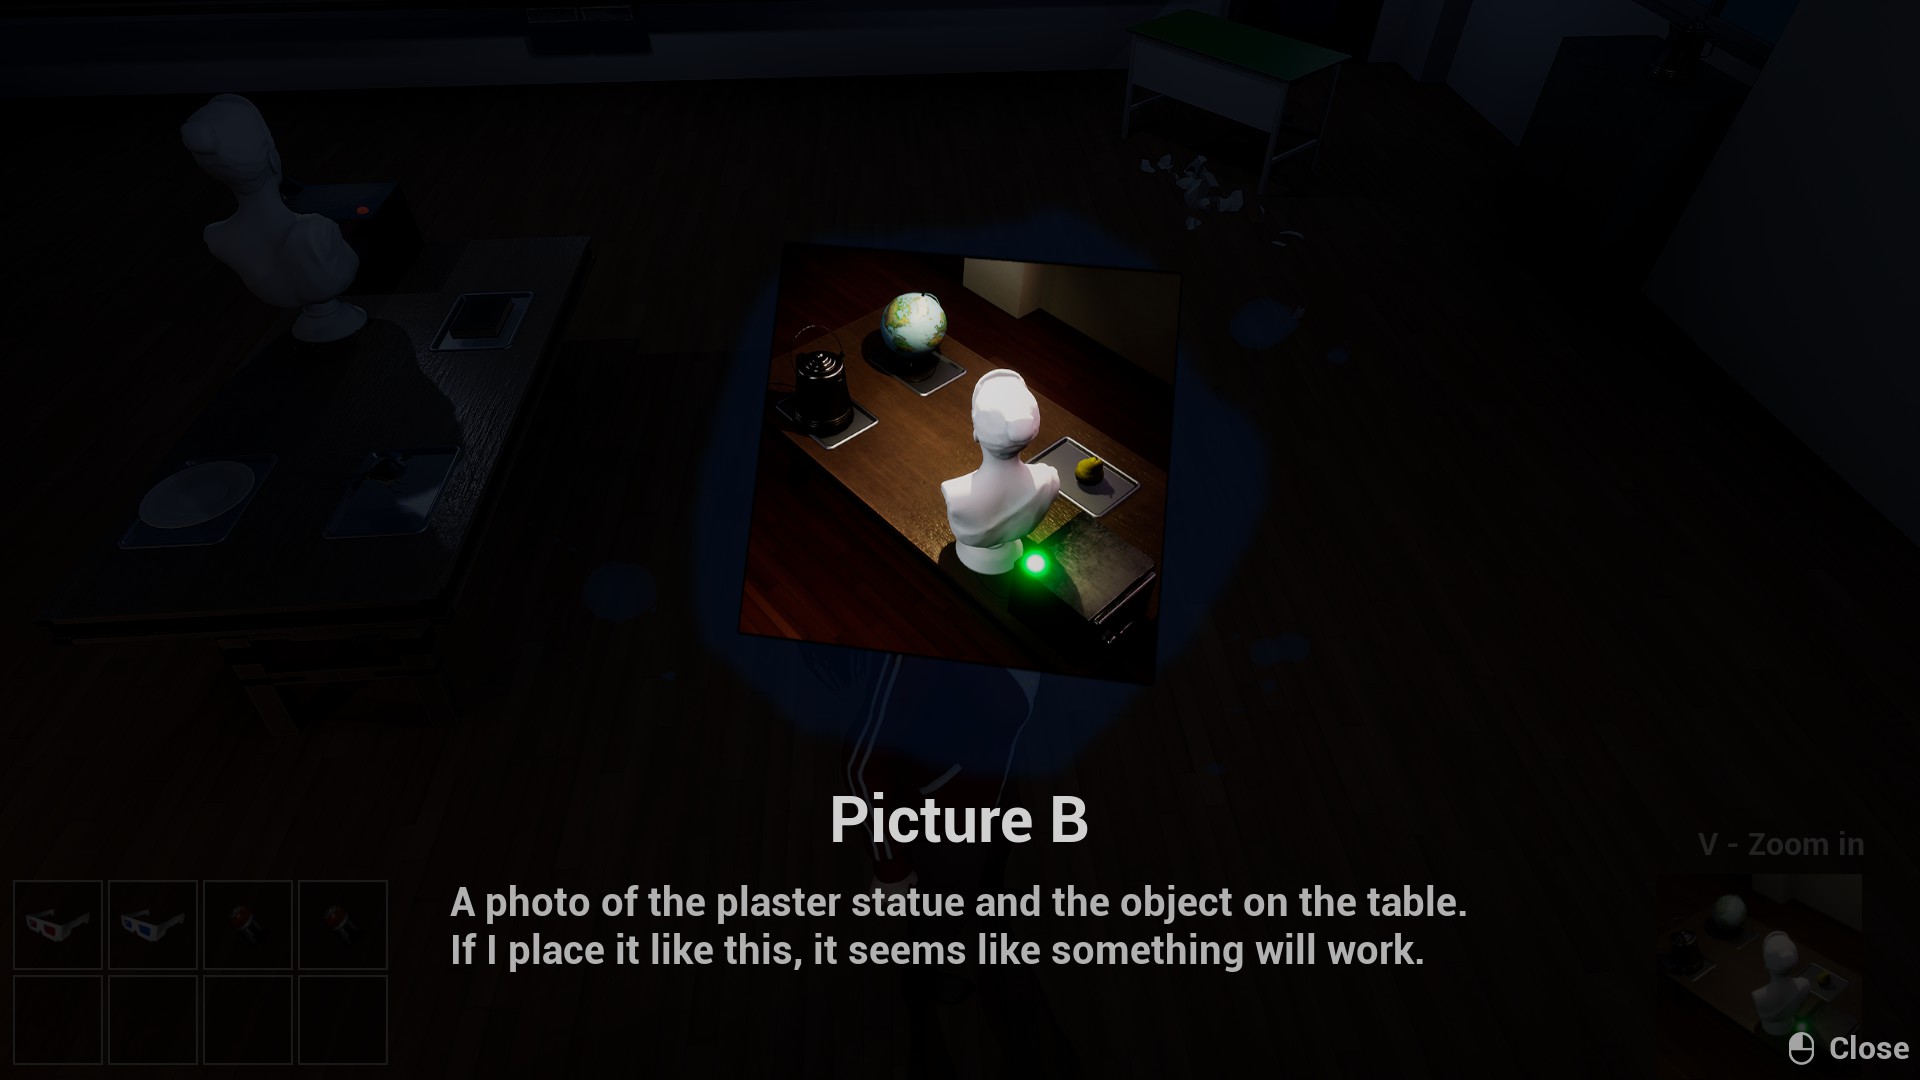
Once you’ve got all your pieces in place, solve that puzzle! The solution will reward you with a remote that’ll make the last puzzle come alive. Move those items around, twist that statue just so – you know the drill. Oh, and check out the photo below for a handy reference on how to position everything.

Once you’ve cracked the puzzle, get ready for a surprise – the walls will shift, revealing mirrors. Don’t forget to raid those brown cabinets for an extra battery and a pair of green glasses. And here’s a pro tip: the left statue rocks the red glasses, the middle one dons the blue, and the right statue sports the green. Now, onto deciphering that board: it reads 712 + 312 – 420.
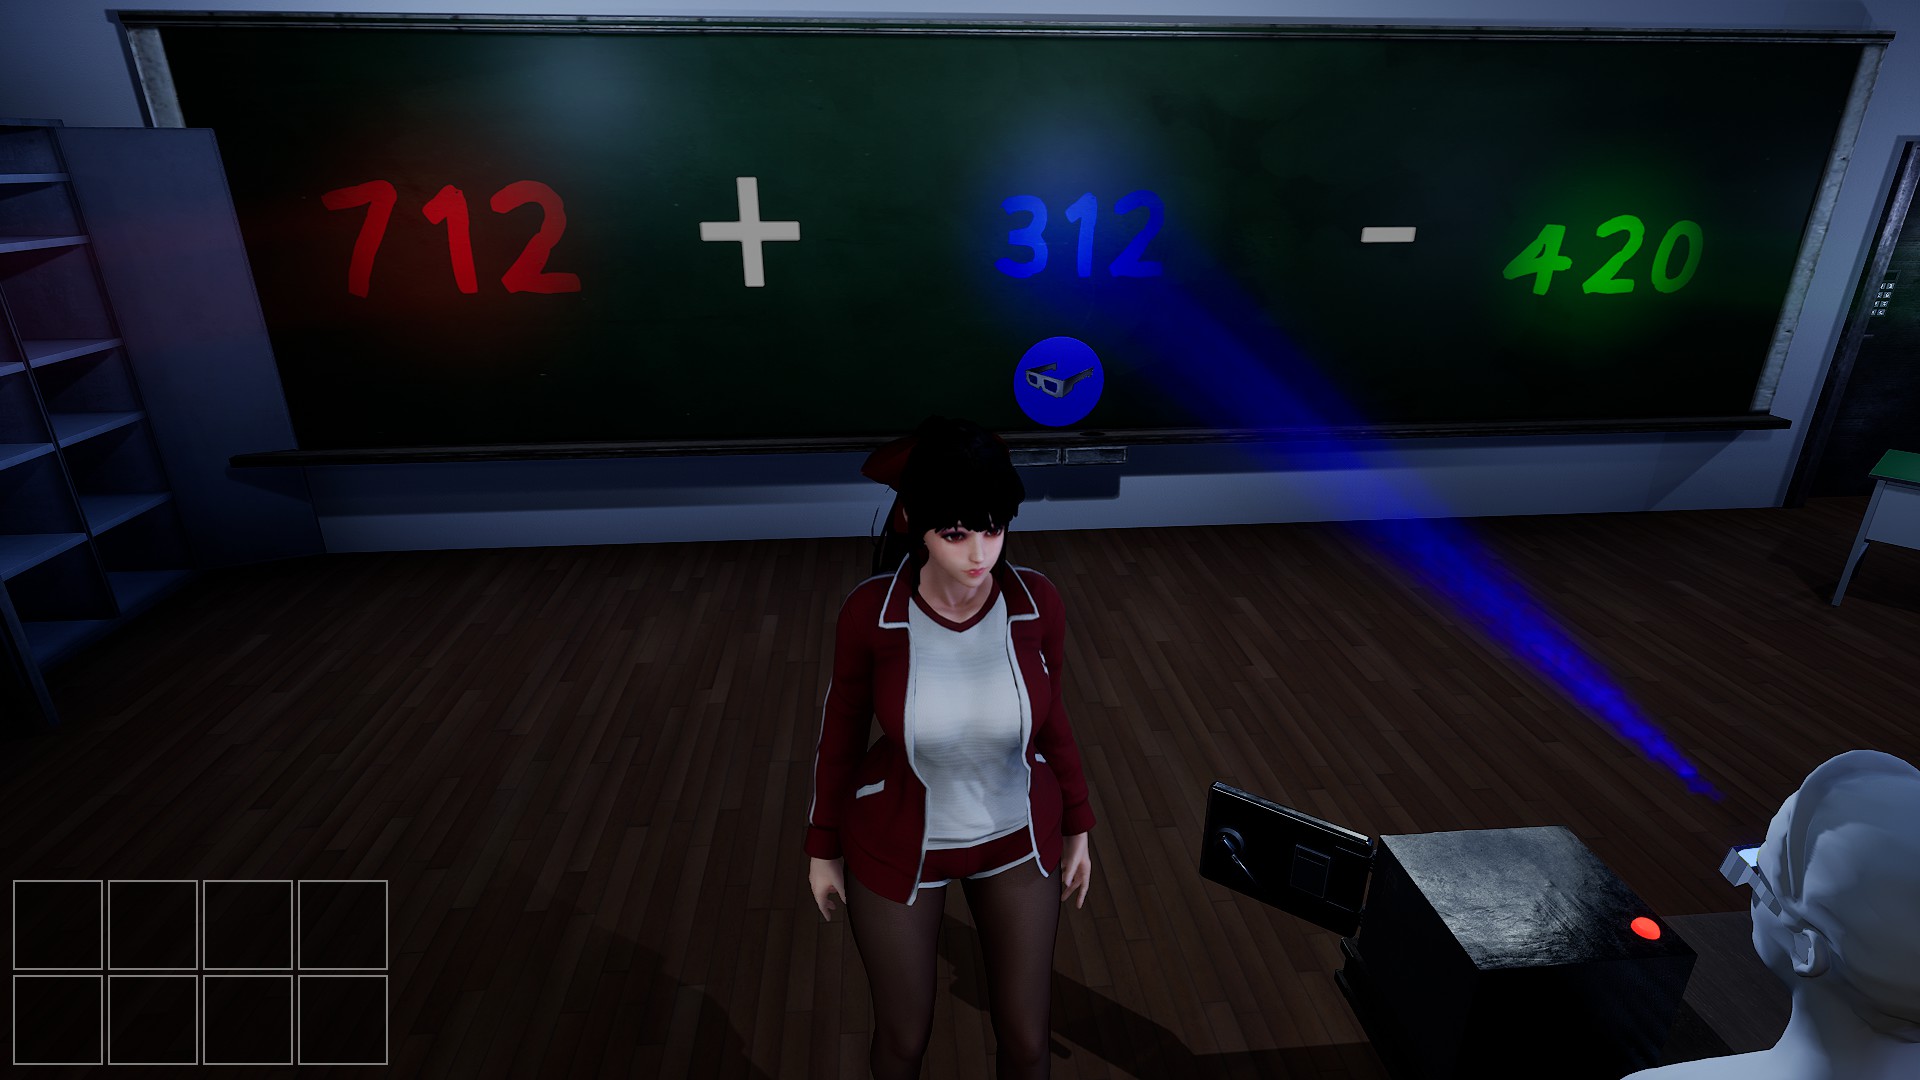
To find the passcode, solve the equation. The answer is 604. Enter these numbers on the door to proceed.
Well done! We’ve finished floor 2.
Floor 3
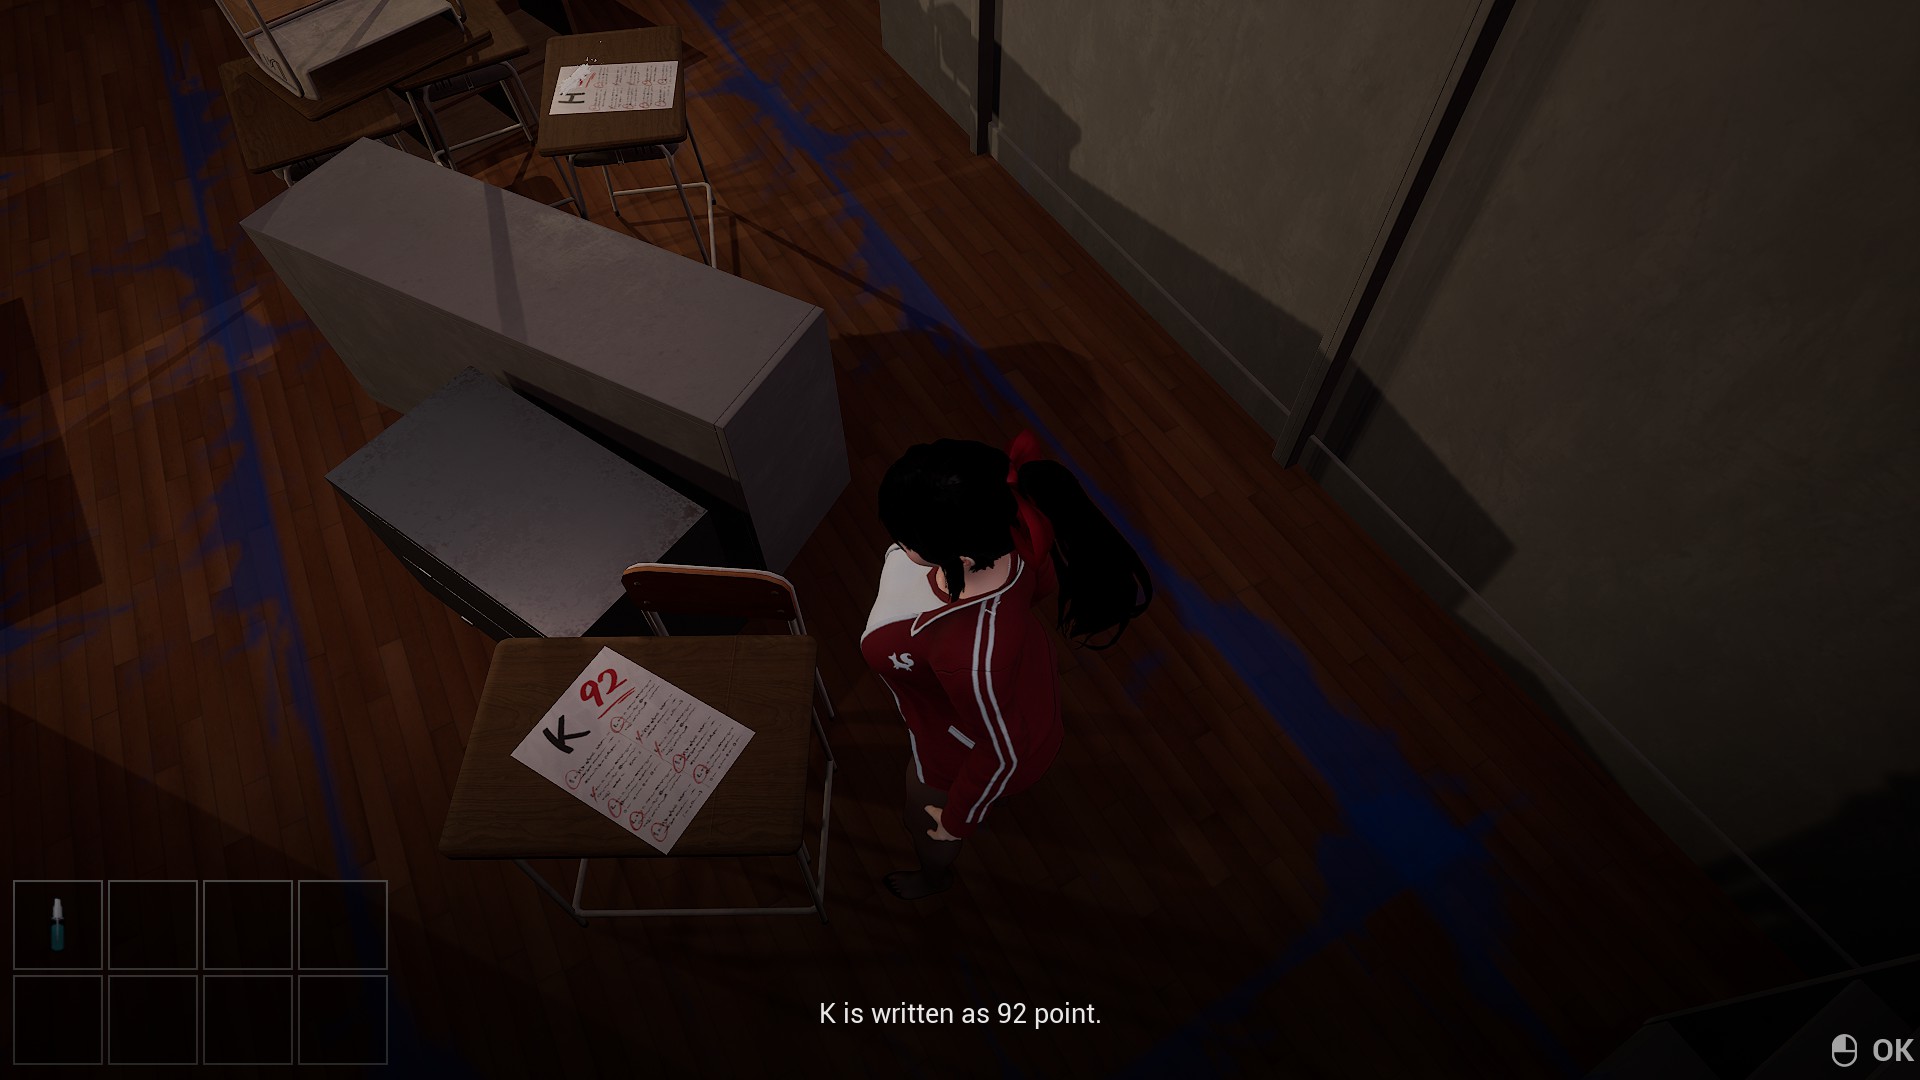
There are 3 abyss zombies in the room. Avoid them and search for papers. Two papers will show a letter and their numbers: K 9 2 and J 3 6.


Enter the left door. There’s a safe labeled J.K. Enter the code 3 6 9 2 to unlock it. Get the hammer and move to the right room. Break the wall with the hammer. Inside, avoid an abyss zombie and grab the closet key. Leave and use the key on the closet to get a fuse. Place the fuse in the fuse box in the other room.
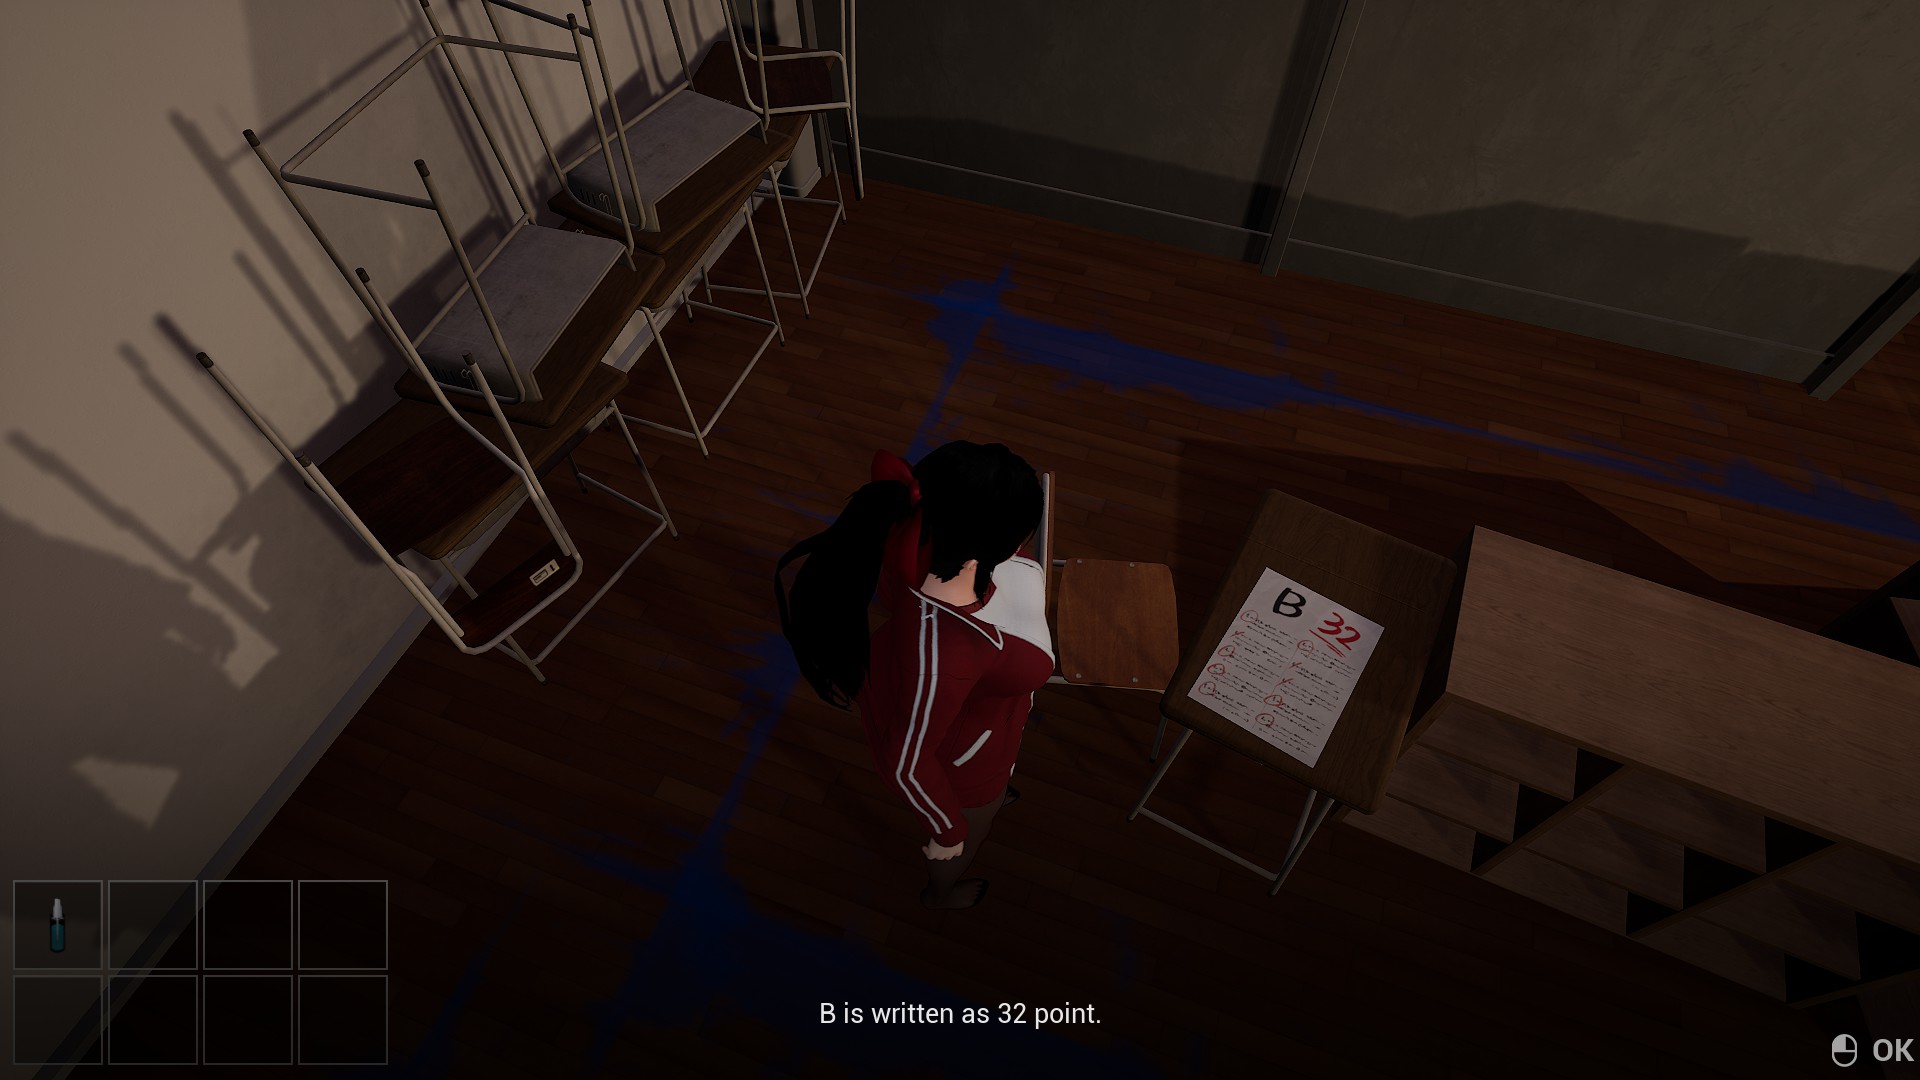
In the closet, find correction fluid dissolver. Use it to reveal numbers on stained sheets. Reveal numbers on the B and A papers: B – 3 2, A – 1 3. The K paper was already revealed.

Enter the code 3 2 9 2 1 3 to open the B K A door and proceed.
In a classroom with abyss zombies, find both parts of a cutter and a closet key (visible only in darkness). Unlock the closet and get four shape models and a valve. Install the valve in the pipe room. Clean the dirty cutter part in the men’s restroom. Return, use the bolt cutters to open a chained cabinet. Solve the shape puzzle revealed on the television.
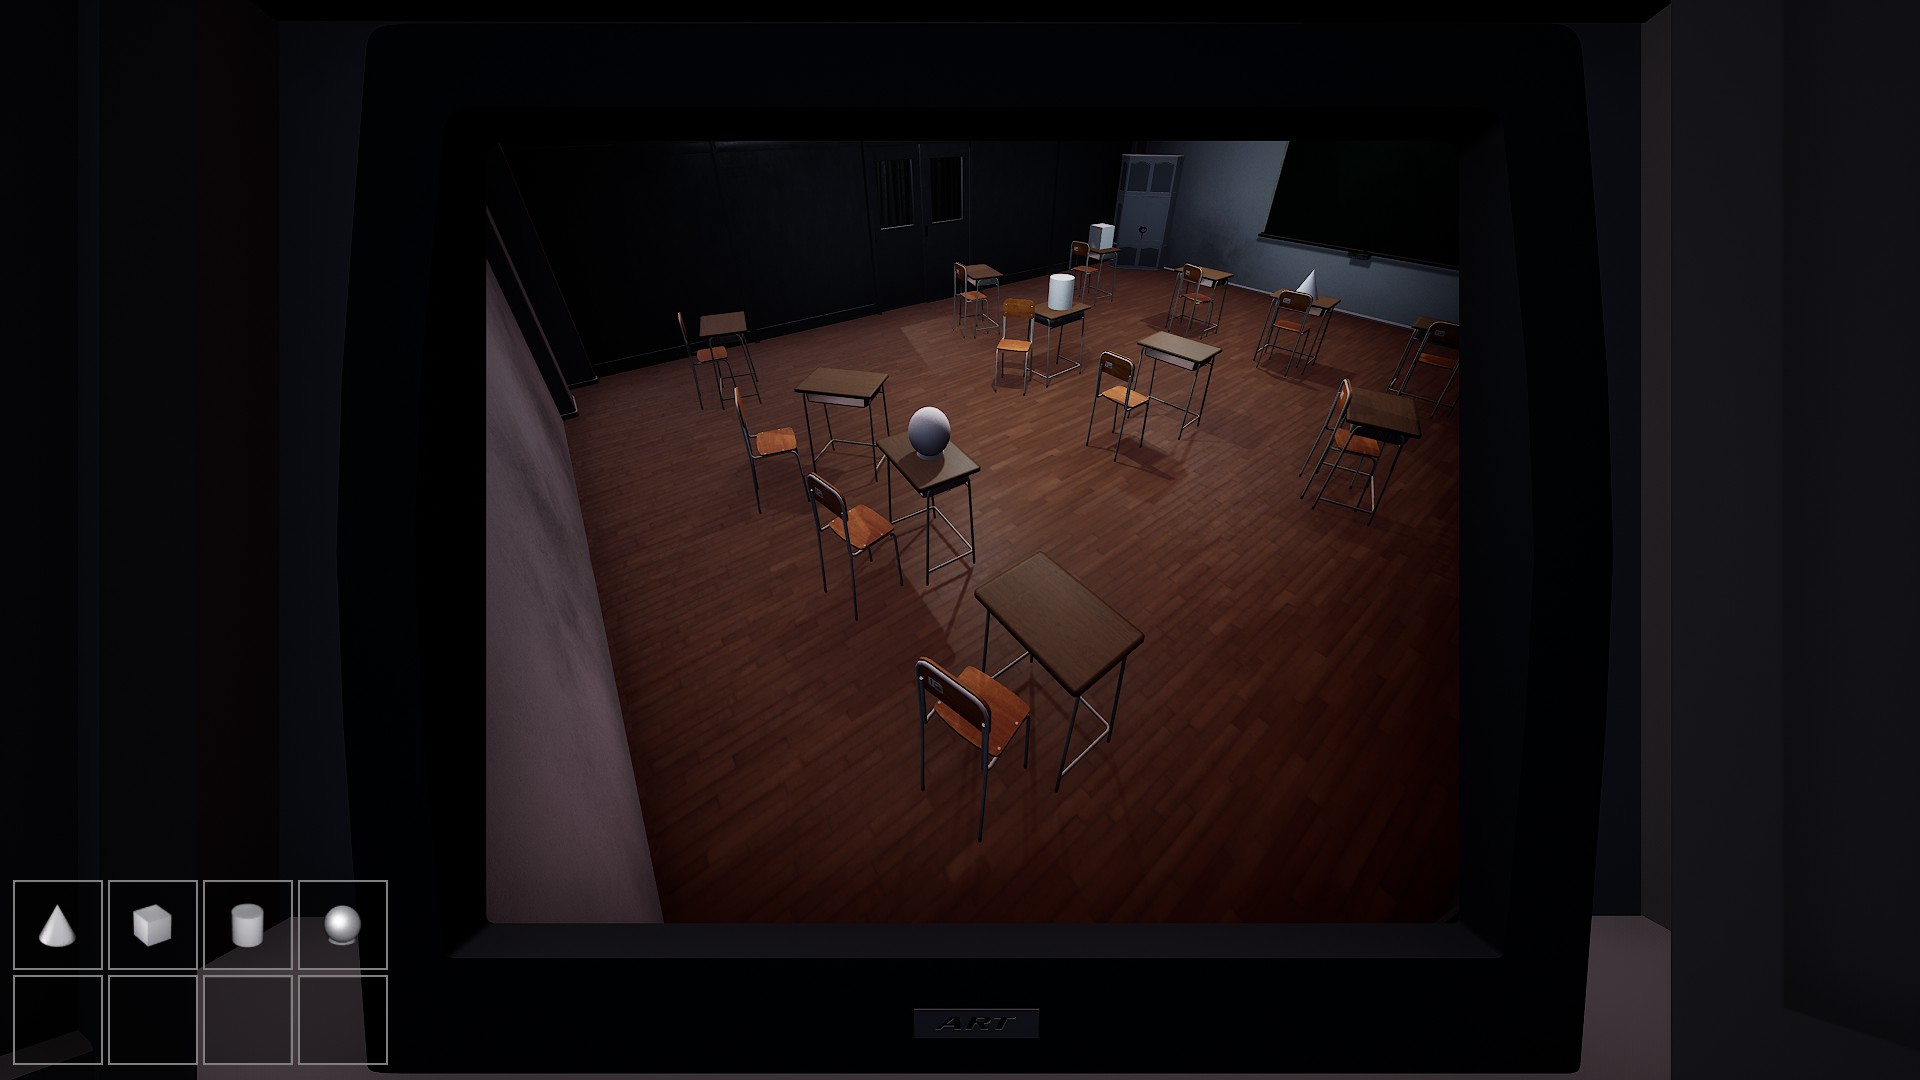

Install the items as directed, and we can move to the next room.
In a large classroom and bathrooms, go to the women’s bathroom, get the classroom key from the far left stall. When leaving, an abyss zombie elite will start chasing you. Unlock the classroom and find the three key pieces by hugging the wall.


Form the key and unlock the main door. Congratulations! You can advance to the next floor!
Floor 4
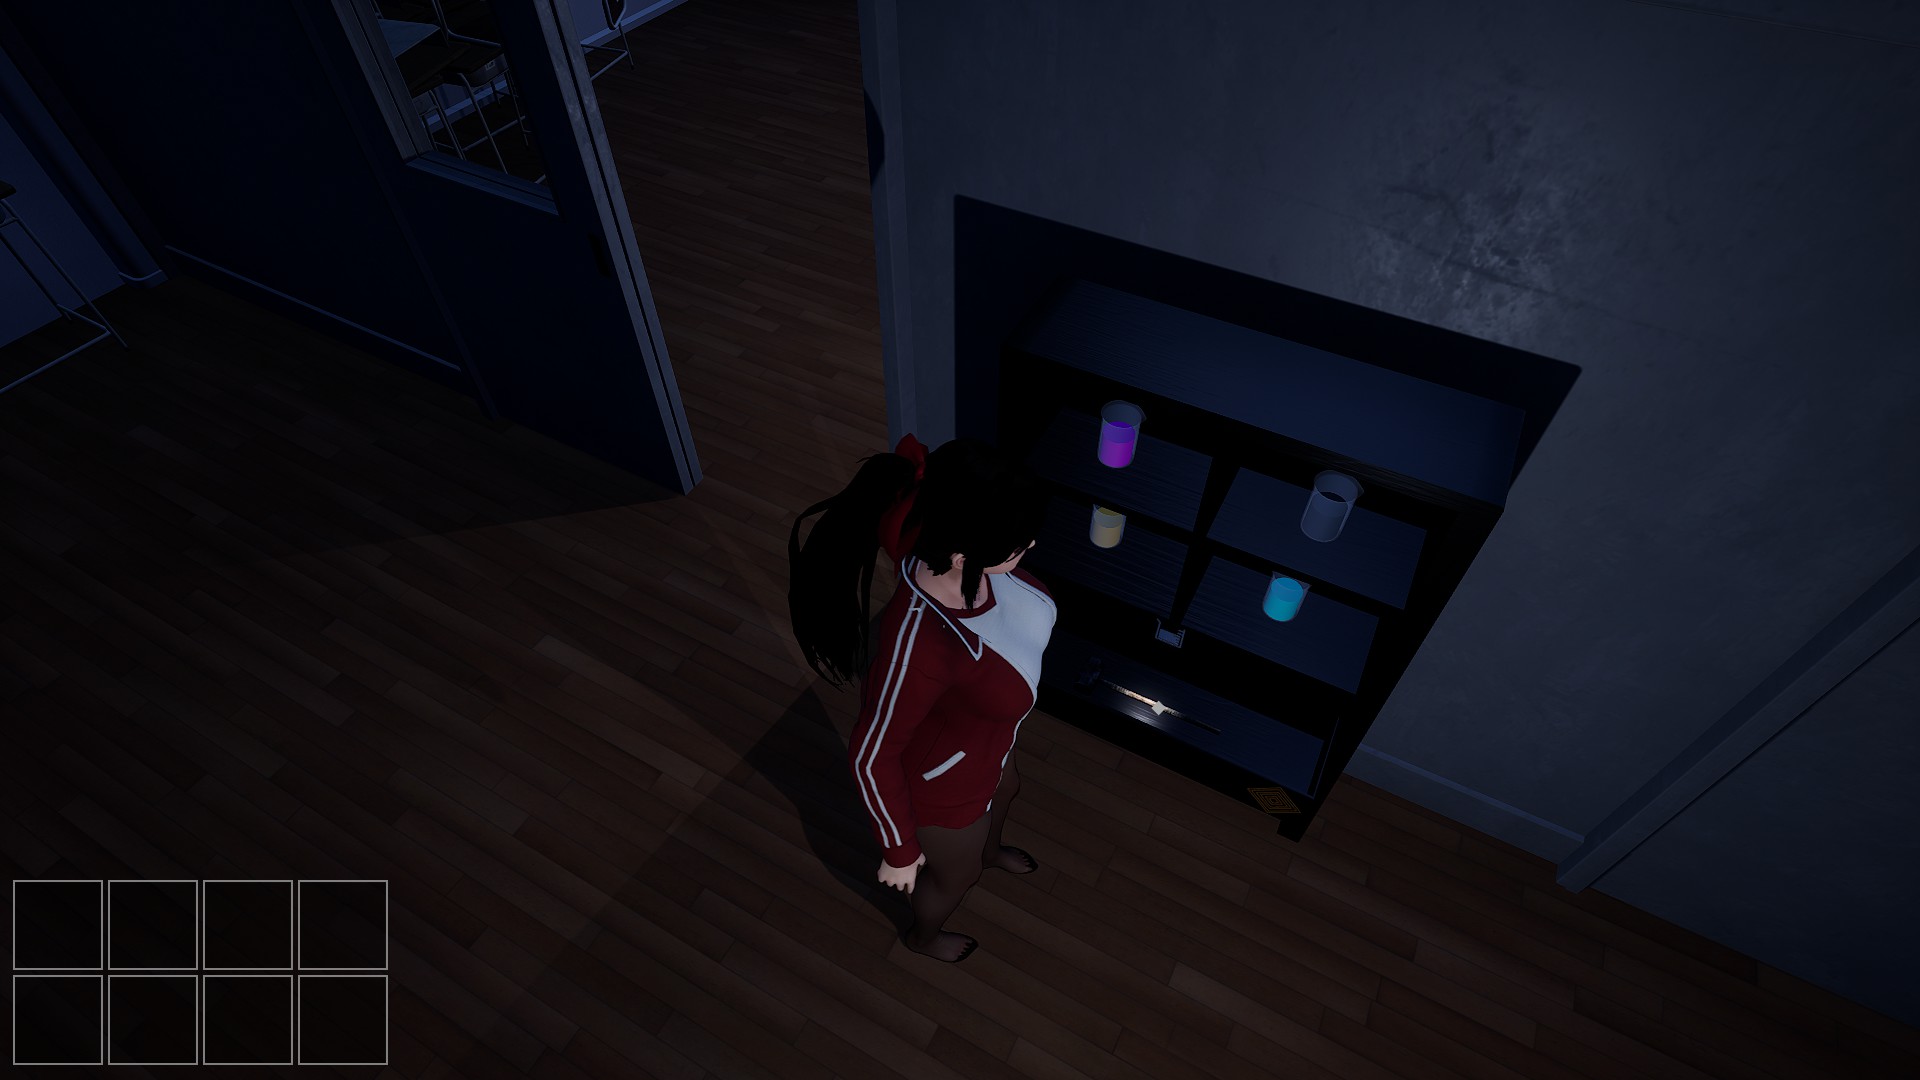
Upon entering the room, you’ll spot four colored flasks and three colored beakers. Move towards the room’s right side and locate a lever; this lever is crucial for powering the door forward, so pull it now. Next, grab the glasses and head to the left side of the room, where a white shelf awaits. Organize the four colored flasks as follows: Red flask in the top left, White flask in the top right, Green flask in the bottom left, and Blue flask in the bottom right.

Now, pick up the cutters and proceed to the room’s right side to cut the chains. Afterward, pull the lever to activate the second module for the door. This action will cause one of the cages containing the abyss zombie elite to open, revealing a key within.
Take the key and return to the left side of the room to unlock the door. Here, you’ll find another lever to pull, along with the blue flask essential for completing the beaker puzzle. Arrange the beakers accordingly: Purple beaker in the top left, Black beaker in the top right, Orange beaker in the bottom left, and Light Blue beaker in the bottom right.
Retrieve the hammer from the opened cabinet on the beaker shelf and use it on the room’s right side to create a hole in the wall. This hole houses the last lever needed to power the door. Pull it and advance to the next room.
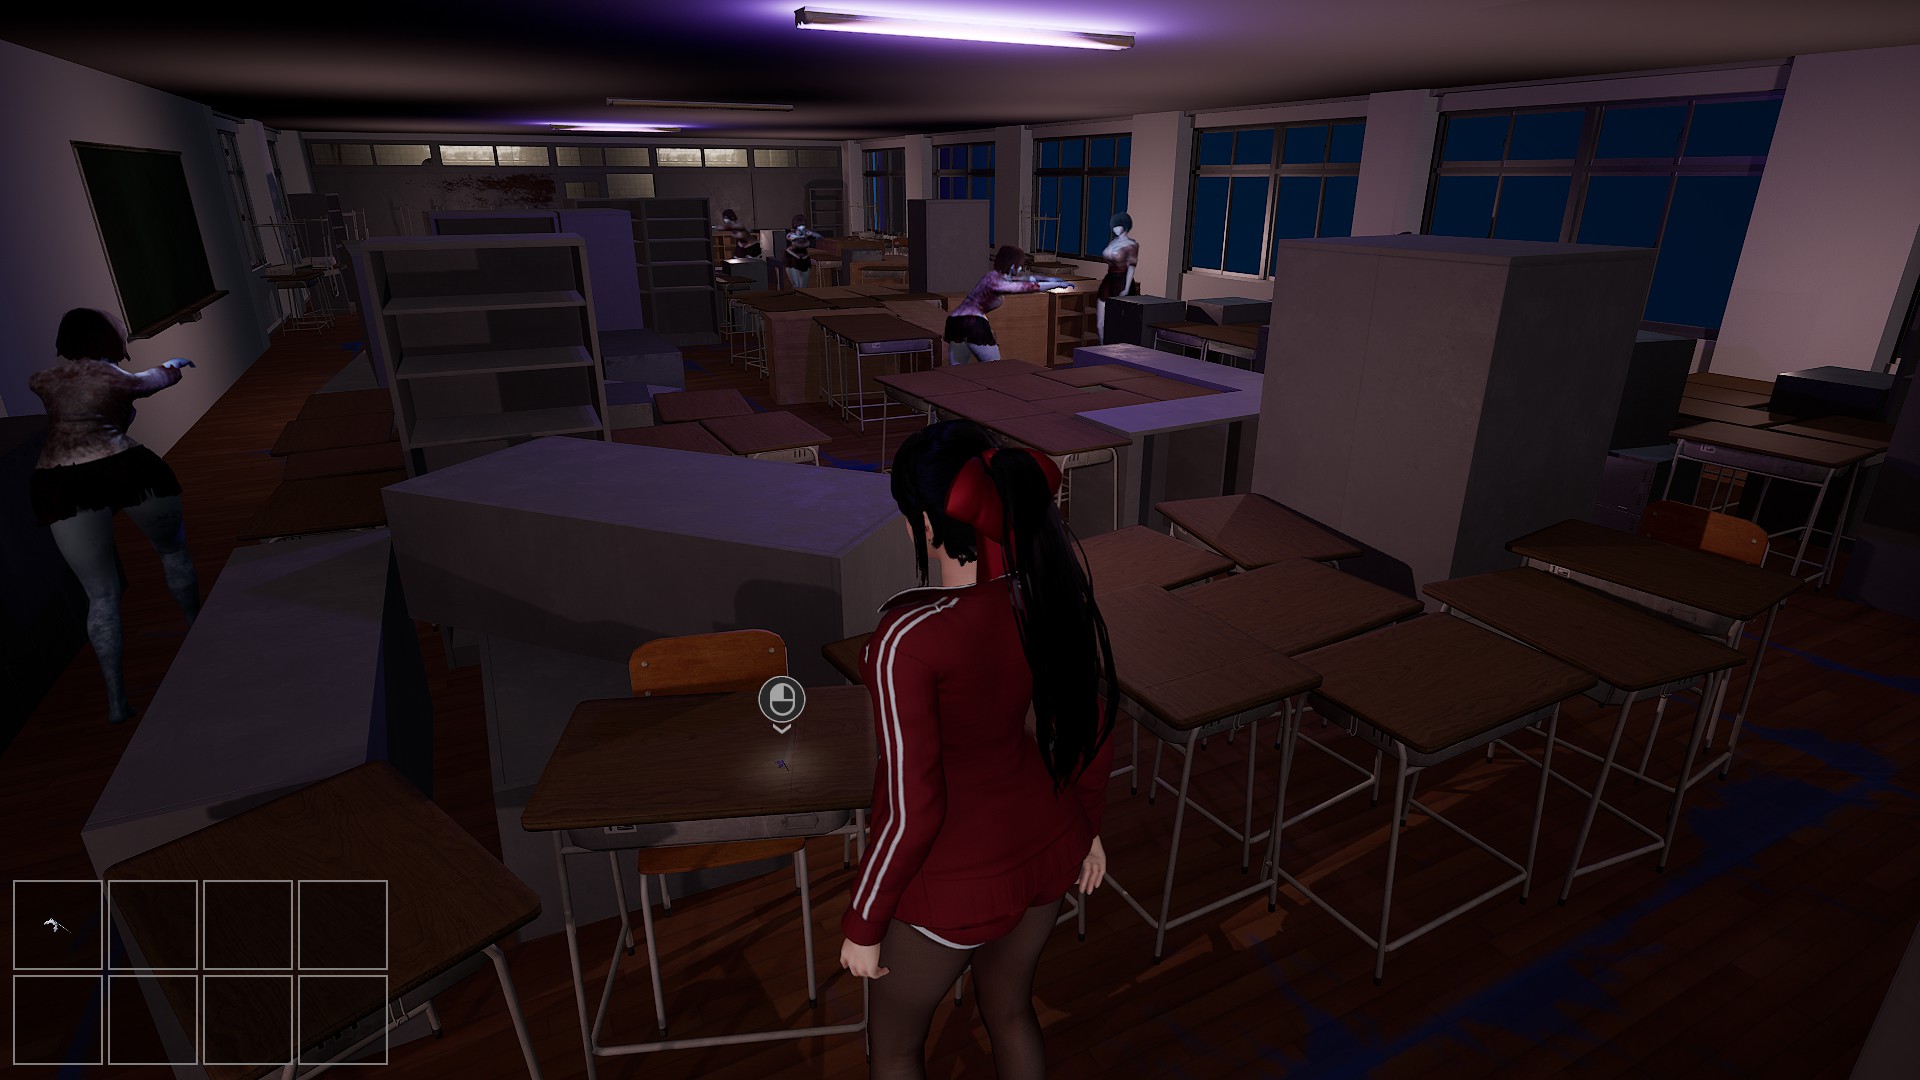
As you enter the next room, you’ll encounter a small save table with an abyss zombie in a room to the left and another room to the right. Deal with the abyss zombie by waiting for it to move to the left side of the room, then swiftly enter and grab the bolt cutter piece. In the room to the right, watch out for purple spots on the floor, which are pulling eggs that can instantly kill you. Navigate around the table, avoiding these spots, and collect the other bolt cutter piece. Once you have both pieces, assemble the bolt cutter and proceed cautiously to the next room, as pulling eggs also populate the hallway.
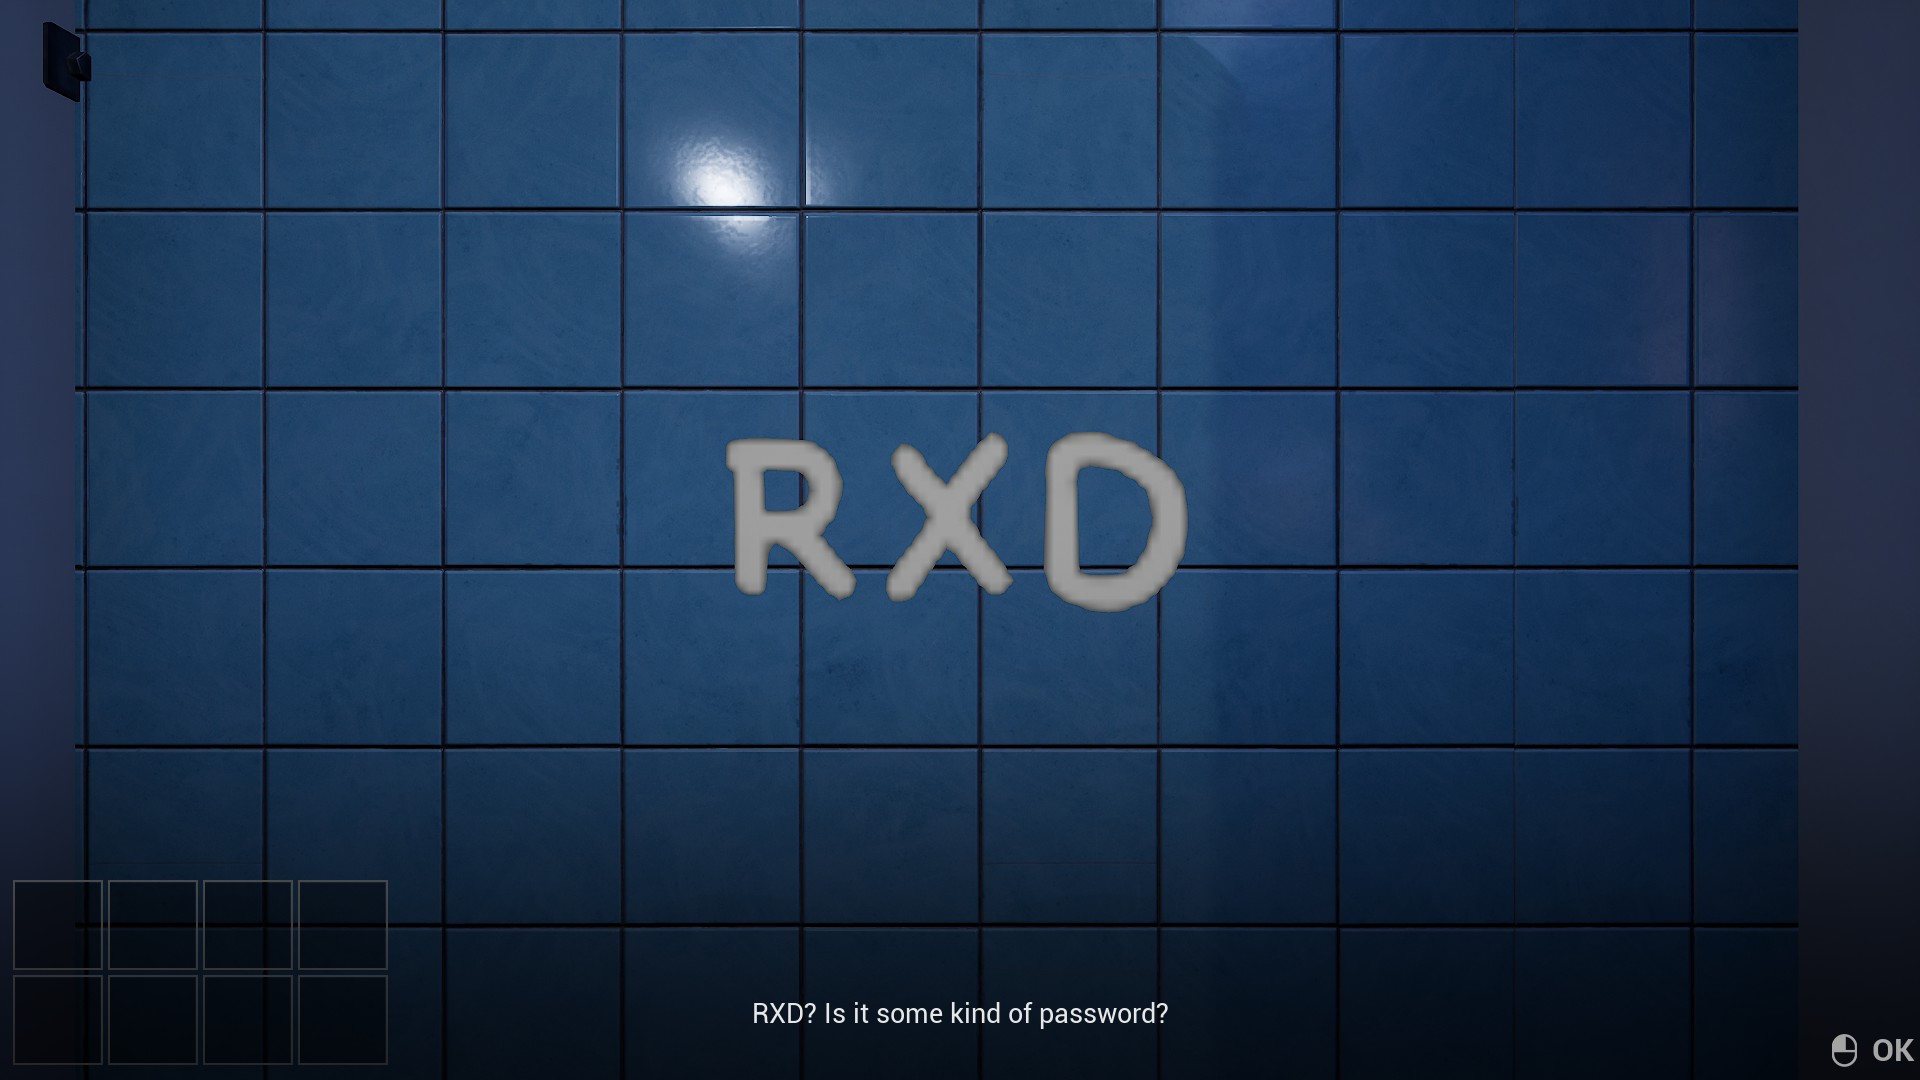
In the subsequent room, you’ll encounter an abyss zombie elite and two sets of bathrooms. Approach the abyss zombie elite and acquire the cleaning sponge from the petri dish. Next, head to the men’s restroom and obtain the detergent. Open the stall in the men’s restroom and use the detergent to wipe the stain from the wall, revealing the letters R X D.
Once you’ve entered the code on the padlocked stall in the women’s restroom, snag the electrical box key from inside. Utilize this key on the box located in the main room, unveiling a lever. Pull this lever to release the abyss zombie from the caged room. While the abyss zombie is wandering, seize the hammer from the women’s restroom if you haven’t already. Proceed to break the hole in the wall using the hammer.
Enter the hole in the wall and patiently wait for the abyss zombie to be ensnared by the pulling egg. Crouch beneath the zombie and retrieve the passcode from the safe, revealing the numbers 2 9 9 9.
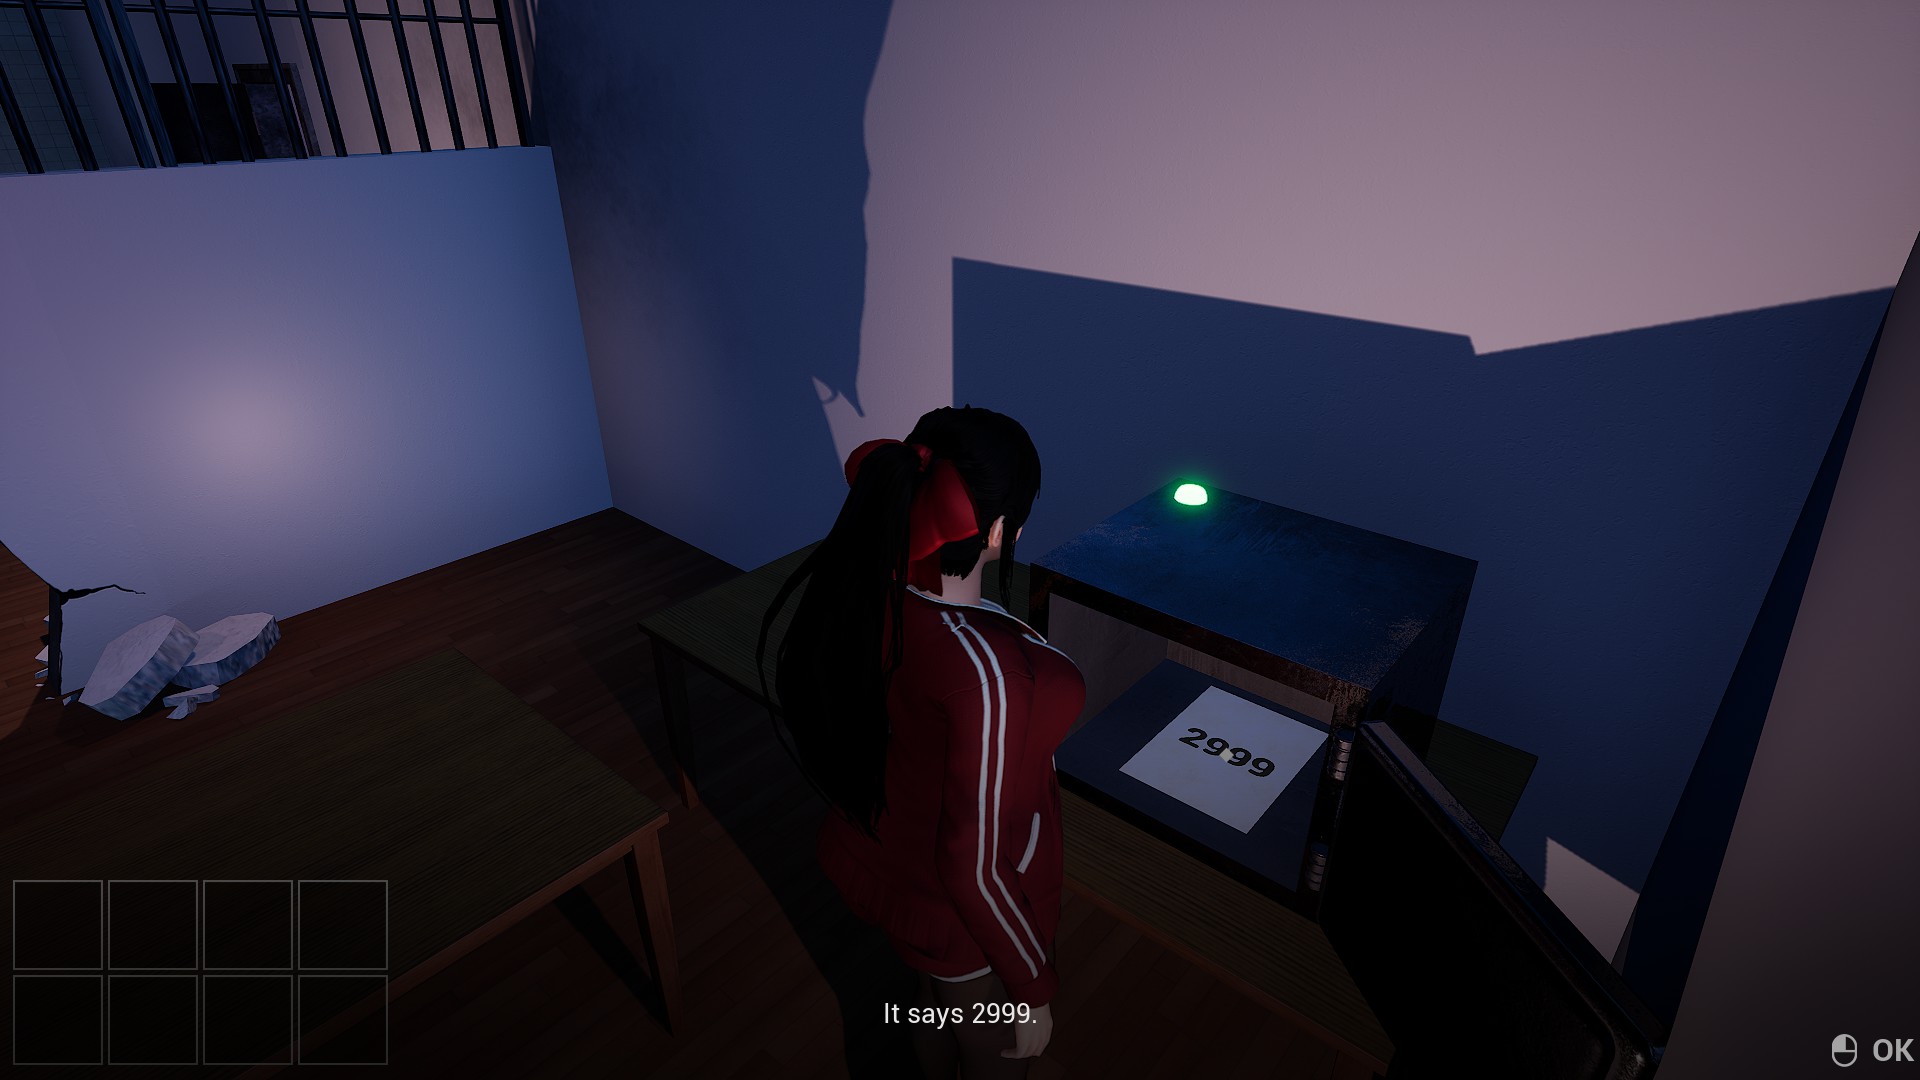
Now, input this code on the main door to progress, ensuring you carefully navigate to avoid the pulling eggs. Congratulations! You’ve successfully advanced to the next floor!
Floor 5
On this floor, you’ll encounter two roaming abyss zombies along with a caged abyss zombie elite. To proceed, you must bypass the trails of both abyss zombies to obtain an item. Heading towards the first one, acquire the old key. Use it to unlock the door next to the empty cage. Inside, locate a remote that, when activated, spills out blue liquid, connecting the two trails of the abyss zombies. Once a zombie steps on the panel, swiftly close the gate to lock it in. Repeat this process for the other abyss zombie.
After both abyss zombies are secured, release the abyss zombie elite. Entice her into the empty cage and either break a hole in the wall to trap her or run around her while she’s distracted, closing the cage before she escapes. It’s quicker to lure her past the panel and then maneuver around her. Once caged, the door will power up, enabling progression to the next room.
In this subsequent room, you’ll encounter four corridors, each housing a caged abyss zombie. Each corridor corresponds to a number: 4, 5, 2, and 6. Use these numbers as the code for the safe, which will yield a hammer. Utilize the hammer in one of the corridors. Retrieve the remote from the table and release one of the abyss zombie elites. Lure her into the corridor with the breakable wall and trap her inside. This action will unlock the next cage, freeing another abyss zombie elite. Each subsequent caged room will contain an item needed to bait and trap the elites. Apply the same strategy used for the first zombie to capture all others.
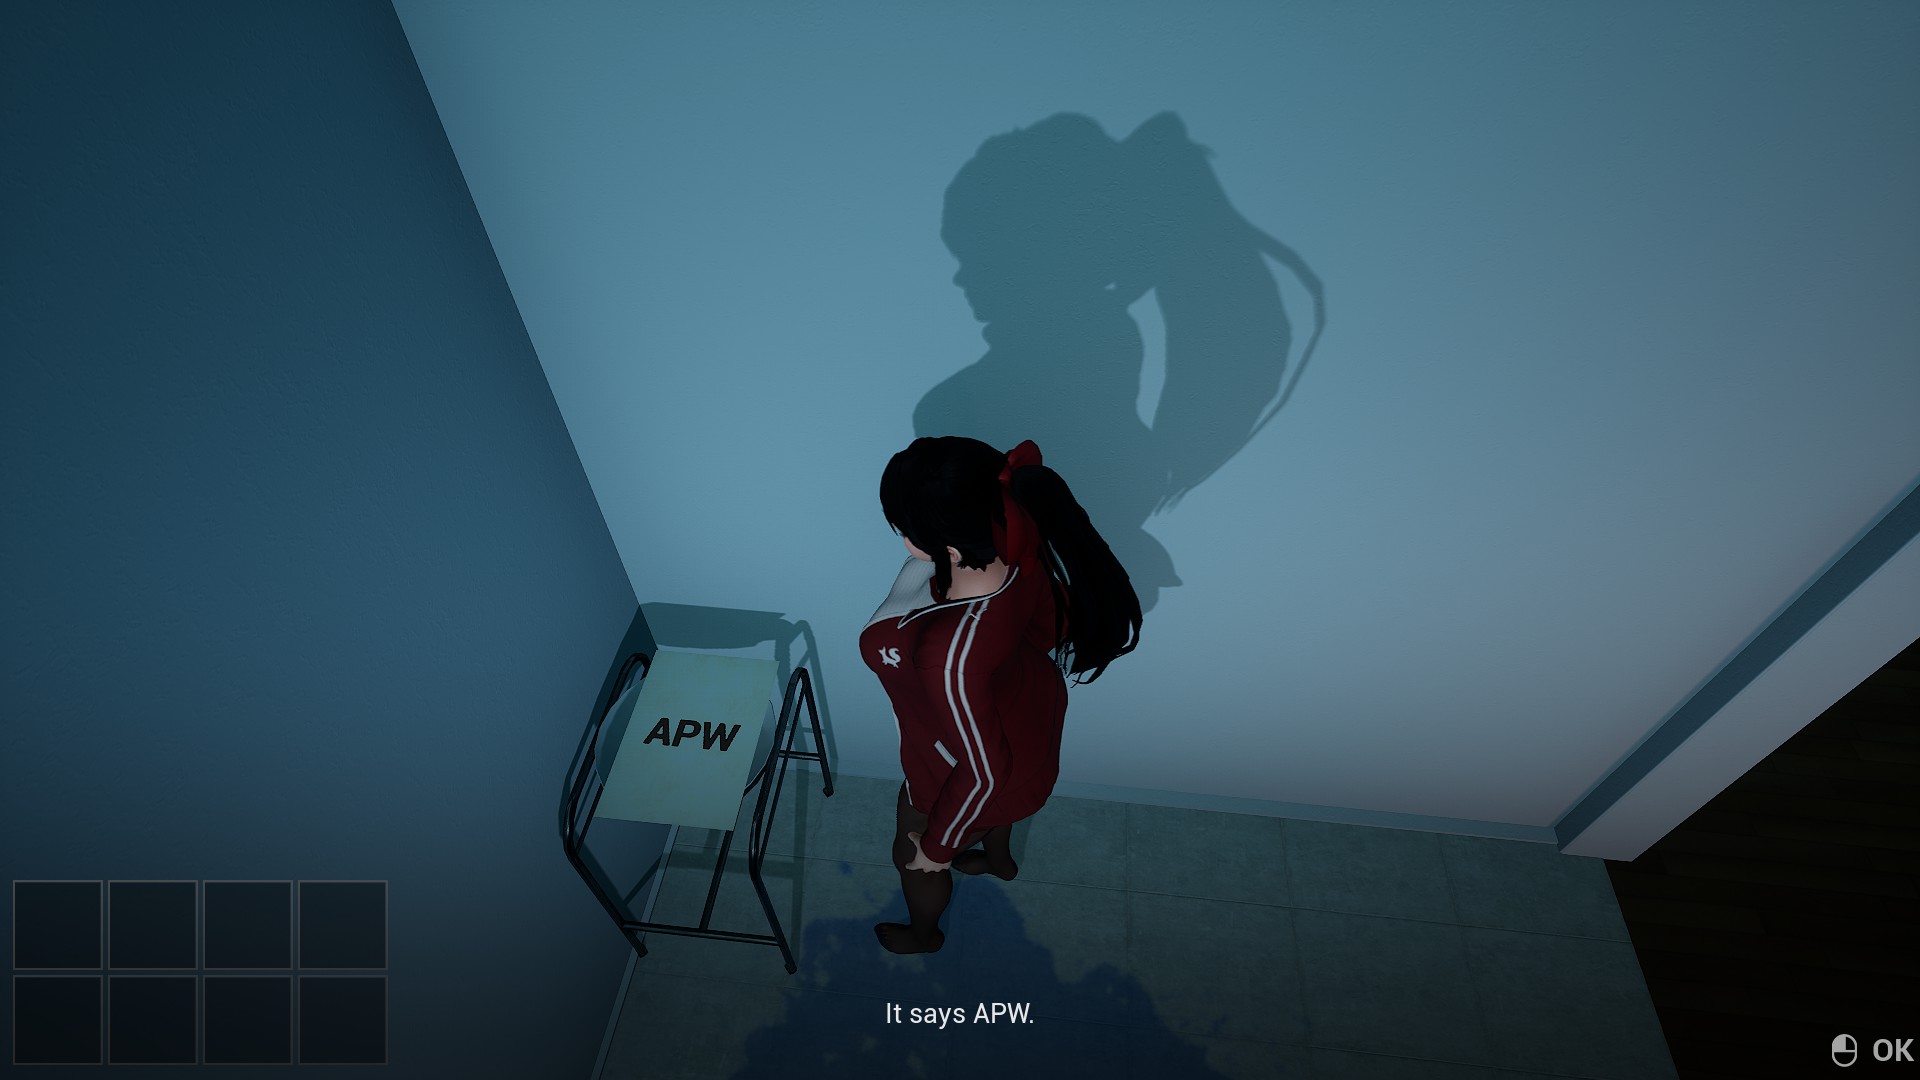
One of the corridors will require a passcode, which is A P W.
Once all four zombie elites are ensnared, the door will activate, allowing access to the next room.
Floor 6
Proceed forward and towards the right hallway, where you’ll find a petri dish containing a remote. Retrieve the remote and use it to eliminate one of the pulling eggs. Return to the spawn door and enter the cross-space. Continue forward, then turn right and press the button. This action will unlock the A door. Head back to the spawn room and proceed left towards the A door. Obtain the shelf key from the desk and use it to unlock the cabinet located at one end of the abyss zombies’ trail. Return to the A door and break through the wall. Enter the cross-space and press the button at the end of the wall. Now, the path to the main door should be clear of pulling eggs.
Upon opening the main door, you’ll encounter an abyss zombie elite and three corridors, each featuring a button with a letter. Activate these switches to unlock the other doors in the cross-space to the right of the spawn door. Once all three buttons are activated, head to the cross-space. Inside each door, you’ll find an assigned number value.


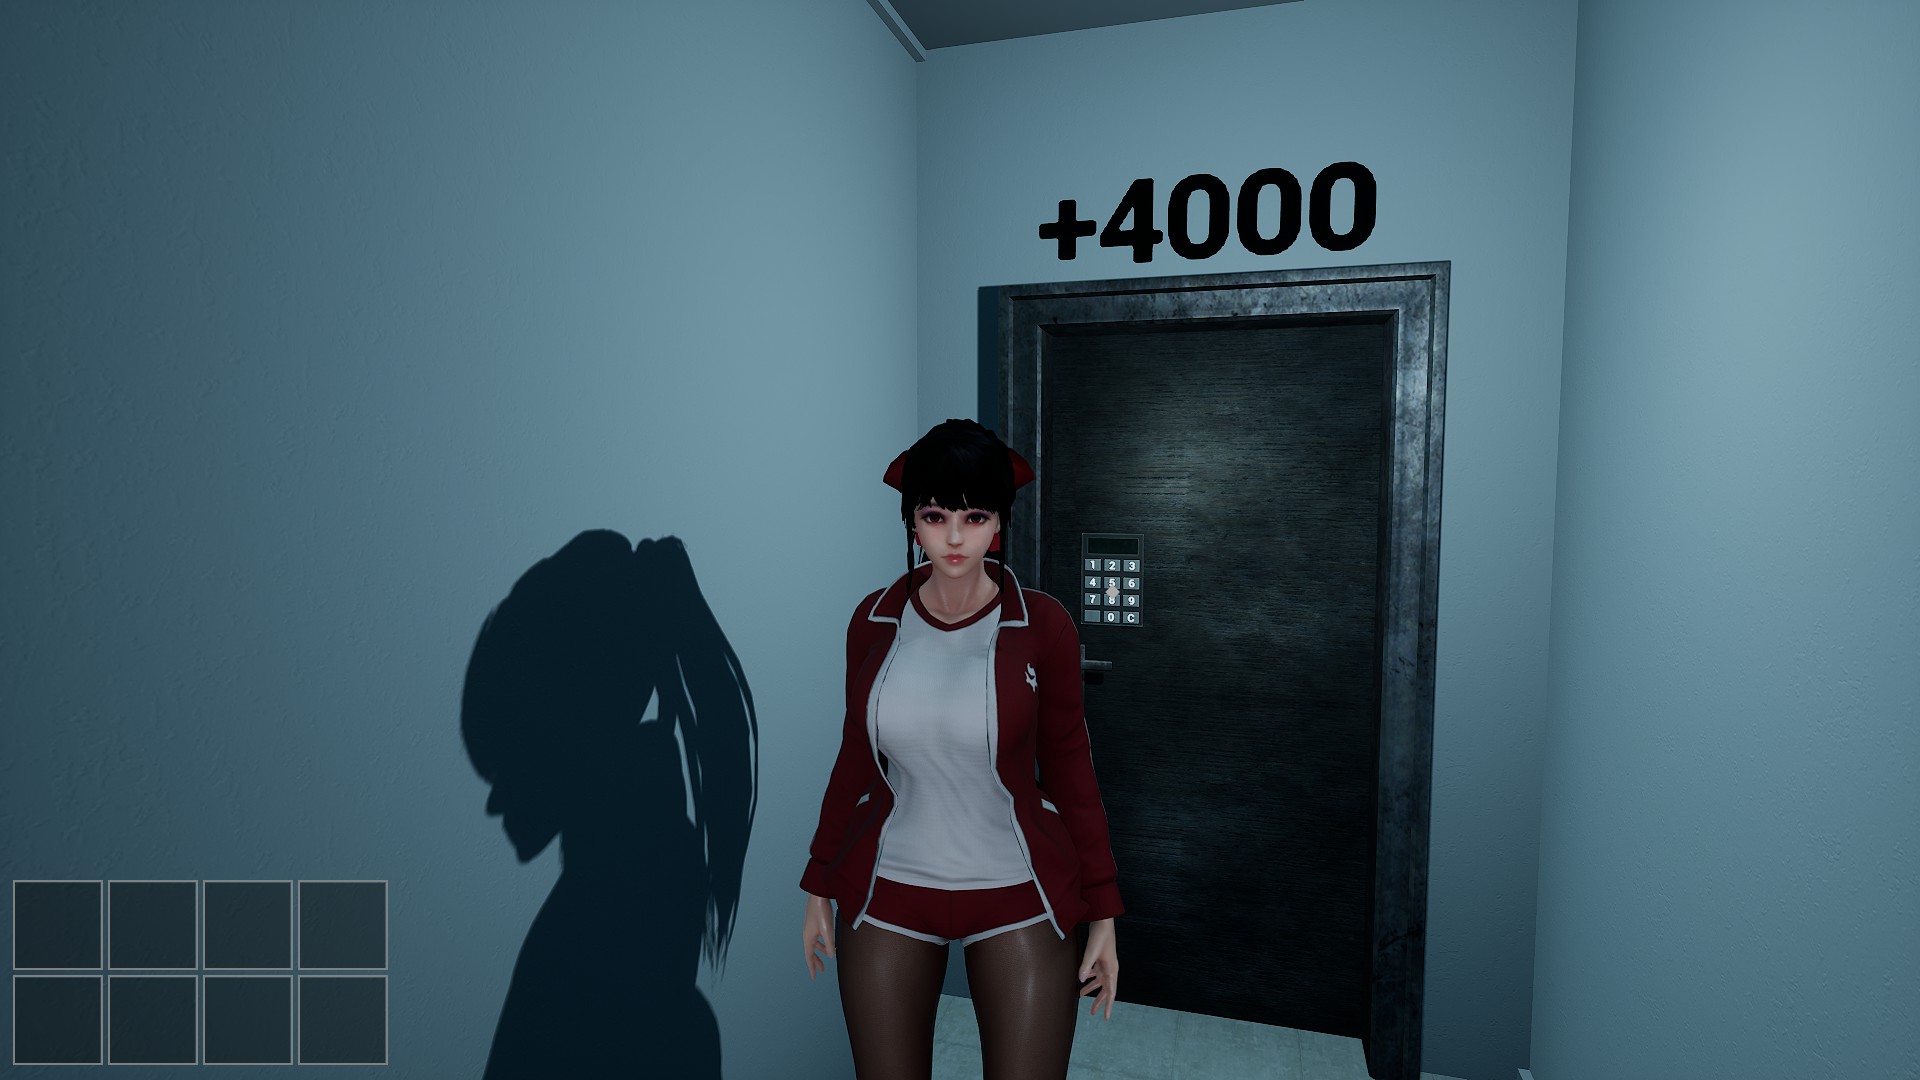
The first door will display +80, the second door +8, the third door +200, and the last door +4000. Add these numbers together to obtain the answer to the passcode, which will be: 4 2 8 8. The door will open, revealing another passcode lock. The solution is found on a sheet of paper in the classroom, displaying the numbers 1 0 5 3.

In the subsequent room, you’ll encounter a passcode-locked door with multiple sheets of paper, each covered in stains, revealing the code: 4 6 4 2.
Moving on to the next room, you’ll face two abyss zombie elites and more stained papers disclosing the code: 4 2 1 6.
Entering the following room, which serves as an infirmary, you’ll find additional stained papers unveiling parts of the code. The complete code will be as follows: 6 7 2 3.
In the subsequent room, you’ll discover an abyss zombie elite confined in a cage alongside another cage containing a pressure plate. Lure the zombie onto the pressure plate to unlock the door. Inside the cage, the code for the safe will be 4 9 7 3.
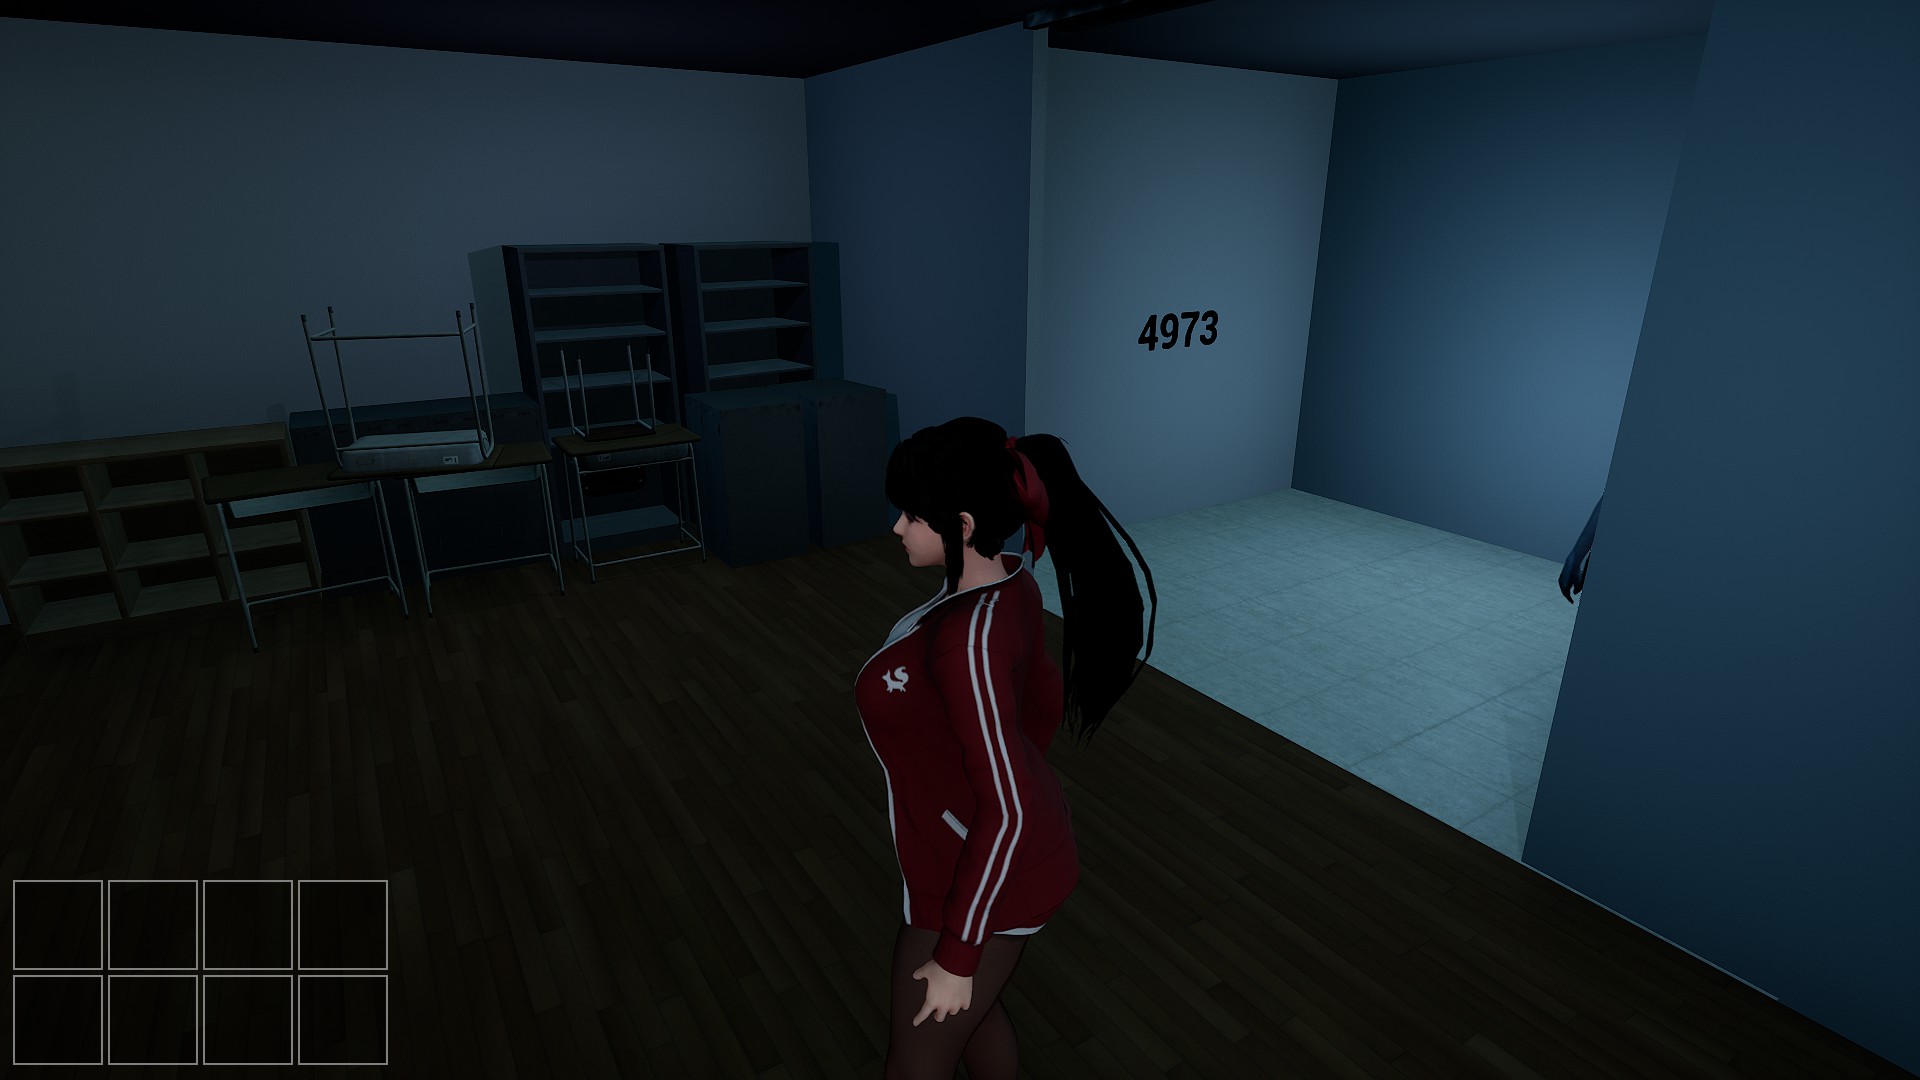
This code is essential for further progression. Exercise caution as pulling eggs populate the area.
Moving ahead, you’ll encounter another abyss zombie elite that must trigger a pressure plate. Bait the zombie into the other cage and secure it. Once trapped, the safe will unlock, allowing you to retrieve the cutters. As the hallway extends, an abyss anglerfish awaits, poised to ensnare anyone crossing its path. Release the abyss zombie elite and guide it toward the anglerfish. Once the anglerfish consumes the zombie, advance and utilize the cutters on the door. Congratulations! You can now advance to the next floor!
Floor 7
Avoid the abyss anglerfish and the eggs pulling you. Take the remote and press it to release blue liquid, guiding the abyss zombie’s path. Wait for the anglerfish to devour the zombie, then move to the next room. When you speak with Seyoung, go straight ahead and to the left to collect four items: detergent, an old book, a dirty battery inside a pot, and a hammer. Return towards the bathrooms to pick up a sponge and another old book. Clean the stain in the bathroom to reveal the numbers 8 0 7 2.
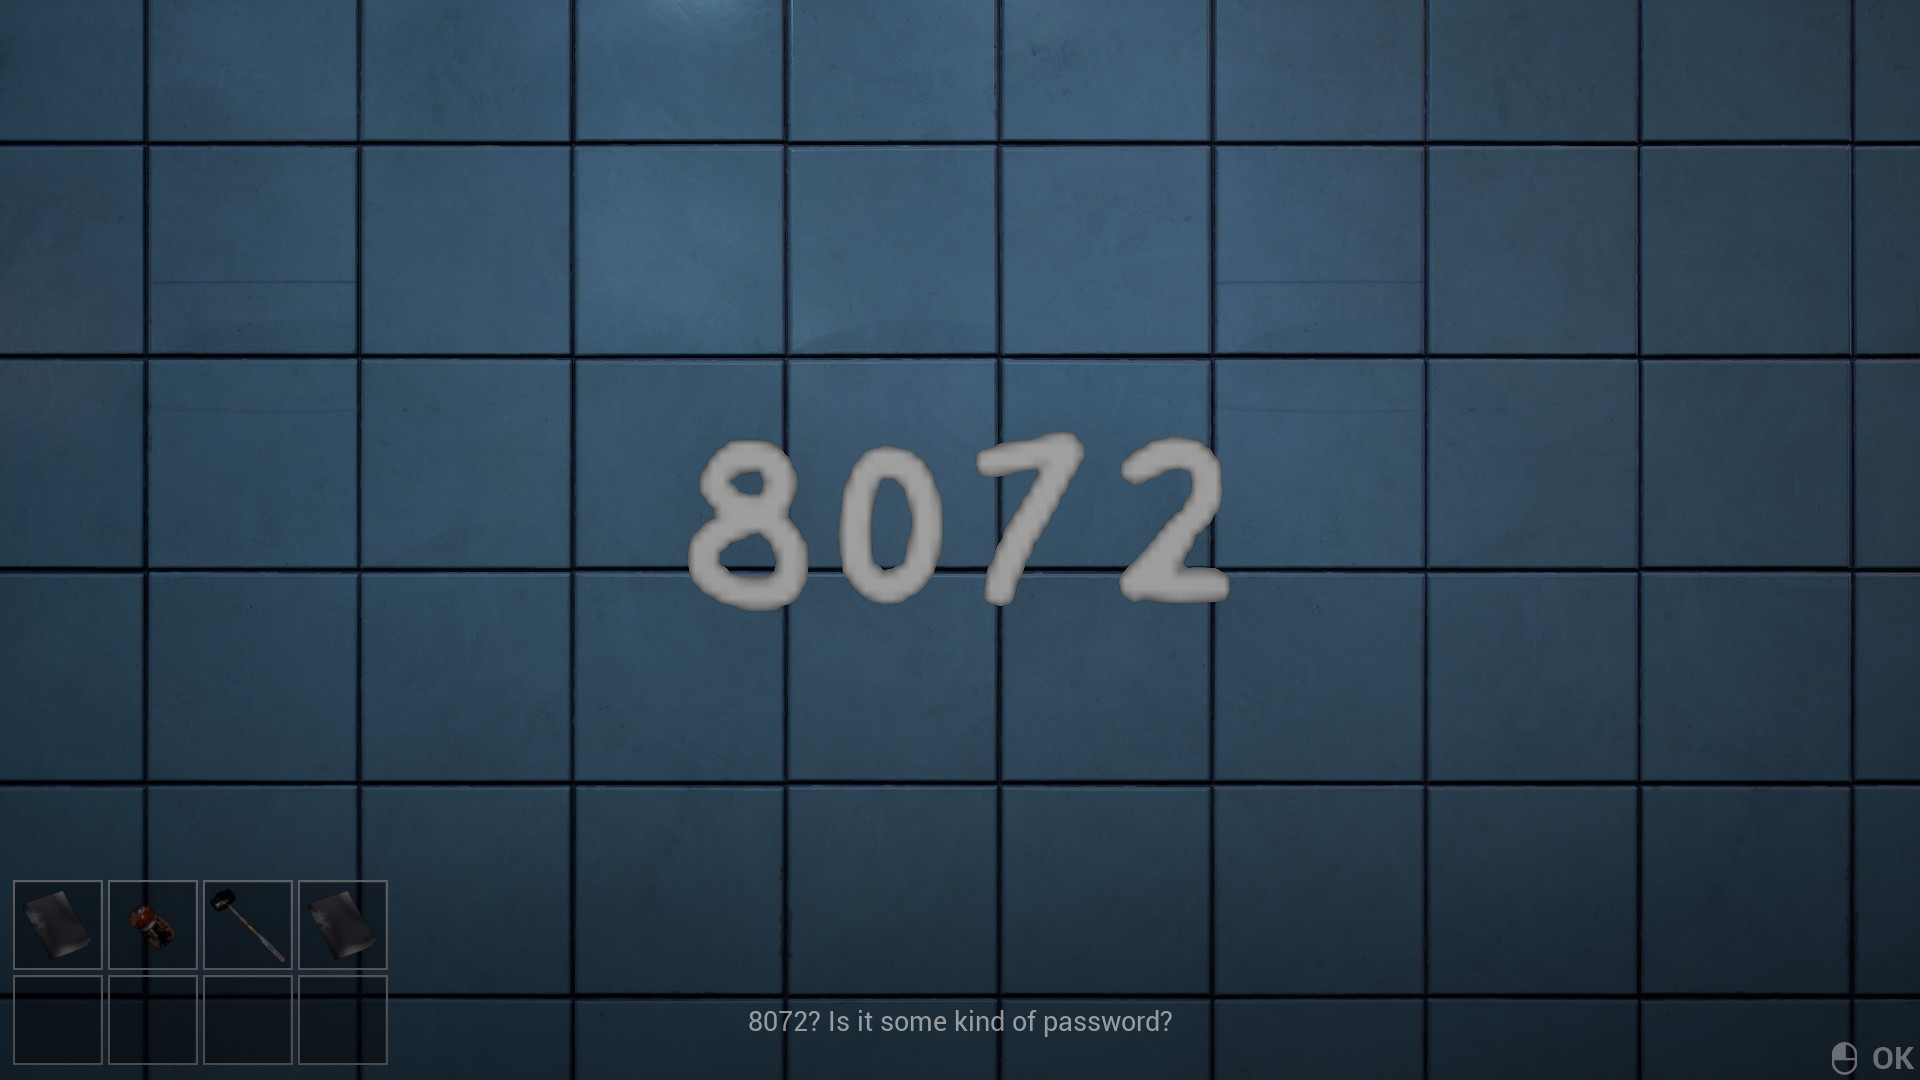
Enter the narrow corridor and smash the wall to evade the pulling egg. Proceed to the safe and input the numbers 8 0 7 2 to obtain a fuse. Take the remote and the old book from the table, then place the three old books on the bookshelf to acquire the other fuse for the door. Return to the bathroom and wash the dirty battery to power the remote. Utilize the remote to retrieve the key for Seyoung. Insert the fuses into the fuse box and continue onward.
Turn left from the door and unlock the locker to the left of the washroom. Avoid opening the other lockers as they contain abyss zombie elites. Navigate to the corridor with the abyss zombies and install the valve. The stains in the washroom will vanish, revealing the numbers 8 4 8 1. Use these numbers to unlock the door and advance.

Well done! You’re now ready to progress to the next floor!
Floor 8
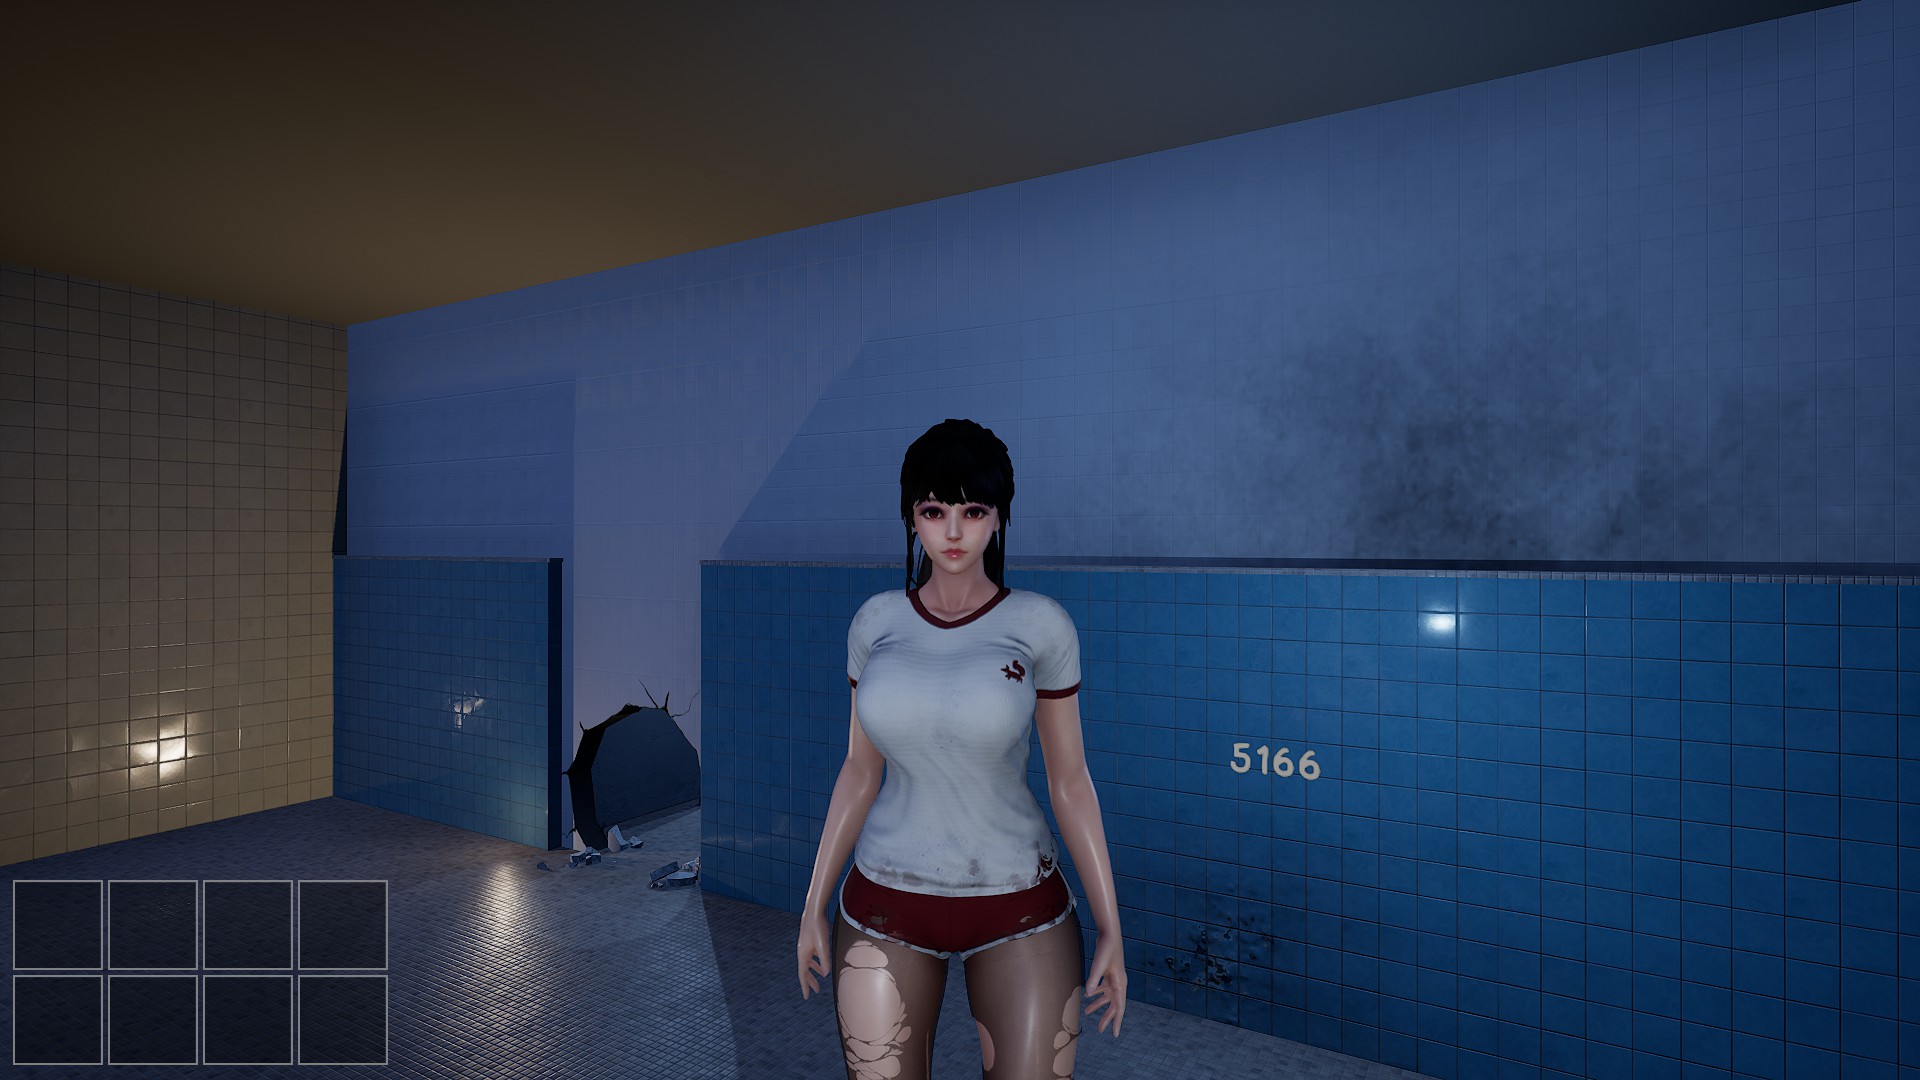
In the classroom, arrange the animal models as shown on the projector board to unlock the door. Avoid the fake windows marked by purple flesh and head through the pull window. Find the crowbar in the petri dish and maneuver through the gap in the desks. Collect two key pieces from petri dishes along the abyss zombie’s path and the last piece from the boarded-up cross-space. Enter the gap in the desks with the closet, open it, and proceed to the women’s bathroom. Open the second stall on the left to get the bolt cutters, avoiding the first stall housing an abyss zombie elite. Retrieve detergent and sponge by using the bolt cutters on the stall in the far left corner. In the hallway, locate the hammer and let the abyss zombie elite be taken by the pulling egg.
Break open the second stall, revealing the numbers 5 1 6 6, which you’ll use to unlock the main door.
Lead the abyss zombie into the pulling egg on the right side of the room, then proceed through the window closest to the egg to retrieve a fuse from a table and a closet key from another table. Enter the window closest to the table to obtain the bolt cutters again. Return to the chained window, enter, and grab another fuse. Solve the constellation puzzles on the chalkboard by arranging them in the order Libra, Aquarius, Leo, Cancer.

After opening one of the windows, enter and navigate over the walls to retrieve the fuse and the hammer. Be cautious of the pulling head while grabbing the hammer. Return to the constellation room and break a hole in the wall to crawl through. Inside, find switches that reveal numbers on the chalkboard.


Add these numbers together to get the passcode 8 1 4 8. Use this code to unlock a window and proceed through it. Within the gap between the desks, grab the final fuse. Return to the main doors and install the fuses, unlocking them to proceed.
Move to the far right of the room, passing two abyss zombies. On the wall with a passcode, you’ll find the writing “4 3 + 7 2”.

The answer is 1 1 5. Enter this into the passcode panel to power the main door by one segment. Head back to the main room.
In the corridor to the right, locate a devouring egg on the floor. Step on the plate the egg lays on to reveal writing on the wall, which reads 8 9 + 3 2.
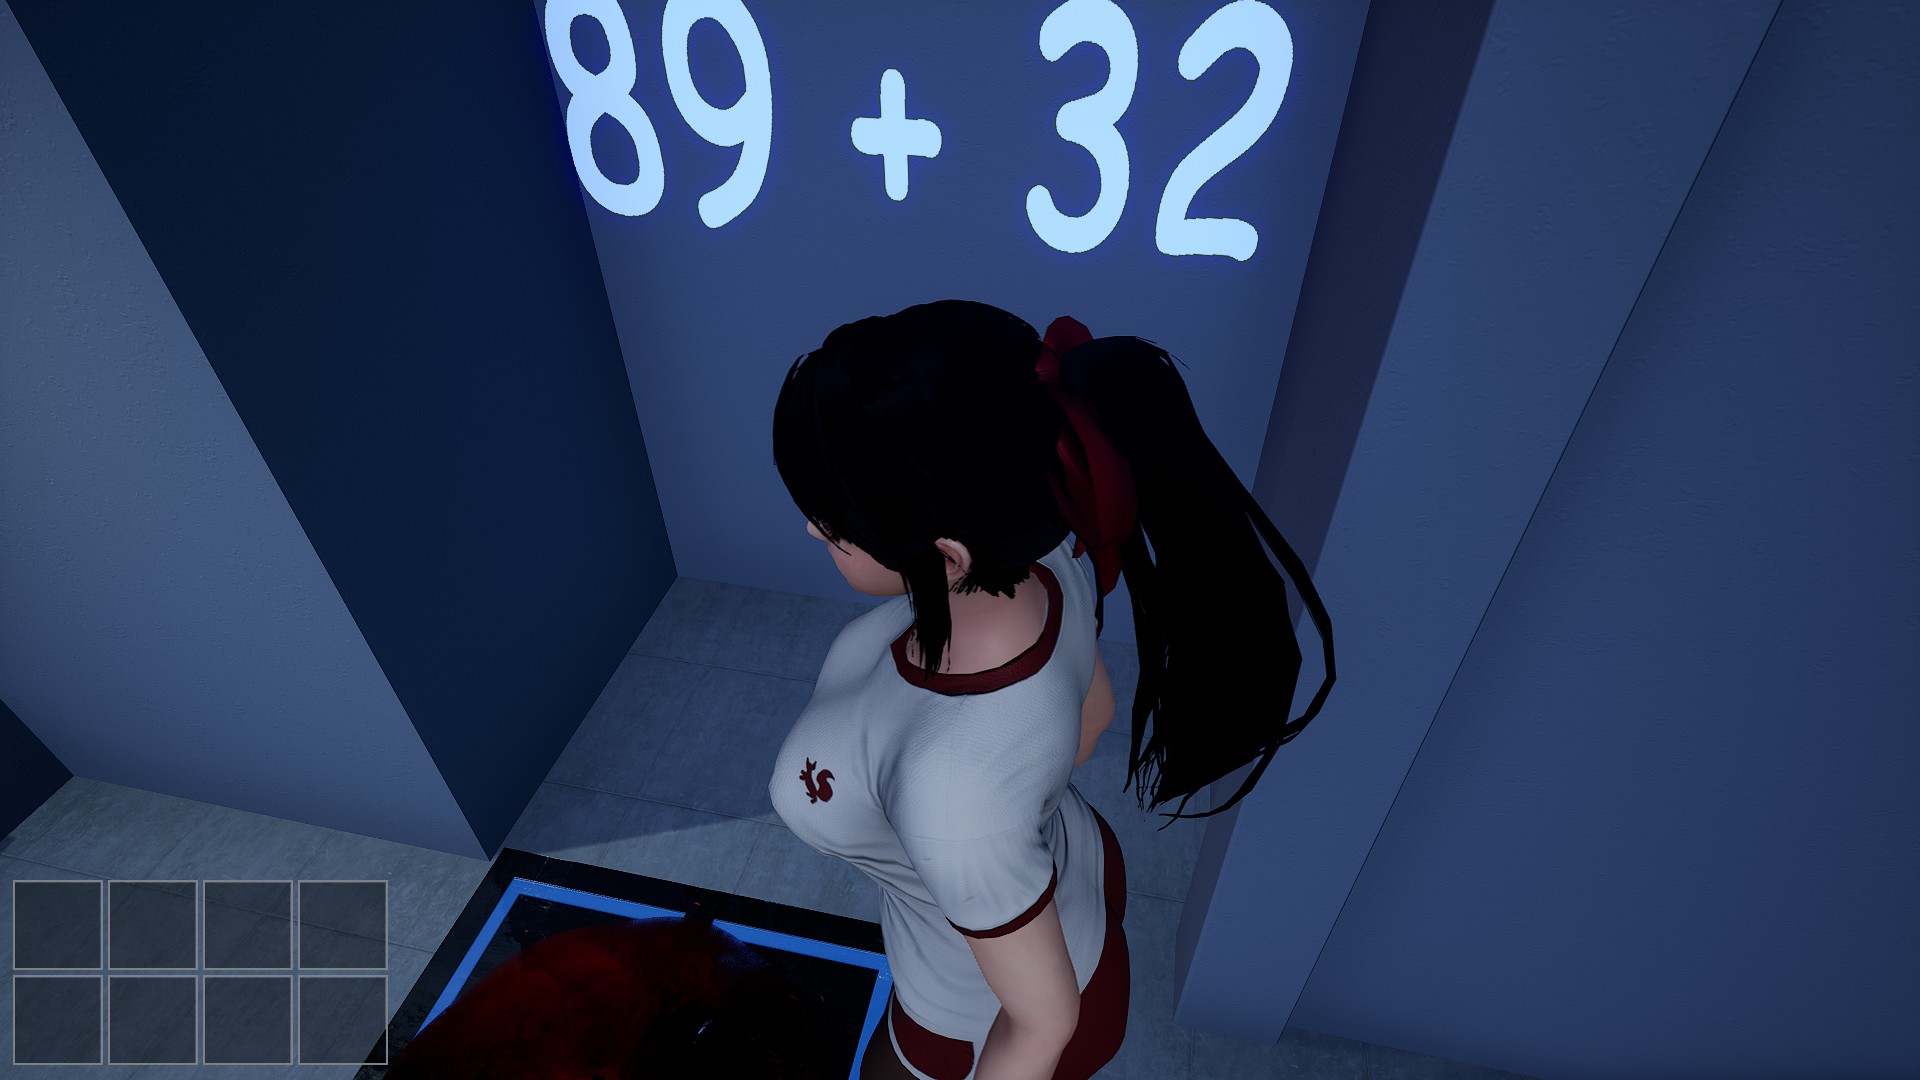
To unlock the door, you need to add the numbers 1, 2, and 1 together.
To solve the equation in the front corridor on the left, you’ll need to add 7 2 + 9 3.
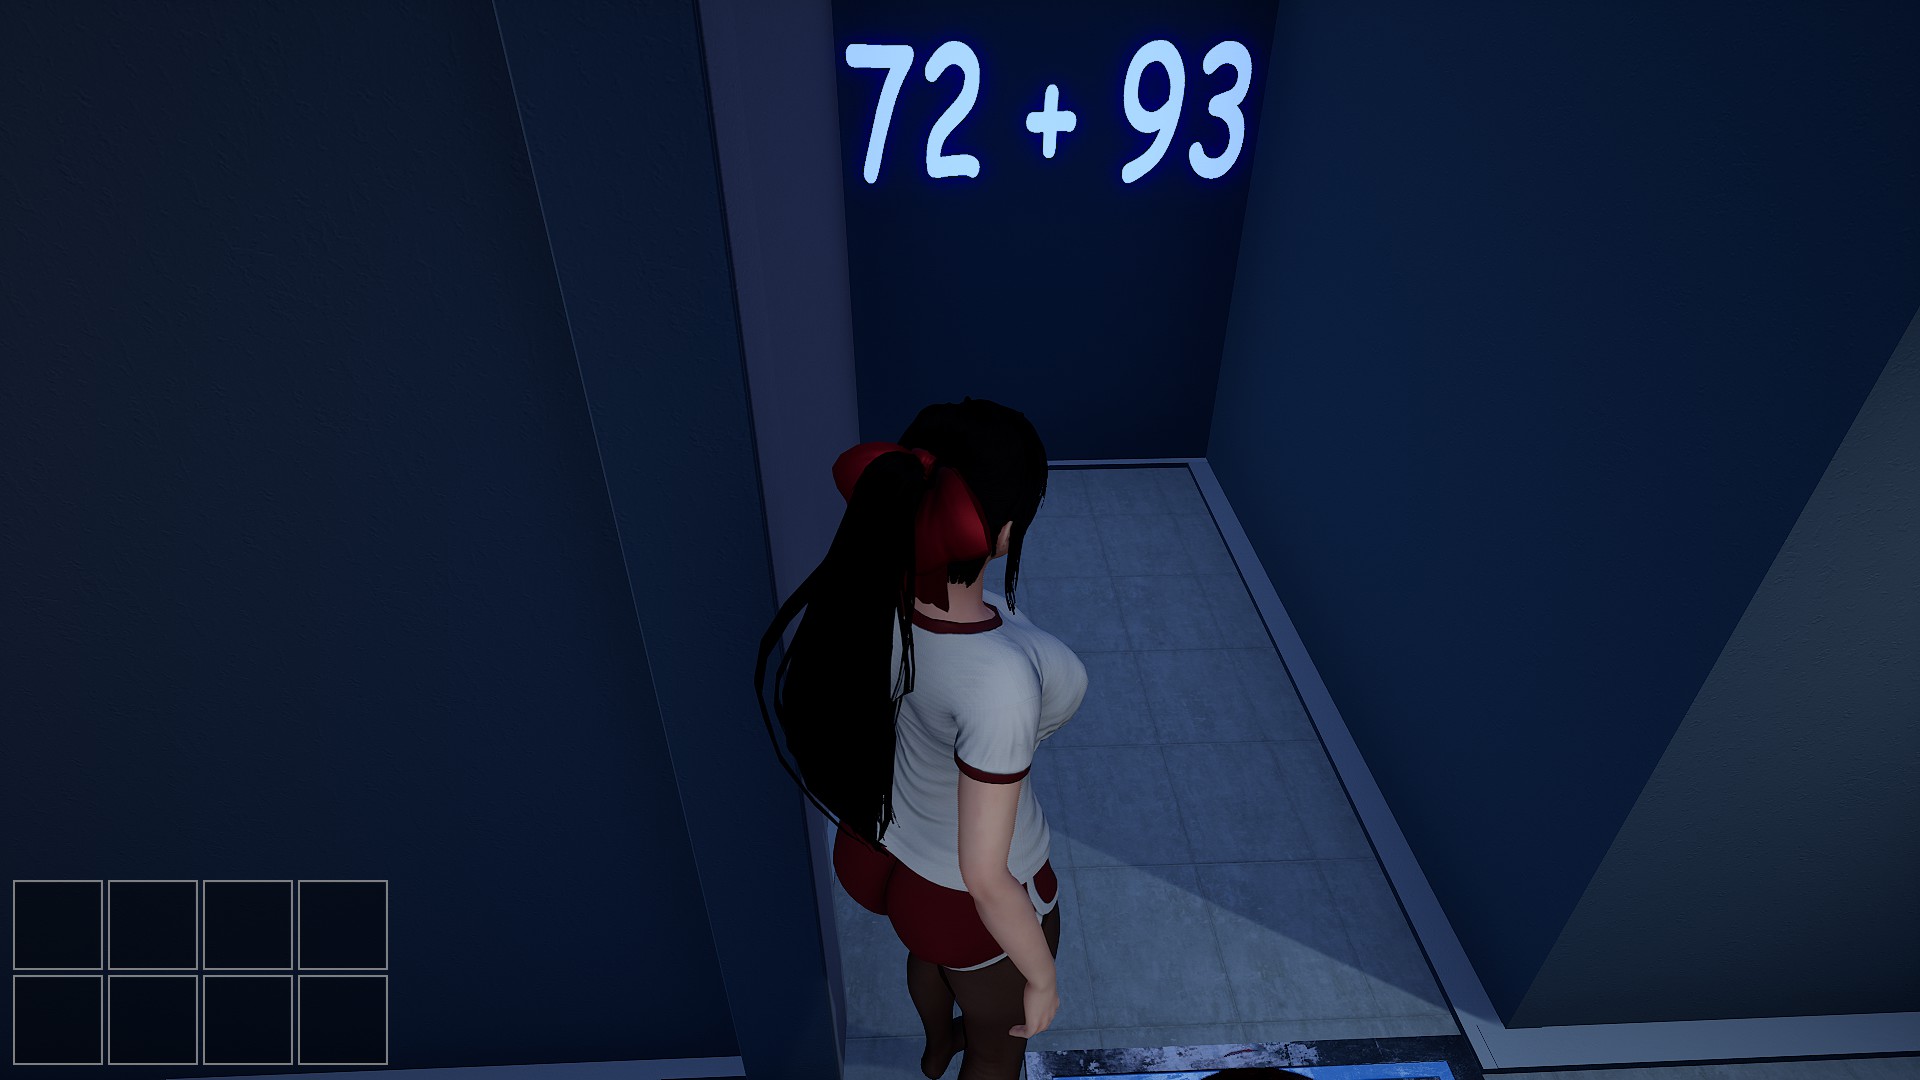
The next puzzle requires adding the numbers 1, 6, and 5 together to unlock the door.
In the large room on the left, which mirrors the puzzle on the right, you’ll encounter a pulling egg. The equation reads 8 6 + 9 6..
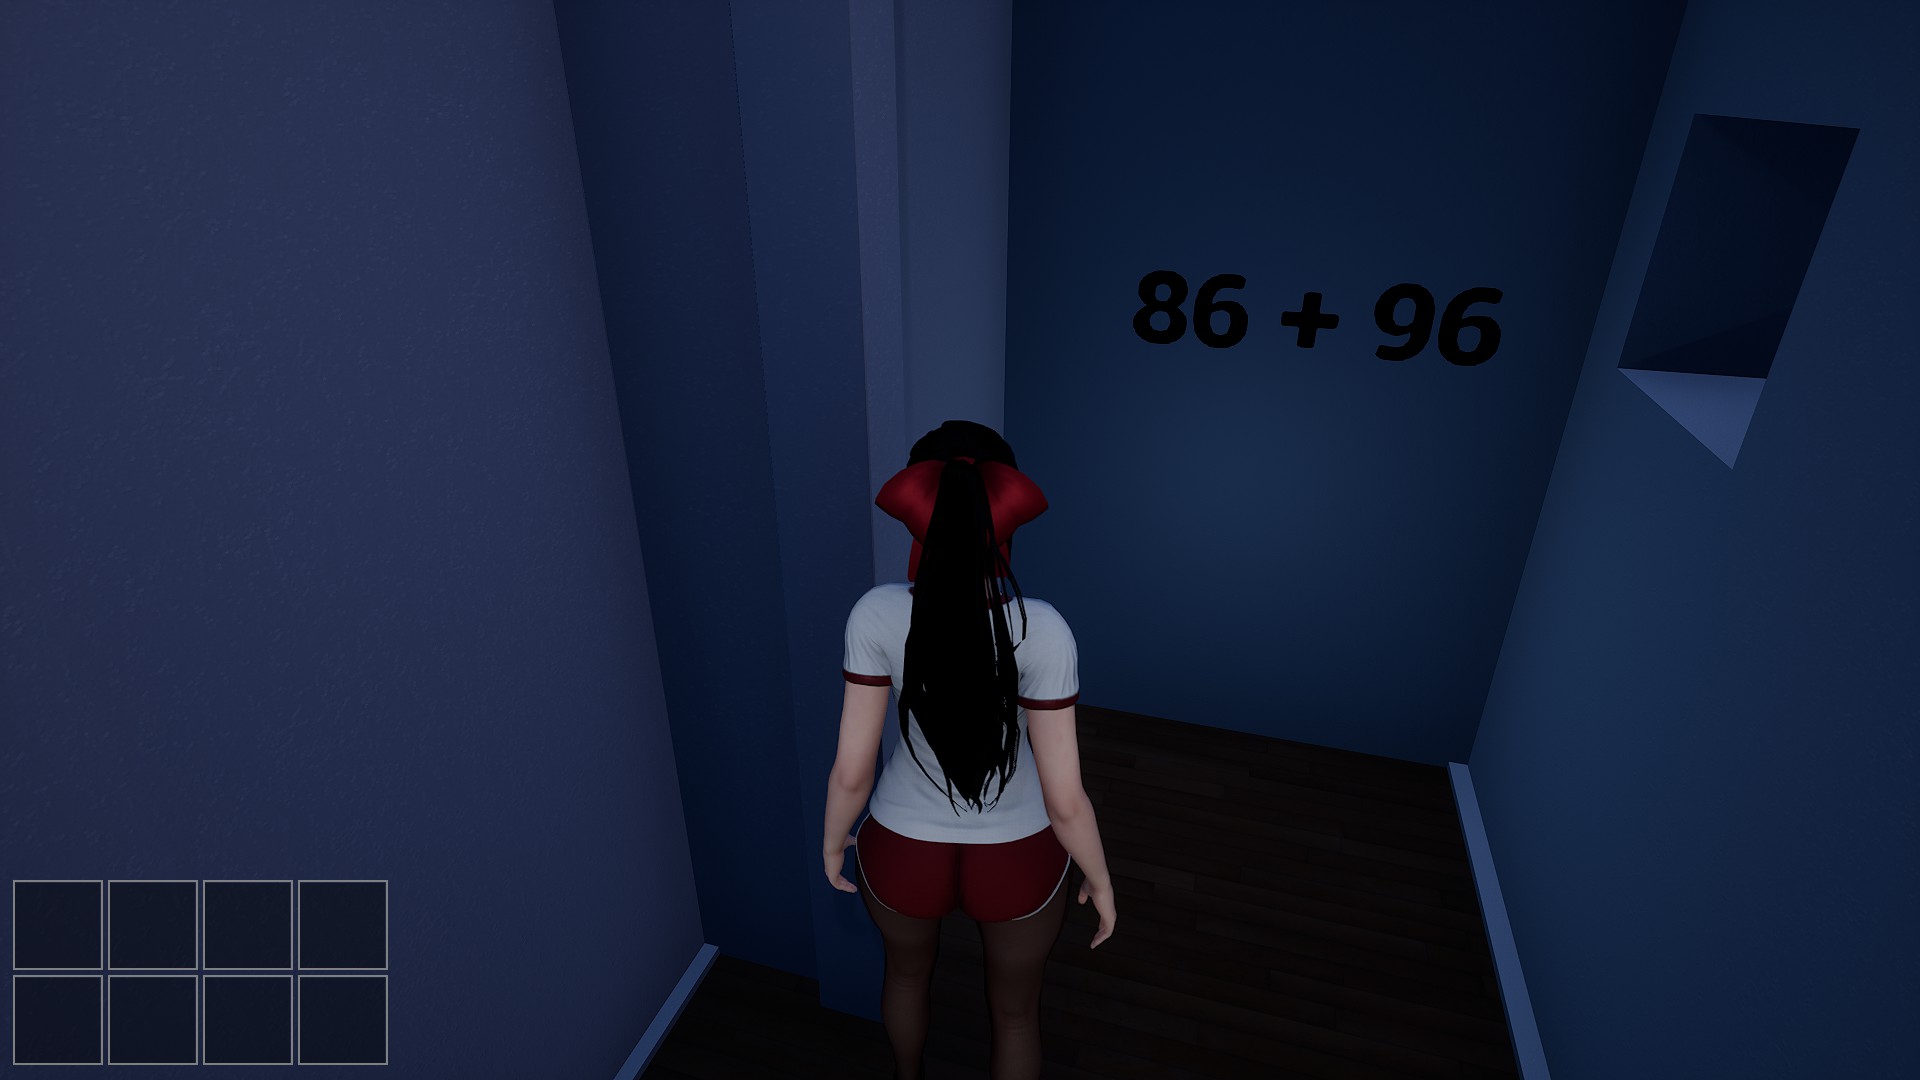
Finally, to unlock the door, add the numbers 1, 8, and 2 together. Congratulations! The door is now unlocked, allowing you to proceed to the next floor.
Floor 9
Go to the room on your left and get the hammer. Then, find the USB stick in the petri dish with the abyss zombie elite and three pulling eggs. After that, move to the adjacent room and pick up the window handle also in a petri dish. Install the handle onto the window in that room to get the valve. Proceed to the women’s bathroom, break the wall, and enter the crawl space. Install the valve to drain the water, then take the key from the stall to open the iron door.
In the room with red and yellow pools, take 2 flasks and fill them by swimming in the red pool. Place them on the shelf and repeat the process for the yellow flasks. Retrieve the blue card key from the shelf, and enter the blue liquid. Install the USB stick into the projector, which will display a puzzle once you hop over the wall. Collect the items and the hammer scattered around the classroom.
Now, get the red card key, go to the room with the damaged wall, and break it with the hammer. Crawl through the hole, enter the window, and lure the abyss zombie elite into the pulling egg. Swim in the blue pool afterward. The chalkboard will indicate “Red + Yellow”. Fill the flask on the table with red liquid, pull the crank to access the opening, and fill the flask with red liquid from the red pool. Then, swim into the yellow liquid to create orange liquid. Place it on the tray, grab the orange flask, return to the chalkboard room, place the flask on the tray, enter the window, swim in the blue pool, retrieve the flask, and place it on the tray again. This action will open the gate.
The next segment mirrors Dark Siren. Solve puzzles across multiple rooms while evading the Abyss follower. Locate and interact with two levers and two gears to power the door. Collect the four chess pieces to solve a puzzle. Find the puzzle room and arrange the pieces according to the nearby paper to acquire the yellow card key. Assemble the bolt cutters by finding both pieces and cleaning the dirty one in the bathrooms. Once formed, use them to cut the chain and obtain the green card key. Look for a piece of paper with the numbers 7 8 8 1 in one of the rooms.

Enter the number into the safe in the bathroom to retrieve the final gear. Once you have both gears and both levers installed, along with all four card keys, you can proceed through the door, with the Abyss follower in pursuit. As you reach the last door, you’ll have reached the final floor.
Floor 10
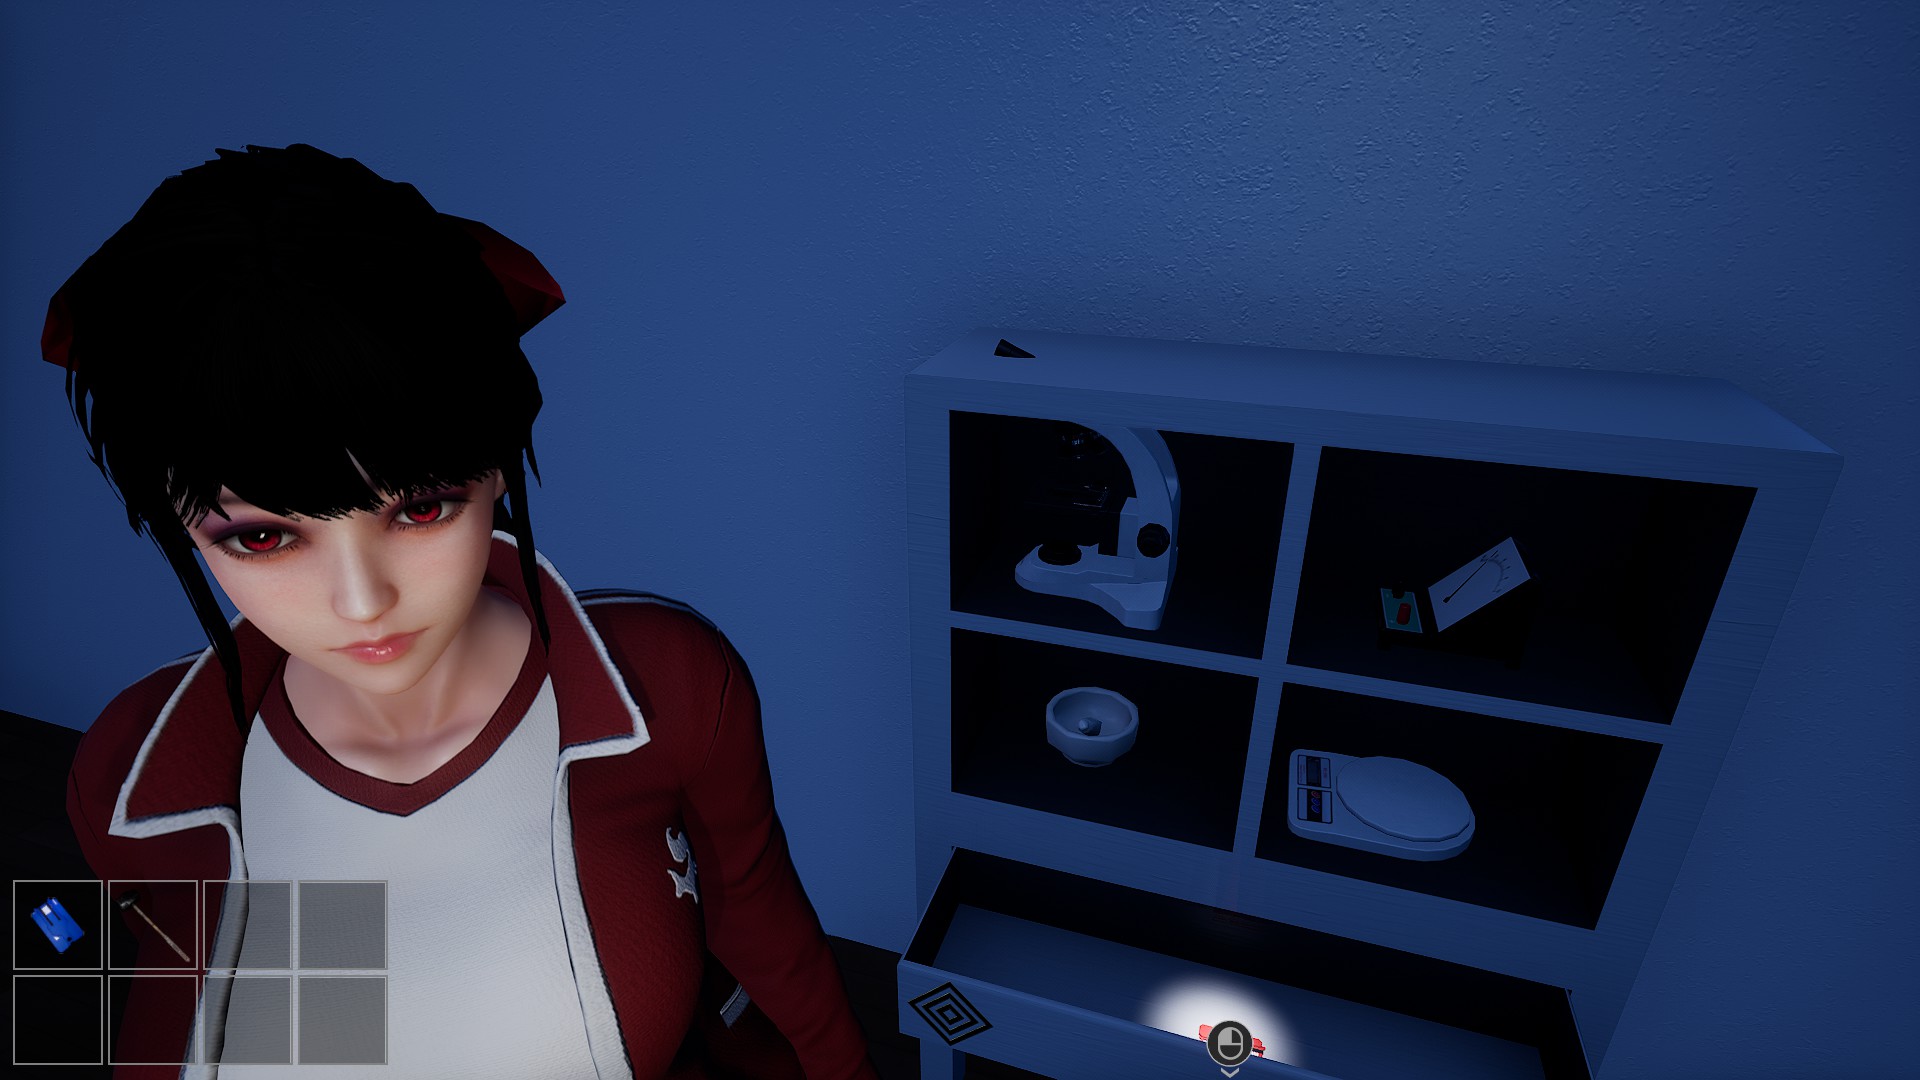
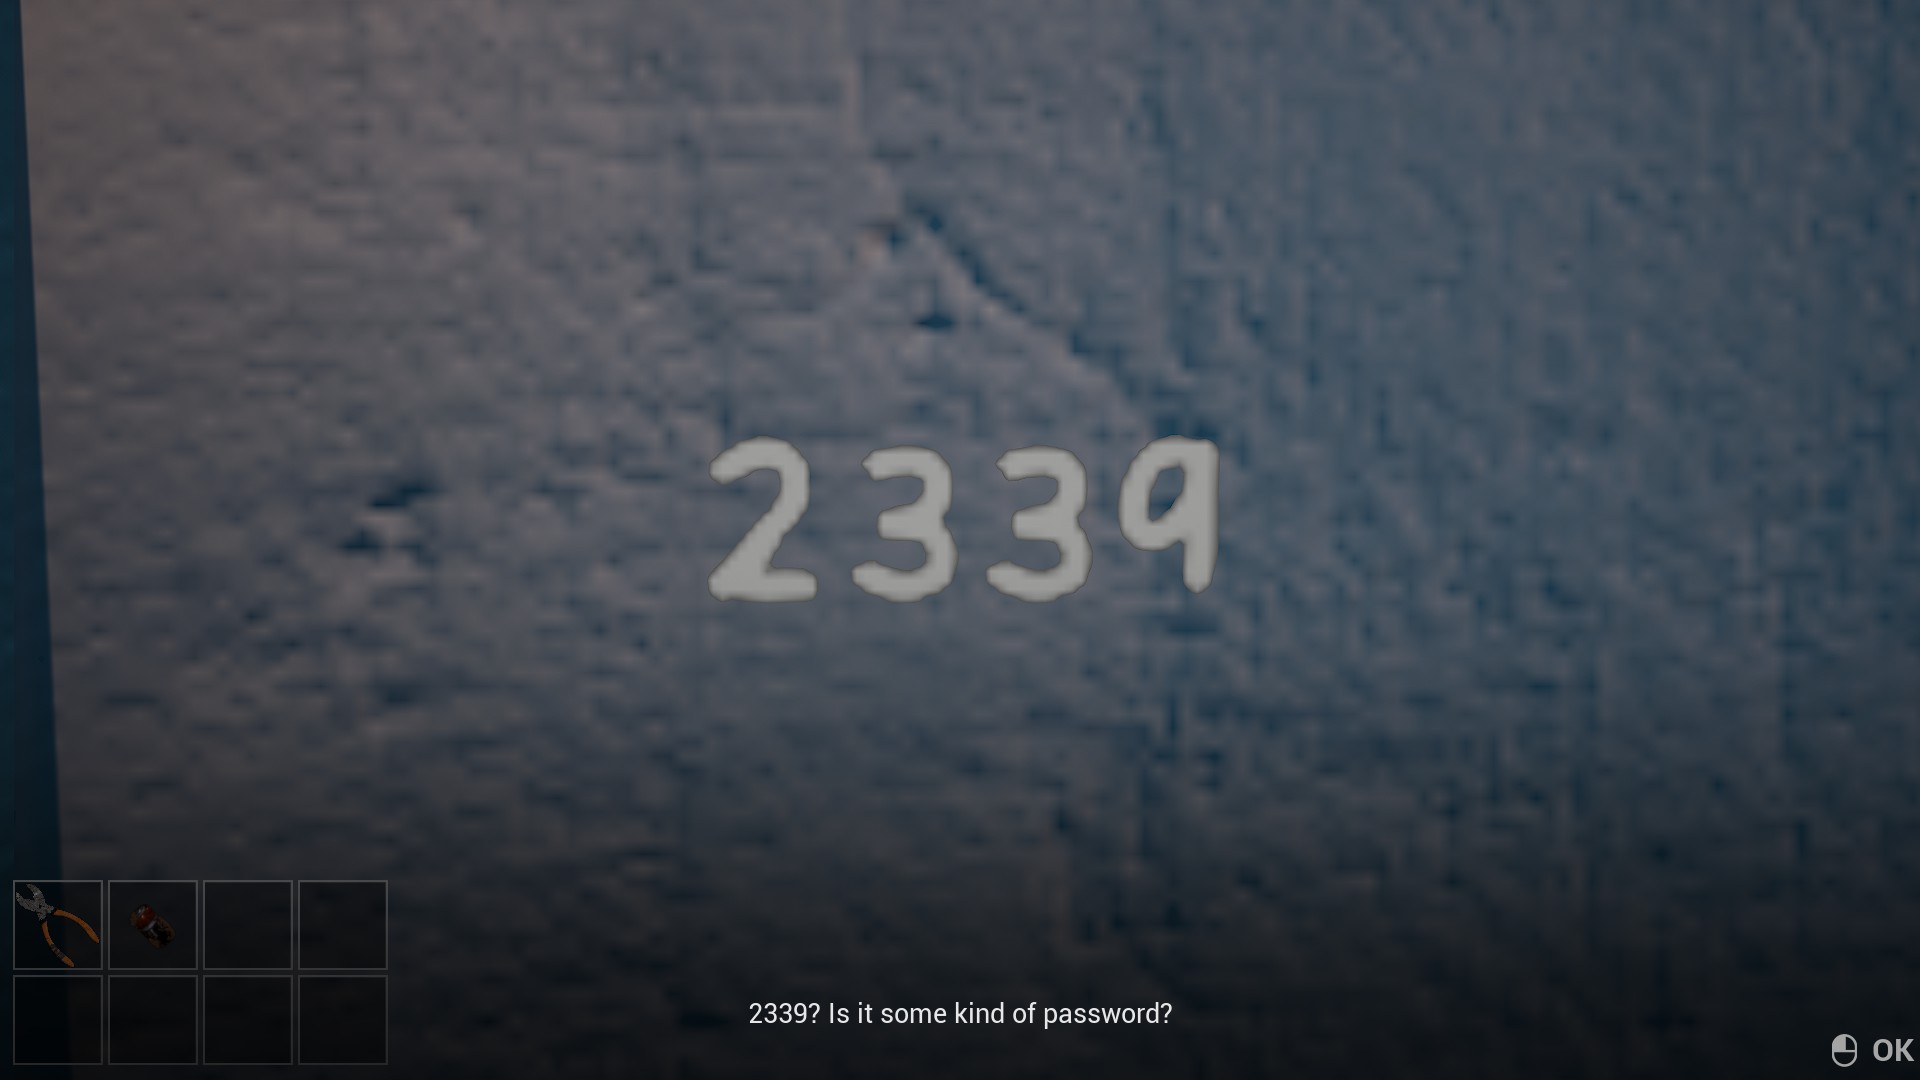
Go right, past the abyss zombie, to grab the bolt cutters, then head left towards another abyss zombie to get a hammer. Tip over the pot on the table’s edge to find a dirty battery. Proceed to the damaged wall and break it with the hammer. Grab the sponge and detergent as you progress. Use them to wipe the stain next to the safe, revealing the code 2 3 3 9.
Open the safe with this code to obtain the valve. Return to the main area and swim in the blue pool to clean the dirty battery and install the valve. In the steam room, the letters A B X will be revealed on the wall.

Use this code to unlock one of the lockers containing the abyss zombie elite. Open the cage with the switch, release the two zombie elites, and trap them back in the cage to set one trap. Return to the main area.
Utilize the bolt cutters to open the door near one of the abyss zombies’ trails. Collect the red glasses inside. Insert the battery into the statue and place the red glasses on it. The number will now read 7 1 5 5.

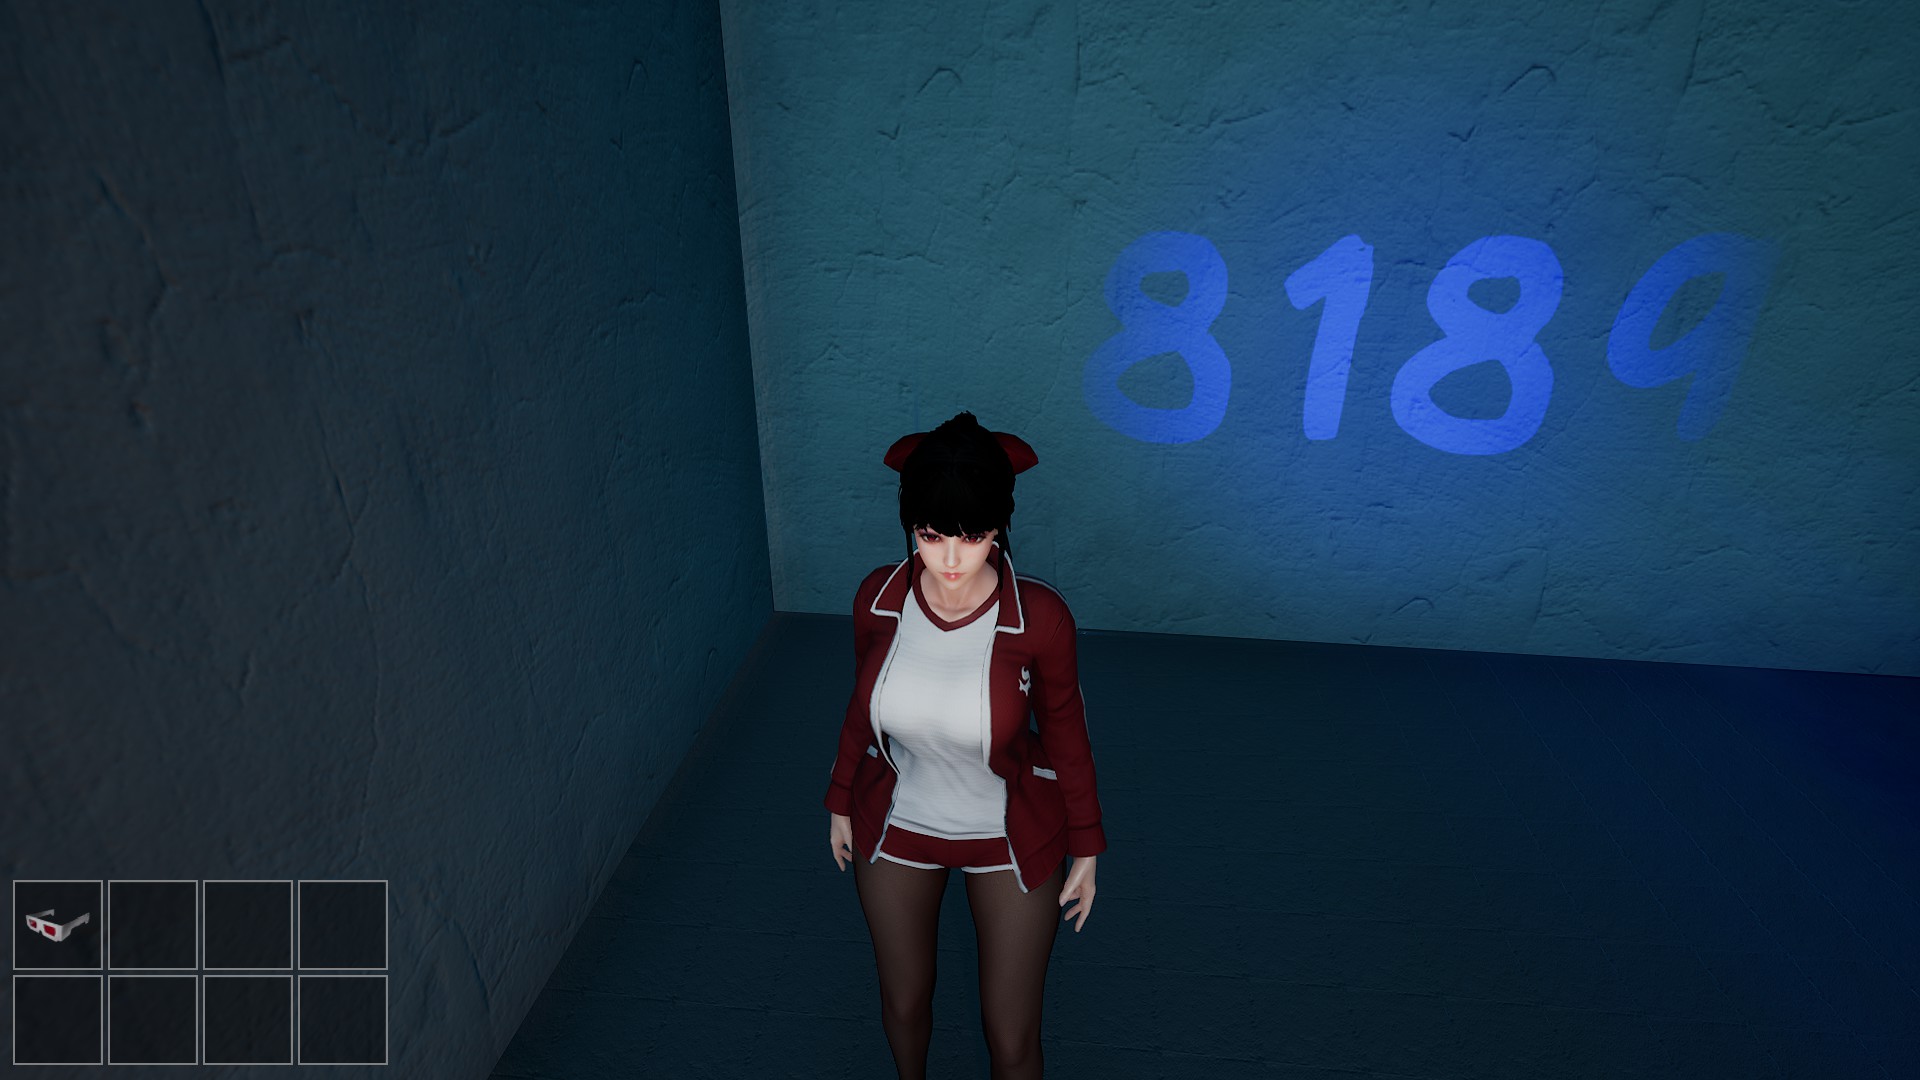
Enter the numbers into the red safe to acquire the Blue glasses. These glasses will reveal the numbers 8 1 8 9.
Then, input the numbers from the Blue glasses into the blue safe to obtain the green glasses. These glasses will display the numbers 9 4 8 8. Use this code to unlock the green safe and retrieve the electrical box key. Open the electrical box to access a lever, which you can pull to activate a trap. Return to the main area.
Tip over the two blue pots to connect the abyss zombies’ trail, leading one to be devoured by the pulling egg. Crawl under the zombie and use the wall buttons to cage the three zombies. Be cautious not to get too close, as the abyss zombie may attack if you hug the wall. Once the safe unlocks, you’ll receive a gear. Return to the main area and install the gear to set a trap.
Enter the hole next to the blue pool and continue following the abyss zombies through the maze. When you encounter the abyss zombie elite, turn around and activate the red switch to trigger a pulling egg, consuming the elite. Crawl under the elite and proceed until you reach a safe. Retrieve the cutter from the petri dish at the end of the abyss zombie’s trail. The code for the safe will be 4 2 7 4.
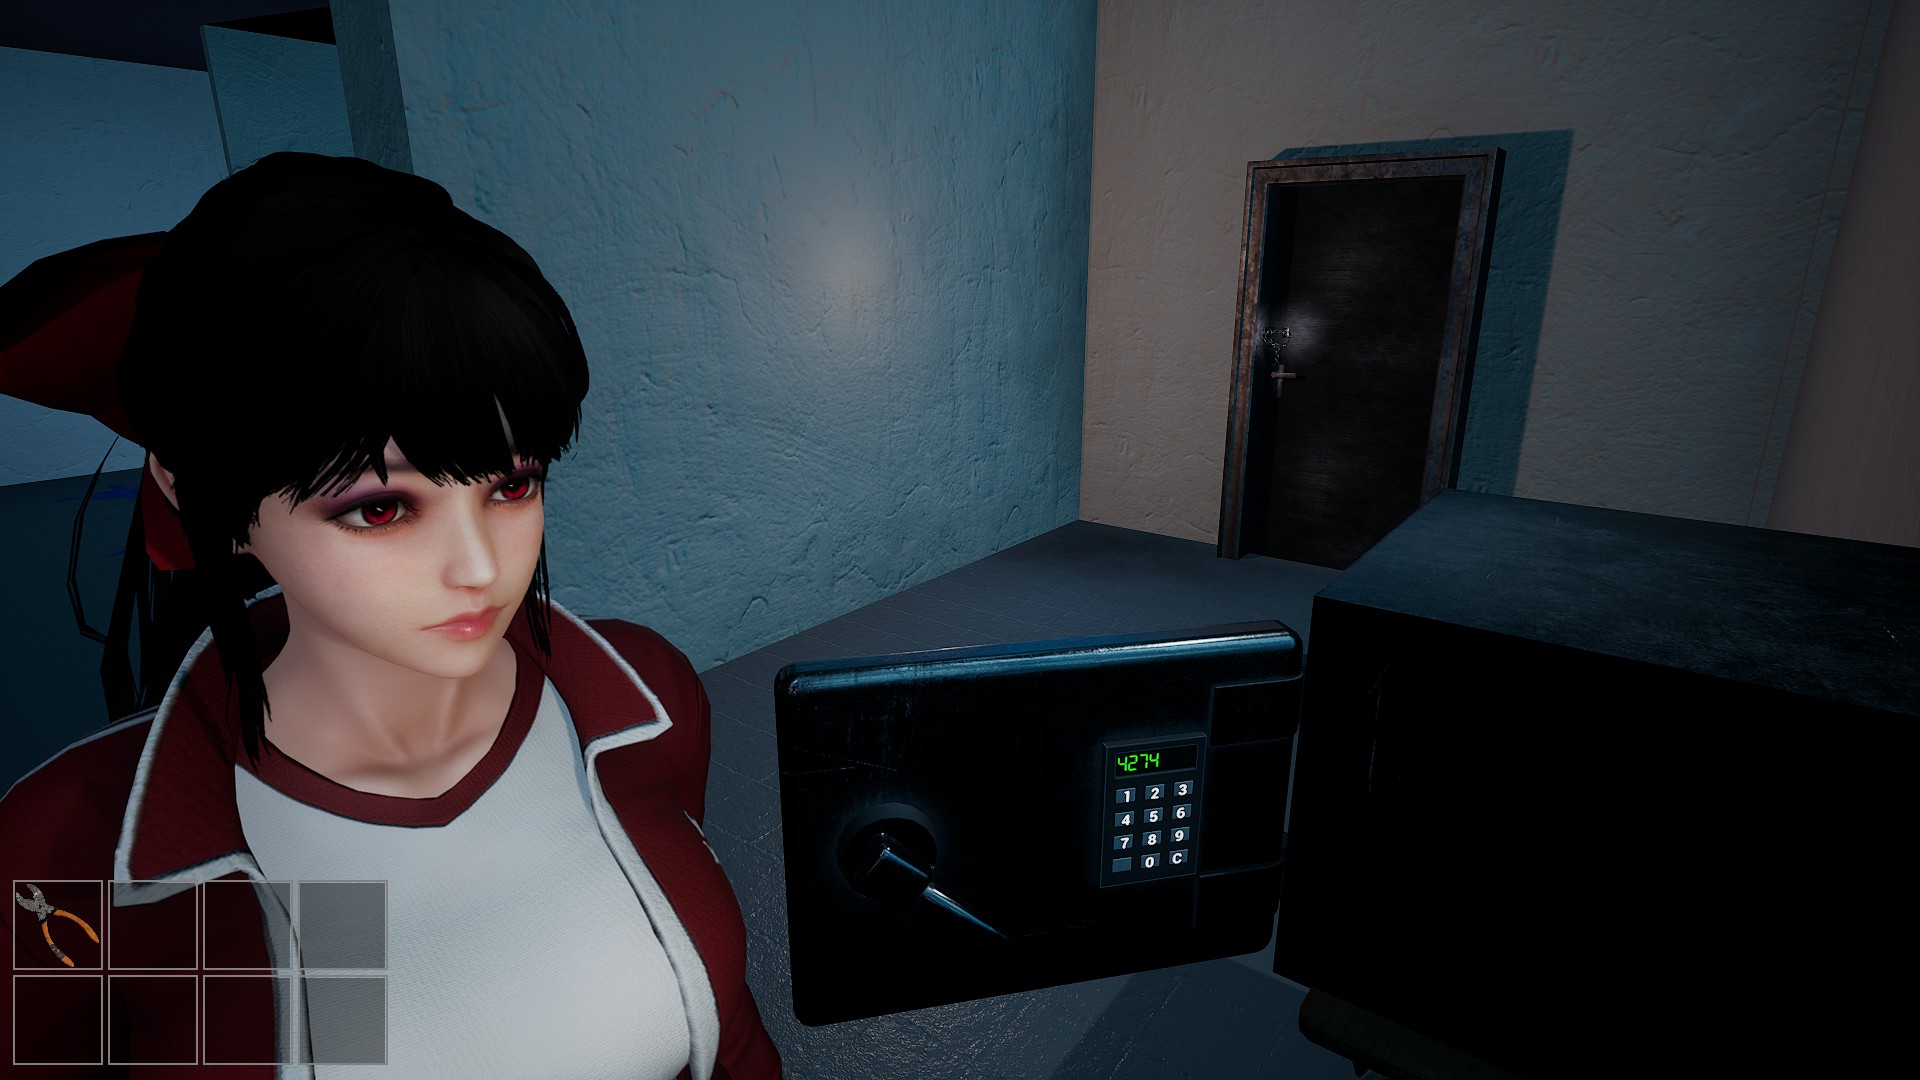
Enter the numbers into the safe to obtain the closet key. Open the closet and retrieve the red glasses. Place the red glasses on the statue to reveal the numbers 3 4 5 2.
Input these numbers into the red safe to retrieve the remote. Activate the remote to connect an abyss zombie’s trail, allowing you to cross safely without being devoured by the abyss anglerfish. On floor 4, destroy the boxes emitting a golden glow to find a key piece in the petri dish. Defeat the abyss zombie elites and obtain the classroom key from another petri dish. Destroy more boxes blocking the path to find another key piece. Use the cutters to open the door and install the gear to set a trap.
Once all four traps are set, the Abyss Follower will be ensnared, dropping a key. Retrieve the key and open the door with the yellow glow. After the cutscene, enter the door illuminated above it. You’ll then assume the role of Seyoung, where your task is to head to the first floor and defeat zombies with your baseball bat.
Retrieve the relics on floor 6 and place them back in position. The answer sheet will be nearby on the shelf.
On floor 5, defeat a zombie to acquire the battery attached to its head. Insert the battery into the statue to reveal the numbers 8 7 5 3.

Enter the numbers into the safe to retrieve the closet key. Open the closet and collect the red glasses. Place the red glasses on the statue to reveal the numbers 3 4 5 2.

Input these numbers into the red safe to retrieve the remote. Activate the remote to connect an abyss zombies’ trail, allowing you to cross safely without being devoured by the abyss anglerfish.
On floor 4, destroy the boxes emitting a golden glow to find a key piece in the petri dish. Defeat the abyss zombie elites and retrieve the classroom key from another petri dish. Obtain another key piece by destroying more boxes blocking the path. The final key piece will be to the left, covered in boxes. Break the boxes on the right to reveal the last key piece hidden behind the abyss zombie elite. Use the classroom key to proceed, then use the iron key to access the elevator.
On floor 3, enter the broken elevator to retrieve the classroom key. Access the classroom to find the closet key in a petri dish and a cutter piece on a desk, both of which are protected by boxes. Open the classroom door and use the closet key to open a locker to continue. Destroy the wall of boxes to obtain another cutter piece. Use the now formed bolt cutters to cut the chain on the door. Progress until you reach the cutscene, after which the game is complete!
That's everything we are sharing today for this Abyss School guide. This guide was originally created and written by Kid Named Finger. In case we fail to update this guide, you can find the latest update by following this link.