- Title: The Wild at Heart
- Release Date:
- Developer:
- Publisher:
Information about The Wild at Heart is still incomplete. Please help us fill the details of the game using this contact form.
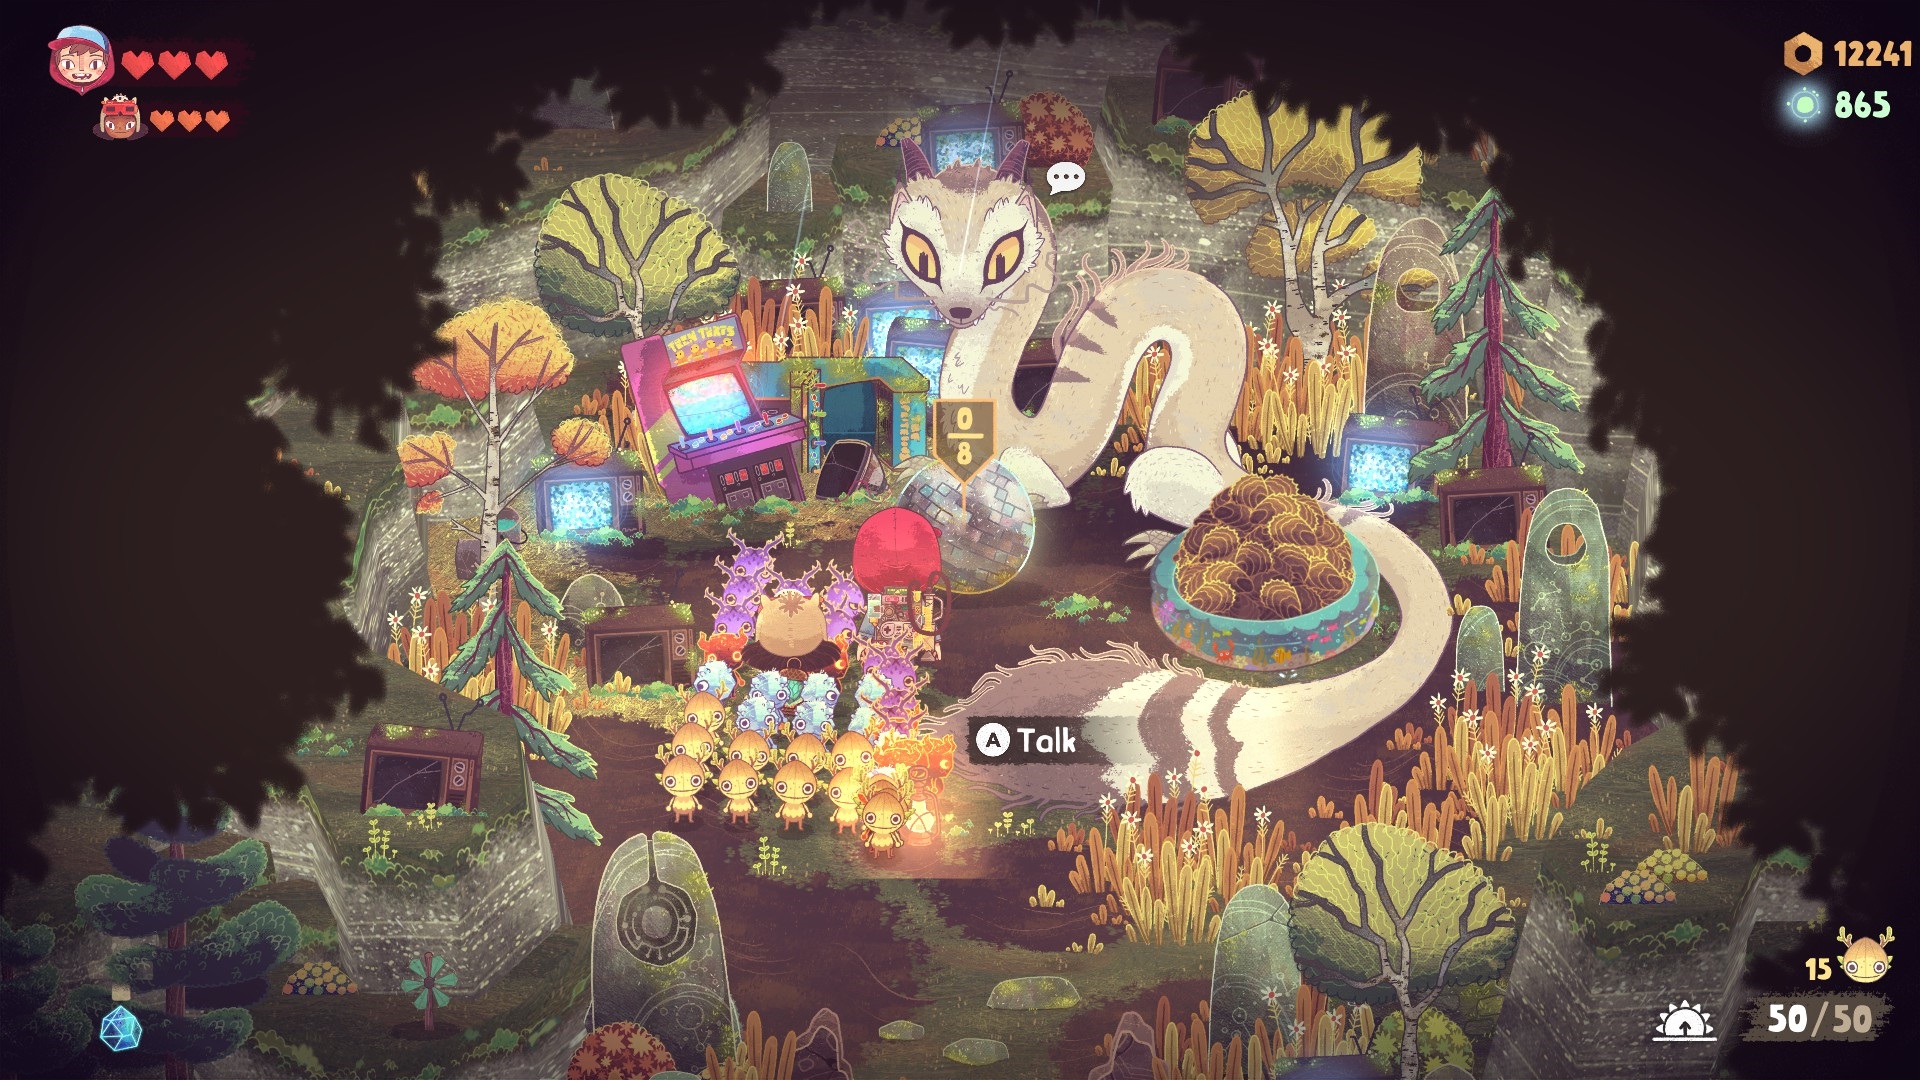
Here is a guide that will assist you in locating and acquiring all 16 relics required to complete the Grove Trove. Please be aware that this guide may contain spoilers, so it is recommended to finish the story before utilizing this guide. Proceed at your own risk if you haven’t completed the story yet.
Relic Locations
In order of how they appear in the Grove Trove.
| Relic | Location |
|---|---|
| Giant’s Tooth | Sunken Grotto |
| Jangly Keys | Central Deep Woods |
| Tangerine Creep | Central Deep Woods |
| Wood Sentinel’s Heart | Central Deep Woods |
| Ocean’s Eye | Crystalfall Coast |
| Soap Slinger | Central Deep Woods |
| Meeting Stone | Wispwagon |
| Star Child’s Cradle | Frostfields |
| Goosebump Casket | Frostfields |
| Skewered Mount | Crystalfall Coast |
| Smelt It’s Slammer | Frostfields |
| Treasure Trap | Sunken Grotto |
| Pedal Sleigh | The Heartlands |
| Stinky Shack | Wispwagon |
| Woodland Blade | Central Deep Woods |
| Glitter Globe | Crystalfall Coast |
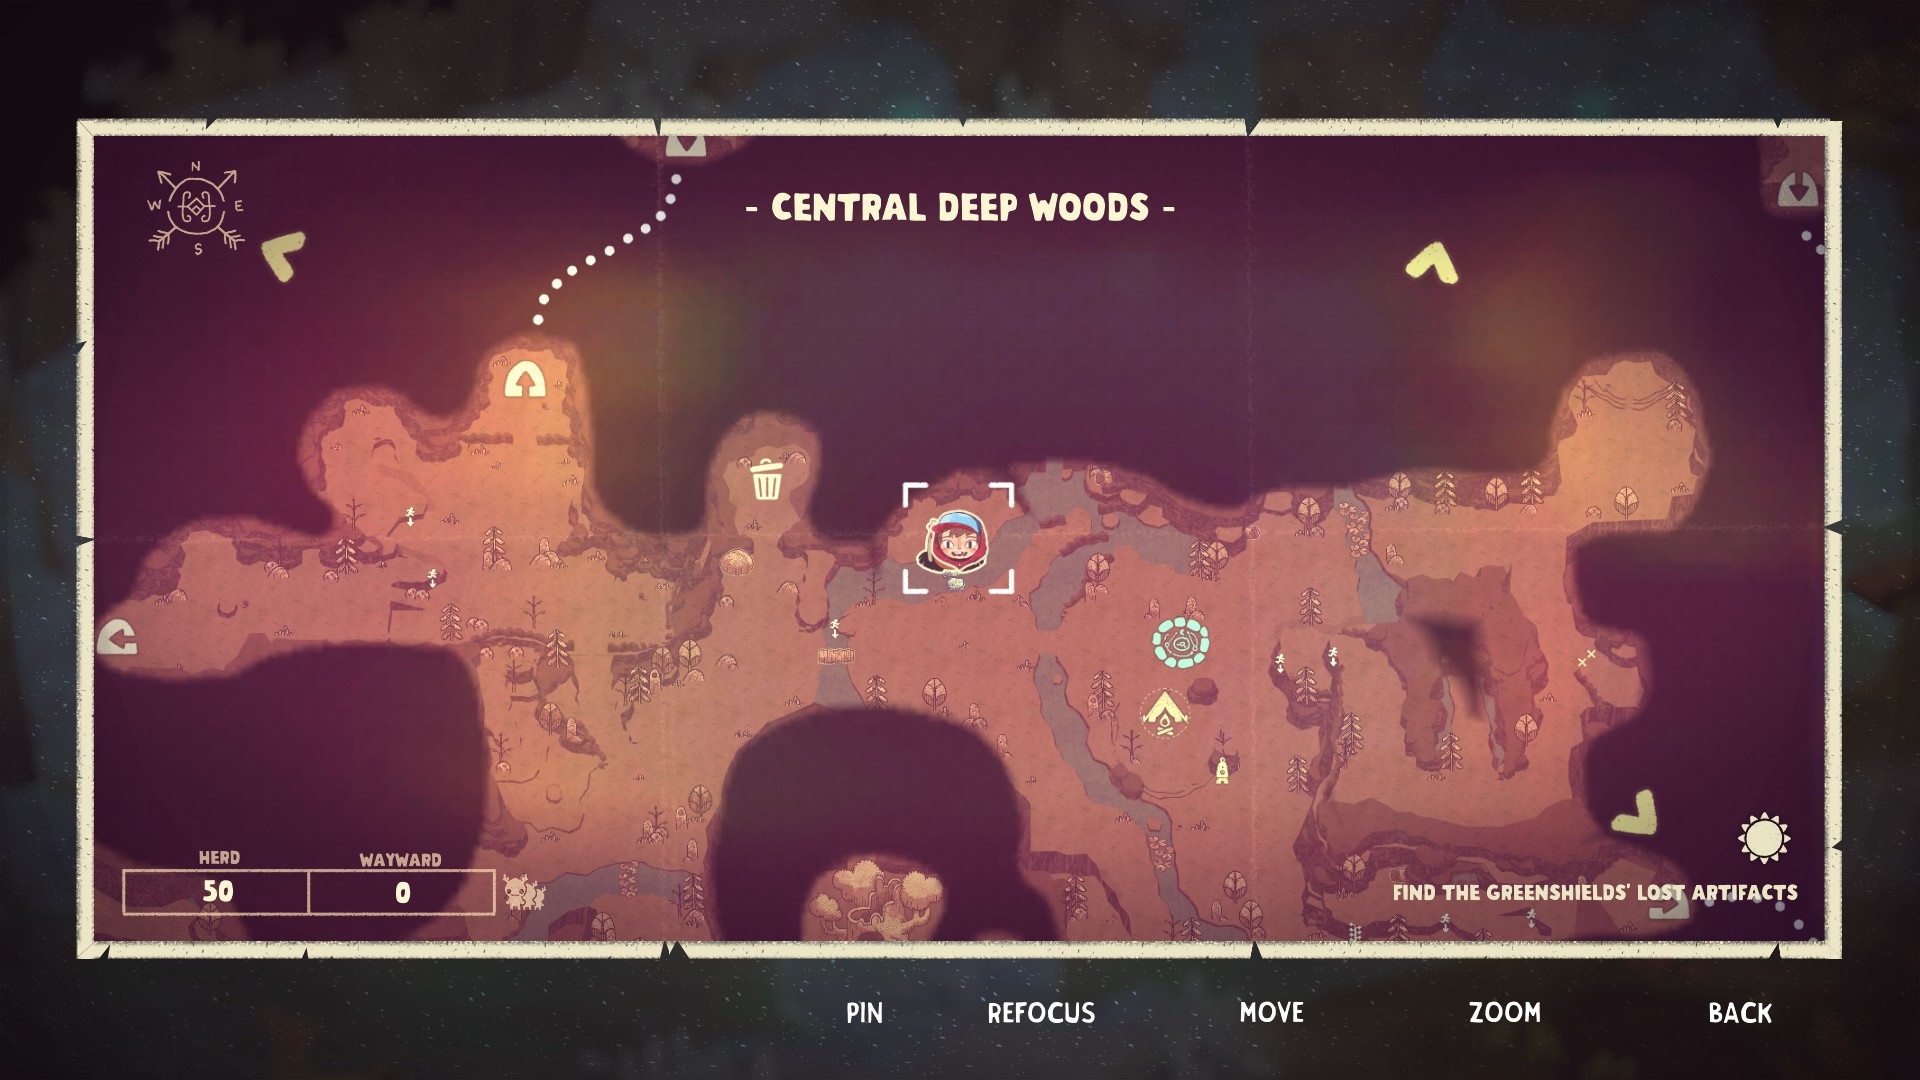
Central Deep Woods
Woodland Blade
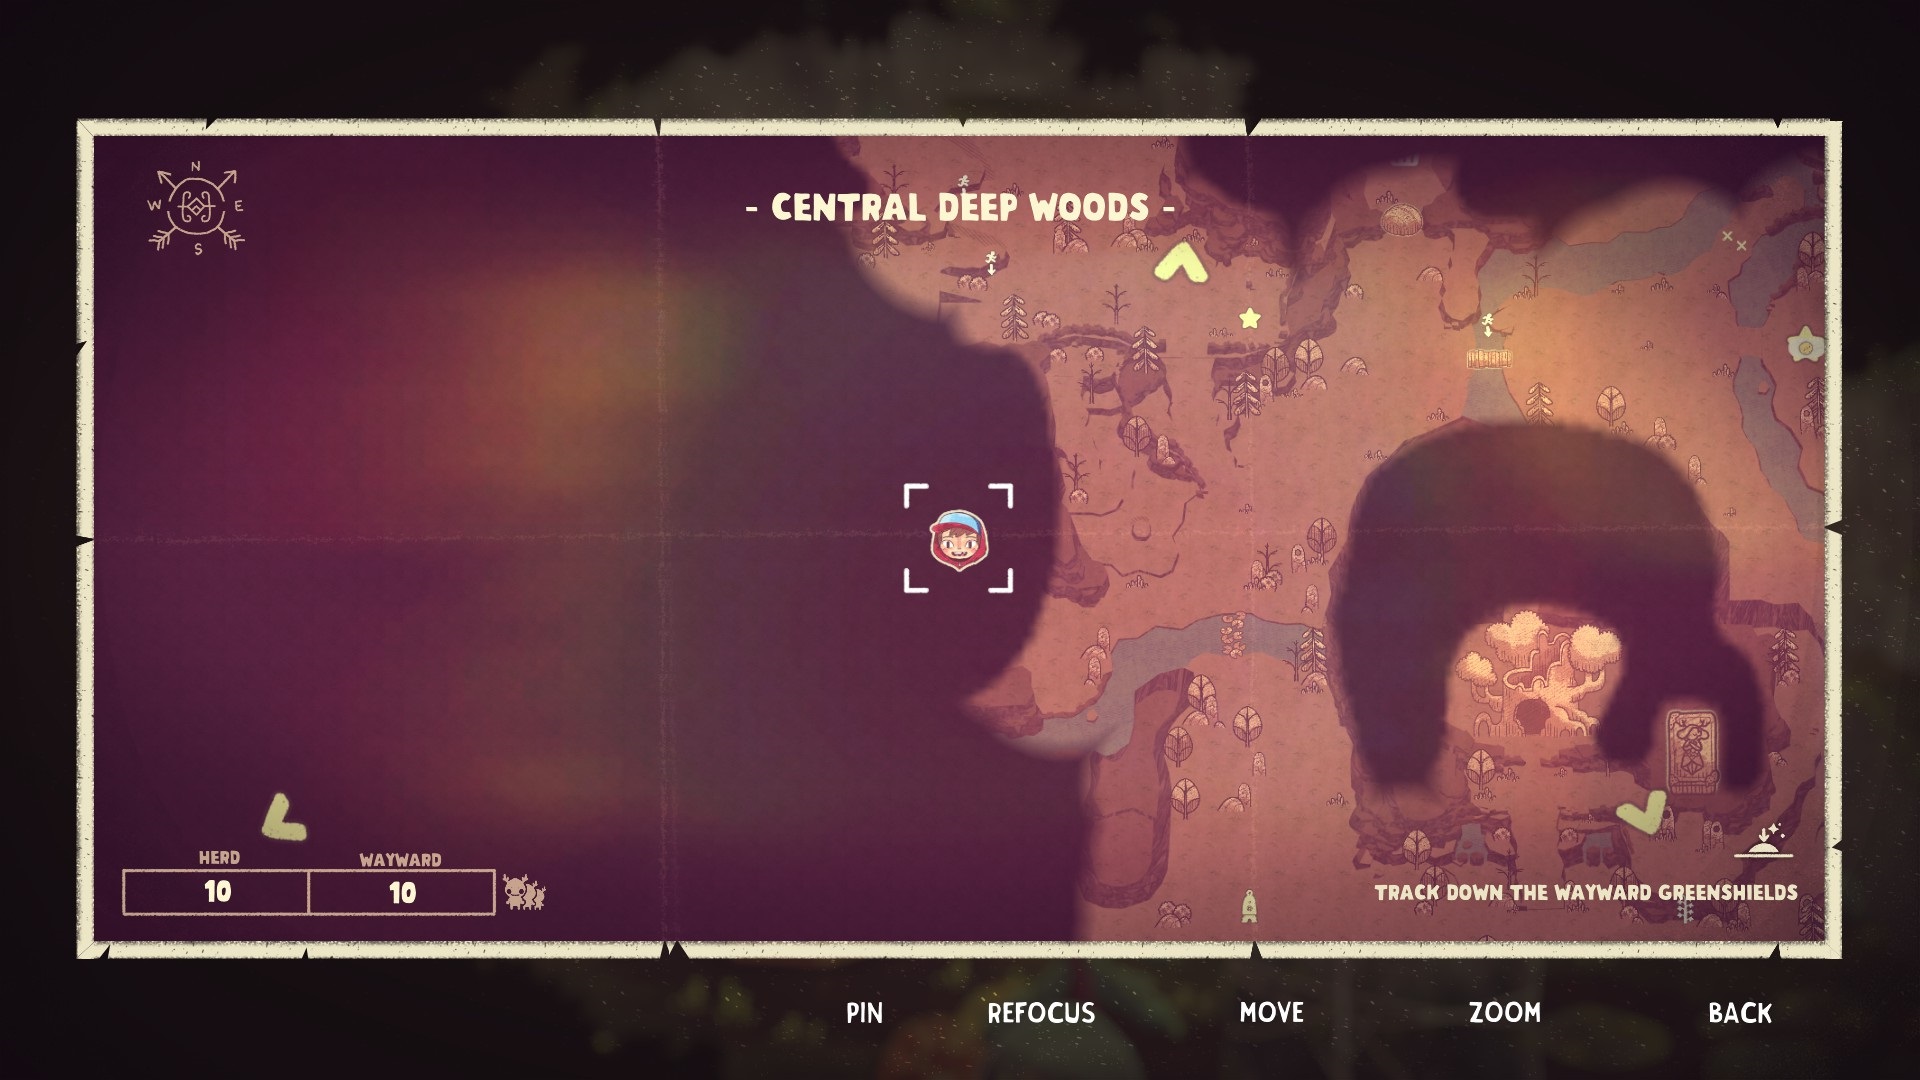

Location: Further West from the Soul Shell in a hidden area
Requirements: 5 Spritelings
Note: To access this area, you’ll need 15 Spritelings to move the stone slab blocking the way. Once cleared, you can retrieve the Tangerine Creep relic.

Location: West Central Deep Woods (where the ramp is)
Requirements: 5 Emberlings, 30 Any Type (Min. 35 Spritelings total)
Note: A secret path from the Sunken Grotto leads to this area. Look for a breakable wall in the room with toxic mushrooms along the East side. Break through to reach the relic location.
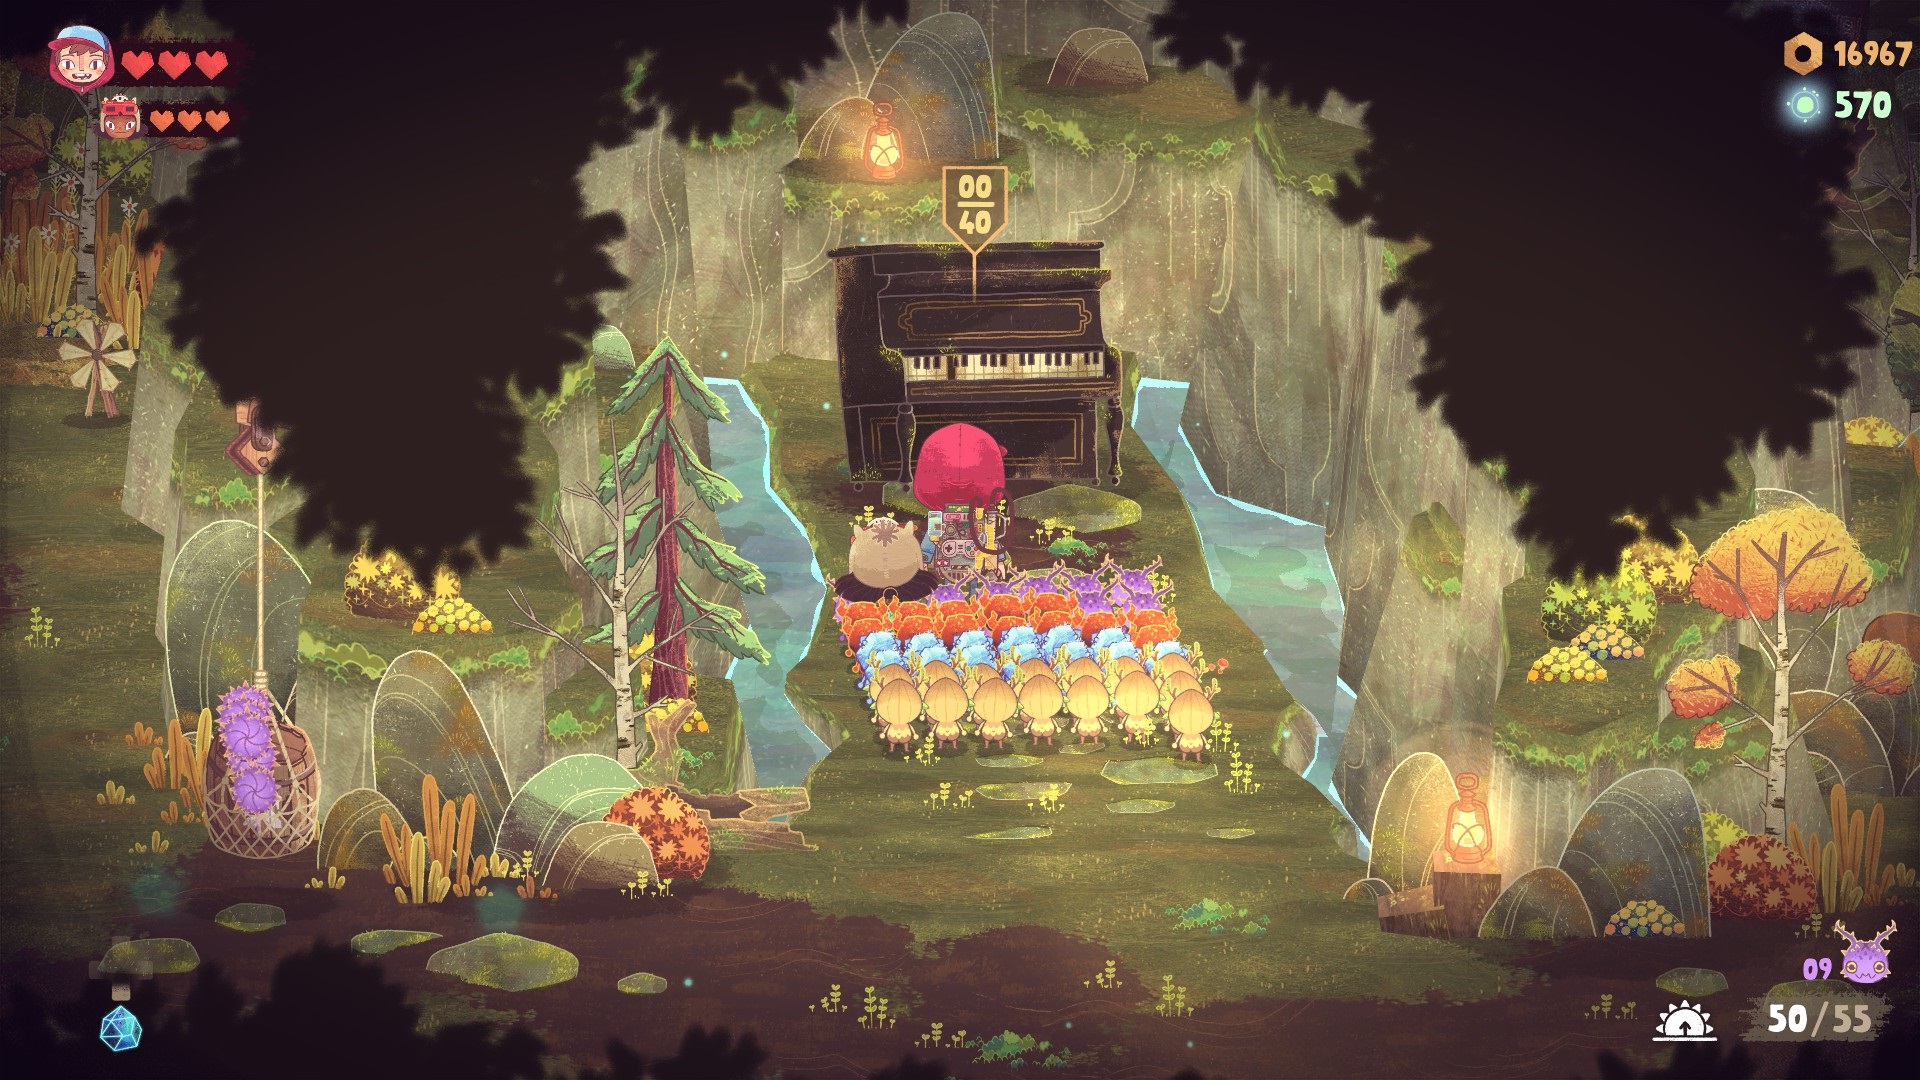
Soap Slinger
Location: Slightly Northwest of camp
Requirements: 5 Shiverlings, 10 Any Type (Min. 15 Spritelings total)
Note: Utilize the Shiverlings to create an ice bridge that grants access to the Jangly Keys relic.

Location: East of the camp in the flood zone
Requirements: 5 Barblings, 35 Any Type (Min. 40 Spritelings total)
Note: Throw at least 5 Barblings at the hanging barrel to drain the water and allow retrieval of the Wood Sentinel’s Heart relic. You can use the same Barblings to help carry the relic without the water refilling.


Location: Just East of the Green Witch Catafalque
Requirements: 60 Spritelings (at least 9 Lunalings), Defeat the Groggthud
Note: A massive boulder blocks the area, requiring 75 Spritelings to move it. The Spriteling cap is 60, but at night, Lunalings are worth 3 times more, allowing you to move the boulder. Bring Makeshift Flares or Night Lights to ward off the Never beings while throwing your Spritelings.
The Heartlands
Pedal Sleigh
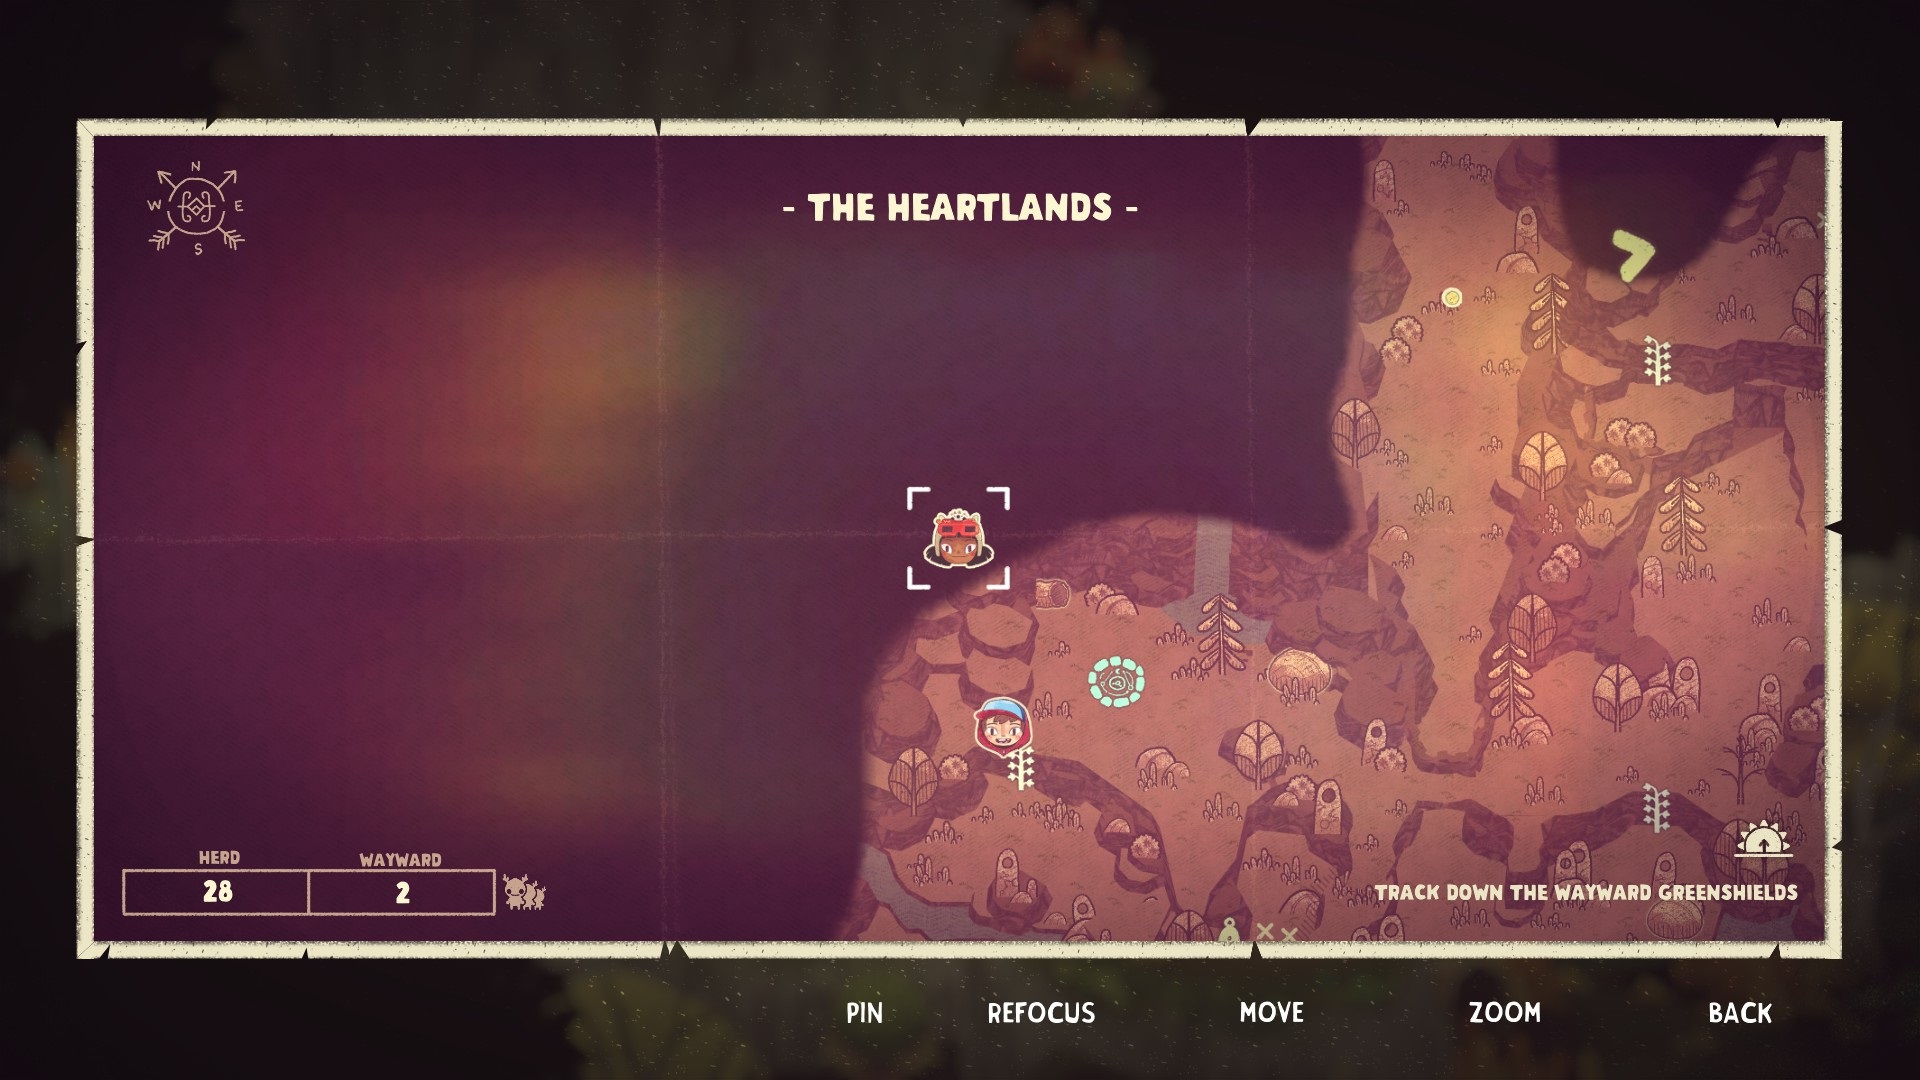
Location: West of the Heartlands warp pad
Requirements: Kirby, 12 Spritelings
Note: This area can only be accessed with Kirby.
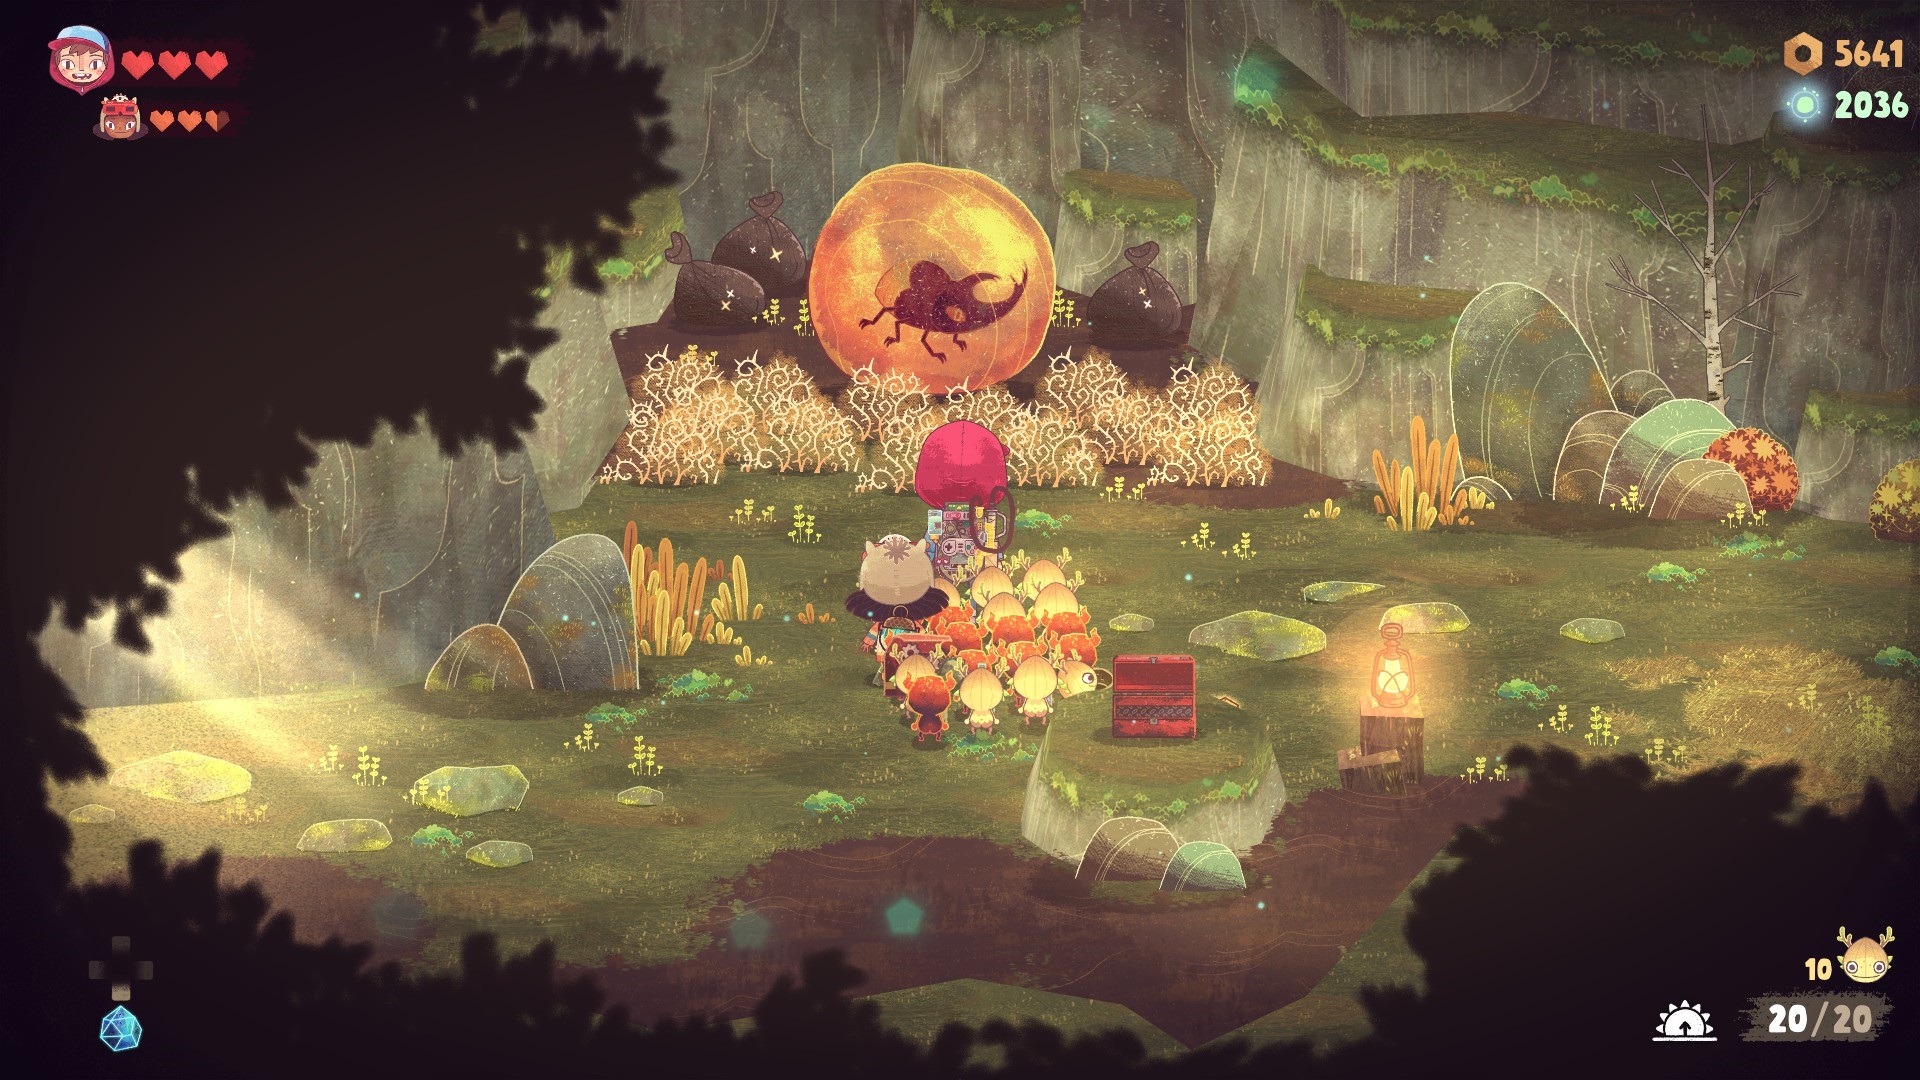
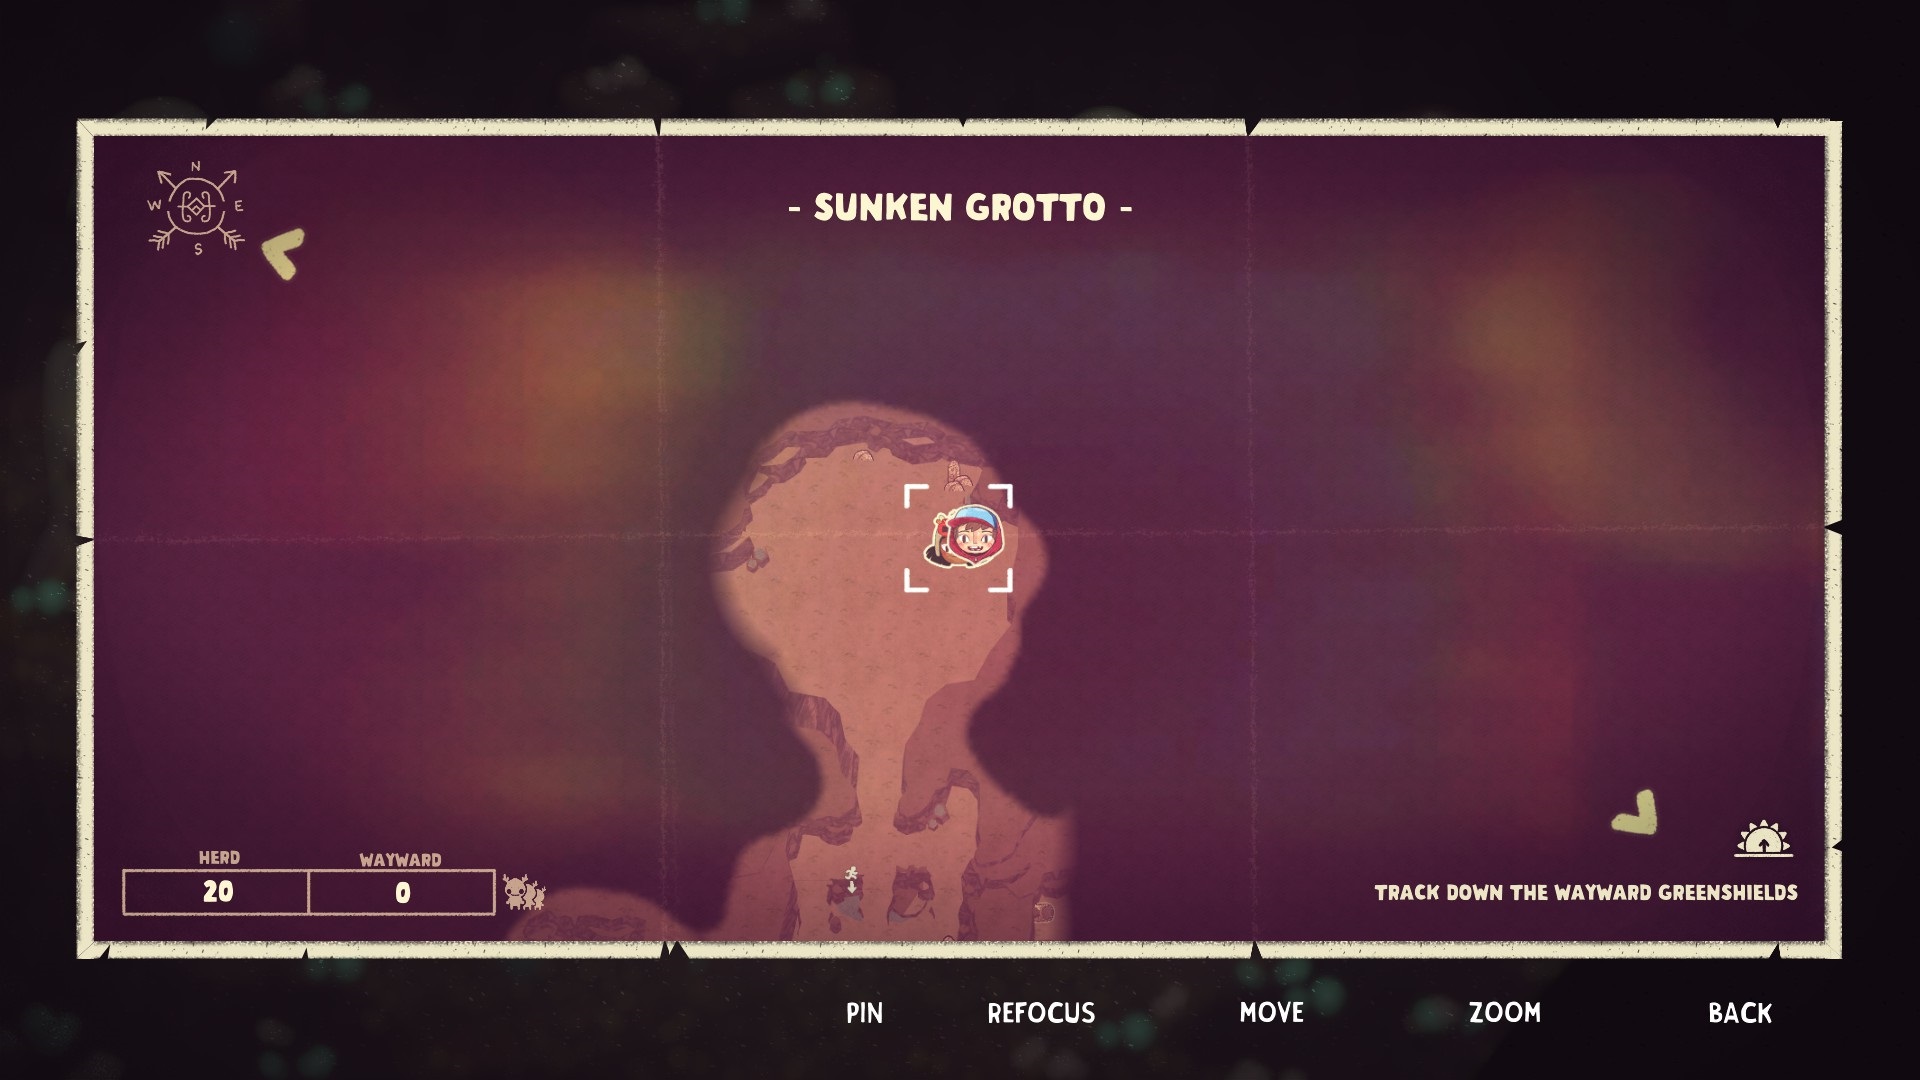
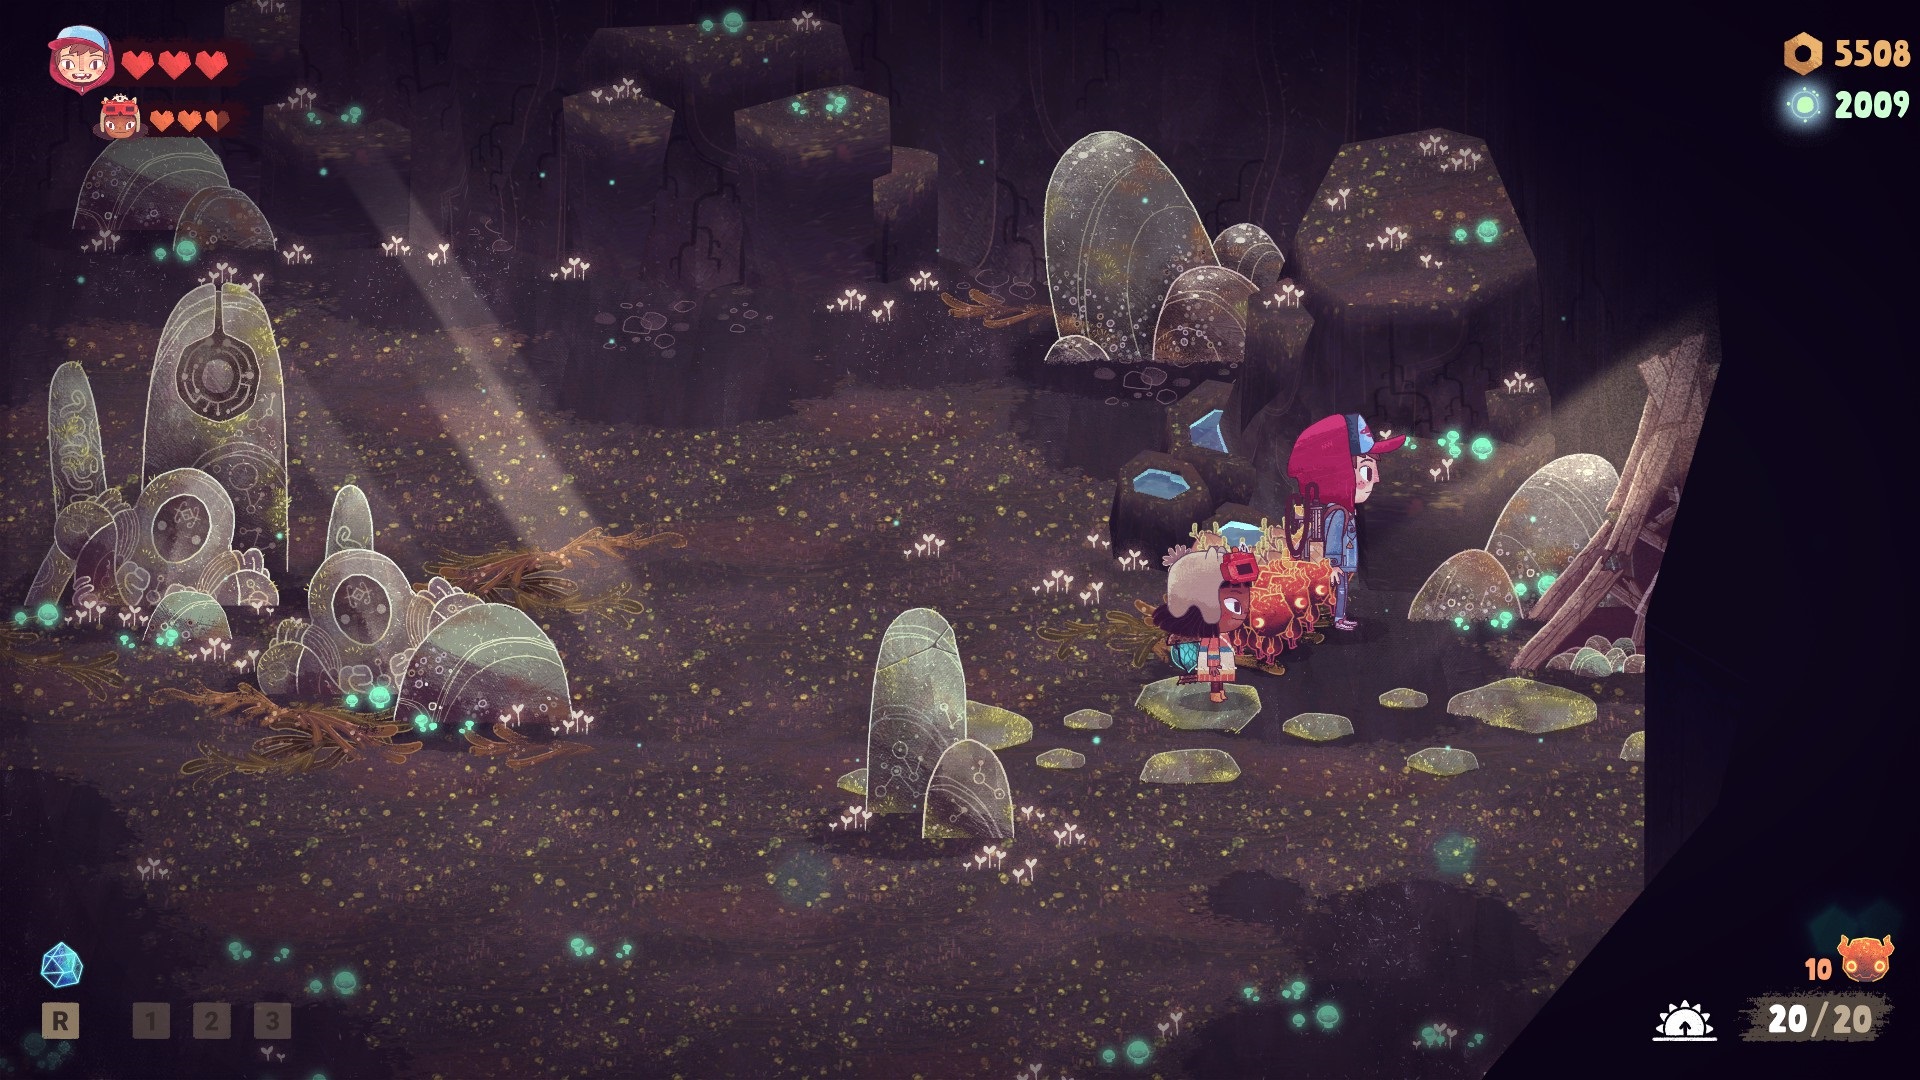
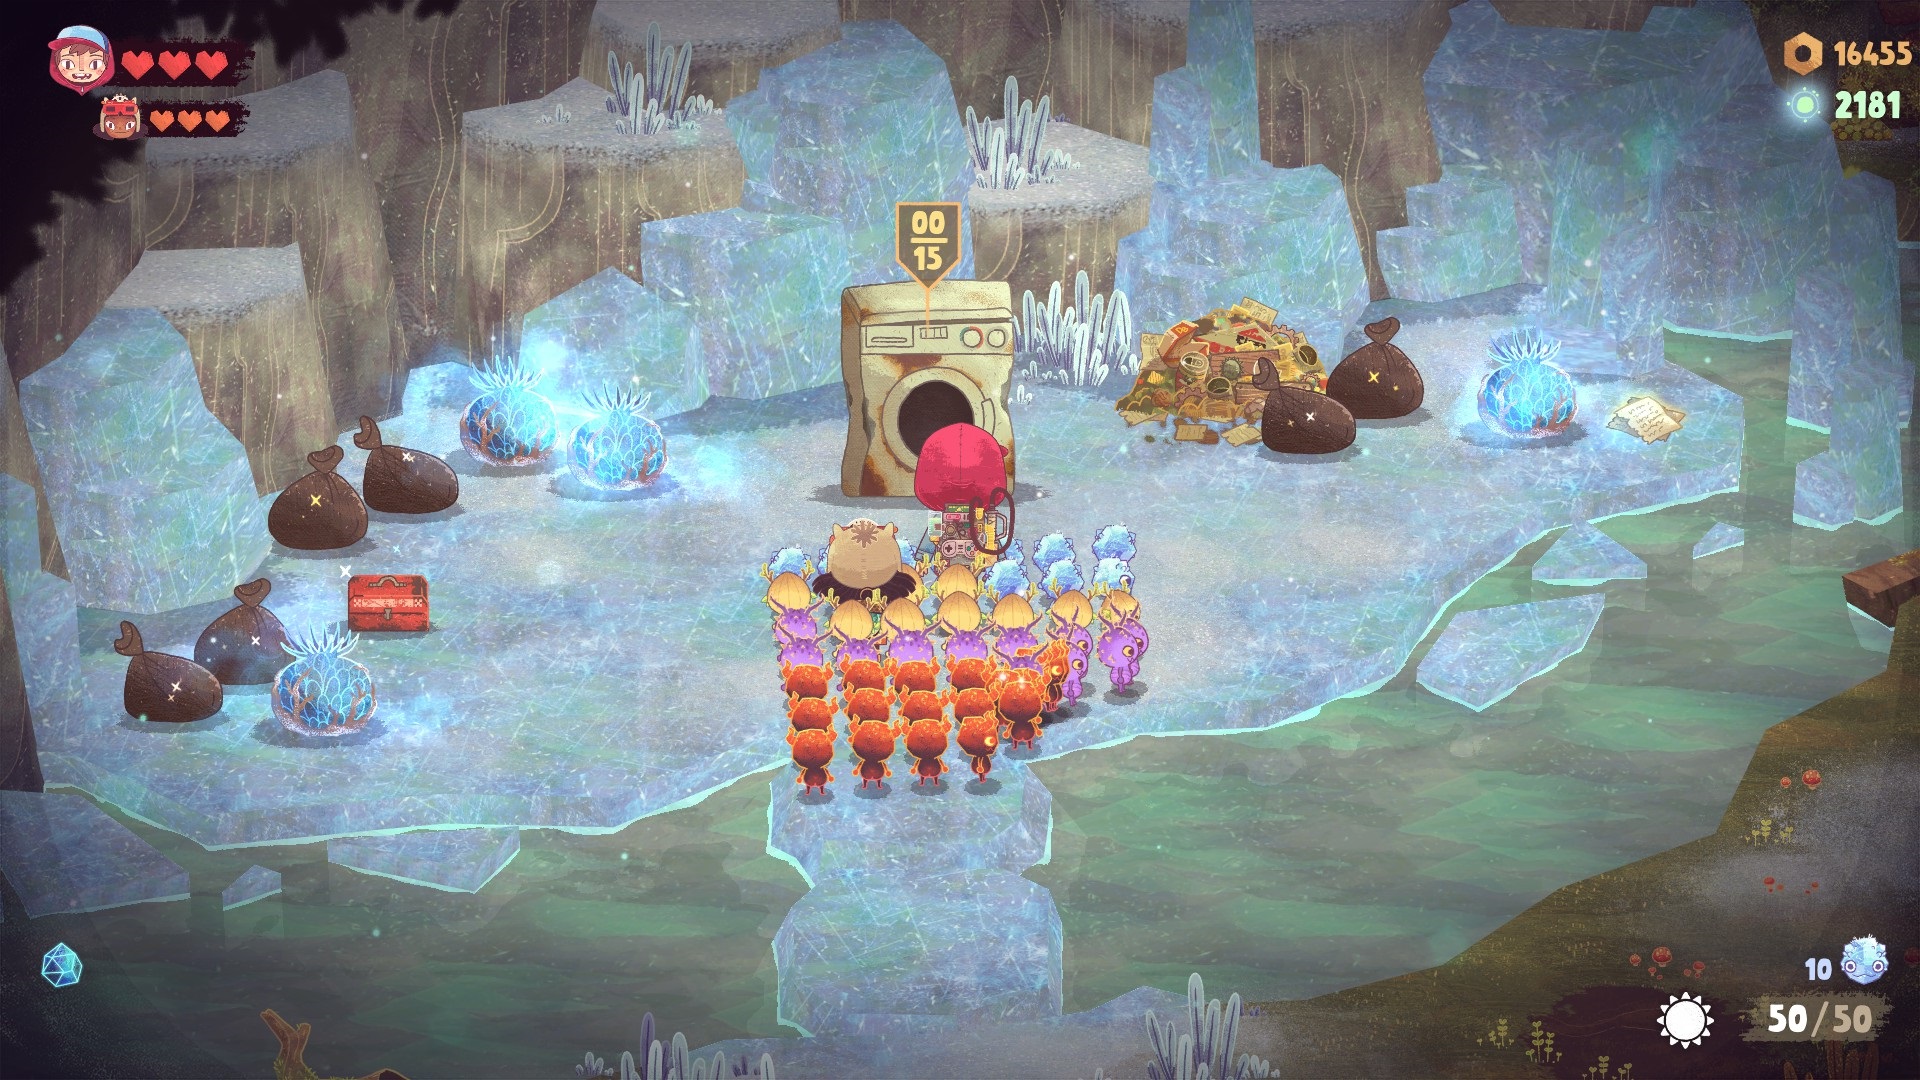
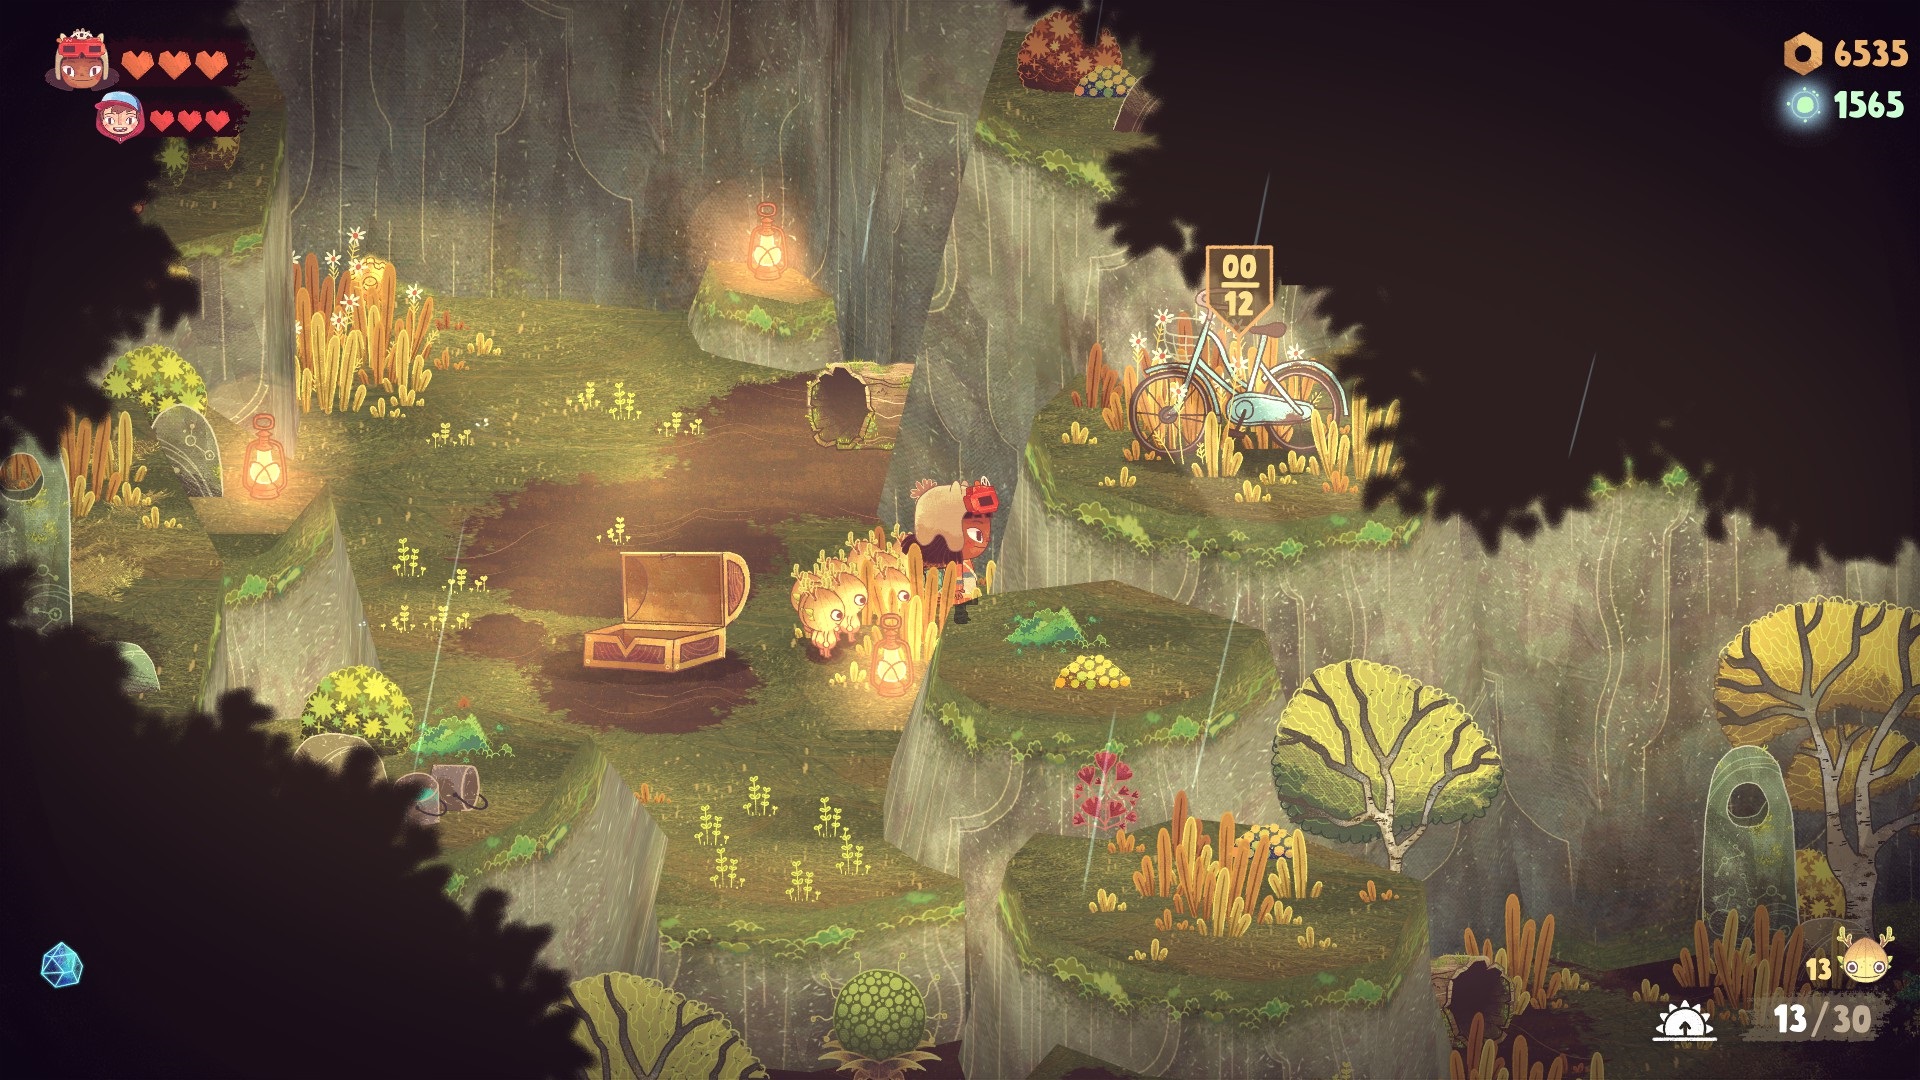
Sunken Grotto
Treasure Trap
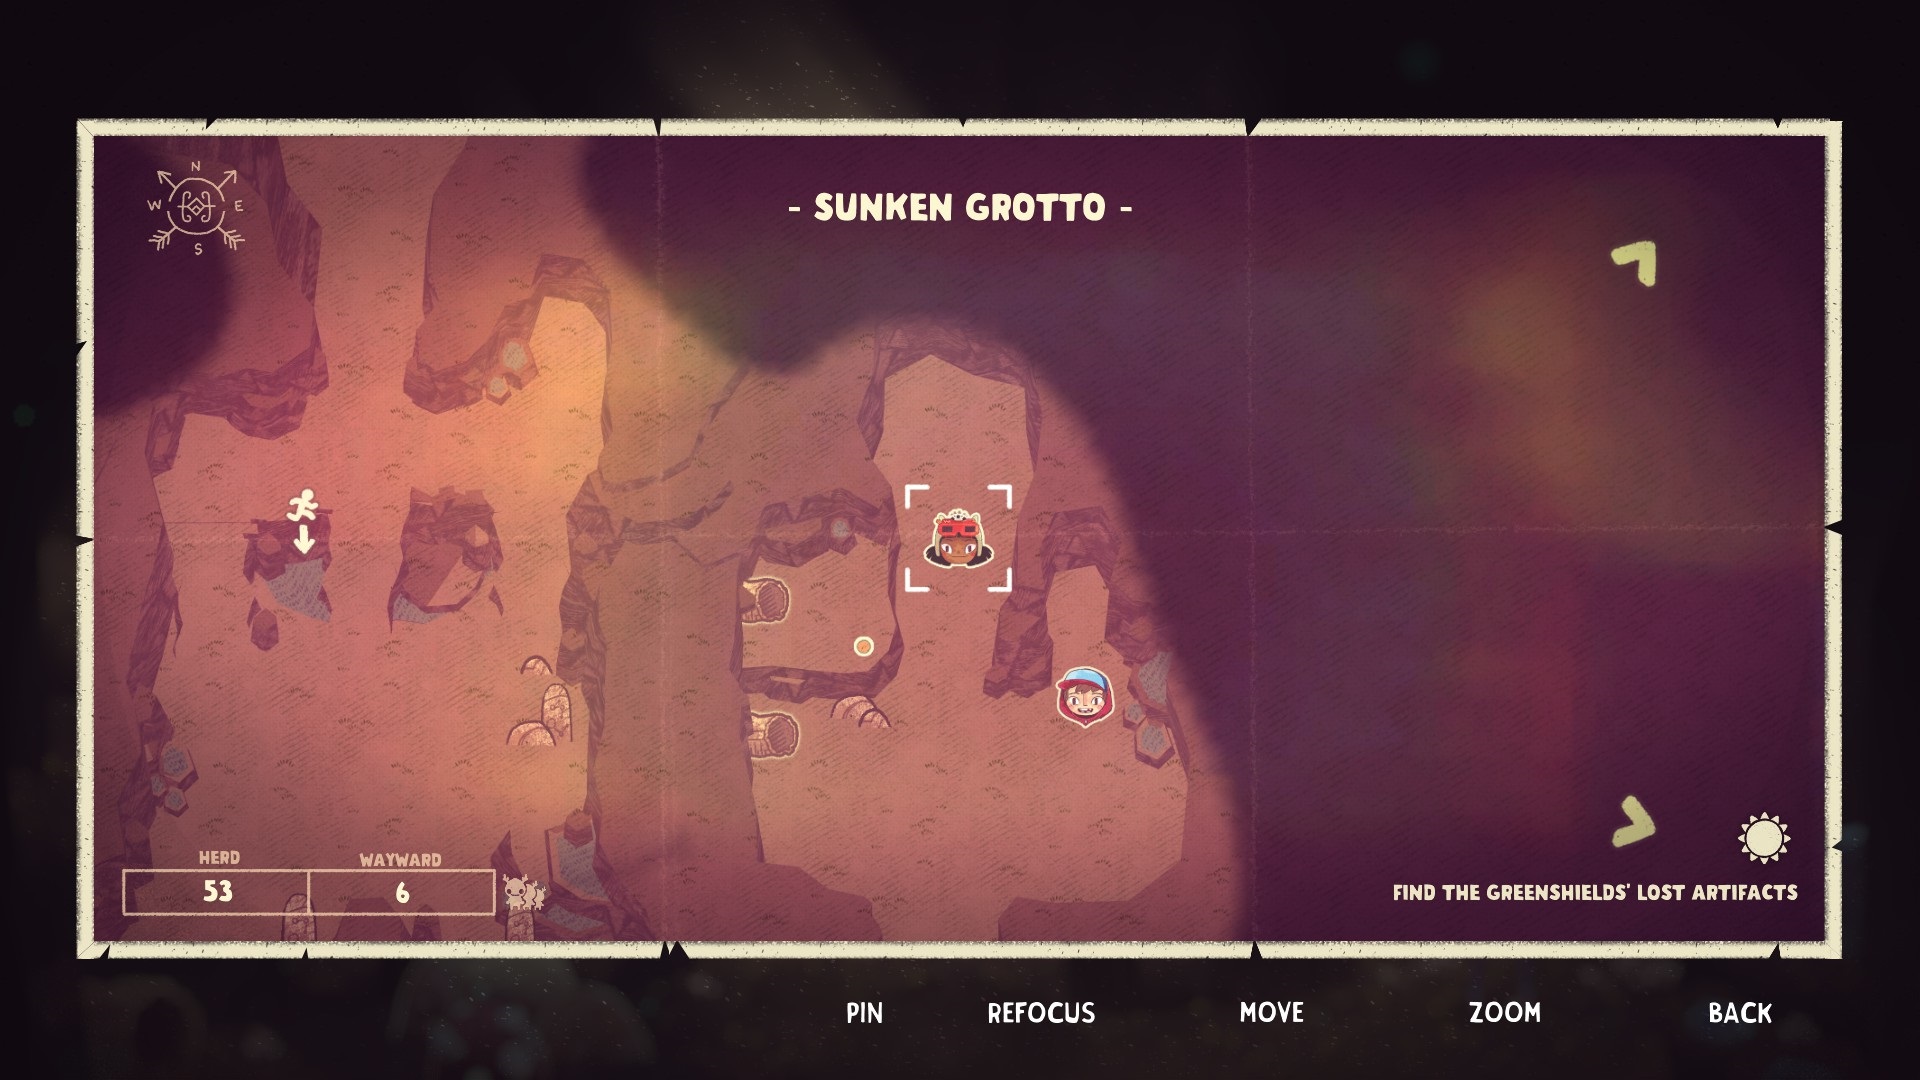

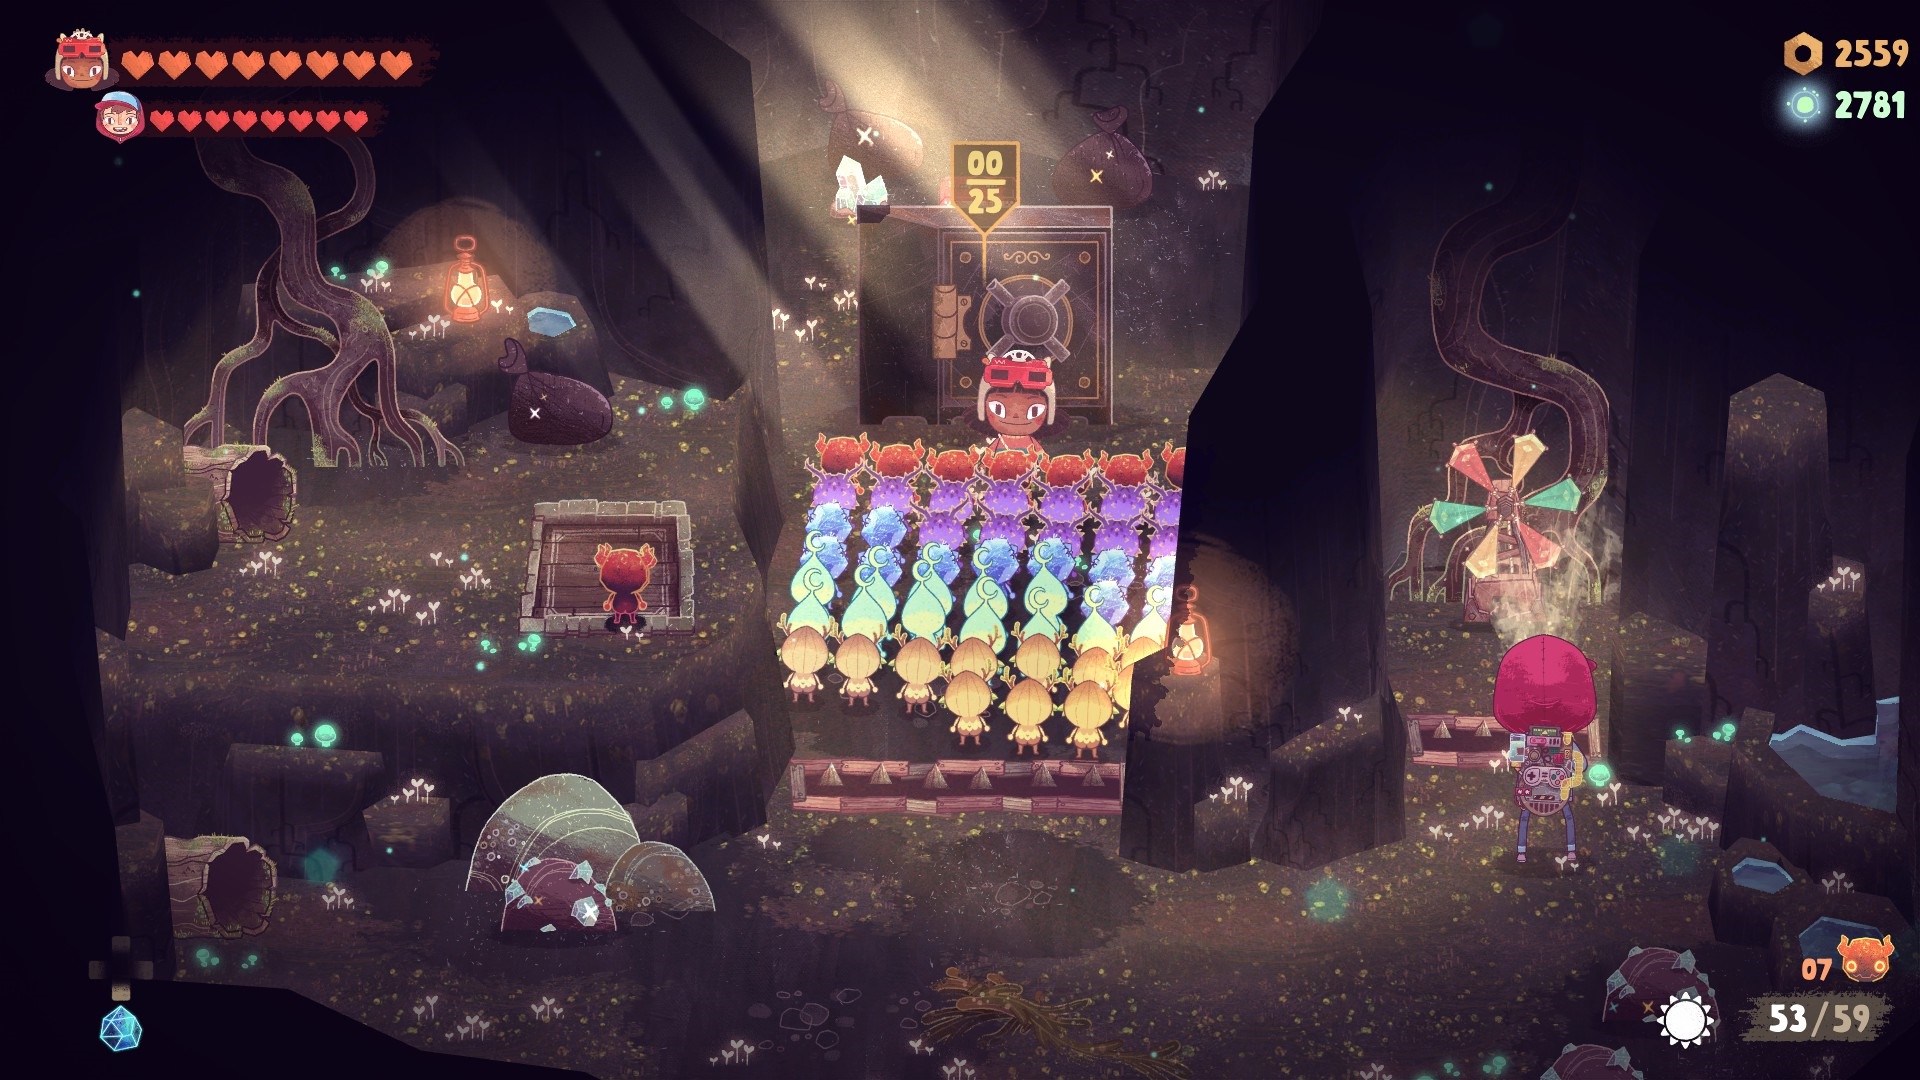
Location: Northeast of Camp
Requirements: 25 Spritelings, Barblings
Note: Break the crystals blocking the way using any amount of Barblings. Solve a simple puzzle to reach the Giant’s Tooth relic.


Location: Southwest of Camp
Requirements: 5 Twiglings, 10 Any Type (Min. 15 Spritelings)
Note: Proceed west until you reach a rock bridge. Before passing underneath it, head south and blow the windmill. Send Kirby up to the bridge, where the gate is now open. Use the lantern to clear the path and continue down until you can use the Twiglings on the plant to access the Tooth relic.
Crystalfall Coast
Ocean’s Eye


Location: South of the warp pad
Requirements: Shiverlings, 25 Spritelings
Note: The area is blocked off by a gate and some ice rocks. Use Shiverlings to gain access to the area, and remove the urchins from the barrel to open the gate. Glitter Globe

Location: Cath
Requirements: Complete Cath’s request, 8 Spritelings Skewered Mount


Location: Northeast corner, where it was previously flooded
Requirements: 25 Spritelings
Note: You’ll need to complete Cath’s request to gain access to this area.
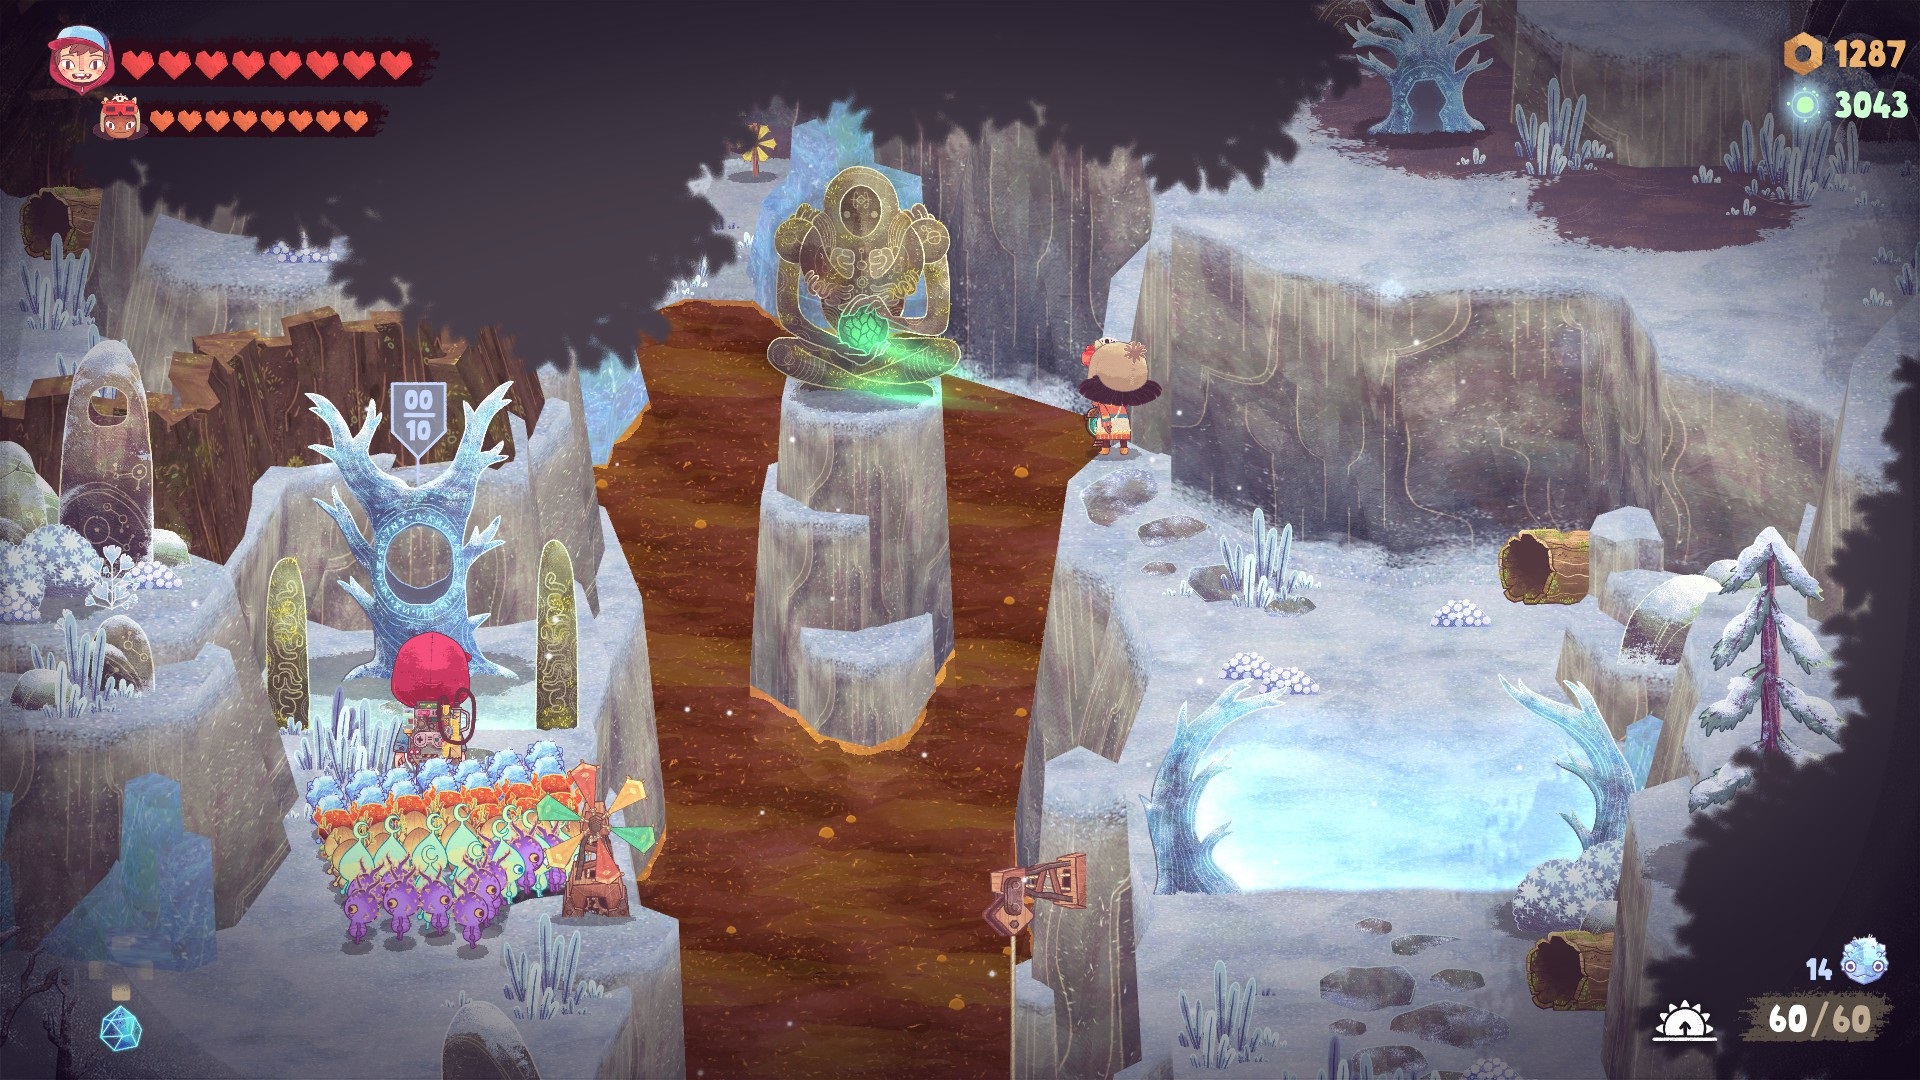
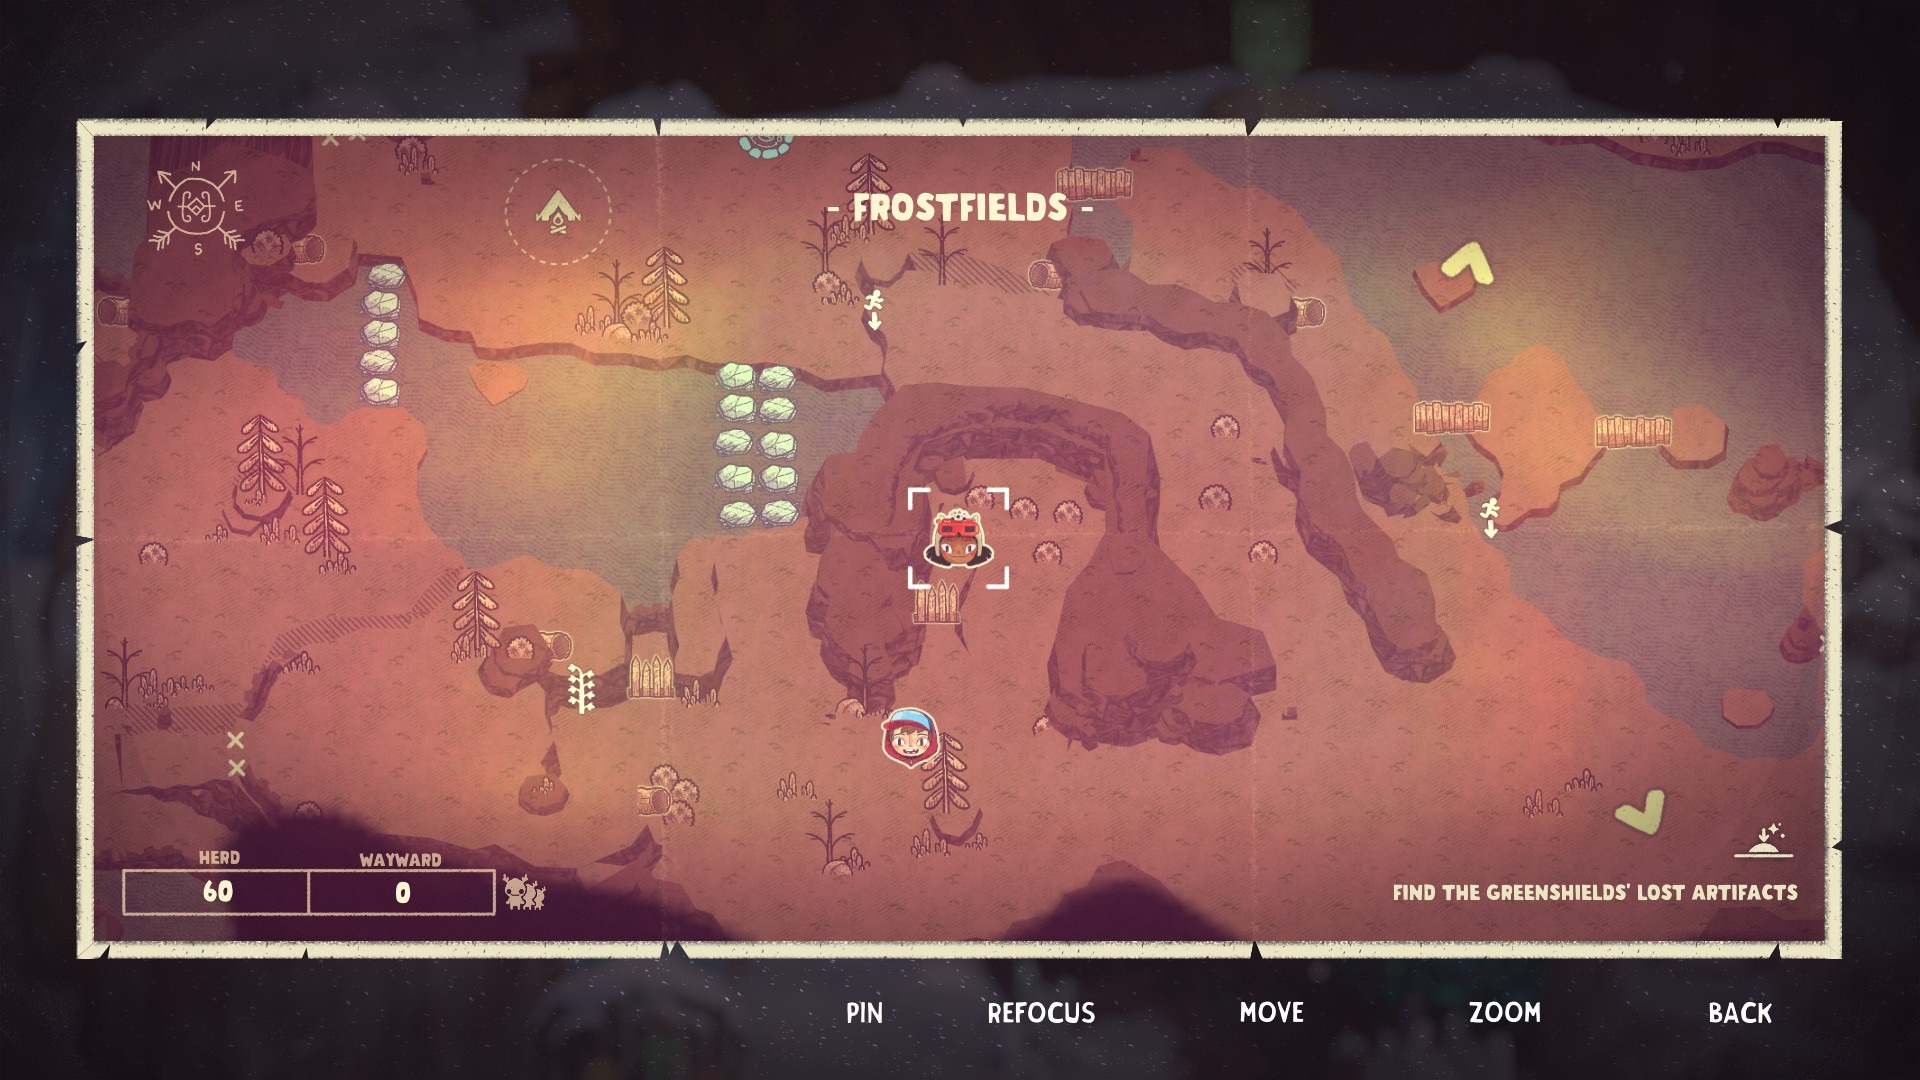
Frostfields
Smelt It’s Slammer


Location: East of Camp
Requirements: 5 Shiverlings, 15 Any Type (20 Spritelings total)
Note: Send Kirby to the other side and throw over 5 Shiverlings to form the ice bridge. Goosebump Casket
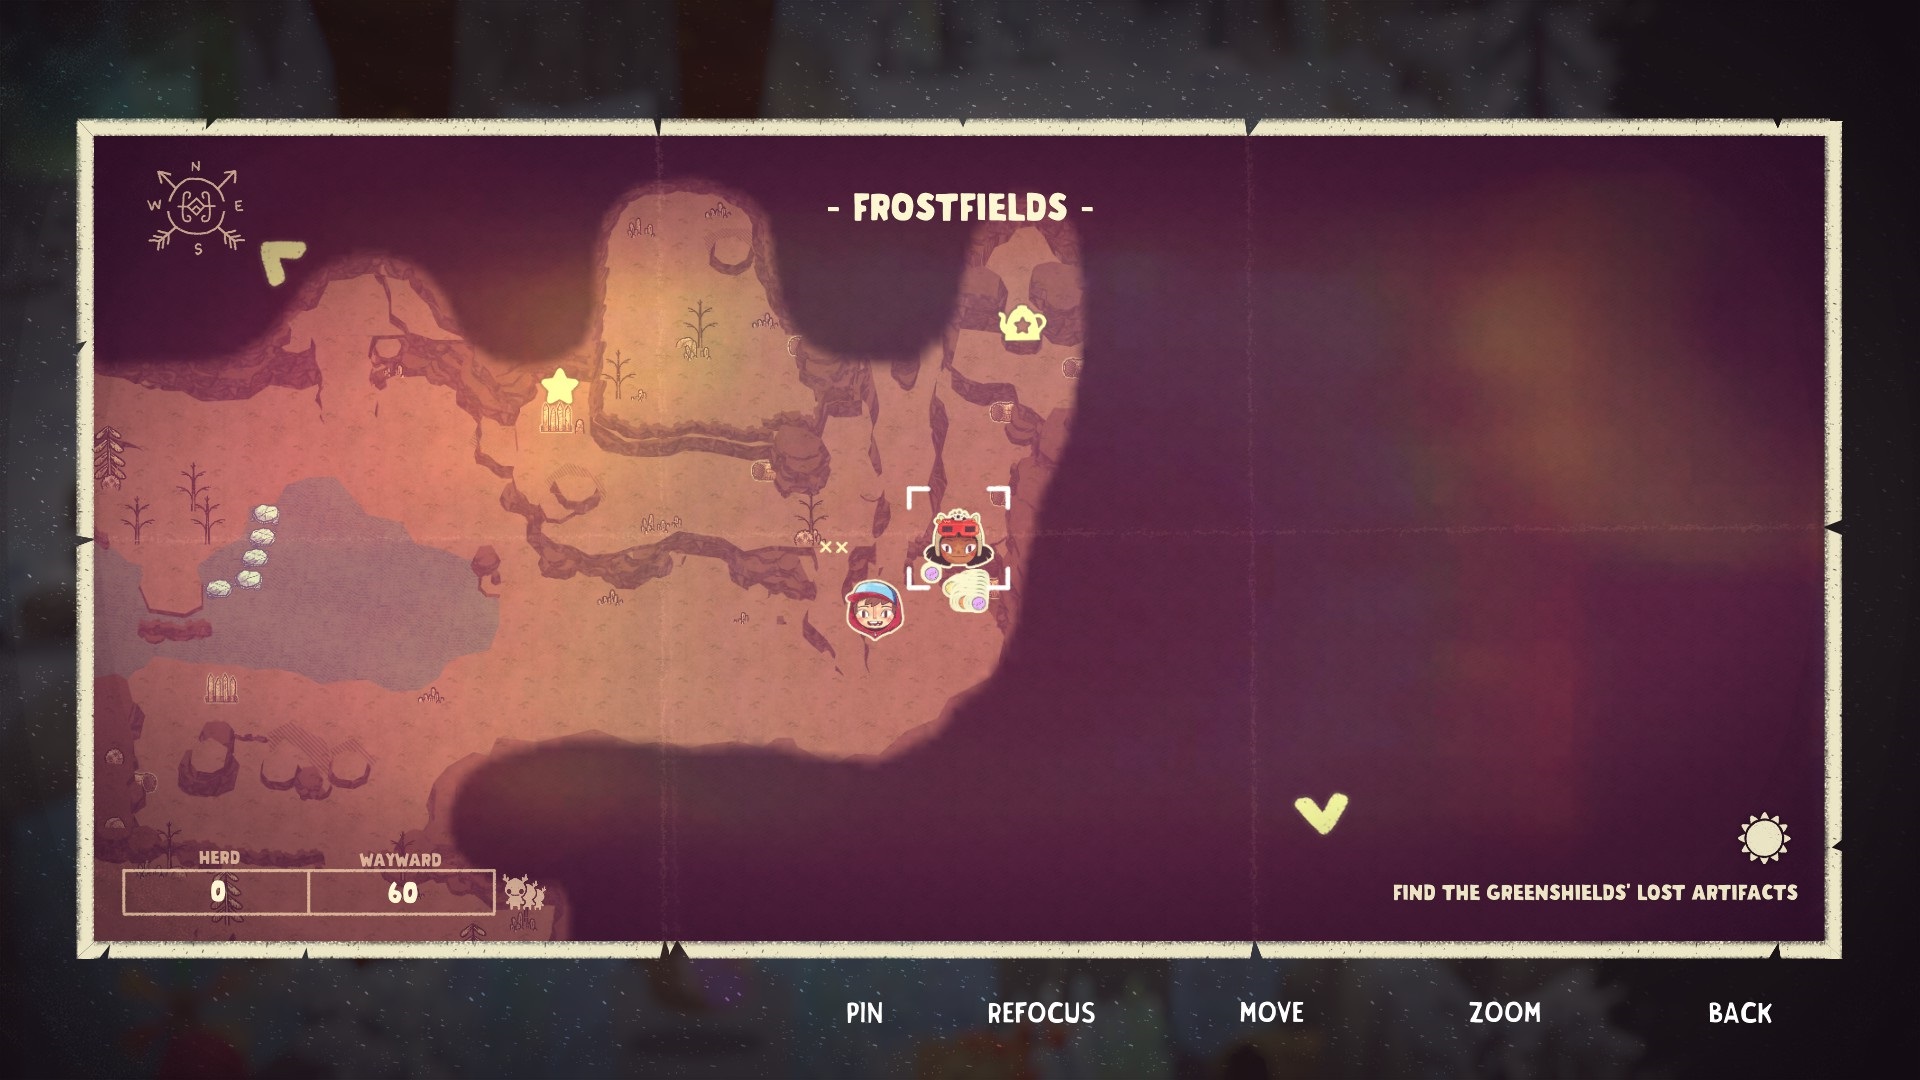


Location: Far East Area
Requirements: Shiverlings, 10 Barblings
To obtain the Star Child’s Cradle relic, follow these steps:
1. Send the Barblings up to break the crystal that is blocking Kirby’s path.
2. Switch to Kirby and use the lantern to illuminate the area.
3. Simultaneously throw Shiverlings through the tree to create copies of them.
4. Kirby can then utilize the Shiverling copies to move the relic forward up to a certain point.
5. Once Kirby reaches the limit of his movement, use the Barblings to continue carrying the relic the rest of the way to its destination, completing the task of obtaining the Star Child’s Cradle relic.

Location: South of Camp
Requirements: 34 Lunalings
Note: To access this area, you’ll need to retrieve the relic during the night when Lunalings are worth 3 times their value. Lunalings are the only ones capable of carrying the relic safely. Make sure to bring Makeshift Flares or Night Lights to protect yourself against the Never beings while retrieving the relic.
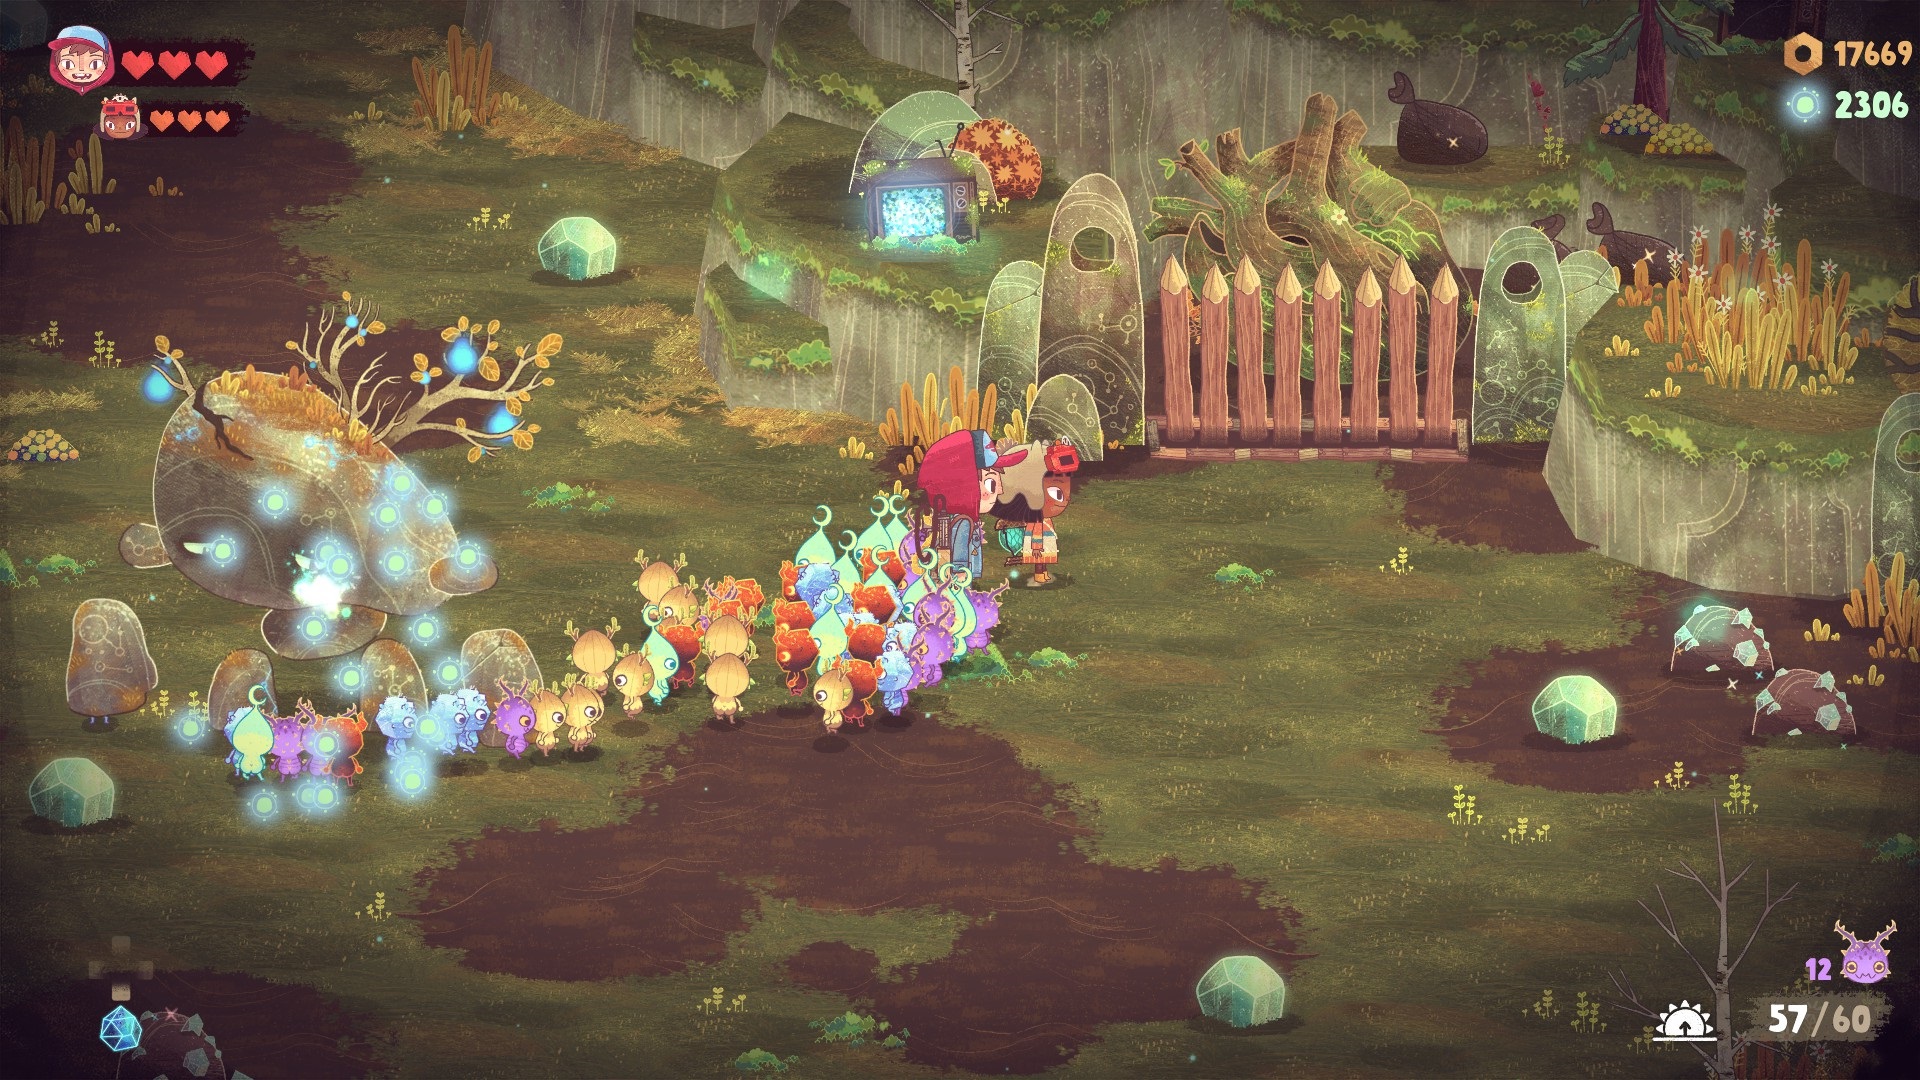
Wispwagon
Stinky Shack

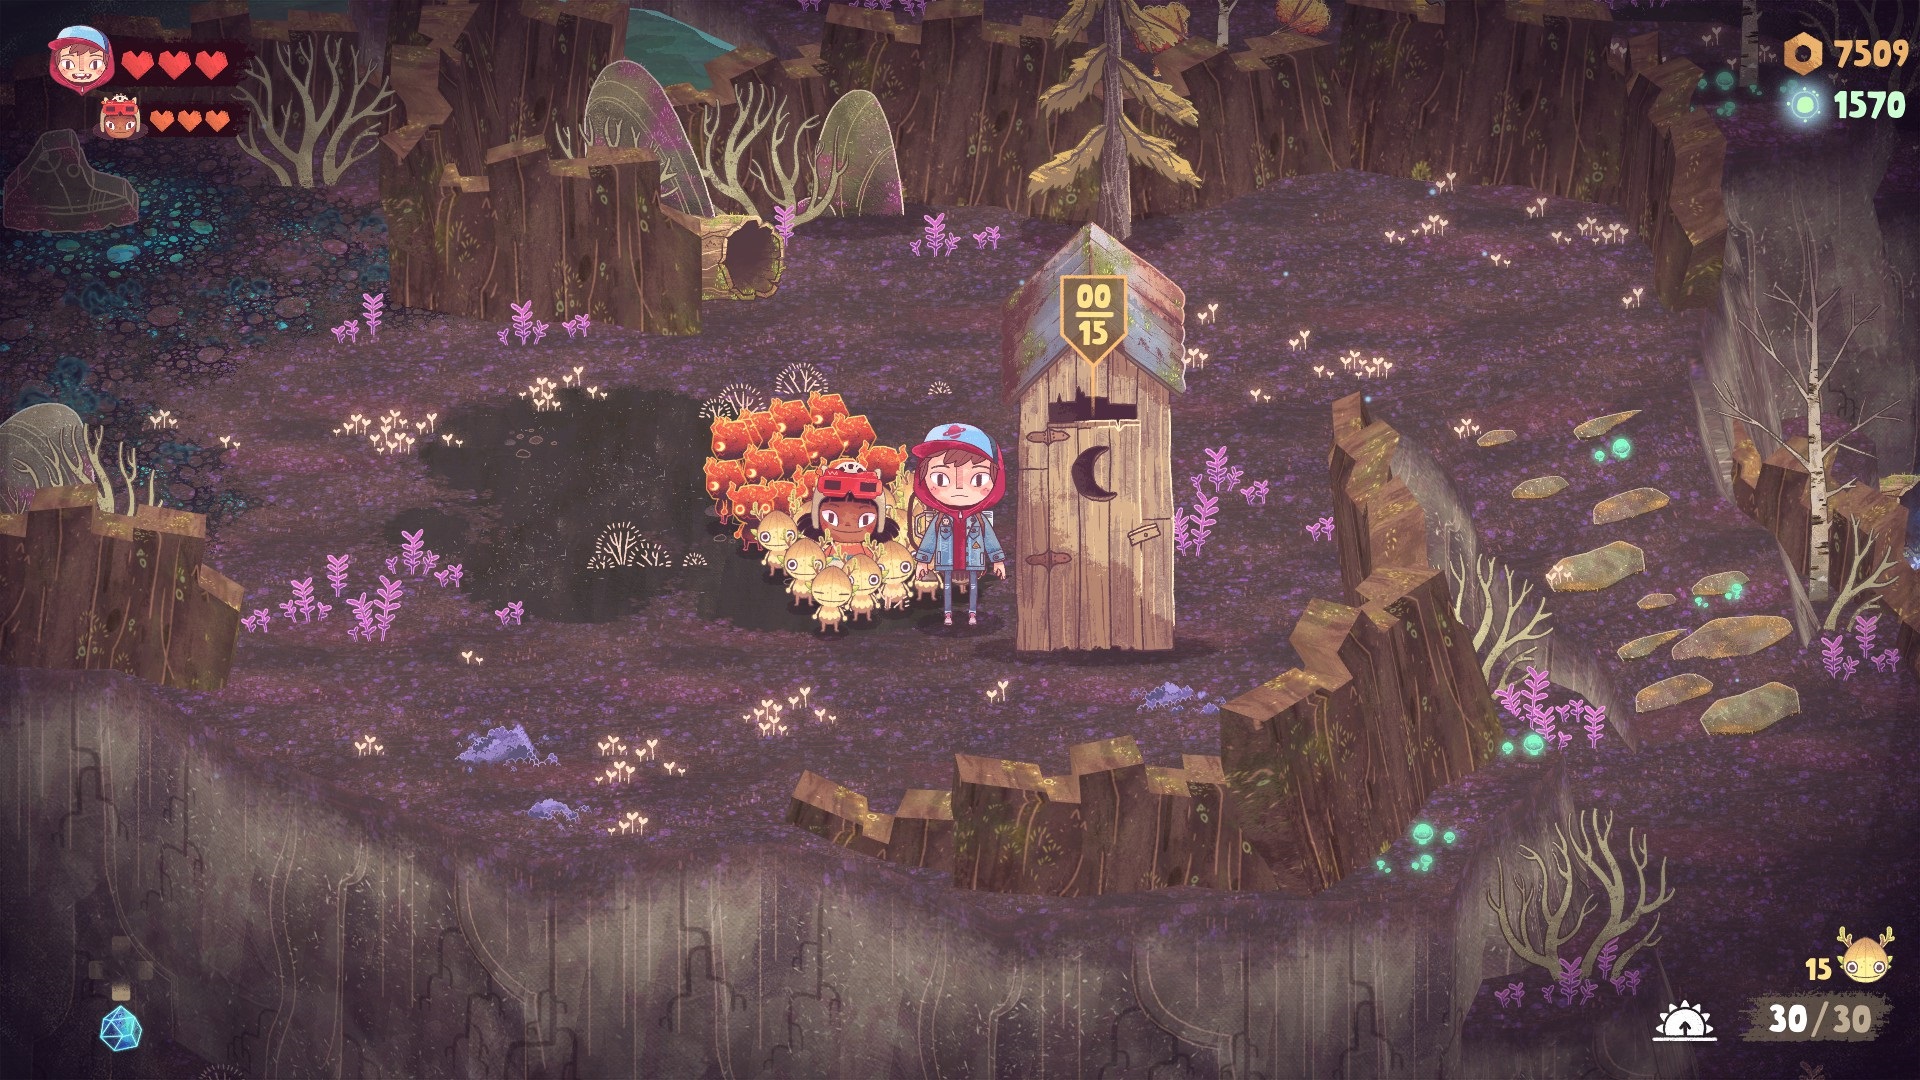
Location: Just west of the temple
Requirements: Kirby, 15 Spritelings Meeting Stone
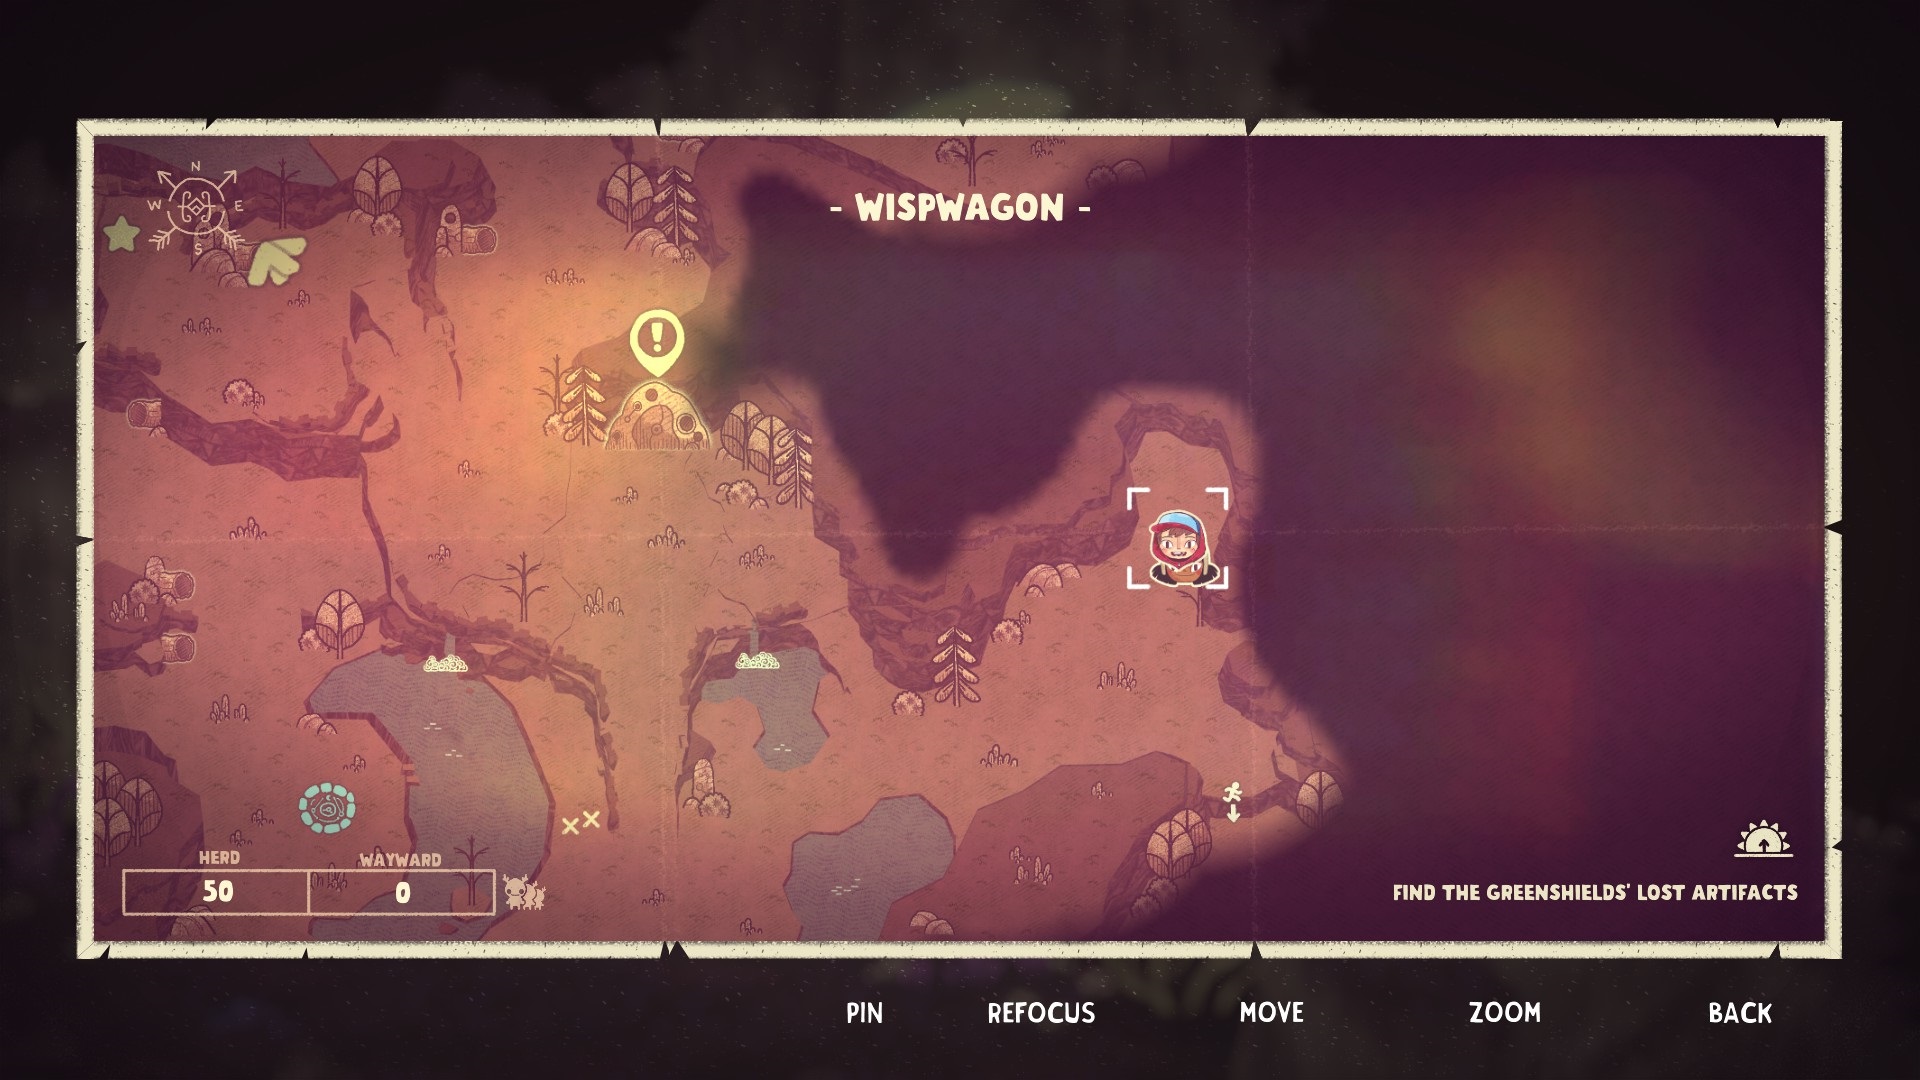
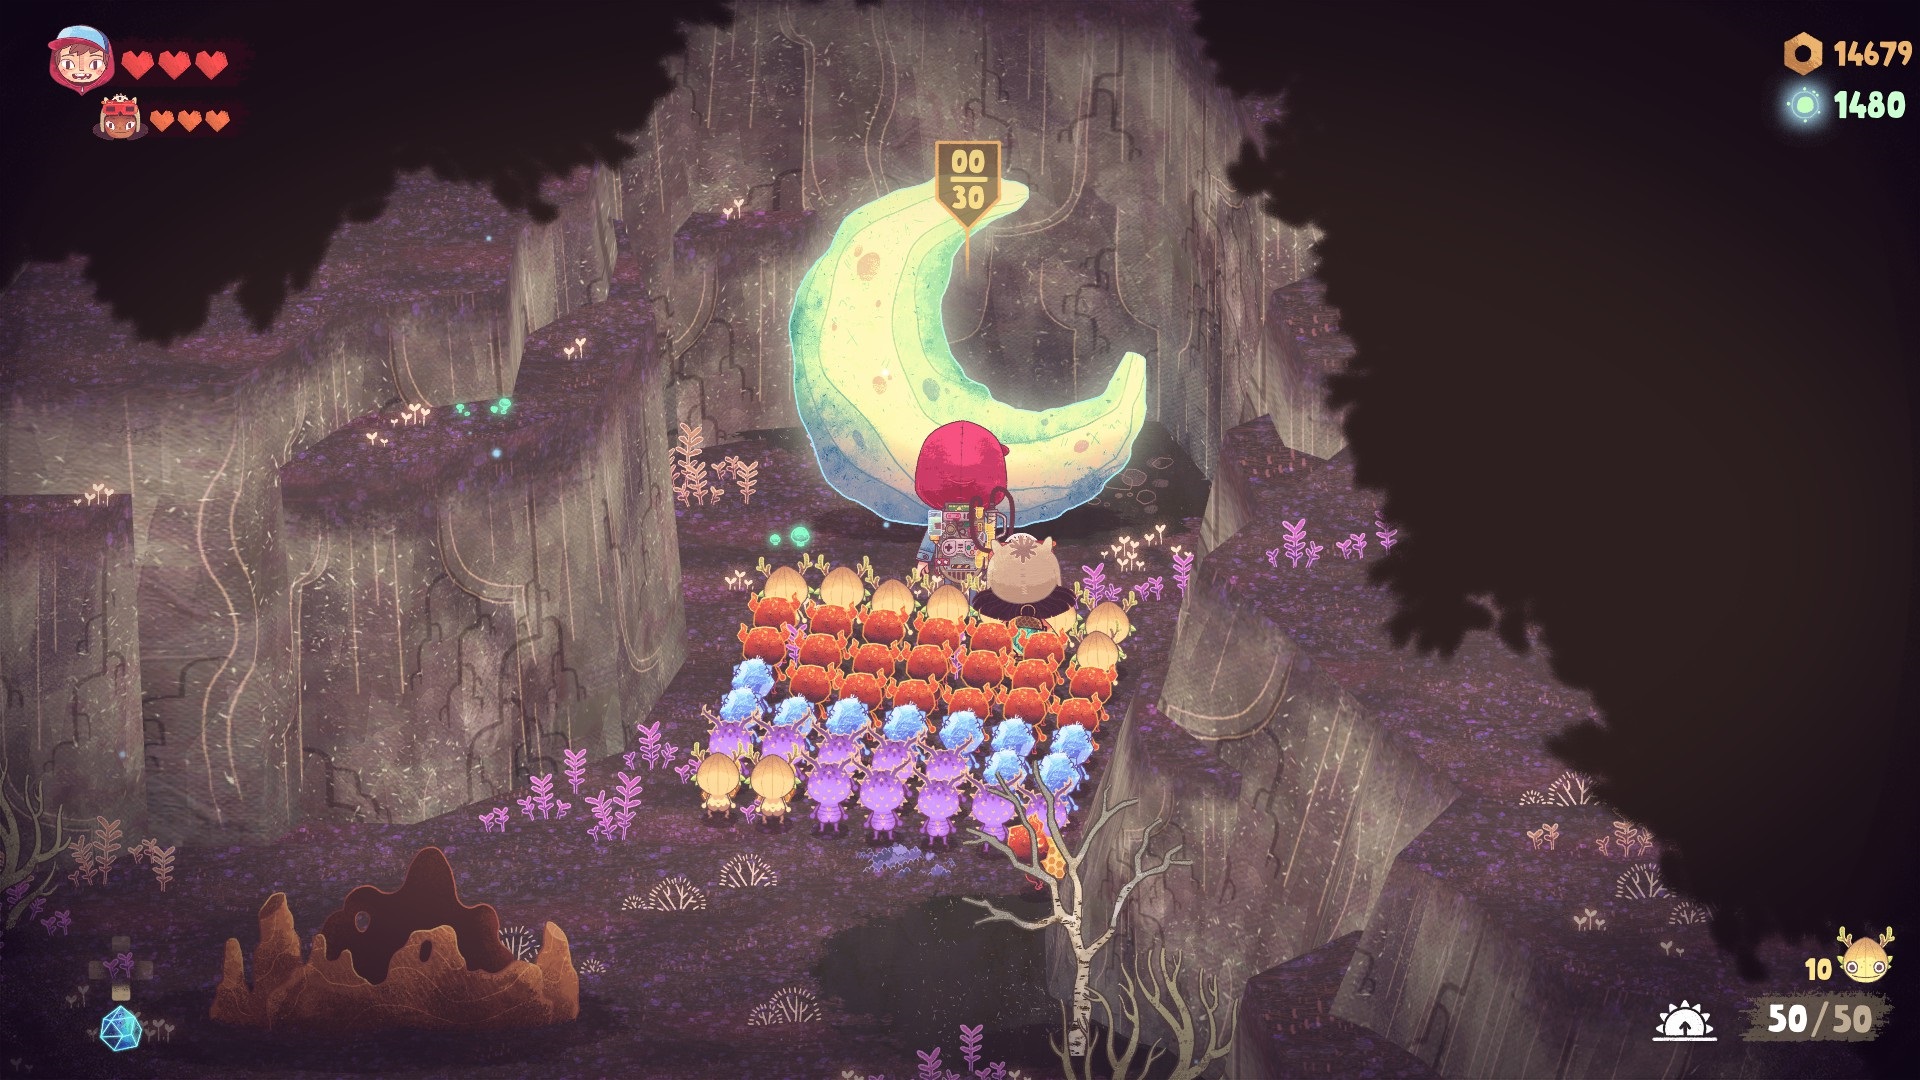
Location: East of the Shrine, behind the hive
Requirements: Shiverlings, 30 Spritelings
Note: Bring at least 1 Shiverling to break the ice rocks to gain access to this relic.
That's everything we are sharing today for this The Wild at Heart guide. This guide was originally created and written by m a j i. In case we fail to update this guide, you can find the latest update by following this link.