- Title: Subnautica
- Release Date:
- Developer:
- Publisher:
Information about Subnautica is still incomplete. Please help us fill the details of the game using this contact form.
The following article shall serve as an inspiration when building a large, decorative habitat. And with decorative, I don’t mean an efficient or functional structure, but a fun and spectacular sink of resources.
Preface
The following text contains some key instructions to reproduce a base similar to one I recently created. Remember that creating implies creativity, and I don’t want to limit yours: Maybe some elements here will inspire you when constructing your own unique habitats.
Also, I expect that a bunch of players have built similar structures in the past, so I don’t see this one as something new.
On another note, beware of spoilers: As we are going to describe the base location and some of its properties, there are spoilers for sure.
Stable vs. Experimental Build
Note that the screenshots here where taken using the experimental build (commit 700###). For details about this beta, see the pinned topic at the top of this board. The beta comes with a bunch of new features related to habitat building – in particular, surface latches: When you create a latch above sea level, it will use the backported model from Below Zero, which can form stairs to nearby terrain. This feature is really not required for the base concept here, but it can be fun to explore. However, there is also a major drawback with this: The collision checks on the stair elements will often prevent you from placing a latch in places that work just fine with the stable branch. This is crucial for the initial section of this base, and therefore, I recommend to start the process with the stable build.
About ladders
Ladders can be placed into stacks of vertical connectors to travel at insane speeds – climbing up a few hundred minutes in less than a seconds? No problem. This is yet another good example for Subnautica’s directive to keep the game enjoyable, whenever there is a tradoff between realism and quality of life.
Vertical connectors with ladders are a central element of this base. In this example, we work with one central shaft, rather than a grid or a stepwise formation of ladders. All of these designs have their pros and cons. If a compartment has both, ladders pointing upwards and downwards, clicking the right spot to climb downwards can be tedious. Climbing upwards, however, works like a breeze across multiple compartments.
Also note that the four possible orientations of the ladders depend on your facing angle when constructing the encompassing compartment. If you want a certain pattern of ladder directions, you need to build those compartments from different sides. But let’s keep it simple: A stack of ladders with the same direction is usually all you want.
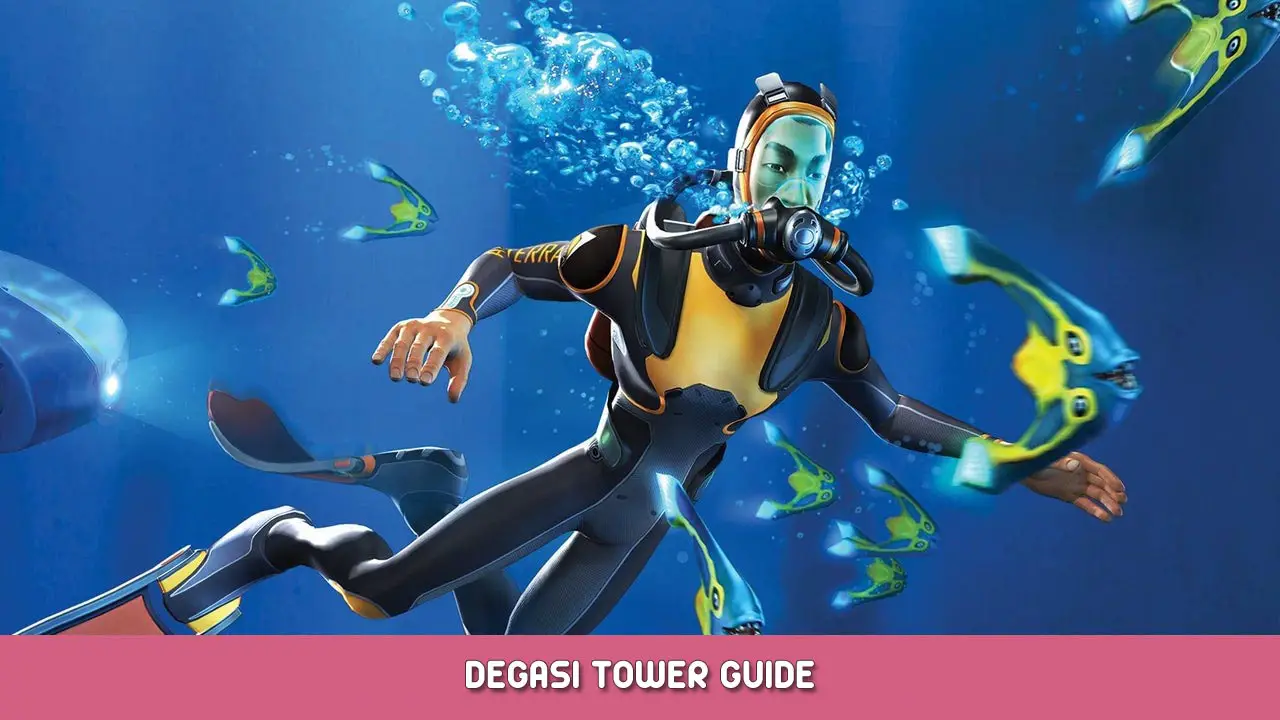
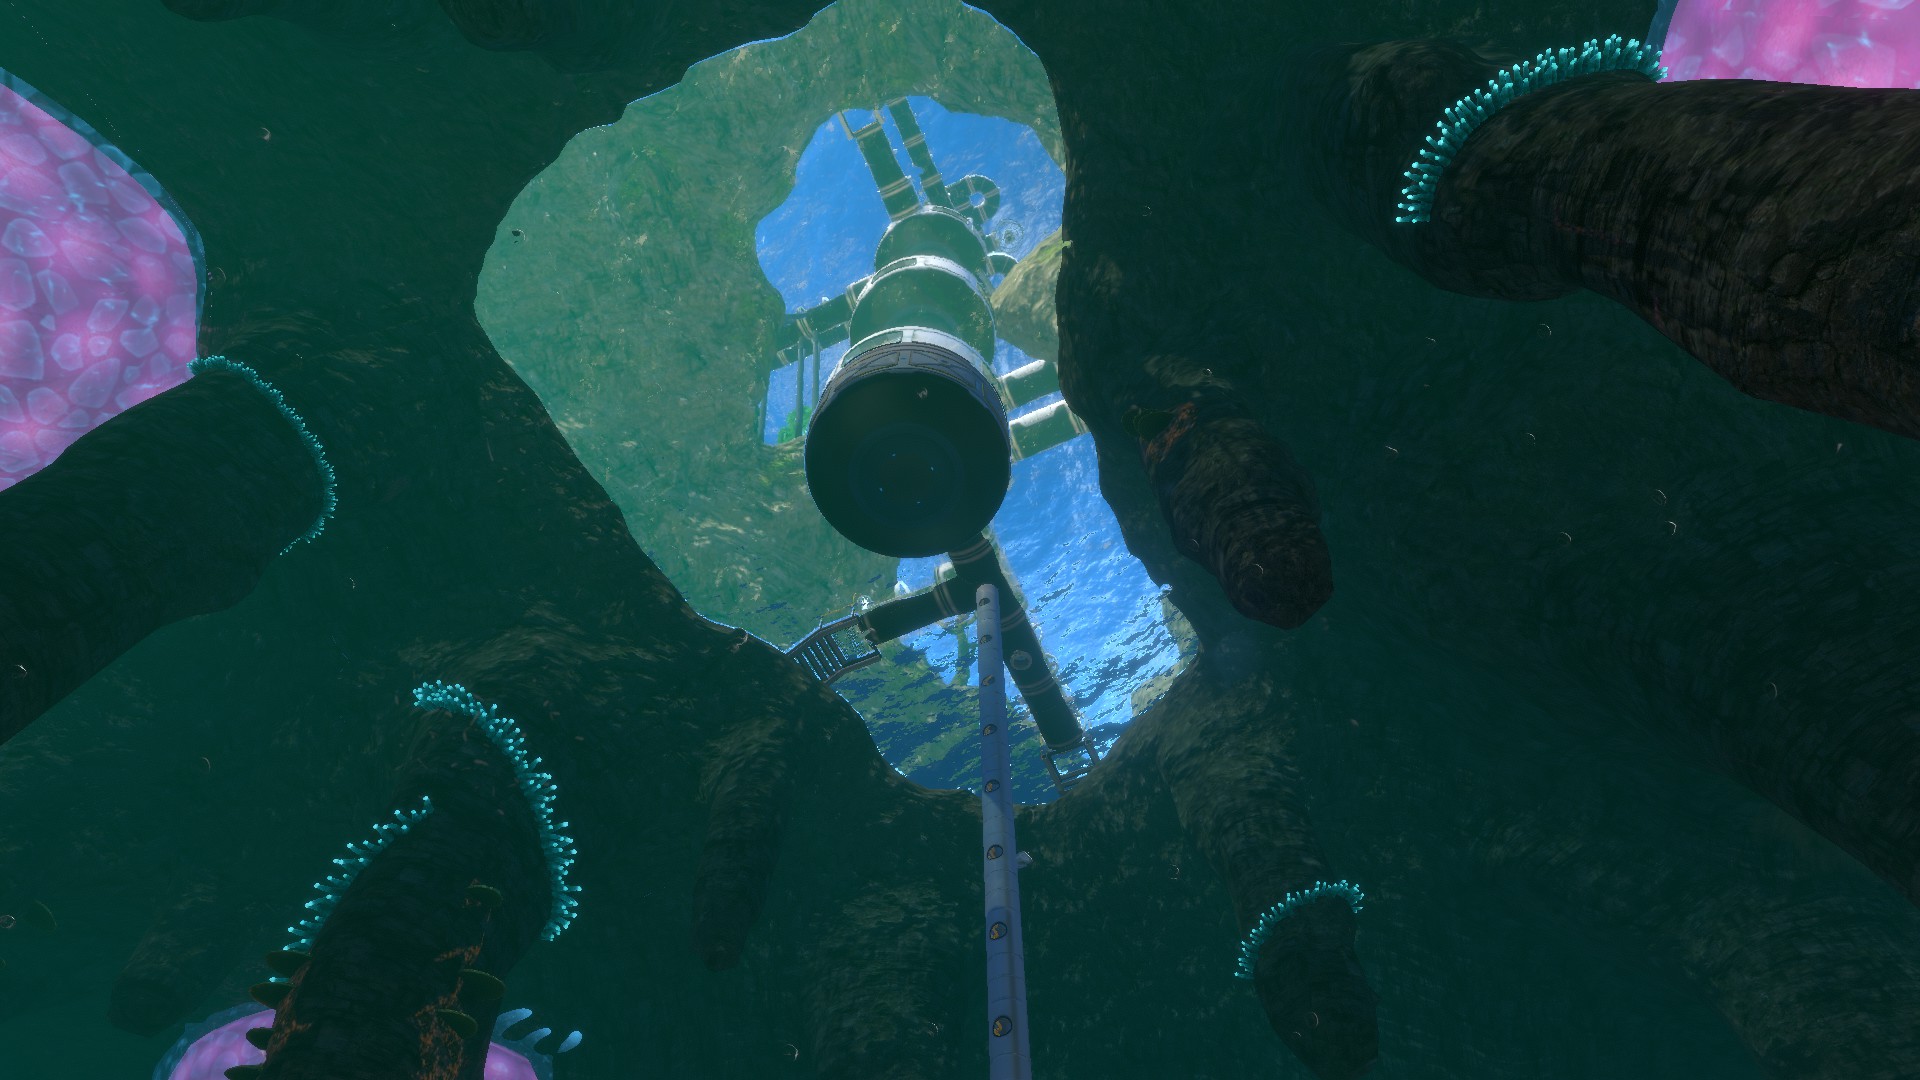
+19m – The Gate Room
A precursor gate directly accessible from your base … wouldn’t that be a neat feature?
In case of the floating island, there is a gate room that nicely connects with the central lake area, but it is quite tricky to position your habitat grid in such a way that you can nicely access that cavern. Therefore, exactly this cave entrance is the starting point for setting up the Degasi Tower base. Did you spot the hatch in above screenshot? This is the first anchor point of our base.
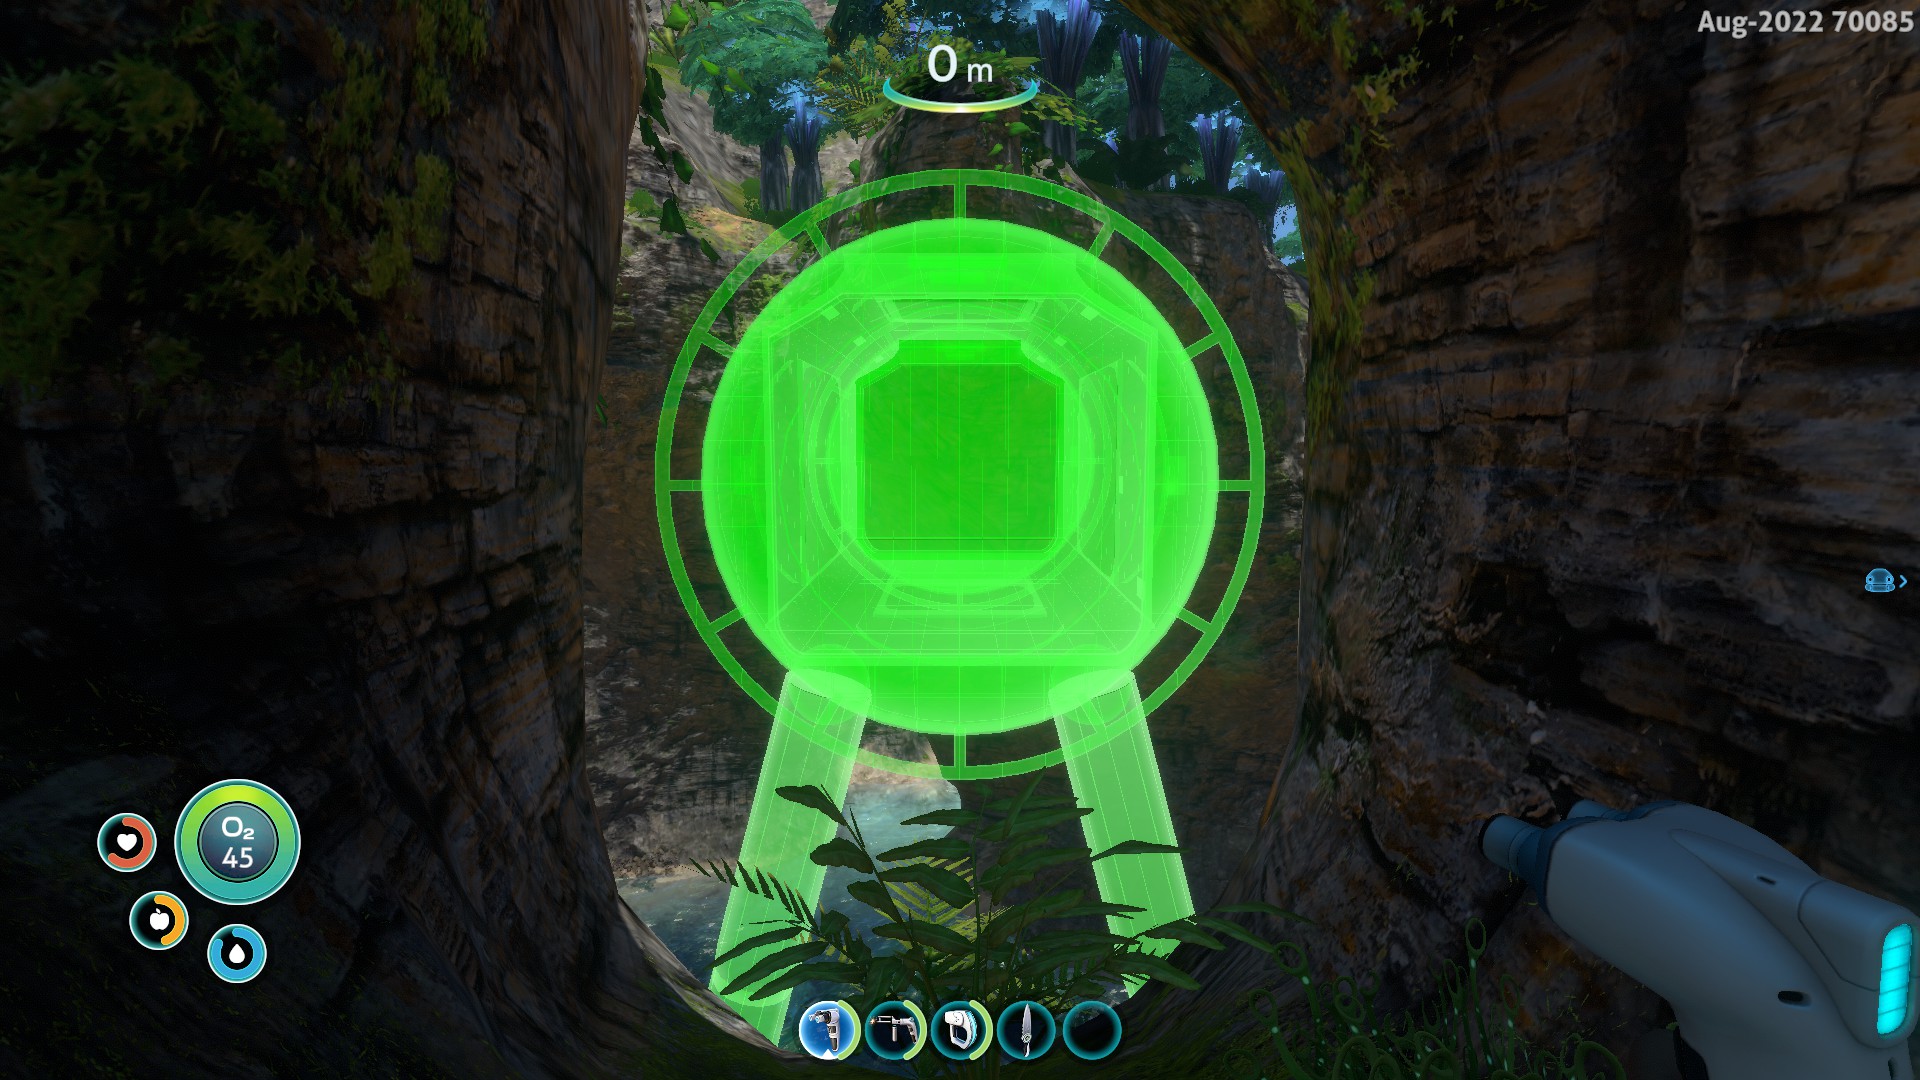
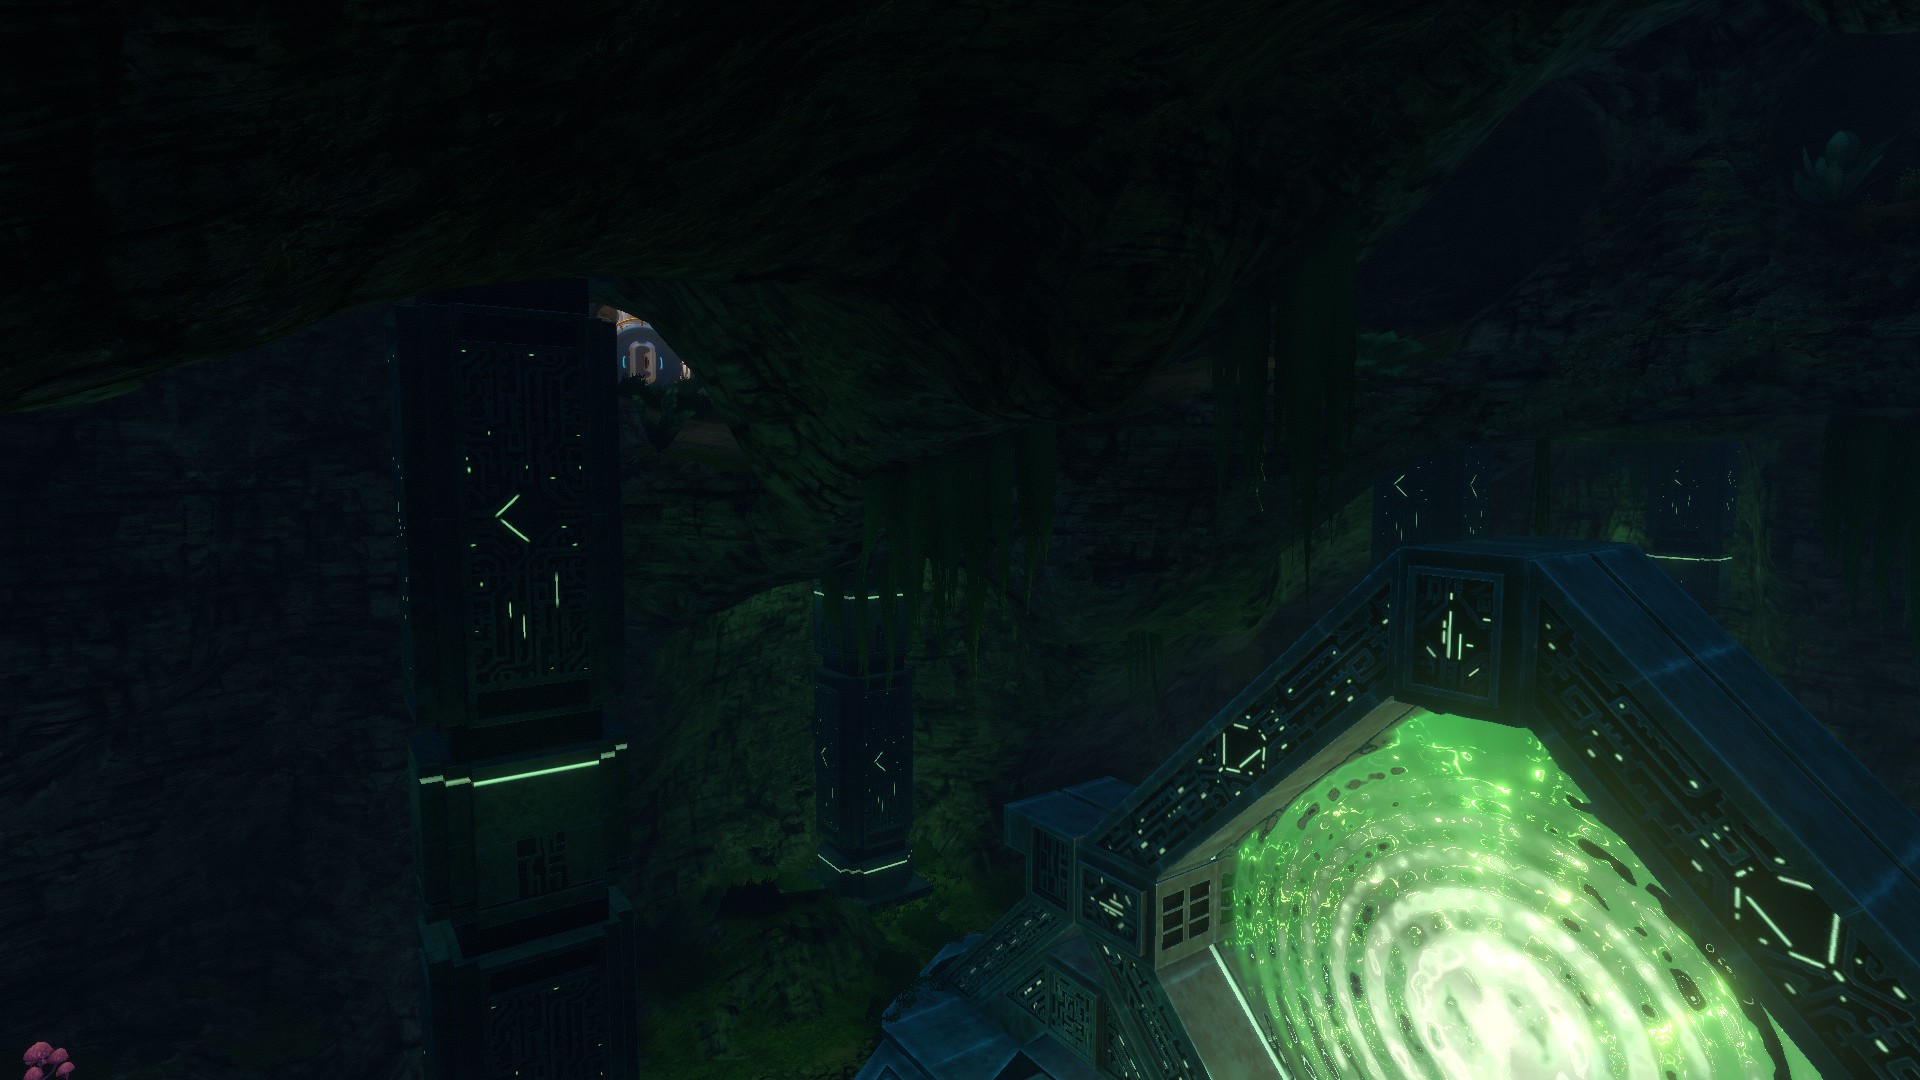
Walk towards the cave exit facing the water. The compartment can only be placed here when it is close enough to connect with the wall, but far enough to fit into the curvature of the cavern’s opening. This structure will determine the alignment of the entire base.
Enter the compartment with a hatch, and exit via a ceiling hatch. Note: If you port a save slot with this structure to the experimental build, the stair of the surface hatch will render just fine. But creating such a hatch will be tedious with the beta, if not impossible.

From the top of your compartment, extend the structure by two more units in the same direction. The endpoint serves as the central vertical connector of our tower. From this compartment, we will extend the base with plenty of vertical connectors. If you like, you can extend the gate room level with additional rooms and connectors. In the case of the screenshot above, there is a multipurpose room just around the corner. More of them will follow in the same position at different height levels, so the wild structure will get at least some sense of consistency.
+0m – The Beach House
The central lake of the floating island features a wonderful beach area protected by mighty stone walls – so why not expand our base with some habitats in this magnificient and safe area?
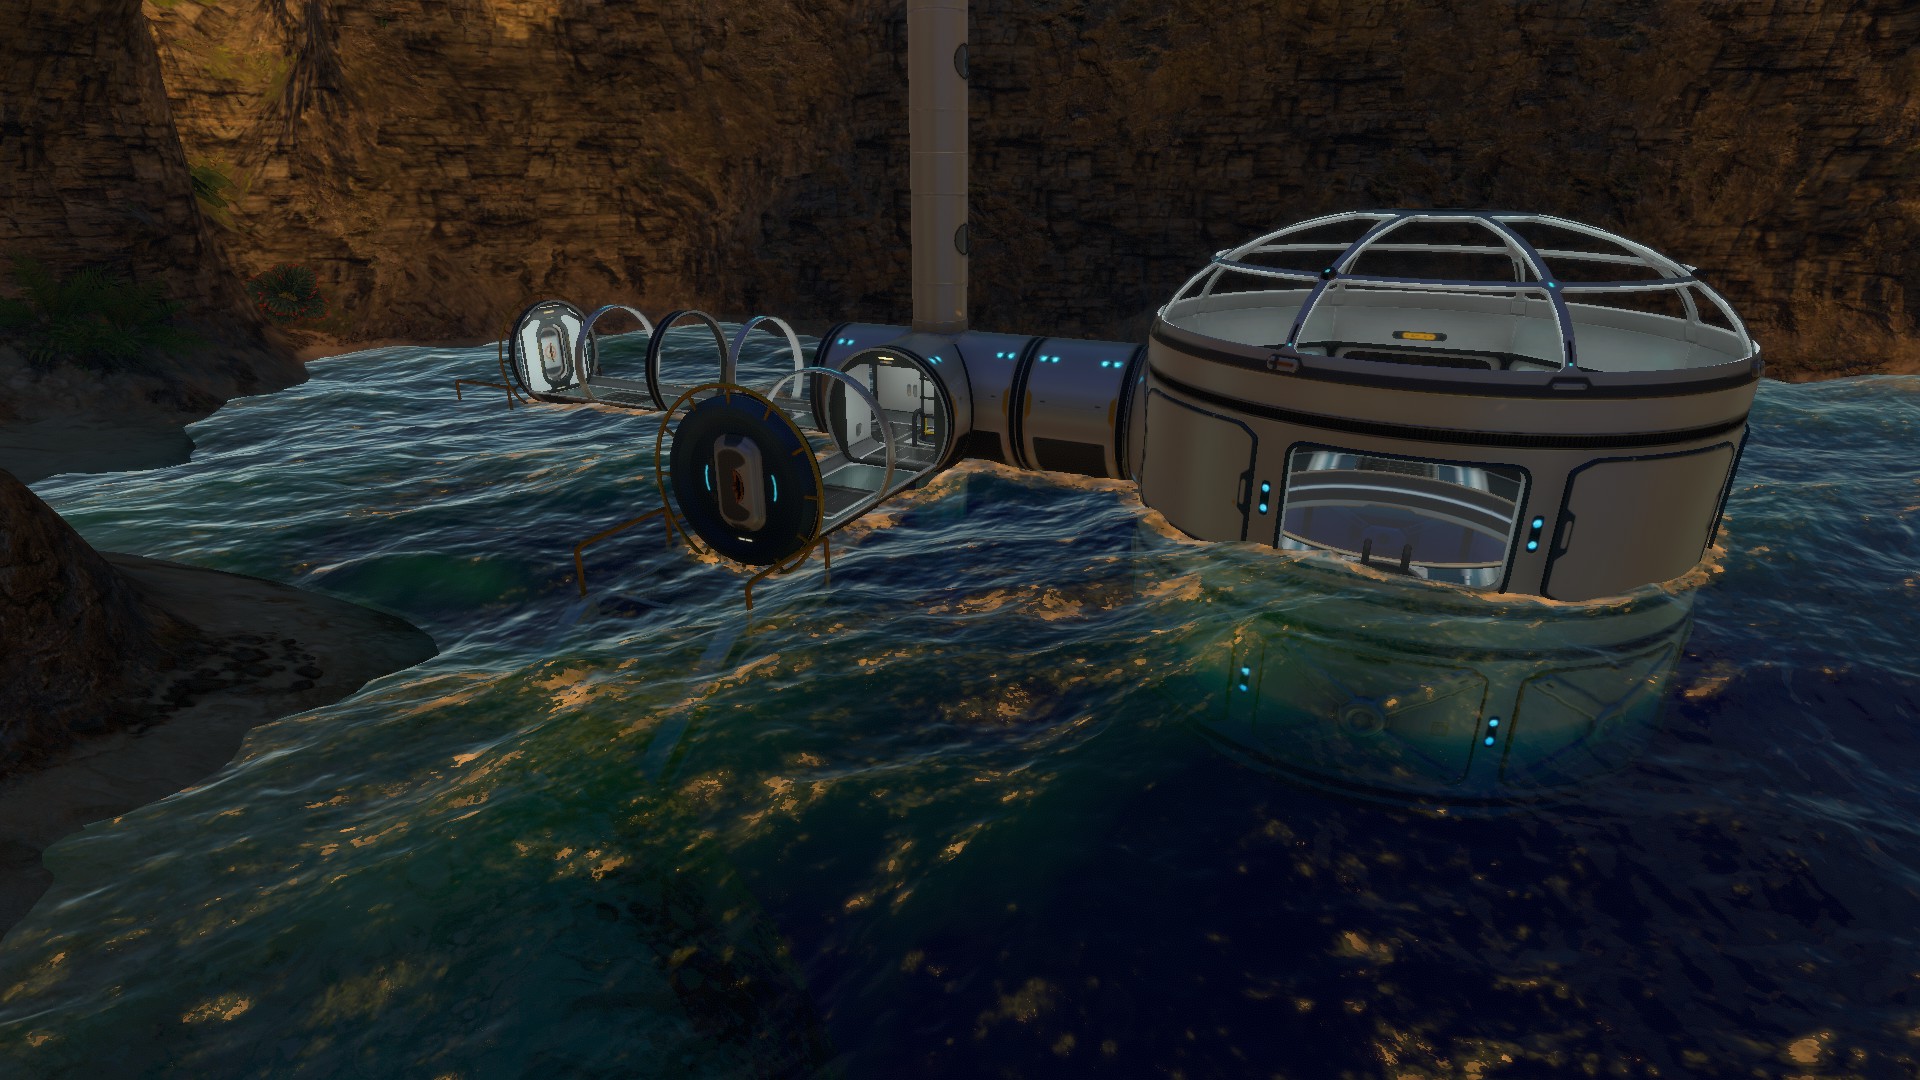
Building downwards while standing on a habitat is easy. Just jump on a ghost platform (i.e. a floating foundation) below your habitat . Add some vertical compartments, jump to the next platform and decunstruct the previous ghost. Continue until you reach the sea level.

Remember that hull integrity is ignored for all structures that are above sea level. So, we can go wild with decorative elements, unless they are covered with water. Be sure to include a floor hatch on some of the sea level compartments, so you can enter from below. Also, it might be a good idea to extend a multipurpose room below sea level, so you can reinforce its walls for a good amount of base integrity to start with. This will be helpful as we continue to build our shaft of vertical connectors towards the depths of the Grand Reef.
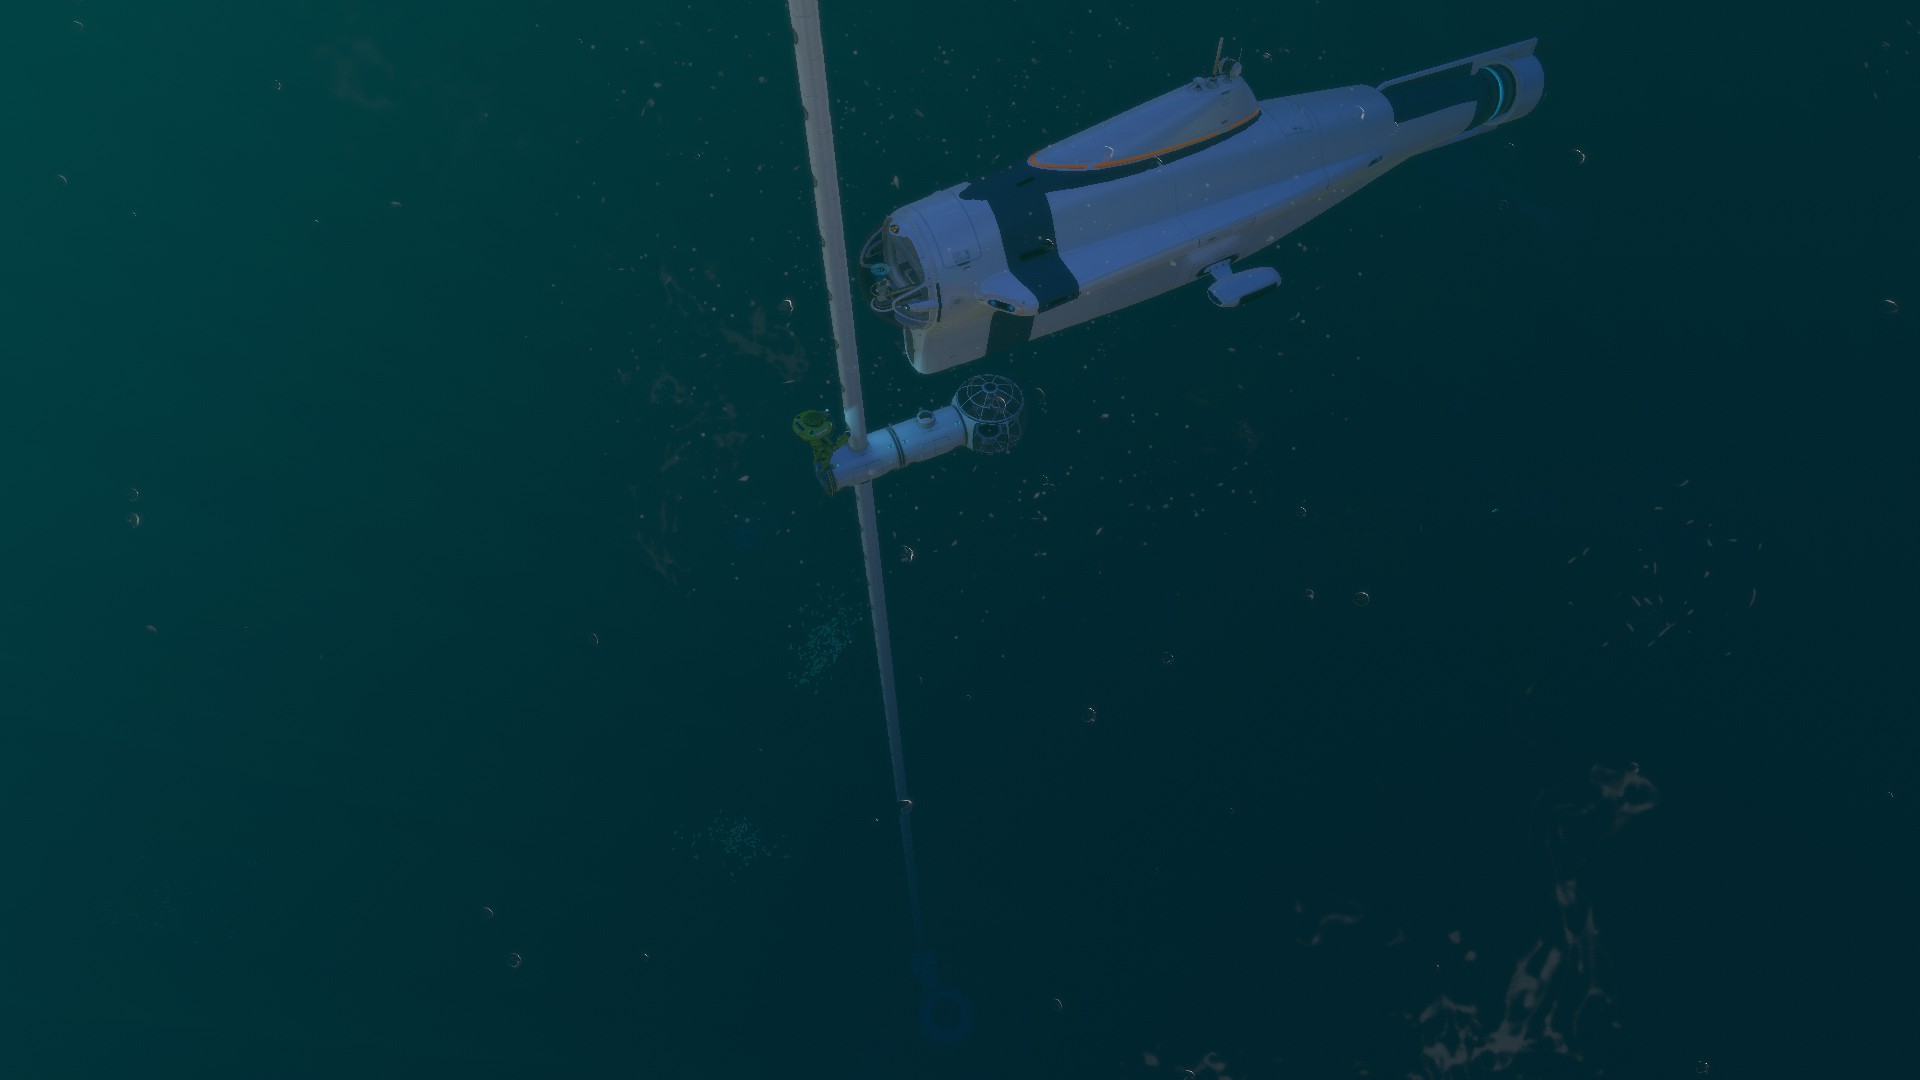
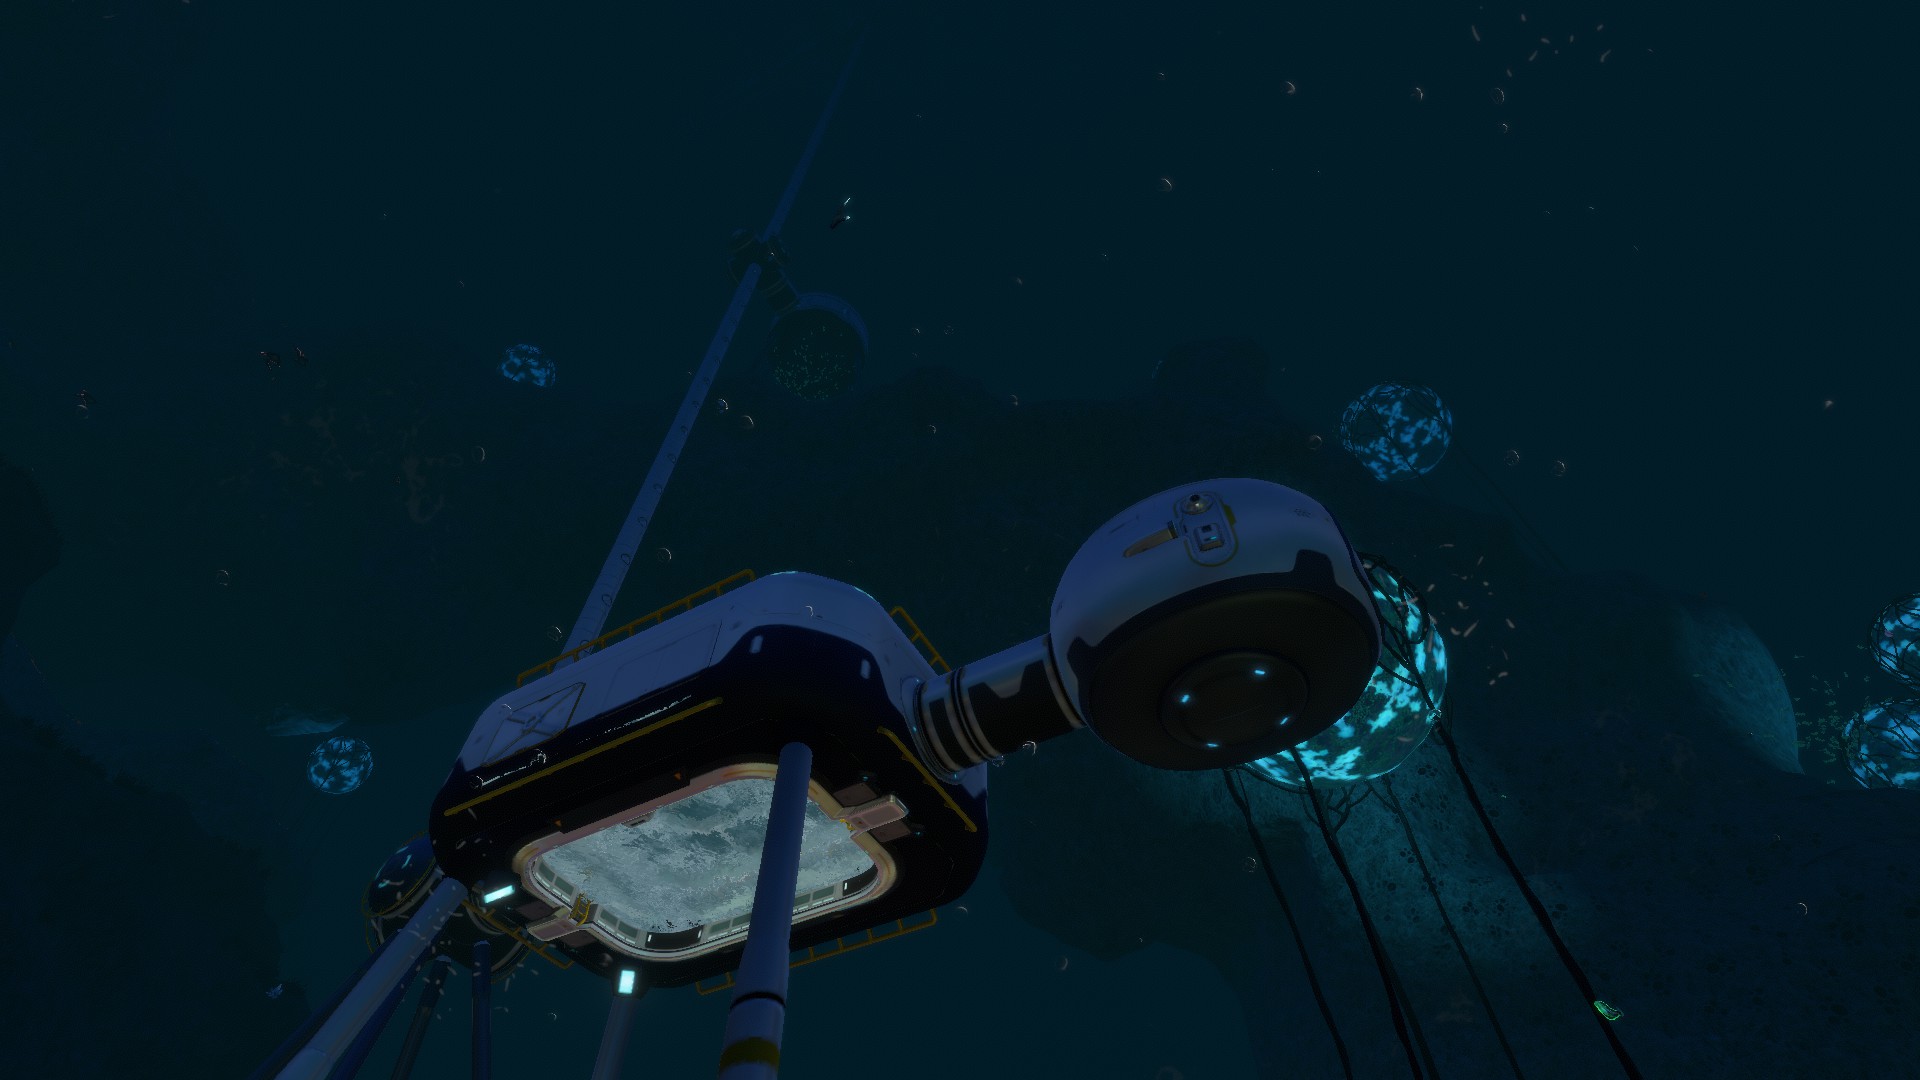
-100m – The Cyclops Dock
Bringing a Cyclops closely below the island lake is quite an annoyance, as the submarine easily collides with the large stalactite structures hanging from the body of the floating island.
Therefore, we extend the vertical connectors downwards to a comfortable depth of about 100 meters below the surface.

In this example, the base structure at this level is very simple, with just a ceiling hatch and an observatory. When the Cyclops parks closely, the base hatch is right below the entrance point.
The view is nice from here, so feel free to experiment with larger glass structures, but leave sufficient room for your Cyclopse to approach the area with ease.
-235m – The Anchor
As we continue to extend the vertical connectors down towards the grand reef, we will approach a larger rock structure.
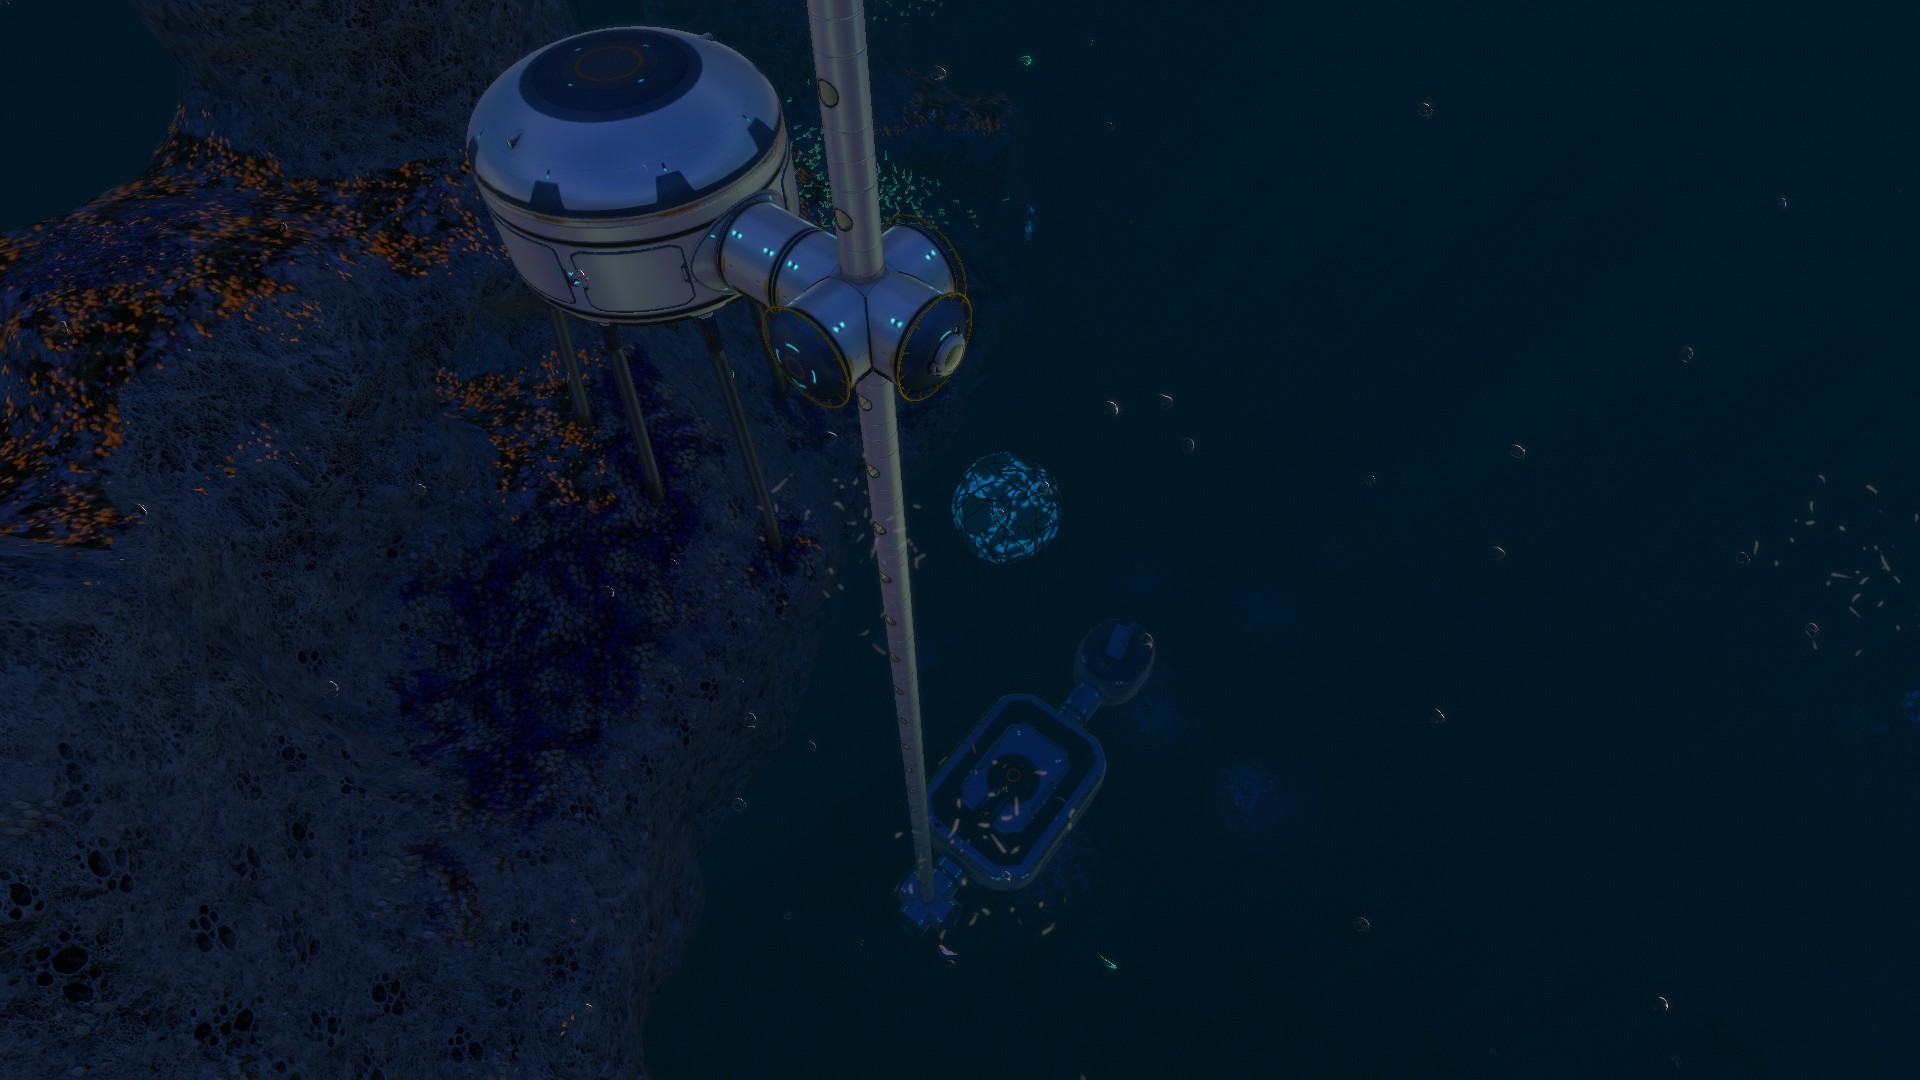
The tower shaft should pass nicely beside the rock formations, but close enough that it is easy to build additional habitat structures that rest on the rocks. This can be a nice extra for our base, giving us the illusion of a stabilizing anchor point. However, if we consider the floating islands are gradually moving against the floors of the grand reef, then such a foundation may pose an inherent risk to the structural integrity of our tower. So, there may be good reasons for you to skip this optional segment entirely, and just continue the connector shaft downwards from here.
-300m – The Moonpool
At about 300 meters below sea level, you will reach the upper sea floors of the Grand Reef.
This is a good place for setting up a prawn-friendly Moonpool and an Observatory. There is an abundance of silicate in the area, which will be useful later for extending our base with glass structures. An entrance to the Deep Grand Reef is nearby as well. Expanding the base in that direction might be an option for later, if you feel like going even deeper. But for now, we have established a connection between the Grand Reef and the Floating Island – what a wonderful feature of an arguably useless kind. Let’s build some ladders into our connector shaft and head back up to the surface.
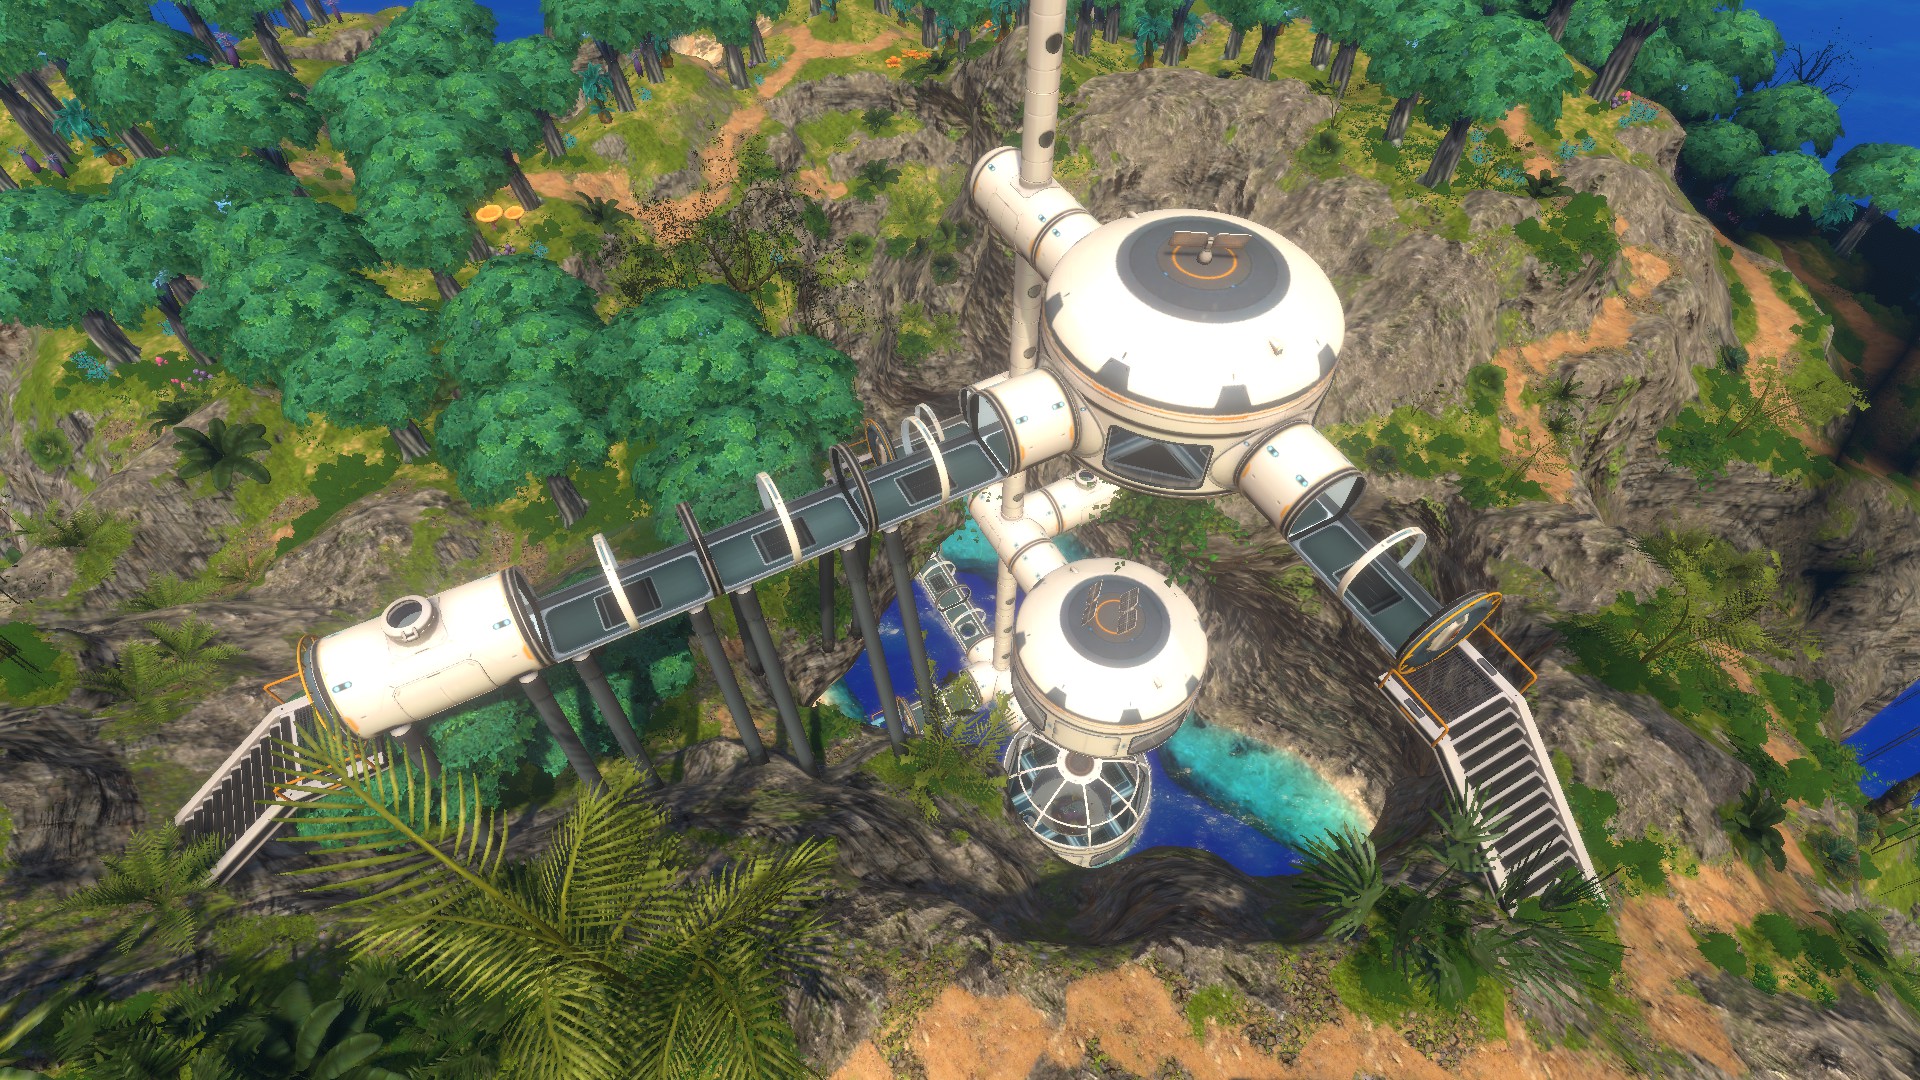
+30m – The Bridge
So, we are back where we started, at the level of the Gate Room, standing on top of our wonderful construct. From here, we can continue to build vertical connectors – but this time, we are going upwards. On this way, we can extend the habitat with compartments that nicely connect with the surrounding rock structures, and make our base accessible from many directions.
The first level we can add this way is a bridge that covers a narrow side of the lake, right over the entrance to the Gate Room. Not terribly useful, but doesn’t it look nice?
+40m – The Hub Area
As we build our tower a little higher, there is plenty of room for more habitat elements and connectors.
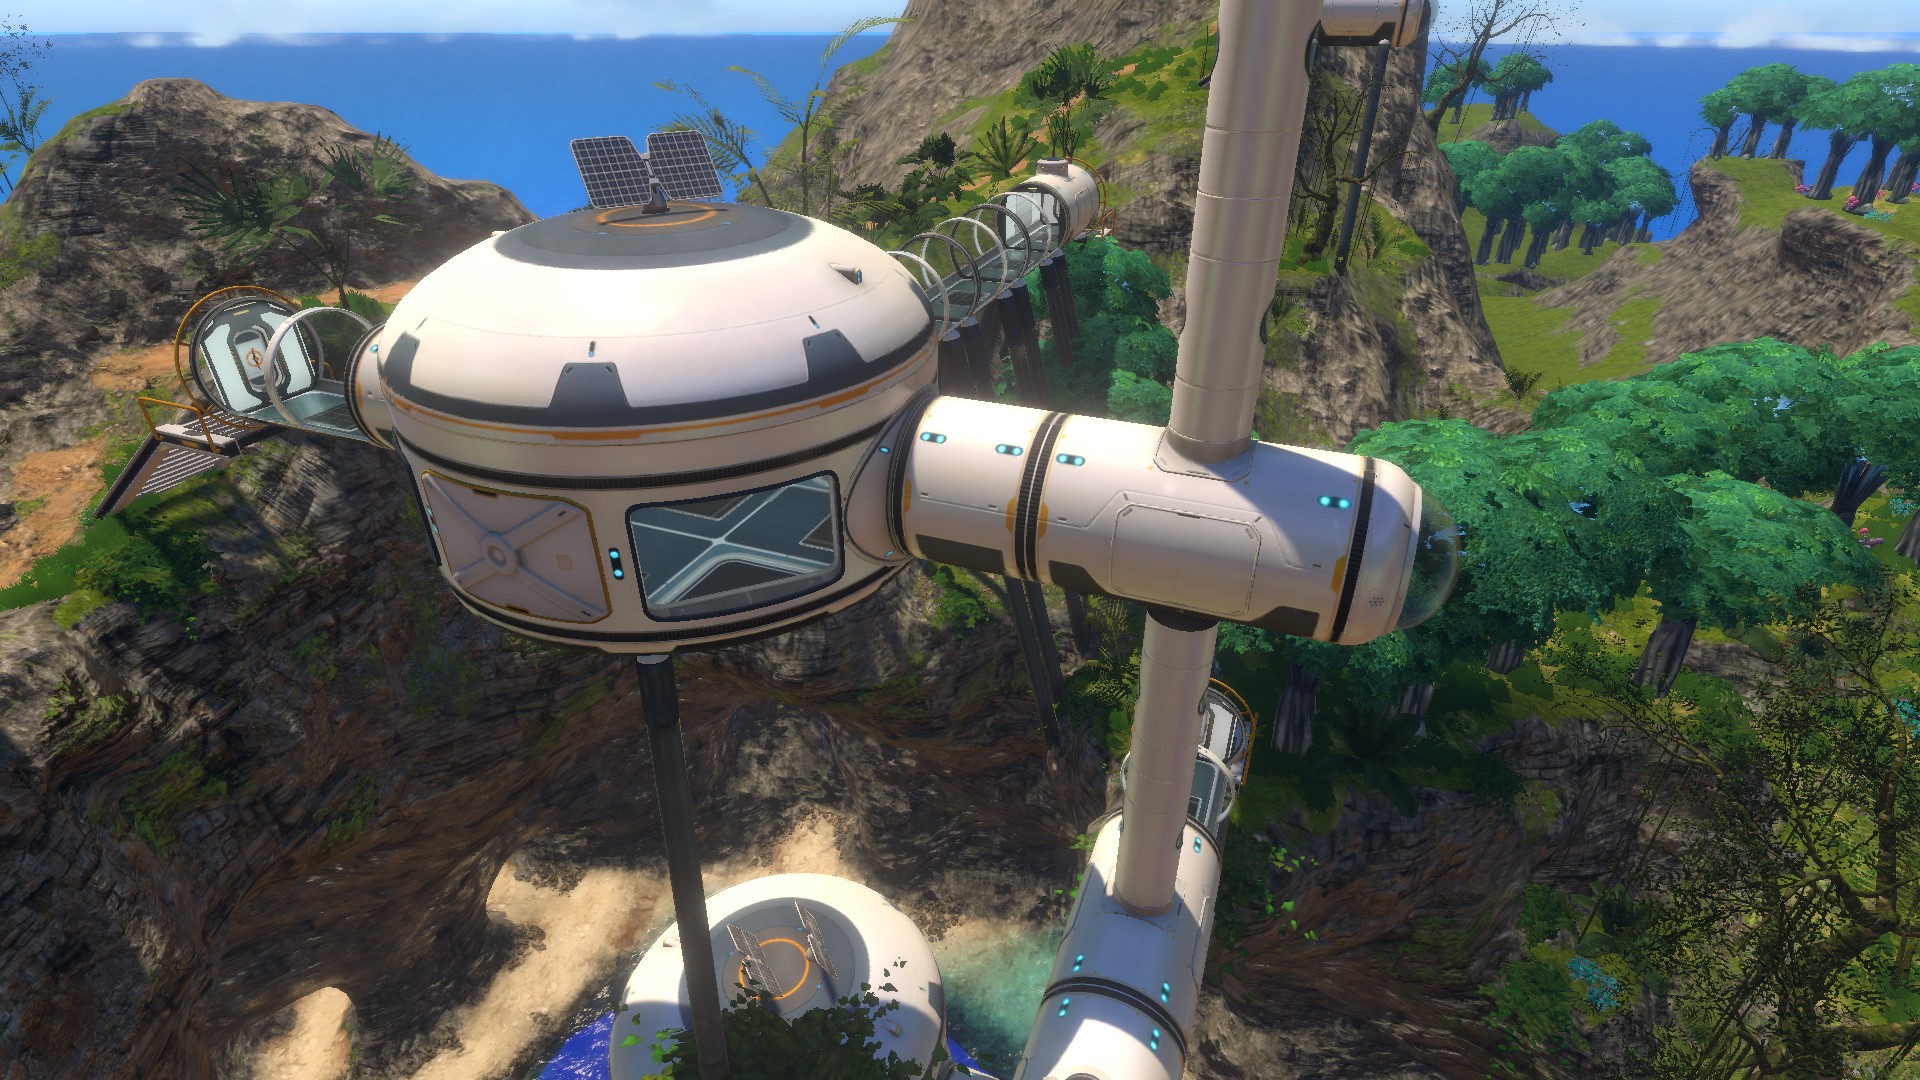
It is your choice how you arrange things here to form a hub area. In this example, we have a multipurpose room aligned with the rooms below, connected to the surroundings with two walkways.
Note that the surface hatches from the beta build form some nice stairs in this example, but they can be tricky to place. A classic hatch close to the island floor will do just fine when you are using the stable branch, and those will be much easier to align with the surrounding terrain.
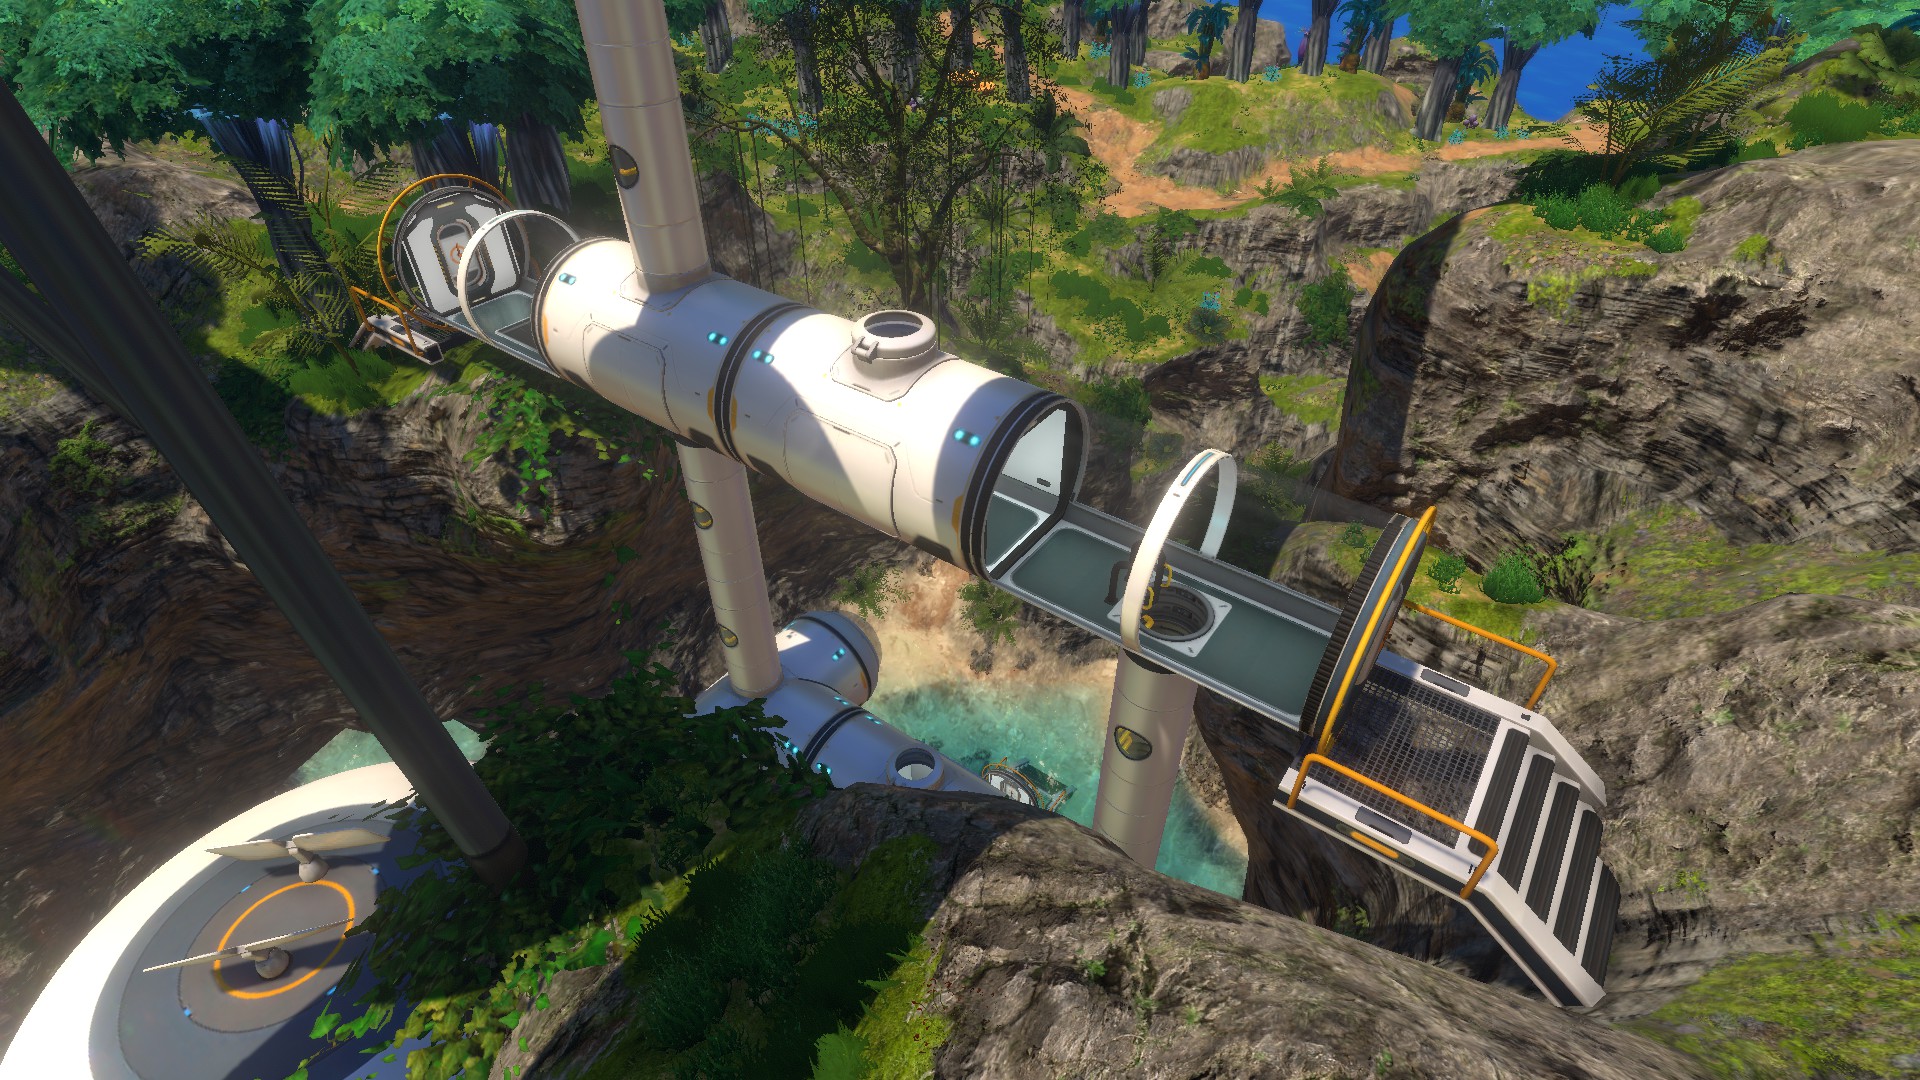
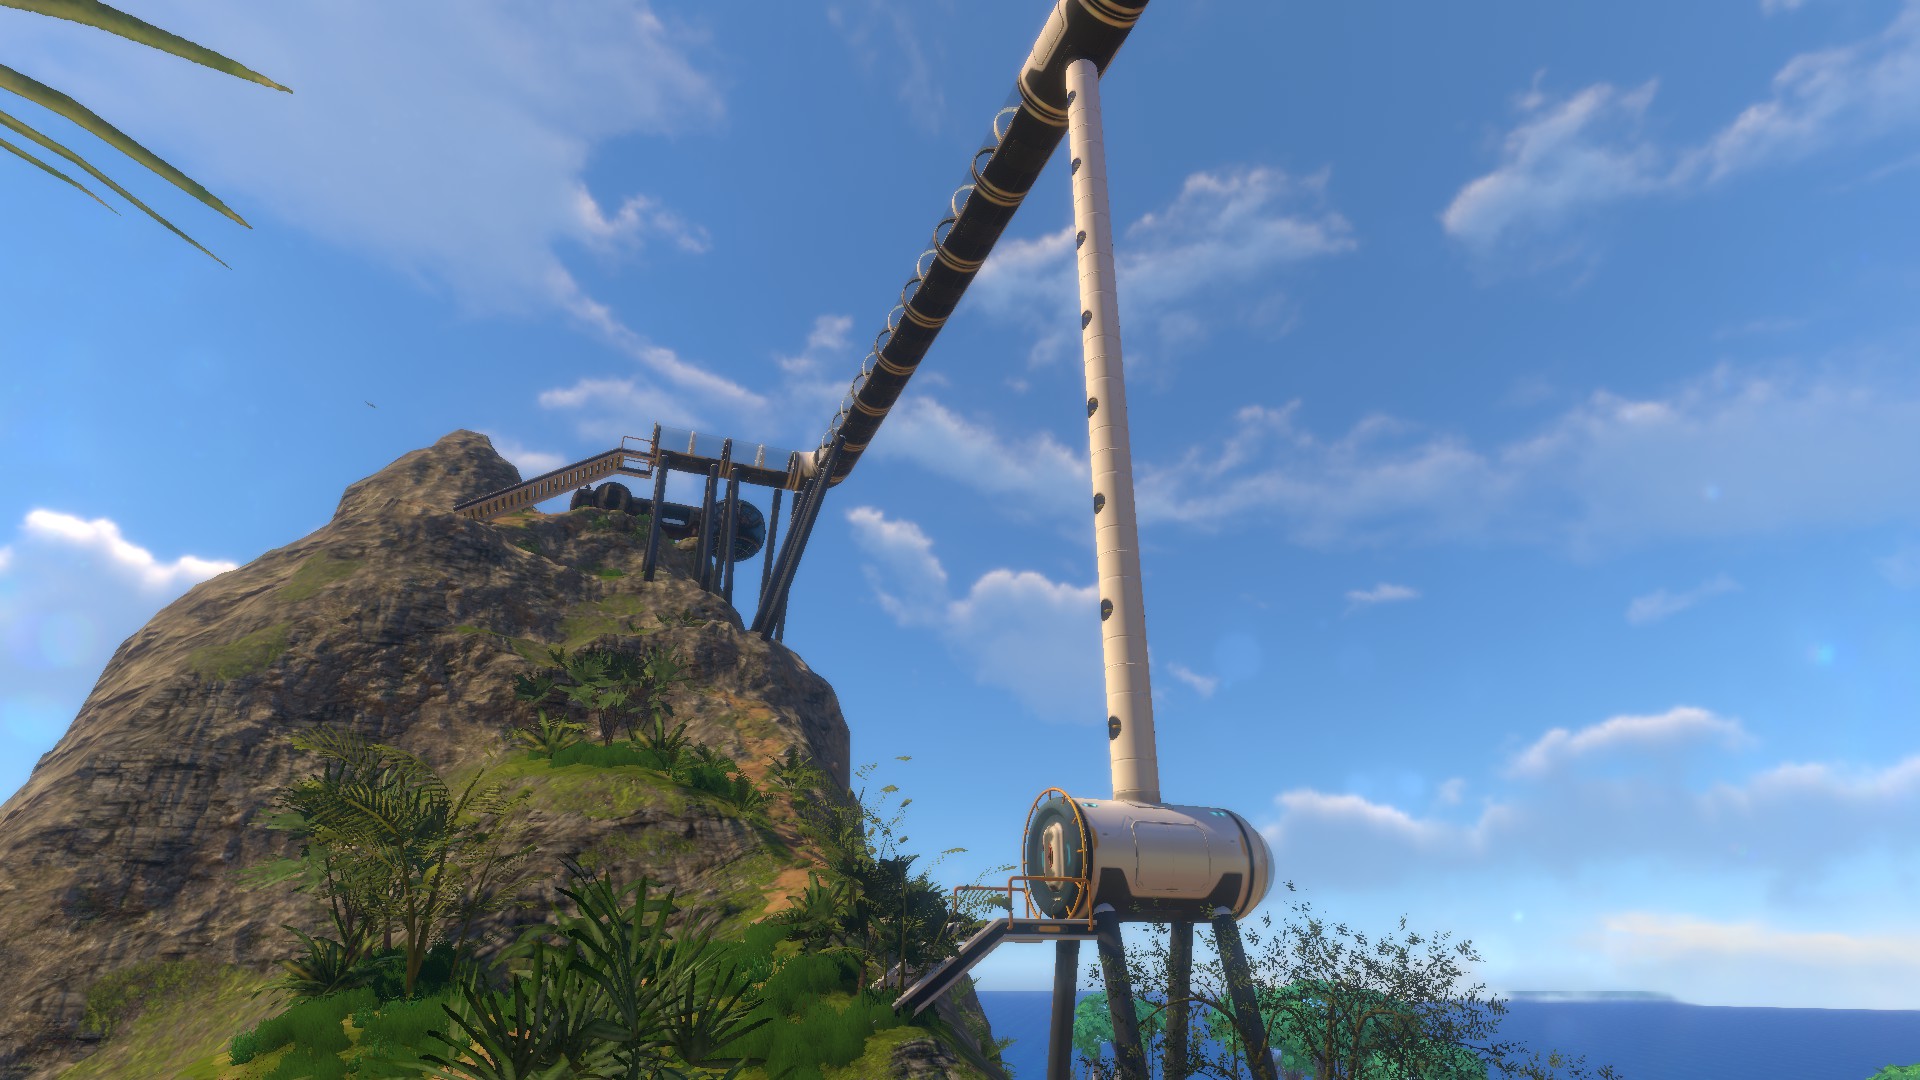
+79m – Observatory Walkway
So far, we have a base that goes from the Grand Reef floors all the way up to the surface of the island hills, where the base is nicely connected on several levels.
From here, we can continue to build the shaft of vertical connectors, but there is not really much we could connect to at this point. That is, if we want to keep the structure vertical overall. But if we look a bit further, there are two small island mountains with the remains of Degasi observatories on their peaks. Wouldn’t it be nice to connect our structure with those?
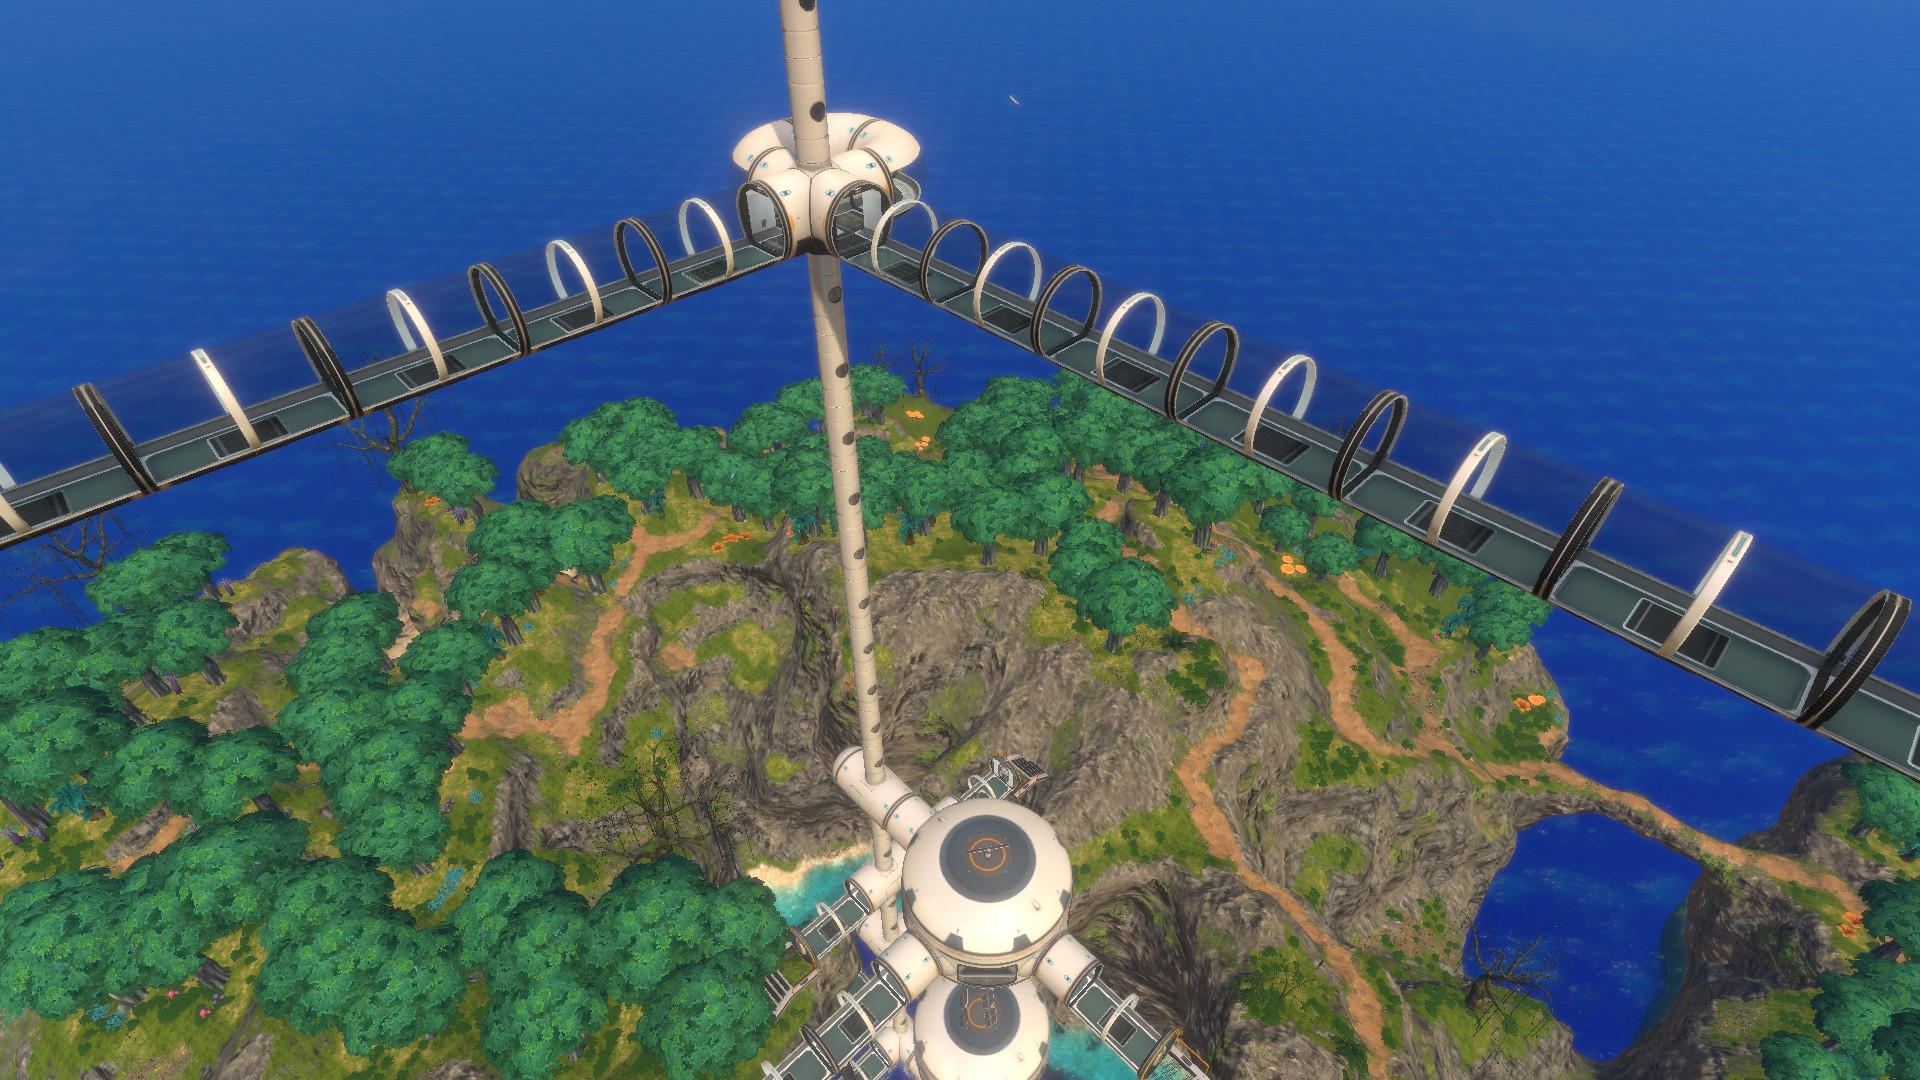
In order to reach those endpoints, we’ll have to extend the tower shaft to a height of about 79 meters above sea level. For the upwards building work, you could for instance start with a tower that has a compartment with hatches for “climbing” on every third or every second level. You can also work with a secondary tower to ease the process. Once you reach the desired height, you can use a top down approach to clean up the structure and leave only a line of vertical connectors. As mentioned earlier, ghost platforms (temporary, floating foundations) are useful for downwards building.
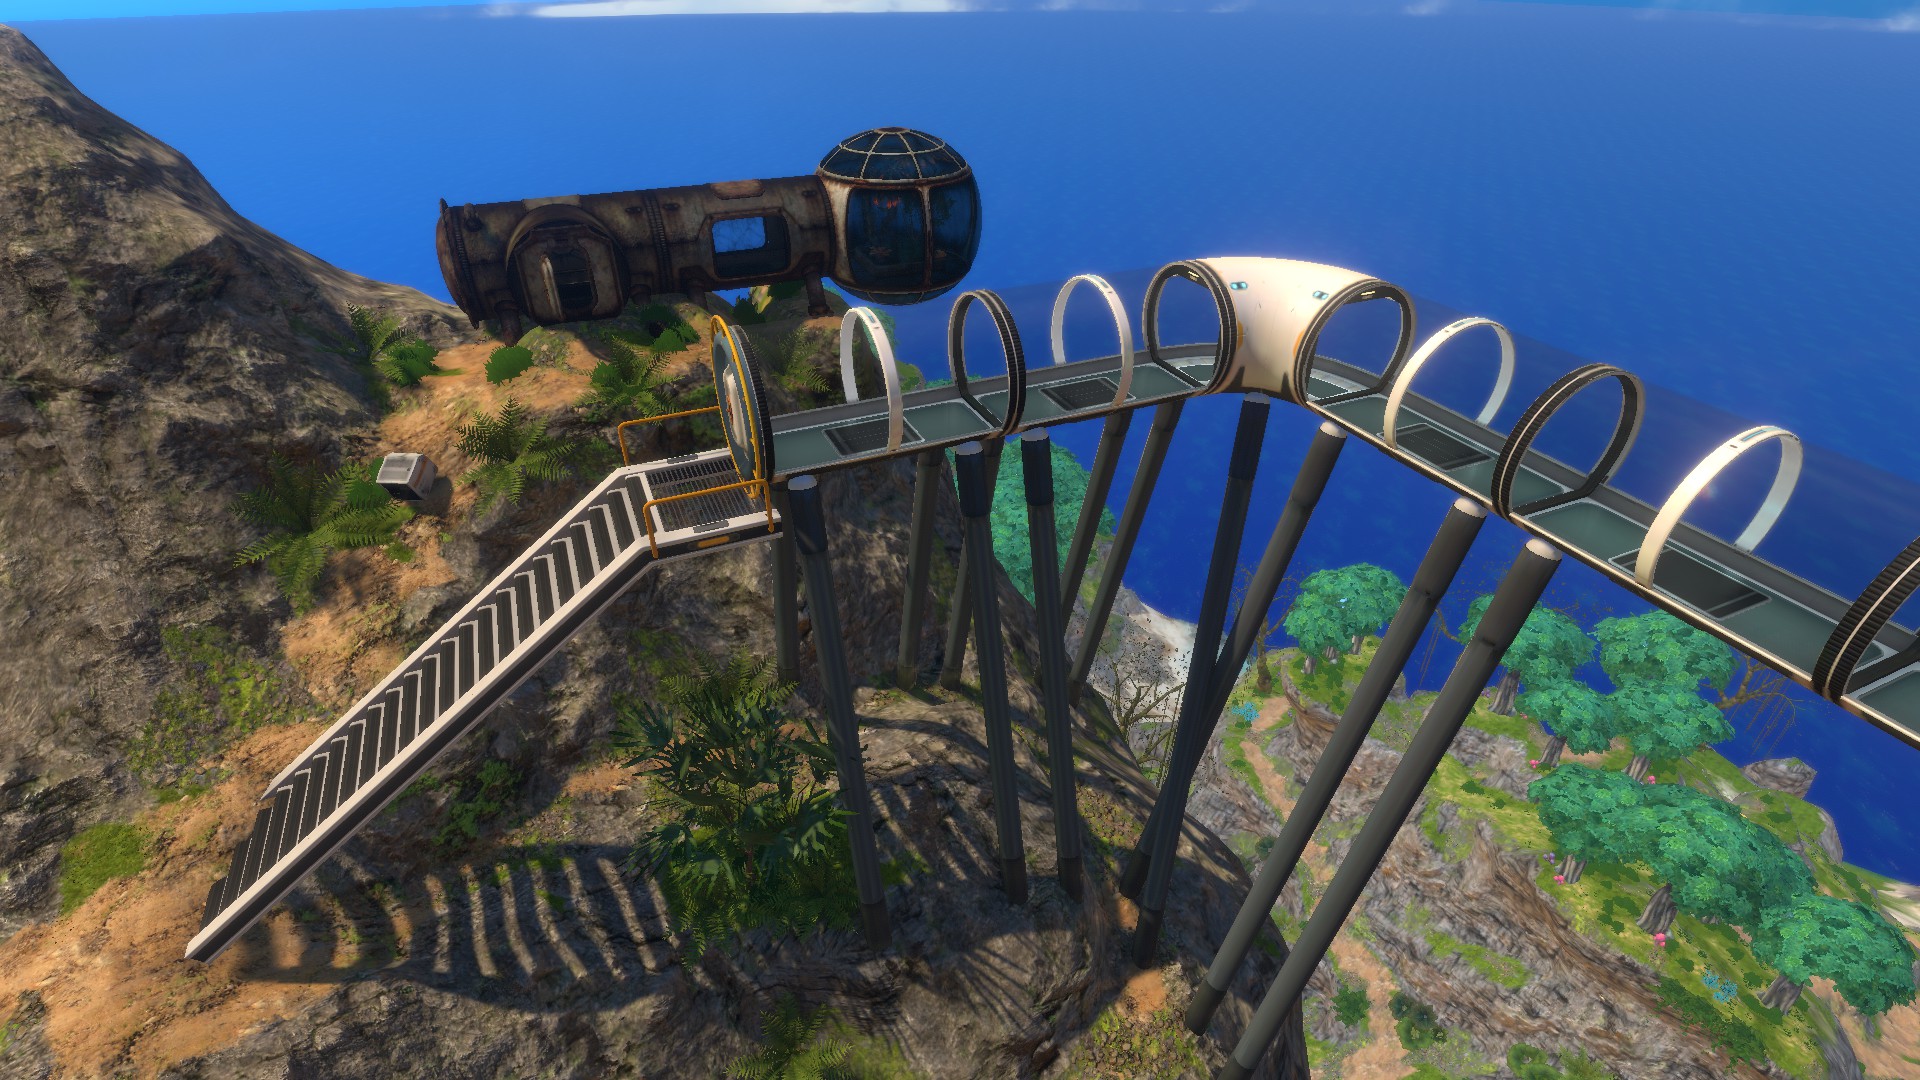
We are thankful that Subnautica has a very permissive understanding of structural integrity, as we keep on building a ridiculous extend of glass pipes towards the Degasi observatories. Once we get close enough, we can position an exit hatch. Once again, those look amazing in the beta, but may proof difficult to align with the terrain.
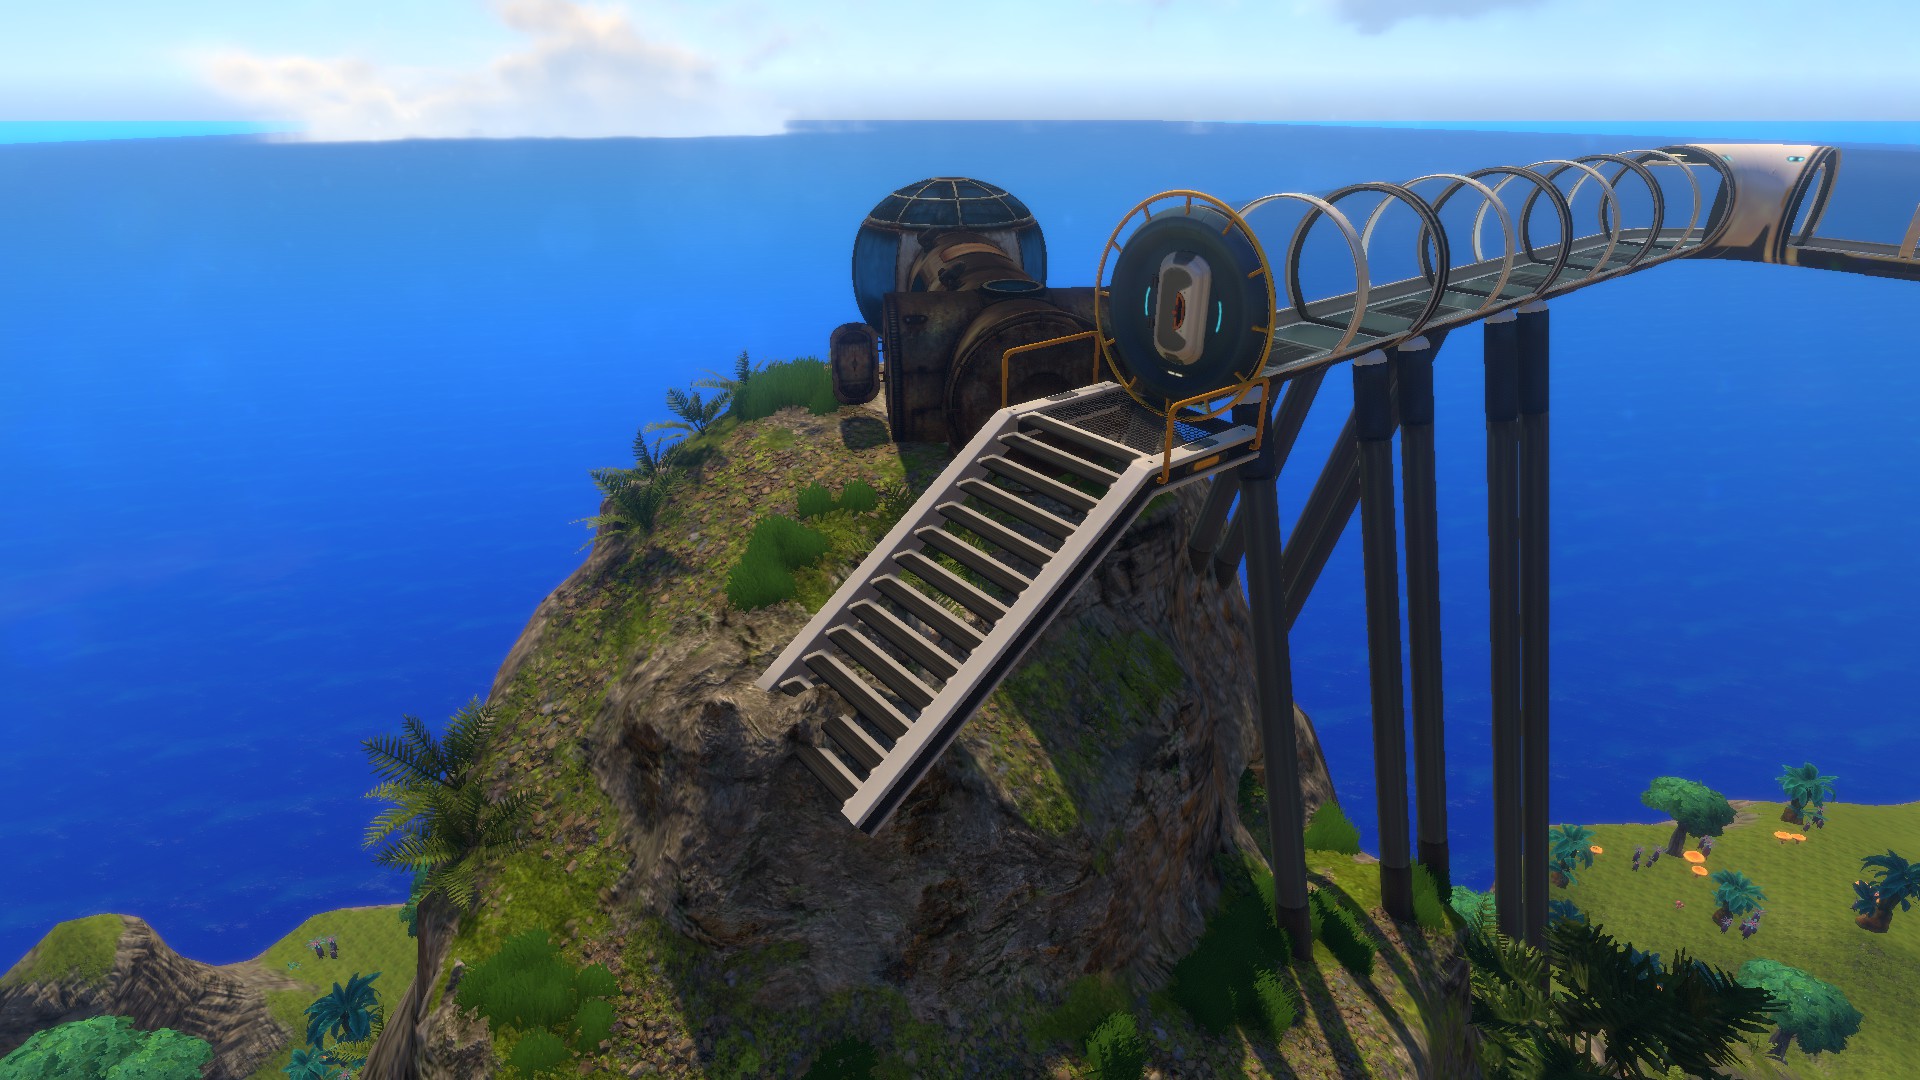
The endpoints of our massive glass corridors look somewhat robust near the end points with all those anchors to the mountain site. But overall, the glass structures look horrendously unstable without any additional structural support.
Let’s fix that with some more downwards buildings from the middle points of the two glass corridors. This takes a bunch more of resources, but the improvement in aesthetics and the small step to a more credible structure is well worth that, isn’t it?
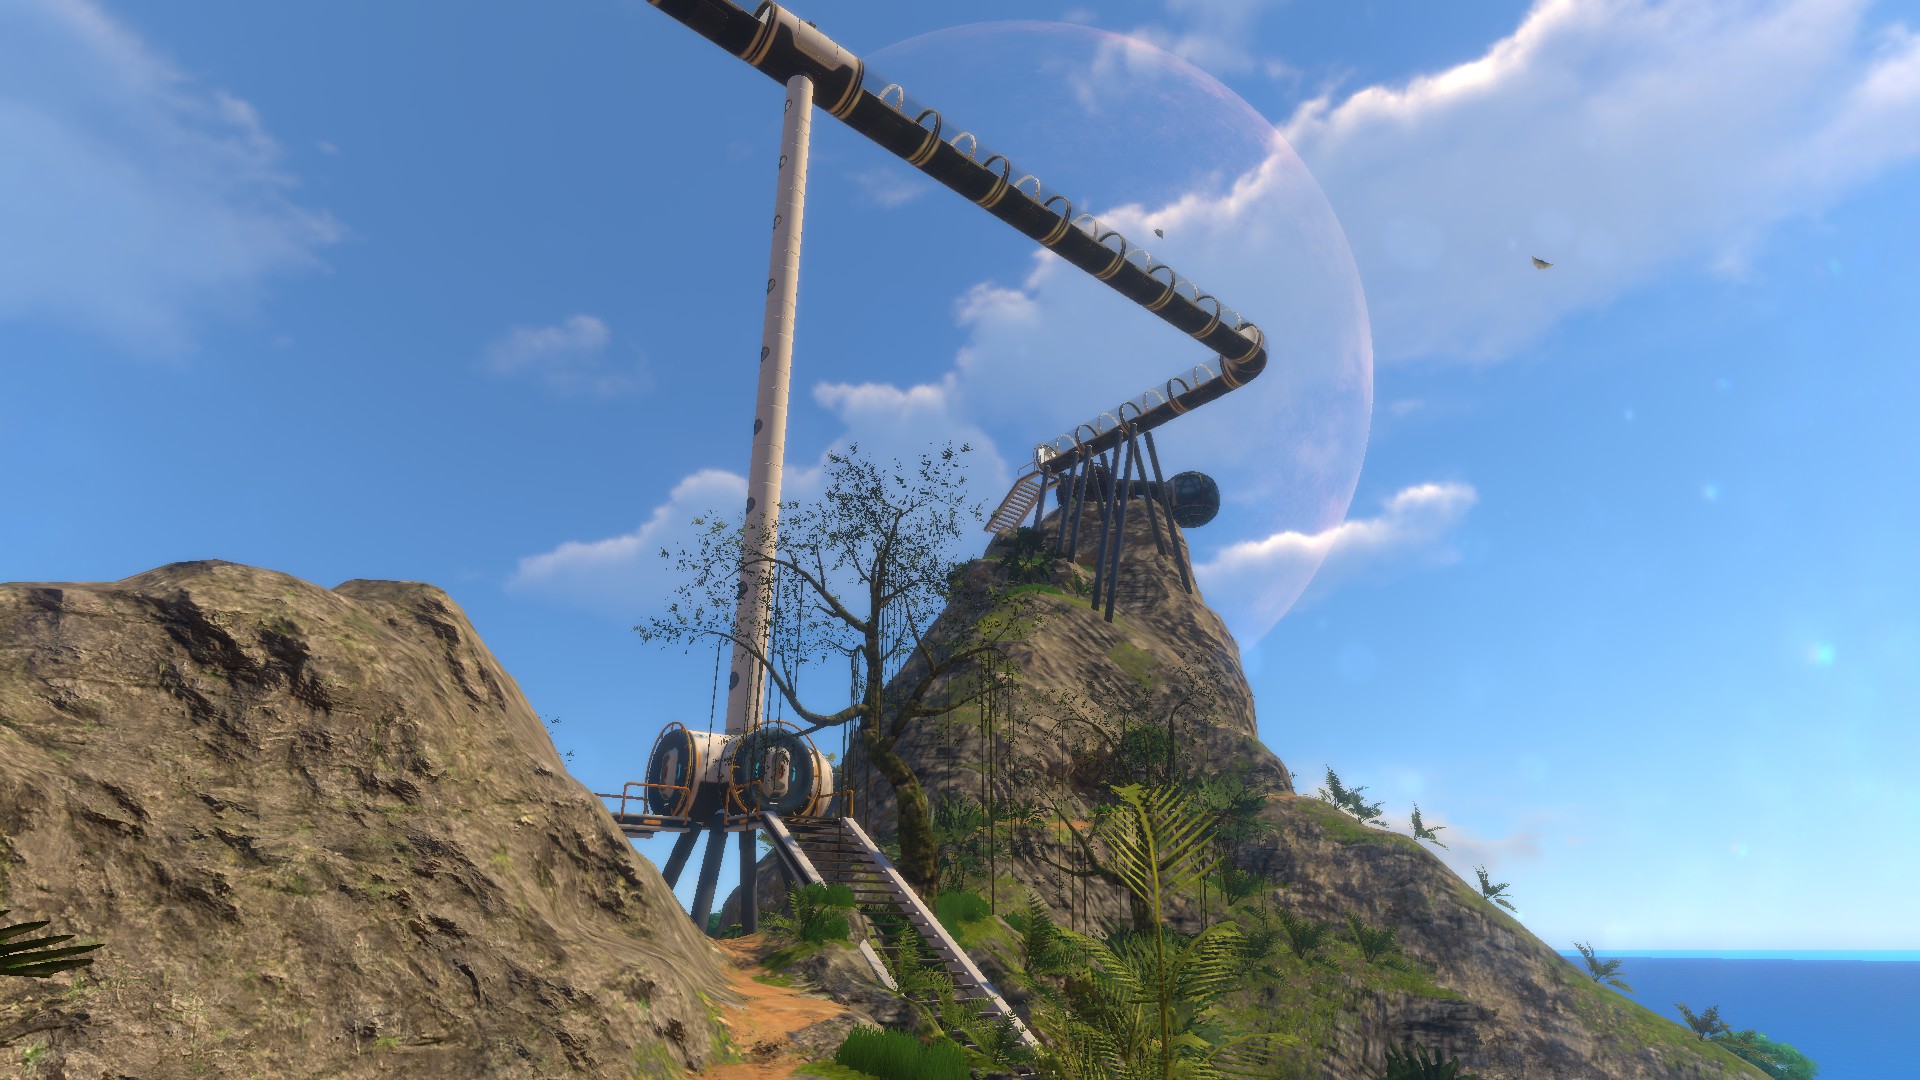
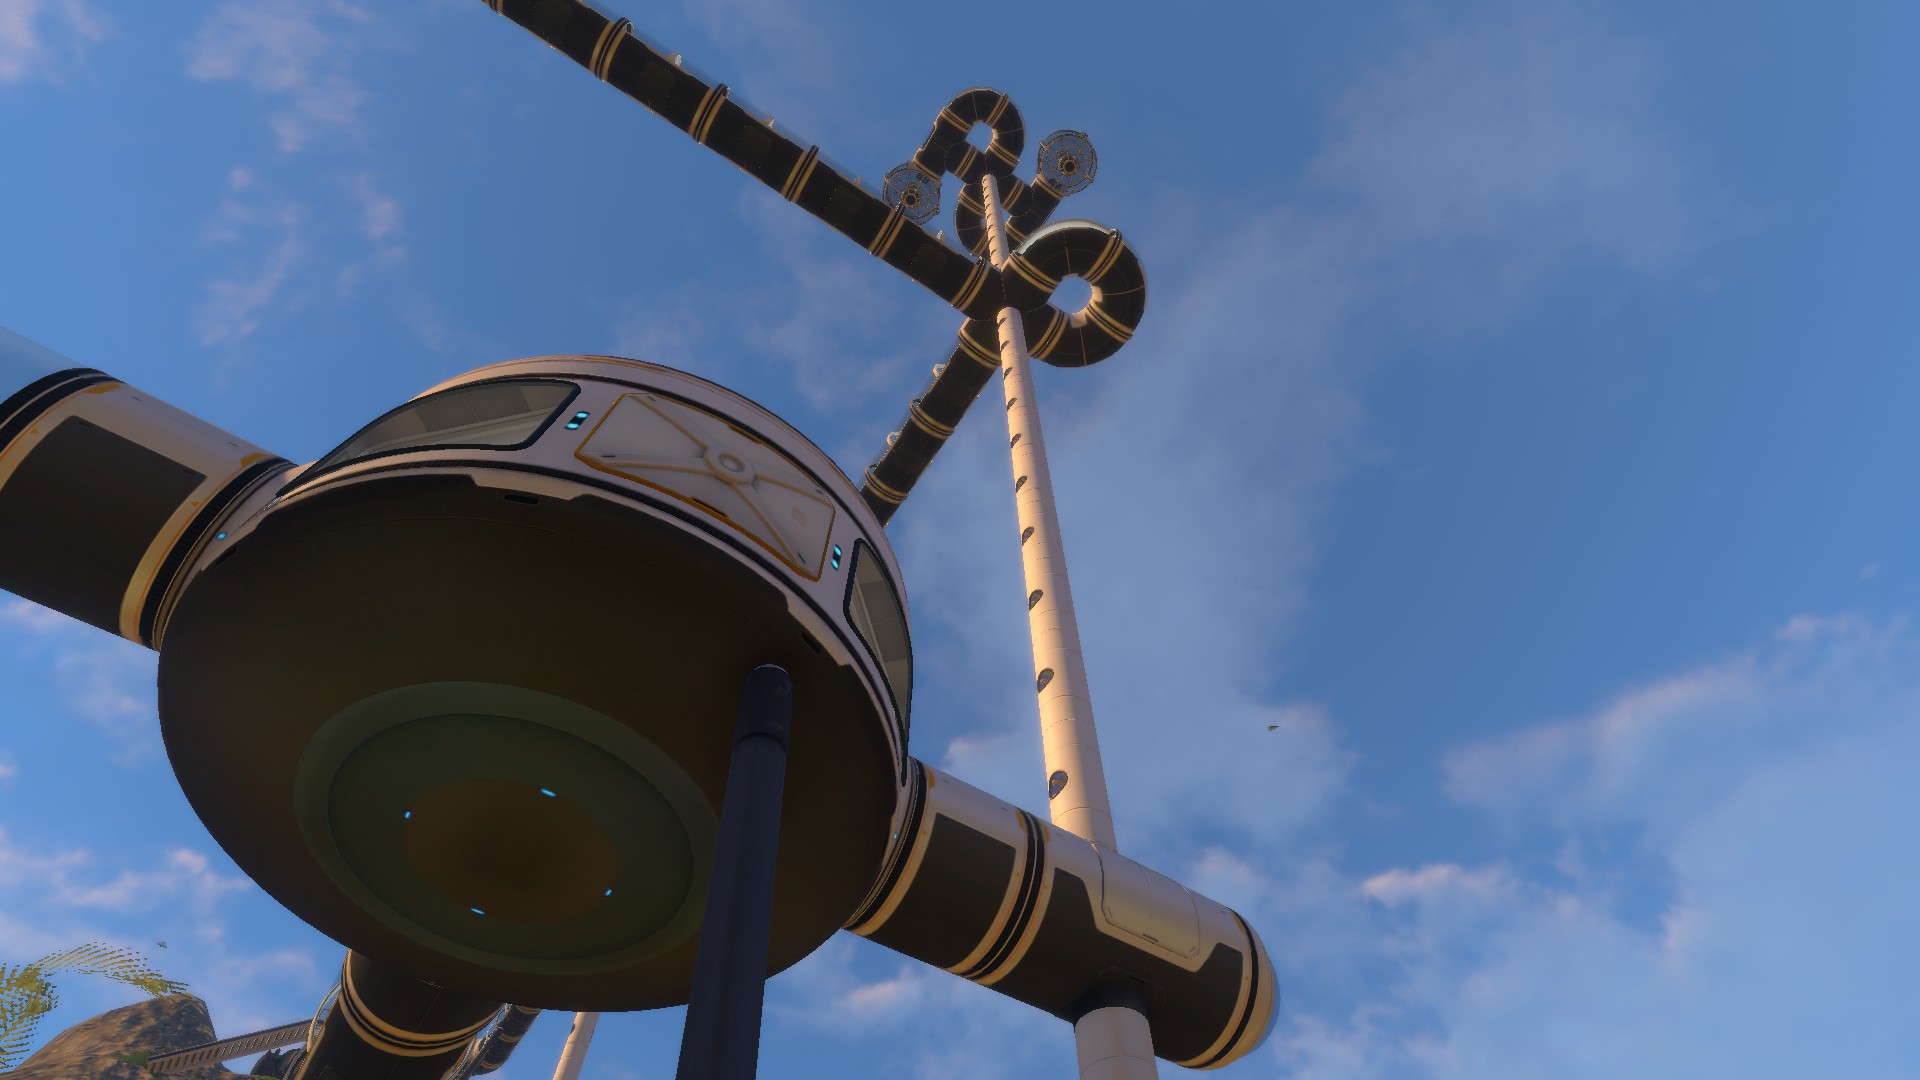
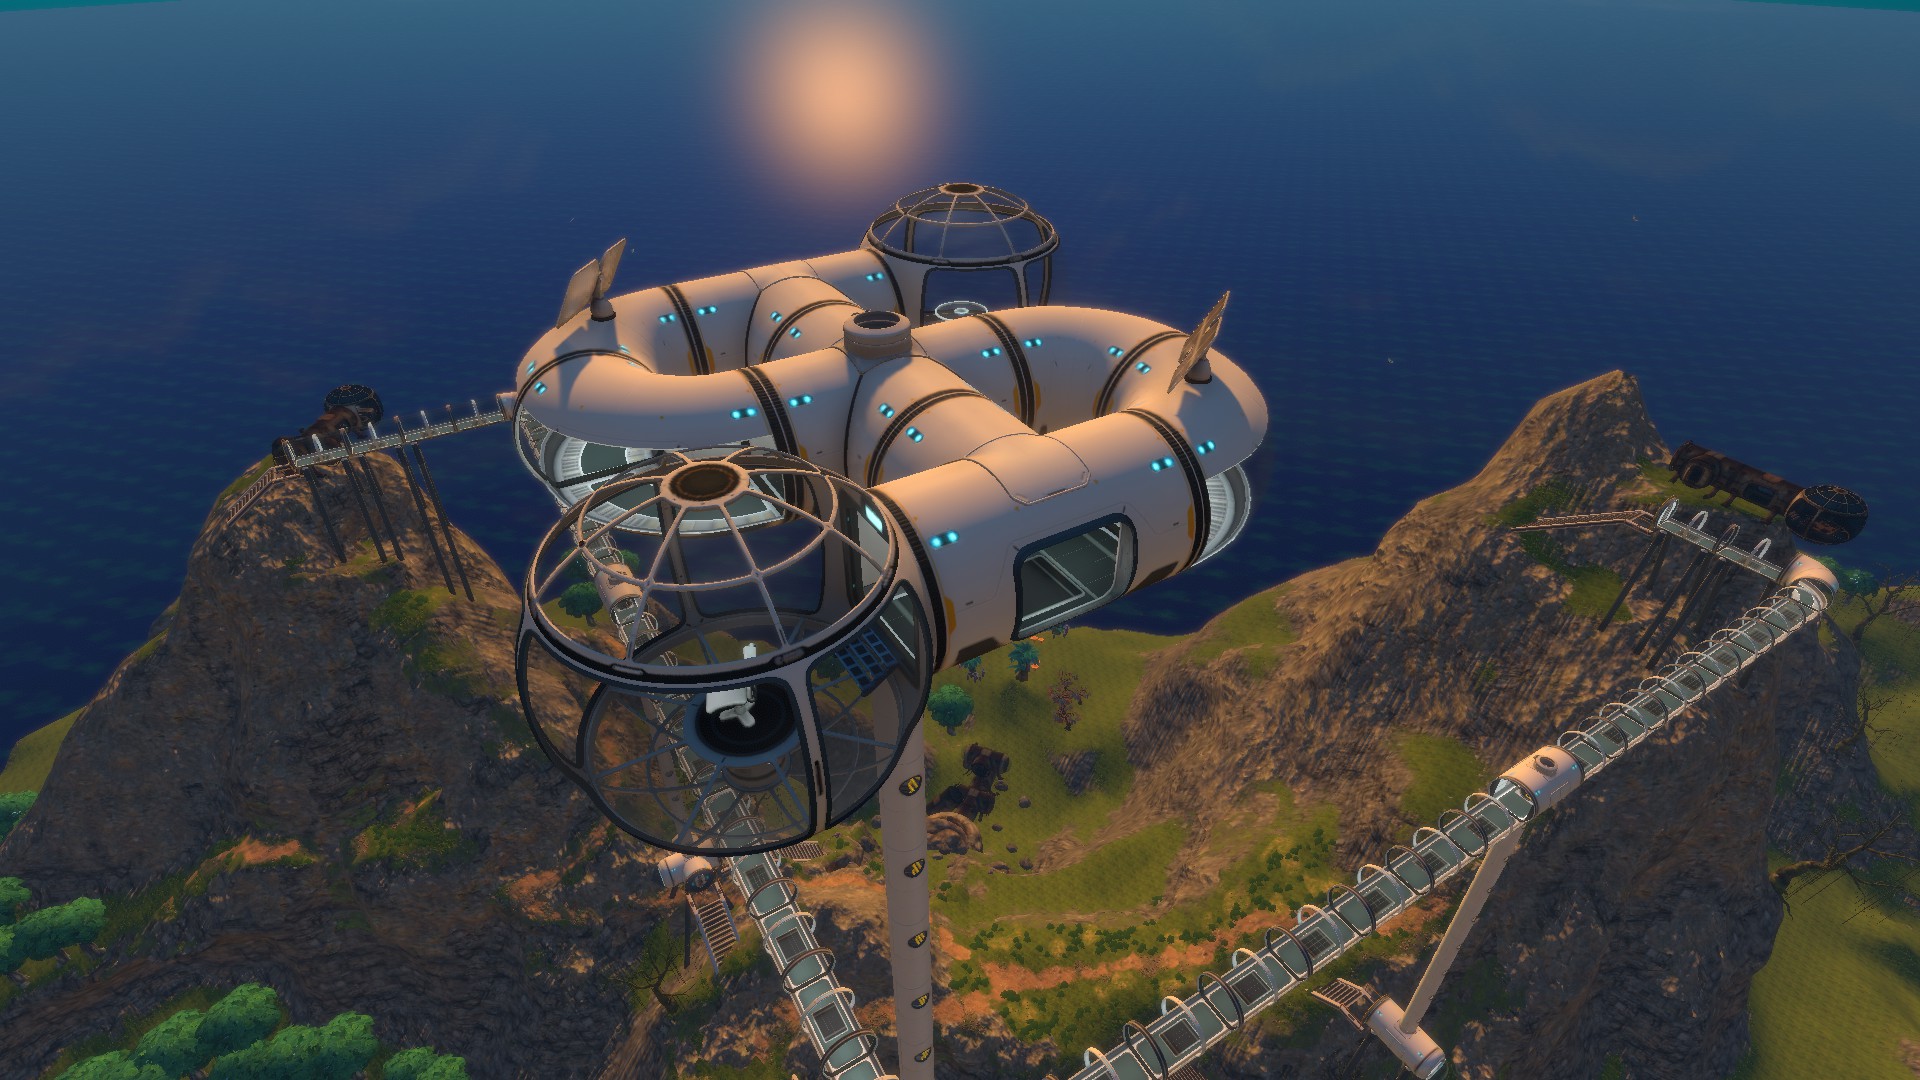
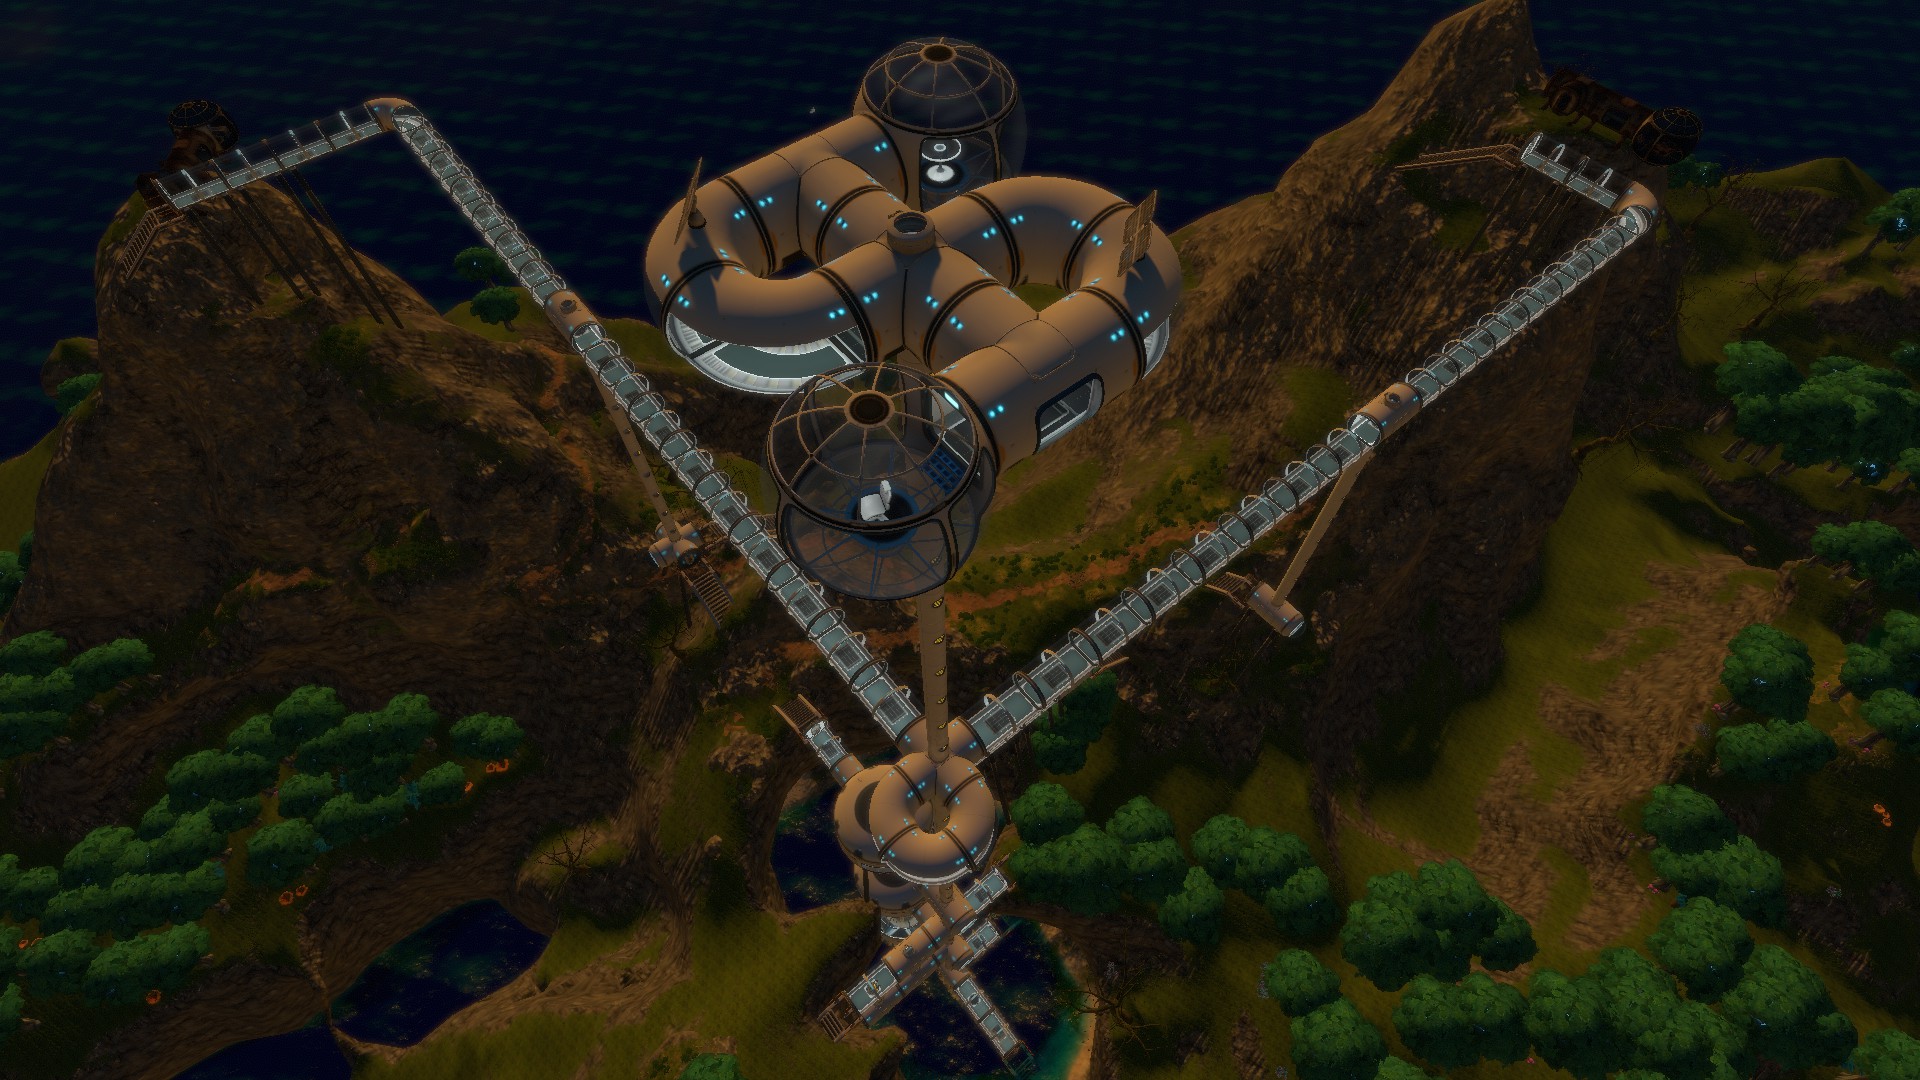
+117m – Tower Peak
Now that our base is connected even with the highest peaks of the island, there is no point in further expanding the tower upwards. Is there? Well, it is all up to you. Some players love to pile up kilometers of vertical connectors. For the sake of testing, you can do that, and enjoy what you are doing, even if it takes ages. Considering immersion and aesthetics, however, it might be preferable to somewhat limit the height of our tower. So, how far do you want to go?
In the case of my own base, I felt that an equidistant spacing between the Hub Area, the Obervatory Walkway and the Tower Peak works just fine. That way, I ended up with an overall height of 117 meters above sea level. We’ve been talking about immersion, and that’s quite a ridiculous height for such a thin pipe of metal, but hey I like it.
The techniques for upwards and downwards building have been covered earlier. If the instructions remain unclear, it may be a topic for a separate guide.
And what do we do with the top? Just do whatever you like, but don’t go too heavy with multipurpose rooms or large structures. The example here shows a somewhat playful arrangement of glass curves and observatories. Oh, and do not forget a ceiling hatch. Diving down into the lake from this spot is a blast. But beware of the many structures you might accidentally hit on your long fall down there.
Closing Words
This little guide may be subject the change. Maybe I’ll find the time to add another section, such as some stats of overall resources used. I hope this kind of commented gallery was fun and inspiring for some players who happen to read it. Feel free to share your own impressions and variants below.
Have fun everyone, and keep on exploring and building.
That's everything we are sharing today for this Subnautica guide. This guide was originally created and written by DrBonifarz. In case we fail to update this guide, you can find the latest update by following this link.