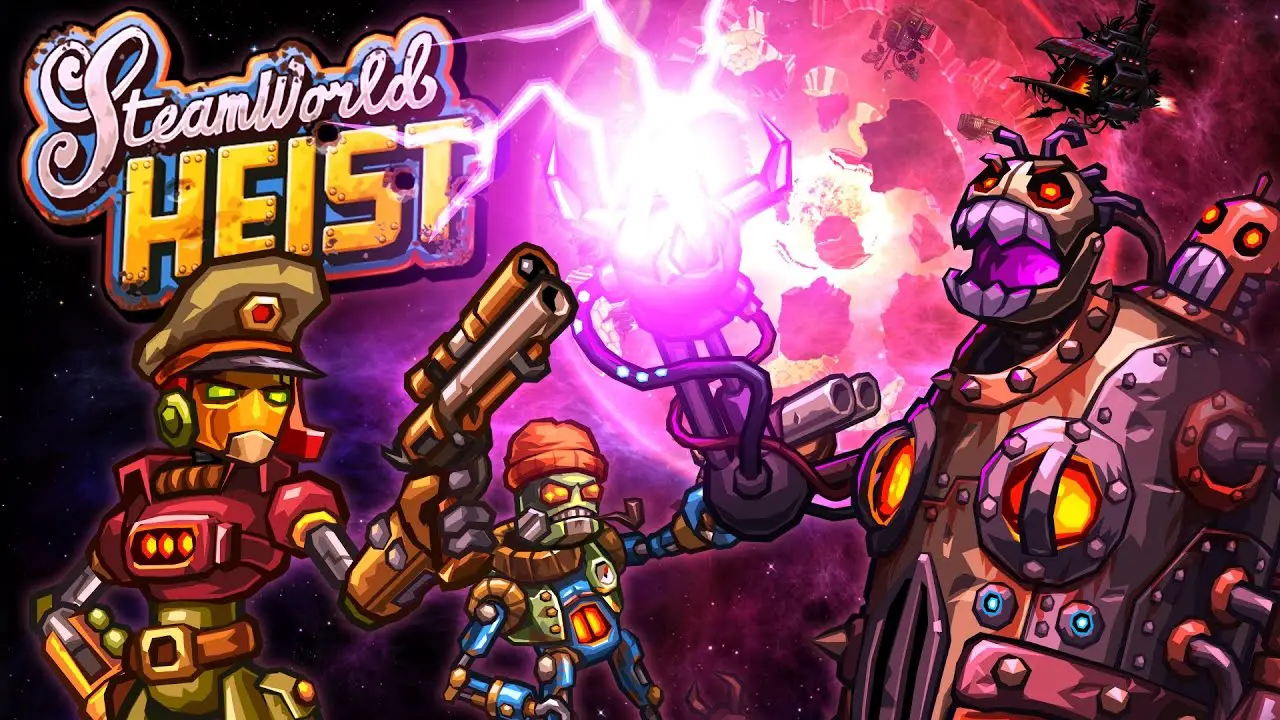
Steamworld Heist doesn’t have the best start. The tutorial handles the basics well enough but fails to cover any of the important mechanics on building teams and weapon loadouts. Combined with your lack of abilities, equipment, and harsh penalty for failure, this results in a lot of players quitting during the early game before the story and strategy really have a chance to shine.
This guide aims to help with the biggest issues I had myself: Understanding the differences between the initial characters, why you would choose between them, and their general roles for the team.
Bear in mind that this is not a comprehensive overview of every character and all their abilities, just a general explanation to assist with the early game, such that you can then make your own choices on how to use any later characters you find.
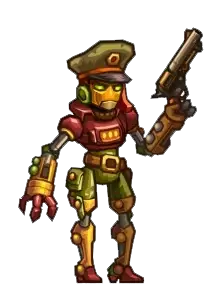
Captain Piper Faraday
- Acquired: Starts with Initial Crew
- Class: Captain
- Role: Support
- Allowed Weapons: Handguns and Sharpshooters
The main protagonist. Powershot is a useful source of additional damage against heavier enemies, and early on Piper receives a passive area buff with a healing ability. You want to keep Piper close to your crewmates, such that she can easily run to and heal any injured allies, whilst they can serve as cover for her in turn. Keeping her alive should be your top priority, at least until you blow the heal.
Piper can use Handguns (Basic weapon class anyone can use) and Sharpshooter weapons. Sharpshooter weapons come with varying lengths of laser sights, showing you exactly where your shot will go, including after bounces. To compensate for this, they’ll often have lower damage than Handguns of the same Tier. You can find more powerful Sharpshooters which deal equal or higher damage, but these can’t be fired after moving. This is really detrimental to Piper’s ability set, preventing her from keeping up as her team moves forward. It’s better to just give Piper the highest damage Handgun you have available at the time, keeping your damage in line with the increasing health pool of enemies is crucial.
Piper starts with a beginner gun of sorts, a low damage sharpshooter pistol with a long laser sight. This site allows you to easily experiment with bounces, and understand the swaying inaccuracy mechanic every weapon has. But try not to depend on it too much, as the gun’s low damage quickly becomes a problem. It’s just not capable of handling the later enemies of the first zone, and you’ll find yourself overwhelmed.
Use this pistol until you feel comfortable with the aiming mechanics, then swap it out for a better, higher damage Handgun as soon as you’re able to. Being able to properly make use of your buff and deal adequate damage far outweighs the power of the laser sight.
Gabriel “SeaBrass” Stubb

- Acquired: Starts with Initial Crew
- Class: Vanguard
- Role: Offensive (Berserker style)
- Allowed Weapons: Handguns and Assault
Piper’s longtime partner and friend, a handy source of damage to keep around. Seabrass gains the Payback ability on his first level up, granting temporary bonus attack damage each turn he gets hurt. If you have any grenades or weapons with splash damage, it can be useful to chip at his health with the edge of the explosion to activate Payback rather than allow enemies to attack him first.
Seabrass can carry Assault class weapons: SMGs and Shotguns. While these weapons fire multiple shots at once, the damage value is actually divided into each bullet. Meaning they still add up to the exact same damage a similar tier handgun would, but with significantly worse accuracy.
There are a few rare shotguns that have the ability to pierce cover, which is extremely powerful if you can find them. This ability alone may make it worth holding onto them for longer, even when their damage is outclassed by your other weapons.
I didn’t find any use for SMGs on my whole playthrough. Take one if it provides better damage than what you currently have, but handguns and shotguns are often the better choices.
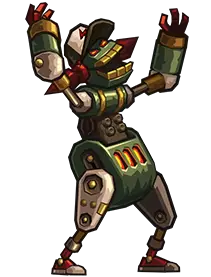
Sally Bolt
- Acquired: Obtained from the farm with a high enough reputation.
- Class: Bounty Hunter
- Role: Offensive (Room Clearing)
- Allowed Weapons: Handguns and Assault
Provided you’ve been getting decent ratings on the levels so far, you should gain Sally around a third of the way into the first zone. Deadlier than she looks, at Level 1 Sally learns one of the most powerful abilities in the game: Kill Shot.
Kill Shot allows you to immediately take a second shot without ending your turn after landing a killing blow. Don’t change characters while aiming this second shot or you’ll lose it! Then at only level 3, she also gains Mad Dog, which allows Kill Shot to trigger an unlimited amount of times for one turn. With Mad Dog and good positioning, Sally can clear entire rooms in one turn, but keep in mind it can only be used once per mission.
The limited range of Assault weapons makes them far inferior to Handguns on Sally. Give her the highest damage pistol you have, and a sidearm to soften tankier enemies. Soften the enemies up with your allies, then run Sally into an open space with Line of Sight to as many of them as possible. You don’t need cover if everyone will already be dead! Kill Shot chains are crucial in the final stages of the game, almost required in my opinion. Make sure you keep Sally leveled up so she can survive the late game!
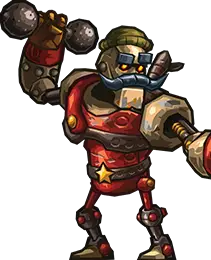
Bogdan “The Great” Ivanski
- Acquired: Purchase at Bar
- Class: Vanguard
- Role: Tank
- Allowed Weapons: Handguns and Heavy
With a larger hitbox and high health pool, Ivanski is a clear Tank character. Keep him at the front of your team as much as you can, and allow him to shield them from damage. Toss on a health pack as well and he can really take a beating. Sitting Piper directly behind Ivanski is a useful formation: His size protects her from damage and you can immediately heal his health back up when things get risky, whilst both benefit from her damage buff.
Ivanski can use heavy weapons: Rocket and Grenade Launchers. These powerful weapons deal damage in an area and can hurt allies, so watch your positioning. A well-placed explosive shot can take out many enemies at once, or reduce their health enough for Sally to finish with her kill shot. It never hurts to have at least one Heavy weapon on your team.
Being your first character capable of using heavy weapons, and your only tank, Ivanski should be a staple of your early game crew.
Valentine Butterbolt
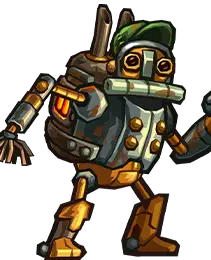
- Acquired: Purchase at Bar
- Class: Sharpshooter
- Role: Sniper
- Allowed Weapons: Handguns and Sharpshooters
Did you miss the ease of Piper’s starting pistol? Valentine’s here to fill the void, and take things even further!
From his first level, Valentine immediately gains Focus, a passive ability that gives him bonus damage if you fire your weapon without moving first, and this damage boost only gets better as you level up. As mentioned, the best Sharpshooters can’t be fired after moving. But since Valentine relies on staying stationary as much as possible anyway, this downside is now irrelevant. With a decent laser, you can land some truly unfair bounce shots against enemies, even around cover and solid platforms! Just be careful with your timing, as the further away your shot is, the more of an impact the swaying inaccuracy animation will have. Let the full animation play out a few times so you can get an idea of when it’s safest to fire.
Valentine isn’t that great at the time you get him. Your other crew members provide much better benefits to your team and you probably won’t have many sharpshooter weapons worth using. But once you get further into the game and build up your armory, Valentine can be a real lifesaver: Sniping the most dangerous enemies before they even have a chance to get in range to attack.
A useful strategy is to put Valentine directly against a door with your team close behind, end the turn, then open the door. Opening doors doesn’t count as a move, so you keep the focus buff and will have the best angle to take your initial shot. Though if you find there isn’t any cover nearby once the room is open, you may need to move a teammate to the front to block shots for him.
Tips
- This game was made with Touchscreen controls in mind, which can frequently cause unintended actions. If you find yourself accidentally firing when aiming a lot, try holding the mouse button and dragging the reticle around, rather than just clicking on places. You can use the Spacebar to fire.
- The Crit Chance on weapons only applies when shooting an enemy in the head.
- Ideally, on Regular difficulty, you want to be killing most enemies in only one attack. Two at most. Always ensure you’re using weapons with high enough damage to do this. Keeping the enemy count low is absolutely key to surviving.
- Buy the storage expansions from stores at every available opportunity. You will be constantly showered in loot and inventory space is severely limited, especially as you gain more characters who need their own weapons and utility items.
- Levels marked with a skull are harder than others, but they always offer a Storage Expansion in their Epic Loot. If you find them too difficult, come back to them after you finish the current zone’s boss and it should be significantly easier.
- Focus on fully killing enemies rather than just damaging their health. Some of the heavy enemies can be scary, but it’s often much better to outright kill multiple low-health enemies (and remove their chances of damaging you entirely) than just lowering the health of a heavy enemy who will still be alive to attack next turn regardless.
- In contrast to the previous tip, on boss fights, you want to focus the majority of your damage on the boss. Once they die, all other enemies will immediately despawn. Take care not to get overwhelmed though! Sally’s Kill Shot and Explosive weapons can help thin the herd.
- The penalty for failure is harsh (Too harsh, in my opinion). A straight percentage cut of your current Water. Try not to carry large amounts for too long, but higher damage weapons whenever available to minimize your potential waste.
That's everything we are sharing today for this SteamWorld Heist guide. This guide was originally created and written by Jackson. In case we fail to update this guide, you can find the latest update by following this link.
