- Заголовок: The Morrigan
- Дата выпуска:
- Разработчик:
- Издатель:
Information about The Morrigan is still incomplete. Пожалуйста, помогите нам заполнить детали игры, используя это контактная форма.
This is a short walkthrough of the Morrigan VR game. Being my first VR game I ever played, I love this game and its puzzles! I play strictly on normal difficulty.
LVL 1 – Начало
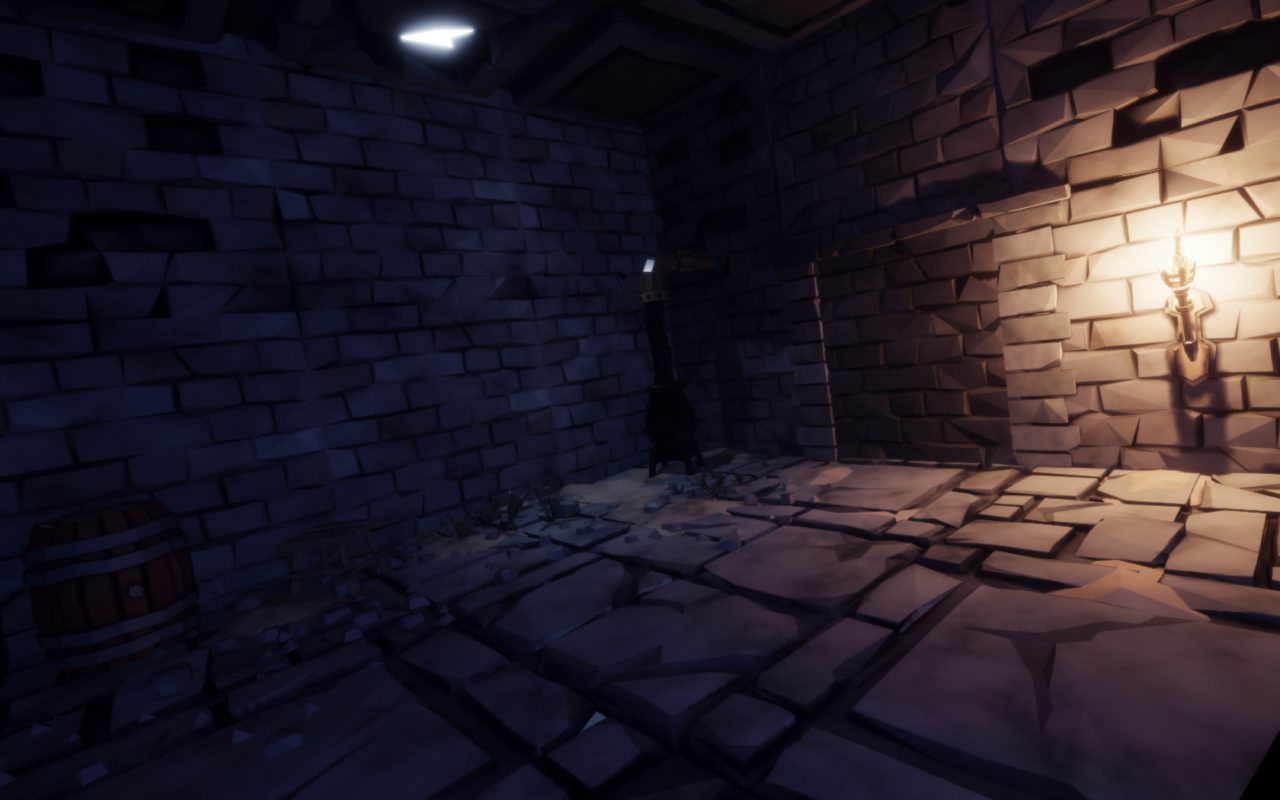
This level is as straight-forward as it gets. No enemies whatsoever. Once you arrive outside, go up the stairs to your right and open the door. You should arrive in this room.
Секрет: Grab the nearby torch and use it to light the rustic black stove.
LVL 2 – The Tomb
After that tutorial dungeon level, now the real game begins. You will encounter your first armed combat and your first unarmed ambush. Take a note out of the Zelda games and smash pots for coins!
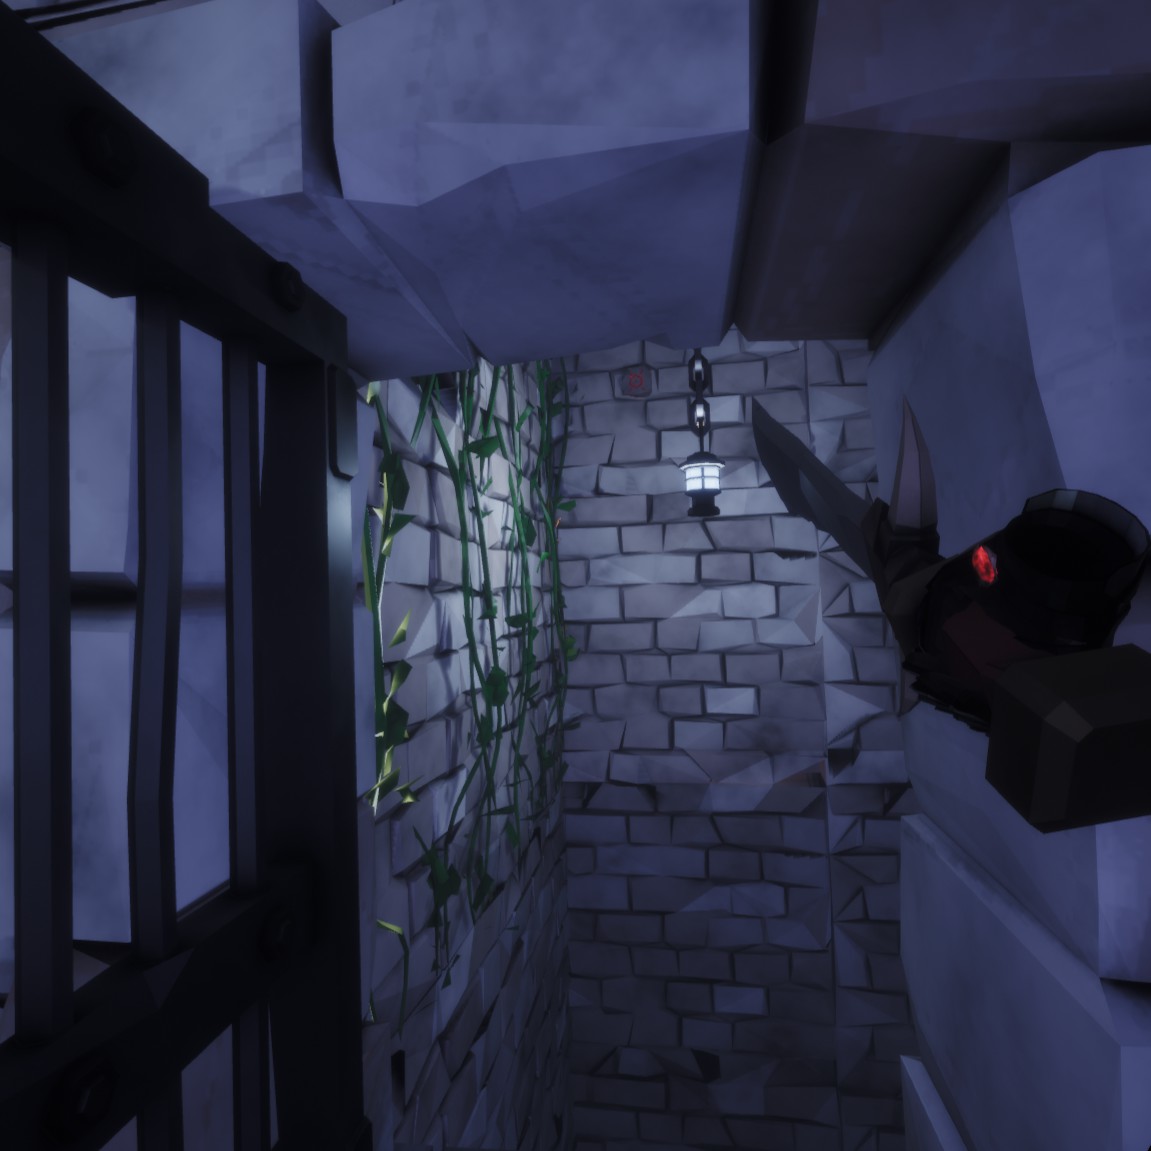
At the end of these chambers is a vine wall to climb. Ensure you’re ready however because three battles await you – два, then three, then four skeletons! Once they finish attacking you, grab their dropped coins and head toward the right where that glowing circular barrier was to proceed.
Next is a series of gates and four key slots. Check the side corridors for two pairs of rooms. You will find your needed keys: one beneath a book on a table, one hanging on a wall fountain, and two in skeleton’s mouths. Остерегаться, однако – the room closest to the keyhole array does not appreciate you stealing his key and will attack you!
Once the four gates open, trek down the stairs into a small and tall chamber only to be attacked by two waves: first a pair of skeletons, second yet more armed skeletons, and a pair of flying flaming skulls! These foes shall tackle you, thrust your sword into them to break them as they’re quite fragile.
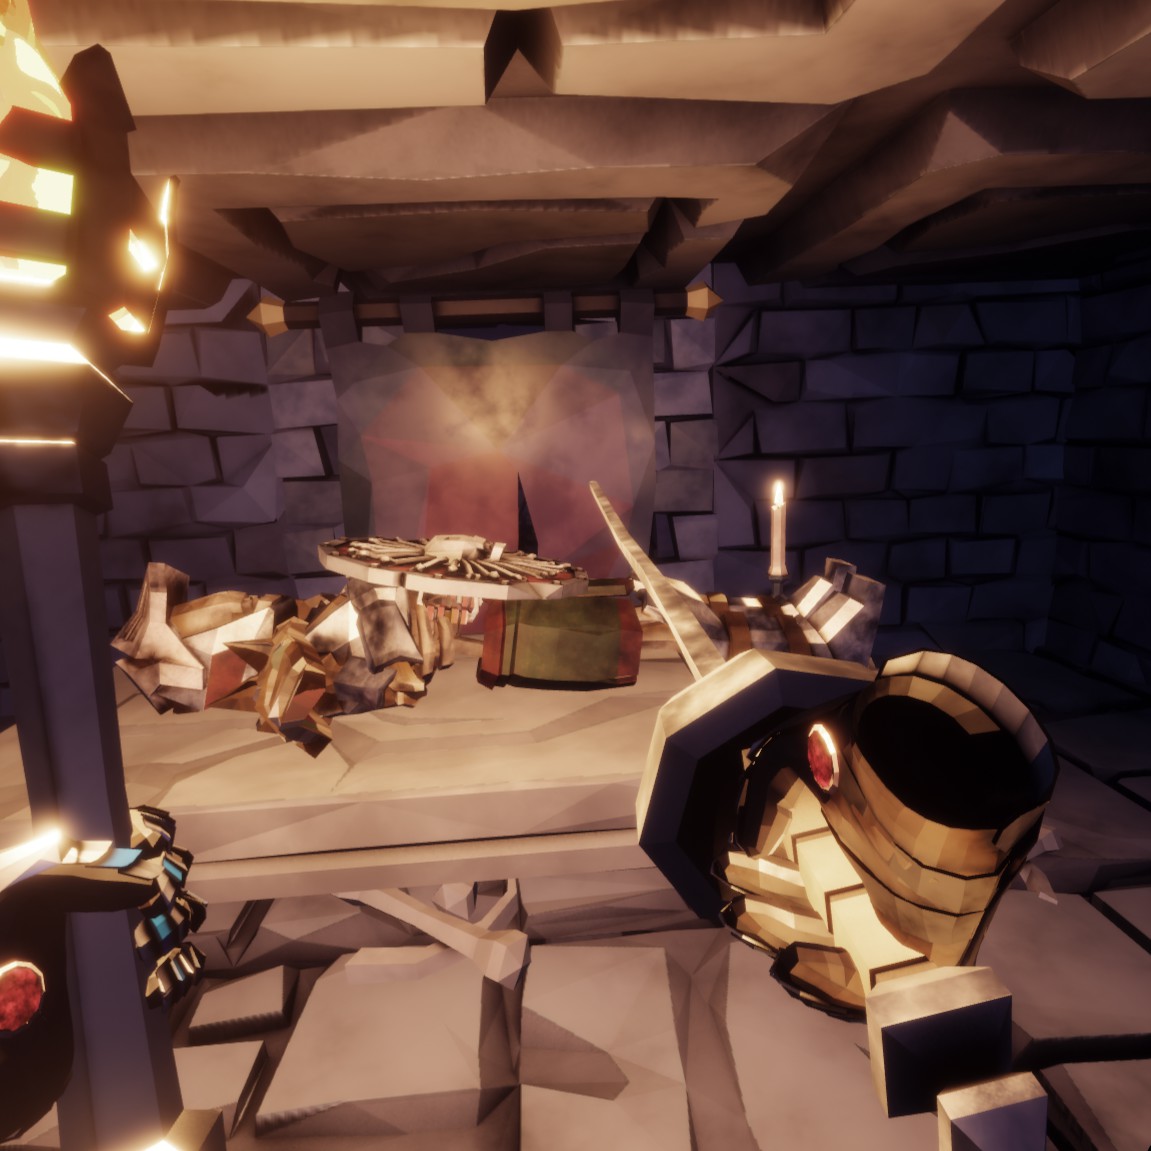
This is the last section of this dungeon. Grab the torch and open the left door first. Light the brazier here, then follow my words carefully. Close the right door behind you, light the brazier in this right room, then drop your torch. In here you will see a shield – возьми это, тебе это понадобится.
Секрет: you may hear the familiar sound of a spear trap. Slowly move through the hung drapery and earn great loot!
Open the door and turn right to do battle with a great weapon wielding undead! His strikes are strong and your shield is breakable, but surely you shall prevail.
LVL 3 – The Church
The previous section of this guide was heavy so I am going to change its design to be less so. A pro-tip is that teleporting ahead with your lob blue flash lets you bypass traps and hazards. For the purpose of this guide I will call it jumping.
Arriving in the church you have combat with warriors and an archer, dispatch them and notice there are two doors both left and right along the entrance wall of the church. We will initially turn left. Check your corners and don’t be afraid to explore rooms for healing food items to store or consume. Eventually you will enter an asymmetrical long room with a vertical spinning spike trap. You can lure the unarmed undead toward it for an easy kill while dispatching the two armed undead. Beware the closer door – there is a ceiling trap! You must jump across it to avoid its deadly crushing, but before you do…
Секрет: Open the further door and find a bottomless pit with a vine wall by the door. Climb the vines across and press the red wall button, jump down and claim your prize.
Arriving high up you will find empty braziers near iron bar elevators and torch sconces. Lift the torch from its sconce and light the brazier, quickly dropping it for a sword or shield because the elevator lowers you to newly appeared enemies in the church floor!
The right church door dungeon segment is easy – watch your corners and jump past spike traps. Once you light both braziers and descend both elevators, you will be attacked by a pair of undead warriors from the opened next section – a puzzle room!
Claim the three unique talismans and match them to the altar. Take caution as stirring a talisman may stir the unarmed undead that currently sits still! You can choose to slay all of them if you want to test your reaction time, твой выбор. After solving the puzzle you end the level to proceed to the next.
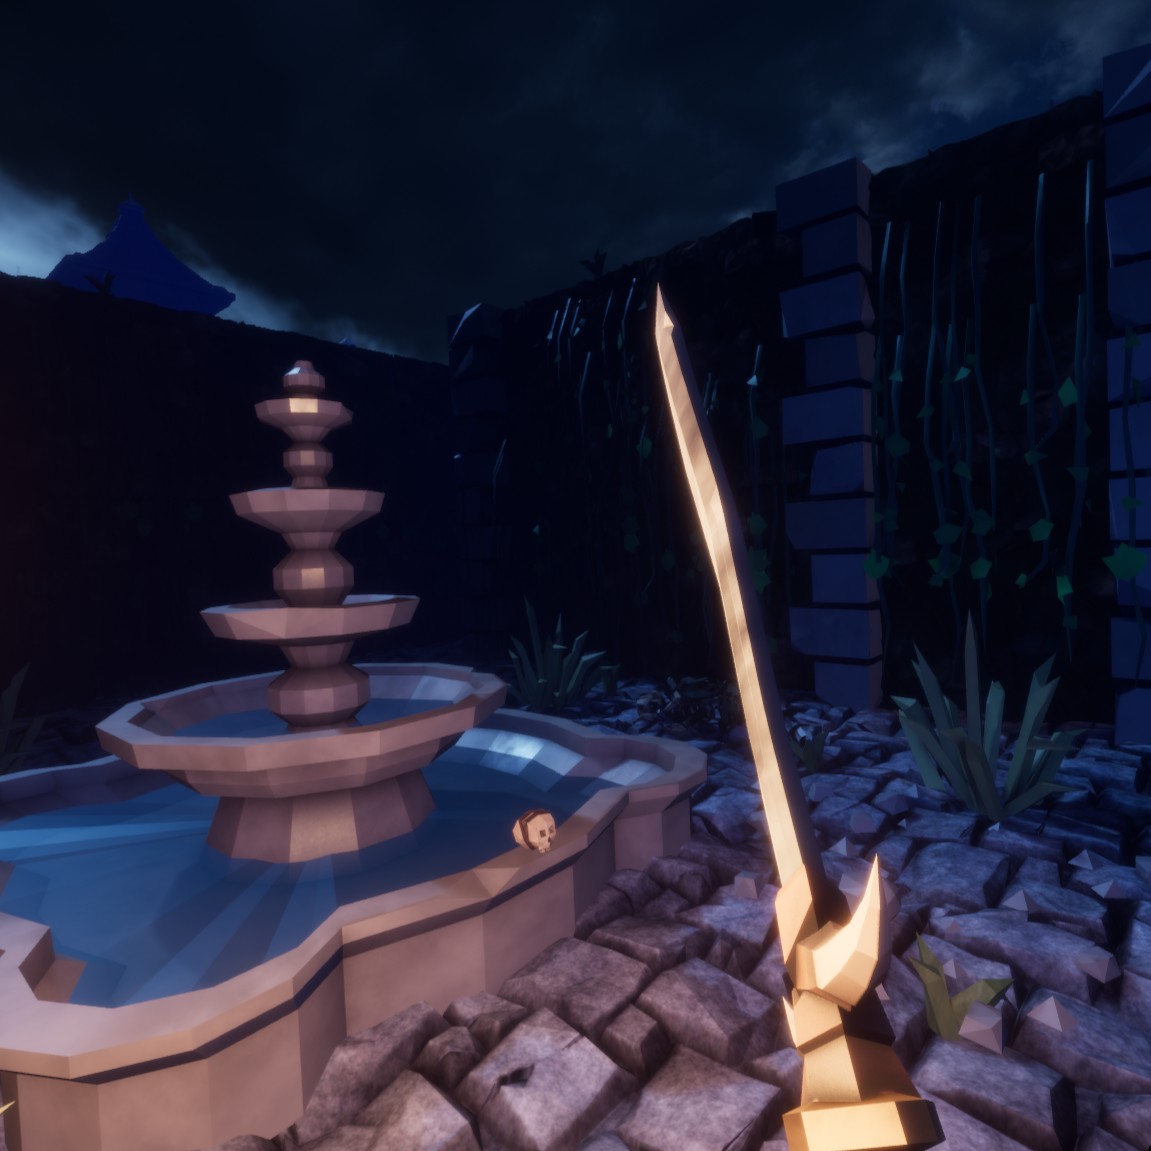
LVL 4 – Сад
If you’re getting bored of using your sword, then try unlocking new weapons in the arena. This level is a maze, but surprisingly straightforward if you follow new walls as they open. A pro-tip is if you don’t have a lit torch or can’t find a torch, then light your fire at the starting bonfire or light an arrow and shoot it above the unlit braziers to light them.
Drop your torch after lighting 4 факелы. Proceed until you find your third pair of unlit braziers by a Morrigan statue. Once you light this pair, all of the unarmed undead will arise and shamble towards you!
Секрет: Before walking toward the blue lantern hung by the next section entrance, turn left and return to the fountain. Pick up the skull sat on its edge and look around.
You will arrive outside of a chapel surrounding a graveyard. You’re in for quite the fight – many armed warrior undead and another pair of flying flaming skulls! Press onward once the magical barrier fades and unlock your first unbreakable shield – the kite shield. Fun fact you can grab its blue shape and equip it now!
LVL 5 – Мост
You won’t need the bow at this level. A pro-tip that took me a while to learn is that if you reach a hand behind your back, you can dis/arm your hand items in your top two slots without opening your inventory. So say you wanted to switch between sword and bow, you could do so instantly.
Walk across the bridge before another magical barrier appears. You are ambushed from behind by armed warrior undead and . . ты догадался . . a pair of flying flaming skulls. I bought that thin, rib-sticker fencing sword outside of the hub in the marketplace just to poke these floating annoyances easier.
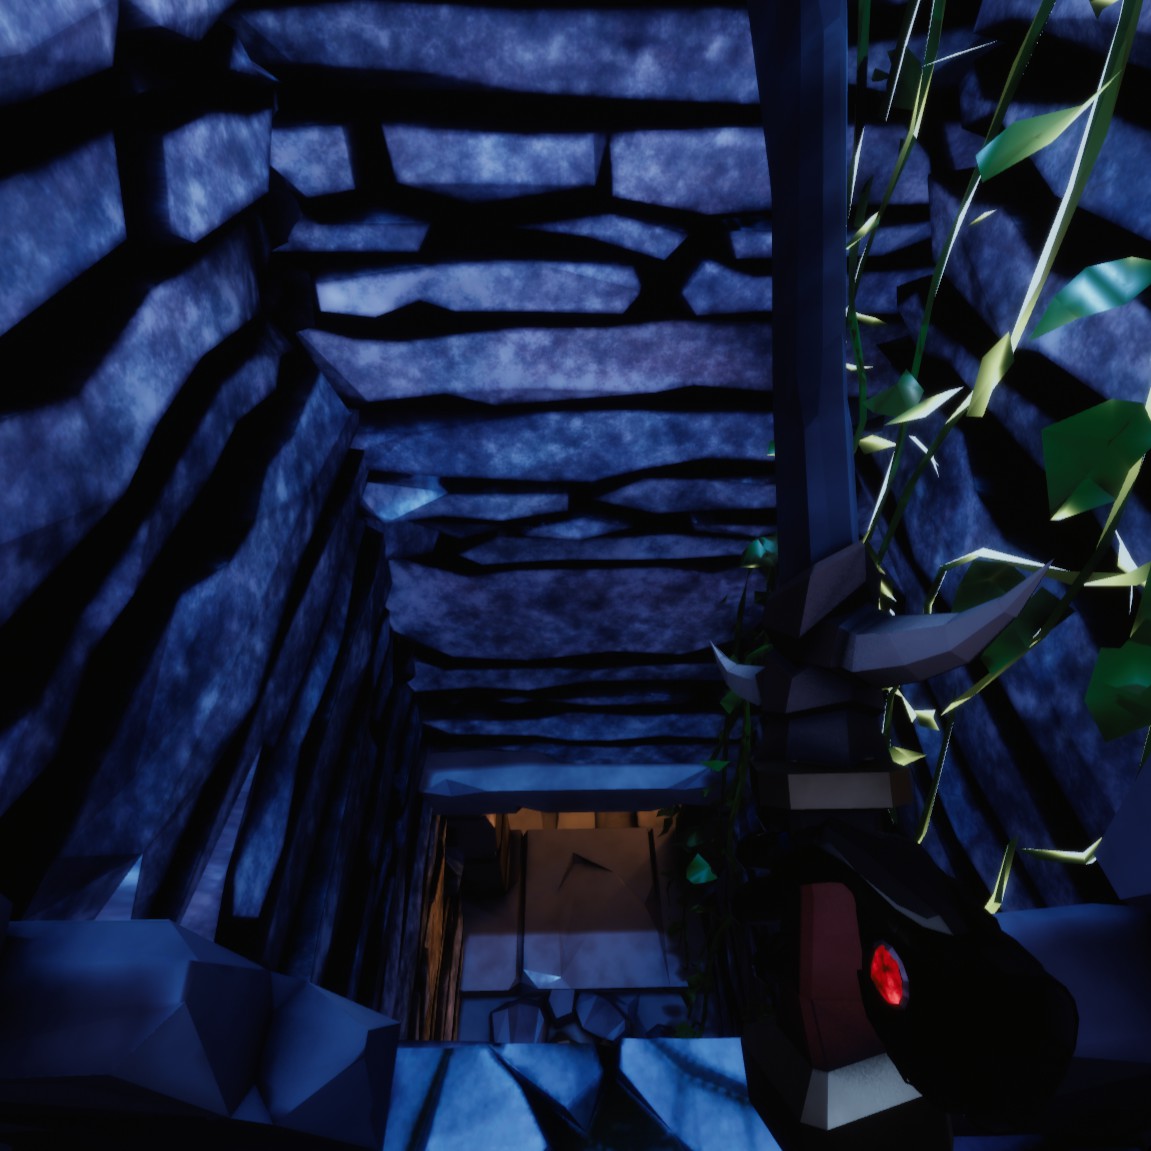
Skulk about the tight corridors, checking your corners, and poking anything that comes in your way. You will eventually find vines that lead to a lit room downward, the next section.
Секрет: rather than climbing downward right away, climb upward and look around.
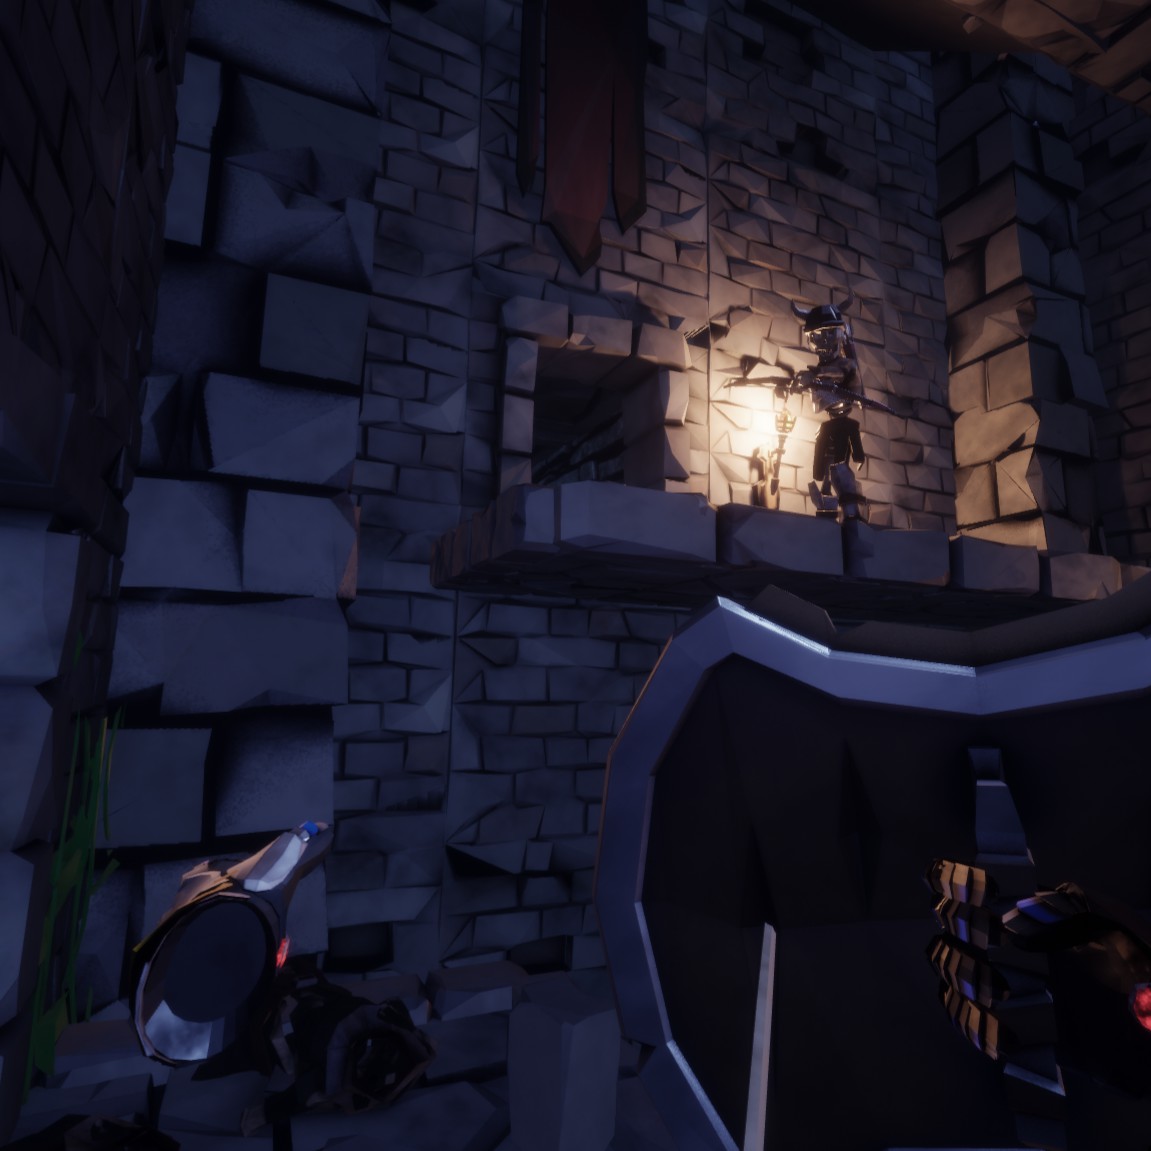
I told ya – you didn’t need to bring your bow to this level because the game gives you one during this section. If you haven’t mastered controls yet, you must use your off-hand to: tap your controller trigger to draw an arrow from the quiver at your hip, nock the arrow to your bow, pull back on the bowstring, then press the trigger to fire. You skulk around, jump across the broken stone, and light your arrows on fire to shoot at empty braziers. The two at the far end above the portcullis must be lit to end this level.
LVL 6 – Валы
Normally they say don’t look down, but I say don’t look up! A pro-tip is to look for vines that glow to climb. Could’ve known that in the garden huh? :^)
Climb the stairs along the walls until you see a button in the window. Follow the wall to its door to press it and advance.
Секрет: Once you move past the button and onto the next section, IGNORE the undead archer. Directly to your left of the door-frame is a vine leading downwards. Descend it and claim your coin along with free swords and a bone shield.
The next section once you reach outside can go on forever if you aren’t careful. Rush to the nearest catapult and pull the lever. Then you may notice the opposing catapult launching enemies at you. Slay them quickly, pick up their heads, место 3 in your catapult, затем потяните рычаг. This is the best moment so far to learn how to quick-draw in and out of your inventory. Shield in one hand, sheathe your weapon by holding it behind your back and pressing the trigger (wait for your hand to rumble) so you can quickly switch between undead warrior skulls and your weapon. Once you’ve done it, climb on down and advance further in.
LVL 7 – The Gates
I advise using the newly unlocked axe for this level. A pro-tip is you can press the trigger and menu buttons on your controller simultaneously to take a screenshot. Немного, but you’re becoming a pro as we go on so you may not need any more tips.
This level is pretty straightforward up to a certain point, as it’s composed of two chambers: the golem and after the golem. Make your way to the left-side elevator, fight your way through the undead, and poke the Morrigan’s ravens with your weapon to send their life force down to the teleport in the room’s center at ground level.
This golem battle is a true boss battle, but it’s easy to defeat once you understand how it works. Swing your axe slow and hard, deliberately maximizing damage output per swing, and occasionally jump out away from under it or else you’ll get squished. Once both heels are hit enough to flash green sparks, they will kneel forward and slowly recover unless you finish it off. Climb the vines on its shoulders up to behind its head and bash in its weak point and the golem will crumble.
Поздравления – you’re halfway through the Morrigan campaign and on your way to rescue heroism! Go down the elevator and confront the shambling unarmed undead all around you, then take time to relax. You’ve earned it.
Секрет: Opposite of the bonfire room, press the red button on the far wall.
Это все, чем мы делимся сегодня для этого. The Morrigan гид. Это руководство было первоначально создано и написано Tyranocif. На случай, если нам не удастся обновить это руководство, вы можете найти последнее обновление, следуя этому связь.