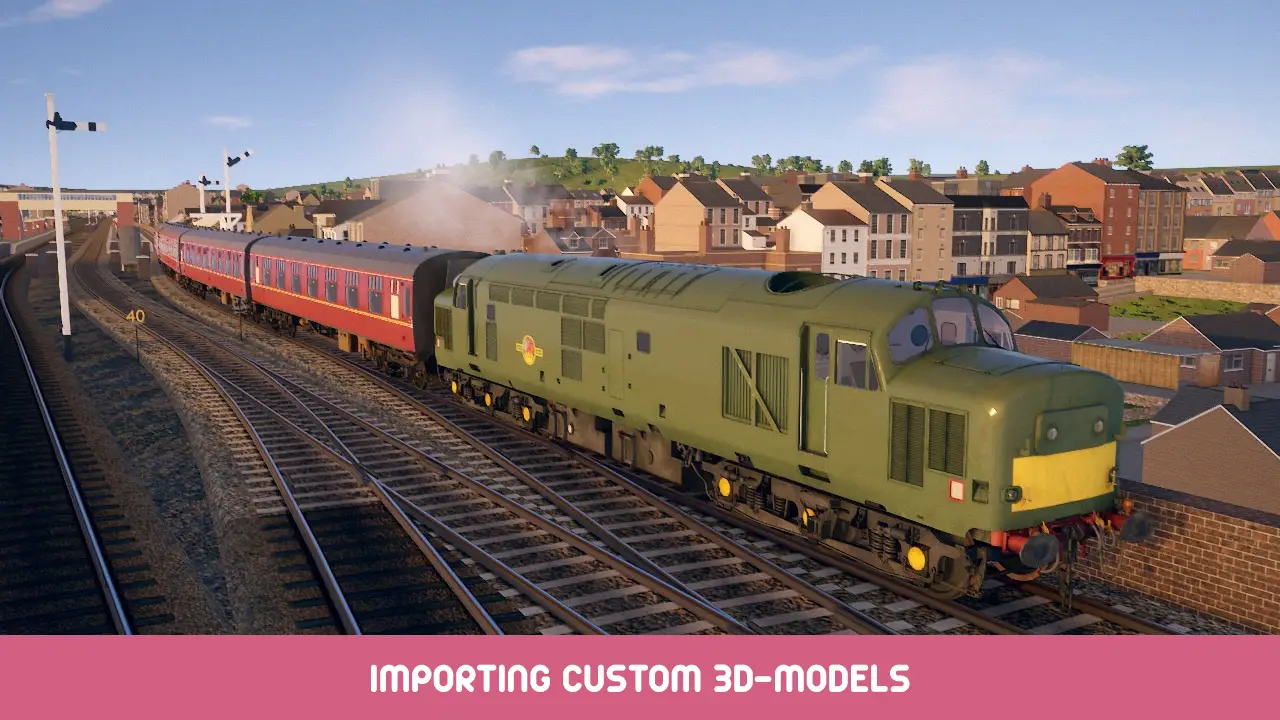
How to import your own 3D-models to the route and train editors.
File formats
You can import 3D-models made with an external program (like Blender) to the route and train editors by saving or exporting the models in .obj or .fbx format.
Textures can be imported in .dds, .ТГА, .png or .jpg format.
Importing to route editor
First make sure that the route you’re editing has been saved at least once so that it has its own folder. You can check the location of the folder by clicking on the […] button at the top of the side panel and selecting “Edit route properties”. Export your model and save it to the route folder.
Back in the route editor click on the “Обычай” button at the top of the side panel to add a template node. In the node properties, набор model source как “model files”. Your exported model file should now appear in the model id drop-down menu. If everything works correctly, the model becomes visible once you try to place it from the “Объекты” button at the top of the side panel.
Please see the end of the Route editor feature showcase video for a short demonstration of how to import a model.
Importing to train editor
First make sure that the train you’re editing has been saved at least once so that it has its own folder. You can check the location of the folder by clicking on the […] button at the top of the side panel and selecting “Edit metadata”. Export your model and save it to the train folder.
Back in the train editor open the model node properties either by left-clicking on a highlighted (желтый) part of the train or by opening the list of model nodes from the top of the side panel. In the node properties, set model source as “model files”. Your exported model file should now appear in the model id drop-down menu. If everything works correctly, the model should become visible in the 3D-view once you click on it in the menu.
Overriding materials
Sometimes materials and textures are not imported correctly. In this case you can override the automatically imported materials with manually defined ones.
In the route editor нажмите на […] button at the top of the side panel and select “Материалы (custom models)”.
In the train editor нажмите на “Материалы” button at the top of the side panel.
When adding a custom material, hold the mouse pointer over each field to see the associated tooltip. See also Unity standard shader metallic calibration chart for visual explanation of the various textures and RGB ranges used by the renderer.
In order to apply the custom material, open the properties of the custom model node (the one you added following the instructions in the previous two chapters) and add one or more node materials from the side panel. Material overrides can also be added for built-in models in the same way.
Asset packing (необязательный)
The editors have a packing tool that makes it possible to merge multiple asset files into a single file. Although the types of files that can be packed are not restricted, only 3D-models (meshes) and their textures can be used from the pack.
The purpose of packing is to bundle files together in a format that is not easily accessible to the normal user. This is a requirement for using many commercial 3D-models licensed from sites like CGTrader and TurboSquid.
If you’ve made all the assets yourself and have no desire to restrict other people from using them, there’s no need to use the packing tool. You can import the models as regular unpacked files.
In the route editor click on the […] button and select “Edit route properties” to access the packing tool.
In the train editor click on the […] button and select “Edit metadata” to access the packing tool.
Upon first pressing the “Update pack” кнопка, the tool will create an empty folder under your Windows profile. The path will be something like:
С:\Пользователи[Your_profile_here]\AppData\LocalLow\Lapioware\Diesel Railcar Simulator\Packing source\Something
Using the tool:
- Нажмите на “Update pack” button to have the source folder created
- Locate the folder and move there the files that need packing (meshes, материалы, текстуры), preserving the possible subfolder structure
- Click on the button again to pack the moved files (the program hangs until the packing process is complete)
- There should now be a file called “пакет” in the original route/vehicle folder
- The packed models should become invisible in the editor
- Нажмите на “Reassign broken custom models to pack” button to change the model references from the old individual files to the packed files
- The models should now be visible again
The easiest workflow is to not use packing until you’re ready to make your work public because unpacked files load faster and require fewer button presses to refresh properly.
Note that materials for packed .obj files cannot be loaded automatically because they’re stored in a separate .mtl file. Try using another format (like .fbx) or override the materials with manually defined ones instead (см. раздел выше).
If the program crashes hard after packing models it might be because one of your meshes has too many vertices (над 65000). Split large meshes into smaller ones if necessary.
Это все, чем мы делимся сегодня для этого. Симулятор дизельного вагона гид. Это руководство было первоначально создано и написано Lapioware. На случай, если нам не удастся обновить это руководство, вы можете найти последнее обновление, следуя этому связь.

