
Transcription of all the tooltips in the game. I’ll add more as I see them.
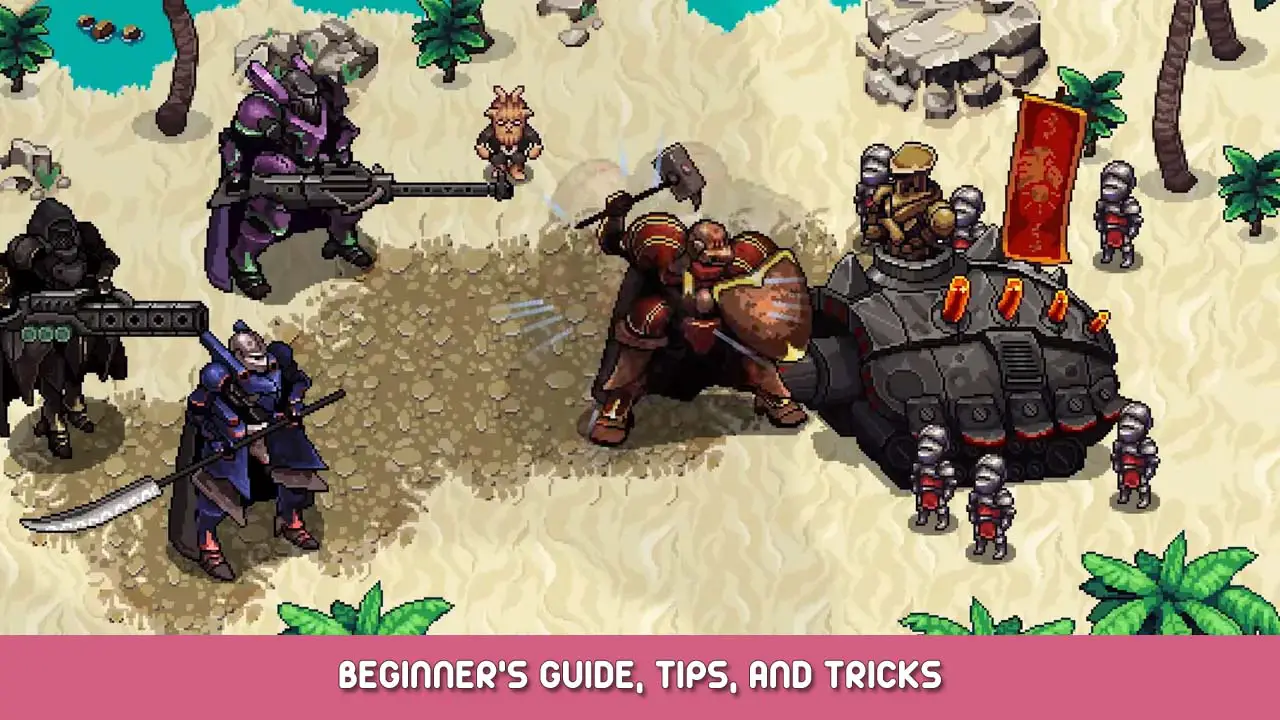
Battle Basics I-II
Battles are turn-based. You and your enemies take turns choosing actions.
The order of each turn is displayed in the top right corner.
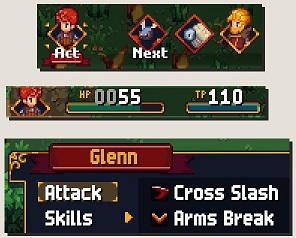
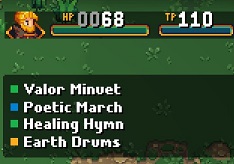
HP represents your health. If it reaches zero, the character is incapacitated. Технические очки (ТП) are a resource used for skills. HP and TP are restored completely after each battle.
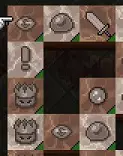
The icon next to a skill indicates the type of skill.
Defeating enemies in battle grants you access to different spoils:
- Loot that can be sold for money or to unlock new Deals.
- Materials that can be used to upgrade weapons.
- Skill points used to upgrade skills.
Defeating an enemy will show your loot immediately, but you will not receive it until after the battle.
Overdrive I-V
The Overdrive Bar is the core of the battle system. The bar has three areas: желтый, зеленый, и красный, representing the state of the party.
The cursor shows the current position on this bar. Almost every action moves the cursor to the right. The small cursor shows where the cursor will jump to when choosing an action.
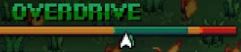
When reaching the green area, the party is warmed up and is in perfect synergy. This is called Overdrive. In Overdrive, the party takes less damage, deals more damage and most importantly: only needs to spend half the amount of TP on skills. Always try to stay in Overdrive!

В конце концов, the party will reach the red area and become Overheated. This will let the enemy deal massive damage to you. In order to stay in Overdrive, the cursor must be moved back to the left. This can be done with one of the following actions:
 While in Overdrive or Overheat, an icon will appear in the box left of the bar. This icon represents a skill type. The number next to it shows how many turns the party has before the skill type switches. Using a corresponding skill will make the cursor jump to the left by a great margin. Skills of the corresponding type are also MARKED YELLOW.
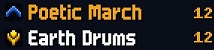 Switching out characters in-battle. More details later.
- Use the DEFEND action.
- Use an Ultra Move. More details later.
Actions move the party’s position on the Overdrive Bar. Try to REACH and STAY in the green area.
Overdrive effects: Damage dealt is raised. Damage received is lowered. Skills cost HALF TP.
Overheat effects: Red area of the bar. Raises the damage received. STAY OUT!
Use different options to make the cursor move back to the left.
Character Progression I-IV
After defeating bosses or finishing special tasks, the party will gain Grimoire Shards (GS). Owning a Grimoire Shard is similar to a level up. You can use it to strengthen your characters.
Gaining ONE Grimoire Shard allows ALL party members to make use of it!
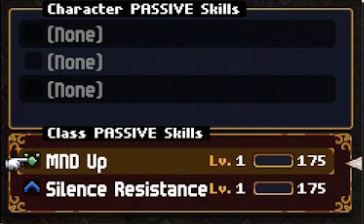
In the Learn Skill menu, three types of skills can be learned:
- Action skills: Can be used in battle by selecting and spending TP.
- Пассивные навыки: Are automatically active in battle.
- Stats Boosts: Raises a single stat of a character.

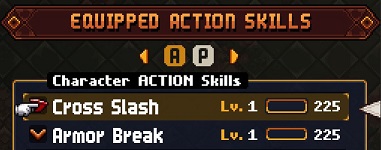
While stat boosts are automatically added to your character’s attributes and are permanently active, action and passive skills need to be equipped. This can be done in the Set Skill menu.
You can use SP (Очки навыков) in the Set Skills menu to level up your action and passive skills.
By defeating enemies, you can receive SP. Every skill a character has currently equipped will gain SP.
Кроме того, every character will accumulate SP that is placed into their own private pool, where you may distribute freely to whatever skill available for that specific character.
Switching Characters I-III
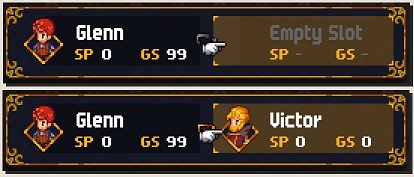
Each of your four characters in the active party can be linked to a reserve character, resulting in a so-called tag team.
In order to link two characters, go into the FORMATION menu and set the characters next to each other. These two characters now share a battle slot and can be switched out freely within battle.
В бою, you can press RB to see the linked character and then press RB a second time to switch out. This does not cost an action. The new character can act immediately.
Having every character in a tag team allows for having up to eight characters taking part in a single battle.
Only characters that are not incapacitated can switch. Incapacitated characters block a slot. Buff and debuff’s durations freeze while switched out.
Switching a character has a lot of meaningful uses.
- It lowers Overdrive Bar (!).
- It gives access to more skills, which opens up more strategies.
- If your character is about to run out of HP or TP, they can be switched out and brought to safety.
Изредка, enemies will use a status effect called “шататься”. Однажды нанесенный, the staggered character will be unable to act until they are switched out.
Ultra Moves
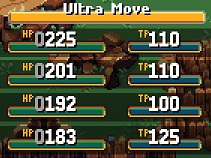
During battle, the Ultra Move Bar will slowly fill. Once full, one of your characters can perform an Ultra Move by pressing RT.
The Ultra Move Bar is automatically filled at the start of a boss battle.
Class Emblems I-II
Помимо оружия, броня, и аксессуары, characters can equip Class Emblems.
They are bestowed to the party after praying to the Heroes of Leonar statues. Class Emblems provide huge stat upgrades.
Более того, every class emblem provides two action skills and two passive skills. These can be equipped in the class skill slots.
The skills can only be set as long as the corresponding class emblem is equipped.
Only exception: once you’ve mastered a skill, you can set it without having the emblem equipped.
Crafting I-V
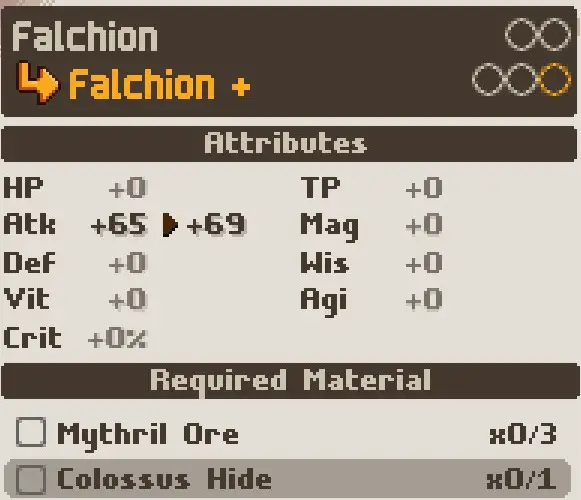
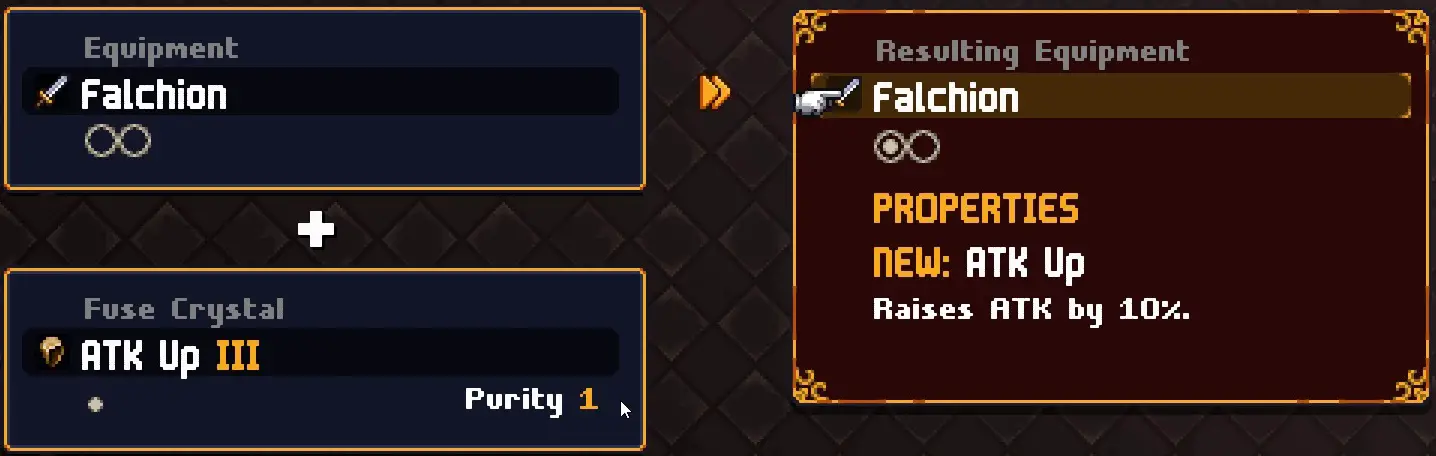
Upgrade your weapons and armor by using materials found in chests or dropped by monsters.
Upgrading weapons and armor raises their stats. You can upgrade each piece twice (shown as + и ++).
Кроме того, the equipment gains more slots to insert bigger and/or more crystals into it.
Gather crystals with passive skills to set into armor and weapons. Например, you can set an ATK Up crystal into a weapon to have your attack raised while using this weapon. Crystals need to be rank III or higher to be inserted into equipment.

Crystals have ranks. On rank III, the crystal unlocks its passive skill and can be set into equipment. On rank V and X, this passive skill gets more potent. In order to raise the ranks, you need to combine different crystals of the same passive skill.
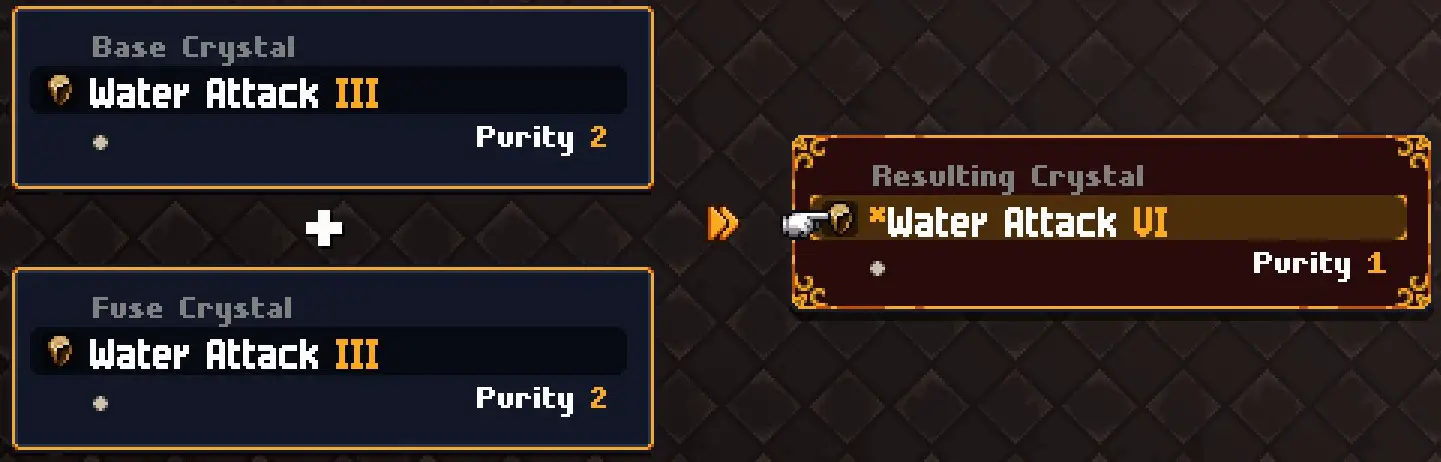
When combining a crystal, you will choose a Base Crystal and a Fuse Crystal. You can enter any crystal with a purity above 0 (displayed as Purity 1 or P1).
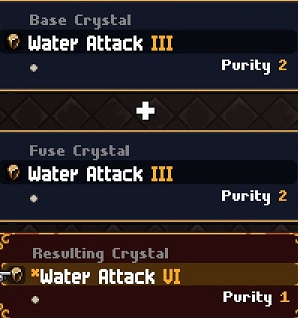
The resulting crystal:
- Will have the base crystal’s purity minus 1
- Will have the ranks summed up.
- Will have its size averaged.
- Становится искусственным кристаллом, marked by an asetrisk (*). These crystals can only be used as base crystals and not as fuse crystals.
You can set several crystals into a single piece of equipment. You need to consider the amount of slots on your equipment (shown as empty circles) and the size of the crystal.
Deals I-II
Deals are special offers you unlock by selling a certain combination of items to any merchant.
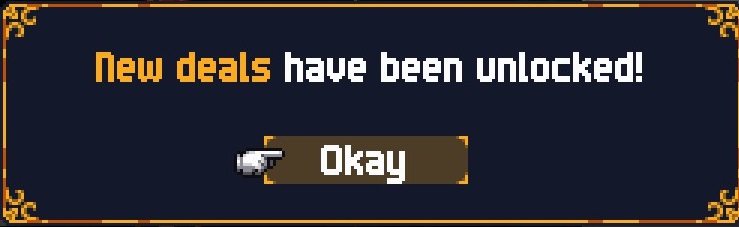

Once you sell one of the items needed for a deal, you will be notified.
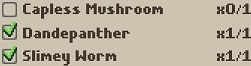
The list under “Специальные предложения” show all available deals for which you sold at least one item.

You can check what remaining items you must sell in order to be able to purchase the deal.
Быстрое путешествие

В ходе вашего приключения, you will find fast travel crystals. They unlock destinations for you to quickly travel to. Open the map and open the fast travel menu to select your destination. You can fast travel from almost any area in Valandis.
Доска наград
The Reward Board has several tasks for you to tackle and numerous rewards to earn. When entering certain areas, new parts of the board are unlocked. Each field represents a task. Once the task is finished, you can claim your reward.
Более того, finished task fields that are adjacent to one another will make up a chain. You’ll earn extra rewards for the length of your longest chain. You can quickly access the reward board by pressing RT.
Это все, чем мы делимся сегодня для этого. Прикованное эхо гид. Это руководство было первоначально создано и написано Они едят. На случай, если нам не удастся обновить это руководство, вы можете найти последнее обновление, следуя этому связь.