- Título: Submáquina: Legado
- Data de lançamento:
- Desenvolvedor:
- Editor:
Informações sobre a Submáquina: O legado ainda está incompleto. Por favor, ajude-nos a preencher os detalhes do jogo usando este formulário de contato.
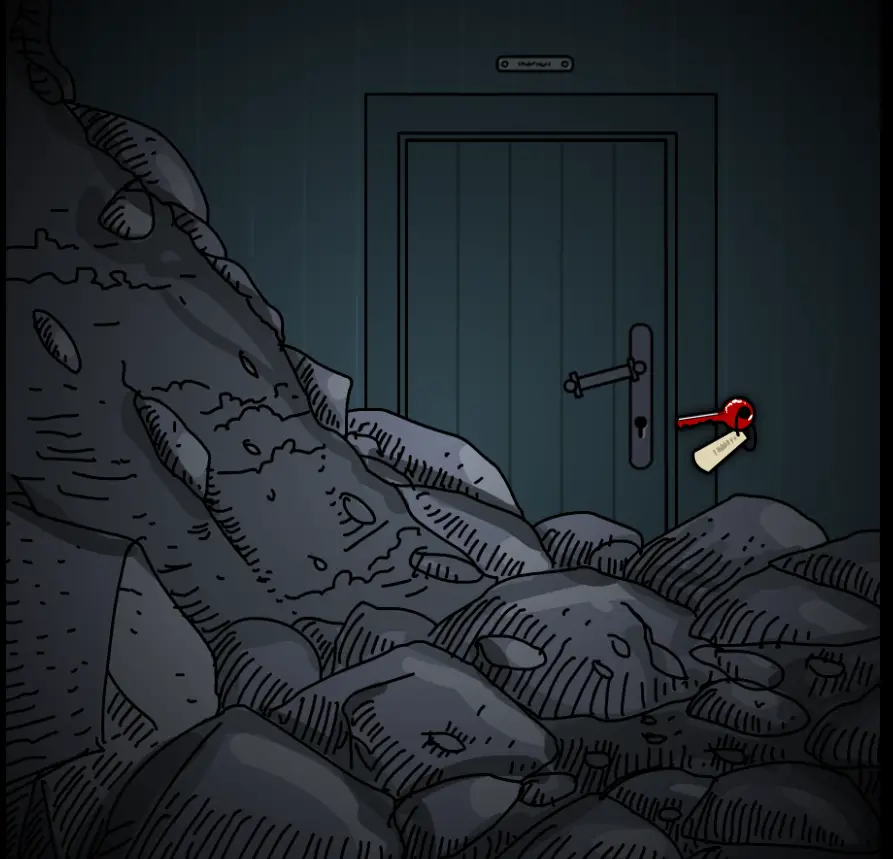
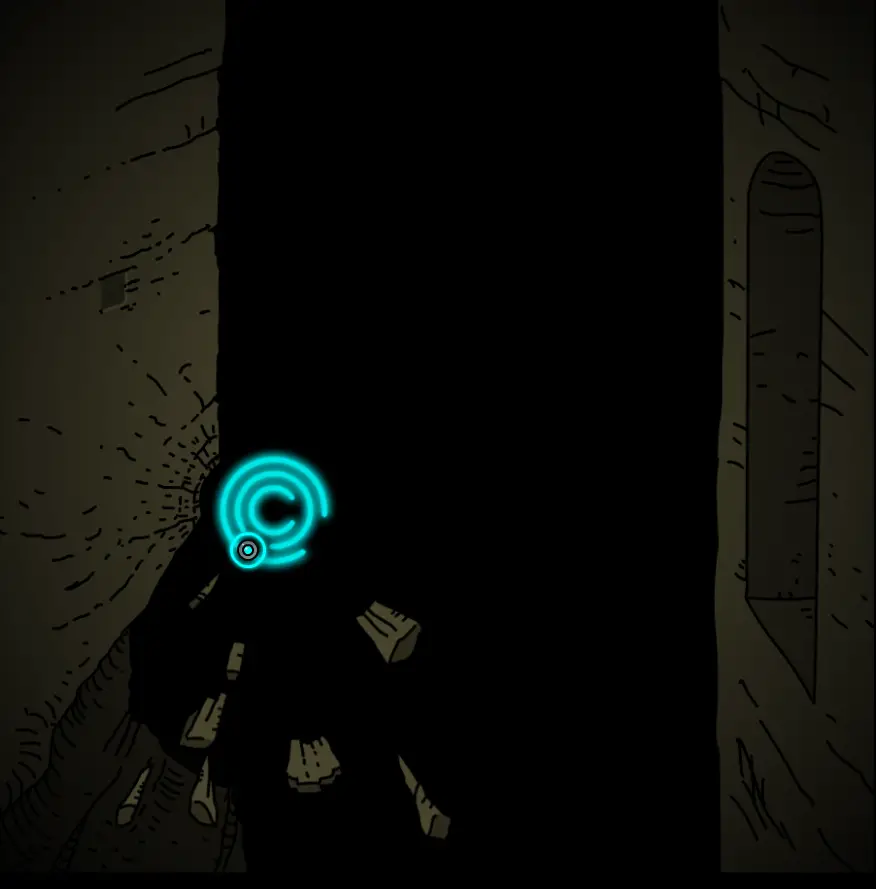
Are you one of the players looking for the locations of all monoliths in Submachine: Legado? Look no further as this guide will show you where to find all monoliths across the map. Observe que este guia contém spoilers do jogo. Continue lendo por sua conta e risco.
Introdução
Neste guia, I’ll tell you where to find the microstabilizers and the monoliths. I think you’ve finished all the chapters except the Shattered Quadrant. Apenas um aviso, there are some big spoilers if you haven’t completed the game yet.
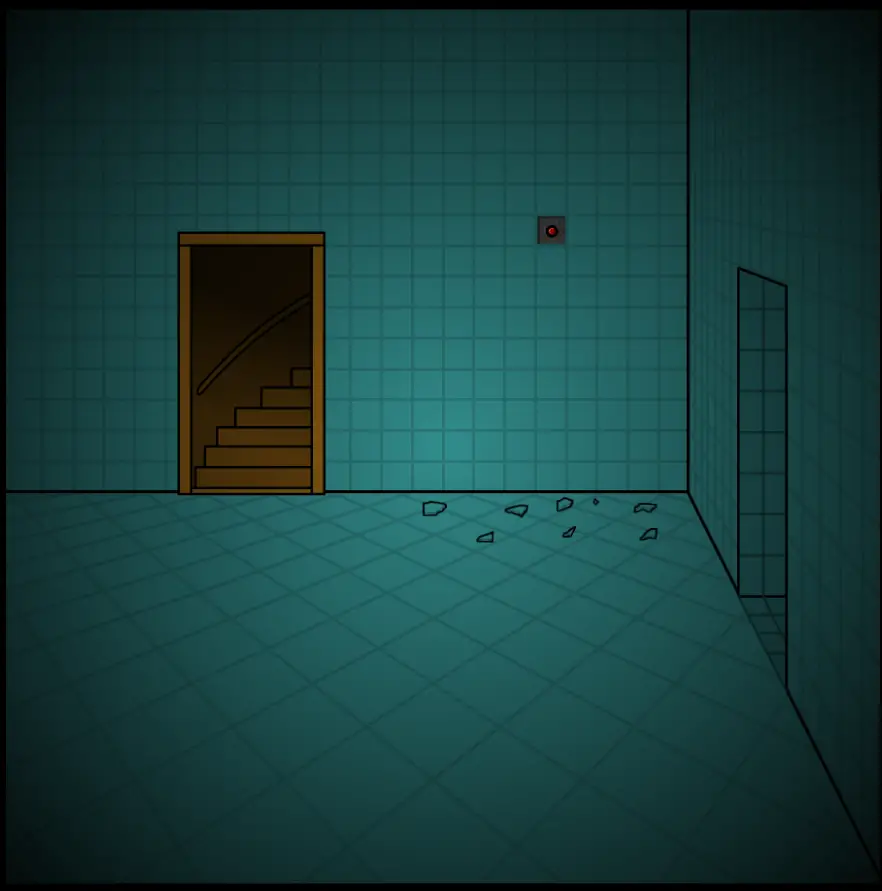
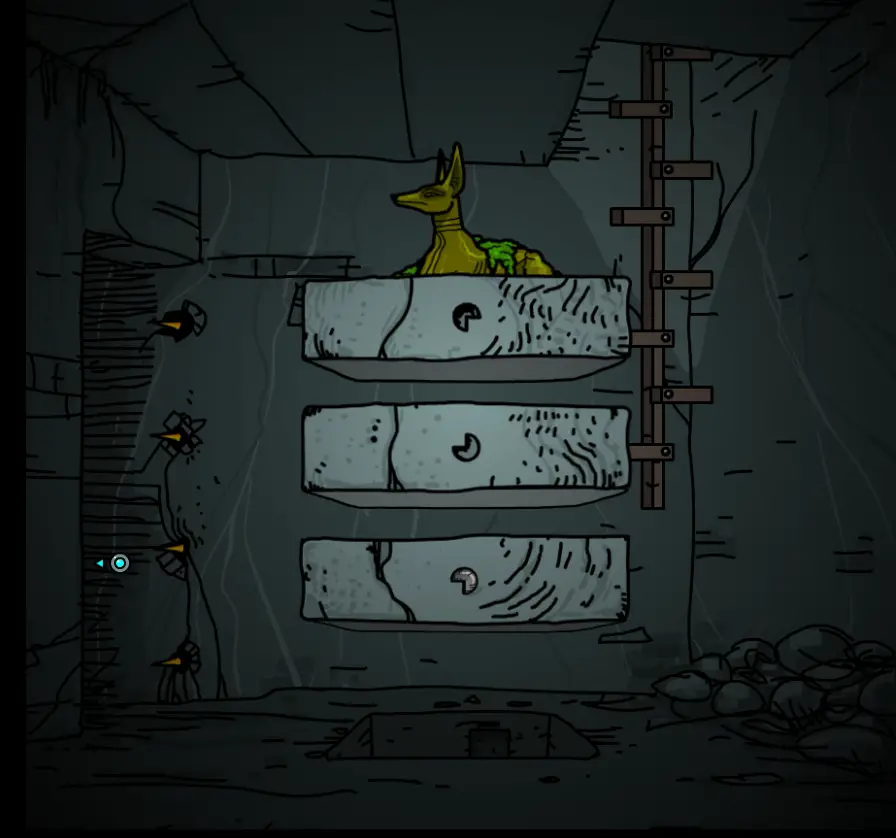
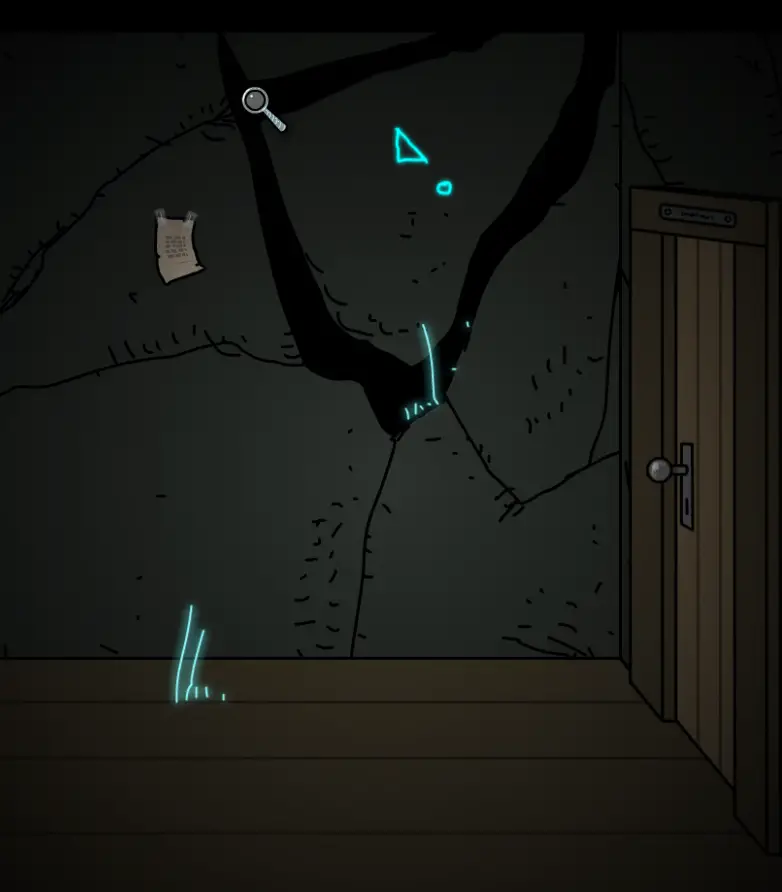
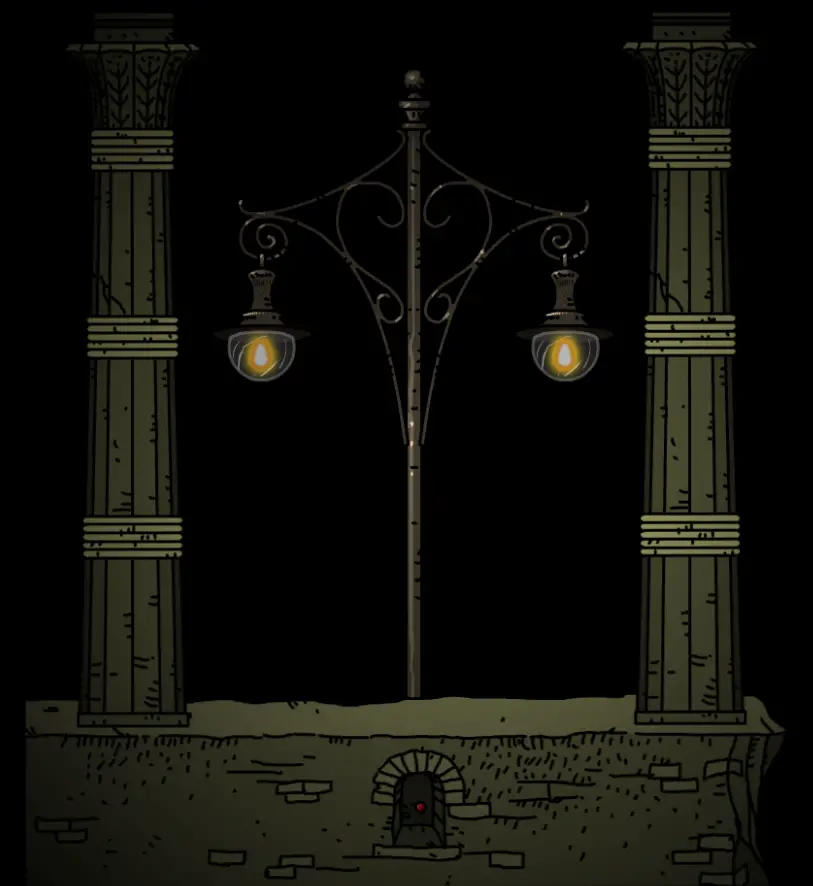
Capítulo 1
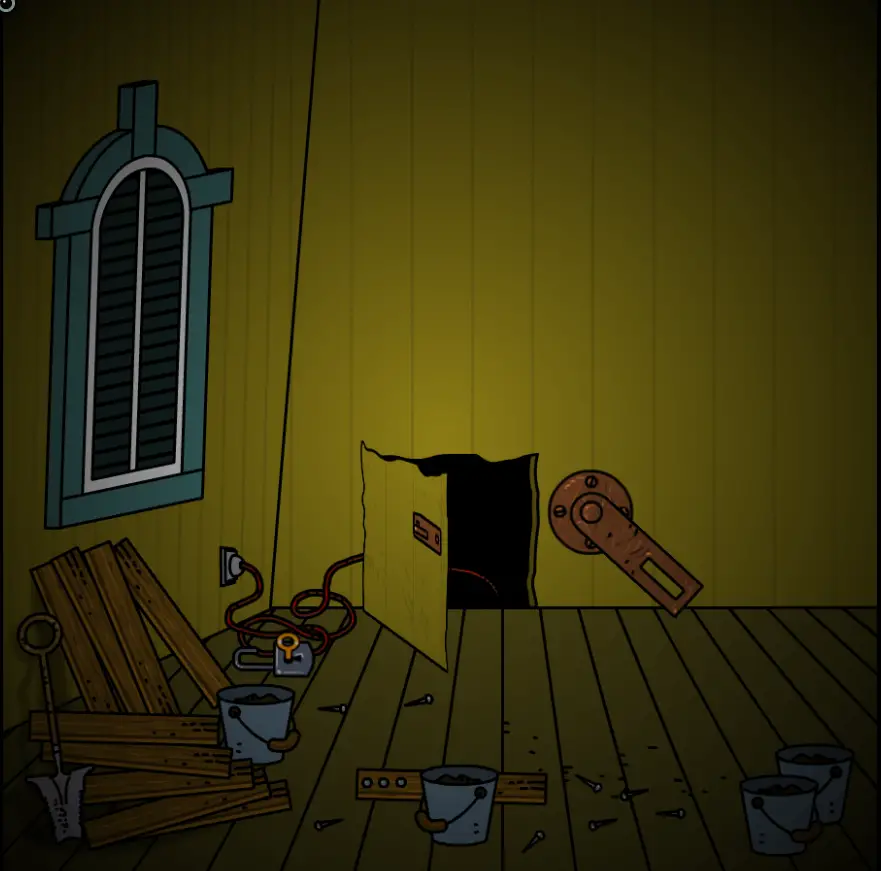
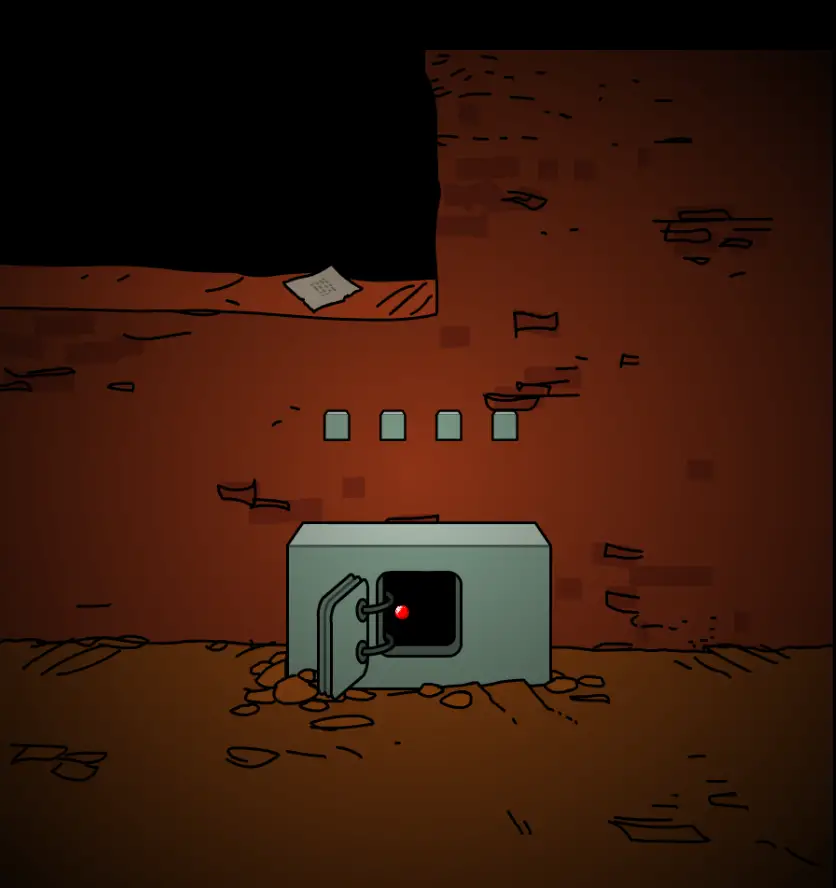
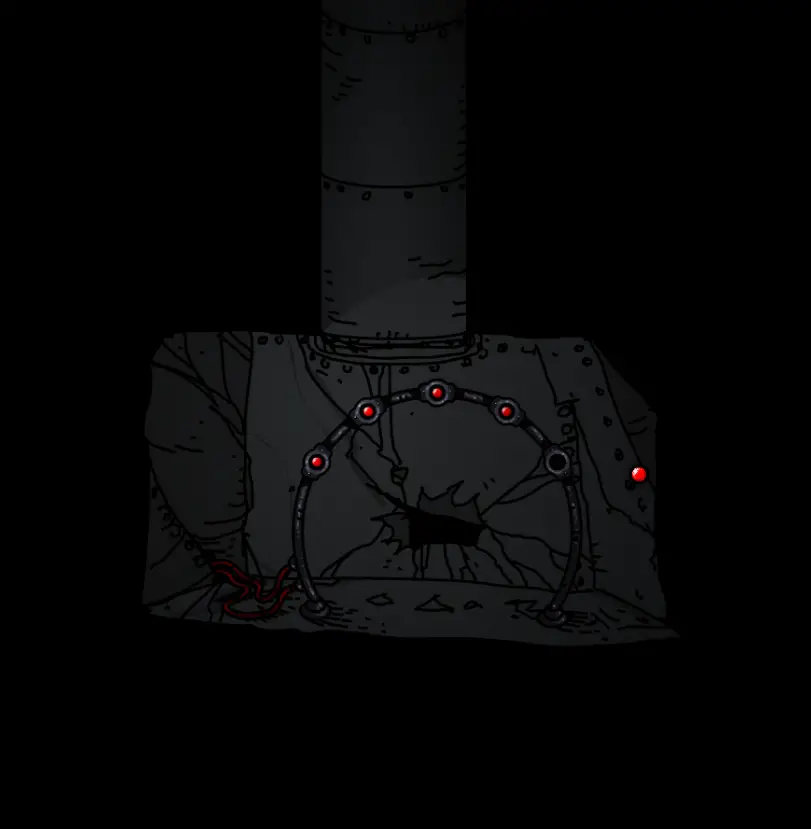
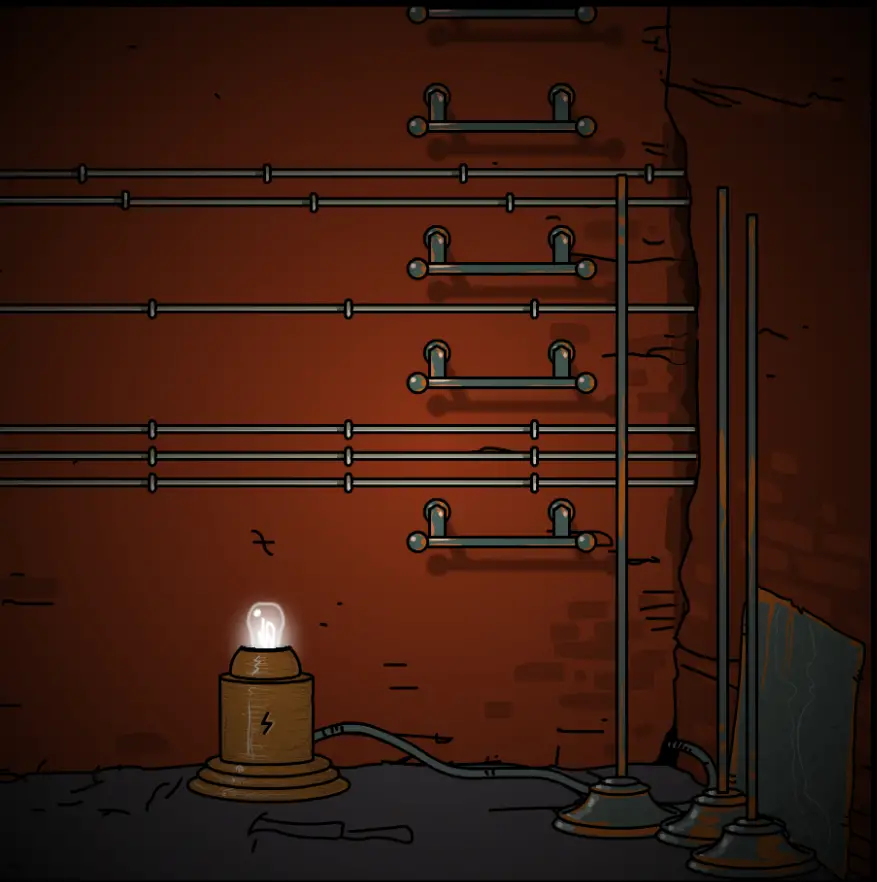
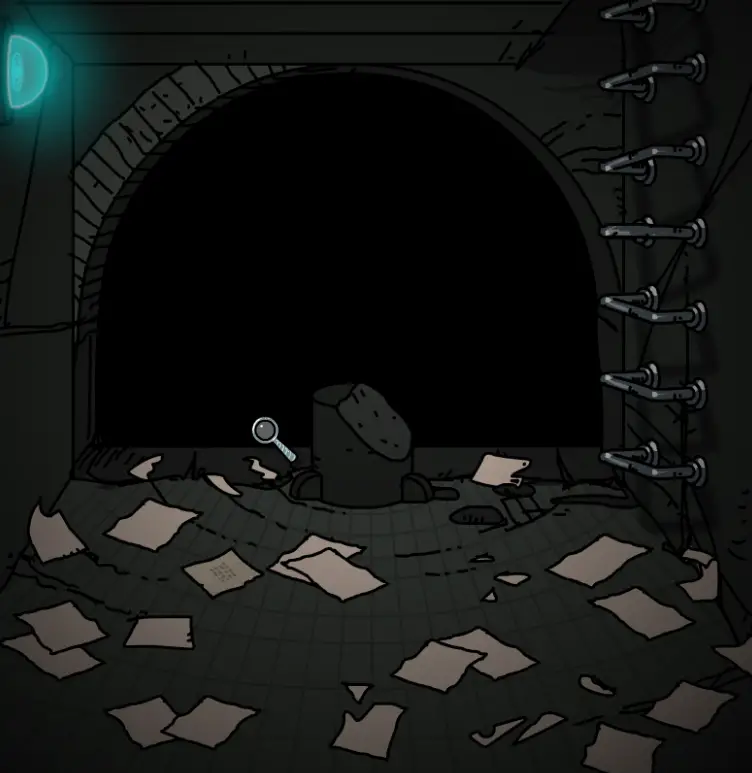
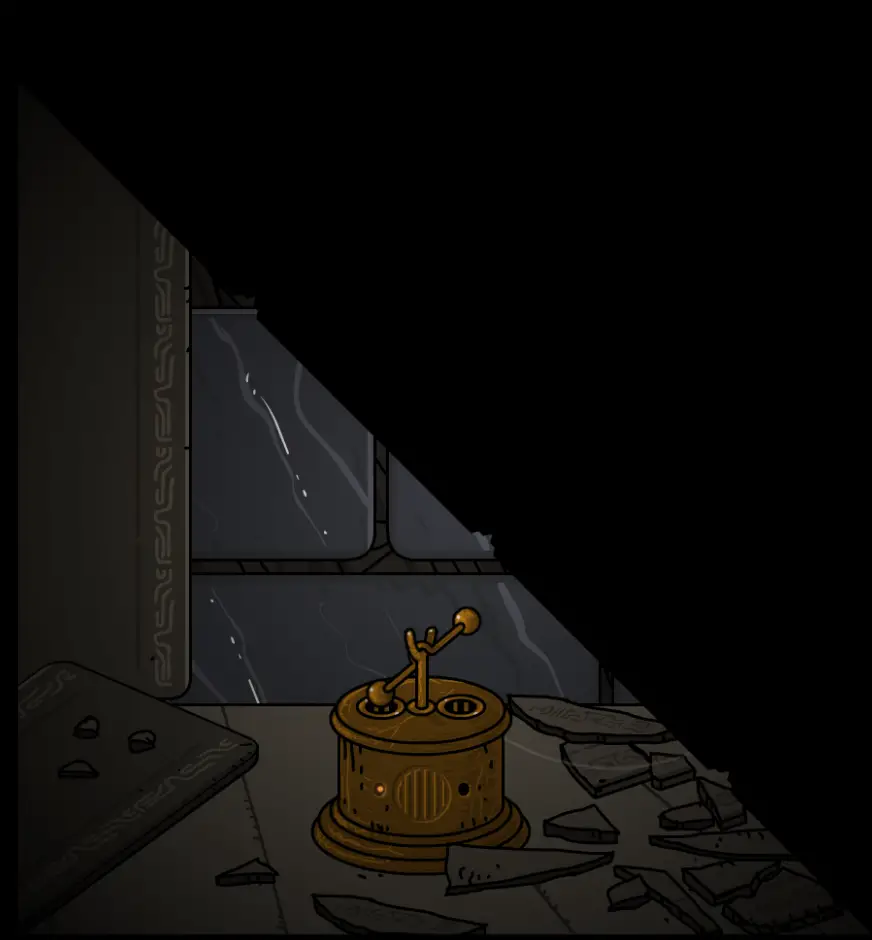
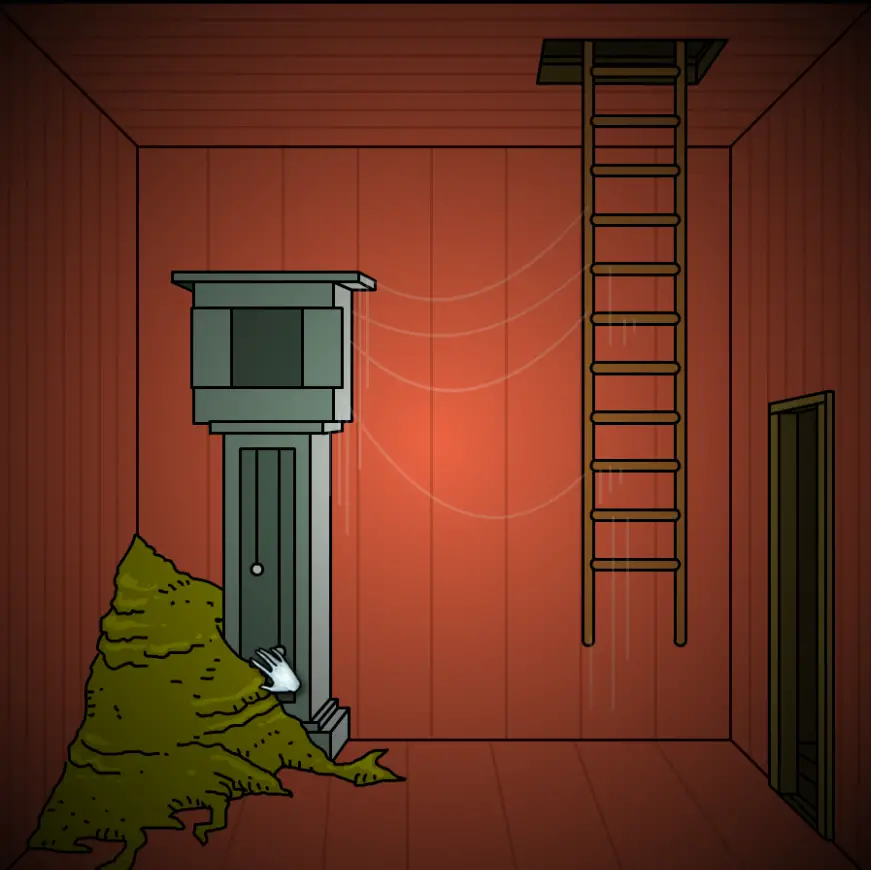
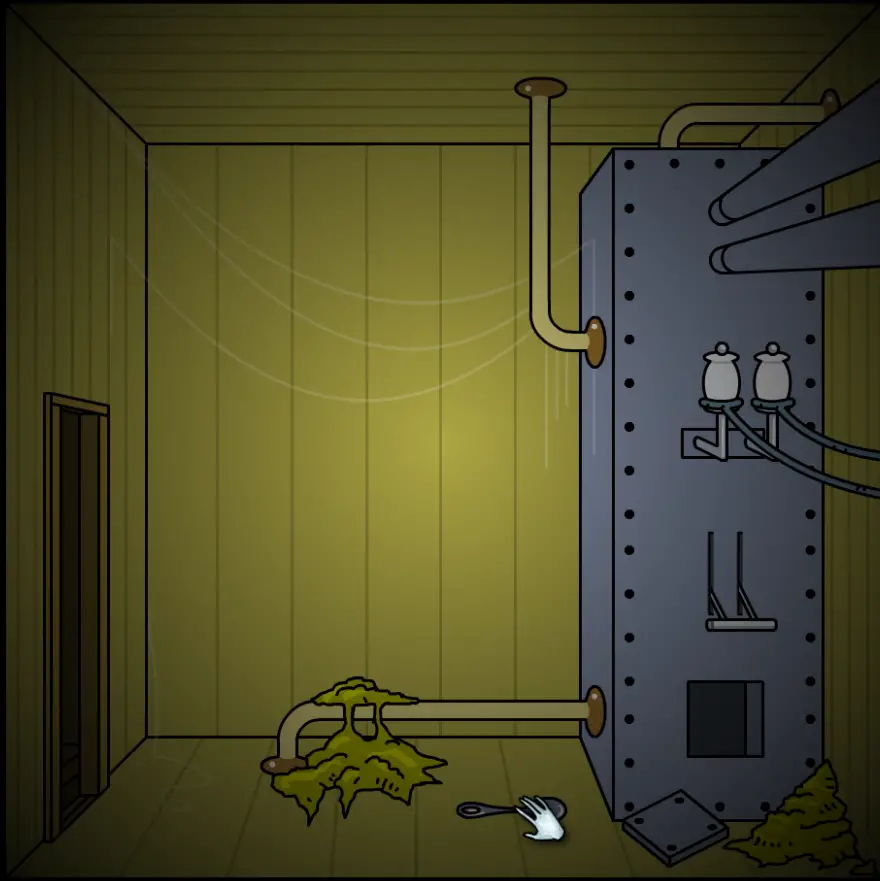
Once you’ve turned all the levers, return to the room with the coins and pull the final lever. Também, make sure to pick up the coin on the floor.

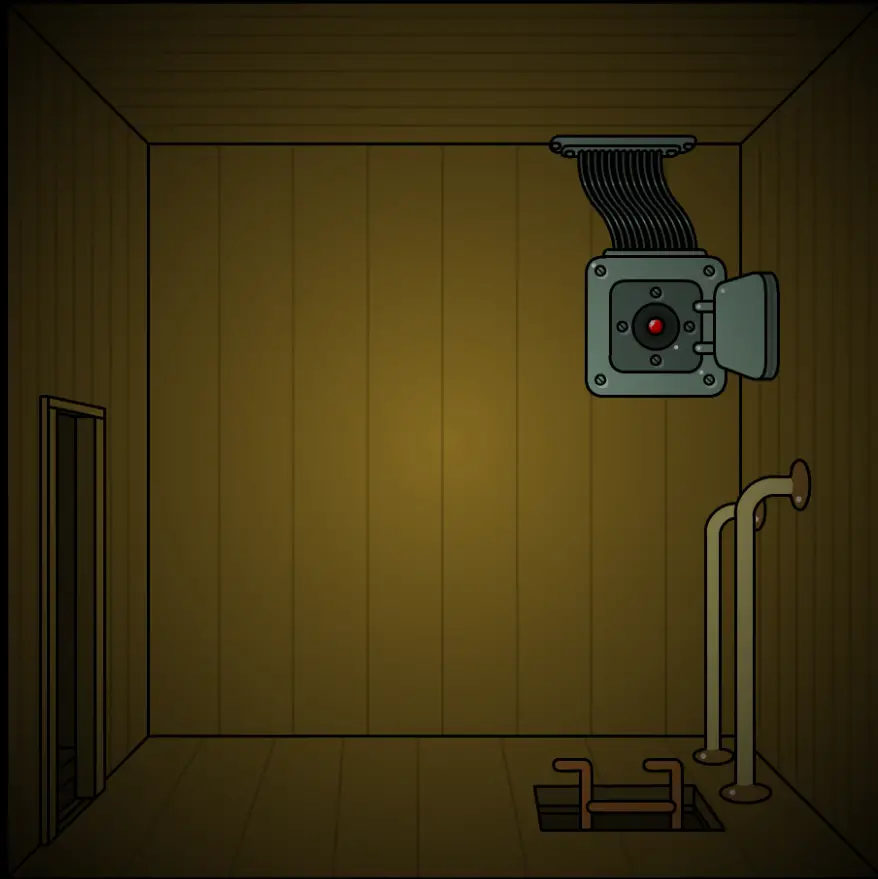
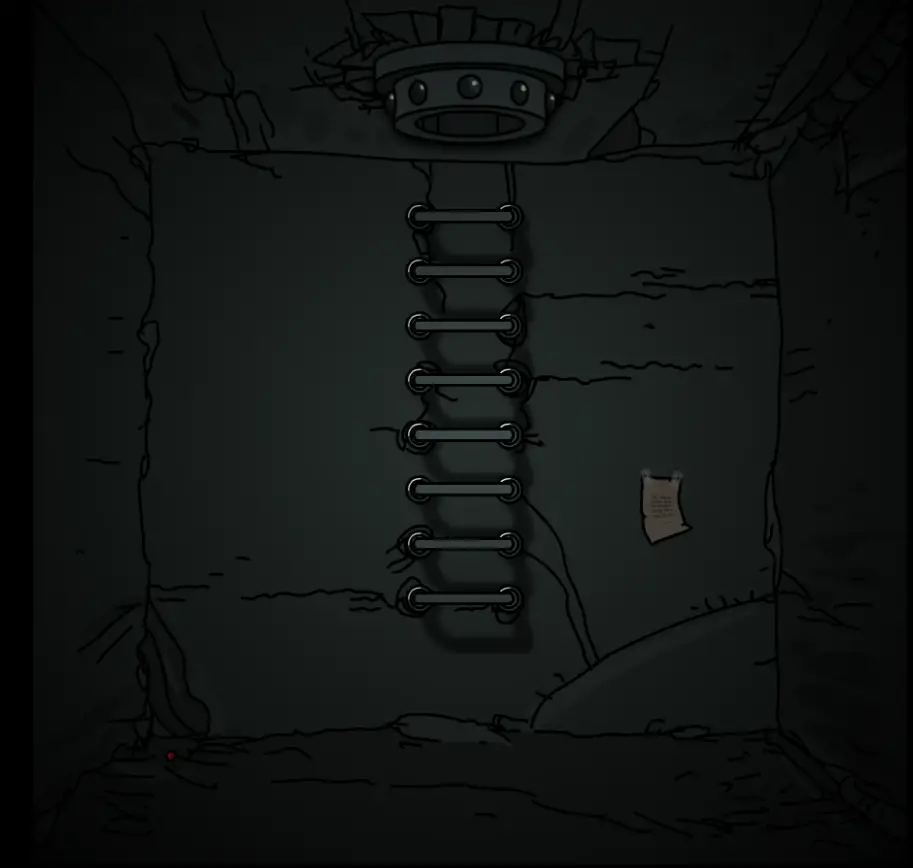
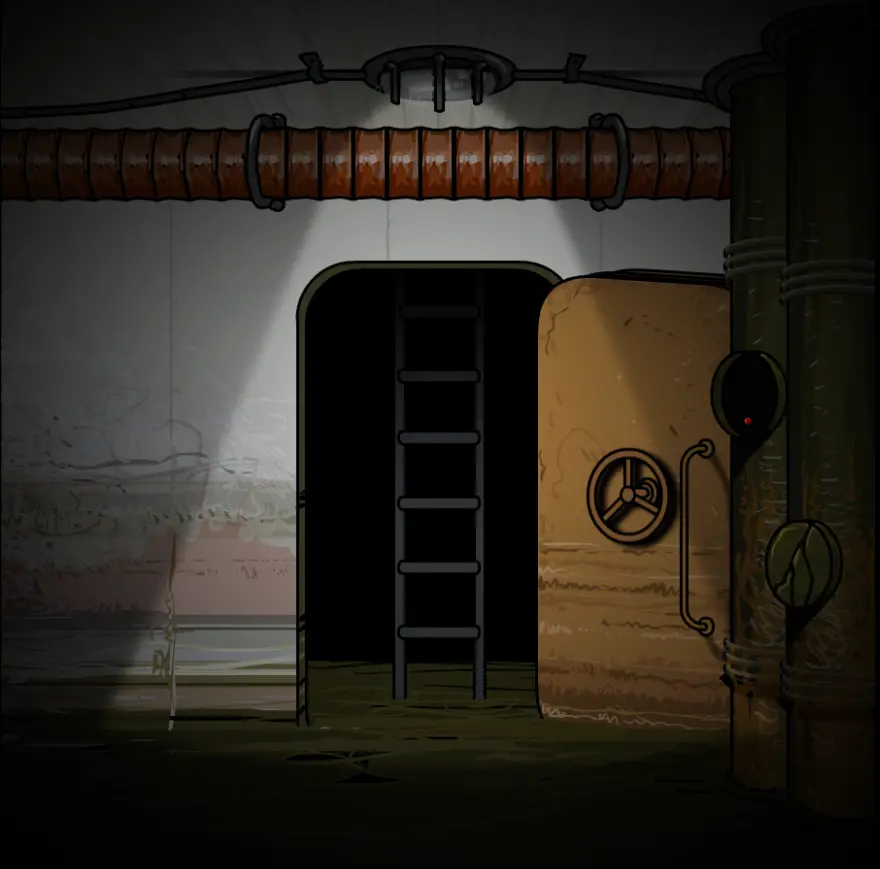
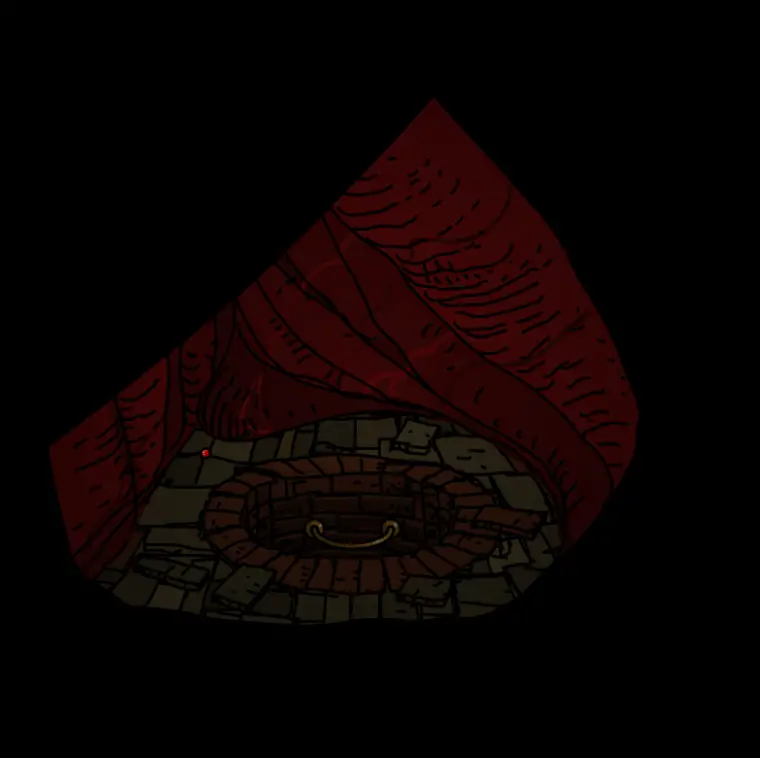
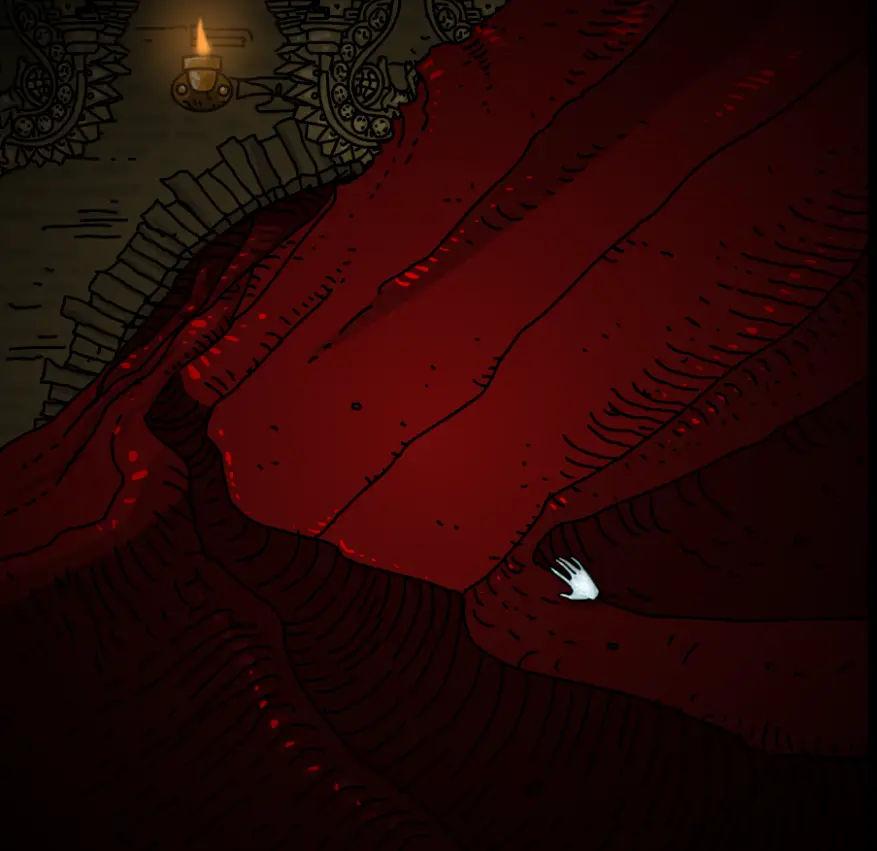
Go to this room, there should be a ladder pop from the ceiling

Go inside and look at the board. If there is one red spot it means you HAVEN’T PICKED UP THE COIN or haven’t done all the objectives

Go back and the one stabilizer should be there
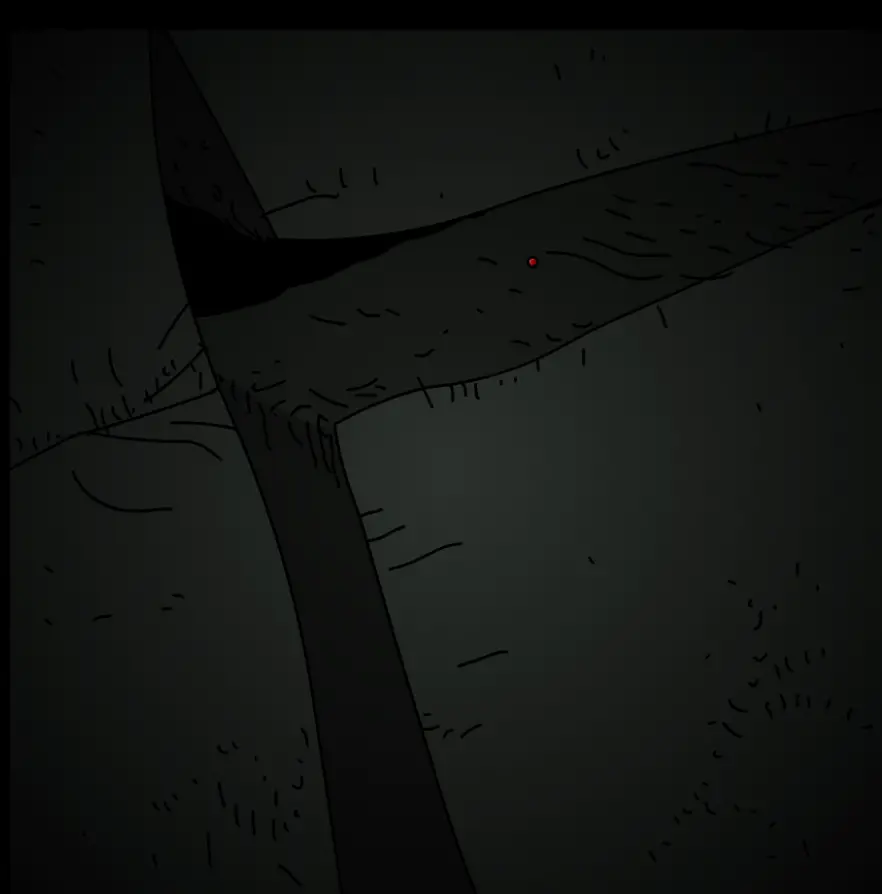
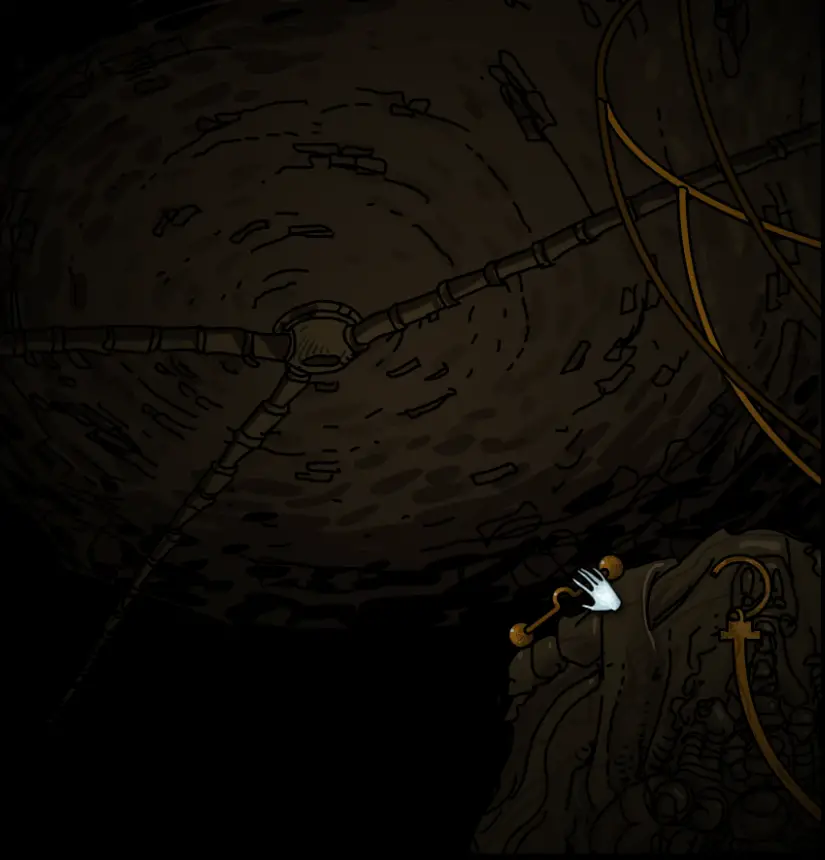
Go to chapter 8, warp to the 5th layer and go back to chapter 1

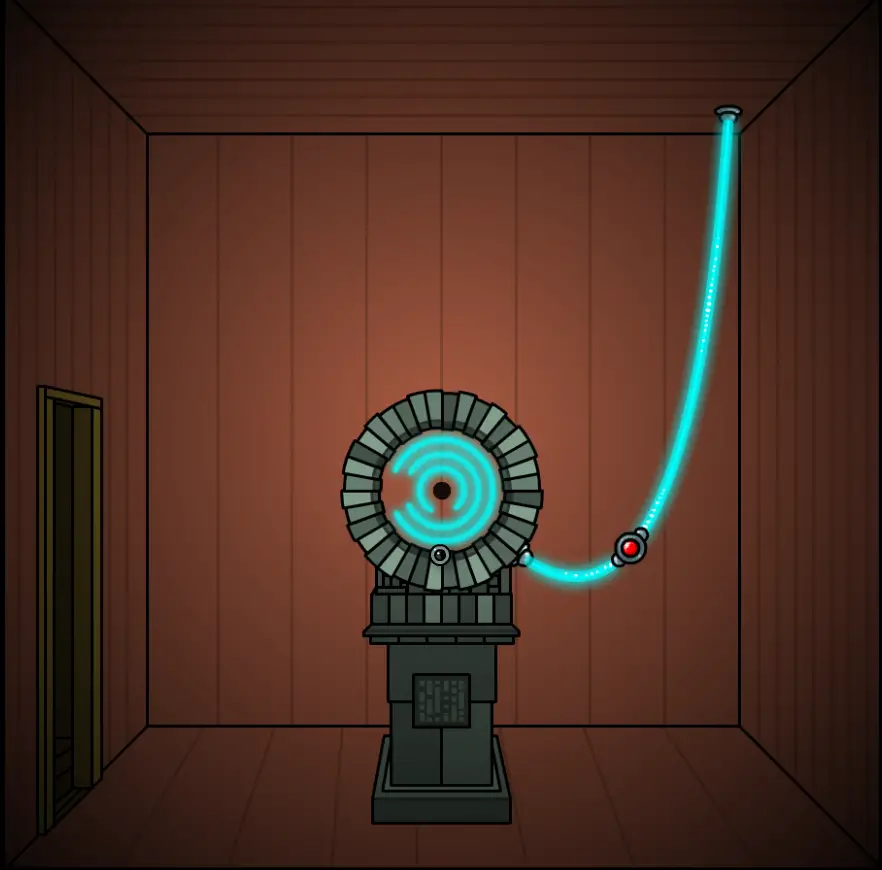
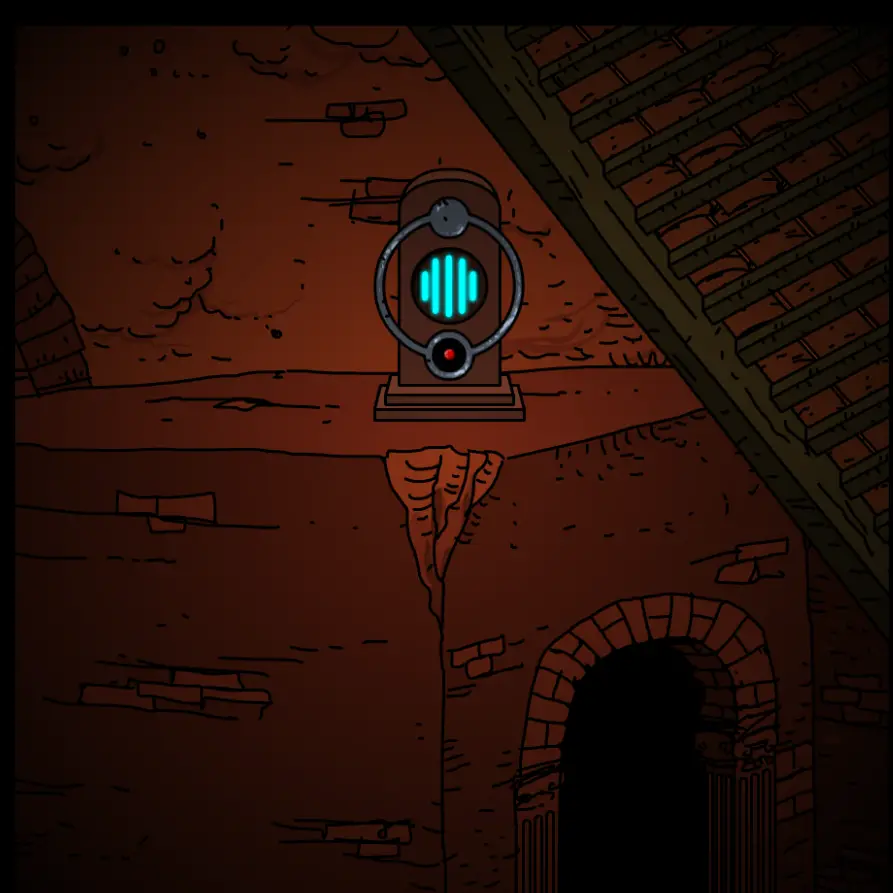
Go to this room next to the radio room and enter the portal
Capítulo 2
Stabilizer locations
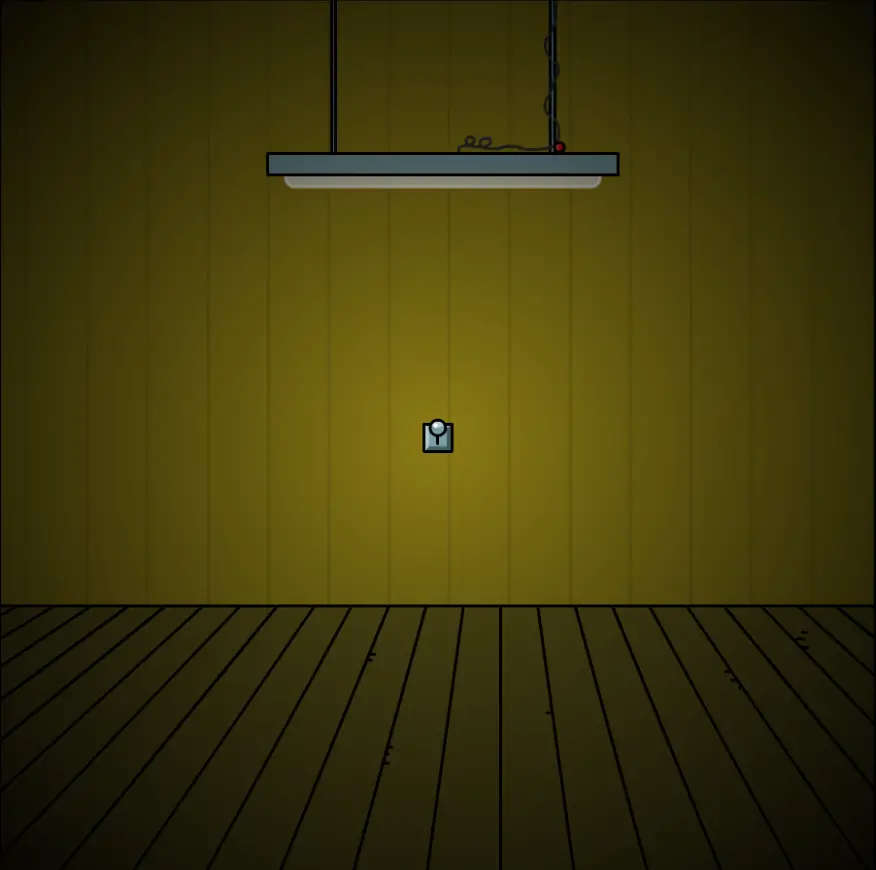
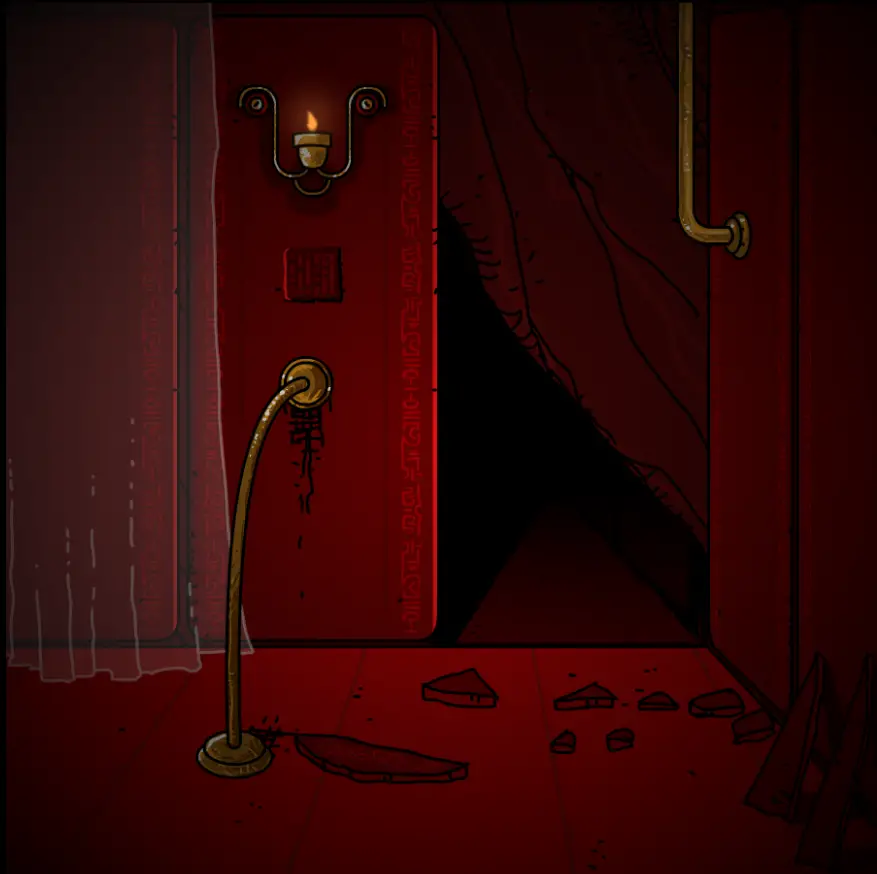
Go to the left most room from the start, go up once and the first is on the chair
In the projector room, click on the cracked tile on the wall
In the hallway above the light
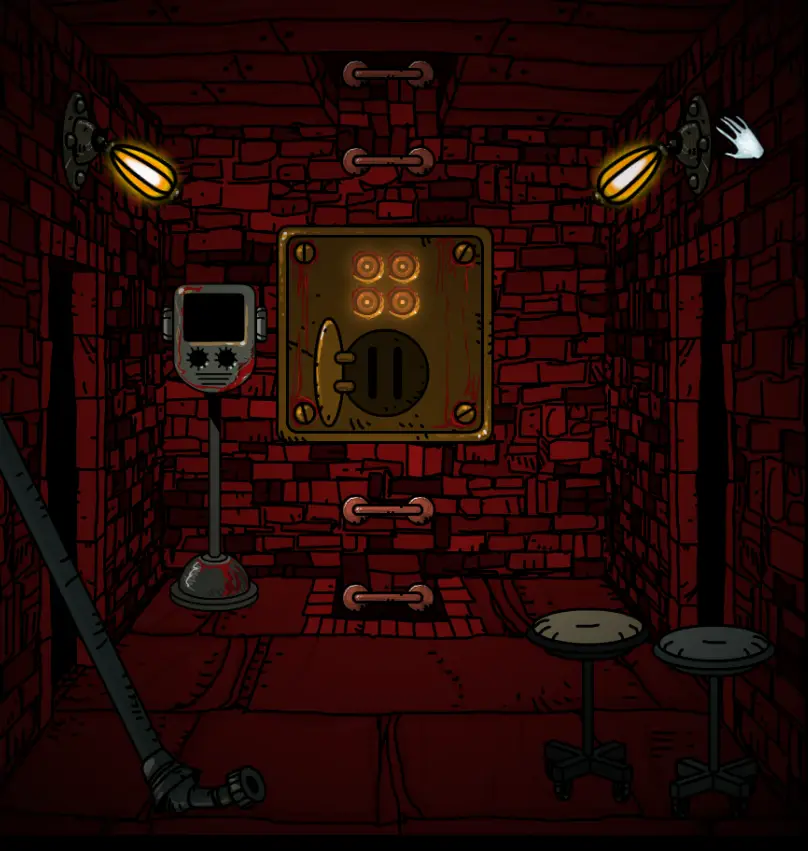
From the sewer entry, vá para a esquerda 4 times and down once
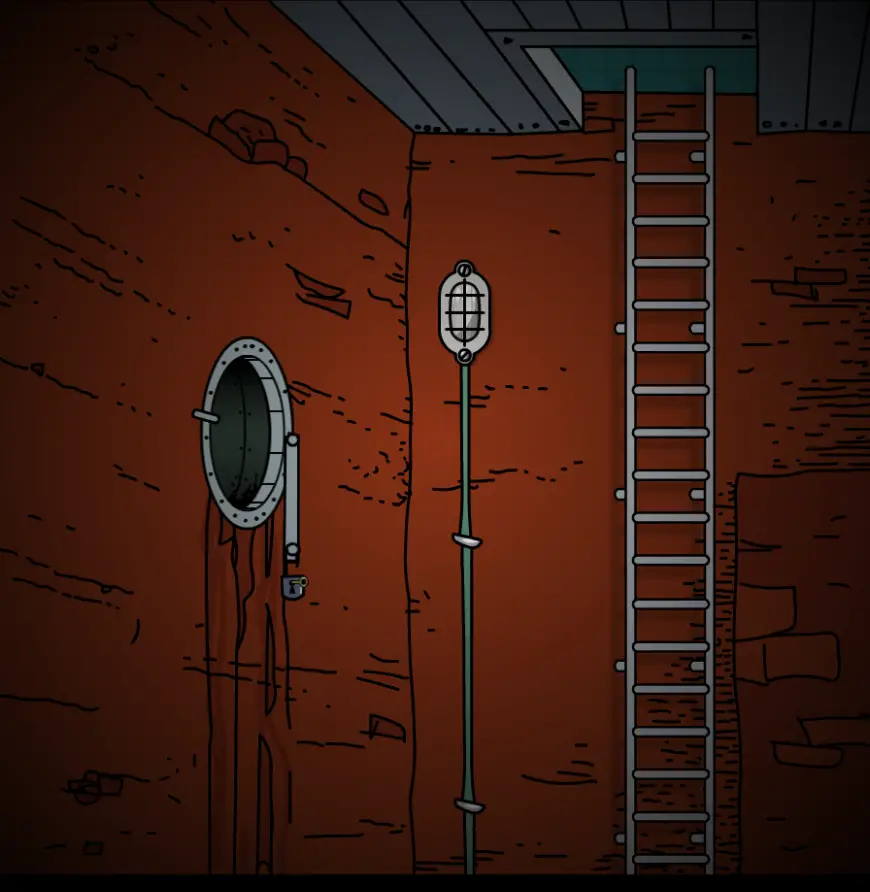
In the braille puzzle room on the hand machine (4x)

In the left air vent when approaching the top of the lighthouse
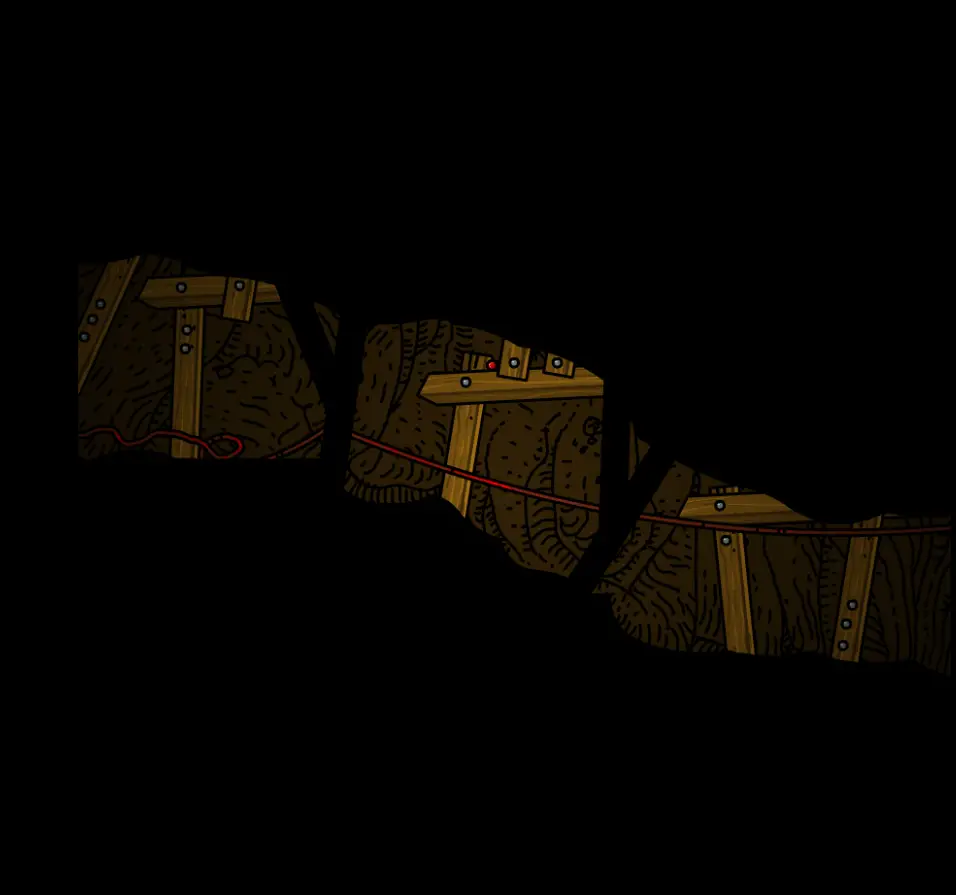
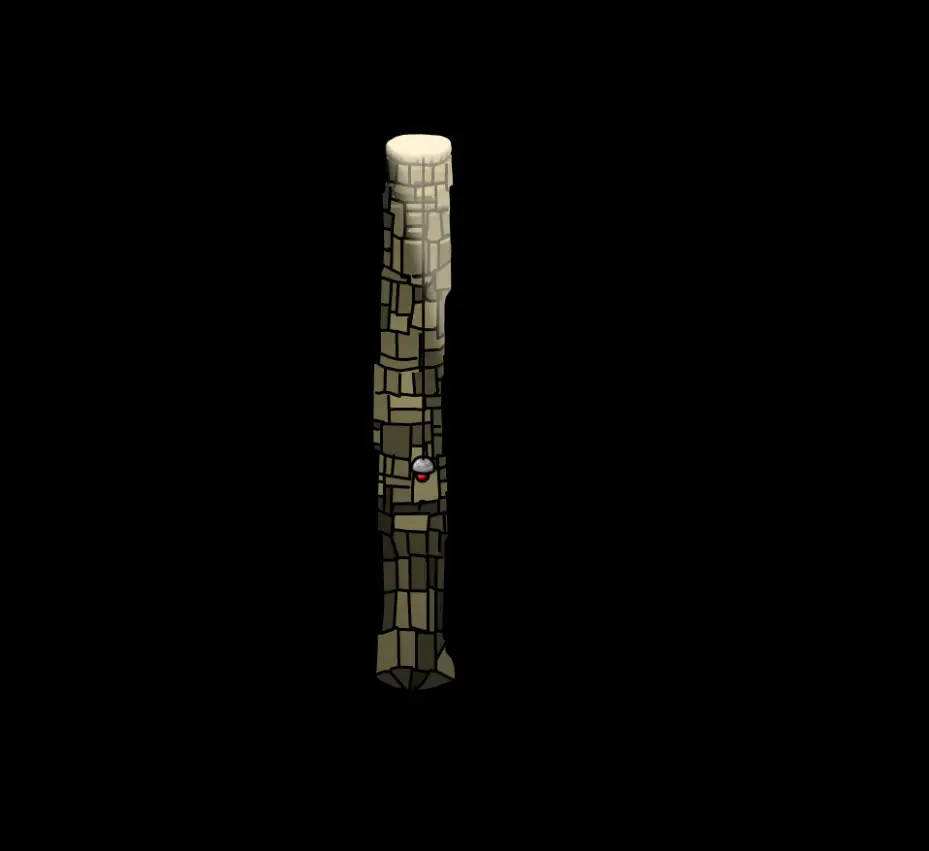
Inside the dug out tunnel
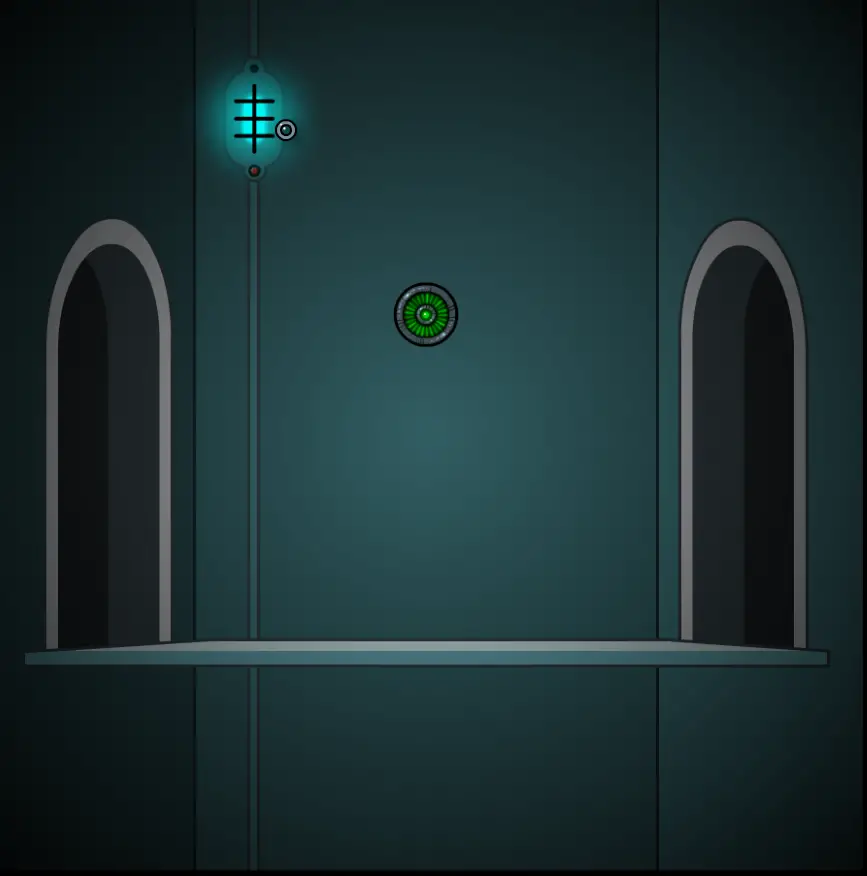
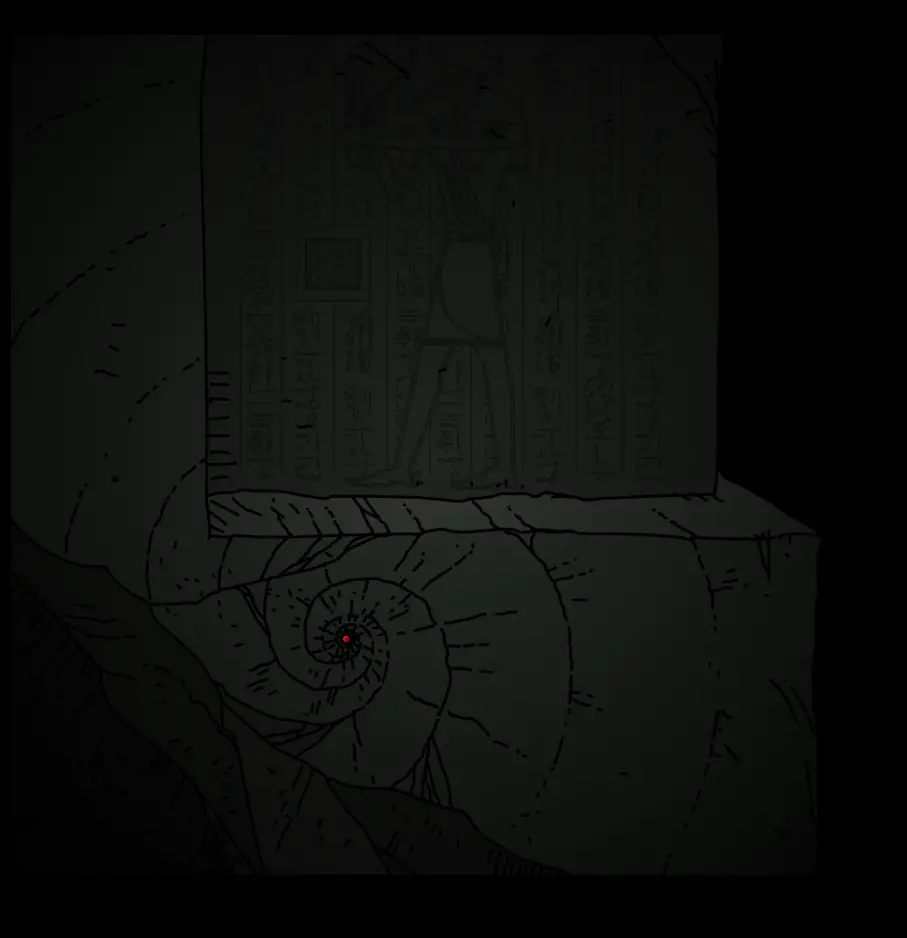
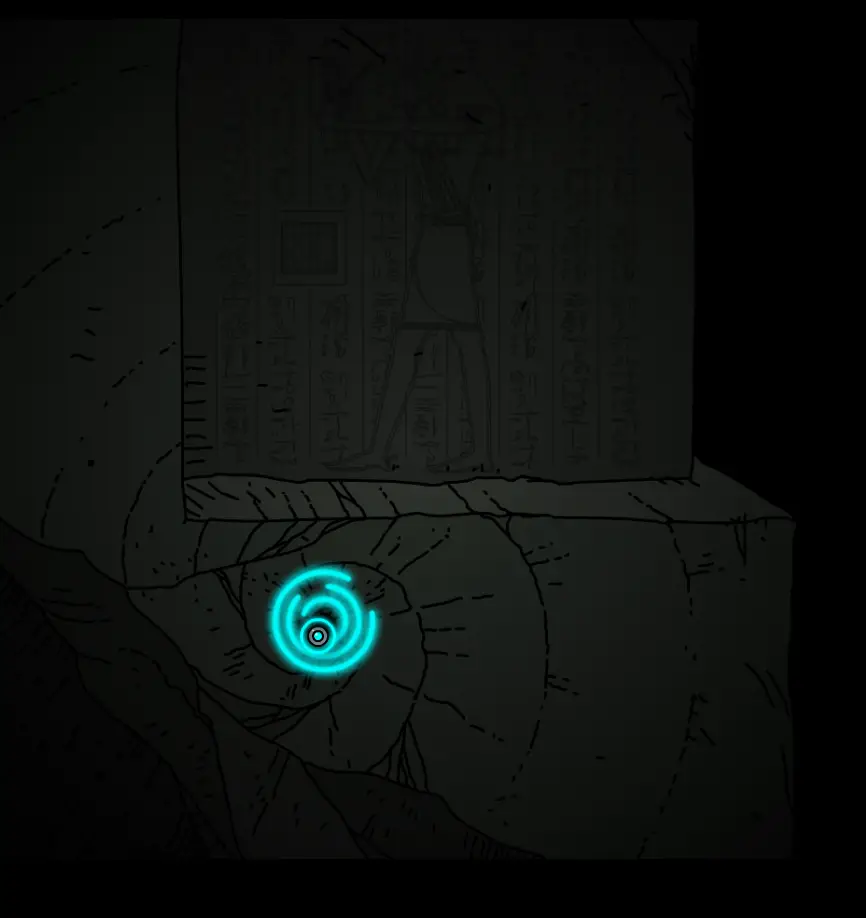
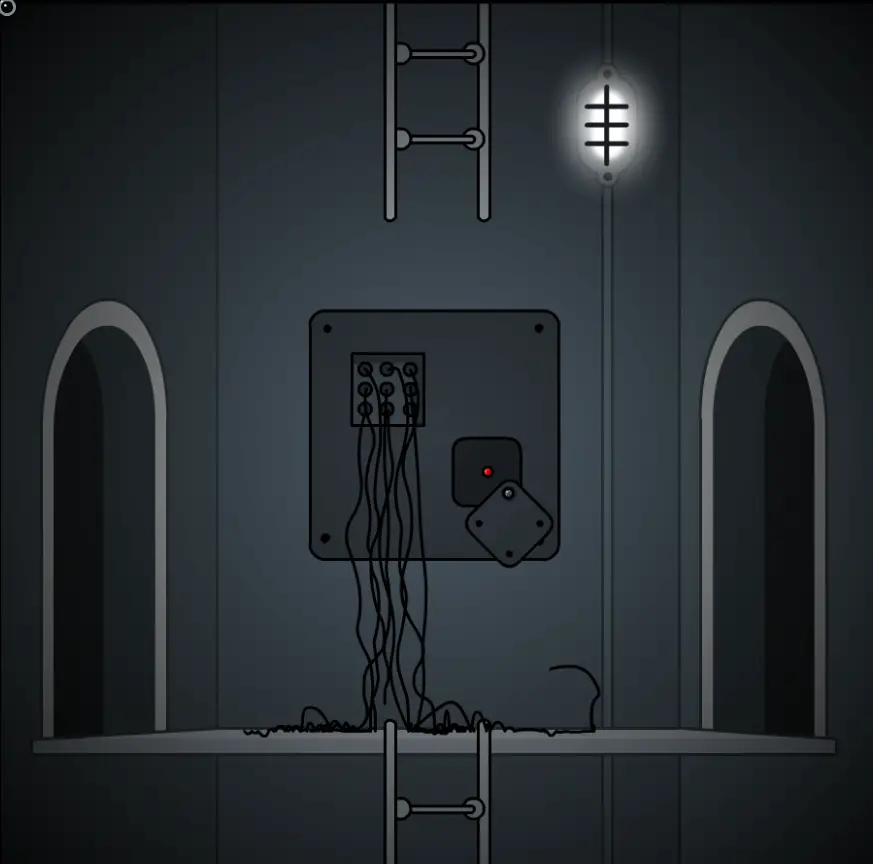
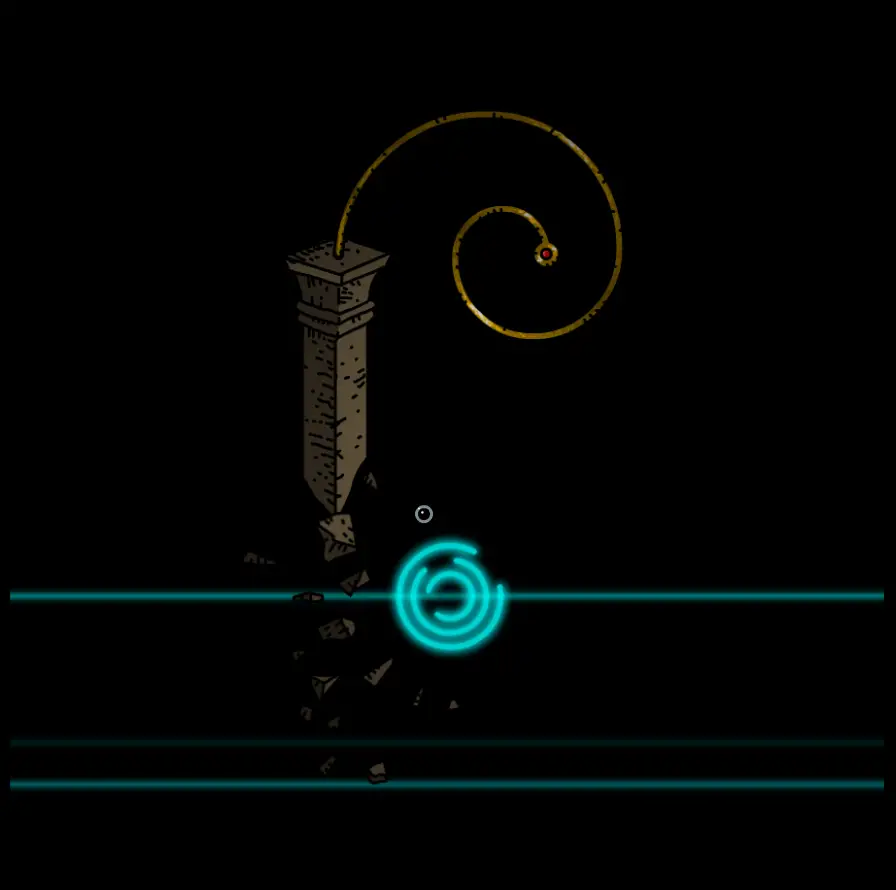
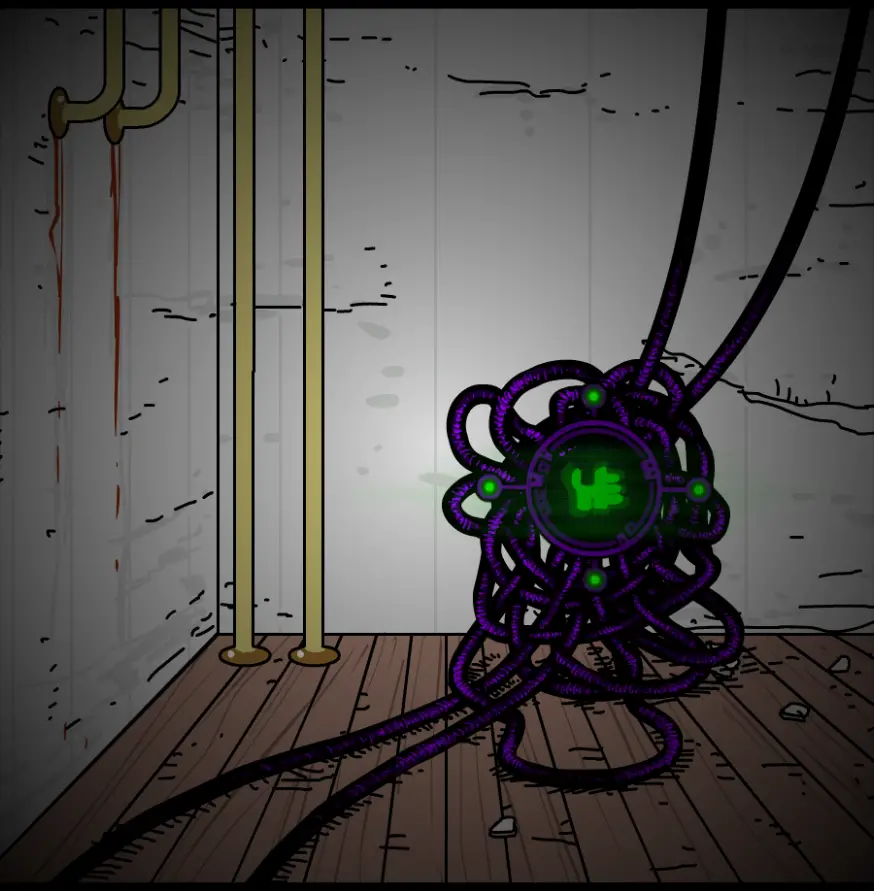
Monolith
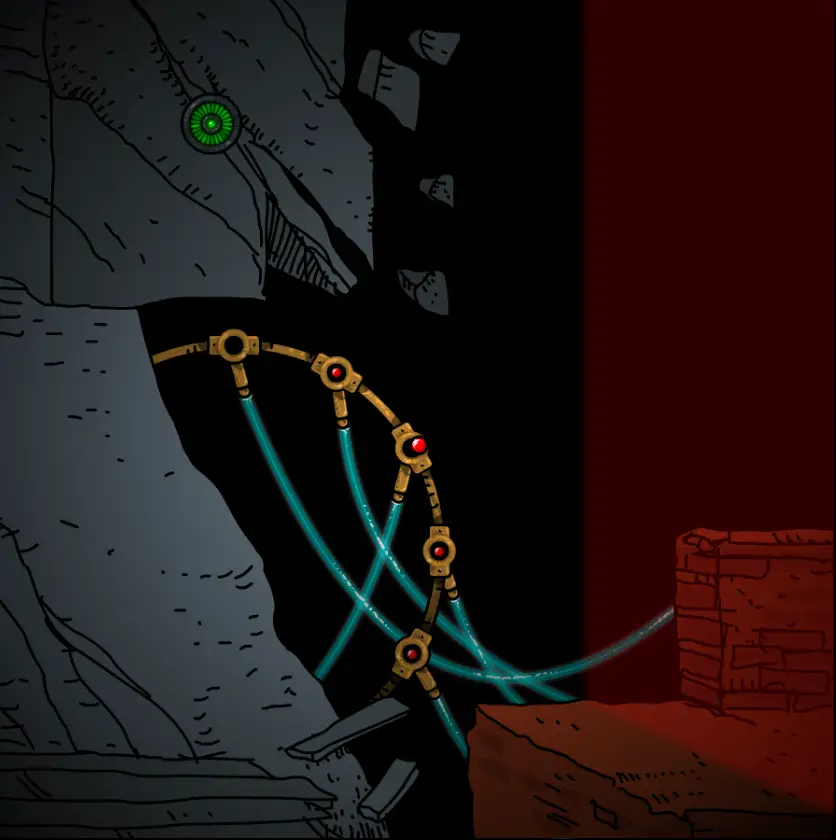
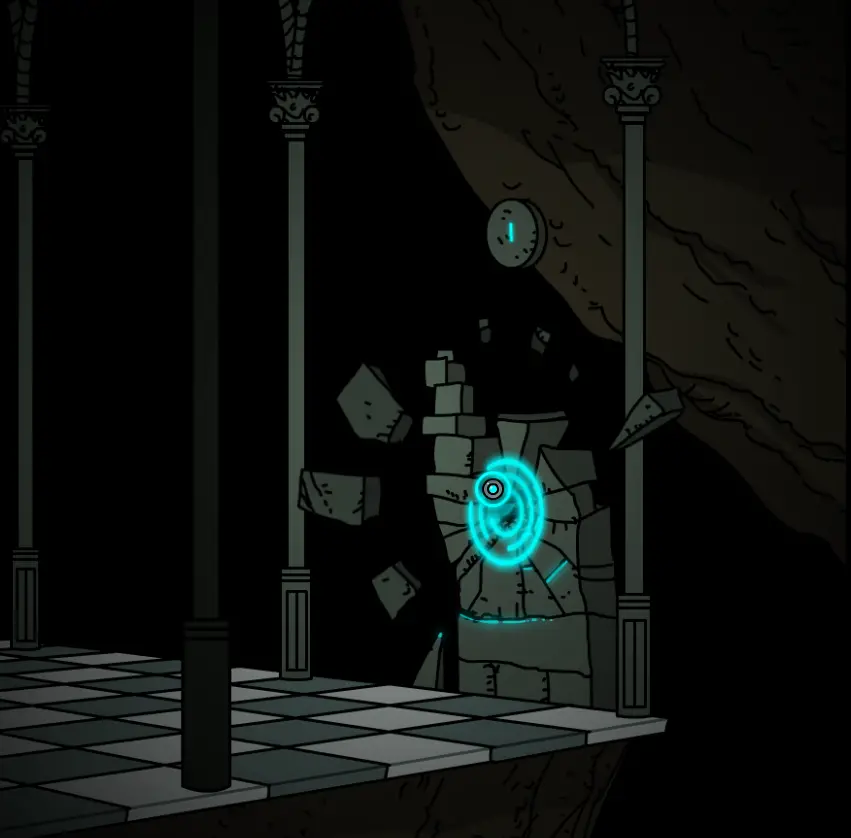
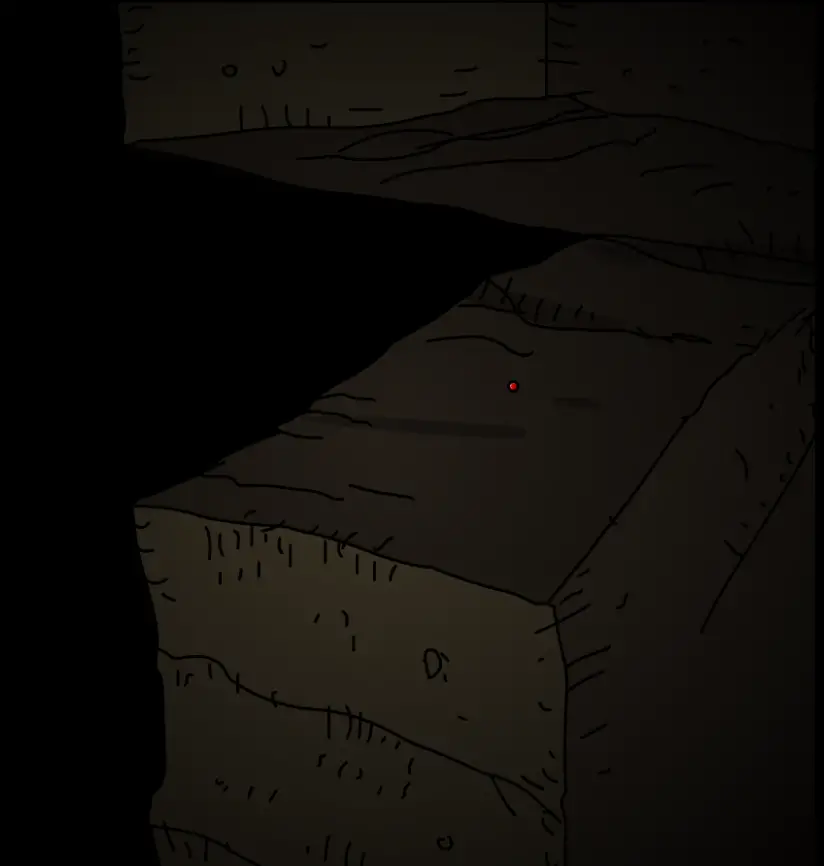
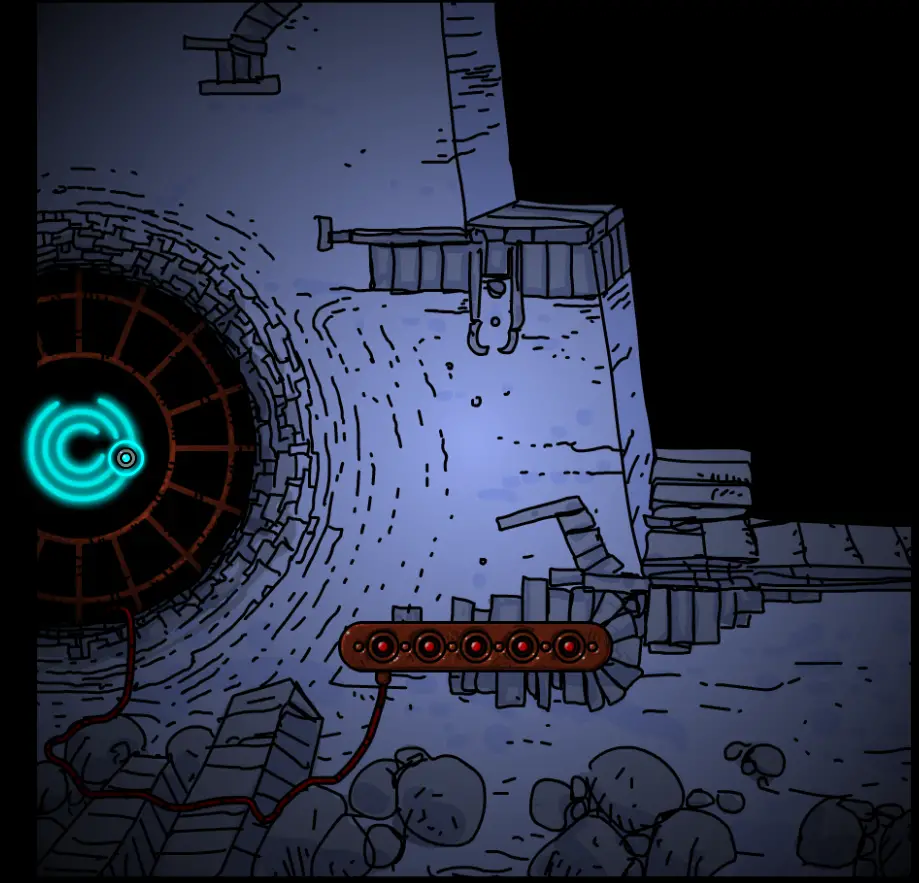
Go to chapter 8 and warp to the 4th layer
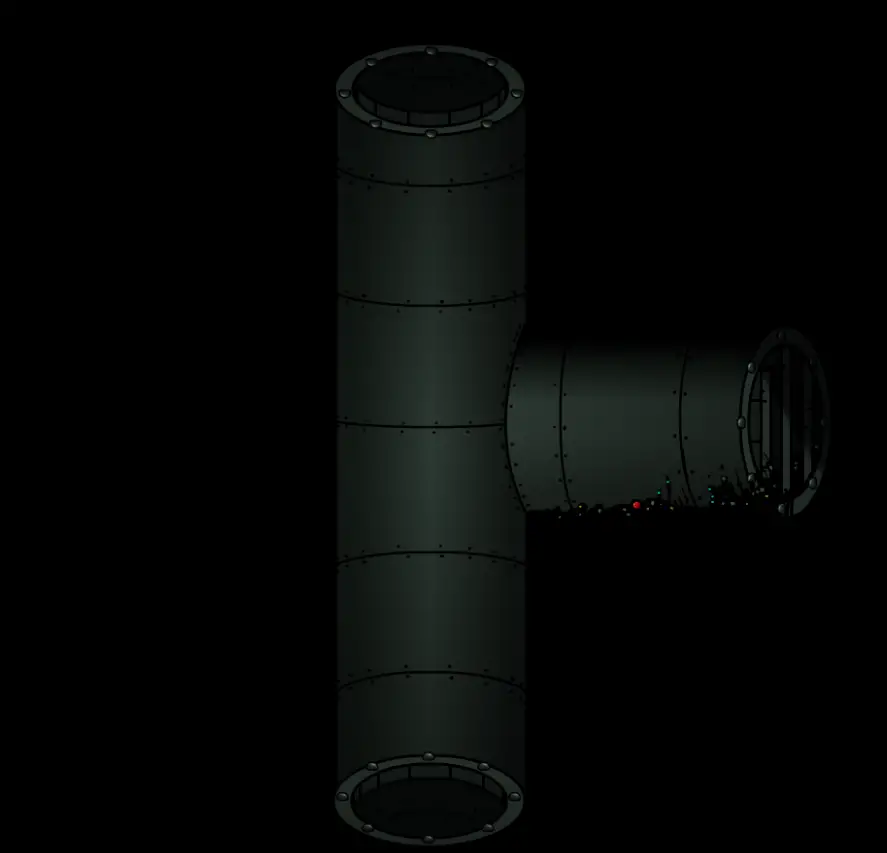
Go back to chapter 2, inside the dug out tunnel and enter the portal

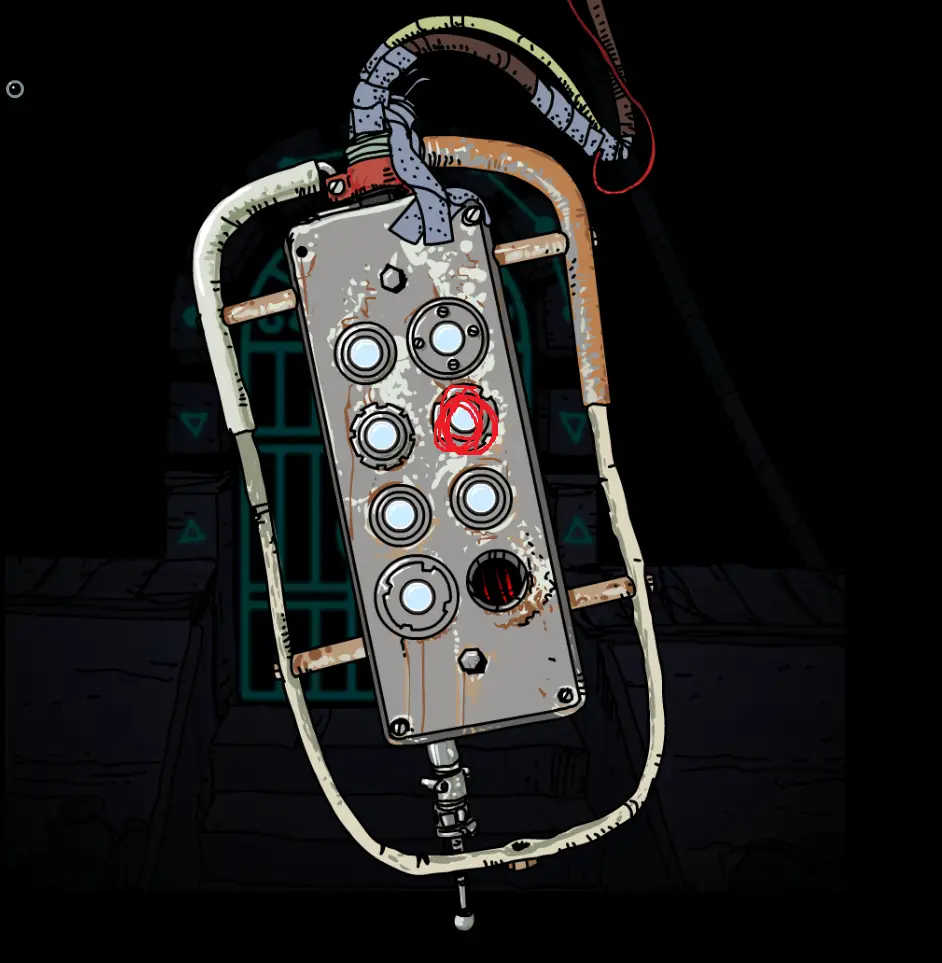
Insert the secrets and pass through


Capítulo 3
solve the puzzle on the last level (MIMBLA in break the loop) e pressione o botão

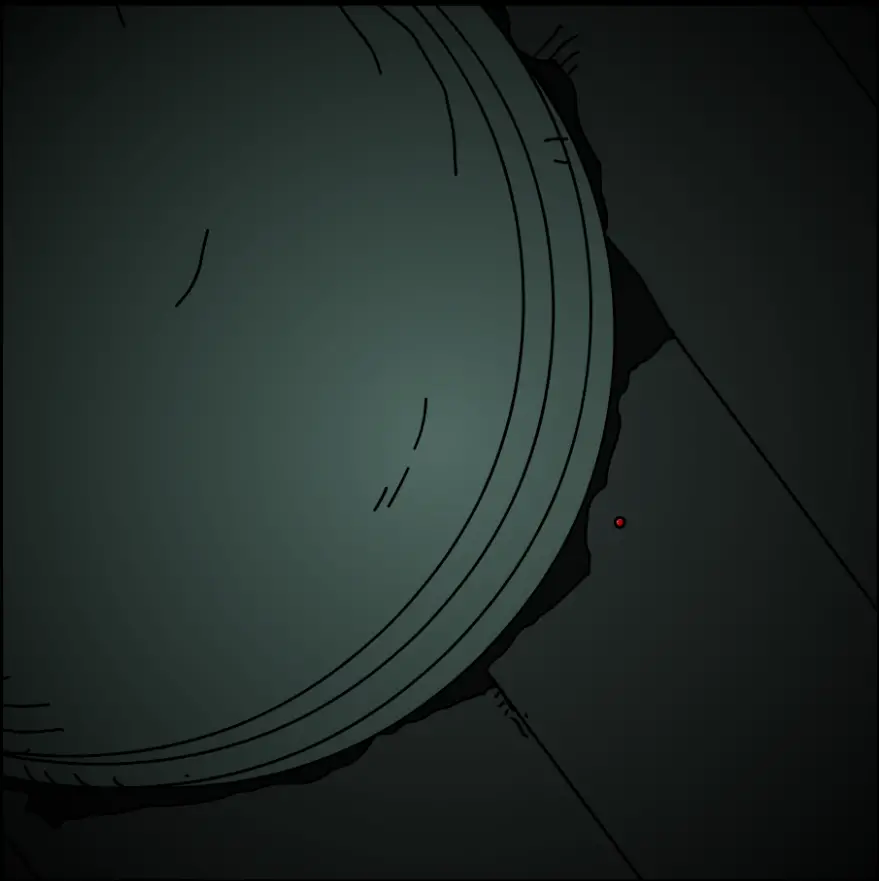
Wander around when you find this room
Go to chapter 8, warp to layer 2

Go back to chapter 3 and enter through the karma portal.
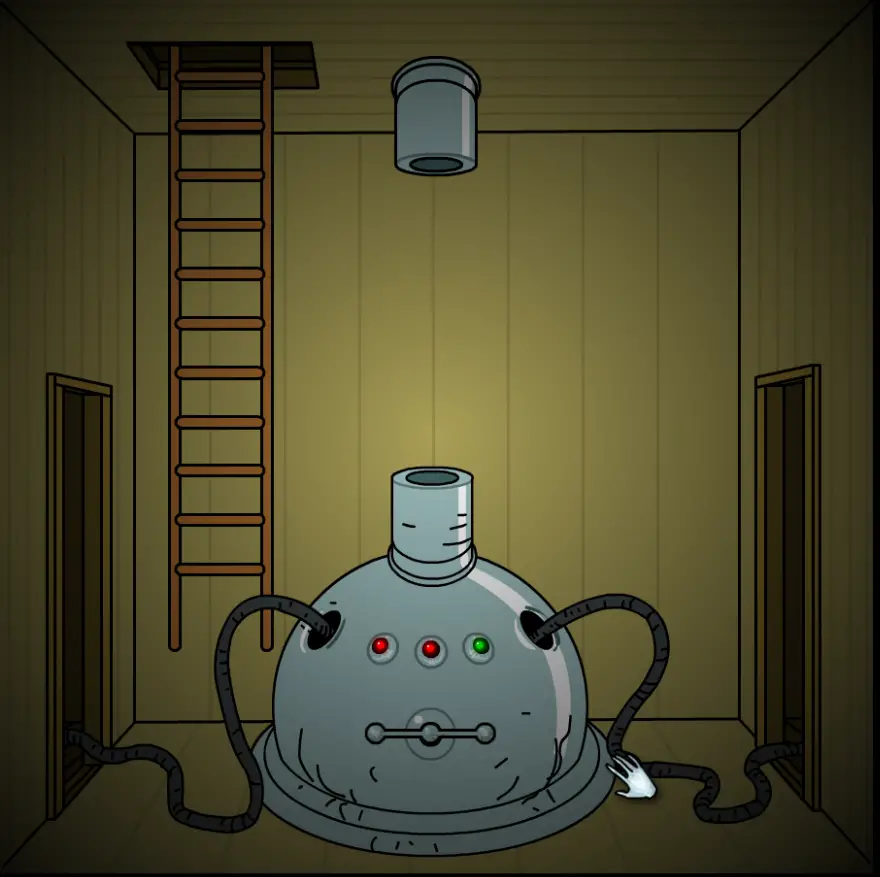
Capítulo 4
Stabilizer locations
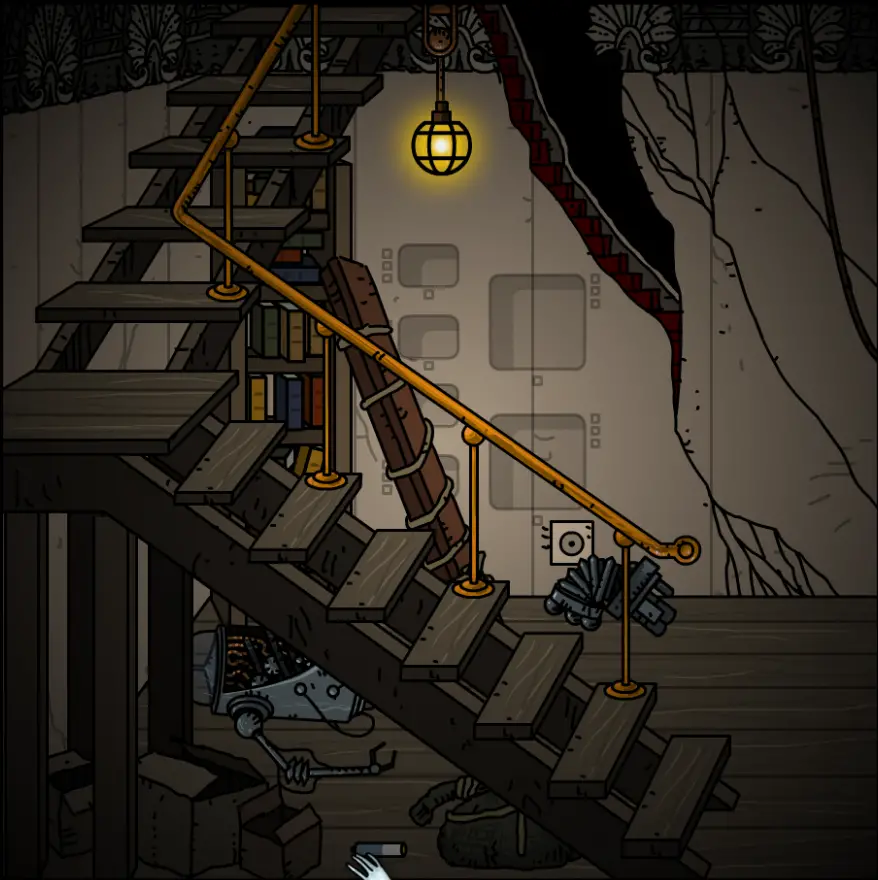
Enter the attic and go to the furthest right

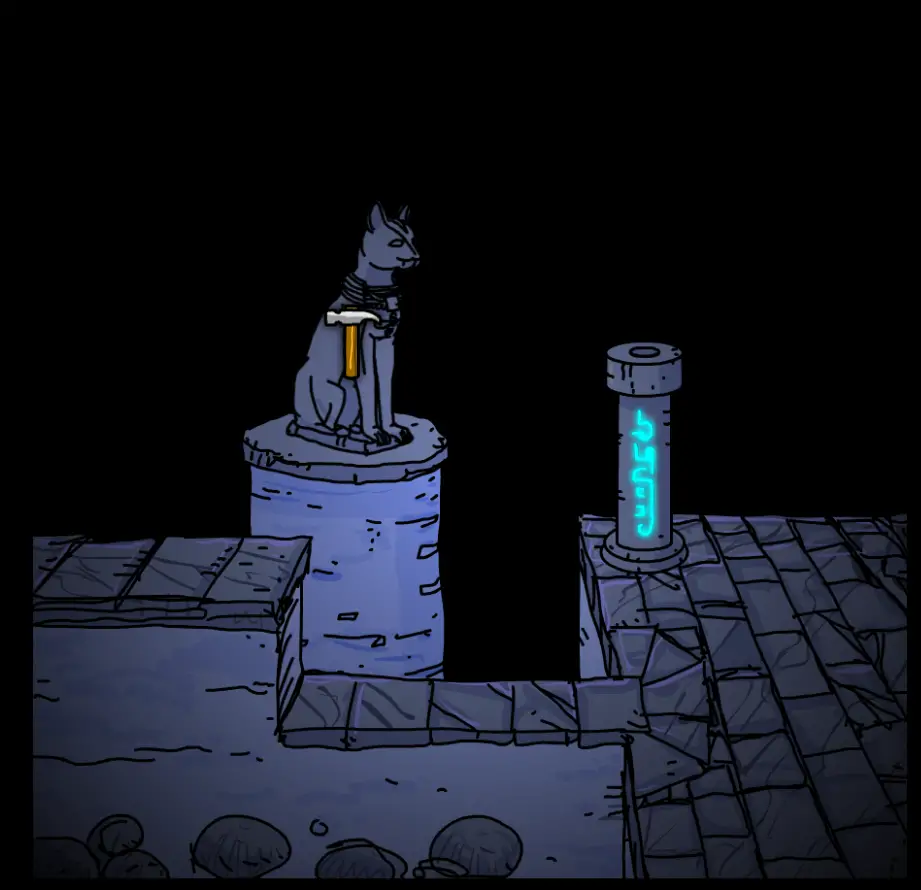
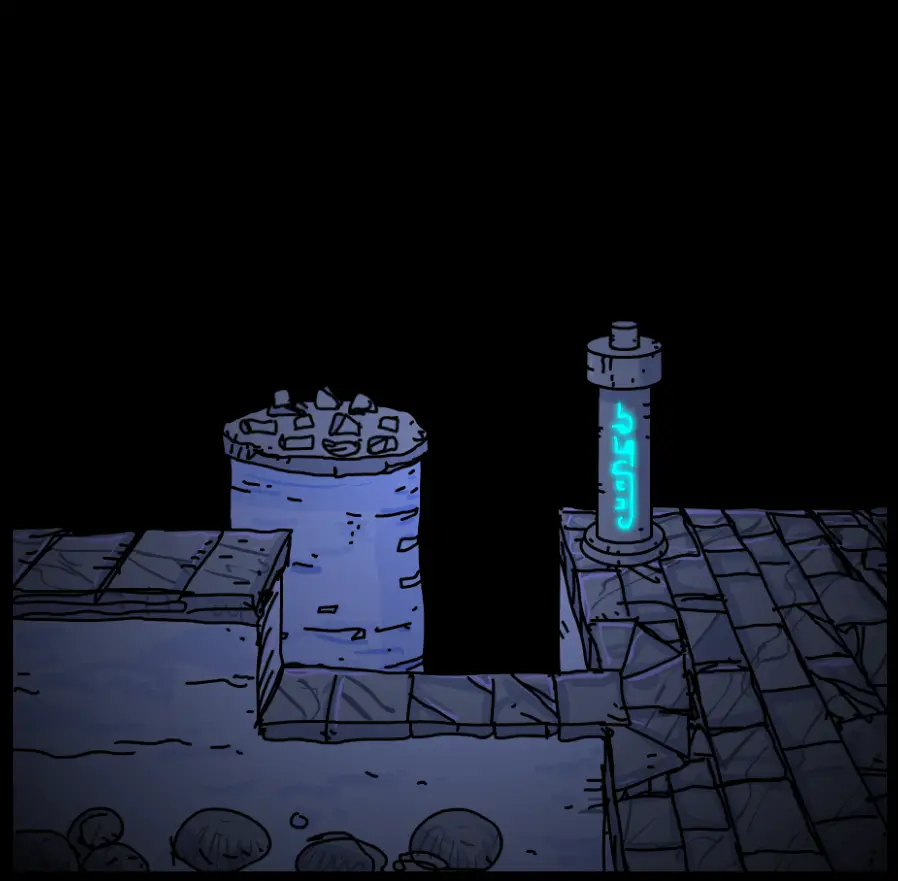
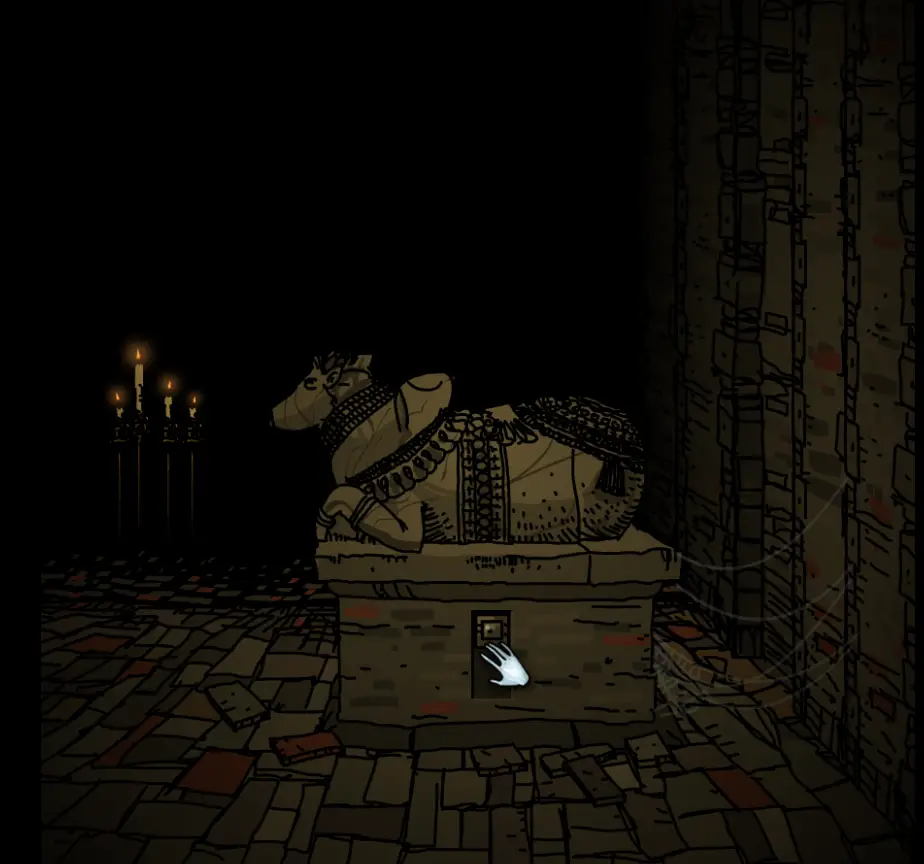
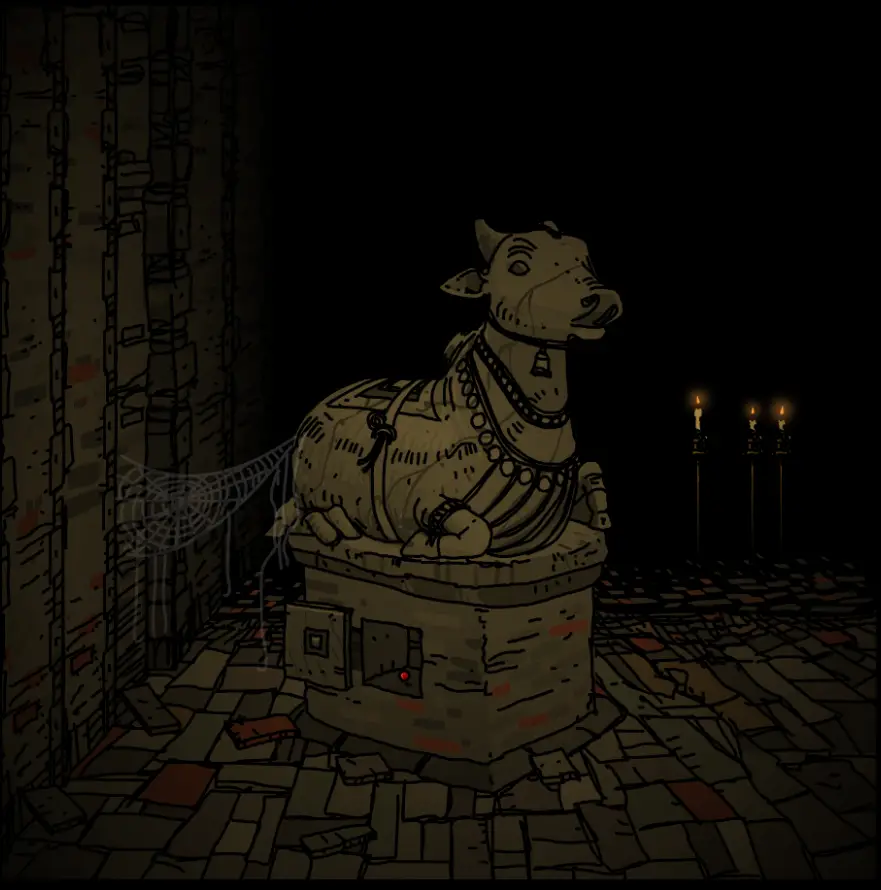
Em 104, go to the bottom and it’s on the sphinx’s eye

Em 104, use the hammer to smash the cracked square under the horse statue

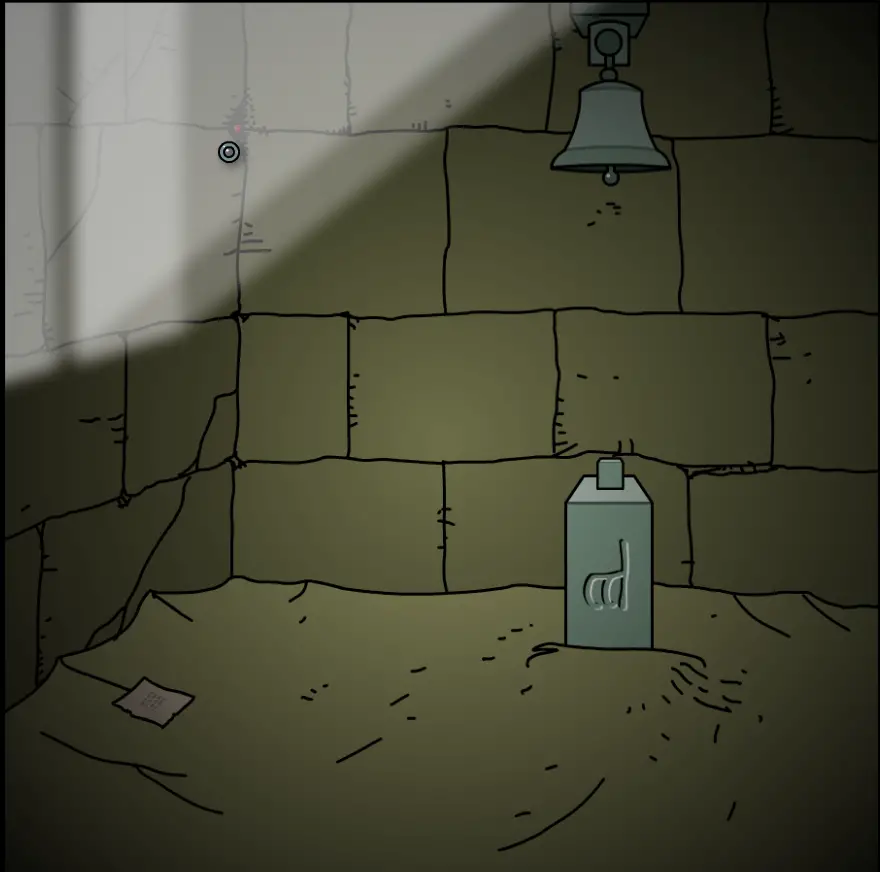
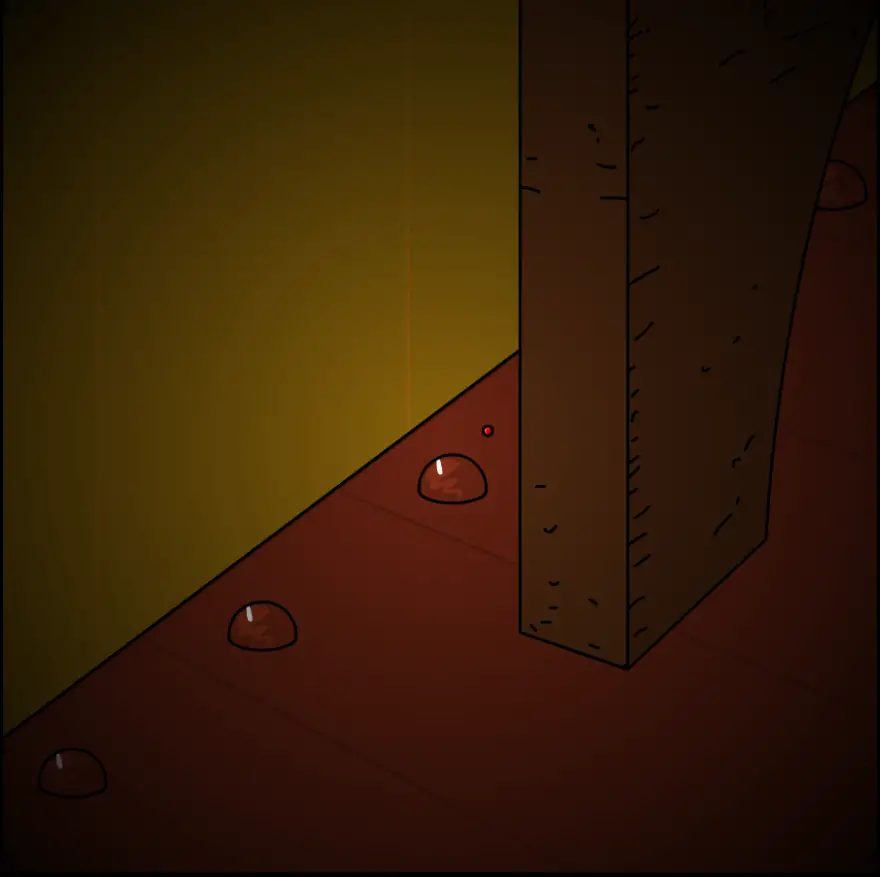
Under the lamp in this specific room in 690
Next to the lazer machine in 529
In the small crack on the wall in 043
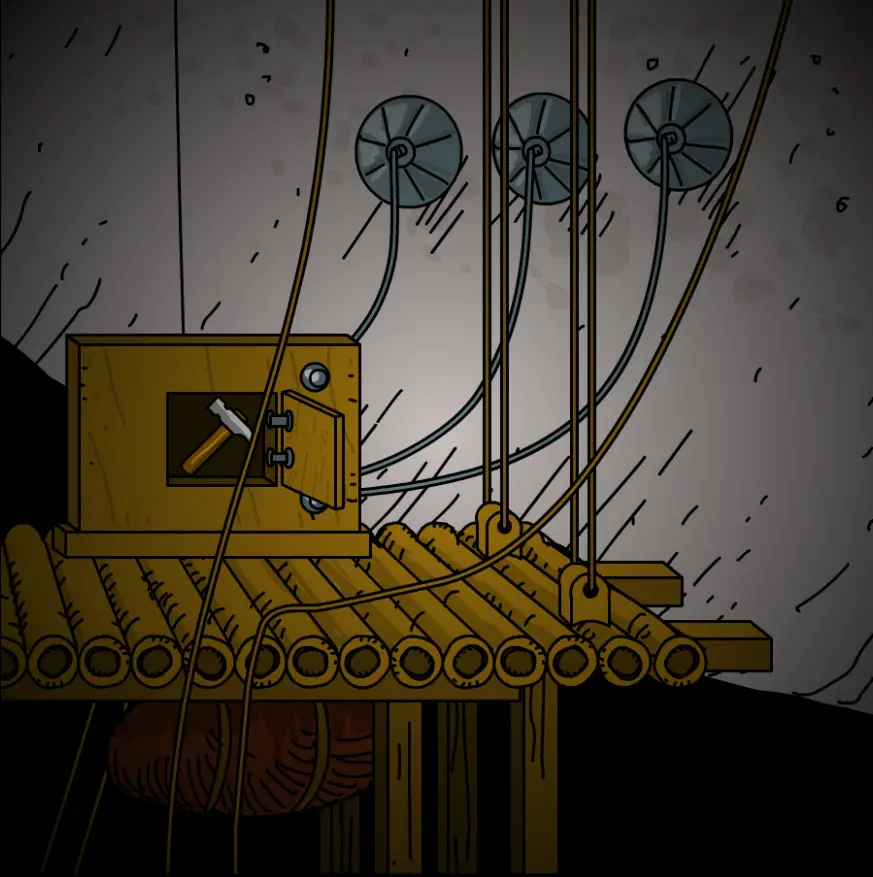
Inside the wire box in 800

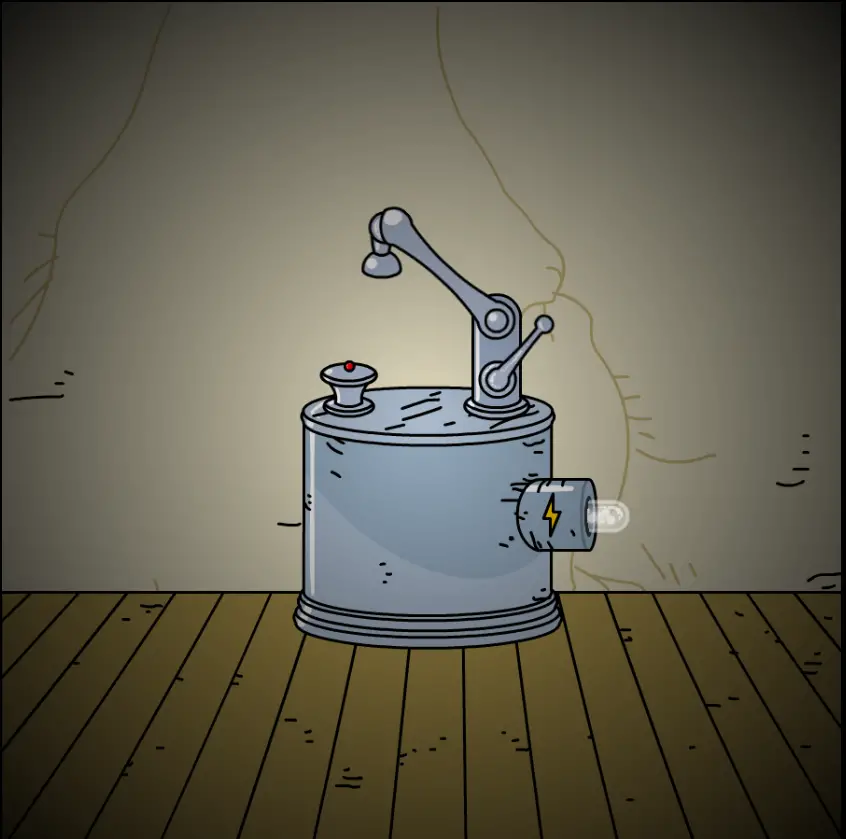
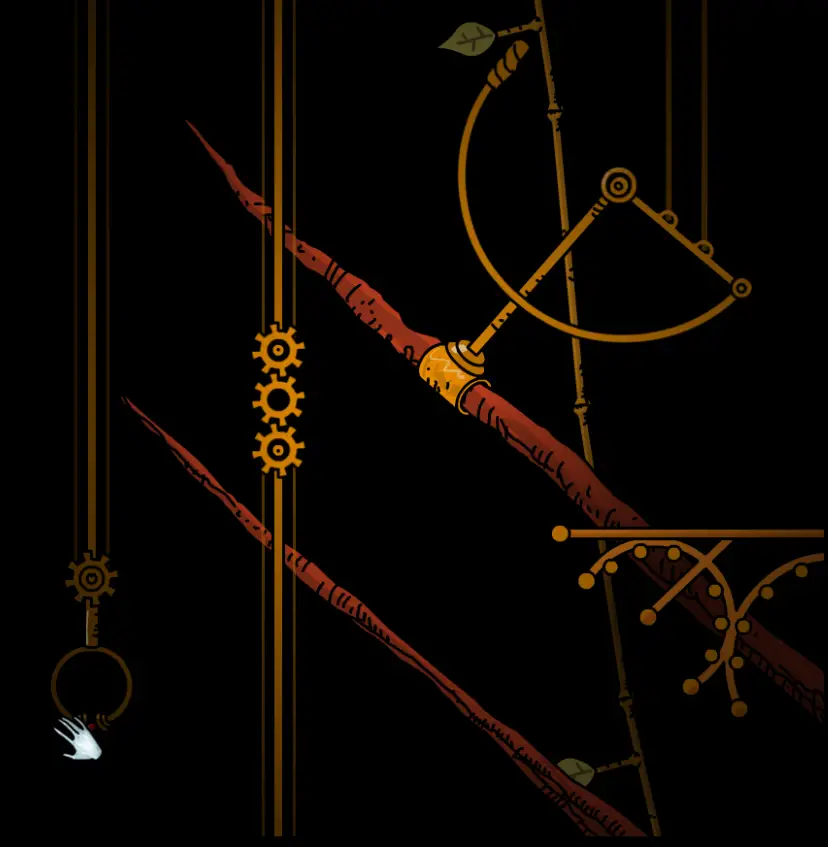
Use the energy coil on the machine in 001 on the 2nd floor
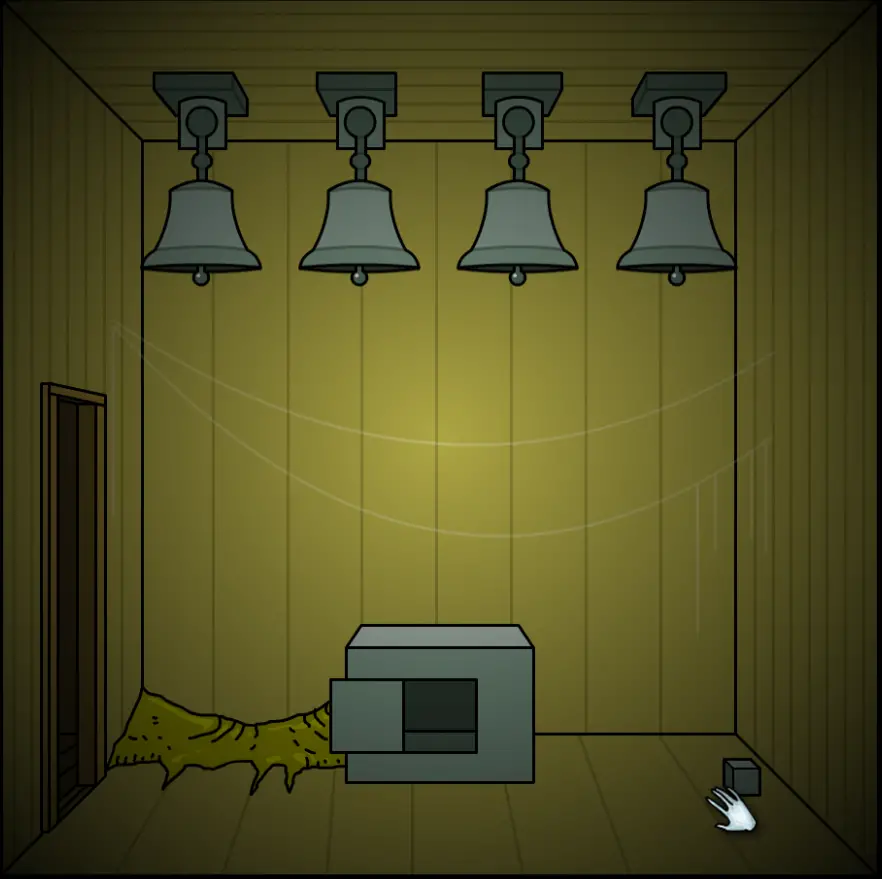
Em 462 after ringing 4 bells

On top of the statue head in 452
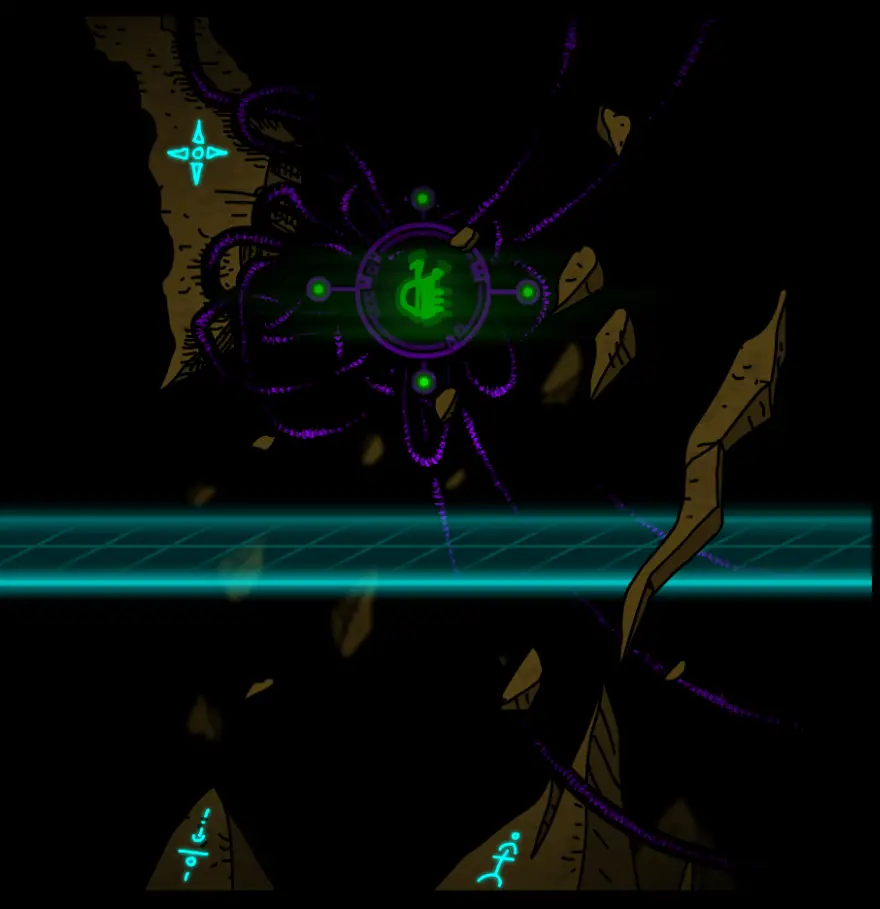
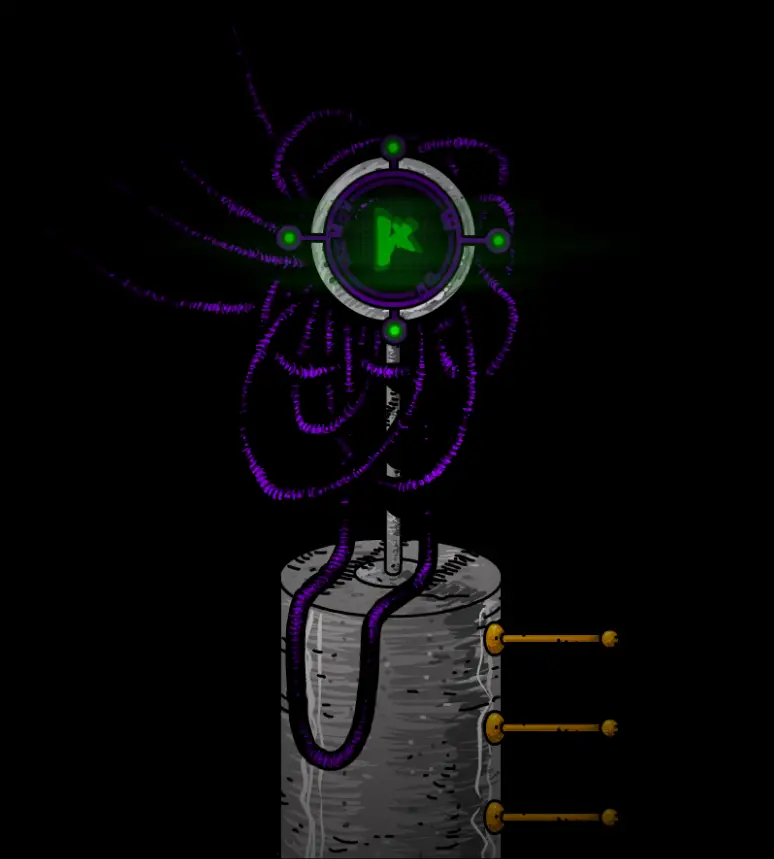
Monolith 4
Go to chapter 8, warp to layer 3

Go back to chapter 4, go to the room to the left of 529 and enter the karma portal.
After activating the device there warp back to 001. The right side gate should be opened
Insert your new found secrets and go through

V
Located in 104 next to the sphinx statue. Insert all the stabilizer to disable the shield
Go to chapter 8, warp to layer 6

Go back to chaper 4 and go through the karma portal, the monolith should be there

Capítulo 5
Isenção de responsabilidade
I will call the cipher plates in order of acquired

1 e 2
The coordinates shall follow accordingly
Por exemplo, if the player inserts cipher plate 1 and then cipher plate 2 into the box, they will be taken to the coordinates (1,2). (0,0) will be the default location Stabilizer locations
Em 552, go to the side of the machine

Em (0,1) go to the room at the bottom to the left, remove the plates in the corner

Grab the coil you found at (2,0) and go back to (0,0), plug the coil in the socket of the right most room
Go to back to (2,0) and press the button on the wall

Vá para (0,2) and search behind the valve pipe

After blowing up the wall in (2,0) go in and go to the left and up

Monolith
VI
Go to chapter 8 and warp to layer 7
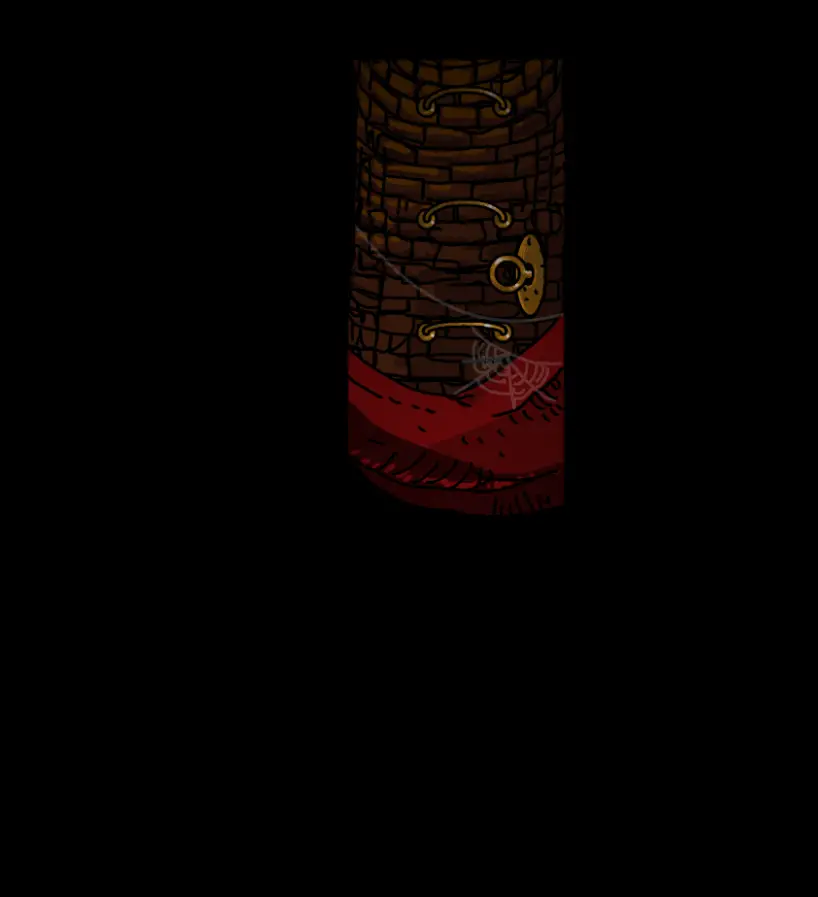
Go back to chapter 5 e vá para 747, go right until you see a cabinet. Open it and get the red key
Go to left most and open the door
Insert the secrets and go through the portal
VII
Go to chapter 8 and warp to layer 5
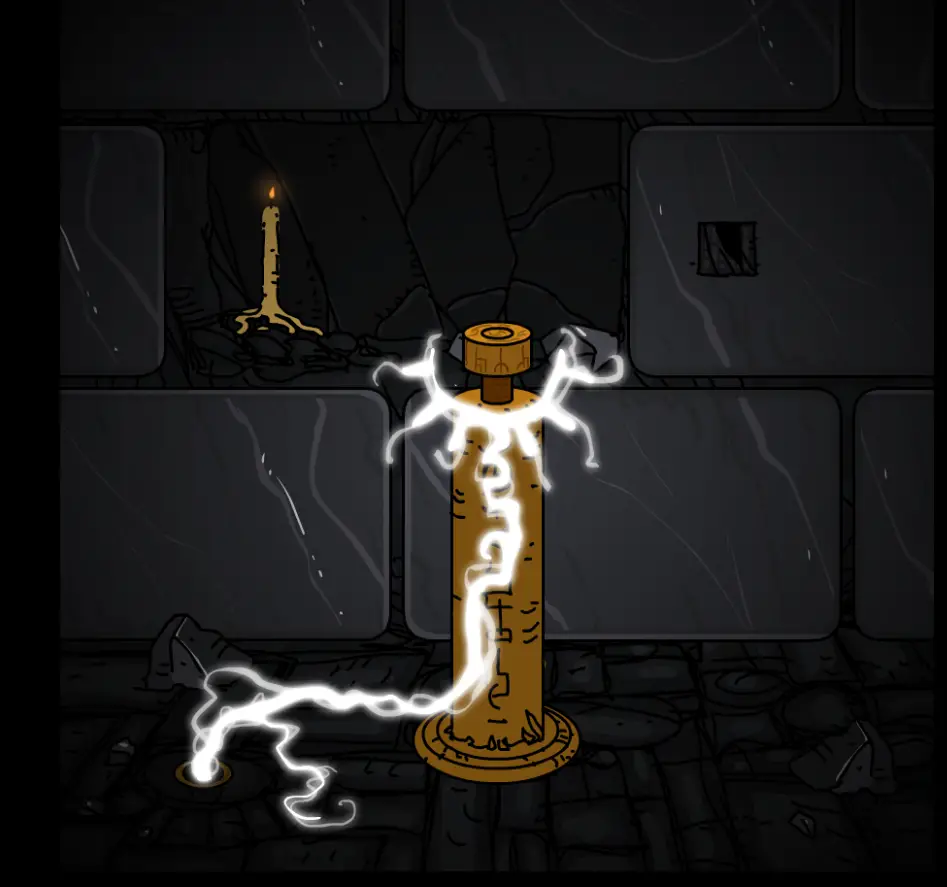
Go back to chapter 5, em (0,1) go down until you see the dog statue, gire o botão
Vá para (2,1), down in the dog staute room, go left and enter the portal

Capítulo 6
Isenção de responsabilidade
It is important that you find the stabilizers after finishing chapter 6 and back track, since mainframe room cannot be accessed again after using the portal to Thoth engraving
Stabilizer locations
Go to this room and rotate the valves until both facing down
Go back to the three way tunnel and go down
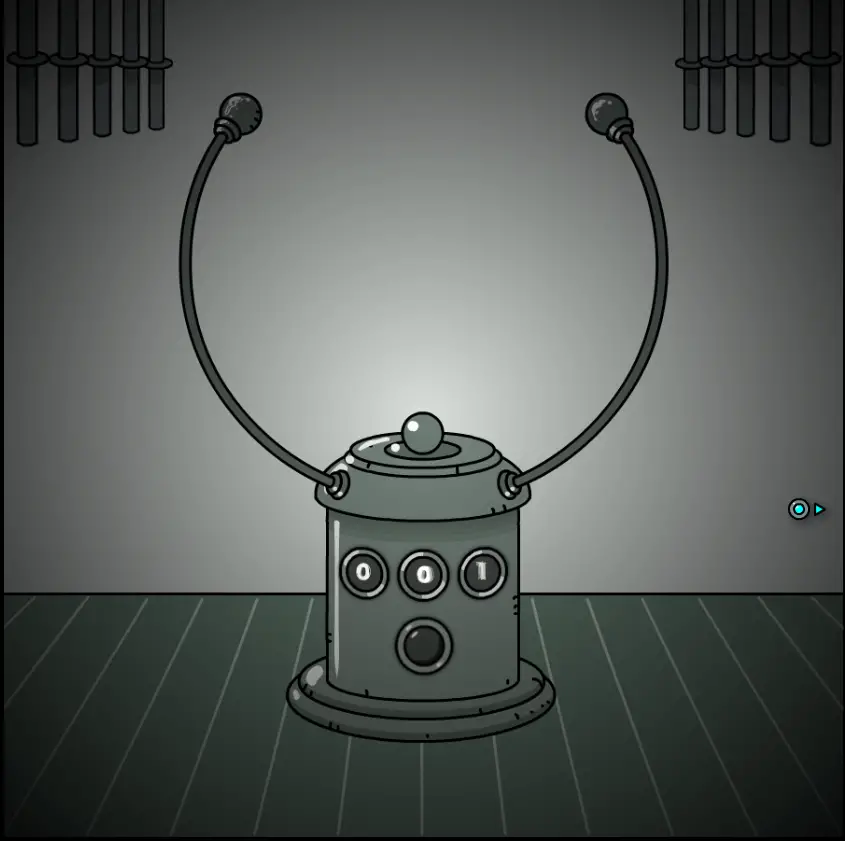
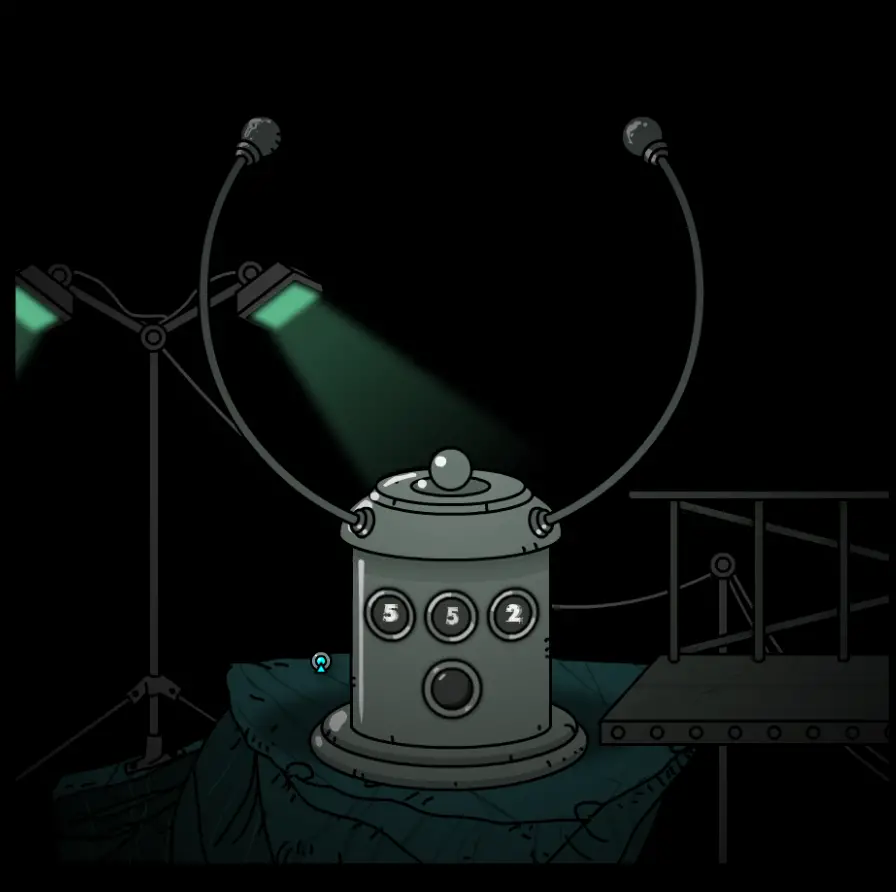
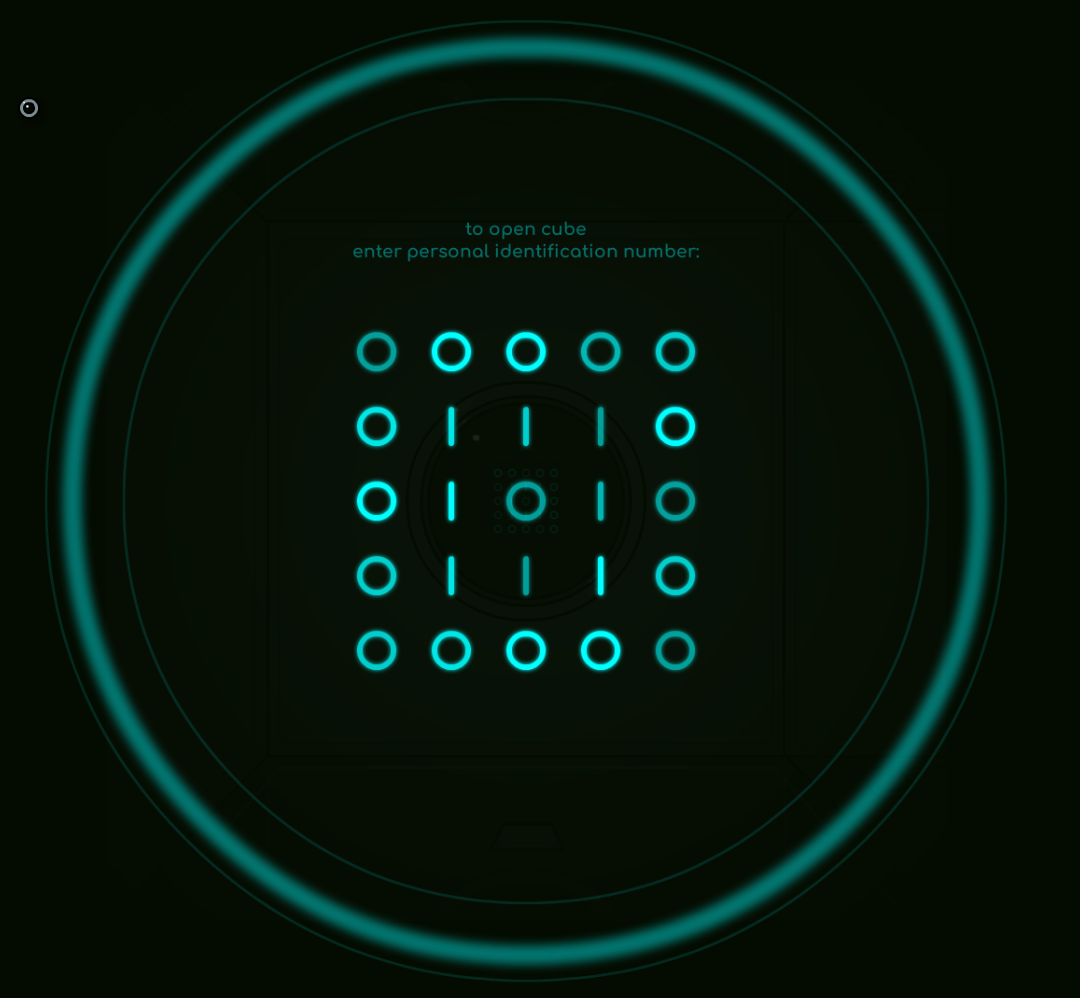
After retrieving the cube, input the following into the screen

Go back to this tunnel and it’s on the bottom left (very hard to see)


Deste local, continue left
Leave the Thoth room as so and go outside of the sewers, towards left
In the mainframe room on the bottom right (very hard to see)

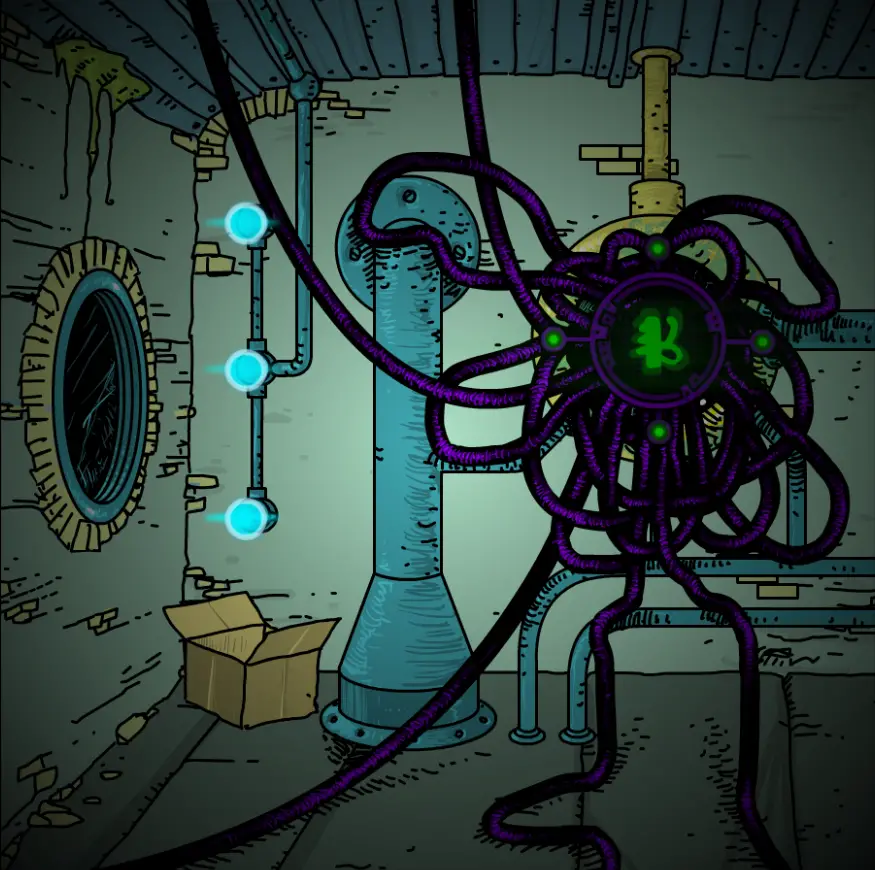
Monolith
VIII
Go to chapter 8 and warp to layer 7
Go back to chapter 6, go to the Thoth engraving wall and go through the portal
IX
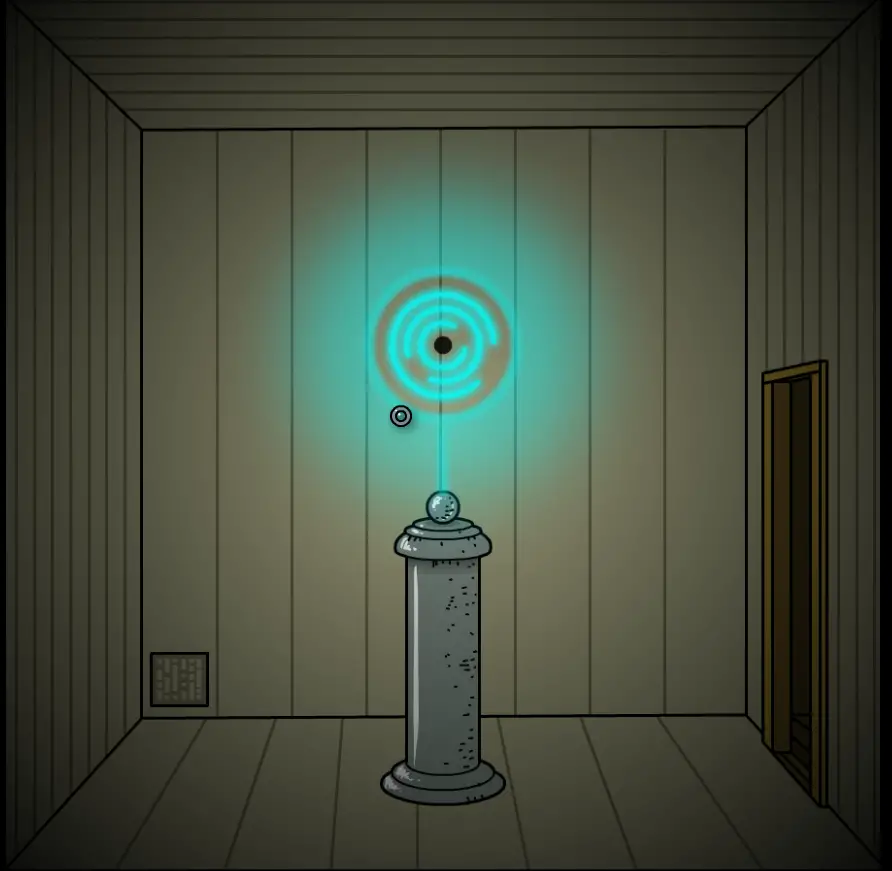
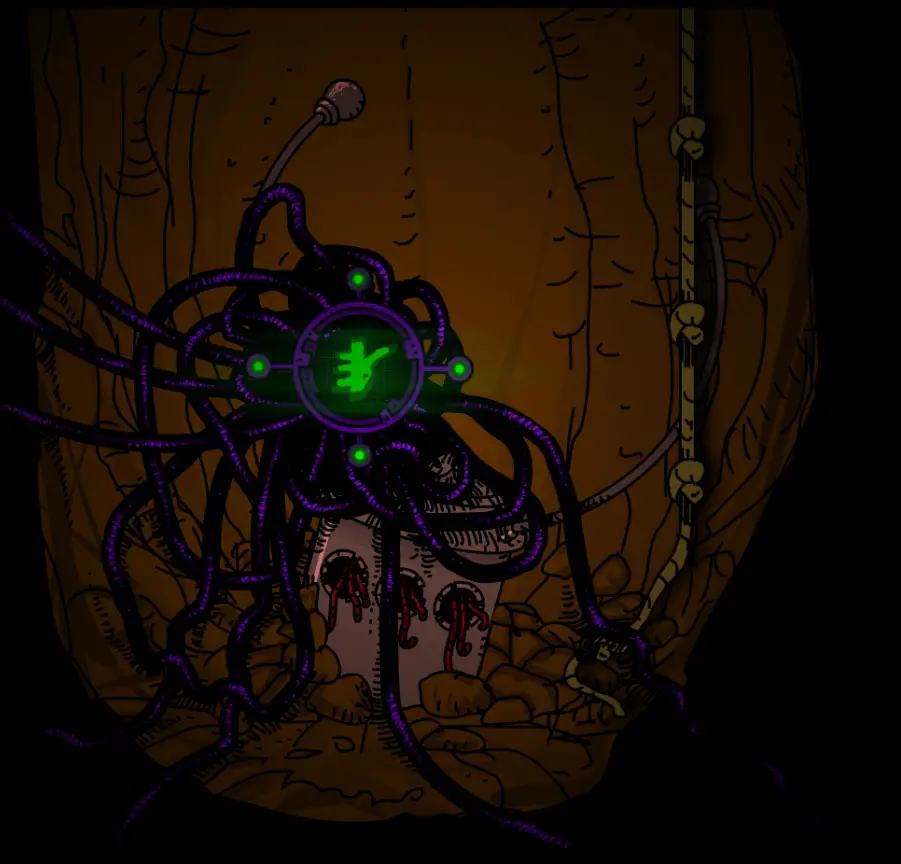
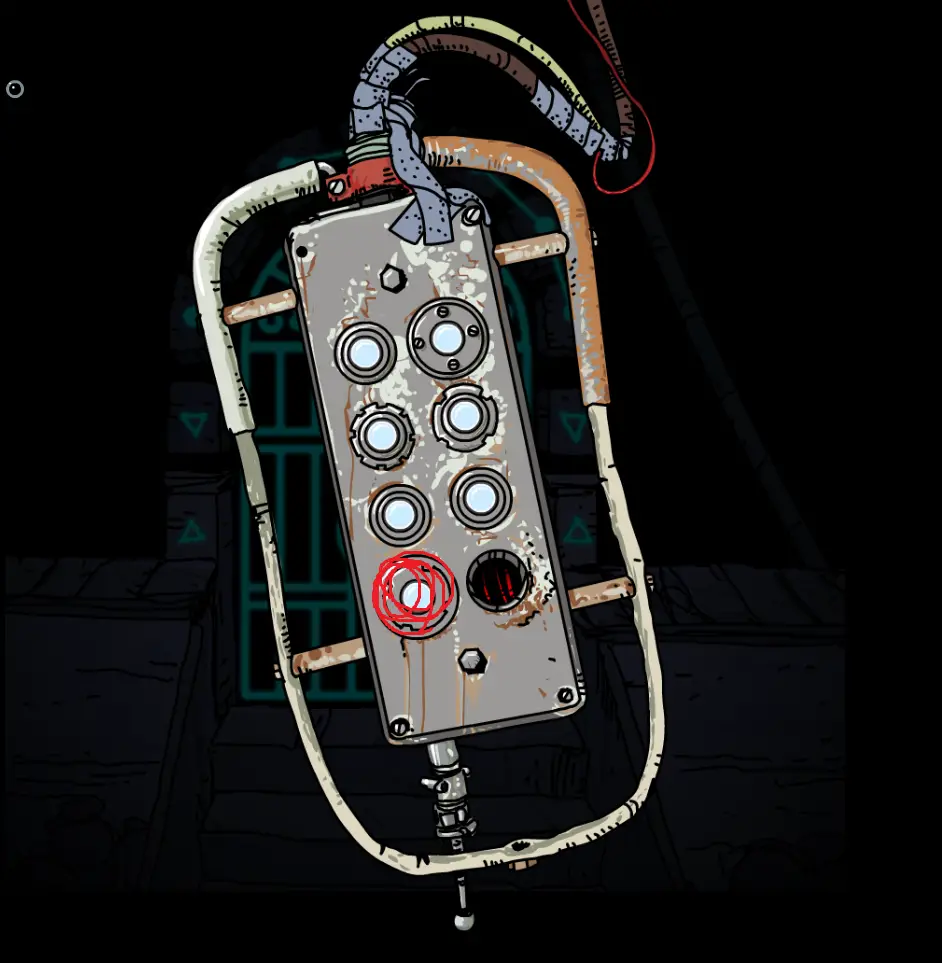
No 8 sala, on the first pod, Ative o 54-1 protocol
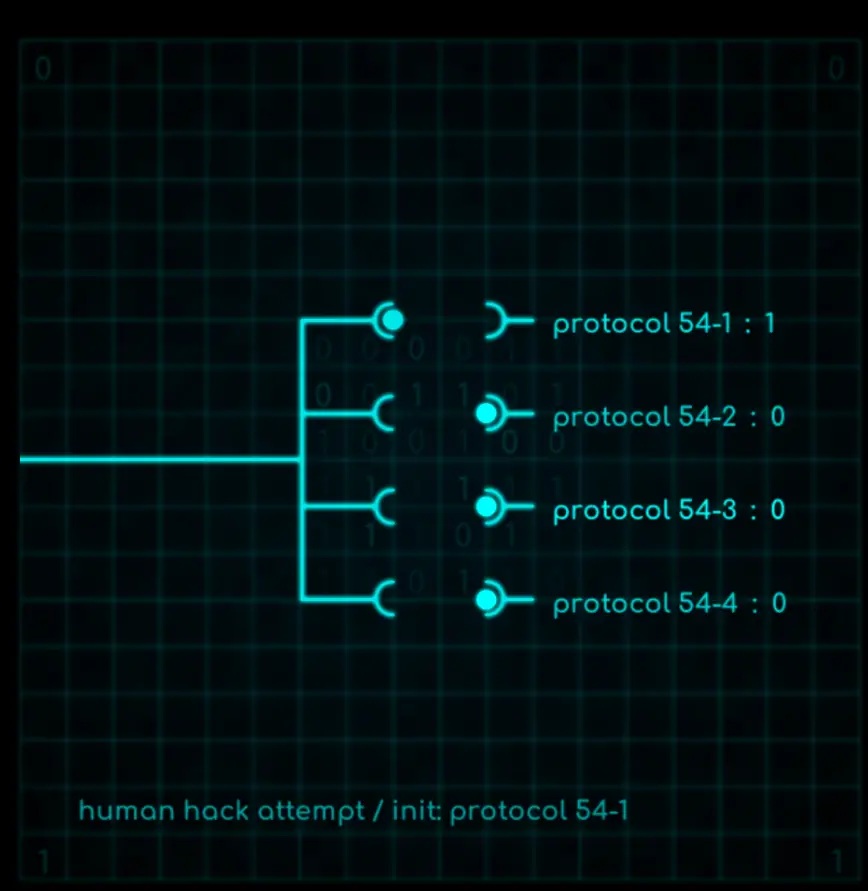
Go back to the start and plug in the old machine, habilitar 54-5

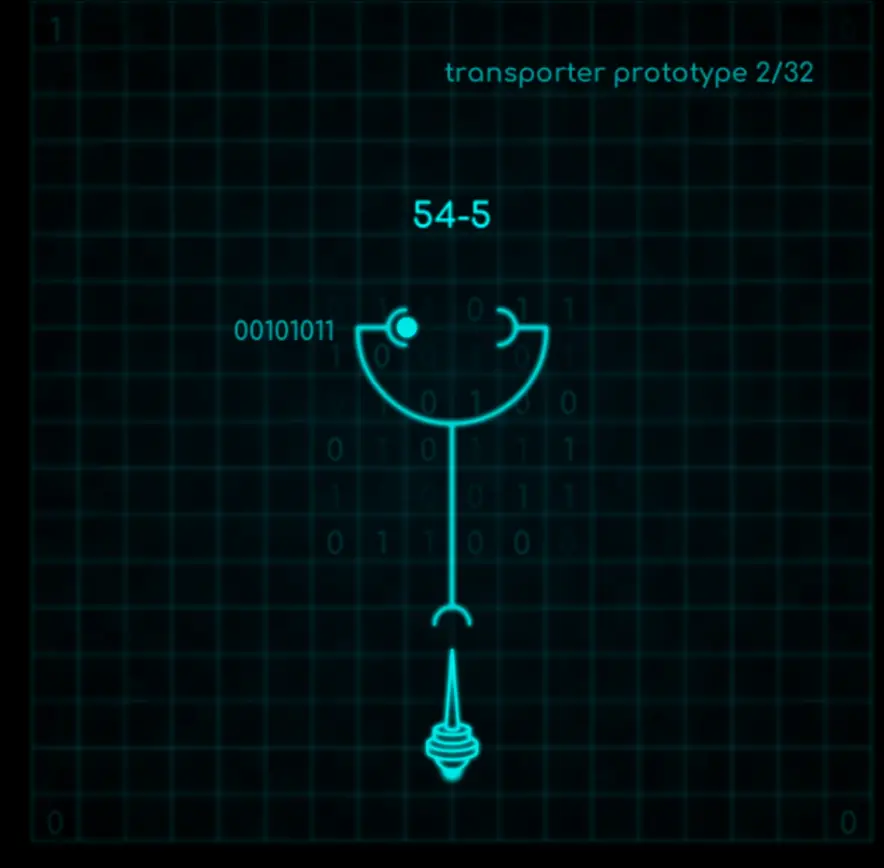
Vá para o 54-5 tunnel behind the elevator and input the secrets


Capítulo 7
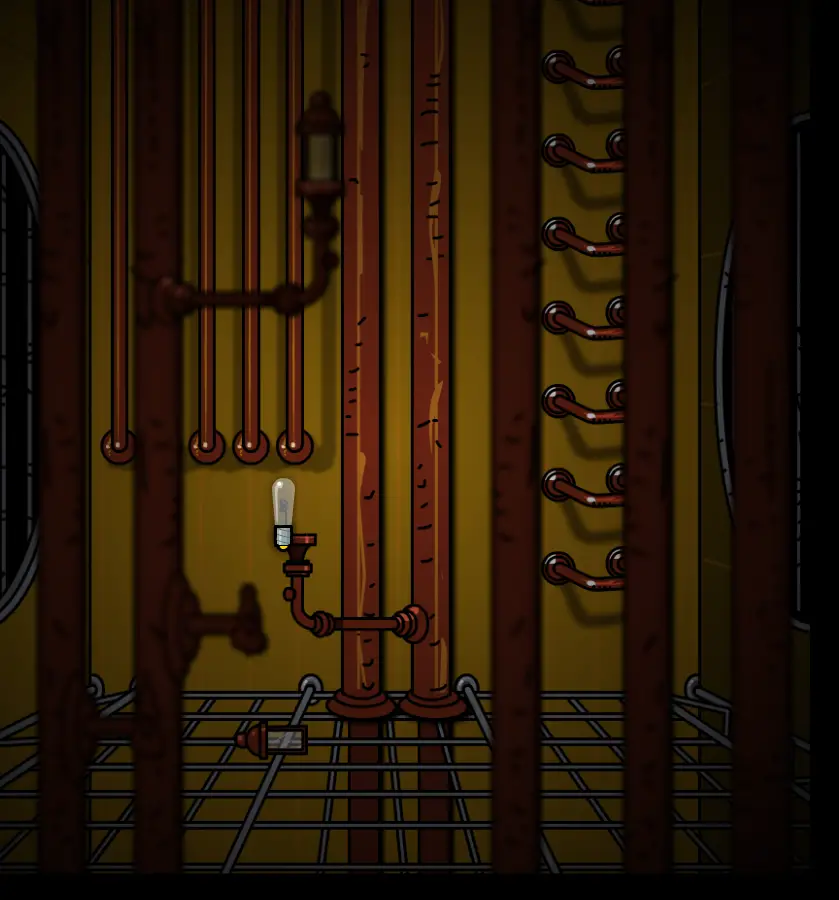
IMPORTANTE: REMEMBER TO PICK UP THE LIGHT BULB FROM THE START
Stabilizers
Behind one of the pots near the portal


On the crack near the control room
On the crack of the karma in the portal within 2nd portal (tongue twister)

Behind the platform in the paper room

Behind the desk near the end

Monolith
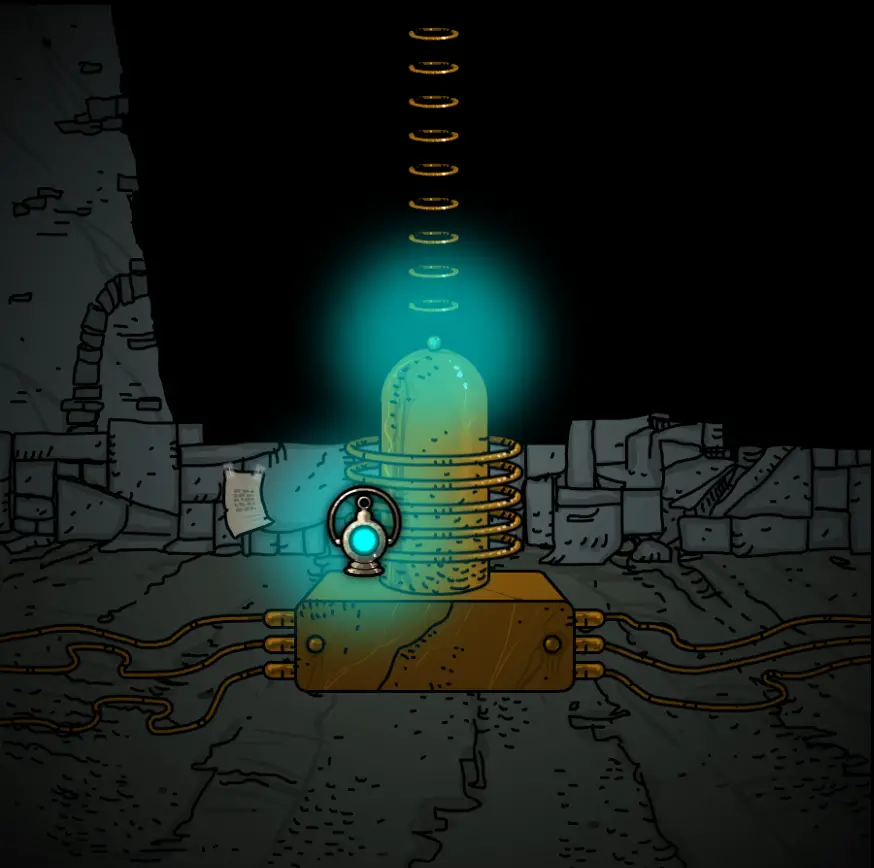
Insert the lightbulb in this room
Go to the room before the end, use the wheel on the desk

Go back down and enter the portal
Go to chapter 8 and warp to layer 3
Back to chapter 7, enter through the portal


Capítulo 8
Stabilizers
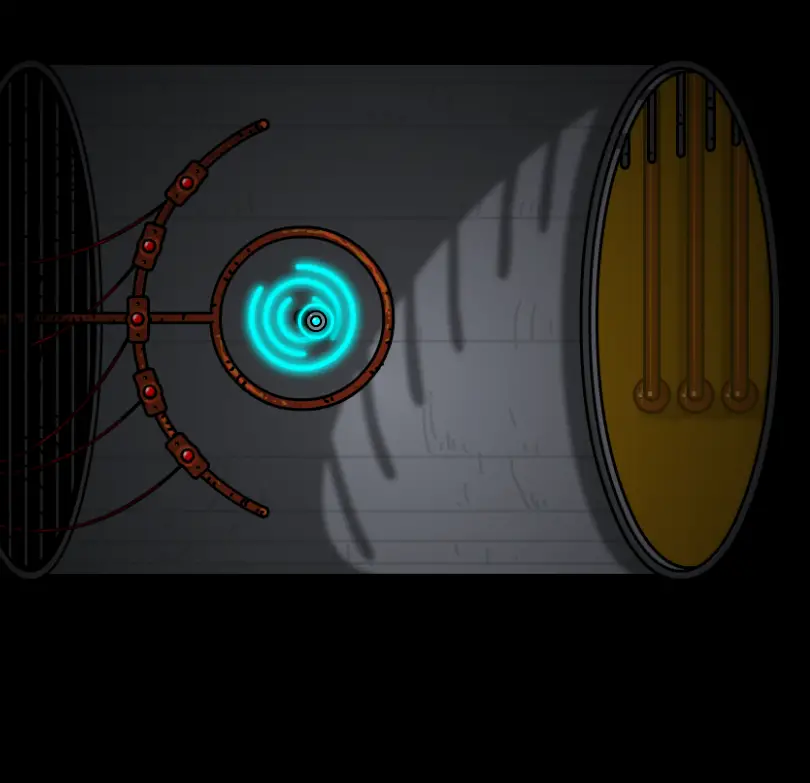
In layer 1, move the yellow beam to its original location

Go to layer 3 e vá para a esquerda
In layer 3 on the floor beside the spin device

Grab the hammer and a stone button in layer 7
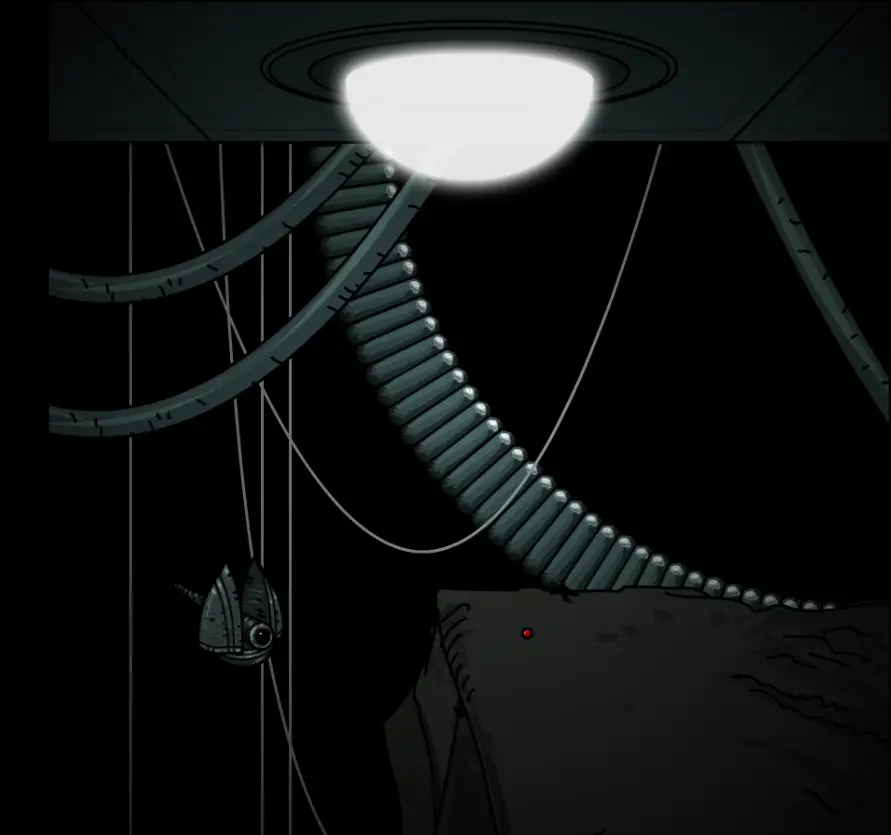
In this location in layer 1, warp to layer 3 and smash the dome with the hammer


In layer 5, smash the statue with the hammer, insert and press the button

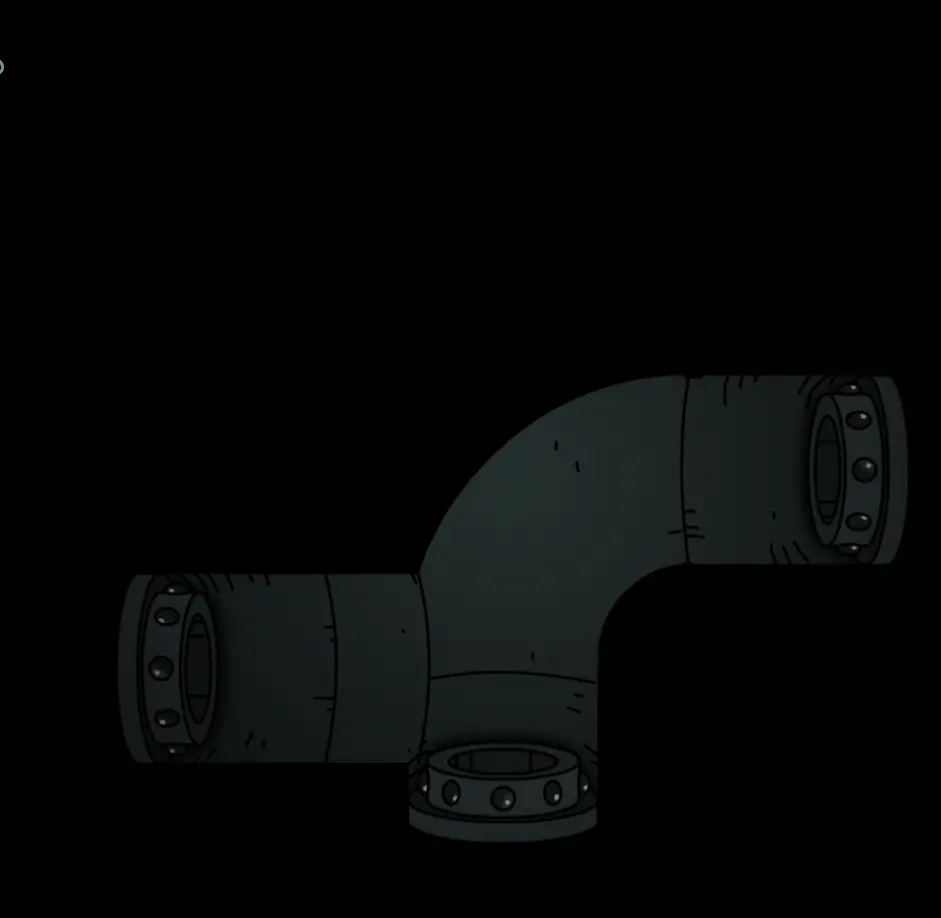
In layer 6, smash the pipe in the far right
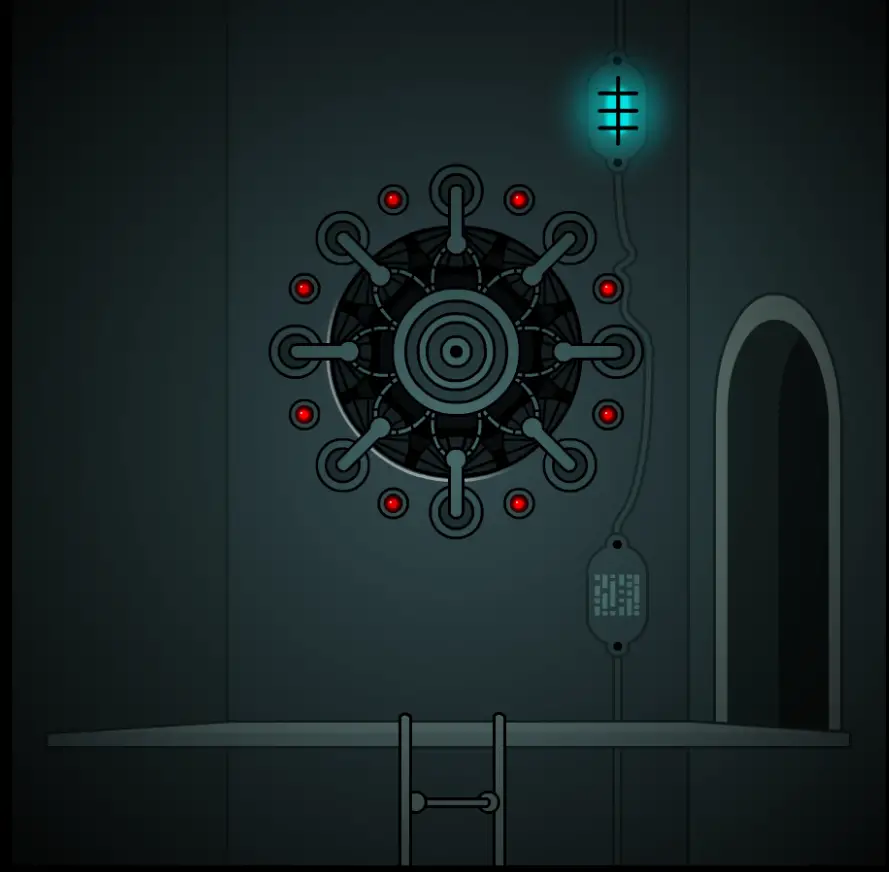
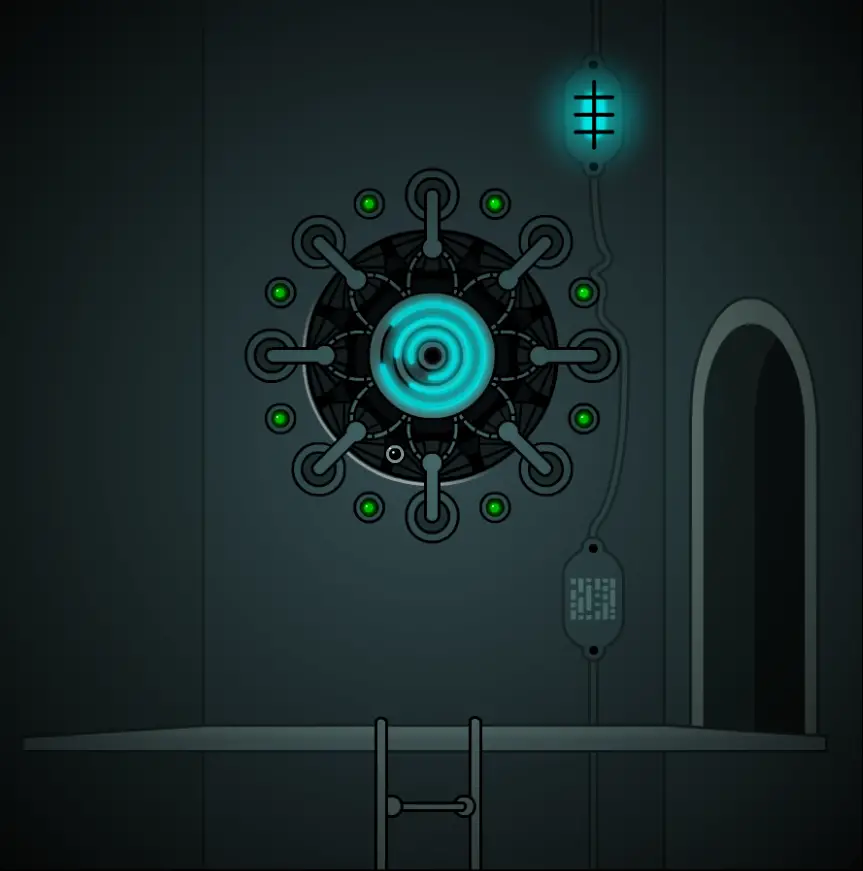
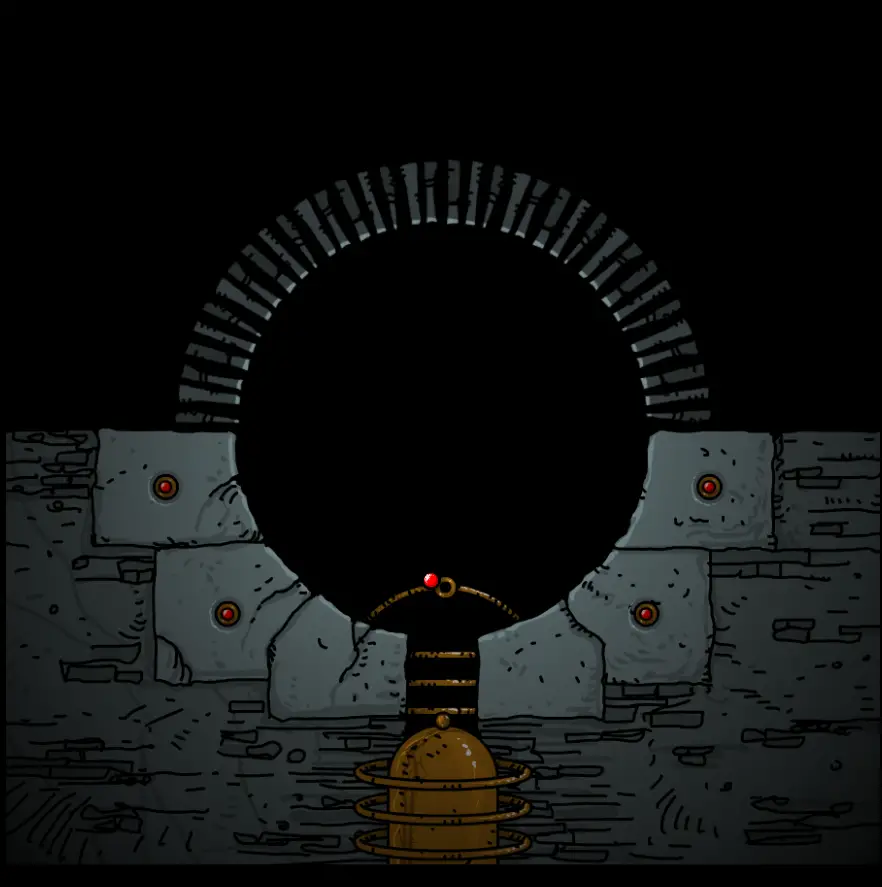
Monolith
In layer 5, go left beside the gate

Capítulo 9
IMPORTANTE: DO NOT USE THE LADDER RUNG, YOU ONLY GET TO USE IT ONCE

If you already finished the chapter, pick up one of the crystal in the previous layer and put it in layer 8, there should be a portal back
Stabilizers
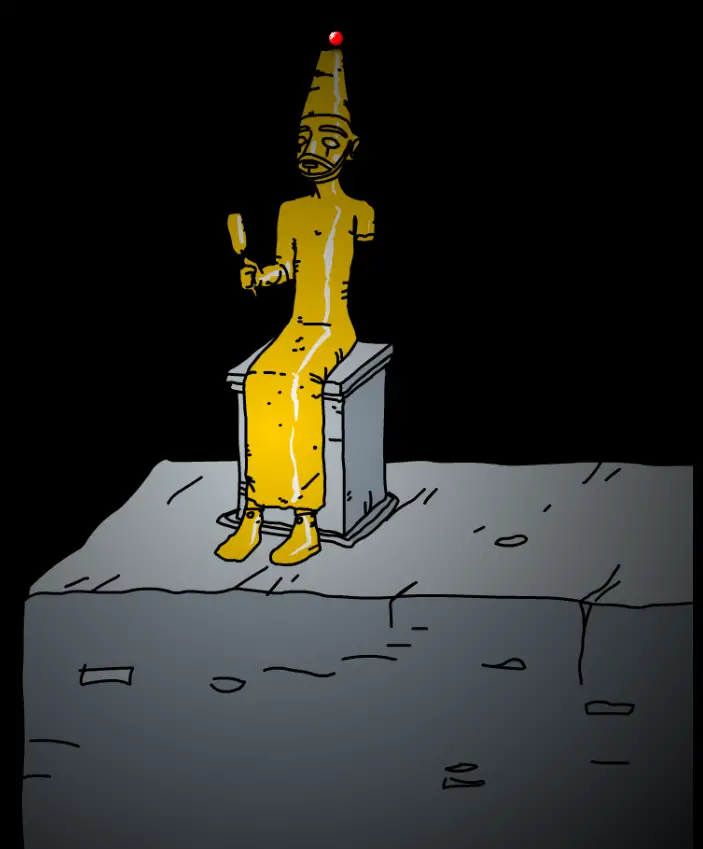
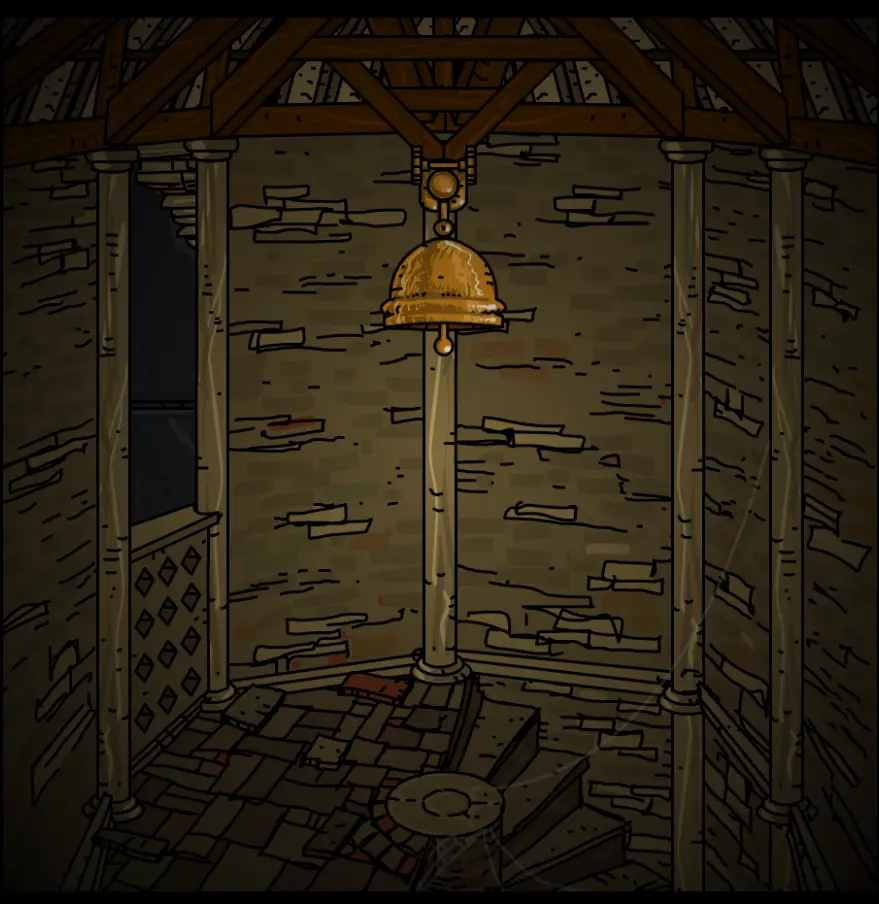
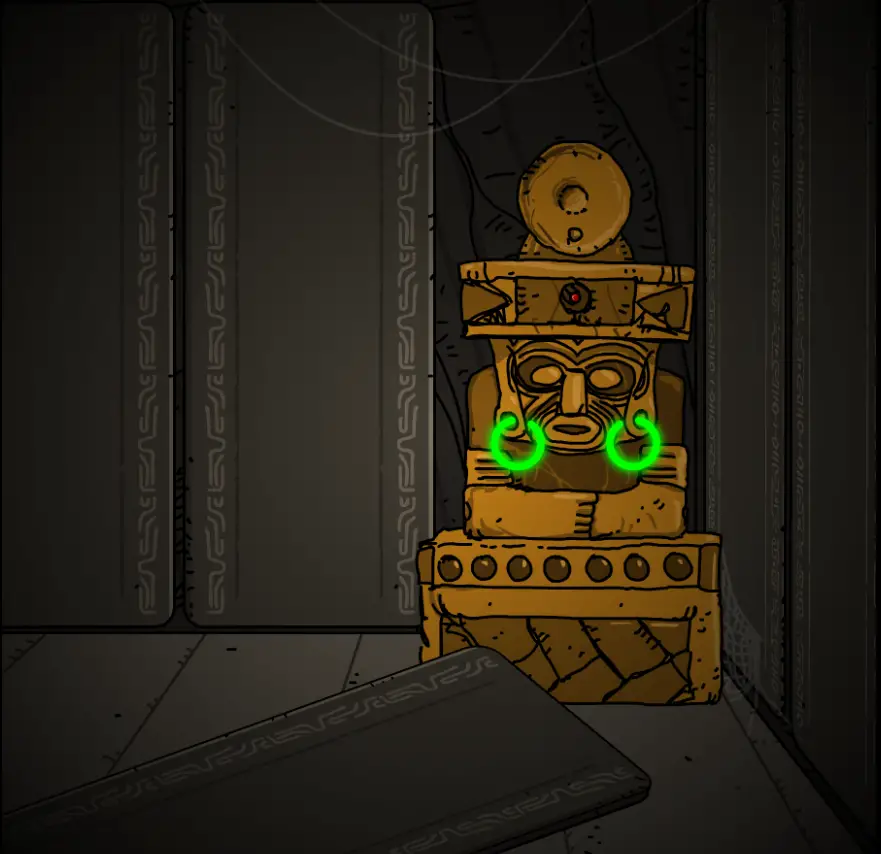
Ring the 2 bells and return to the gold statue up top

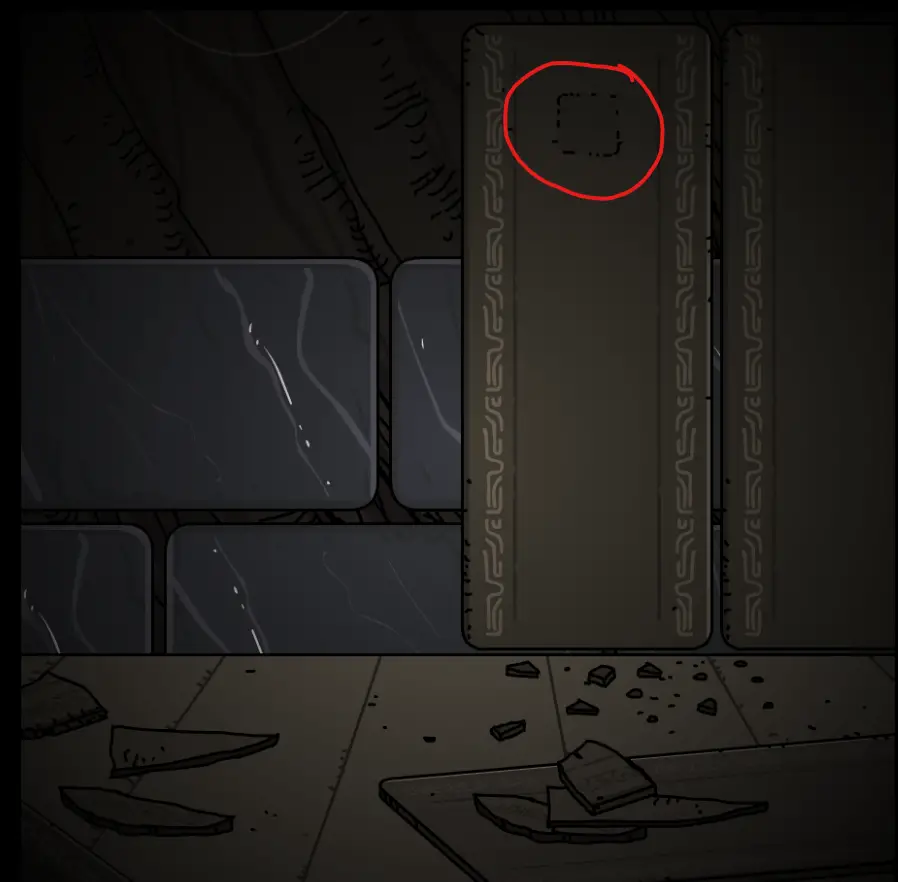
Go to this room with the missing gylph, warp to layer 4 and use the ladder rung
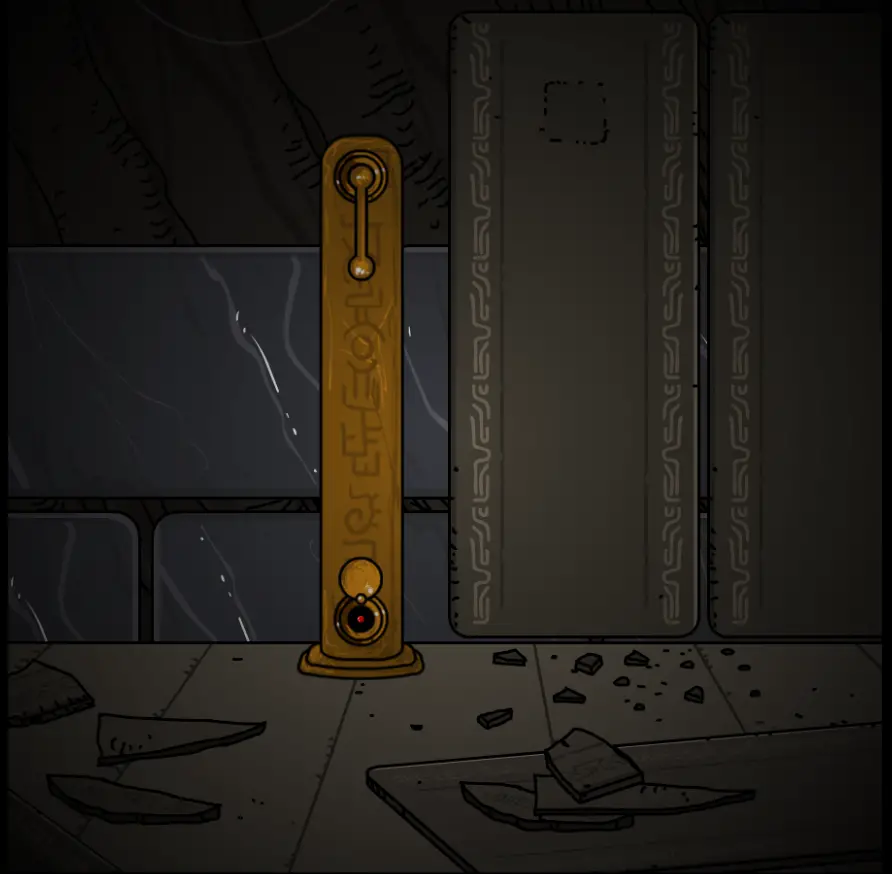
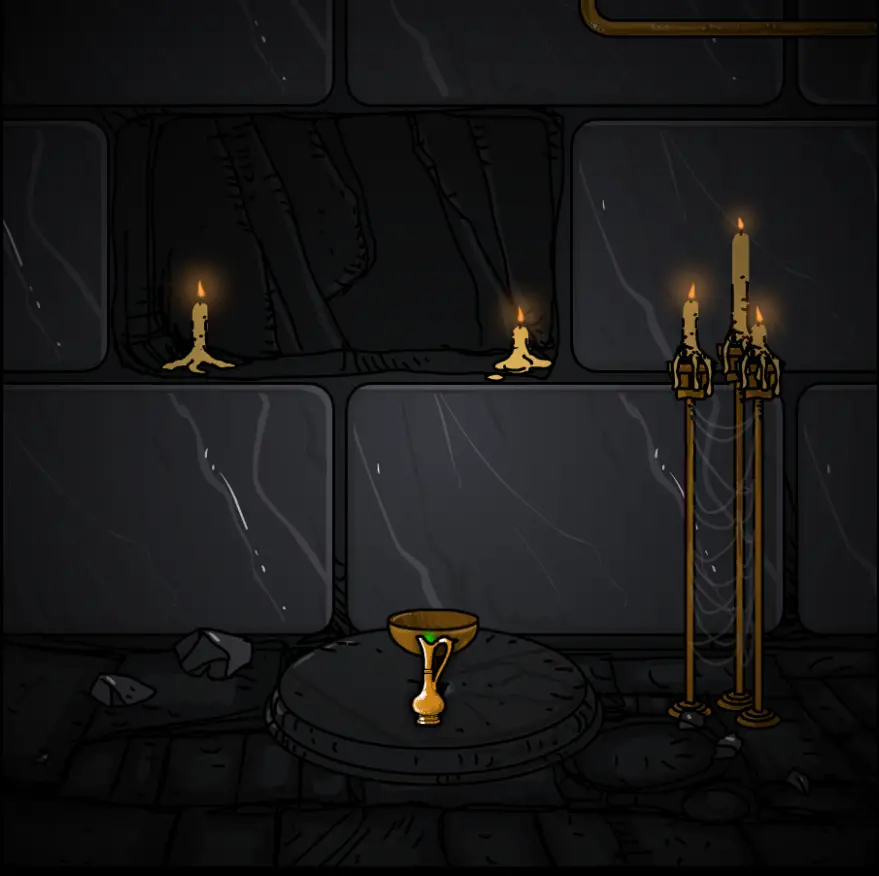
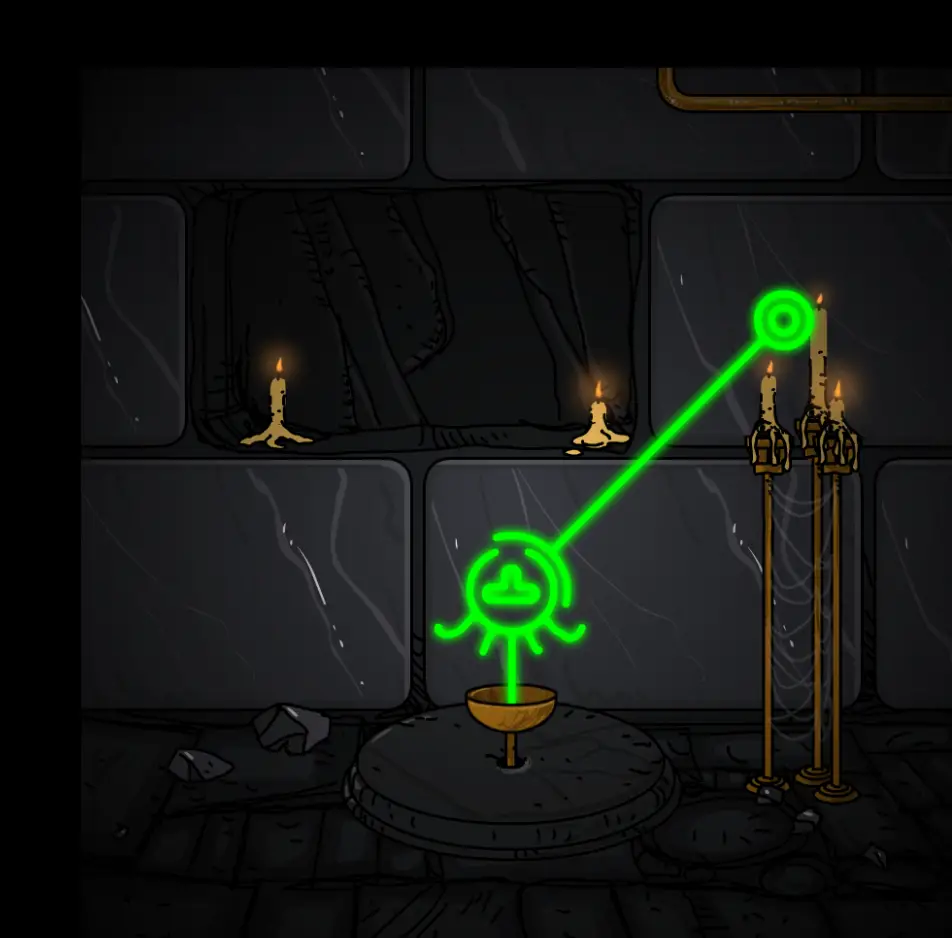
Use the ritual brass bowl in this room with a hole in the ground and use the lever
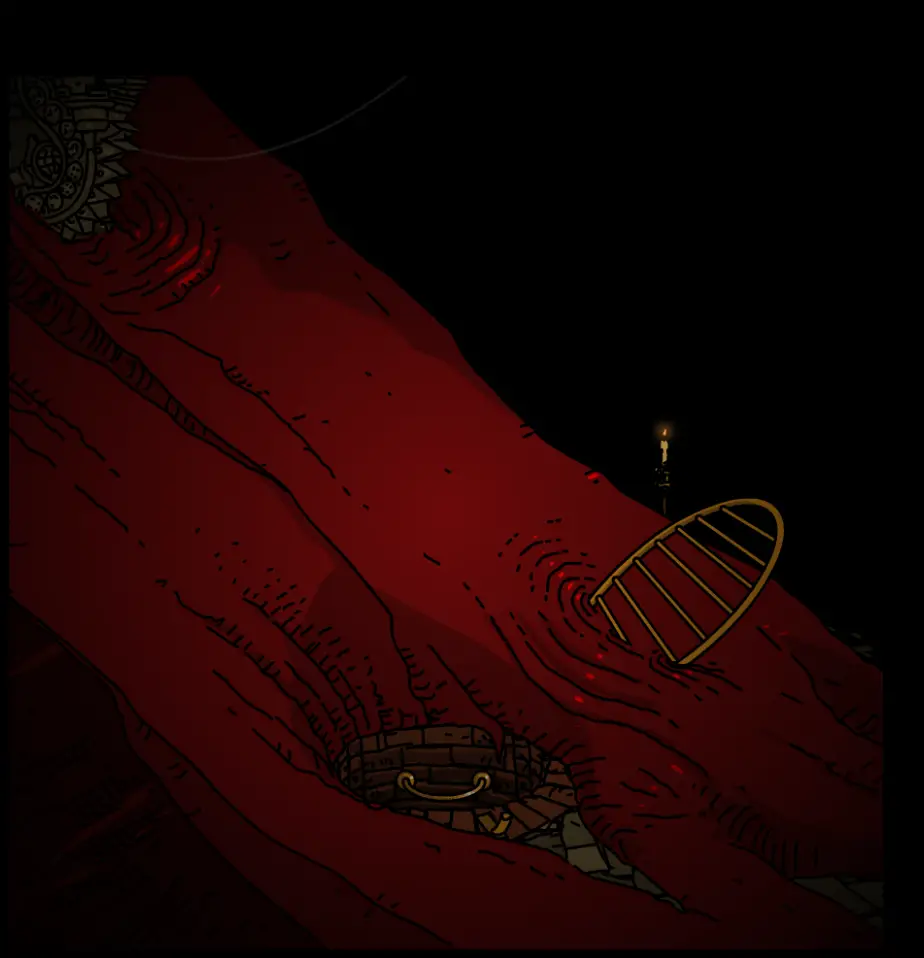
Go back down to the tunnel leads to Mur’s tomb (the left most tunnel covered in sand)
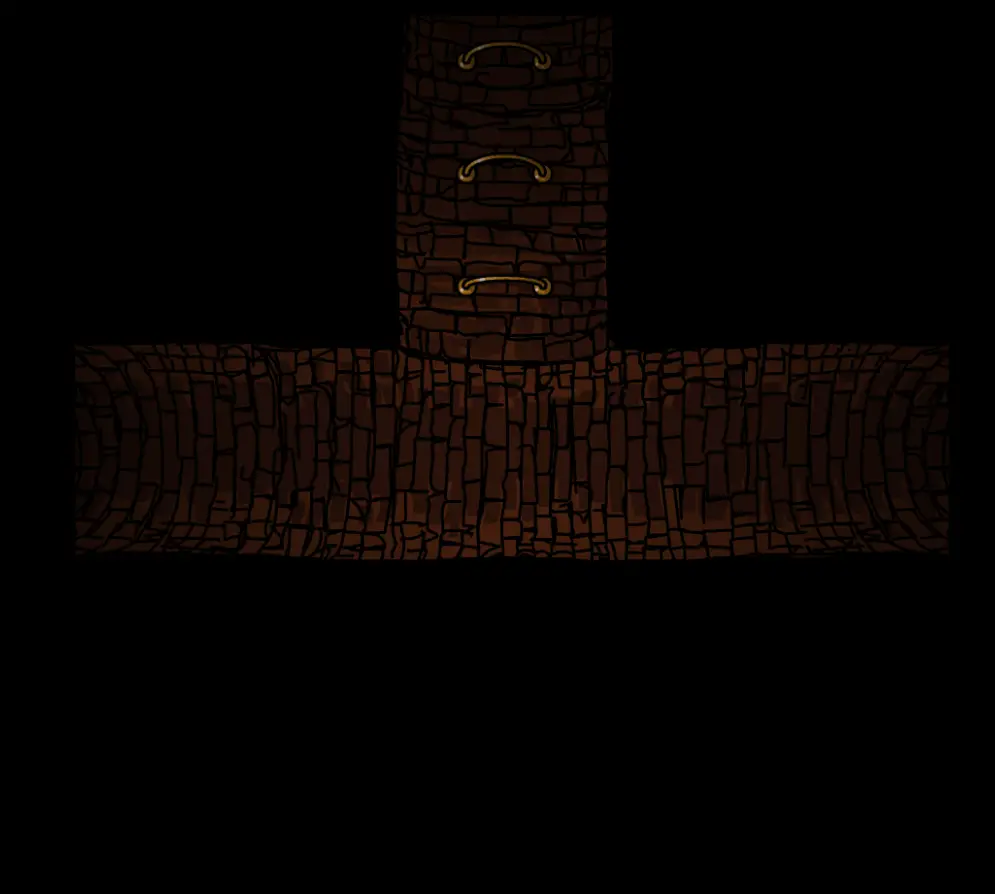
In Elizabeth’s tomb, go to the right most and use the switch under the cow statue
Go to Mur’s tomb to the left most, under the cow statue
On the shaft right before you descent, go left and pick up the scale
Put the scale on this machine, tilt it left
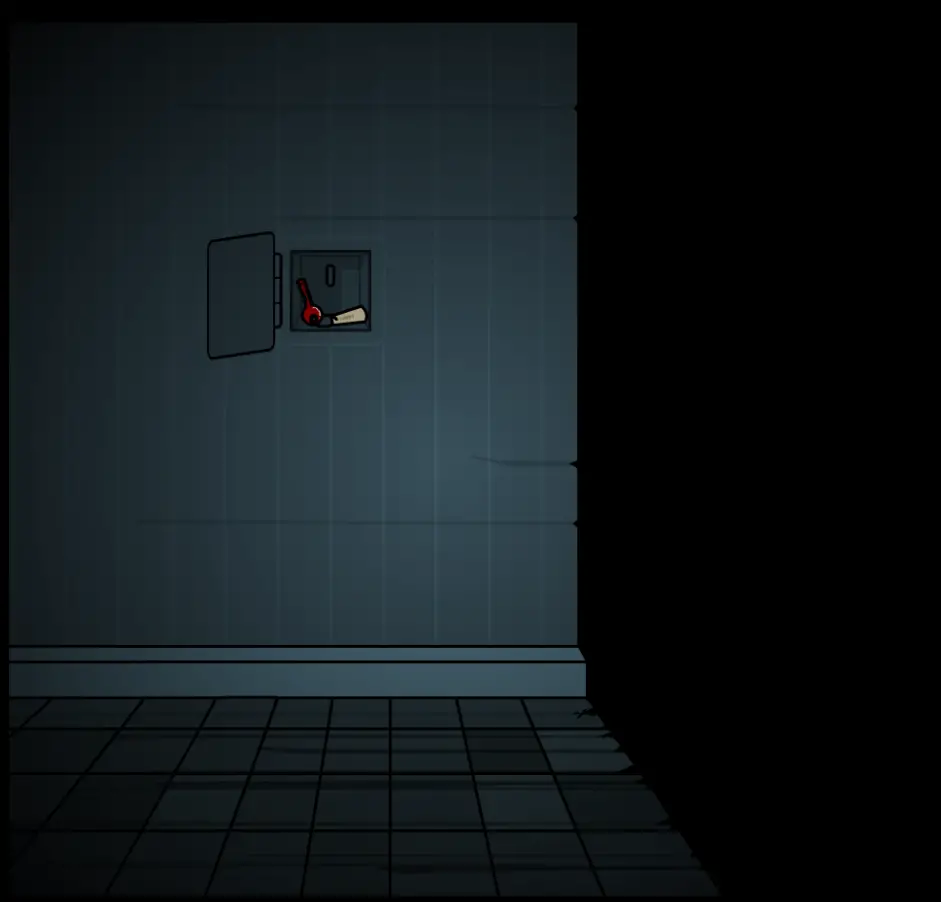
Go to this hole with an open gate, puxe a alavanca
Go back to the scale room, tilt it right

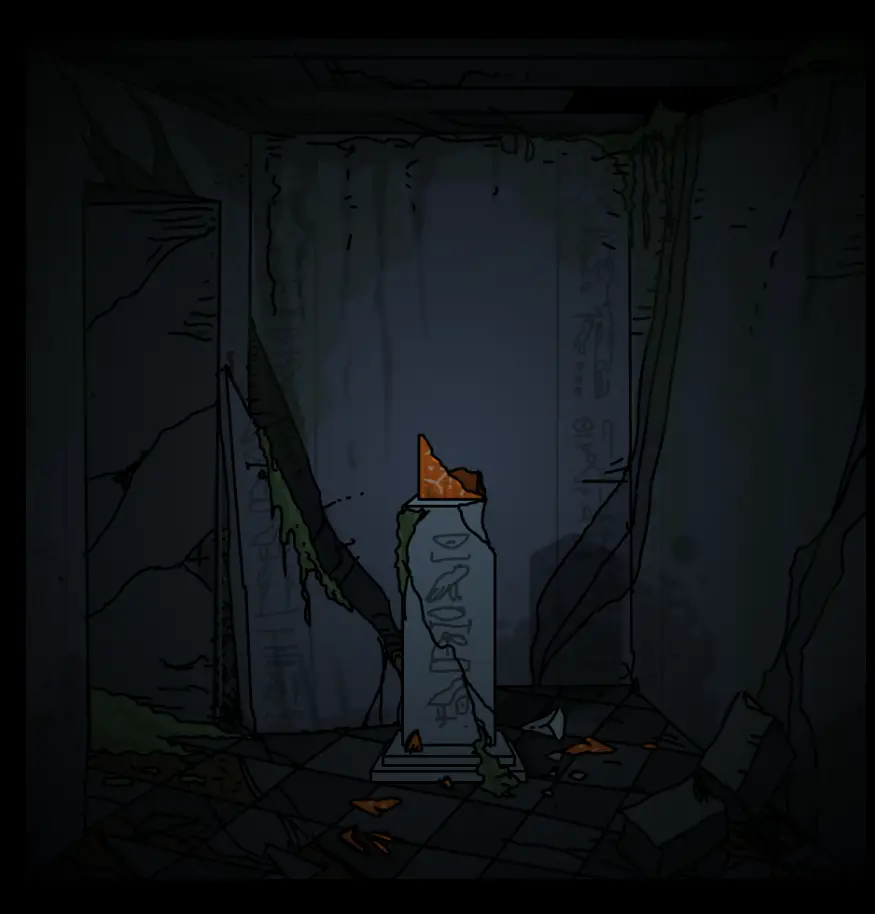
Go to Elizabeth’s tomb, under the open hole is the final secret


Monolith
Warp to layer 8 and grab the key from this room
Back track to this room and enter


Capítulo 10
Stabilizer locations
Em 100, go to storage 32/1. It’s on a small hole in the wall
Em 100, go to storage 33/2, enter the Looping traps. It’s on the broken panel
Grab the magnet on a string in storage 33/3

Go back to the hole in 000 and grab your 3rd secret

In Sub 7 world in 011, grab the two telescope pieces and assemble it in this room. Don’t forget to give it a look


Em 111, go through the portal to Sub 9 mundo. Go to the farthest right and grab the secret on the sand
In the Basement section in 000, grab two pearls and a spoon
Go back to the Red Basement and put the spoon on the altar

Go back to the Lighthouse section and insert the pearl in the machine on the far left
Do the same on the similar machine in 110

Em 110, go to the farthest right and use the karma stabilizer on the floating debris
Do the same with the debris at the very start

Monolith
Xiii
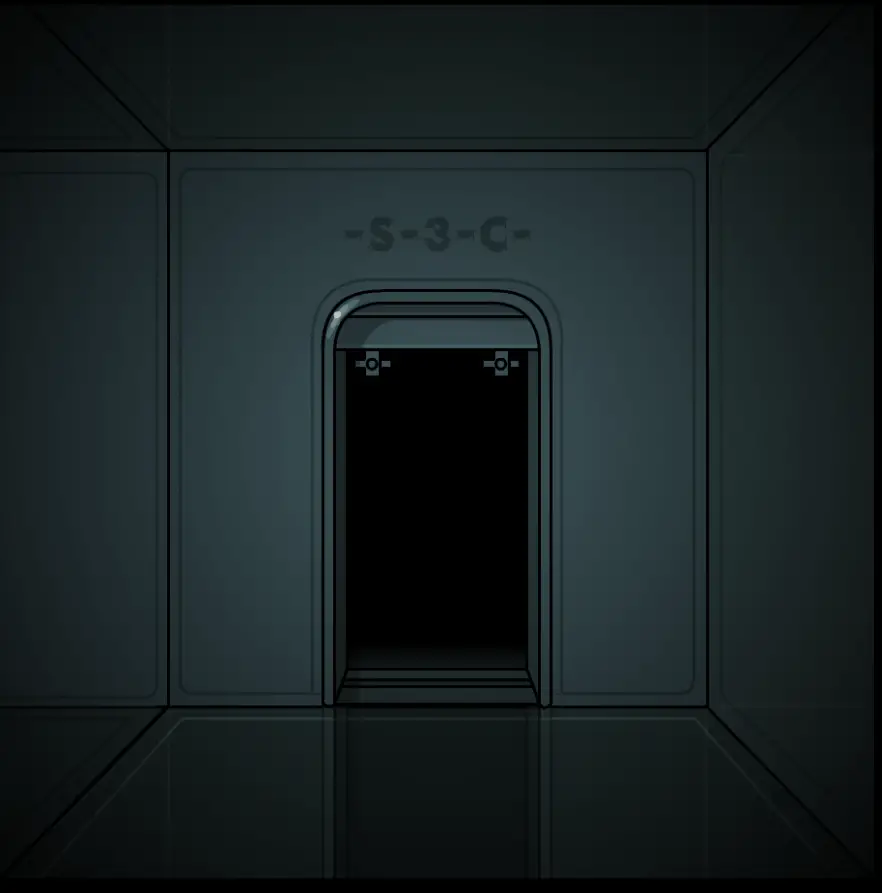
Grab the battery under the stairs in 110
Use it on the S-3-C slot in the ship at the start
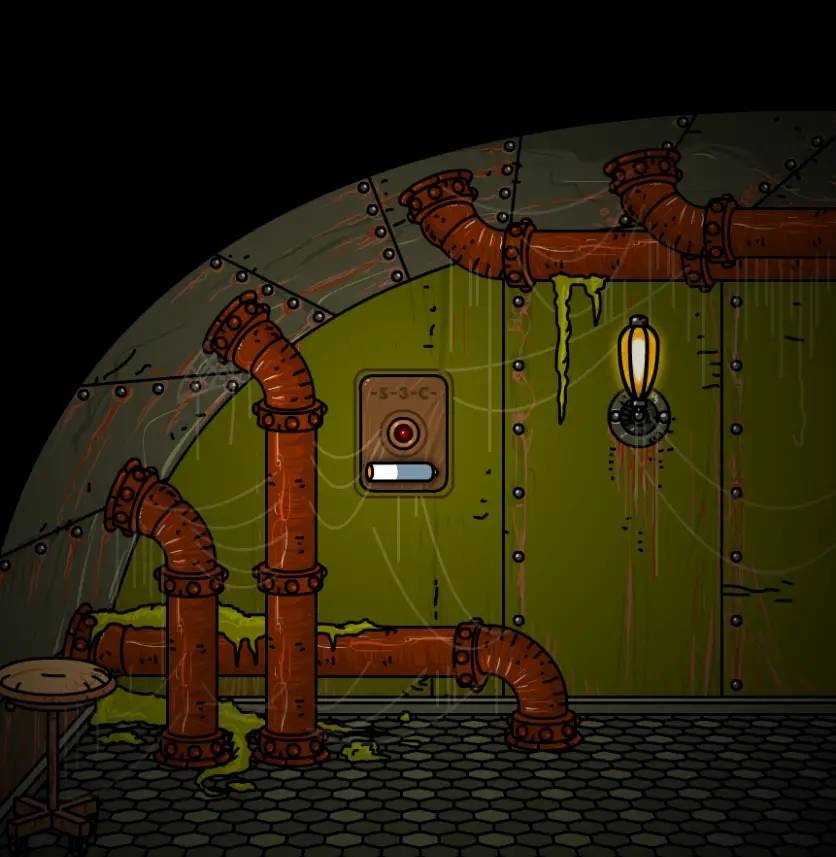
Vá para 110, through the portal to Sub 6, enter the S-3-C room.


XIV
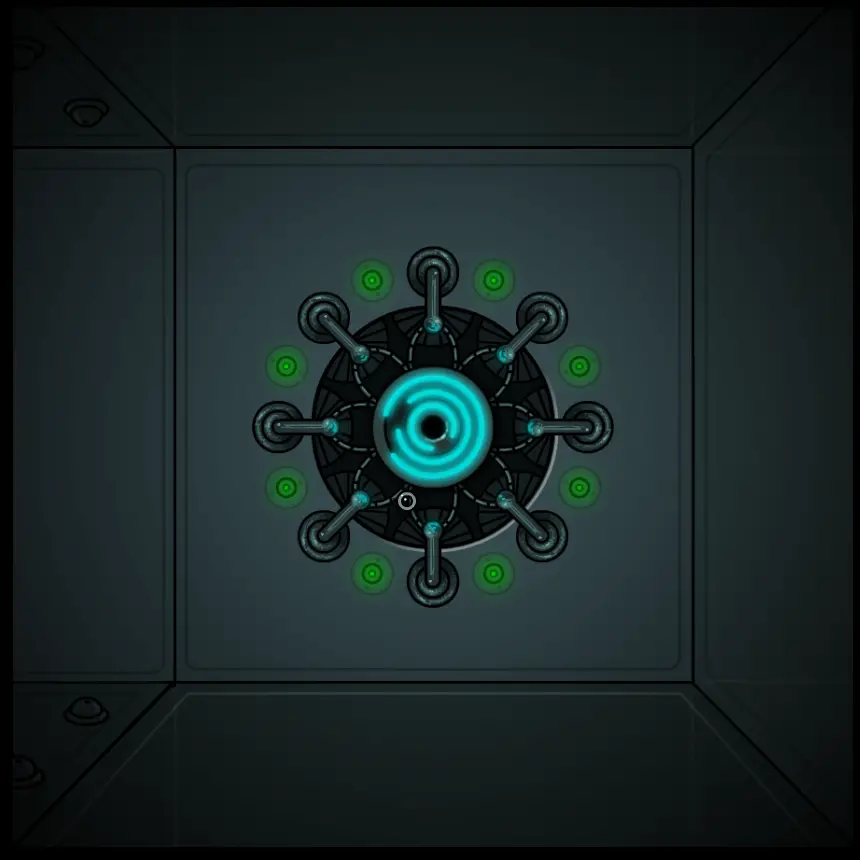
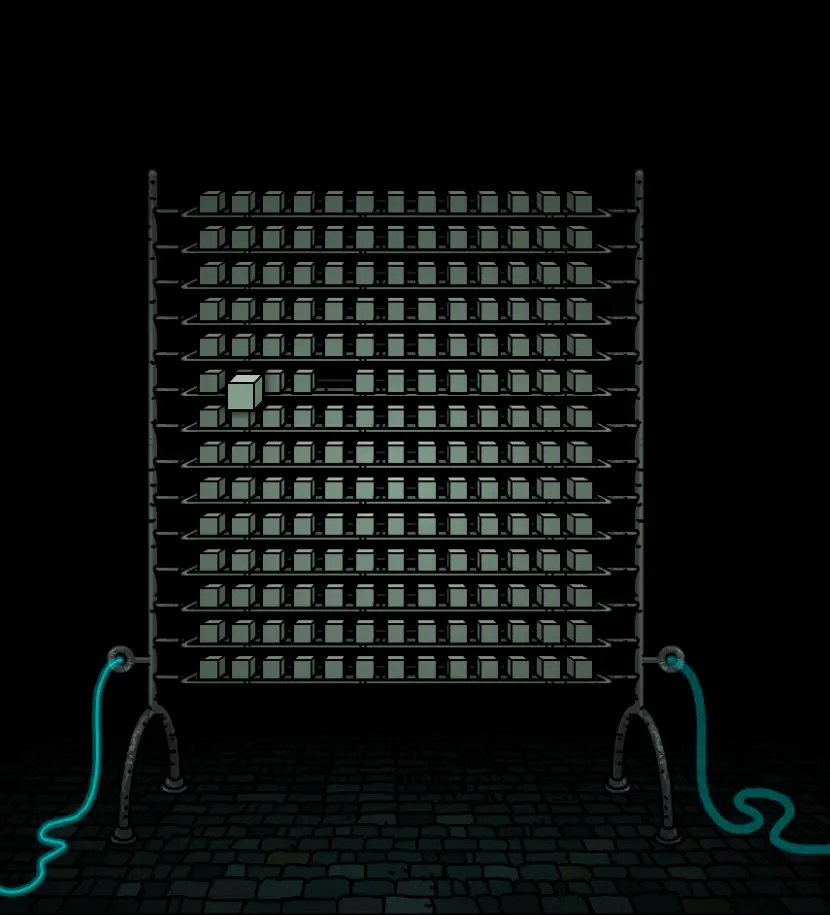
Go back to the basement area and grab 4 stone cubes
Back track to the area right after Sub 1. Use the stabizier on this device
Enter the portal and insert the 4 stone cubes in the missing spots
Go through the RED WIRE portal
O Futuro (XV)
Go to chapter 8, warp to layer 2
Go back to the Future (lol), in the room next to the plush, enter the portal.

The Ruin (XVI)
Bem direto. Solve the puzzle and activate the thing. Fácil!
The Sand (XVII)
Another very straight forward one. Do the thingy activate the thing. Ez peezy
Conclusão
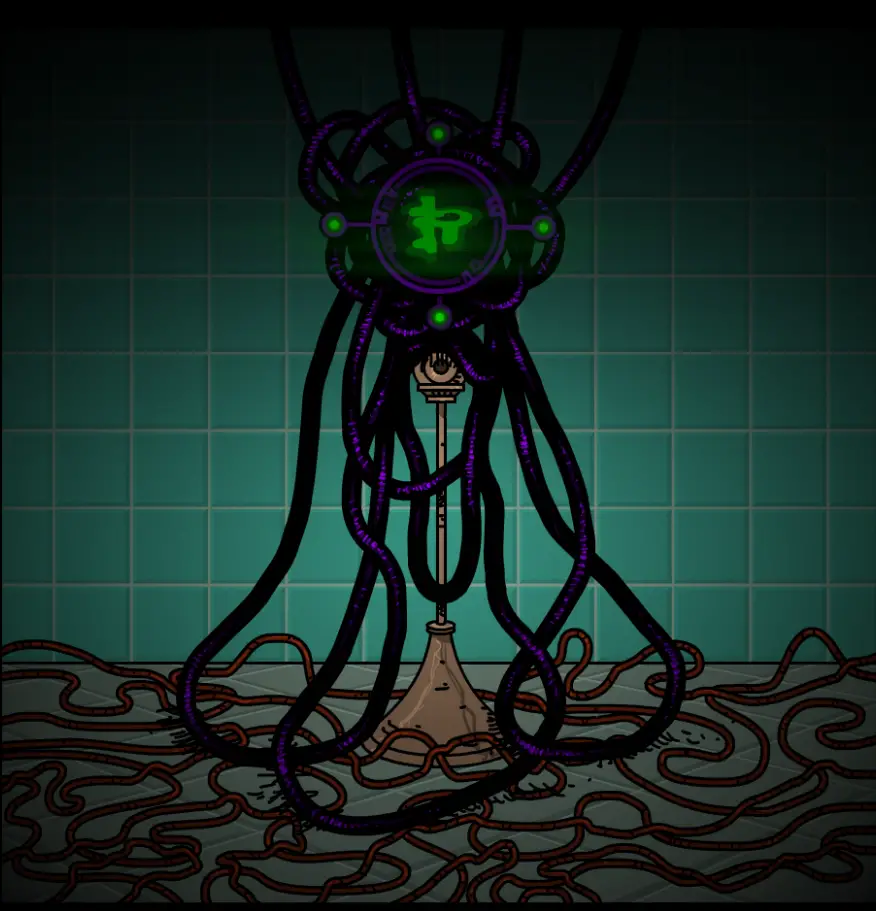
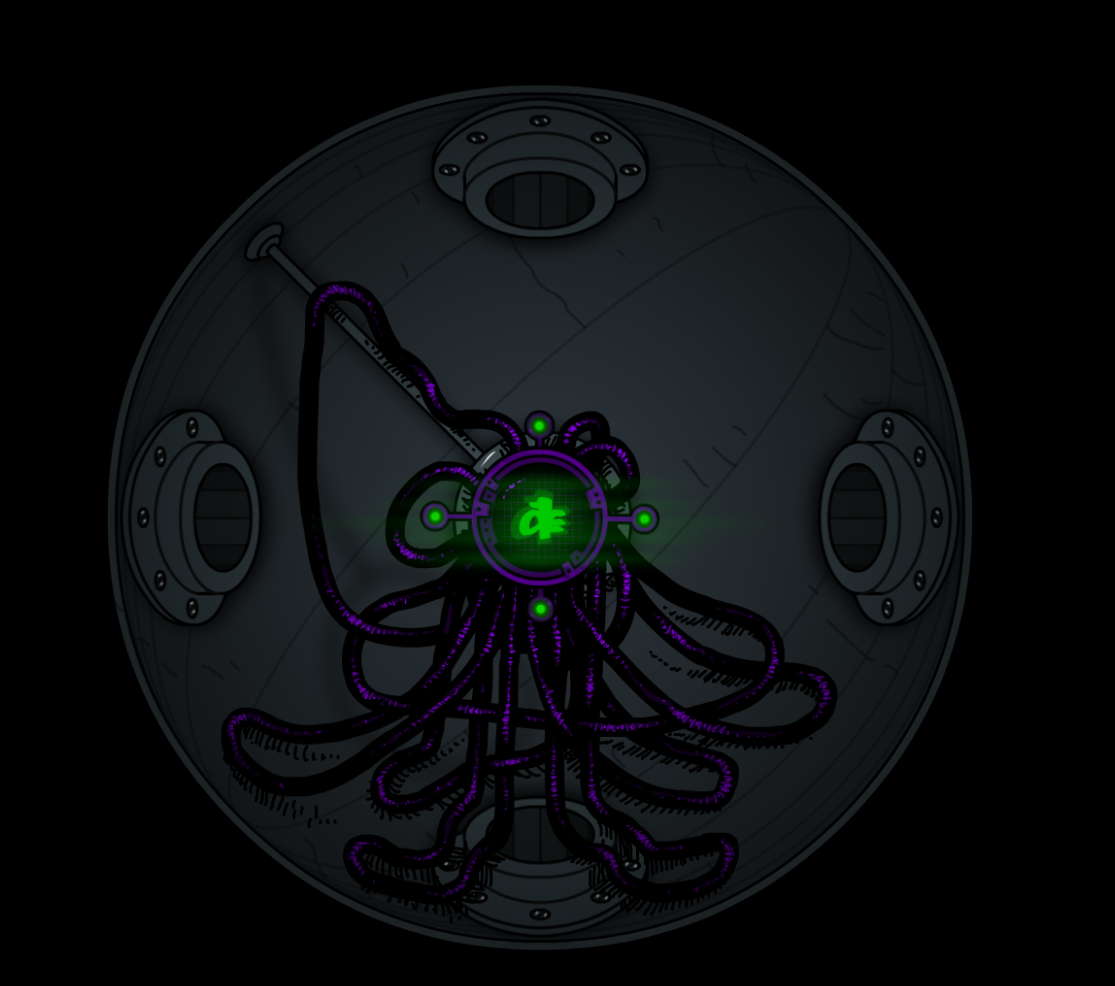
Congratulations as you where able to reach the end of this guide. Reaching this end means that you have also found all monoliths in the game.
Now there’s one more thing left to do..

Isso é tudo o que estamos compartilhando hoje para isso Submáquina: Legado guia. Este guia foi originalmente criado e escrito por skerl. Caso não atualizemos este guia, você pode encontrar a atualização mais recente seguindo este link.