- Título: Durar mais 2
- Data de lançamento:
- Desenvolvedor:
- Editor:
Informações sobre o Outlast 2 ainda está incompleto. Por favor, ajude-nos a preencher os detalhes do jogo usando este formulário de contato.
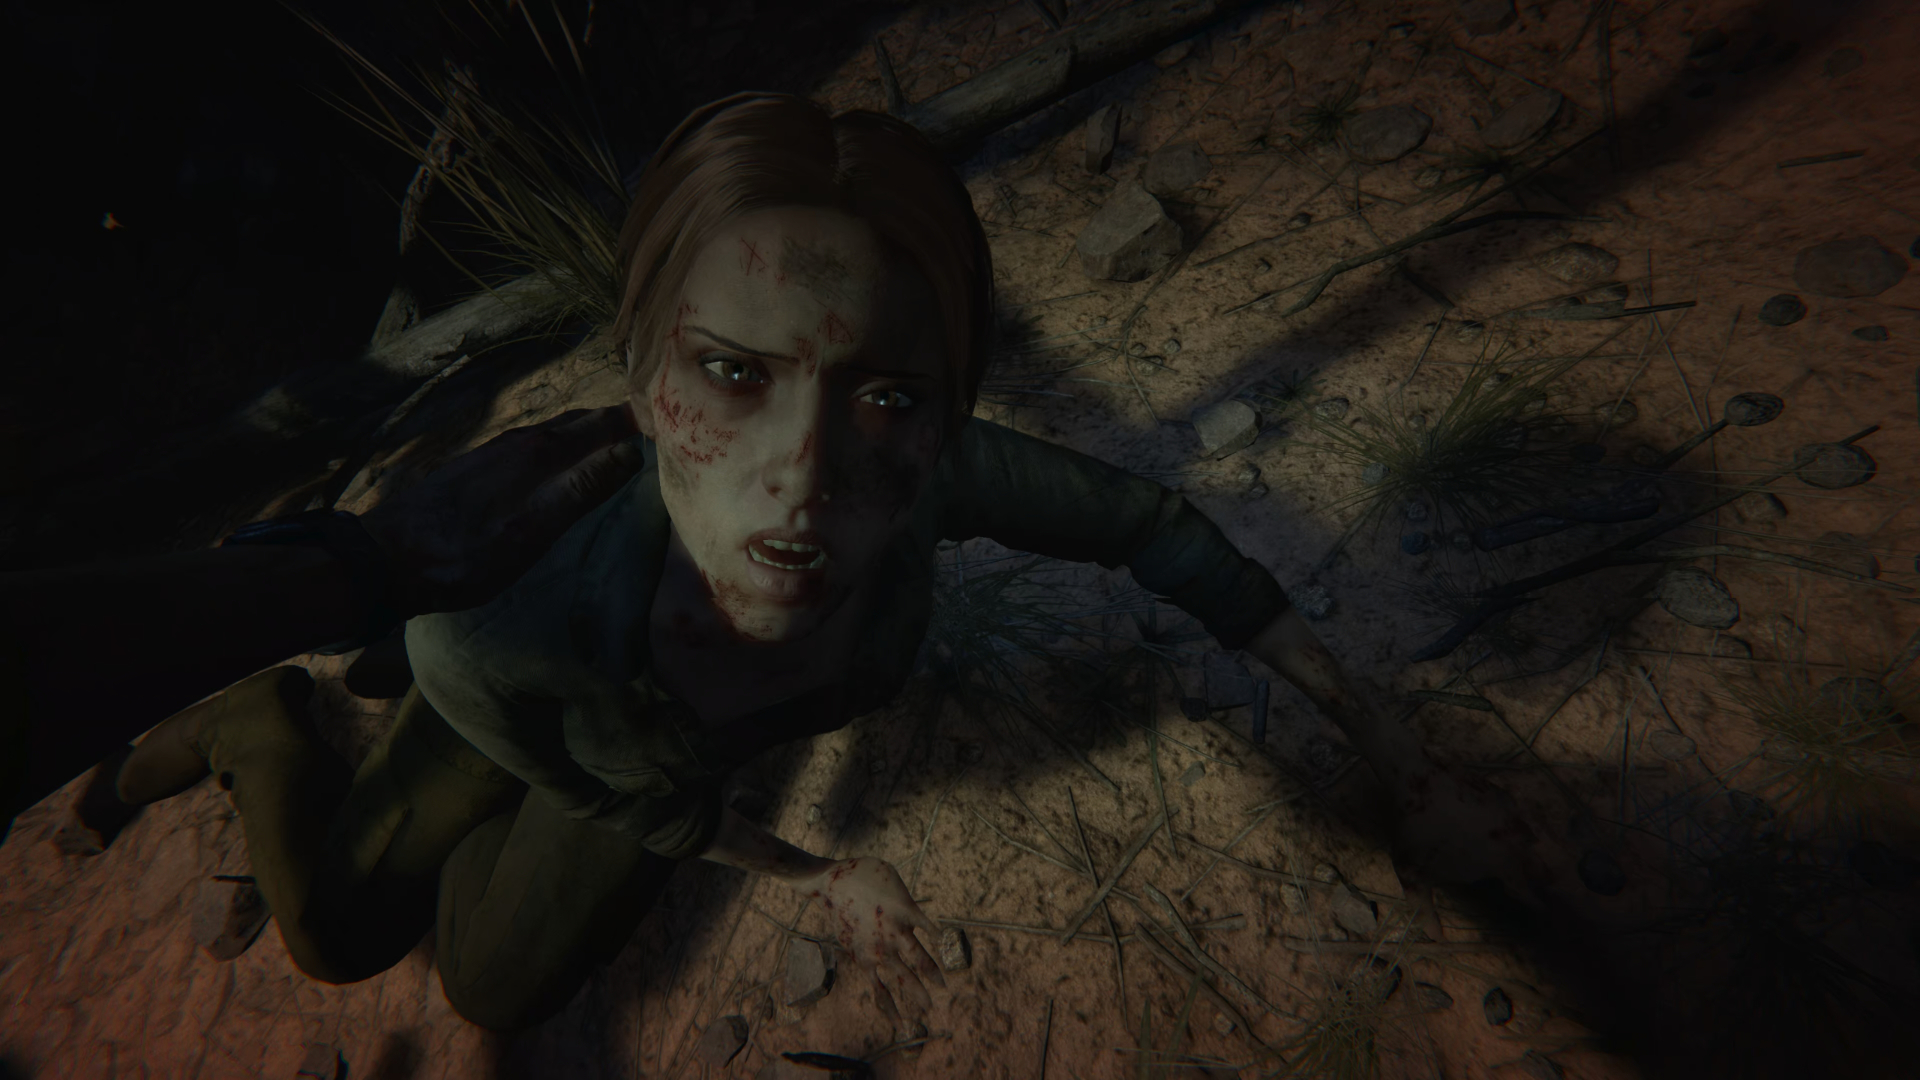
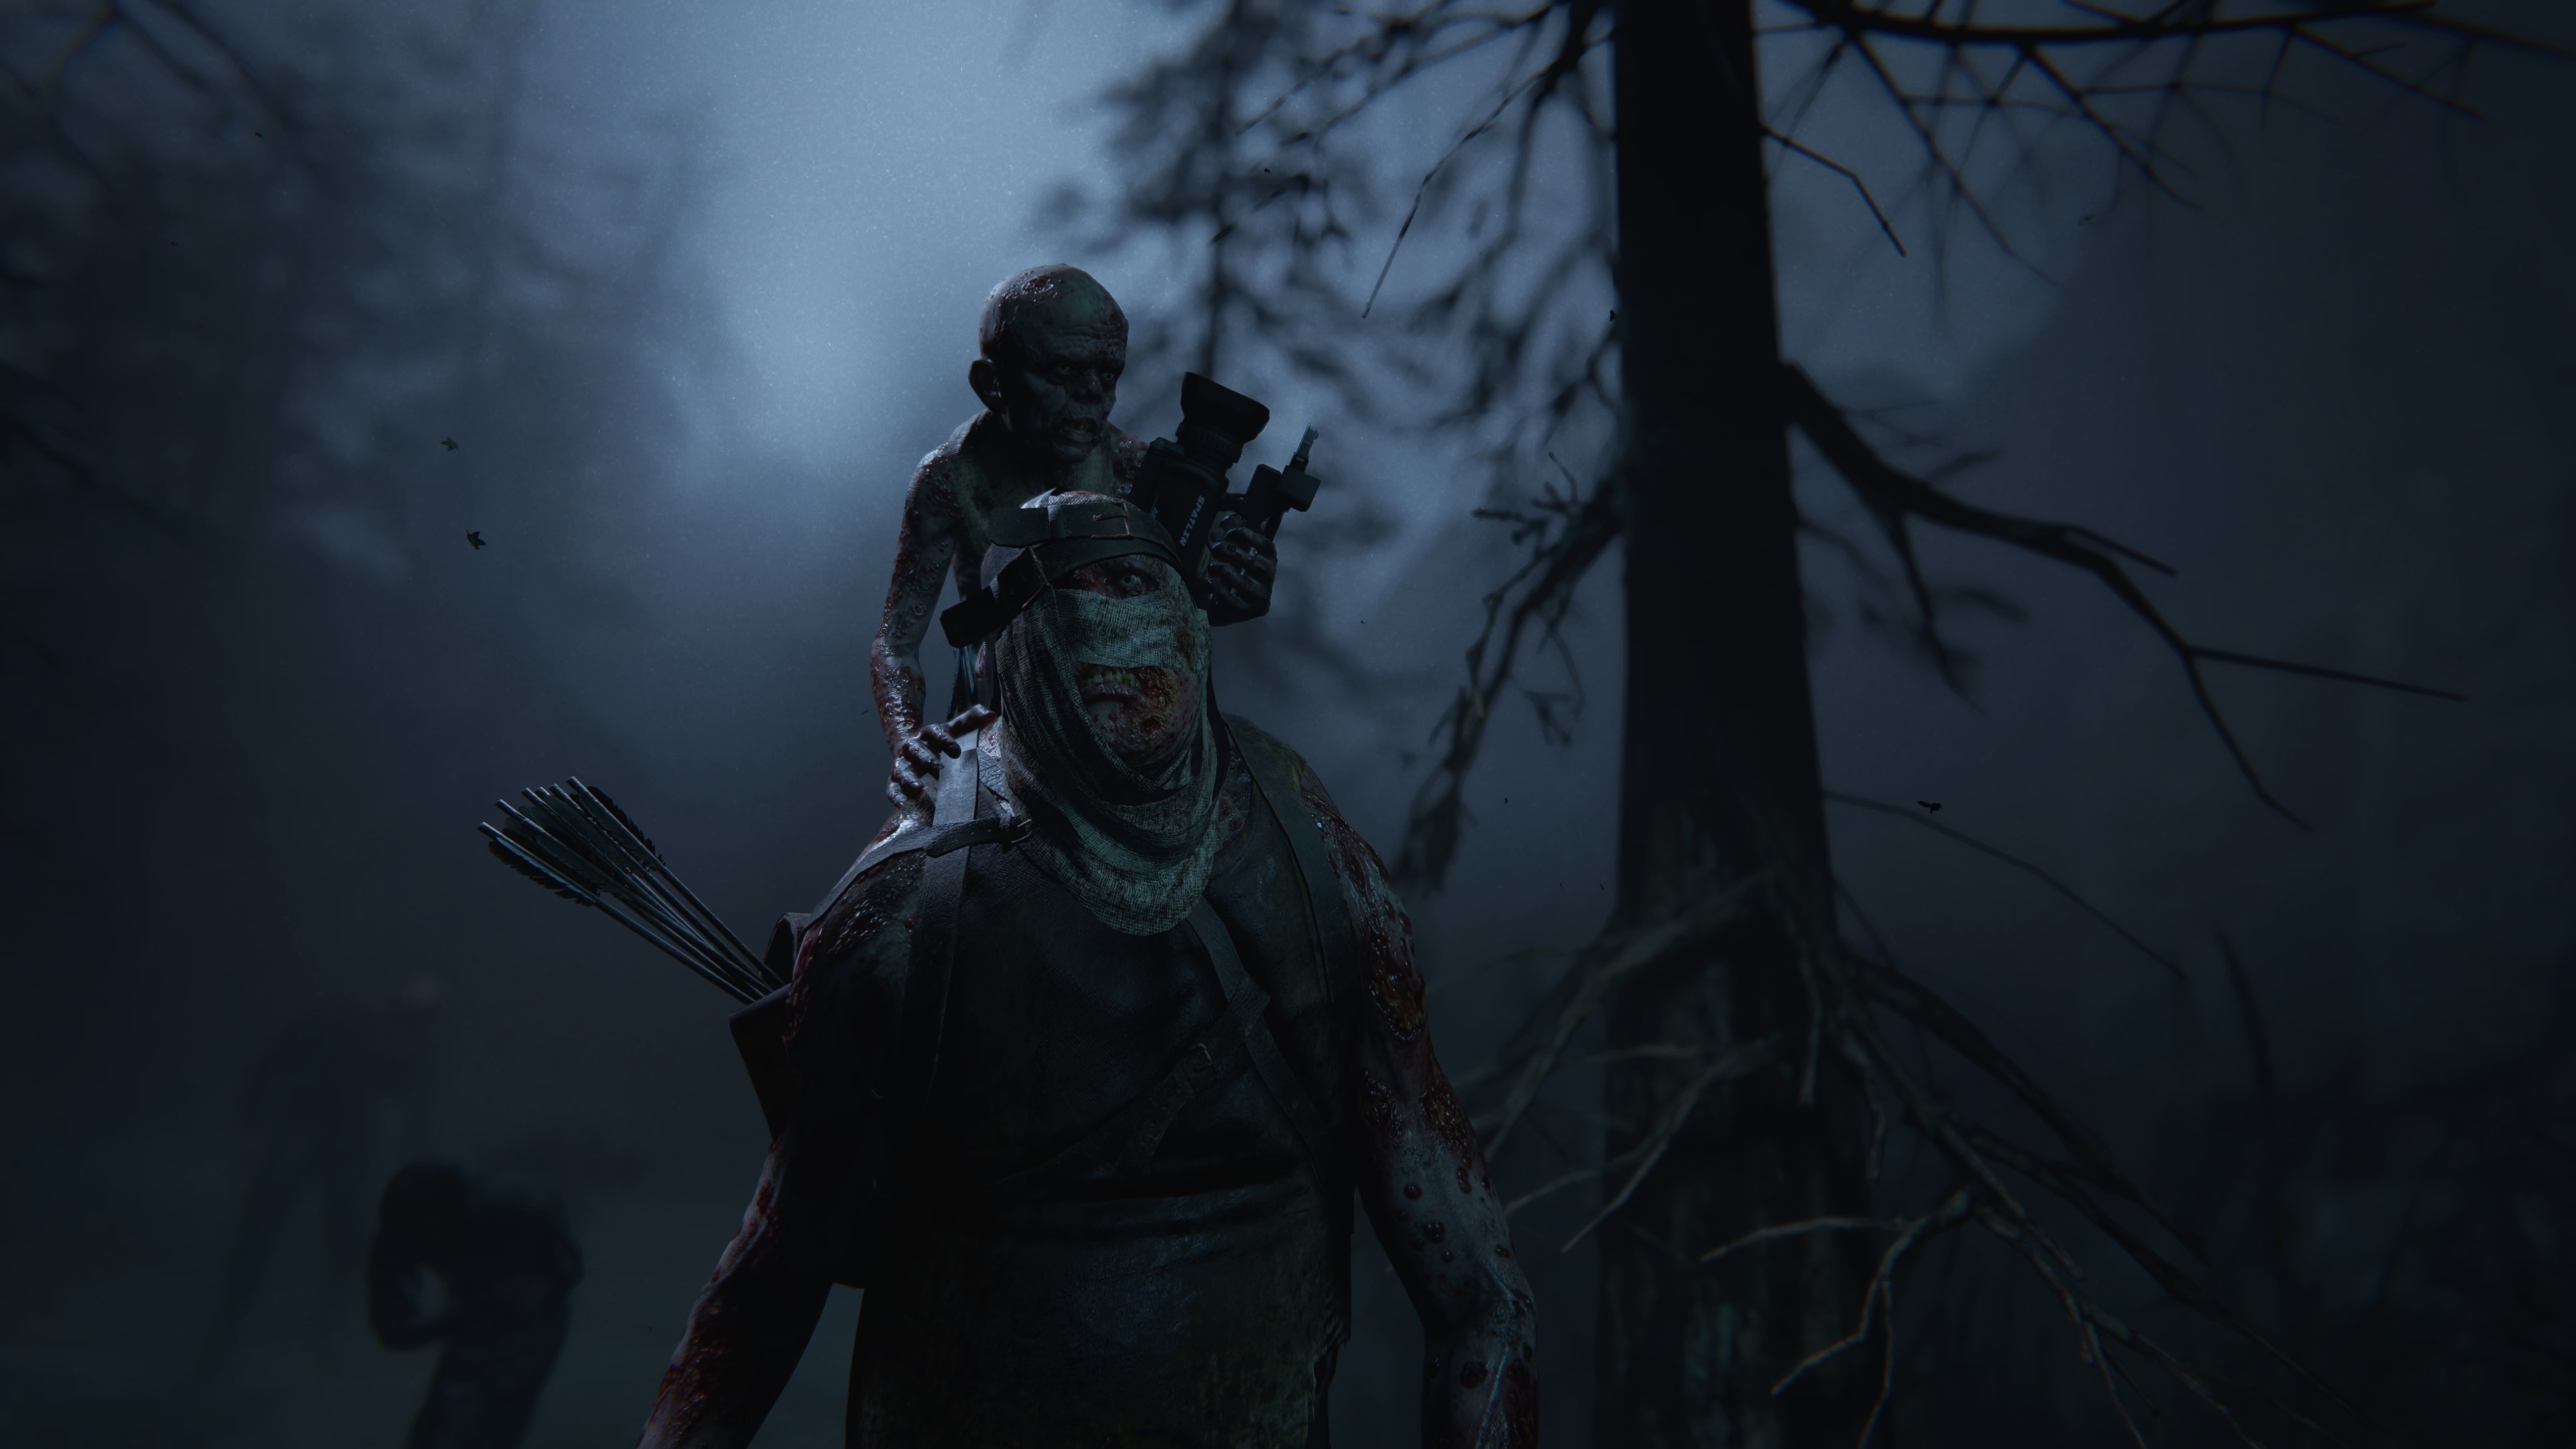
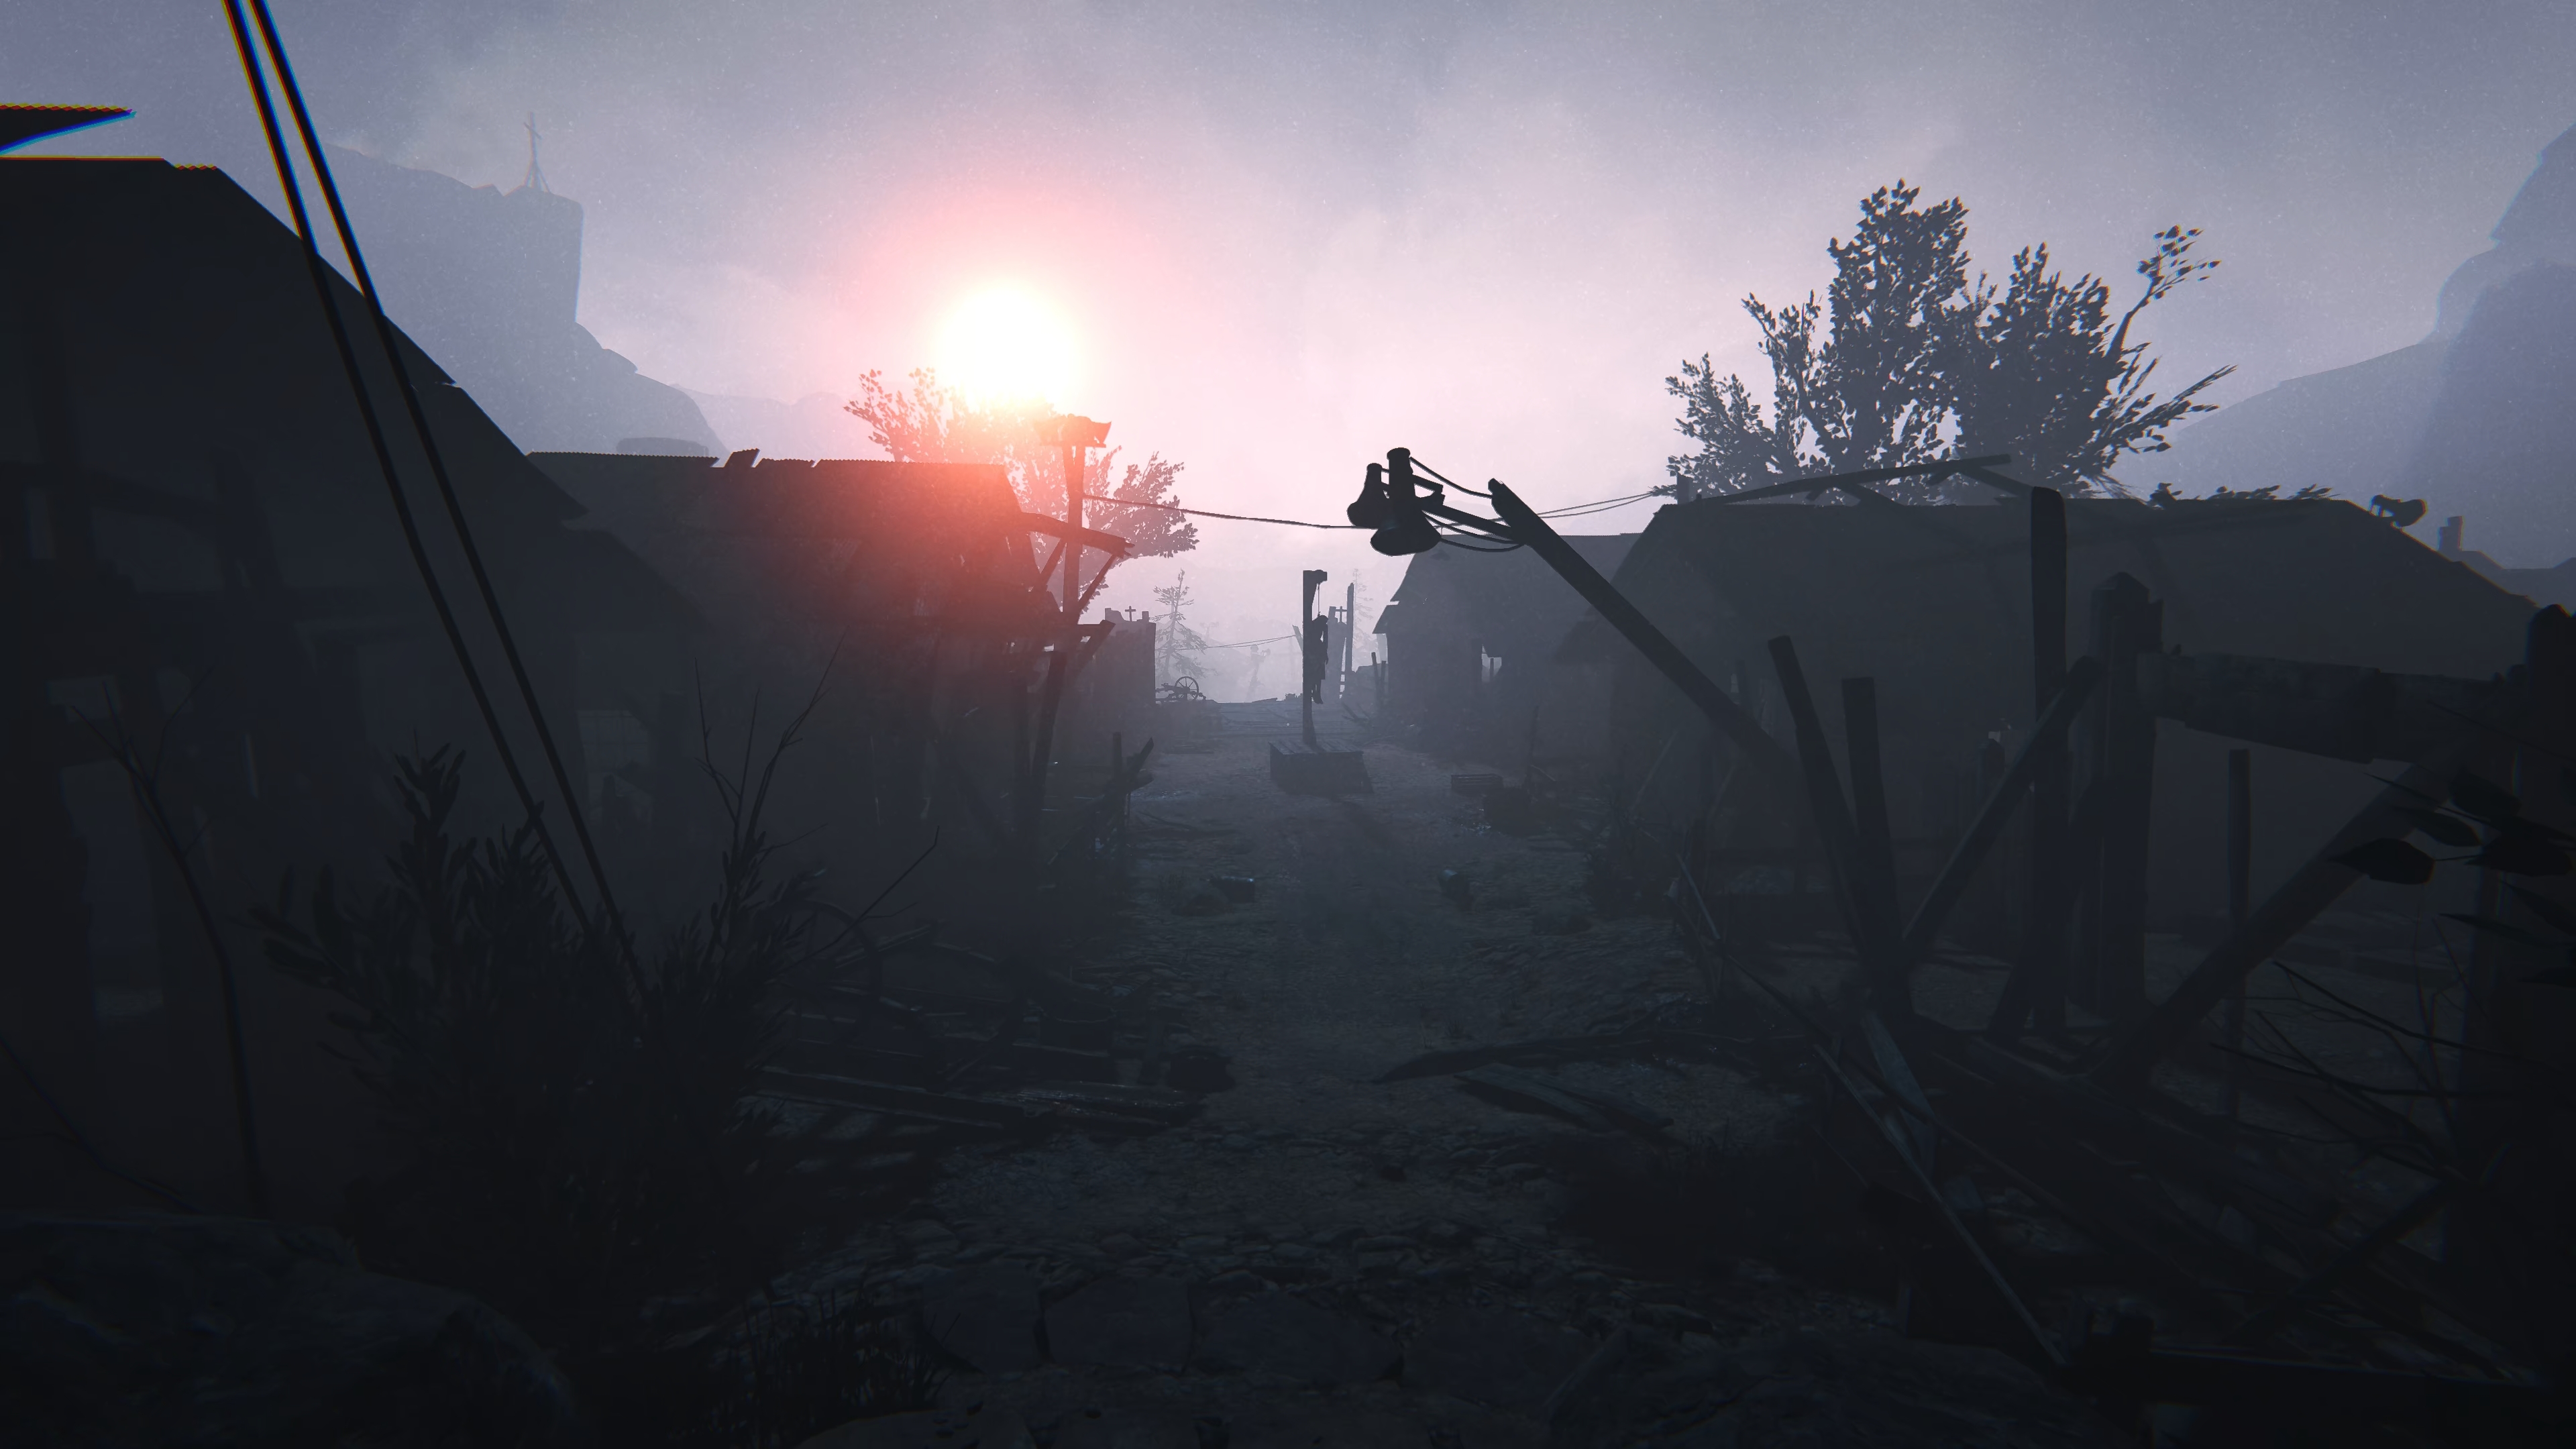
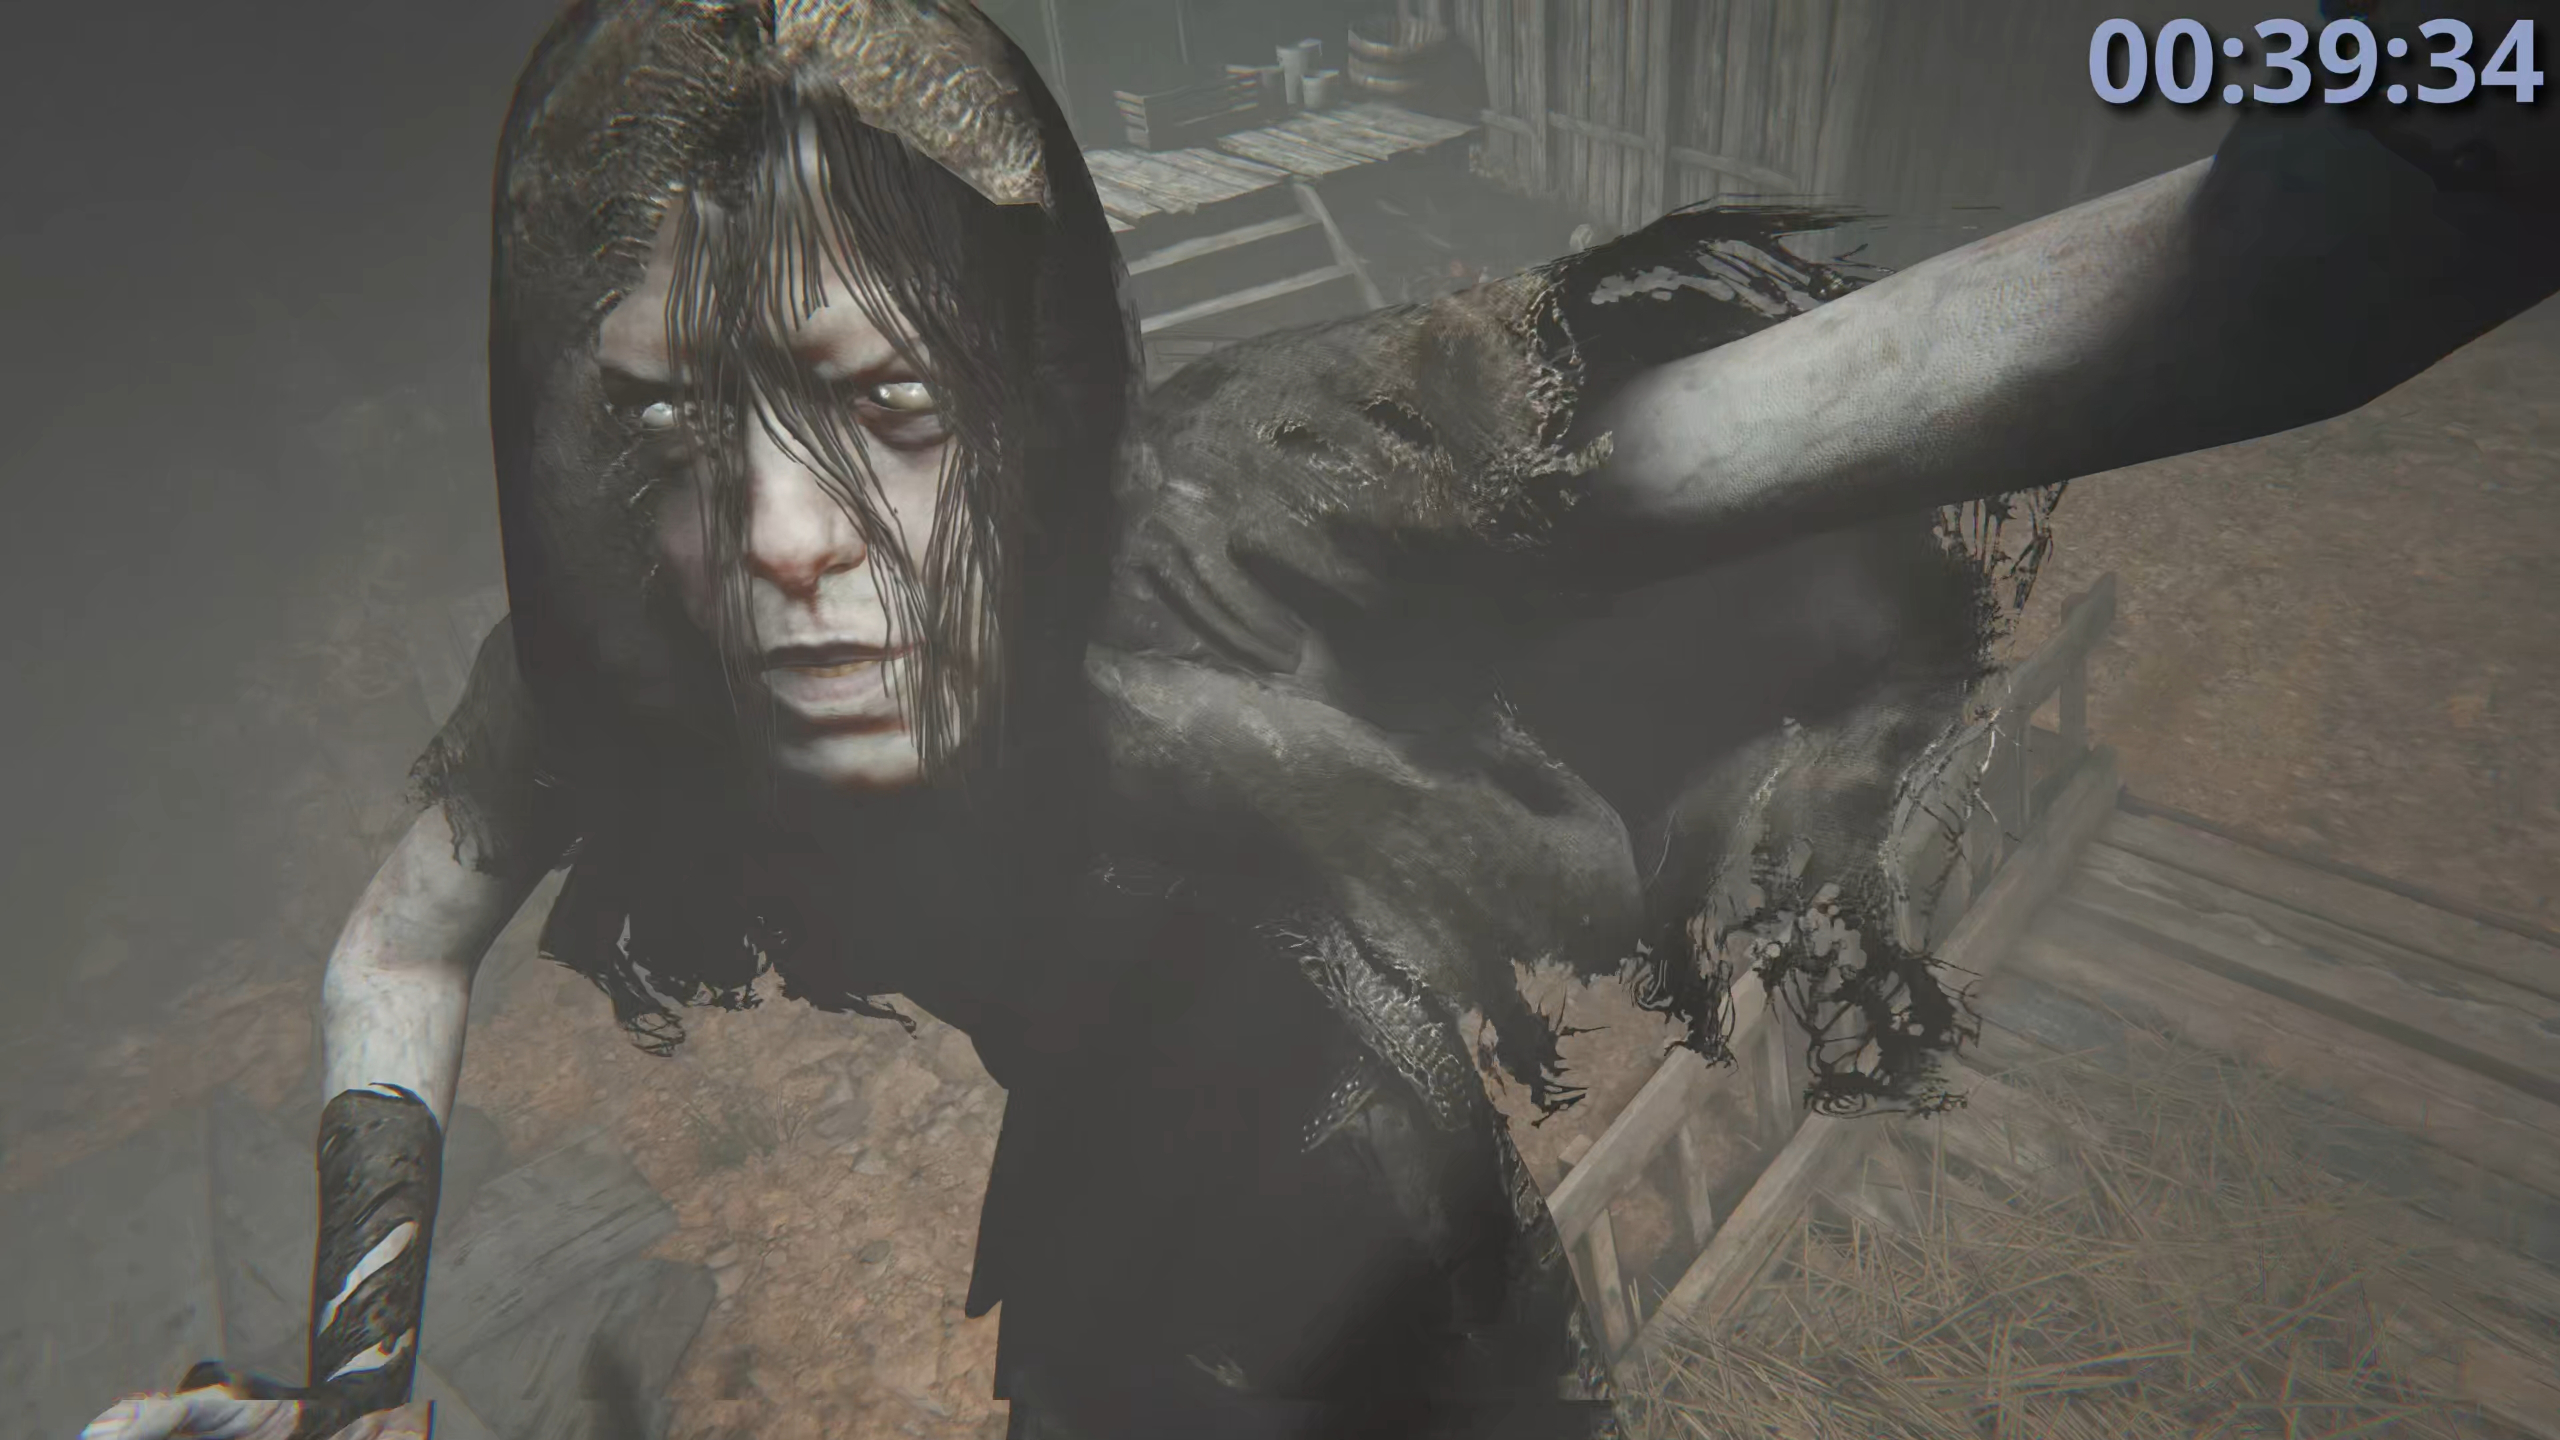
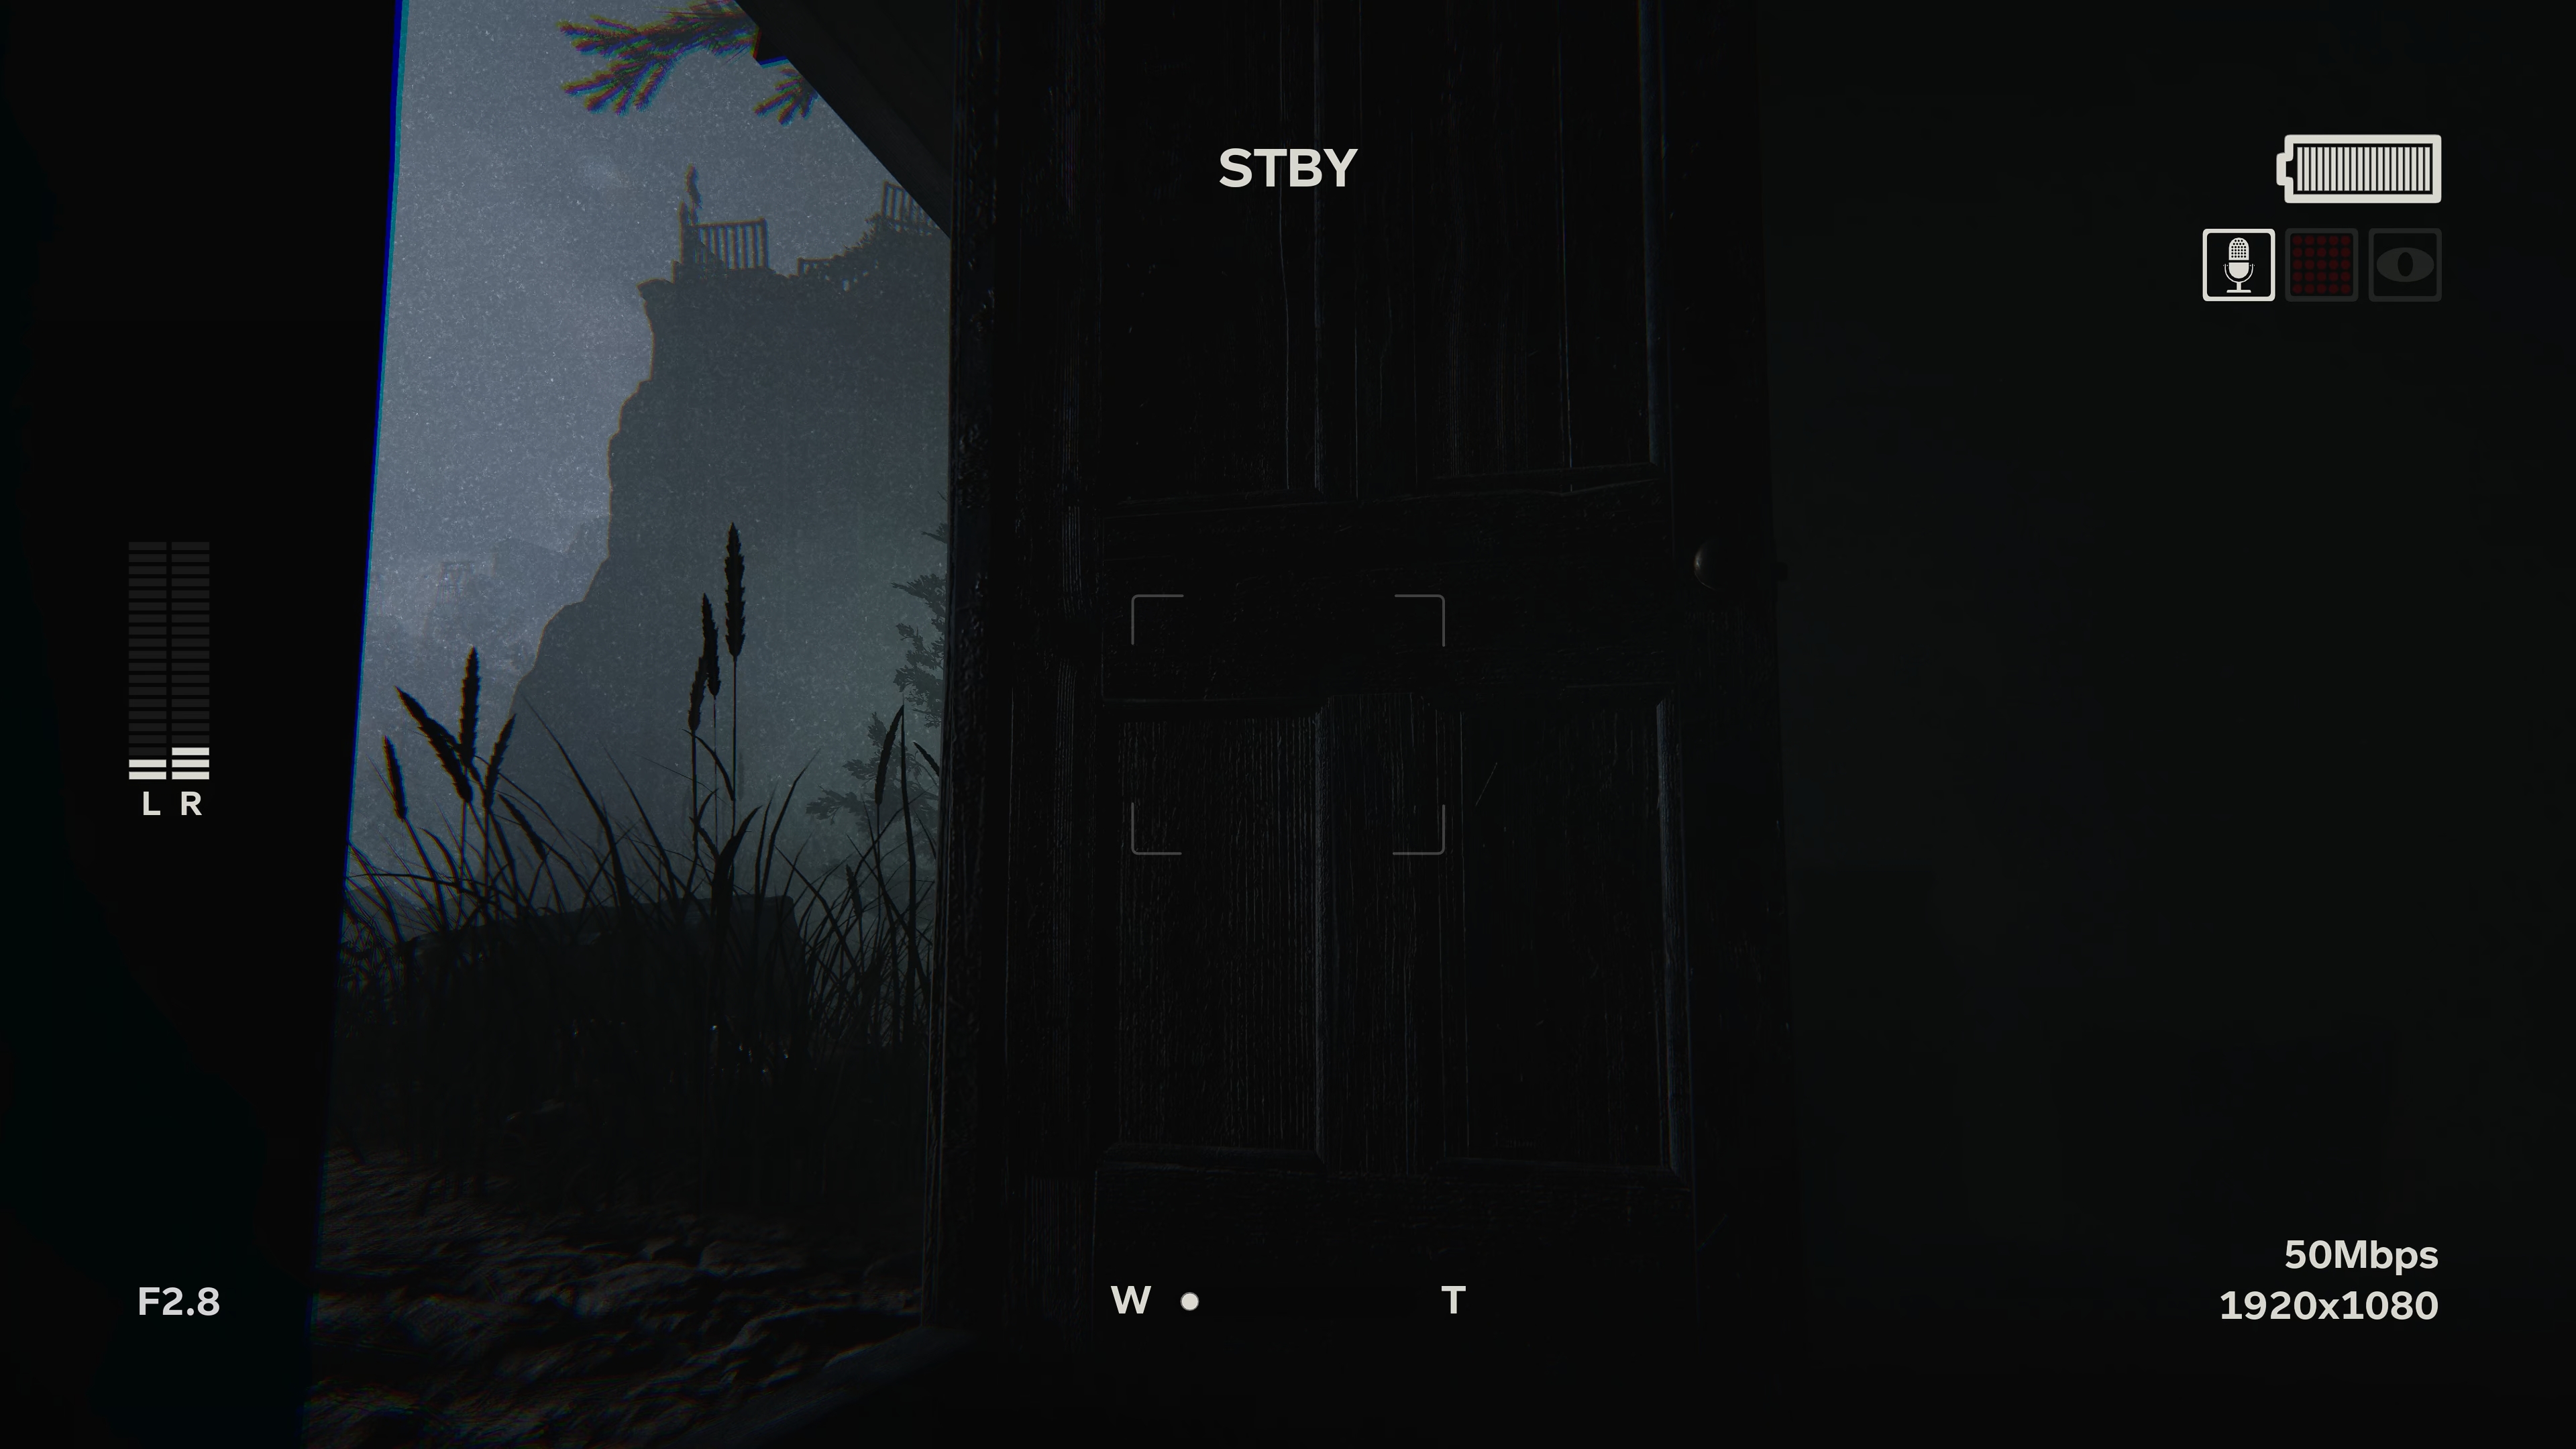
Este guia passará por todas as realizações em surtos 2. Este jogo de terror é a sequência do surto original e, é claro, começa com você sendo preso no meio de um lugar assustador, com pessoas assustadoras, E você tem que usar sua câmera navegar e superar seus inimigos.
História – Imperdível – Bandeira
O que Deus se juntou

O que Deus se juntou é para encontrar Lynn durante o primeiro capítulo principal do jogo. Você estará apenas com ela logo antes de voltar a pesquisar.
Babilônia

Babilônia é para ver as minas distantes onde Lynn é cativo. Este está no primeiro capítulo do jogo depois de algumas sequências de perseguição com Martha, onde você finalmente rasteja por uma pequena grade para fugir.
Aguarde lá, Bebê

Aguarde lá, Bebê é para escapar da crucificação. Isso será durante o segundo capítulo do jogo e será depois que você for crucificado e escapar. Temporariamente…
Seja embora limpo

Ficar limpo é para escapar das vias. Isso será no segundo capítulo depois que você acabar correndo deles por um tempo, Passe por uma pequena cidade para pegar uma corda, E eles caem morrendo no processo.
Gólgota

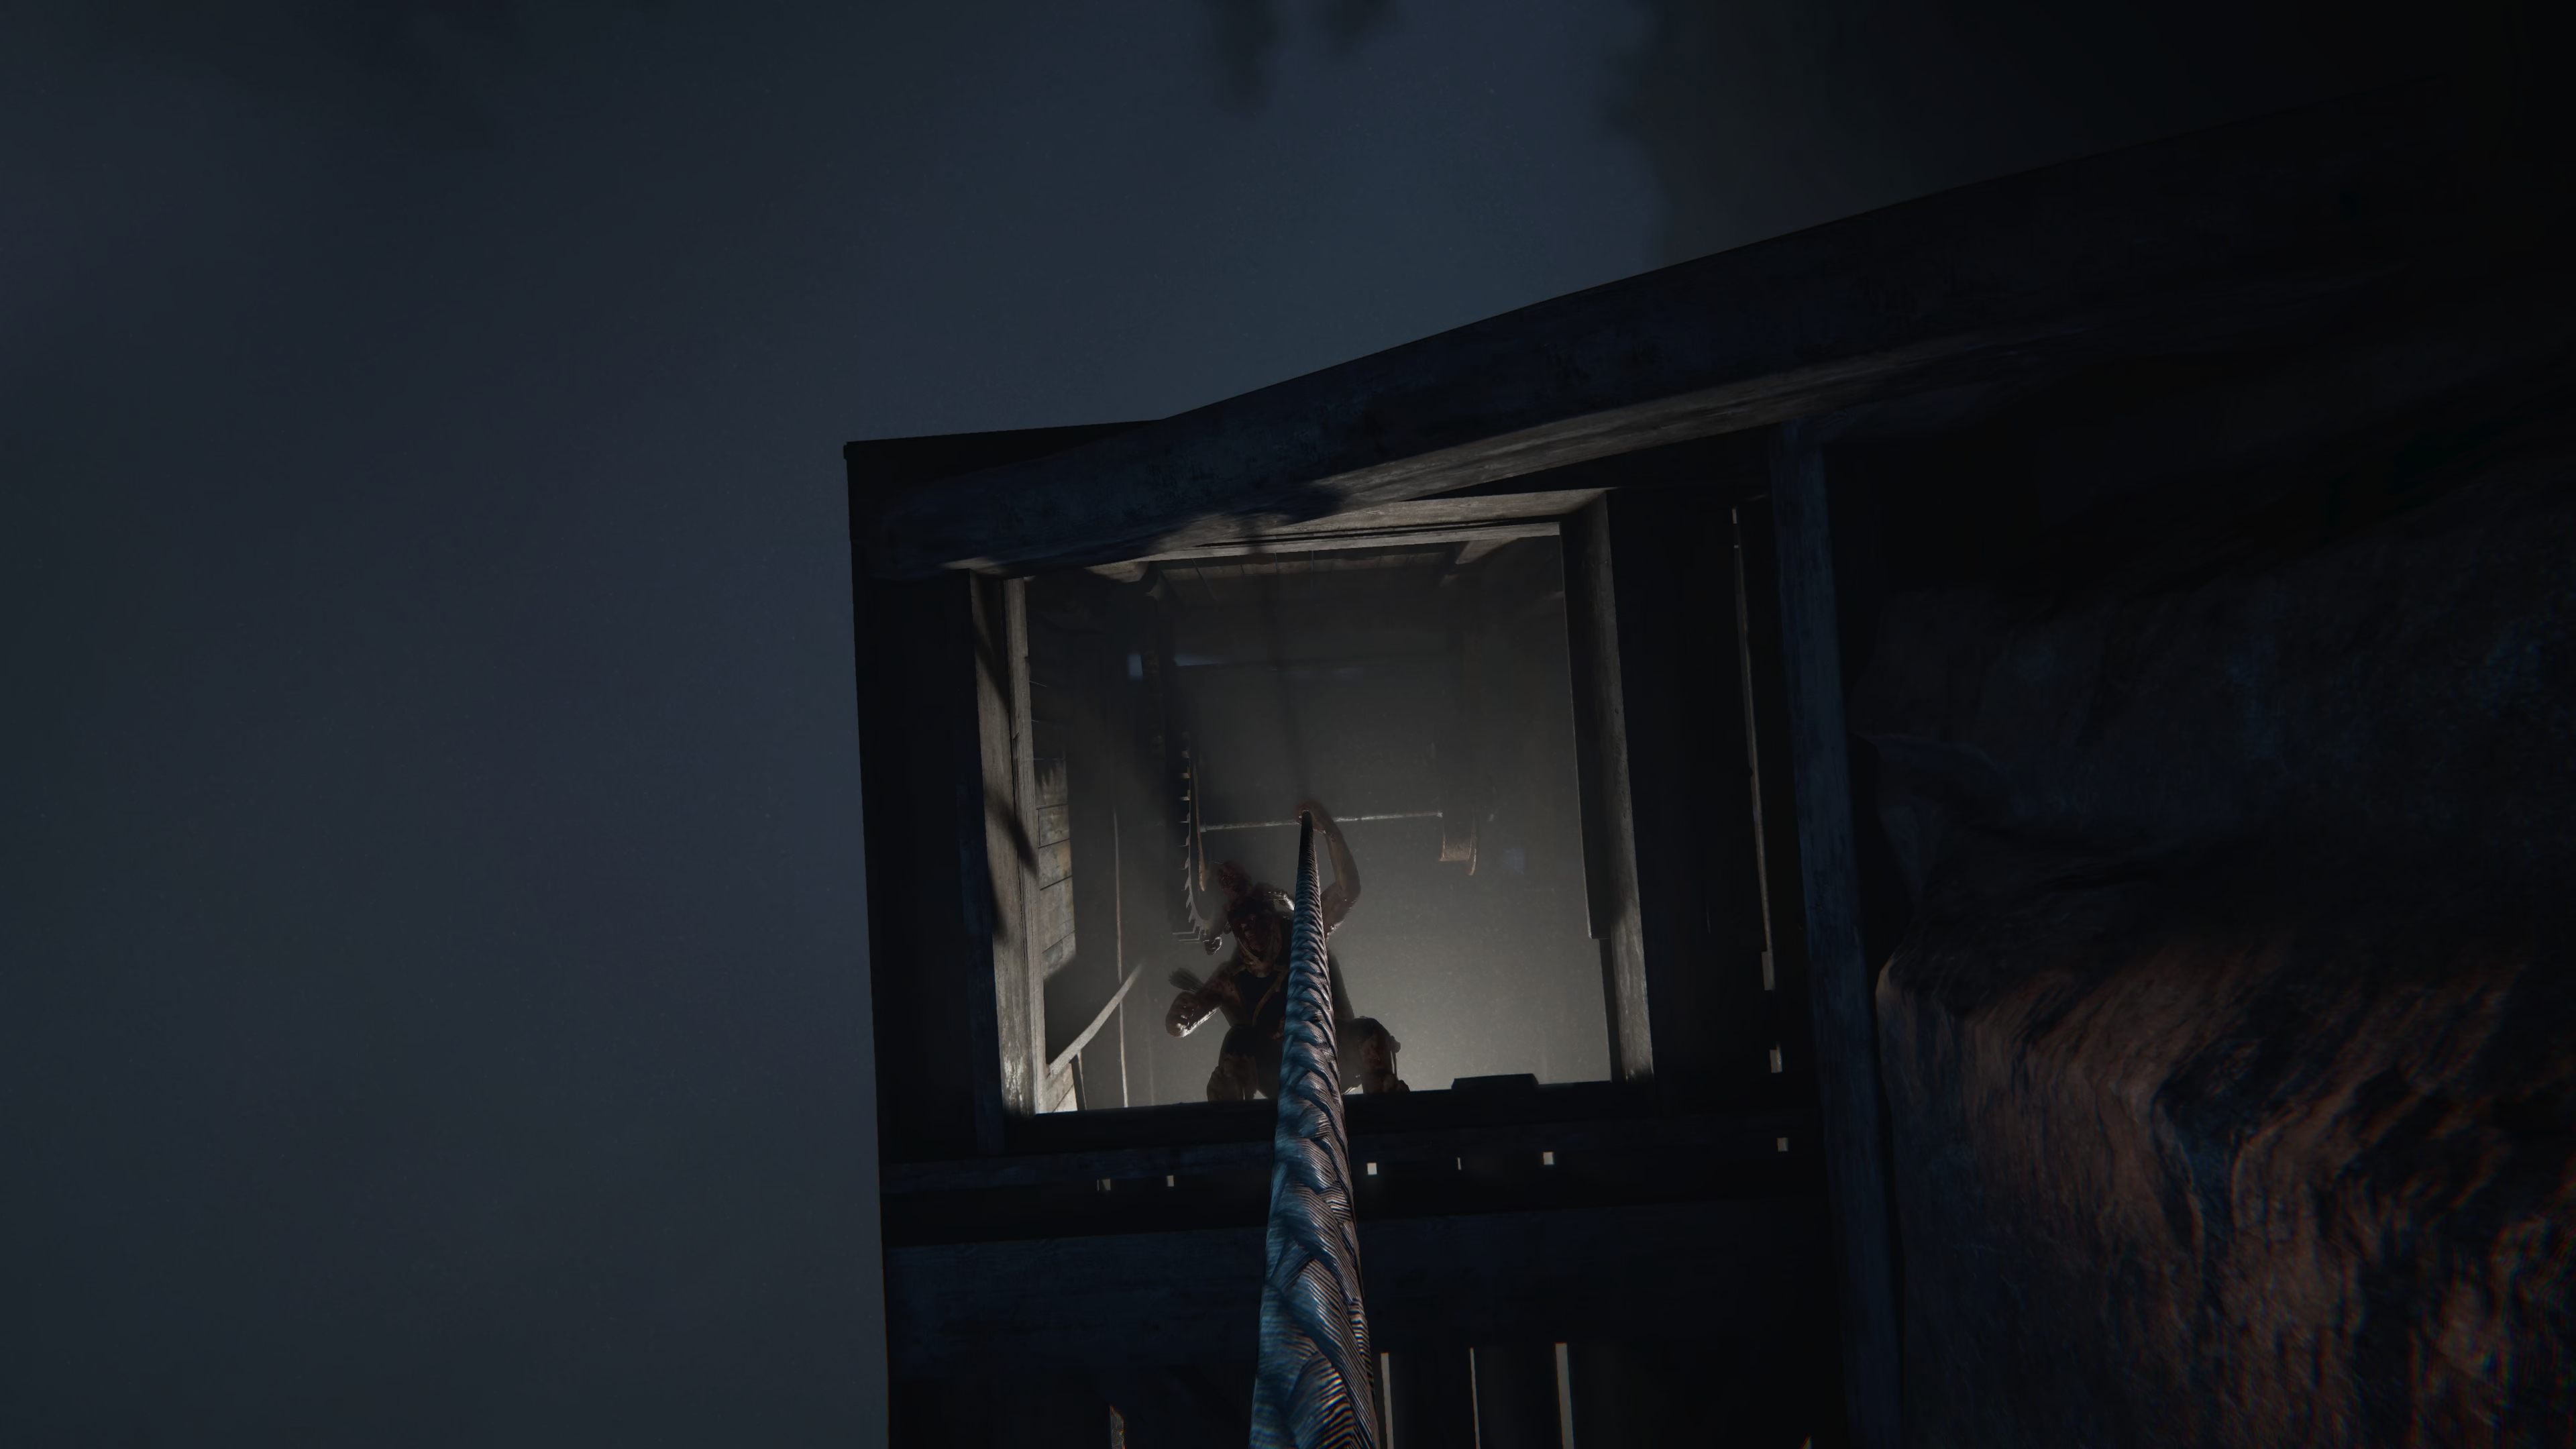
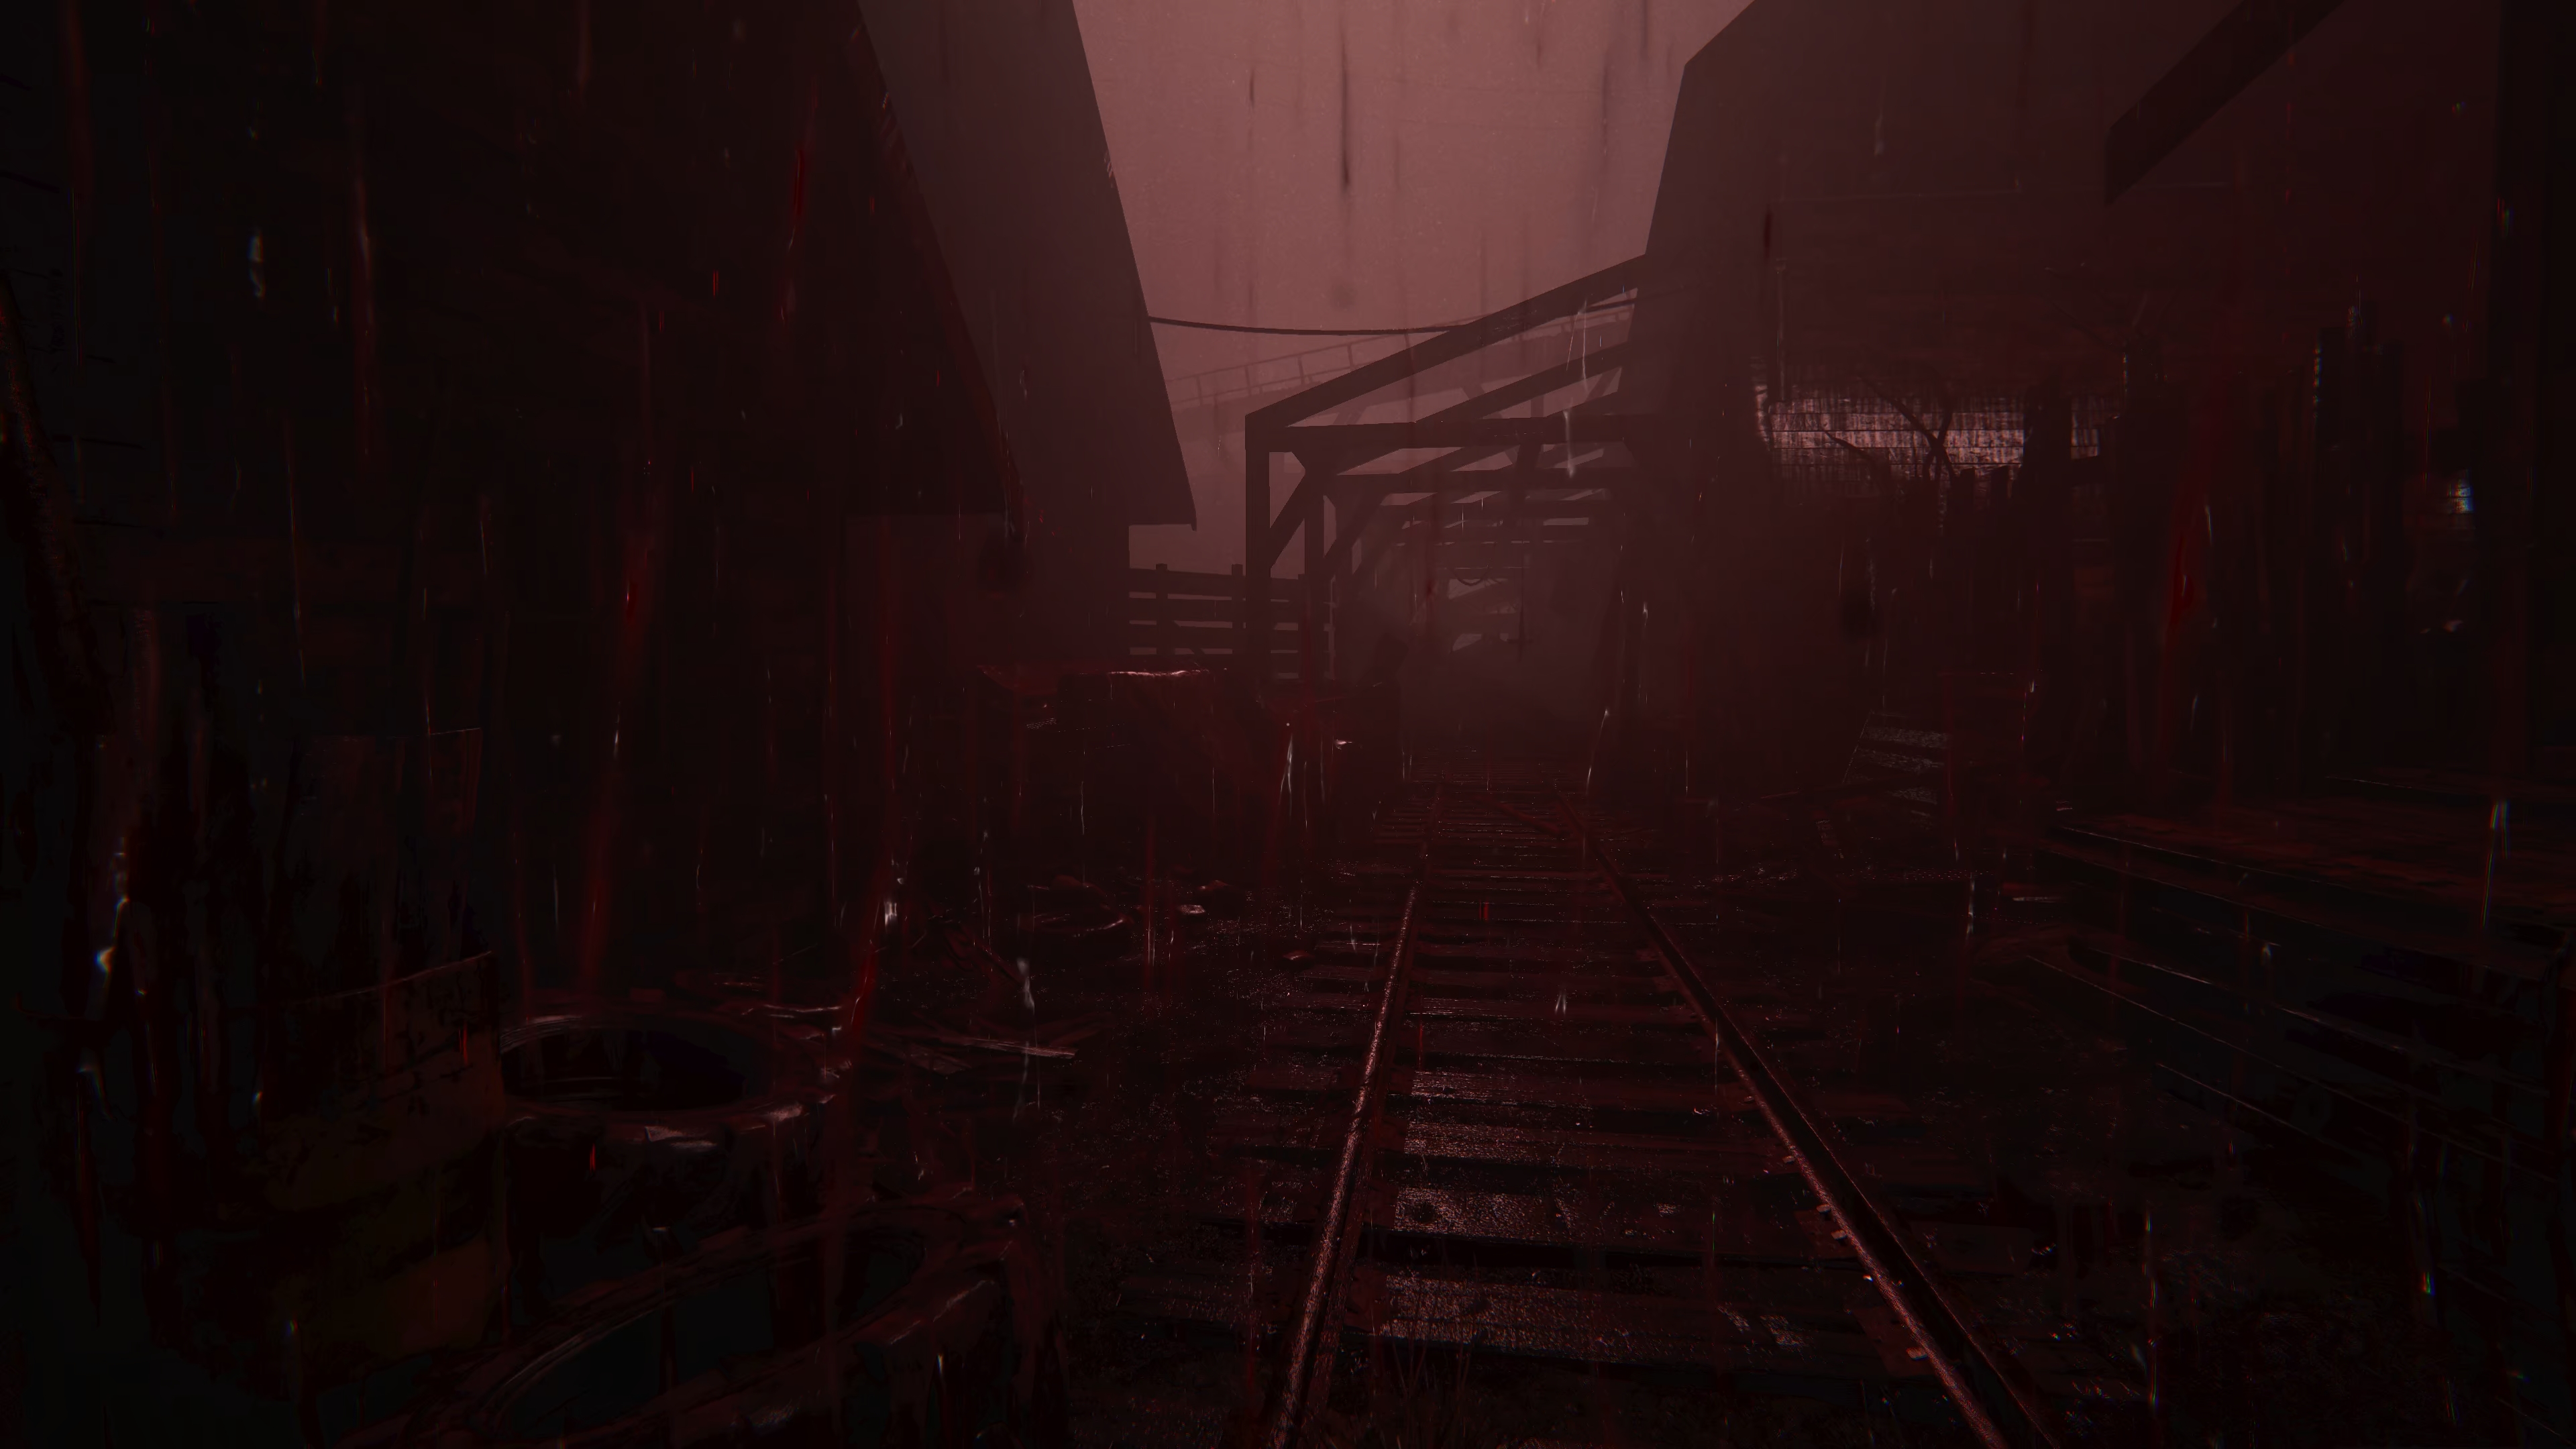
Gólgota é para alcançar a instalação de minas. Isso será próximo ao início do capítulo quatro e será como você está passando pela chuva de sangue e indo em direção ao elevador para as minas.
Saint Sepulcher

Saint Sepulcher é para descer nas minas. Este será o começo do capítulo 5 onde você cai no elevador nas minas.
Não deixe nenhum homem colocar como

Não deixe nenhum homem colocar como é para se reunir com Lynn. Isso será no início do último capítulo, capítulo 6. Ao escapar das minas e fugir das pessoas da mina, você acaba encontrando Lynn novamente pela última vez.
Revelações

Revelações é para testemunhar o fim. Isso será depois de você e Lynn voltarem à cidade e bem… Testemunhe o fim…
Nascido de novo

Nascido de novo é para terminar o jogo. É claro que isso será depois de terminar o jogo e você o receberá logo depois Revelações.
Não-história – Perdível – Bandeira
Santificado, Pregador, Santo

Santificado é para terminar o jogo em Modo Difícil.

Pregador é para terminar o jogo em Modo de pesadelo.

Santo é para terminar o jogo em Modo insano. O que é essencialmente apenas Modo de pesadelo, Mas com a morte perma adicionada.
A maneira mais fácil de cuidar disso será com um Modo insano Playthrough onde você pode obter os três desses desbloqueados. Fiz um vídeo mostrando meu modo insano completo que você pode puxar em outro monitor e assistir através das seções enquanto eu mesmo passo por isso.
Aqueles que têm ouvidos

Aqueles que têm ouvidos é para usar o microfone para 20 minutos. Honestamente, este eu não achei tão útil durante minhas reproduções, então acabei carregando um capítulo depois que terminei todo o resto e fiquei em uma sala com a câmera puxada para cima e o microfone ligado.
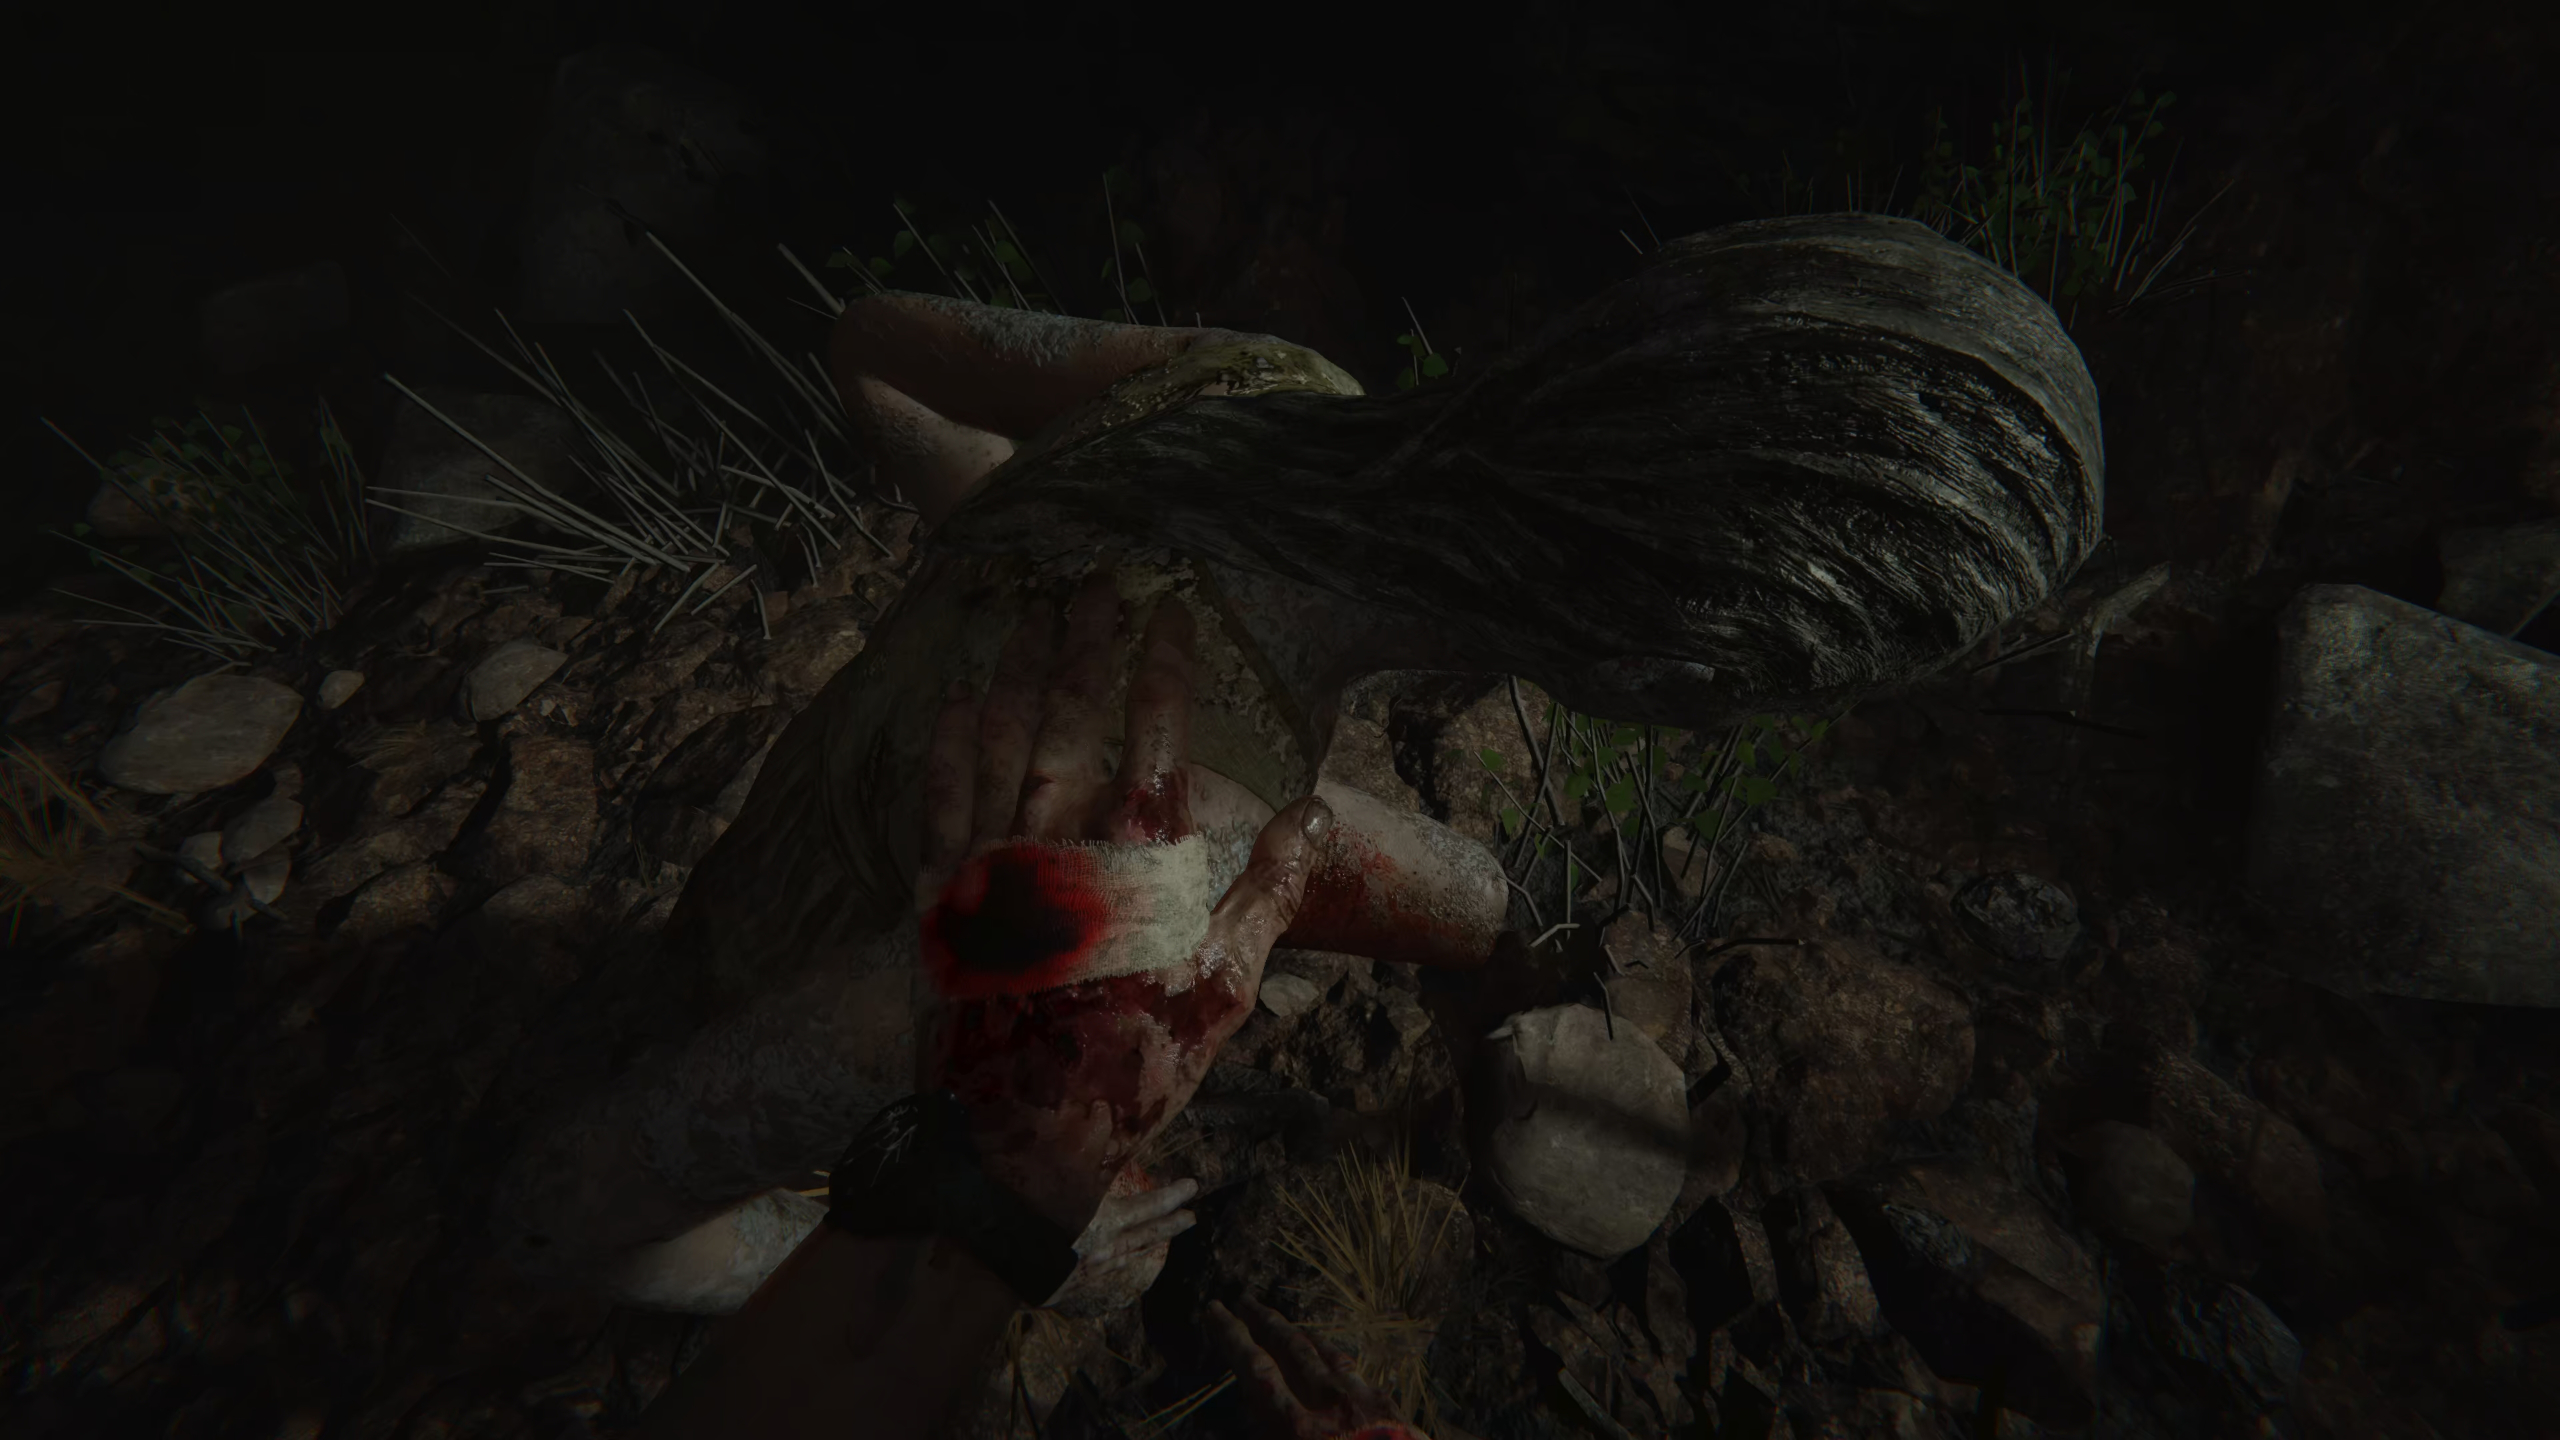
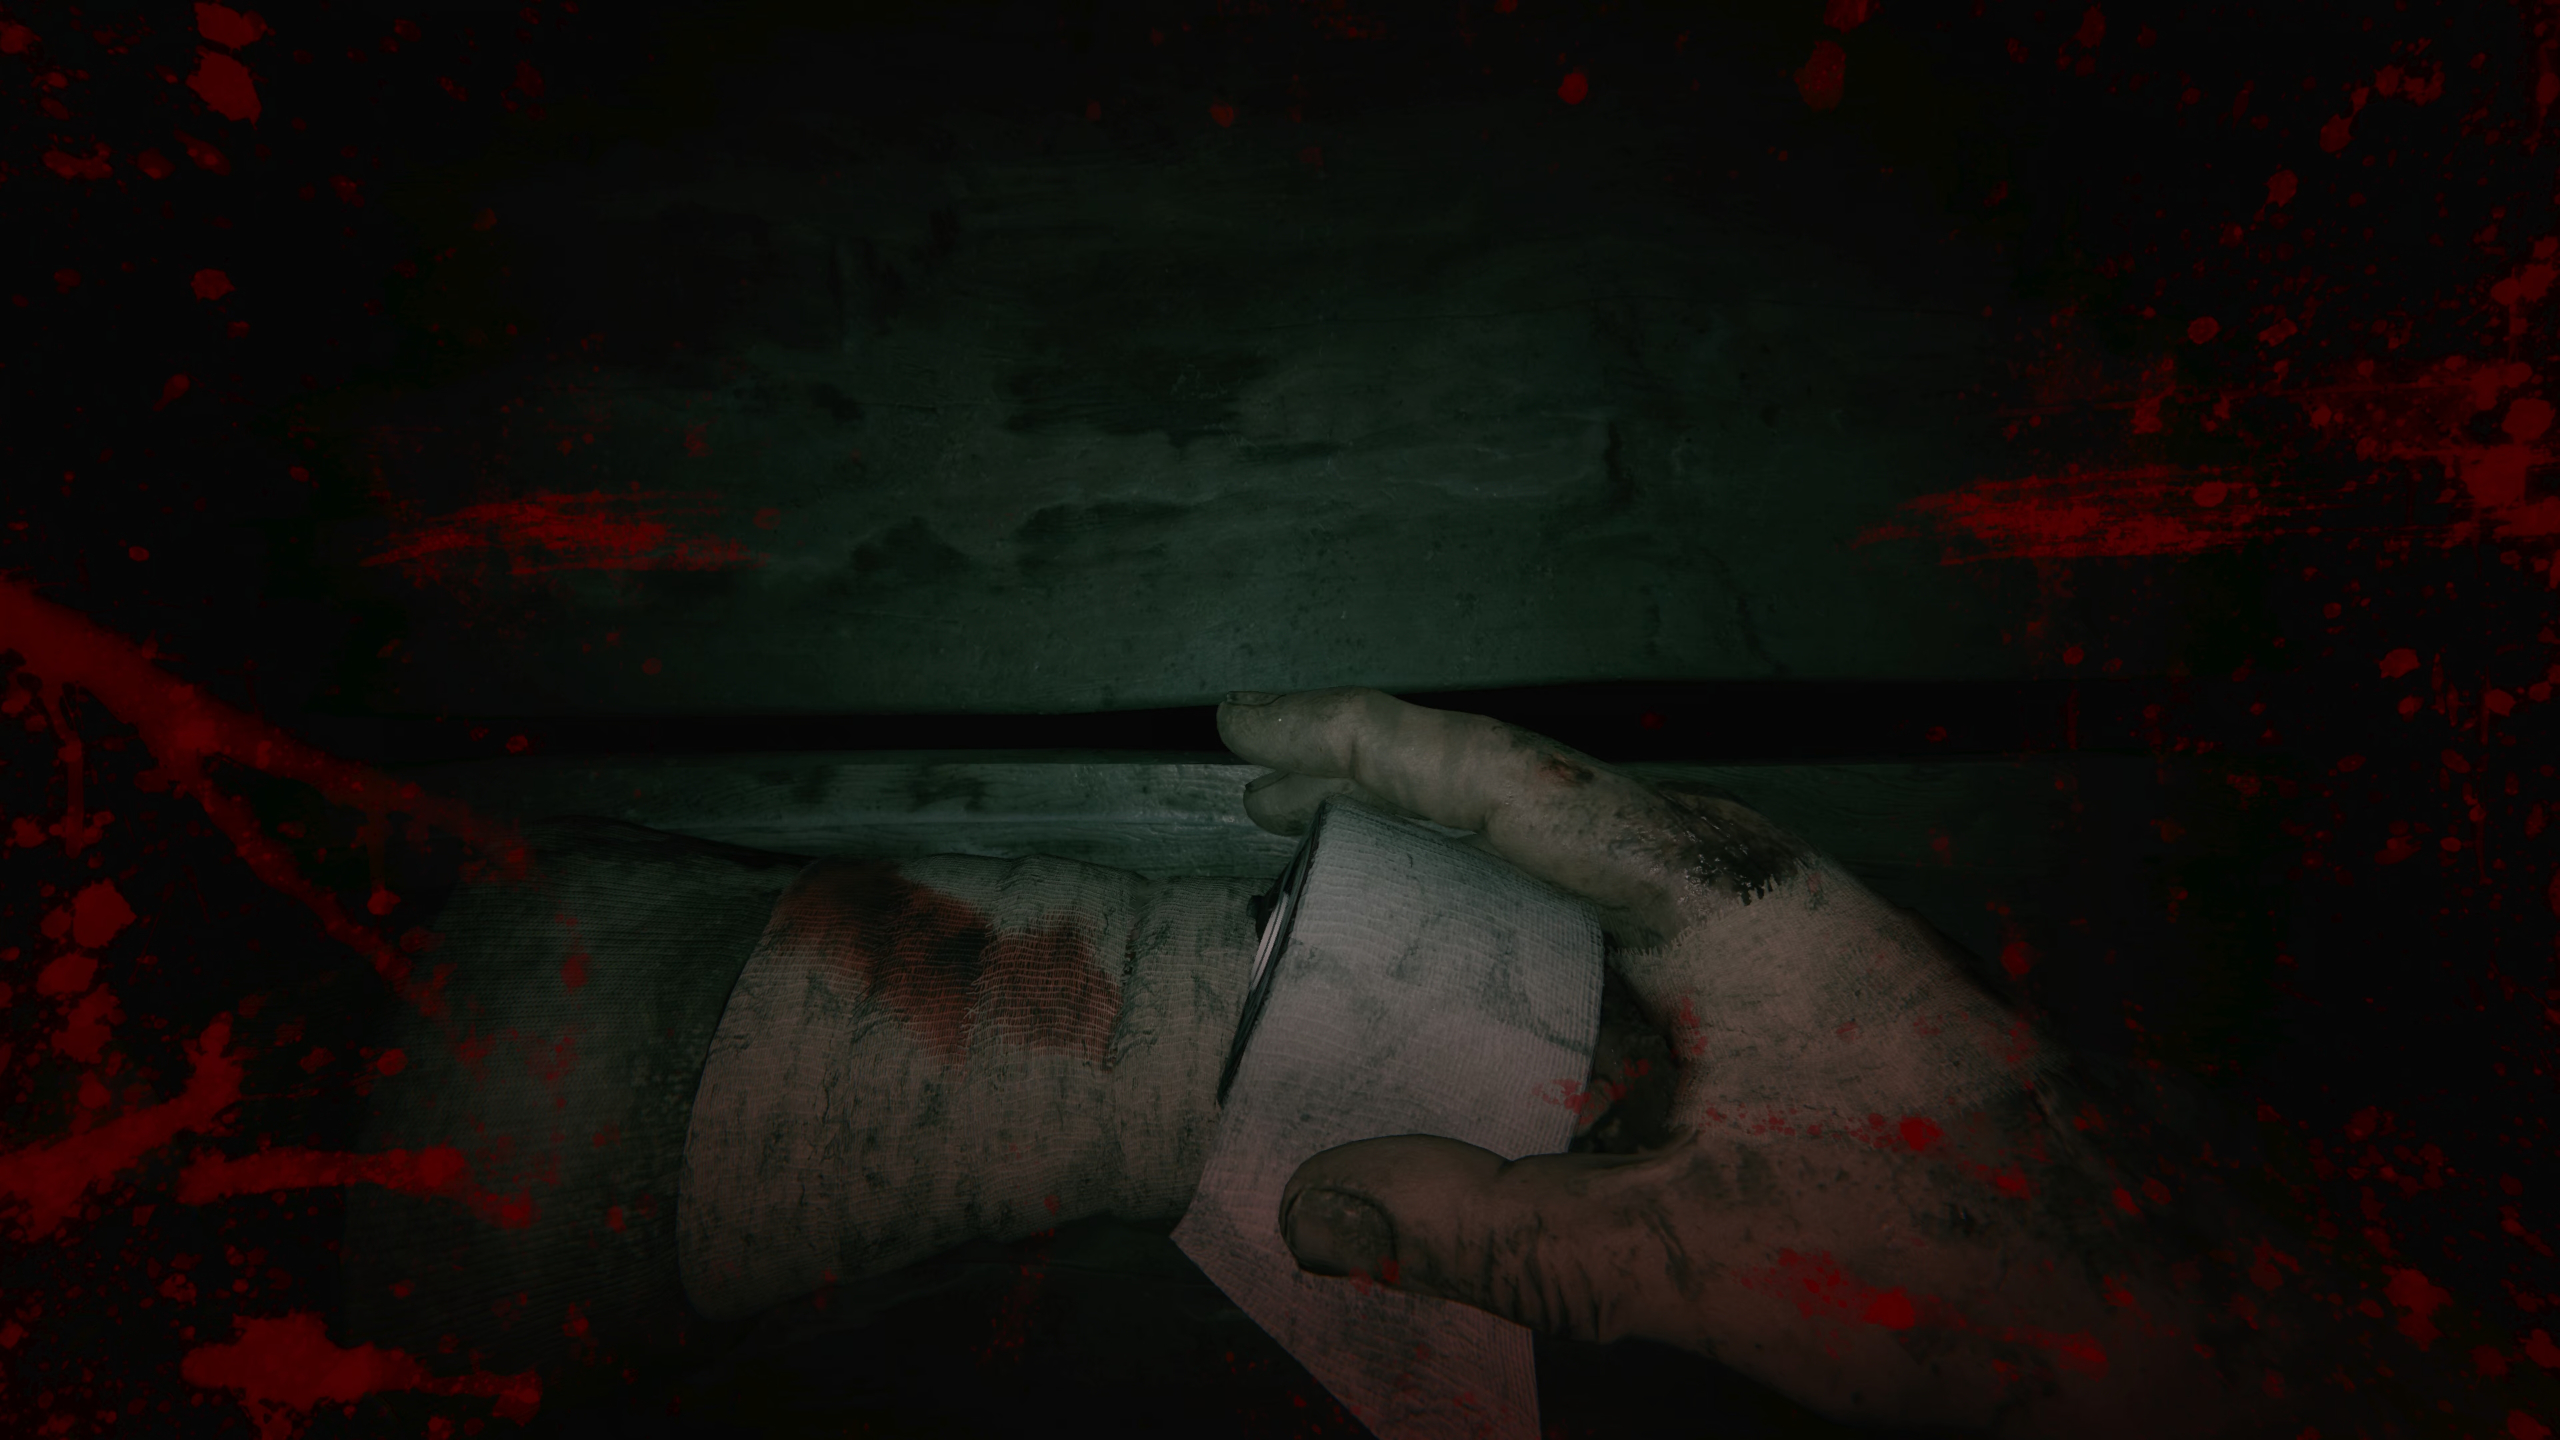
Curar os doentes

Curar os doentes é para usar 10 ataduras durante o seu jogo. Provavelmente você receberá isso automaticamente durante o seu primeiro jogo perto do final. É claro que você pode levar um ou dois inimigos propositadamente de inimigos para usar um curativo quando encontrar outro e meio que trocá -lo dessa maneira.
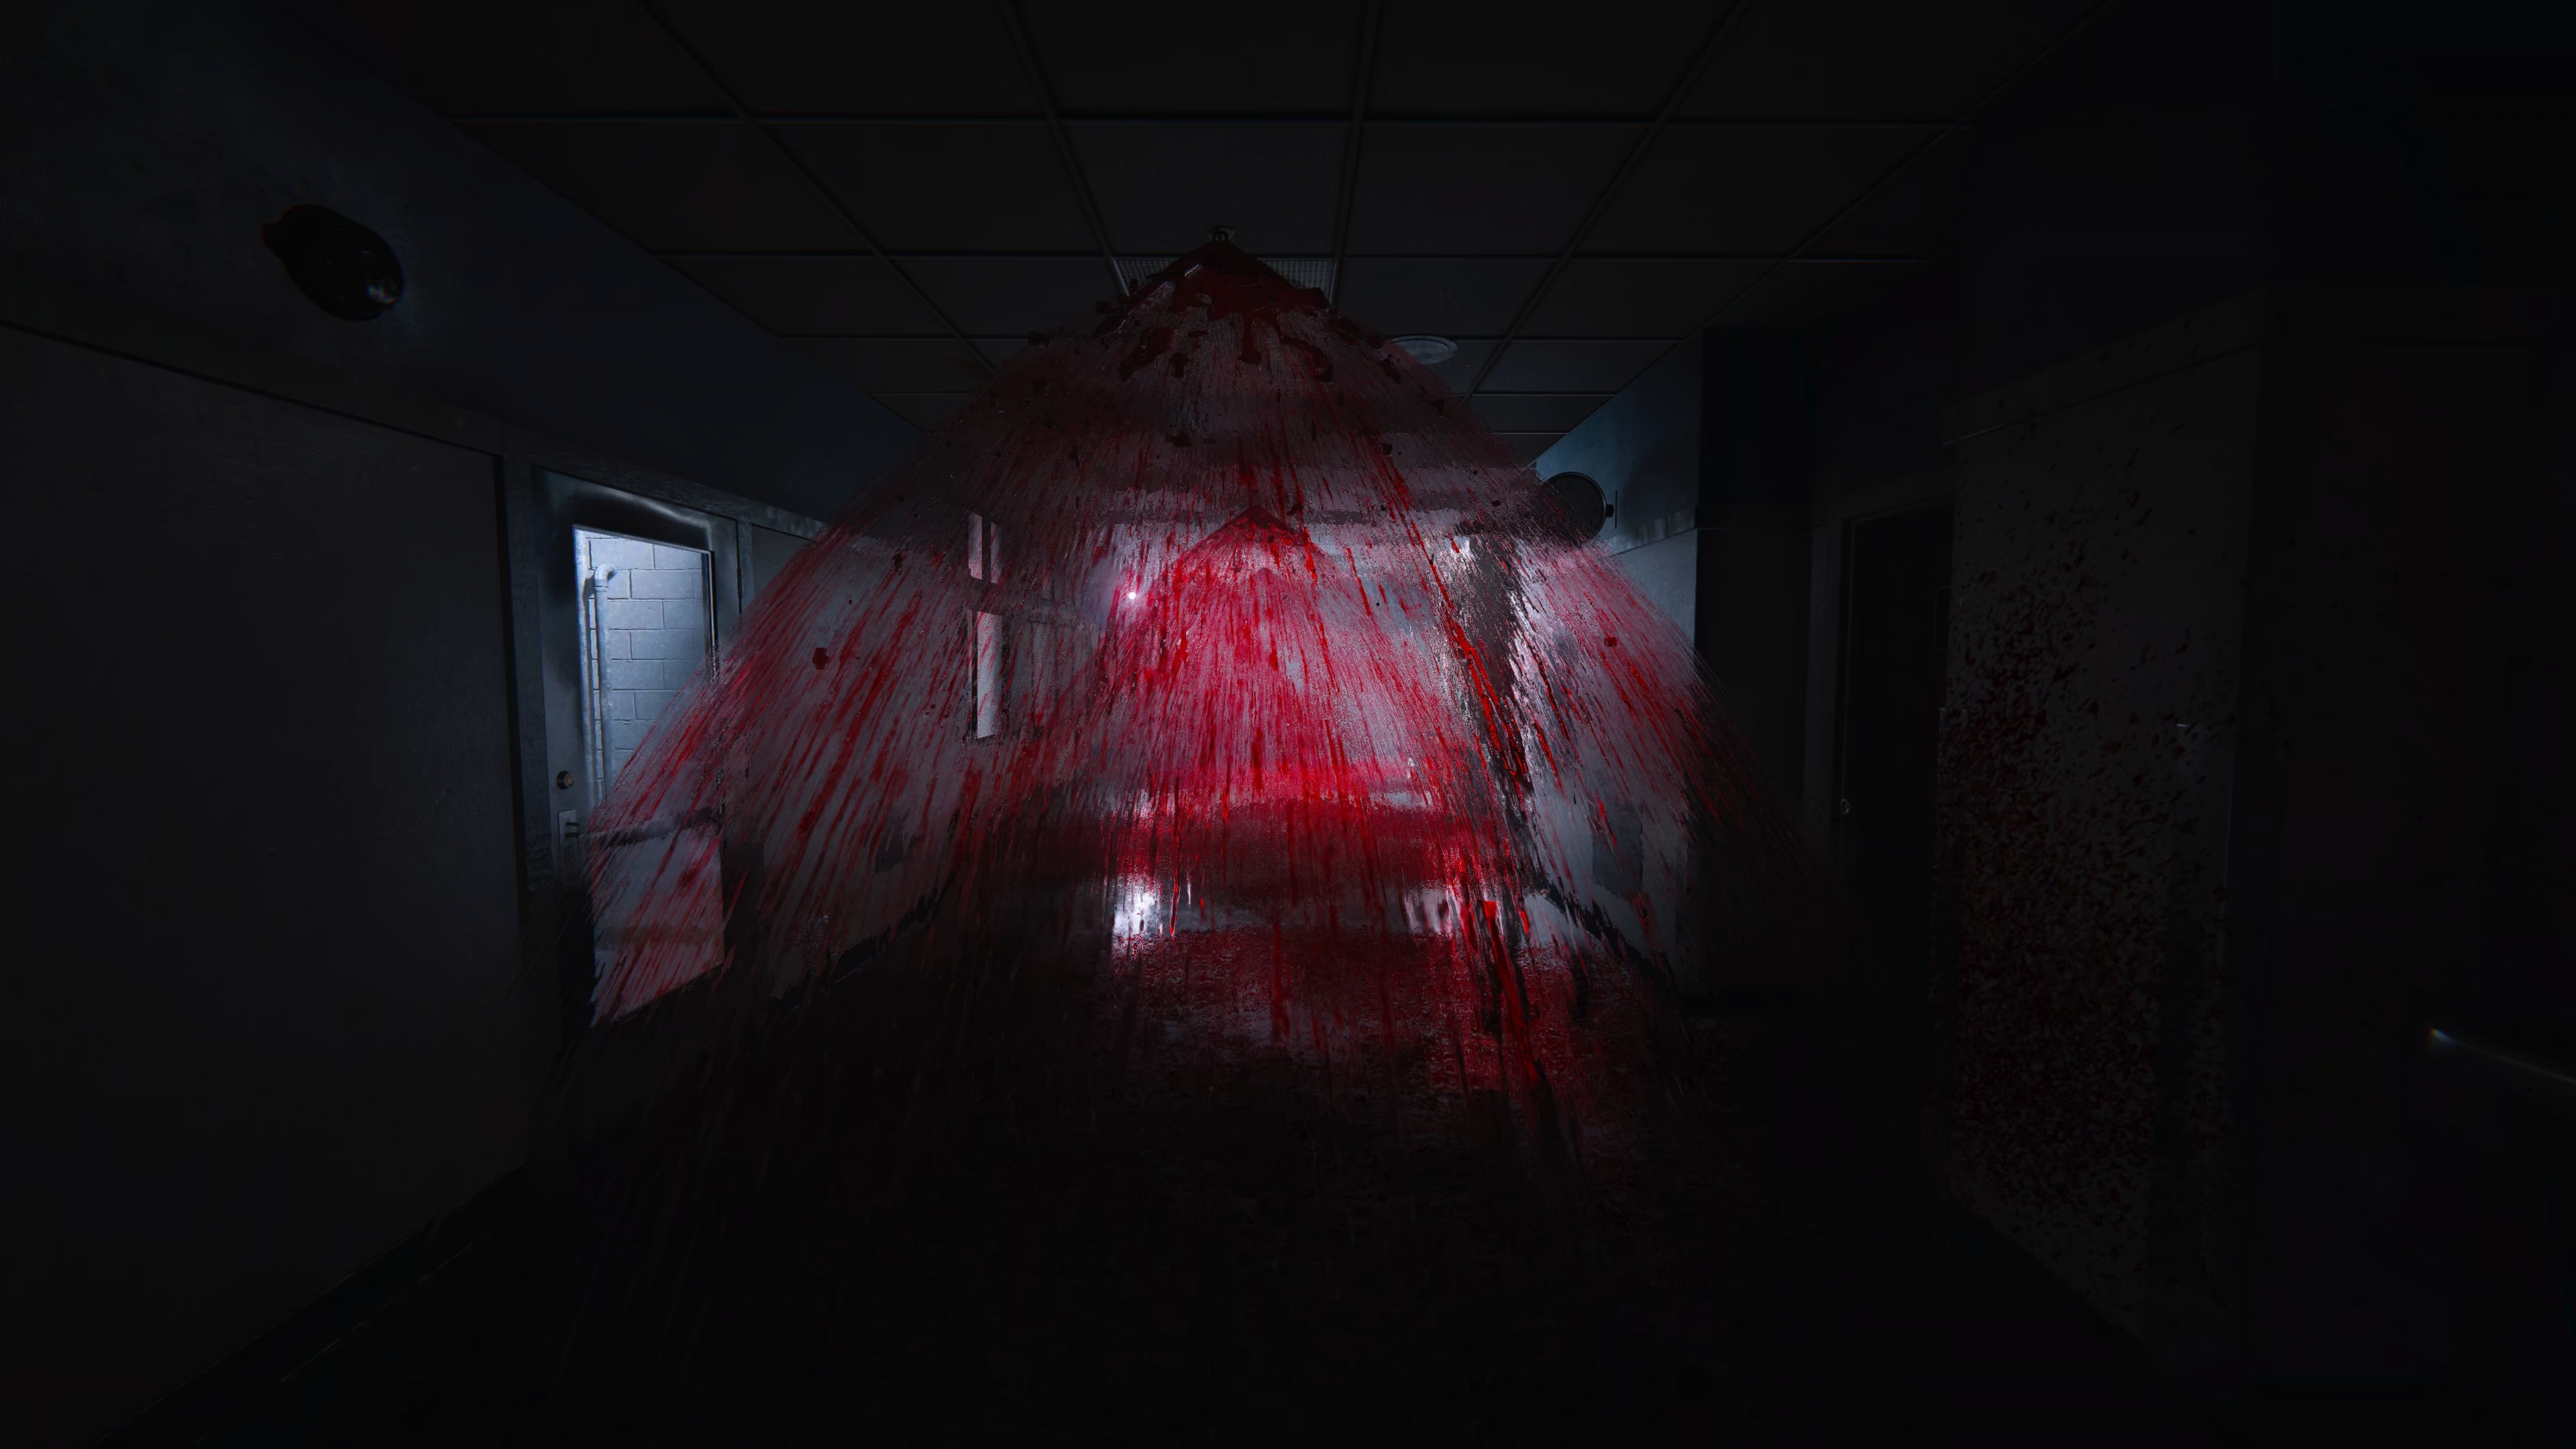
Deslize e deslize

Deslize e deslize é para realizar um slide de sangue de doze metros. Isso vai estar no capítulo 4 Quando você tem um flash de volta para a escola e os aspersores começam a borrifar sangue. Enquanto você está escorrendo por esses salões, apenas deslize e segure -o e é muito fácil fazer este.
Completamente batizado

Completamente batizado é para gastar 10 minutos debaixo d'água. Você provavelmente não fará isso naturalmente mais de um minuto ou dois ao longo do seu jogo, Mas você pode moer isso em vários lugares durante todo.
Basta encontrar uma área aquosa onde você não está em perigo (o lago no início do capítulo 3 é muito bom para isso) E então vá debaixo d'água até começar a ficar com pouca respiração, Venha um pouco, E volte. Repita isso até que finalmente faça este aparecer.
Penitência adequada

Penitência adequada é para rastejar para 500 metros. Este é um pouco mais provável de ficar naturalmente do que
Completamente batizado , mas ainda provavelmente precisará triturar. Eu fiz isso fora da casa de Ethan no primeiro capítulo, como o outro, Mas você também pode fazer isso no capítulo 4 no lago também facilmente.
Colecionáveis

O caminho para Damasco é para concluir 30 gravações.

O apóstolo Paulo é para concluir todas as gravações.

Estudo da Bíblia é para colecionar 40 documentos.

Ordenação é para coletar todos os documentos.
Como existem 107 Colecionáveis no jogo, será muito mais fácil usar meu guia de vídeo para passar por isso, em vez de tentar descobrir a partir de capturas de tela e um guia escrito.
Asahel

Asahel é para terminar o jogo em baixo 4 horas. Isso não é tão ruim para ser feito, Mas eu recomendo fazer isso durante o seu modo insano Speedrun para torná -lo mais eficiente. É claro que tenho meu guia de vídeo mostrando meu modo insano executado abaixo para que você possa acompanhar isso enquanto faz sua corrida.
Profeta

Profeta é para terminar o jogo sem se esconder em um barril ou armário. Isso é bastante auto -explicativo, Mas há um ponto em um dos flashbacks da escola em que você tem que pular em um armário. Isso não conta contra você, Mas você não pode entrar em nenhum outro durante o curso do jogo.
messias

messias é para terminar o jogo no modo insano sem recarregar a bateria da câmera. Este é um dos mais difíceis de fazer, Mas você pode ser bastante liberal com isso nos dois primeiros capítulos até perder a câmera um pouco e recuperá -la.
Depois disso, você precisa salvá -lo o máximo possível para as áreas de minas do jogo. A melhor maneira de nocautear isso, bem como algumas outras conquistas difíceis é fazer uma velocidade insana de velocidade, sem recarregar a bateria. Fiz um guia de vídeo mostrando minha corrida disso para que você possa assistir isso junto com sua reprodução para fazer isso o mais fácil possível.
Isso é tudo o que estamos compartilhando hoje para isso Durar mais 2 guia. Este guia foi originalmente criado e escrito por Pandalax. Caso não atualizemos este guia, você pode encontrar a atualização mais recente seguindo este link.