- Título: Cem dias
- Data de lançamento:
- Desenvolvedor:
- Editor:
Information about Hundred Days is still incomplete. Por favor, ajude-nos a preencher os detalhes do jogo usando este formulário de contato.
So you’ve played the story mode or some endless mode in Hundred Days and now would like to take on some challenges. Here are some guidelines to help you meet the challenge goals on time. I’ve included some other interesting things I’ve learned that I want to share.
I am currently playing the Napa challenges and will update the relevant sections upon completion.
Começando
Your initial goals are to get 1 ou 2 good wines in your first 30 voltas (18 meses), with the goal of getting an excellent wine by turn 50 (36 meses). Good wines make you money, and high quality wines make you more money. Get your initial setup to process 1 ou 2 wines, depending on your starting cash.
1 wine setup (€15,000):
- 1 fiberglass tank (livre)
- 1 vertical screw press (livre)
- 1 cask (€15,000) Buy this whenever ready, as you won’t need a cask until around turn 25
- 1 bottling machine (livre)
2 wine setup (€32,000):
- 2 fiberglass tank (€2,000) Buy this before your second harvest, to avoid selling grapes
- 1 vertical screw press (livre)
- 2 barris (€30,000)
- 1 bottling machine (livre)
You can see that your equipment setup for one wine is mostly given to you at the start of the game. The bulk of the capital will be invested in the plot of land. This isn’t an issue in the first two challenges, but prime plots of land in Piedmont can be €1.5M. Don’t be afraid to take loans early in game. If you manage your upgrades and sell good wine, you’ll be in good shape. Loans don’t count against the money goal of the challenge (but you need to pay for them every turn).
I tend to not worry about preventative treatments during these challenges.
The shop is an invaluable atualizar, as it helps you sell quickly and can automate sales. If you are used to using the shop, you might forget to manage the sales without one. You can recover from missing a turn of 5 sales, but it has a bigger impact later in game. As for most upgrades, don’t invest until you already have a good thing going.
Piedmont Challenges
King of Red Wines (250 voltas)
Objetivos
- €200,000
- Barbera 75+
- Dolcetto 75+
- Nebbiolo 75+
- Fame 60+
Aim for getting an excellent Barbera first, Bricco is a good spot. Hit your 75+ quality and keep this process going to make your money, while tweaking things for the other 2 vermelhos. The first board upgrade is 500. Aim for getting the second board upgrade (€10,000) before turning out 2 wines per year.
Bricco is suitable for Barbera, and Coste is suitable for Dolcetto. Bussia is perfect for Nebbiolo. The plots all start at a cheap €35,000 in this challenge.
King of White Wines (250 voltas)
Objetivos
- €200,000
- Chardonnay 75+
- Arneis 75+
- Cortese 75+
- Fame 60+
Aim for getting an excellent Chardonnay first. Hit your 75+ quality and keep this process going to make your money, while tweaking things for the other 2 whites. The first board upgrade is 500. Aim for getting the second board upgrade (€10,000) before turning out 2 wines per year.
Sales Expert (350 voltas)
Objetivos
- €300,000
- Fame 60+
- Wine orders 1,000+
Principe and Bricco are your cheap plots of land to invest in. Buy one of these at the start and produce the best variety that you can. Use your knowledge of spinning out a great red and a great white from the previous two challenges to help make money. Invest in your warehouse to get a tasting room for more special orders and marketing to increase your fame. The shop upgrade is key – you’ll be able to fulfill more orders per turn, as your warehouse levels up. You can use an agressive marketing strategy, once your income is steady, or try to experiment to get fame from special orders.
Big Deals (350 voltas)
Objetivos
- Special orders 25+
- Fame 60+
Aim for getting an excellent variety of your choice first. Hit a high quality and keep this process going to make your money, while tweaking things to hit special orders. Have a steady cash flow and plan ahead to meet the special order qualities. Hit the special orders first, then use marketing to meet the fame requirements.
Master Winemaker (400 voltas)
Objetivos
- €300,000
- Barbera 75+ [8]Chardonnay 75+
- Nebbiolo 75+
- Dolcetto 75+
- Arneis 75+
- Cortese 75+
Get yourself on solid footing and make money. Your goal is to balance making money with 2 solid wine varieties and invest in what you need to experiment with a third or fourth in the early mid game.
Unsuitable Terroir (150 voltas)
Objetivos
- Barbera 75+
- Chardonnay 75+
- Nebbiolo 75+
- Arneis 75+
I found this to be the most challenging scenario. You should be at the top of your game to tackle this one.
You already have a wine to taste! Espere, what is this – an unoaked Chardonnay? Broken presses? Dirty tanks? You’re already seriously in debt! It seems you’ve taken over an operation that needs help.
You start out with all the equipment you need except barrels, oddly e nível 4 edifícios. Many of these things are simply costing you a fortune each turn. Sell most of the equipment off except what you need for a two wine gig, rather than repairing and holding on. Sell anything broken, keep the dirty tanks if you like. Don’t bother weeding and pruning vines you know you’ll uproot. Don’t spend any money that you don’t have to and work on getting your finances going in the right direction.
Bricco has gone into disarray and needs repair. From previous challenges, you should have an idea which plots suit which wines. That Chardonnay in Bricco is not ideal – uproot it. Aim for getting an excellent Arneis first, as it won’t need any barrel investment. You can make a pretty decent one on the plot you have, but it won’t crack 70 on unsuitable terroir.
You can plant the minimum density, aim for getting the highest quality you can. Você pode conseguir 3 correct vine/plot assignments by the winter (vez 20). Then it’s just a matter of keeping an eye on your cash and getting the casks you need to hit all your star qualities. You’ve got this!
You don’t need to buy new plots of land for your vines, just get them shuffled. There’s nothing wrong with working 2 plots and using a third plot to optimize the other 2 wines. The best 4 plot assignments are:
Bricco – Barbera
Coste – Nebbiolo
Castelletto – Arneis
Principe – Chardonnay
Anniversary (500 voltas)
Objetivos
- Erbaluce 90+
- Grignolino 90+
- Dolcetto 90+
- Cortese 90+
- Wine orders 3000+
A new challenge including a new variety added for the game anniversary. I’ll update this section after playing.
Napa Challenges
Napa Expert (250 voltas)
Objetivos:
- €300,000
- Cab 80+
- Merlot 80+
- Pinot Noir 80+
- Chardonnay 80+
- Fame 50+
All the plots of land are €25,000. There are no real estate bubbles, that I’ve seen. Comprar 2 plots of land suitable for 2 do seu 4 challenge varietals. Perfect terroir is possible The same strategy as King of Red or White wines should suit you well.
Milionário (400 voltas)
Objetivos:
- €1,000,000
- Pinot Noir 85+
- Riesling 85+
- Zinfandel 85+
- Chardonnay 80+
- Fame 50+
Master of Flavors (250 voltas)
Objetivo:
- Special Orders 10+
Mayor of Napa (250 voltas)
Objetivos:
- €300,000
- Syrah 85+
- Zinfandel 85+
- Sauvignon blanc 85+
- Riesling 85+
- Fame 40+
American Dream (500 voltas)
Objetivos:
- Wine orders 2,000+
- Special orders 25+
- Fame 50+
Dicas avançadas
Some things I’ve found worthwhile to better manage your vineyard or make the most of the must you’ve harvested.
Calendar
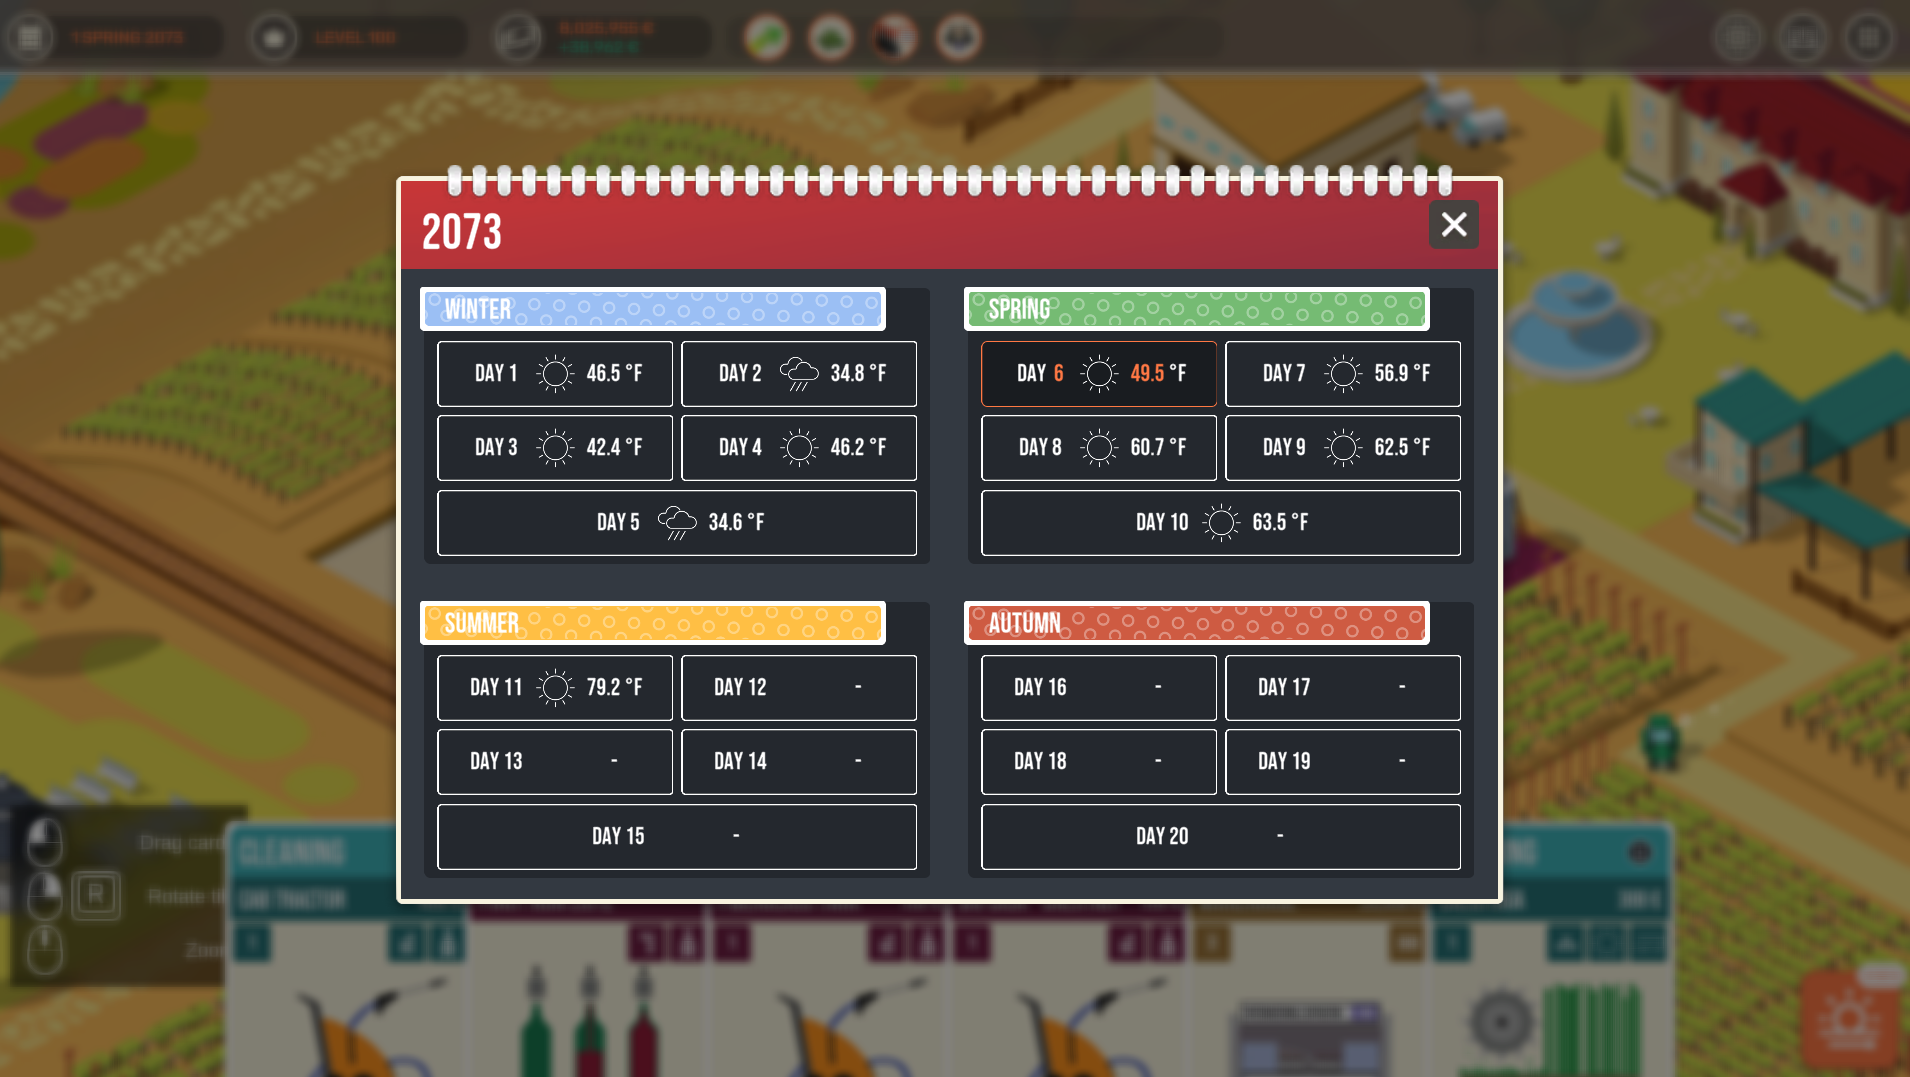
Each season has 5 voltas. Há 20 turns in a year. You must harvest on or before turn 5 of Autumn. Once you have a weather station, you can look ahead to see what the weather will be. This can help you decide if you should harvest early You can’t start work outside when it’s raining Rainy days are for cleaning your tanks.
How to Win Friends and Influence People
Don’t forget that you can make new friends. Click on the ducks in the pond to give them a name.
Building Management
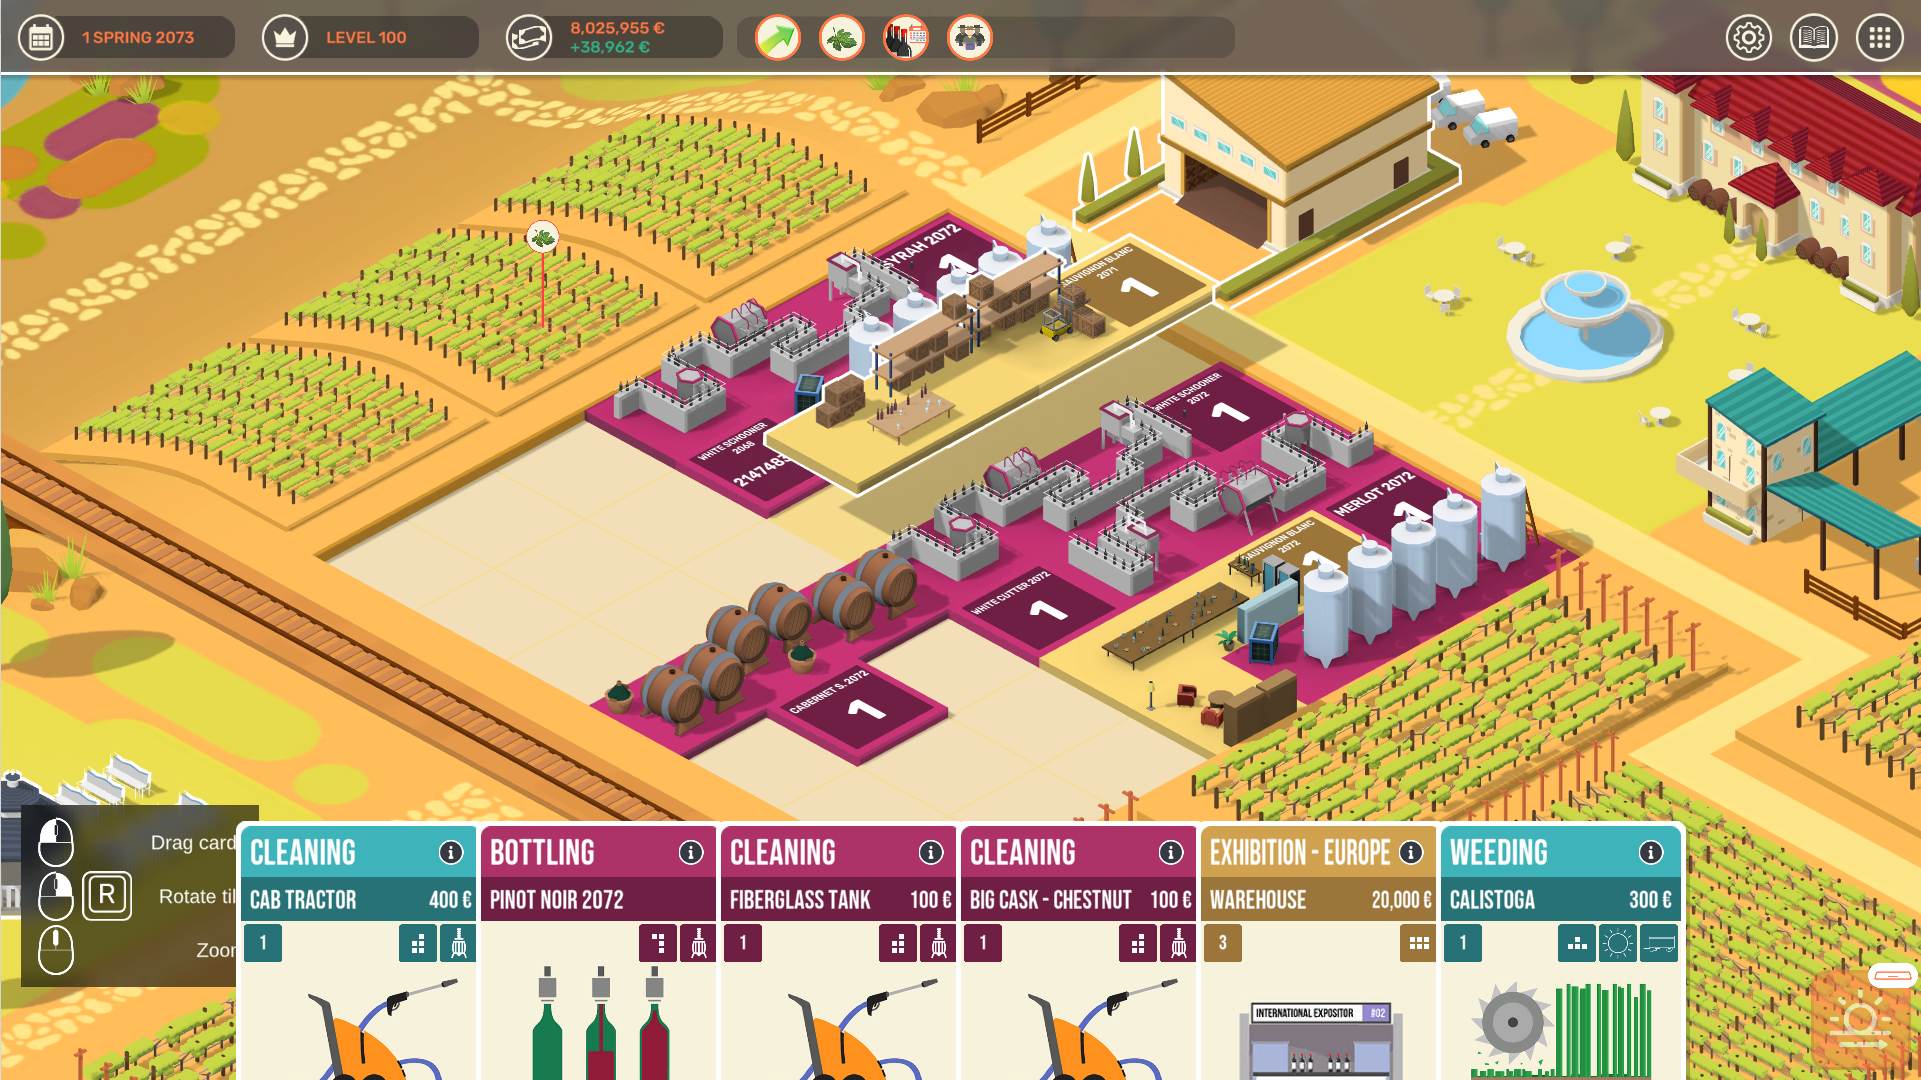
You’re not stuck with the default layout. Equipment will be dropped in and removed as you buy/sell. This may leave the layout not optimized – you can fix this to make the most of your space before upgrading.
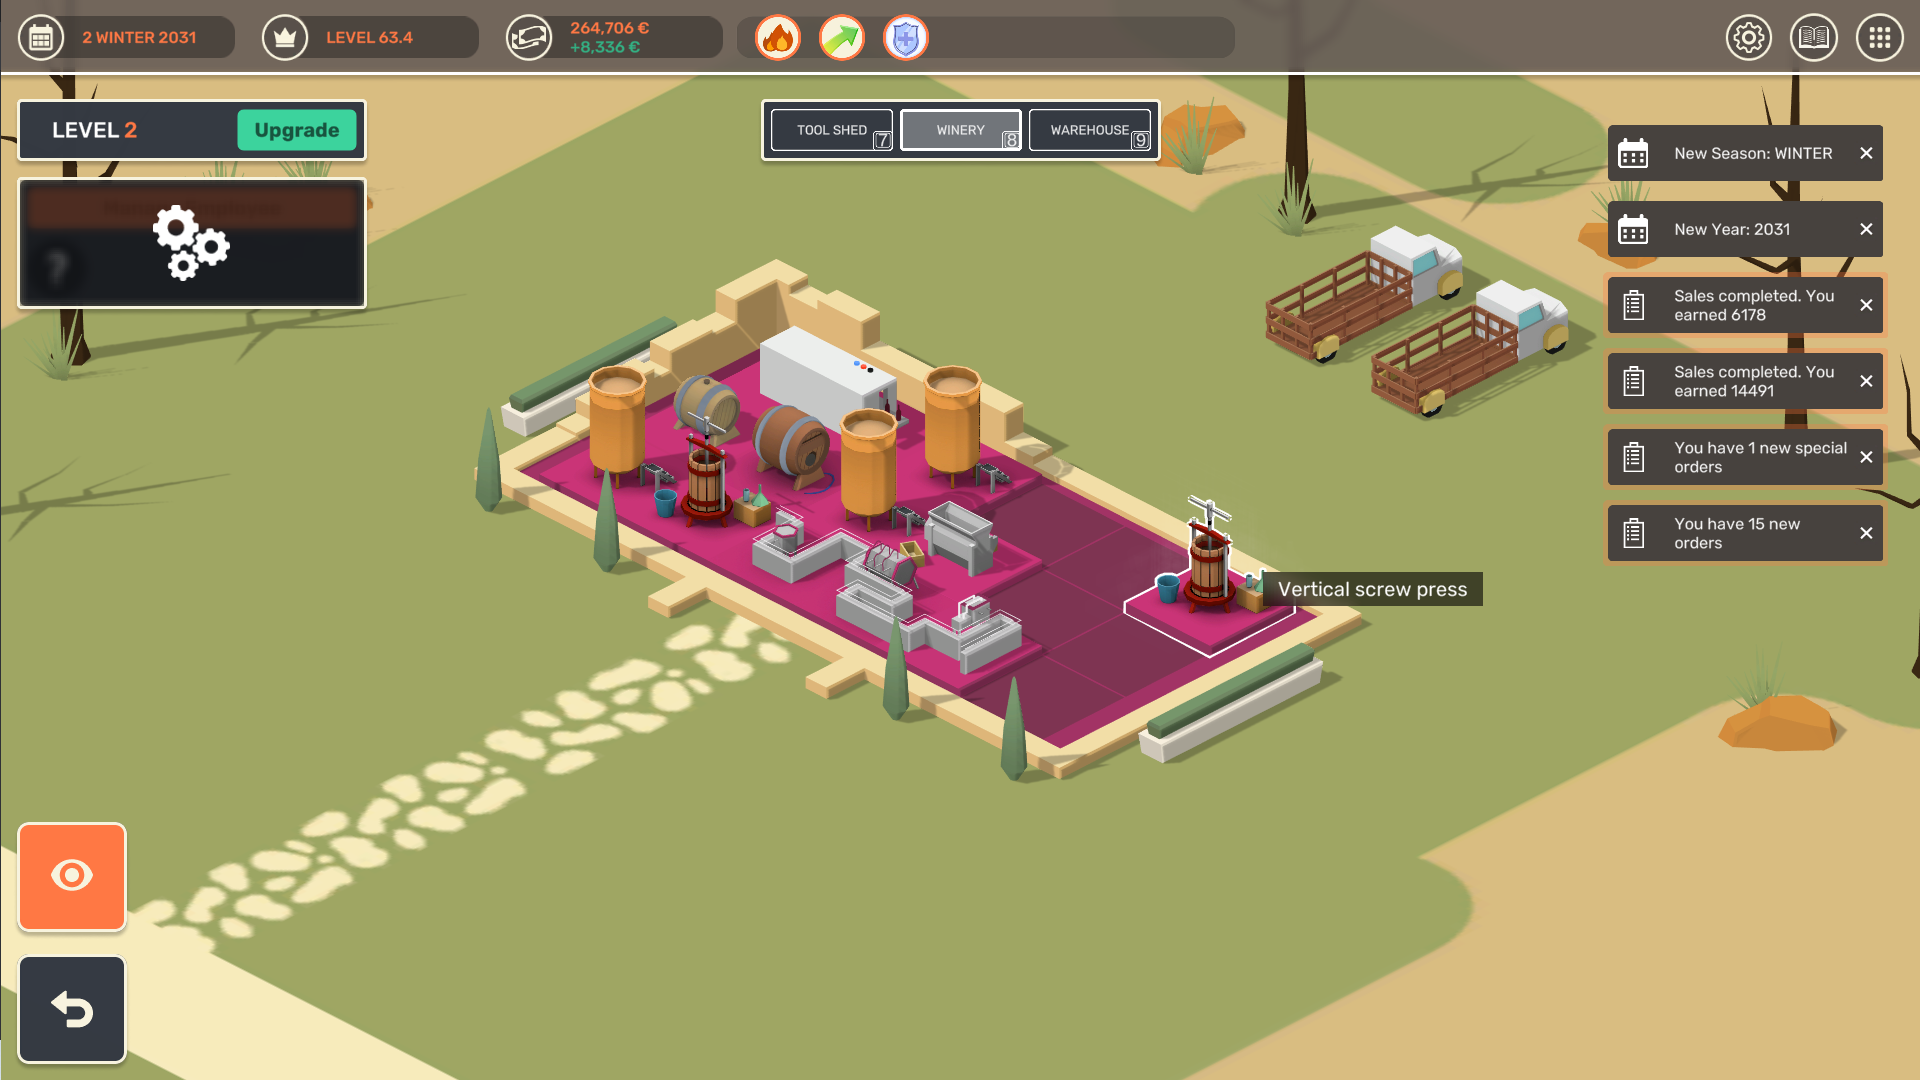
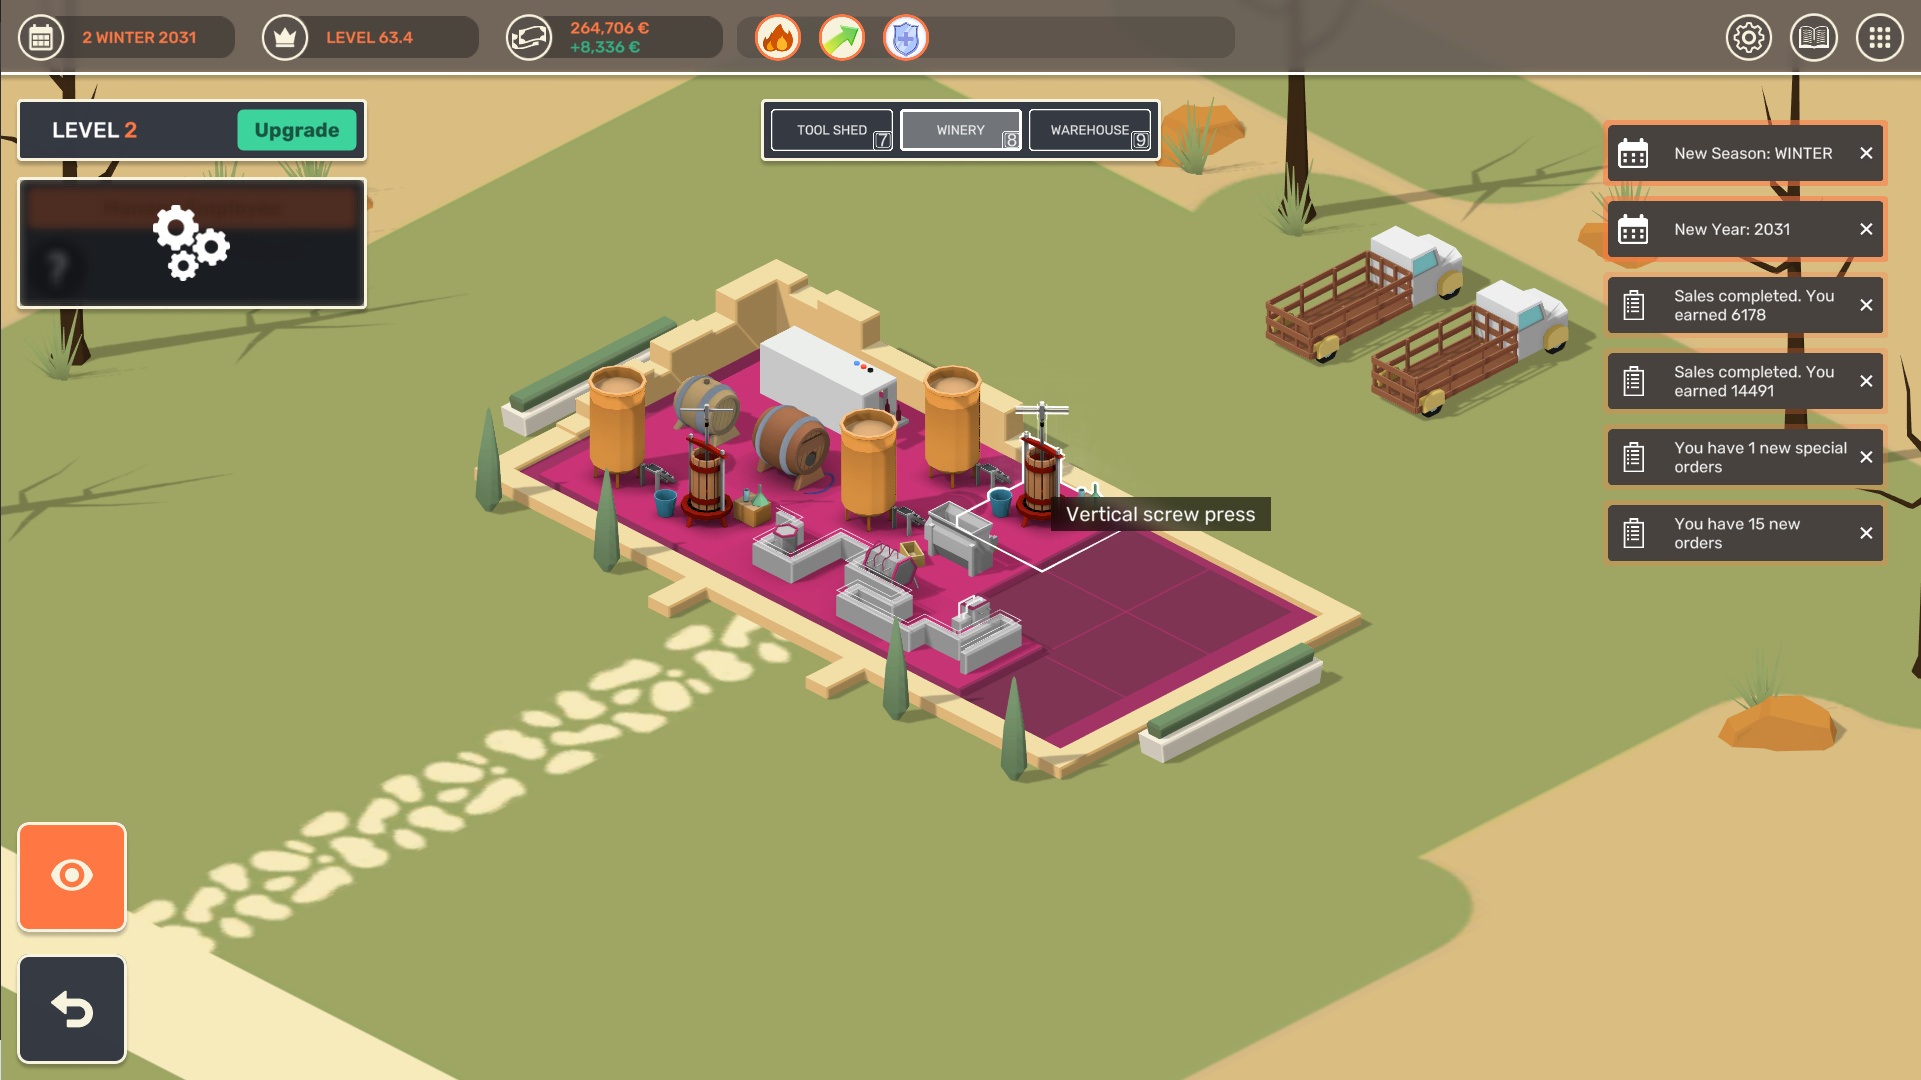
Click on the eye to hide the bottom management ribbon. You can then hold and drag equipment to an ideal spot. Rotation is also possible, just like the task management board.
Bottle Aging
This one is a bit hidden. If you don’t catch the button on the tasting notes, you can find this when going to your wine log. Click on the tasted wine of your choice and you’ll find the button to the right of the Wine Info page, on the Bottle page.
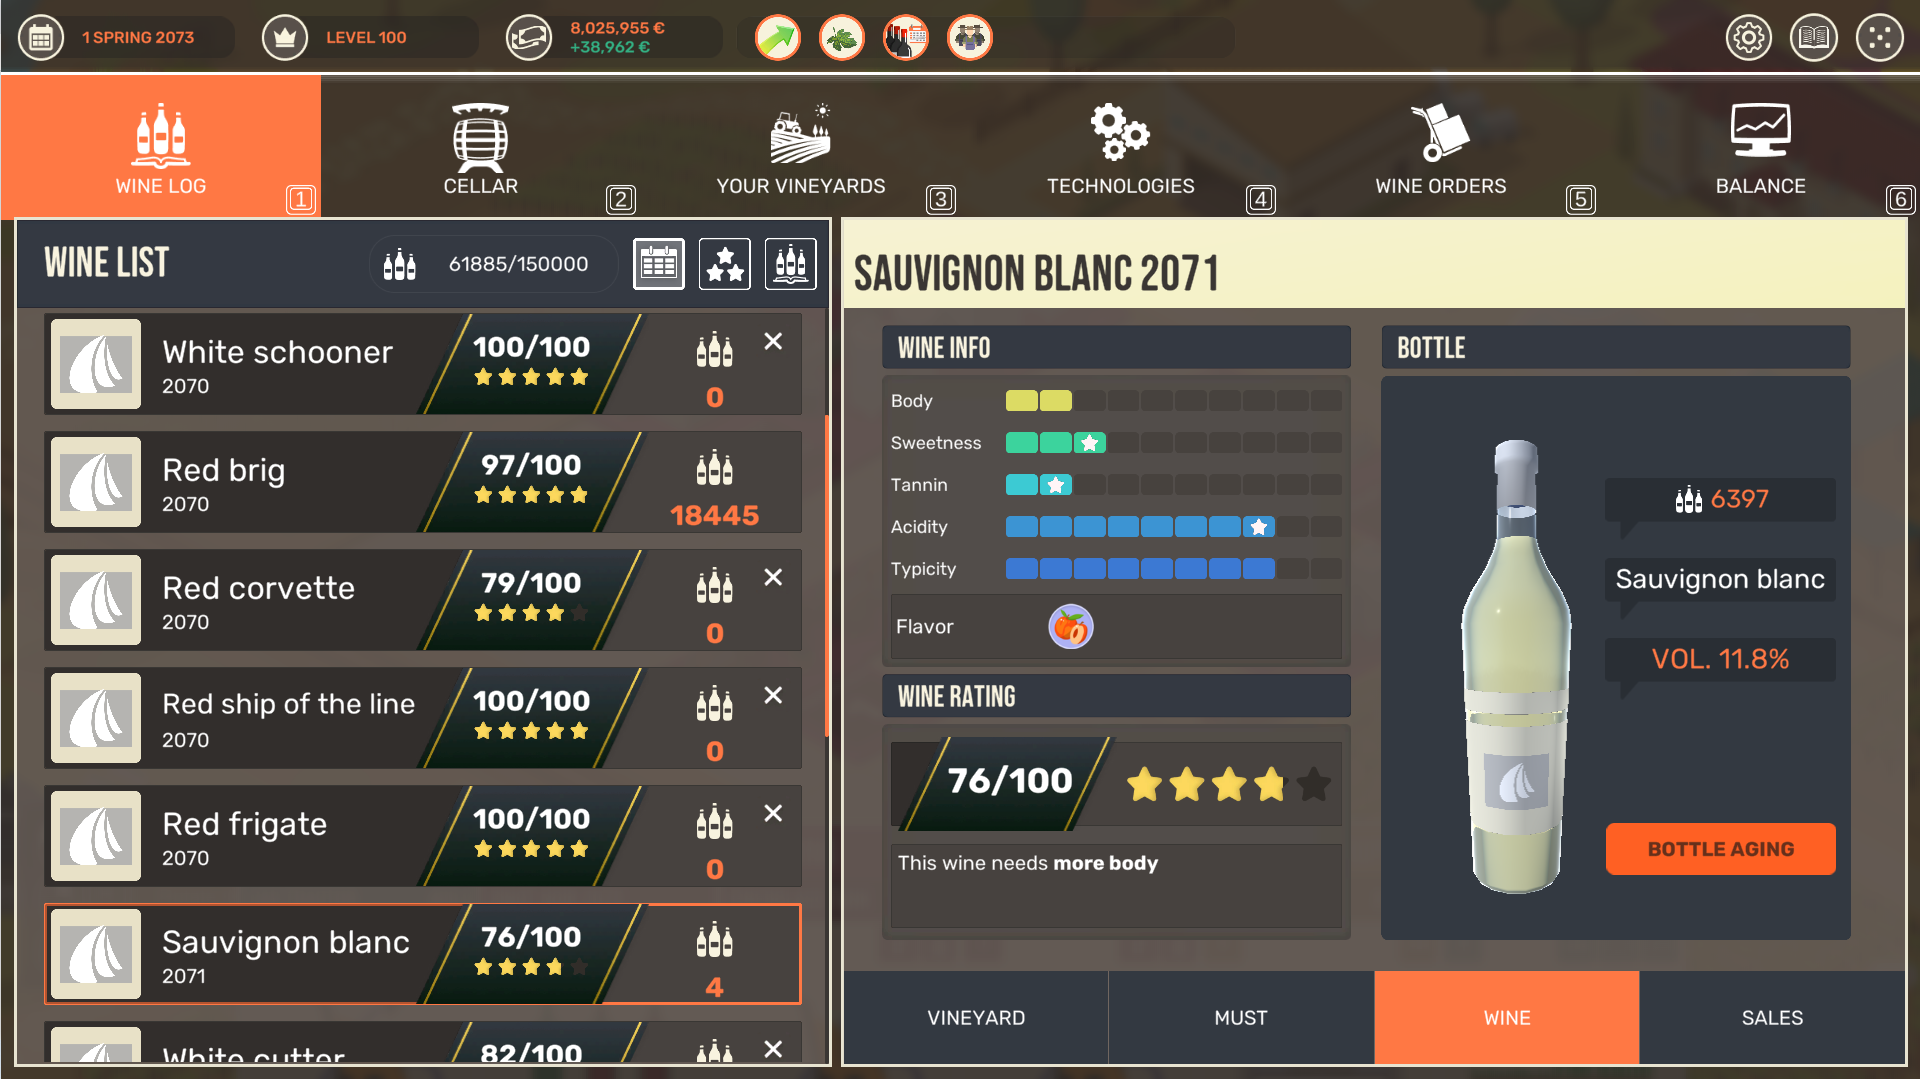
You’ll then be given a task to fit onto the main task management board. This will allow you to age for the desired number of turns and effect. The body will increase, tannins may decrease, acidity will decrease, and color deepens with more turns. Ideal for reds, and required to get the chocolate flavoring on a red for the pastry chef achievement. I don’t think I’ve purposely bottle aged a white, except for a special order.
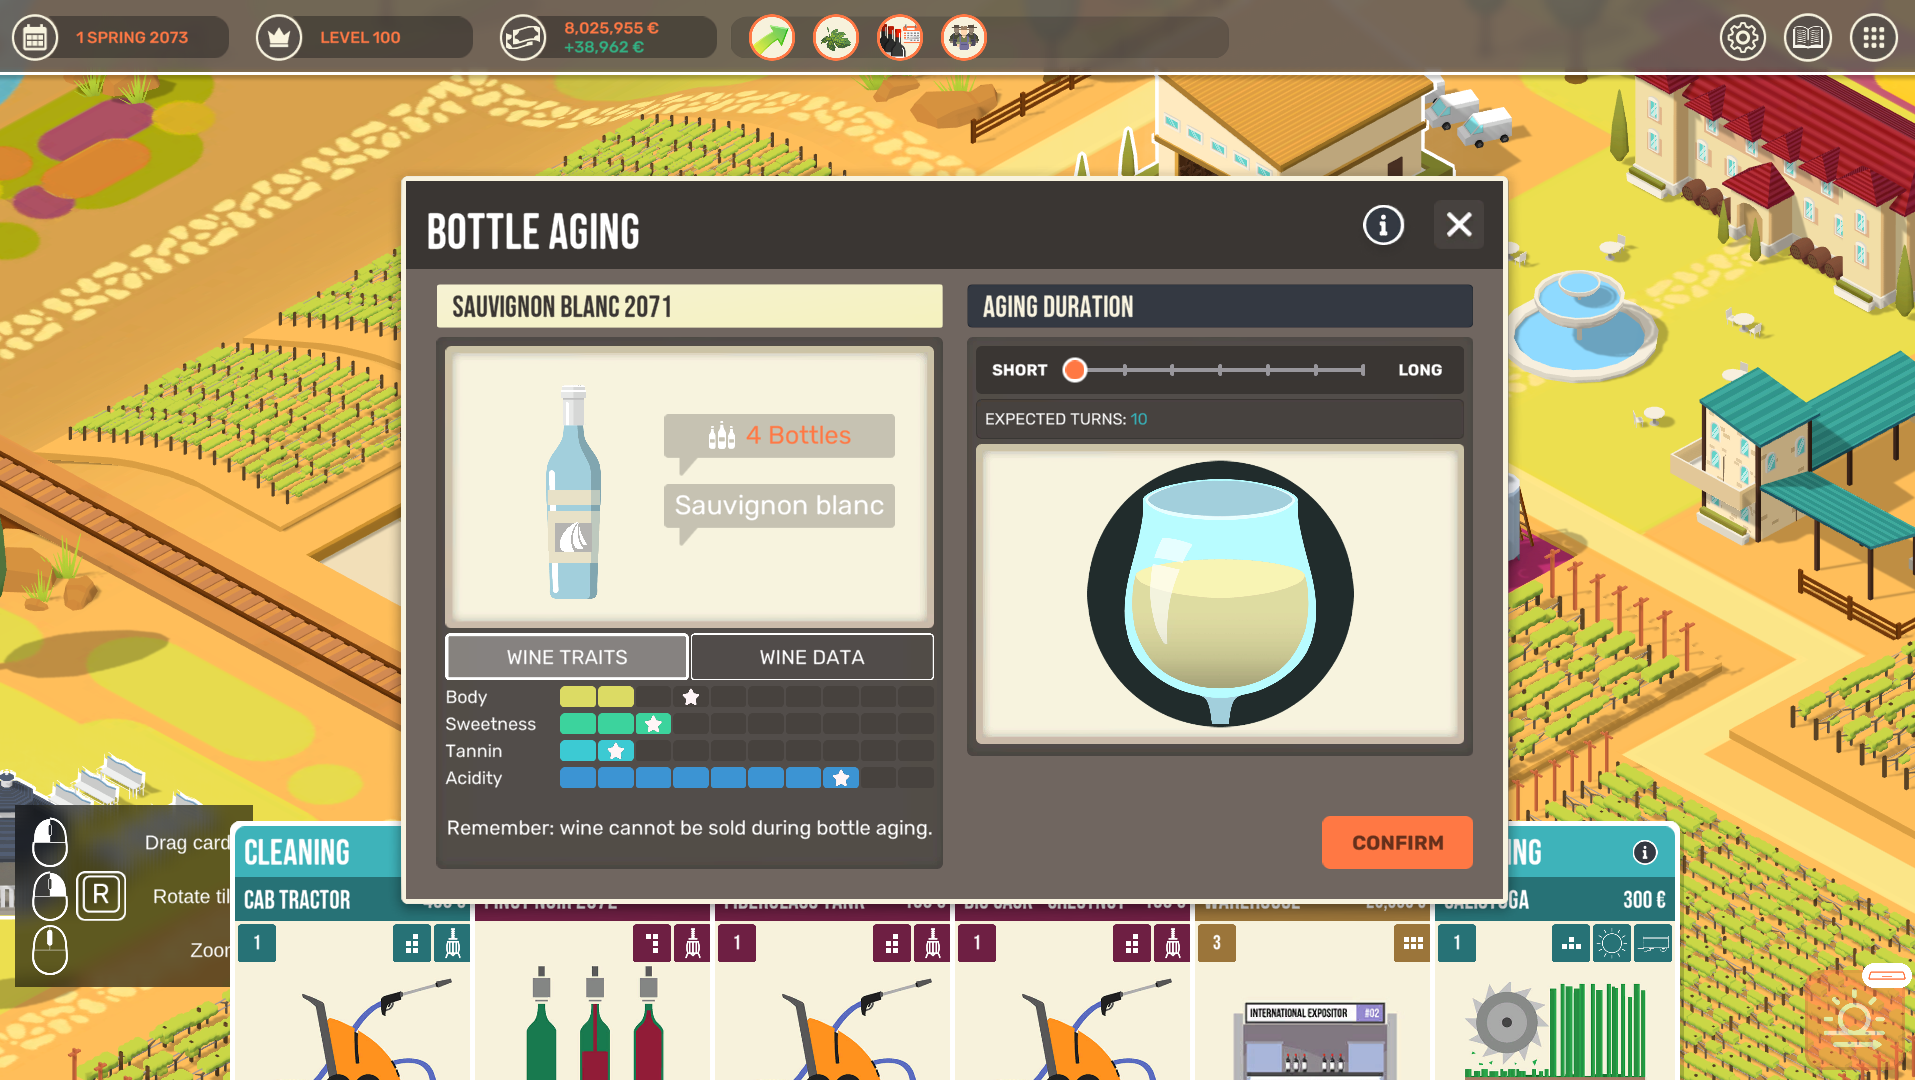
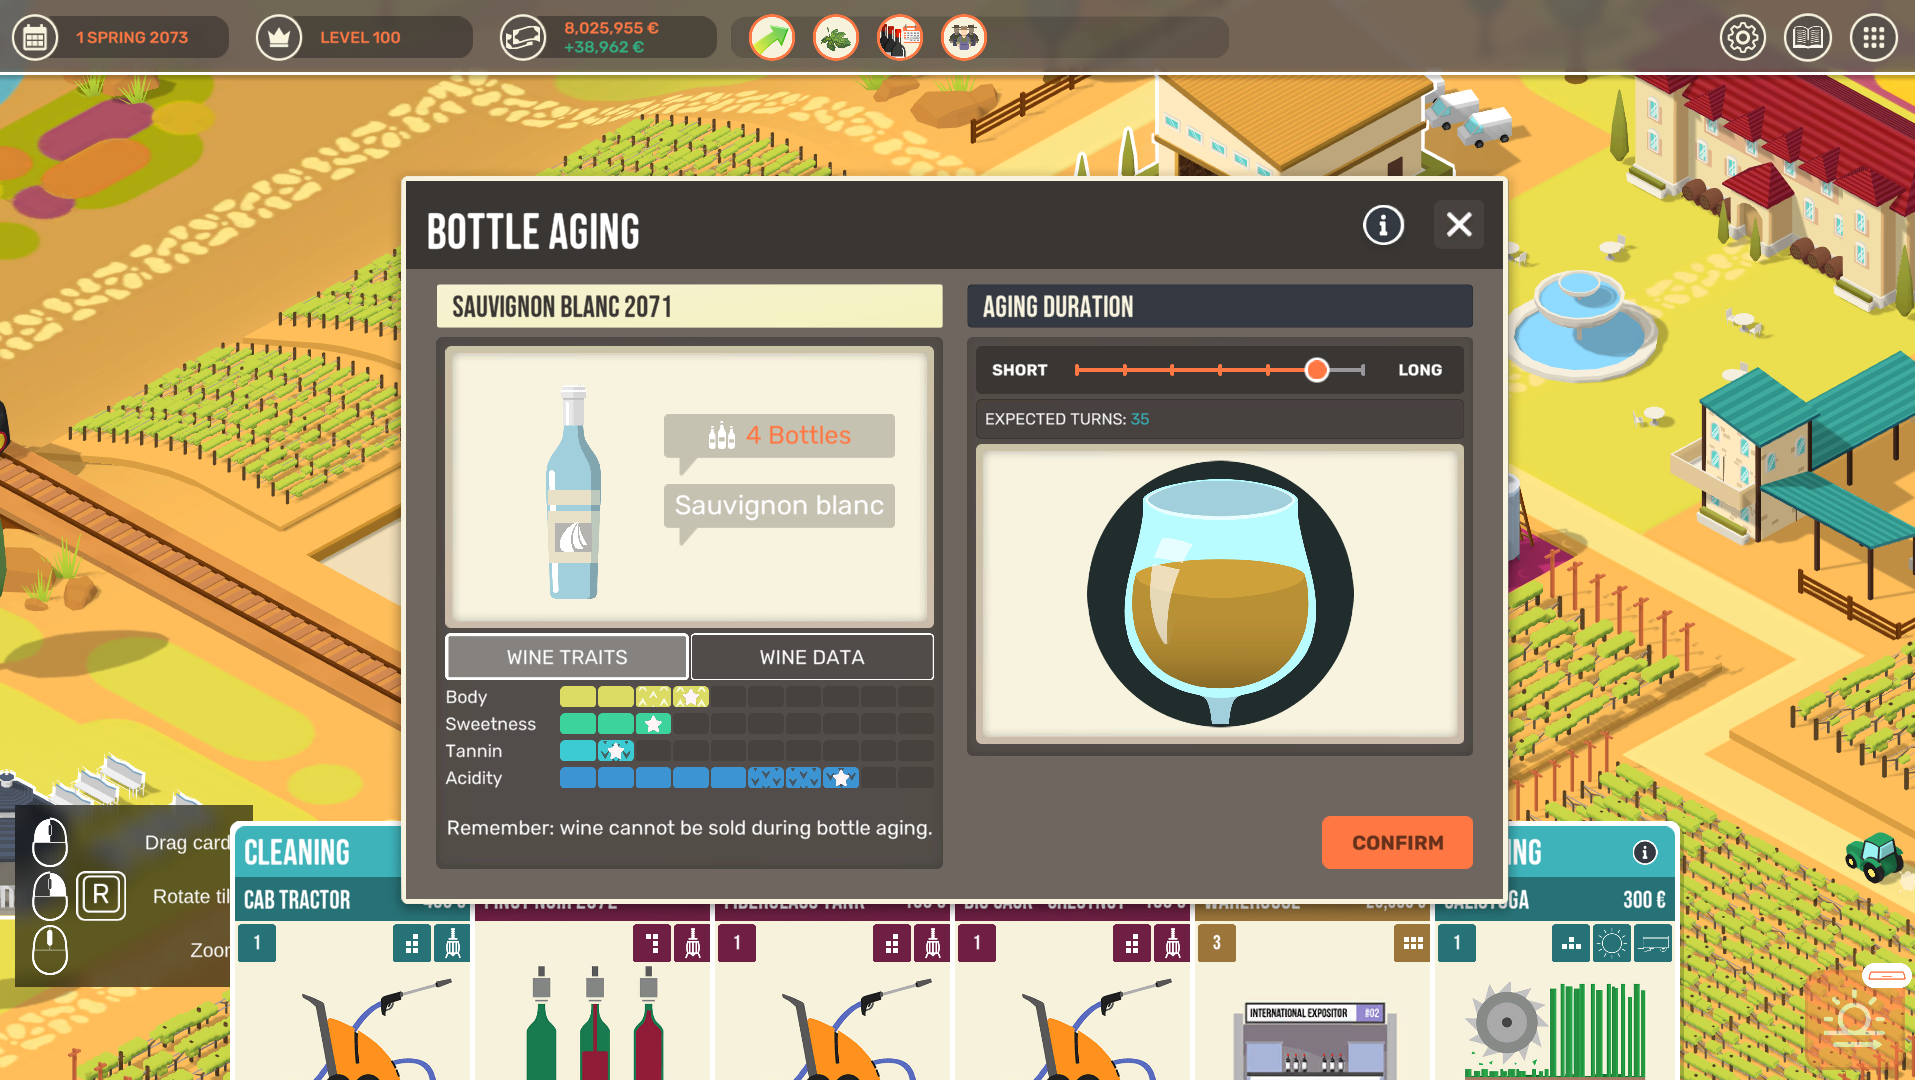
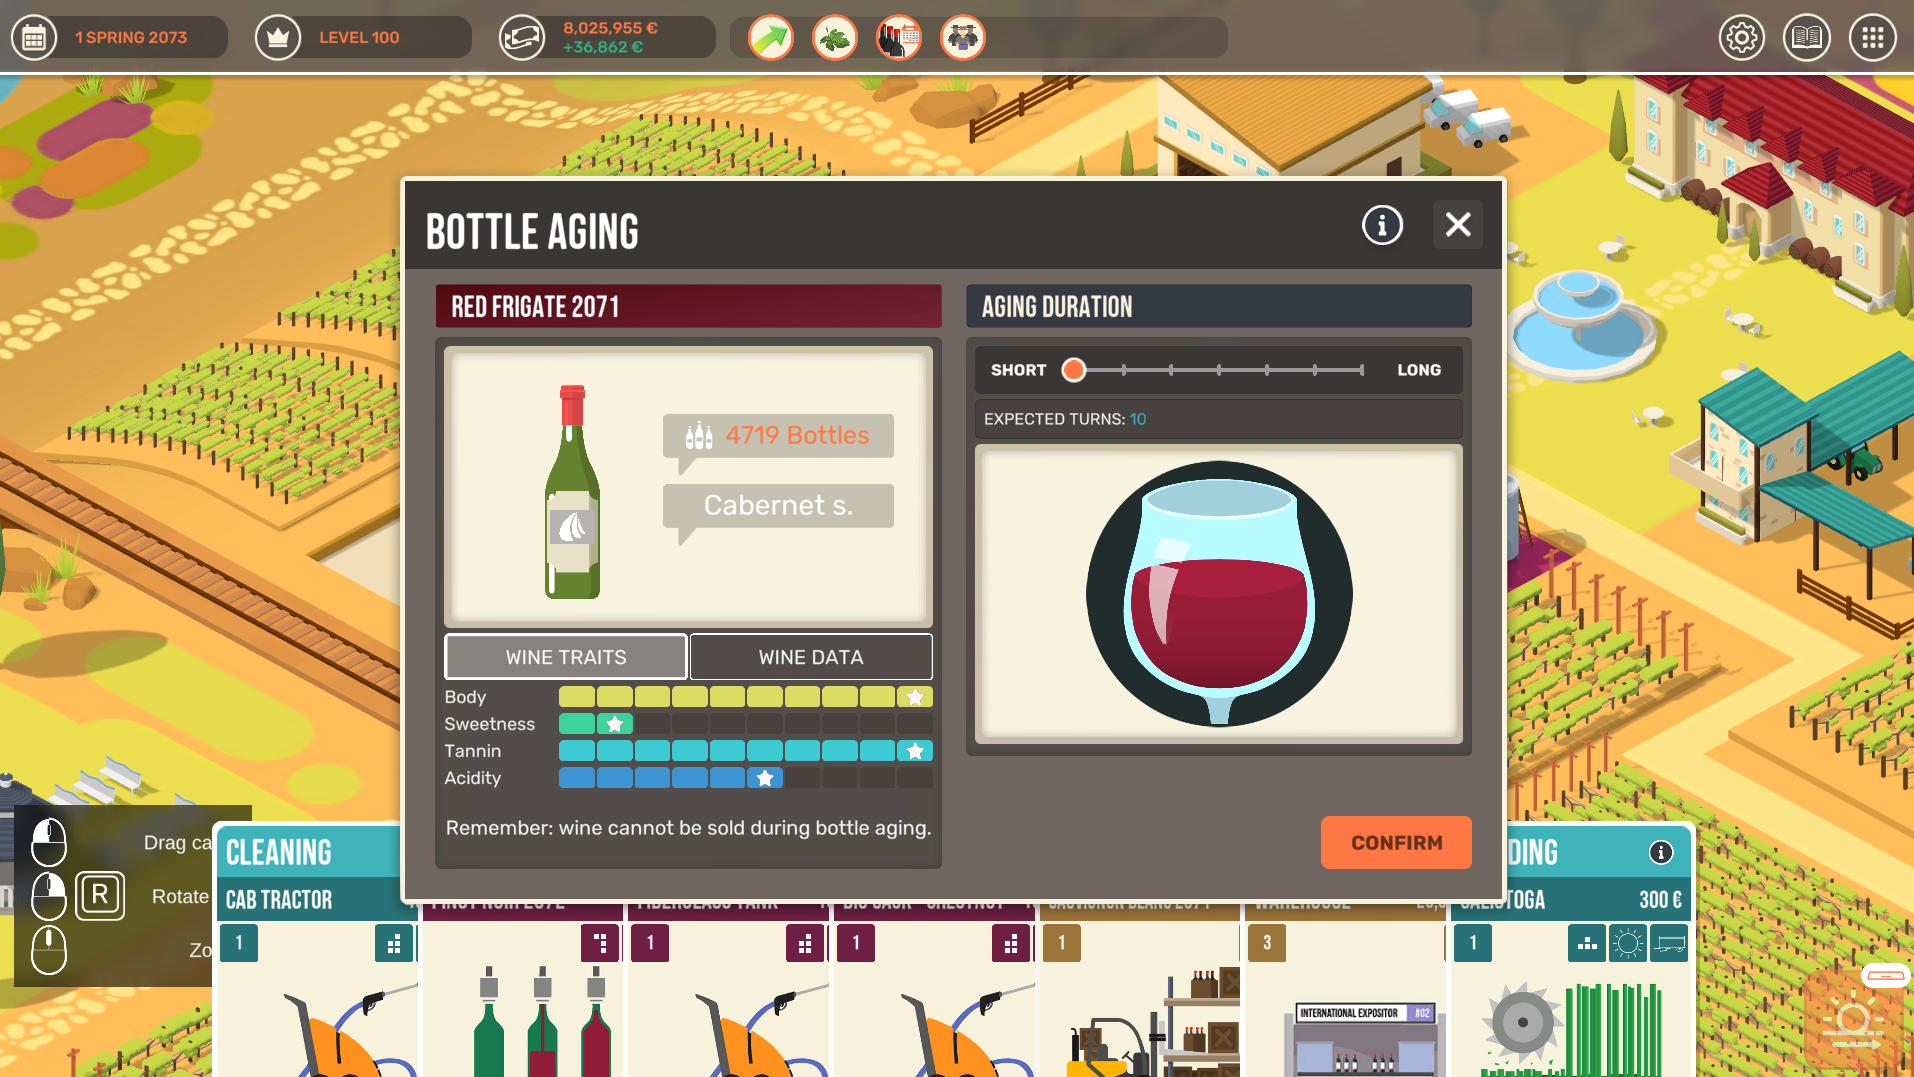

You can see from these photos that the wine will be unavailable for 6 months to 2 anos.
Managing the Vines
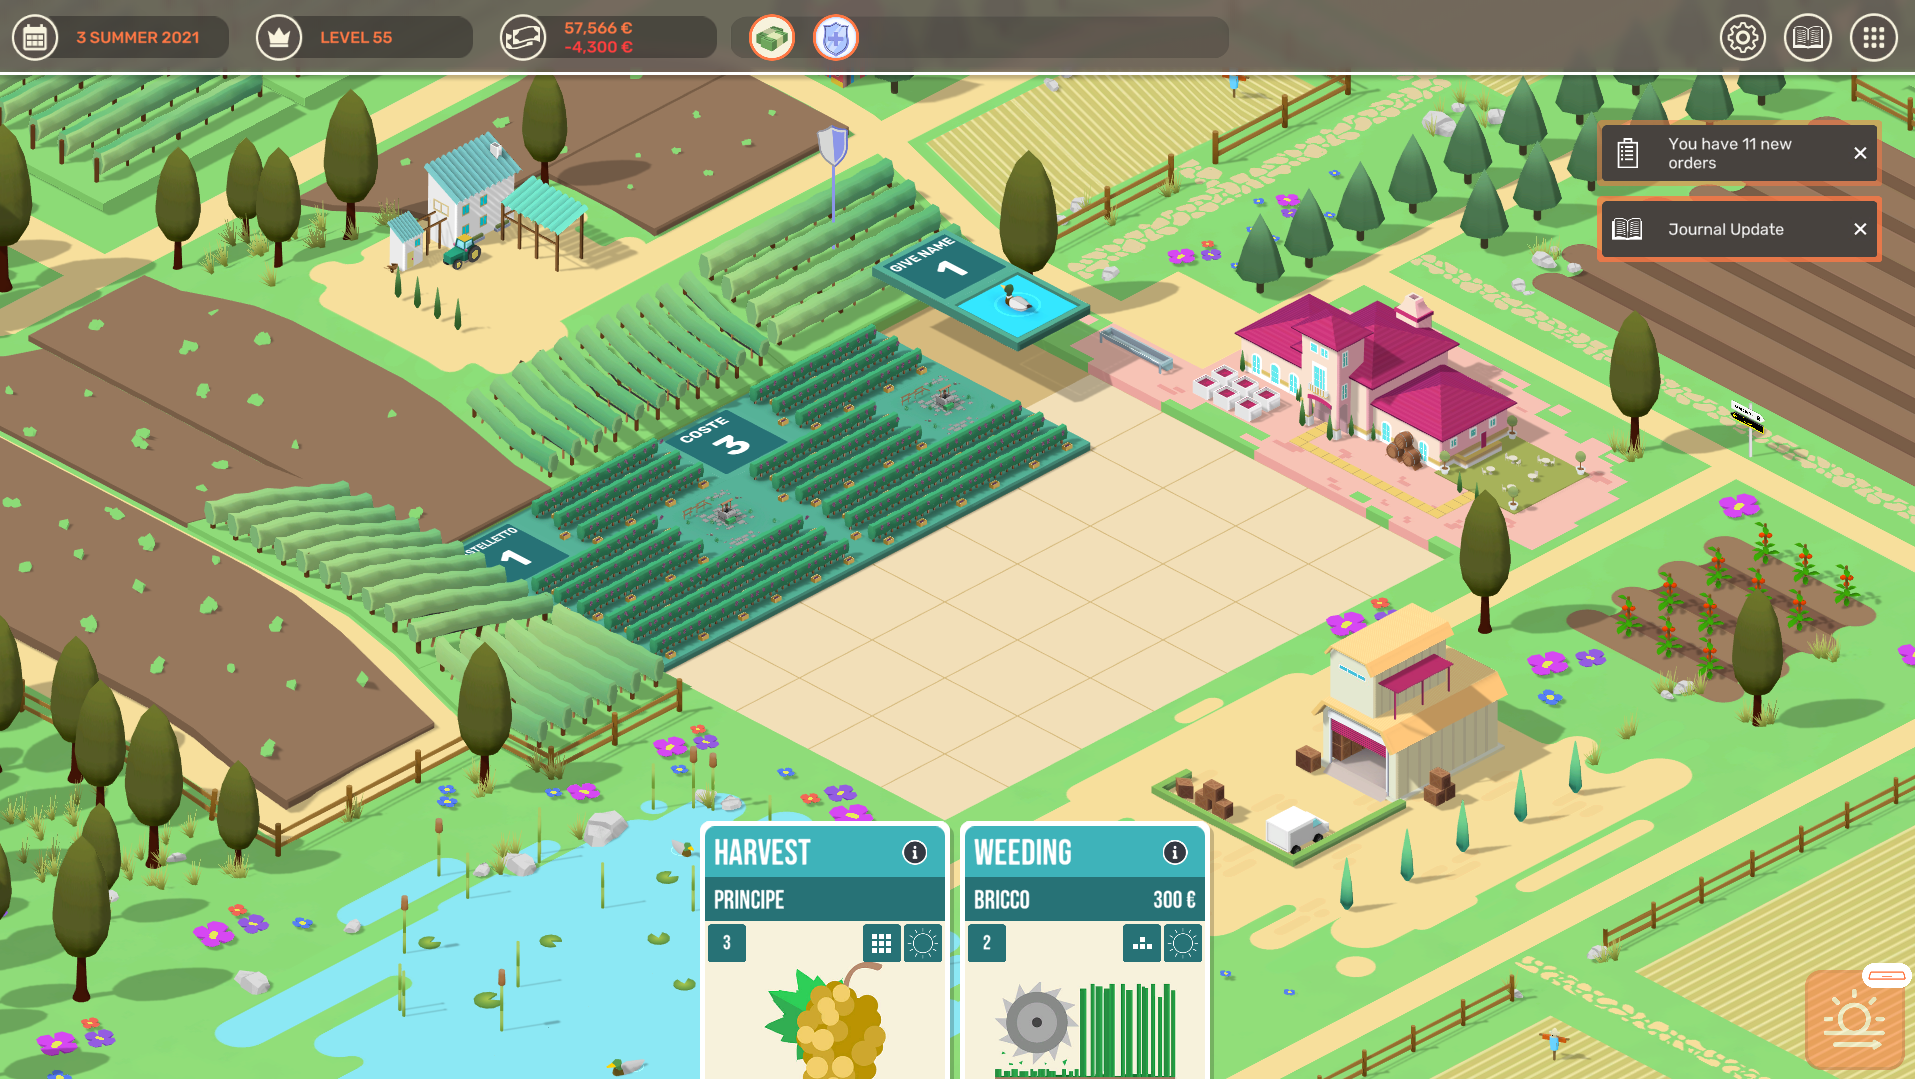
Figure out the optimal harvest time based on your setup and the wine qualities. You can take acidity away, but you can’t add it back. Use your experience of how much change per turn of fermentation, mal, etc. will have on sugar, tannin, acidity. You can click on each plot to see the change of sugar and acidity over the current. You can also see this for all plots at once on the ‘Your Vinyards’ guia. Be sure to plan ahead to have enough space on the task management board. Leaving a wine sitting for a turn give more opportunity for faults. Harvesting a turn or two early is fine, as long as the sugar supports. Use pruning to your advantage, nesse caso.
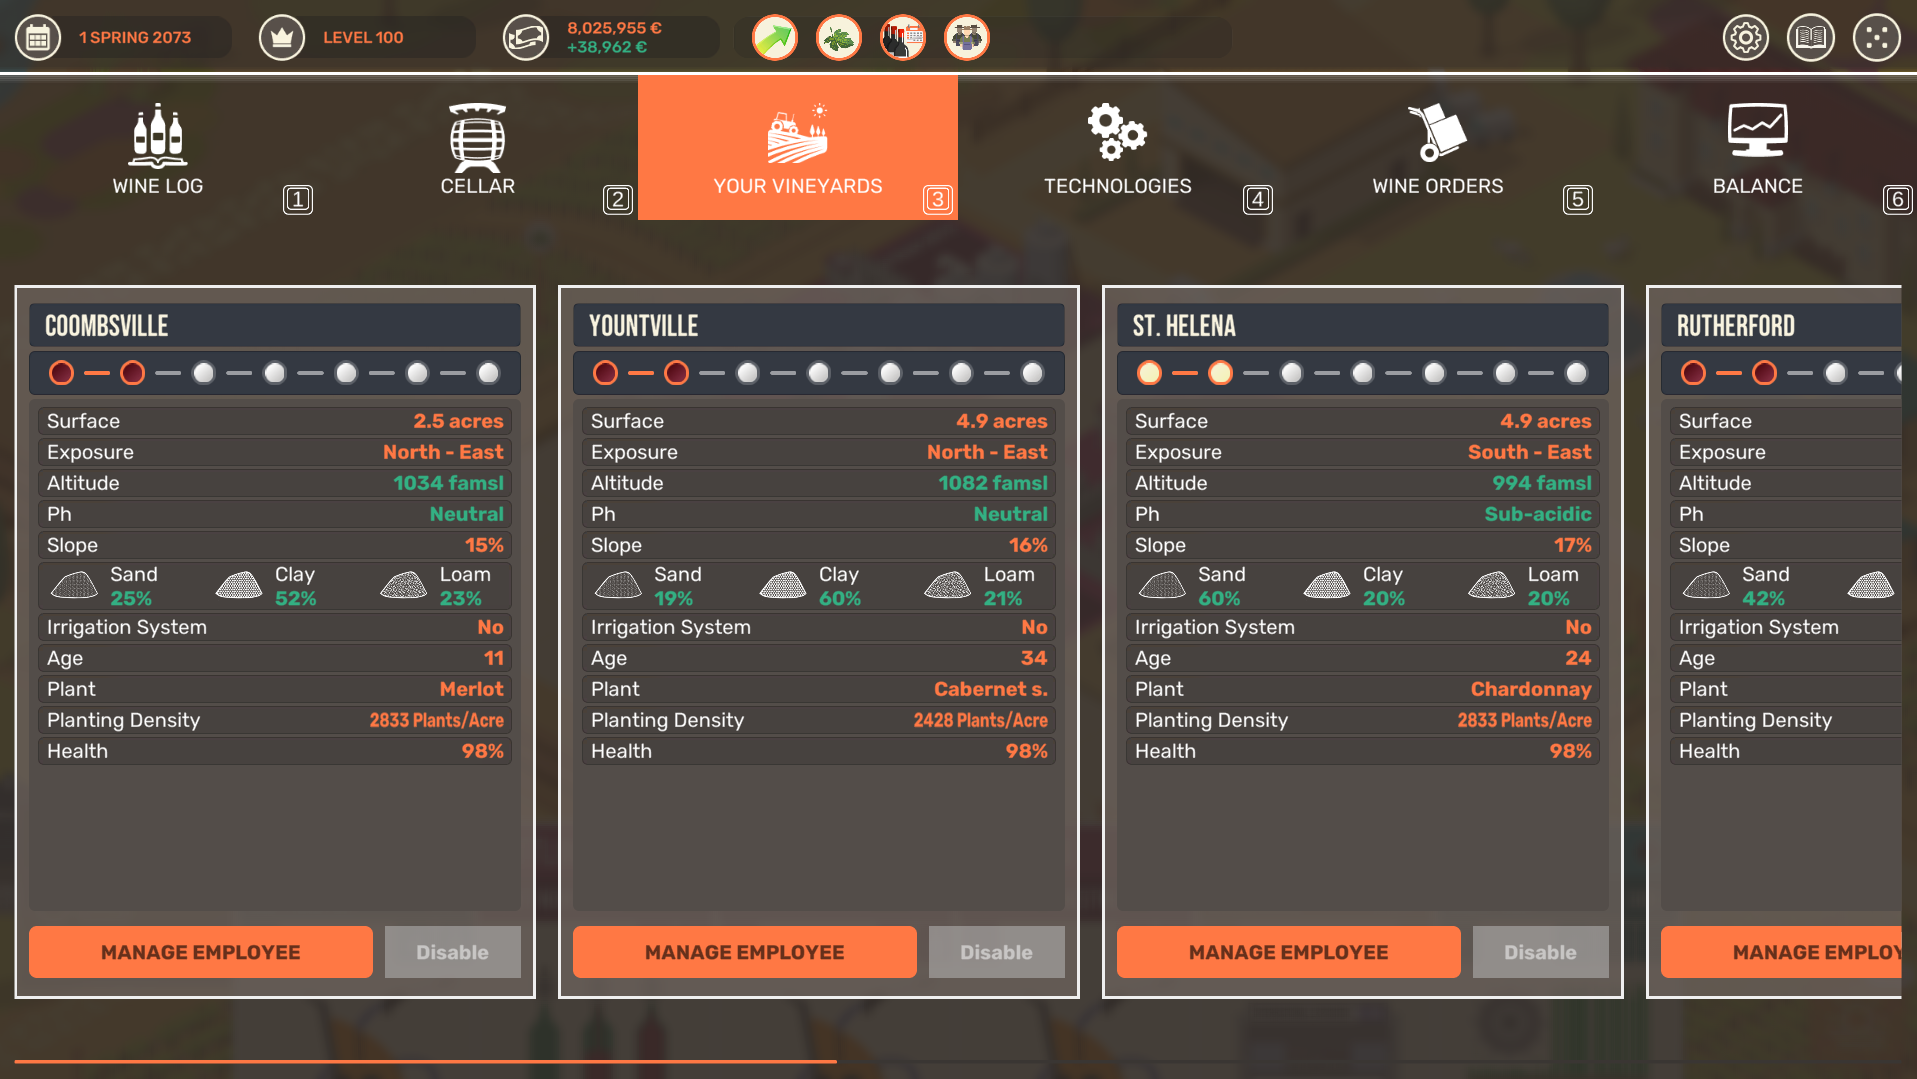
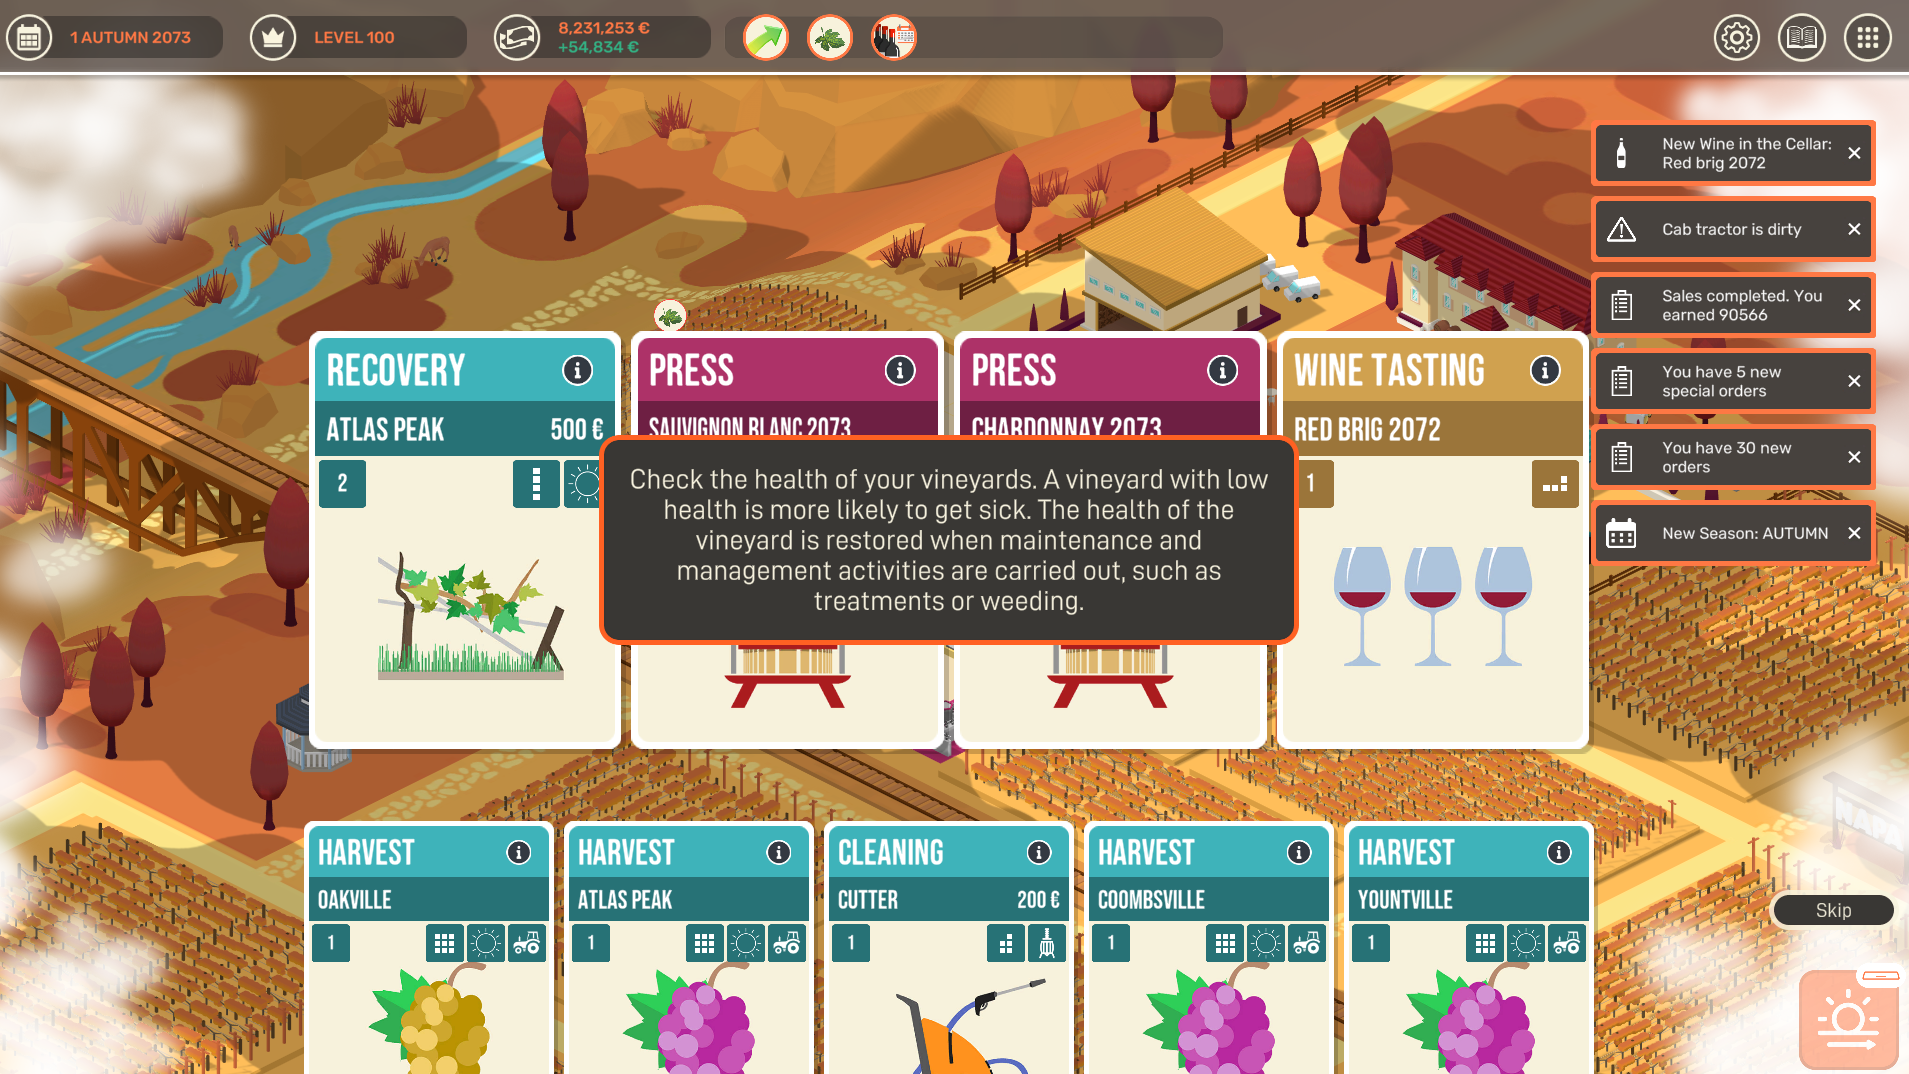
Managing the vines helps keep the quality of your wines high. Routine operations like trimming will improve the health of the vines, which will otherwise degrade and fall into disarray. You’ll get a polite reminder on the above right, along with the recovery card when this happens. Having machinery unlocked and using employees to manage a vineyard can help ease this with the added benefit of not using space on the task management board.
Isso é tudo o que estamos compartilhando hoje para isso Cem dias guia. Este guia foi originalmente criado e escrito por ... and Kevin Bacon. Caso não atualizemos este guia, você pode encontrar a atualização mais recente seguindo este link.