This guide will show you some of the most useful building tips in Geometry Dash.
Player Speeds
The character in the game can travel at five different speeds. These speeds, listed from slowest to fastest, são:
- < 8.4 blocks a second
- > 10.4 blocks a second (this is the default speed)
- >> 13 blocks a second
- >>> 15.6 blocks a second
- >>>> 19.2 blocks a second
These speed values were determined by moving the character precisely 1000 blocks away from the starting point and examining the level time in the pause menu.
How to Create Objects With Exact Measurements
Dentro do jogo, various tools are available to rotate, stretch, and shear objects, allowing players to shape them as desired. No entanto, if you’ve attempted to align objects precisely, you may have observed that there’s no straightforward way to snap them to exact numerical values.
Solução
If you’ve worked with triggers in the game editor, you’re probably familiar with the move, rotate, and now the scale triggers. These triggers allow you to input specific numbers, causing the object to move, rotate, and scale accordingly. Adicionalmente, the scale and rotate triggers enable you to choose a central point for these transformations. An interesting feature is that by positioning the object where you want it, playing the trigger, and then pausing the editor, the object retains the moved, rotated, and scaled positions.
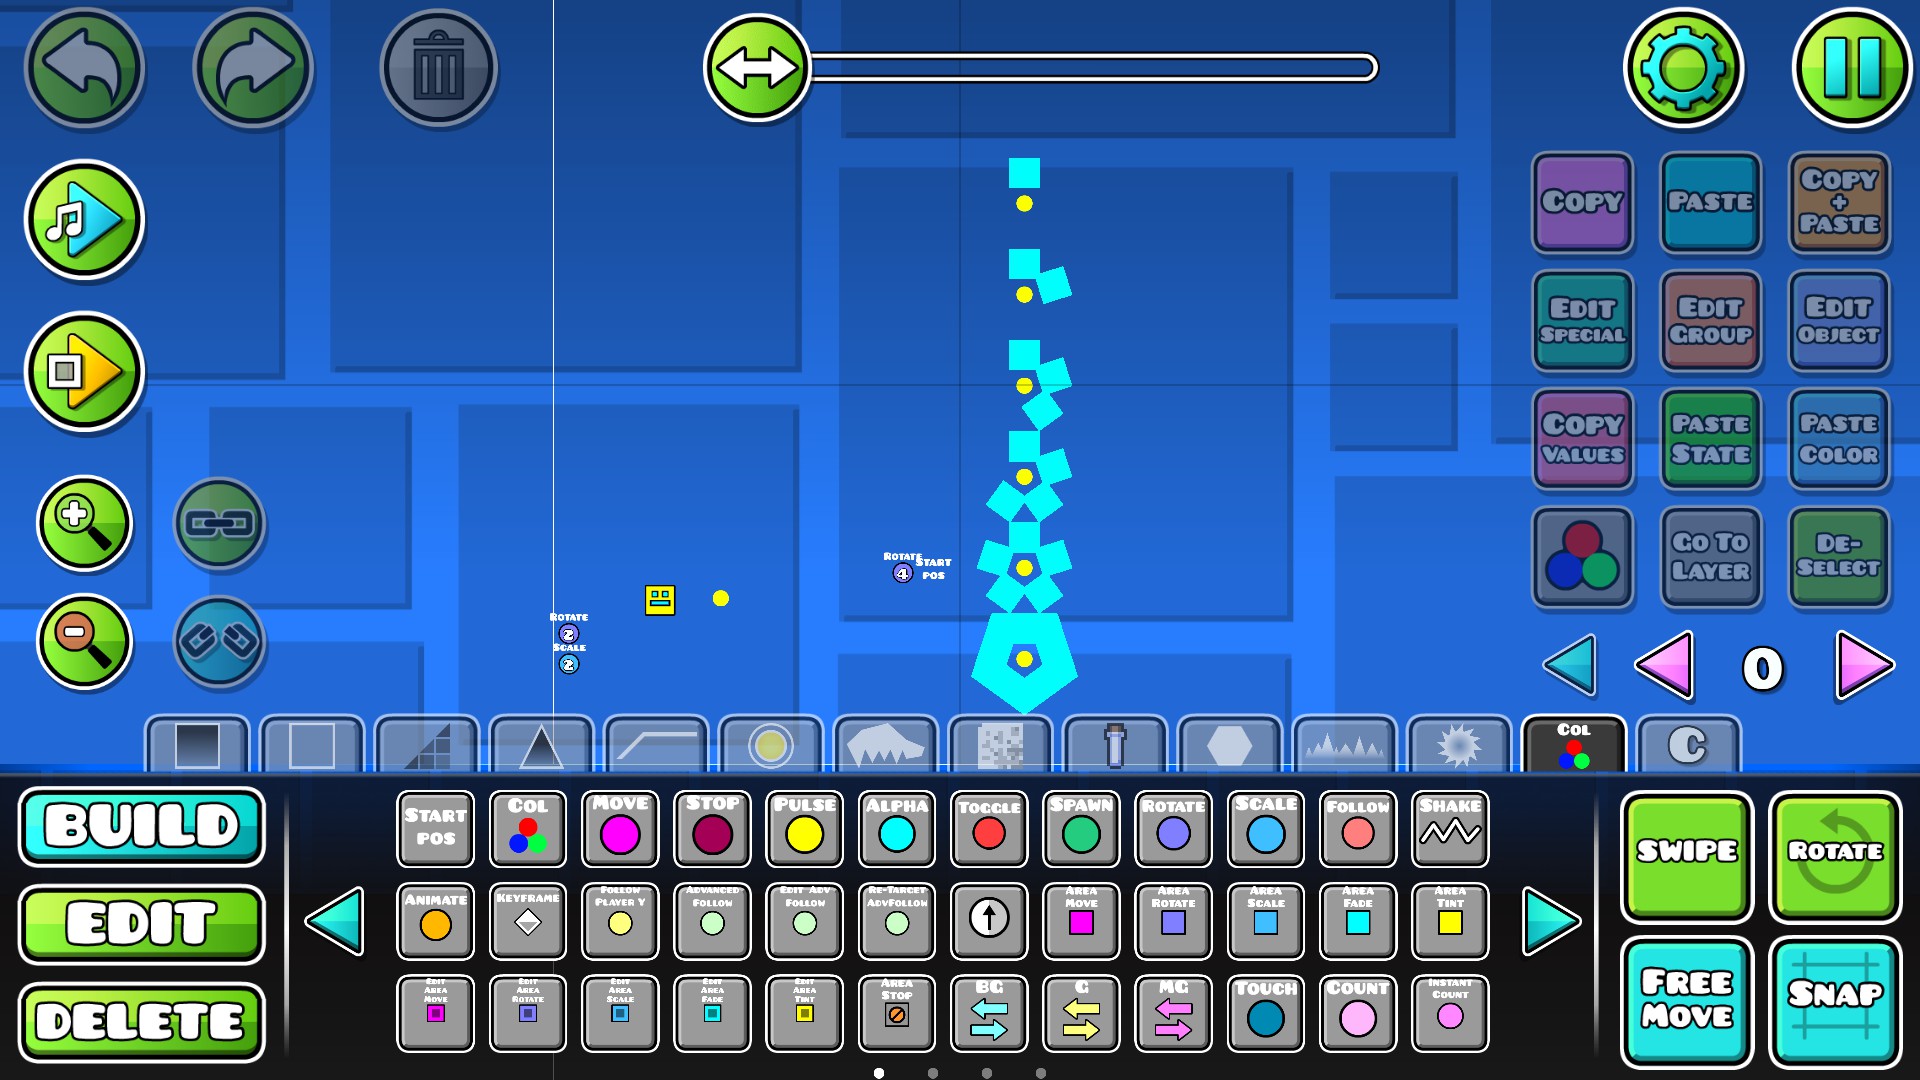
In the example scenario, I utilized the rotate trigger to turn a box by 72 degrees around a specified center point. Além disso, I used the scale tool in the edit tab from the toolbar to individually scale each box along its x-axis, completing the final adjustments. The outcome is a neat pentagon shape. Remember to remove the trigger and any groups applied to the objects after achieving the desired result.
Slope Glow Workaround
If you’ve ever attempted to add a glow effect to your slopes, you likely understand that the procedure can be quite laborious.
Solução
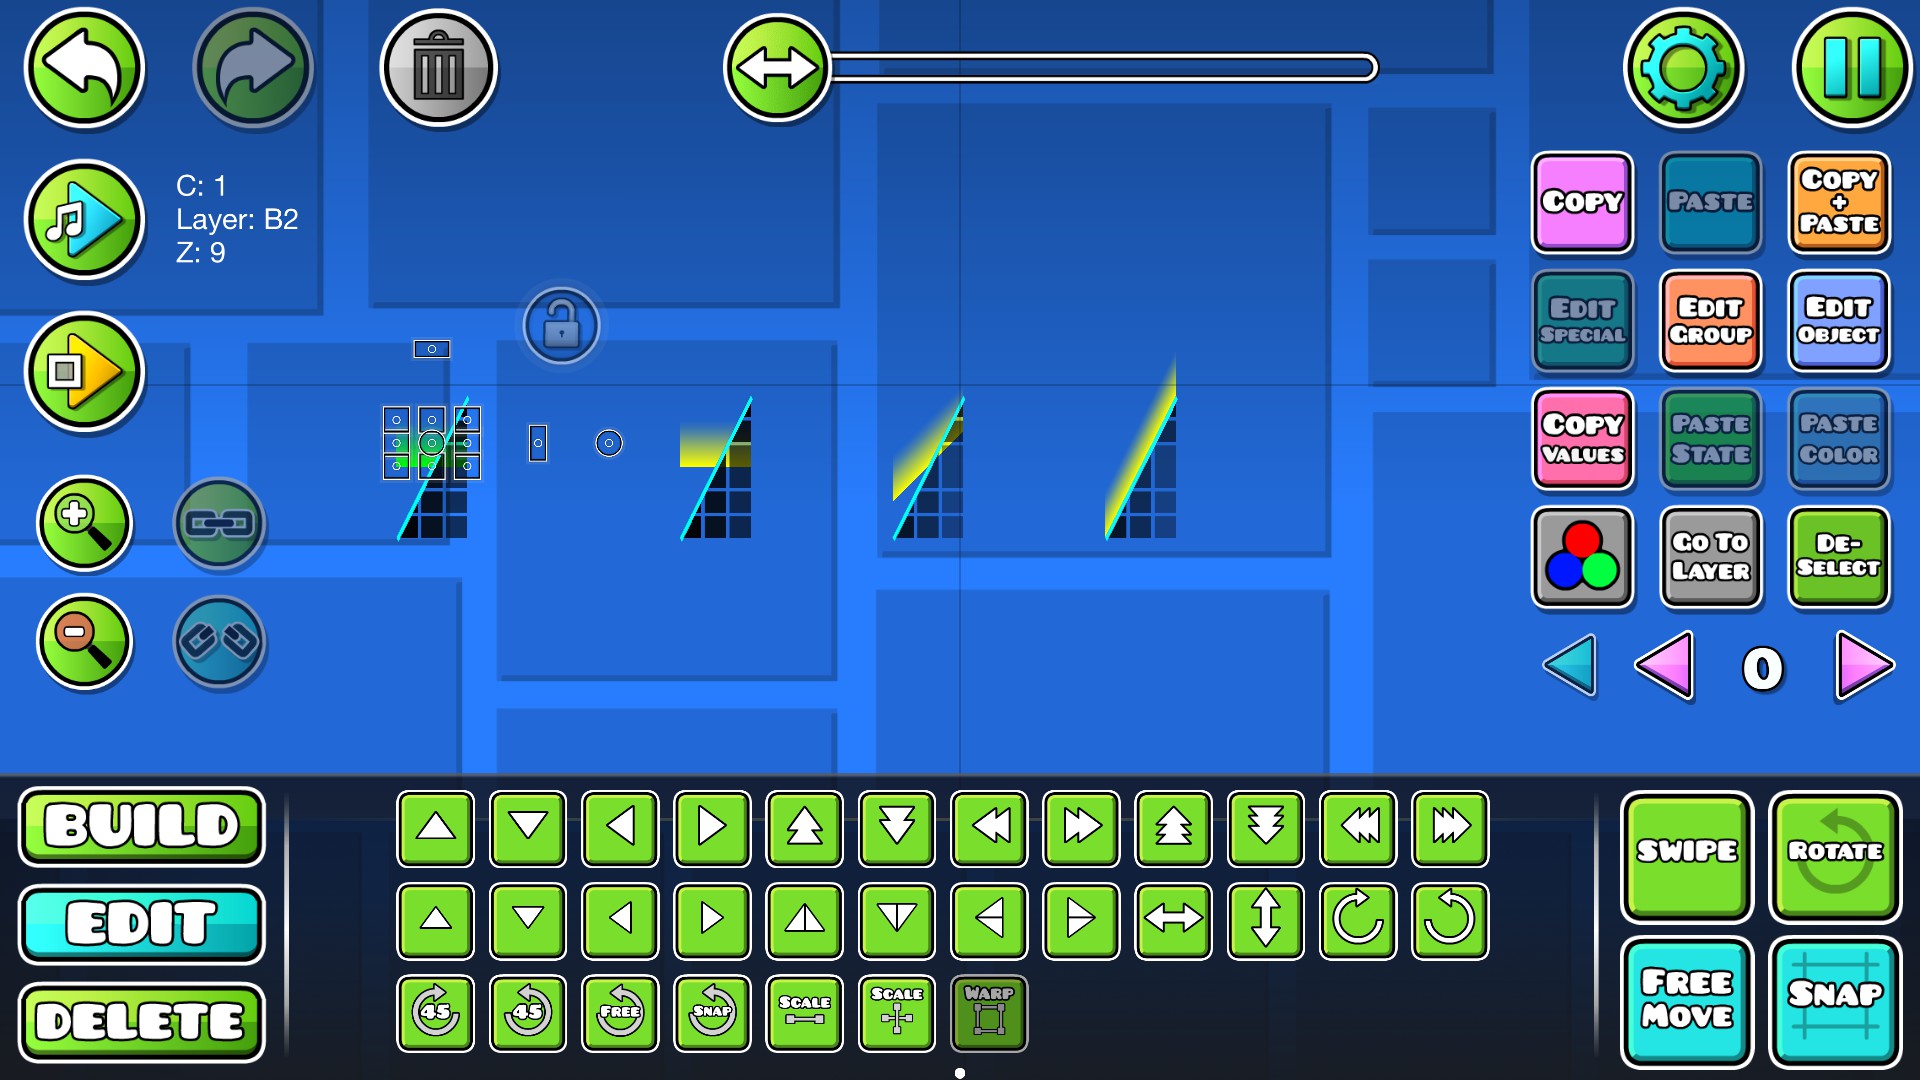
When you employ the latest Transform tool found in the edit tab on the toolbar, you’ll find the ‘shear’ option for objects. If you shear it to the maximum in one direction, it will shear precisely 45 graus. No entanto, an interesting trick is that you can shear it even further. When you deselect the object and then re-select it, you can shear it again, and now it will be sheared by 60 graus. The underlying action is that it gets sheared by one block each time you perform this, showcasing its utility for crafting slope glow effects.
Solução de problemas
No entanto, there is an issue with this technique. You might observe that the glow appears to become ‘thinner’ as you shear it more. Adicionalmente, there is a drawback as the glow doesn’t wrap around 90-degree turns. Despite these limitations, the most significant advantage lies in its effectiveness for creating wave sections with slope glow.
Object Alignment
In situations where you wish to align one object to the center of another, the solution lies in the align x and align y buttons found in the editor pause menu. These buttons can evenly align objects left and right for align x and up and down for align y. No entanto, if you specifically select three objects, the ‘middle’ object becomes perfectly centered between the other two.

Consider a line of blocks arranged in a messy manner. After selecting them all and choosing align x in the pause menu, they become evenly spaced. Adicionalmente, there’s a jump ring positioned above a block that isn’t on the grid, accompanied by a fireball. The objective is to align the fireball onto the center of the jump ring.
Trick
Here’s a nifty trick: utilize the copy+paste button to move a jump ring down to the left by 1 block and another jump ring up and to the right by 1 bloquear. Once you’ve selected the object along with the two new jump rings, press both the align x and align y buttons. This action will result in the object being flawlessly centered on the jump ring.
Isso é tudo o que estamos compartilhando hoje para isso Traço Geométrico guia. Este guia foi originalmente criado e escrito por flaming. Caso não atualizemos este guia, você pode encontrar a atualização mais recente seguindo este link.