Creating a scenario can make the game last longer by adding challenges, mini-games, or a completely new way to play. Here’s how you can begin making your own:
Introdução
Instead of playing in a creative way where you can do anything, a scenario is more structured. It has specific goals, a set of limited tools or parts, and sometimes other rules. The tutorial, kit build, and timed lap scenarios are all created in this structured way. They show what you can achieve using this system.
A scenario usually includes a saved scene and a Lua script. The Lua script is loaded when the scenario starts, setting up the game and making the scenario work.
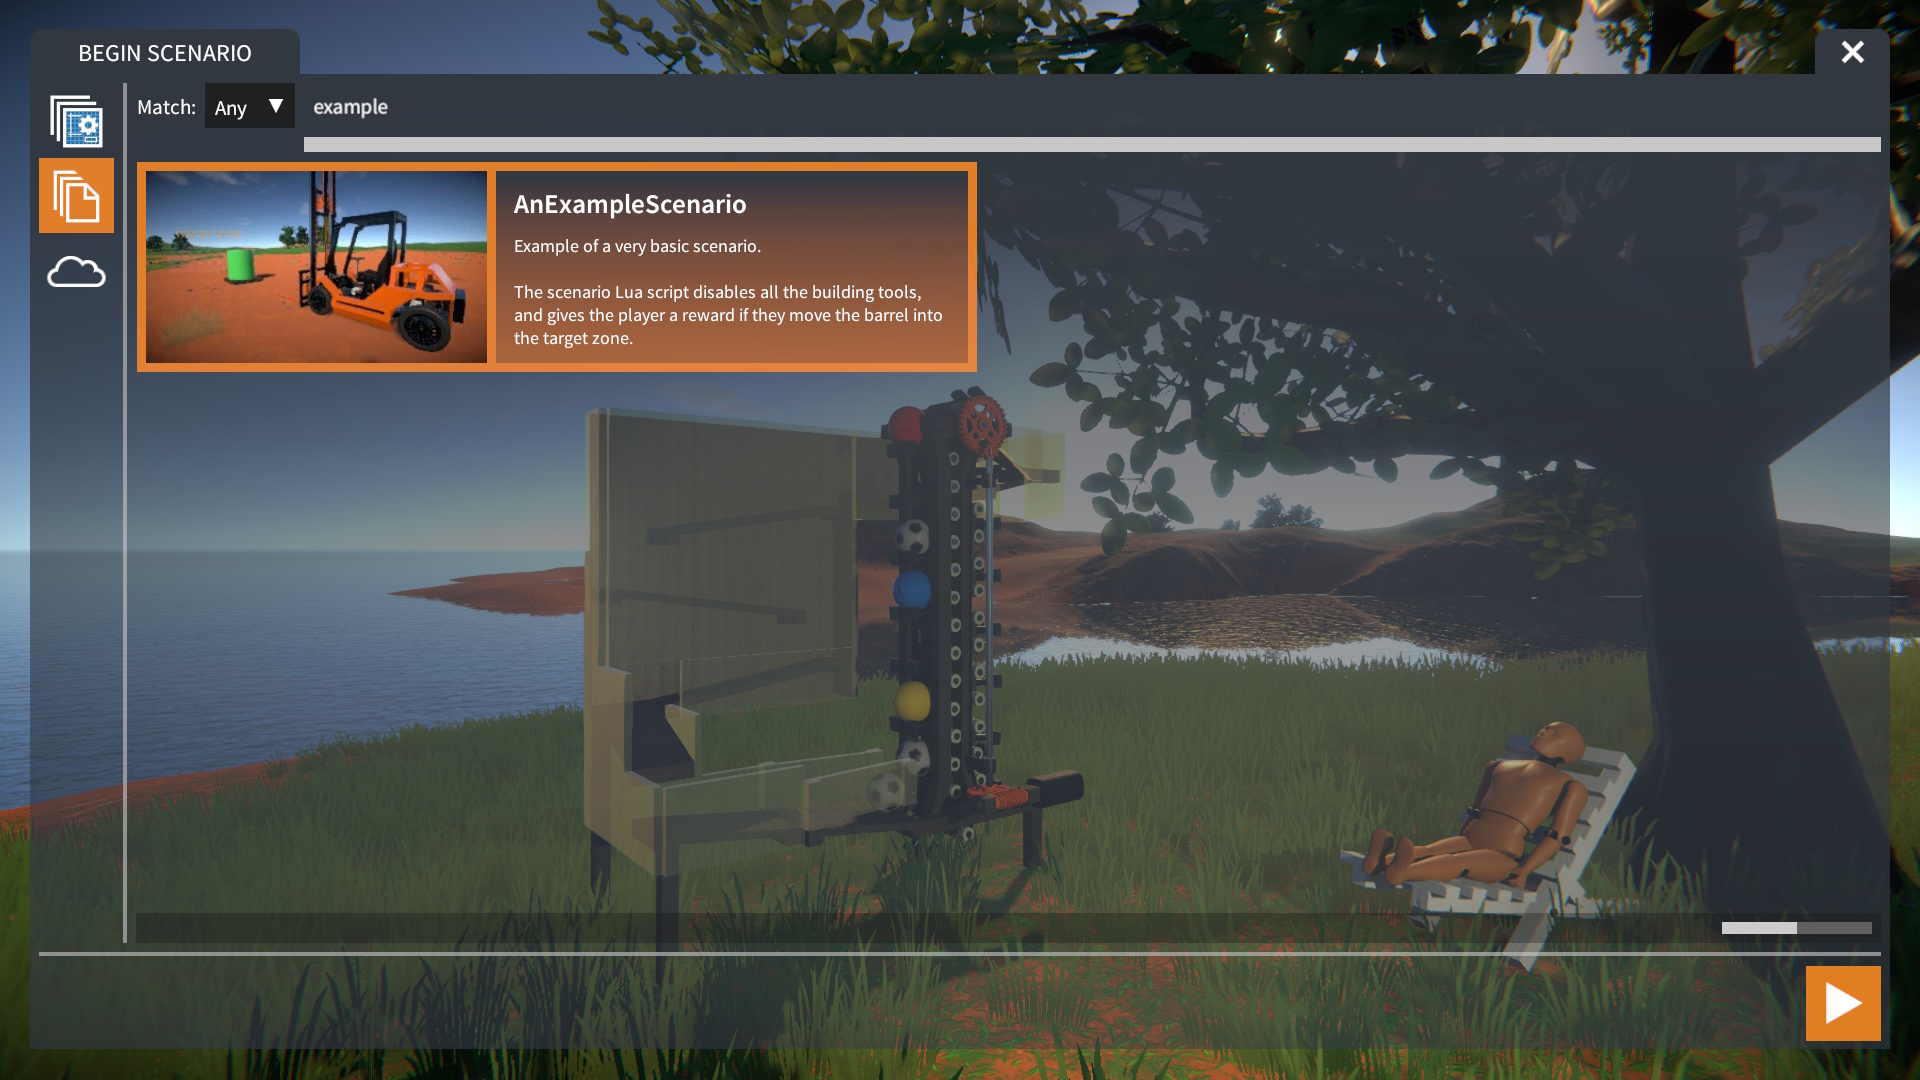
Observe: The scenario example in this guide can be found on the Workshop by searching for “AnExampleScenario.”
The Scene
To start creating a scenario, the initial thing is to prepare a scene.
In the CREATIVE panel, selecione o “New empty scene” opção. Choose a map, set up the environment if you want, and then press the Play button.
If you wish your scenario to begin with an empty scene, you’re finished at this point; you can save it as it is. No entanto, many scenarios require some structures to be present from the beginning.
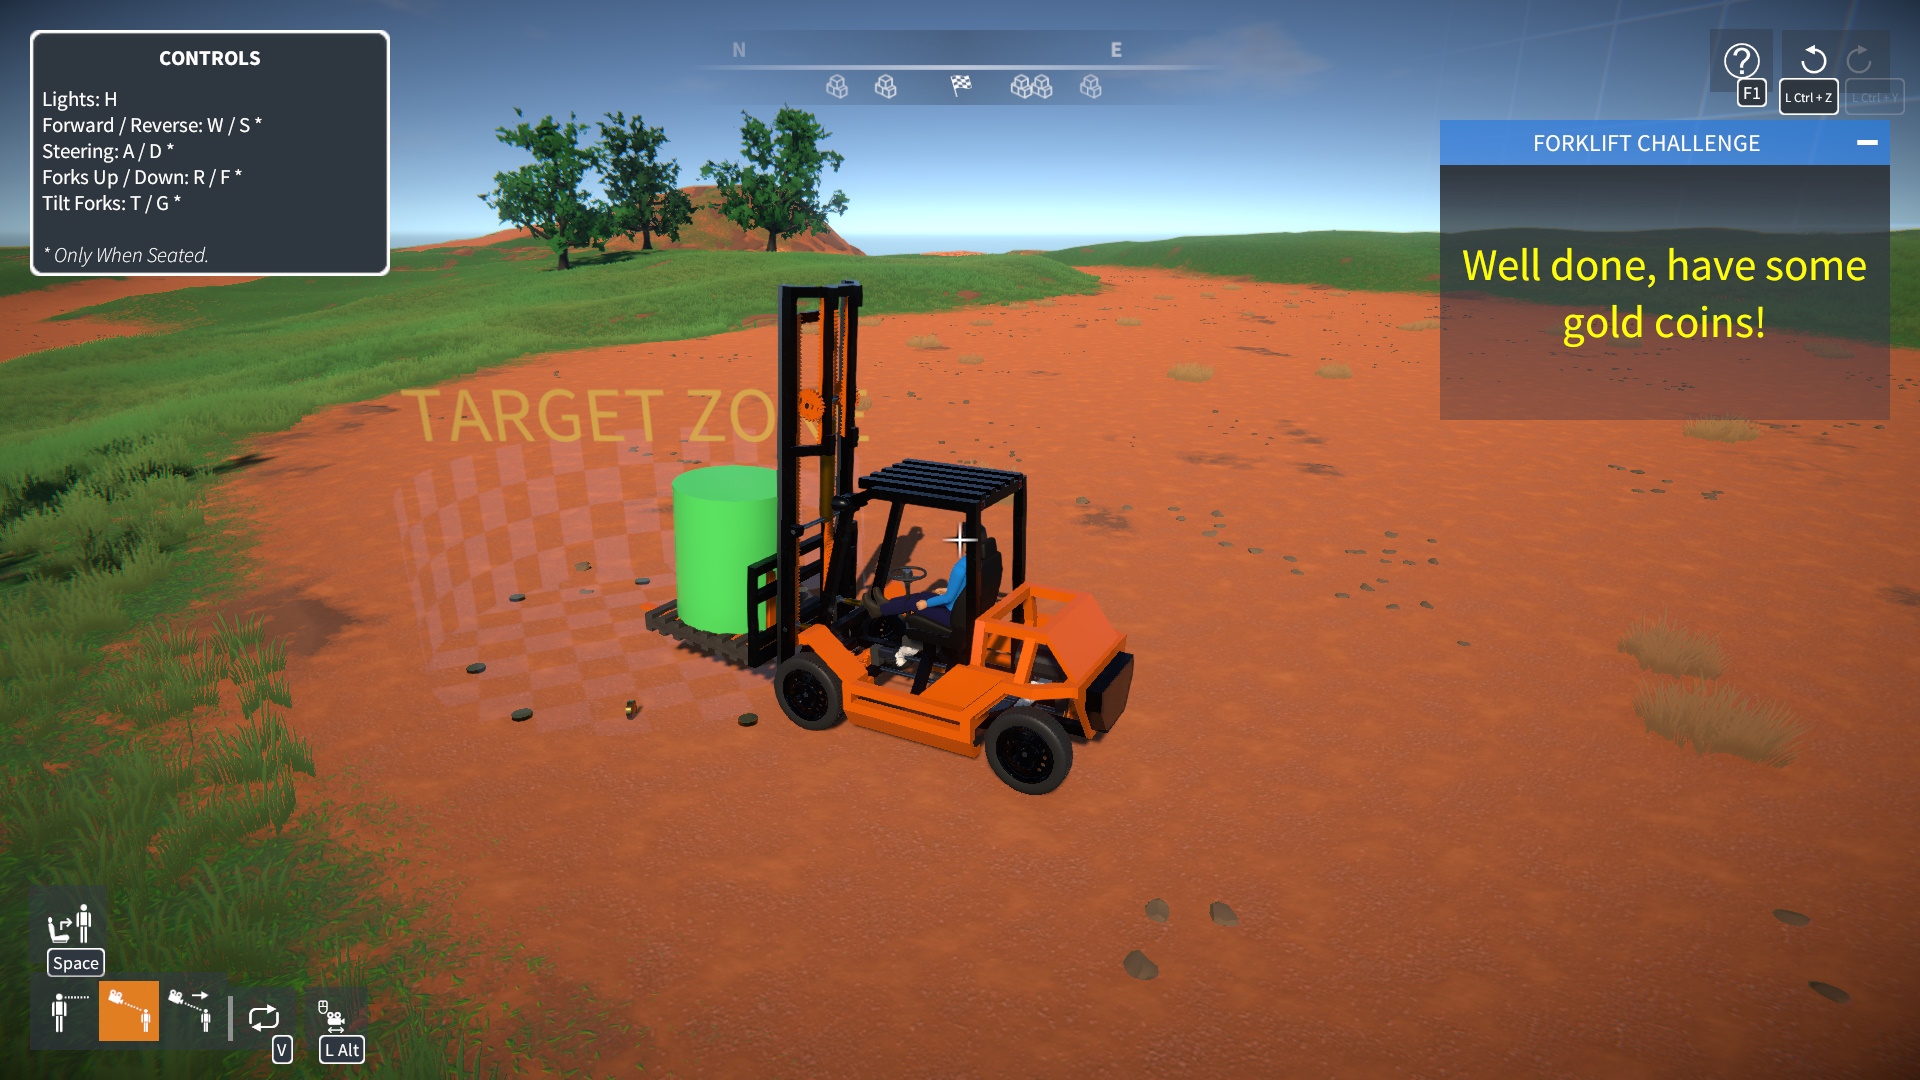
Por exemplo, here we have a forklift truck, a green barrel on a palette, and a cylinder checkpoint:
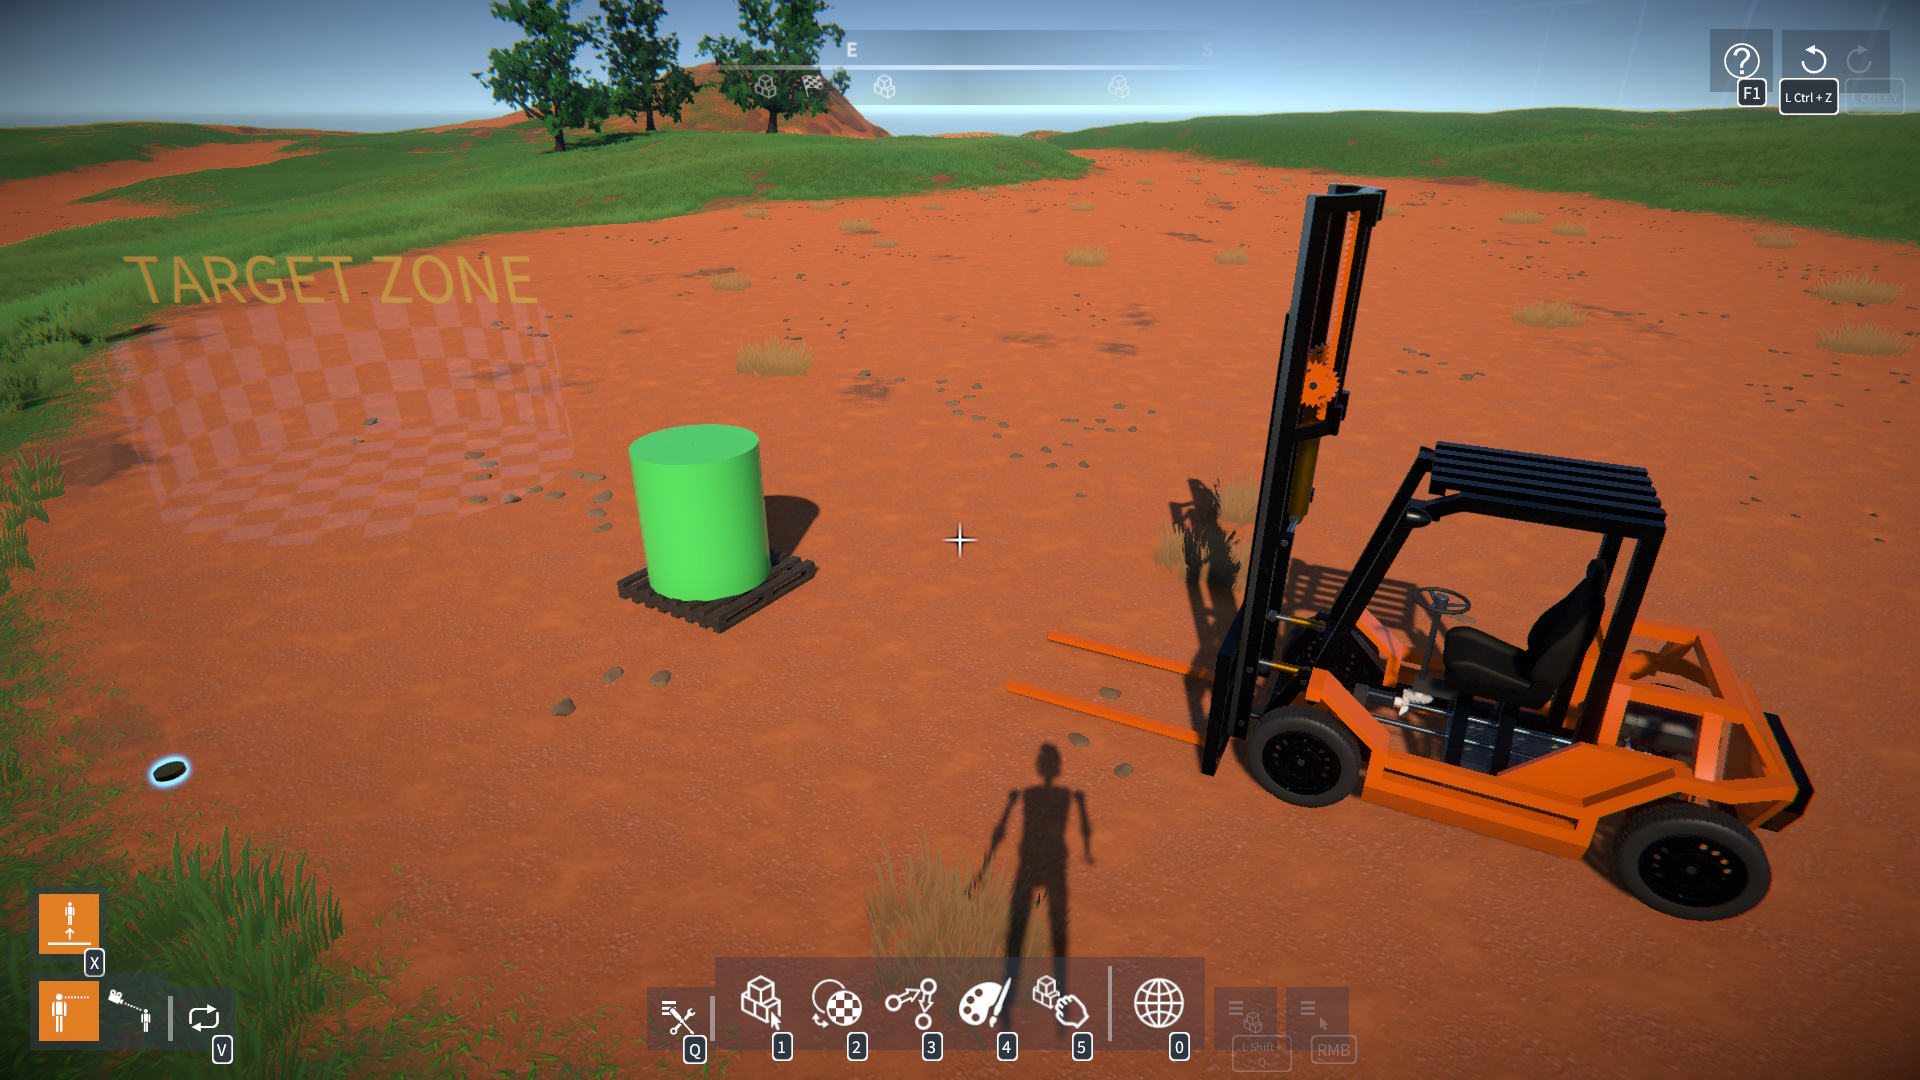
Adicionalmente, there’s a circular plate part symbolizing a “gold coin.” This will serve as a template for rewards that we’ll create in the scenario script.
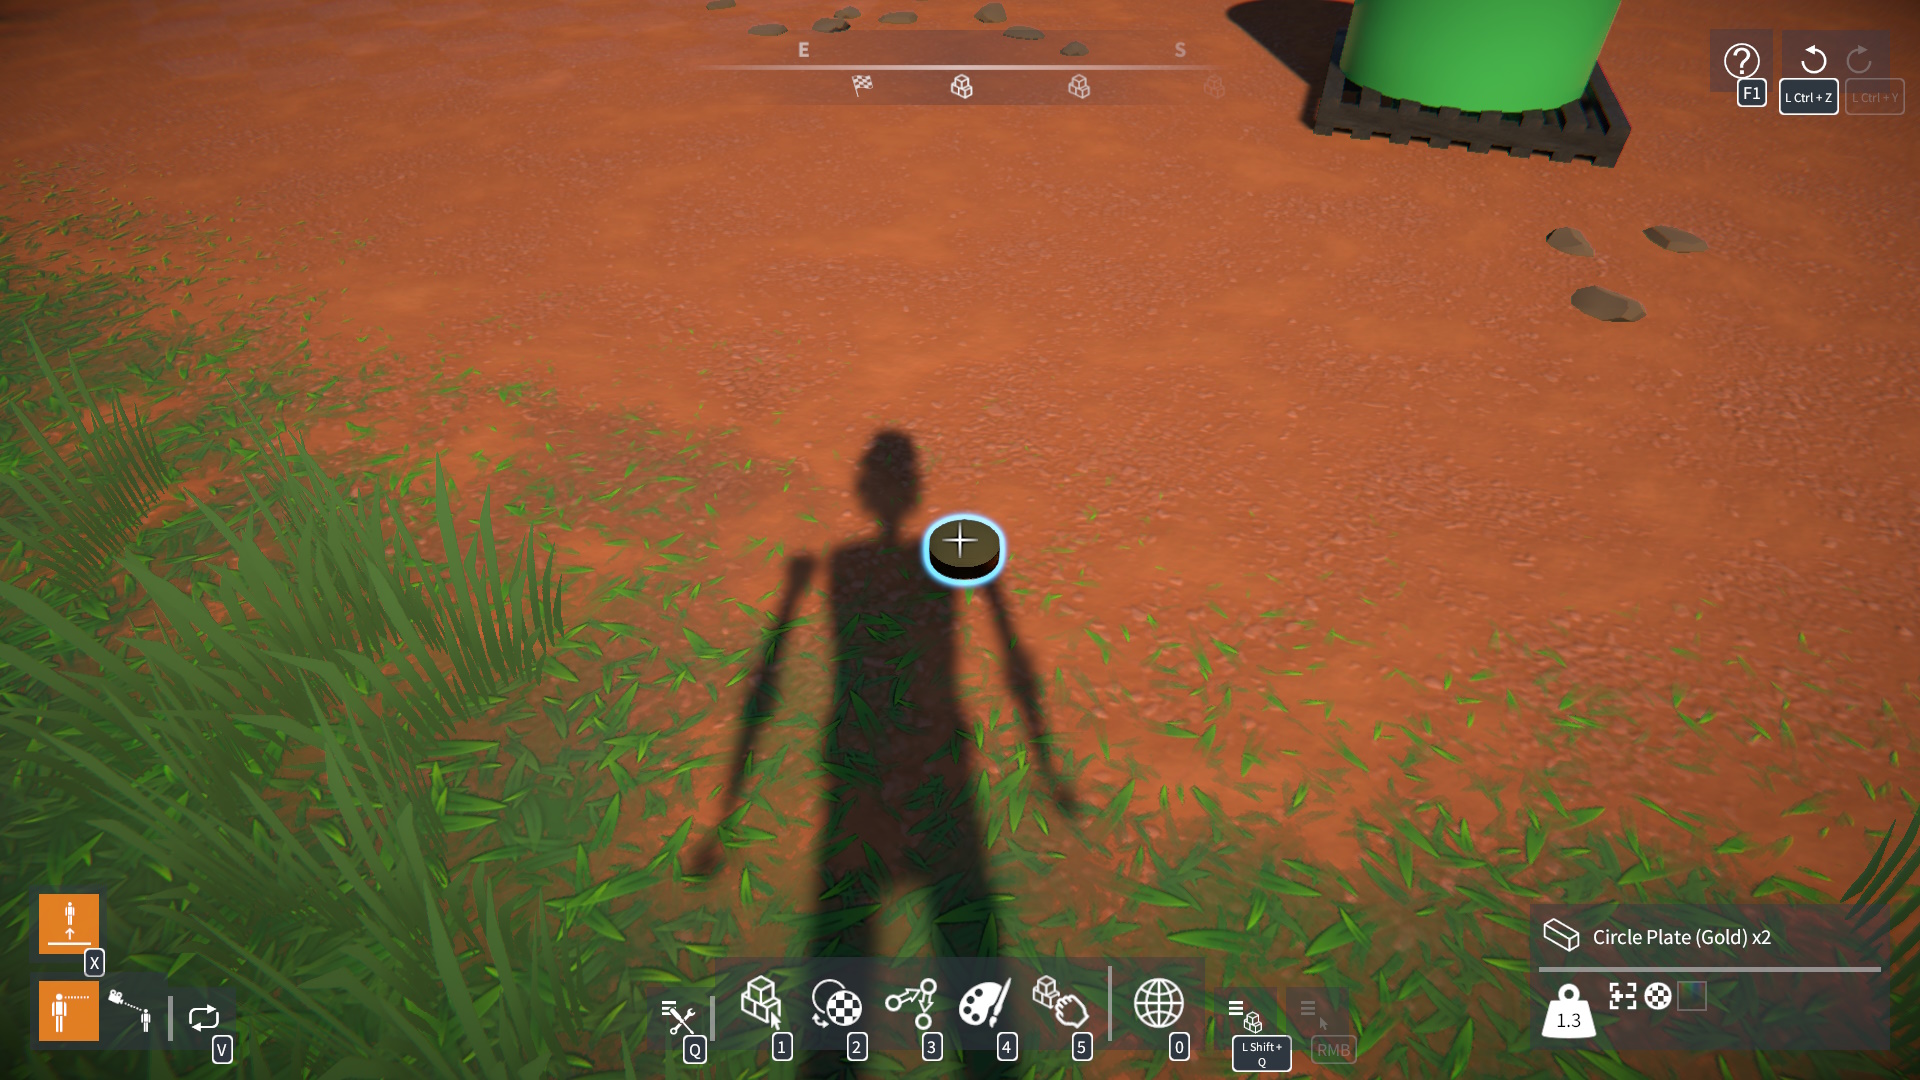
Agora, try arranging a scene that resembles the one illustrated.
Once your scene is prepared, go to the SAVE SCENE screen. Provide it with a name, description, and add “cenário” as a tag. Depois, click the Save button:
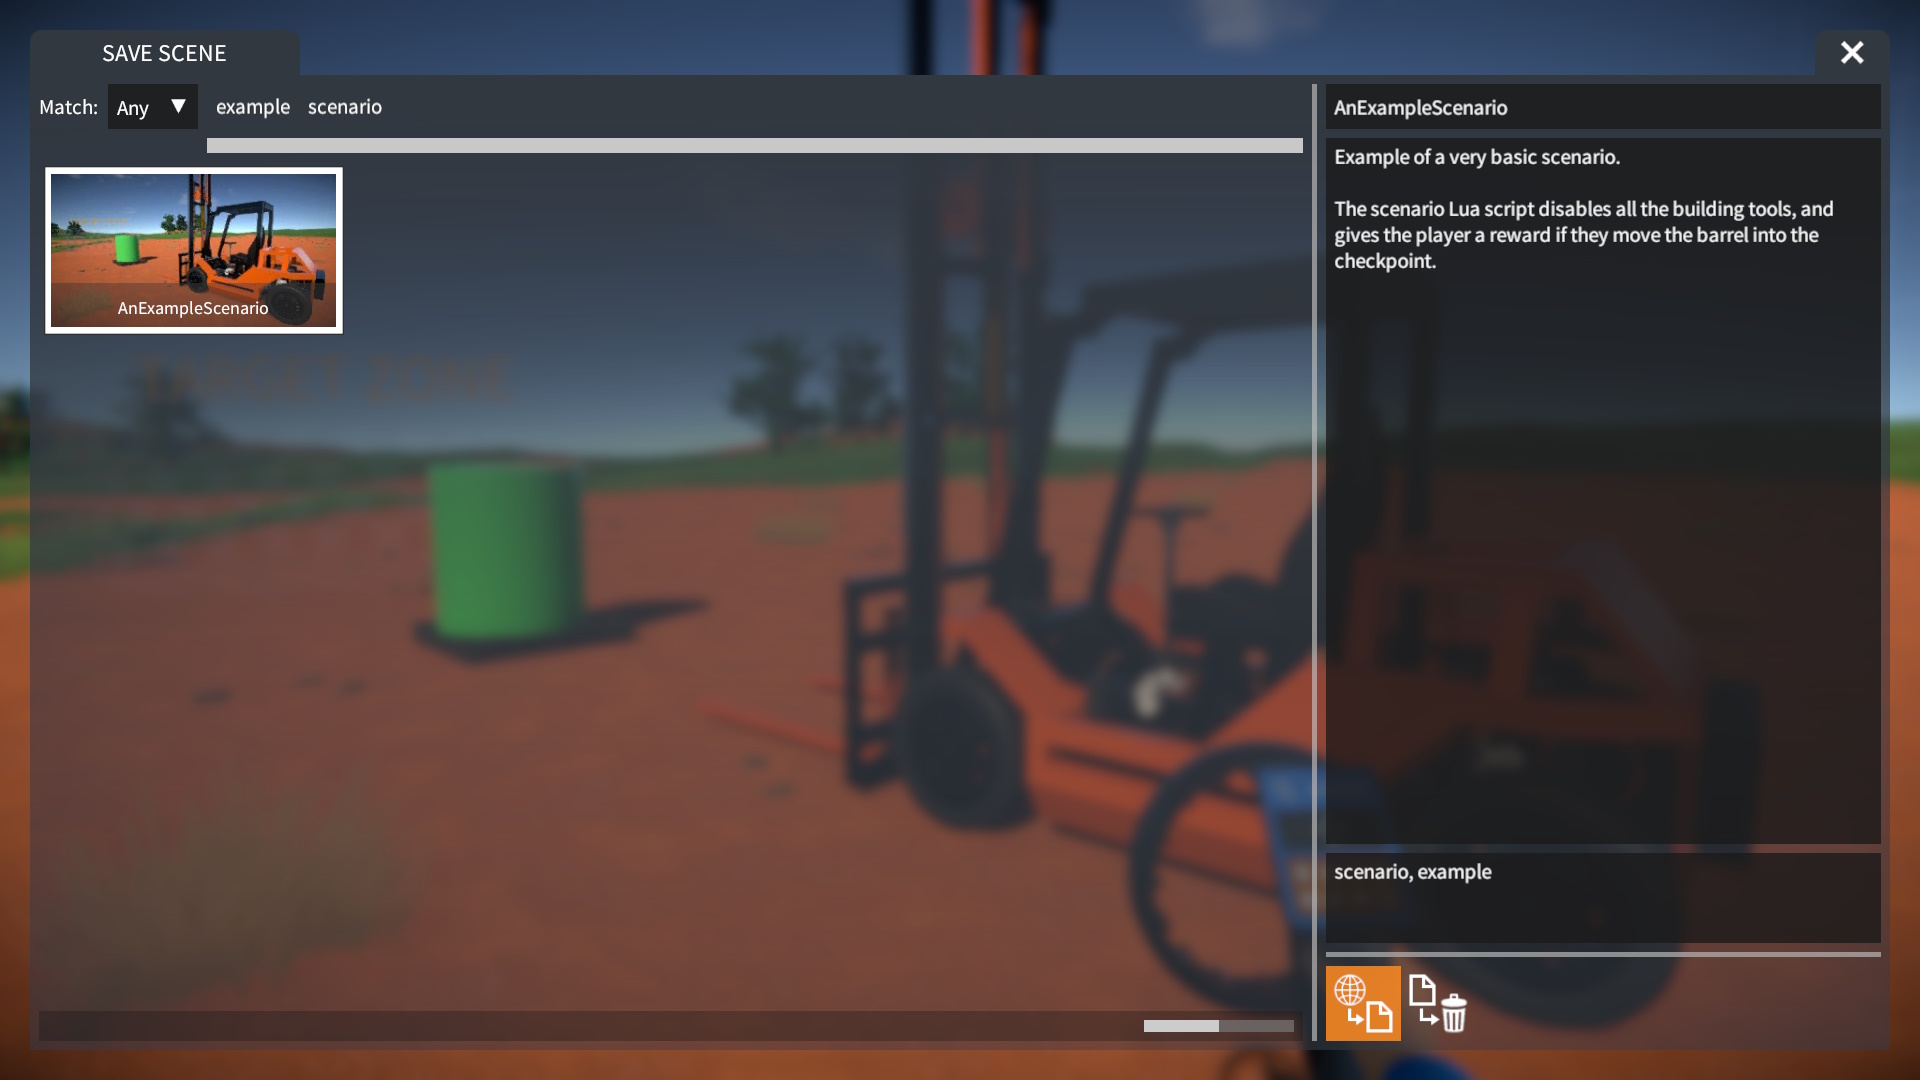
OBSERVAÇÃO: You must tag the save with “cenário”, so that it can be loaded from the BEGIN SCENARIO screen later.
Scene IDs
In a scenario, the Lua script needs to identify parts or constructions in the scene to manipulate them. Each part and construction has a unique scene ID for this purpose.
To discover the IDs of objects in the scene, você pode usar o “PartInspect” script mod provided. Load it from the SCRIPT MODS screen, found under the “built-in examples” guia.
When you target a part in the scene, it will display the ID of the construction it belongs to:
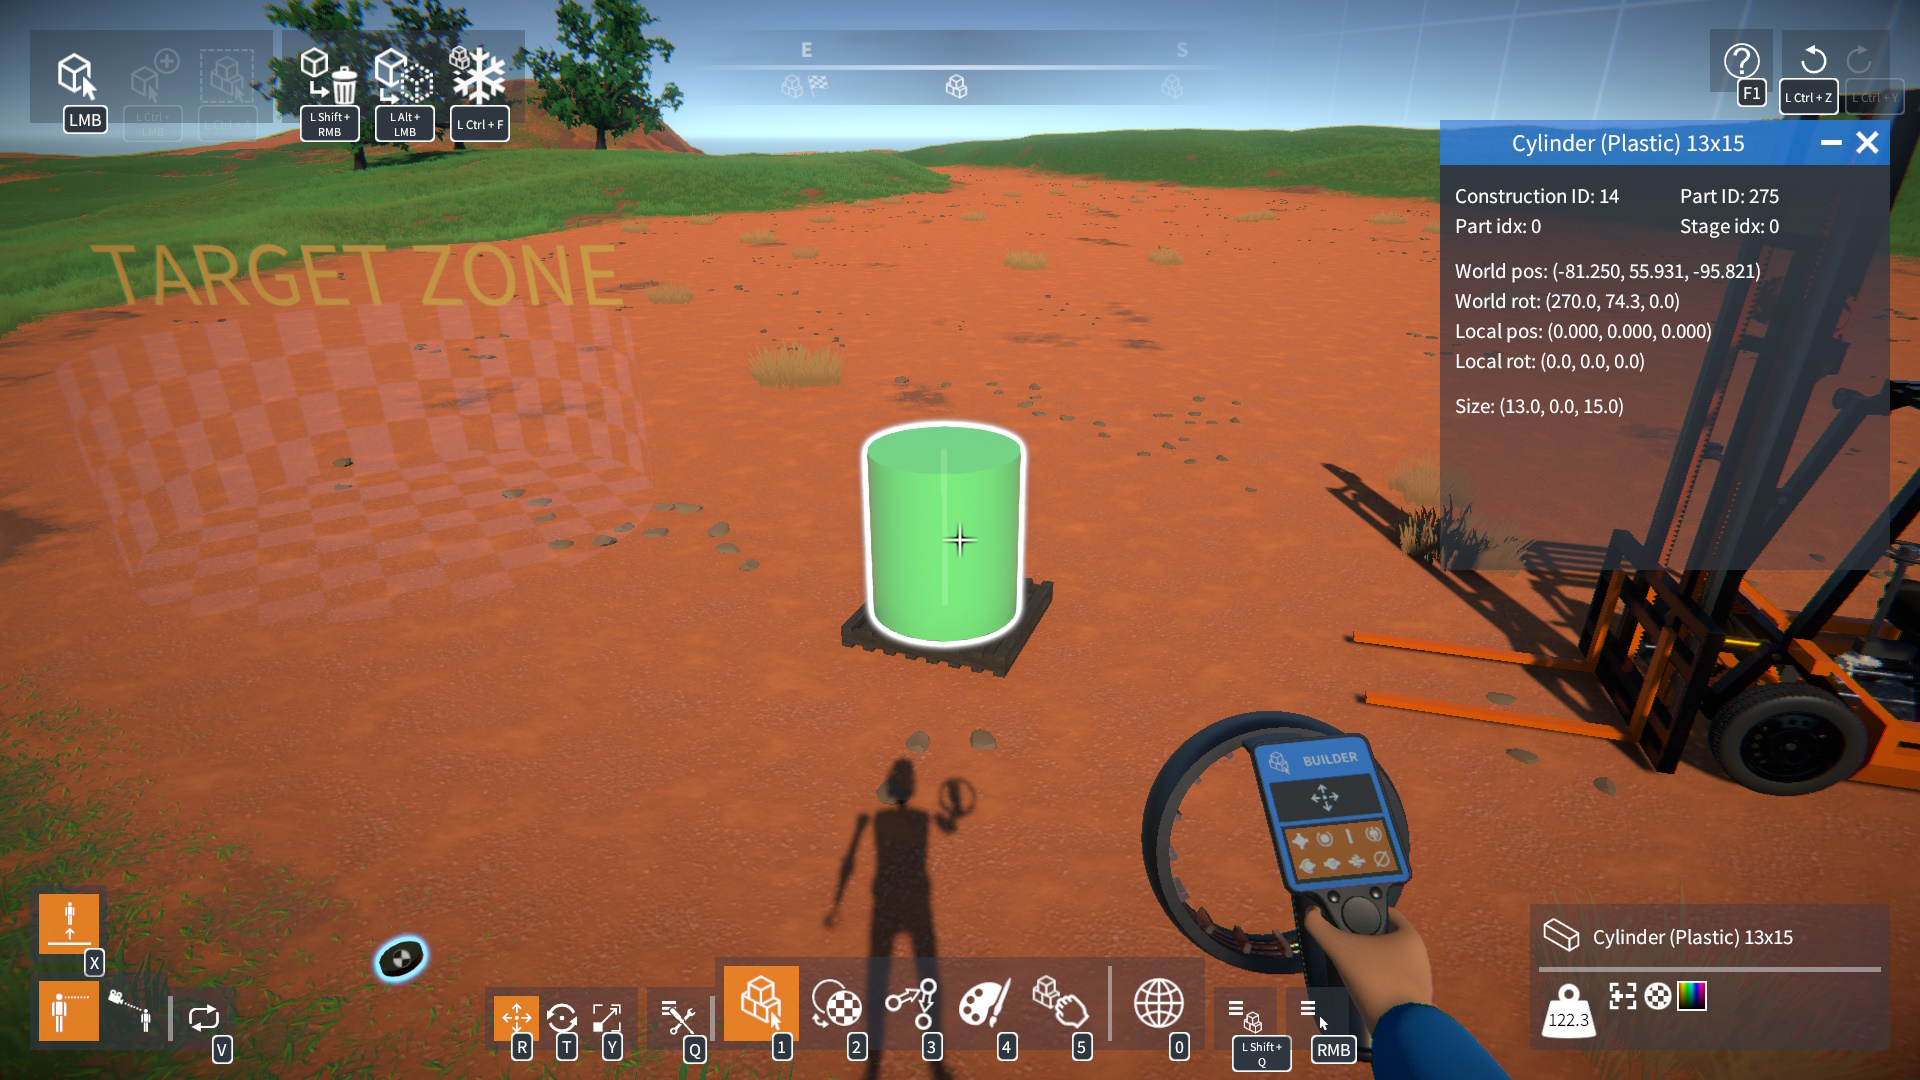
Remember to jot down the ID numbers of the forklift, barrel, checkpoint, e “gold coin reward” constructions in your scene.
IMPORTANTE: Ensure that you are noting the construction IDs, not the part IDs!
The Scenario Script
Go to %USERPROFILE%\AppData\LocalLow\SmashHammer Games\GearBlocks\SavedScenes and locate the folder for your saved scene (por exemplo, AnExampleScenario). Dentro desta pasta, create a new empty text file and name it scenario.lua:

When loading a scene from the BEGIN SCENARIO tela, the game will automatically load scenario.lua if it finds it.
Edit the scenario.lua arquivo, and type in the following Lua code:
-- IDs of constructions in the saved scene:
local checkpointConstructionID = <id goes here>
local barrelConstructionID = <id goes here>
local rewardTemplateConstructionID = <id goes here>
local forkliftConstructionID = <id goes here>

local checkpointPosition = Vector3.Zero
local rewardTemplatePart = nil

local isGoalAchieved = false
IMPORTANTE: Instead of each <id goes here>, replace it with the corresponding construction ID number you previously noted.
Agora, include the following functions. These functions deactivate tools and other features, and set up the UI. We’ll invoke these during initialization:
local function disableFeatures()
	-- Set variables to disable game features.
	NoBuilderTool.Value = true
	NoMaterialTool.Value = true
	NoLinkerTool.Value = true
	NoPainterTool.Value = true
	NoGrabberTool.Value = true
	NoSceneTool.Value = true
	NoPartSpawnDestroy.Value = true
	NoConstructionSaveLoad.Value = true
	NoSceneSave.Value = true
end

local function initUI()
	-- Create a UI window.
	Win = Windows.CreateWindow()
	Win.SetAlignment( align_RightEdge, 20, 300 )
	Win.SetAlignment( align_TopEdge, 80, 200 )
	Win.Title = 'FORKLIFT CHALLENGE'
	Win.Show( verdadeiro )
	Win.IsCloseable = false

	-- Add a text label to it.
	Label = Win.CreateLabel()
	Label.SetAlignment( align_HorizEdges, 10, 10 )
	Label.SetAlignment( align_VertEdges, 10, 10 )
	Label.FontSize = 30
	Label.Alignment = textAnc_MiddleCenter
	Label.Text = "Use the forklift to put the barrel in the target zone..."
fim
Então, add the following block of code:
local function onRewardConstructionSpawned( construção )
	-- Unfreeze the spawned part.
	ConstructionOps.SetConstructionFrozen( construction.ID, falso )
end

local function spawnRewards( numParts )
	-- Add a handler to the ConstructionSpawned event.
	-- This gets raised by the game when a construction is spawned.
	ConstructionSpawned.Handler.add( onRewardConstructionSpawned )

	-- Temporarily enable part spawning.
	NoPartSpawnDestroy.Value = false

	-- Spawn the reward "gold coin" parts by duplicating them from the template.
	if rewardTemplatePart then
		for i = 1, numParts do
			-- A random location near the checkpoint.
			local spawnPosition = checkpointPosition + Vector3.__new( math.random() * 5 - 2.5, math.random() * 2 + 2, math.random() * 5 - 2.5 )
			local spawnOrientation = Quaternion.Euler( math.random() * 360, math.random() * 360, math.random() * 360 )

			-- Spawn the duplicate part.
			PopConstructions.DuplicatePart( rewardTemplatePart.ID, spawnPosition, spawnOrientation )
		end
	end

	-- Disable part spawning again.
	NoPartSpawnDestroy.Value = true

	-- Tidy up by removing our ConstructionSpawned event handler.
	ConstructionSpawned.Handler.remove( onRewardConstructionSpawned )
fim
The function spawnRewards(numParts) generates several reward parts at random positions by duplicating them from the template part. We will use this function when the player accomplishes the goal.
Agora, append the following to your Lua script:
local function onConstructionEnteredCheckpoint( construção )
	-- Check if the construction that entered the checkpoint is the barrel.
	-- Se for assim, then the goal was achieved.
	if not isGoalAchieved and (construction.ID == barrelConstructionID) then
		Label.Text = "<color=yellow>Bom trabalho, have some gold coins!</cor>"
		spawnRewards( 10 )
		isGoalAchieved = true
	end
end

local function initScene()
	-- Start by making all constructions in the scene non-targetable.
	for construction in Constructions.Instances do
		ConstructionOps.SetConstructionTargetable( construction.ID, falso )
	fim

	-- Then make the forklift targetable so the player can get in and drive it.
	ConstructionOps.SetConstructionTargetable( forkliftConstructionID, verdadeiro )

	local checkpointConstruction = Constructions.GetInstance( checkpointConstructionID )
	local checkpointPart = checkpointConstruction.GetPart( 0 )

	-- Cache the checkpoint part's world position for later use.
	checkpointPosition = checkpointPart.Position

	-- Add a handler to the checkpoint behaviour's OnConstructionEntered event.
	-- This is raised whenever a construction enters the checkpoint.
	for behaviour in checkpointPart.Behaviours do
		if behaviour.Name == 'Checkpoint' then
			behaviour.OnConstructionEntered.add( onConstructionEnteredCheckpoint )
			break
		end
	end

	-- Cache the reward "gold coin" template part for later use.
	local rewardTemplateConstruction = Constructions.GetInstance( rewardTemplateConstructionID )
	rewardTemplatePart = rewardTemplateConstruction.GetPart( 0 )

	-- Move the template part 1km below ground, so that the player doesn't see it!
	ConstructionOps.FreezeConstructionAtGround( rewardTemplateConstruction.ID, Vector3.__new( 0, -1000, 0 ) )
fim
O initScene() function guarantees that only the forklift is targetable by the player, caches some variables for later use, and establishes a checkpoint OnConstructionEntered event handler.
Dentro do onConstructionEnteredCheckpoint(construção) event handler, if the barrel enters the checkpoint, it signifies the goal is accomplished, and we proceed to spawn the rewards.
To complete, insert this final block of code:
----- Game Event handlers -----

-- The GameReady event is raised by the game when the scene has finished
-- loading (ou seja. the map and any saved constructions in it).
-- Here we add a handler to this event, in it we initialise everything for the scenario.
local function onGameReady()
	disableFeatures()
	initUI()
	initScene()
end
GameReady.Handler.add( onGameReady )

----- Entry functions -----

-- Cleanup() is called by the game when the script is unloaded.
function Cleanup()
	Windows.DestroyWindow( Ganhar )

	-- Make sure to remove our GameReady event handler.
	GameReady.Handler.remove( onGameReady )
fim
O onGameReady() event handler will trigger our initialization functions when the game is prepared to play. The code in Cleanup() ensures that we clean up appropriately when the player exits the scenario.
Save your script, and you’re all set to give the scenario a try!
Playing Your Scenario
Now enter the BEGIN SCENARIO tela, and under the “Locally saved” guia, you should find your scenario:
Try playing it…
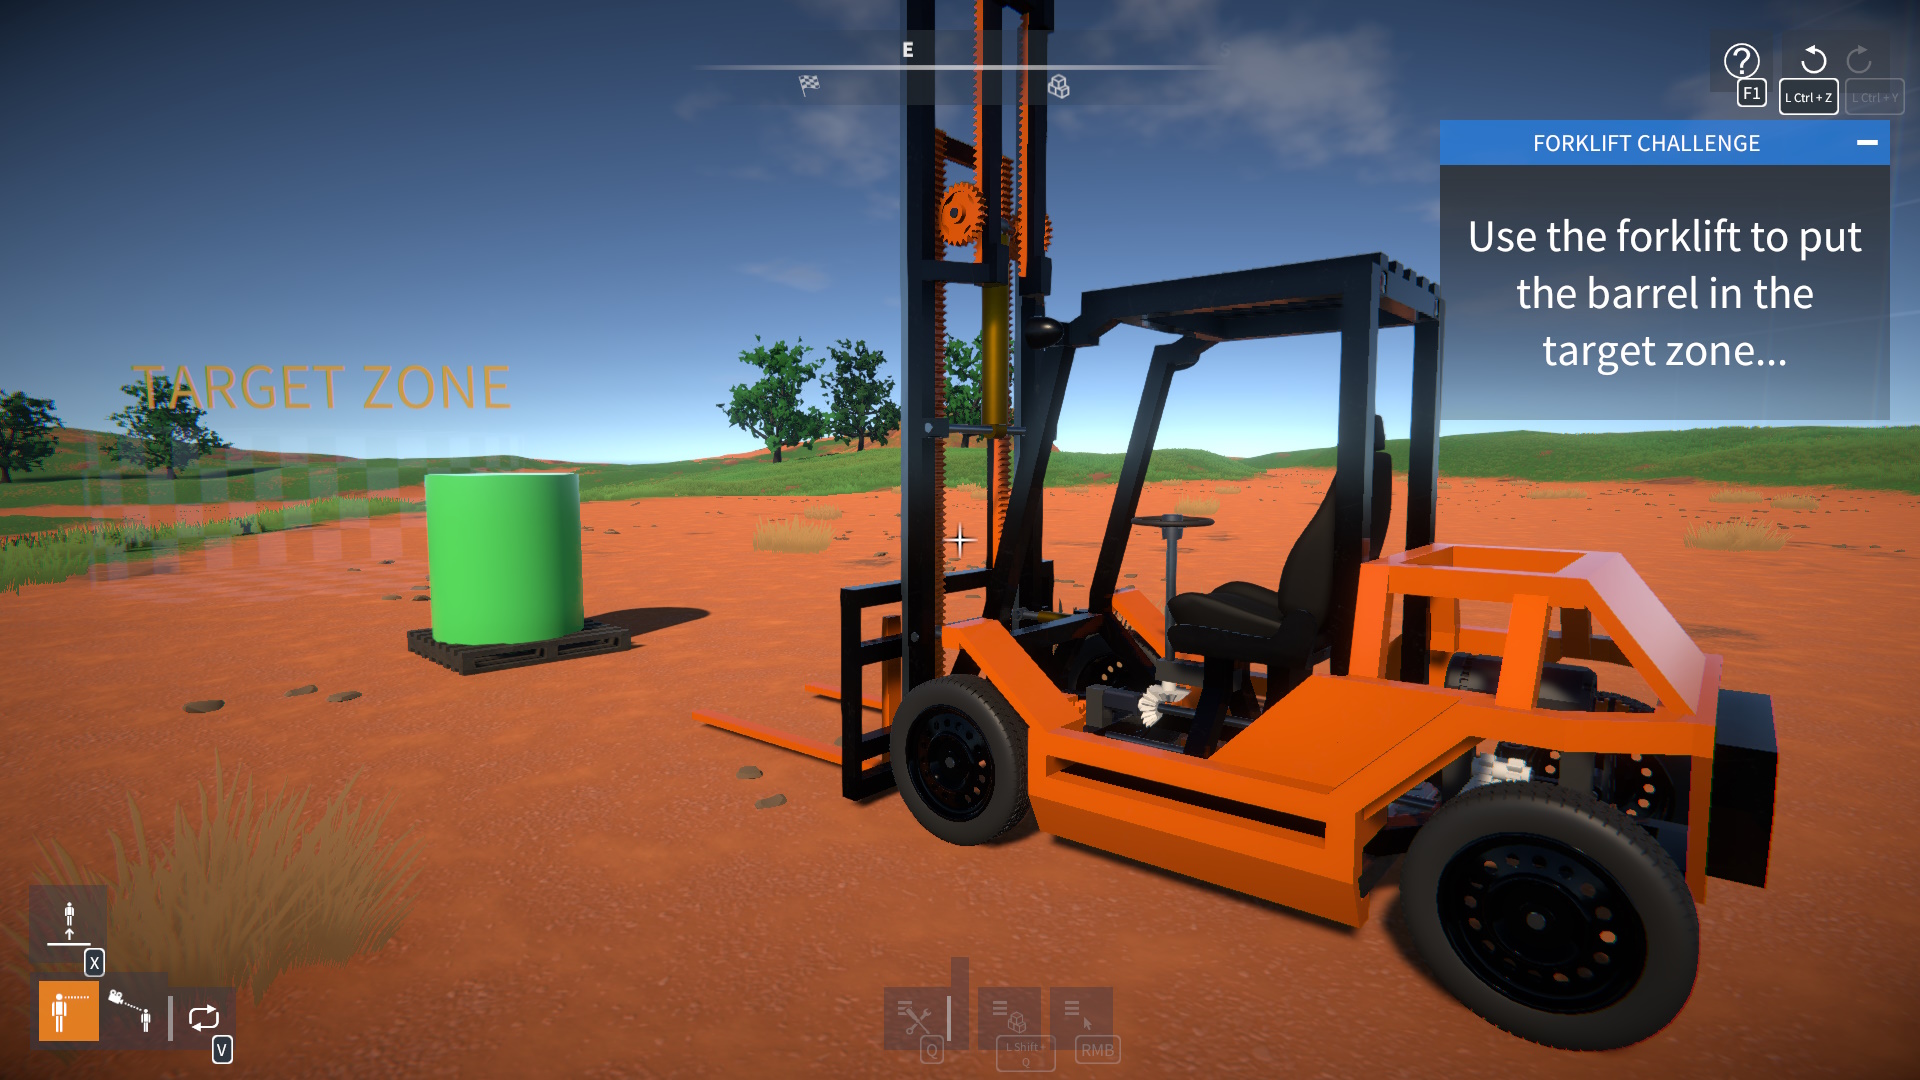
And see if you have the forklift skills…
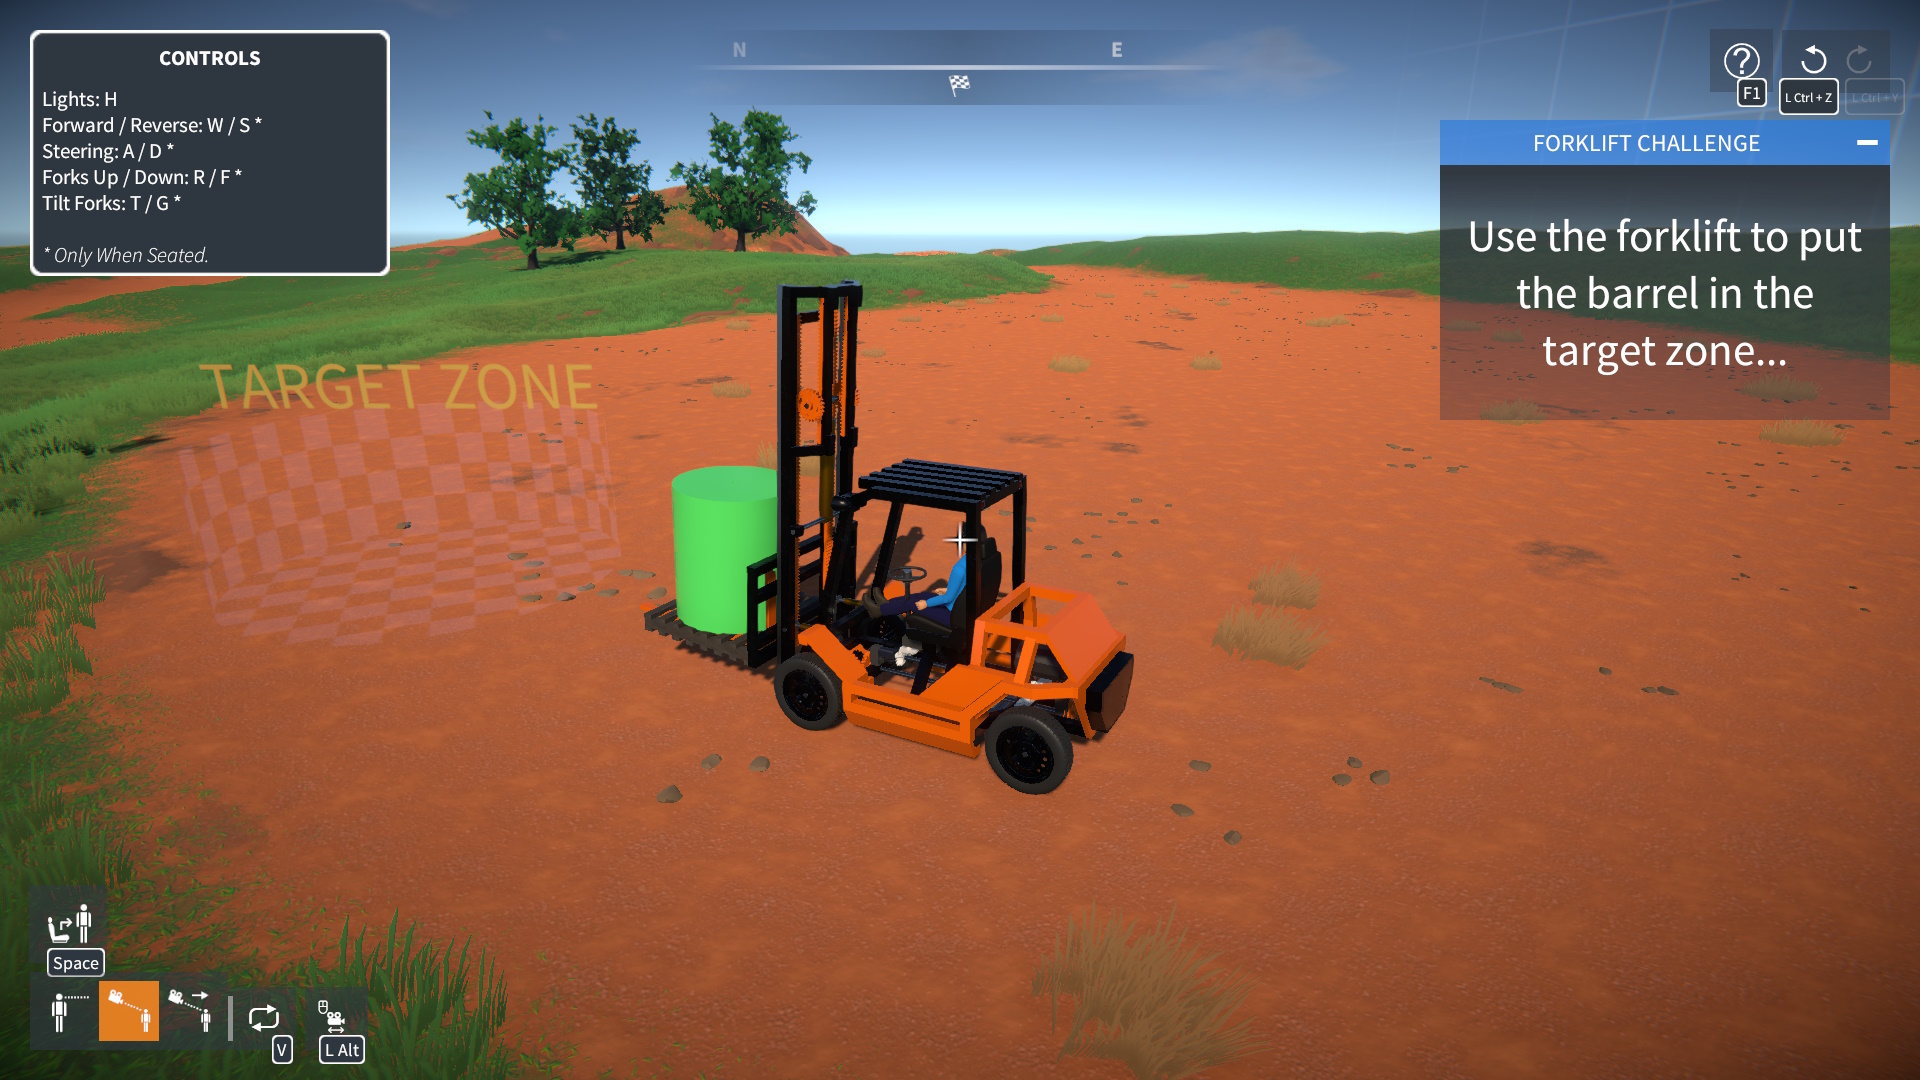
To get the reward…
OK, that wasn’t exactly a hard challenge to play, but hopefully it gives you an idea of the possibilities!
Mais informações
This guide only scratches the surface of what’s possible with scenarios.
To learn more, the built-in scenarios are a good reference, Você os encontrará aqui: C:\Arquivos de programas (x86)\Steam\steamapps\common\GearBlocks\GearBlocks_Data\StreamingAssets\Scenes.
If you want to try modifying them, copy them into your local SavedScenes folder first!
Finalmente, here is the full documentation for the GearBlocks Lua scripting API. This will evolve over time as I expose more features and functionality in the API, so bookmark it for future reference!
Isso é tudo o que estamos compartilhando hoje para isso Blocks de engrenagem guia. Este guia foi originalmente criado e escrito por danger726. Caso não atualizemos este guia, você pode encontrar a atualização mais recente seguindo este link.