Do you know what you need to do on each map? This guide will help you understand the main goals and provide a basic overview of the map objectives in Blackout Protocol.
Consoles
There are consoles in the facility that you’ll come across. When you activate them, a gate usually opens up, letting you move forward. But be careful because sometimes, these consoles are connected to barriers set up to contain the outbreak. Make sure to talk to your team before using the console to avoid releasing a swarm of threats.
Purple Crates
De vez em quando, you’ll find purple crates in the facility. These crates hold helpful Synaptic Enhancements chosen by S2P to assist you in your mission. Keep an eye out for them. There might also be other containers of unknown origin that you come across during your exploration.
Red and Yellow Crates
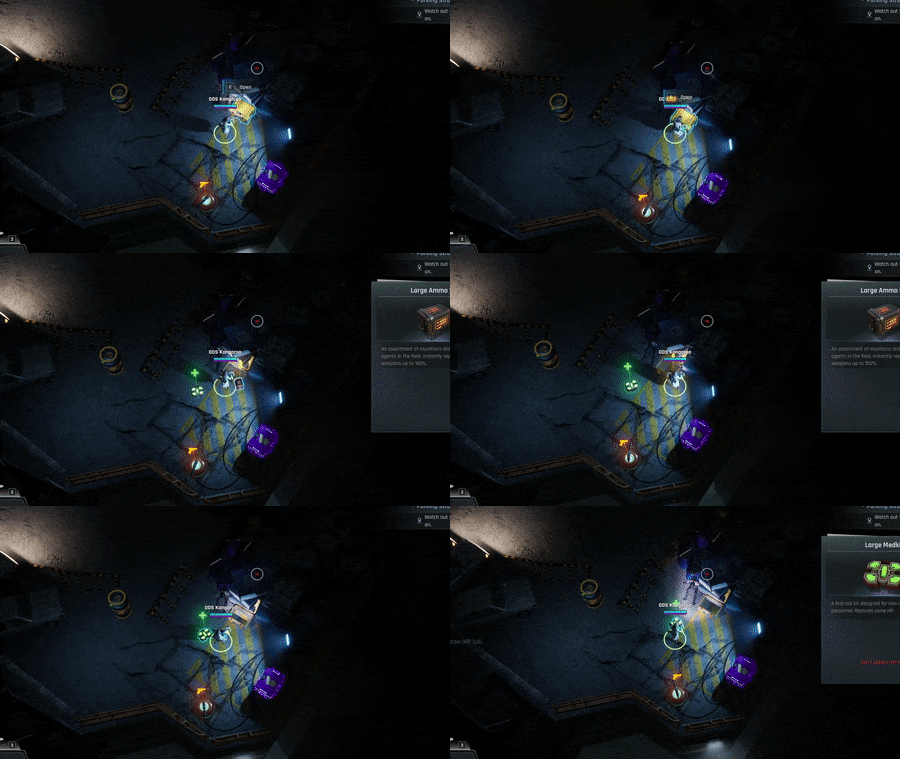
Yellow crates are helpful because they have med kits and large ammo kits. They’re a good way to restock during your mission.
Be careful with red crates. They hold valuable stuff like weapons, Créditos, Data Nugs, Tactical Gear, or other useful items. Mas aqui está o problema—they’re often in risky places, swarming with enemies. Rumor has it that some red crates might even have monsters inside, thanks to mysterious quantum stuff. Então, check them thoroughly before popping them open.
Security Keys
Certain parts of Section 13 need special permission to enter. You can get that permission by getting Security Keys. No entanto, these areas are off-limits for a good reason—they show intense quantum instability, leading to a lot of QT’s. These places are some of the riskiest in the facility, but they also come with valuable rewards. If you’re ready for an extra challenge, gear up and go in.
Each Restricted Area needs a specific clearance level for entry. Quanto maior o número, the more perilous the area. Então, be prepared for what you might face based on the clearance level.
The Dimensional Mirror
The Dimensional Mirror lets an Agent link up with other parallel versions of themselves, unlocking hidden potential and amazing new abilities. Nobody really understands what this mirror is or how it shows up in Section 13. But at S2P, dealing with bizarre and unexplainable things is just part of the routine.
Before you actually use the mirror, you can check out the Passive Ability it offers. Lembrar, you can only have one Passive at a time, and the mirror is the only way to switch them. Então, make sure you’re sure before you give it a go.
Word on the street is that the mirror moves around on its own within the facility. It might be a good idea to keep an eye on its behavior.
Environmental Objects
There are some special objects to pay attention to in Section 13.
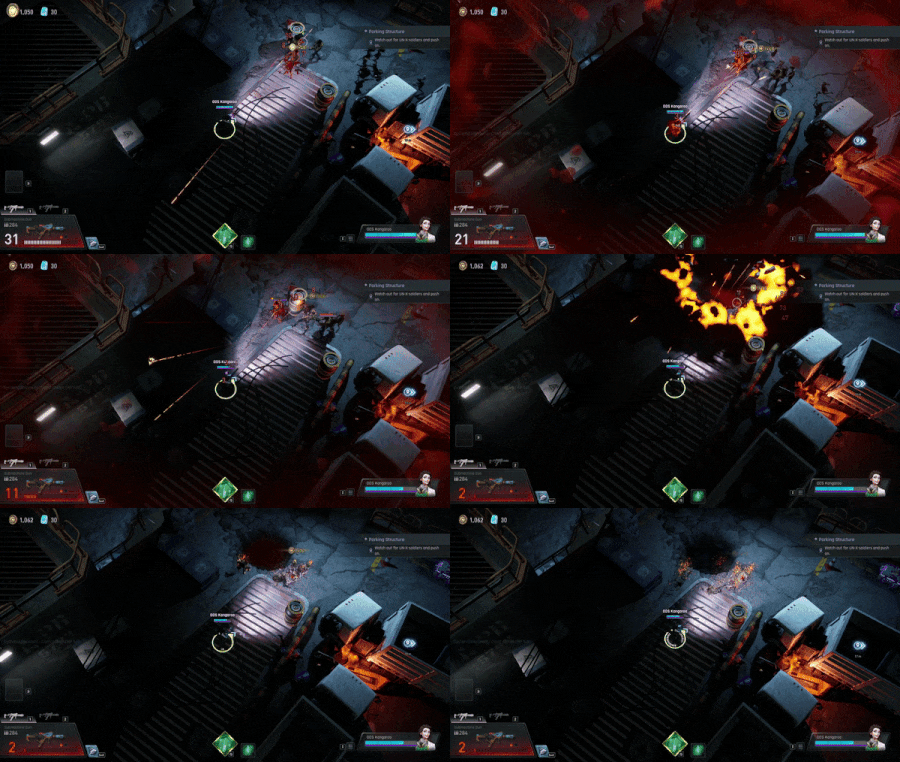
Explosive Barrels: These are steel drums filled with high-pressure chemical fuel for vehicles and certain facility chambers. If you puncture the containers, they’ll blow up in a big way, causing damage to anything close by.
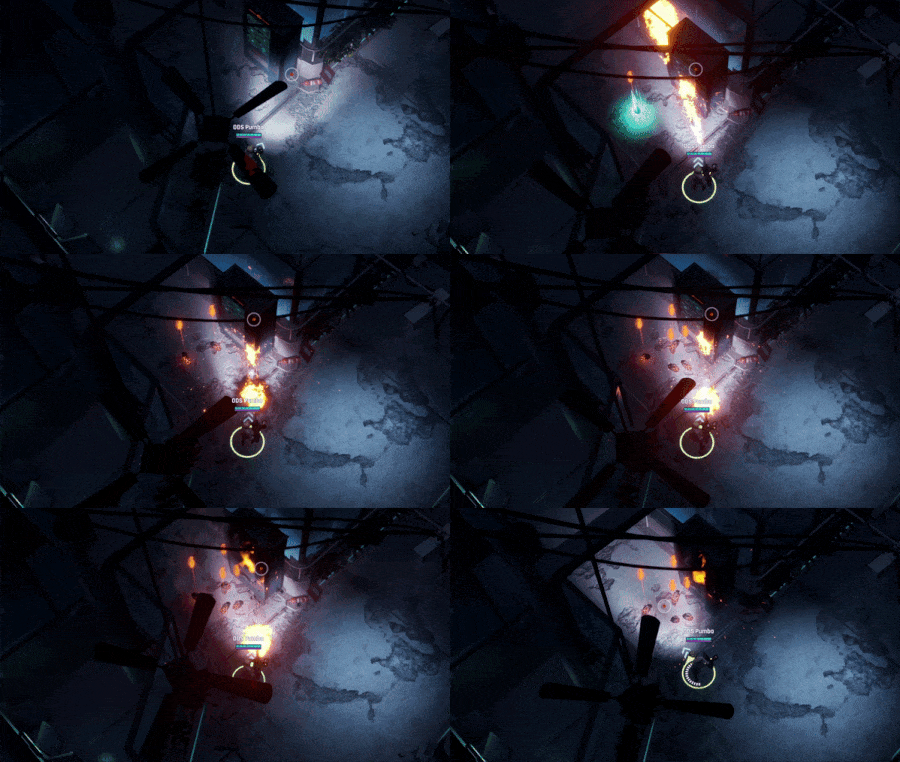
Vending Machines: These are meant to give out helpful items during emergencies. Tristemente, their shared network isn’t working right now. Maybe more direct methods could help you get to what’s inside?
Isso é tudo o que estamos compartilhando hoje para isso Blackout Protocol guia. Este guia foi originalmente criado e escrito por ODS Kangaroo. Caso não atualizemos este guia, você pode encontrar a atualização mais recente seguindo este link.


