

- Tytuł: Sonic Origins
- Data wydania:
- Wywoływacz:
- Wydawca:
Information about Sonic Origins is still incomplete. Pomóż nam wypełnić szczegóły gry za pomocą tego formularz kontaktowy.
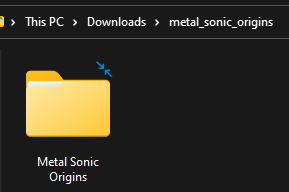
A guide on how to through the general basics of adding mods to your copy of Sonic Origins on Steam. Whether you want to replace some of Sonic 3&K’s tracks or want to change Sonic’s sprite, this guide will help you go through the steps of modding Sonic Origins to your liking.
Welcome to this guide!

Ever wanted to play Sonic Origins but Metal? Or replace Sonic 3&K’s new tracks with the tracks from the original 1994 release or 1993 prototype? Dobrze, this Sonic Origins Modding Guide will help you guide you through the steps needed to be able to mod your copy of Sonic Origins.
Getting Started with HedgeModManager

You’re obviously going to need a mod manager if you want to even install mods for Sonic Origins, which is why we need HedgeModMananger to achieve that.
It’s also compatible with Sonic Generations, Sonic Lost World, Siły Soniczne, Puyo Puyo Tetris 2, Olympic Games Tokyo 2020, and Sonic Colours: Ultimate, ale na razie, we’re focusing on Sonic Origins.
1. From the releases page, scroll down to the “aktywa” and click on HedgeModManager to download it.
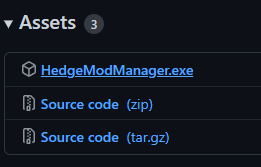
2. HedgeModManager should be downloaded.
You can either use the application as it or do my preferred way, which is copying the application to Sonic Origins’ game files. Which is the process that will be used for this guide.
Right-click HedgeModManager.exe and select copy.
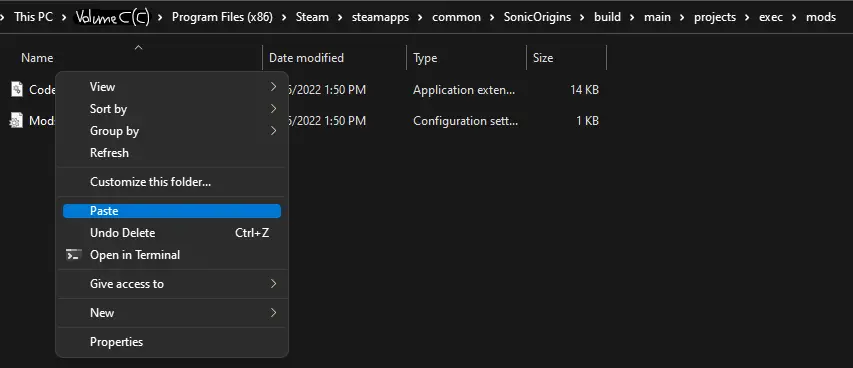
Teraz, we’re gonna need to paste HedgeModManager in Sonic Origins’ application folder. (Default location should be C:Pliki programu (x86)SteamsteamappscommonSonicOriginsbuildmainprojectsexec)

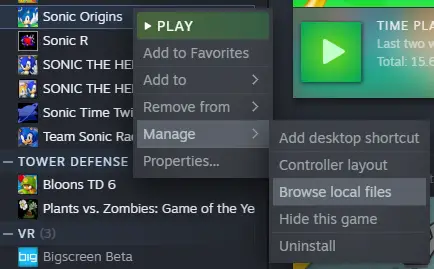
The easiest way of achieving this is to head to your Steam Libary, kliknij prawym przyciskiem myszy Sonic Origins > Zarządzać > Przeglądaj pliki lokalne.
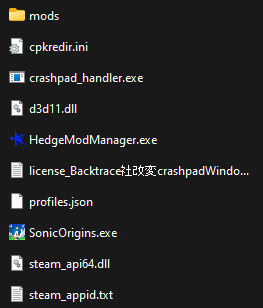
File Explorer should open and from there, go through the folders, zbudować > main > projects > exec. Wreszcie, you may paste HedgeModManger.exe.
You can create a shortcut if you don’t want to go to this location every time you want to install or change mods.
KEEP THIS TAB OPEN IF YOU’RE GOING TO INSTALL THE CLASSIC WAY as we will be using this location to install the mods themselves!
 3. The final step in this section is an easy one.
Just simply make a new folder and name it “mody” or open and close HedgeModManger.exe to create a mods folder.
The mods folder will be the location for mods so HedgeModManager can recognize and be played with them.
Obtaining and Installing Mods
Now is the fun part, choosing which mods to use and playing with them!
For this section, I’ll be using Xanman’s Metal Sonic Origins mod as an example.

Click on the mod of your choice on GameBanana.[gamebanana.com]
Scroll down and you’ll probably see that there are multiple ways of downloading a mod.
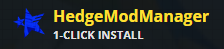
The easiest way to download a mod if possible is the 1-Click Install option with the HedgeModManager logo on it.
If you’ve done this method, then move on to the next section.
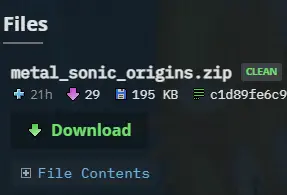
Jednakże, since my mod of choice and countless others mods don’t have this option at the moment, we’ll instead click on the regular download button.
This should take you to the downloads page of the mod, kliknij “pobierać” again and the download should start.
Now that the mod has been downloaded, you have some options on how to install the mod.
This is the easist way to install a downloaded mod.
Open up HedgeModManger from Origins’ files or the shortcut you made before if you made one.
Po otwarciu, kliknij “Add Mod” and a pop-up should appear.
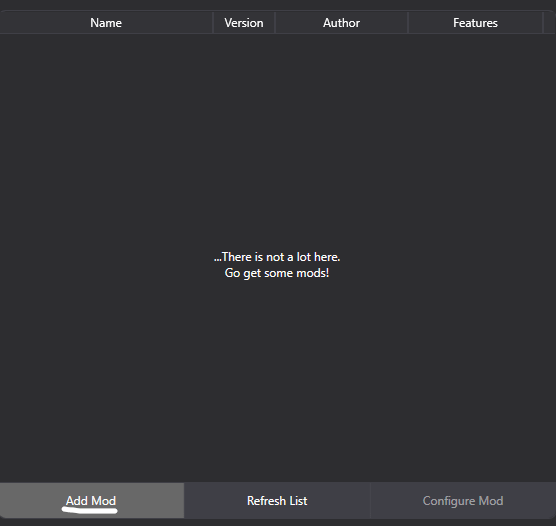
Wybierać “Installing from an archive” and it will open up a file explorer tab.
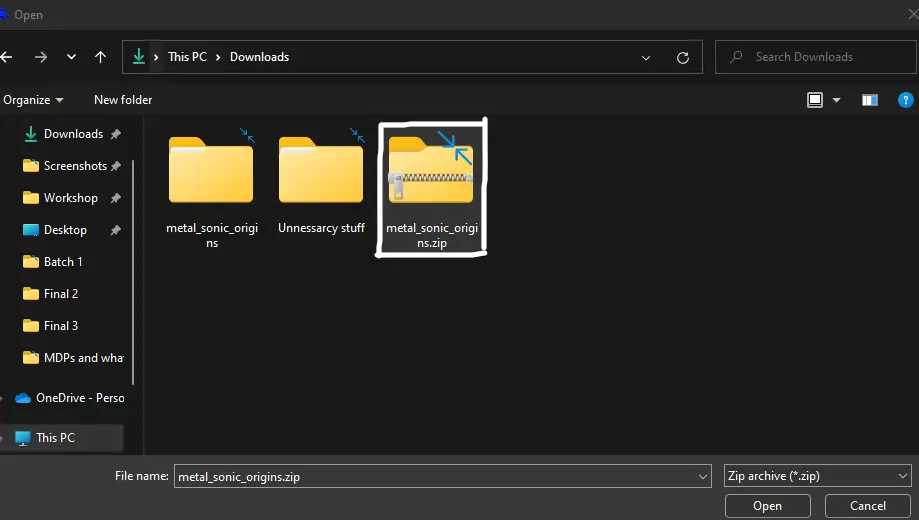
Select the archive file and click “Otwarte”
It should install the mod and now appear in the mods list. Łatwy!
Do this process with every mod you want to install and once you’re done, move on to the next section.
Go to its downloaded location and right-click the archive file (w moim przypadku, it’s a zip) and extract it with whatever extractor you have.
Open up HedgeModManger from Origins’ files or the shortcut you made before if you made one.
Po otwarciu, kliknij “Add Mod” and a pop-up should appear.
Wybierać “Installing from a folder” and it will open up a file explorer tab.
Search for the mod folder from the file you extracted, it’s easy to tell when you selected the mod folder by seeing if there’s a mod.ini file inside of it.
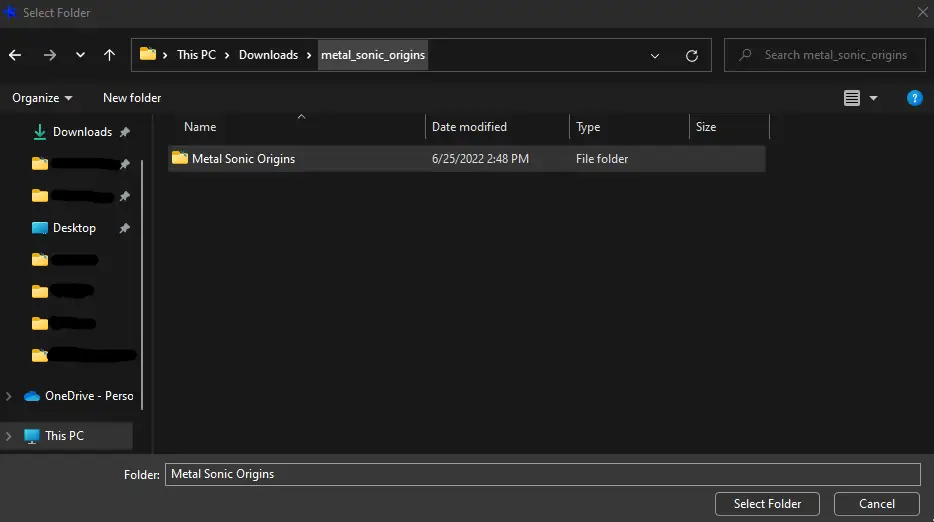
Select the mod folder and click “Select Folder”
It should install the mod and now appear in the mods list. Prosty.
Do this process with every mod you want to install and once you’re done, move on to the next section.
Go to its downloaded location and right-click the file archive file (w moim przypadku, it’s a zip) and extract it with whatever extractor you have.
Po wyodrębnianiu, the mod should be inside the extracted folder.
W przeciwnym razie, the extracted folder itself is the mod folder; it’s easy to tell if it’s the mod folder if the mod.ini file is inside the folder.
I hope you remembered to keep Sonic Origins’ file location open because this is the step where we need it.
Like with HedgeModManager, we’re gonna right-click on the mod folder and copy it.
Next head over to where the mods folder is located, aka Sonic Origins’ files location I mentioned before.
Paste the mod folder into the folder named “mody” and move on to the next section once you’ve done this process with every mod you downloaded.
If you’re done installing the mods, you may already have HedgeModManger open.
W przeciwnym razie, then go to the “exec” folder and open HedgeModManger.exe or open it up through the shortcut if you have one.
When HedgeModManger opens, you may get a pop-on to update the application, click accept and wait for the update to finish.
Kiedy to się skończy, you’ll see the mods listed.
Click on the mods you want to enable by clicking the little box on each of them until they have the checkmark on them.
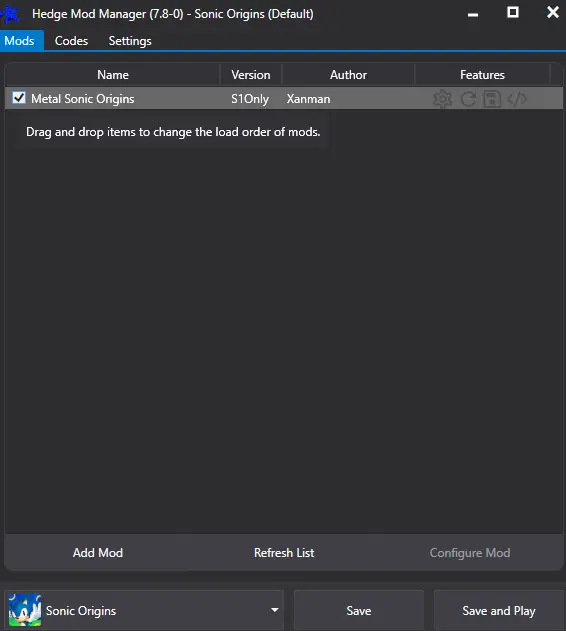
Gdy już skończysz, trzask “Ratować & Grać” and congrats!
Your mods should work.


The mods I recommend here are supposed to improve your gameplay experience while playing Sonic Origins. You don’t have to download them to enjoy the game, but I would recommend it nevertheless.
by dariosamo – Download Link
Does your game look a bit blurry to you on a 1080p screen? This mod aims to fix that issue! The mod also comes with the filters from Mania like Sharp, Soft, CRT Sharp, and CRT Soft.
This is a must-have mod for those who want the best graphical outcome.

by BlastoiseVeteran – Download Link[gamebanana.com]
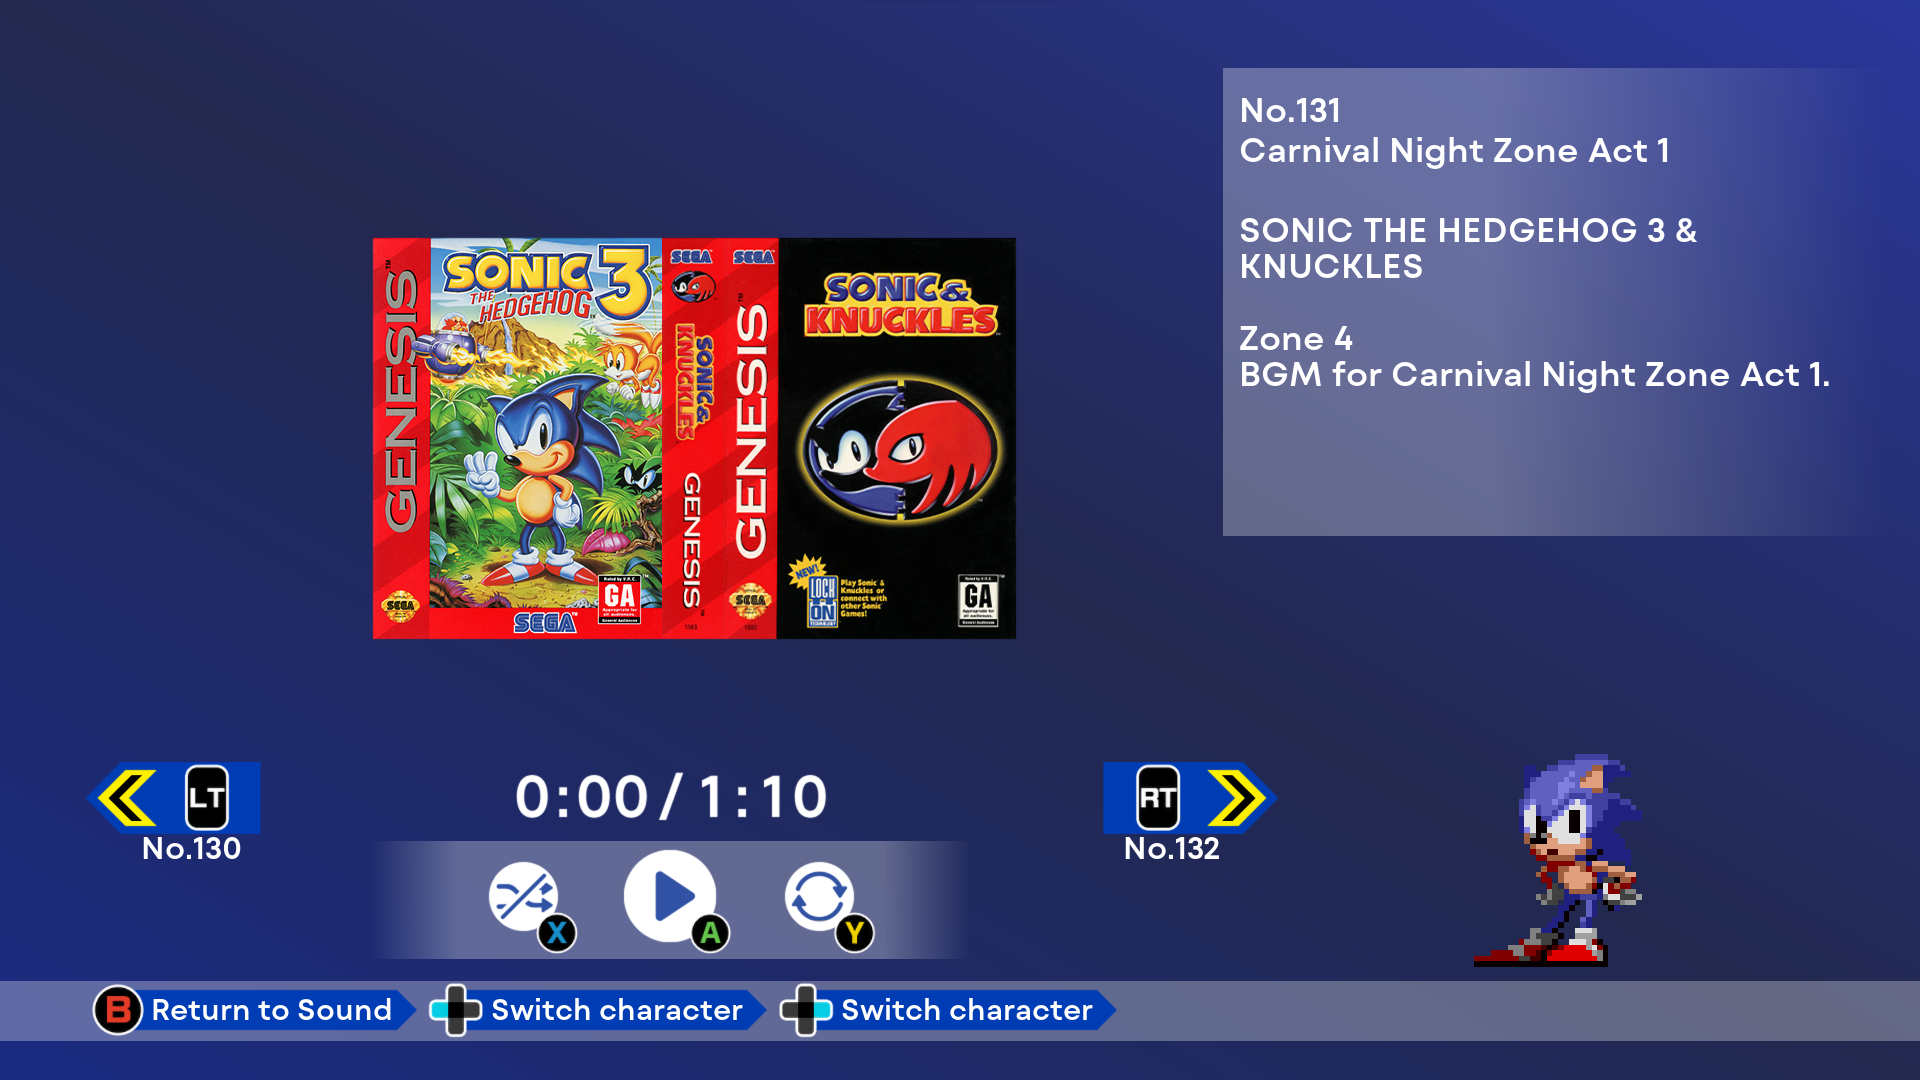
I get it, the new Sonic 3&K tracks haven’t met your expectations and you want to replace them with how they sounded in its release in 1994 lub 1993 prototype. Dobrze, here you go and it comes with three different flavors too!
Origins Original: “This version is the standard Origins version, all songs have been rerendered. Each of the “nowy” songs have been replaced with their prototype version, and Super Sonic has been substituted with Unused Song.”
Genesis Classic: “This aims to replicate the OST you would find on average copies of S3&K. The only prototype songs are the unused ones, and Super Sonic is substituted with Invincibility.”
1993 Throwback: “Exactly the same as Genesis Classic, but with the 1993 prototype tracks. Any tracks that had a major difference between the proto and final have been changed, and Super Sonic has been substituted with Unused Song.”
by Xanman – Download Link[gamebanana.com]
A mod meant to make the coin aspect of the HUD in Anniversary Mode look more consistent with the rest of CD’s HUD.

By Morris321123 – Download Link
Od 6/25/2022, Sonic Team has yet to fix the mislabeled DLC tracks. Until a patch comes out, this mod fixes those labeling issues for Sonic Spinball, Knuckles’ Chaotix, and Sonic 3D Blast. So no, the first level of Knuckles’ Chaotix is not called “Destructive Power”.
I’ll be updating this section if I find any more recommend QoL mods.
To wszystko, co dzisiaj udostępniamy w tym celu Sonic Origins przewodnik. Ten przewodnik został pierwotnie stworzony i napisany przez Spiffy Ruffleroni. Na wypadek, gdybyśmy nie zaktualizowali tego przewodnika, możesz znaleźć najnowszą aktualizację, postępując zgodnie z tym połączyć.